
Star Trek Guide Walkthrough Chapter 8: Enterprise Capture
Enterprise Capture
Chapter Summary
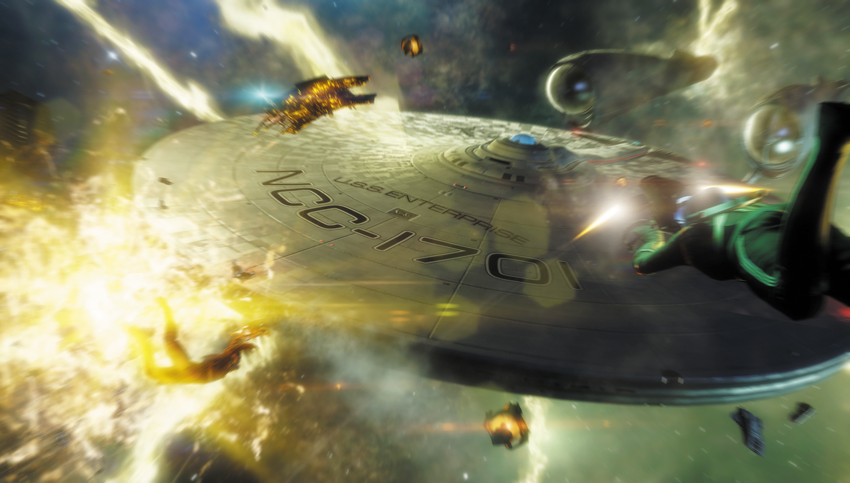
The shuttle gets back to the Enterprise only to find that the Gorn have captured the ship. Kirk, Spock, Bones, and Sulu must each make their way aboard the Enterprise, where they must confront the Gorn.
Enterprise Capture Collectables
| # | Name |
|---|---|
| 1 | Gorn Tech (1 of 3) |
| 2 | Chekov’s Audio Log #1 |
| 3 | Chekov’s Audio Log #2 |
| 4 | Gorn Tech (2 of 3) |
| 5 | Sulu’s Audio Log #1 |
| 6 | Gorn Tech (3 of 3) |
| 7 | Scotty’s Audio Log #1 |
| 8 | Sulu’s Audio Log #2 |
| 9 | How Warp Drive Works (1 of 3) |
| 10 | How Warp Drive Works (2 of 3) |
| 11 | How Warp Drive Works (3 of 3) |
| 12 | The Warp Core (1 of 3) |
| 13 | Scotty’s Audio Log #2 |
| 14 | The Warp Core (3 of 3) |
| 15 | The Warp Core (2 of 3) |
| 16 | Sickbay Equipment |
| 17 | Scotty’s Audio Log #3 |
| 18 | Sickbay Gurney |
| 19 | Chekov’s Audio Log #3 |
| 20 | Tribble (6 of 7) |
| 21 | Sulu’s Audio Log #3 |
Achievements/Trophies
| Icon | Name | Criteria | Gamerscore | Trophy |
|---|---|---|---|---|

|
The Whole Story | Found all audio logs | 50 | Gold |

|
Beat Enterprise Capture | Completed the Enterprise Capture chapter on any difficulty | 20 | Bronze |
Break In
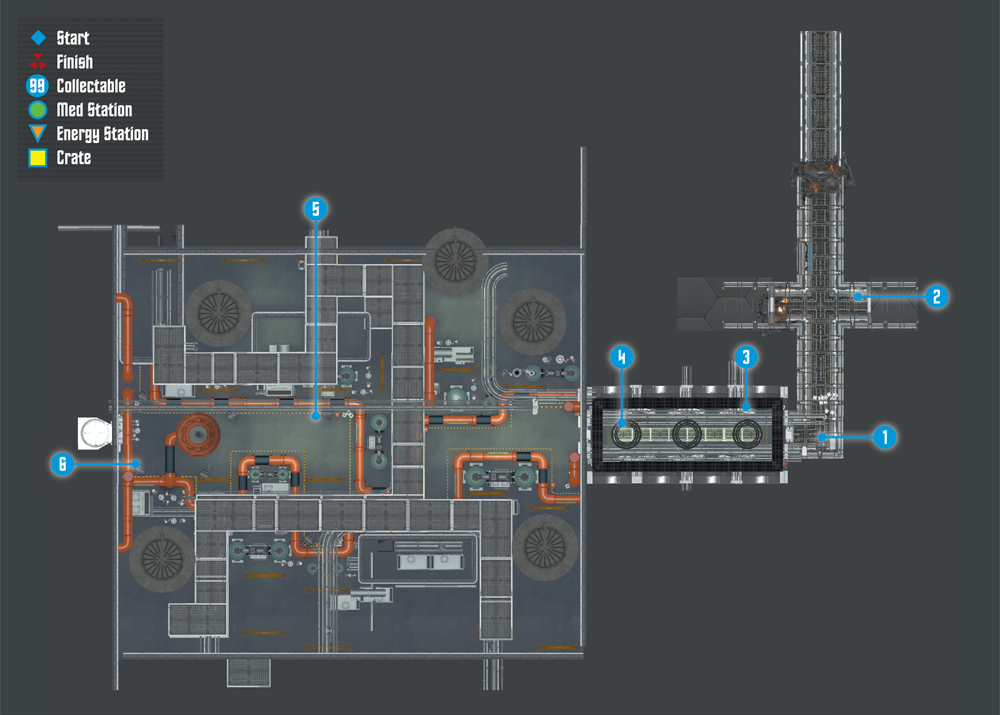
Collectables Checklist
| # | Name | Type | XP |
|---|---|---|---|
| 1 | Gorn Tech (1 of 3) | Research Data | 100 |
| 2 | Chekov’s Audio Log #1 | Audio Log | 50 |
| 3 | Chekov’s Audio Log #2 | Audio Log | 50 |
| 4 | Gorn Tech (2 of 3) | Research Data | 100 |
| 5 | Sulu’s Audio Log #1 | Audio Log | 50 |
| 6 | Gorn Tech (3 of 3) | Research Data | 100 |

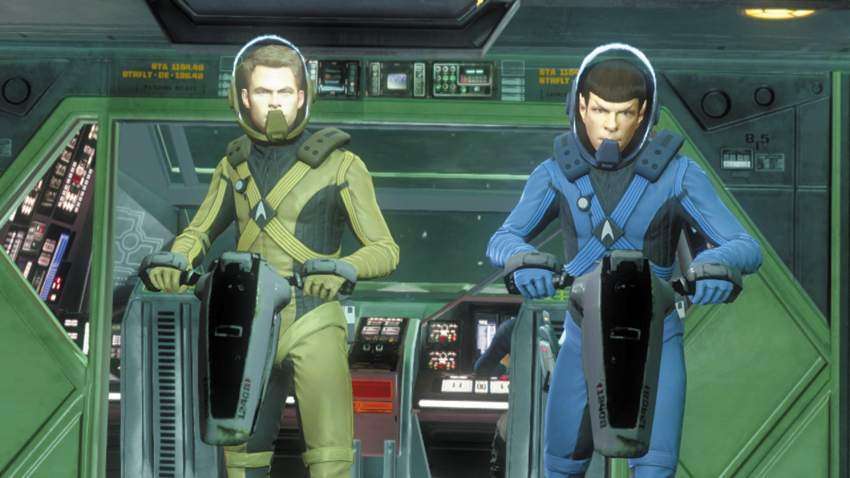
Following their visit to the Gorn Planet, Sulu pilots the shuttle back to the Enterprise. But Kirk is unable to get a response from the crew. As they get closer, they discover the Enterprise has been attacked by the Gorn and ensnared in some sort of energy beam. Sulu says he can’t get the shuttle any closer, but Kirk is undeterred. Donning environmental suits, Kirk and Spock prepare to make a rocket jump, with hopes of boarding the Enterprise and taking the ship back from the Gorn.
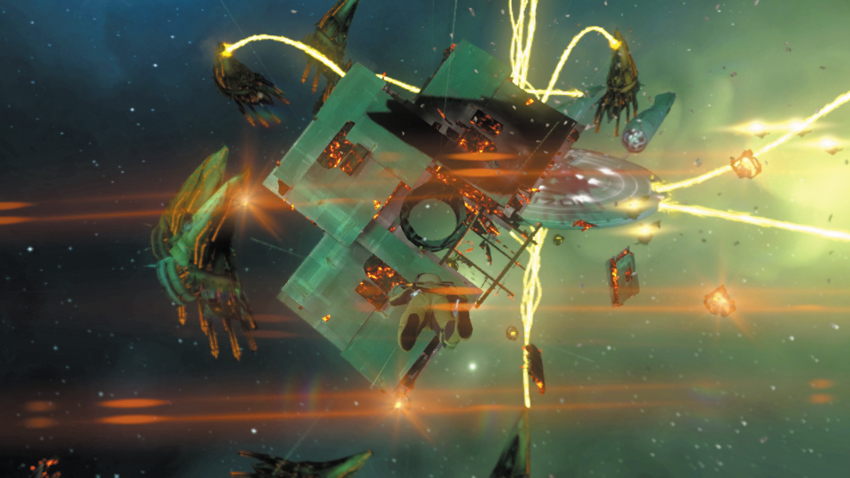
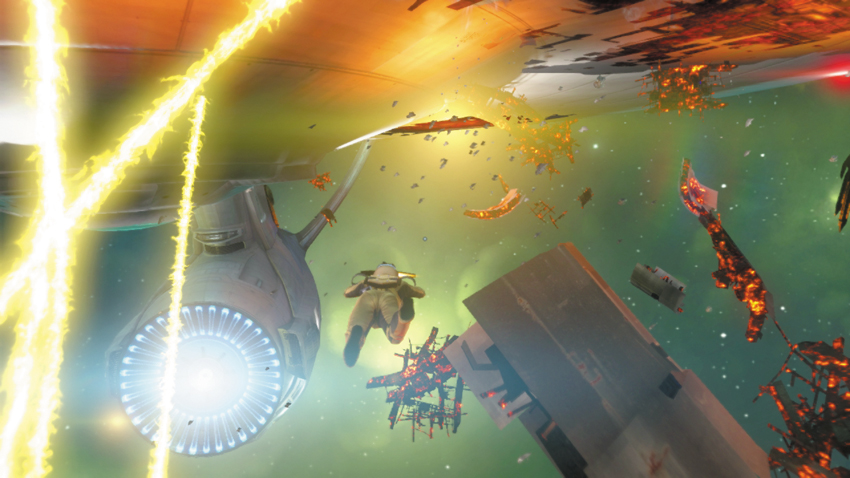
This rocket jump is similar to the sequence on Frontier Starbase, following the activation of the relay tower. Here you must dodge debris while flying toward the Enterprise. Pay no attention to the Gorn ships flying by—they pose no threat. Instead, focus on the debris along your flight path and make slight adjustments to avoid collisions. Early on you must fly through the circular tube section of a large piece of debris. Use the white dot reticle in the center of the HUD to align your flight path with the center of the tube section to avoid contact with the debris. As you get closer to the Enterprise, steer clear of the yellow energy beams emitted by the surrounding Gorn ships—these appear to act as tethers, preventing the Enterprise from escaping. As you make a pass around the Enterprise, Spock suggest entering through one of the auxiliary exhaust ports in Engineering.
Engineering
 New Objective: Travel through Engineering to locate the Turbolift
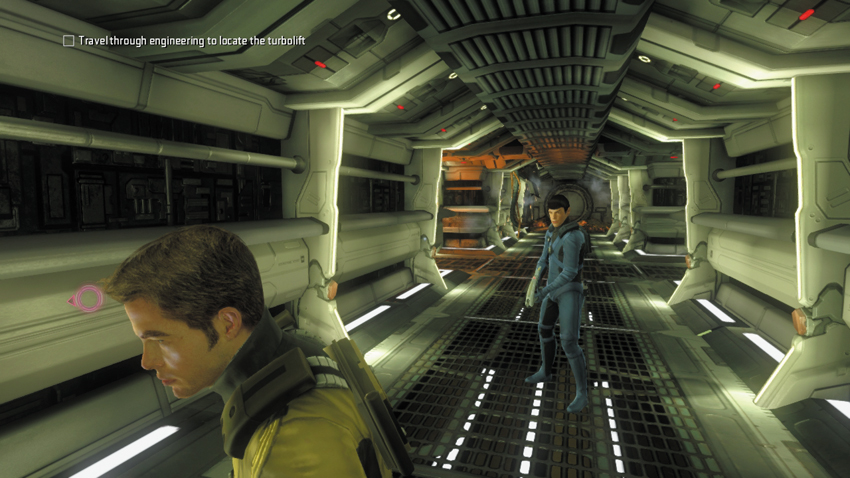
Following the rocket jump, Kirk and Spock find themselves within a corridor in Engineering. The momentum of their unconventional entry carries Kirk across the floor, crashing through a pile of crates. Meanwhile, Spock decelerates smoothly, landing on his feet. But Kirk isn’t too concerned about his rough landing—he just wants to take back control of the ship. Before exiting this corridor, activate your tricorder to locate a couple of collectables.
1: Gorn Tech (1 of 3)
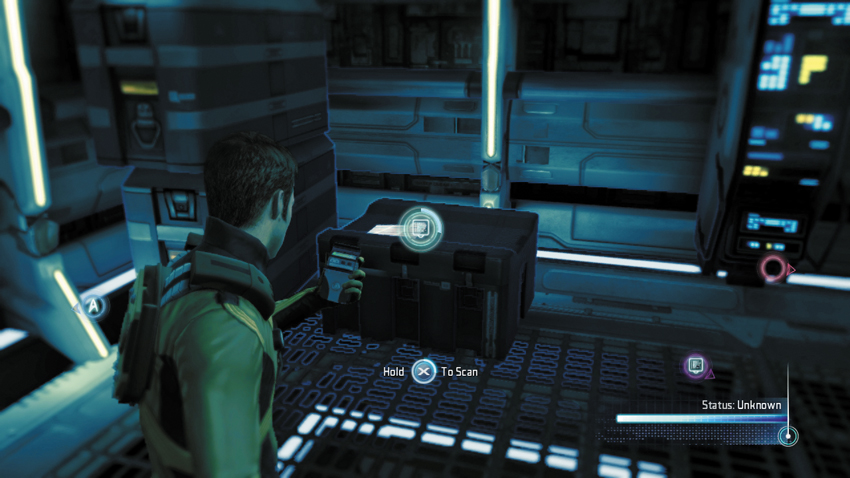
Immediately following the rocket jump, scan this collectable on a crate, straight ahead.
Type: Research Data
Set: Break In/Gorn Technology
XP: 100
Log Entry: It’s not often that Engineering and Medical need to consult with each other, but trying to figure out how these Gorn weapons work is just such an occasion. They’re a curious mix of the mechanical and the organic. Designed like a machine, but grown like an organism. And altogether creepy.
2: Chekov’s Audio Log #1
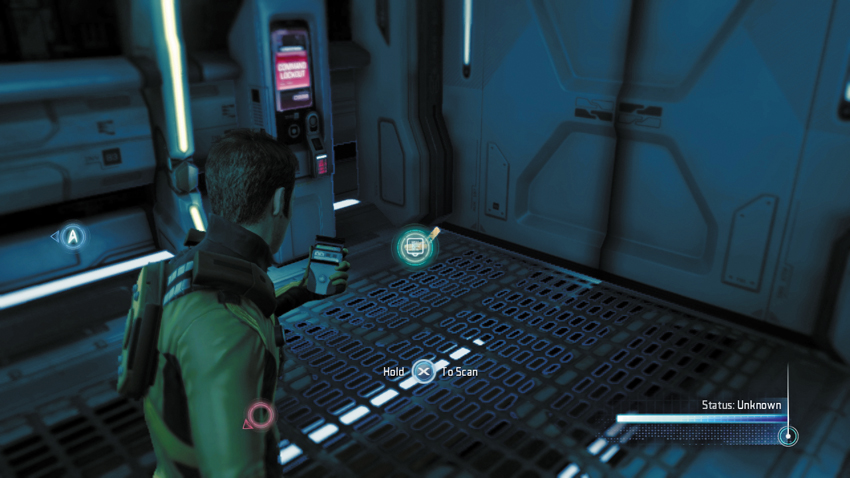
After completing the first scan, turn around in the corridor and look for this audio log on the floor to the right, next to a closed door.
Type: Audio Log
Set: Break In/Logs
XP: 50
Log Entry: Personal log, Ensign Pavel Chekov. I should have sent a message home at the last starbase rendezvous. No doubt mother and father are worried about me. It was bad enough that their only child ran off to Starfleet at such a young age. But what would I tell them? All is well here at the far edge of space. There’s a crisis on the New Vulcan colony and we’ve encountered a dangerous unknown species that might kill us all. Don’t worry, I’ll be fine. Maybe it’s better that I don’t call home more often.
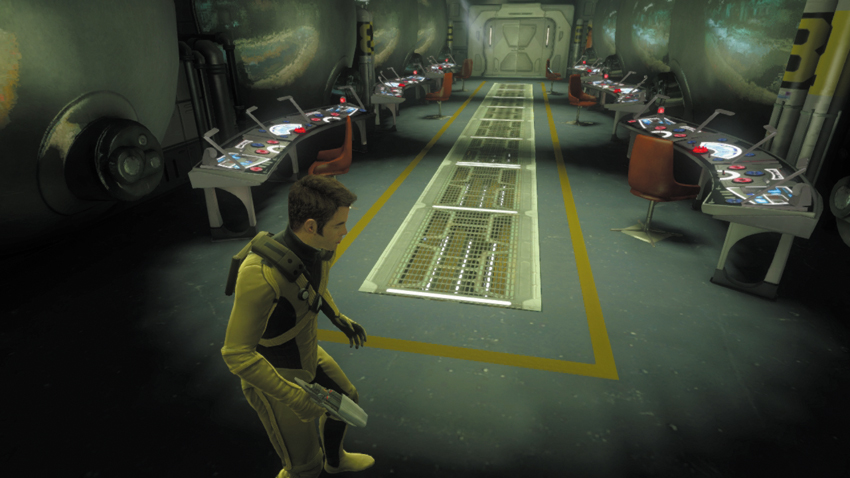
Once you’ve located the two collectables in the first corridor, advance to the next room, lined with consoles. Once again, activate your tricorder and perform a few quick scans to log two more collectables.
3: Chekov’s Audio Log #2
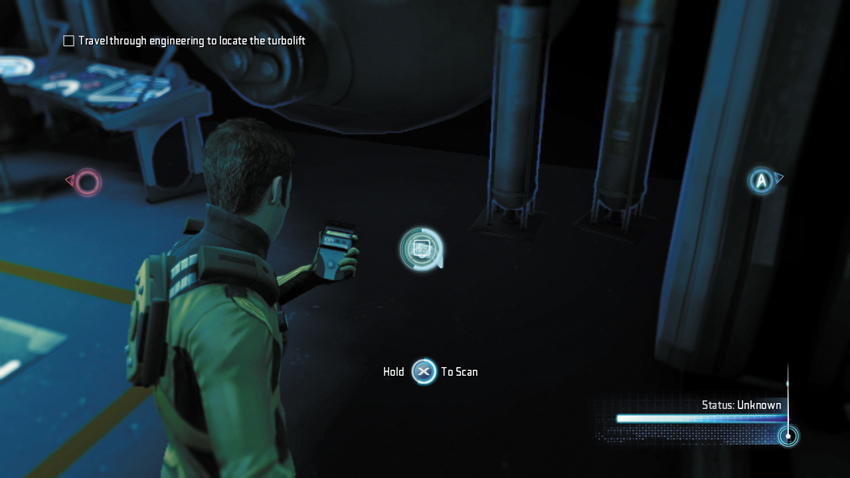
Immediately after passing through the doorway, turn to the right to scan this audio log on the floor.
Type: Audio Log
Set: Break In/Logs
XP: 50
Log Entry: Personal log, Ensign Pavel Chekov. I still get the looks in the corridors sometimes. I can tell much of the crew is wondering why someone so young isn’t back at the Academy earning his stripes. I still hear mention of “the kid” and I know who they are talking about. All I can do is what I’ve done my whole life—prove them wrong. The Captain’s faith in me gives me hope. I will do everything I can to continue to earn his trust.
4: Gorn Tech (2 of 3)
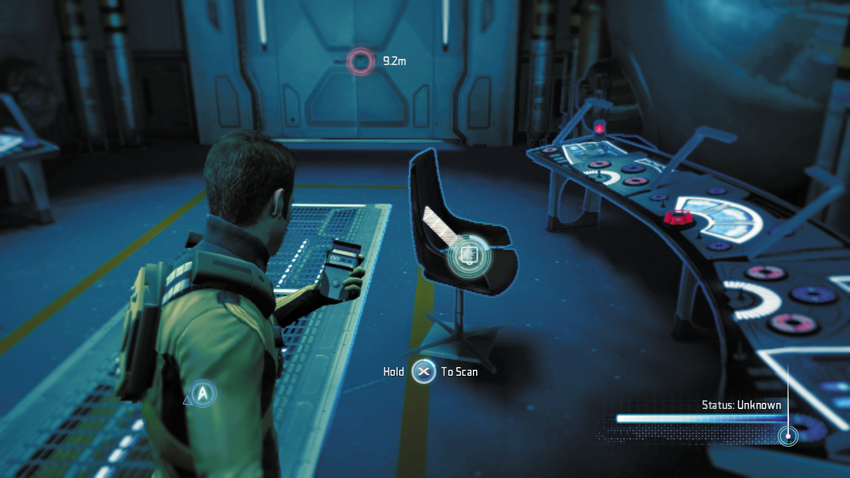
The next collectable is located on a chair, on the right side of the room, near the exit.
Type: Research Data
Set: Break In/Gorn Technology
XP: 100
Log Entry: The ammunition used by the Gorn weapons is curious indeed. As with the semi-organic design of the weapon itself, the ammunition appears to be generated the way a body generates new cells. The blasts are composed of bio-energy rather than lasers, which makes me wonder if they can ever run out of ammunition the way our own weapons can.
New Objective: Beam Sulu and Bones aboard the Enterprise
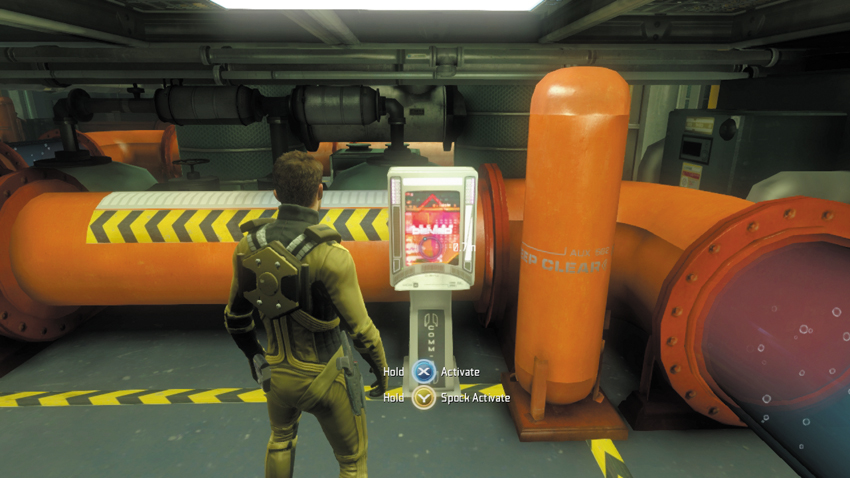
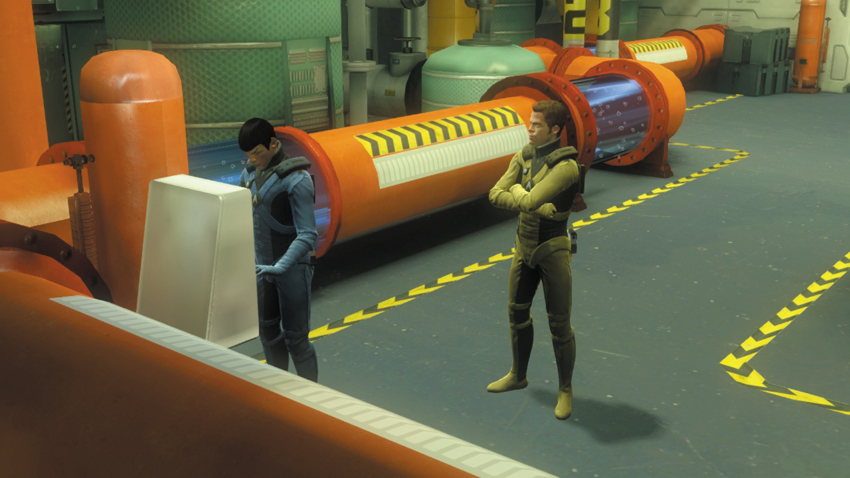
Once you’ve scanned both collectables, proceed through the door and follow the waypoint marker to a terminal ahead. Spock suggests accessing the terminal to beam Sulu and Bones over from the shuttle. Step up to the terminal and activate it—alternately you can use your tricorder. Spock orders Sulu to head directly for the officer’s quarters once he’s onboard—he needs Sulu to discover a way to disable the Gorn’s tethers. Kirk tells Dr. McCoy to head for Medbay. They’ll need his help with the infected crew members. As Sulu and Bones beam aboard the Enterprise, Kirk checks in with his Chief Engineer. Scotty reports that the Gorn have taken over the Bridge, the Warp Core is down, and emergency life support is at risk of failing. Spock advises getting the Warp Core back online so they can return back through the rip.
New Objective: Take the Turbolift to the Warp Core
5: Sulu’s Audio Log #1
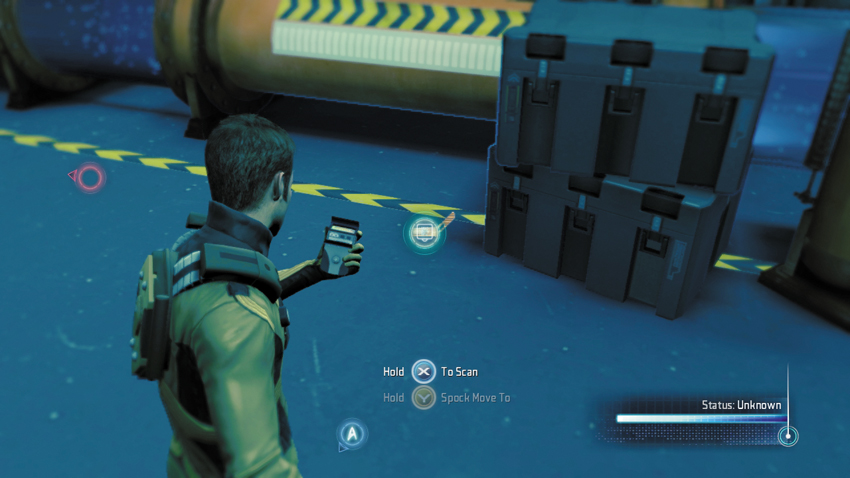
On the way to the Turbolift, scan this audio log on the floor, next to a stack of crates.
Type: Audio Log
Set: Break In/Logs
XP: 50
Log Entry: Personal log, Lieutenant Hikaru Sulu. I don’t trust Commodore Daniels. His reputation precedes him. Cadets at the Academy dreaded being assigned to his command. We all heard about him running his ships and starbases like his own personal fiefdoms. The old story about the officer that spends just a little too much time off-world. Combine the loneliness of space with the loneliness of command and bad things are bound to happen. I just hope Daniels hasn’t gone completely off the deep end.
6: Gorn Tech (3 of 3)
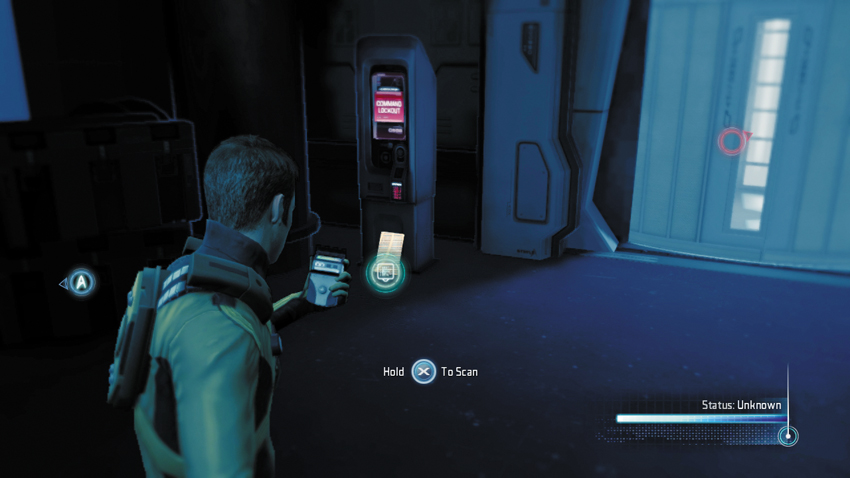
Just before entering the Turbolift, scan this collectable on the floor to the left.
Type: Research Data
Set: Break In/Gorn Technology
XP: 100
Log Entry: I don’t even know that this is. A Gorn tricorder? A Gorn potato slicer? Do you have any ideas? I’d love to crack it open and see how it works, but I’m afraid I might trigger some kind of awful booby trap, and I quite like having all my fingers attached to my hands.
Taking Back the Ship
Warp Core
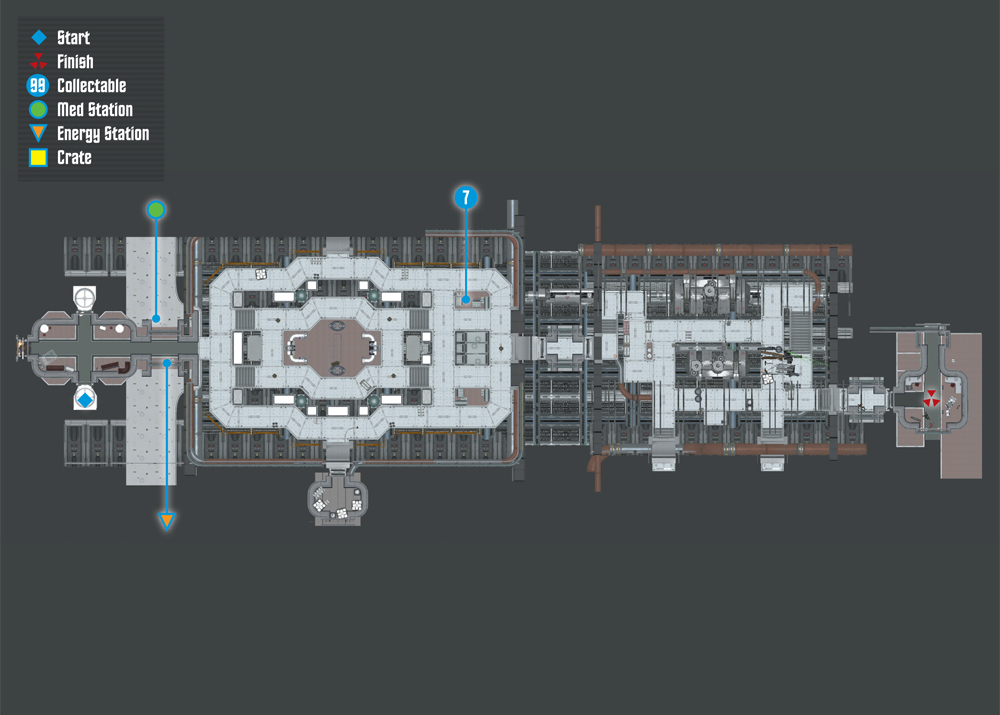
Collectables Checklist
| # | Name | Type | XP |
|---|---|---|---|
| 7 | Scotty’s Audio Log #1 | Audio Log | 50 |
New Objective: Go to the Warp Core Control Room
Commendation: Clear the Gorn checkpoint without provoking any enemy attacks (Stealth)
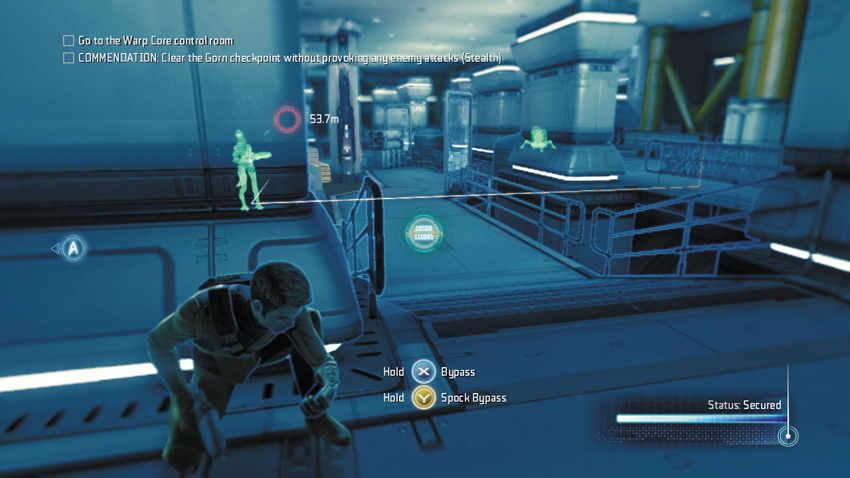
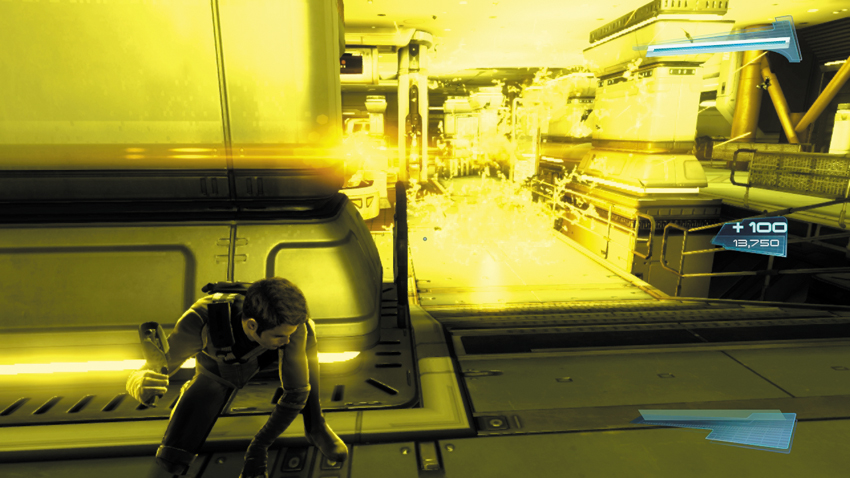
Upon exiting the Turbolift, turn right—there’s a Med and Energy Station just ahead. Cautiously approach the Gorn checkpoint, taking cover behind the wall at the end of the corridor. This checkpoint is patrolled by a Gorn Observer. The area is also heavily mined, with two turrets covering the perimeter walkways. Peek around the right side of the wall and use your tricorder to bypass the mine nearby. Once the mine is bypassed, monitor the movements of the patrolling Gorn Observer—use your tricorder to place a sound decoy next to the mine. As the Gorn Observer investigates the sound, the mine is triggered, killing the enemy. Killing the Gorn Observer causes a Gorn Warrior to beam into the checkpoint. But as long as you stay behind cover, he won’t spot you.
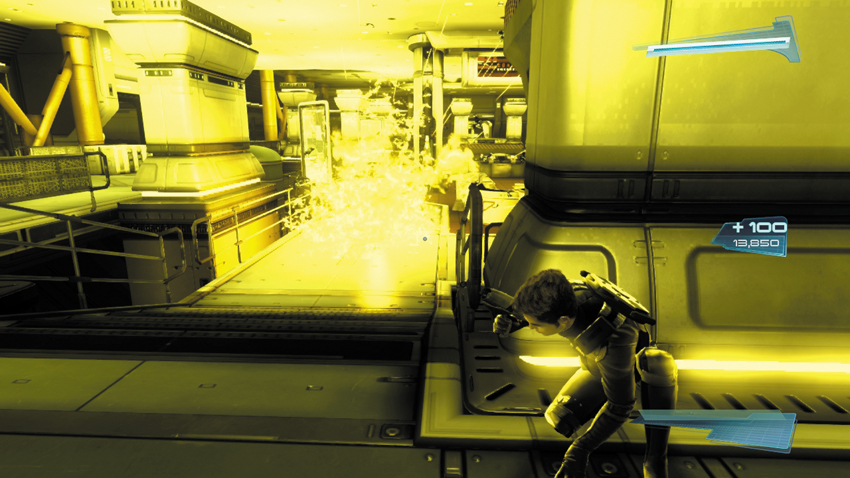
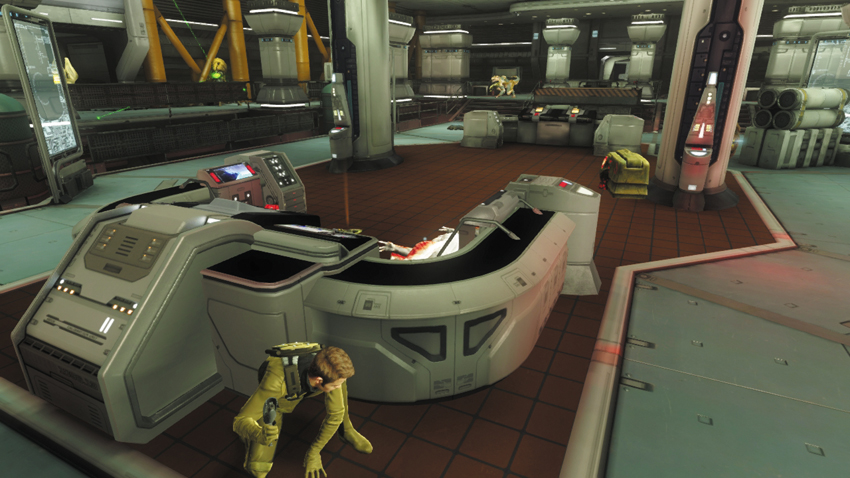
Now move to the left side of the wall to locate another mine. Once again, hack the mine then use a sound decoy to lure the patrolling Gorn Warrior toward it. The area around the central console is now clear. But you still need to keep an eye on the turrets as well as another Gorn Warrior patrolling in the distance. While crouching, creep toward the central console and take cover. As you approach the turret on the left activates and begins scanning for movement. But as long as you stay behind the console, you won’t be spotted by the turret or the Gorn Warrior.
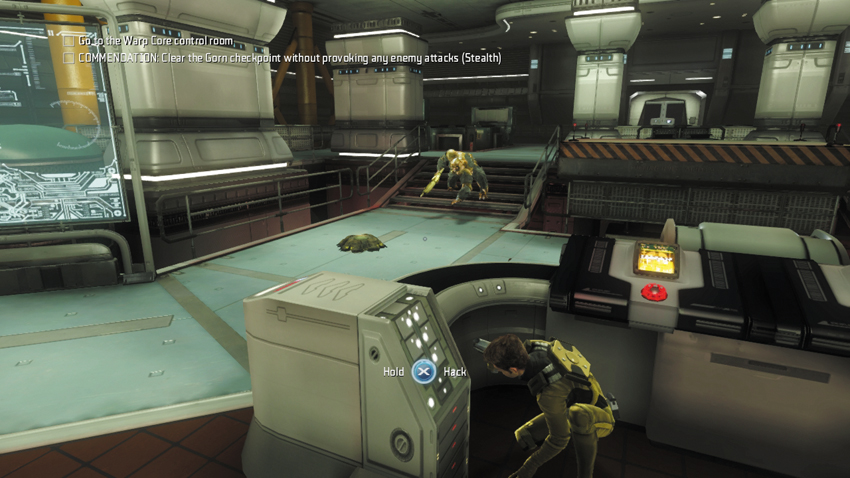
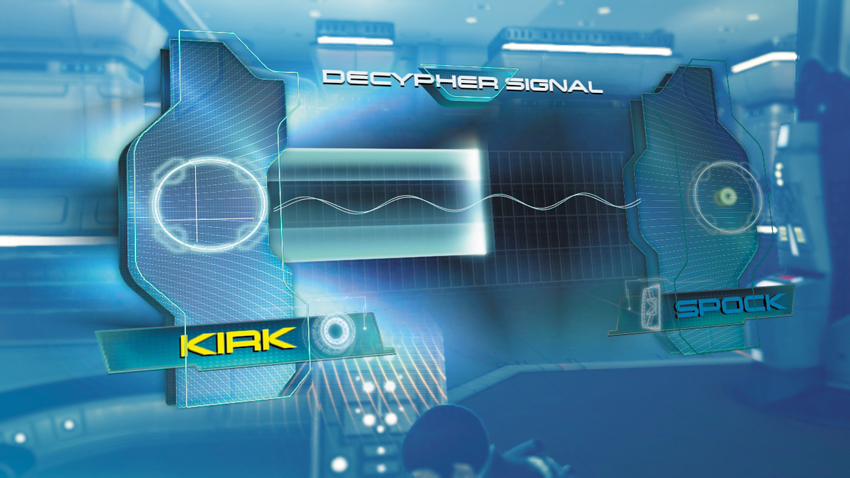
When the turret on the left pans away from your position, and the Gorn Warrior is out of sight, move out of cover and approach the console toward the back of the checkpoint—grab a Plasma Grenade from the crate along the way. Scotty reports that he was able to lock the Gorn out of the Warp Core’s control room. You can override the locks by using the main control panel. But before doing so, focus on eliminating the last Gorn Warrior patrolling ahead. Take cover behind the control panel and bypass one of the mines nearby—lure the Gorn Warrior toward it using a sound decoy produced by your tricorder. Once the Gorn Warrior is dead, hack the control panel—you must work together to override the locks.
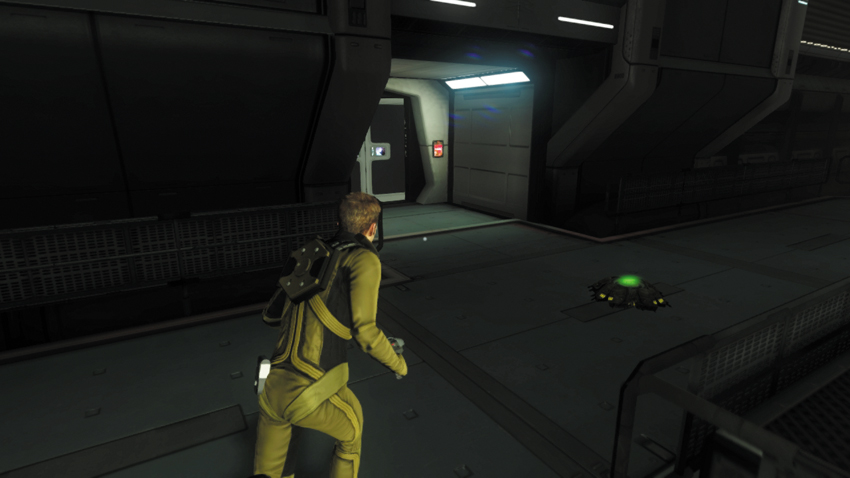
Now that the door is unlocked, you have a relatively clear path to the Warp Core’s control room. There’s no need to hack the two turrets guarding the checkpoint unless you want some extra XP. But as you approch the door to the control room, move slowly—there’s a mine placed directly in front of the door. Bypass the mine with your tricorder or simply shoot it from a safe distance to detonate it. But before entering the next room, take a moment to scan for another collectable.
7: Scotty’s Audio Log #1
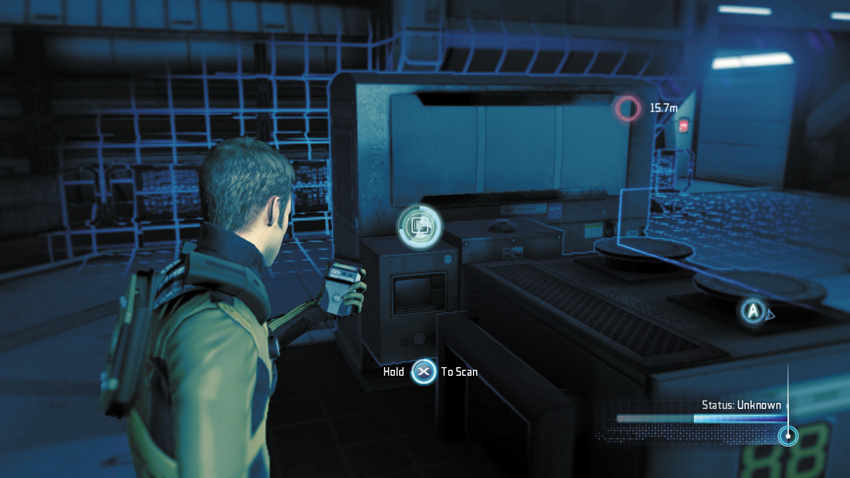
Before exiting the checkpoint, look on the crates to the left of the exit to scan this audio log.
Type: Audio Log
Set: Taking the Ship Back/Logs
XP: 50
Log Entry: Chief Engineer’s log, supplemental. This one’s directed at the chief of requisitions at Starfleet sitting with his feet up on his desk back in San Francisco in his lovely office overlooking the Golden Gate Bridge having spent a leisurely afternoon denying, yet again, my request for resupply of vital components. It’s not like this is the flagship of the entire fleet. Oh, what’s that? It is? Well, bravo me then. I’ve got quite the prestigious post, haven’t I? If only it meant mindless bureaucrats listened to me on occasion.
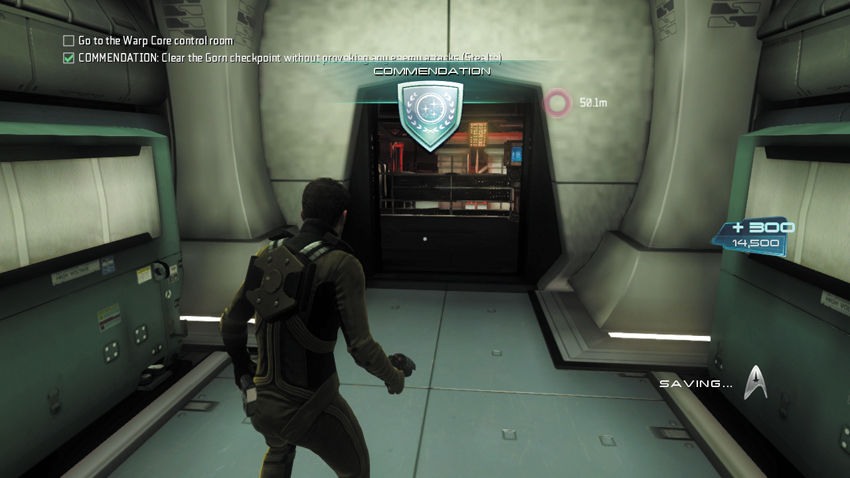
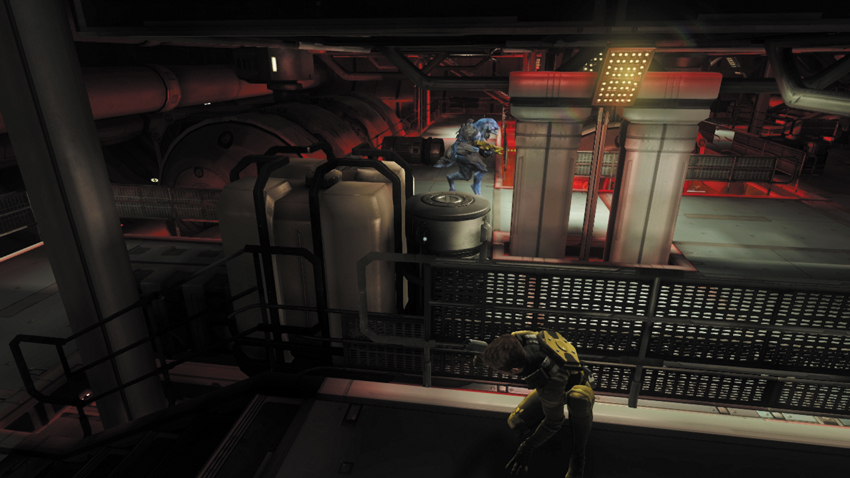
After scanning the audio log, unlock the door near the mine you disabled earlier. If you made it through the checkpoint without provoking any attacks, you earn the stealth-based commendation here, worth 300 XP. But you’re not out of danger quite yet. The room ahead is patrolled by a Gorn Enforcer and a Gorn Warrior. The Gorn Enforcer patrols the lower level while the Gorn Warrior covers the upper level catwalk system. Take cover near the room’s entrance and wait for the Gorn Enforcer to pass your position.
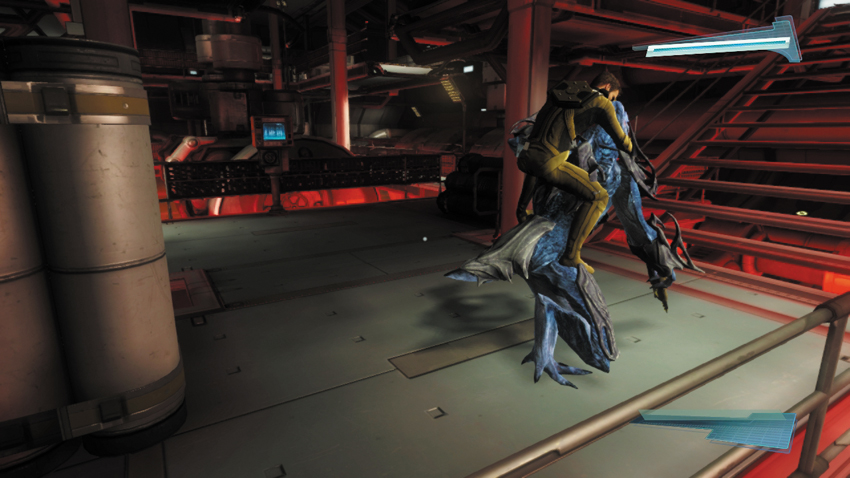
While crouched, stalk the Gorn Enforcer through the lower level. While crouched, you can’t move fast enough to catch-up to the Gorn Enforcer. So be ready to take cover in case the enemy turns around. Be patient and wait for the Gorn Enforcer to come to a pause in his patrol—he usually pauses at the staircase leading up to the catwalk system. This gives you the opportunity to sneak up behind him and perform a silent takedown.
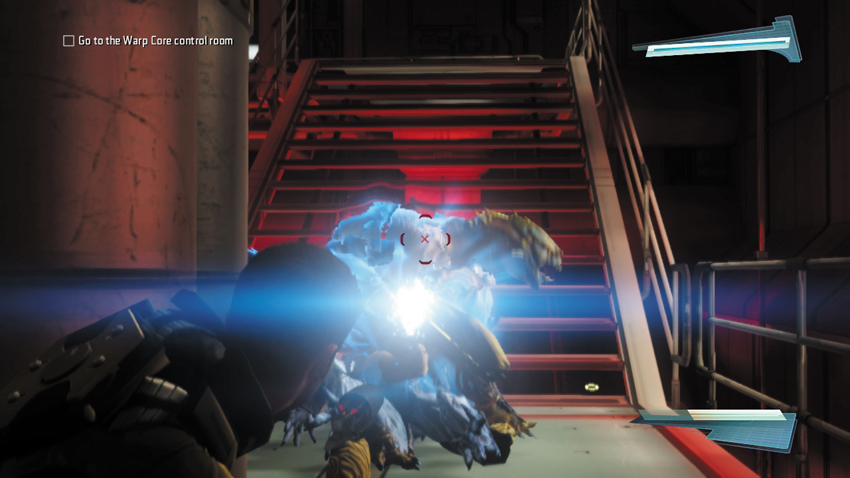
Instead of heading upstairs, lure the Gorn Warrior above down to the lower level. Use your tricorder to monitor his movements above, then use a sound decoy to get his attention. Wait for him to come down the stairs to investigate, then ambush him, stunning him with your phaser and performing a takedown before he can recover.
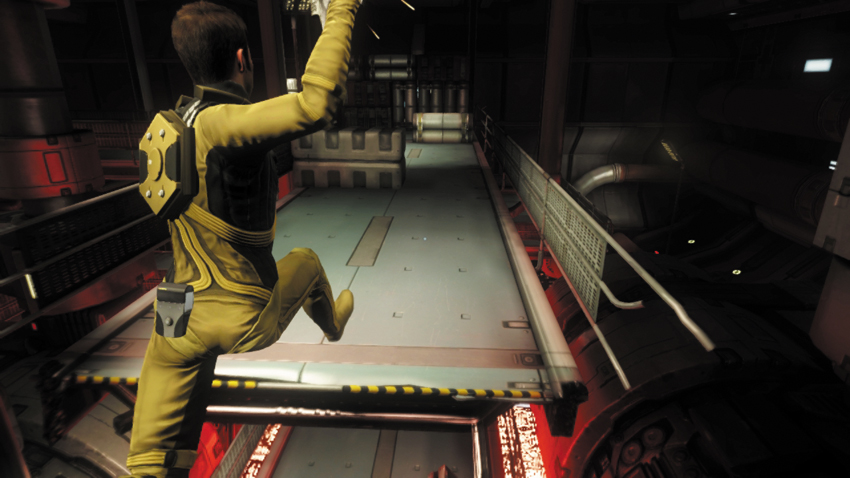
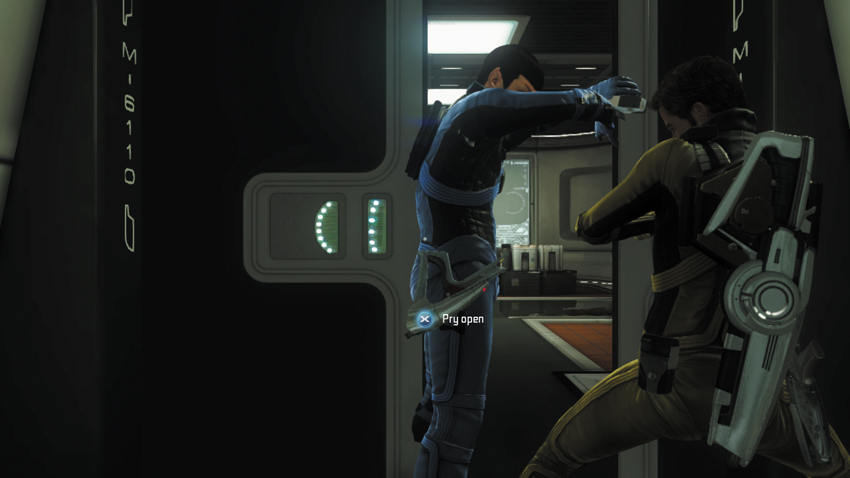
With the Gorn Enforcer and Gorn Warrior out of your way, you can now proceed to the Warp Core control room. Head upstairs and follow the catwalk system. At one point you must leap across a gap in the catwalk—sprint, then jump to reach the other side with ease. If you fall short, you may grab hold of the ledge, requiring you to pull yourself up. Just ahead, you can grab a Starfleet Phaser Rifle off a dead infected crewman. The nearby door is stuck, so work with your partner to pry it open.
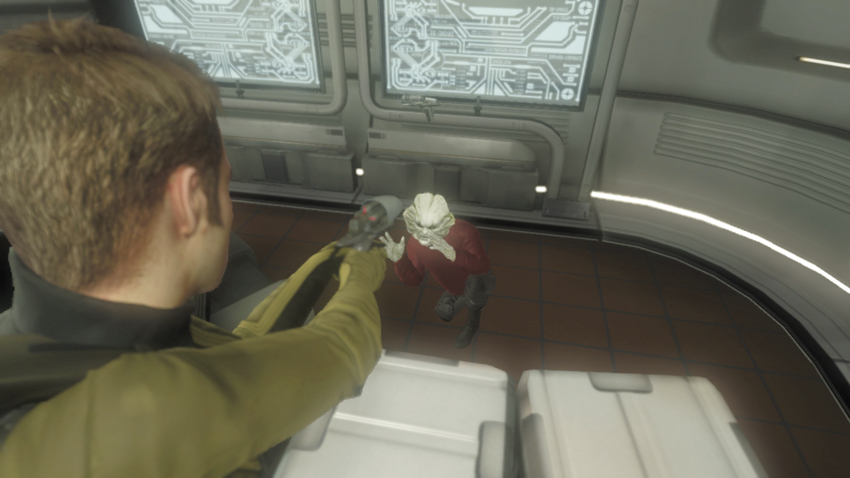
Upon entering the control room, Kirk and Spock are startled by a sound coming from behind a stack of crates. But the source of the sound is none other than Keenser, Scotty’s trusty assistant. Relieved, Kirk orders Keenser to fall-in and join them.
Taking Back the Ship Part 2
Warp Core
Collectables Checklist
| # | Name | Type | XP |
|---|---|---|---|
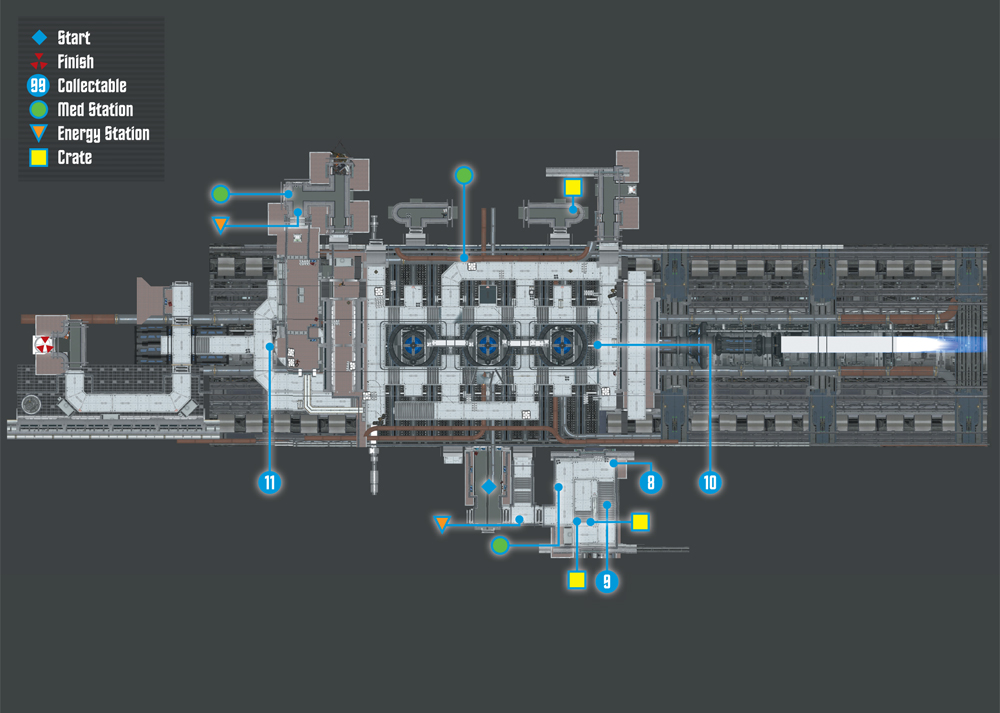
| 8 | Sulu’s Audio Log #2 | Audio Log | 50 |
| 9 | How Warp Drive Works (1 of 3) | Research Data | 100 |
| 10 | How Warp Drive Works (2 of 3) | Research Data | 100 |
| 11 | How Warp Drive Works (3 of 3) | Research Data | 100 |
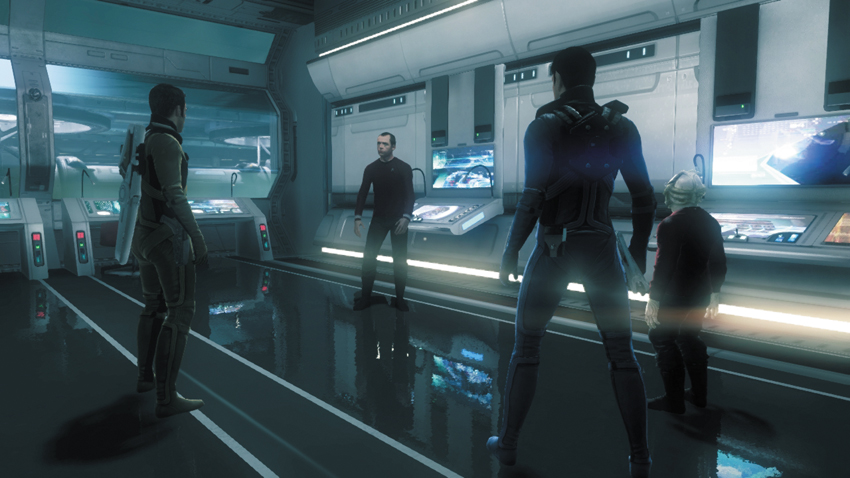
Just ahead, Scotty is delighted to see Kirk, Spock, and Keenser—he orders Keenser to begin initializing the warp drives. But only one of the cores will lower—this needs to be fixed. But before any work can commence, Spock suggests clearing the area of Gorn so Keenser can complete his work.
New Objective: Clear the Lower Core of all Gorn
Commendation: Take down all Gorn without provoking any enemy attacks (Stealth)
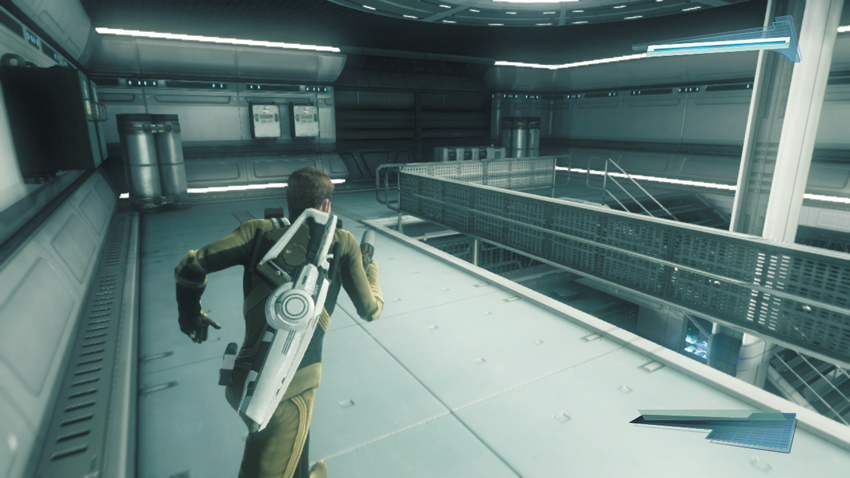
Unlock the control room’s door and proceed into the next corridor—there’s an energy station on the right. But instead of following the waypoint marker down the stairs to the left, go through the next door straight ahead for a short detour. You enter a room with a stairway leading down. Pause at the top of the stairs to look for an audio log.
8: Sulu’s Audio Log #2
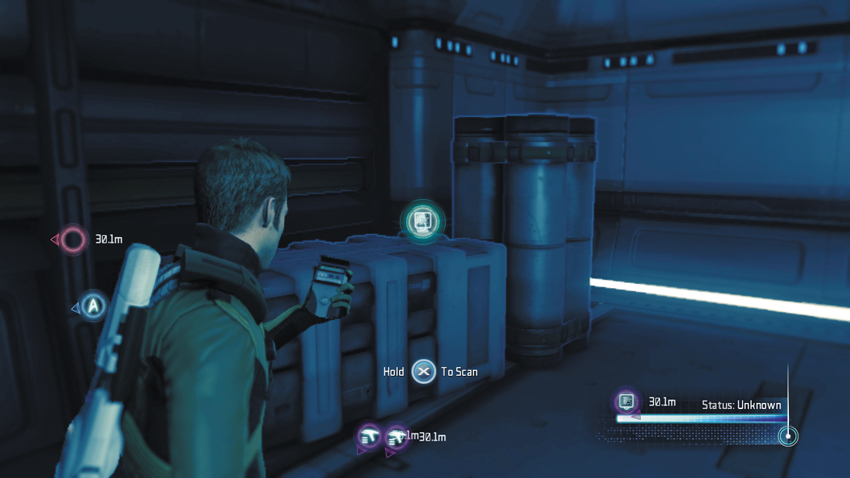
This audio log is located on some crates at the top of the stairs.
Type: Audio Log
Set: Taking Back the Ship Part 2/Logs
XP: 50
Log Entry: Personal Log, Lieutenant Hikaru Sulu. This is why I signed-up, to pilot a starship at the very edge of explored space, and beyond. But I’m reminded that to get there means encountering threats we might not be prepared for. That the voyage out there means there’s no voyage back home. I’m just grateful we have the Captain that we have. I’m not sure he can even imagine the possibility of failure. Makes it a lot easier to pilot the ship where he tells me to—no matter what’s waiting for us when we get there.
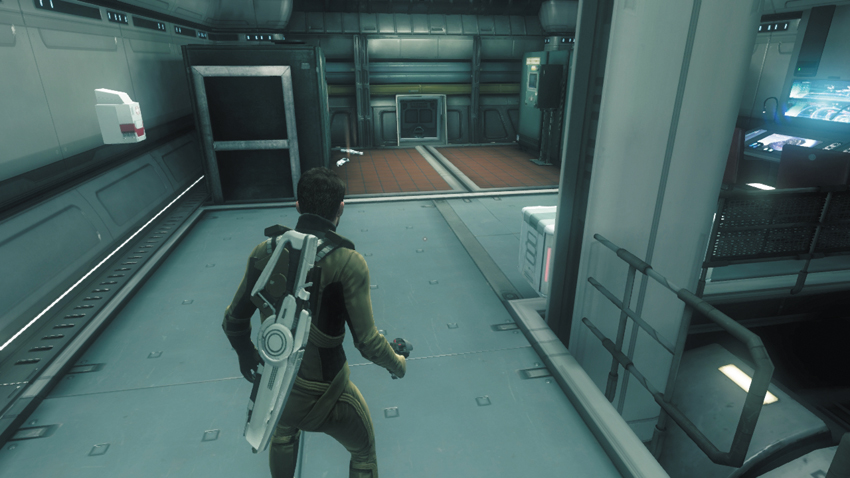
After scanning the audio log, head downstairs for a few more supplies. Here you can find two Starfleet Phaser Rifles on the floor as well as two crates, each containing a Stun Grenade. There’s also a Med Station on the wall. Once you’ve stocked-up, perform another scan with your tricorder to find another collectable.
9: How Warp Drive Works (1 of 3)
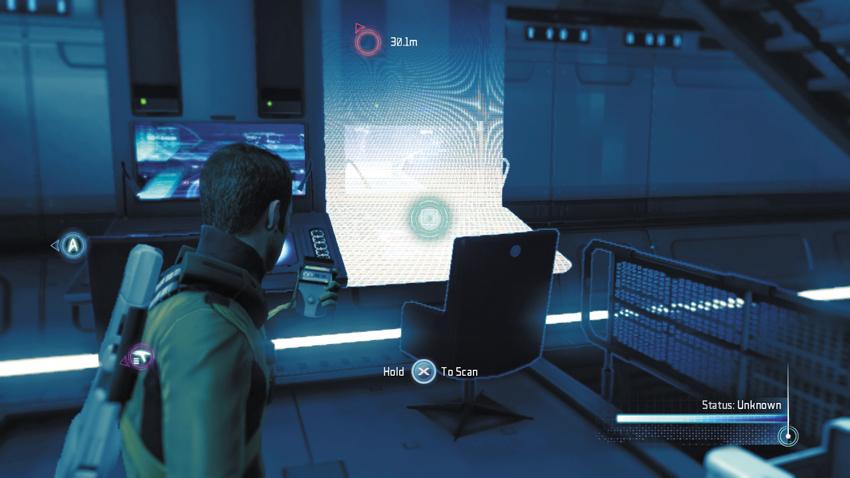
Scan the terminal in this storage area beneath the stairs to gather another collectable.
Type: Research Data
Set: Taking Back the Ship Part 2/Warp Drive Specs
XP: 100
Log Entry: Right. Warp drive. Faster-than-light travel. Where do we start? How about subspace? Seeing as how the existence of subspace is the only reason we can travel FTL anyway. Subspace is our shortcut, our rabbit hole, the looking-glass dimension that allows us to cheat the old rules of space and time. We haven’t completely figured out how it works, but we know how to get in and out in one piece. Good enough for me.
Lower Core
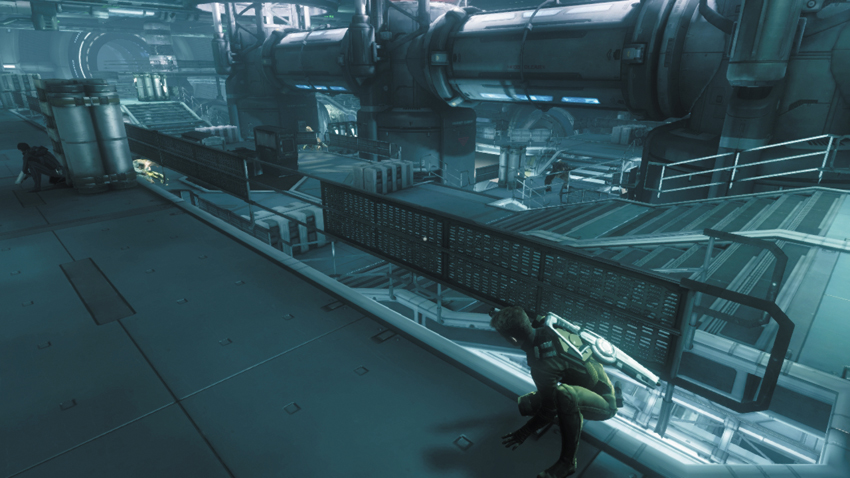
Once you’ve gathered gear and scanned the collectable, head back upstairs and return to the corridor with the Energy Station, just outside the control room. Now, follow the waypoint marker into the Lower Core. Take cover near the doorway and scan the area for enemies. There are three Gorn Warriors patrolling this area. If you want to earn the stealth-based commendation, you must dispatch them quietly, without provoking any attacks.
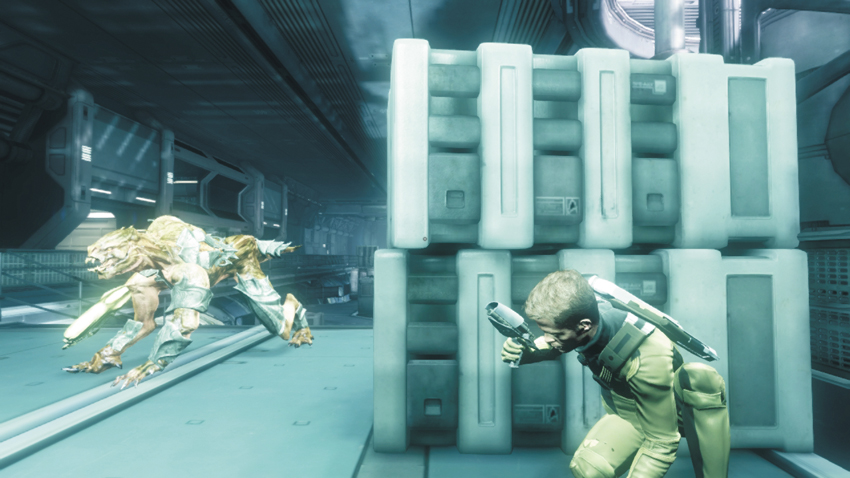
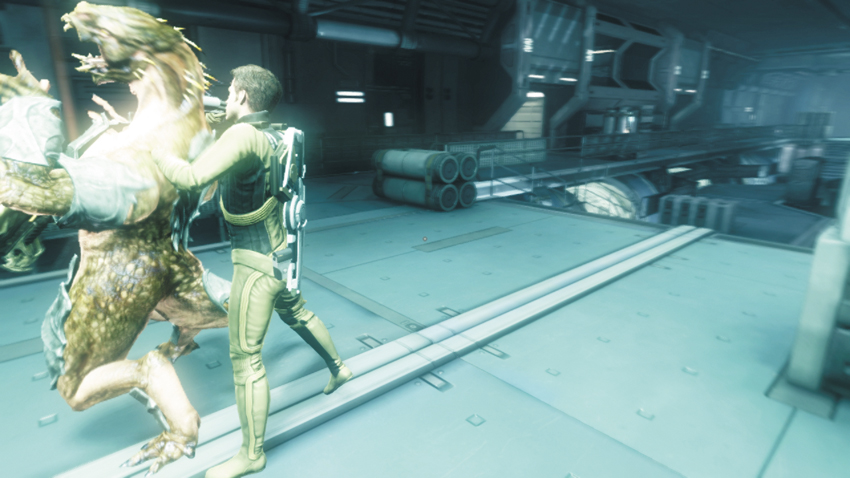
Start by moving to the right side of the walkway, taking cover behind the crates at the top of the stairs. Keep an eye on the nearby Gorn Warrior and wait for him to approach you. As long as you stay behind cover, he won’t see you. But be ready to stun him just in case. As the Gorn Warrior climbs the stairs and walks past you, sneak up behind him and perform a takedown—one down, two to go.
10: How Warp Drive Works (2 of 3)
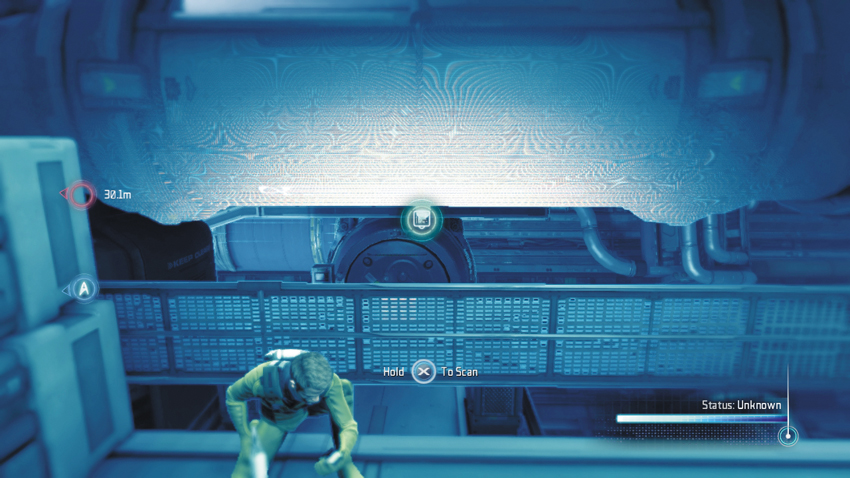
After incapacitating the first Gorn Warrior, scan this large horizontal pipe near the crates at the top of the steps.
Type: Research Data
Set: Taking Back the Ship Part 2/Warp Drive Specs
XP: 100
Log Entry: To enter subspace, and thereby travel faster than light, we need to create something called a warp bubble around the ship. A very clever fellow named Zefram Cochrane was the first one to do this, and basics he came up with are still what we use today. All you need is a controlled matter-antimatter explosion, some dilithium crystals, and a warp coil or two. Congratulations, you just made a warp drive.
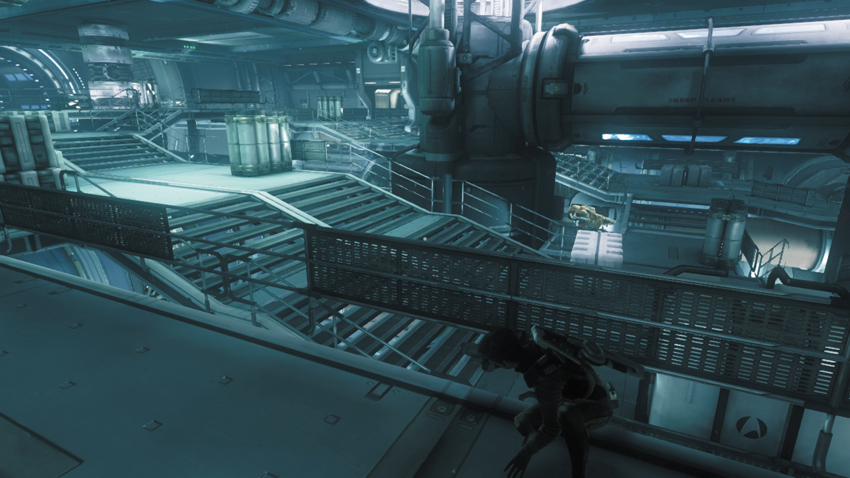
The remaining two Gorn Warriors don’t move much from their posts at the center of the room. So instead of trying to lure them toward you, it’s best to sneak around the back side of the room and surprise them from behind. Return toward the Lower Core’s entrance, then move to the far left side of the room. Stay behind cover during this advance to avoid being spotted by the Gorn Warriors. Transition from one piece of cover to the next to keep a low profile.
11: How Warp Drive Works (3 of 3)
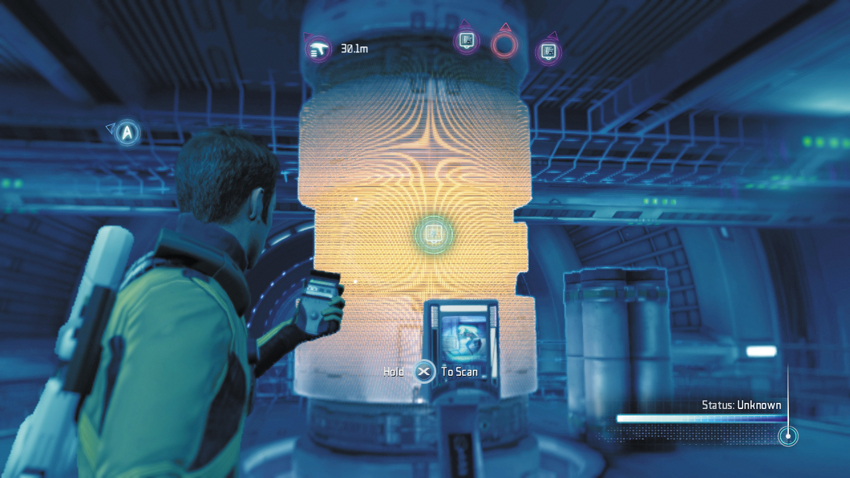
While moving to the back side of the Lower Core, take a moment to scan this cylindrical Warp Drive controls on the left side of the room.
Type: Research Data
Set: Taking Back the Ship Part 2/Warp Drive Specs
XP: 100
Log Entry: Warp factor is just a fancy term for the size of the bubble created by the warp drive. The bigger the bubble, the faster you can cross subspace, just like a bigger sail can catch more wind to cross an ocean. The good thing about sails, unlike warp drives, is that when they malfunction there’s no danger of wiping out the entire crew in a millisecond. Such are the benefits of simpler technology.
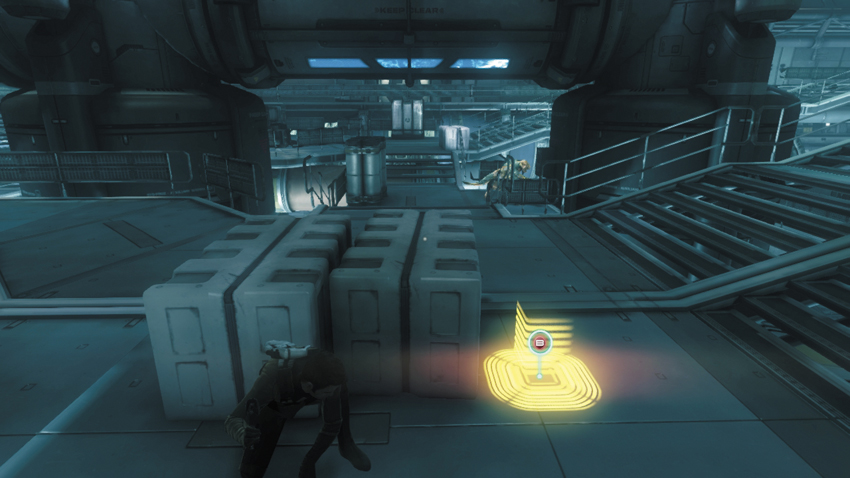
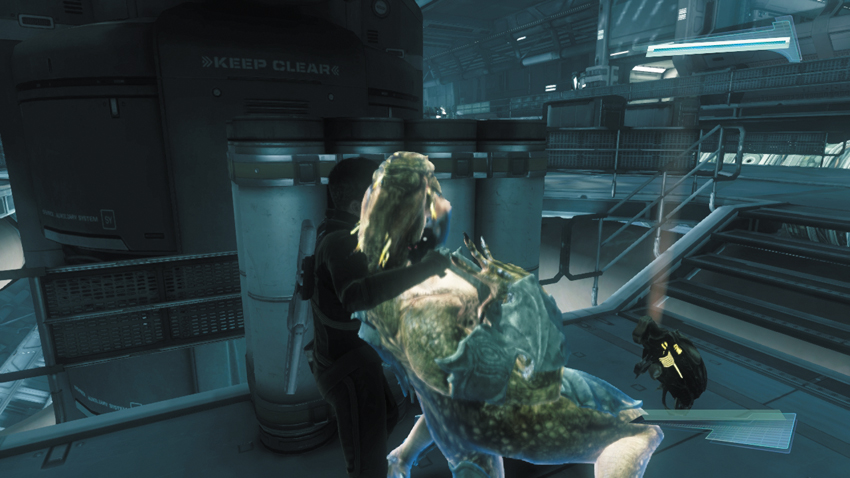
When you reach the back side of the room, descend a short flight of stairs and take cover behind the nearby crates. Here you can monitor the movements of two Gorn Warriors. The closest Gorn Warrior stays in one location beneath the large horizontal pipe, occasionally turning to face different directions. The other Gorn Warrior patrols the nearby walkway. When the patrolling Gorn Warrior moves away from your position, focus your attention on the stationary enemy—when he turns his back, stun him, then rush up behind him and perform a takedown. If you try to sneak up behind this guy, there’s a chance he may turn and spot you. So it’s safest to stun him when his back is turned before attempting a takedown.
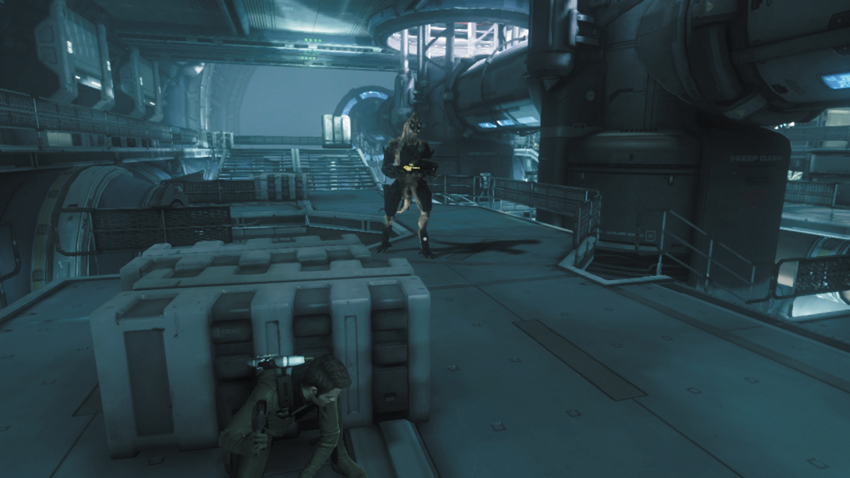
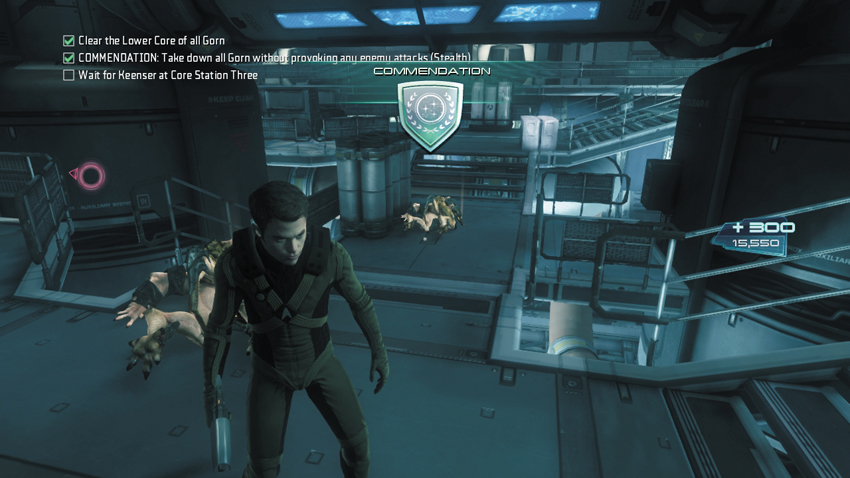
Return to your position behind the crates and watch the last Gorn Warrior. During his patrol he may notice his incapacitated comrade and investigate. But he may not notice at all, and resume his patrol. Eitethr way, stay hidden behind cover until he turns his back, then stun him with your phaser. Quickly rush up behind the stunned Gorn Warrior and complete the takedown before he can recover. If you managed to eliminate all the Gorn Warriors without provoking an attack you earn the stealth-based commendation, worth 300 XP.
New Objective: Wait for Keenser at Core Station Three
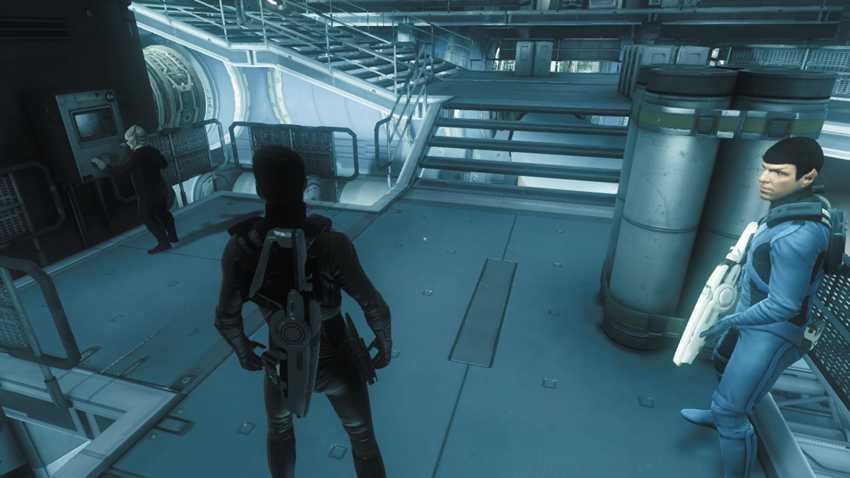
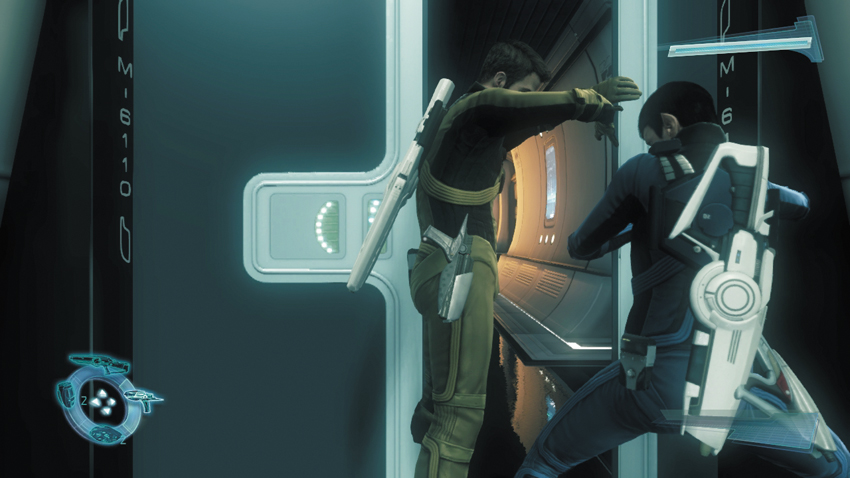
Now that the Lower Core is clear of threats, Keenser can complete his work. Meet Keenser at the next waypoint marker. But when Keenser arrives, he’s unable to complete his work—he feels there’s something wrong with the Upper Core and wants you to investigate. Follow the waypoint marker to the next door and work with your partner to pry it open. Beyond the door is a short corridor with a Med and Energy Station. Resupply then climb the tall ladder at the end of the corridor to reach the Upper Core.
Upper Core
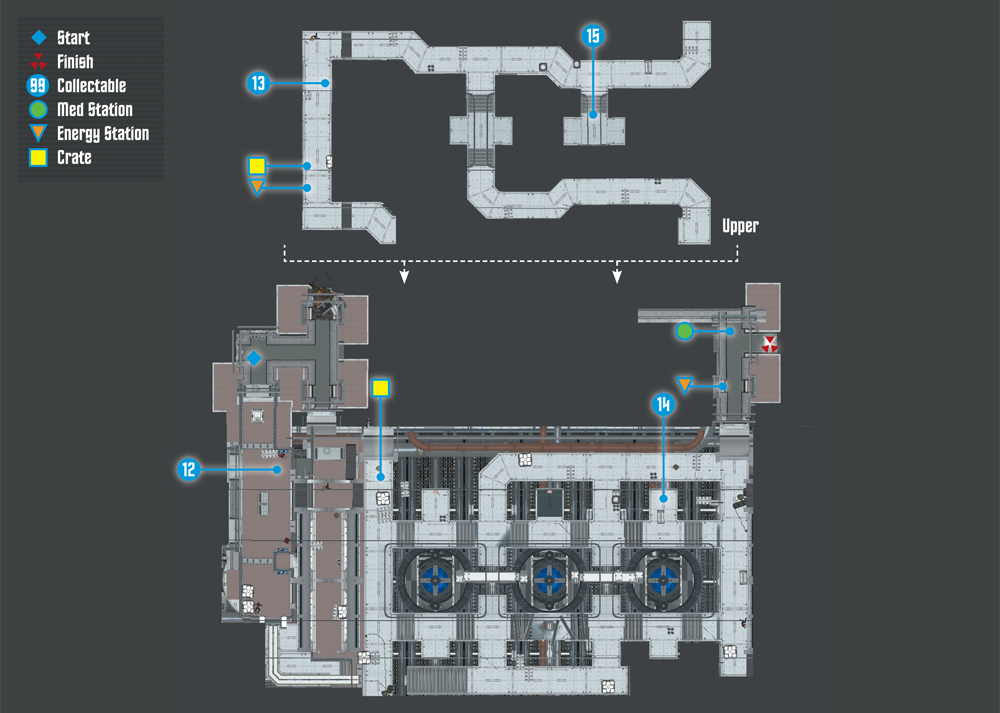
Collectables Checklist
| # | Name | Type | XP |
|---|---|---|---|
| 12 | The Warp Core (1 of 3) | Research Data | 100 |
| 13 | Scotty’s Audio Log #2 | Audio Log | 50 |
| 14 | The Warp Core (3 of 3) | Research Data | 100 |
| 15 | The Warp Core (2 of 3) | Research Data | 100 |
New Objective: Stop the Gorn from messing with the cores
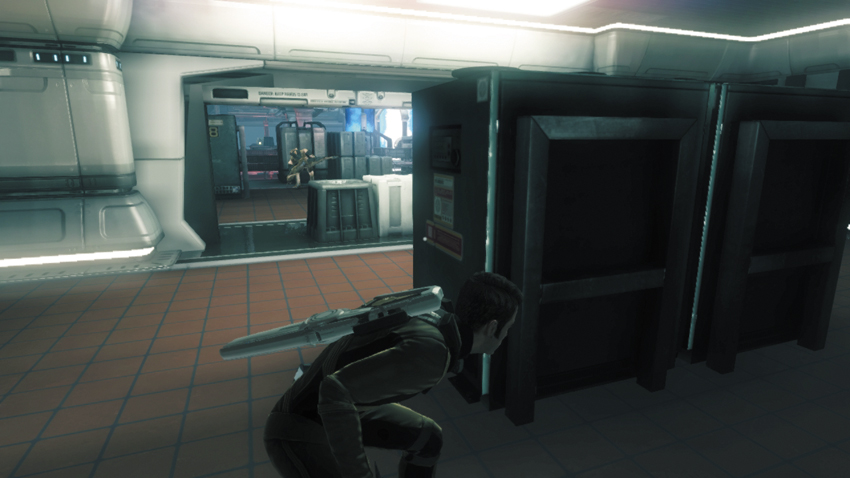
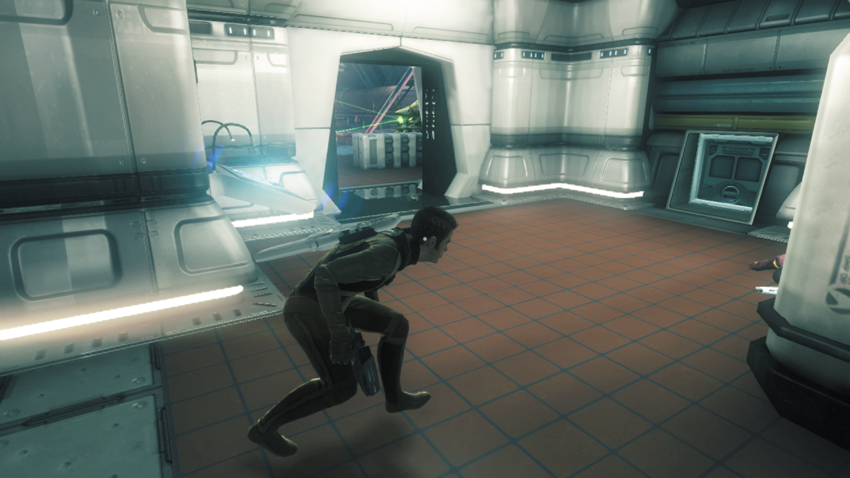
At the top of the ladder, immediately take cover behind the nearby crates. The Upper Core is well defended by several enemies, including two turrets and multiple mines—watch your step. Keep an eye on Gorn Warrior patrolling nearby. When he moves away from your position, move out, taking cover behind the tall piece of equipment nearby. Slip to the right side of the piece of equipment and move to the wall on the right. Through the next doorway, on the right, you can see one of the turrets. Wait for it to pan away from you, then move to the right, opening and entering the vent—this leads you to the turret’s control station.
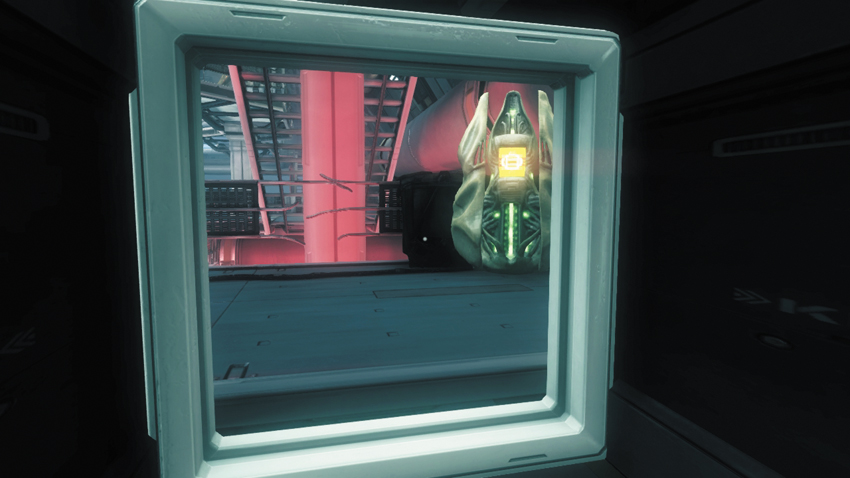
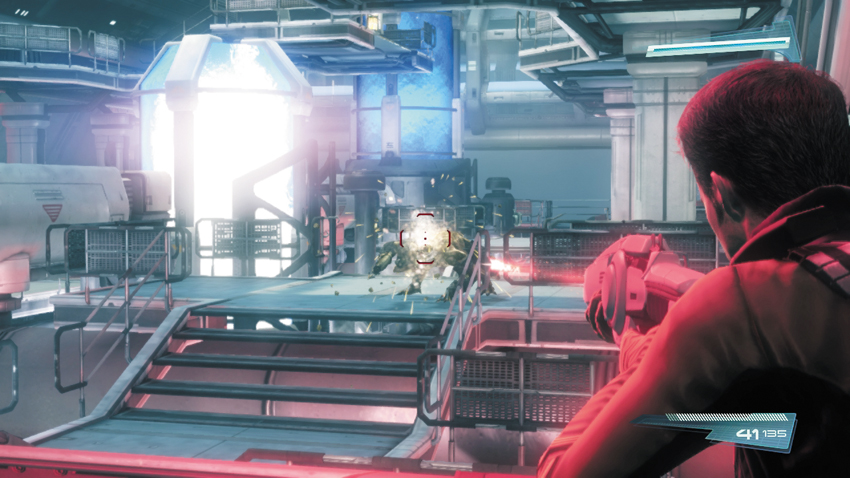
Crawl through the vent, but don’t approach the exit just yet. Instead, use your tricorder to open the hatch at the end of the vent. Once the hatch is open, creep toward the exit, until you can see the turret’s control station on the right. While still inside the vent, hack the turret’s control console. Once the hack is complete, the turret begins gunning down the Gorn enemies in the room. During the chaos, step out of the vent, and take cover, opening fire with your Starfleet Phaser Rifle. Avoid moving too far from the vent’s exit to prevent inadvertently triggering one of the mines on the ground floor. If necessary, lure more Gorn enemies toward the turret by shooting at them. As the enemies pursue you, they’ll step into the range of the turret and get mowed down. Methodically lure all the Gorn toward the hacked turret until the Upper Core is clear.
New Objective: Release pressure and lower Core One
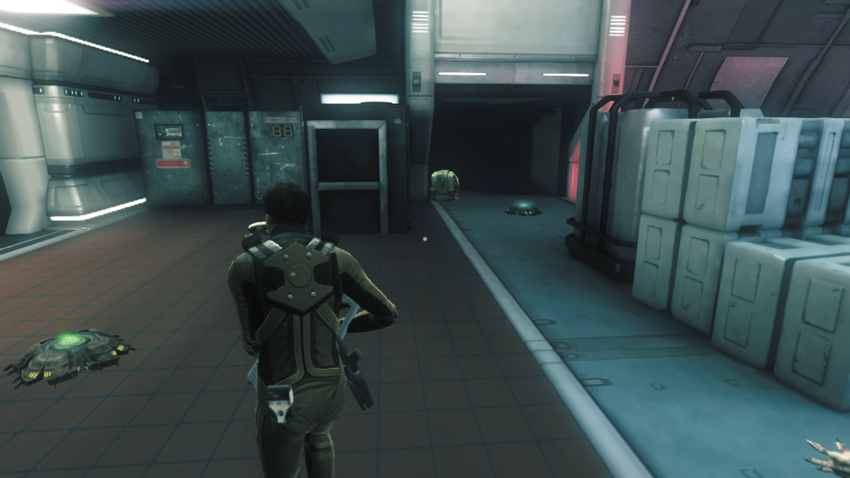
Once all the Gorn are neutralized, Scotty reports that the Gorn have been tampering with the system. Now there’s too much pressure in the core. He needs Kirk and Spock to work together to lower the pressure. While one releases pressure from the fail safe on the lower level, the other needs to lower the core from the upper level. If you don’t time it right, the pressure will build back up. But before completing this objective, prepare the room for the inevitable Gorn counter attack. Start by locating the mines on this side of the room and bypassing them. However, steer clear of the opposite side of the room until you’ve hacked the other turret.
12: The Warp Core (1 of 3)
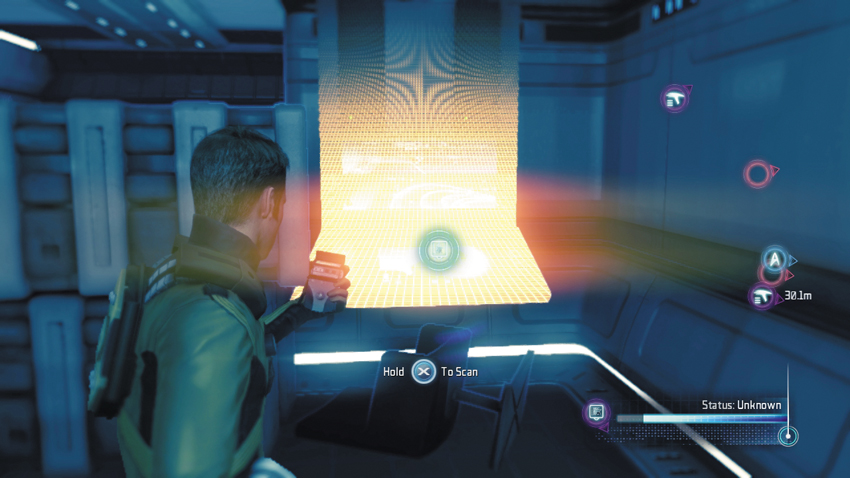
While scouring the lower level for mines, scan this terminal, not far from the ladder where you entered the Upper Core.
Type: Research Data
Set: Taking Back the Ship Part 2/Warp Core Specs
XP: 100
Log Entry: Any Chief Engineer who says they don’t spend every waking moment of their lives thinking about the Warp Core is a degenerate liar who should be kicked out of the fleet. If the ship is the body, the core is the heart, and the sole point of the Chief Engineer’s existence is to keep that heart beating. I’m sorry to get emotional, but facts are facts.
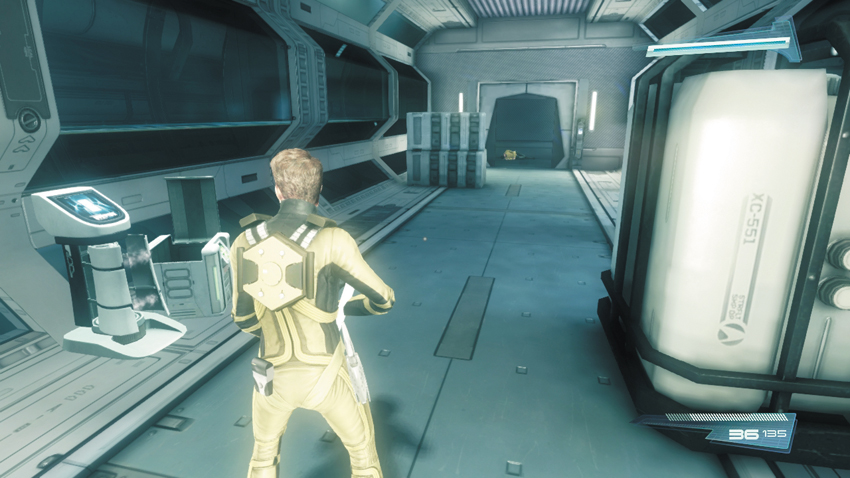
Next, climb the stairs just above the turret control station you hacked earlier and enter this upper level corridor with an Energy Station and a crate containing a Stun Grenade. There’s also an audio log on the floor, not far from a dead crewman and Starfleet Phaser Rifle.
13: Scotty’s Audio Log #2
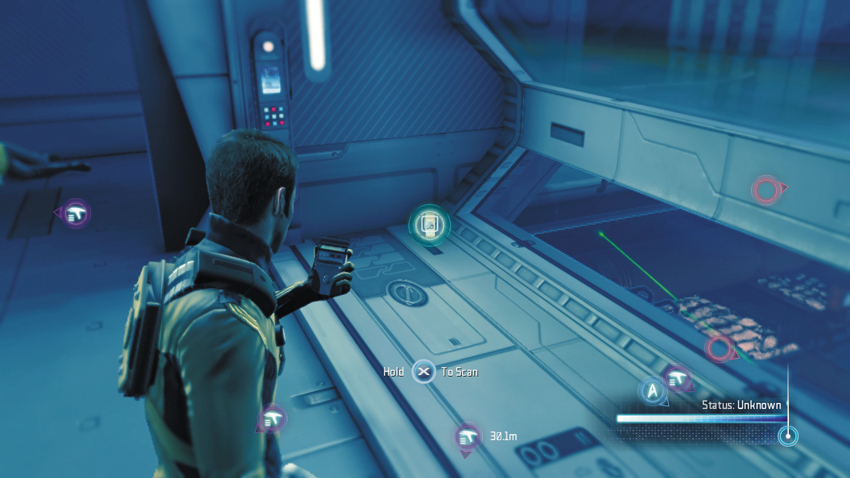
This audio log is located in the upper level corridor by the window overlooking the Upper Core.
Type: Audio Log
Set: Taking Back the Ship Part 2/Logs
XP: 50
Log Entry: Chief Engineer’s log, supplemental. I’d never tell the little bugger to his face, but Keenser just might be the most brilliant engineer I’ve ever met…not named Scott of course. When we first met I thought that blank stare he always was giving me was the sign of unfortunate alien genetics. But as time past, I realized it just means that miraculous little brain of his is humming along solving problems before I’m even aware of them. He still smells a bit lit burned toast, but I’ll be damned if I’m not more fond of him by the day.
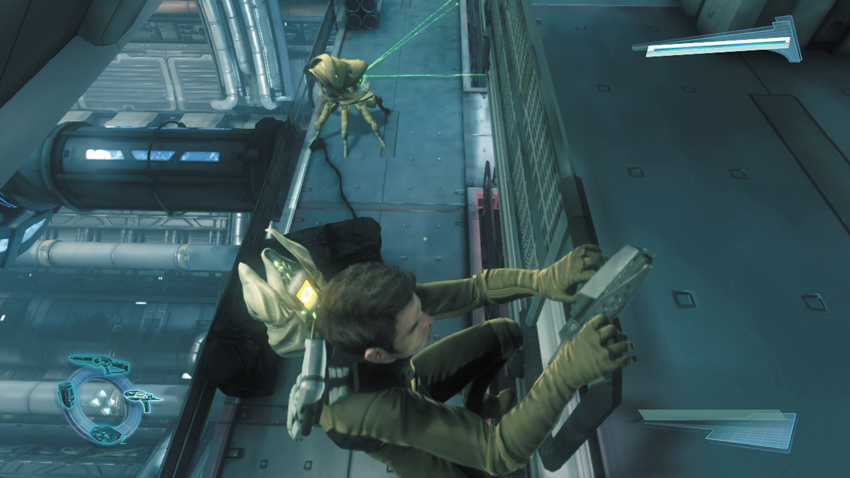
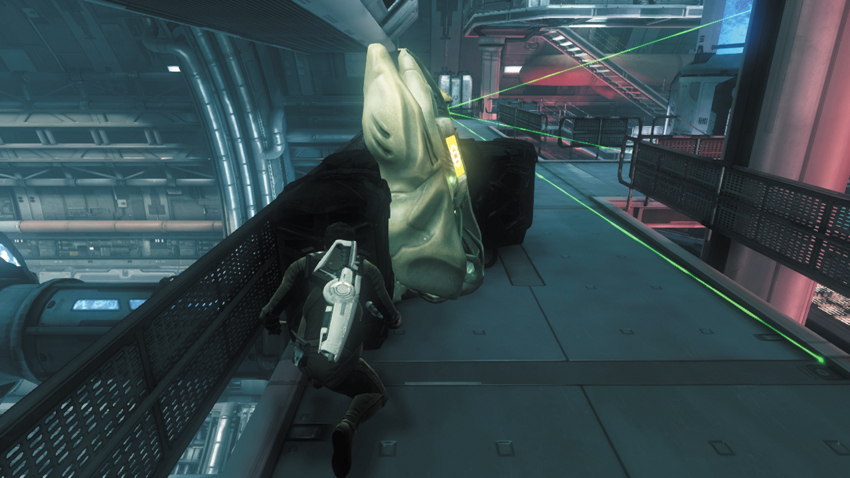
Now, make a move for the second turret. Stay on the upper level and advance along the catwalk on the left side. As long as you stay up here, the turret can’t spot you. At the end of the catwalk, monitor the turret. As it pans away from you, leap over the catwalk railing and drop down to the lower level, right next to the turret’s control station. Take cover along the left side of the station and hack the turret—as long as you stay right next to the station, the turret won’t spot you during the hack. Once the turret is hacked, bypass the two mines located nearby. Now the Upper Core is ready for the Gorn counter-attack.
14: The Warp Core (3 of 3)
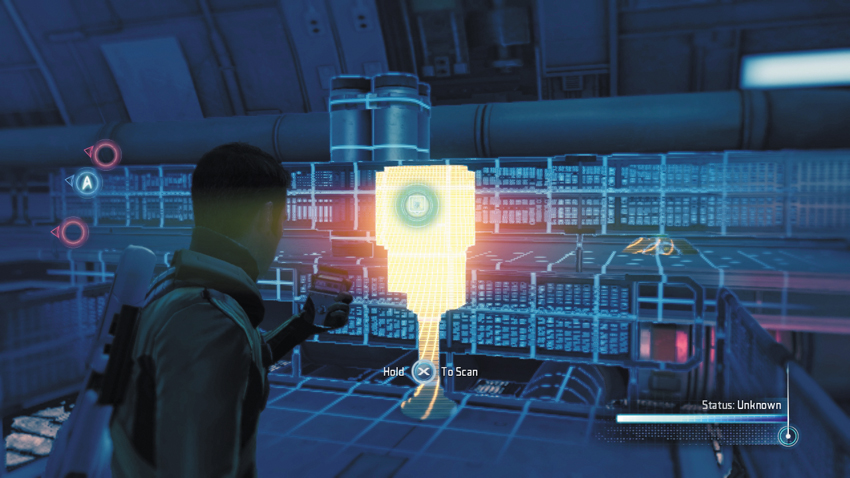
After hacking the second turret, scan this console nearby, on the lower level.
Type: Research Data
Set: Taking Back the Ship Part 2/Warp Core Specs
XP: 100
Log Entry: But what about the sound? they say. “How can you stand the ever-present hum of the warp core day in and day out?” And I ask them if they ever get tired of the sound of their own breathing. And they look puzzled for a second. And then they walk away. And I go back to work.
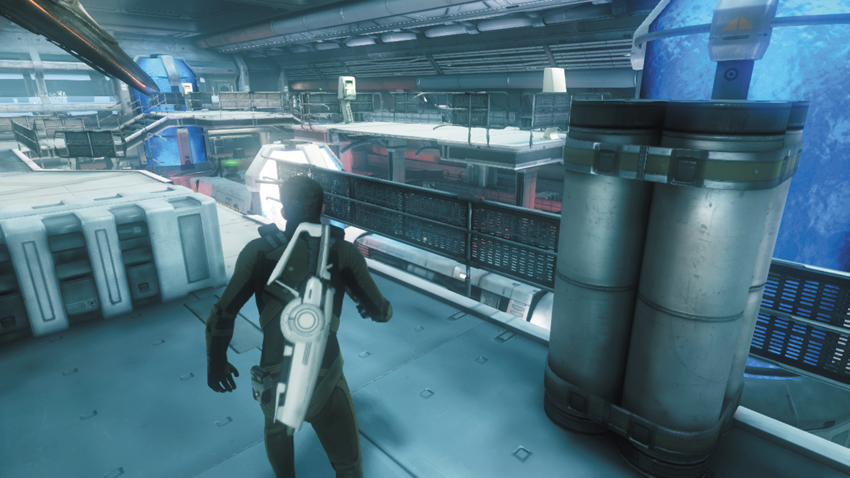
Now that the mines and turrets are bypassed, it’s time to release the pressure in Core One. But you must work together to pull this off. For the first core, head up to the upper floor while your partner stays on the ground floor. Before initiating the release, there’s one more collectable to scan on the upper level.
15: The Warp Core (2 of 3)
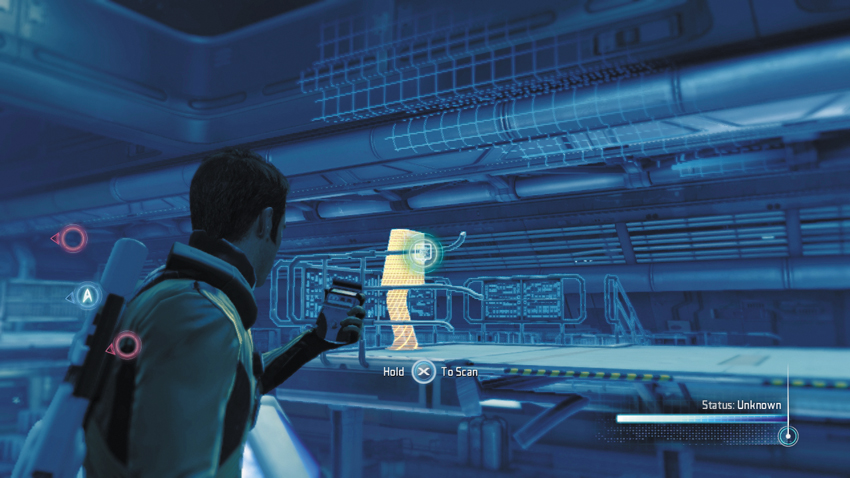
On the upper level, scan this console on the distant isolated platform.
Type: Research Data
Set: Taking Back the Ship Part 2/Warp Core Specs
XP: 100
Log Entry: I’ve been asked if it doesn’t get a bit boring spending all my time in Engineering. We don’t even have windows. But the fact is, I’m too busy making sure the controlled matter-antimatter explosions stay controlled, the dilithium crystal converter assembly stays assembled and converting, and the warp coils stay coiled and warping. My job is the opposite of boring.
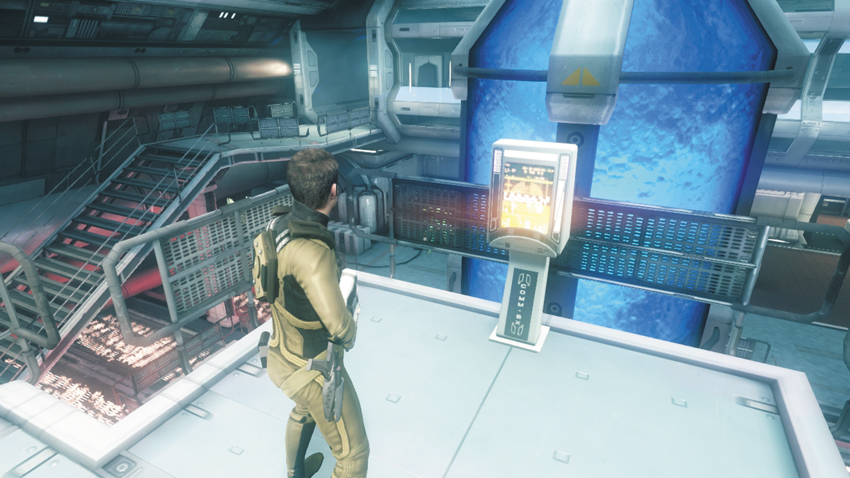
Follow the waypoint marker to the console on the upper level, while your partner moves to the marked console below. As soon as your partner releases the pressure downstairs, Scotty tells you to lower the core—activate the console to lower the core when Scotty tells you to.
New Objective: Seal the containment drum to stop the radiation leak
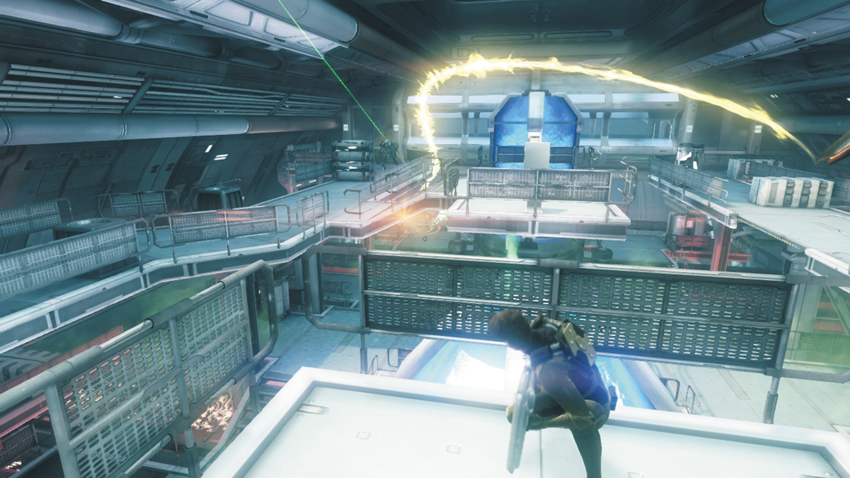
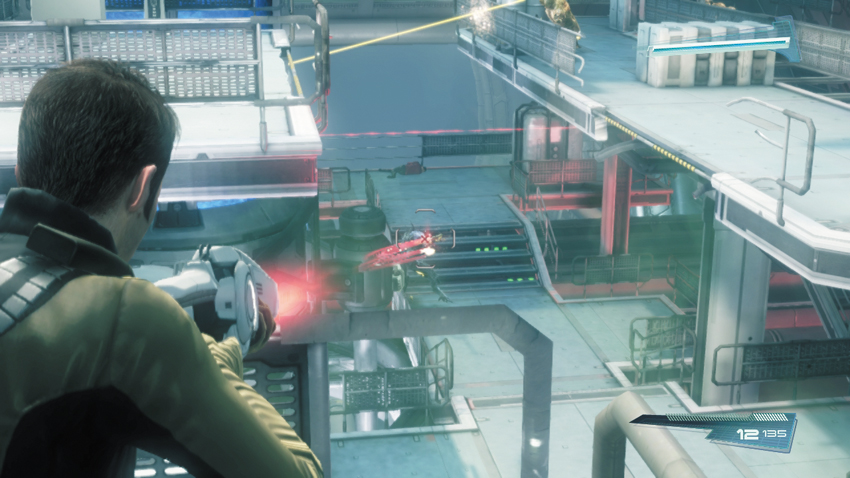
Shortly after Core One is lowered, a breach occurs in the containment drum downstairs, spewing out radiation. But that’s the least of your worries. Several Gorn beam into the Upper Core at the same time and attack. Immediately take cover and return fire, using your Starfleet Phaser Rifle. Fortunately, you’re not alone in this fight. The hacked mines and turrets are great allies during this battle, serving as much more than a deterrent. Stay behind cover and mop up the surviving Gorn Enforcers and Gorn Warriors before attempting to seal the radiation leak.
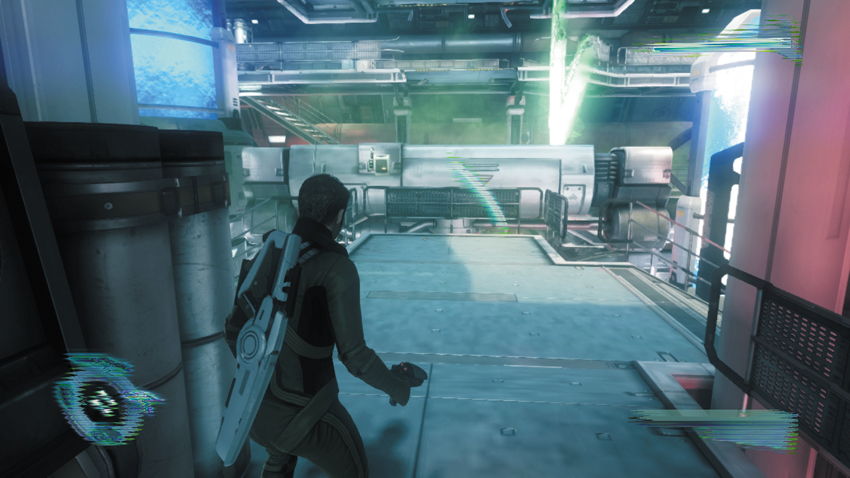
Immediately following the fire fight, advance along the left side of the upper level catwalk and drop off the side, where the railing is damaged. This puts you close to the ruptured containment drum on the lower level. But the closer you get to the drum, the more damage you take from radiation. Activate your tricorder, target the small console attached to the drum, and activate it to seal the leak.
New Objective: Release pressure and lower Core Three
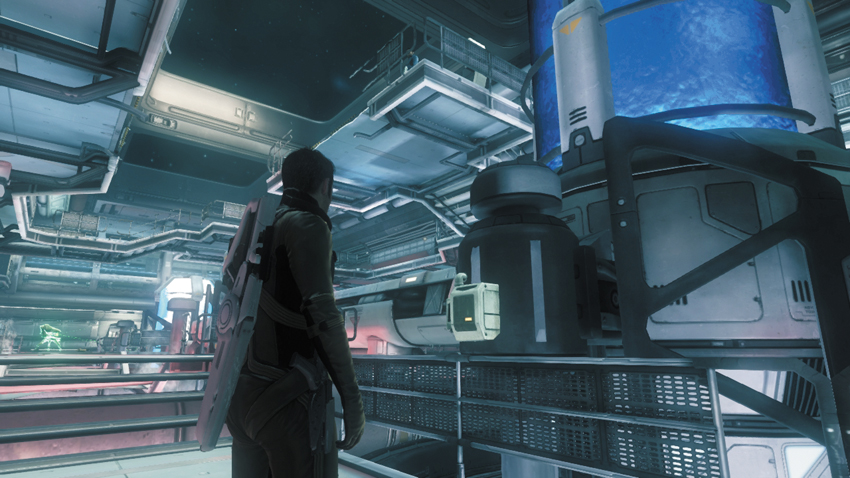
With the radiation leak contained, approach the next core. Since you’re already on the lower level, handle the fail safe this time while your partner lowers the core. Wait until your partner is in position above, then use your tricorder to release the pressure from the fail safe. This prompts Scotty to order your partner to lower the core. As the core begins to lower, Scotty tells you to return the the Lower Core—Keenser is in trouble.
Lower Core Revisited
New Objective: Clear the Lower Core to rescue Keenser
Commendation: Complete your objectives without directly killing any Infected (Non-Lethal)
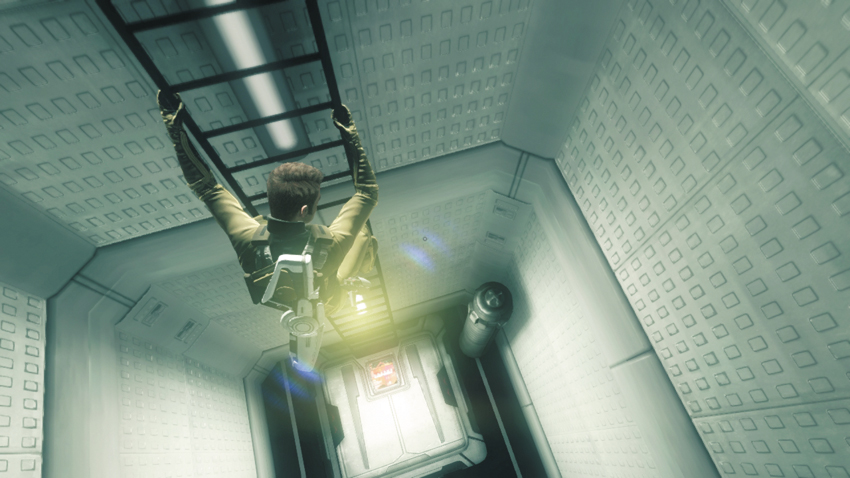
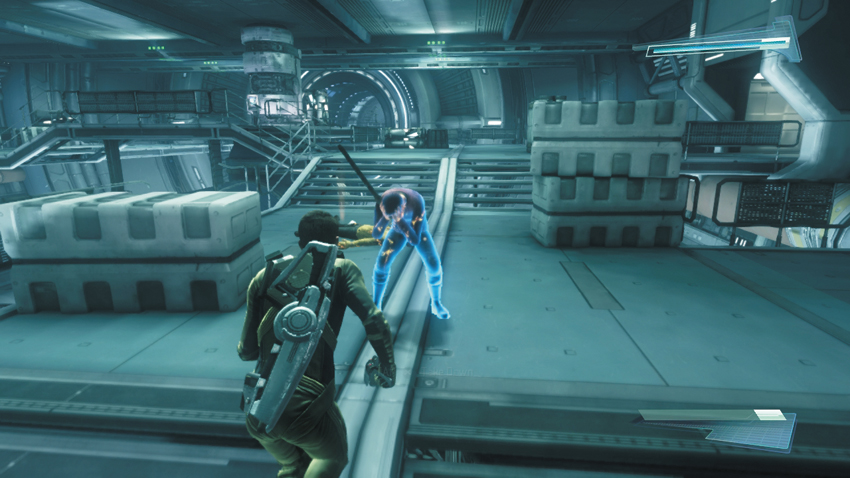
Follow the waypoint marker to a door and work with your partner to pry it open. Use the Energy and Med Stations in the adjoining corridor, then open a hatch in the floor. Grab hold of the ladder in the hatch, then climb down to the next corridor. Unlock the door in the short passage to reenter the Lower Core. Several infected crewman and Gorn now patrol the Lower Core. Be ready to use a mix of lethal and non-lethal force. Stun the infected crewmen with your phaser, then incapacitate them with takedowns. However, some of the infected crewmen are equipped with Starfleet Phaser Rifles and may deflect your stun attacks with the weapon’s shield. In such cases, use Stun Grenades to stun the infected crewmen.
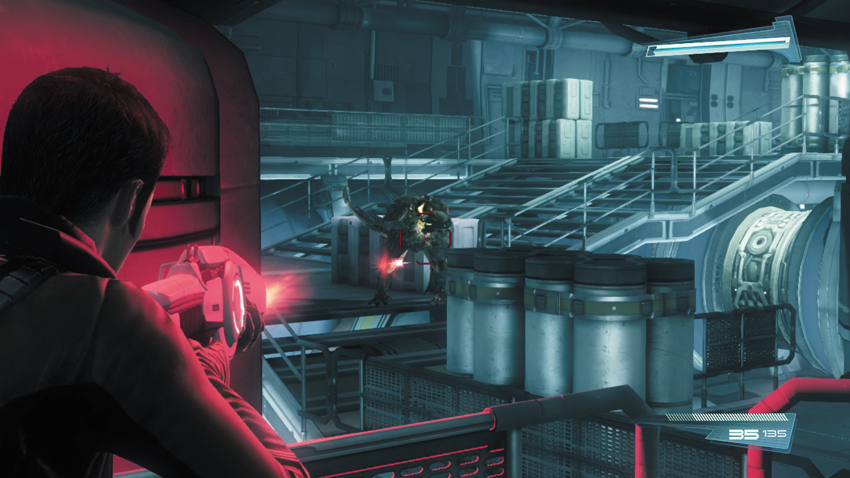
When it comes to engaging the Gorn enemies, switch to your Starfleet Phaser Rifle, and stay behind cover—at least one of these enemies is equipped with an Arc Driver. There’s no need to remain stealthy in this fight, but if you want to earn the non-lethal commendation, you must avoid any deaths among the infected crewmen.
New Objective: Meet Keenser at the Warp Drive controls
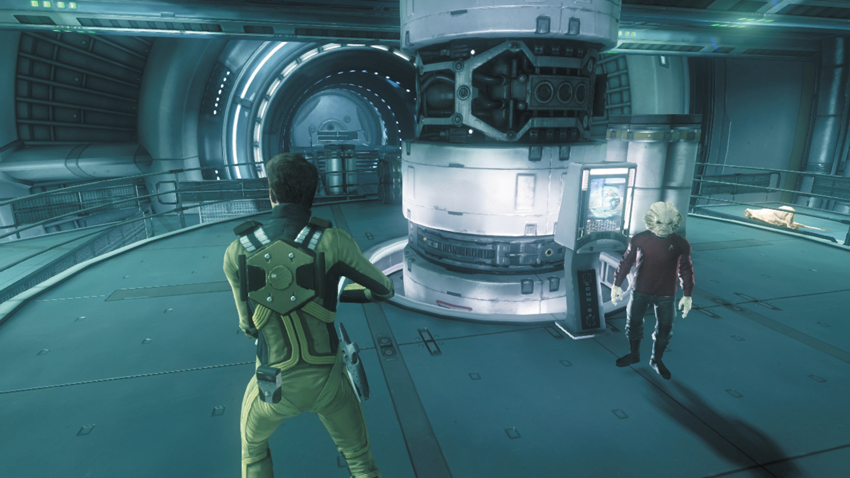
Once the Lower Core is clear of threats, follow the waypoint market to the Warp Drive controls and wait for Keenser to show up. After a short time at the Warp Drive controls, Keenser gets the Warp Core back online. Spock suggests focusing on the infected crewmen next. Bones reports that he could use some help in the Medbay.
New Objective: Take the Turbolift to Medbay
Follow the waypoint marker toward the Turbolift in the Lower Core. Along the way, Sulu provides an update regarding the Gorn tethers. He feels if he could pulse the Enterprise’s shields he could disrupt the tethers. Kirk orders Sulu to work on his theory, but they’ll have to get control of the ship before he tests it out. Upon activating the Turbolift’s controls, you earn the non-lethal commendation, worth 300 XP—assuming you cleared the Lower Core without killing any infected crewmen.
Spread the Cure
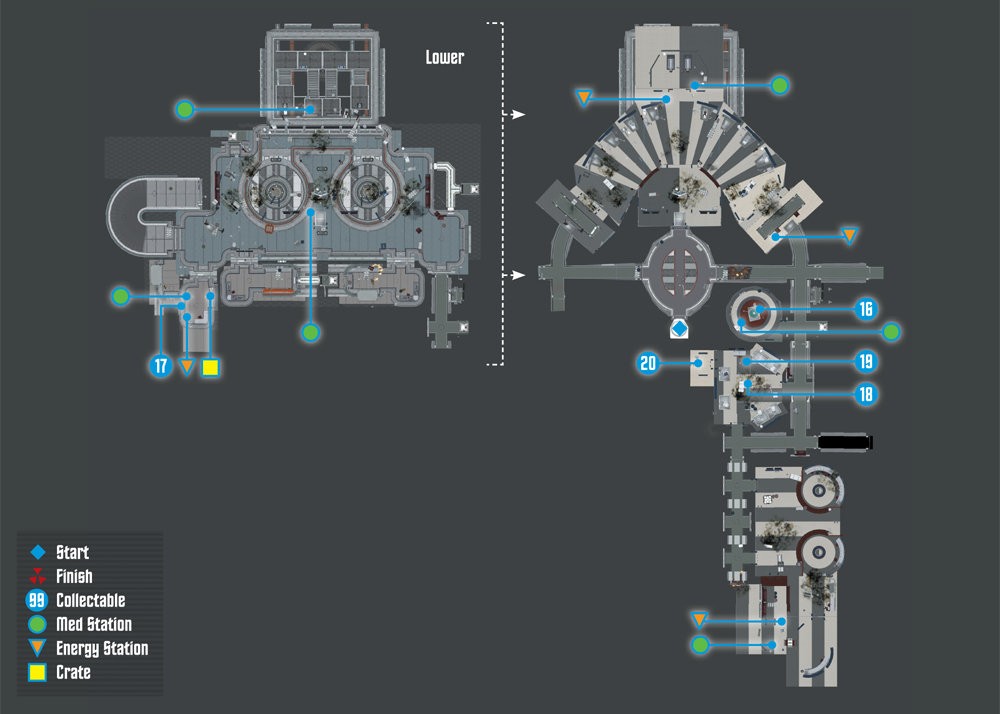
Collectables Checklist
| # | Name | Type | XP |
|---|---|---|---|
| 16 | Sickbay Equipment | Research Data | 100 |
| 17 | Scotty’s Audio Log #3 | Audio Log | 50 |
| 18 | Sickbay Gurney | Research Data | 100 |
| 19 | Chekov’s Audio Log #3 | Audio Log | 50 |
| 20 | Tribble (6 of 7) | Tribble | 250 |
Medbay
New Objective: Go to Bones in the Medbay
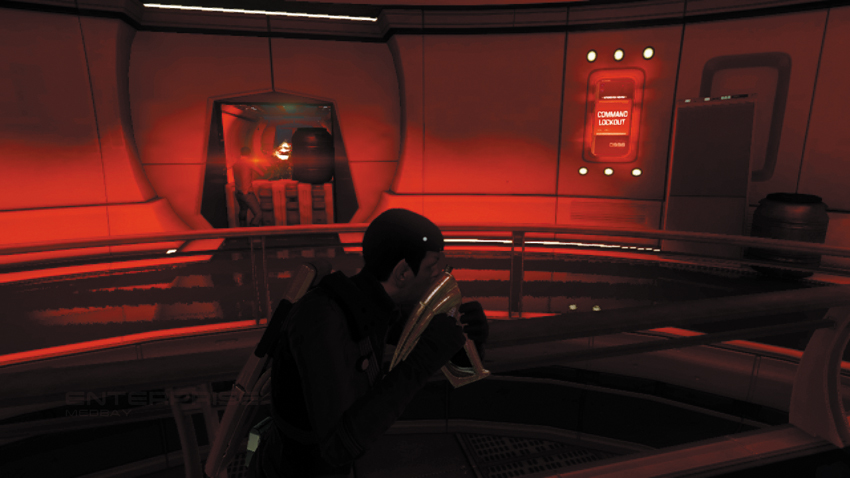
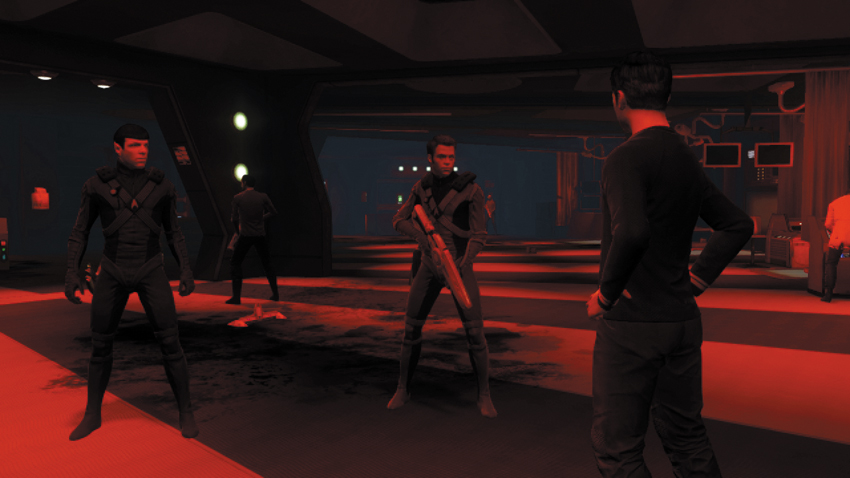
As the Turbolift arrives on the Medbay level, the adjoining corridor is bathed in red emergency lighting. Cross the corridor as a security officer battles some Gorn in the connecting corridor—there’s no need to intervene. Instead, pass through the doorway ahead and look for Dr. McCoy in the dimly lit Medbay—follow the waypoint marker to his location. McCoy says he has plenty of injured crewman to look after. His medical team has managed to barricade themselves in the Medbay, but the Gorn keep attacking. When Spock asks about an antidote for the infected, Bones says he can synthesize an airborne vaccine, but he needs to have the lights back on. Not only is it difficult to see, he doesn’t have enough power to replicate enough vaccine for the whole ship. Spock assures Bones that they can restore power to Medbay. Following the conversation with Bones, use one of the Energy Stations in Medbay to replenish your ammo.
New Objective: Go to the power control room in the lower deck
Commendation: Complete your objectives without provoking any enemy attacks (Stealth)
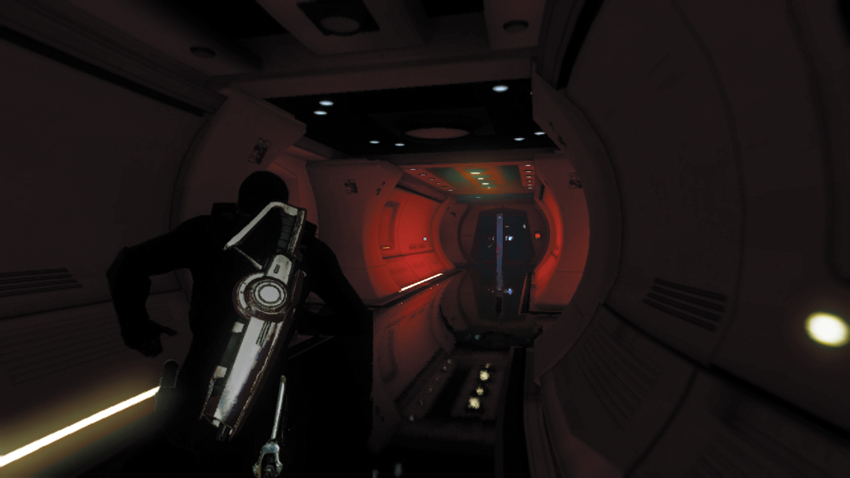
In Medbay, follow the waypoint marker to a set of large blast doors. The doors open as you approach, and close behind you after you pass through them. Race through the corridor toward the next waypoint marker. But instead of turning to the left at the end of the corridor, pass through the partially open doors on the right to enter a small exam room containing a collectable.
16: Sickbay Equipment
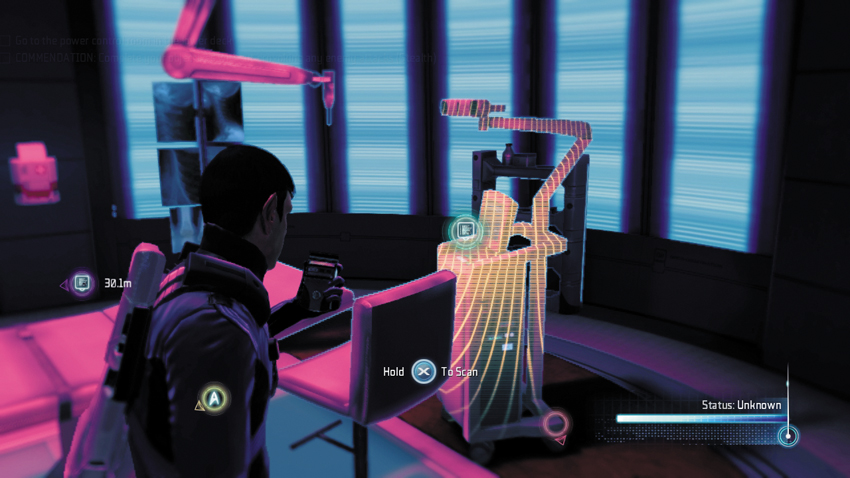
Scan the console next to the examination table to acquire another collectable.
Type: Research Data
Set: Spread the Cure/Federation Medical Tech
XP: 100
Log Entry: Bones would be better to ask about this. I try to spend as little time as possible in Sickbay. I mean, it’s right there in the name. Sickbay. Who wants to go to a place called Sickbay? Why not call it Healthbay? The Happy Room? The Pain-Free Lounge? No imagination in Starfleet.
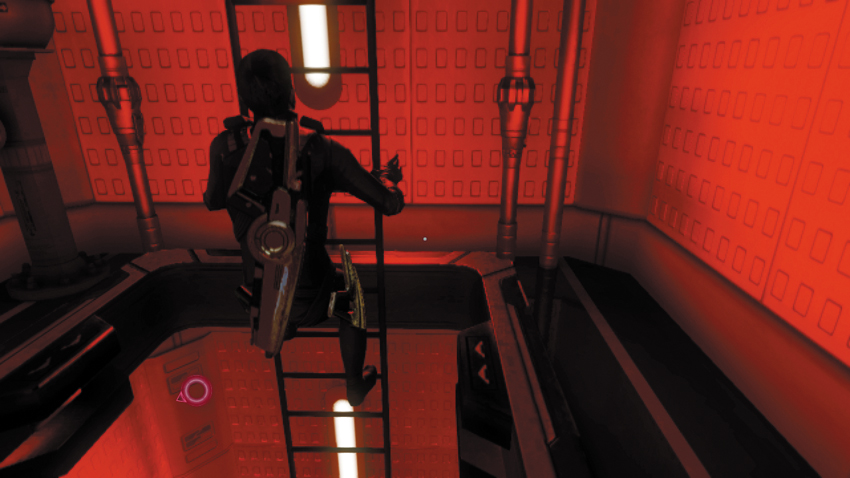
After completing the exam, return to the corridor and open a hatch in the floor at the waypoint marker. Once the hatch is open, interact with the ladder and climb down to the lower deck. There are no enemies in the corridor below, but there are several infected crewmen in the next room. So before you pass through the next door, crouch and creep inside to avoid being detected.
Lower Deck
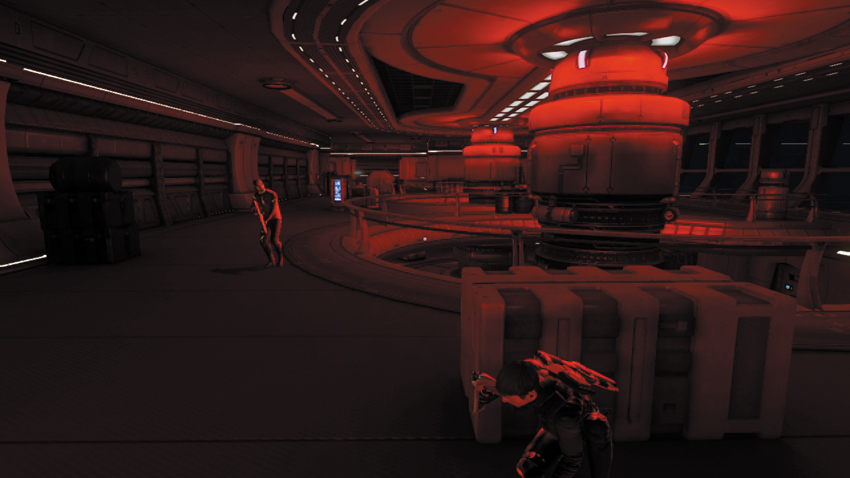
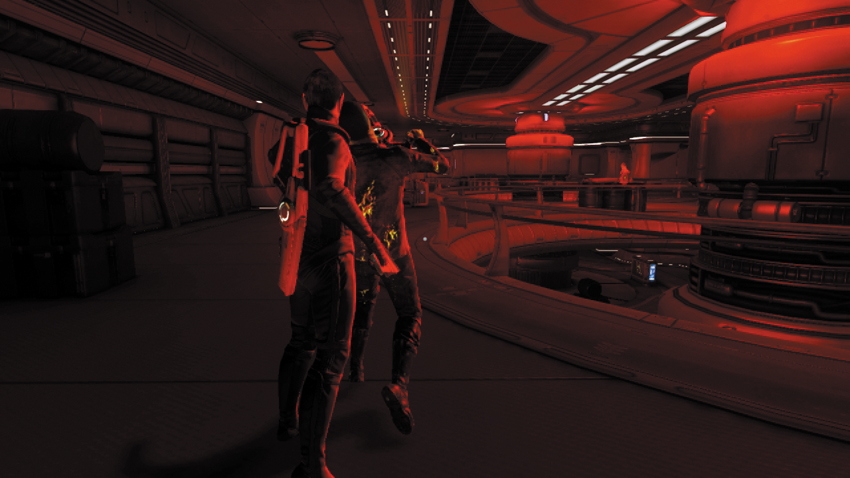
Two infected crewmen patrol the upper level of this large room. There are also two infected crewmen and one Gorn Warrior positioned on the floor below. If you want to earn the stealth-based commendation here, you must restore power without being seen. Start by taking cover behind one of the crates near the room’s entrance. Make sure your partner stays out of sight, too. As the nearby infected crewman approaches your position, wait for him to turn around, then sneak up behind him and perform a silent takedown.
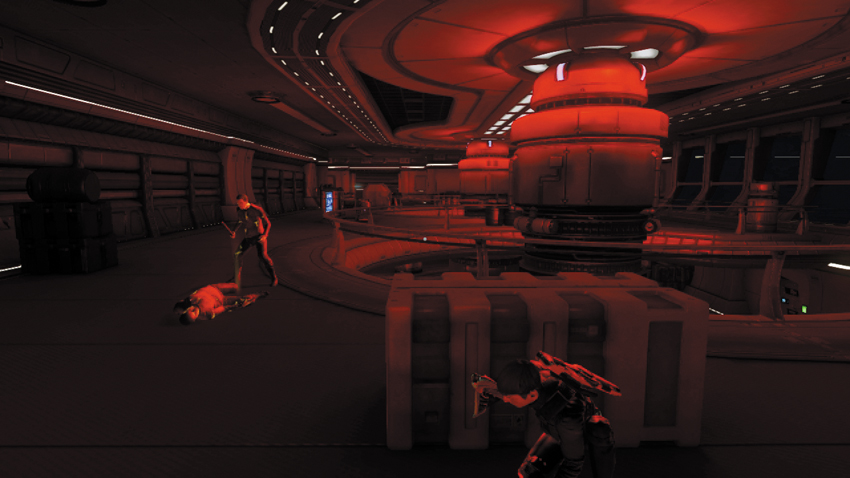
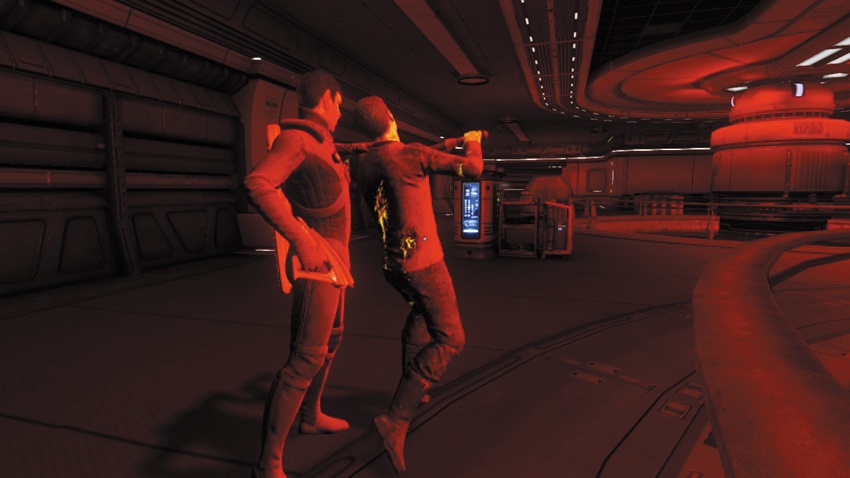
Immediately after incapacitating the first infected crewman, retreat to you hiding spot behind the crates. The other infected crewman may take notice of his fallen comrade and begin to investigate. Stay hidden behind the crate until this enemy turns around and resumes his patrol. At this point, creep up behind him and put him to sleep with a takedown. If the second infected crewman doesn’t investigate his fallen comrade, simply sneak up behind him during his patrol and perform the takedown. The upper level of the room is now clear, except for a few mines. However, remain crouched. Running or making any noise up here may alert the enemies downstairs and prompt them to investigate.
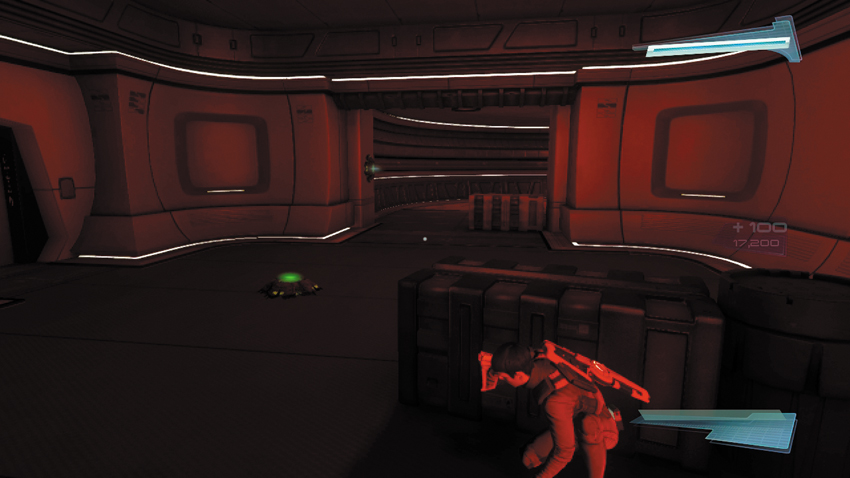
Now it’s time to deal with some mines. There’s a mine on the floor just ahead as well as one on the wall next the spiral staircase. Keep your distance from both mines and use your tricorder to bypass them. The mines will come in handy later; you can use them to eliminate enemies without blowing your cover.
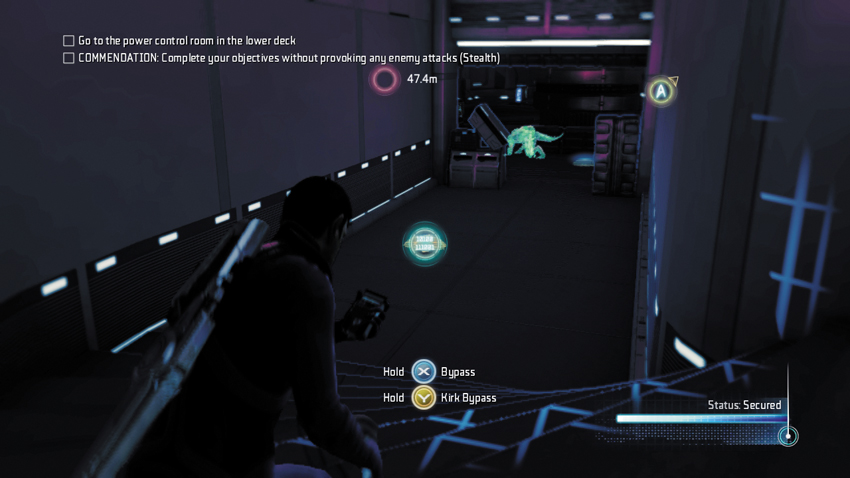
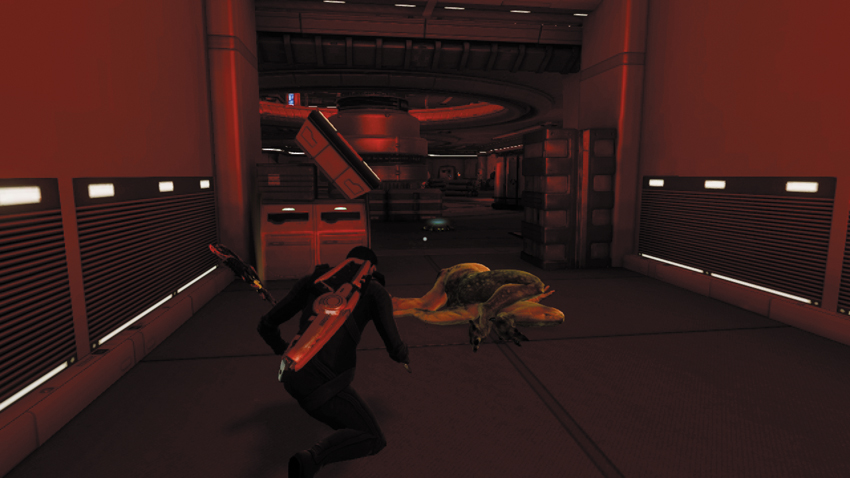
After hacking the two mines, cautiously creep down the spiral staircase. Just ahead you can see a Gorn Warrior and two more mines. Fortunately, the Gorn Warrior’s back is turned, so as long as you remain quiet, he won’t see you. Bypass the mine a few meters behind the Gorn Warrior. The Gorn Warrior is too far away to trigger the hacked mine. Creep back up the staircase, so you’re out of view of the enemy, then place a sound decoy next to the mine, using your tricorder. The sound decoy causes the Gorn Warrior to approach the hacked mine; he walks directly into your trap. The sound of the mine exploding won’t draw the attention of the infected crewmen on the ground floor. So continue down the stairs and hack the next mine, near the entrance to the spiral stairway.
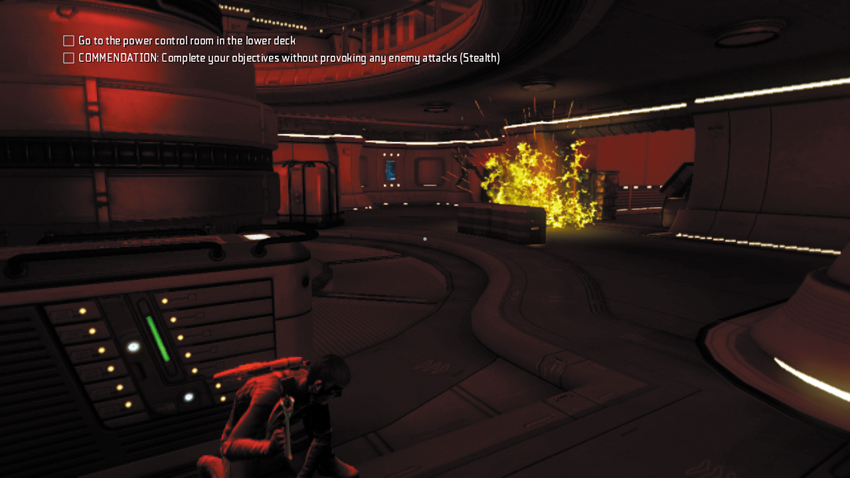
After descending the spiral staircase, move to the left side of the room and use your tricorder to locate the two infected crewmen nearby. These two infected crewmen maintain static positions within view of each other, which makes it difficult to take them down while remaining undetected. So take cover on the left side of the room and use your tricorder to attract one of the infected crewmen using sound decoys. Once you have the attention of one crewman, use more sound decoys to lead him toward the hacked mine at the base of the spiral staircase. Fortunately, there’s no penalty for killing infected crewmen during this sequence—you just need to remain stealthy.
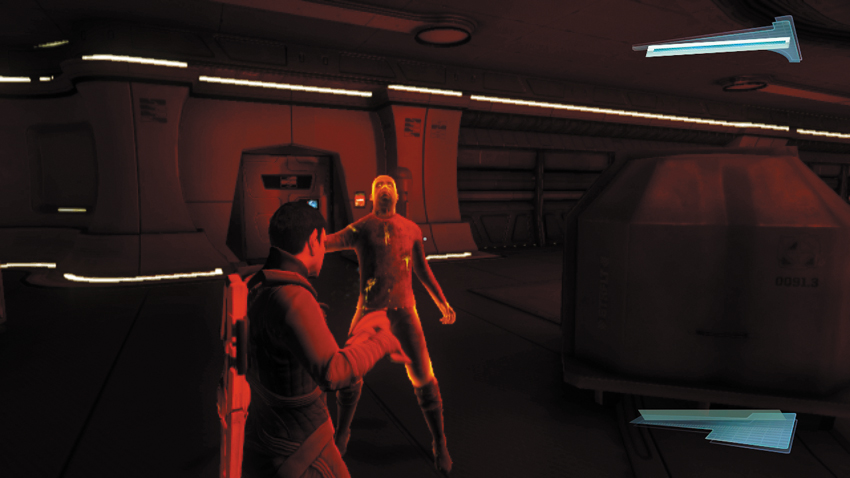
The last infected crewman remains stationary, but you still must avoid moving within his line of sight. Instead of trying to sneak up behind him, stun him with your phaser (from behind), then rush up to him and perform a takedown before he can recover. Both the upper and lower levels of the room are now clear. Advance through the nearby door to enter the control room.
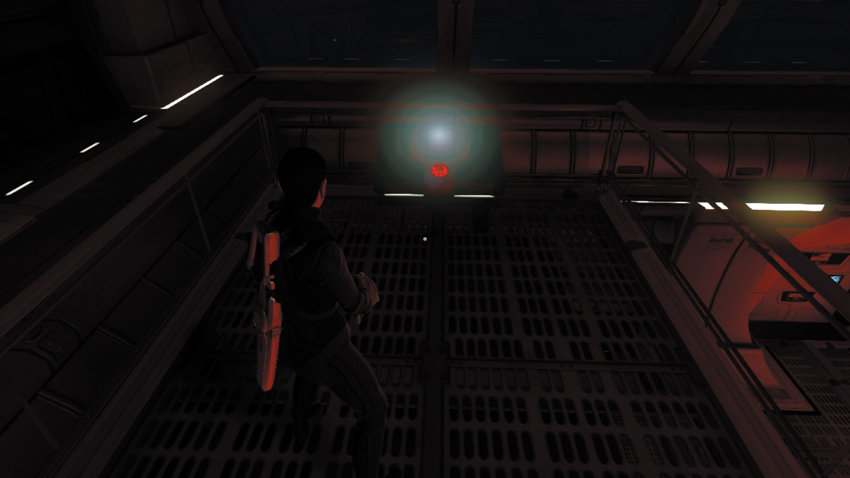
But when you reach the control room, it’s clear that your work isn’t complete. Spock says power must be redirected using the two access points. However, before you can do that you must repair the control panels for the two generators. Use your tricorder to see the power lines running from each access point to the damaged control panels.
New Objective: Find and repair the control panel for each of the two generators
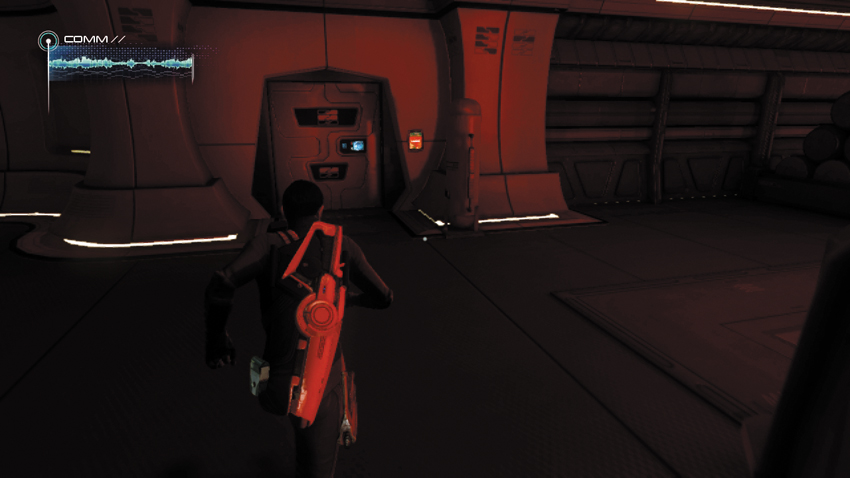
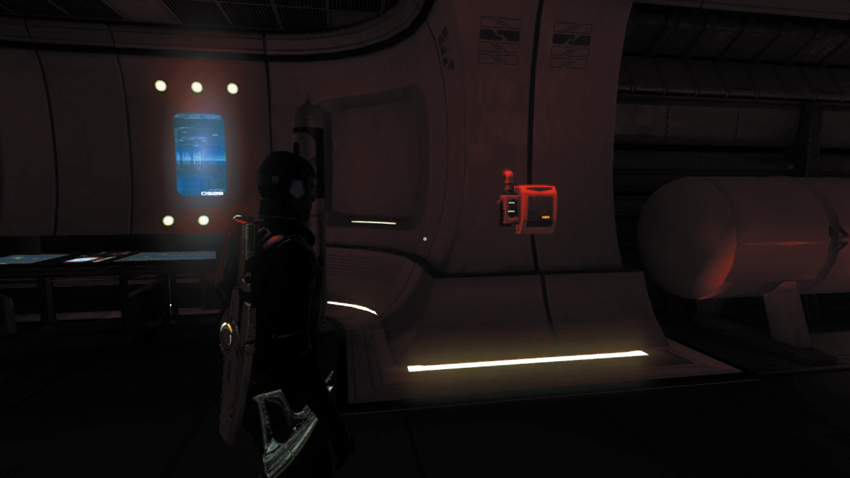
The first control panel is on the first floor, directly across from the control room. Exit the control room and cross the room to a locked door—new infected crewmen have arrived on the floor above, so remain silent. Unlock the door and step inside the room to locate the control panel attached to the wall. Use your tricorder to activate the control panel.
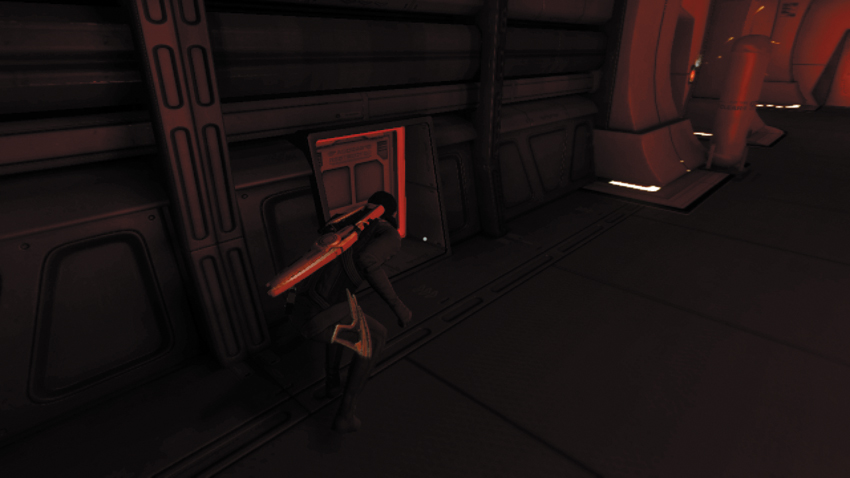
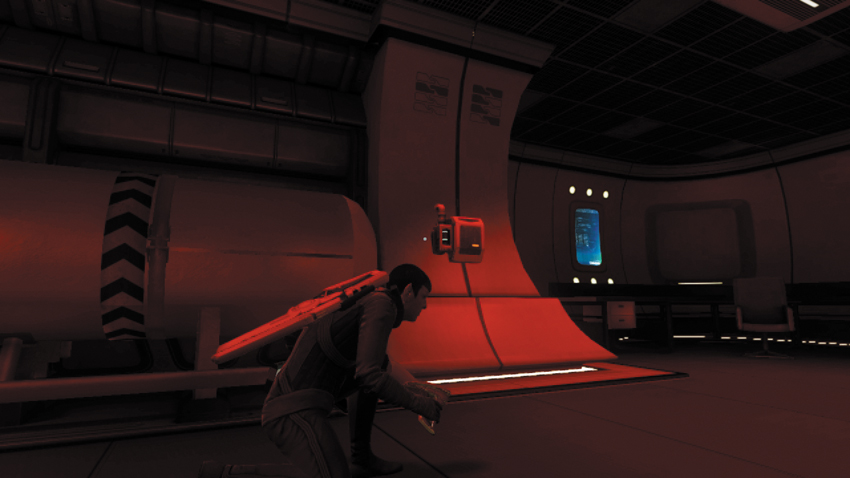
Exit the room with the first control panel, then turn left, moving along the perimeter of the lower level. Here you find a hatch in the wall. Open the hatch and enter the vent. The vent leads to a ladder. Climb the ladder and enter the adjoining vent at the top. The next vent leads to the room with the next control panel—activate it with your tricorder to restore power (and light) to the lower deck. Now you need to make it back to the control room to divert the power to Medbay. But heading back through the vent isn’t a good idea—more infected crewmen have occupied the ground floor. You need to find another way back.
New Objective: Return to the control room and divert power to Medbay
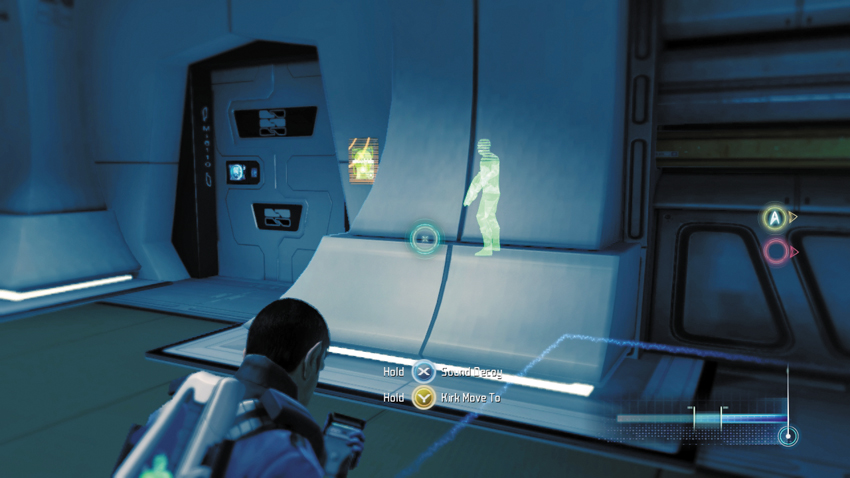
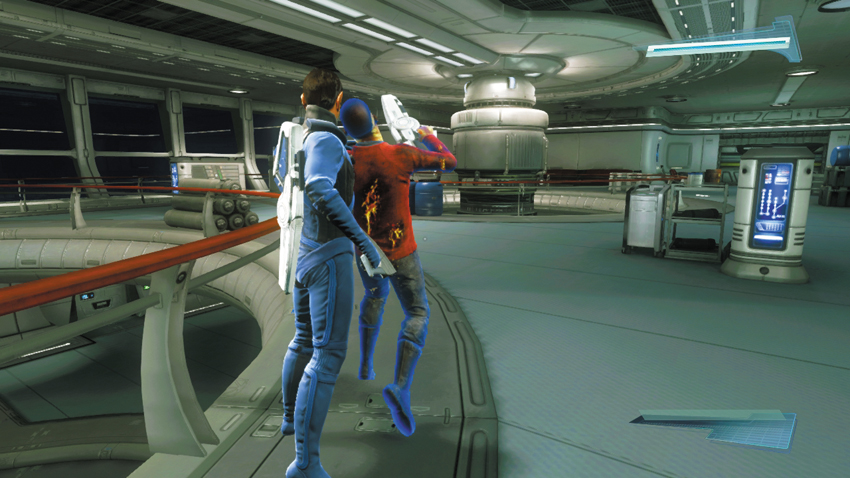
A couple of infected crewmen are just outside this room; use your tricorder to monitor their movements. When the infected crewmen closest to the doorway moves away, unlock the door, and quietly step outside. Sneak up behind the nearby infected crewman and perform a silent takedown. But keep an eye on the infected crewman on the far side of the room—don’t let him see you. If necessary, abort the takedown and seek cover, waiting for a clear opportunity to avoid detection.
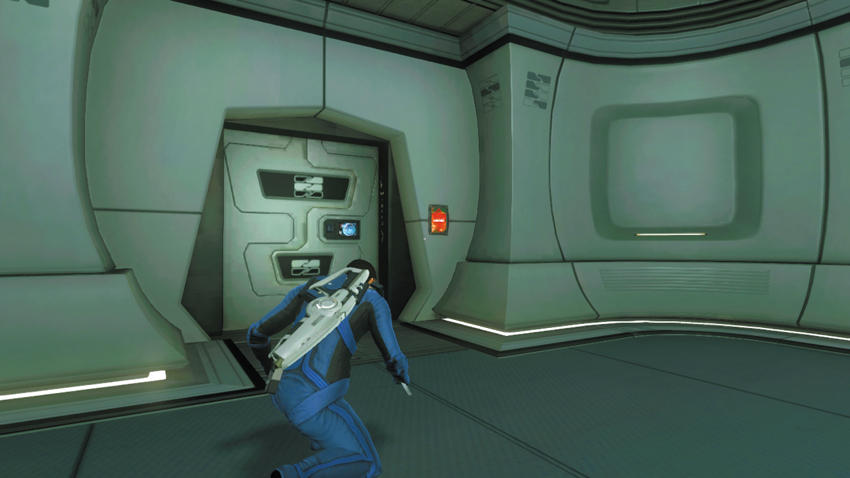
After incapacitating the infected crewman, backtrack toward the room where you activated the control panel. Next to this room is a locked door, not far from where you bypassed the first mine on the upper level. Unlock the door and step inside to find an audio log. This room is only accessible once power has been restored to the Lower Deck.
17: Scotty’s Audio Log #3
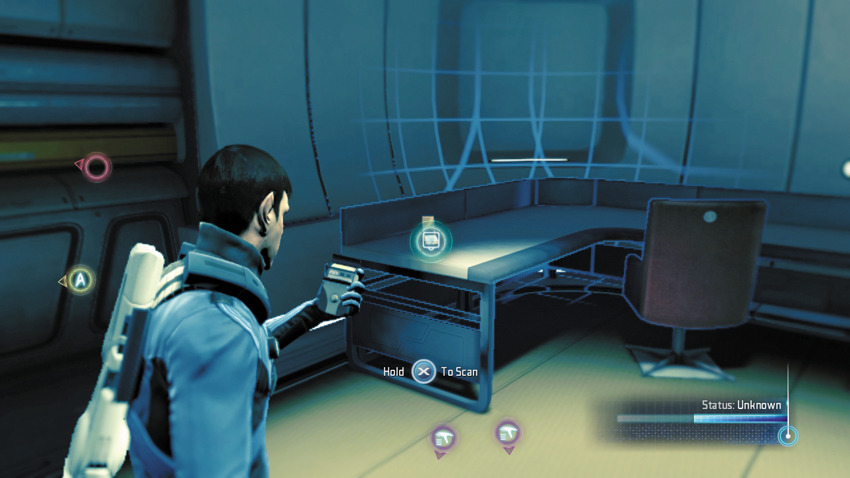
Enter the locked room on the upper level of the Lower Deck and scan this audio log sitting on the desk.
Type: Audio Log
Set: Spread the Cure/Logs
XP: 50
Log Entry: Personal Log, Chief Engineer Montgomery Scott. I was just talking with Hikaru about this Commodore Daniels character. I’ve seen his type before. For him, Starfleet ceased to be a place to serve a long time ago. Now it’s just a place for him to chase glory. It wouldn’t matter if he were in outer space or in an office back on Earth. Their type never changes. I just hope he doesn’t lead us all into ruin. Maybe I shouldn’t be saying this out loud? Ah, what’s Starfleet going to do? Exile me to a frozen outpost in the middle of nowhere? Again? Scotty out.
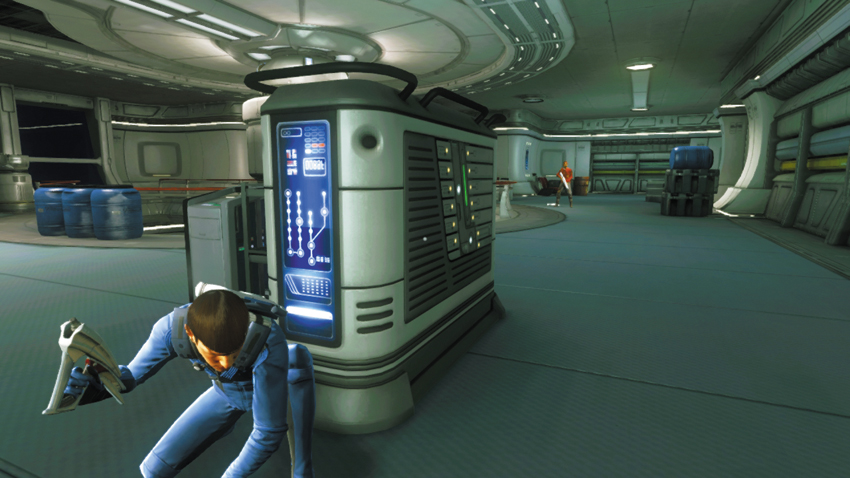
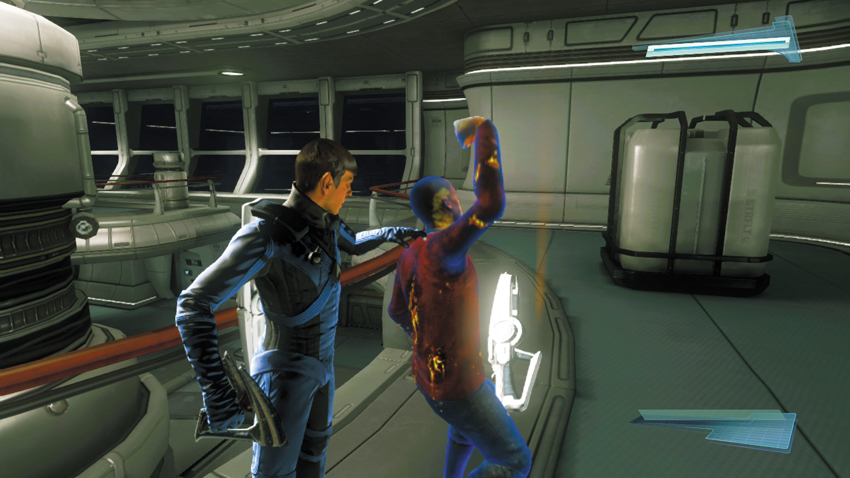
Exit the room with the audio log and take cover to avoid being spotted by the remaining infected crewman that patrols the far side of the room, not far from where you originally entered. As he turns around, creep up behind him and stun him with your phaser—it’s a good idea to stun this guy before he can turn around and spot you. While he’s still stunned, rush up behind him and perform a takedown.
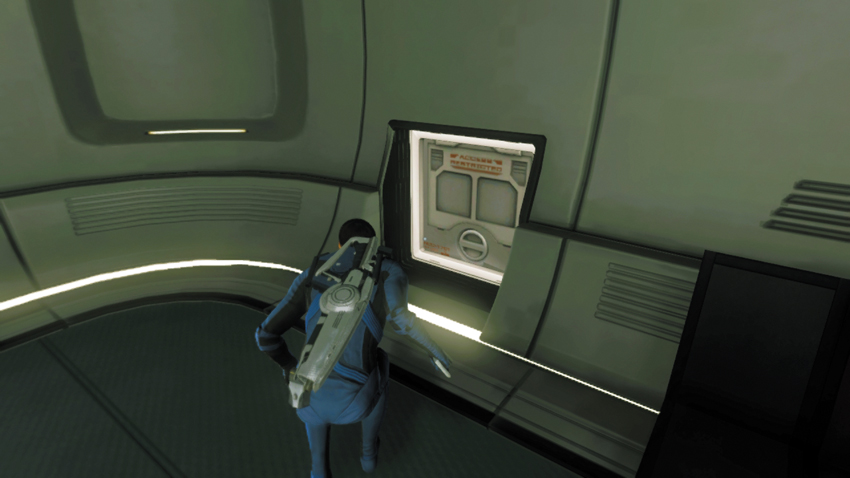
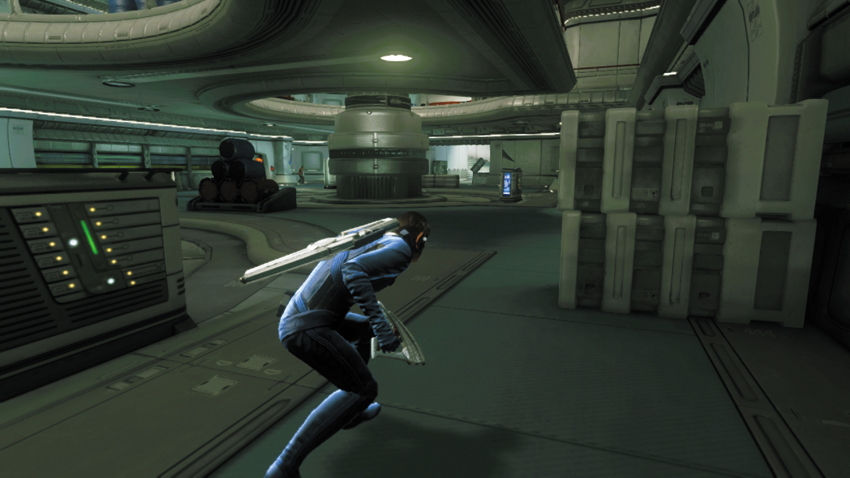
Not far from where you incapacitated the infected crewman, there’s a hatch in the wall. Open the hatch and step into the vent. Take the first left in the vent to access a ladder leading down to the lower level. Climb down the ladder, then enter another vent system at the bottom. Crawl through the vent and open the hatch at the other end to return to the lower level. Advancing though this vent allows you to bypass the infected crewman that is loitering near the spiral staircase. Upon exiting the vent, creep back toward the control room; be careful to avoid detection.
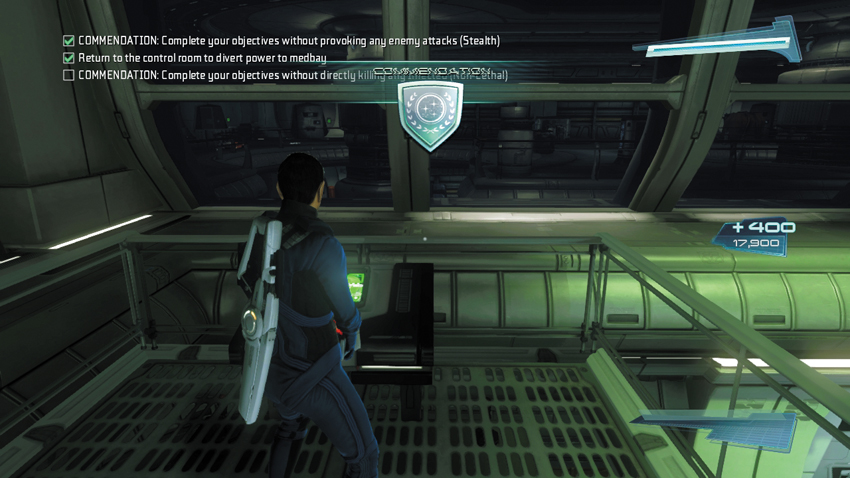
Now you can finally reroute power to Medbay. Approach one of the two consoles in the control room—you must work together with your partner to complete this task. If you managed to complete this objective without being detected, you earn the stealth-based commendation, worth 300 XP. Bones reports that power has been restored to Medbay. Meanwhile, Chekov reports that he’s under attack and can’t hold out much longer. Bones pinpoints Checkov’s location in the Observation Lounge. Chekov adds that the Gorn have breached the hull, and that there are injured crewmen.
New Objective: Find and rescue Chekov
Commendation: Complete your objectives without directly killing any infected (Non-Lethal)
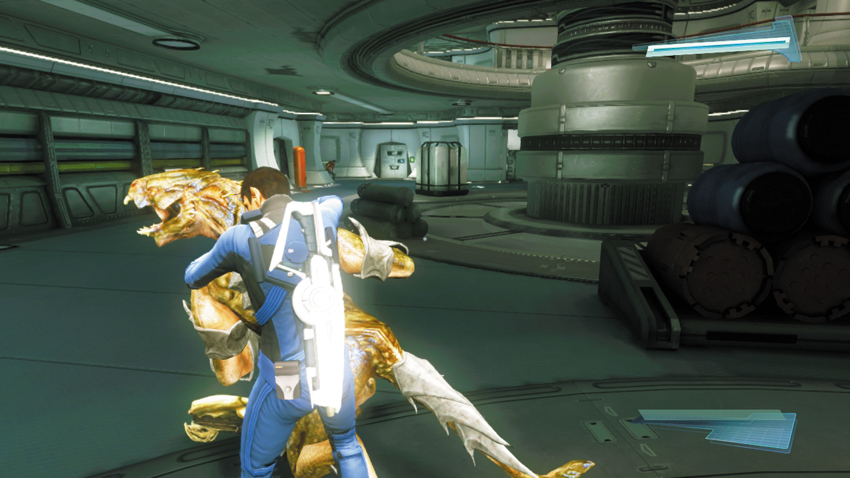
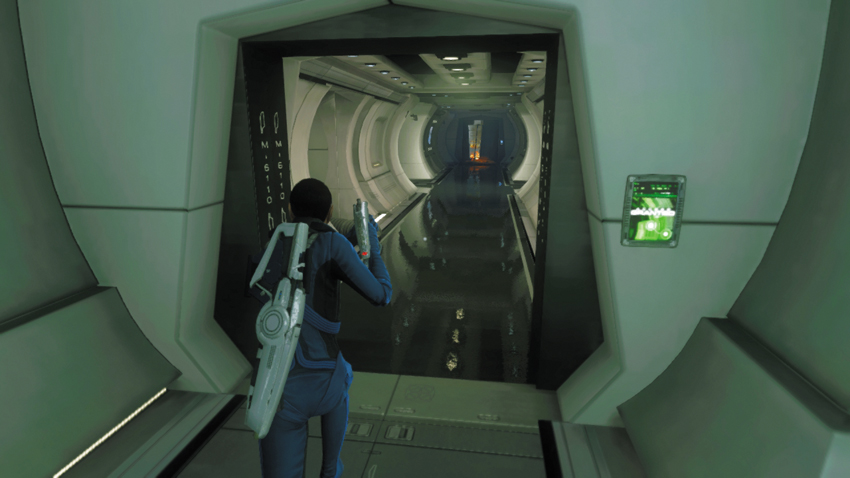
Rerouting power to Medbay has gotten the attention of the Gorn—two Gorn Warriors patrol outside the control room, joining the infected crewmen still posted near the spiral stairway. Before exiting the control room, monitor the movements of the nearby Gorn Warrior outside. When he moves away from the control room’s door, step outside and sneak up behind him to perform a takedown. Next, return to the same vent system you used earlier, to the left of the control room. Climb through the vent system to reach the upper level, then exit the room through the same doorway you originally entered by, which is indicated by the waypoint marker.
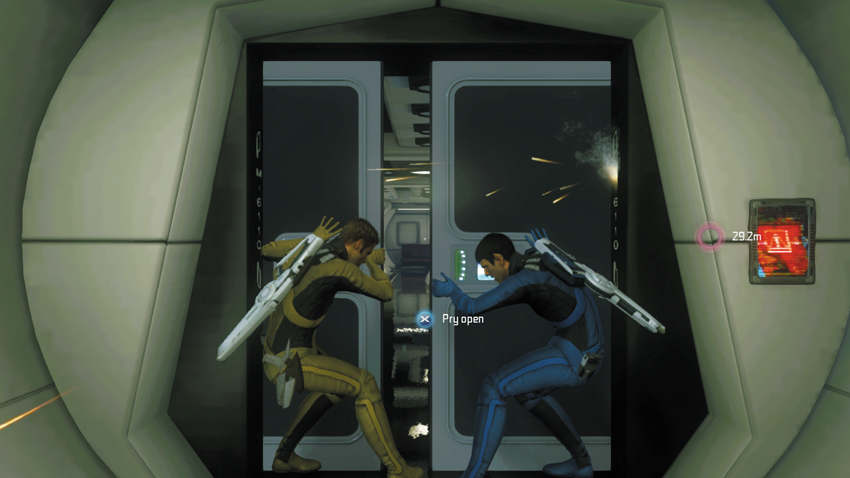
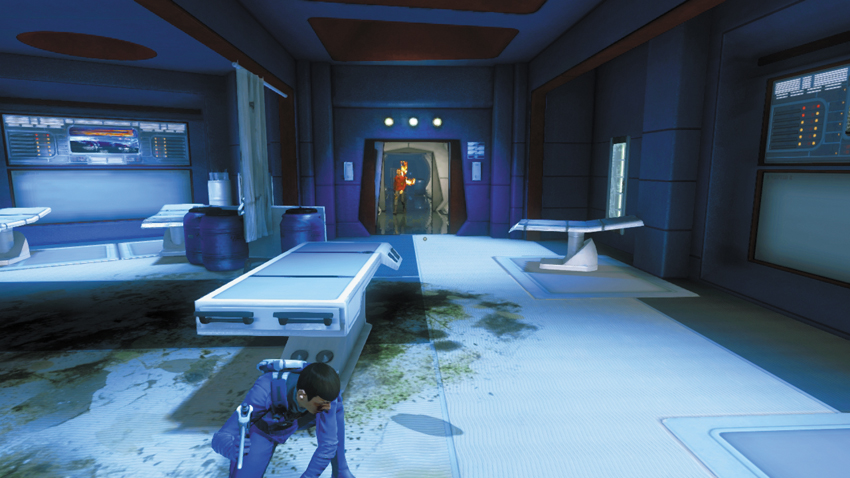
Climb the ladder in the corridor to return to the same deck as Medbay. But this time, turn left and work with your partner to pry open a malfunctioning door. Once past the door, enter the first room on the right and stun the infected crewman inside with your phaser. Quickly rush toward the stunned infected crewman and perform a takedown before he can recover—if you want to earn the non-lethal commendation, you must avoid killing any of the infected. Take cover in the room and watch for another infected crewman that is patrolling nearby—stun him, then incapacitate him with a takedown. There are three collectables in this room and the adjoining closet. Take a moment to perform a few scans.
18: Sickbay Gurney
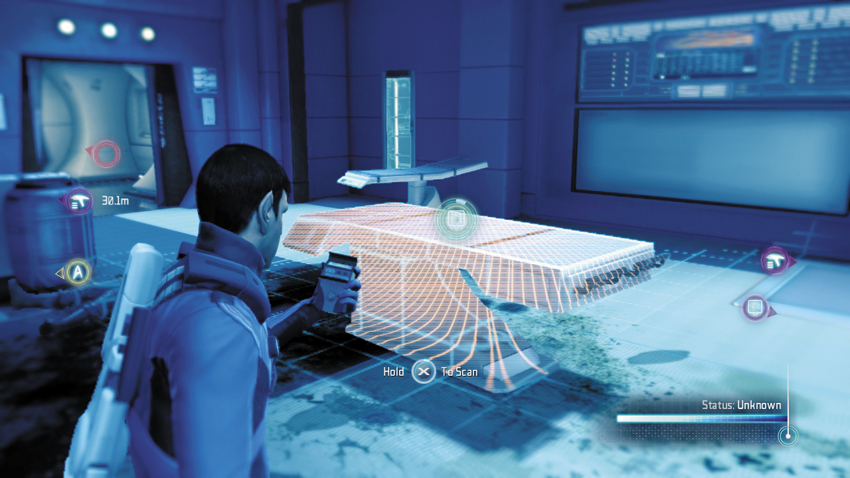
Scan the gurney in the center of the room to add another log entry to your collection.
Type: Research Data
Set: Spread the Cure/Federation Medical Tech
XP: 100
Log Entry: The only time I go to Sickbay is to get the latest inoculation for whatever potential contagion the ship has picked up at its latest port of call. They don’t warn you about it at the Academy, but life in space is one annoying flu shot after another. Better safe than sorry, and bleeding glowing green pus from your eyeballs, I suppose.
19: Chekov’s Audio Log #3
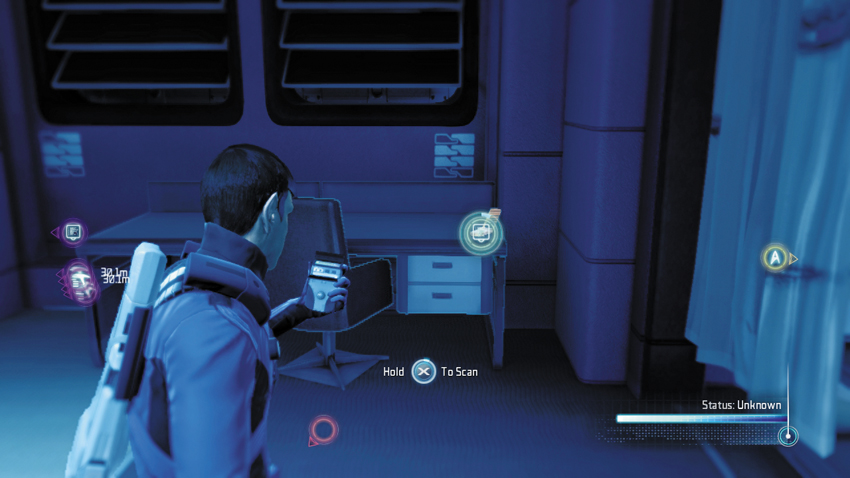
Turn around from the gurney and scan this audio log on the desk, next to the curtain.
Type: Audio Log
Set: Spread the Cure/Logs
XP: 50
Log Entry: Personal Log, Ensign Pavel Chekov. I feel terrible for the Vulcan people. First, their homeworld is destroyed. And now, their new colony is under attack. I cannot imagine how Commander Spock must feel. He never shows any hint of emotion. Even less than he did before Vulcan was lost. But I’m sure these events must weigh on him. Not even Lieutenant Uhura has coaxed a smile from him. His heart is heavy. I can only hope he finds relief soon.
20: Tribble (6 of 7)
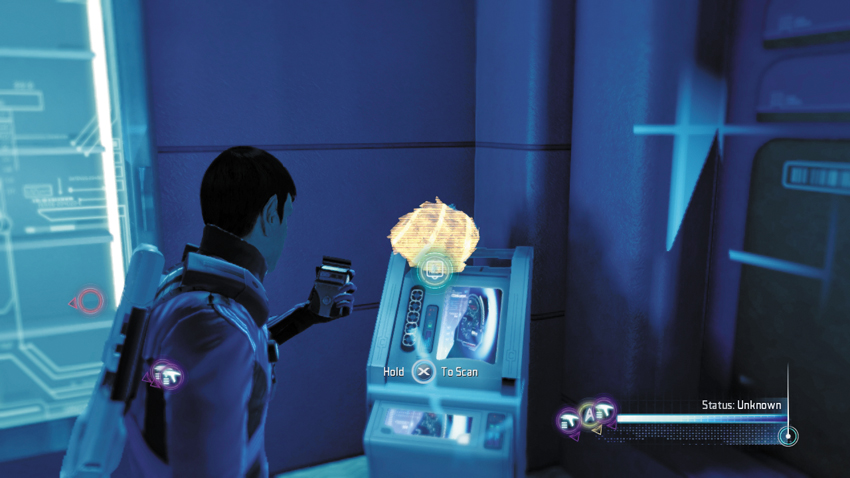
Unlock the red door to enter a supply closet containing four Stun Grenades and a Tribble, sitting on the small console in the corner.
Type: Tribble
Set: Tribbles/Tribbles
XP: 250
Log Entry: I’ve heard talk that Tribbles were not brought back onboard the Enterprise intentionally, but were in fact somehow missed by quarantine and ended up in Main Engineering accidentally. Rumor has it that the Tribbles began to multiply so fast that, within an hour access to Engineering had been compromised, and there was concern that the ship’s Warp Core coolant system could somehow be affected. In short, that the Tribbles could have destroyed the Enterprise. As Chief Engineer, I can confidently put these rumors to rest and assure everyone that the ship was never in any danger.
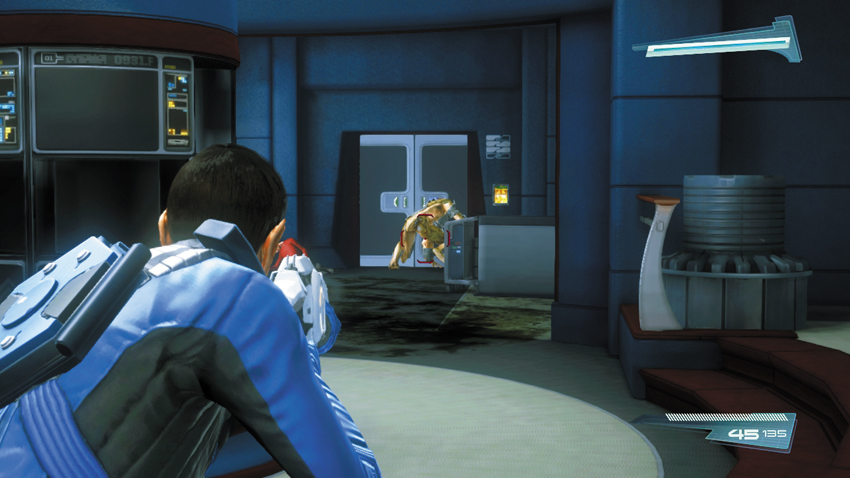
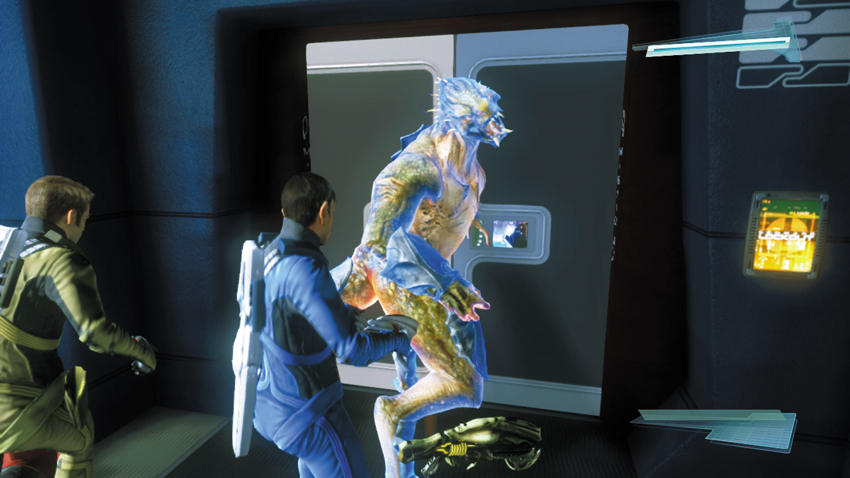
Follow the waypoint marker through the next corridor and into the next room, where Chekov has barricaded himself. Use your tricorder to identify two Gorn Warriors in the area. But they’re more concerned with reaching Chekov and don’t notice your approach. Take this opportunity to gun them down with your Starfleet Phaser Rifle before they have a chance to retaliate. Alternatively, stun them with you phaser and incapacitate them with takedowns. Once the area is clear, hack the lock on the door to reach Chekov.
New Objective: Carry Chekov back to Medbay
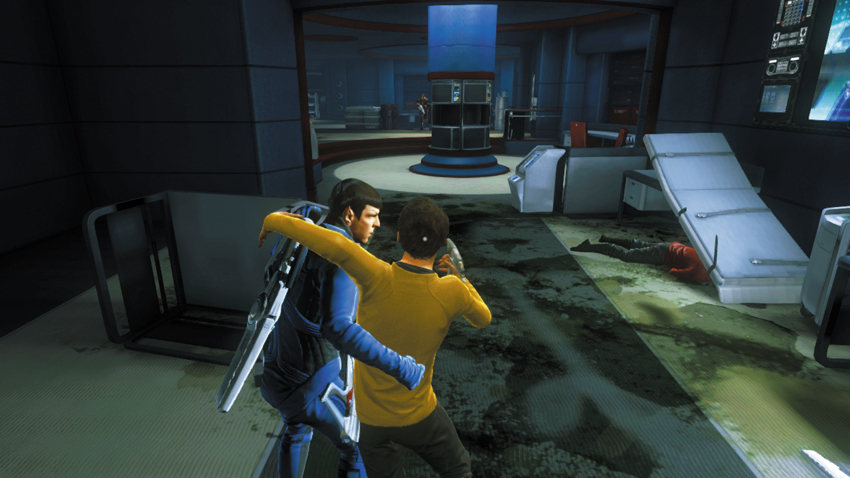
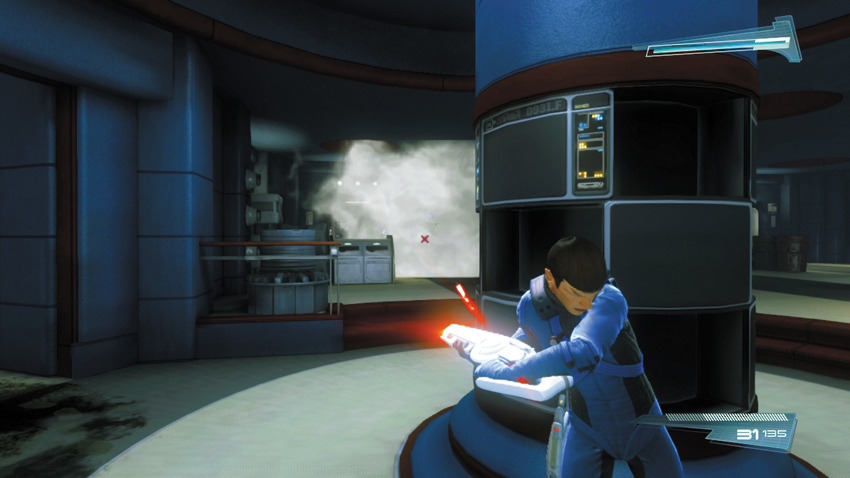
Chekov has been injured during the Gorn attack and can’t walk on his own. You need to help him reach Medbay so Bones can take a look at him. Either you or your partner must assist Chekov back to Medbay. If you choose to give him a hand, you move slowly while aiding Chekov, but you can still aim and shoot, using Chekov’s phaser. There are a few infected crewmen ahead, so be ready to stun them so your buddy can perform a takedown. If things get too heated, you can set Chekov down on the floor while you dispatch the enemies. It’s a good idea to set Chekov down occasionally, so you can patrol ahead and eliminate any enemies along the path to Medbay. Such is the case when you encounter a Gorn Enforcer in the first room. Set Chekov down and seek cover while using your Starfleet Phaser Rifle to kill the Enforcer.
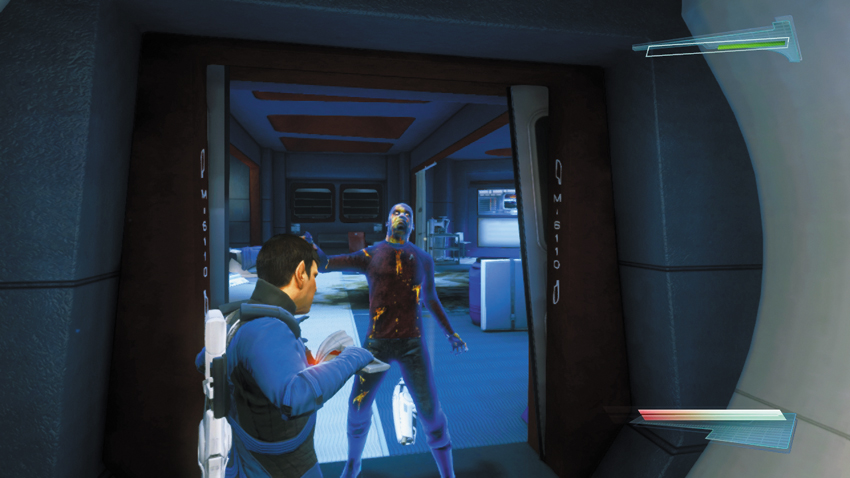
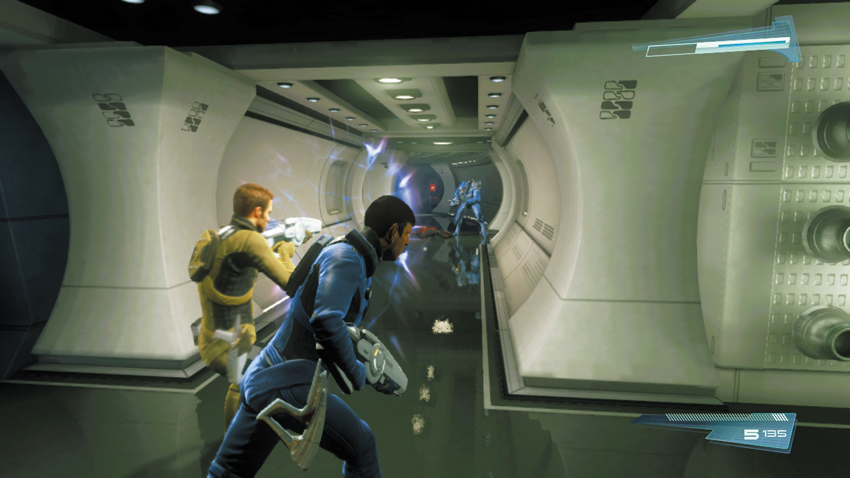
Before returning to the room where you found the three collectables, set Chekov down and scout ahead. Here you encounter another infected crewman. Stun him with your phaser, then perform a takedown. If you are playing with a friend, ask your partner to scout ahead while you continue to aid Chekov through the corridors. Two more infected crewmen patrol the next corridor, along with a Gorn Enforcer. Incapacitate the two infected crewmen, then go to work on the Gorn Enforcer, targeting him with your Starfleet Phaser Rifle.
New Objective: Place Chekov on the gurney
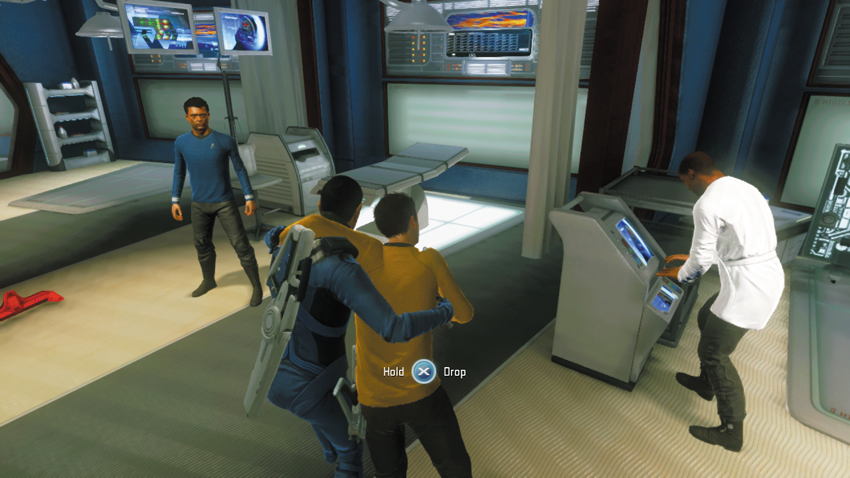
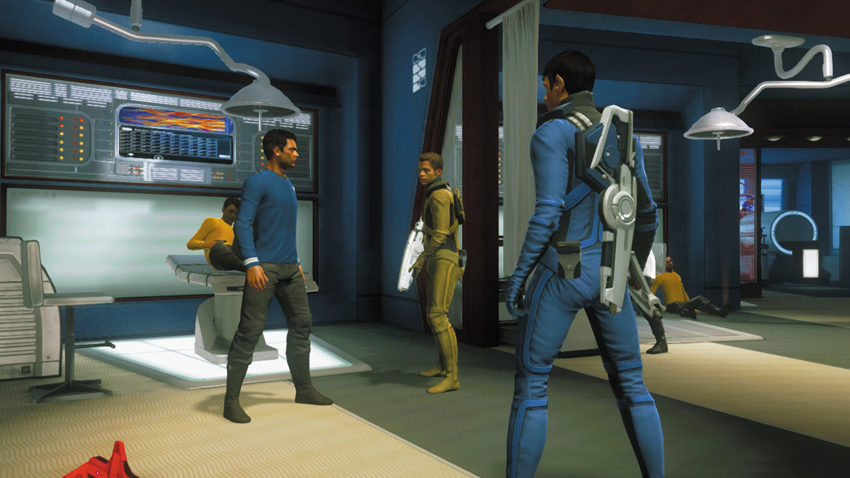
When the path is clear, return to Chekov and help him make it to Medbay by following the waypoint marker. The blast doors to the Medbay automatically open as you approach. As you step inside Medbay, Bones tells you to place Chekov on the gurney next to him. Now that Chekov is safe, it’s time to cure the infected crewmen. Dr. McCoy has enough vaccine for the ship, but he needs a way to distribute it. Since the vaccine is airborne, Bones suggests pumping it through the generator’s intake module and allowing it to spread throughout the entire ship. He has marked the nearest Atmospheric Generator on your tricorders.
New Objective: Find the Atmospheric Generator and distribute the antidote
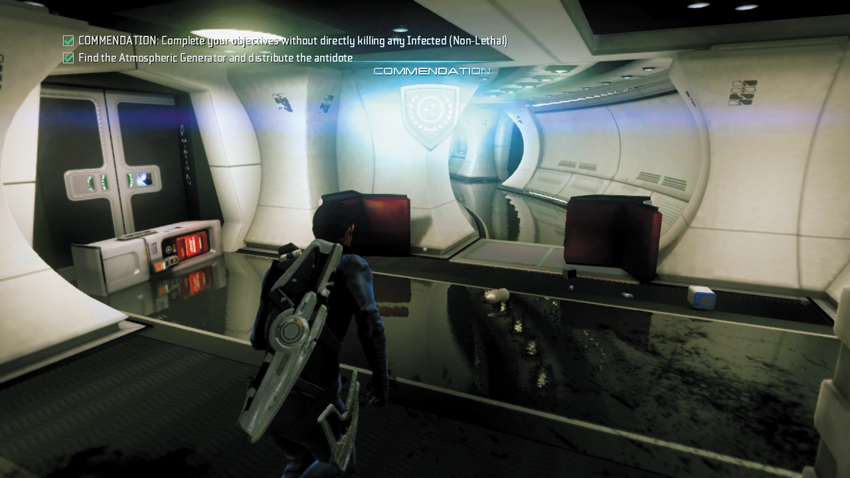
Follow the waypoint marker to the Medbay’s exit and wait for the blast door to open. Upon exiting Medbay, you earn the non-lethal commendation, worth 300 XP, assuming you didn’t kill any of the infected crew members.
Spread the Cure Part 2
Collectables Checklist
| # | Name | Type | XP |
|---|---|---|---|
| 21 | Sulu’s Audio Log #3 | Audio Log | 50 |
Commendation: Complete your objectives without directly killing any infected (Non-Lethal)
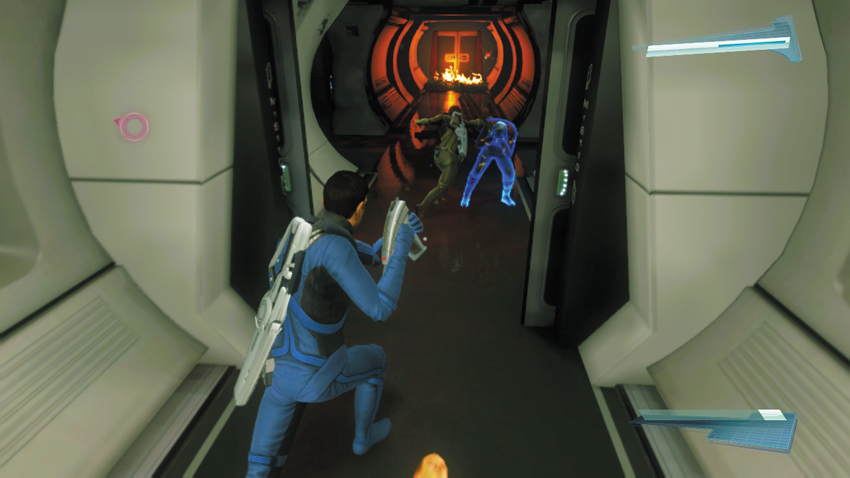
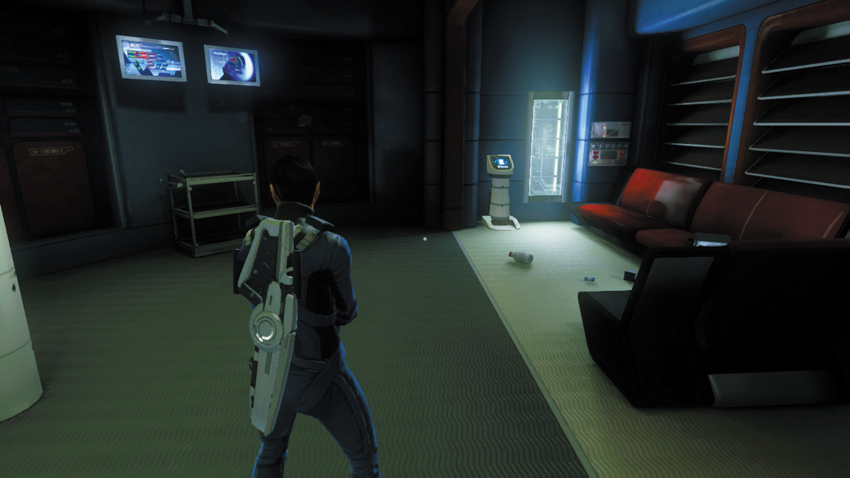
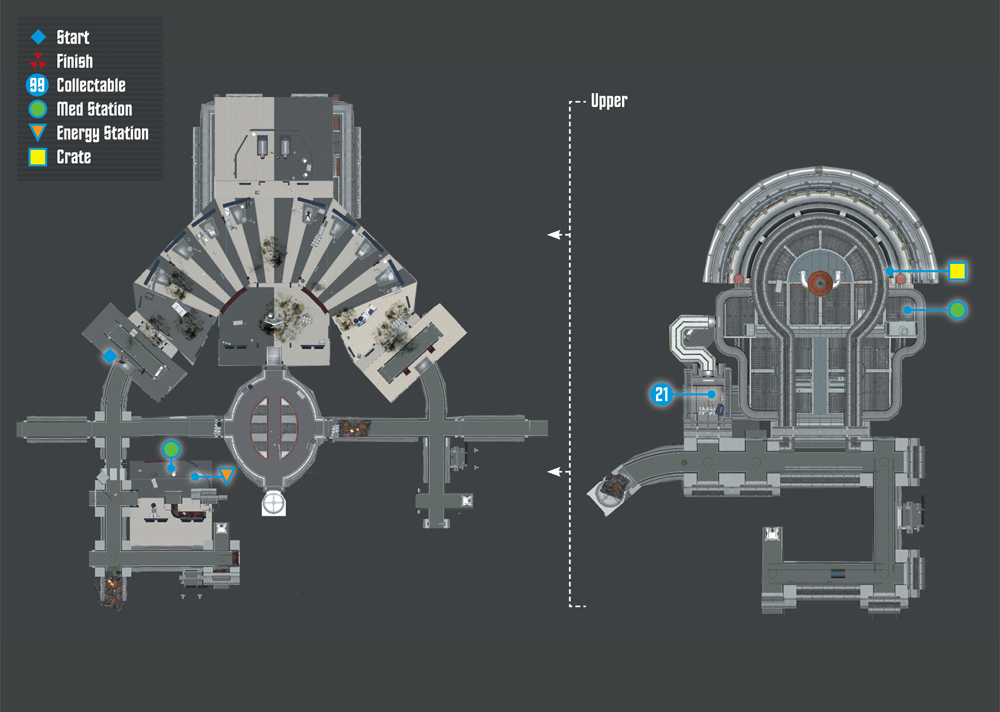
Advance through the corridor beyond Medbay, but watch out for a couple of infected crewmen along the way—they’re armed only with melee weapons. Use your phaser to stun them, then perform a takedown to incapacitate them. Beyond the two infected crewmen, enter a room on the left. Here you can use a Med and Energy Station as well as find the final audio log.
21: Sulu’s Audio Log #3
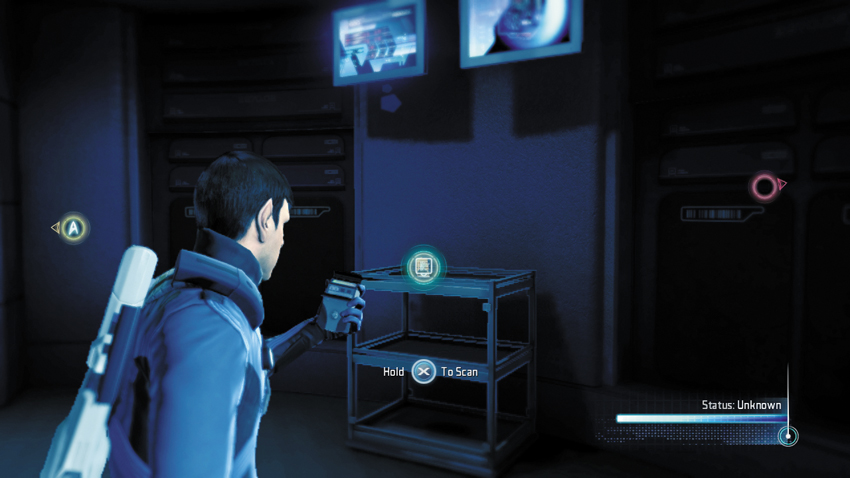
This audio log is sitting on the cart just below the two monitors.
Type: Audio Log
Set: Spread the Cure Part 2/Logs
XP: 50
Log Entry: Personal log, Lieutenant Hikaru Sulu. The crew has united behind Captain Kirk. We all heard the whispers back on Earth when he was promoted. He was too young. He didn’t pay his dues. But all of that is meaningless out here. We all see how qualified he is every day with every decision he makes. They can say what they want anywhere else. All that matters is that onboard this ship, the Captain has the trust of his crew.
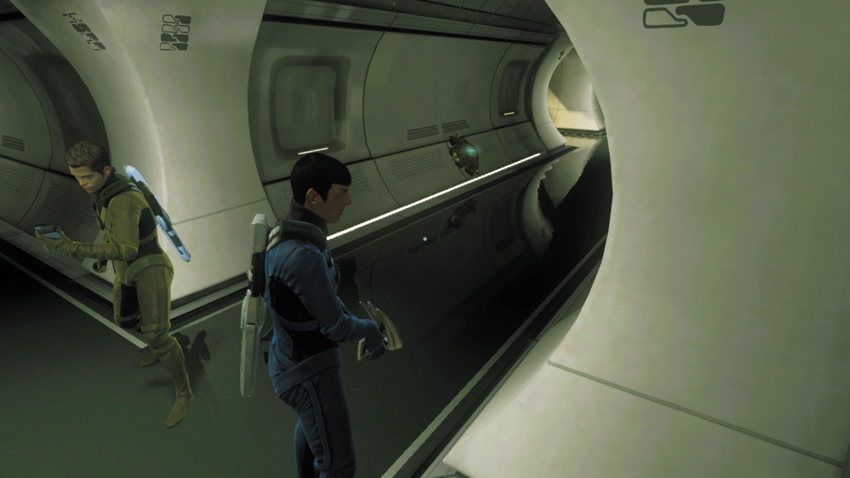
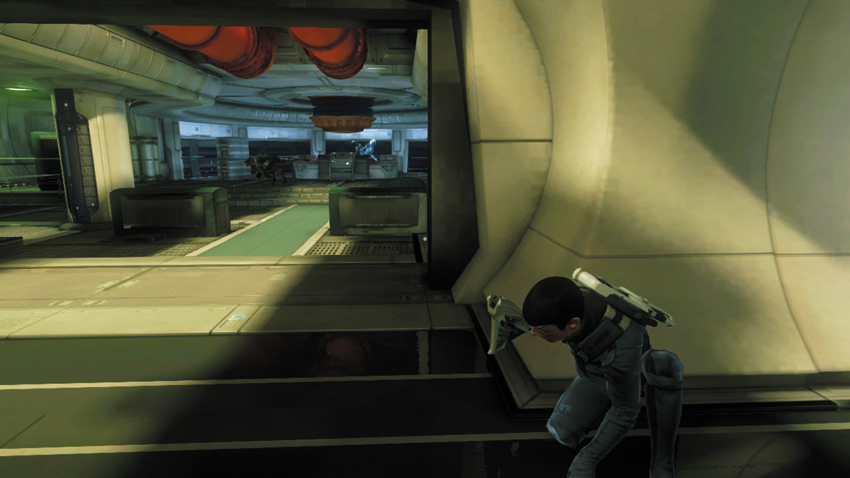
Return to the corridor and continue your advance, climbing a ladder up to the next floor. But move cautiously as you enter the next corridor. There are two mines in the corridor leading to the Atmospheric Generator. It’s best to bypass these two mines, as shooting them may alert the nearby Gorn. Just beyond the mines is the room with the Atmospheric Generator, which is occupied by one Gorn Warrior and two Gorn Techs. Take cover along the entrance and take a moment to plan your attack.
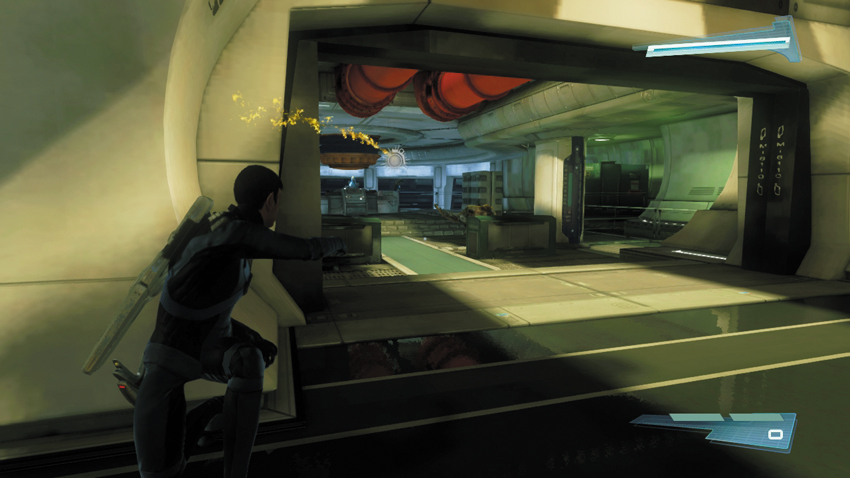
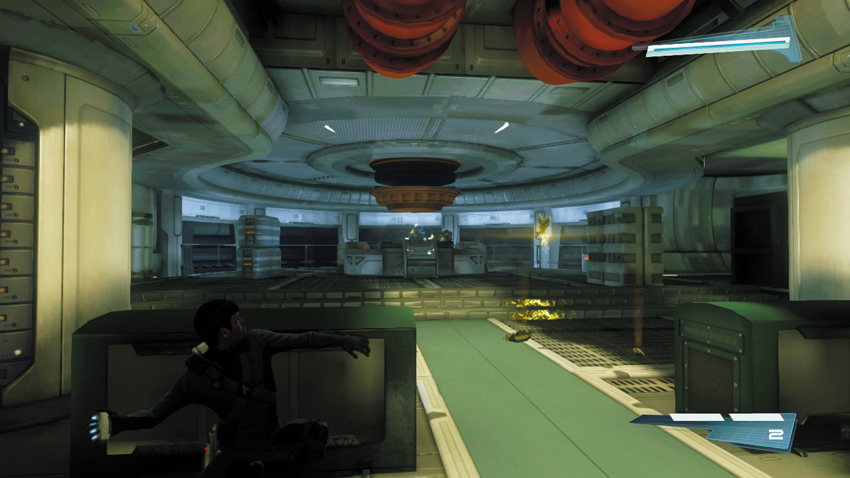
While taking cover along the wall outside the room with the Atmospheric Generator, initiate your attack by throwing a Plasma Grenade toward the patrolling Gorn Warrior. As soon as the Plasma Grenade explodes and kills the Gorn Warrior, rush forward and take cover behind one of the crates in the room while tossing a Stun Grenade toward the two Gorn Techs at the back of the room. Stunning the two Gorn Techs makes them easier to hit. It also prevents them from conjuring Attack Drones. While the Gorn Techs are still stunned, gun them down with your Starfleet Phaser Rifle.
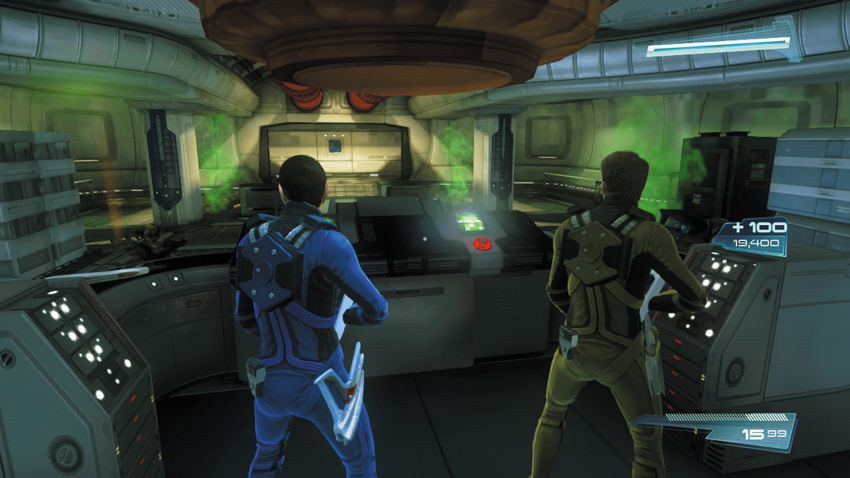
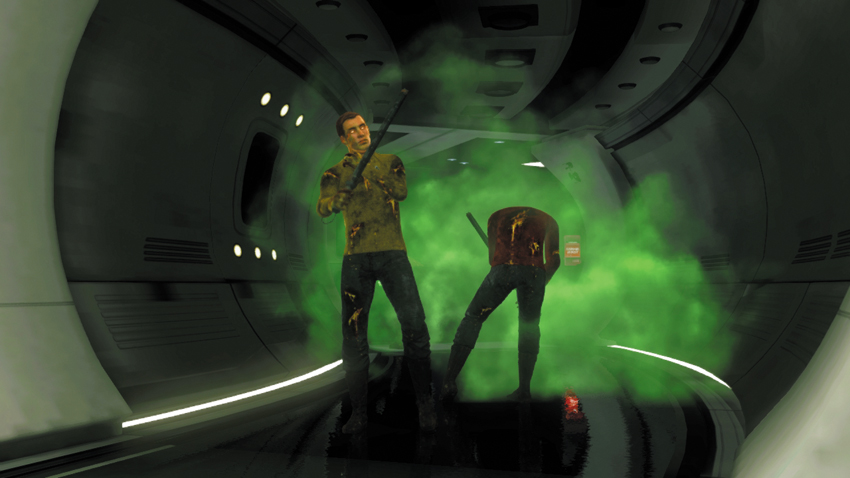
Once all the enemies are eliminated, approach the console at the back of the room. You’ll need the assistance of your partner to complete this hack. Once the hack is complete, green gas begins pouring out of the ship’s environmental systems, causing the infected crewmen to lose consciousness as the toxins disappear from their bloodstreams. But Dr. McCoy says they’ll be okay. Scotty reports that Gorn are having a reaction to the vaccine as well. While they are not incapacitated by it, it’s clear they don’t like it. Bones reports that he and his team not safe yet—the Gorn are attempting to breach Medbay.
New Objective: Return to Medbay
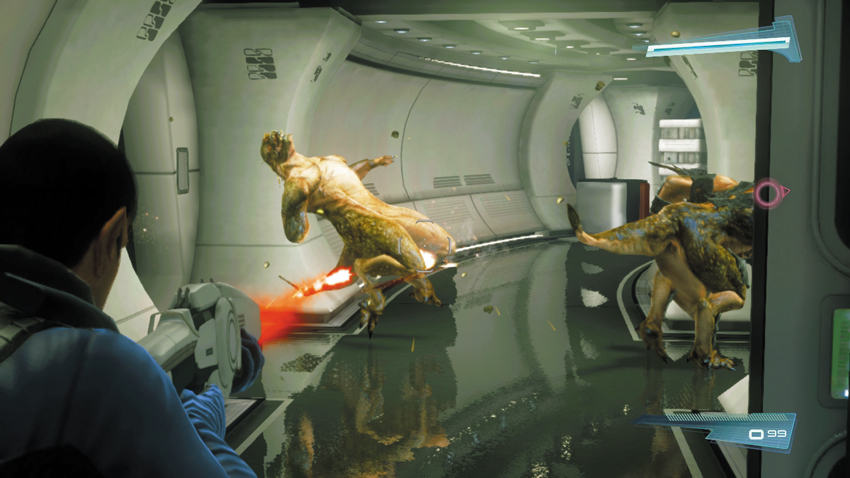
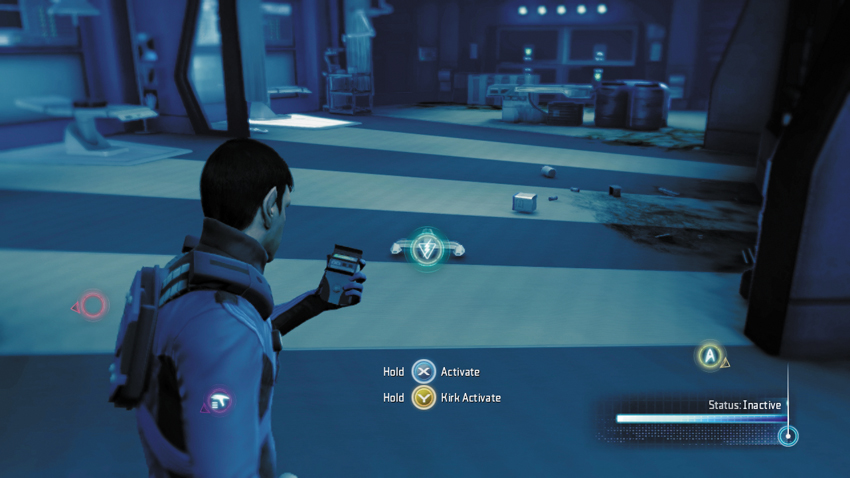
Retrace your steps back to Medbay, taking the ladder to the lower level and racing through the adjoining corridor. As you get closer to Medbay, you come up behind four Gorn Warriors. Toss a Plasma Grenade toward them or simply mow them down with your Starfleet Phaser Rifle. When the Gorn Warriors are eliminated, the Medbay blast doors open and you can enter. Before speaking with Bones, use your tricorder to activate the four portable energy shields on the floor—these will come in handy soon enough.
New Objective: Defend Bones and the Medbay crew
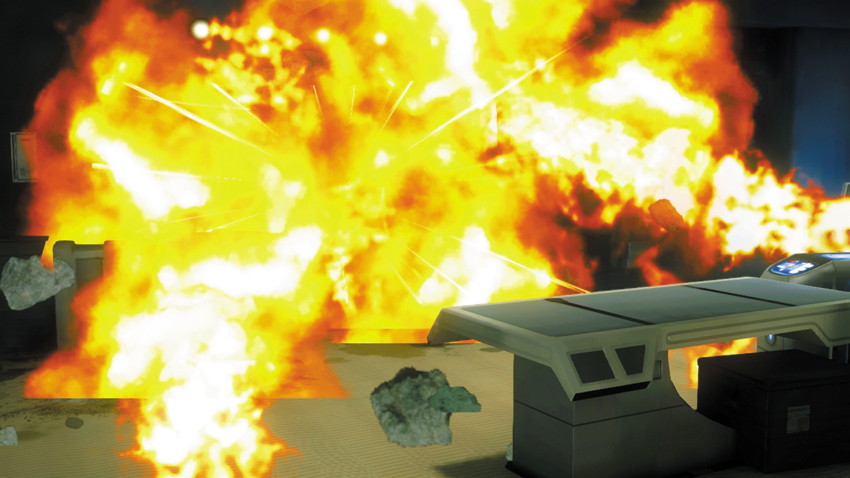
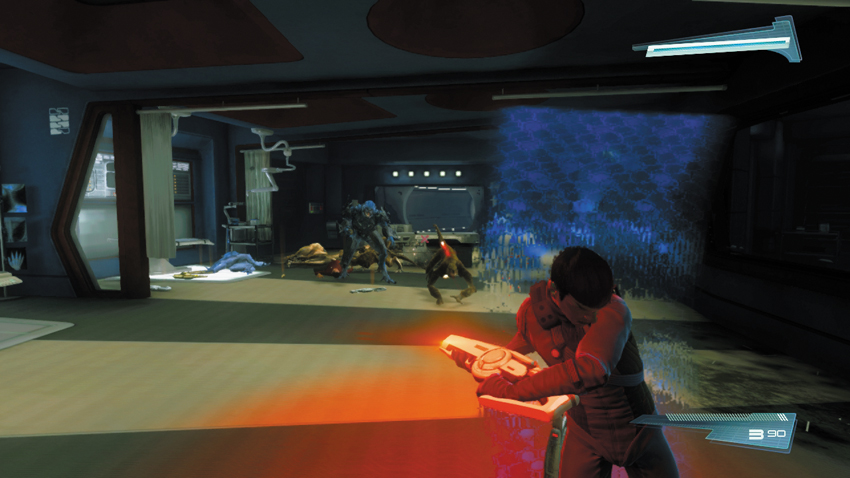
As you approach Bones, the blast doors you just passed through are breached by a massive explosion, and a mix of Gorn enemies pours into the Medbay. Immediately take cover behind one of the portable energy shields and open fire on the Gorn Warriors, Gorn Rushers, and Gorn Enforcer that come through the breach. The energy shields prevent the Gorn Rushers from pouncing on you—they also block incoming fire from the Gorn Warriors and Gorn Enforcer. At this range, it’s best to fire blindly around the sides of the shield using your Starfleet Phaser Rifle. If you aim a shot, you run the risk of getting hit.
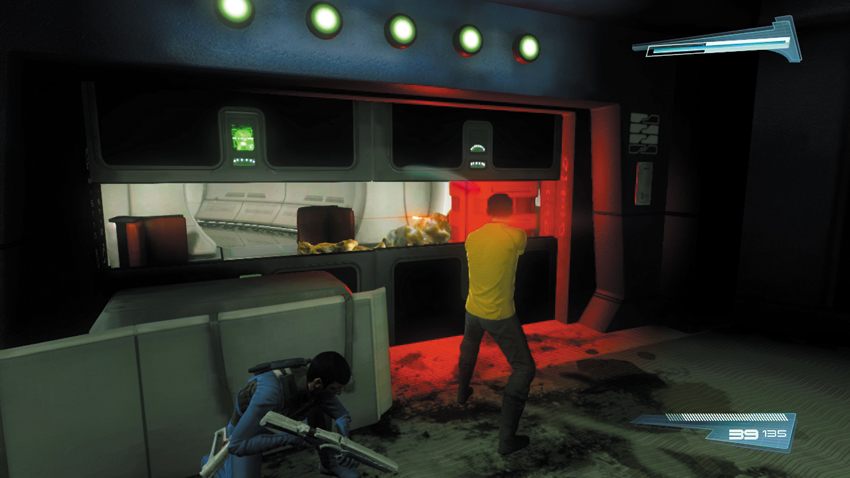
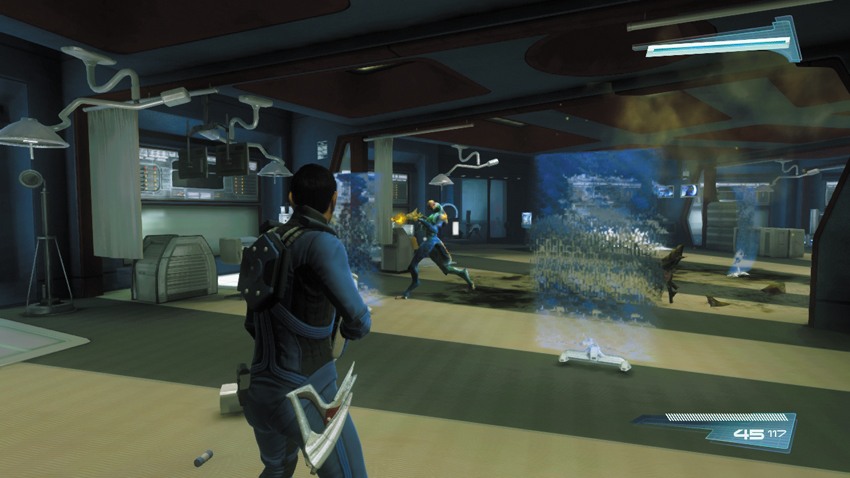
After you withstand the first wave of attackers, turn to the blast door behind you. Several Gorn Warriors have gathered on the other side of the door and are shooting through a small opening. Take cover behind one of the overturned exam tables and return fire. If possible, try to toss a Plasma or Stun Grenade through the small opening in the door. But don’t turn your full attention to the enemies behind this door. Instead, watch out for a Gorn Tech that teleports directly into Medbay. Gun down the Gorn Tech as quickly as possible before he can conjure any Attack Drones.
New Objective: Take the Turbolift to the Bridge.

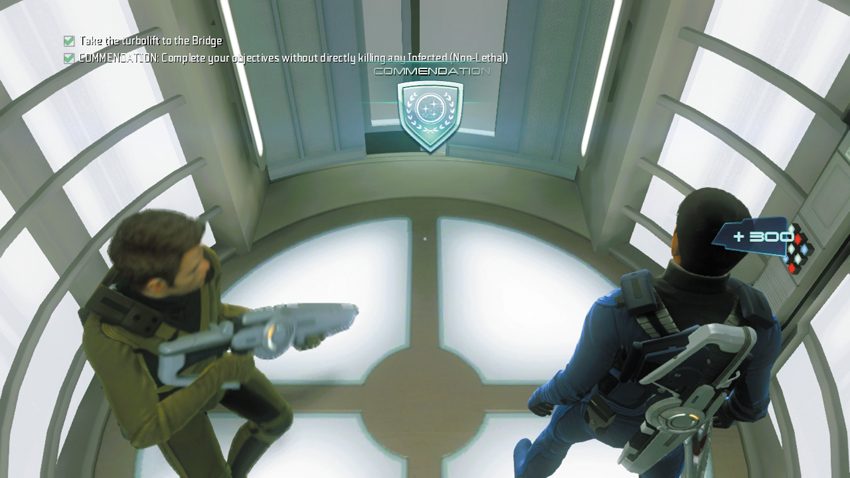
Following the Gorn Tech’s attack, speak with Bones. Kirk orders Sulu to pulse the Enterprise’s shields to help the ship break free of the Gorn’s tethers and destroy the surrounding Gorn ships in the process. Suddenly, Uhura’s voice is heard on the comms—the Gorn are holding Lieutenant Uhura captive on the Bridge and they are threatening to kill her unless control of the ship is turned over to them. Rush to the nearby Turbolift by following the waypoint marker—it’s time to confront the Gorn on the Brdige and save Uhura. Upon entering the Turbolift, you earn the non-lethal commendation, worth 300 XP.
Bridge
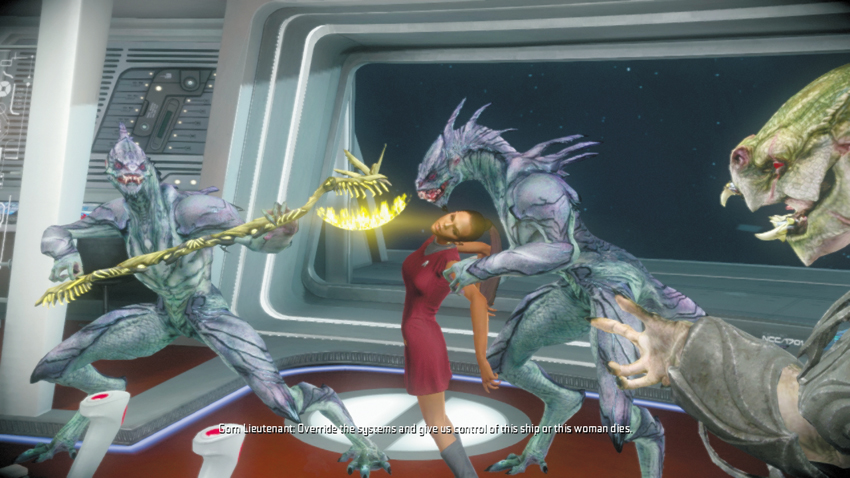
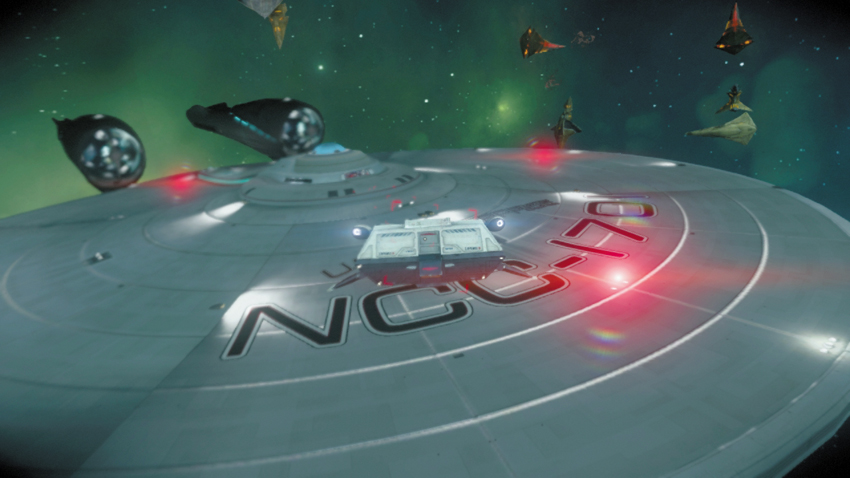
A cinematic is triggered as Kirk and Spock reach the Bridge. During the attack, it looks like the Gorn Lieutenant escaped from the Brig and is now holding Lieutenant Uhura for ransom, offering her life in exchange for the Enterprise. Kirk acts like he’s about to turn control of the ship to the Gorn by tapping a few commands into the helm. But instead, he’s actually taking control of the vacant shuttle he took down to the Gorn Planet—since Bones and Sulu beamed aboard, the shuttle has been floating a few hundred meters off the Enterprise’s bow. During this sequence, guide the shuttle into the center of the Enterprise’s saucer section to strike the Bridge’s viewscreen.
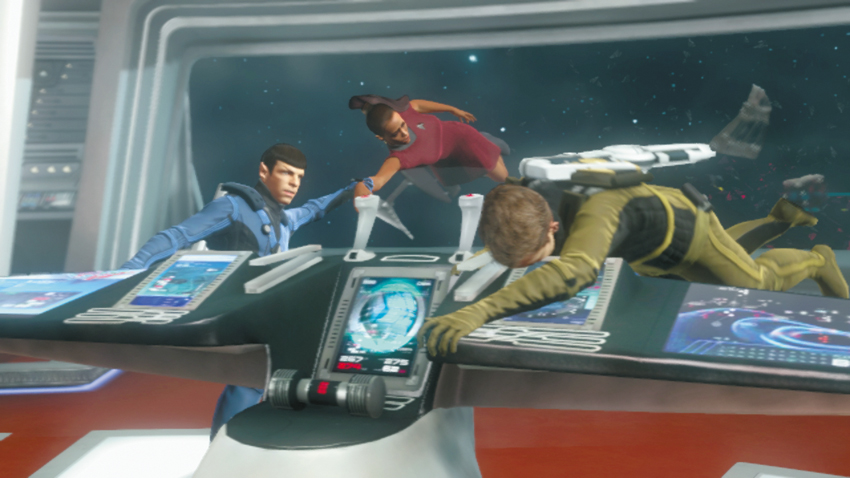
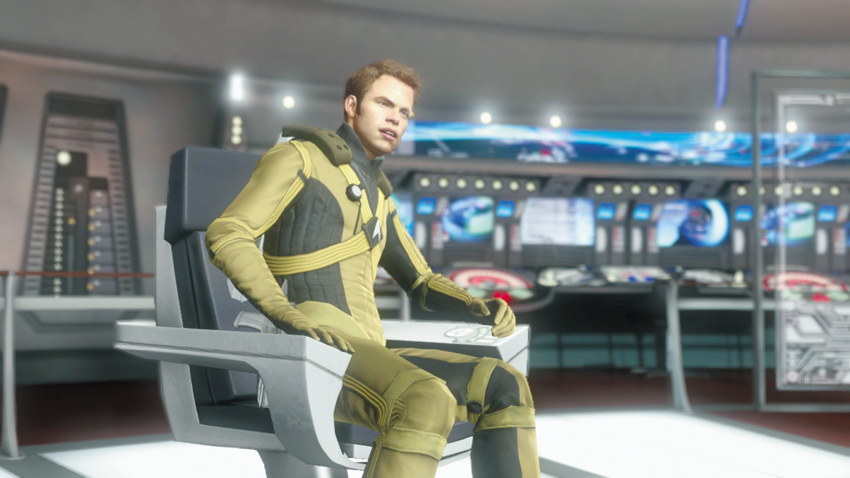
As the shuttle collides with the Bridge’s viewscreen, the breach causes the Gorn Lieutenant and his Gorn Guardian henchman to be blown out into space. Spock grabs Uhura’s hand just in time before she’s swept out into the void as well. Clinging to the helm, Kirk manages to input a voice command, causing a blast shield to seal the breached viewscreen. Once pressure has been restored, Kirk reclaims his Captain’s chair and orders all personnel to report to their stations—it’s time to finish this once and for all….