
Silent Hill Downpour Guide Walkthrough Campaign
St. Maria's Monastery
.jpg)
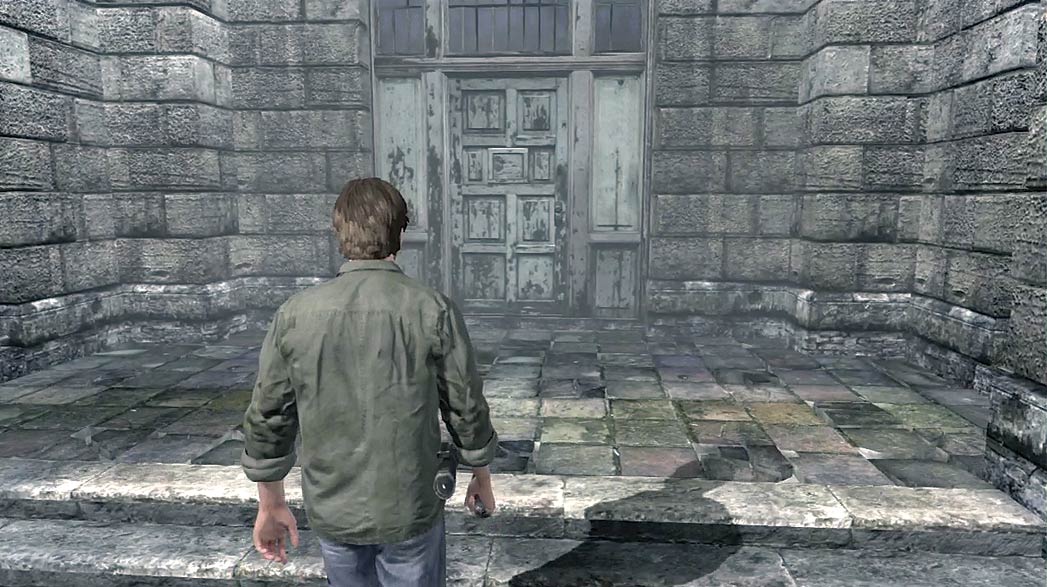
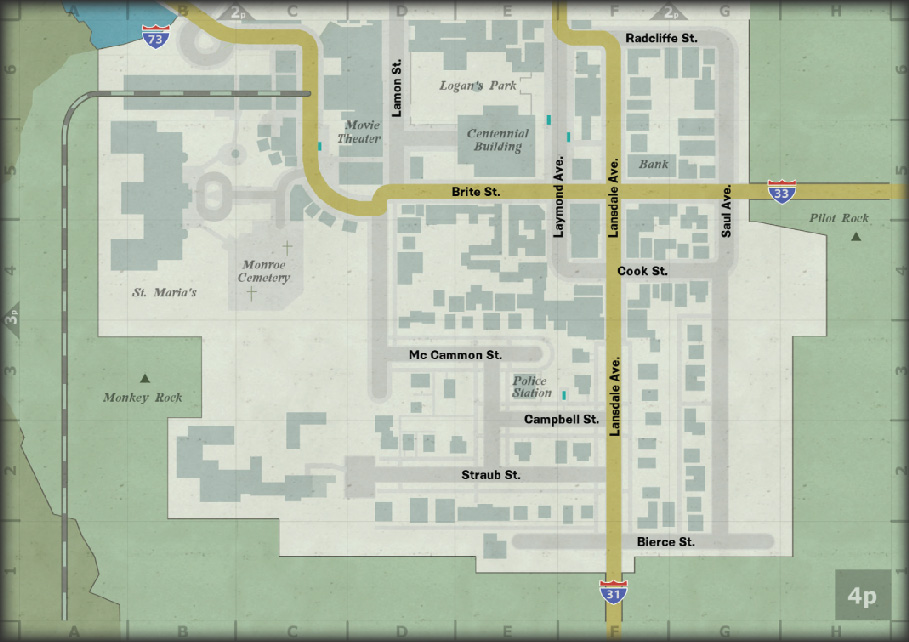
St. Maria’s Monastery is located on the west edge of Chastain Heights. Approach the building’s main entrance to trigger a cutscene.
Once the cutscene begins, you must complete a series of objectives before you’re able to resume your exploration of the town.
Main Hall
.jpg)
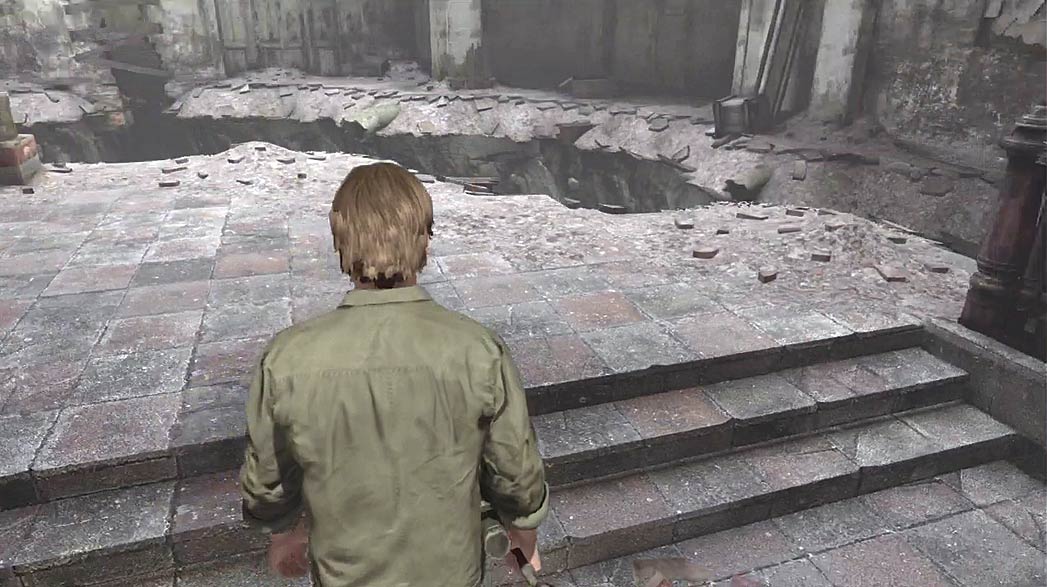
When the cutscene ends, leave the vestibule and enter the main hall at the center of the monastery.
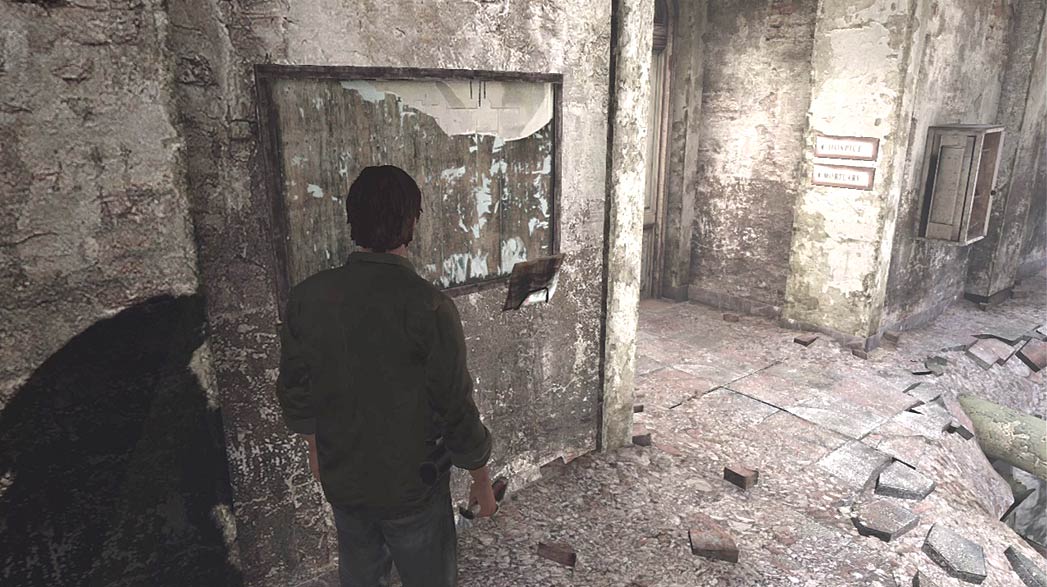
Move to the wall on your left and collect the St. Maria’s maps. The door leading to the building’s west wing has been boarded up.
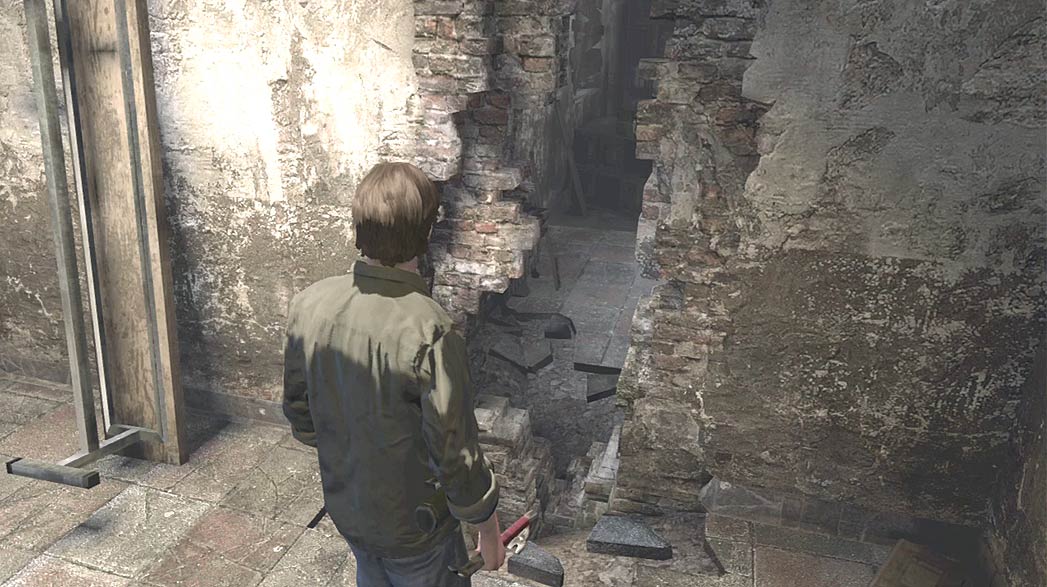
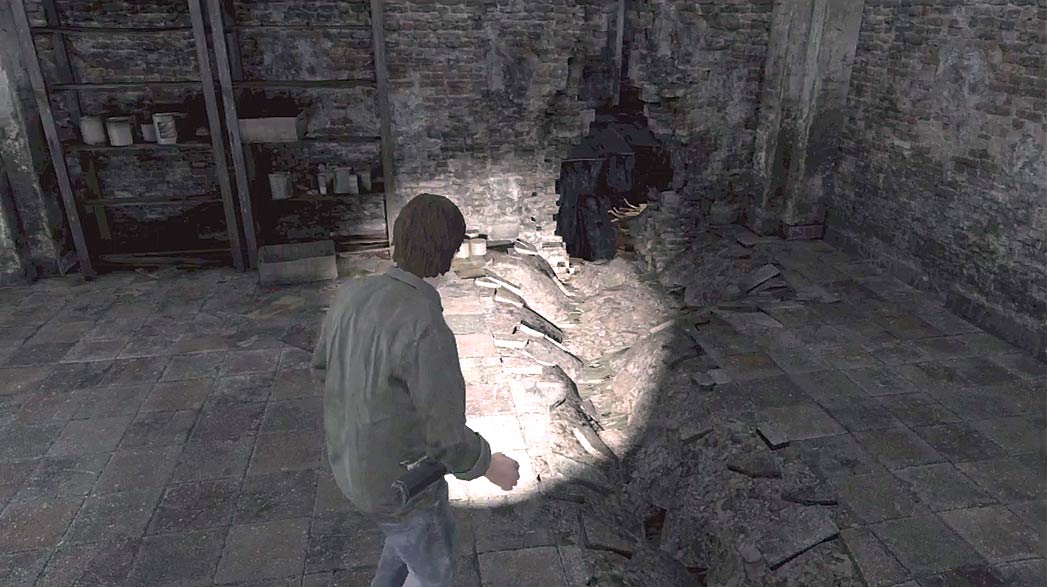
Enter the small room south of the main hall to find a large crack in the wall to your right. Search the room for useful objects, then squeeze through the crack to enter the monastery’s lodge.
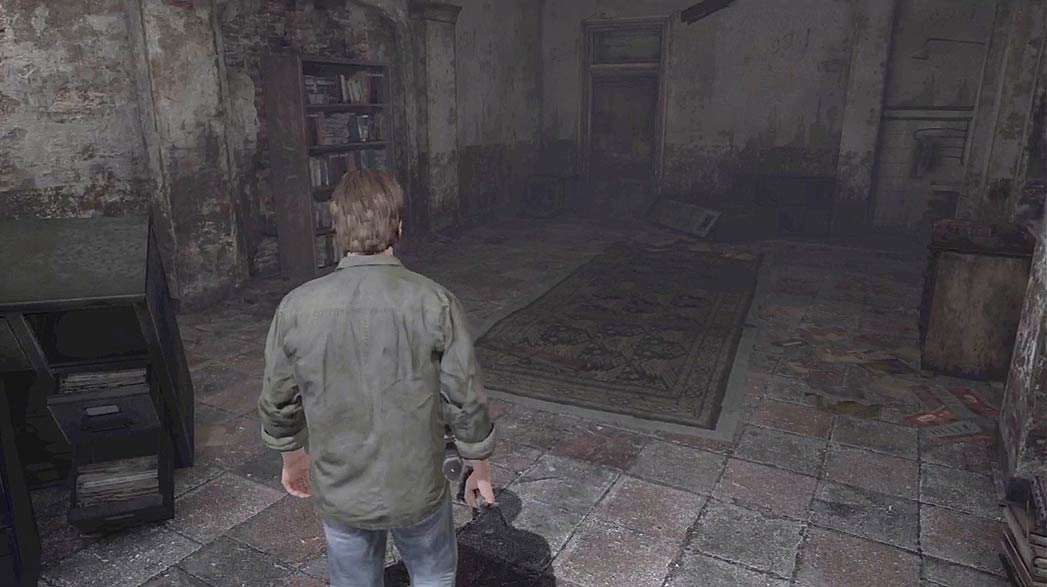
After you pass through the cracked wall, use your UV beam to search the lodge for clues.
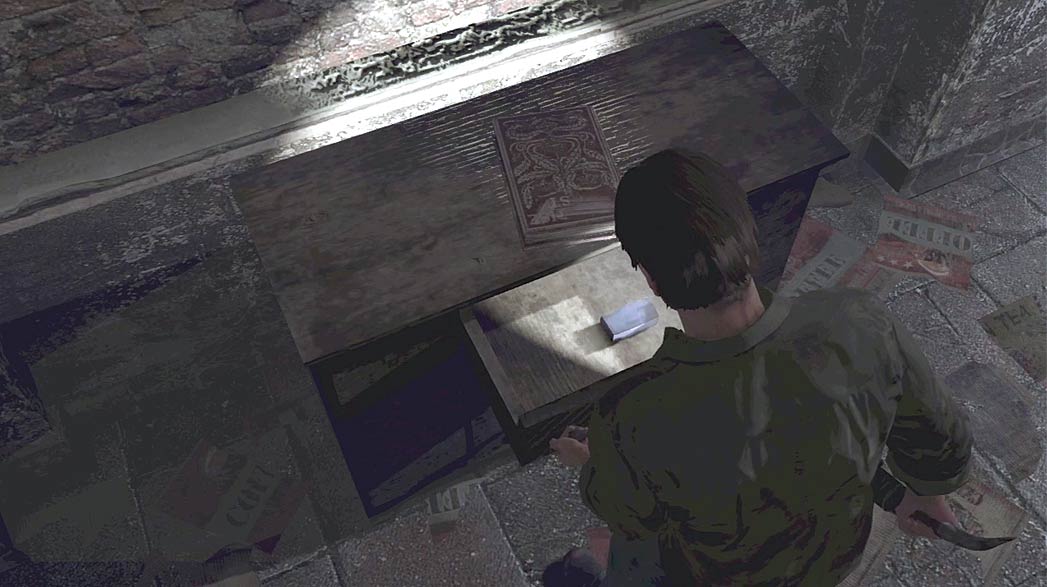
Search the dresser in the lodge to find a box of Pistol Bullets.
Before you leave the monastery, you’ll have to overcome a particularly powerful foe. To help ensure your success, it’s best to build up a supply of ammunition.
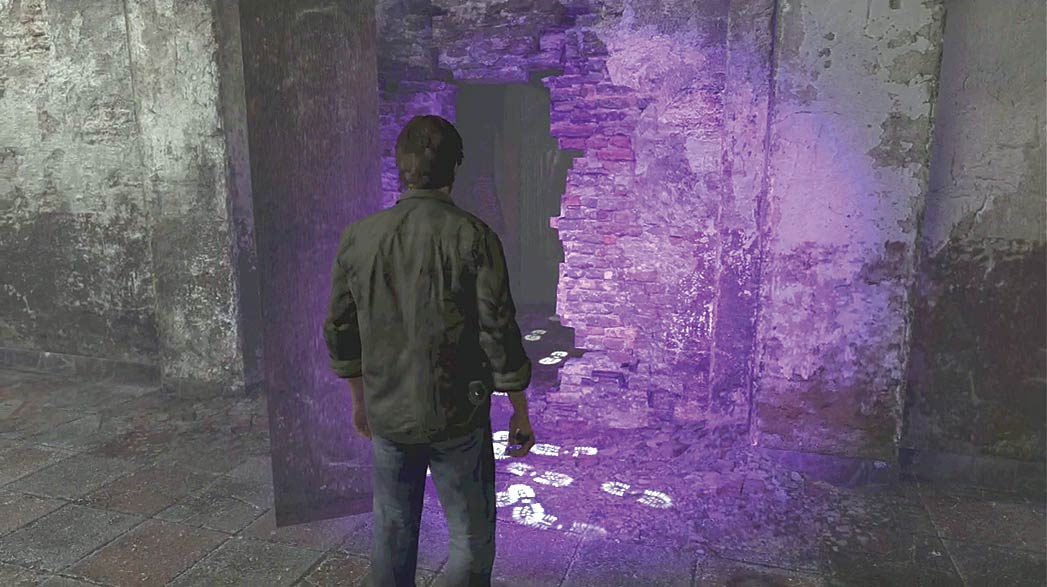
Move toward the cluster of footprints, then pull the bookshelf away from the wall.
When you’re ready, head through the hole in the wall and continue to the chamber at the end of the passage.
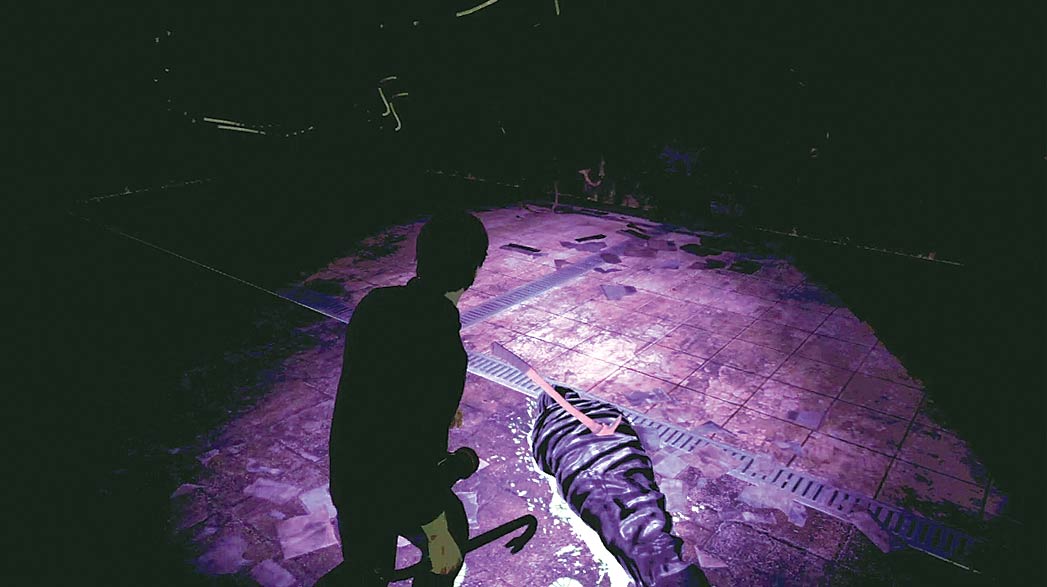
Approach the body near the center of the chamber to find a Fire Axe. When you’re ready, pull the Fire Axe out of the body and return to the main hall.
When you collect the Fire Axe, several Dolls appear in the room. It doesn’t take long for the Shadows to surround you. As soon as you have the Fire Axe, run out of the chamber to draw them into the passage.
Doing so makes it much easier to defend yourself. If you’d rather avoid combat, simply run back to the main hall.
Once you leave the lodge, the passage entrance vanishes and a fresh Fire Axe appears behind the bookcase.
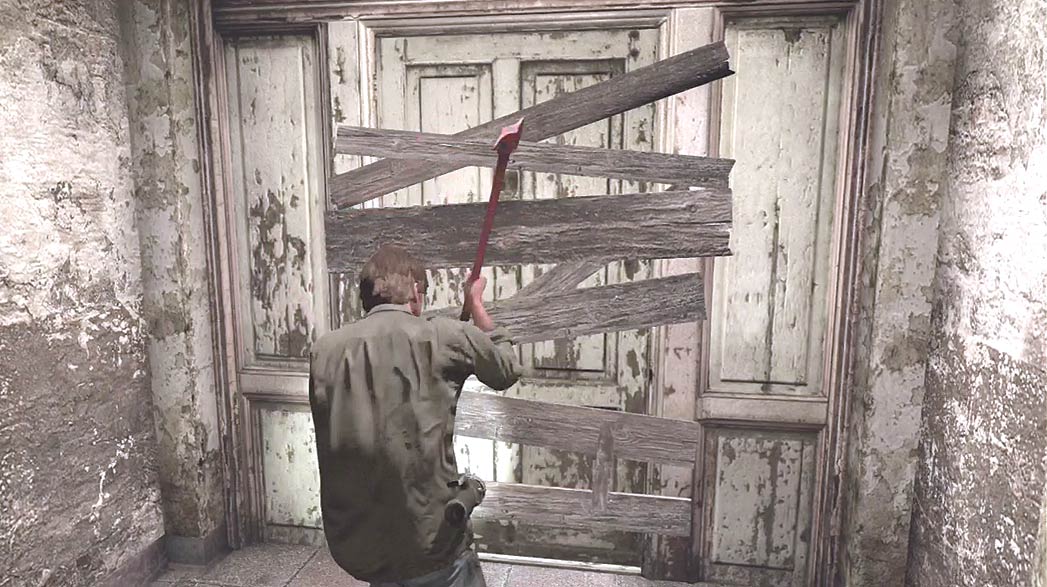
Once you have the Fire Axe, return to the main hall and clear the boards away from the door. When you’re ready to move on, leave the main hall and approach the hospice entrance to trigger a cutscene.
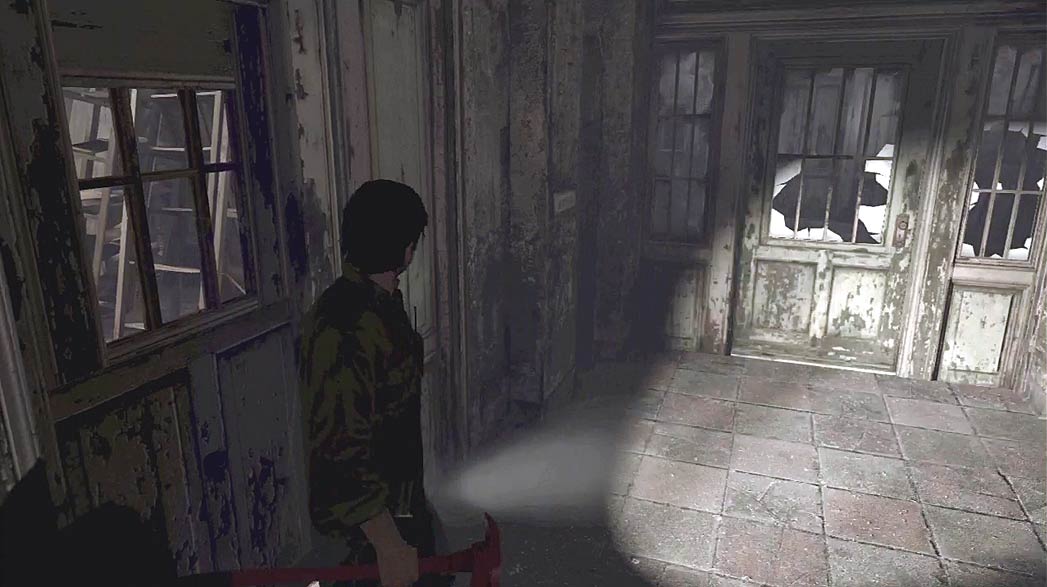
After the cutscene, head through the door on your right and follow the path out of the building.
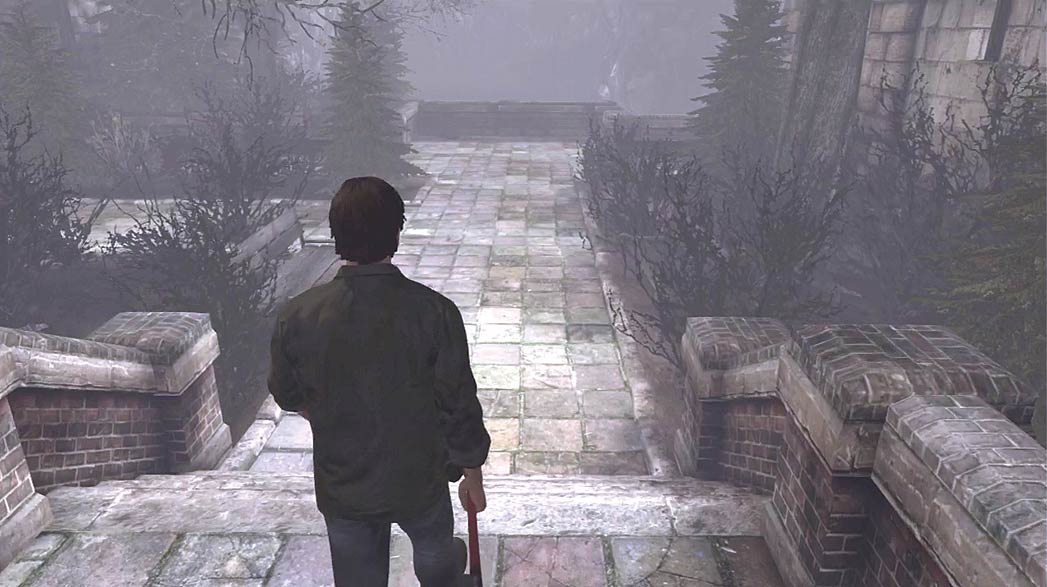
After you exit the building, explore the outdoor walkways to find the chapel entrance on the building’s north edge.
Chapel
.jpg)
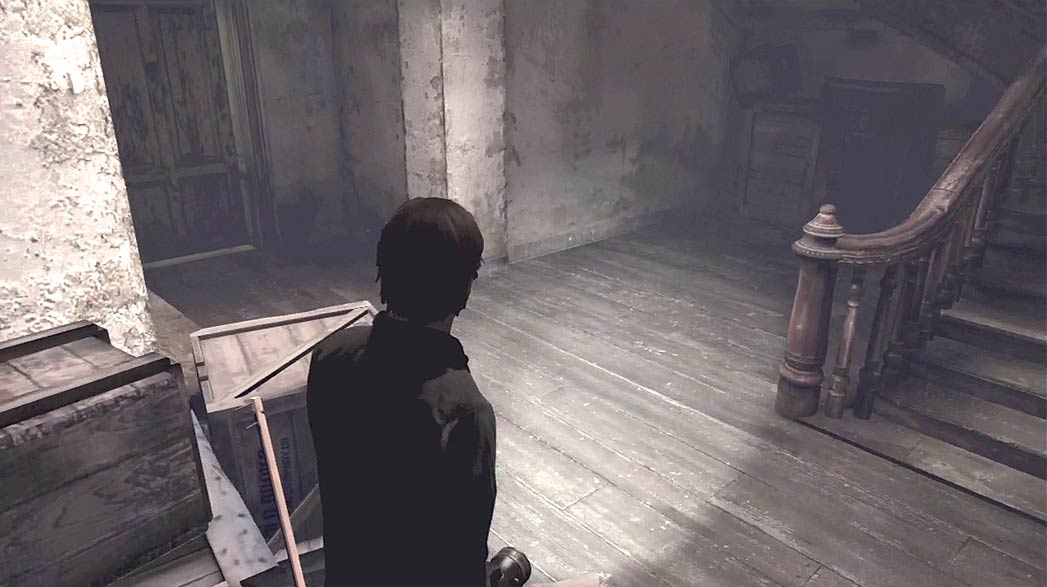
Enter the chapel and continue through the door at the end of the hall. When you’re finished exploring the base of the stairwell, climb up to the second floor.
As you approach the second floor, a small girl runs to the top of the chapel.
If you choose to follow her, you’ll find a bell pull at the top of the stairs. Ringing the bell causes two Dolls to appear on the third floor.
If you choose to ring the bell, activate your UV beam to spot the incoming Shadows.
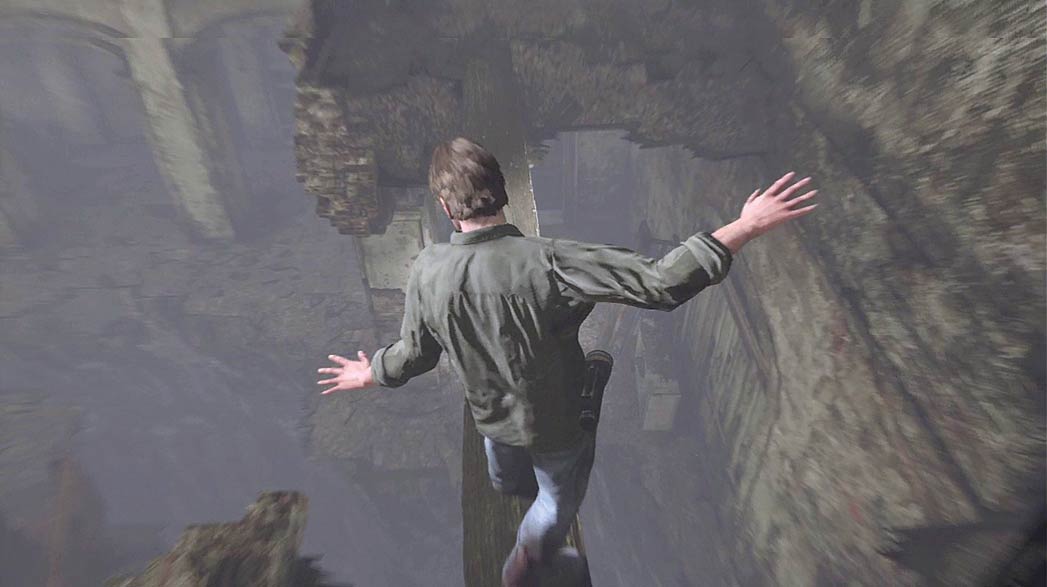
When you’re ready to leave the main stairwell, pass through the door on the second floor and continue across the beam. Follow the path back down to the first floor and enter the chapel’s sanctuary.
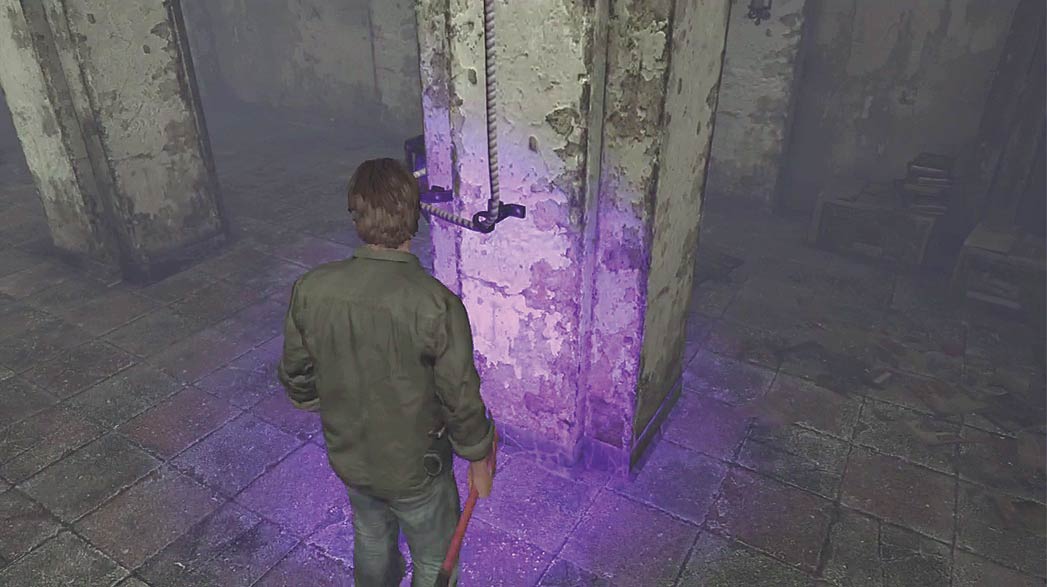
Approach the gate near the chapel’s altar to trigger a short cutscene, then move to the pillar across the room. Examine the rope attached to the pillar, then use the Lighter from your Inventory to burn through it.
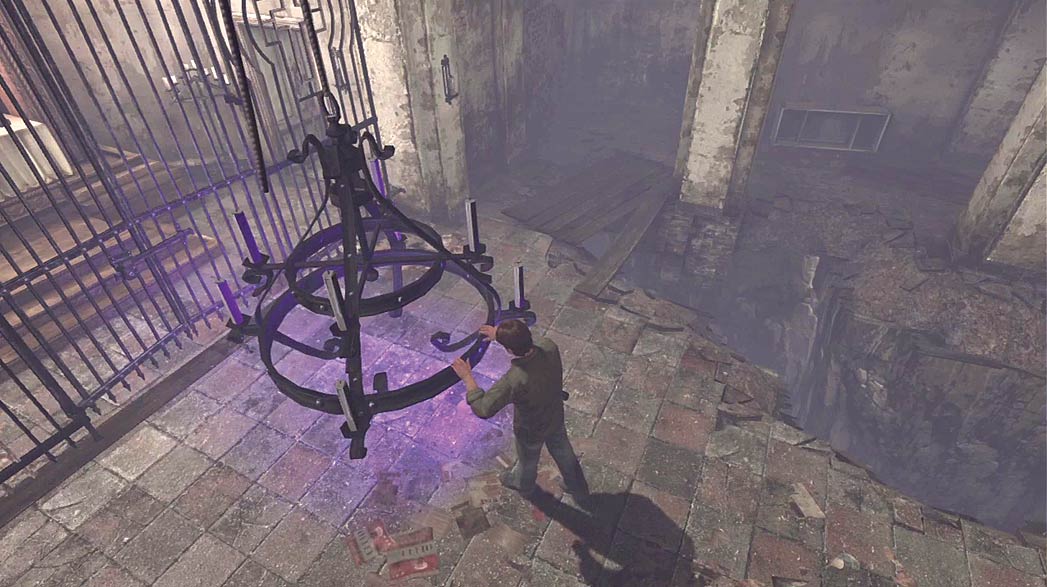
Examine the chandelier that drops down from the ceiling, then follow the on-screen prompts to send it crashing into the gate. Repeat the process until the gate swings open.
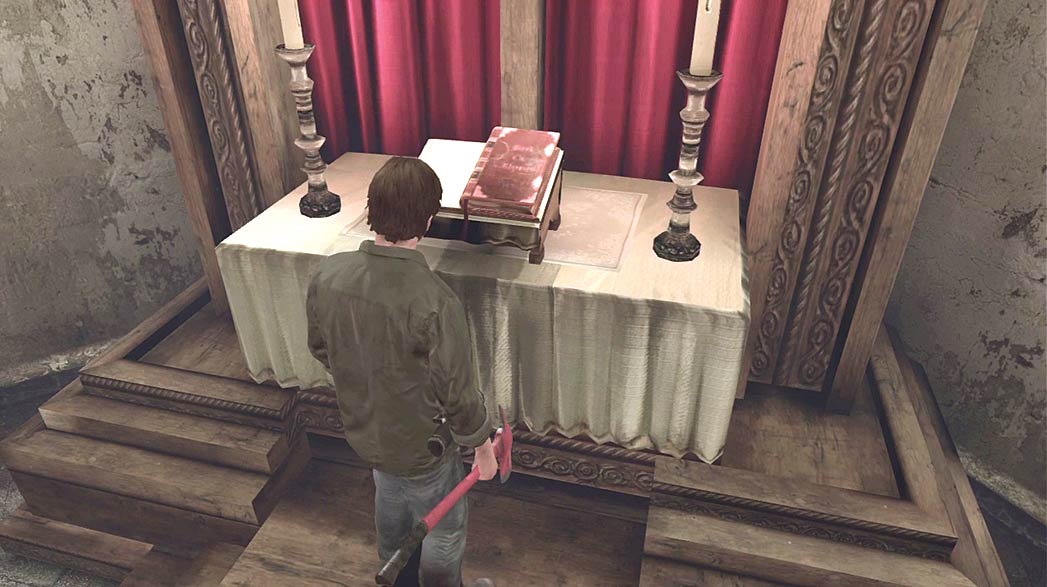
Collect the Mystery item from the altar to add the Poem Fragment 1 to Murphy’s Journal. Once you’ve done so, the door to the right swings open.
When you’re ready to leave the chapel, head through the door and drop down to the ground.
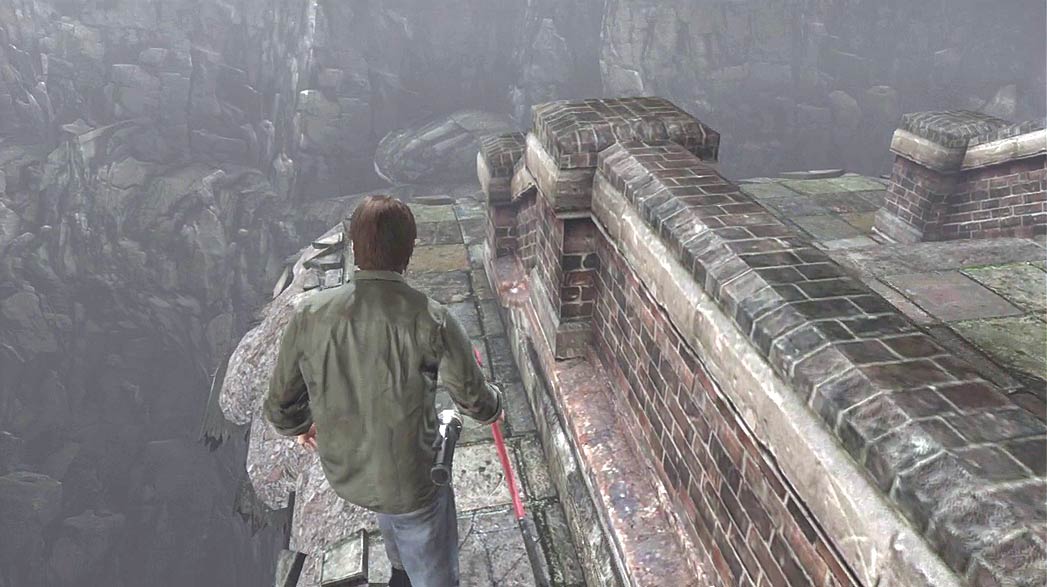
When the cutscene ends, follow the narrow path to the steps on your right.
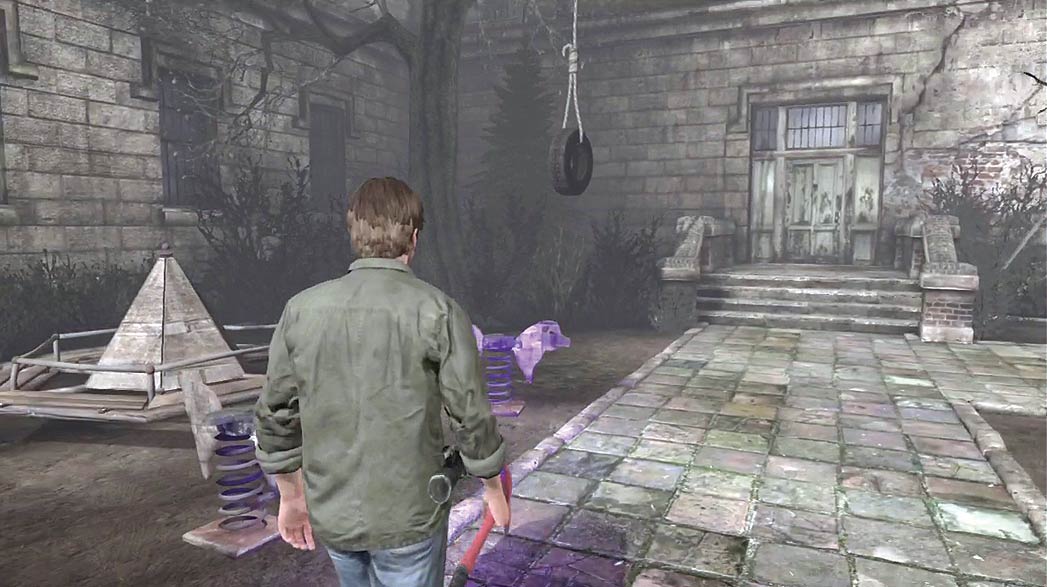
Follow the steps back toward the monastery. When you’re finished exploring the playground, head through the door to enter the building’s orphanage.
Orphanage
First Floor
.jpg)
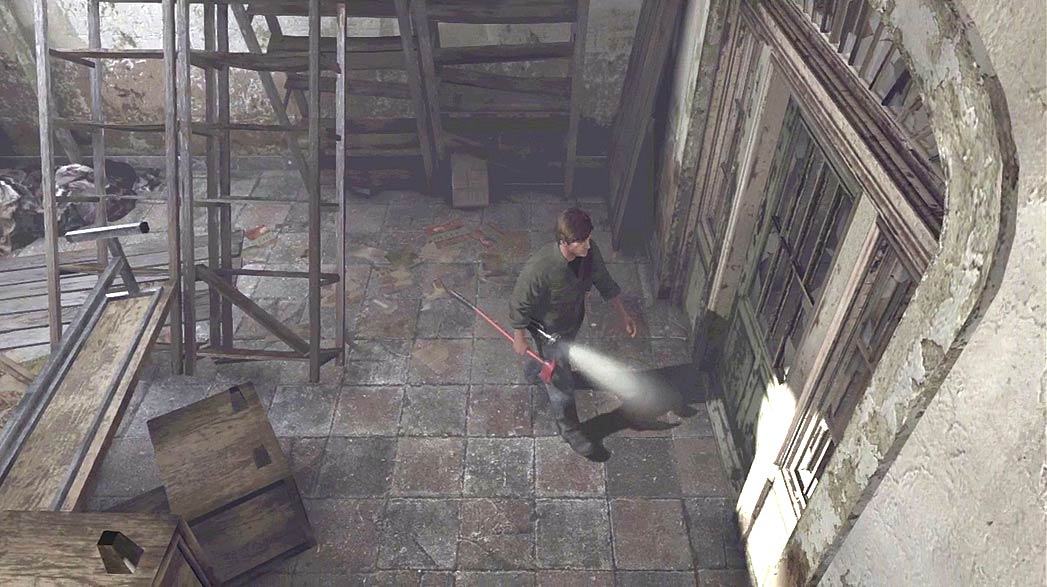
After you enter the building, slip through the gap between the shelf units, then exit the vestibule through the door ahead of you.
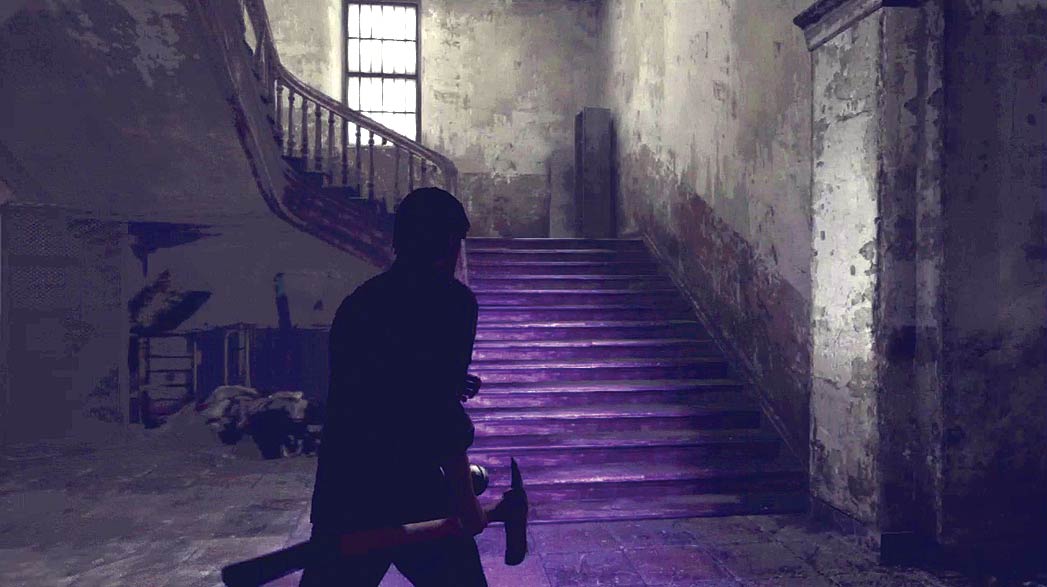
The stairs to the second floor are located just east of the vestibule. Before you head upstairs, search all of the accessible rooms on the orphanage’s first floor.
There are two Screamers located on the orphanage’s first floor.
One Screamer is waiting in the kitchen. The second Screamer appears when you open the gate east of the stairwell. Make sure you’re prepared to defend yourself.
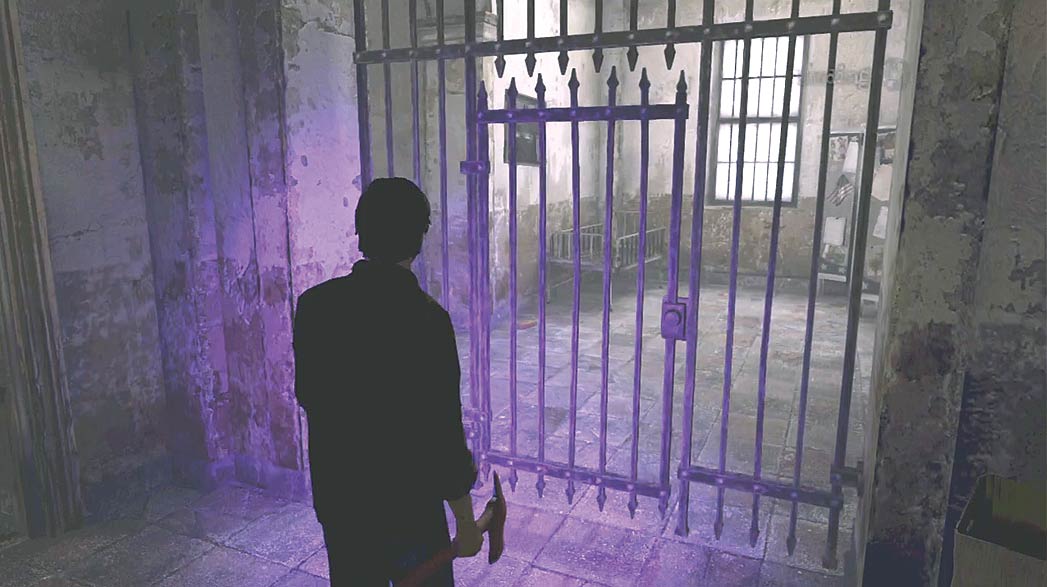
Pass through the gate near the showers to trigger a short cutscene. When you’re ready, follow the hall north. Enter the first door on your right to find the first-floor classroom.
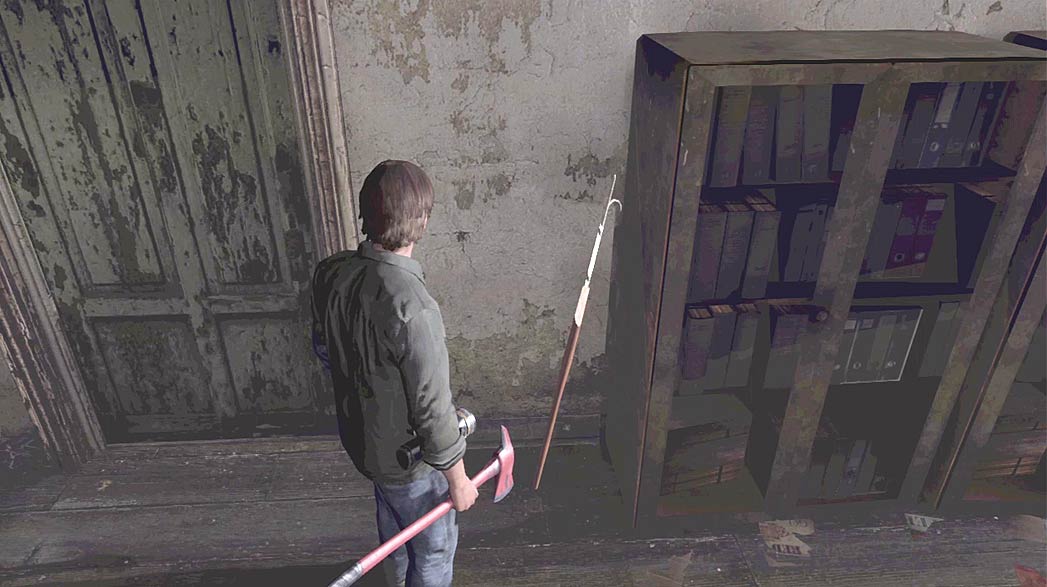
When you’re finished exploring the classroom, move to the north wall. Collect the Hook leaning near the door, then head into the adjacent room to search for any useful items.
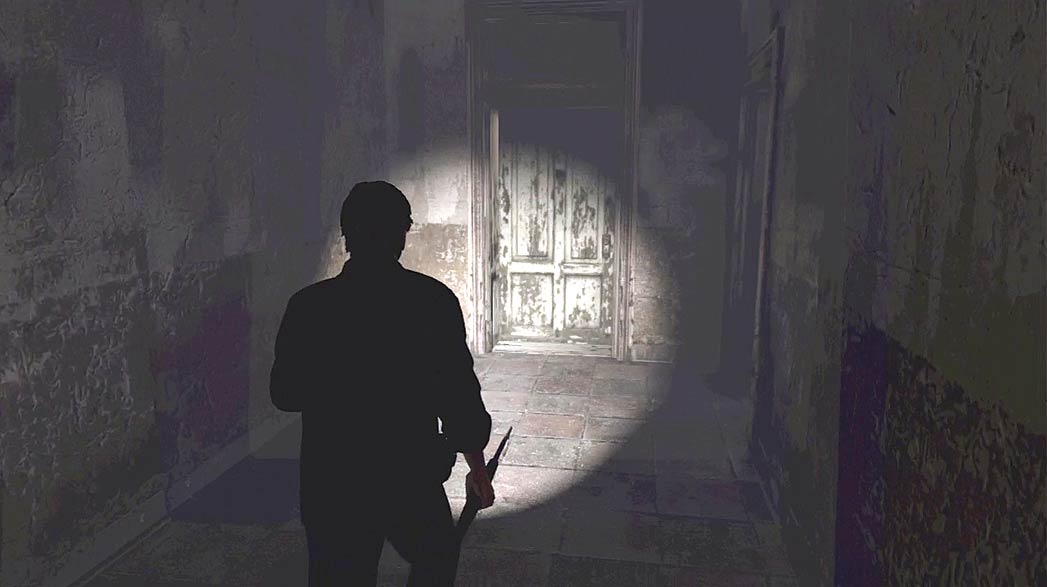
When you’re ready, exit the classroom and continue through the door at the north end of the hallway.
The Theater
First Floor
.jpg)
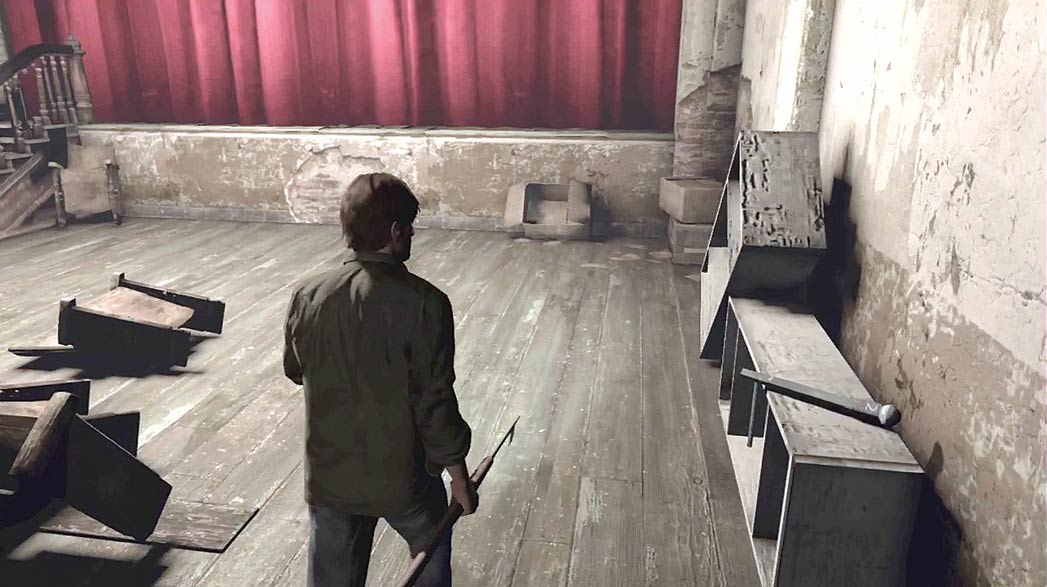
After you enter the theater, explore the first floor for useful items. If you’ve chosen to play through the Hard puzzle difficulty, collect the Lever from the toppled shelves near the stage.
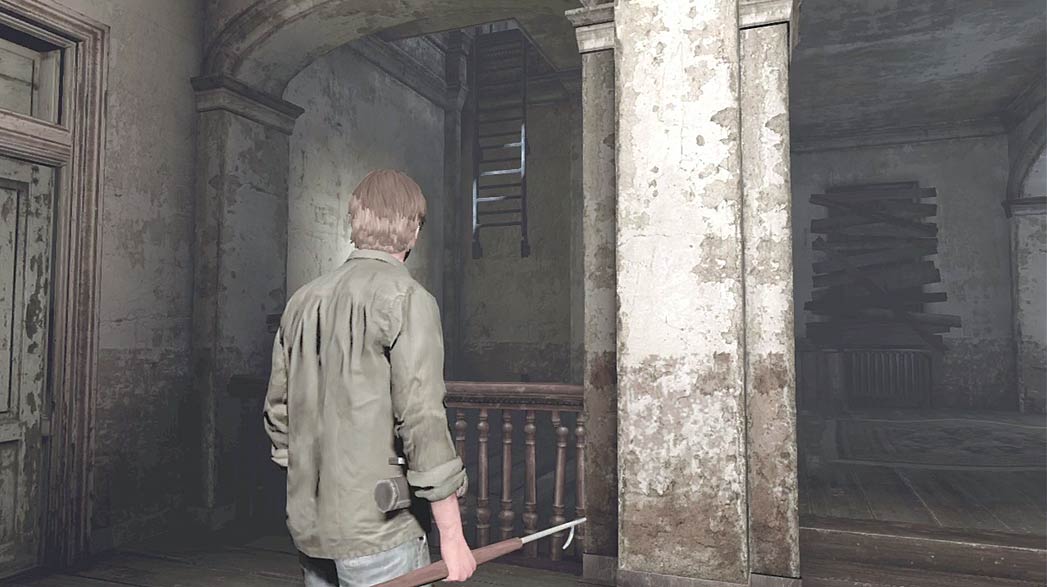
Locate the retractable ladder near the theater’s entrance, then use the Hook from the classroom to pull down the ladder to the floor. When you’re ready, climb the ladder up to the second floor.
Second Floor
.jpg)
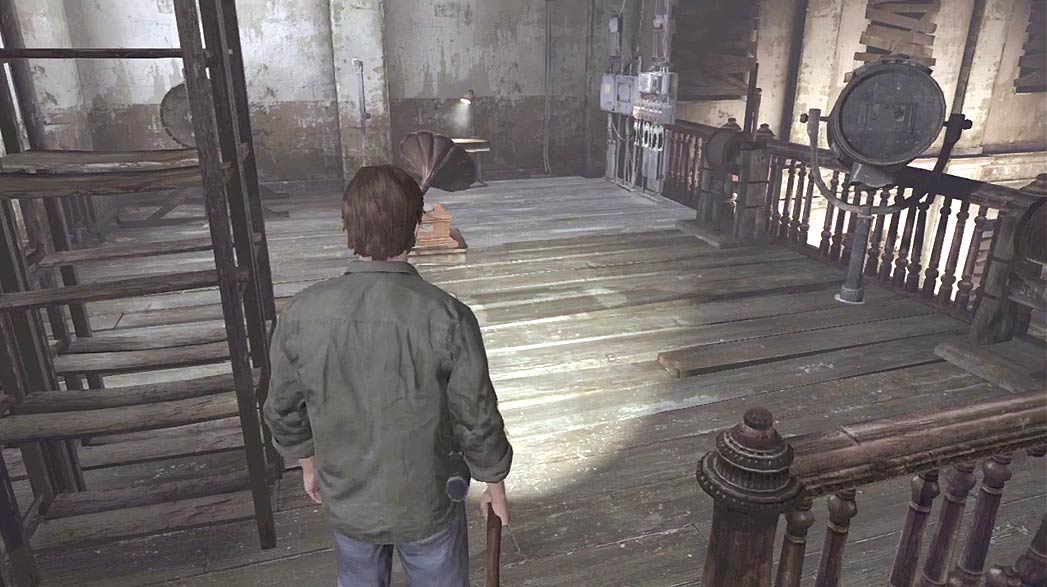
When you reach the top of the ladder, inspect the various devices located throughout the control room.
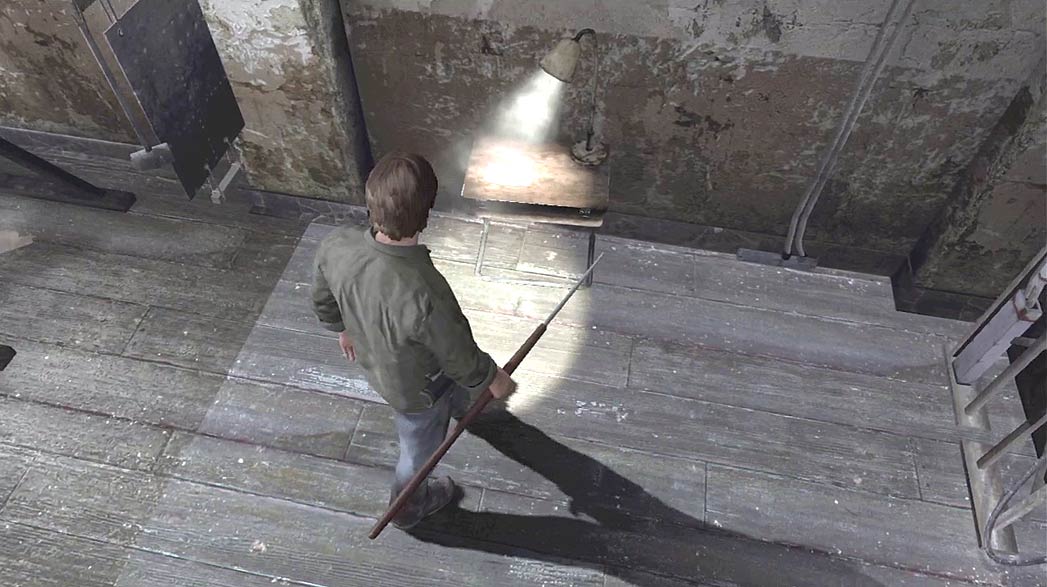
When you reach the north wall, collect the Mystery item on the small desk to add the Technician’s Notes to Murphy’s Journal.
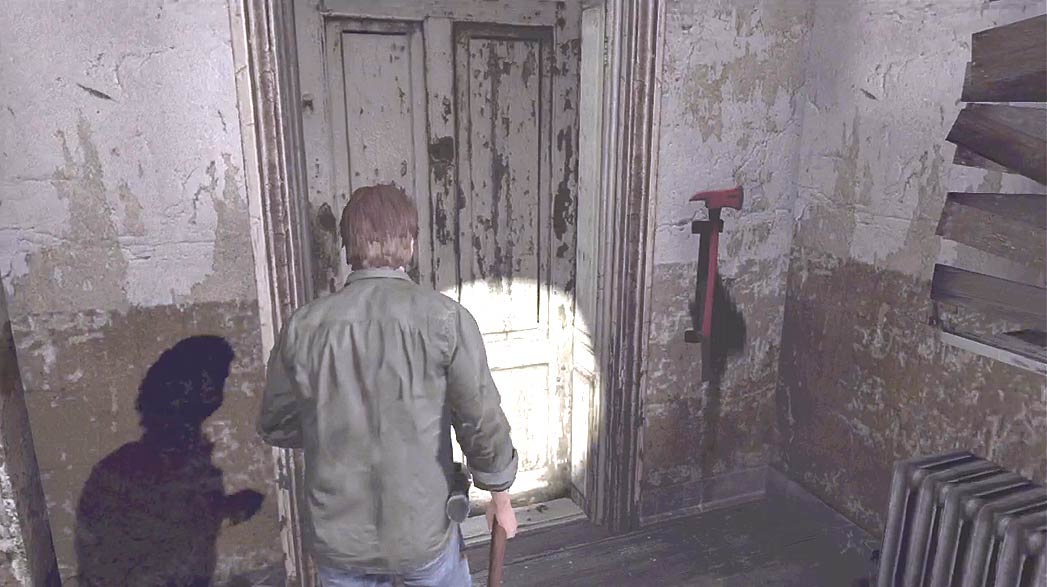
Cross back toward the ladder and head through the door to search the adjoining room.
If you’re still carrying the Hook from the classroom, consider switching it out with the Fire Axe near the door. You’ll face a number of creatures before you leave the theater.
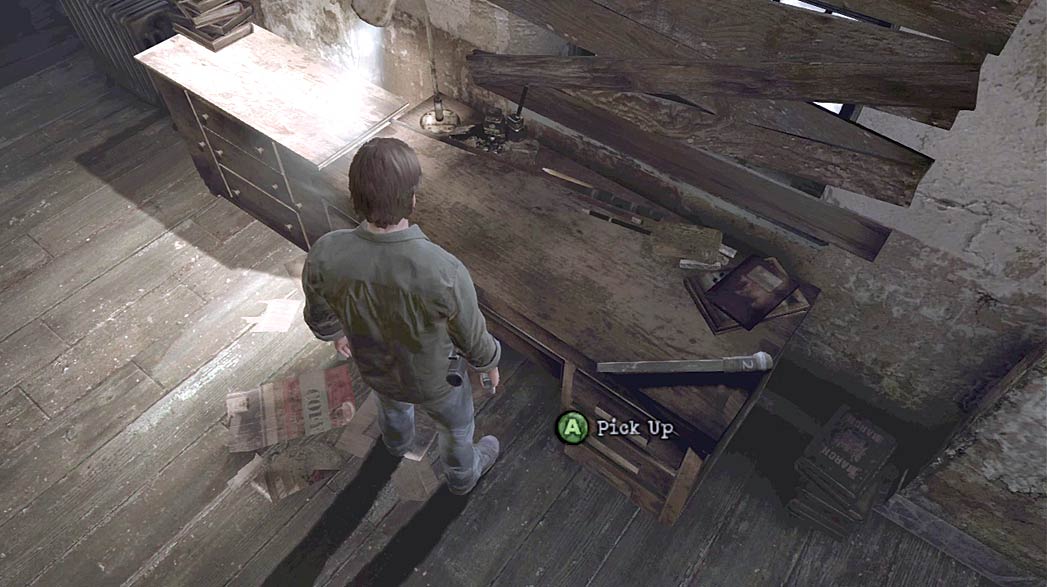
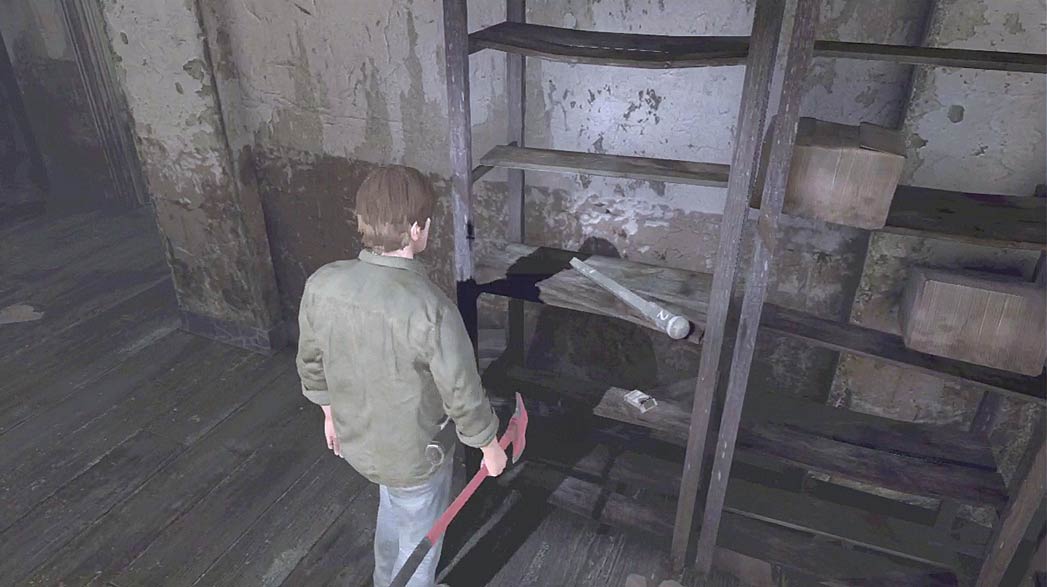
If you’re playing through the Easy puzzle difficulty, collect the Lever from the desk just beyond the door; in the Normal puzzle difficulty, the Lever is located on the shelves across from the desk.
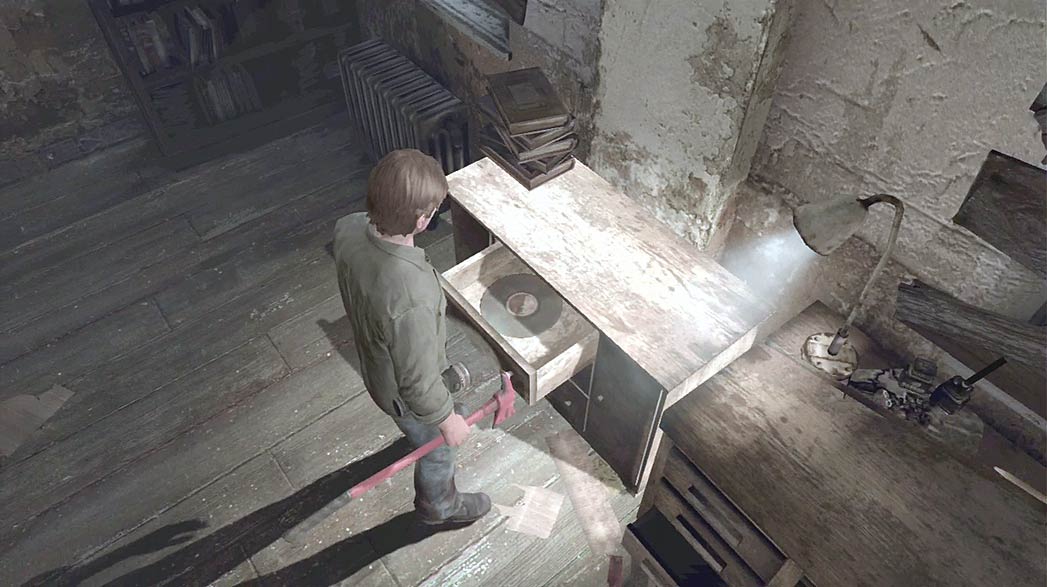
Once you have the Lever, collect the Vinyl Record from the drawers near the desk and return to the control room.
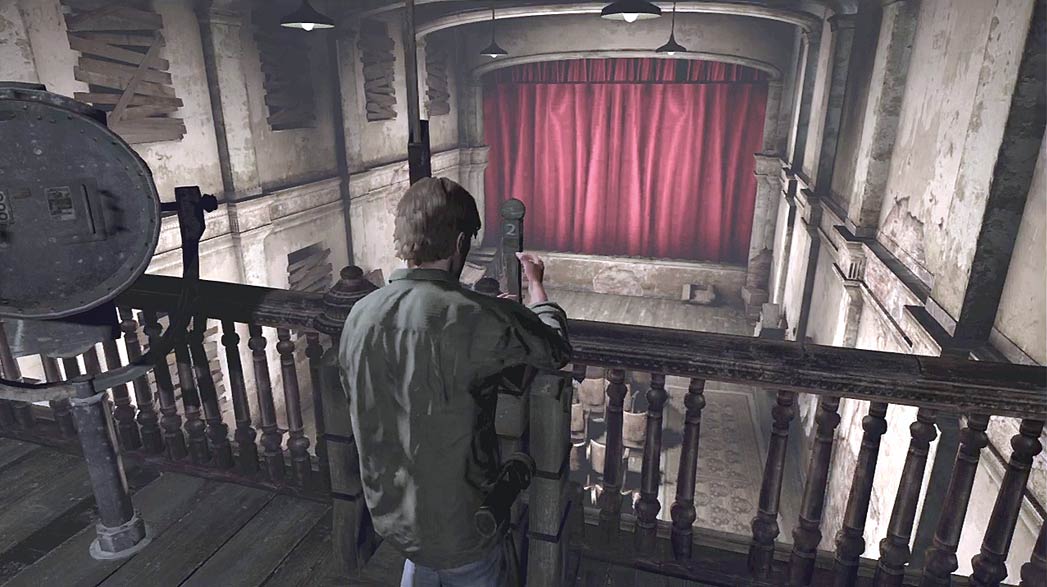
The spotlight near the railing is flanked by two winches. Insert the Lever from your Inventory into the winch on the right, then place the Vinyl Record on the gramophone’s turntable.
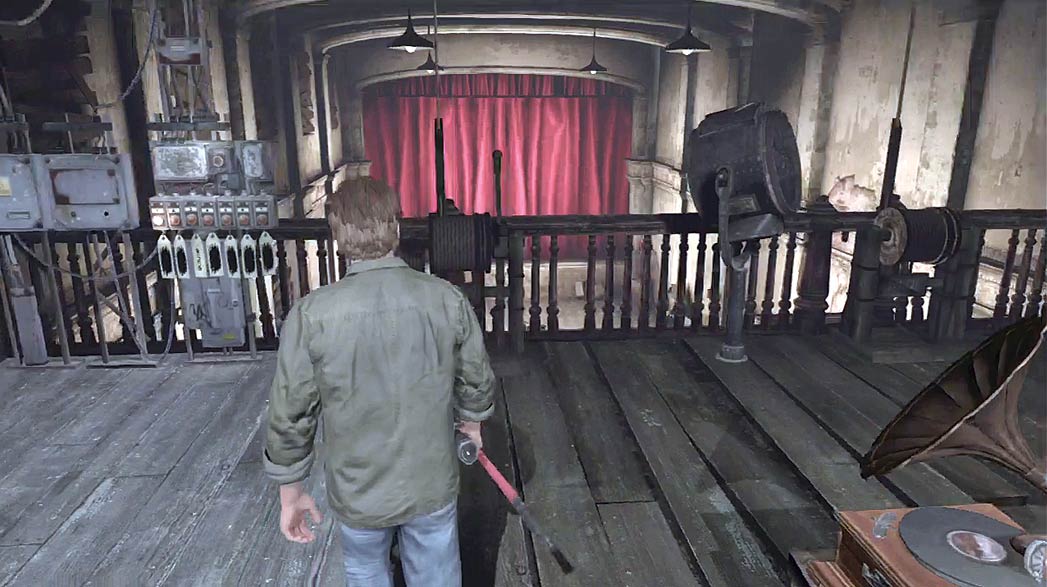
Move back to the rail and examine the numbered cue lights. Each of the seven lights indicates a specific action. Using the various devices in the control room, you must perform each of the indicated actions in the appropriate order.
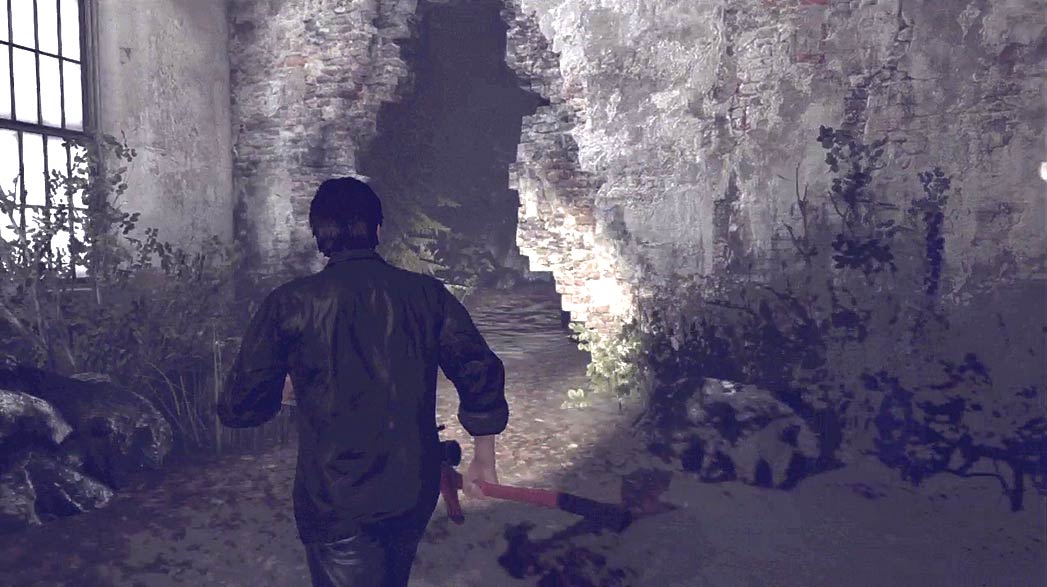
After the theater transforms, climb down the ladder to explore the altered environment. Pass through the hole in the wall and follow the path through the forest until you reach the cottage.
The forest contains a Weeping Bat and three Screamers. As you explore the area, beware of hidden enemies.
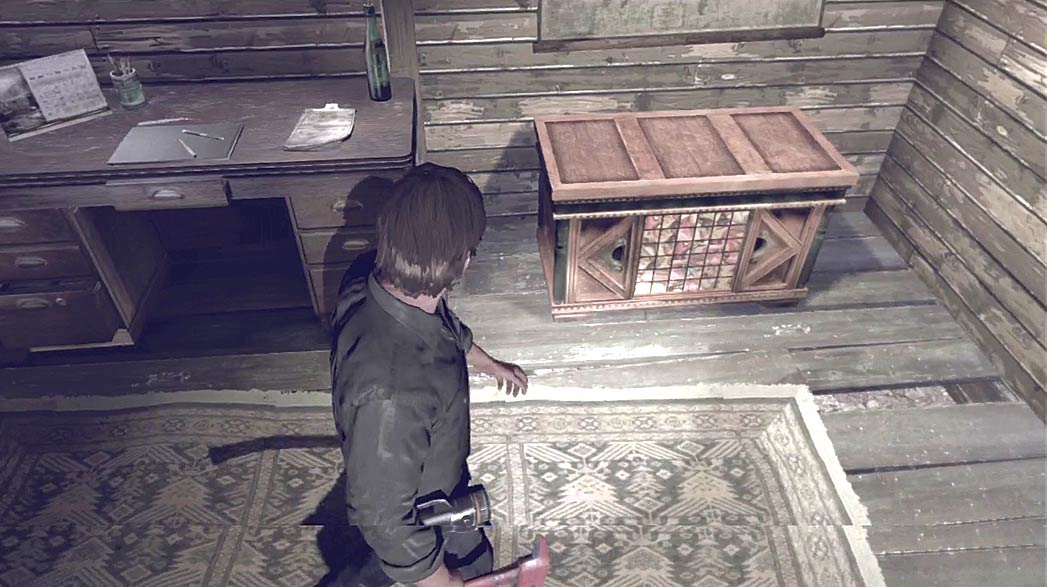
Enter the cottage and locate the chest along the back wall. Open the chest to collect the Blackboard Eraser and the Poem Fragment 2 Mystery item.
|
|
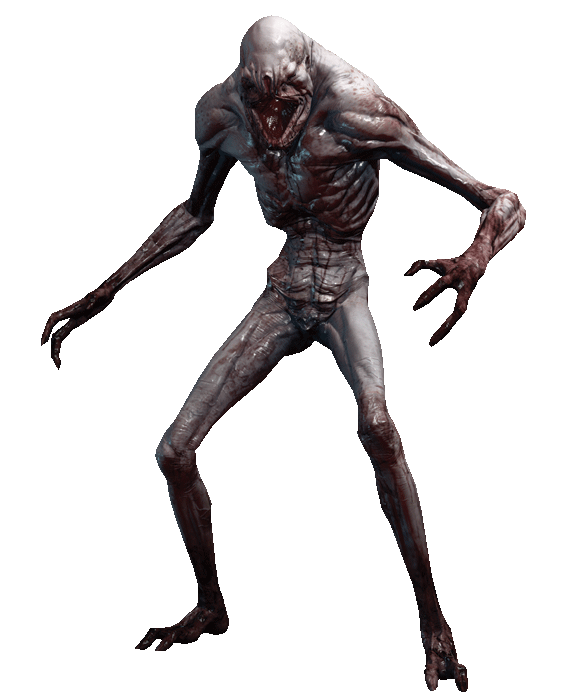
When you open the chest, two Dolls appear behind you. When the cutscene ends, turn around to defend yourself from the incoming Shadows.
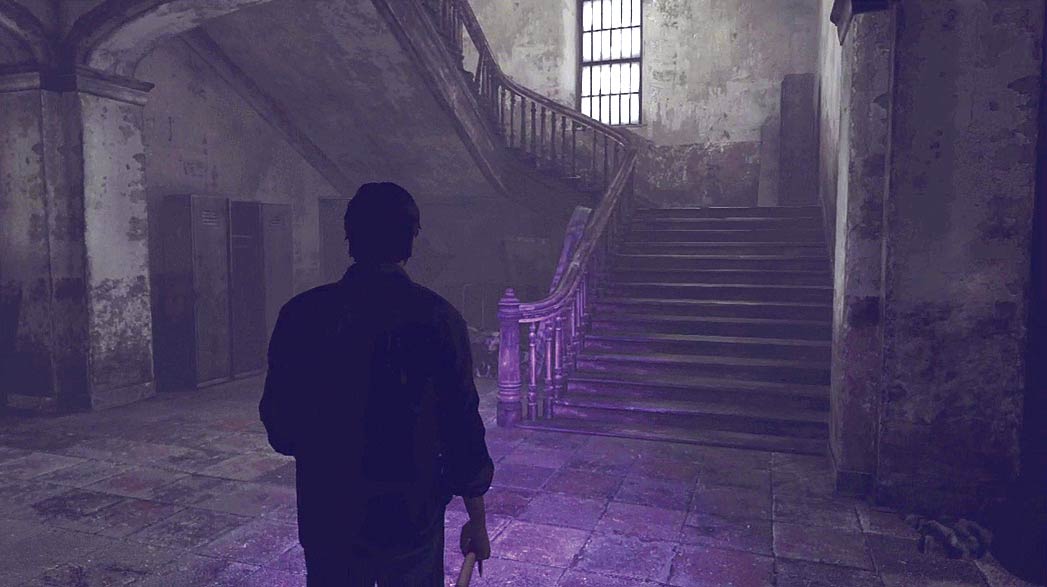
Once you’ve collected the chest’s contents, exit the cottage and drop down from the stage. When you’re ready, exit the theater, follow the hallway back to the stairwell, and climb up to the orphanage’s second floor.
Second Floor
.jpg)
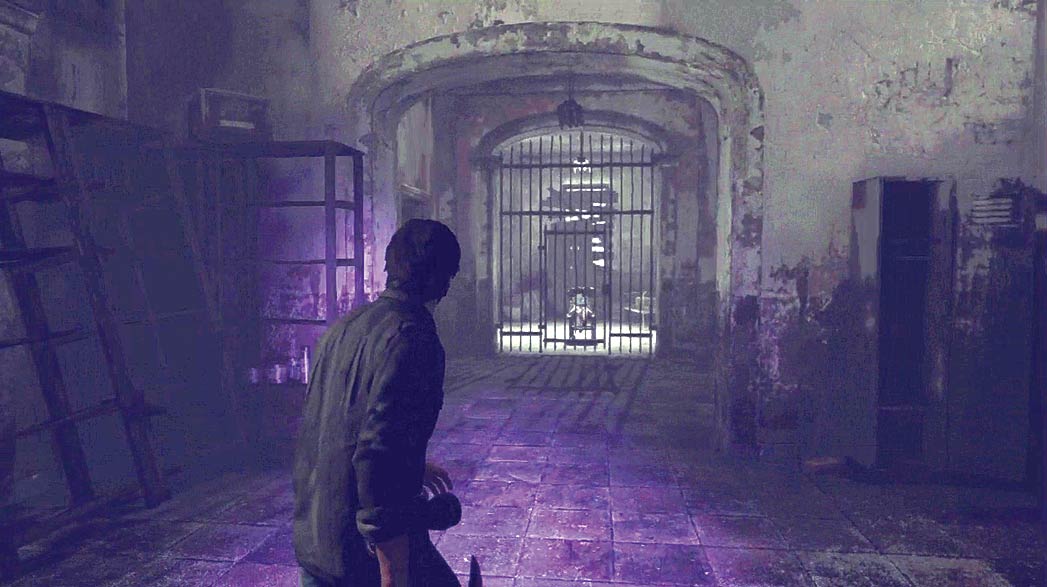
When you reach the second floor, approach the gate west of the stairwell. When you’re ready, open the gate and follow the hall north. Enter through the first door on your right and search the orphanage dormitory for useful items.
There are three Dolls in the dormitory. The room is extremely dark, so you may need to switch between your Forensic Flashlight’s beams as you explore the room.
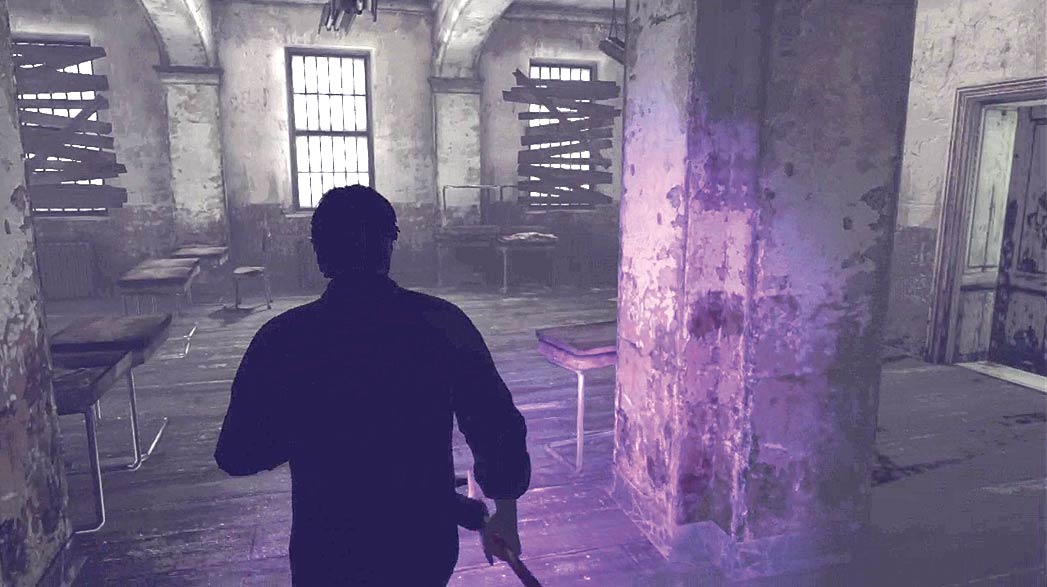
When you’re done searching the dormitory, follow the hall back to the gate and enter the second-floor classroom.
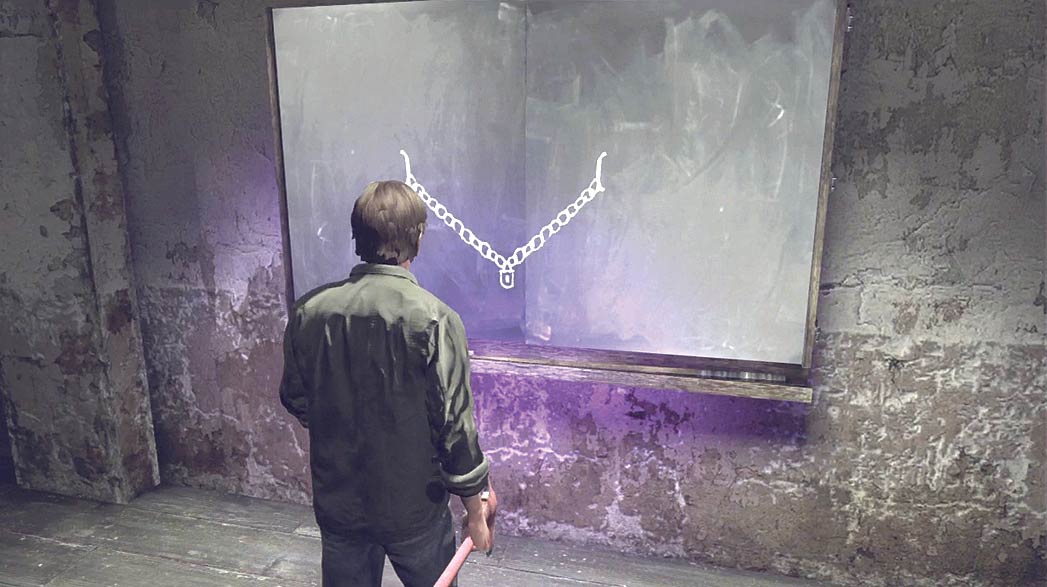
When you’re done exploring the area, examine the blackboard on the classroom’s east wall. Use the Blackboard Eraser to remove the drawing from the board.
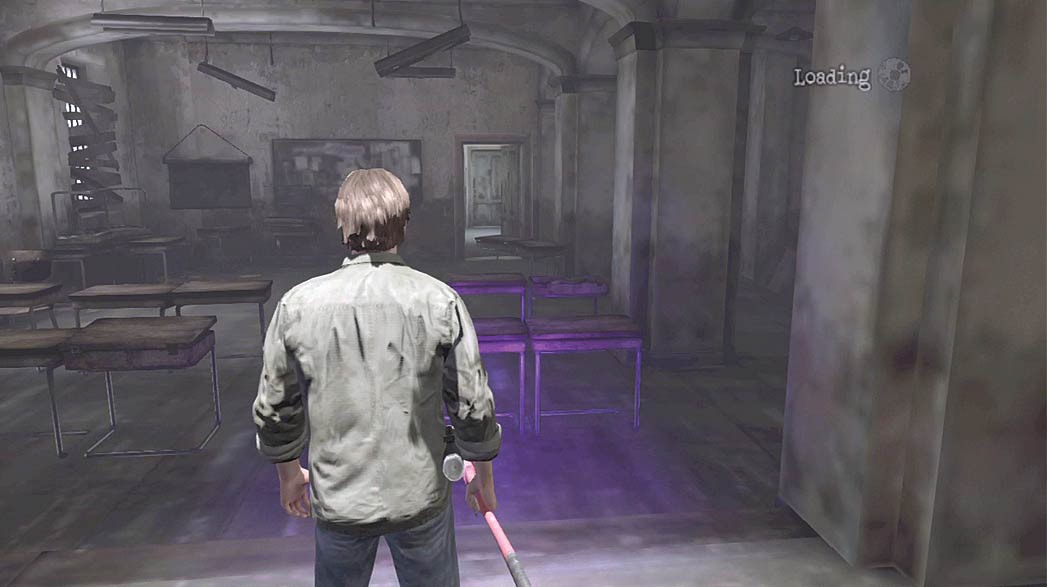
After the cutscene, the door across the room swings open. As you follow the path through the library and playroom, search each area for useful items.
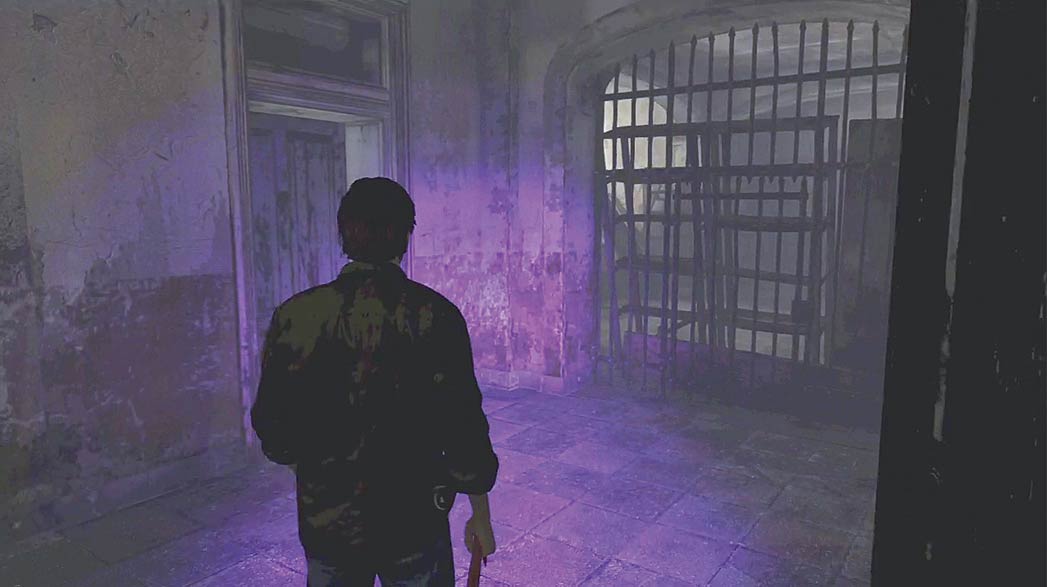
After you leave the playroom, veer right and search the small office across the hall.
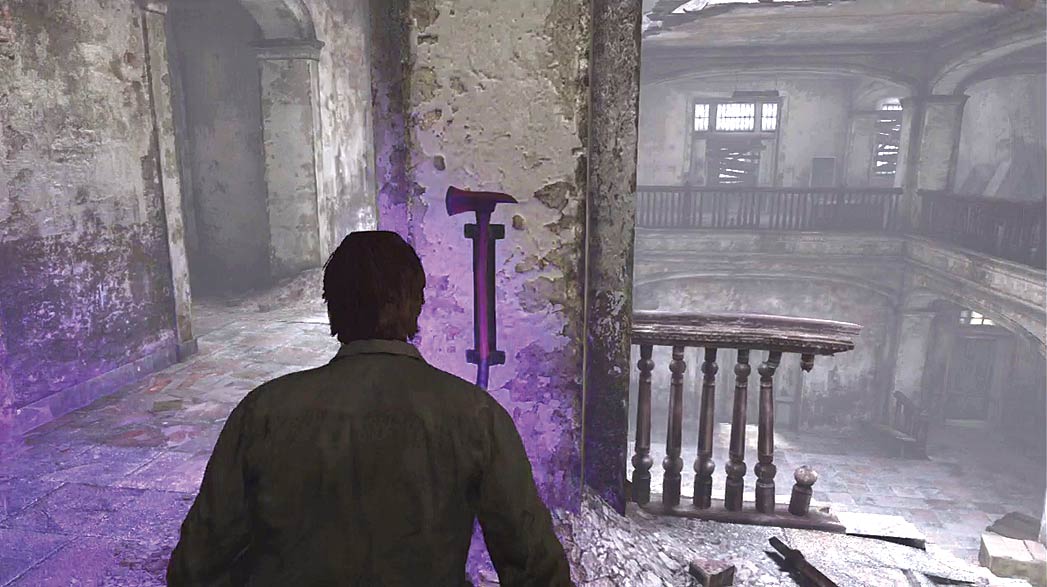
When you’re ready to leave the orphanage, follow the path to the mezzanine above the building’s main hall. Grab the Fire Axe from the pillar at the room’s northeast corner, then follow the walkway to the second-floor hospice entrance.
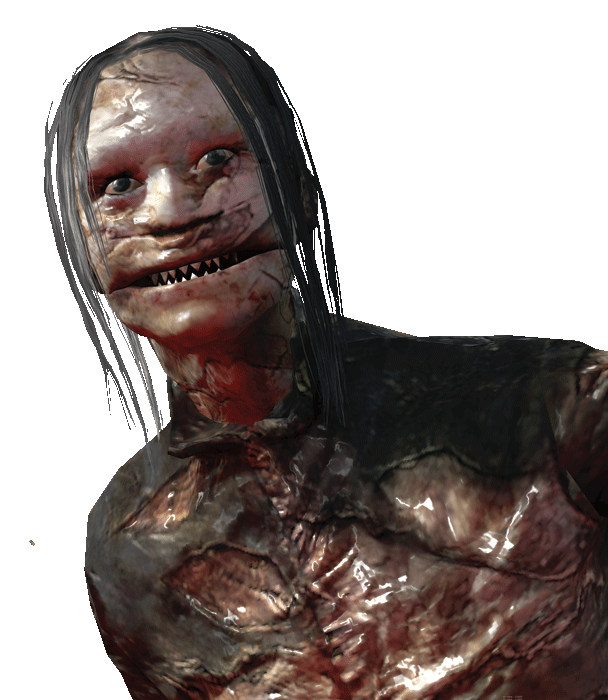
As you approach the hospice entrance, a Screamer appears on the path ahead of you. After you deal with the creature, keep an eye out for a second Screamer that appears behind you.
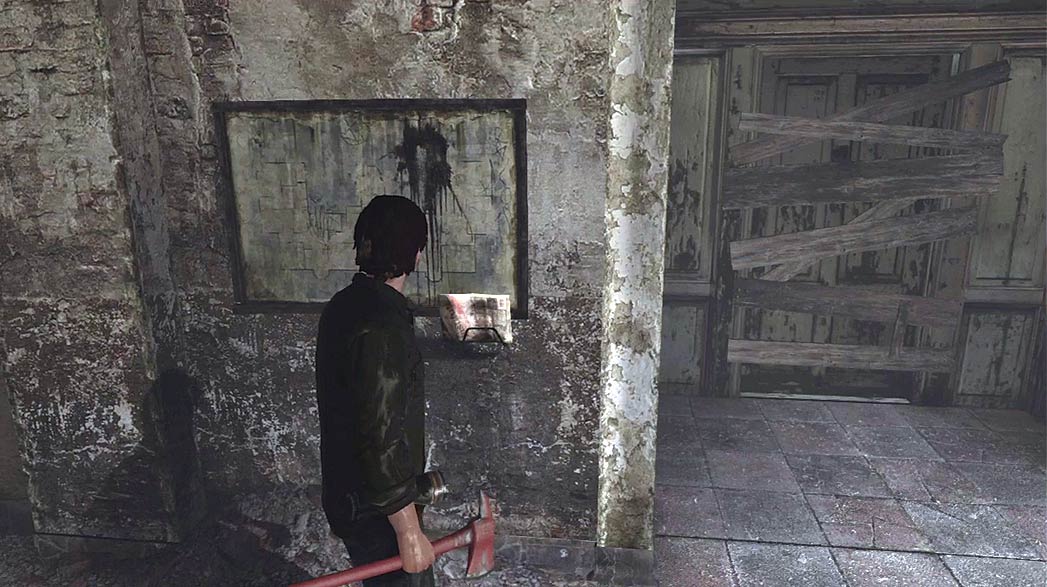
There’s another set of St. Maria’s maps on the wall near the hospice entrance. Grab the maps, then use the Fire Axe to smash through the boards blocking the entrance.
|
Hospice
.jpg)
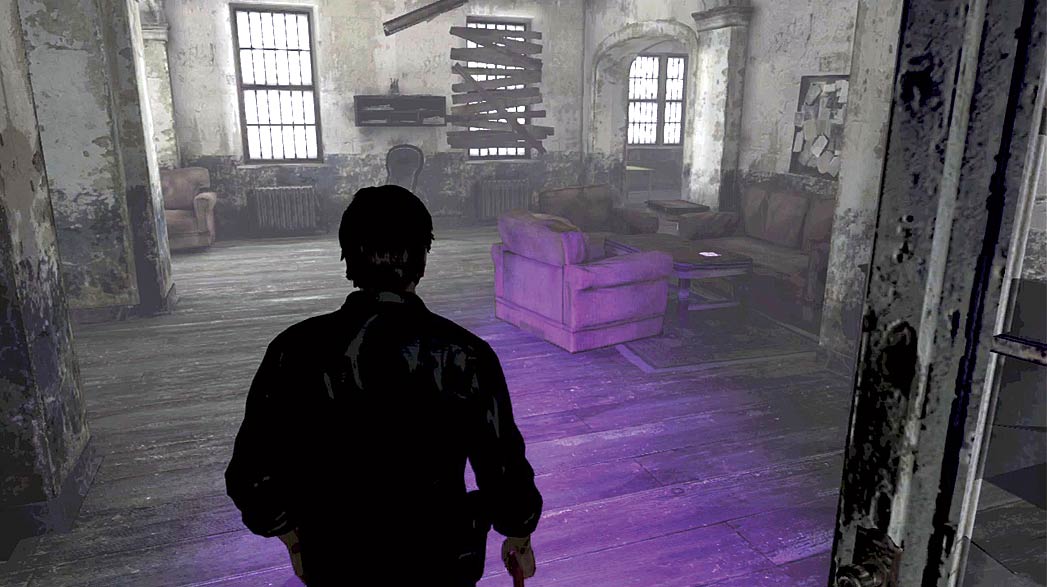
Enter the room near the end of the hall to find a large recreational area. Search the room for important objects, then climb over the counter to search the adjoining kitchen.
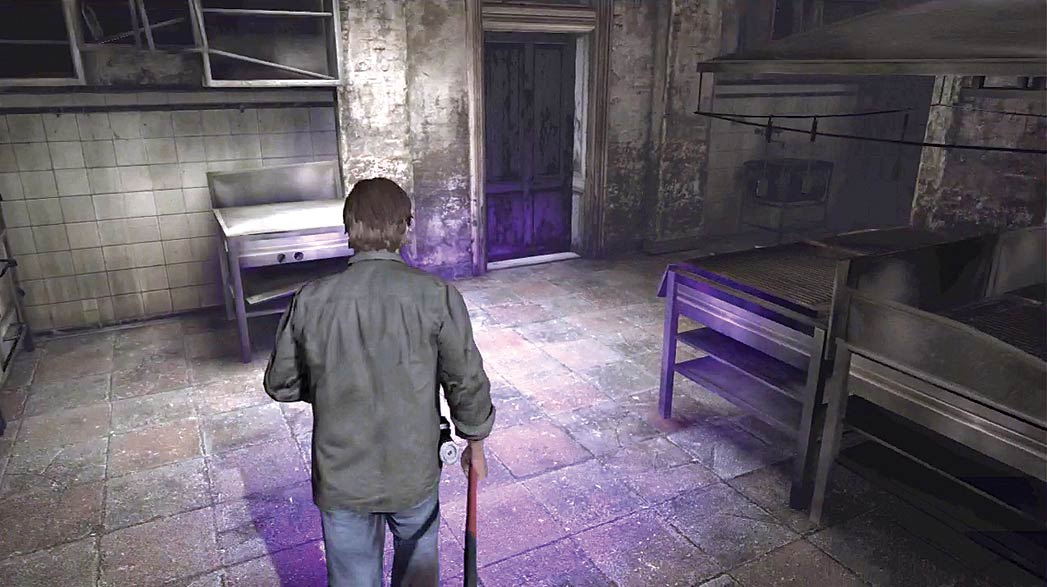
When you’re ready, exit through the kitchen door to trigger a short cutscene.
During the cutscene, a Screamer breaks through the wall ahead of you. Be ready to defend yourself when you regain control of Murphy.
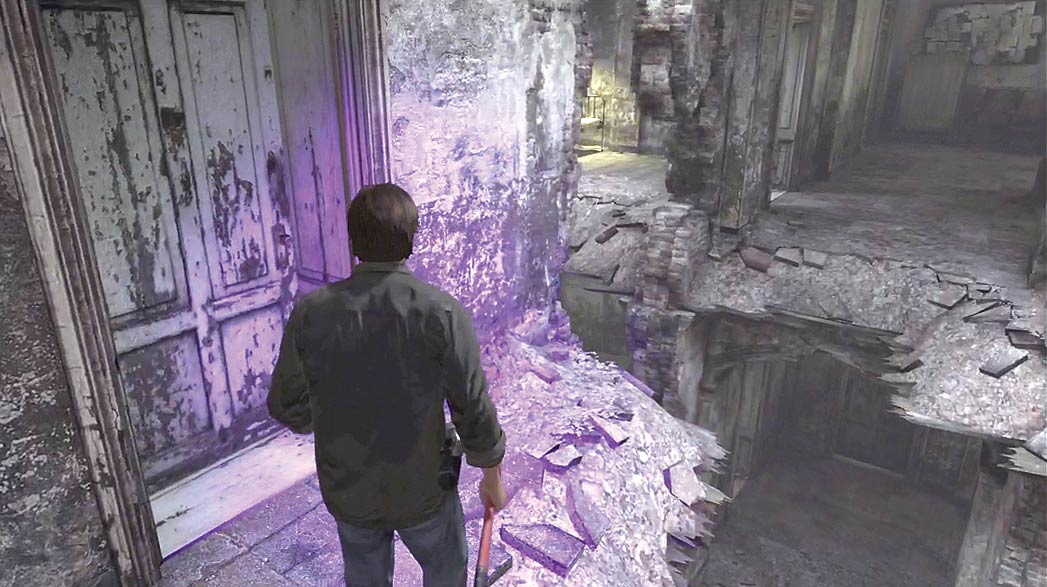
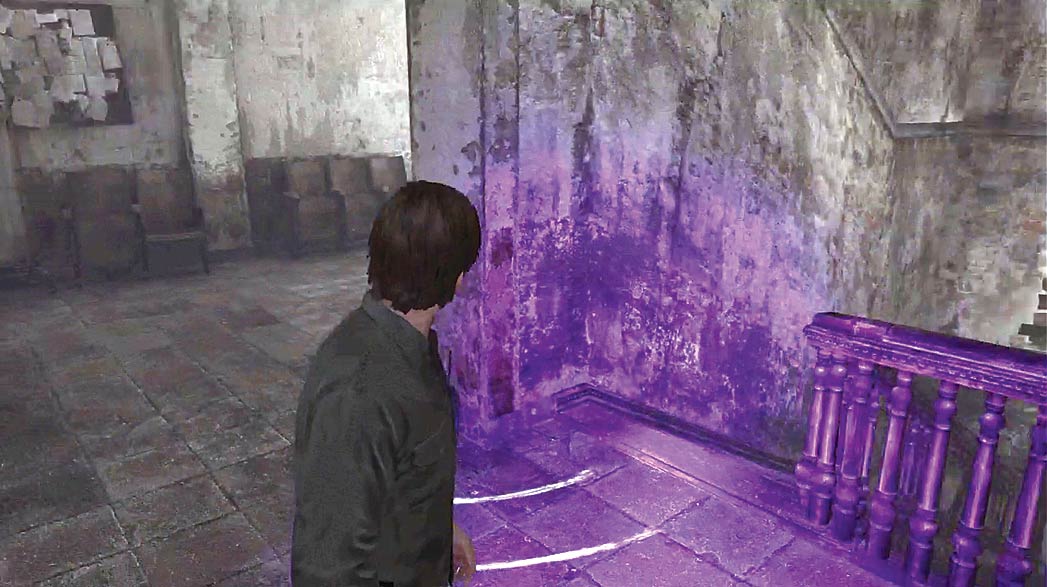
Squeeze through the crumbling wall and follow the path through the surgery center. When you exit the room, use your UV beam to reveal the drag marks in the hall.
Before you head downstairs, search the remaining second-floor rooms. The drag marks lead to the X-ray room, and there’s a small office at the end of the hallway.
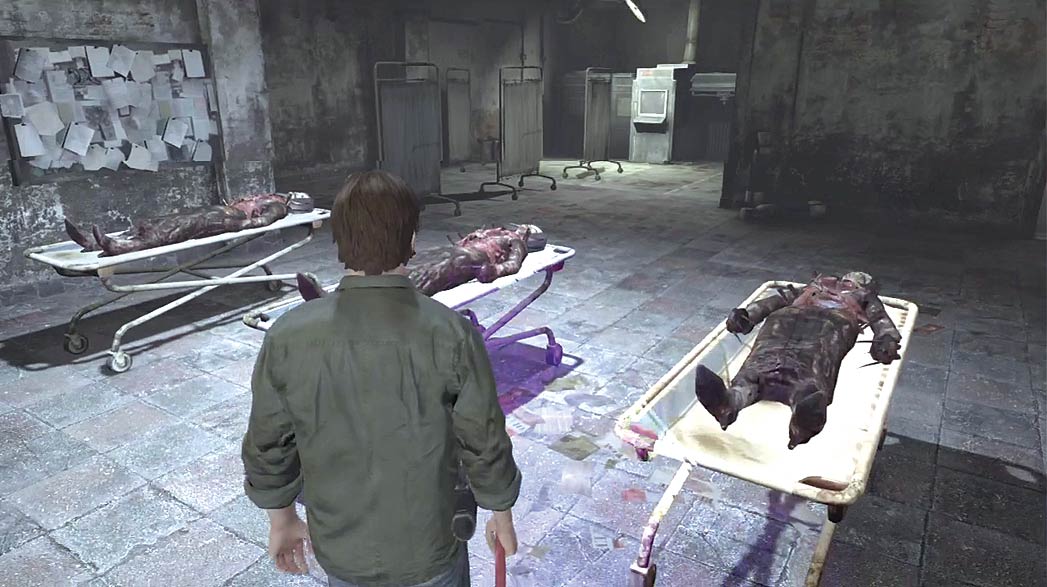
The X-ray room contains three incapacitated Screamers; retrieve the Key and the Poem Fragment 3 Mystery item located inside the body of one of the Screamers.
Once you’ve collected both of these items, complete your search of the hospice’s second floor.
If you attempt to retrieve the object from the wrong Screamer, it triggers a combat event. If this happens, you must defeat the Screamer before you can resume your search.
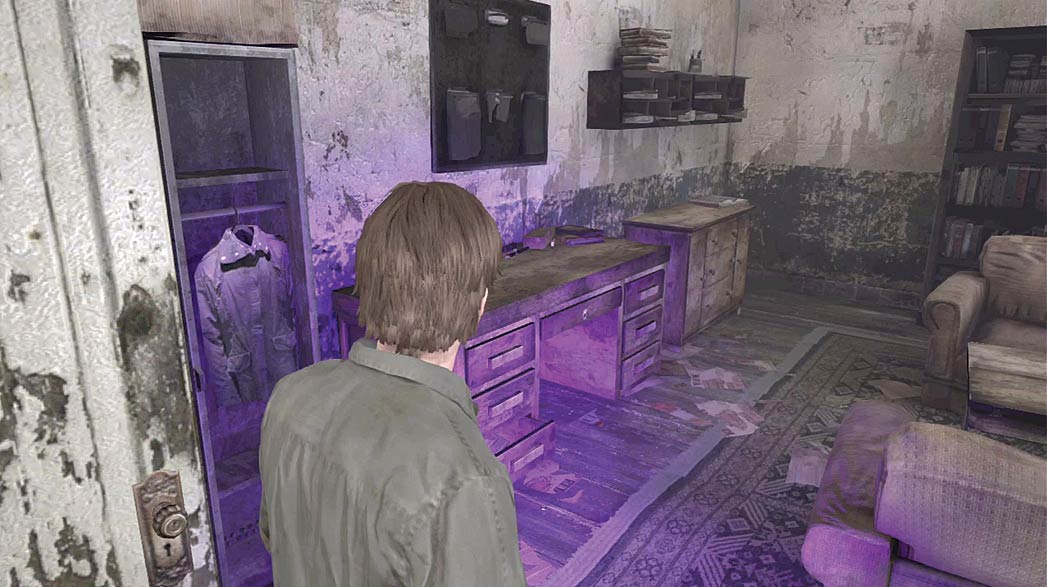
Once you’re done in the X-ray room, move to the small office at the end of the hallway. Search the room for important items, then return to the stairs and follow the drag marks down to the first floor.
First Floor
.jpg)
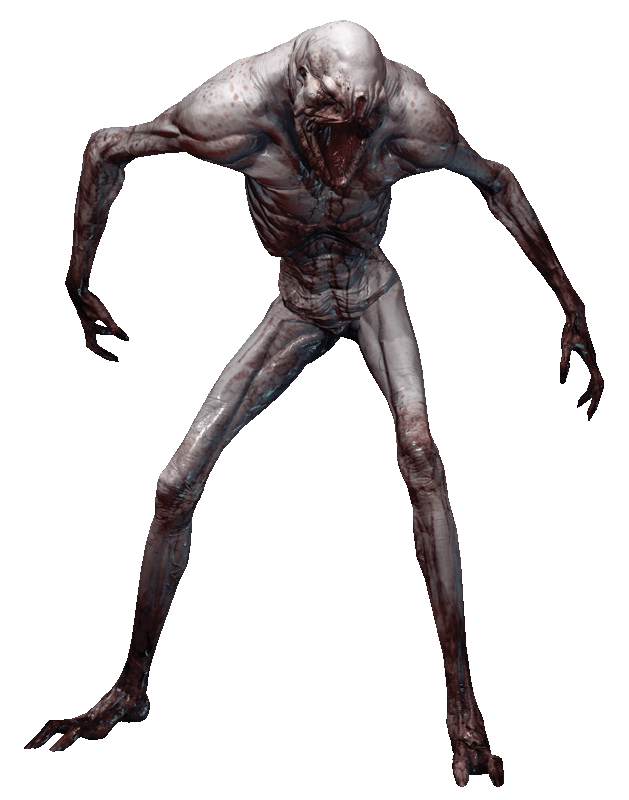
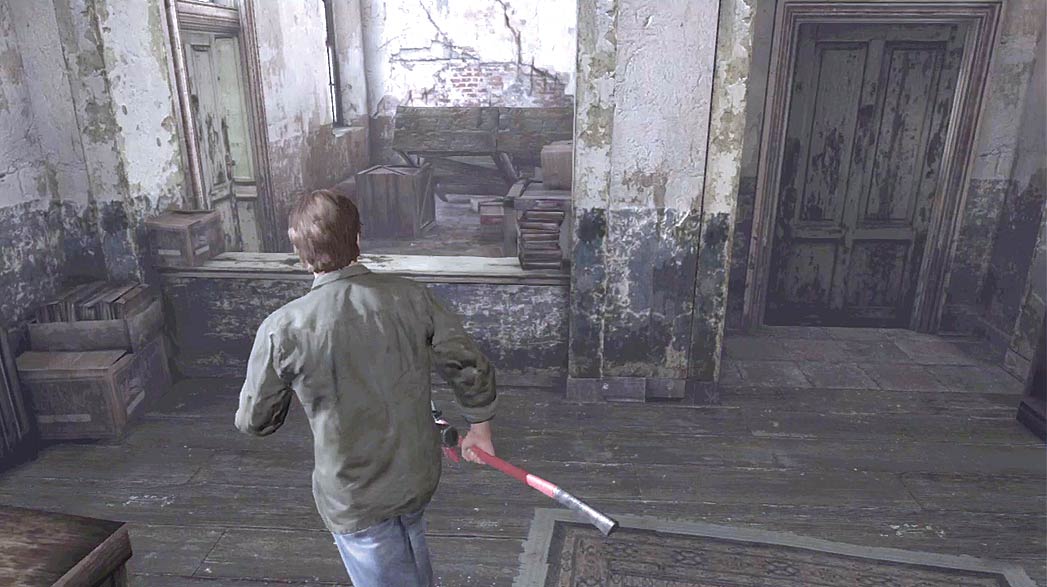
When you reach the bottom of the stairs, search the accessible rooms for useful items. When you’re ready to leave the area, locate the office along the building’s north edge.
Climb over the counter, then use the Key you collected in the X-ray room to open the locked door.
There’s a Weeping Bat waiting just past the door. When you step into the yard, this creature attacks from above. Defend against this new threat.
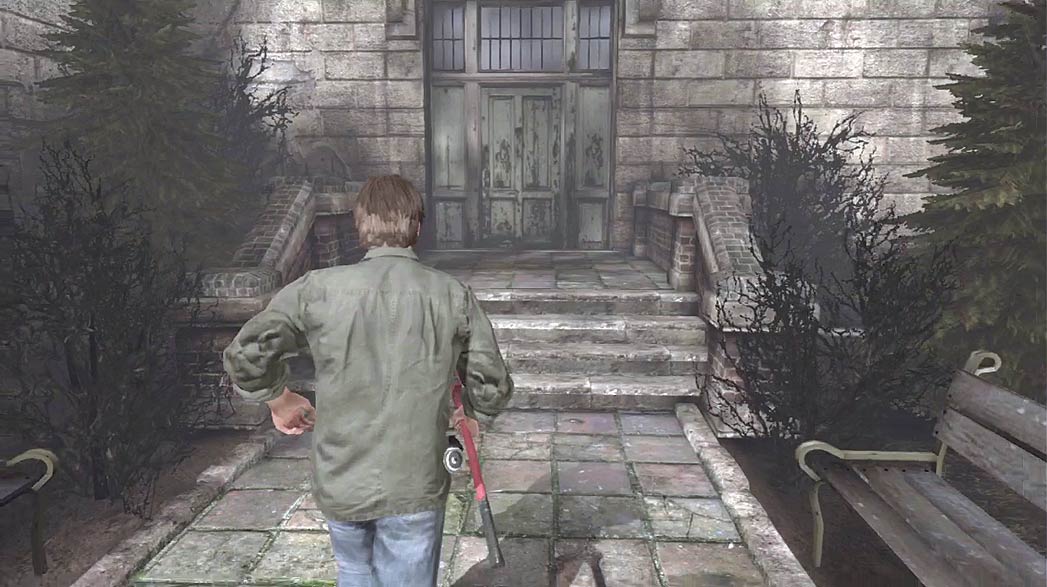
Head through the yard and back into the building. Return to the locked gate at the hospice’s first-floor entrance to trigger a cutscene. When the cutscene ends, cross the room to trigger an environmental transformation.
Monastery Otherworld
Chapel
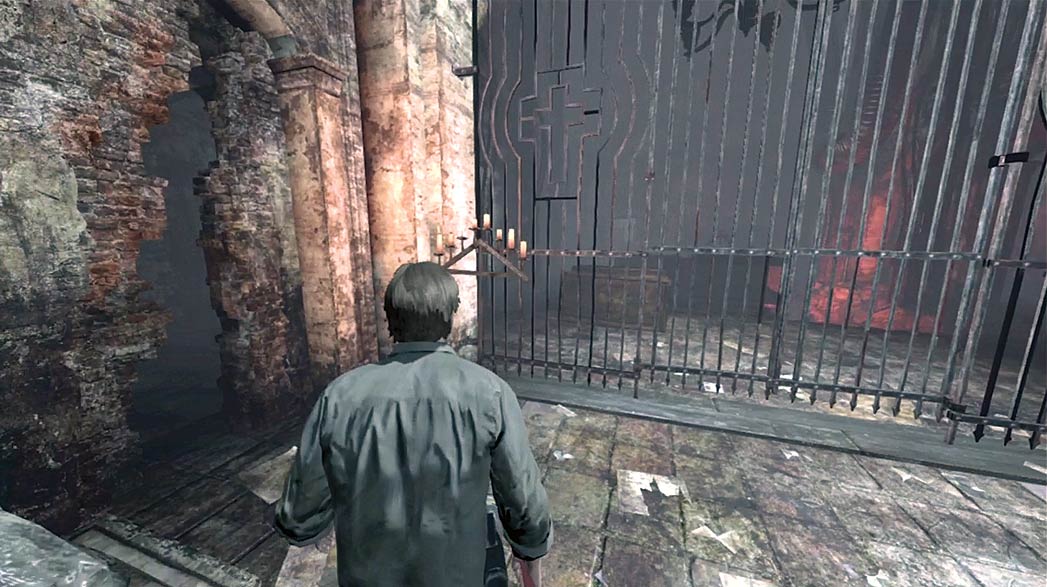
After the room transforms, follow the path past the cells and into the chapel. When you reach the gate, squeeze through the crumbling wall to your left.
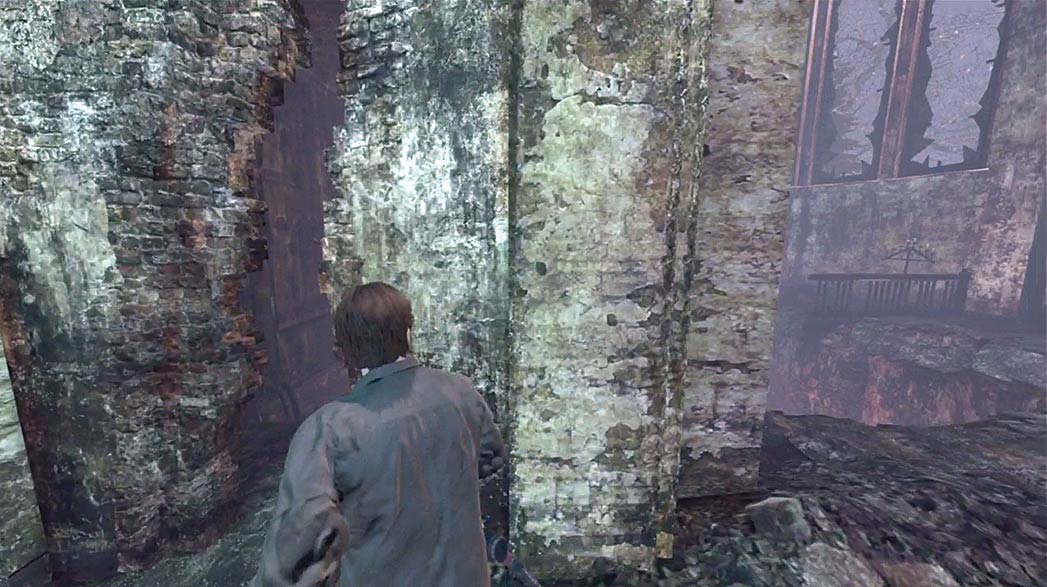
Follow the path as it winds through the chapel. After you climb over the barrier, veer to the left and squeeze through the crack in the wall.
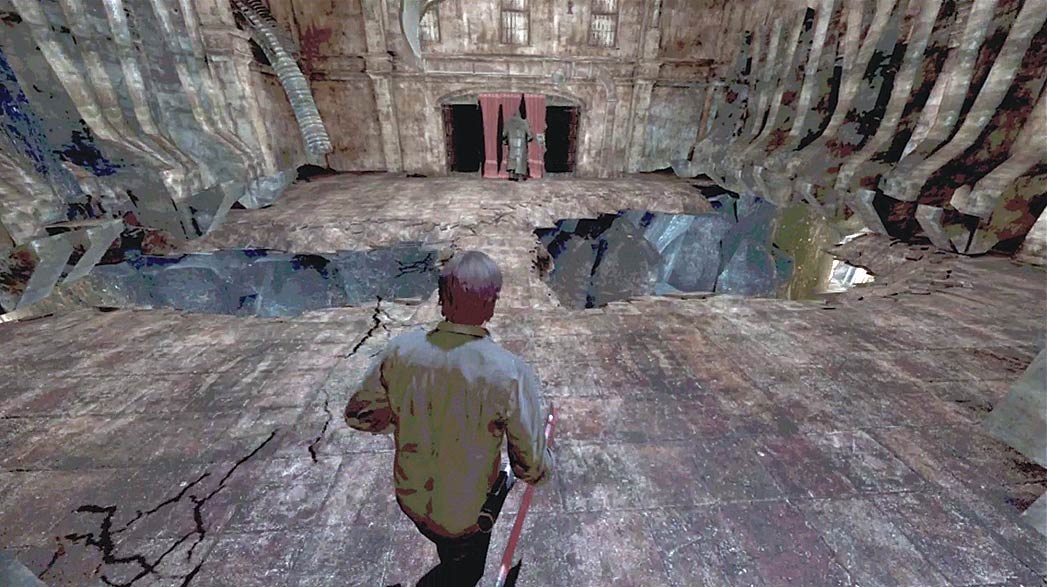
Follow the path through the flooded chamber and past the chain-link fences. Keep moving until the floor gives way, dropping you into a large trench.
Corridors
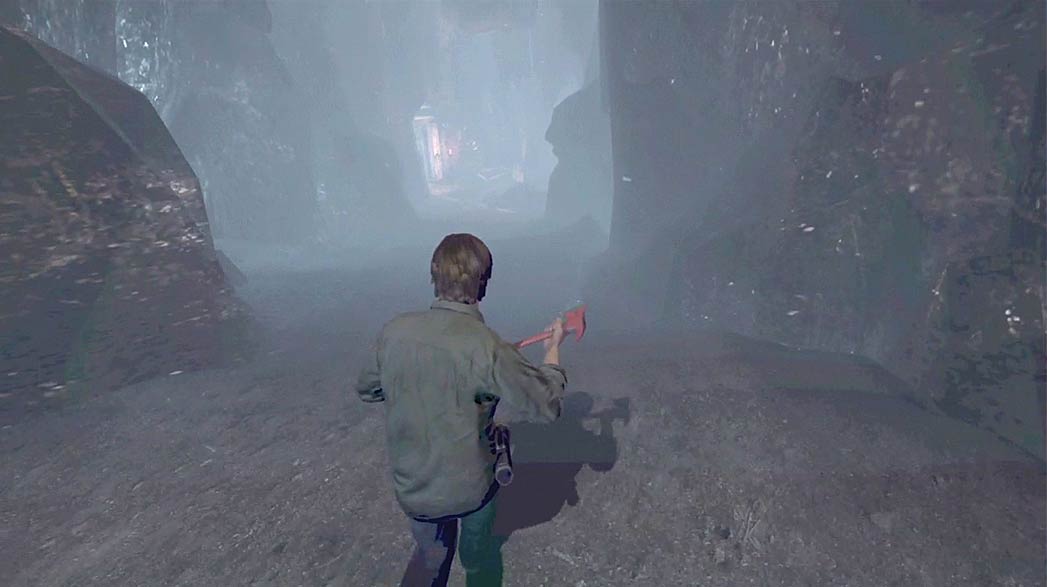
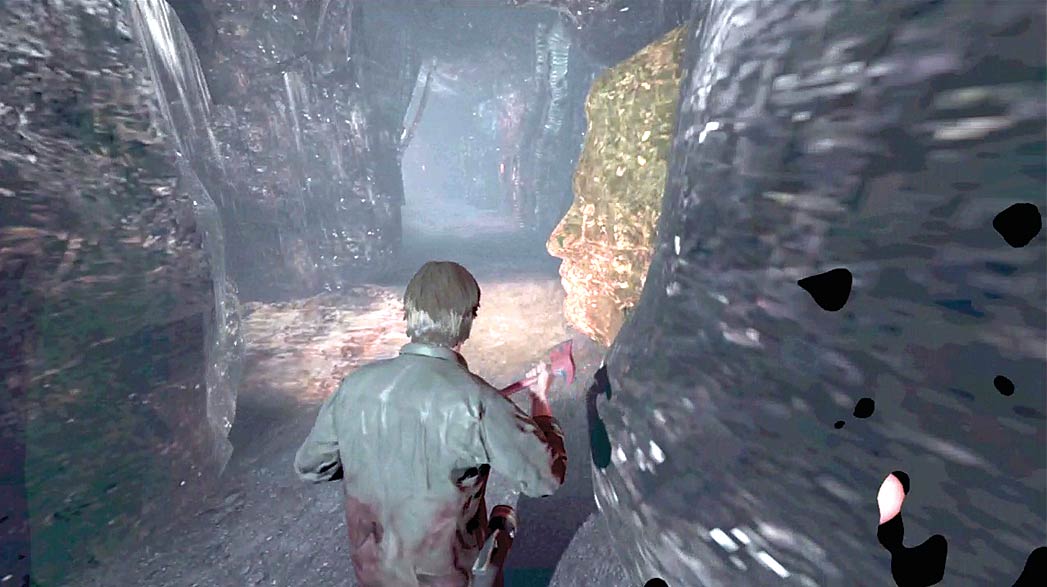
When you land, move to the left to trigger a cutscene, then turn around and follow the trench into the tunnel. While you run through the area, look for a large face carved in the wall on your right.
As you approach the carving, make a hard left turn and follow the path up the stairs and through the twisting hallway.
After you drop into the trench, moving in either direction causes the void to appear in front of you. If you move to the right before the void appears, you must flee in the opposite direction.
This route is essentially a mirror image of the one described in this walkthrough. Both areas contain Wall Corpses that attack as you run past. Avoid the sprays if possible, but make sure you stay ahead of the void.
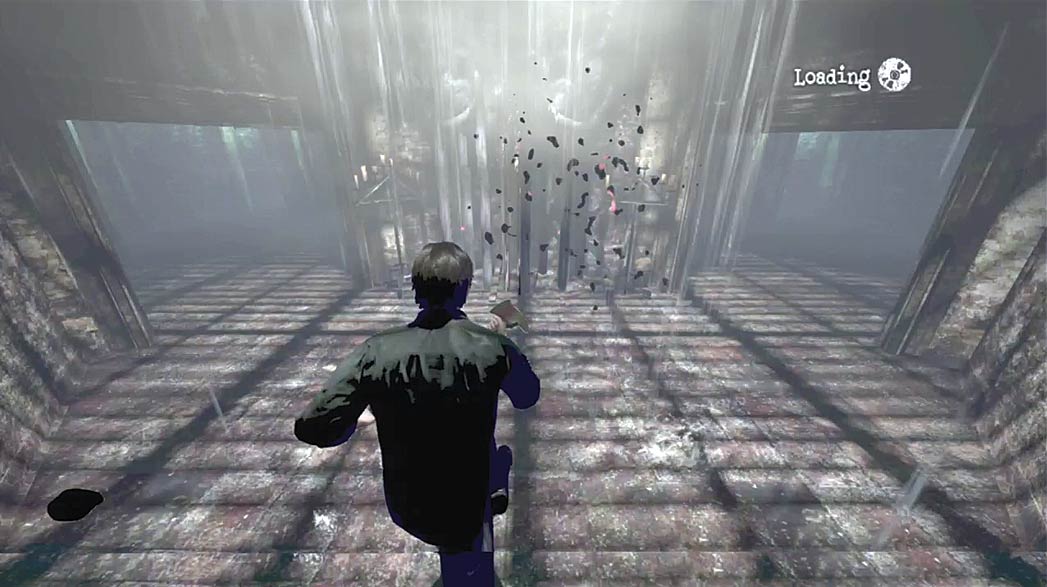
Exit through the door at the end of the yard and enter the building across the yard. The first room contains two passages. Run to the passage on the left.
When the gate slams down, head into the other passage and follow the corridor through the building.
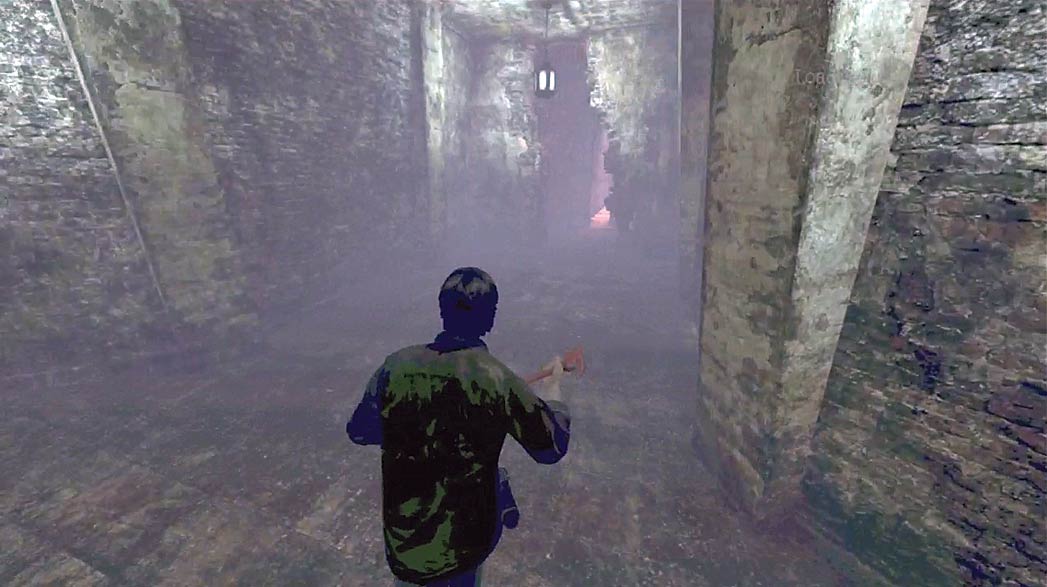
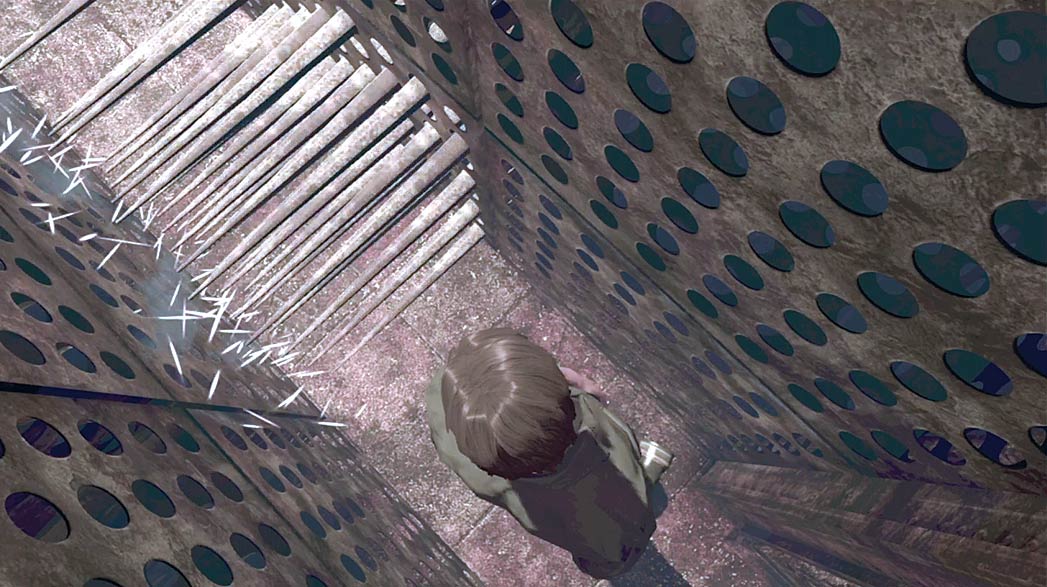
As the corridor curves to the left, turn right and squeeze through the crack in the wall. As you shuffle down the narrow passage, take care to avoid the spikes that emerge from the wall.
The void disappears once you squeeze through the crack, so there’s no need to rush through the passage. Don’t attempt to slip past a set of spikes until you’re able to determine if and when the spikes will emerge from the wall.
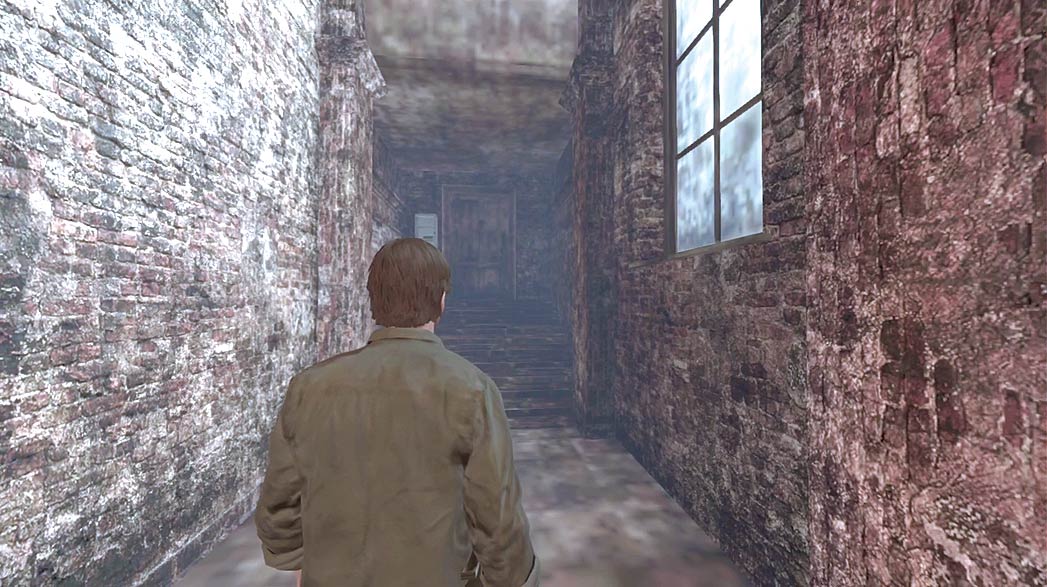
Once you’re past the spikes, open the door at the end of the passage to trigger a cutscene.
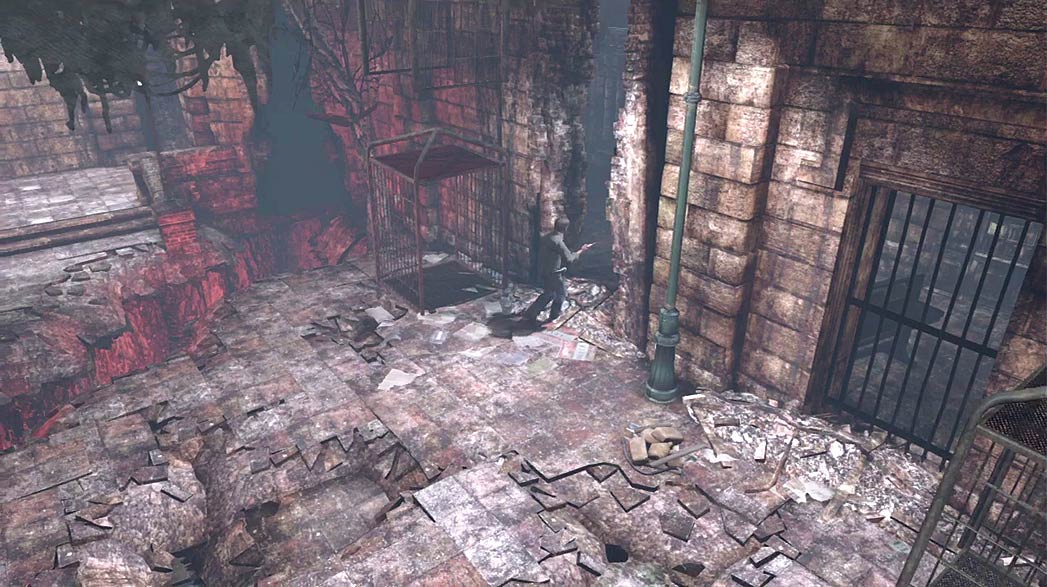
When you’re ready to move on, pass through the hole in the wall and continue through the next corridor.
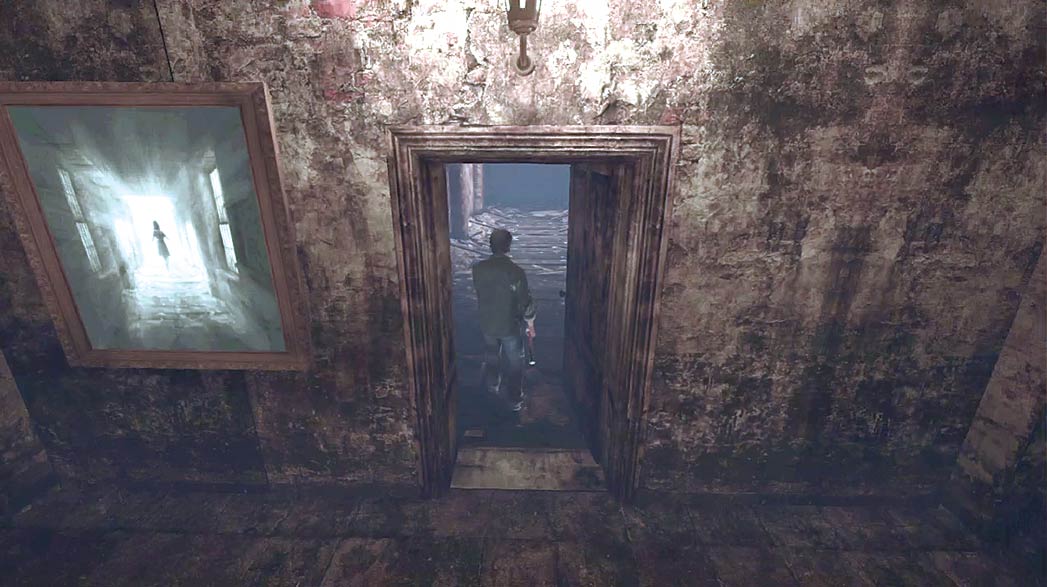
Follow the path through the hallway and into the stairwell. As you move down the stairs, use the portraits near each door to determine the proper path.
The second portrait shows a small figure in a brightly lit hallway. Enter the nearby door and follow the path to the next stairwell.
As you explore the stairwells, watch out for the Wall Corpses located between doors.
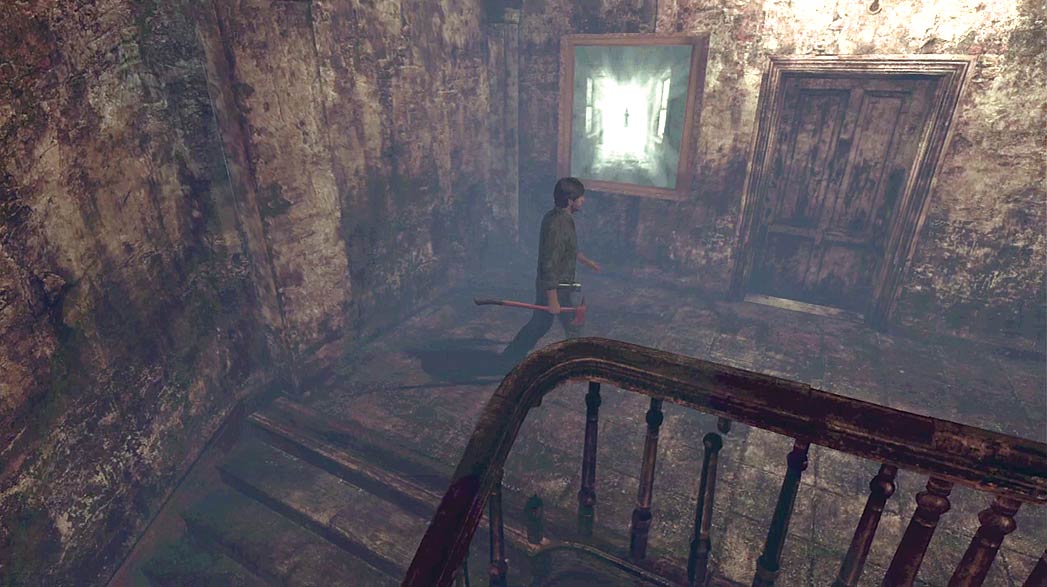
When you reach the second stairwell, climb to the top floor to find the same portrait of a small figure in a brightly lit hallway. Head through the door and follow the path to the theater.
Theater
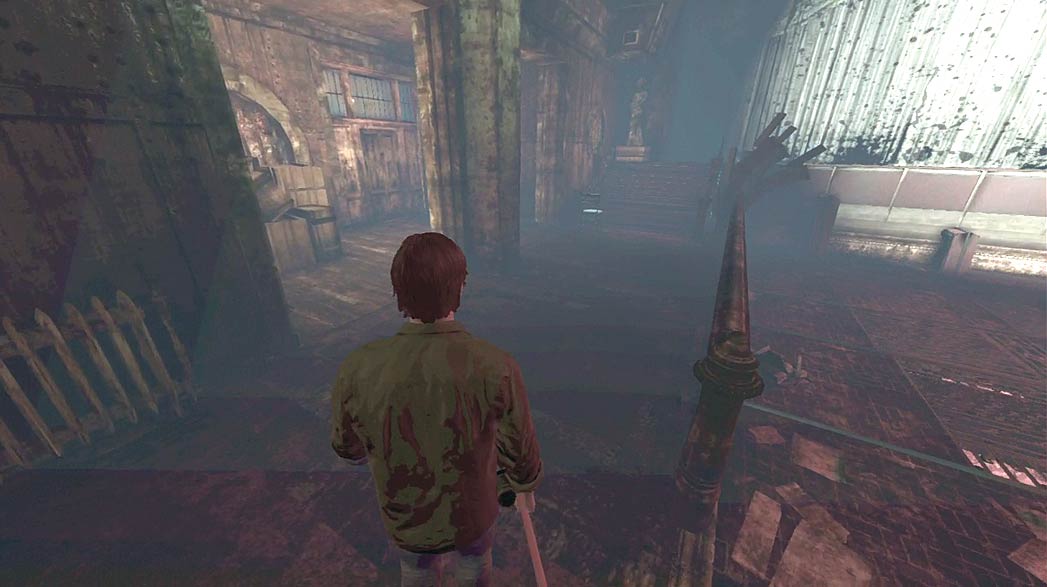
After the cutscene, head through the door left of the stage and search the theater’s dressing room.
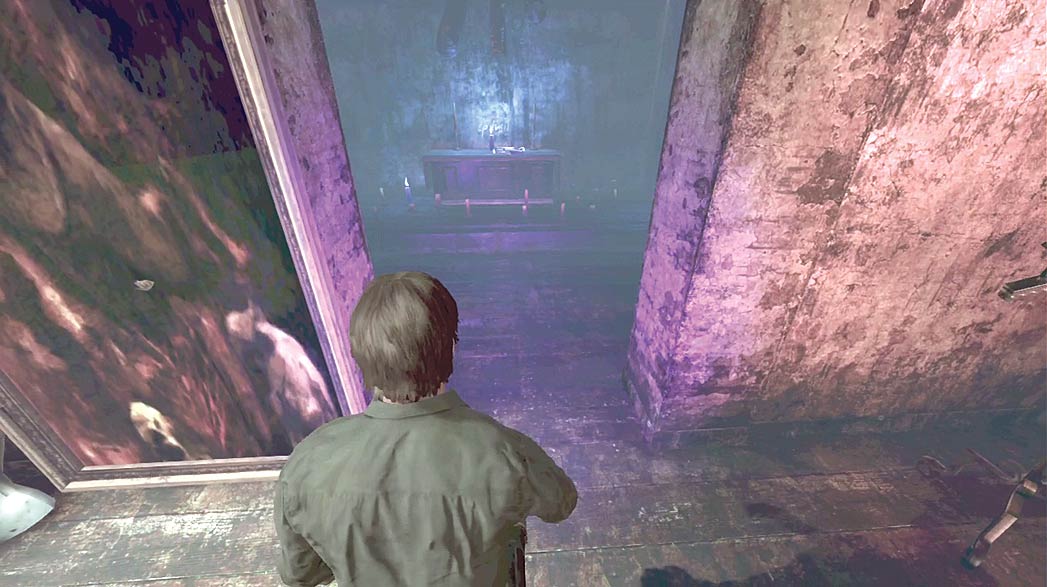
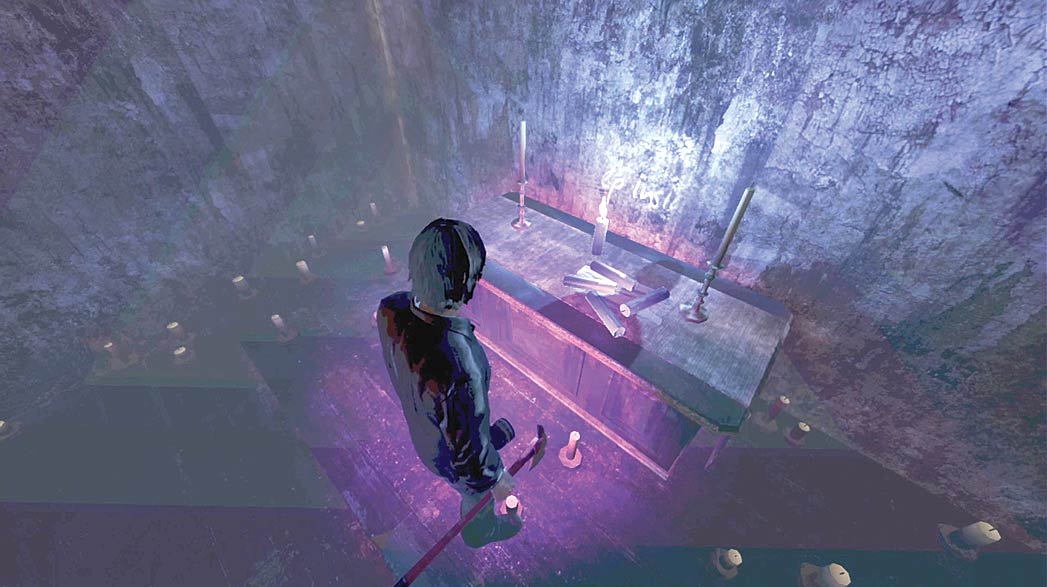
Examine the large portrait in the dressing room to reveal a hidden chamber. When you’re finished searching the chamber, collect the Blue Candles from the altar and leave the dressing room.
When you collect the Blue Candles, two Dolls appear behind you. The first Doll is in the dressing room and the second Doll is on the crates just outside the door.
Make sure your UV beam is active before you enter the hidden chamber.
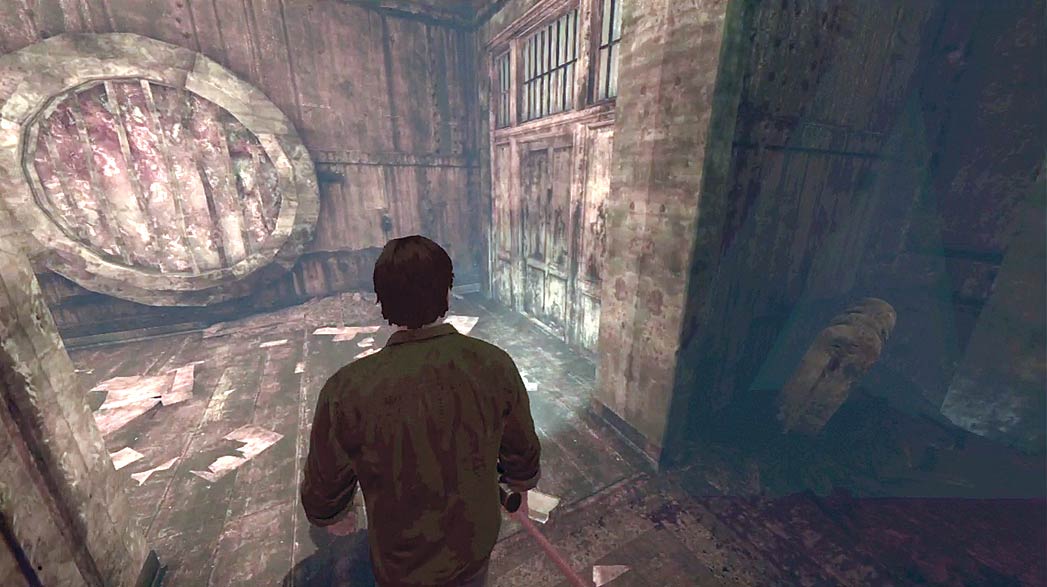
When you’re finished in the dressing room, move across the theater. Enter the door near the large vent and follow the path up to the control booth.
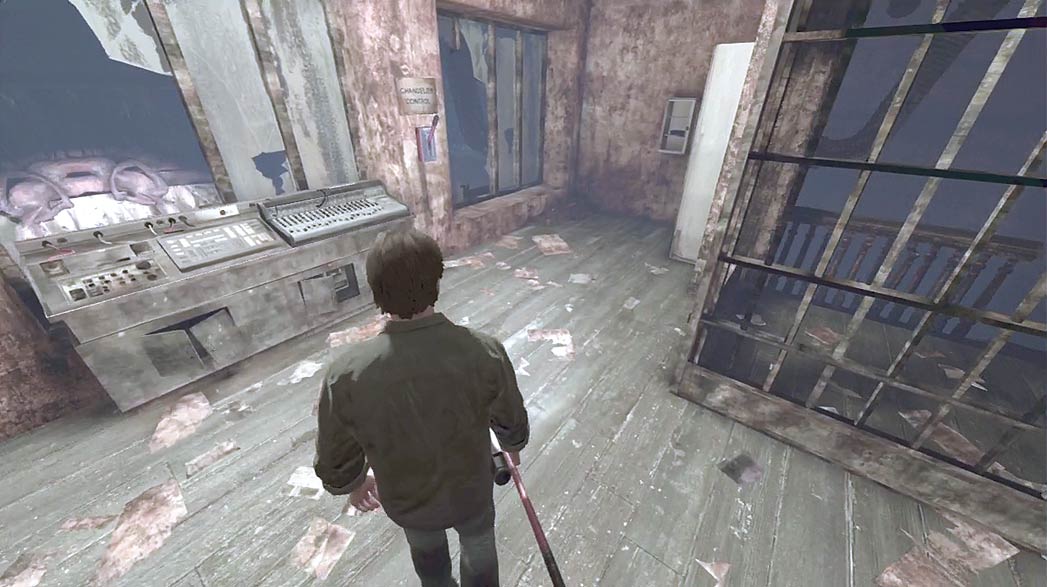
When you reach the control booth, search the area for important items.
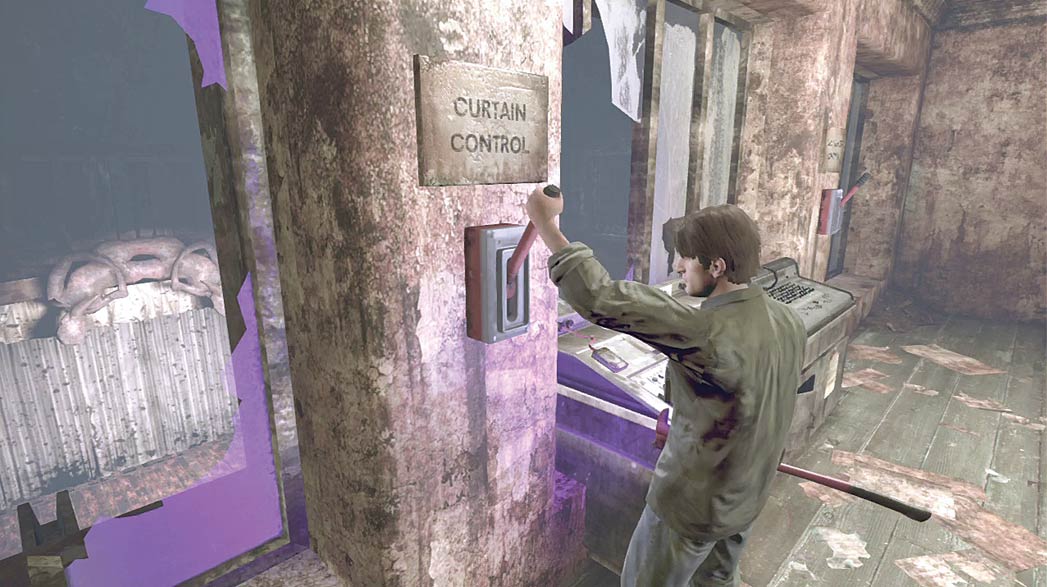
The control panel is flanked by two levers. Pull the lever on the left to open the stage curtains, then pull the lever on the right to lower the chandelier. Once you’ve done so, leave the control booth and head back down the stairs.
There’s a Stabber standing on the chandelier. Before you leave the control room, make sure you’re prepared to deal with this creature.
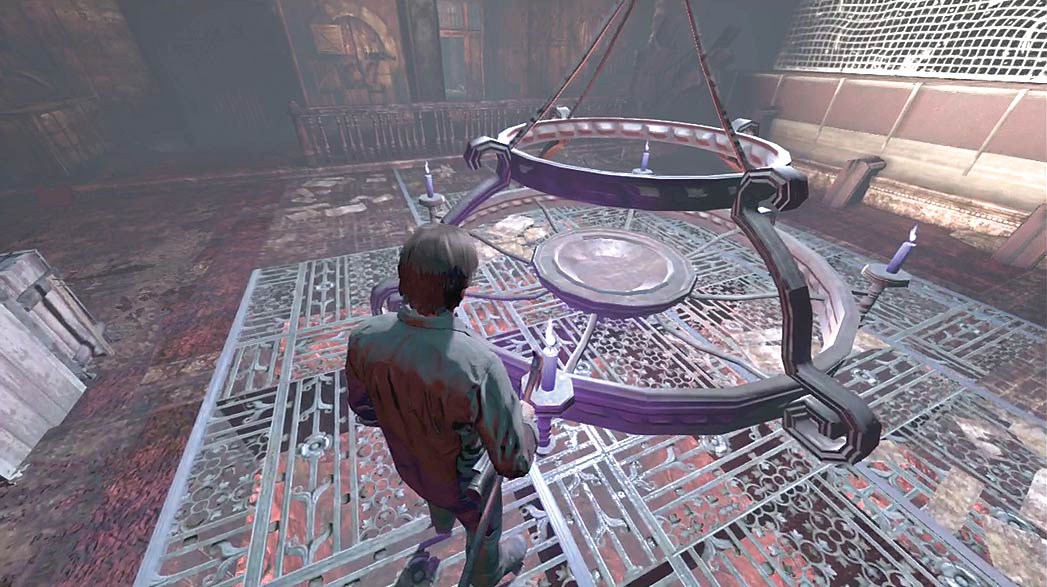
Return to the area in front of the stage and place the Blue Candles from the dressing room onto the chandelier. Use the Lighter from your Inventory to light the candles, then return to the control booth and raise the chandelier.
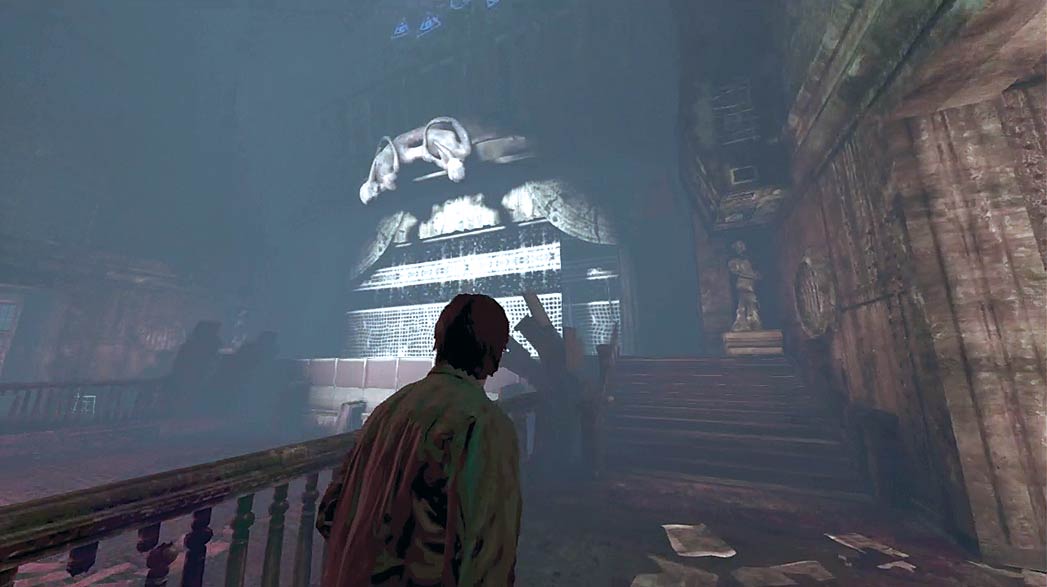
The UV light from the candles reveals a sequence of symbols above the proscenium. Leave the control booth and climb the stairs up to the stage.
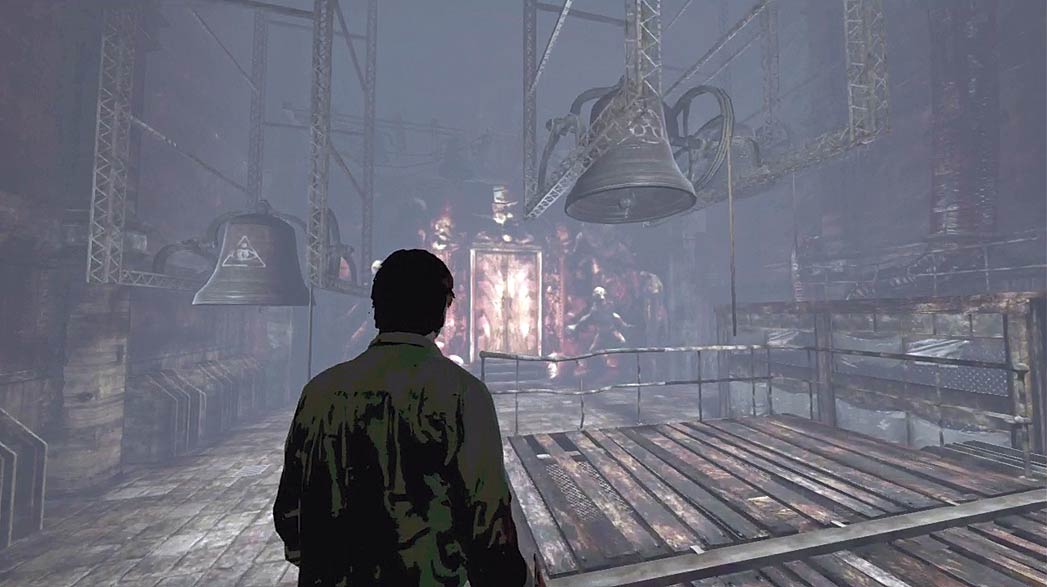
Follow the path through the set to find three bells behind the stage. Ring the bells in the proper sequence to open the nearby doors.
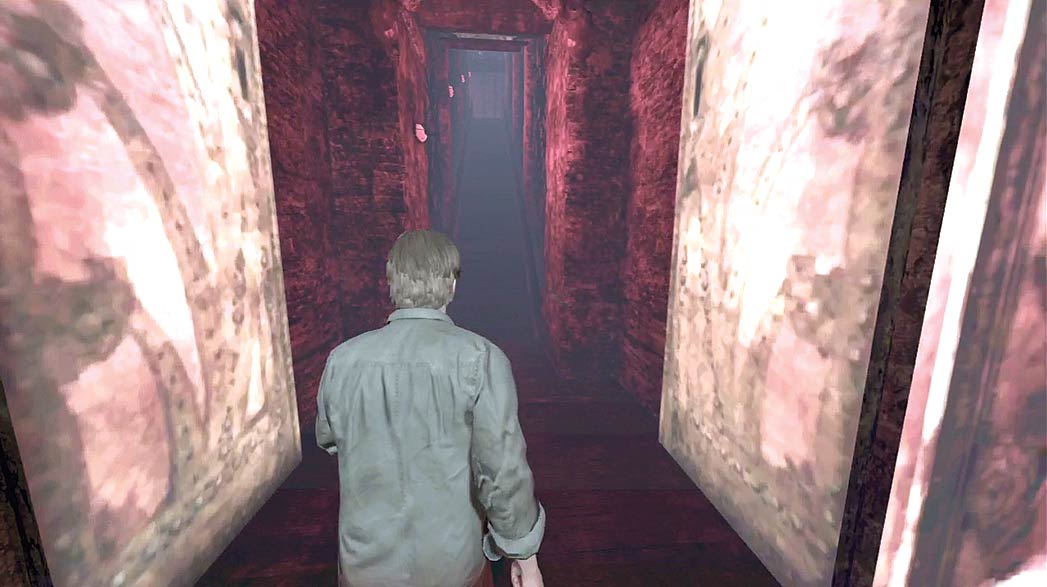
After you ring the bells in the proper sequence, the room begins to flood. Wade over to the door and wait for it to open. Once it does, follow the path through the corridor and up the ladder. Make your way through the attic until you trigger a cutscene.
Morgue
The Lake
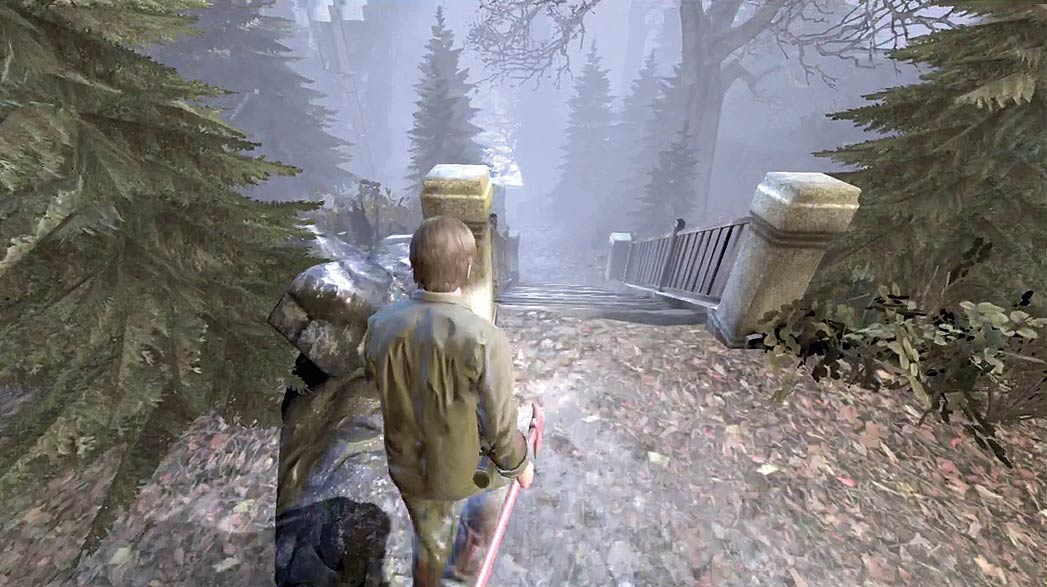
When the cutscene ends, follow the path toward the lake.
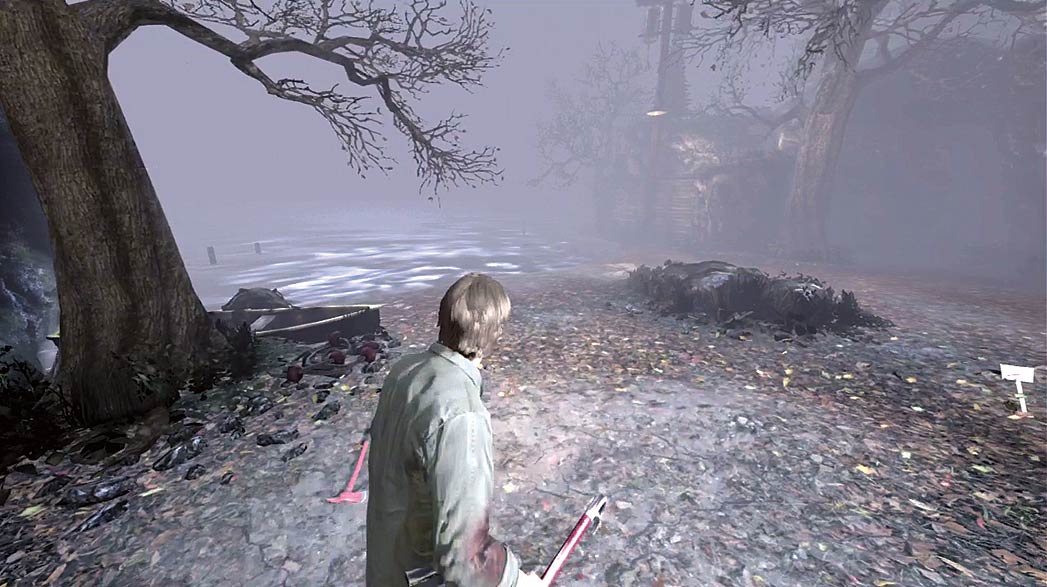
When you’re ready, pass through the gate and approach the lake.
Leaving the Monastery
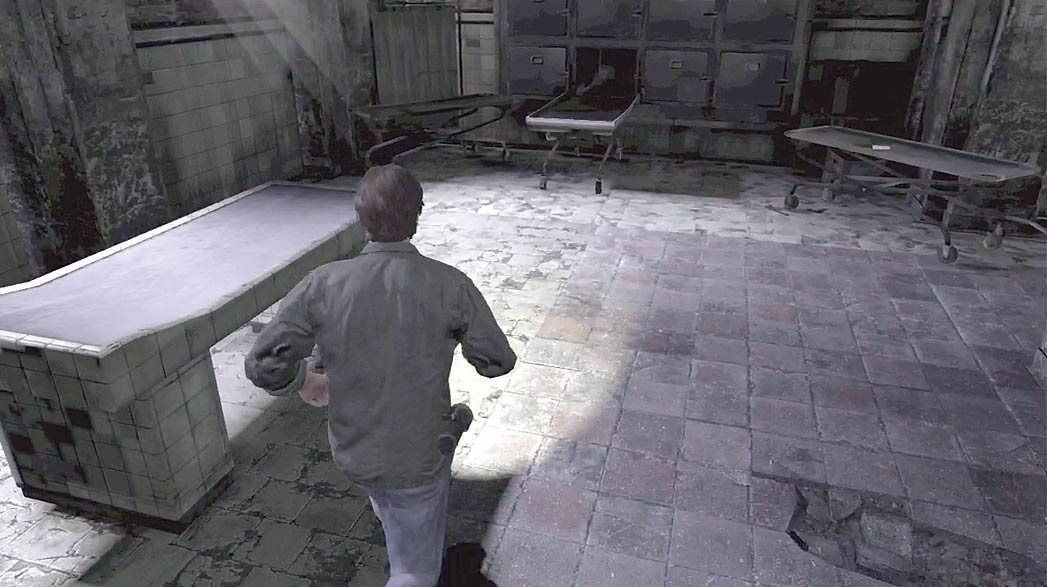
When the cutscene ends, you’ve returned to the morgue and the Boat Key has been added to your Inventory.
When you’re ready to leave, approach the crack in the morgue’s wall. Follow the path through the sewers to return to the town.