
Silent Hill Downpour Guide Essentials Gameplay
Getting Started
Difficulty Settings
Silent Hill: Downpour provides separate settings for puzzle difficulty and game difficulty. When you start a new game, combine these difficulty settings to suit your style of play.
Puzzle Difficulty
Your chosen puzzle difficulty affects many of the game’s more cerebral elements.
This setting determines—among other things—the specific mechanics of various puzzles, the amount and quality of available clues, and the locations of key items.
The Normal puzzle difficulty contains the game’s default puzzle challenges; adjust this setting to suit your preferences.
The Easy puzzle difficulty simplifies many of the game’s puzzles by providing additional clues, placing necessary items in more convenient locations, and eliminating some of the steps that would otherwise be required to progress through the game.
The Hard puzzle difficulty contains fewer clues and more complicated puzzle variations.
Game Difficulty
Your chosen game difficulty affects several elements of combat and resource management. The Normal game difficulty represents the game’s default challenge in regards to survival.
The Easy game difficulty contains weaker creatures that are capable of delivering and absorbing less damage.
The Hard game difficulty offers more durable creatures capable of inflicting greater damage, while also reducing the amount of available First Aid Kits and ammunition.
Playing the Game
Controlling Murphy
RUN
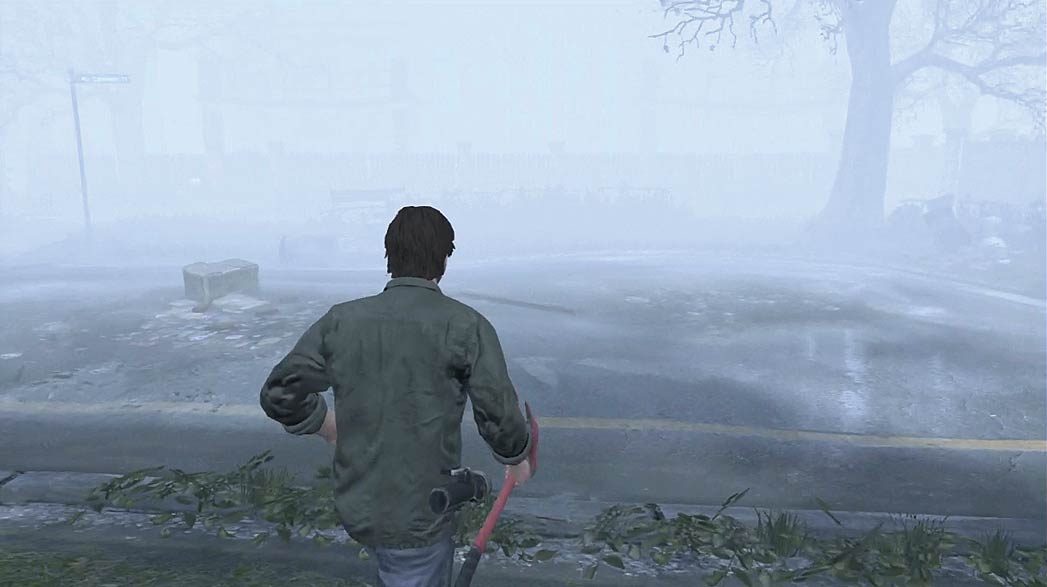
Murphy’s default movement speed is fairly slow. When caution isn’t a concern, use the Run button to pick up the pace.
LOOK BACK
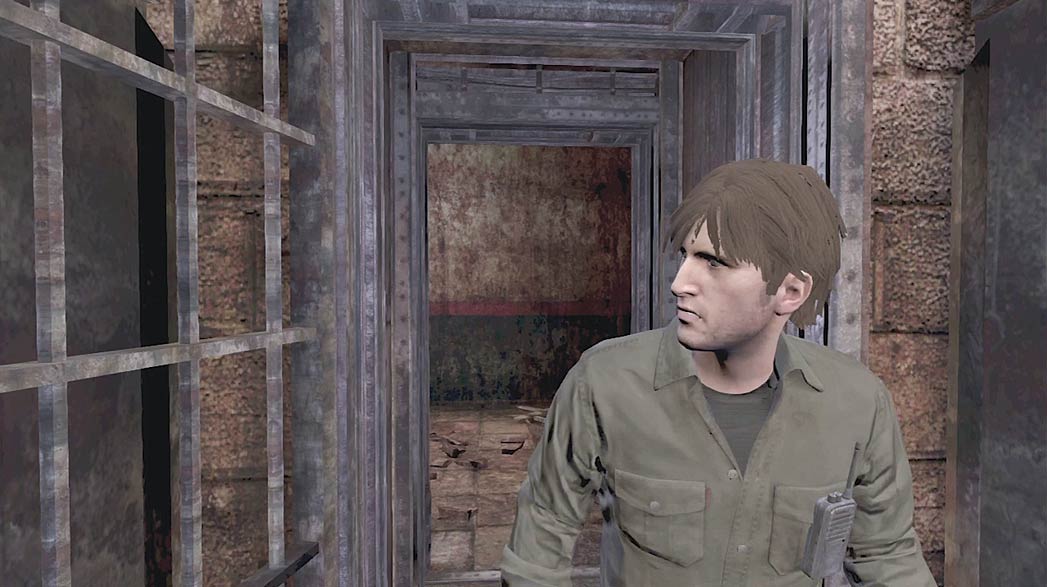
Press the Look Back button to glance over Murphy’s shoulder. This view is particularly useful when you need to keep tabs on pursuing creatures without breaking stride.
INTERACT
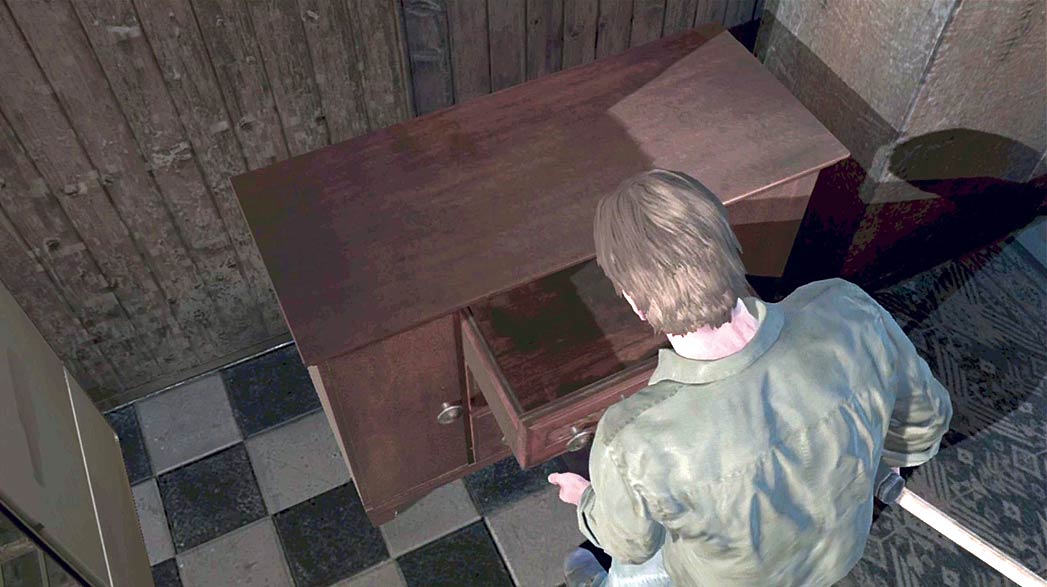
Press the Interact button to collect items or manipulate environmental objects such as doors and switches.
ATTACK
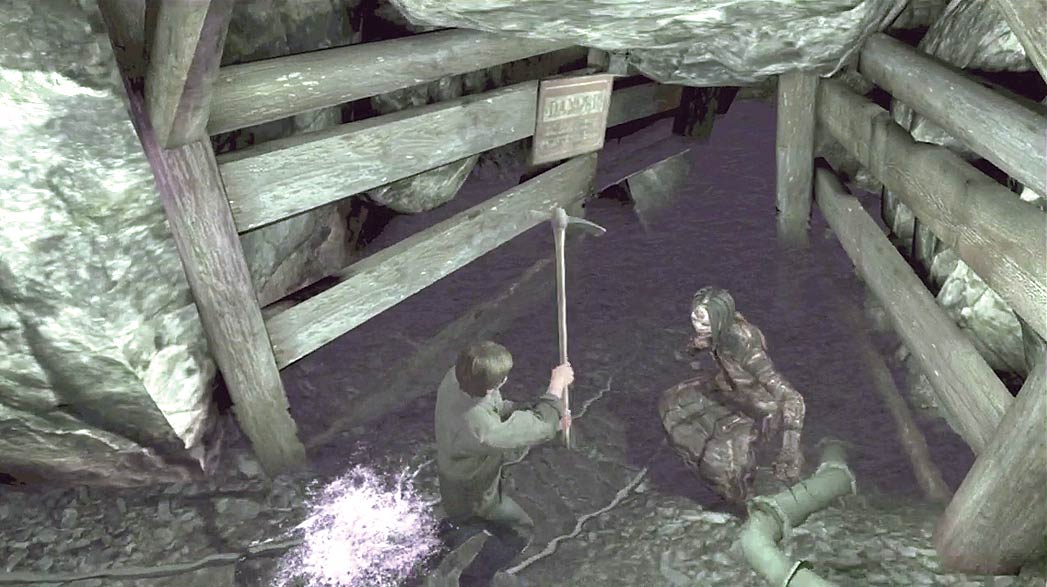
Press the Attack button to swing your equipped weapon. Hold the button to perform a more powerful strike.
BLOCK
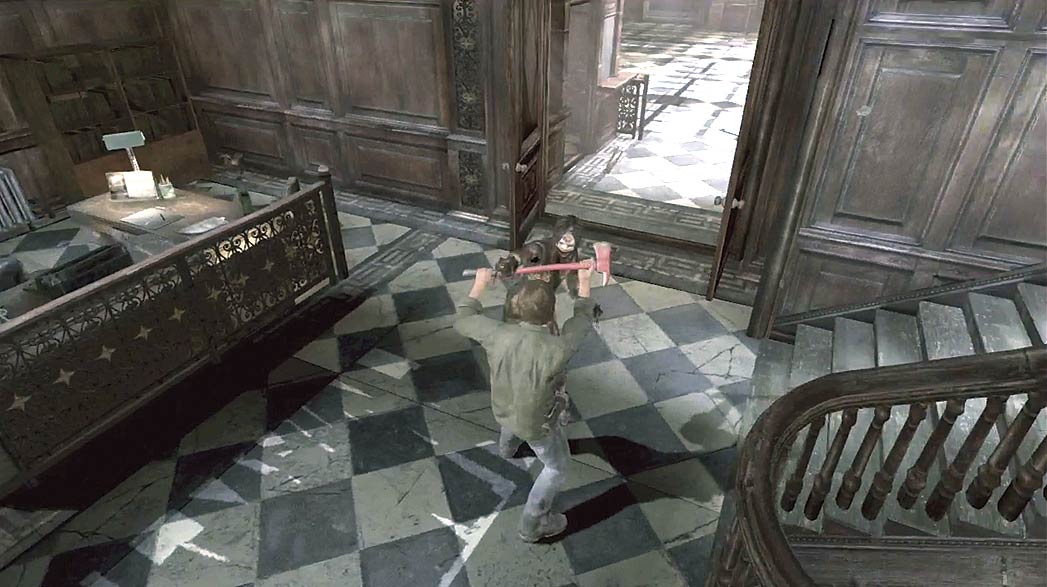
Hold the Block button to defend yourself from most attacks.
Your currently equipped weapon and the nature of the incoming attack determine how much of the damage you’re able to avoid.
DROP ITEM
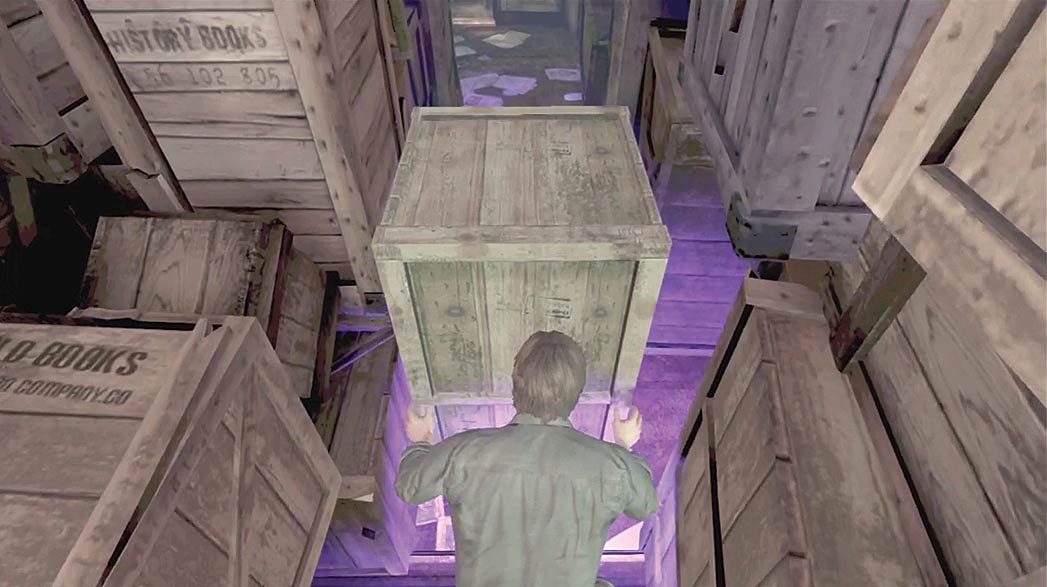
Press the Drop button to discard an equipped weapon or release an interactive object.
HEAL
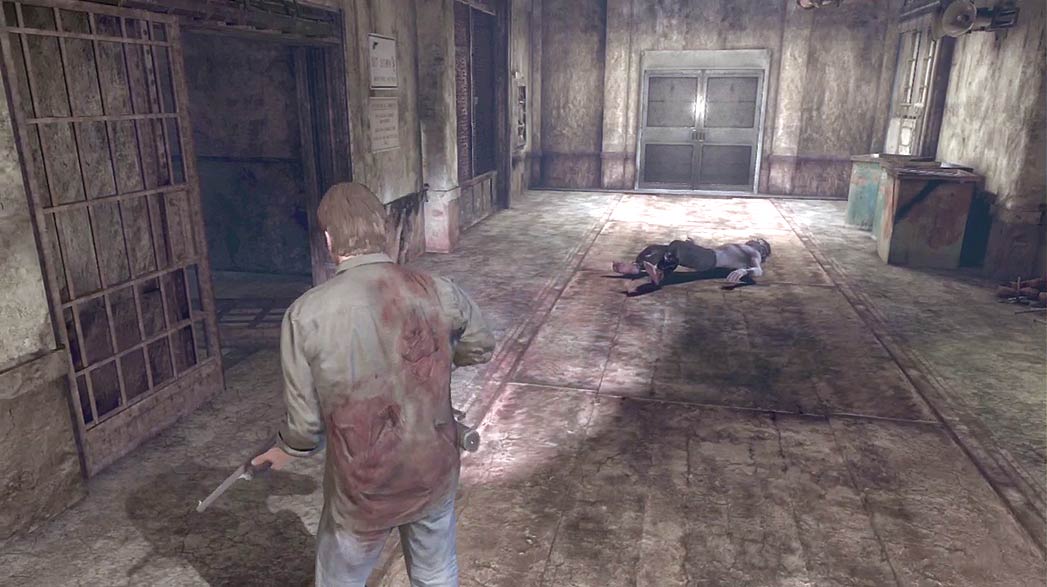
As long as you have at least one First Aid Kit in your Inventory, the Heal button provides a fast and easy way to treat your injuries.
EQUIP/UNEQUIP LIGHTER
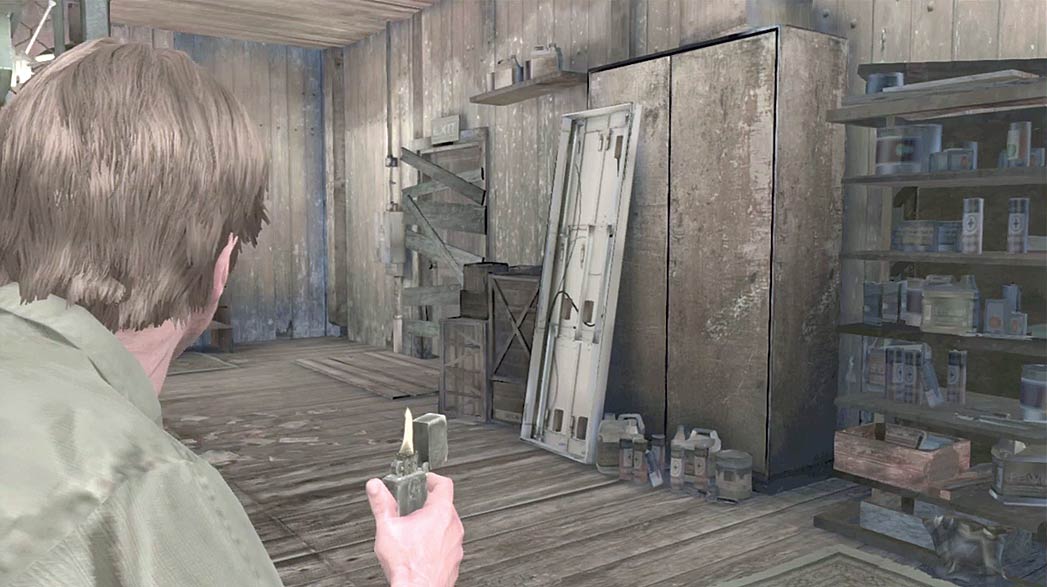
If you have a Lighter in your Inventory, you can press the Lighter button to equip it. To place the Lighter back in your Inventory, simply press the button again.
DRAW/HOLSTER FIREARM
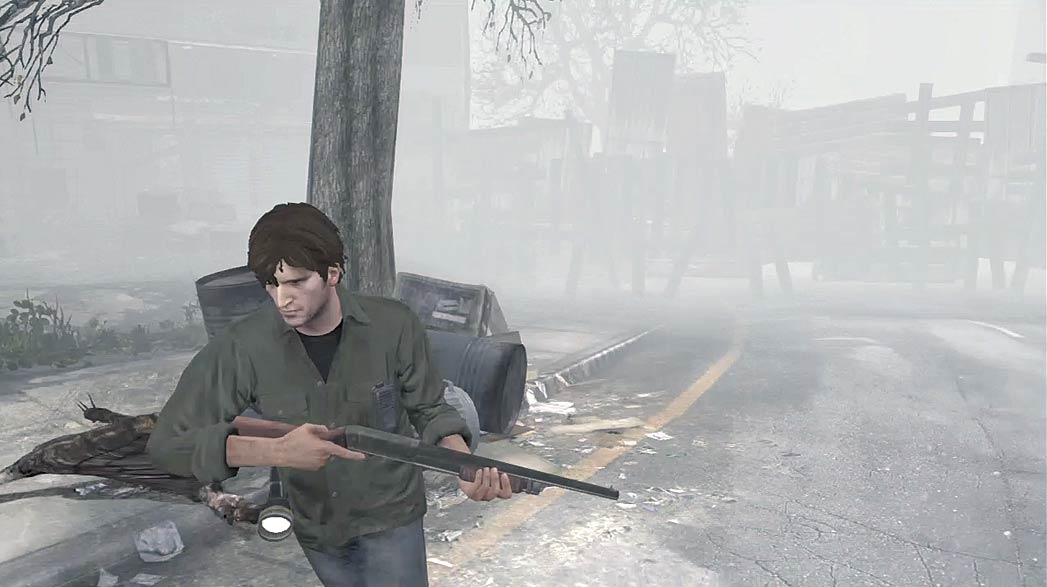
If you have a firearm in your Inventory, press the Draw/Holster button to instantly equip it. Tap the button again to return the firearm to your Inventory.
If you’re carrying two firearms, this button allows you to switch between them.
AIM/STRAFE
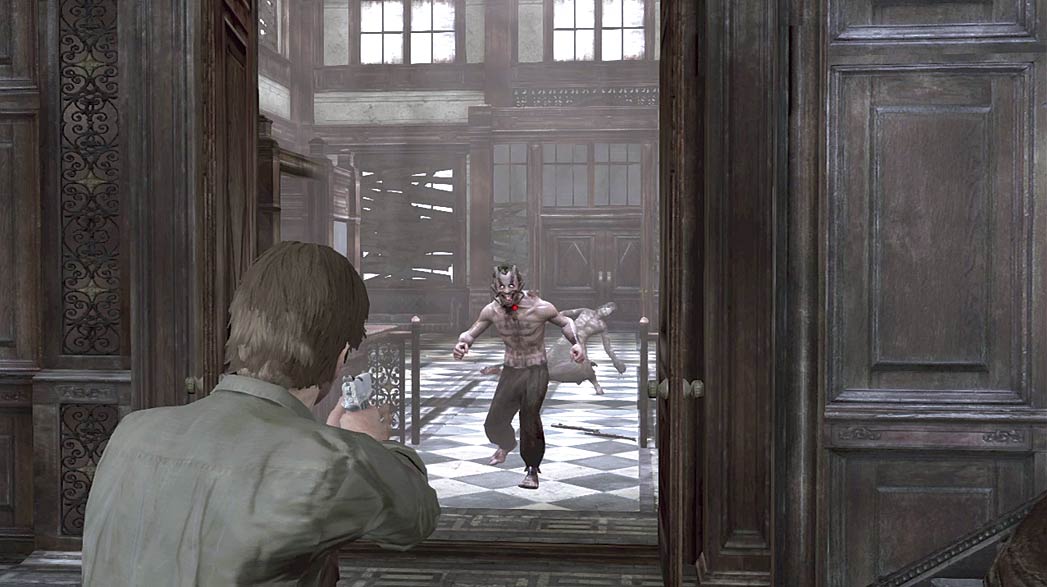
Press and hold the Aim button to enter Aim/Strafe mode. This mode offers increased control of your ranged attacks at the cost of movement speed and field of vision.
THROW/SHOOT
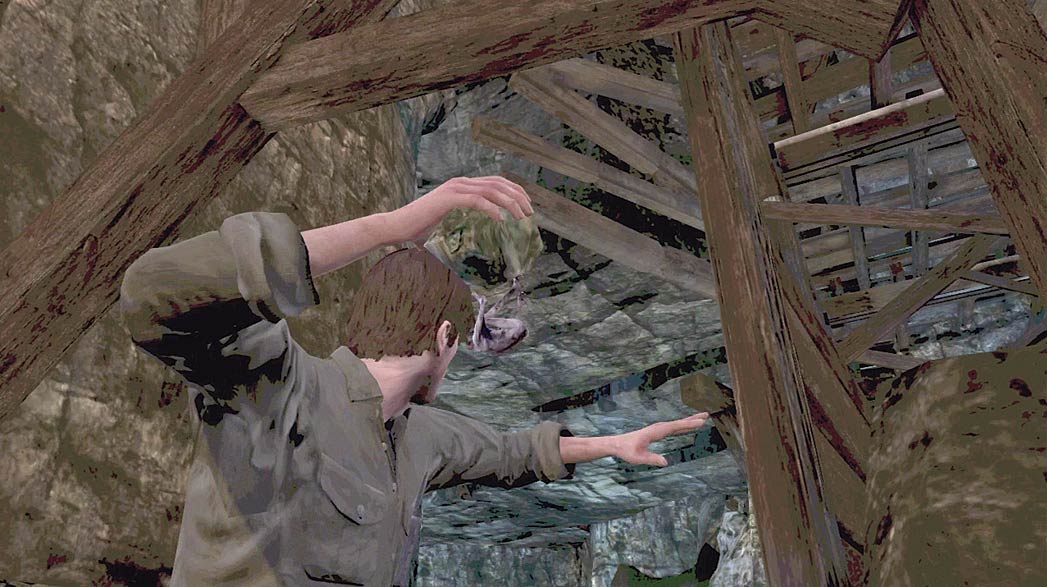
Press the Throw/Shoot button to perform a ranged attack. If you have a melee weapon equipped, pressing this button causes you to throw the weapon.
If you have a firearm equipped, pressing this button causes you to fire a single shot. For the best possible accuracy, press the Throw/Shoot button while the Aim/Strafe mode is active.
TOGGLE BEAM
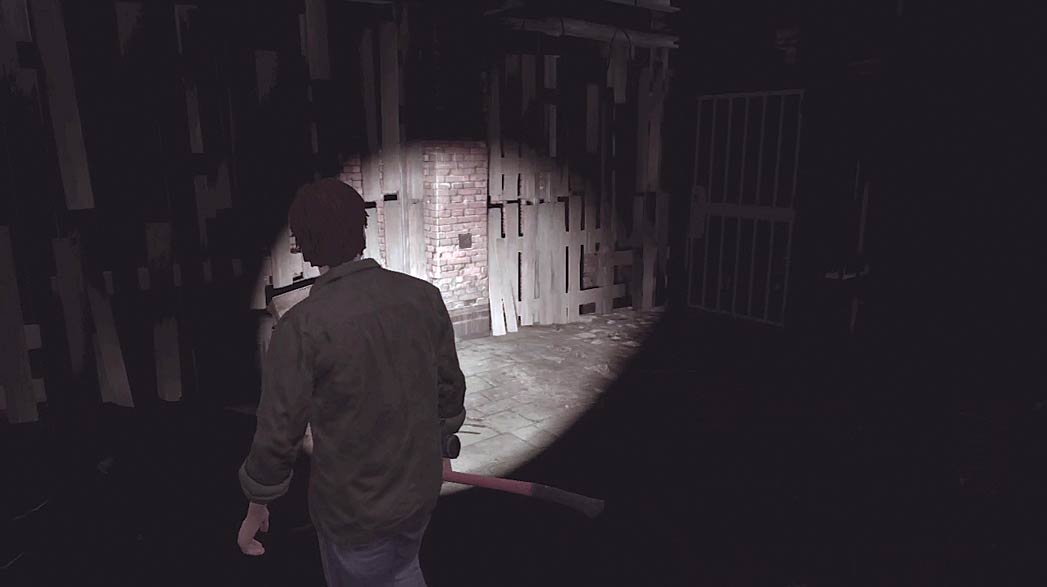
Press the Toggle Beam button to switch an equipped Flashlight on and off.
If you have a Forensic Flashlight, the Toggle Beam button also allows you to switch between the standard beam and the UV beam.
ZOOM
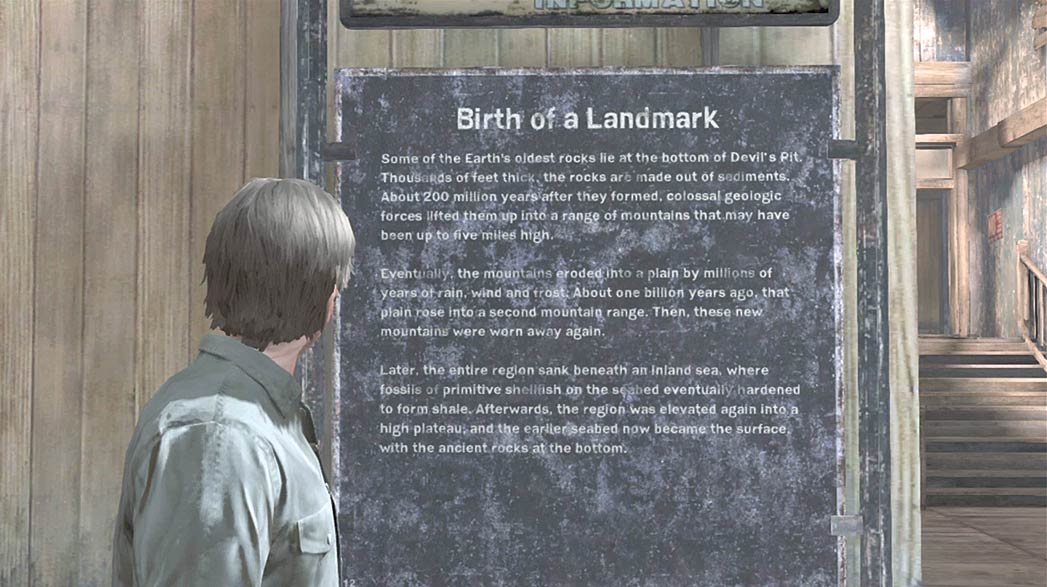
Press and hold the Zoom button when you need a closer look at an environmental clue or object.
MURPHY'S JOURNAL
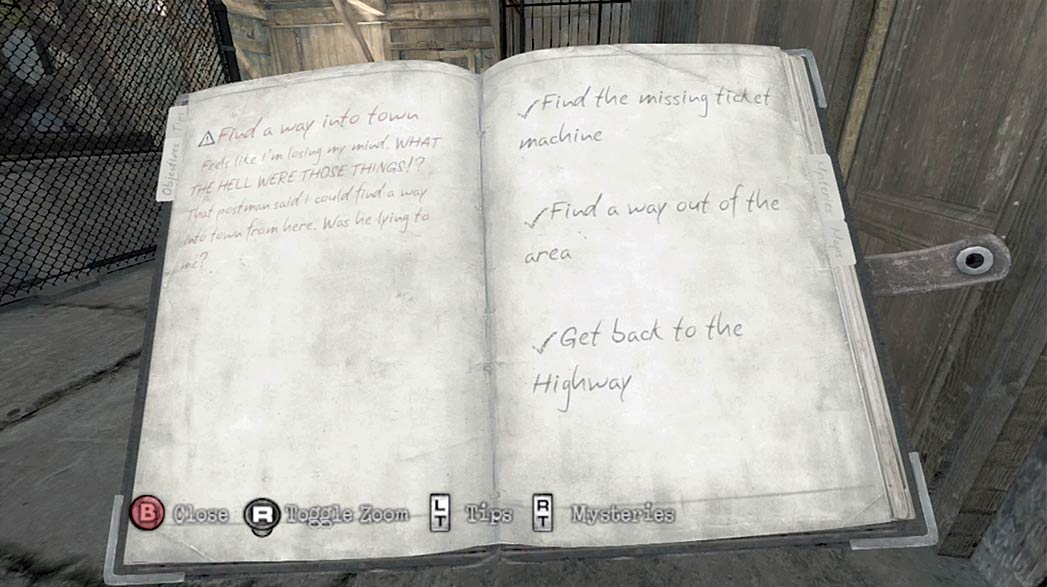
Access Murphy’s Journal to review tutorial information, current objectives, collected Mystery items, and available maps.
The game pauses while Murphy’s Journal is open, allowing you to review the information at your own pace.
INVENTORY
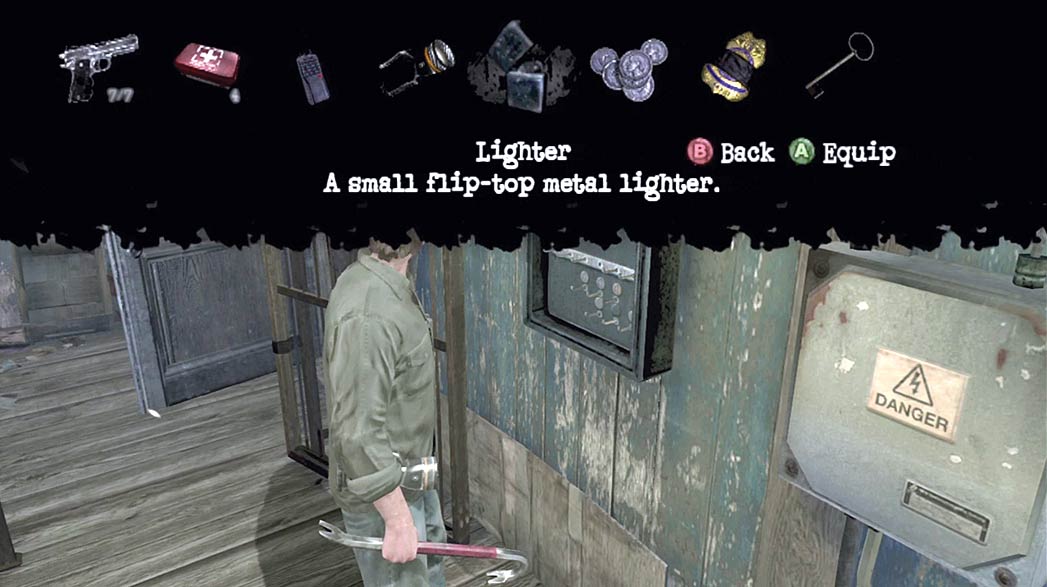
Open your Inventory to examine, consume, or equip collected items.
To use an item from your Inventory with an interactive object, you must first examine the object and then select the item after your Inventory opens.
COMBAT
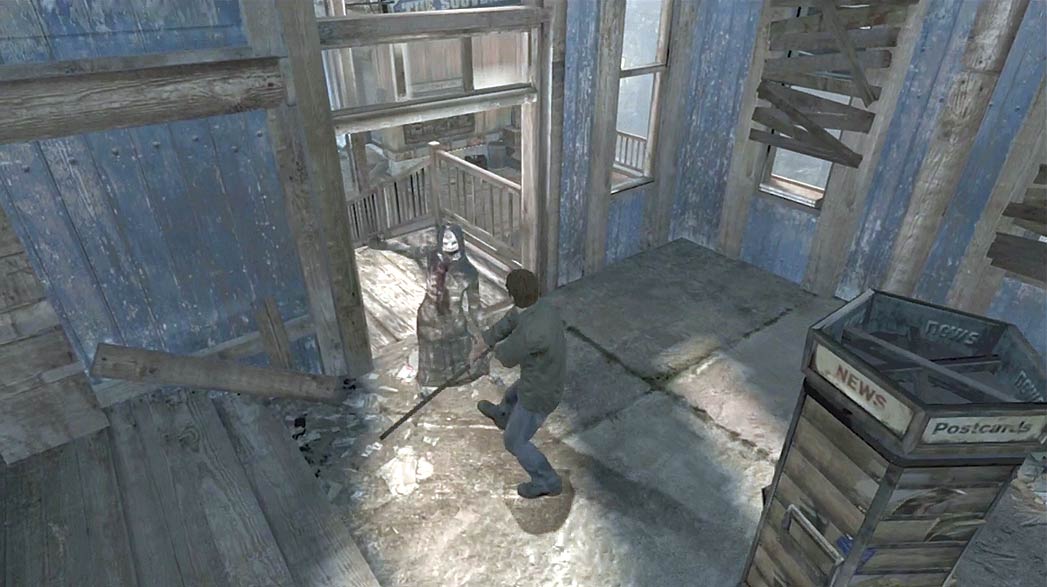
In the most basic terms, combat consists of blocking and attacking. There are, however, several factors that allow for a wide variety of tactics.
During combat, you must consider creature behavior, available weapons, the specific environment, and your preferred style of play.
BLOCKING
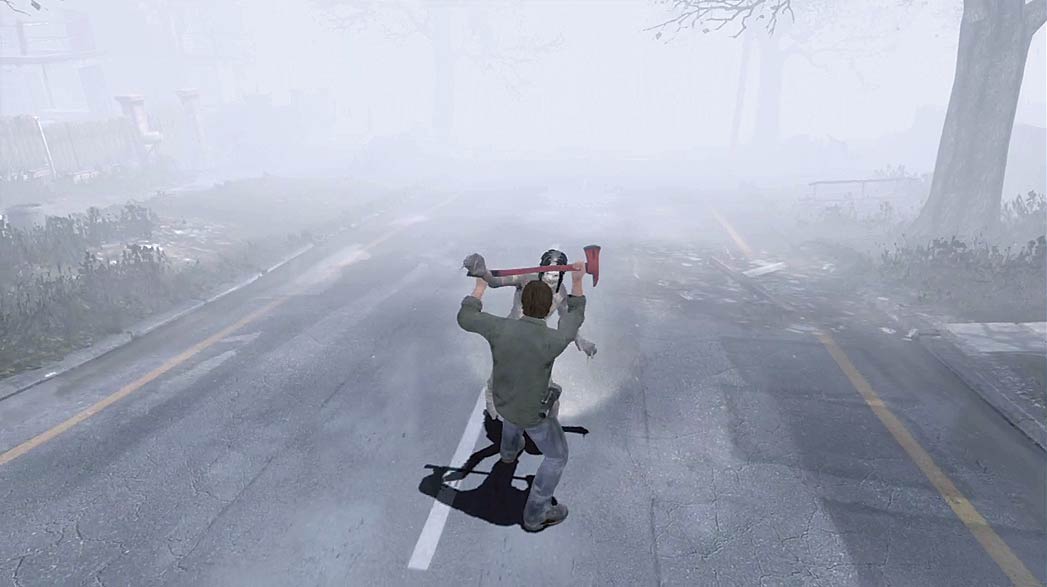
Blocking is essential to your survival. Press and hold the Block button to deflect enemy attacks.
To avoid taking damage, you must have a suitable weapon equipped and be facing your attacker.
Blocking with smaller weapons—like Rocks, Bricks, and Bottles—will only reduce the damage you take. Blocking without a weapon equipped provides even less protection.
Each blow absorbed while blocking damages your weapon.
Depending on your chosen game difficulty, even a relatively durable weapon can be destroyed fairly quickly.
During lengthy battles, you may have to replace your weapon multiple times.
ATTACKING
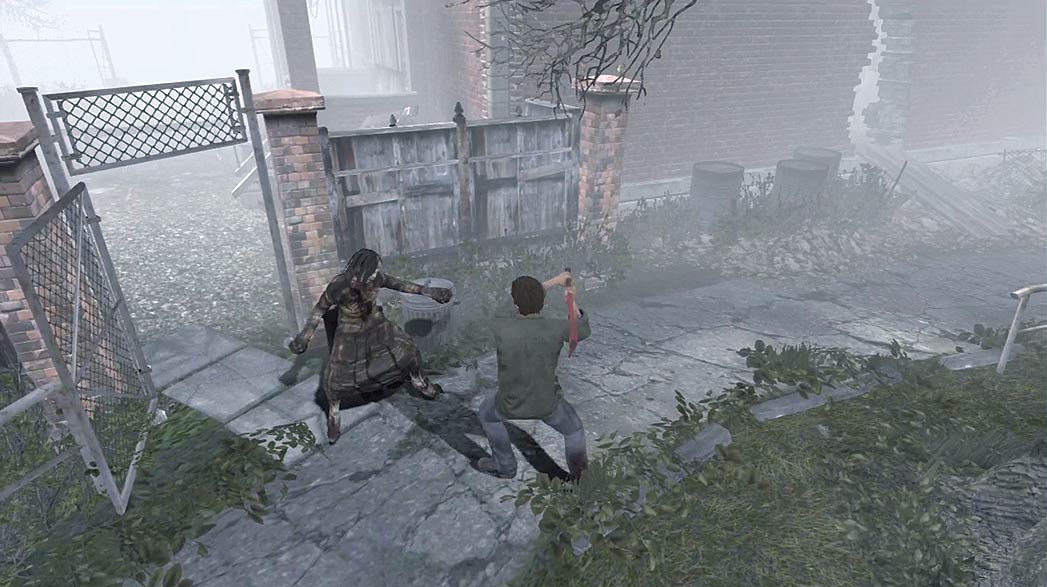
When choosing the right moment to attack, you must consider your currently equipped weapon.
One-handed weapons tend to have high attack speeds, allowing you to strike while your enemy moves to attack.
Two-handed weapons are generally slower, but their increased range and power allow you to inflict heavier damage on multiple enemies.
RANGED ATTACKS
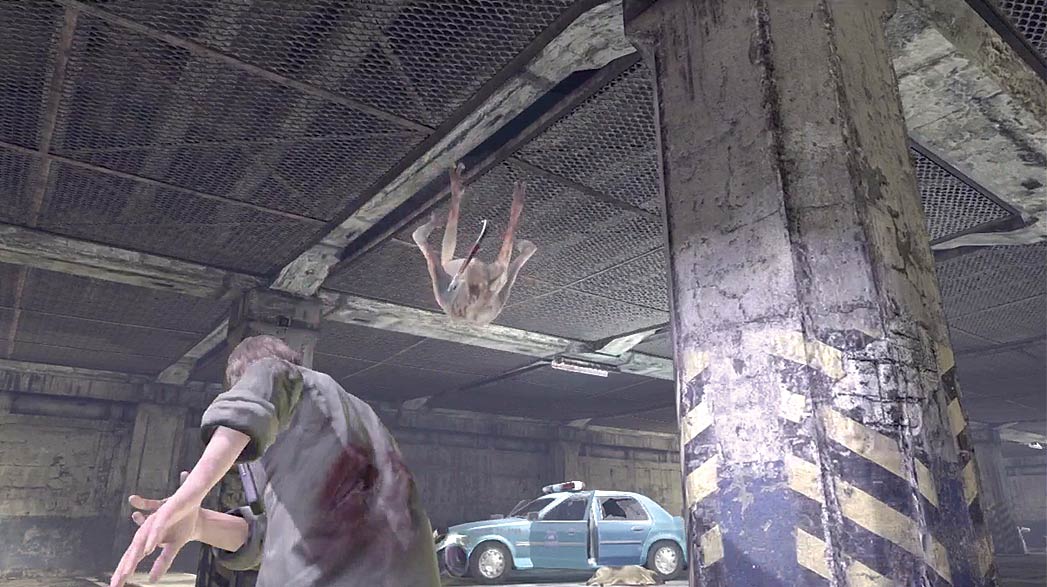
Firearms and thrown weapons allow you to attack enemies from a distance, but ranged attacks have several disadvantages.
When using a firearm, you must consider the rate of fire, reload times, and your supply of ammunition.
In a pinch, an equipped firearm can be used as a melee weapon. Doing so, however, damages your weapon. Each time you use a firearm to block or strike, you risk breaking it.
Throwing an equipped melee weapon can be a very useful tactic, but doing so leaves you unarmed.
Before you throw a weapon at an approaching creature, make sure there’s a replacement weapon within reach.
INCAPACITATED ENEMIES
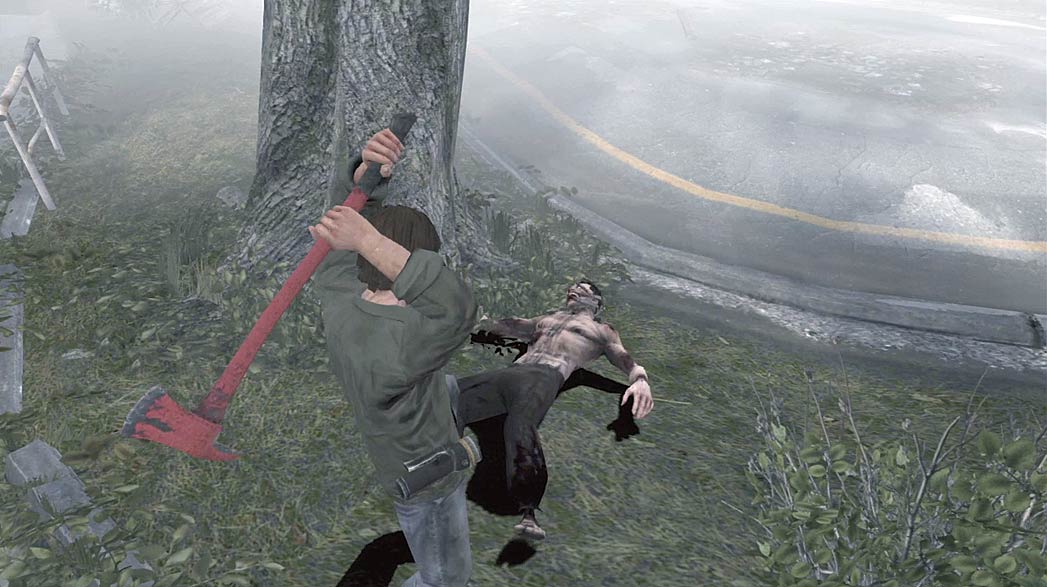
After absorbing enough damage, most creatures become incapacitated.
When this happens, you must decide whether to kill your helpless enemy or leave it flailing on the ground.
Given enough time, an incapacitated creature might recover and resume attacking.
However, finishing off an incapacitated creature is not without risks—particularly if there are more immediate dangers that should be addressed.
ESCAPING
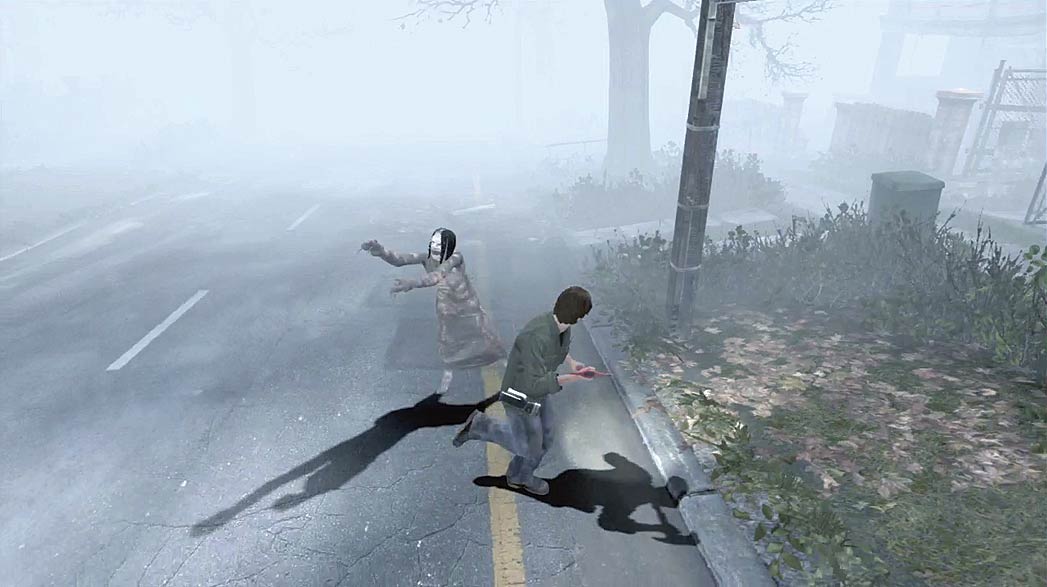
When you’re unarmed, outnumbered, or simply tired of fighting, it’s often best to avoid engaging enemies.
To escape from distant enemies, simply run to a new area.
To withdraw in the middle of combat, however, it’s usually best to stagger nearby opponents with a few quick strikes before you attempt to flee.
Side Quests
The game contains 14 side quests. These quests are completely optional, but they contain some interesting challenges, and they generally offer useful rewards.
Each time you begin a side quest, an entry is added to Murphy’s Journal. As you complete tasks and gain new objectives, check Murphy’s Journal for additional details.
Side quests only become available once you reach the town. You can pursue or ignore side quests as you wish.
However, if you want to complete a side quest, you must do so before you leave the town.
General Tips
- Explore every area and search every room. The walkthrough details all of the game’s puzzles, side quests, and collectible items, but hidden clues and gruesome scenes can offer additional information about the game’s story.
- Each time you enter a new area, look for available weapons. Heavy combat can quickly render any weapon useless, so make sure you are prepared to replace it.
- Ration your resources. As you explore new areas and complete optional objectives, you may find yourself with an impressive supply of First Aid Kits and ammunition. It’s important to remember that the game contains a finite supply of each resource.
- While you explore the town, stop to take shelter every so often. Staying out in the open increases the chances of rain storms and enemy attacks.
- When a side quest leads you out of the area, consider postponing the related objective until you’ve fully explored your current neighborhood. It’s not always wise (or possible) to complete a side quest without first progressing the story.