
Silent Hill Downpour Guide Walkthrough Campaign
Chastian Heights
.jpg)
.jpg)
Side Quest: Cinema Verite
.jpg)
Explore the Movie Theatre
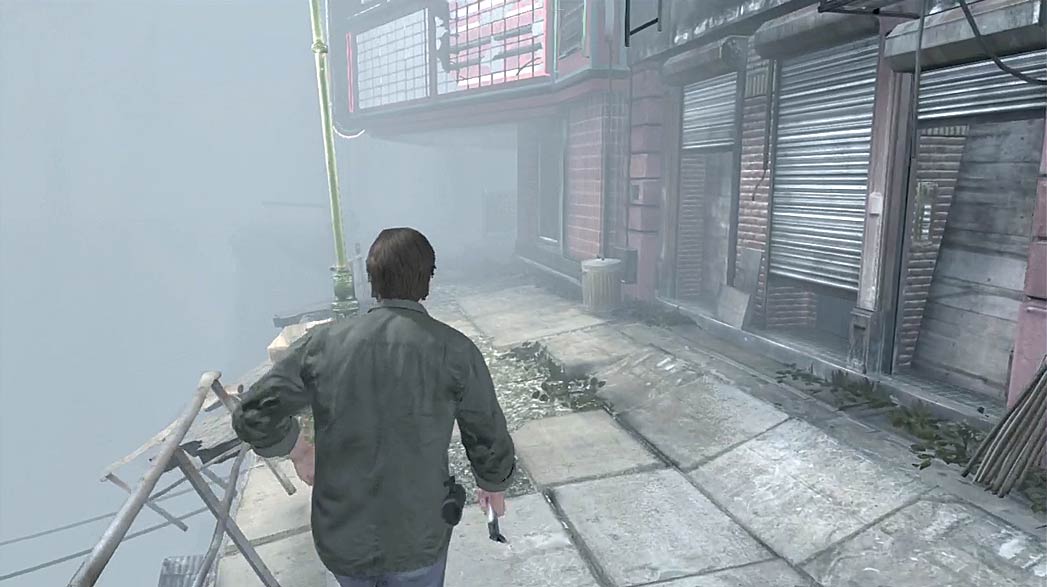
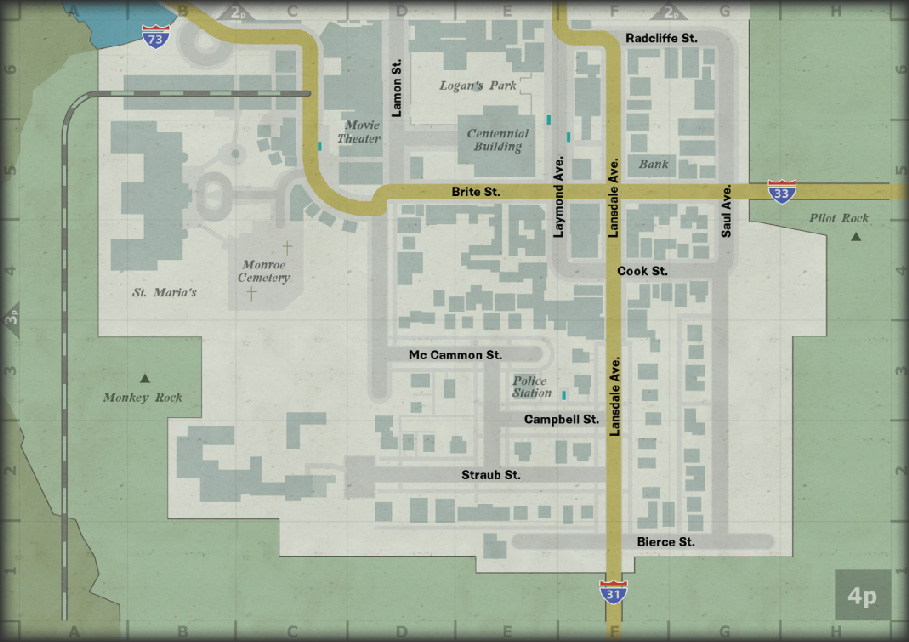
The “Cinema Verite” side quest begins in the movie theater on Lamon Street, west of the Centennial Building. Before you enter the theater, search Lamon Street for useful items.
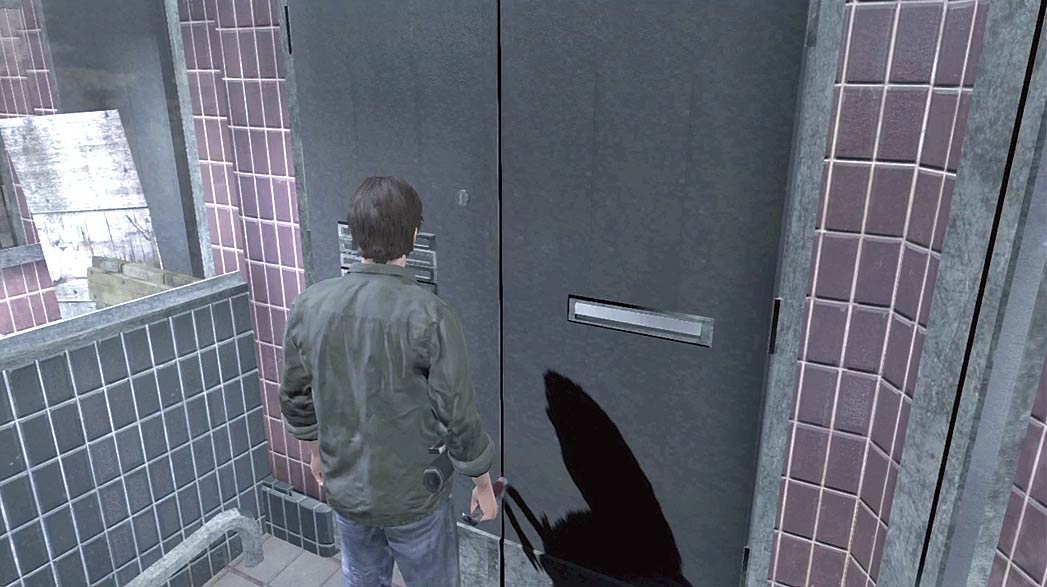
When you’re ready to head into the movie theater, enter through the doors north of the ticket booth.
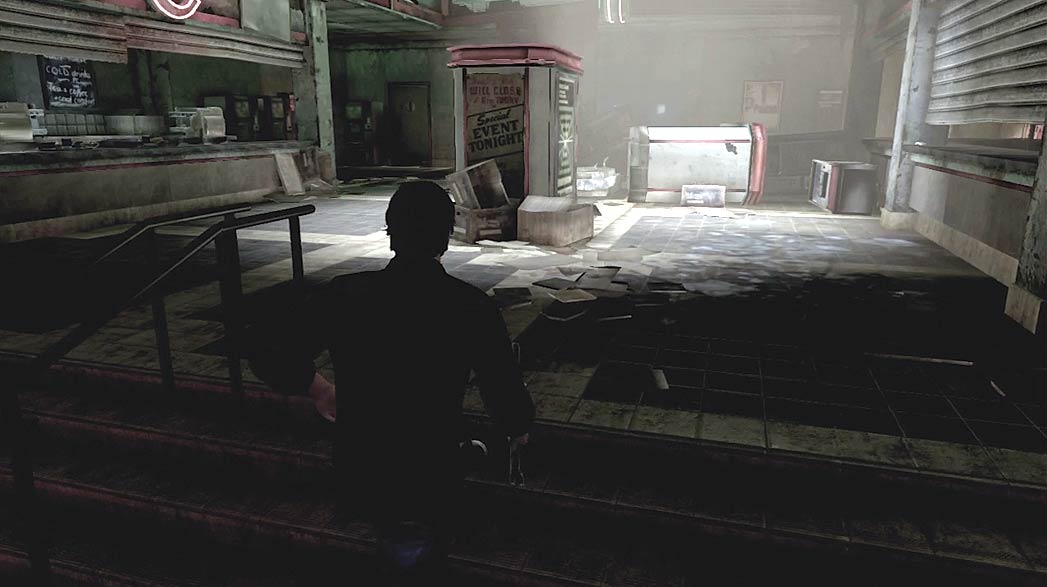
The building’s lobby contains a concession counter, a coat check, and two restrooms. Some vending machines are blocking the theater doors.
Search the lobby for important items, then look for a path around the barricade.
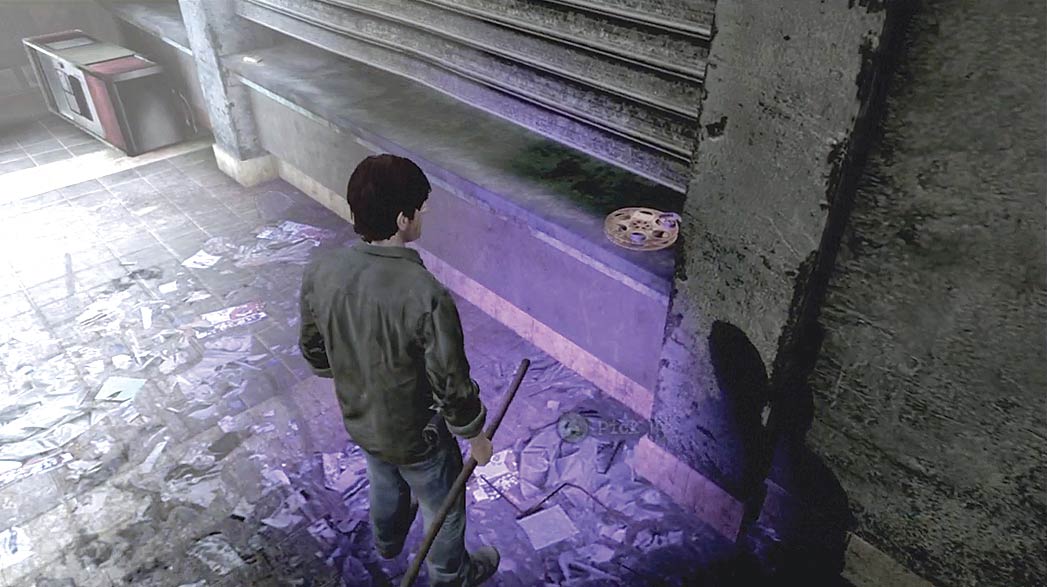
In the Easy and Normal puzzle difficulties, there’s a quest item on one of the coat check counters.
Collect the Film Reel to add “The House on the Lake” to your Inventory. This is the first of three Film Reels located in the building.
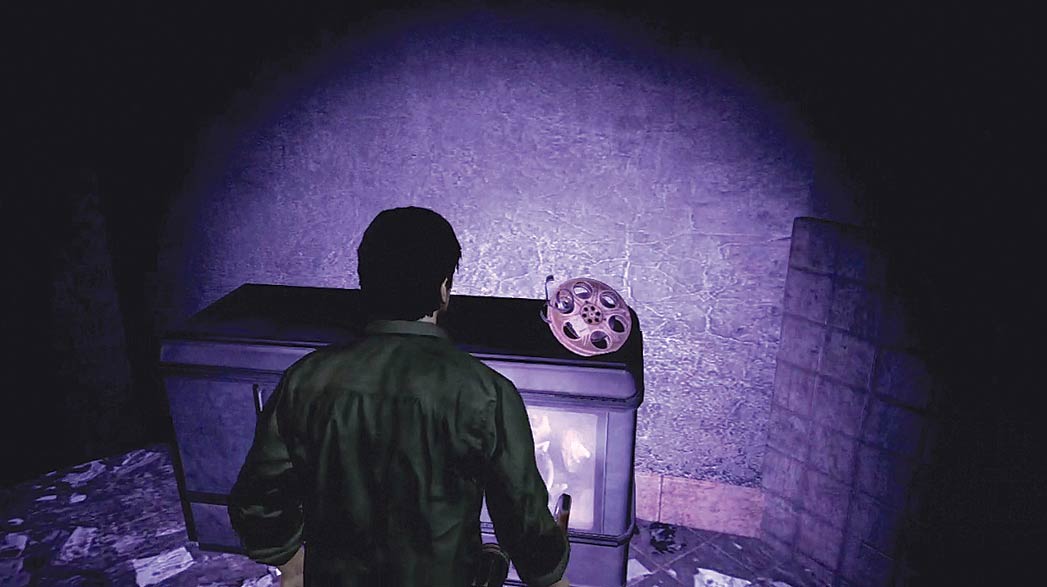
In the Hard puzzle difficulty, “The House on the Lake” is located behind the concession counter.
Step behind the counter and follow it to a small, dark room, then grab the Film Reel on the vending machine.
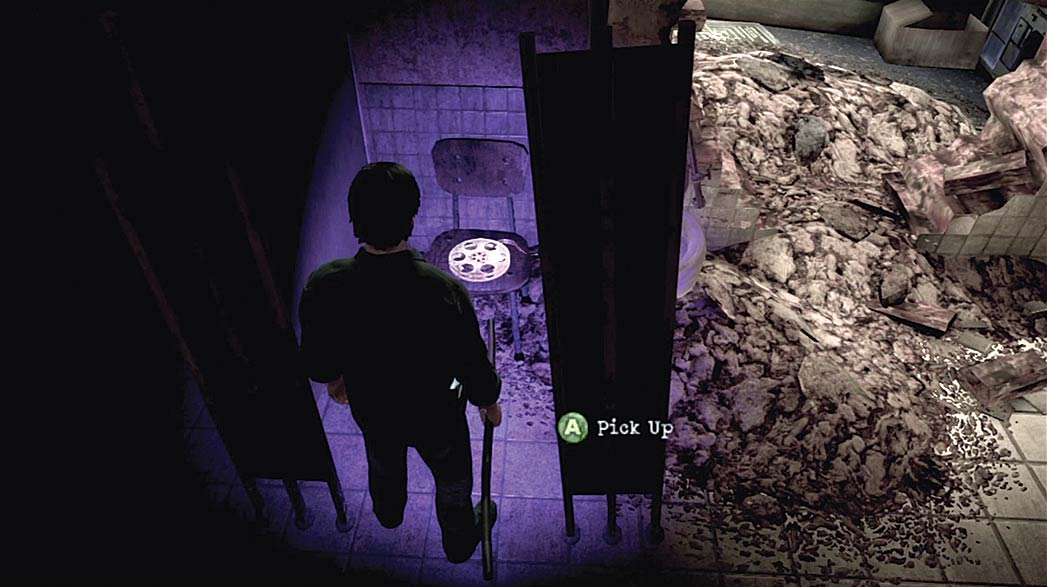
When you’re finished exploring the lobby, move your search into the restrooms.
In the Easy and Normal puzzle difficulties, the restroom near the concession counter contains the second Film Reel.
Collect “The Silent Children” from one of the stalls, then pass through the hole in the wall to enter the theater.
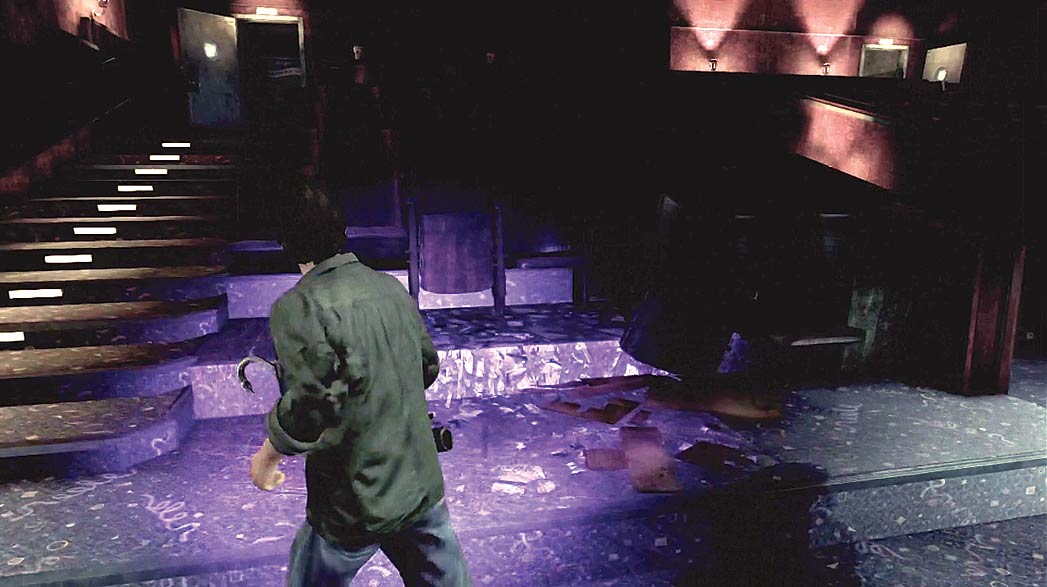
Follow the aisle to the front of the theater, then turn around to face the back wall. The steps on your left lead to a small, dimly lit room used for poster storage.
The steps on your right lead to the projector room.
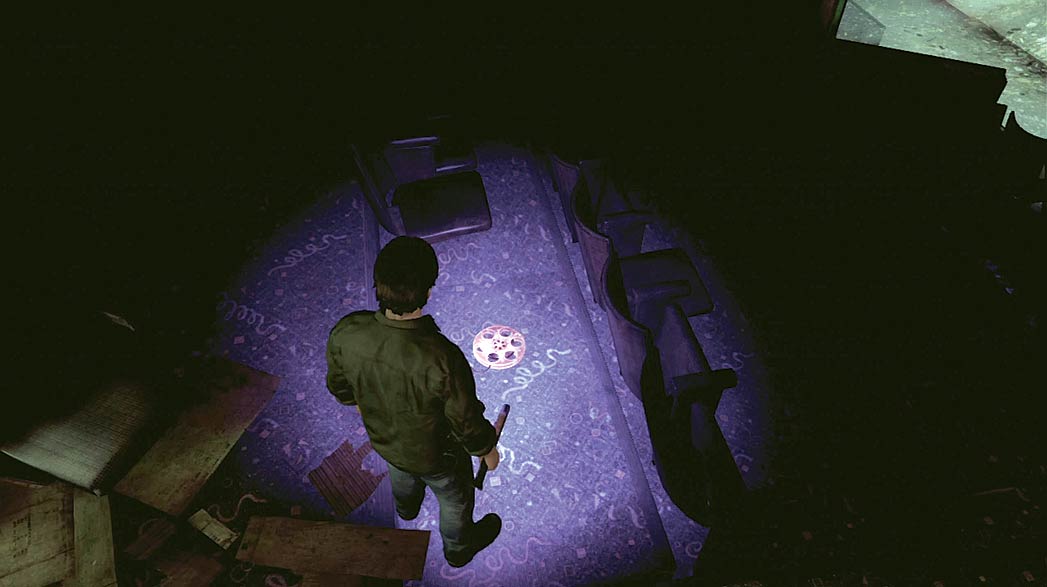
On the Hard puzzle difficulty, the second Film Reel is hidden behind some of the theater’s seats.
Climb the steps leading to the poster storage room and search the floor near the back row to find “The Silent Children.”
Repair the Projector
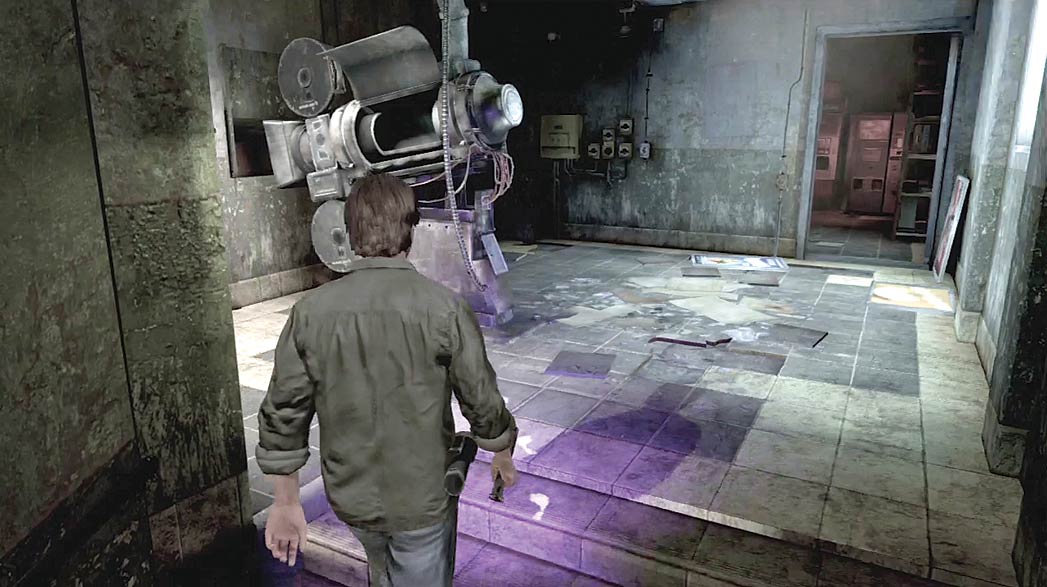
Enter the projector room to receive the side quest’s first objective, then search the area for clues and items.
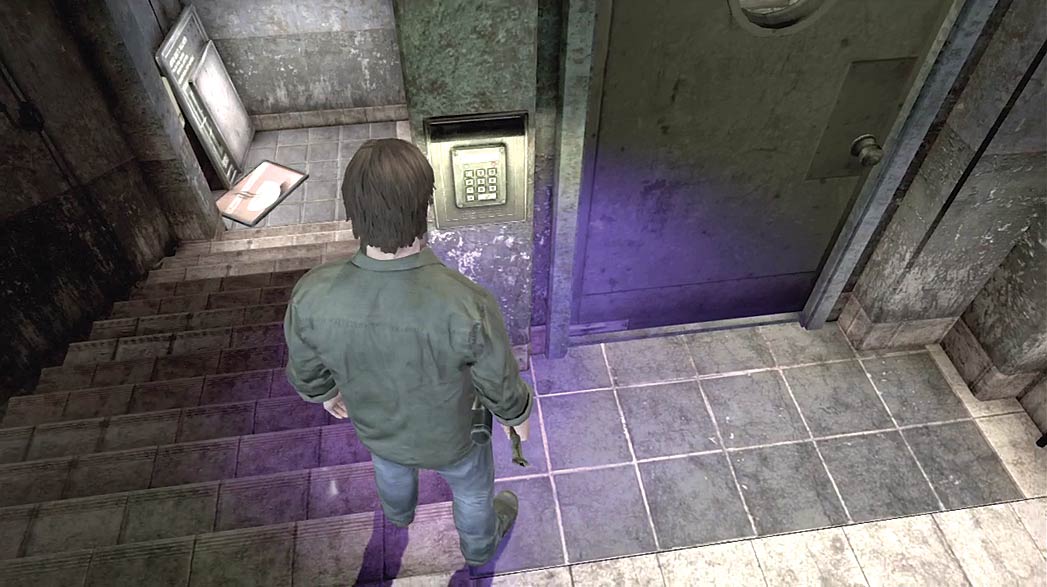
The room to left of the projector is locked. To open it, you’ll need to obtain the code for the nearby keypad. The room to the right of the projector is used for film storage.
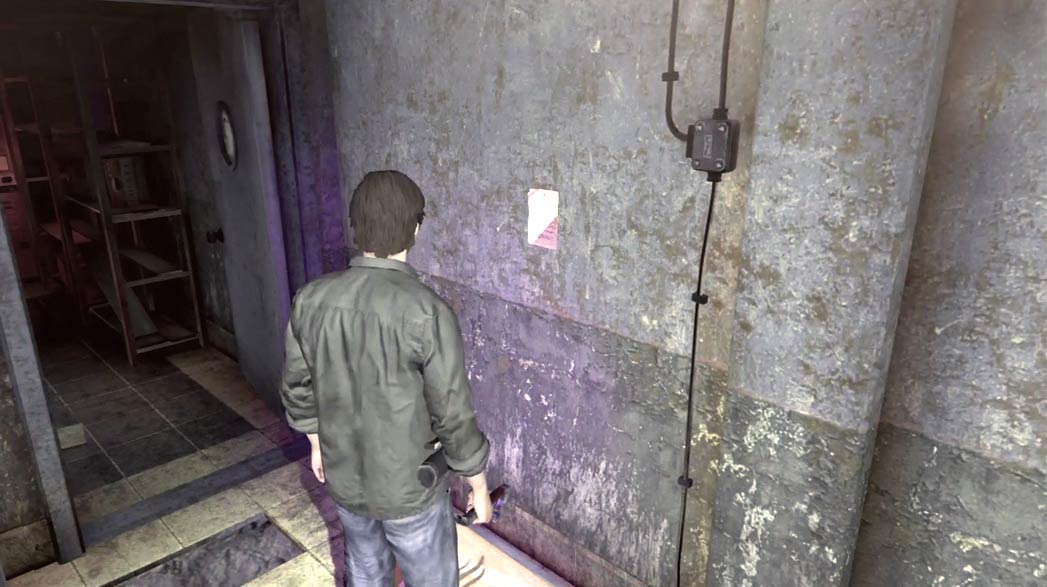
There’s a Mystery item posted on the wall outside of the film storage room. Collect it to add the Film Splicing Guidelines to Murphy’s Journal.
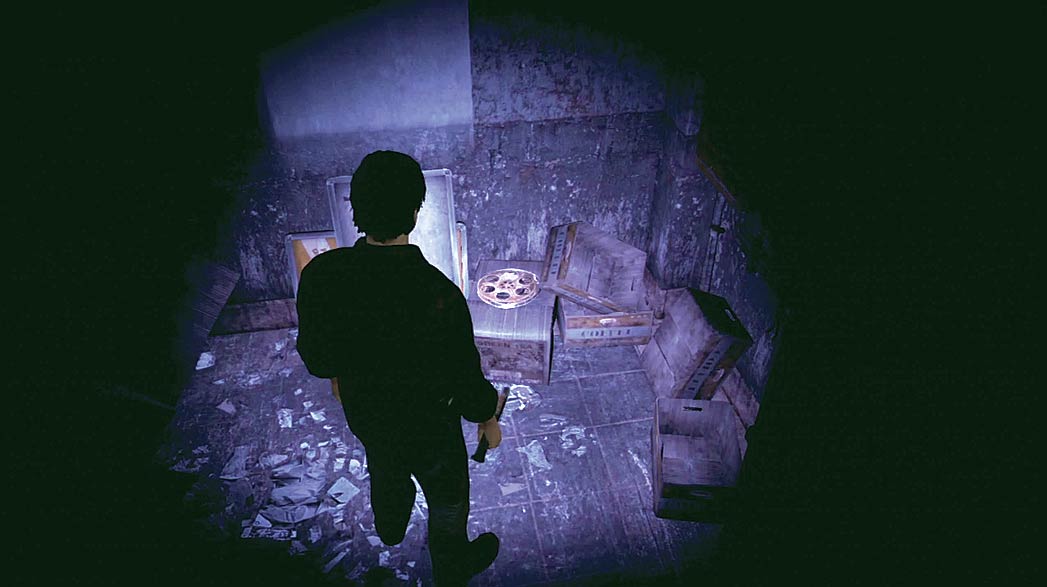
The last Film Reel, “The Secret of the Attic,” is on a small box in the film storage room. Before you can play any of the films, you must find a Replacement Bulb for the projector.
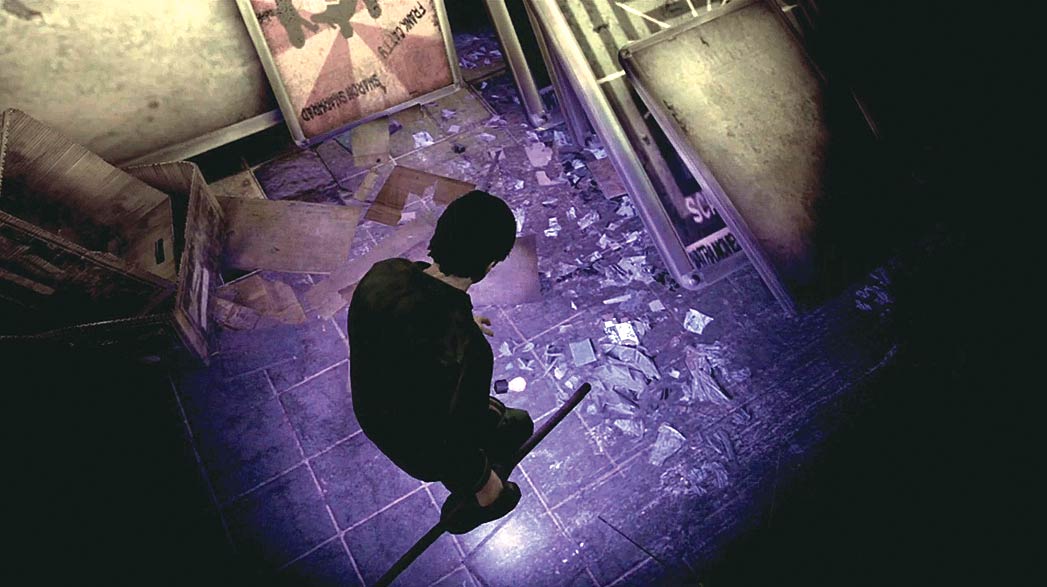
In the Easy puzzle difficulty, the bulb is located in the building. Enter the poster storage room at the back of the theater and collect the Replacement Bulb on the ground.
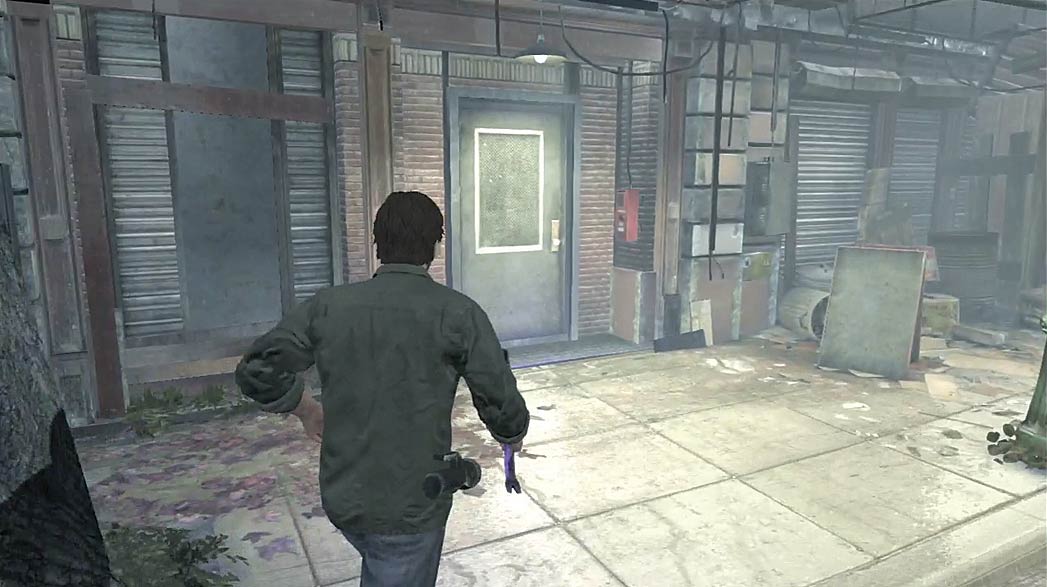
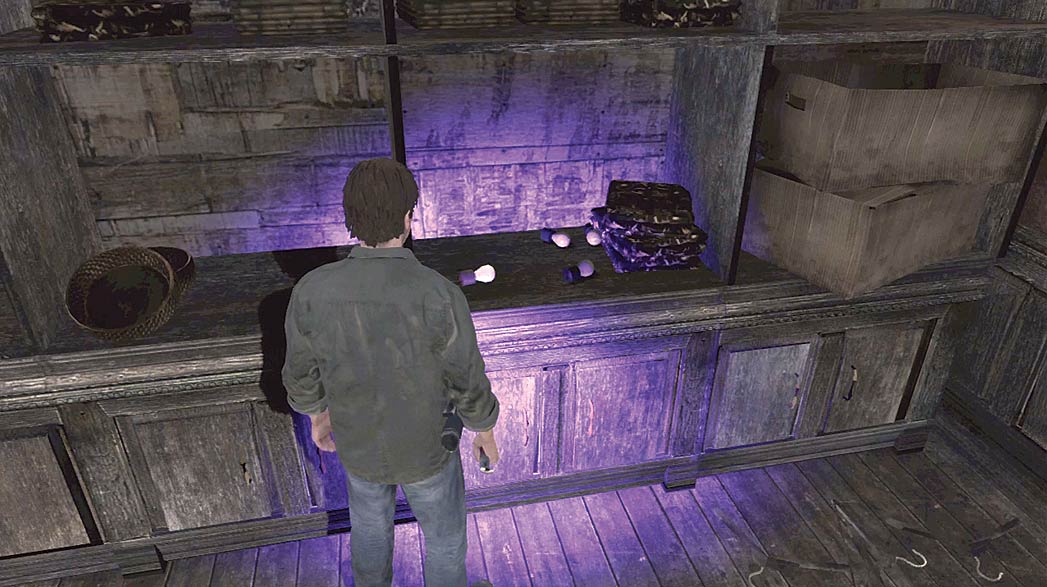
In the Normal and Hard puzzle difficulties, the bulb is located in the hardware store east of St. Maria’s Monastery.
Enter the store and collect the Replacement Bulb from the shelves behind the register.
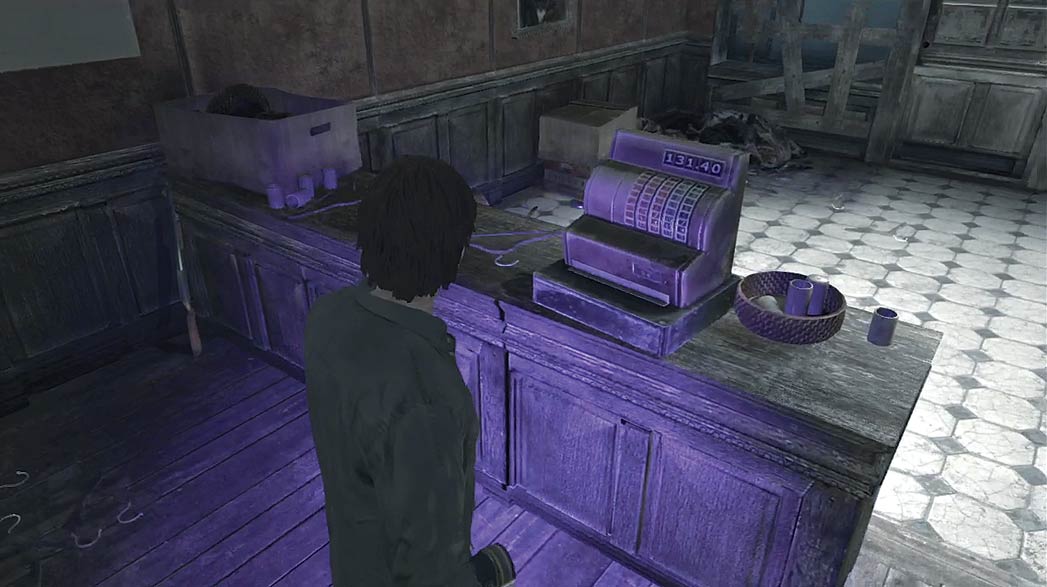
Before you return to the projector, search the hardware store for useful items.
There’s a Shotgun located behind the counter, and the Storage Room Key is inside of the cash register.
Toward the end of the “Cinema Verite” side quest, you’ll have the chance to collect the Golden Gun.
You can only carry two firearms at a time—because you should already have a Colt in your inventory, consider leaving the Shotgun in the hardware store for now.
Play the Film Reels
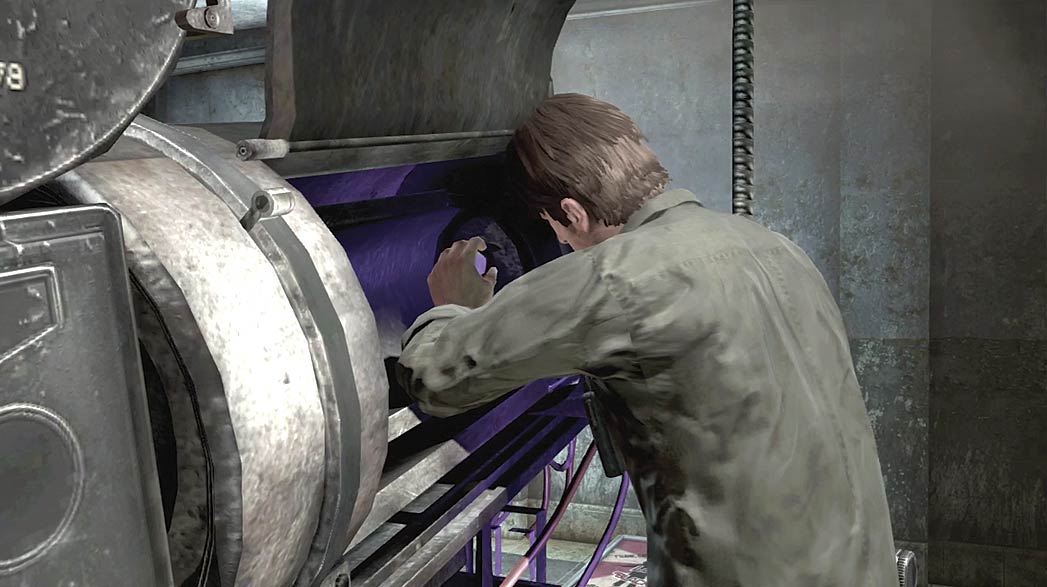
After you collect the Replacement Bulb, use it to repair the projector. Play one of the Film Reels you’ve collected and examine the screen.
Use the clues from each Film Reel to determine the code for the projector room’s keypad.
Approach the screen while a film is playing to step into the projected image. Each film only plays for a short time. You must run from the projection room to the screen before the image vanishes.
The Final Cut
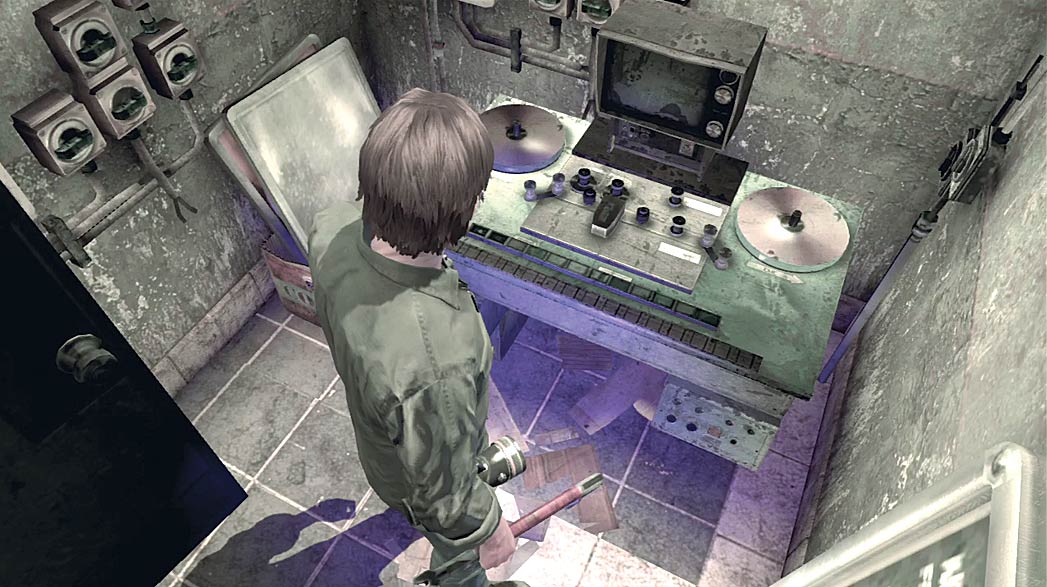
After you enter the code into the keypad, retrieve the last Film Reel from the projector. Open the newly unlocked door and use the film splicer to combine the three films onto a single reel.
Place the Spliced Reel into the projector, then run down to the screen and enter the projected image.
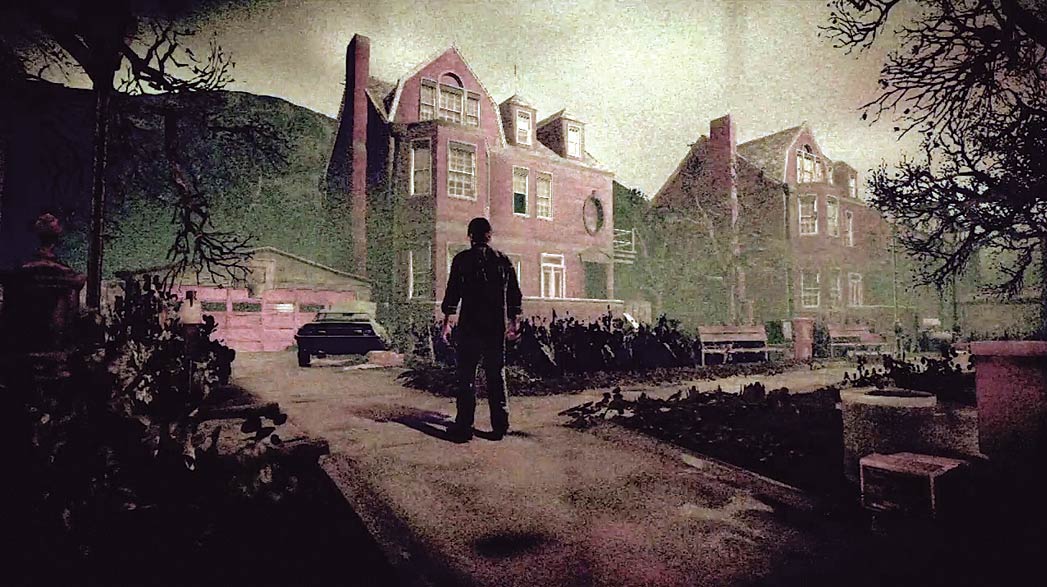
The final film contains all of the environments you’ve already visited. Follow the sidewalk to the right and enter the house.
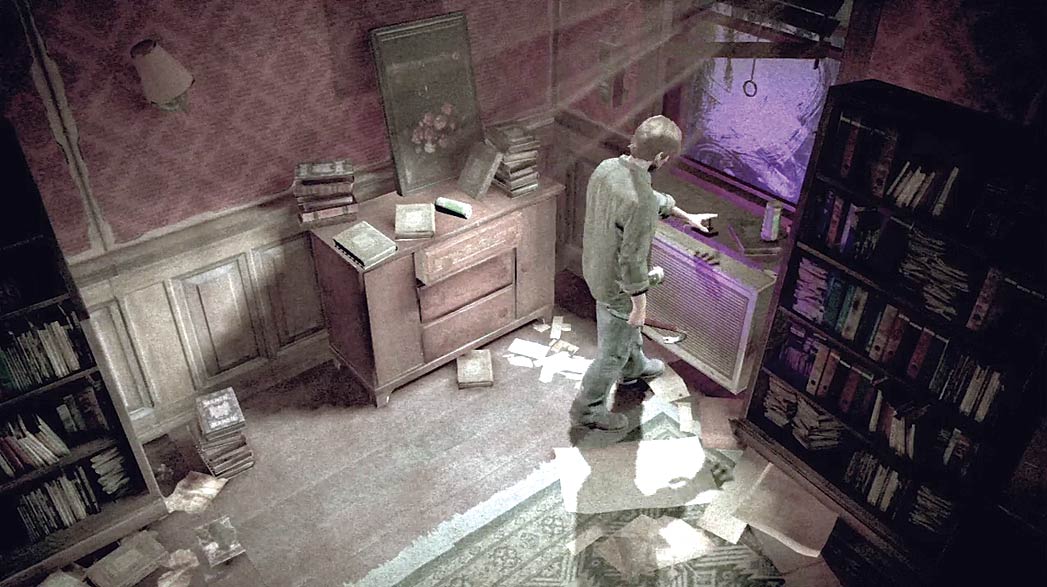
Move past the staircase and open the door on your left. Cross the room and collect the Wooden Crank from the windowsill.
When you’re ready, leave the room and head through the door at the end of the hall. Continue through the next door to enter the large room from the second film.
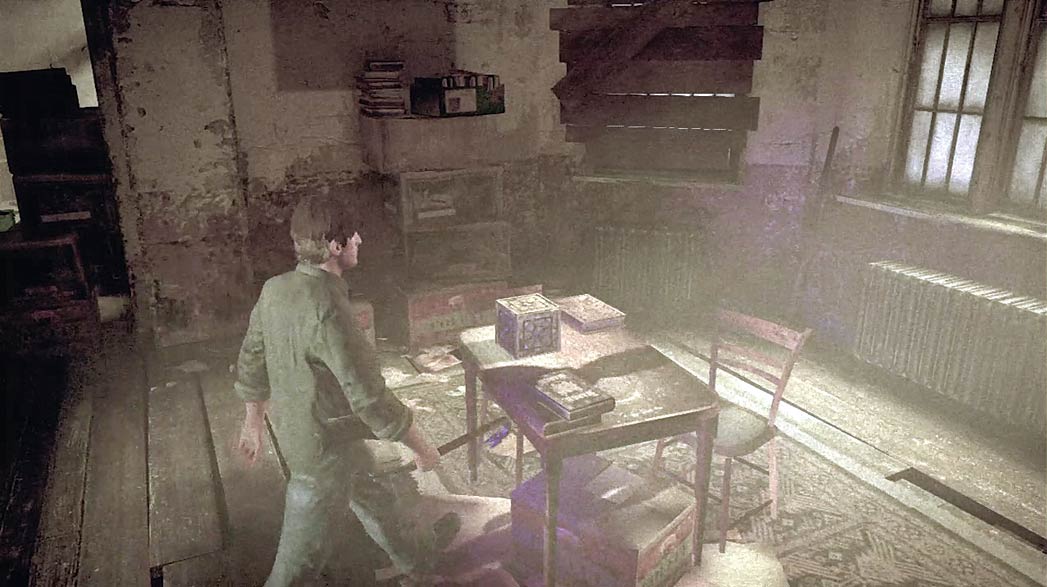
Locate the table across the room from the entrance. Insert the Wooden Crank into the jack-in-the-box, then turn the crank until the box springs open.
After the Key is added to your Inventory, climb the ladder in the corner of the room.
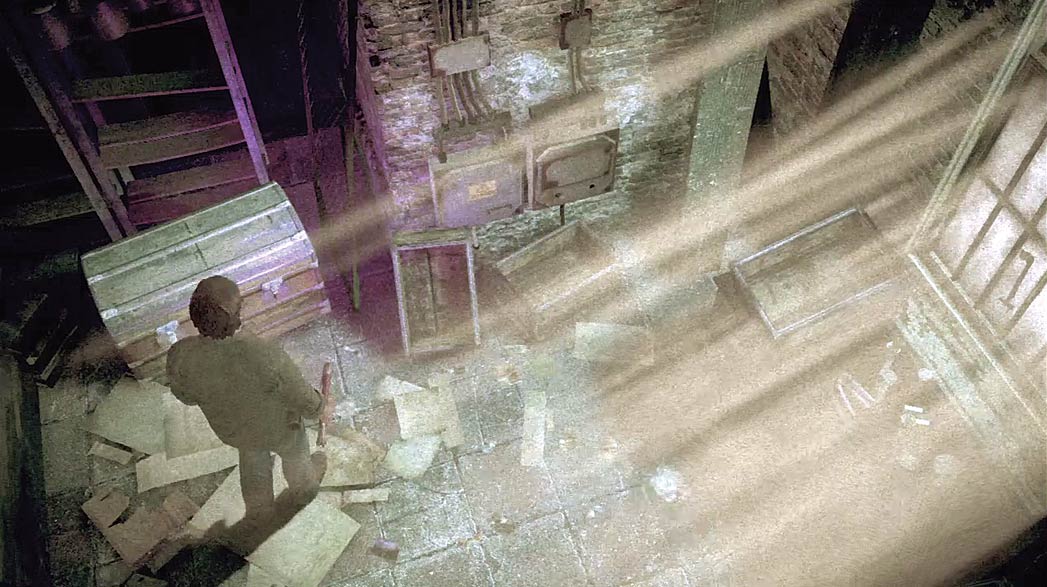
The ladder leads to the attic from the third film. Use the Key to unlock the trunk near the window. The trunk contains a Golden Gun and two boxes of Pistol Bullets.
Collect your reward and move back through each area to return to the theater the complete the “Cinema Verite” side quest.
After you open the trunk, a Screamer appears in the attic. Consider dealing with the creature before you collect your rewards. You’ll find more enemies on your way back to the theater.
There’s a Weeping Bat in the room below the attic, and outside there’s a Brawler waiting for you on the sidewalk.
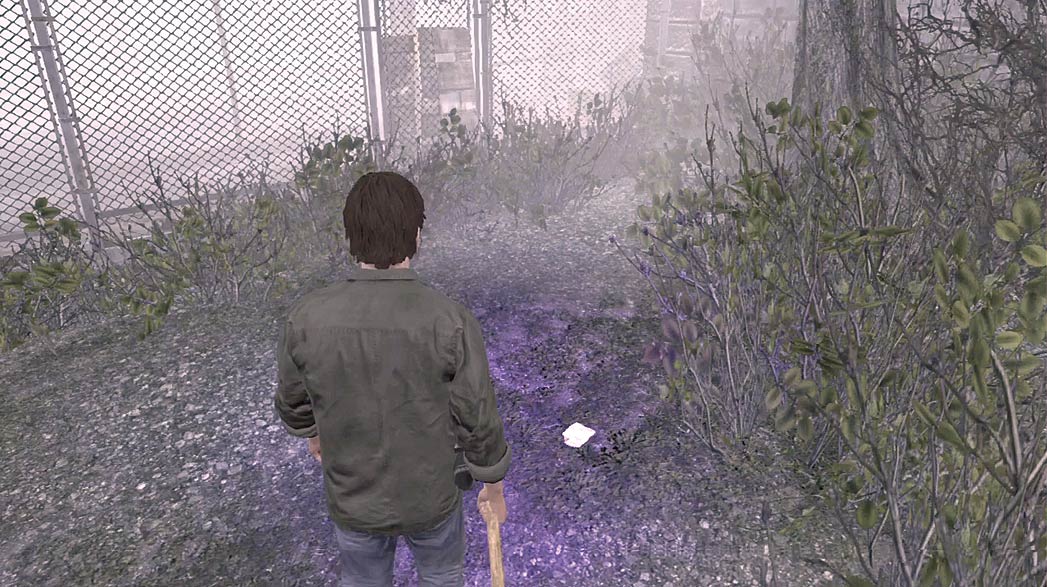
As you explore the small park along the movie theater’s west wall,
collect the Mystery item to add the Newspaper Article (Abduction) to Murphy’s Journal.
Side Quest: The Gramophone
.jpg)
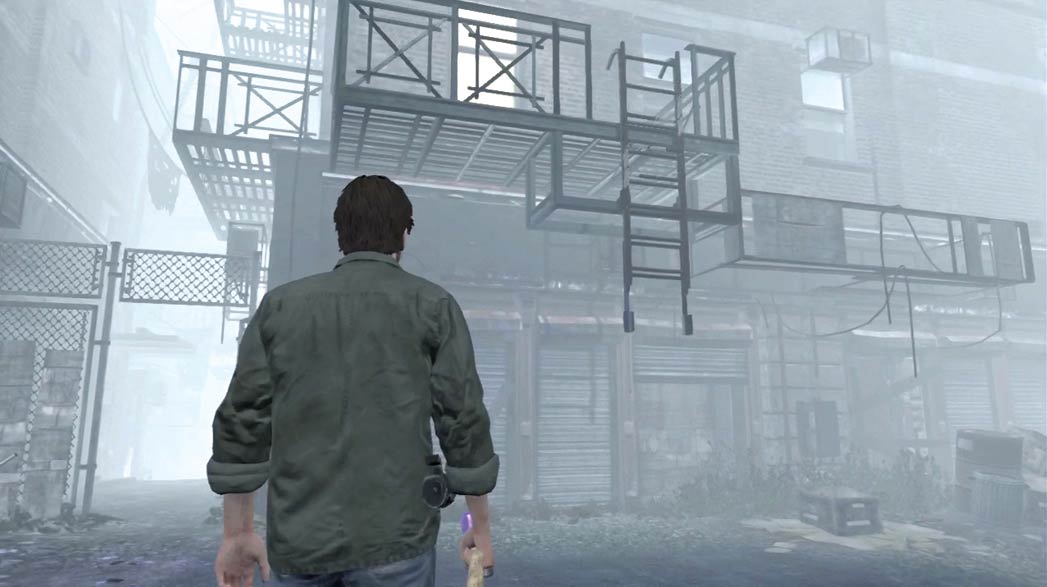
“The Gramophone” side quest is located in a Chastain Heights apartment building, just south of the movie theater.
Before you can access the apartment, however, you’ll need to pull the retractable ladder down from the fire escape.
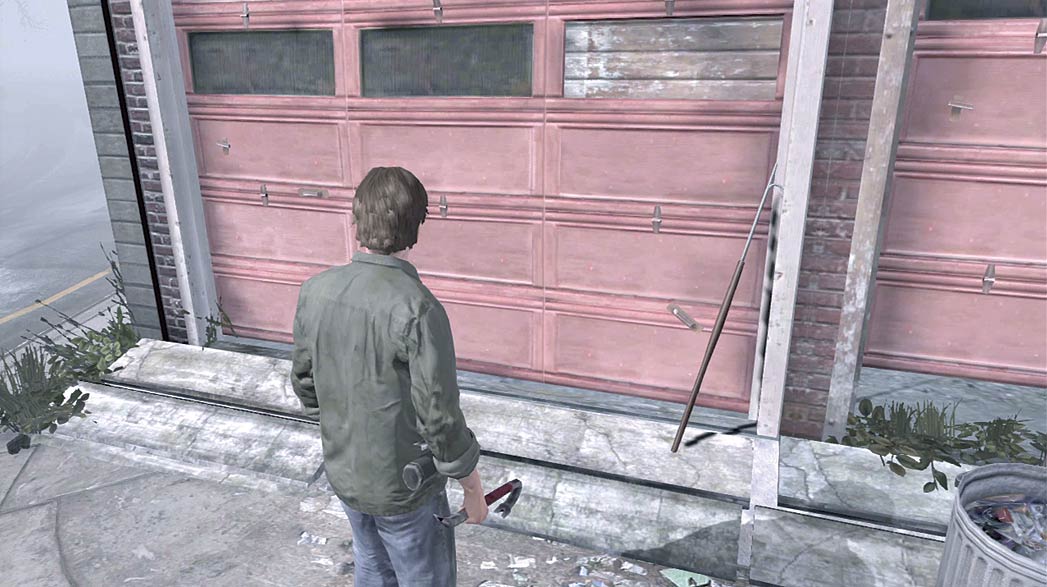
There is a Hook just across the street. Find the red shutter doors west of the apartment and grab the Hook leaning against the building.
Return to the ladder and pull it down from the fire escape, then climb up to the window and enter the building.
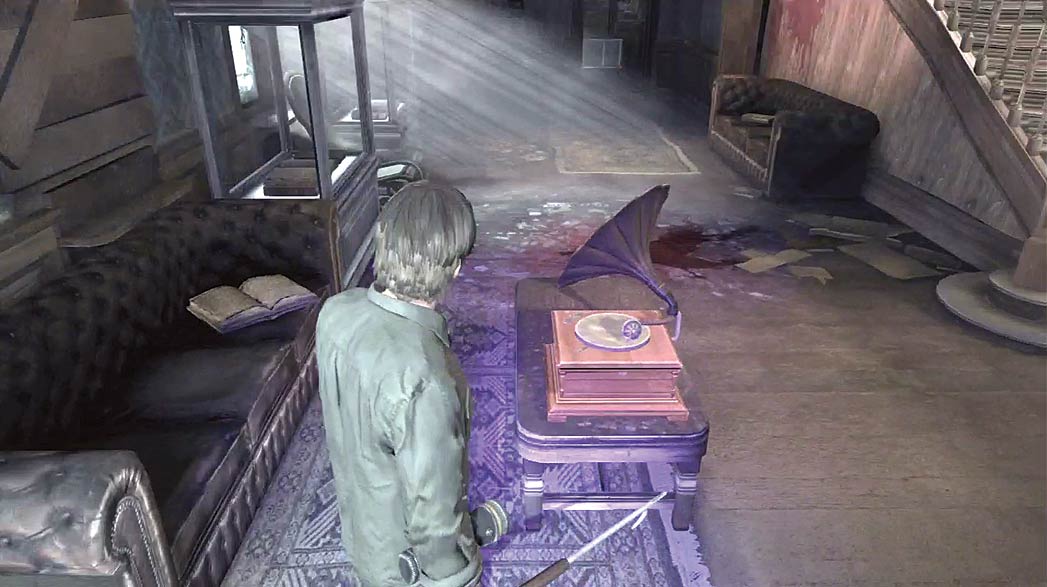
When you arrive in the living room, the gramophone near the window isn’t working. Search the apartment for items that might help get the gramophone up and running.
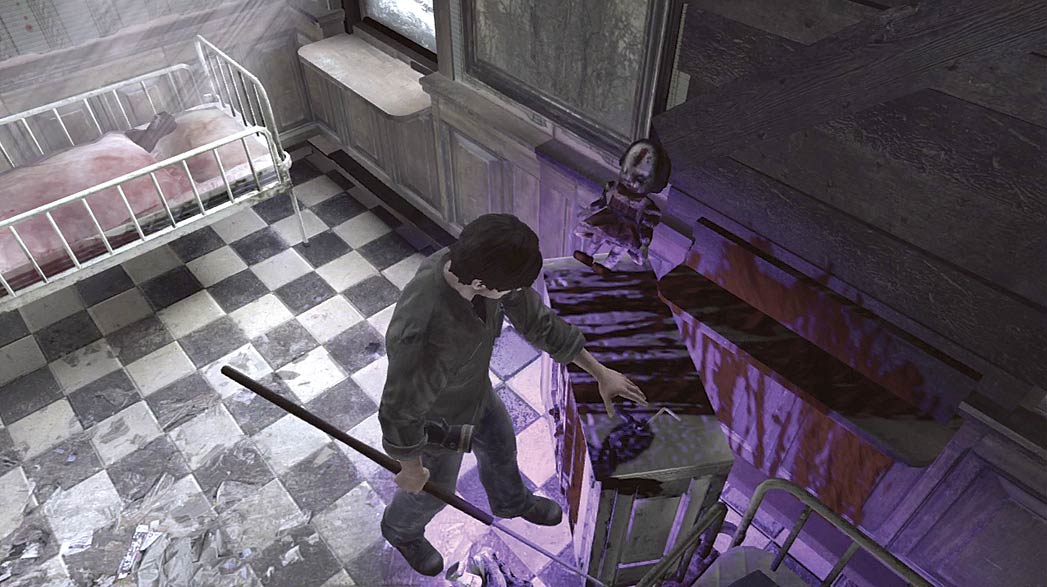
The first item is located in the children’s room on the second floor. Climb to the top of the stairs and enter the room to your left.
Collect the Crank from the cabinet in the corner, then search the adjoining bathroom on your way back to the hall.
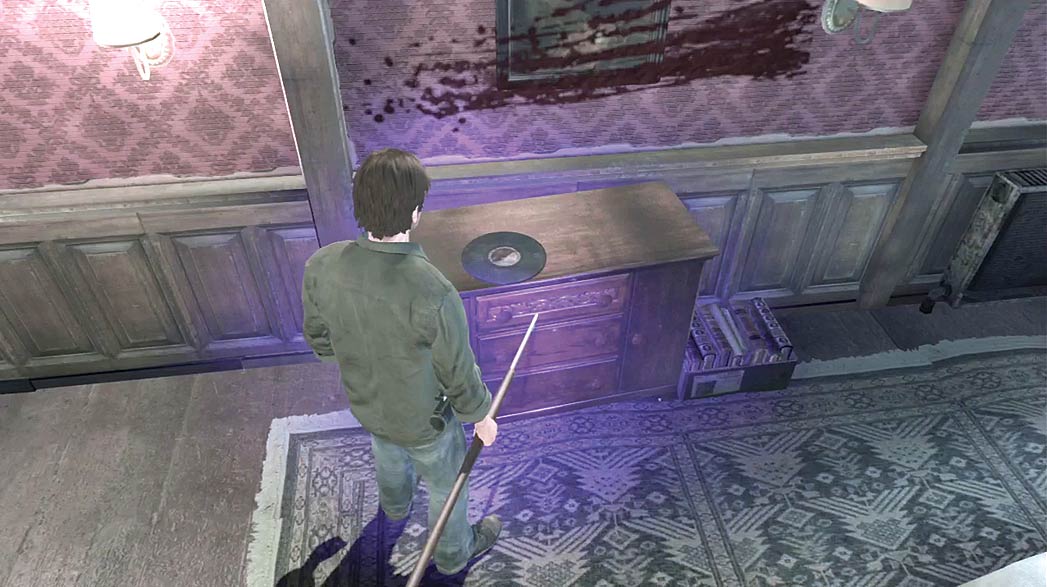
Search the bedroom across the hall from the bathroom. Collect the Vinyl Record from the dresser and return to the gramophone on the apartment’s first floor.
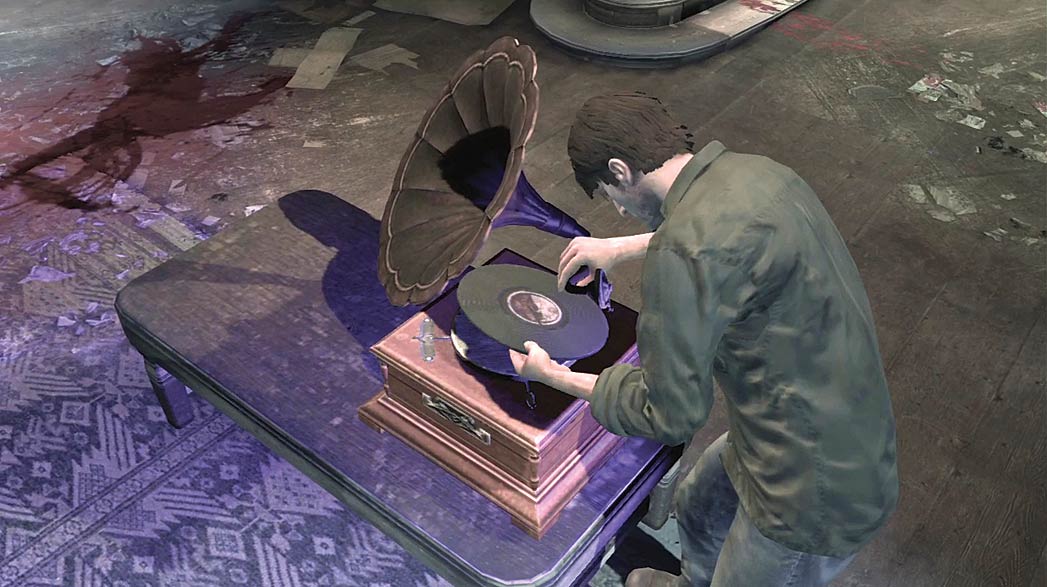
Insert the Crank into the gramophone and place the Vinyl Record on the gramophone’s turntable. Turn the crank to play the record, then search the room for new clues.
|
|
Side Quest: Shadow Play
.jpg)
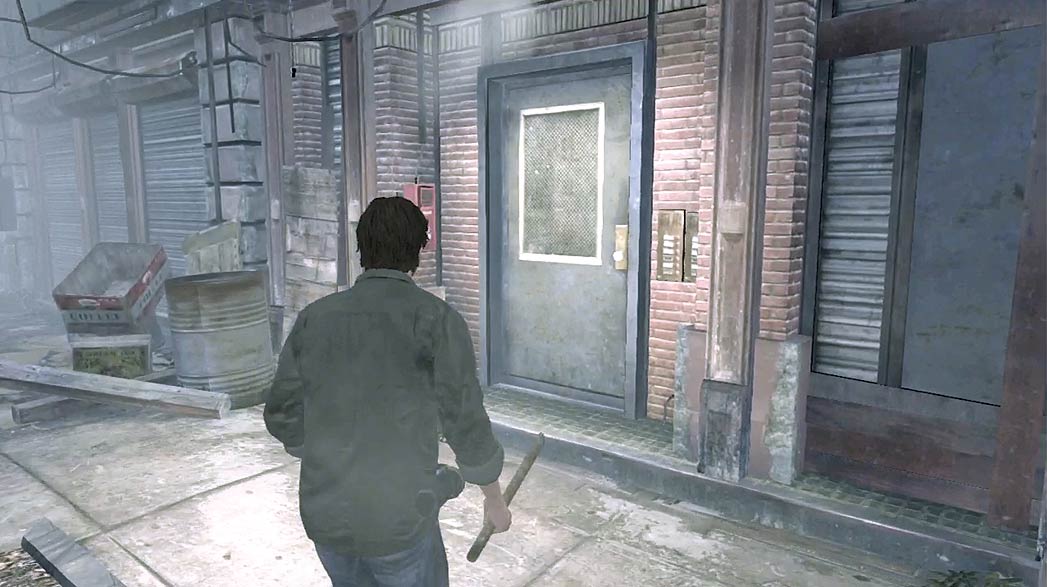
The “Shadow Play” side quest is located in the loft at the northeast corner of Chastain Heights.
To begin the quest, enter the building and climb the stairs up to the loft.
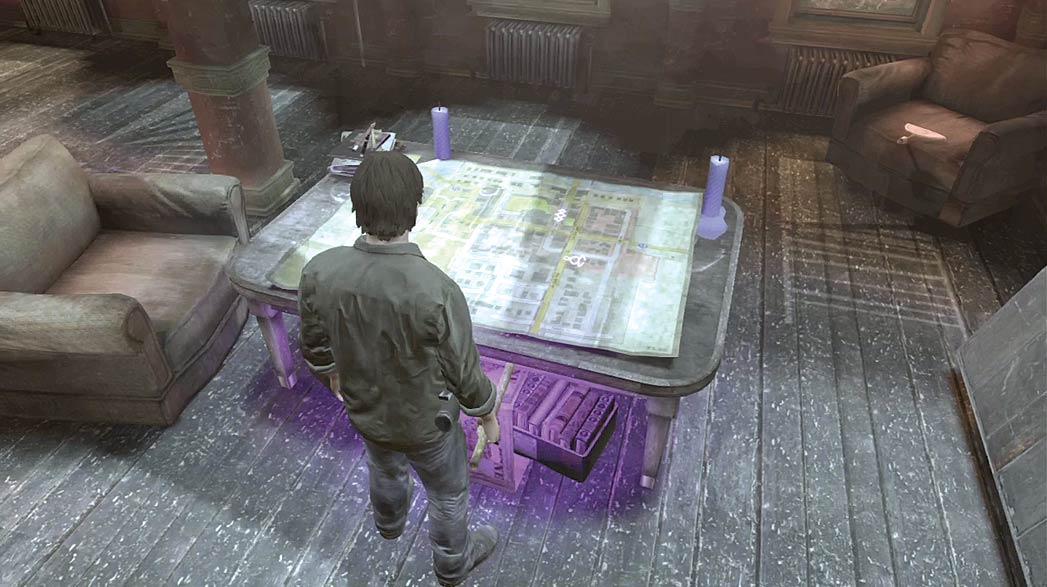
Approach table in the corner of the room and use your Lighter to light the candles near the top of the map.
The UV light from the candles reveals the locations of five symbols spread throughout the town.
Collect the Soul-Eye fragment from the nearby chair, and cross the room to find the symbol on the loft wall.
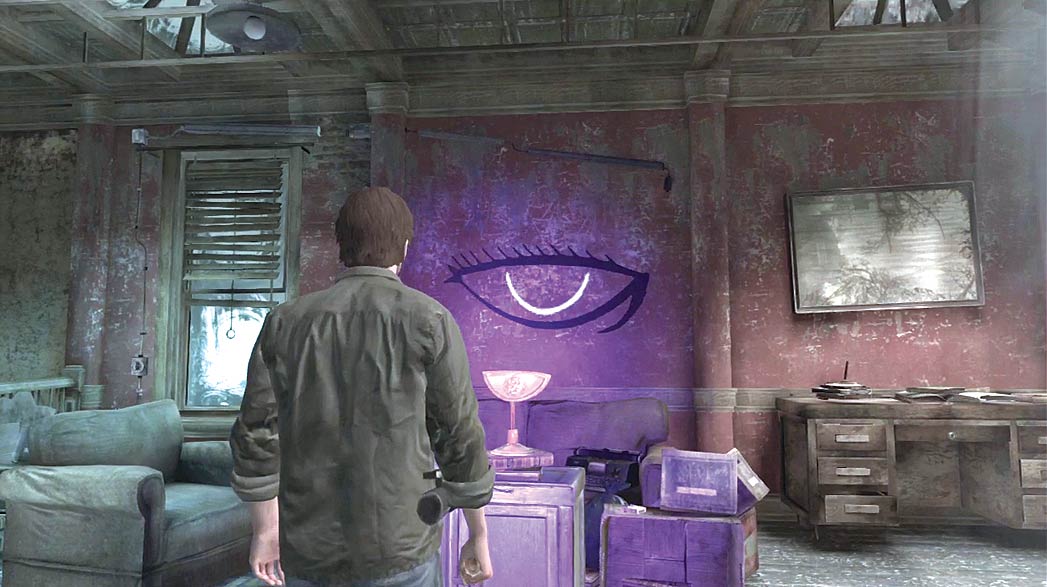
Place the Soul-Eye fragment into the base near the symbol, then aim your UV beam at the wall.
Rotate the fragment to match the revealed shape, then activate your Forensic Flashlight’s standard beam.
Adjust your position until the fragment’s shadow fills the space indicated by the hidden shape.
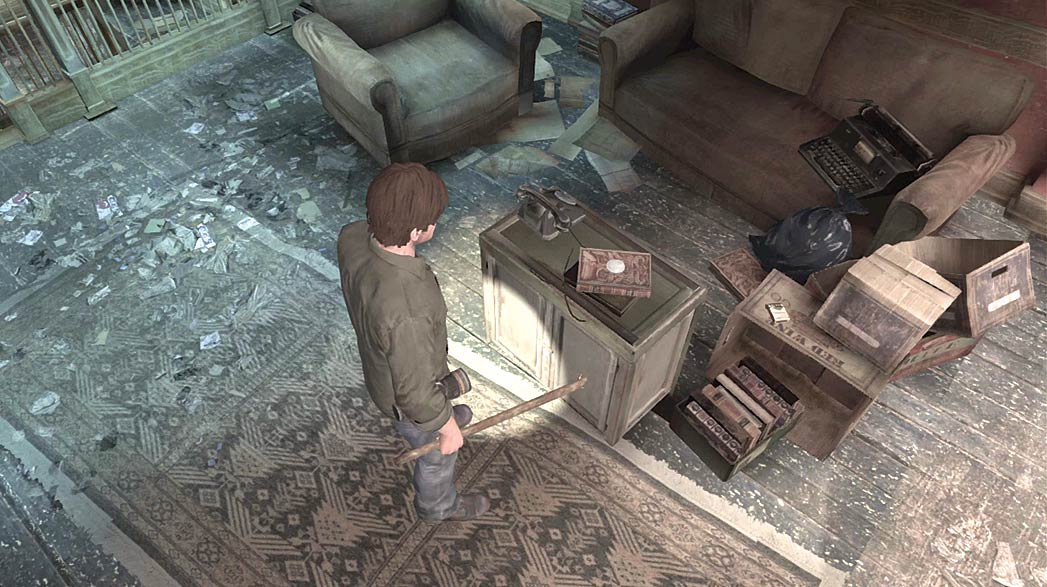
When the Soul-Eye shadow symbol is complete, the fragment transforms into the Soul-Eye Token.
Grab the token and place it on the map across the room.
Find the four remaining shadow symbols and repeat the process to collect all of the tokens.
Shadow Symbol Locations
Pearl Creek
.jpg)
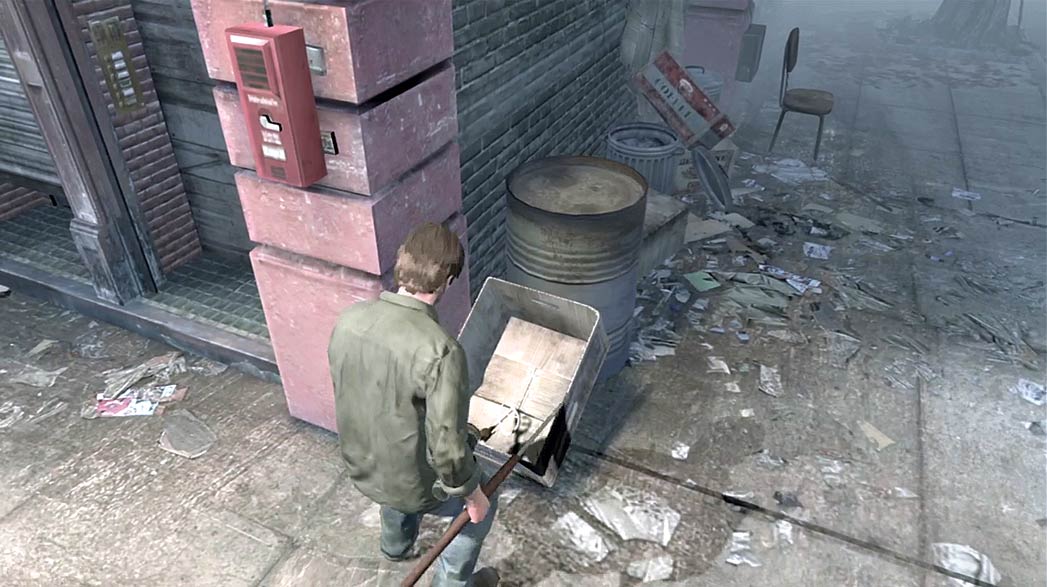
The Healing fragment is in Pearl Creek, at the southwest corner of Cook Street and Lansdale Avenue.
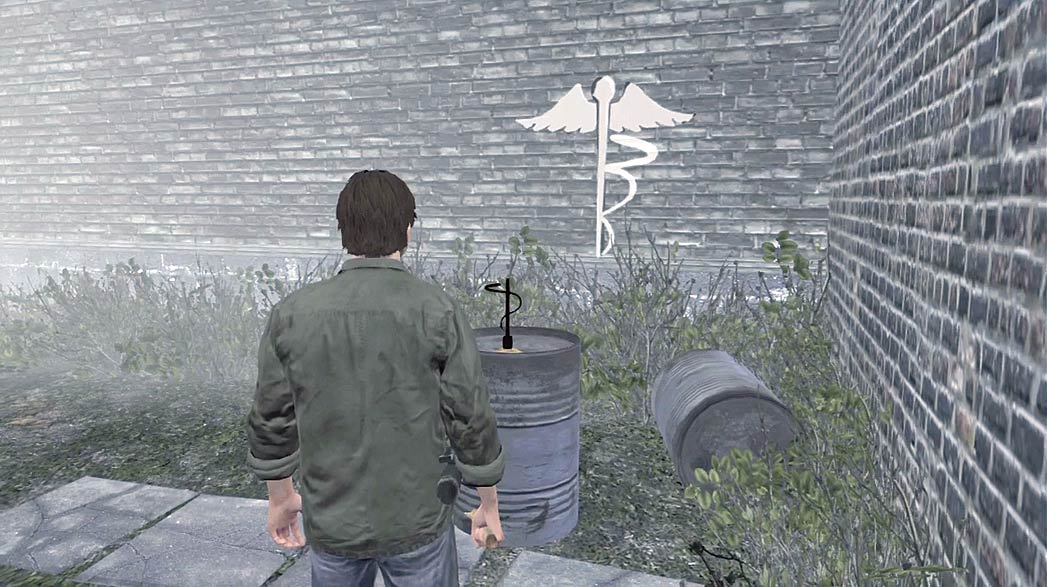
Take the fragment to the Healing shadow symbol in the park at the southeast corner of the same intersection. The Healing shadow symbol is flanked by two hidden shapes.
To complete the symbol, you must recreate both of them. Rotate the fragment to match one of the missing shapes, then use the flashlight beam to move the fragment’s shadow into place.
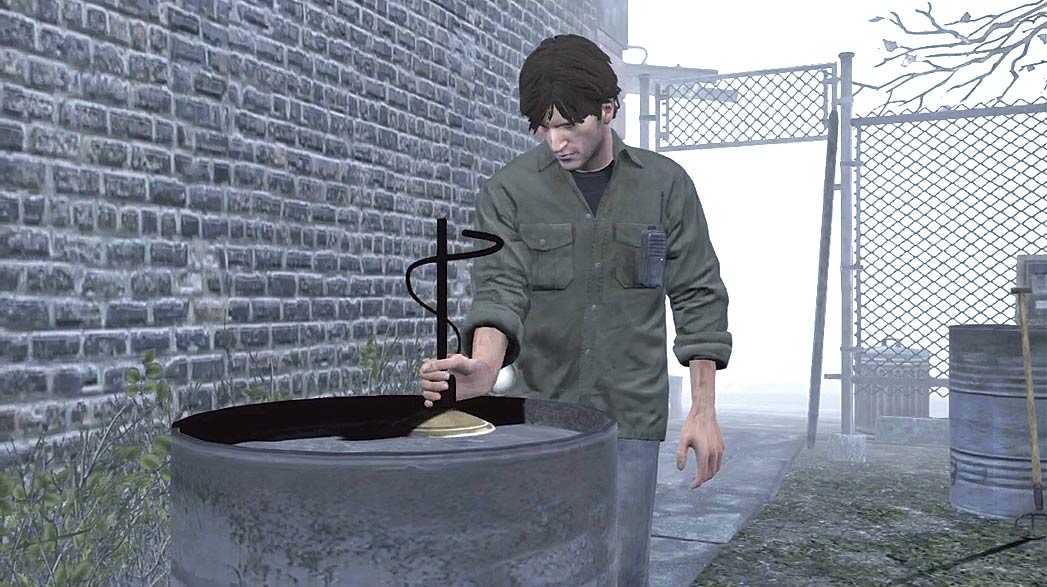
Once the first shape appears on the symbol, rotate the fragment to create the mirror image. Move the shadow into place to complete the symbol, then collect the Healing Token from the barrel.
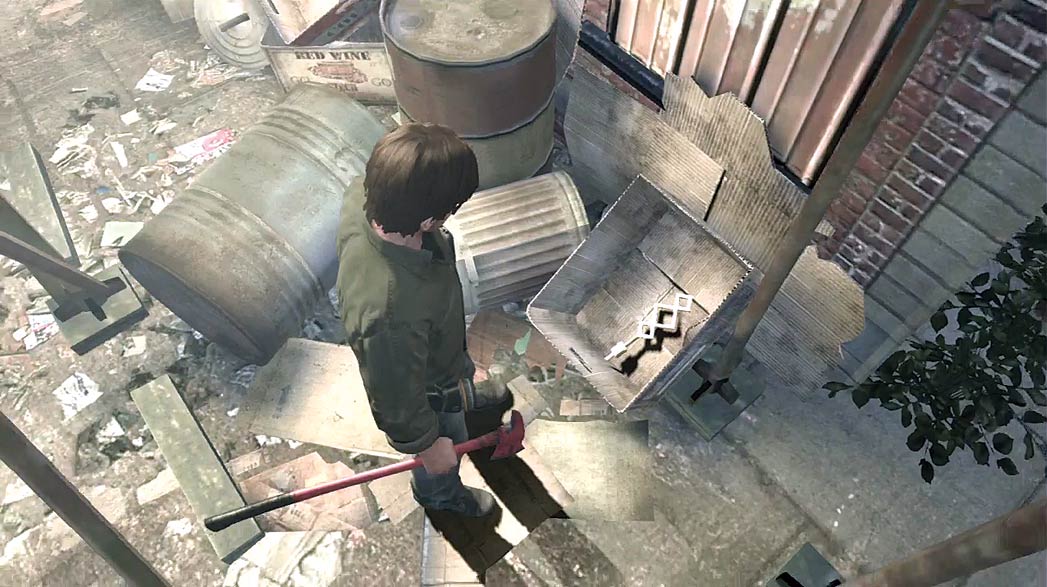
The Enlightenment fragment is in Pearl Creek, in the construction site between Lansdale Avenue and Laymond Avenue.
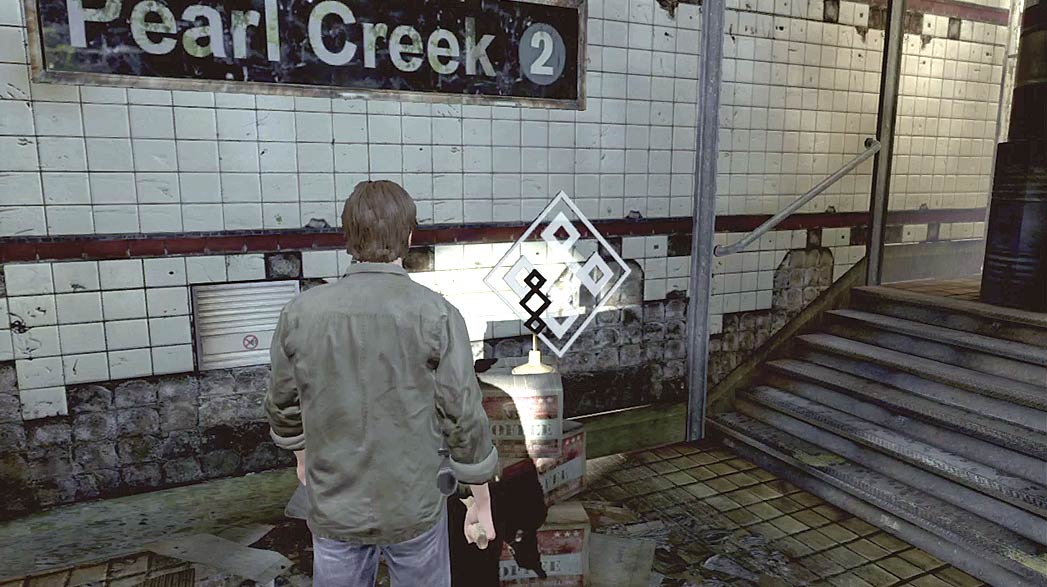
Take the fragment to the base inside the Pearl Creek underground entrance. Rotate the fragment to match the hidden shape, then use the flashlight beam to cast the shadow on the wall.
Move the your flashlight until the shadow is in place and collect the Enlightenment Token.
Chastain Heights
.jpg)
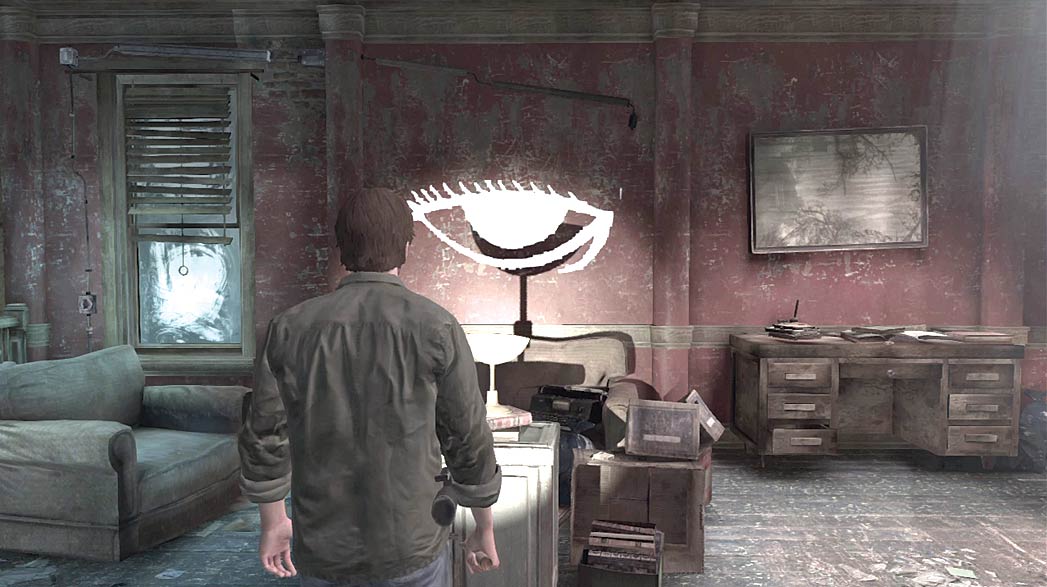
The Soul-Eye fragment and shadow symbol are both in the loft where you received the “Shadow Play” side quest.
If you haven’t already completed it, you must do so to obtain the Soul-Eye Token.
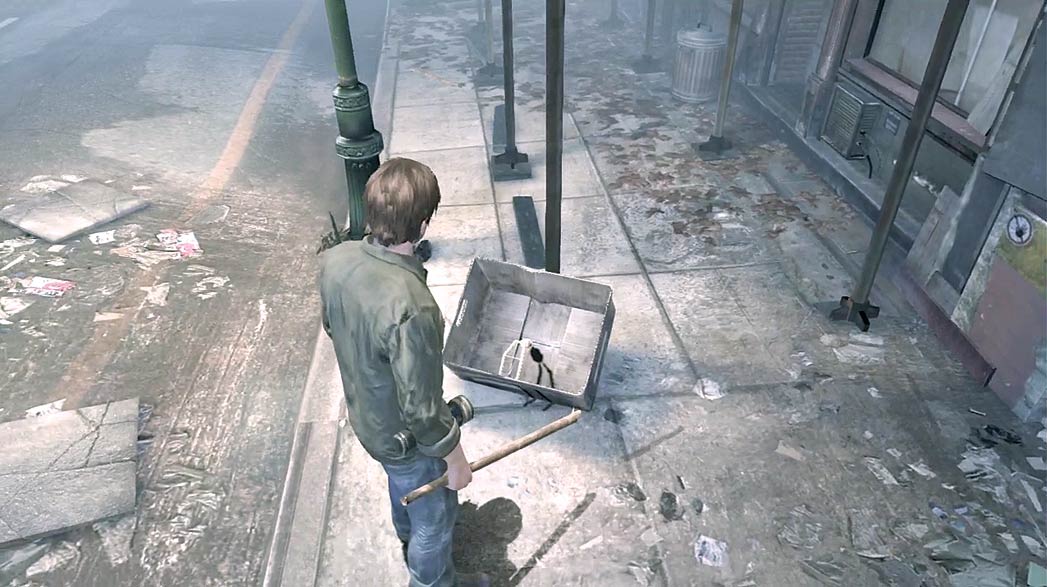
The Four fragment is located on the north edge of Chastain Heights, near the side quest’s starting location.
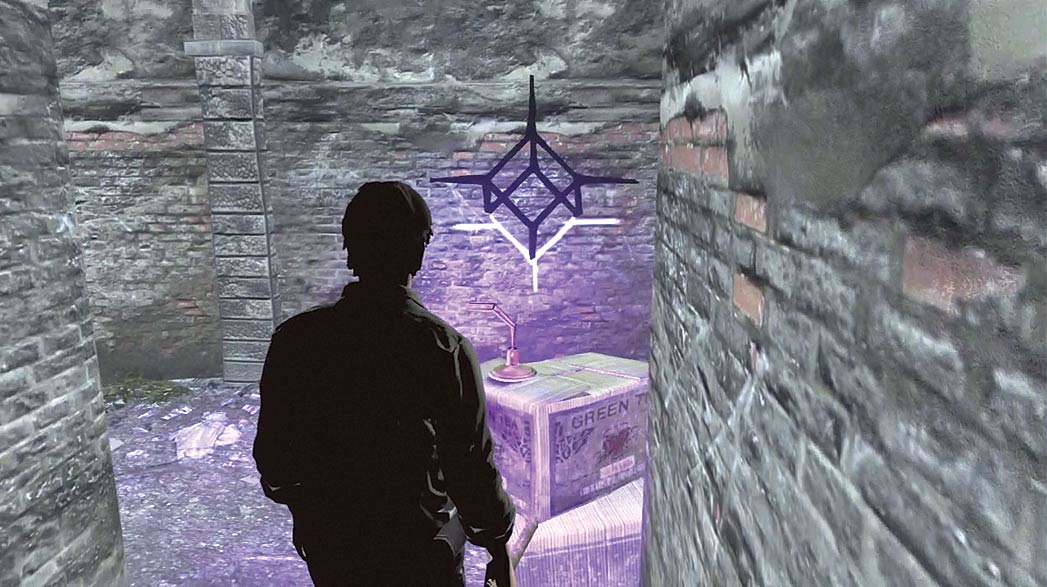
Take the fragment to the Four shadow symbol in the alley to the south. Like the Healing shadow symbol, the Four shadow symbol is flanked by two hidden shapes.
Use the fragment’s shadow to replace one of the missing shapes, then rotate the fragment to create the mirror image. After you complete the shadow symbol, collect the Four Token from the cardboard box.
Pleasant River
.jpg)
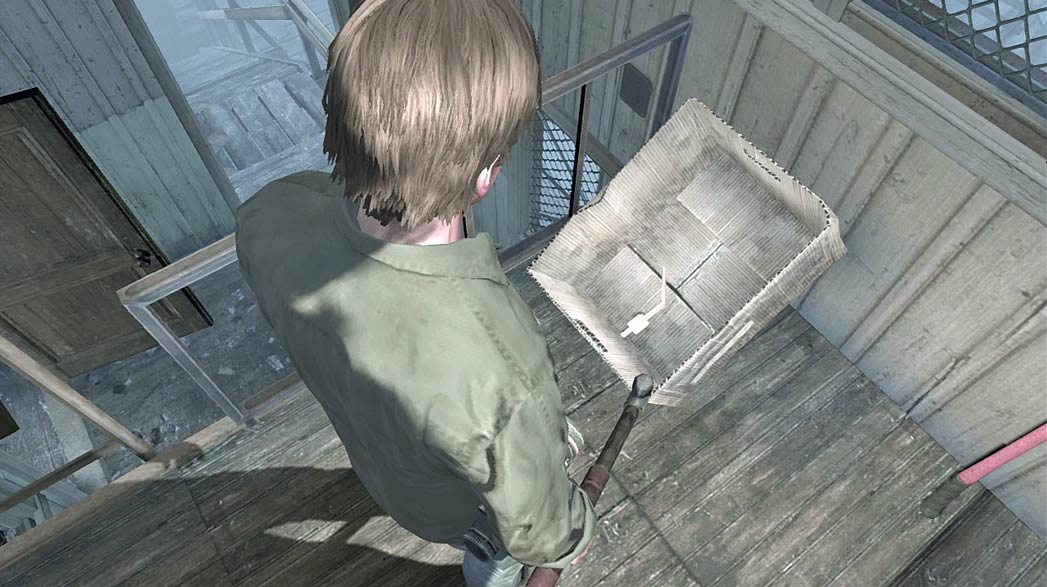
Two separate fragments are needed to complete the Harmony shadow symbol. When you reach Pleasant River, enter the control tower near the King Avenue drawbridge.
Climb the ladder just inside the door to find the “Harmony, Part 2” fragment near the drawbridge lever.
After you collect the fragment, climb down the ladder and follow the path down to the base of the tower.
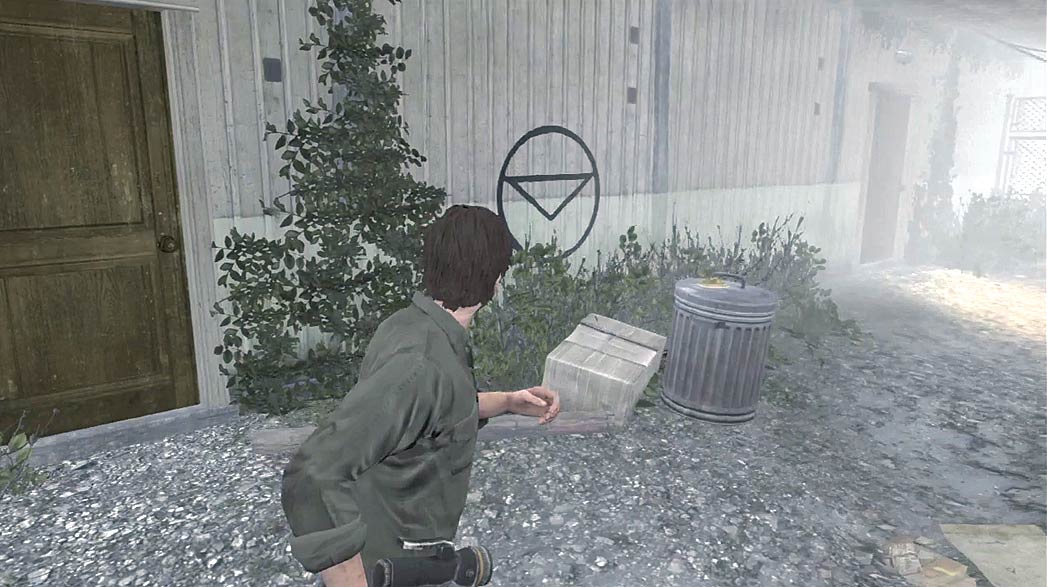
Continue under the drawbridge and enter the door past the Harmony shadow symbol.
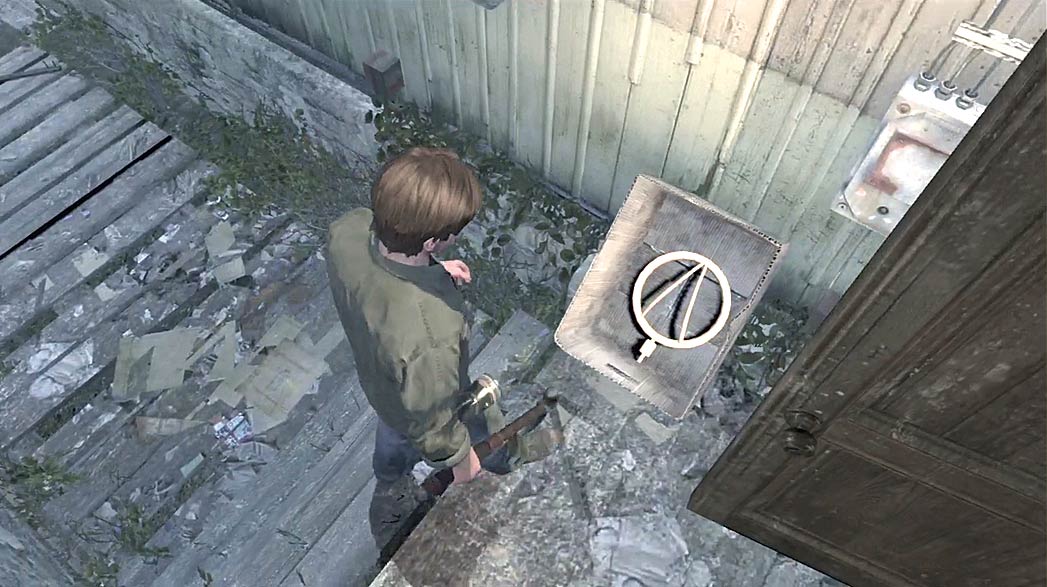
Cut through the base of the control tower to find the “Harmony, Part 1” fragment as you exit the building.
Grab the fragment from the cardboard box, then head back to the shadow symbol under the drawbridge.
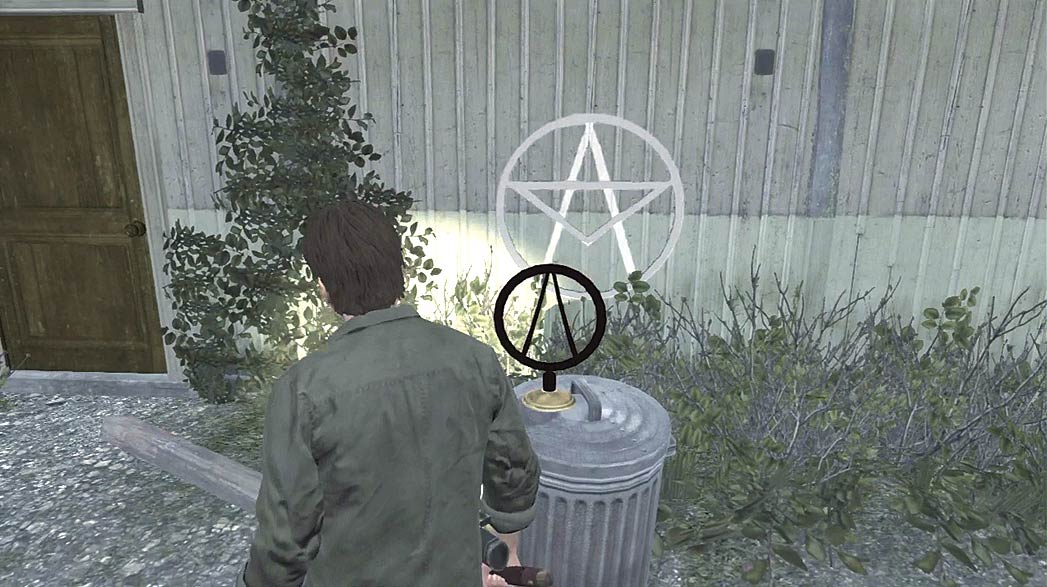
Place the “Harmony, Part 1” fragment on the brass base, and use the fragment’s shadow to first replace two of the missing lines. After the lines appear on the shadow symbol, place the “Harmony, Part 2” fragment on the base.
Use the fragment’s shadow to replace one of the remaining lines, then rotate it to create the mirror image. After you collect the Harmony Token, return to the loft in Chastain Heights.
To the Monastery
.jpg)
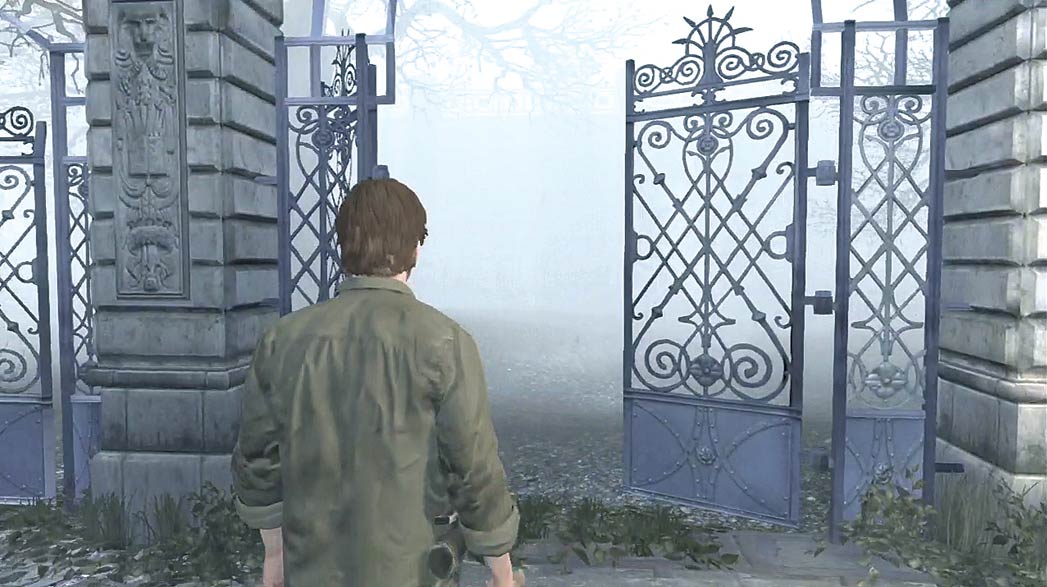
Whether or not you’ve opted to progress through any of the Chastain Heights side quests, it’s worth exploring the north edge of the neighborhood before you head into St. Maria’s Monastery.
The park just south of Brite Street contains a few items that could prove quite useful when facing the upcoming challenges.
Your time in St. Maria’s Monastery ends with what can be a very difficult encounter. If your ammunition supply is dwindling, try to avoid using firearms until you truly need to.
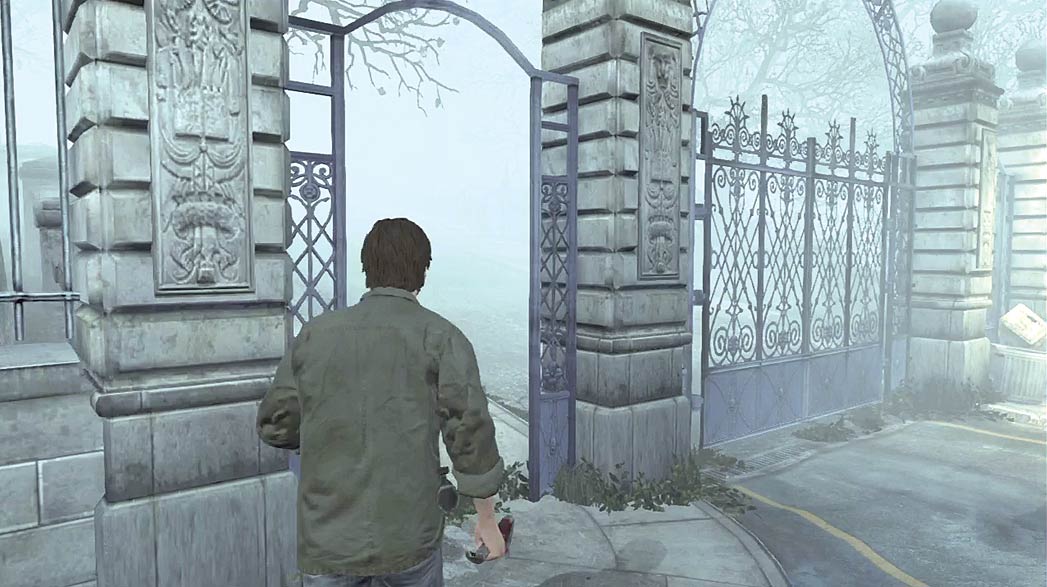
When you’re finished exploring Chastain Heights, enter the monastery’s yard through the gate west of the hardware store.
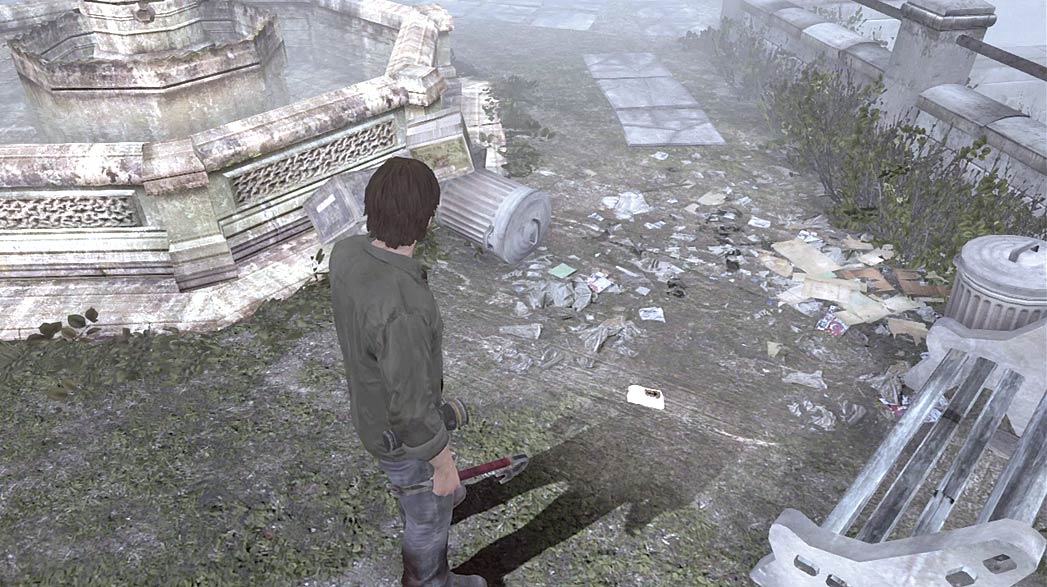
There’s a Mystery item in the monastery’s yard. Search the ground near the fountain to add the Newspaper Article (Napier) to Murphy’s Journal.
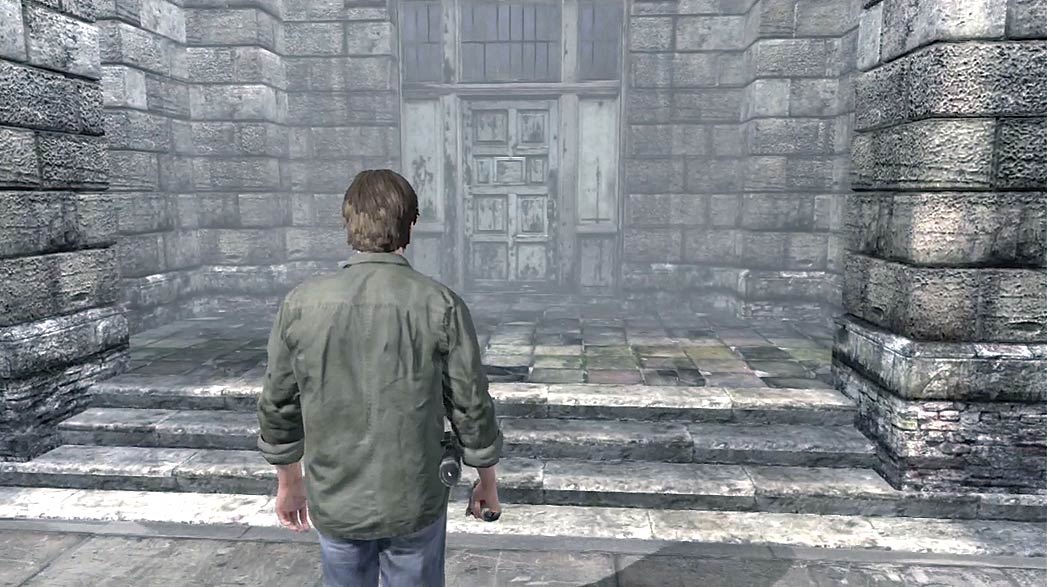
When you’re ready to enter St. Maria’s Monastery, approach the building’s entrance to trigger a cutscene.