
Silent Hill Downpour Guide Walkthrough Campaign
Pearl Creek
.jpg)
.jpg)
Side Quest: Stolen Goods
.jpg)
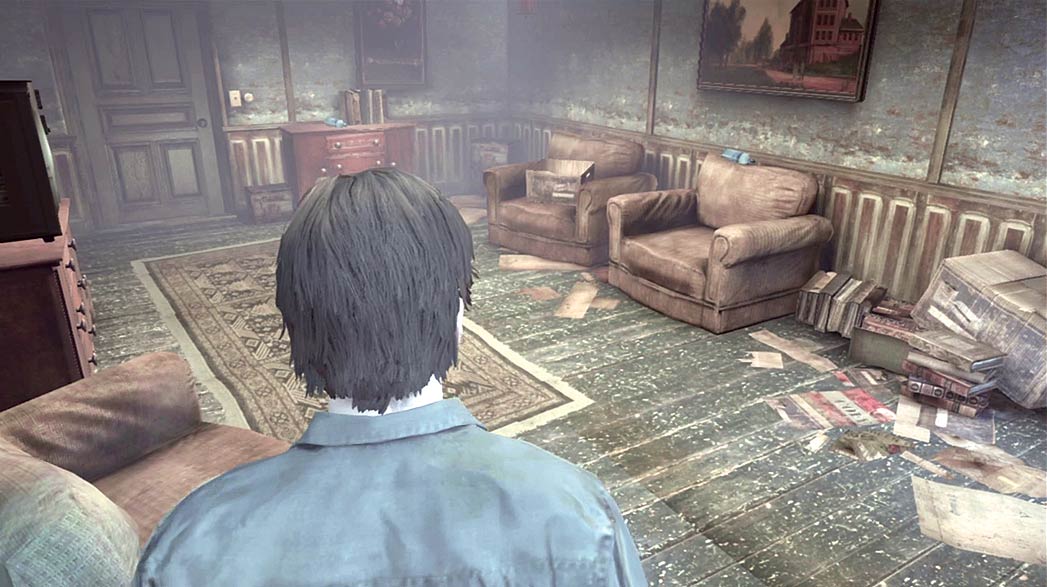
The “Stolen Goods” side quest takes place in the apartment building by which you enter Pearl Creek.
After you climb in through the window, follow the path through the apartment and out to the hallway.
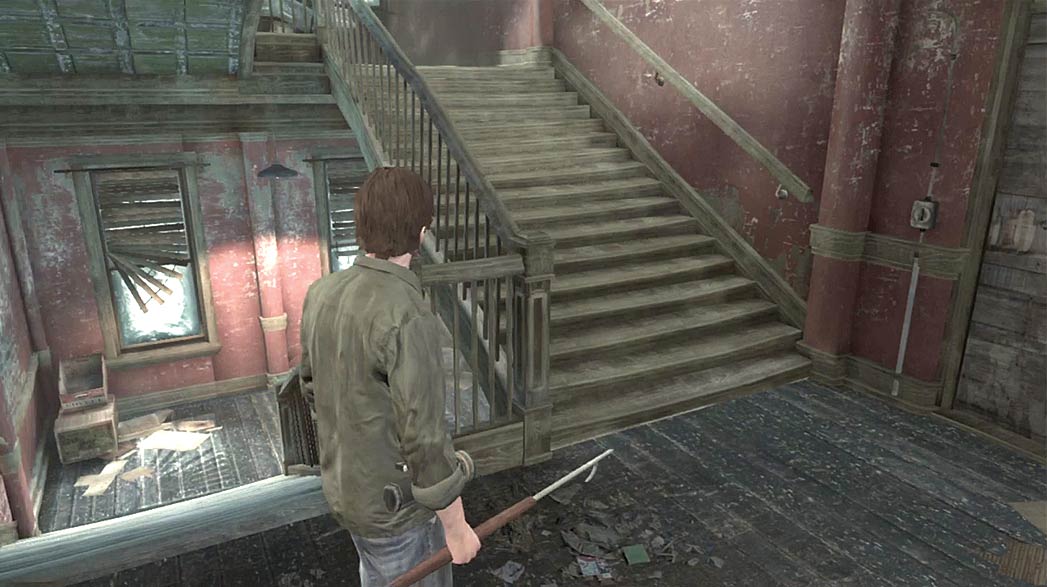
As you exit the first apartment, turn left and follow the hallway to the building’s staircase. You’ve entered the building through a second-story window. Before you head down to the streets of Pearl Creek, climb the stairs up to the third floor.
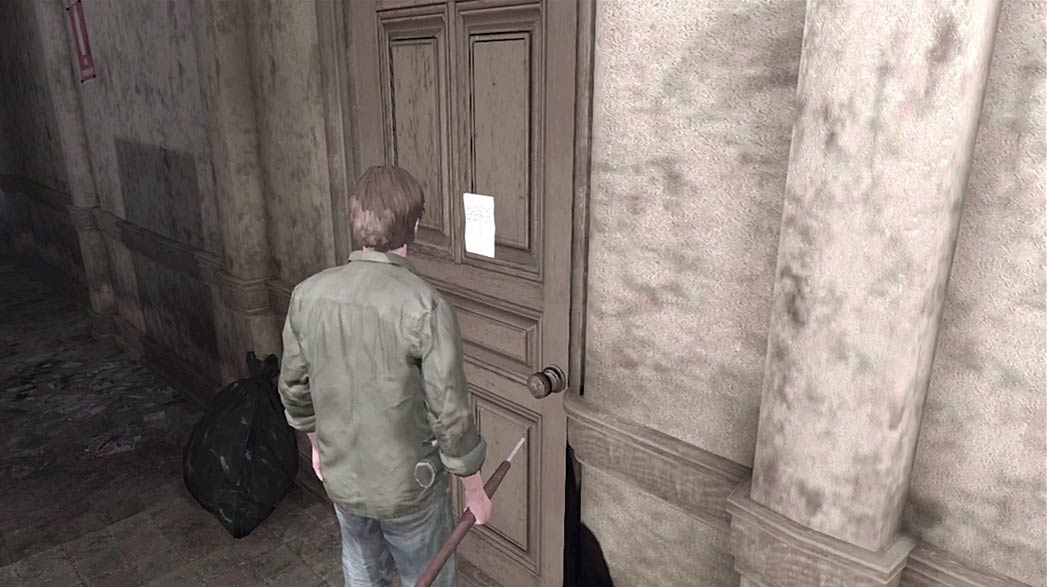
Turn into the hallway at the top of the stairs and walk to the first door on your right. Collect the Mystery item posted on the door to add the Threatening Letter to Murphy’s Journal, then open the door and head into the thief’s apartment.
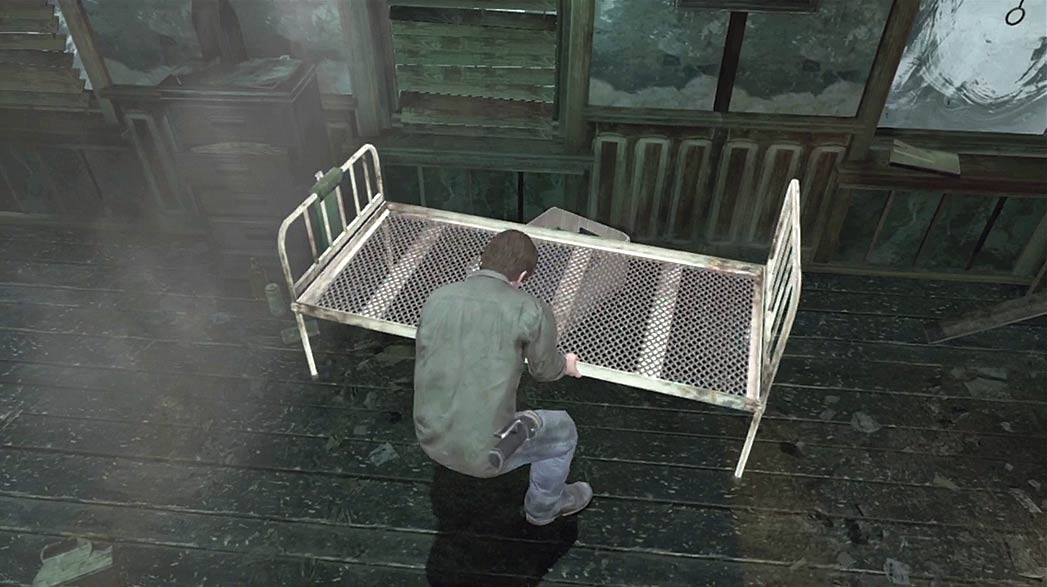
When you’re finished exploring the thief’s apartment, pull the bed frame away from the wall to uncover a stash of stolen items. Grab the items from the box to begin the “Stolen Goods” side quest. To complete the quest, you must return all of the items to their rightful owners.
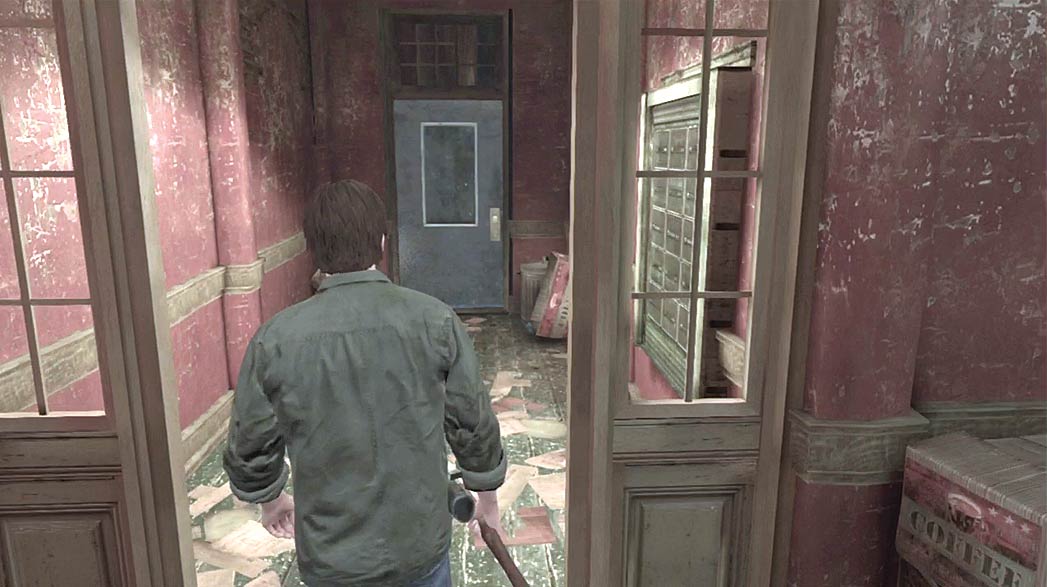
When you’re ready to explore the streets of Pearl Creek, approach the mailboxes on the ground floor to trigger a cutscene.
Secure Apartment
.jpg)
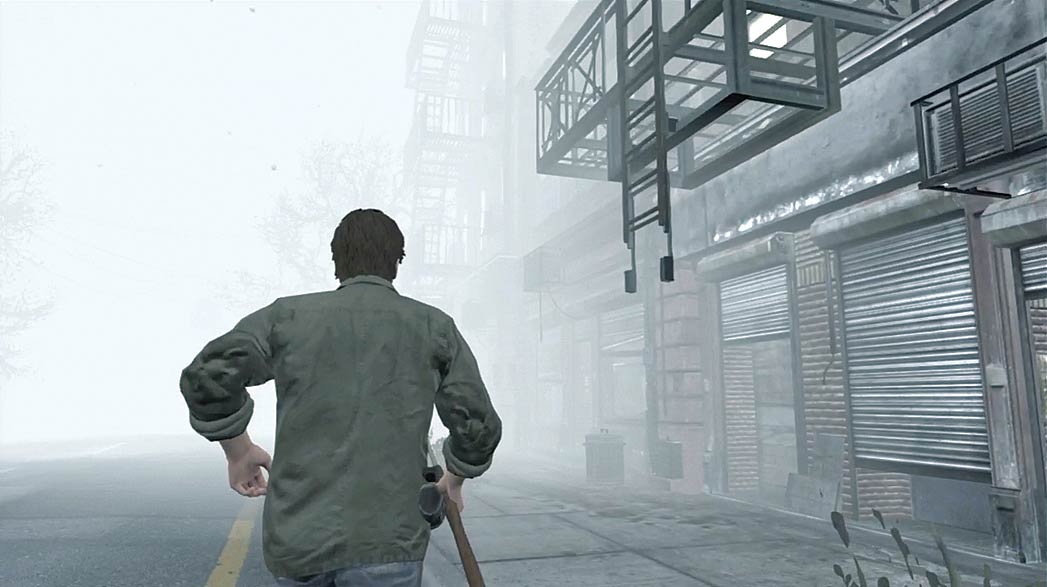
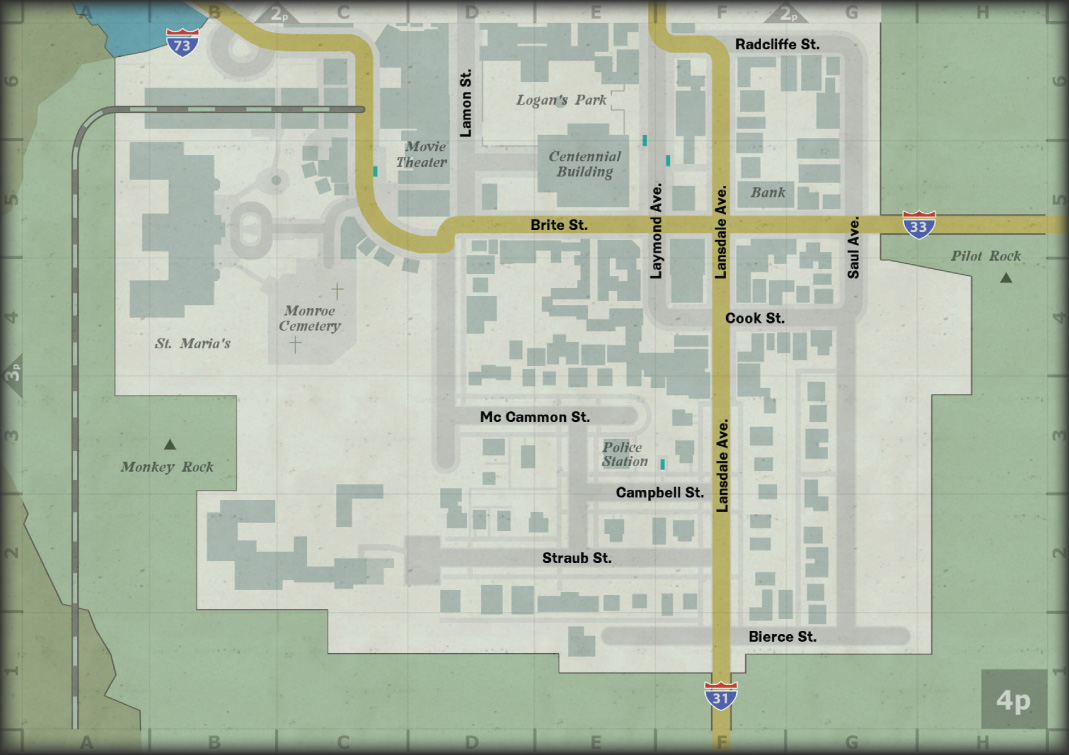
To locate the secure apartment, look for the retractable ladder on the east side of Lansdale Avenue, between Cook Street and Brite Street.
If you’ve managed to hang on to the Hook you collected in Hillside, use it to pull the ladder down from the fire escape. If you need a fresh Hook, move back down to Cook Street and follow it west.
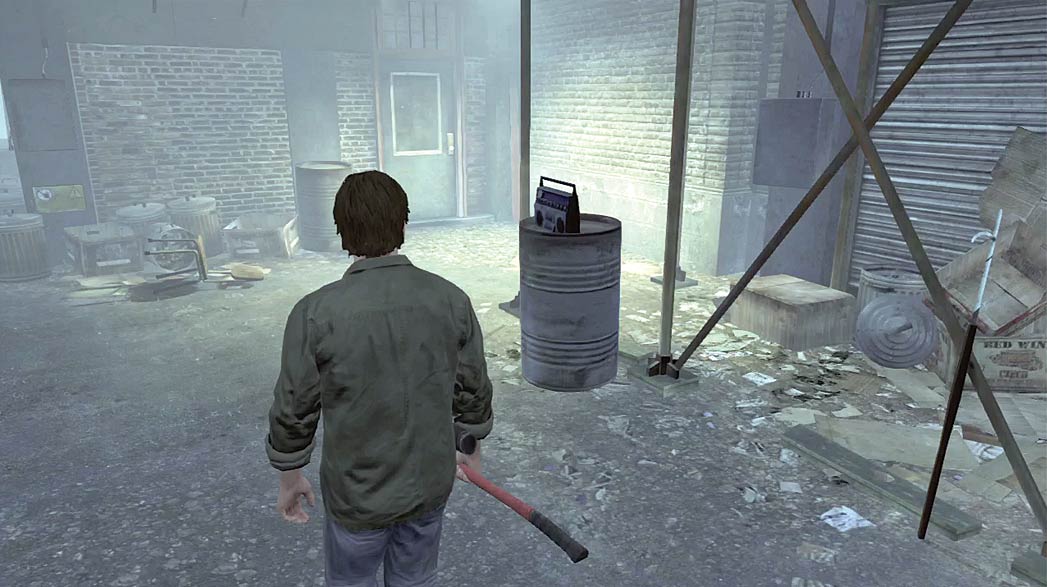
As Cook Street turns north to join Laymond Avenue, enter the narrow alley between the buildings to the west. Grab the Hook leaning against the scaffolding and return to the retractable ladder.
This alley often contains a Weeping Bat. There’s no overhead surface for the creature to cling to; use standard melee tactics to defeat it.
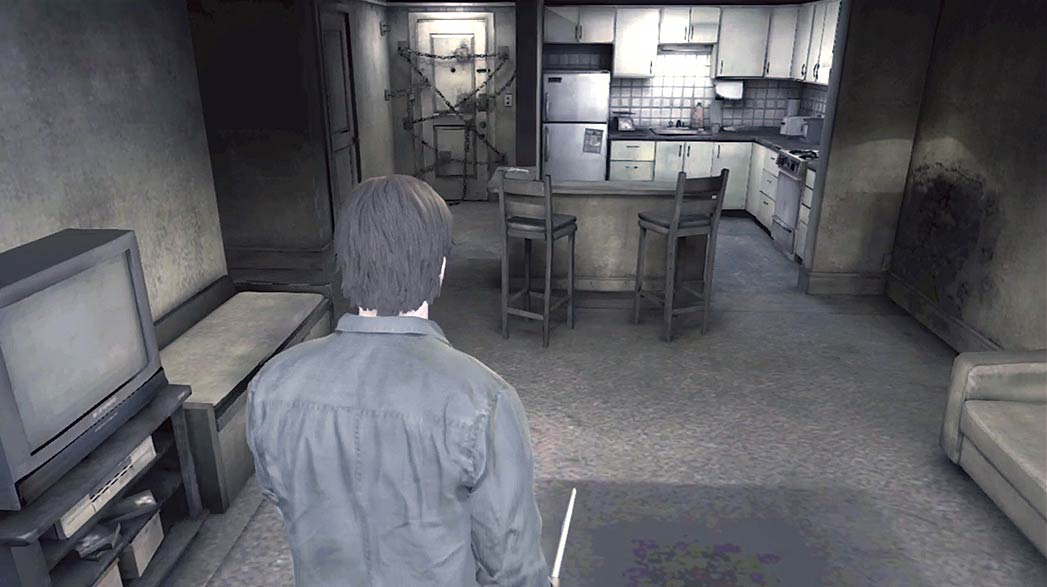
Climb up to the fire escape and use the window on your left to enter the secure apartment. Once inside, explore the room for useful items.
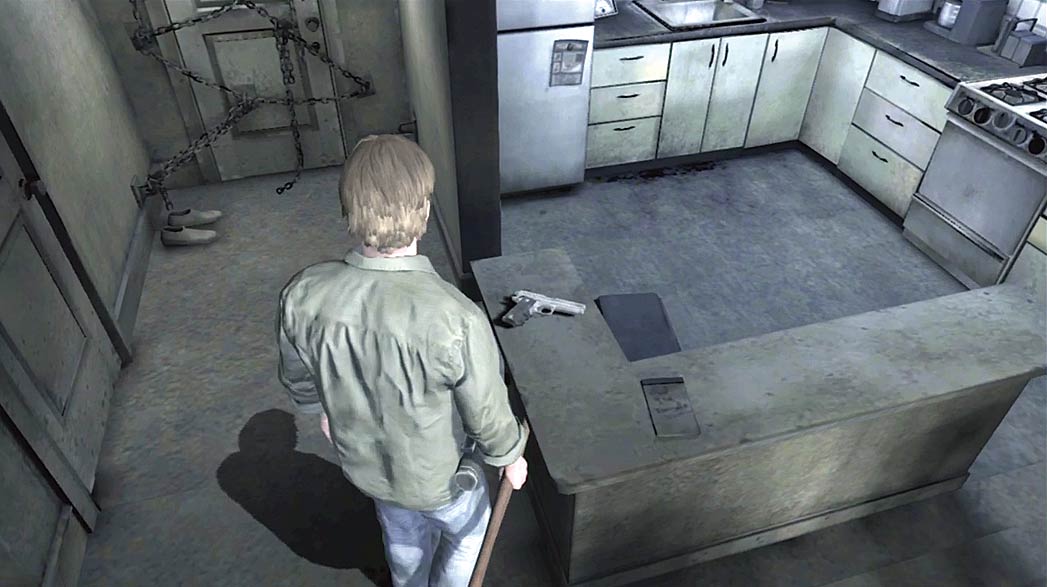
During your search, make sure you collect the Colt from the kitchen counter. When you’re ready to leave, climb back out the window and down to the street.
Side Quest: Ribbons
.jpg)
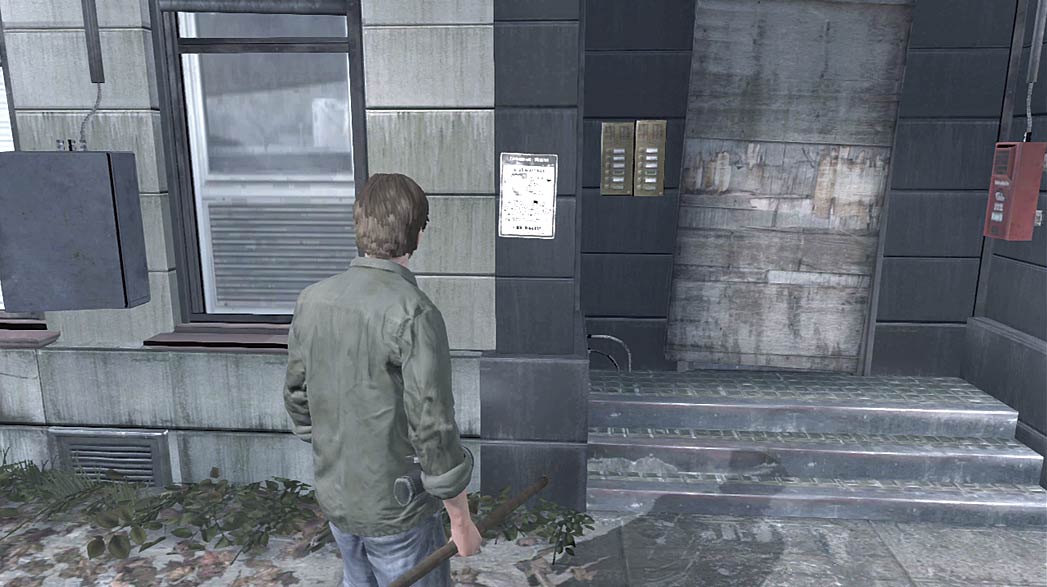
Search near the west side of Lansdale Avenue just north of Cook Street to find a missing person poster on the front of the building. Read the poster to begin the “Ribbons” side quest.
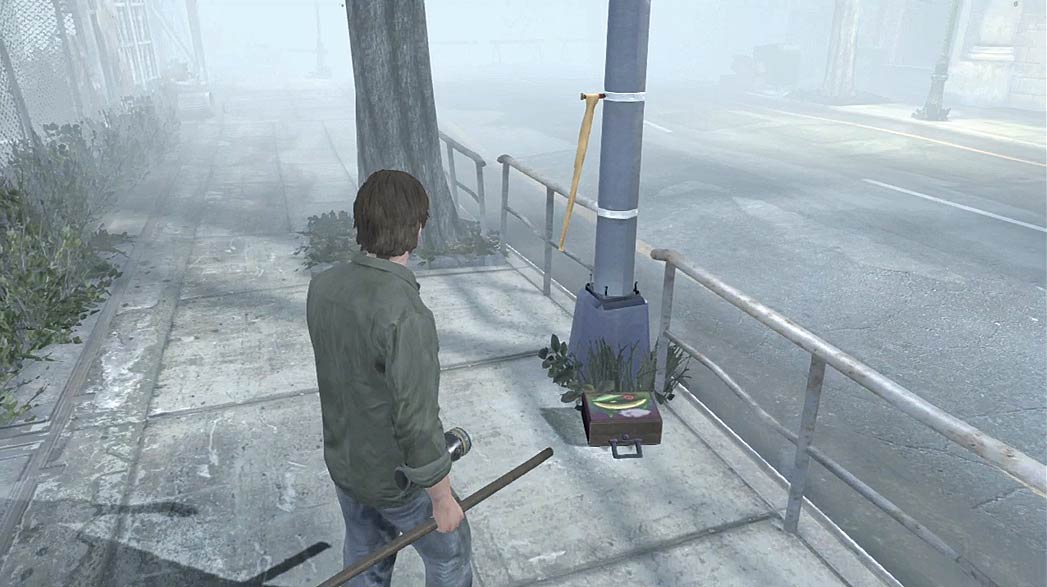
After the quest appears in Murphy’s Journal, follow Lansdale Avenue north. As you cross Brite Street, search the intersection’s northwest corner to find a yellow ribbon tied to a lamppost.
Collect the Mystery item from the lunchbox on the ground to add the Mother’s Note to Murphy’s Journal.
Using the note’s instructions, you must follow the ribbons spread throughout the town.
The marked route takes you clear across town, ending on the docks in Pleasant River. There’s no need to follow the exact route, however.
Once you’ve collected the Mystery item from the lunchbox, the side quest’s next component is already in place. It’s simpler to resume the “Ribbons” side quest once you have other business in Pleasant River.
Following the Ribbons
Downtown
.jpg)
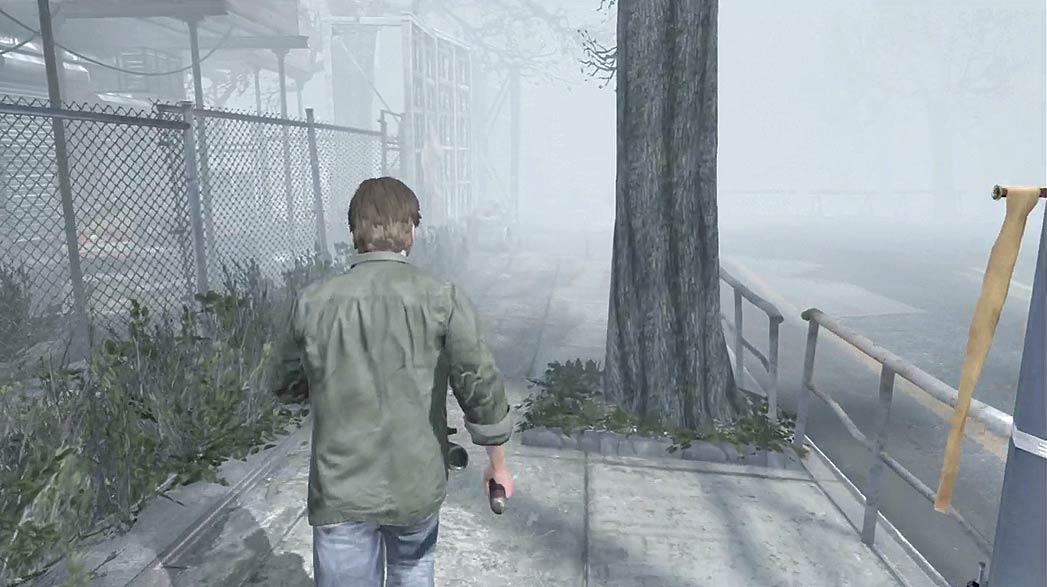
The note contains two basic rules for following the route: yellow ribbons indicate a left turn and red ribbons indicate a right turn.
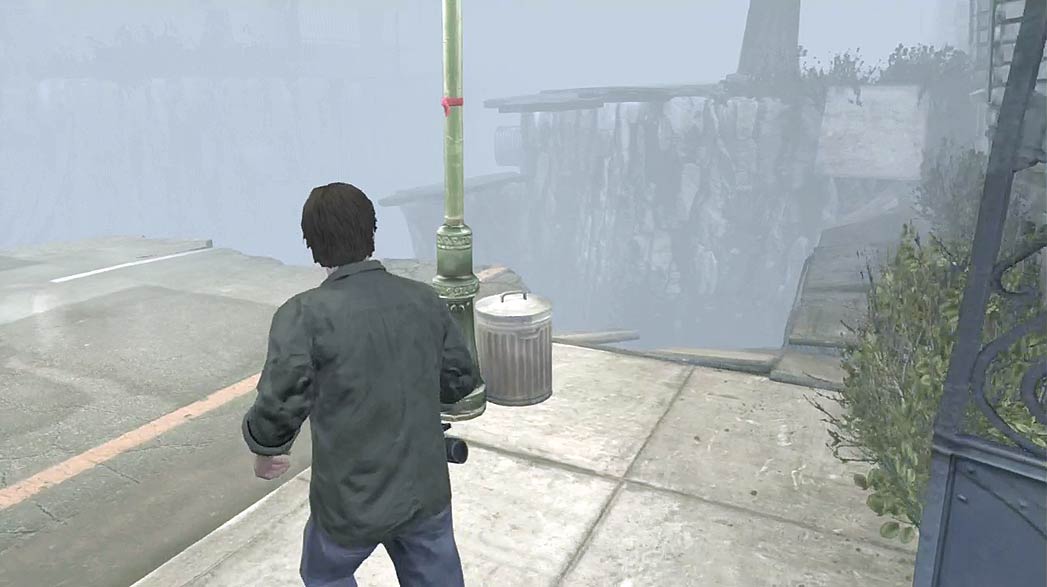
Occasionally, environmental obstructions prevent you from following the marked route. When this happens, you must find an alternate path to the next ribbon’s location.
Port
.jpg)
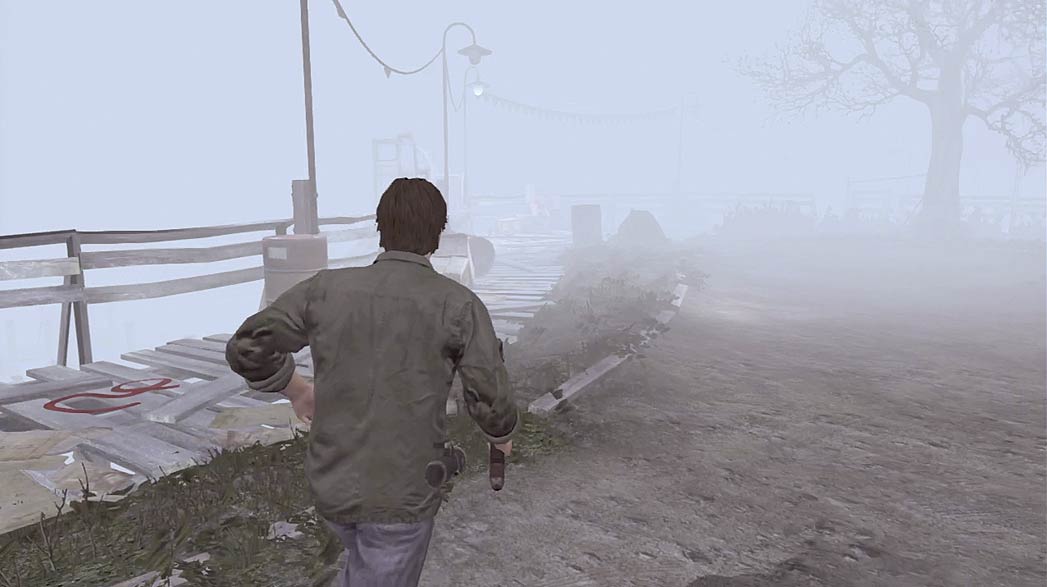
Once you reach Pleasant River, there are relatively few ribbons to find. Follow the route east on Rice Street and onto the small docks along the neighborhood’s north edge.
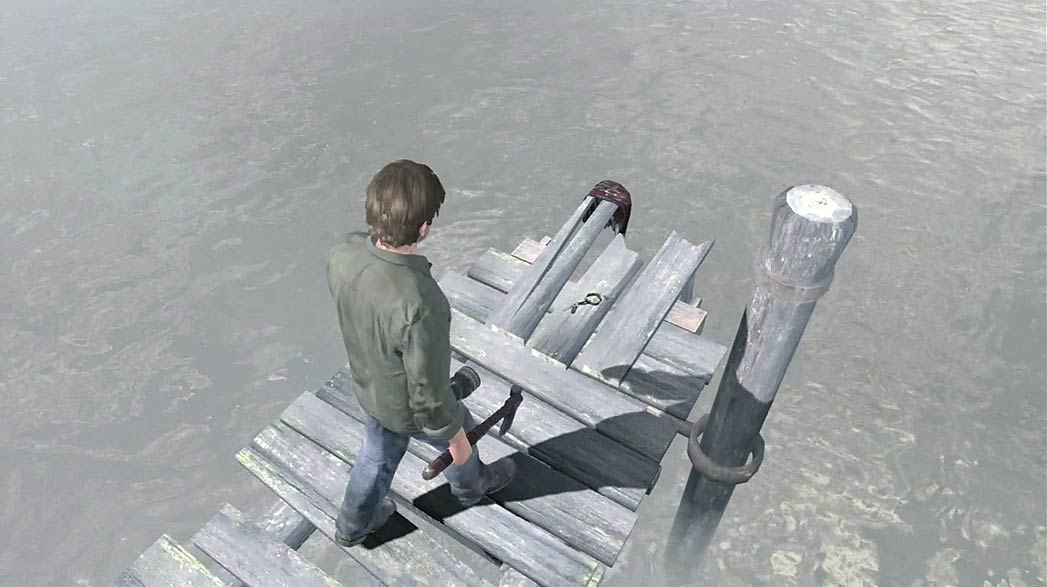
When you reach the end of the marked route, collect the Key at the edge of the pier.
Finding the Girl’s Home
.jpg)
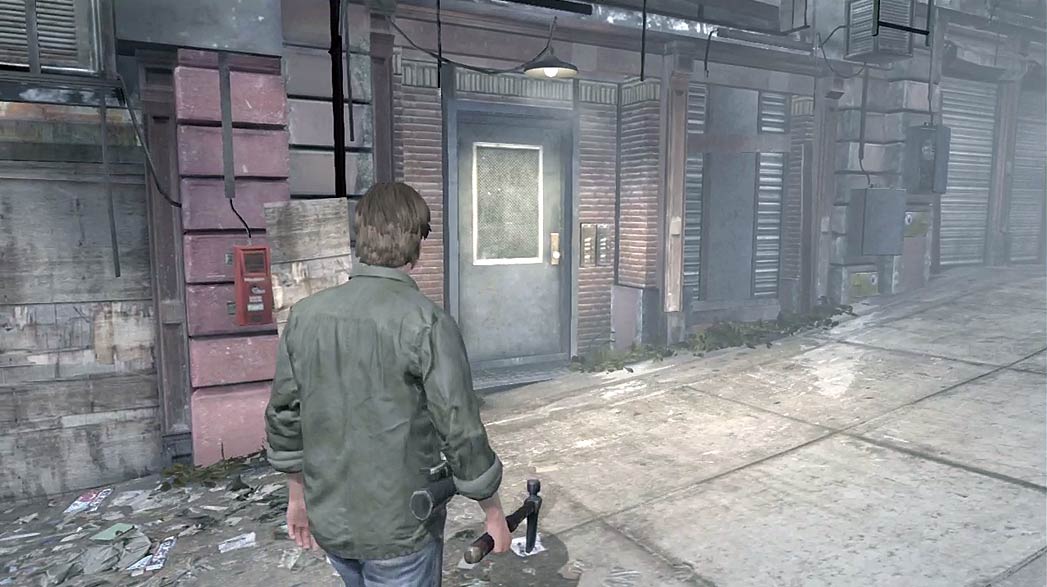
The Key on the pier is attached to a labeled bracelet. Use the inscription to help determine the location of the girl’s home.
Head back downtown and search Lamon Street in the Chastain Heights neighborhood, just west of Logan’s Park.
There’s an unlocked apartment building north of the movie theater.
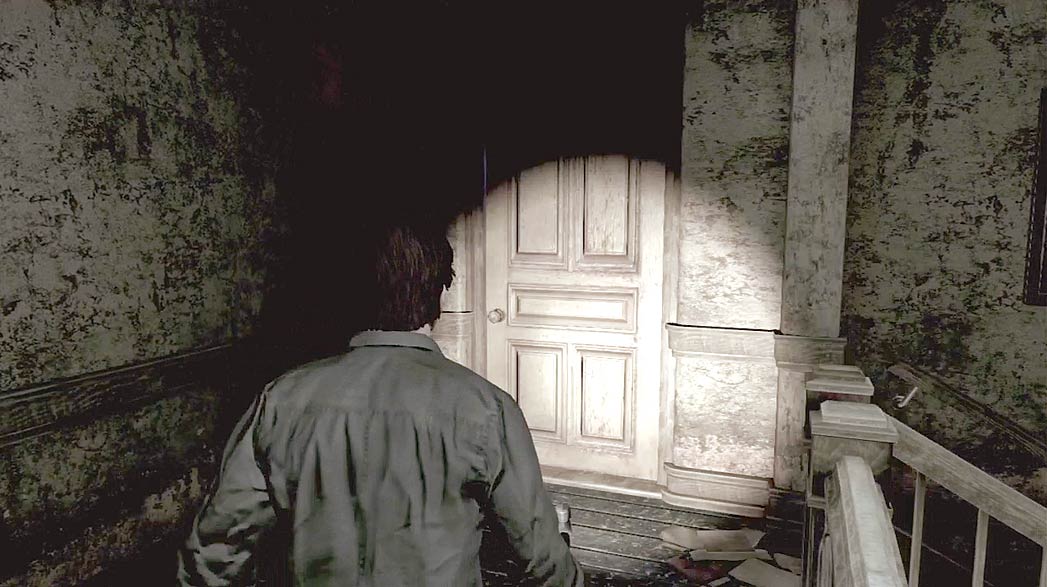
Enter the building, then climb the stairs to find a locked apartment. Use the Key from the pier to open the door, then head inside and explore the apartment.
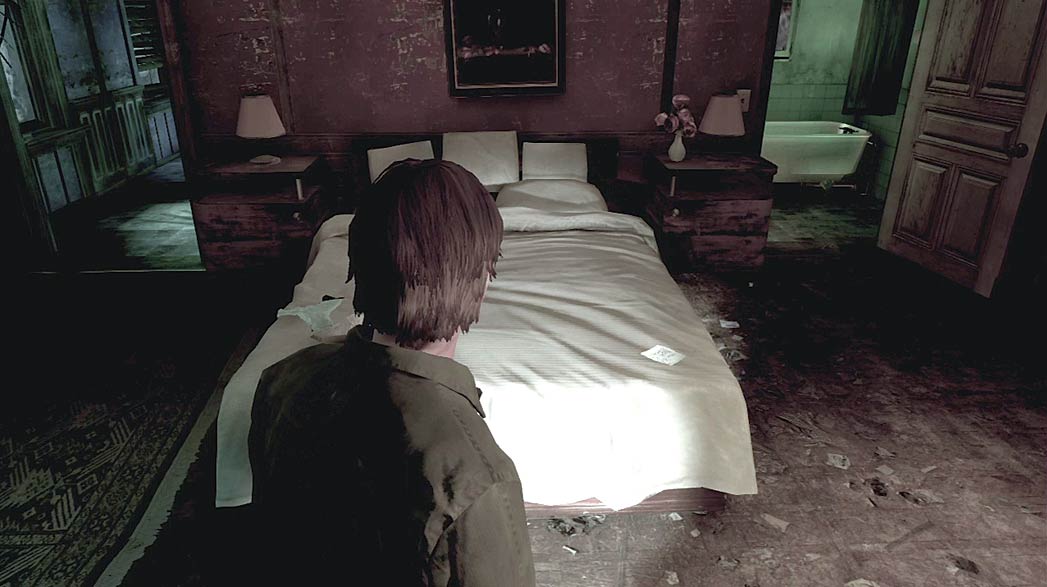
When you reach the master bedroom, collect the Mystery item from the foot of the bed to complete the “Ribbons” side quest and add the Mother’s Confession to Murphy’s Journal.
Side Quest: The Bank
.jpg)
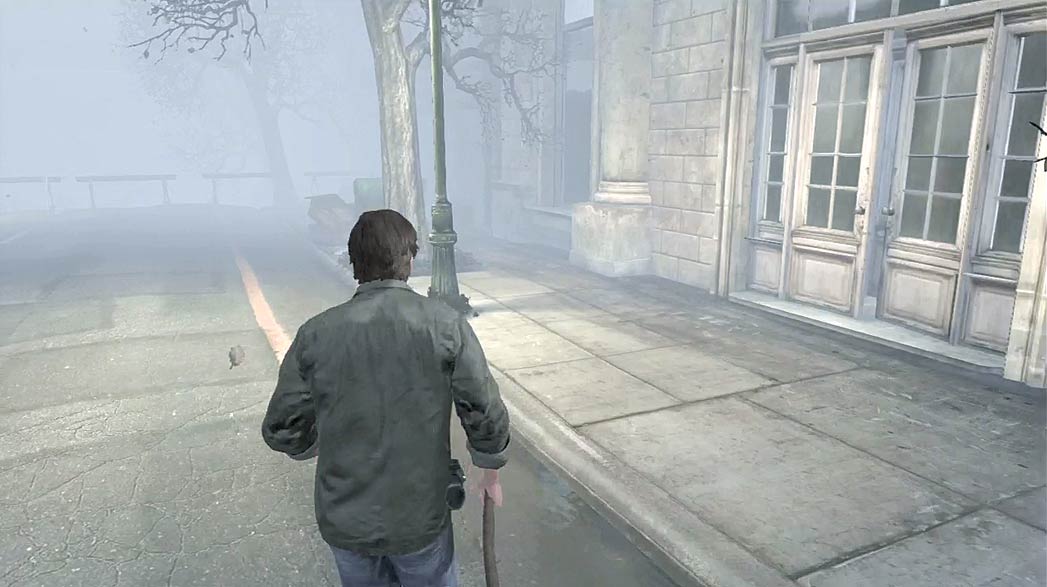
This side quest is located inside of the bank on Lansdale Avenue, just north of Brite Street. Before you head through the entrance, however, search the area to the north for a First Aid Kit.
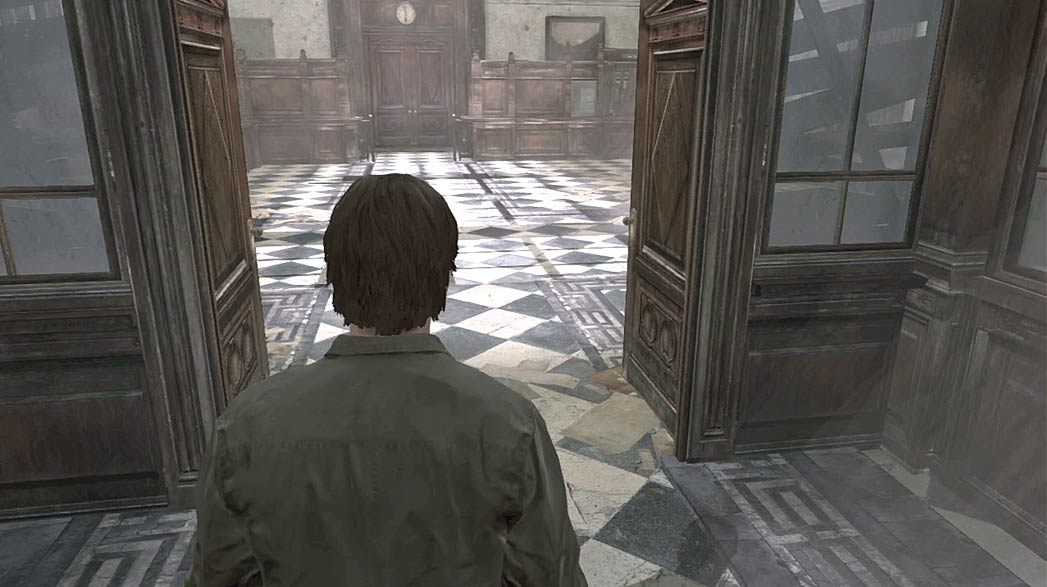
When you’re ready, enter the bank and search the area for useful items.
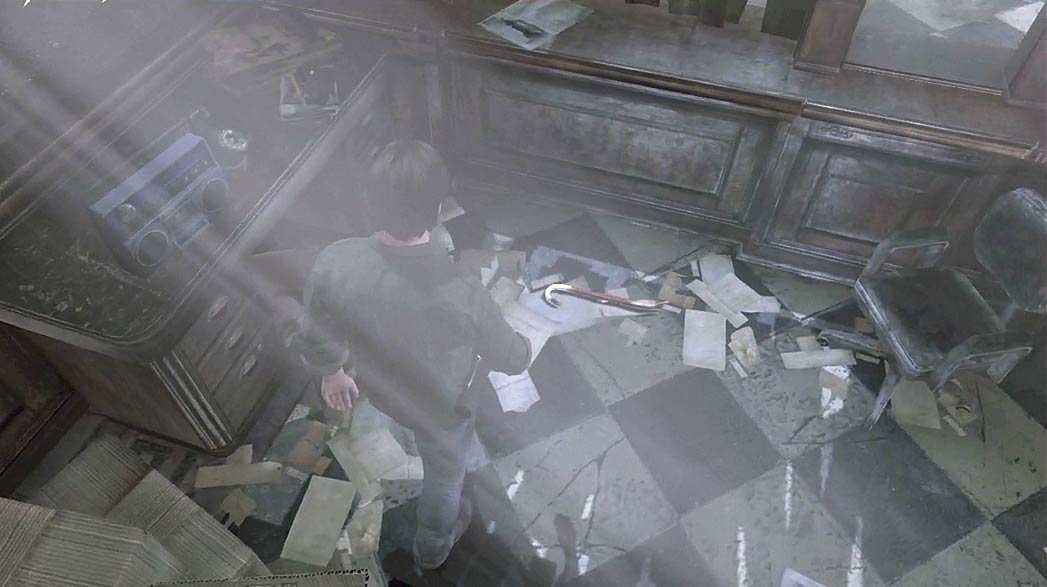
The bank contains a variety of weapons, so make sure you select one that suits your preferred tactics. You’ll find a Crowbar in the ground-floor office.
Up on the second floor, there’s a Fire Axe in the director’s office.
This side quest involves some fairly intense encounters. Cautious players should consider stockpiling a few weapons on the ground floor, somewhere near the staircase.
Excessive blocking can render your chosen weapon useless in the middle of combat. It’s best to have a replacement weapon within reach.
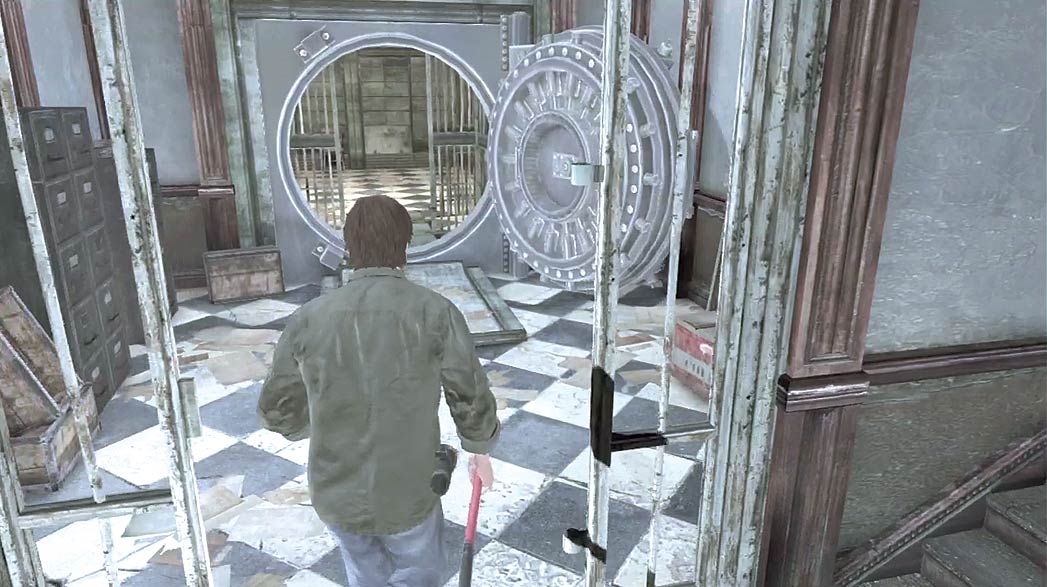
When you’re ready to begin the side quest, head down to the vault and attempt to open one of the safety deposit boxes.
When you do, something triggers the bank’s alarm. Leave the vault and search the building for the cause of the disturbance.
Try to use the environment to your advantage. The ground floor has a nice combination of open space and narrow passages.
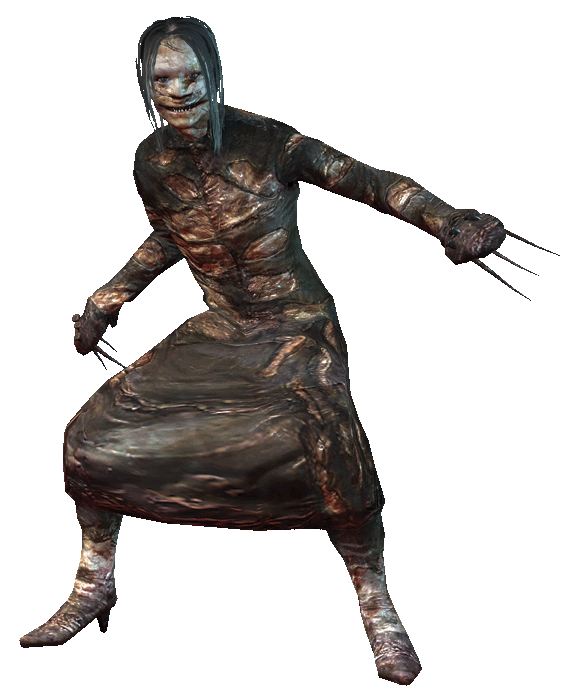
When facing one or more Screamers, stay near cover; duck into the ground-floor office or stairwell when you spot an incoming scream, then rush back into the open to deliver a counterattack.
As the encounter becomes more difficult, consider using your pistol to incapacitate key enemies as they enter the bank.
Ammunition is a precious resource, but making a few well-placed shots before engaging in melee combat can be a great help.
Side Quest: Homeless
.jpg)
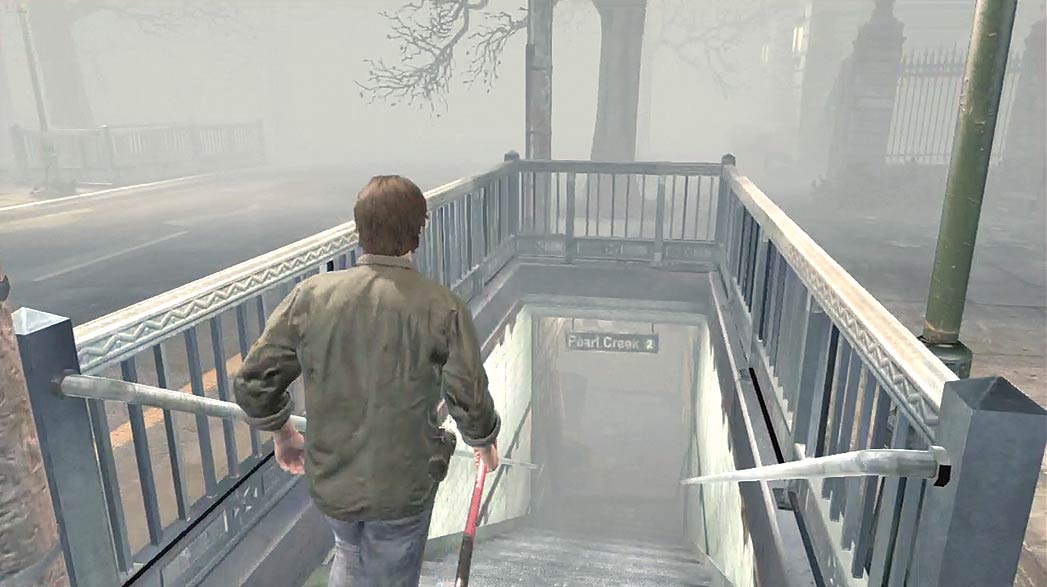
There are two closely situated underground entrances on Laymond Avenue, but only the eastern entrance provides access to the tunnels below Pearl Creek.
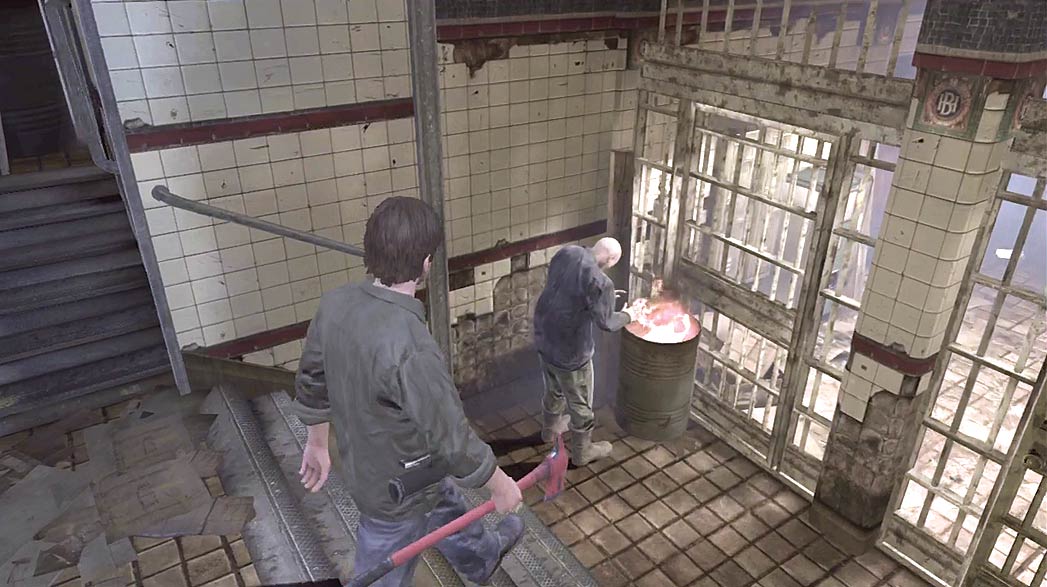
Squeeze past the barrels in the Pearl Creek underground entrance to find a man warming himself by a fire. Speak to the man to hear his proposal and begin the “Homeless” side quest.
Finding Food
.jpg)
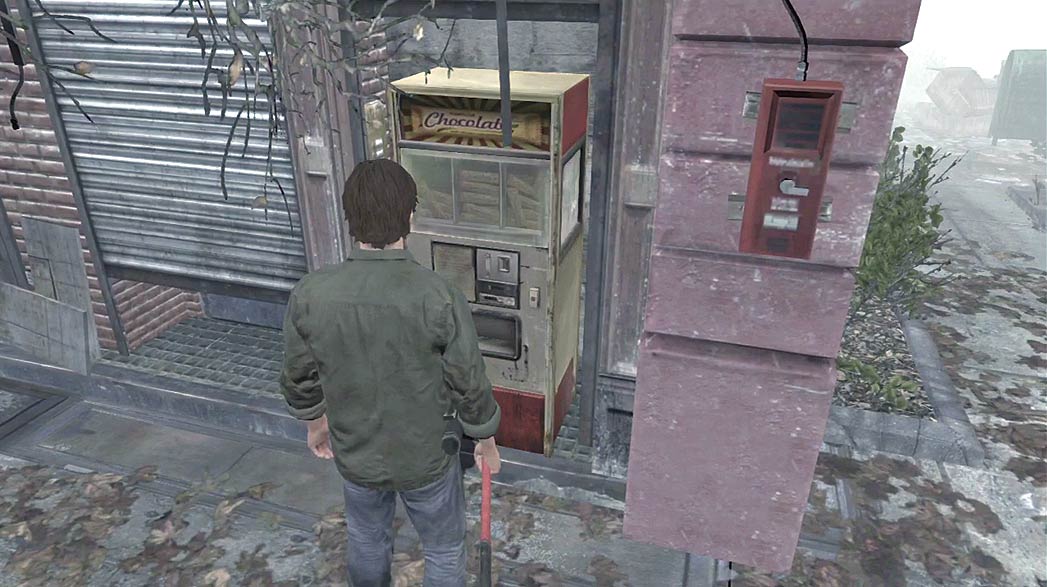
Your first task is to find some food for the homeless man. Leave the underground entrance and follow the street south to search for a vending machine.
Your chosen puzzle difficulty determines the exact location of the machine:
Easy: The vending machine is located at the intersection of Brite Street and Laymond Avenue.
Normal: The vending machine is located along the south edge of Cook Street.
Hard: The vending machine is located in the alley south of Cook Street.
Locate the vending machine, then use the Money from your Inventory to purchase a Candy Bar. Once you have the snack, return to the Pearl Creek underground entrance.
When you give the Candy Bar to Homer, he unlocks the underground tunnel to Hillside.
A Warm Coat
.jpg)
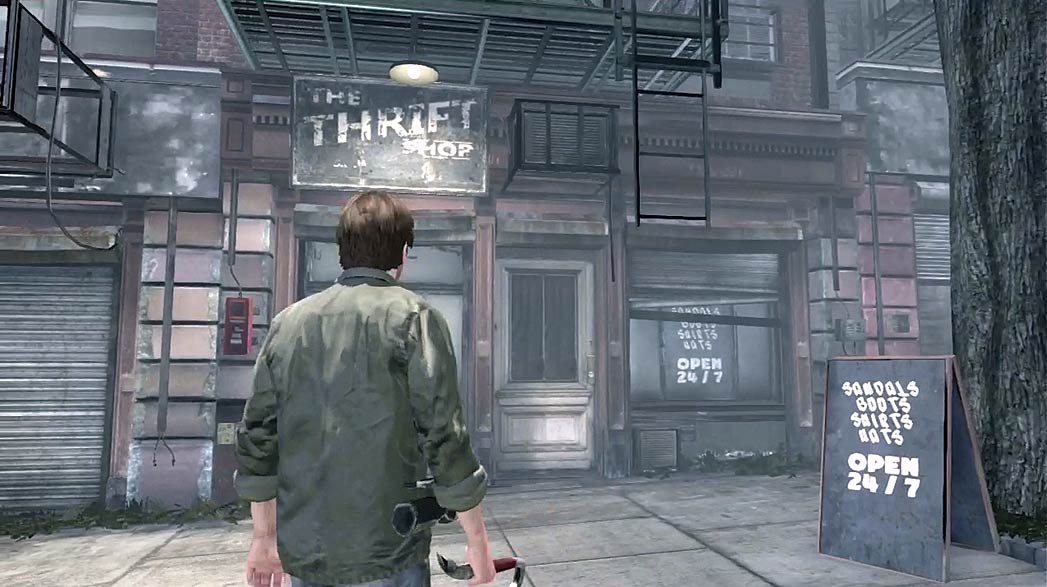
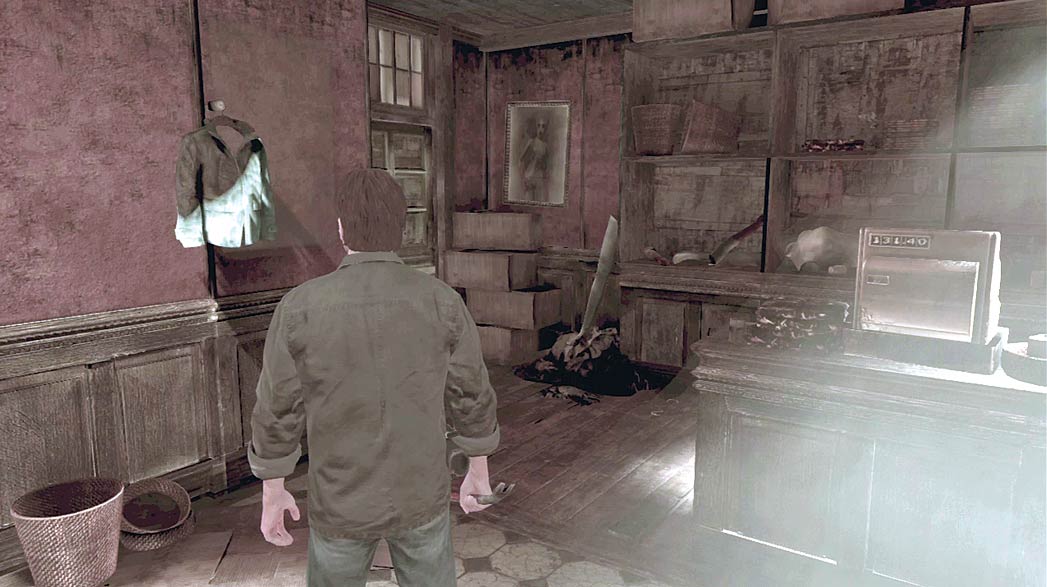
After you give Homer the Candy Bar, he asks you to bring him a warm coat.
The thrift store near the Chastain Heights underground entrance contains an Old Coat, but its exact location is determined by your chosen puzzle difficulty:
Easy: The Old Coat is hanging near the store’s cash register.
Normal: The Old Coat is hanging in the storage room.
Hard: The Old Coat is hanging in the back of the storage room. Return to the Pearl Creek underground entrance and give Homer the Old Coat to unlock the tunnel to Chastain Heights.
A Fishing Rod
.jpg)
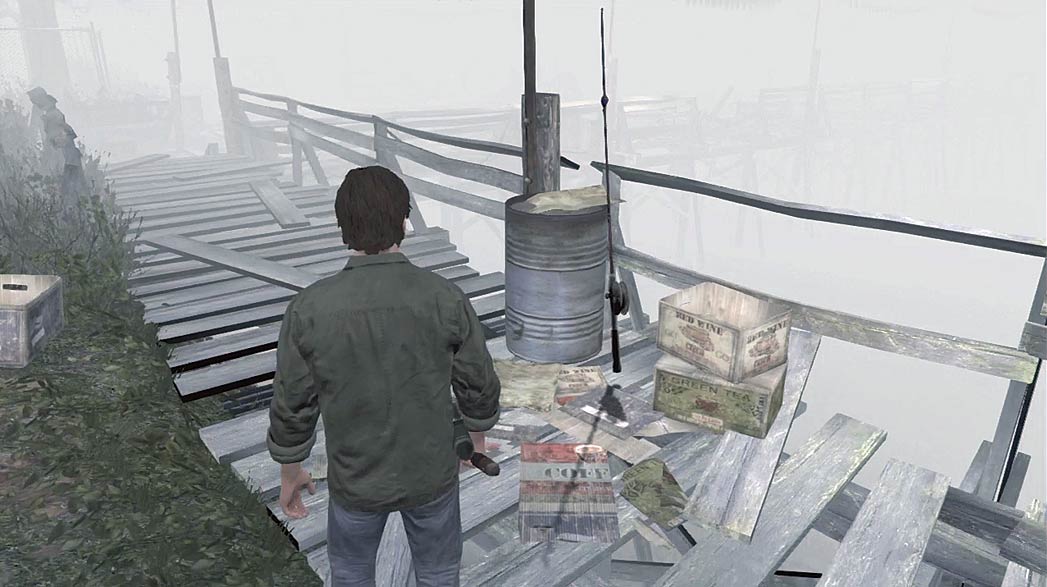
After you give Homer the Old Coat, he asks you to bring him a Fishing Rod. This item is in Pleasant River, but its exact location is determined by your chosen puzzle difficulty:
Easy: The Fishing Rod is located near the center of the docks.
Normal: The Fishing Rod is located in the spillway, just outside of the Pleasant River underground entrance.
Hard: The Fishing Rod is located on the narrow boardwalk along the east edge of the docks.
After you collect the Fishing Rod, return to the Pearl Creek underground entrance and give it to Homer. In return, he unlocks the tunnels leading to Pleasant River and the Port District.
Retrieve all three items for Homer to complete the side quest and unlock all of the underground shortcuts.
Storage Unit
.jpg)
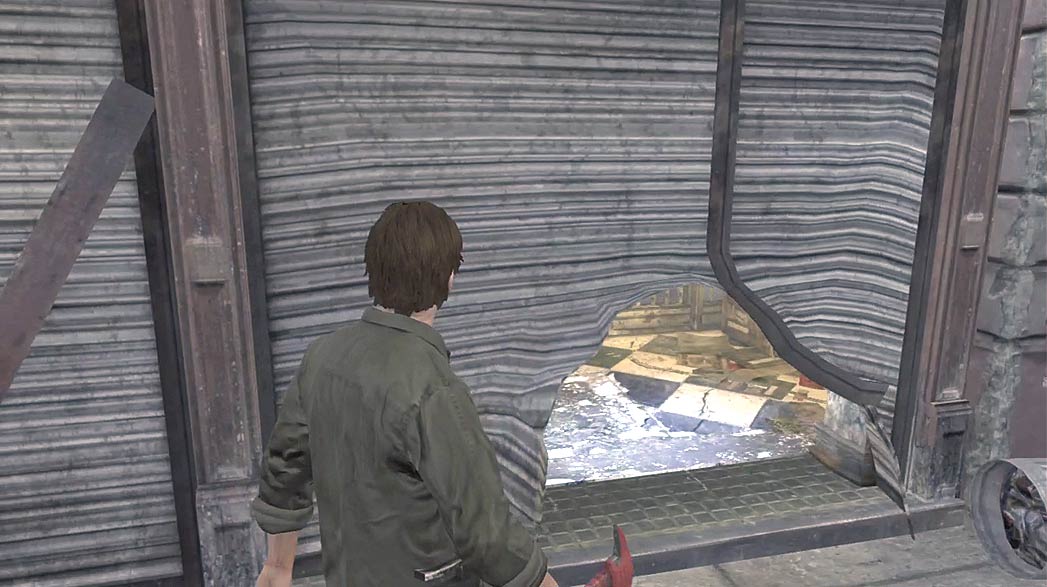
The storage unit is located in a narrow alley north of the Pearl Creek underground entrance. There’s a hole in the shutter door, but the inner gate is locked.
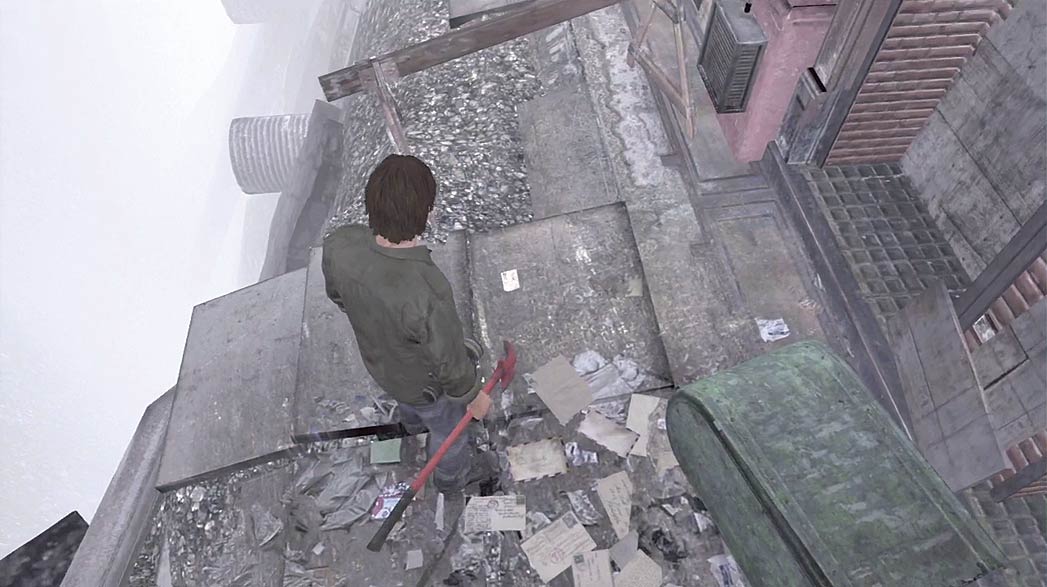
Step out of the alley and head north until you reach the end of the sidewalk. Search the area past the toppled mailbox to find a Mystery item on the ground.
Collect the Addressed Envelope to add it to Murphy’s Journal, then return to the storage unit. Unlock the inner gate and search the unit for useful items.
Side Quest: The Art Collector
.jpg)
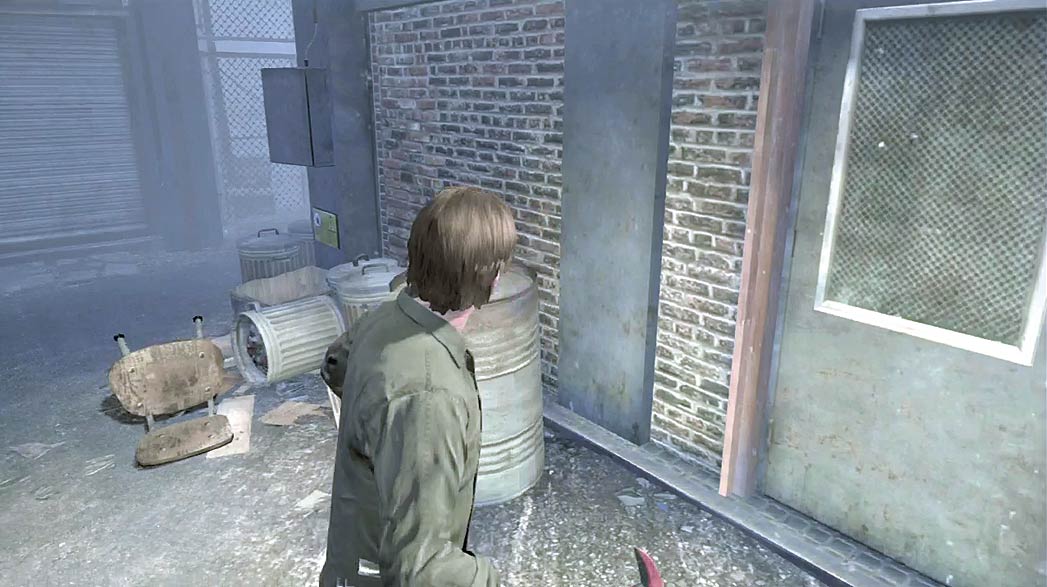
The art gallery’s entrance is located in the alley southwest of the Centennial Building. Enter the alley from Brite Street or Laymond Avenue, and locate the door near the scaffolding.
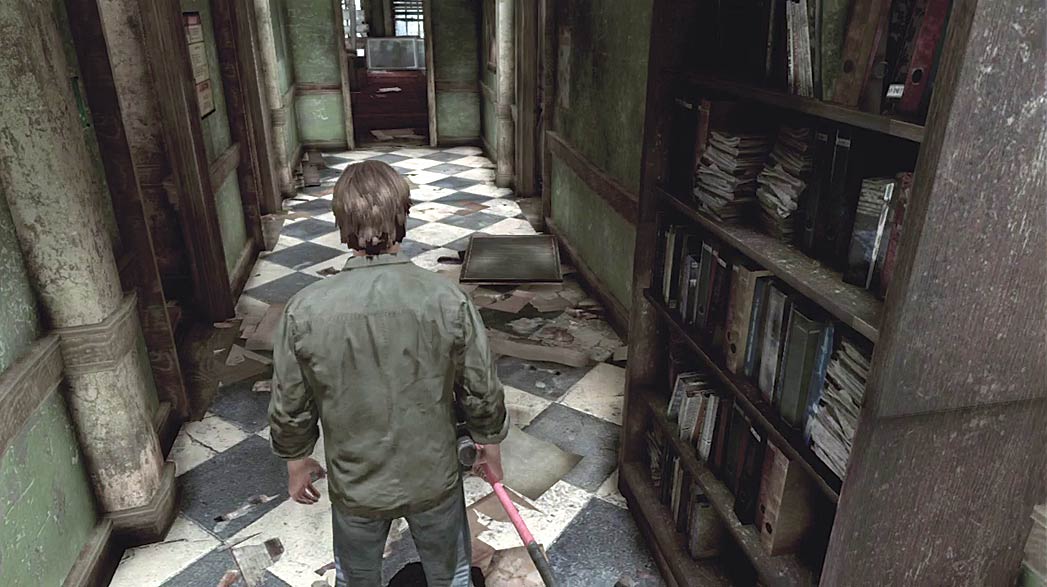
After you enter the gallery, follow the hall toward the exhibit room.
The first door on your left leads to a staircase; continue past it and enter the second door on your left to find the gallery owner’s office.
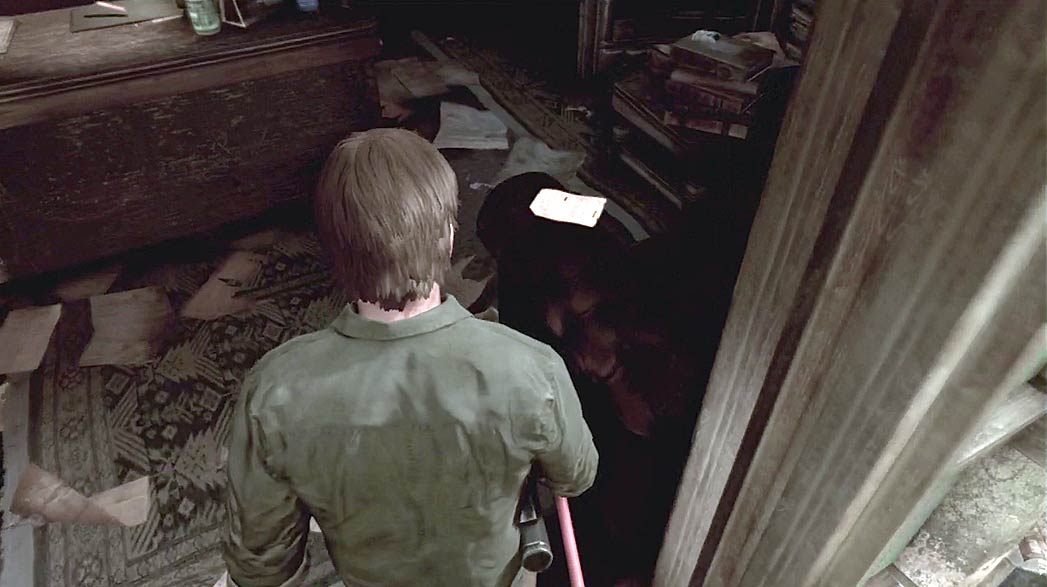
As you enter the office, collect the Mystery item from the couch on your right to add the Gallery Letter (1) to Murphy’s Journal.
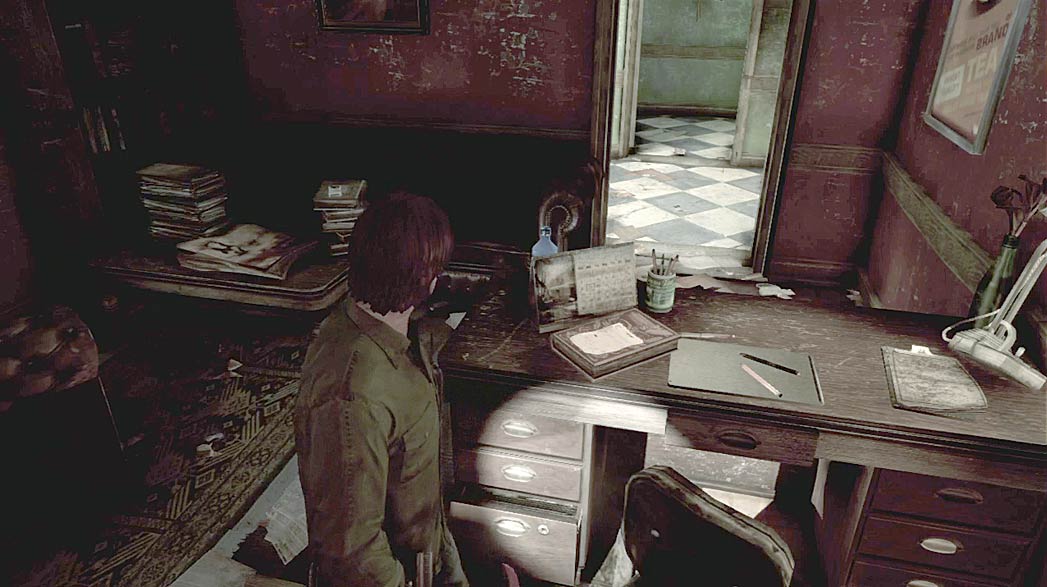
Move deeper into the office to find another Mystery item—the Gallery Owner’s Note—on the desk. After you collect both Mystery items, leave the office and continue to the exhibit room.
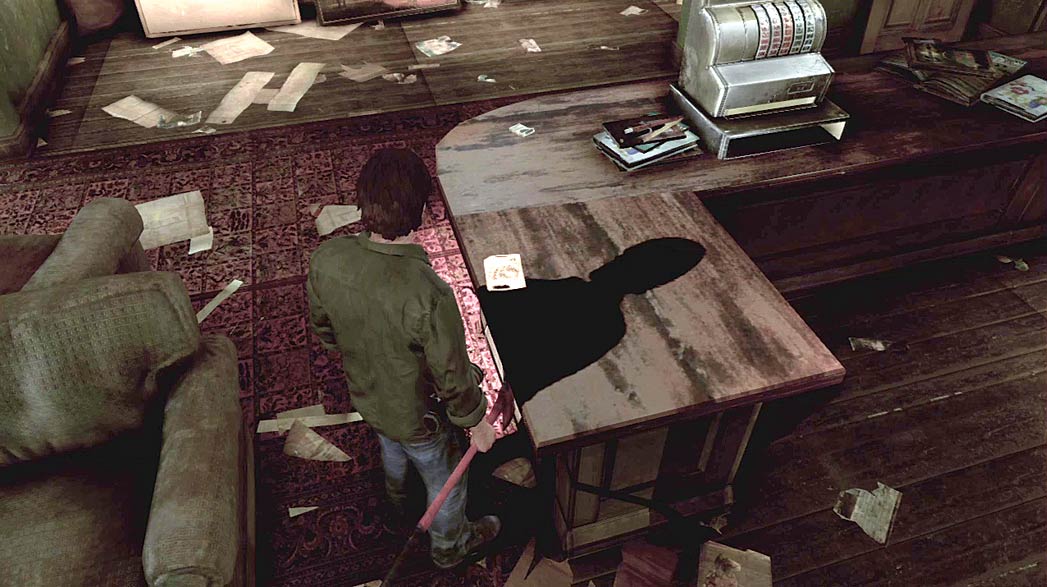
Search the exhibit room’s counter to find a third Mystery item just past the cash register.
Collect it add the Gallery Letter (2) to Murphy’s Journal. When you’re finished exploring the ground floor, head back toward the gallery entrance and follow the stairs down to the basement.
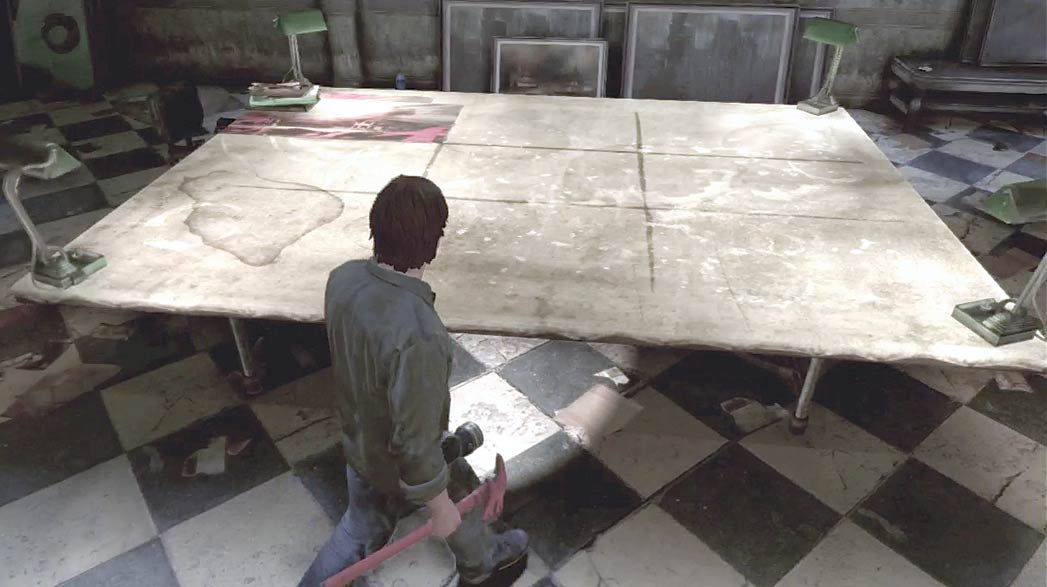
Approach the large table in the gallery’s basement to begin “The Art Collector” side quest.
Examine the table to find a stack of three Paintings; add the Paintings from your Inventory to the pile. Before you can solve this puzzle, you must collect any remaining Paintings.
Painting Locations
Hillside
.jpg)
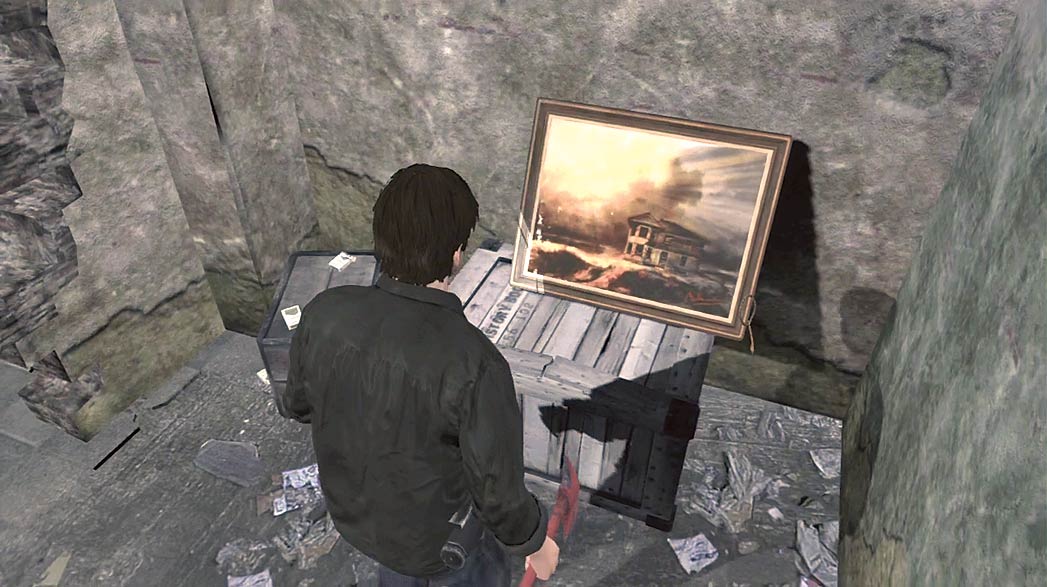
“Despair” is located in the Hillside police department, through the barricaded door near the dispatcher’s radio.
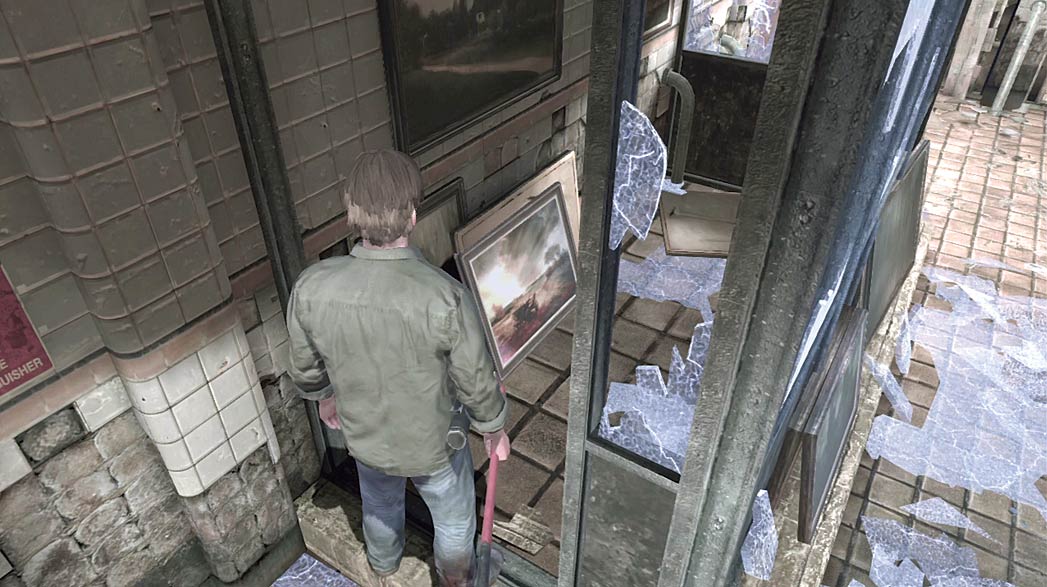
“Sunrise” is located in the booth inside of the Hillside underground entrance.
Pearl Creek
.jpg)
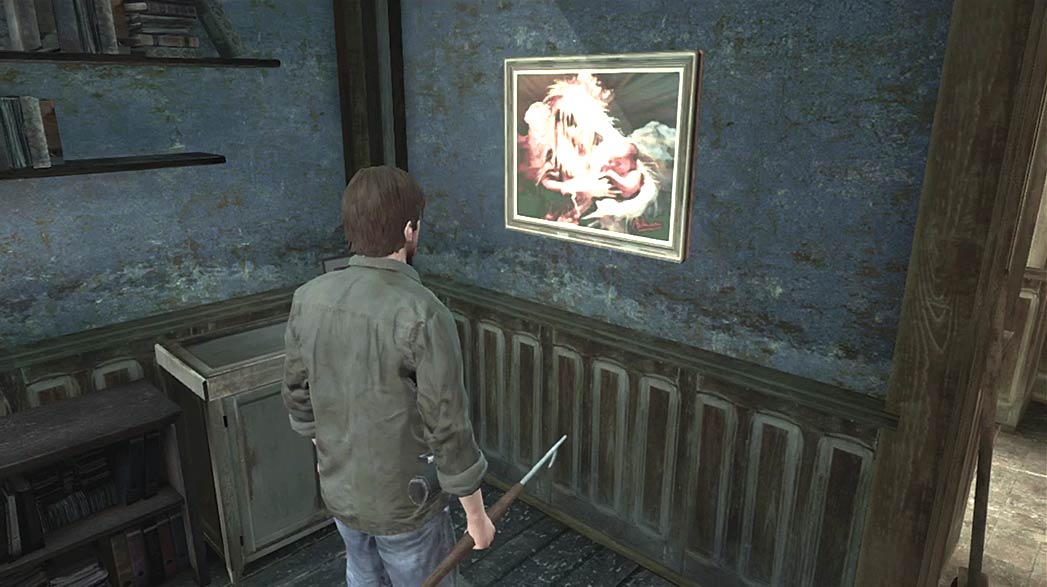
“Wonder” is located in the apartment building through which you entered Pearl Creek, hanging in the kitchen of the ground-floor apartment.
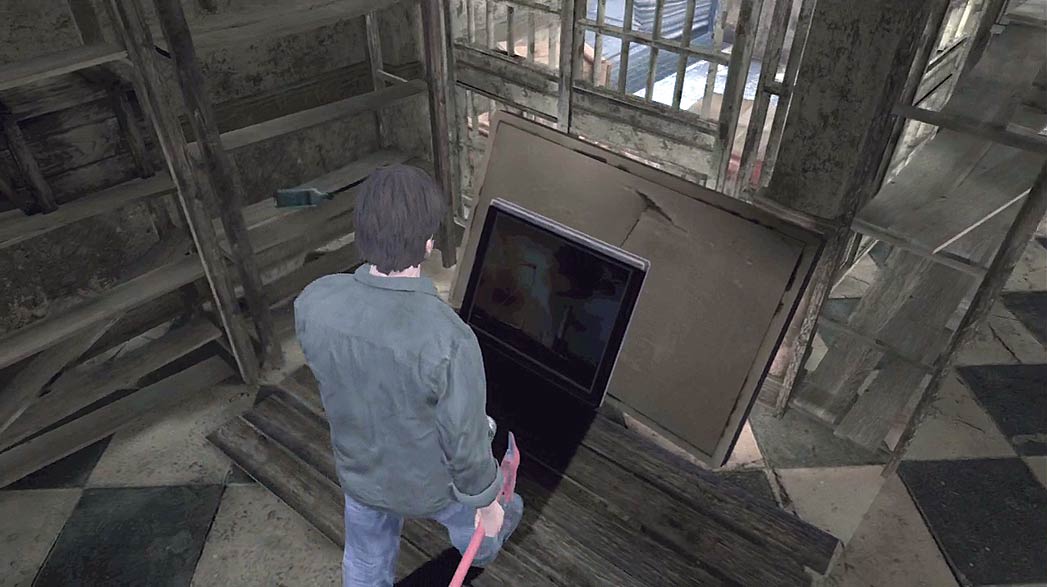
“Certainty” is located in the storage unit on Laymond Avenue, north of the Pearl Creek underground entrance.
To enter this structure, you must obtain the keypad’s code from the Mystery item located on the nearby sidewalk.
Chastain Heights
.jpg)
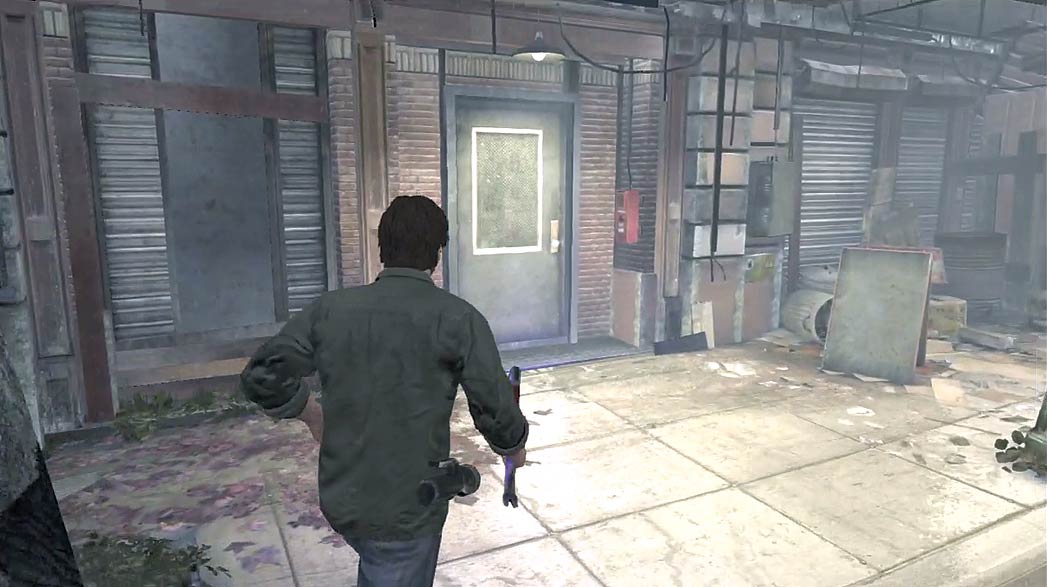
“Hope” is located in Chastain Heights, within the hardware store east of St. Maria’s Monastery.
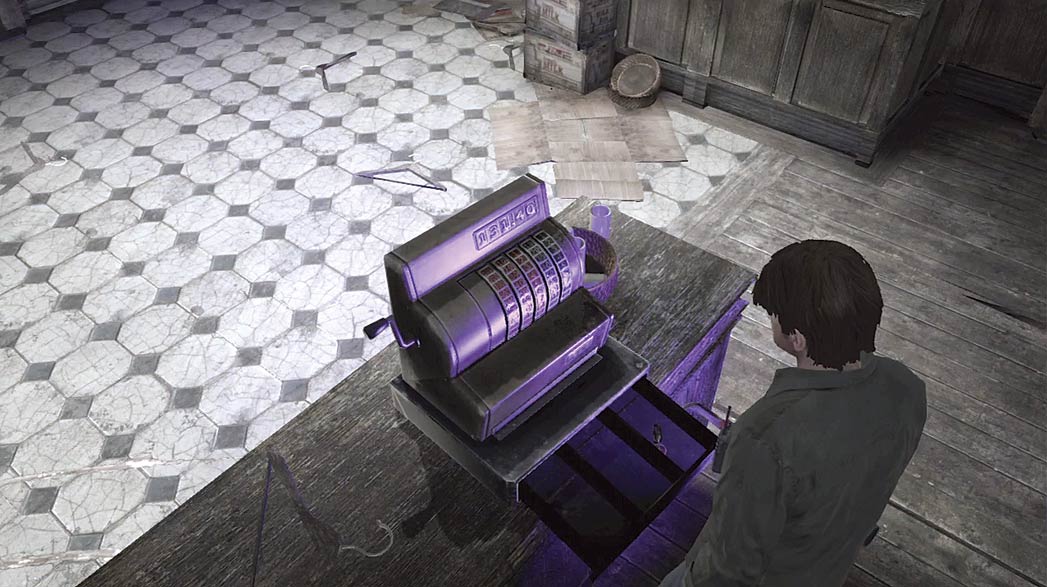
Collect the Storage Room Key from inside the hardware store’s cash register and use it to unlock the nearby door.
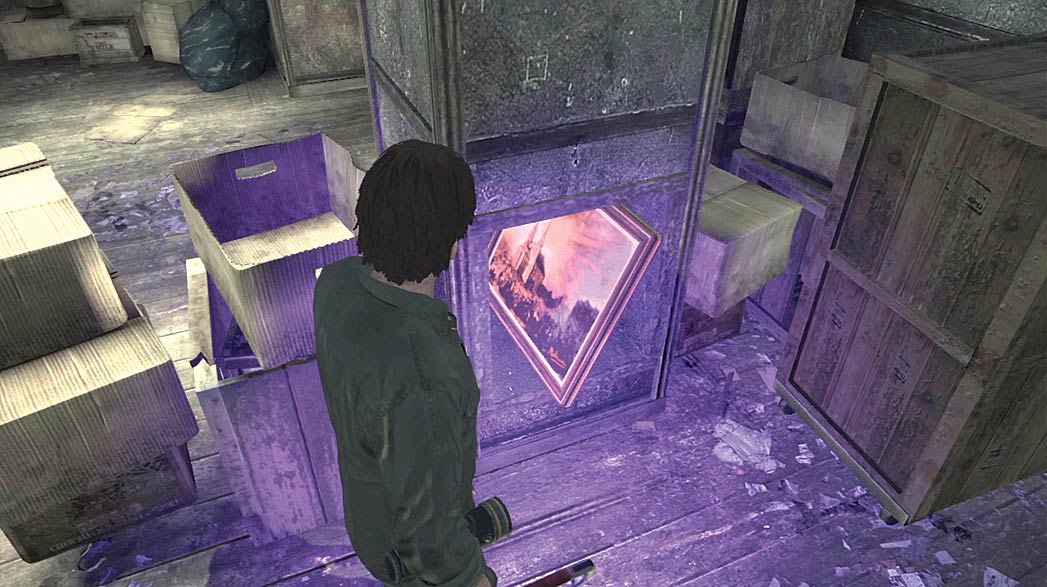
Find the crate in the storage room and move it to reveal the Painting stashed inside of a pillar.
Pleasant River
.jpg)
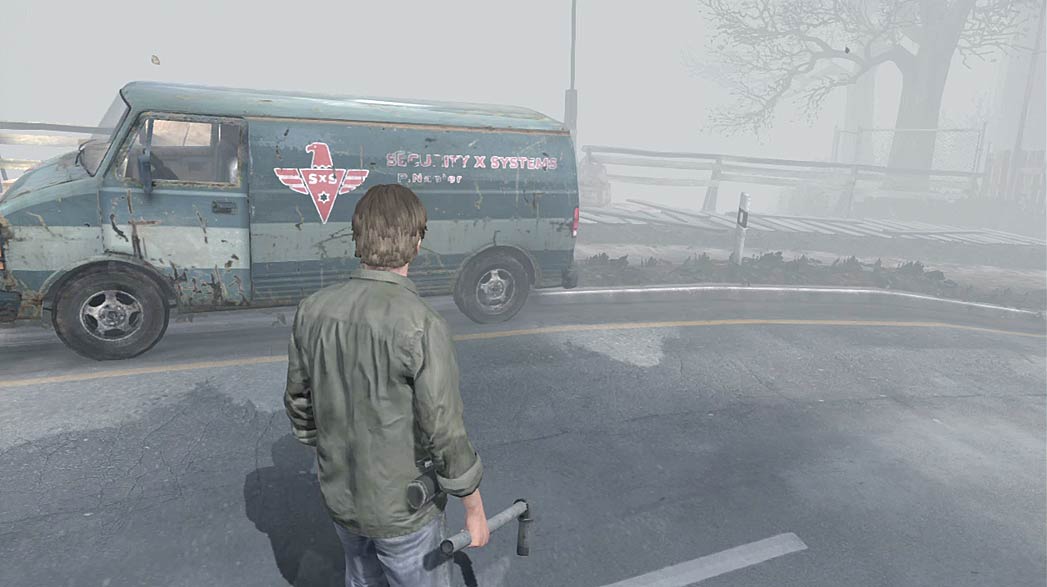
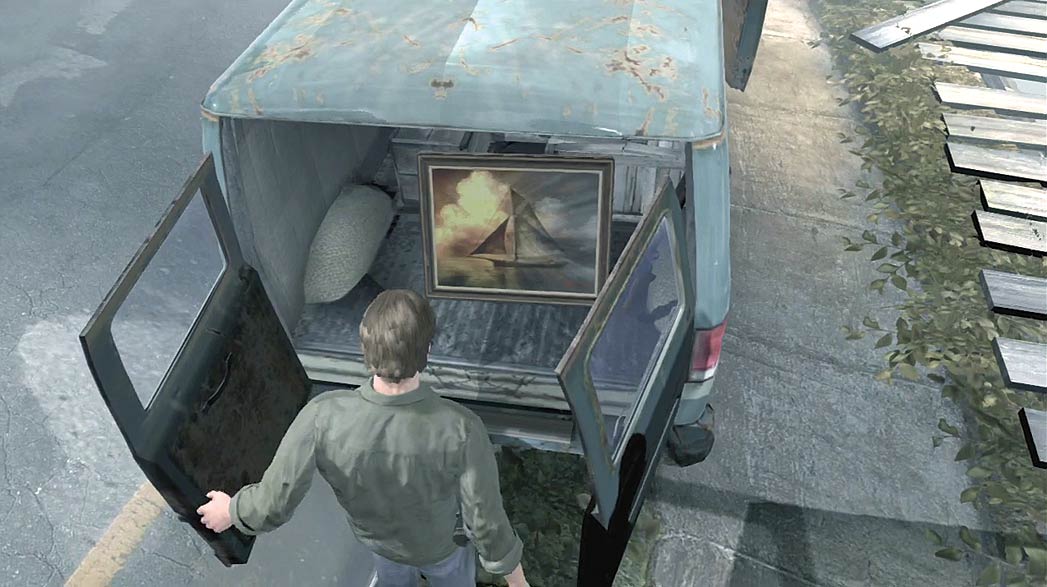
“Freedom” is located in Pleasant River, near the west end of Rice Street. Find the van parked near the bend in the road, and open its rear doors to discover the Painting.
Arranging the Paintings
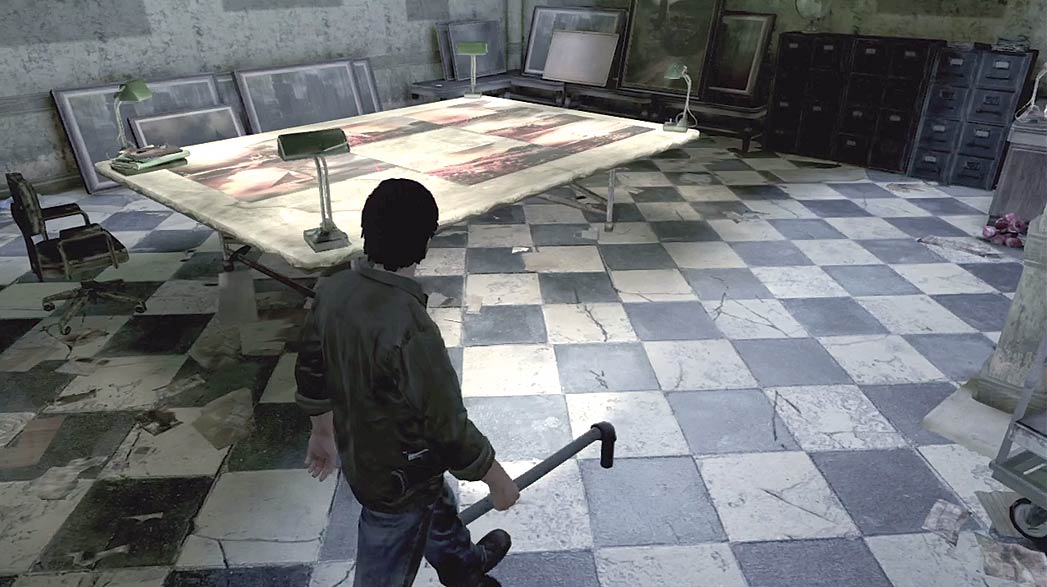
Once you’ve collected all of the Paintings, you must arrange them on the large table in the gallery’s basement. Place all of the Paintings in their proper spots to reveal the next step of the side quest.
Retrieving the Treasure
.jpg)
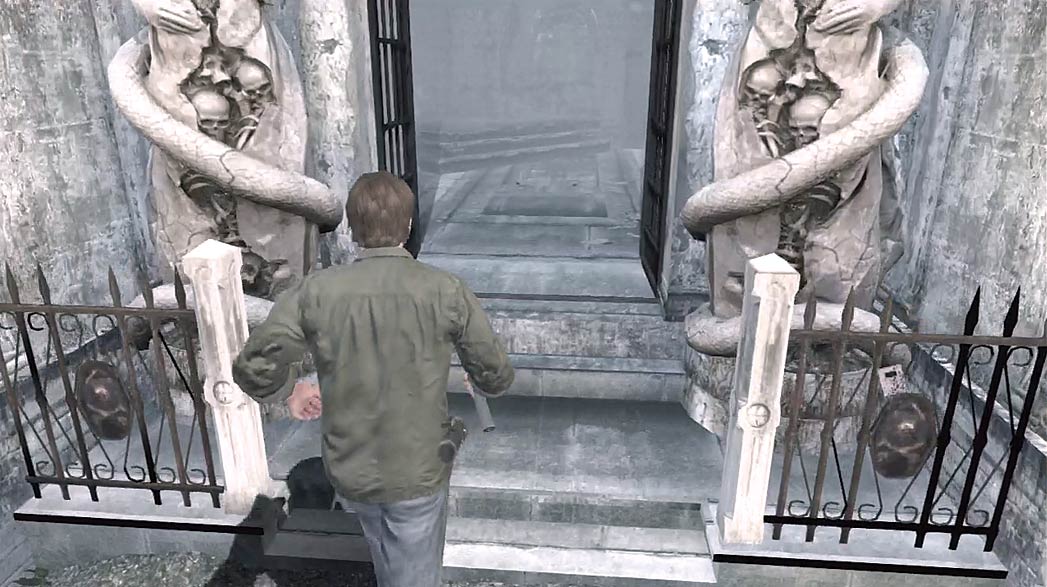
The hidden map indicates a location in Monroe Cemetery, just outside of St. Maria’s Monastery. Search the open crypts to find a ladder leading underground.
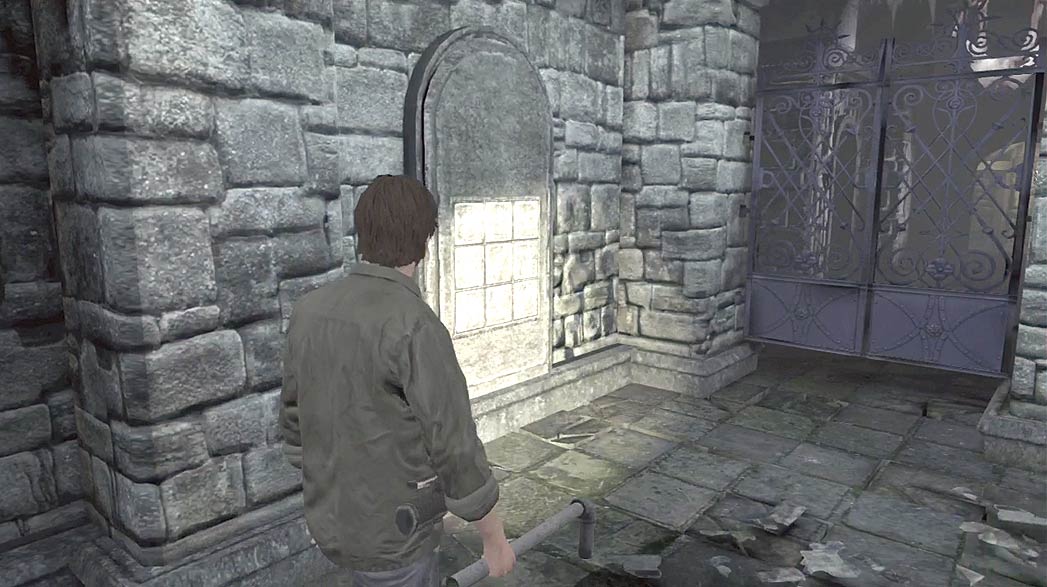
When you’re ready, climb down the ladder and follow the passage to the locked gate.
Use the tiles on the wall to your left to open the path to the burial chamber.
Once the gate is open, a Weeping Bat moves in to attack. The crypt’s narrow passage allows this creature to strike without leaving the ceiling. Proceed with caution.
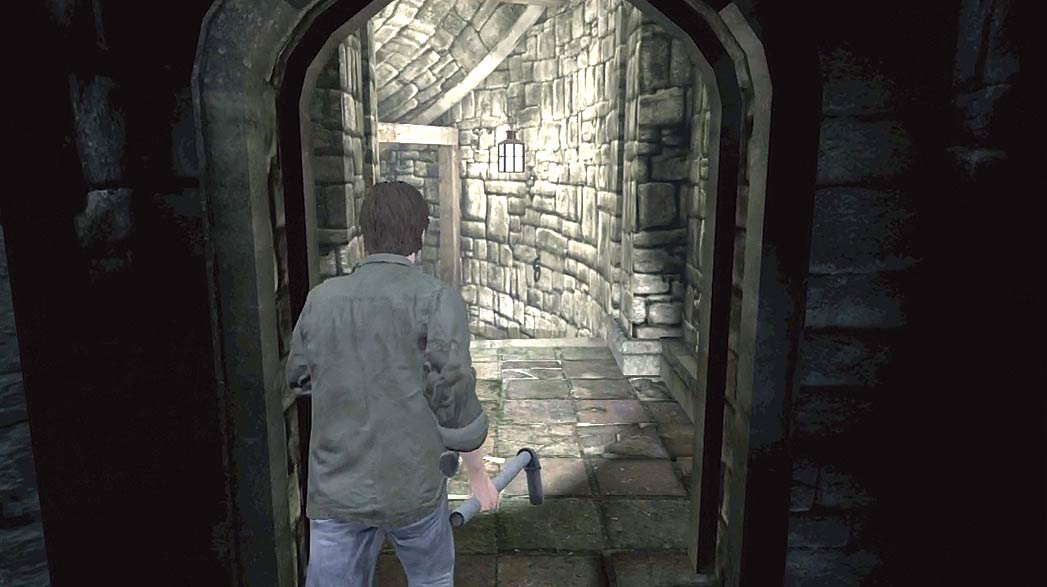
You complete the side quest when you solve the puzzle, but your reward is waiting deeper in the crypt. Continue past the gate and follow the corridor down to the burial chamber.
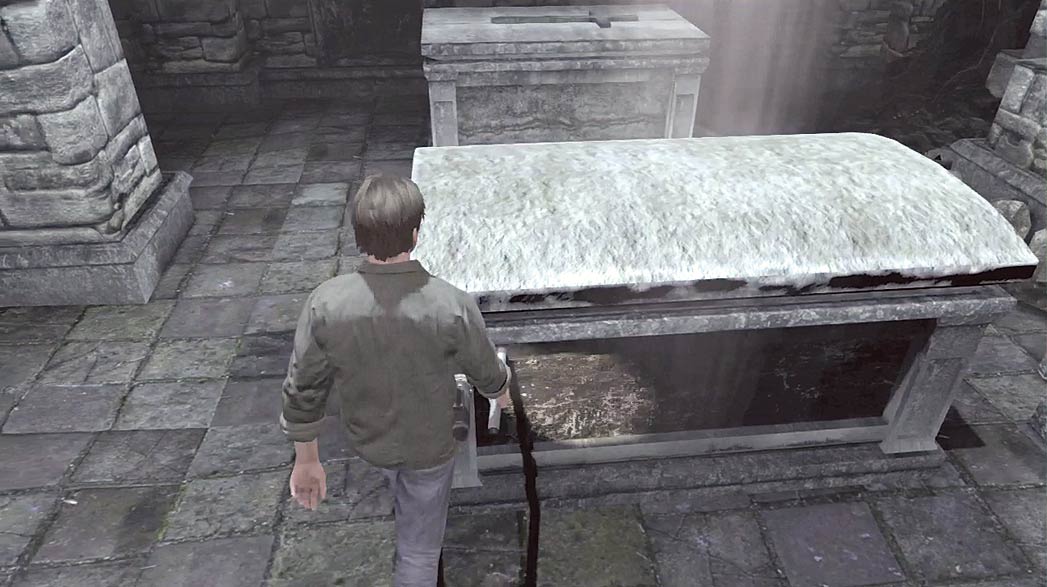
There are three coffins at the end of the burial chamber. Open the coffin in the middle and collect the Tomahawk from inside.
To the Radio Station
.jpg)
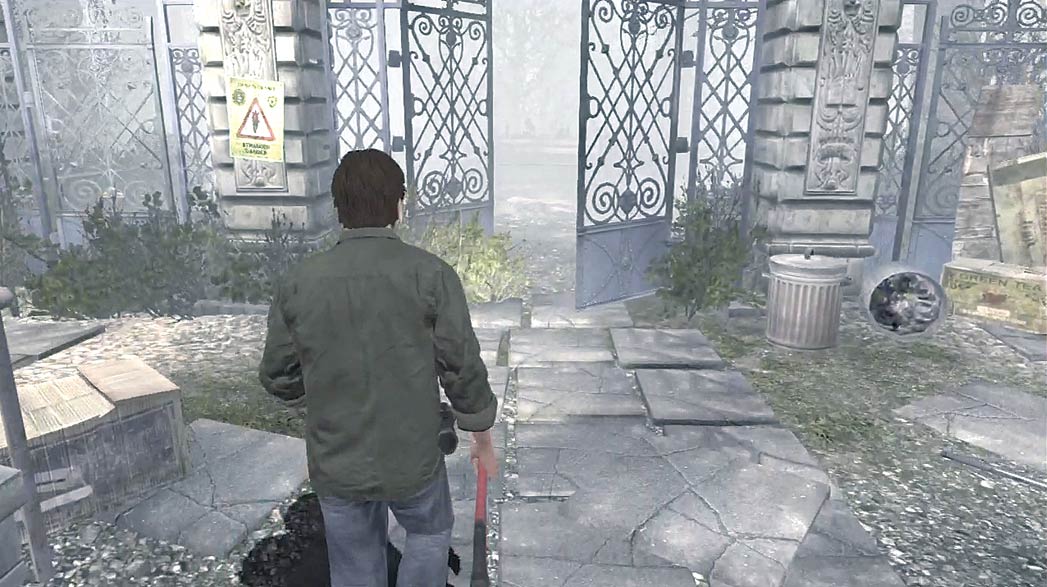
The radio station is at the top of the Centennial Building, located between Pearl Creek and Chastain Heights. When you’re finished exploring Pearl Creek, find the entrance to Logan’s Park, northwest of the Pearl Creek underground entrance.
When you’re done exploring the park, follow the trail to the Centennial Building’s garage entrance.