
Silent Hill Downpour Guide Walkthrough Campaign
Hillside
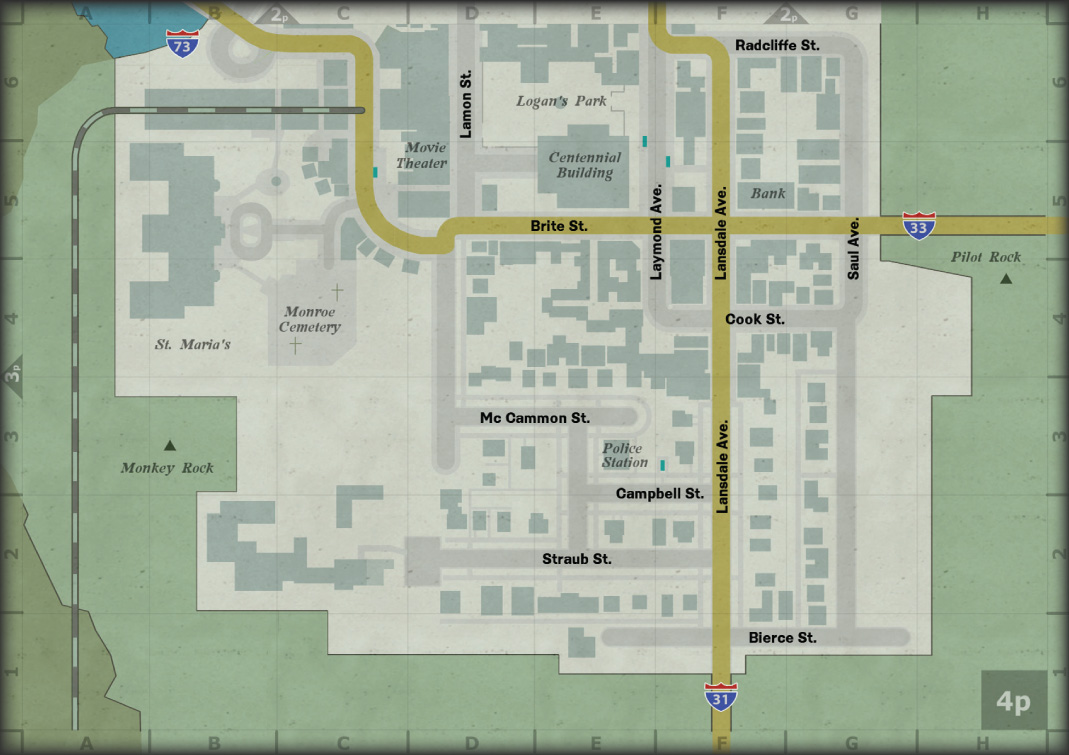
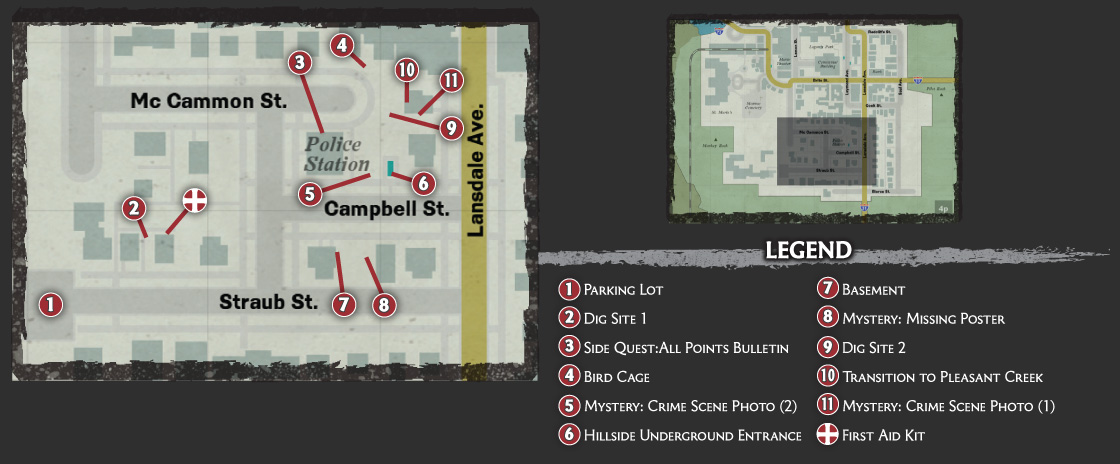
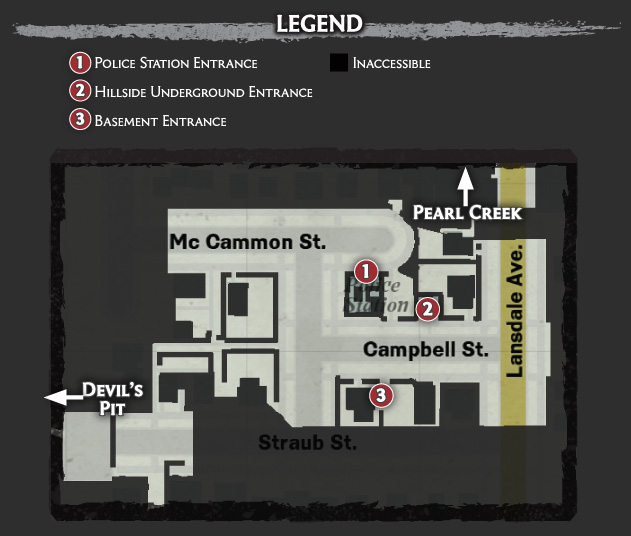
Available Routes
Parking Lot
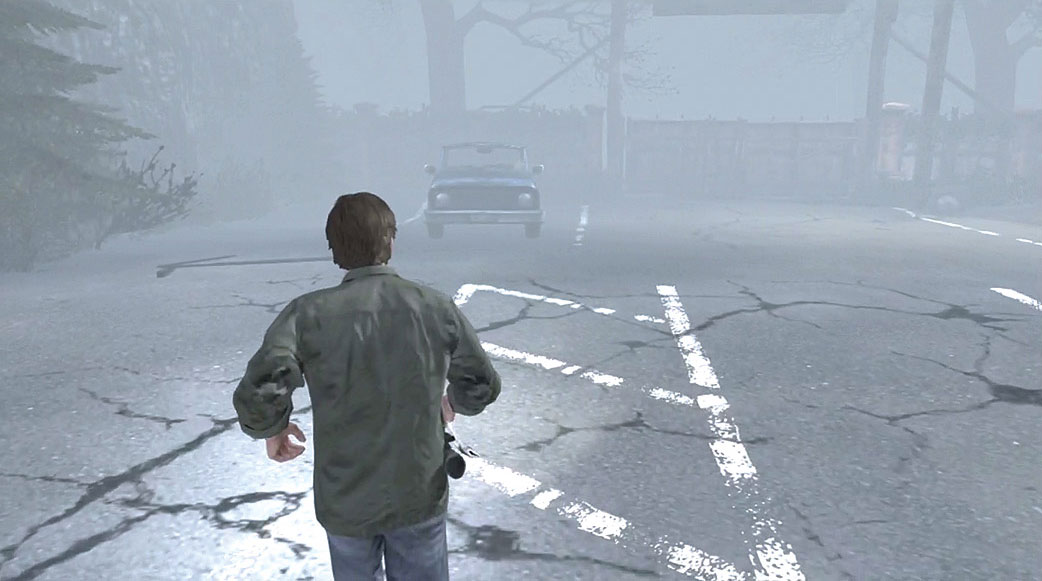
The stairs from Devil’s Pit lead you down to a large parking lot on the edge of town. The driveway has been sealed, so you must find an alternate path out of the lot.
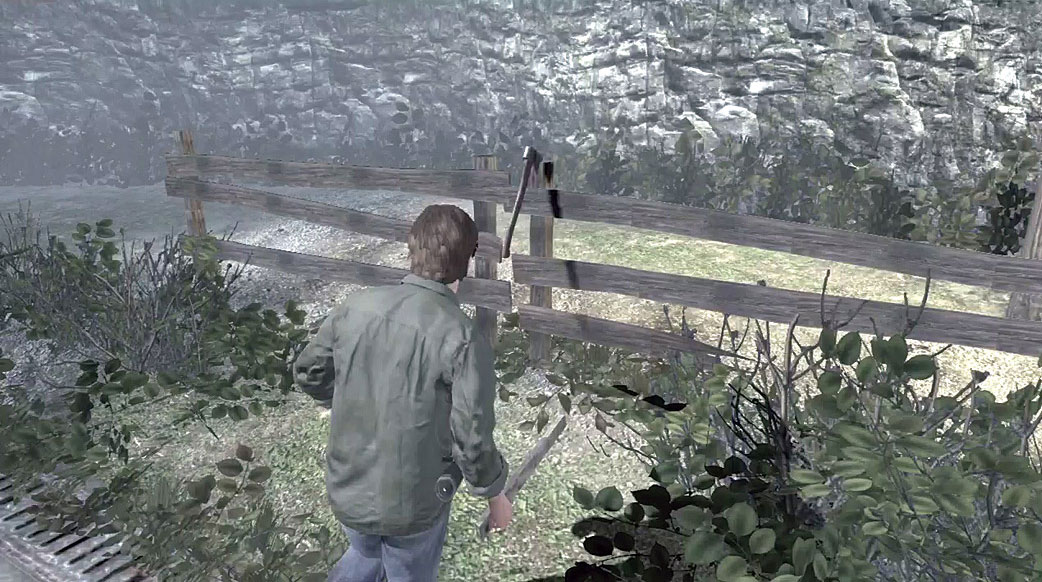
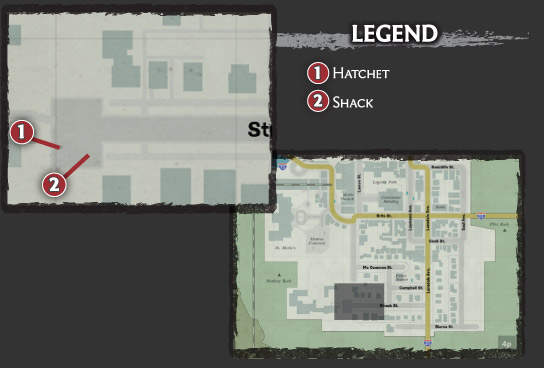
Check the fence posts along the parking lot’s west edge for a Hatchet. Unless you’ve managed to hang on to your Crowbar, grab this weapon before you explore the rest of the lot.
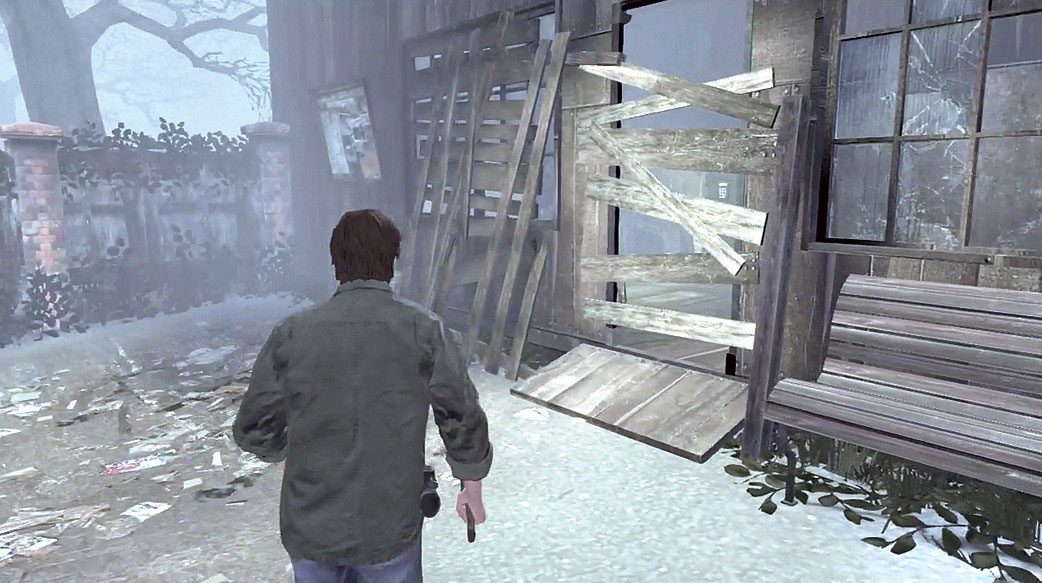
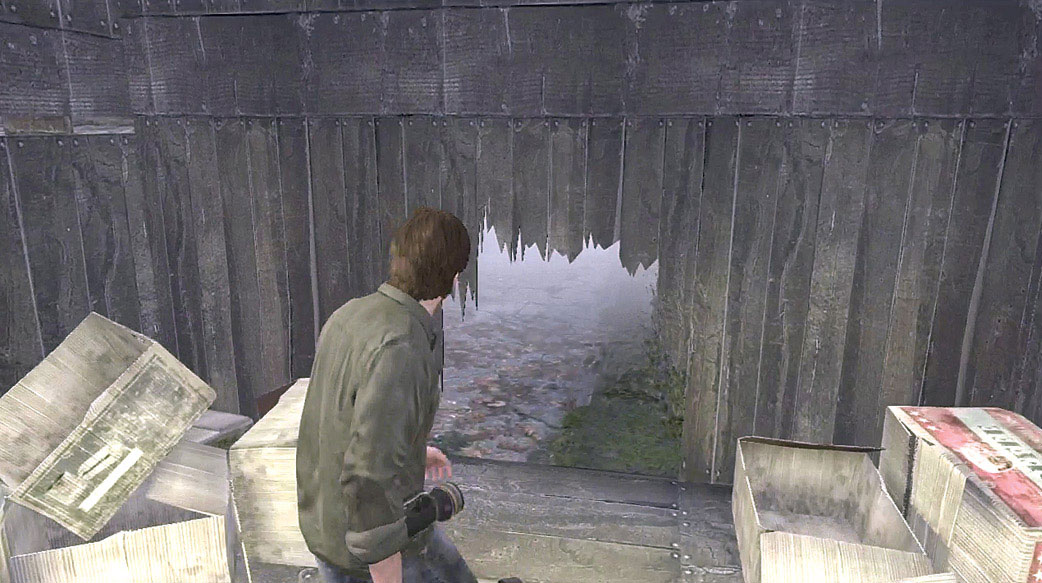
When you’re ready to leave, move to the shack in the lot’s southeast corner. Clear the boards away from the entrance and head inside.
Continue through the hole in the wall to reach the street outside. You’re now free to explore all of Hillside.
While you explore the streets, beware of random creature spawns. Make sure you’re carrying a weapon in good condition, avoid standing still for too long, and seek shelter at the first signs of rain.
When you first enter the town, you must also watch the streets for police cars. If you see one coming toward you, find somewhere to hide from its spotlight.
Side Quest: All Points Bulletin
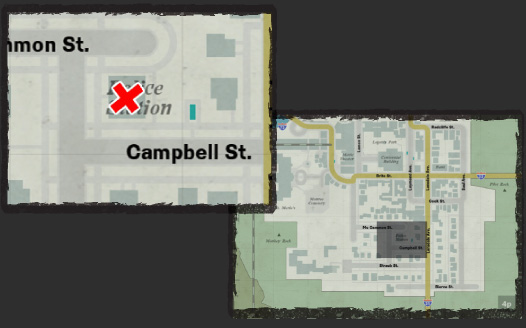
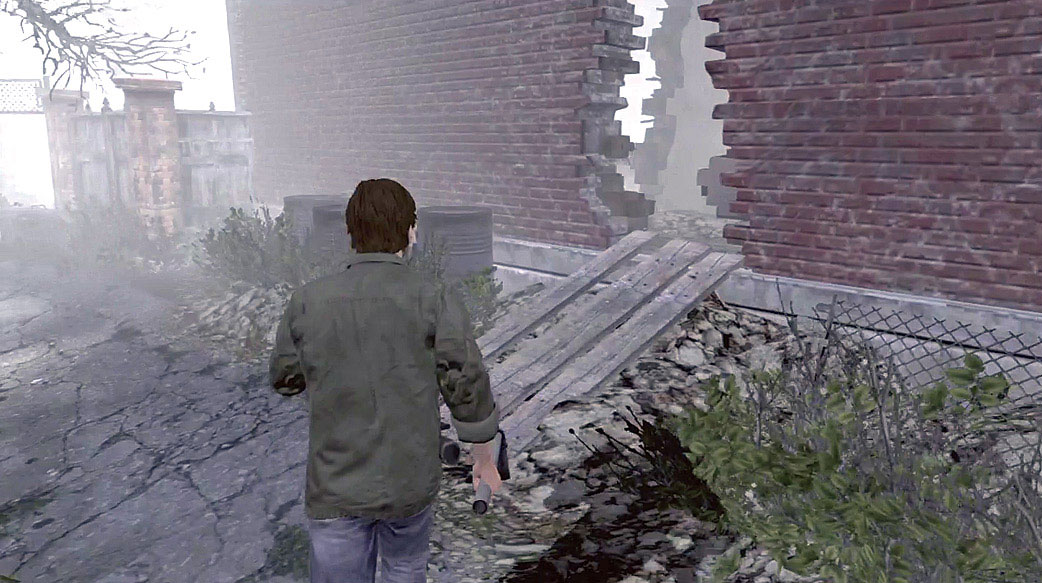
Approach the police station from the north (from McCammon Street) and squeeze through the narrow hole in the wall.
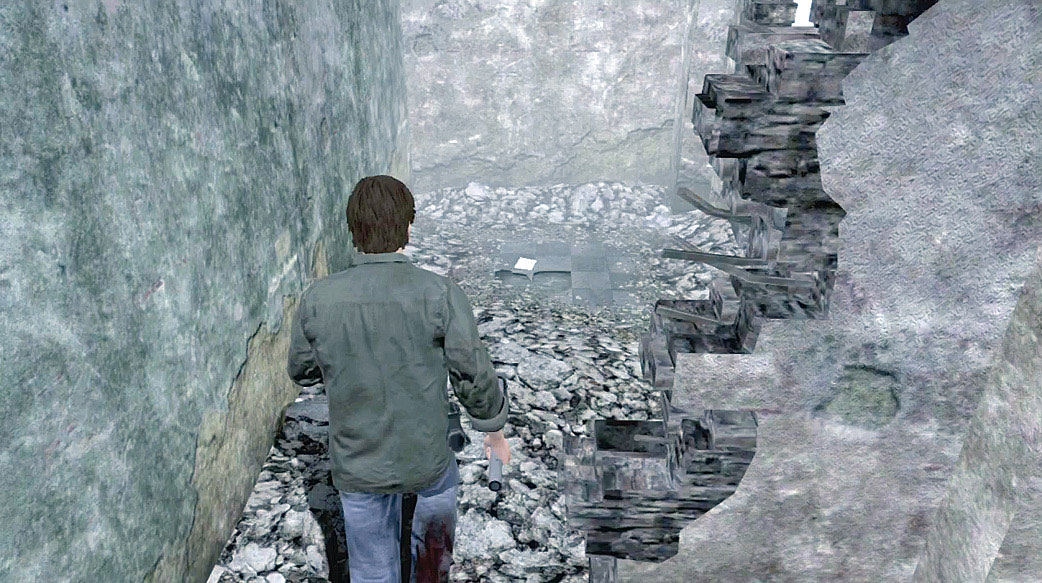
Once you’re inside the building, turn to the left. Collect the Mystery item past the crumbling wall to add the Police Report to Murphy’s Journal. When you’re ready, cross the beam at the center of the building to reach the dispatcher’s office.
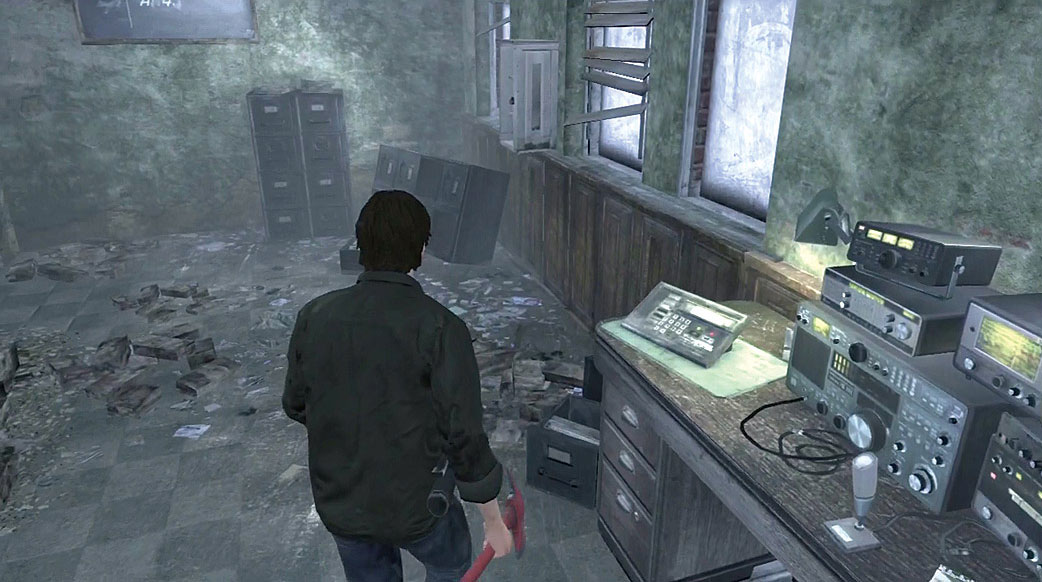
There are four police cars patrolling the town. To complete this side quest, use the dispatcher’s radio to recall them. Before you can do so, however, you must determine each car’s call sign.
Call Signs: Method 1
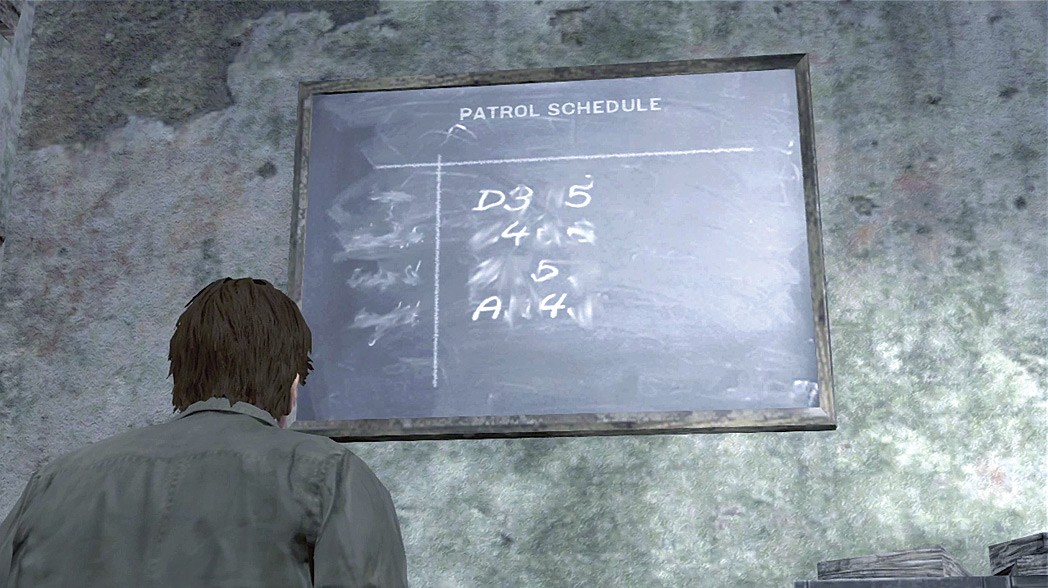
The patrol schedule is written on a blackboard in the dispatcher’s office.
The call signs are incomplete, but the available numbers are arranged in a specific pattern; use the established pattern in each column of numbers to determine the missing digits.
Call Signs: Method 2
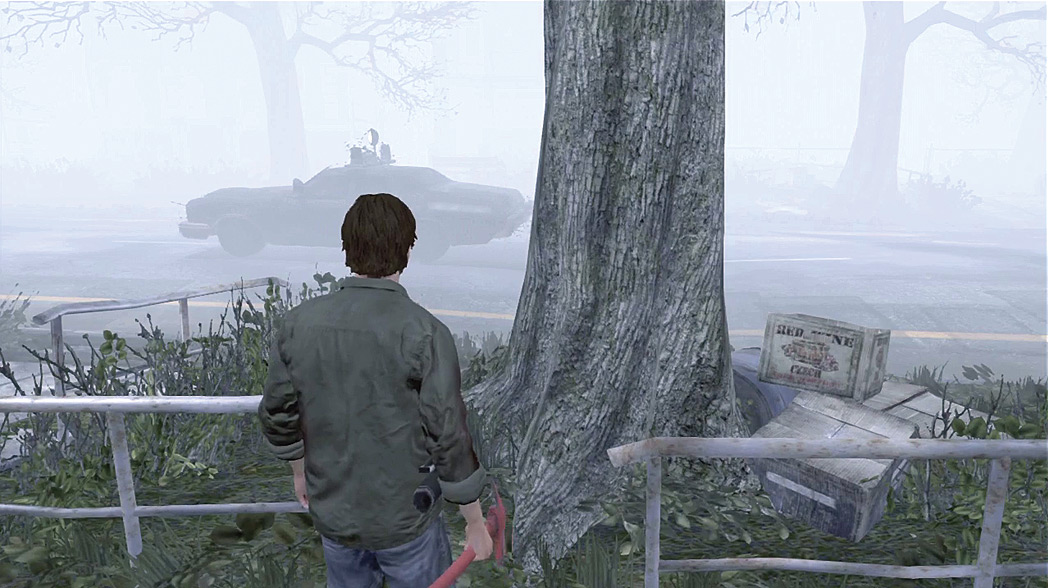
The simplest way to learn a car’s call sign is to check the car itself. While you explore the town, keep an eye out for the patrolling cars.
When you spot one, get in close enough to read the call sign displayed on the quarter panel (on the side of the body, near the rear of the car).
Once you have the call sign, return to the police station and enter the call sign to recall the car.
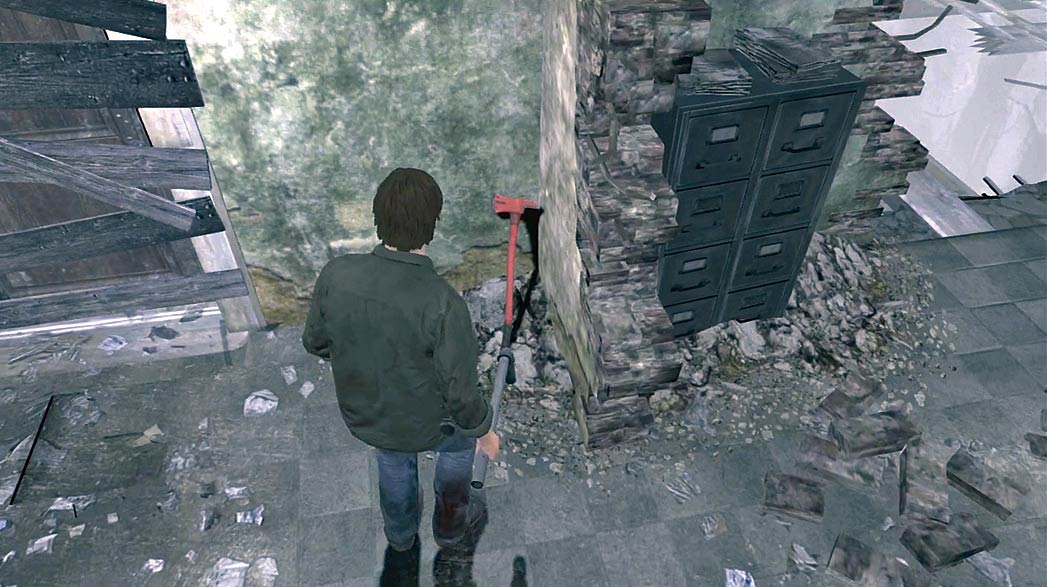
Before you leave the police station, look for the barricaded door near the dispatcher’s radio. Grab the nearby Fire Axe and use it to clear away the boards.
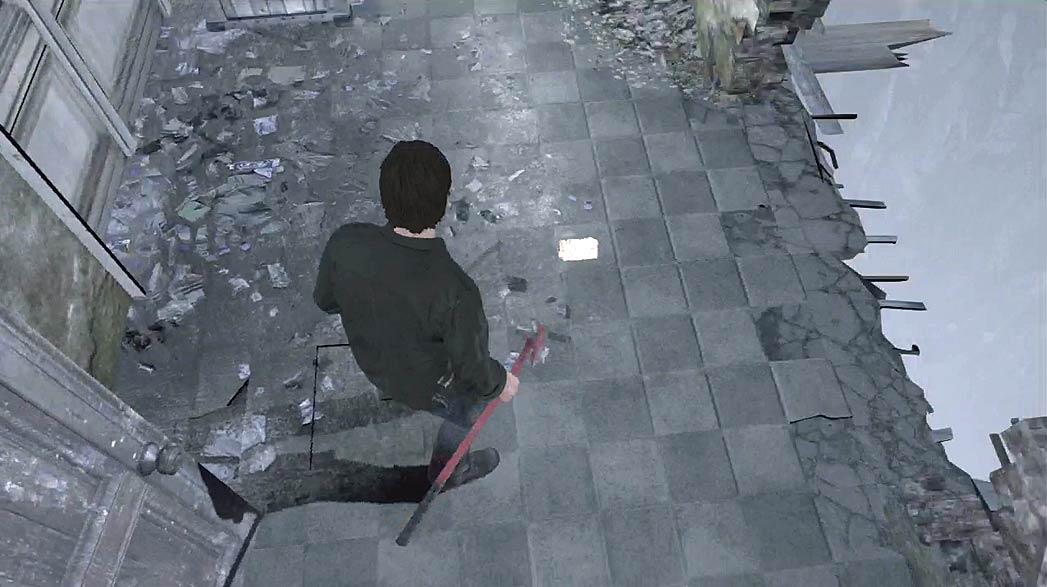
As you pass through the door, check the floor in front of you for a Mystery item. Collect it to add the Crime Survey to Murphy’s Journal.
This area also contains a radio and a Painting needed for another side quest.
Side Quest: Bird Cage
.jpg)
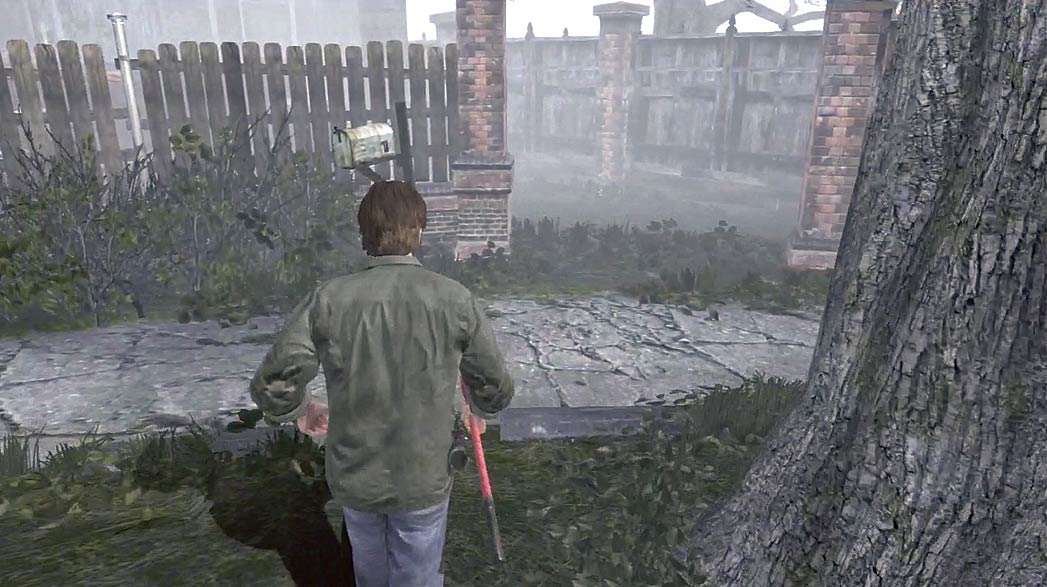
Search the fence that curves around the end of McCammon Street (north of the police station) to find a small yard.
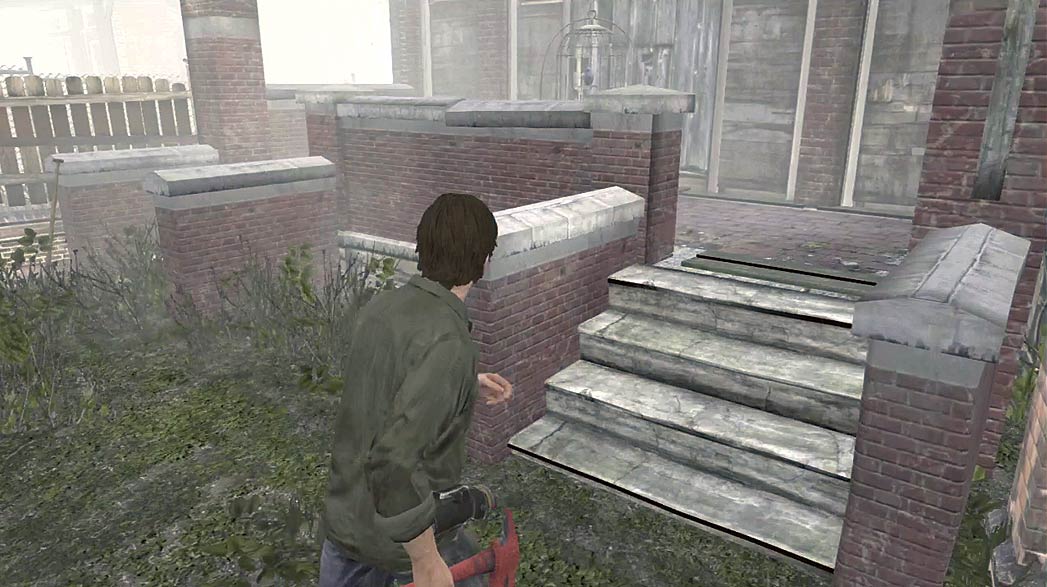
Head through the yard and up the steps to find a Bird Cage at the center of the porch. Free the bird to trigger a short cutscene and begin the “Bird Cage” side quest.
There are a total of five Bird Cages located throughout the city. To complete the side quest, you must simply find and open all of them.
Bird Cage Locations: Downtown
.jpg)
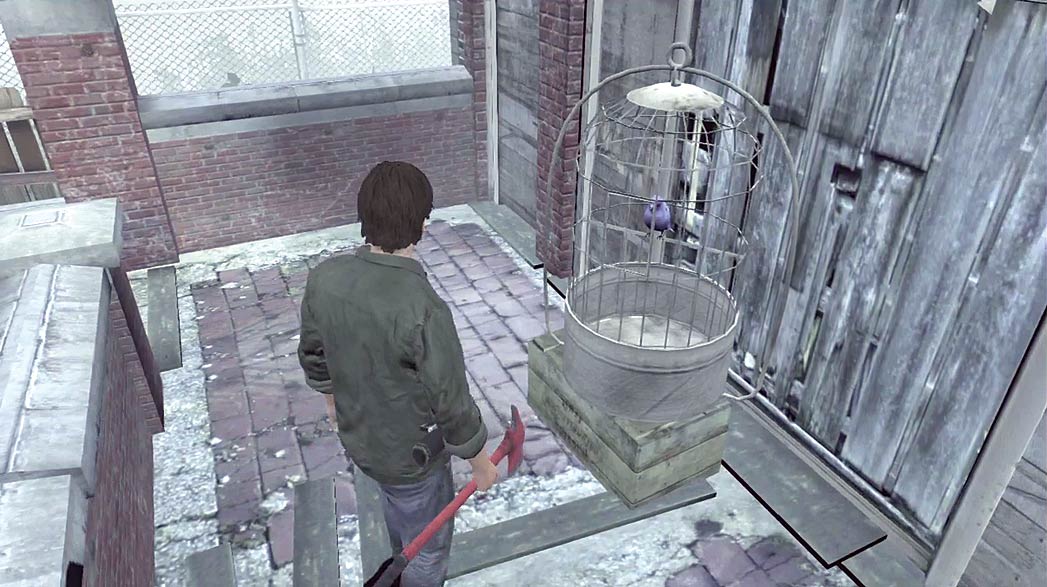
In Hillside, open the Bird Cage in the small yard north of the police station.
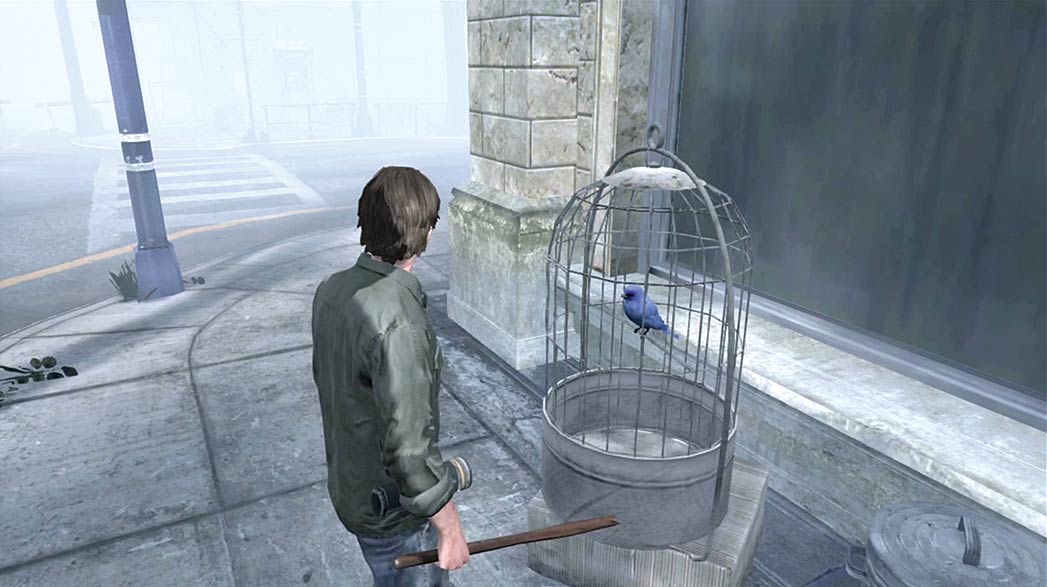
In Pearl Creek, open the Bird Cage at the corner of Brite Street and Lansdale Avenue, just south of the bank.
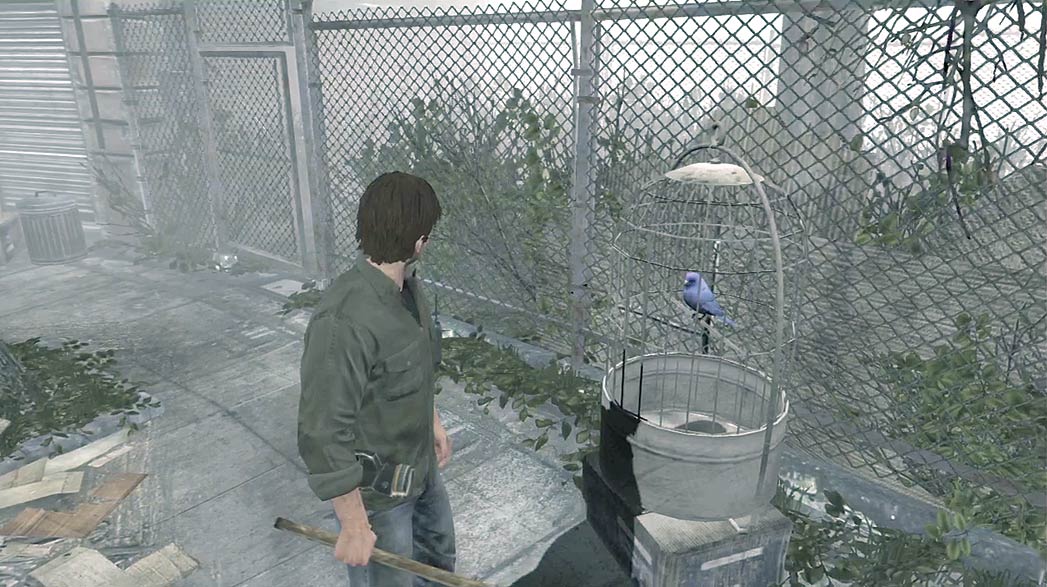
In Chastain Heights, open the Bird Cage on the north edge of Brite Street, just before the transition to Pleasant River.
Bird Cage Locations: Port
.jpg)
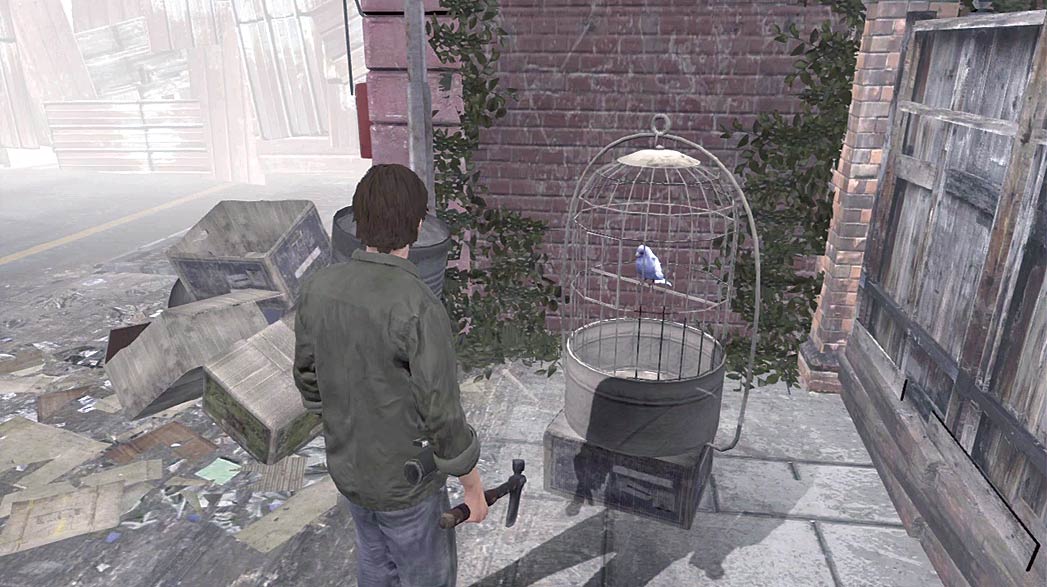
In Pleasant River, open the Bird Cage on the south edge of Rice Street, just before you reach the barricade.
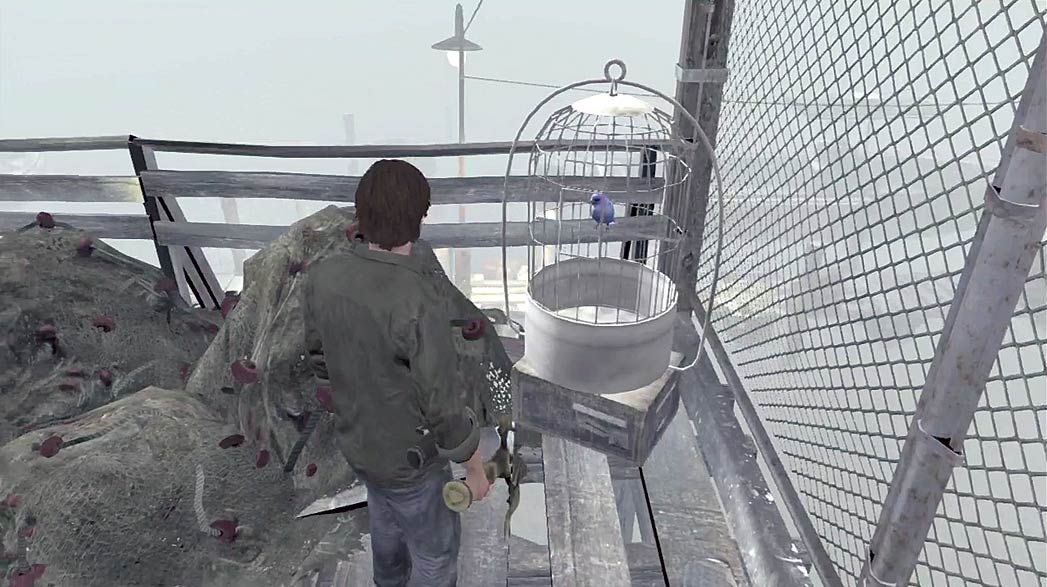
In the Port District, open the Bird Cage on the docks at the edge of town.
Hillside Underground Entrance
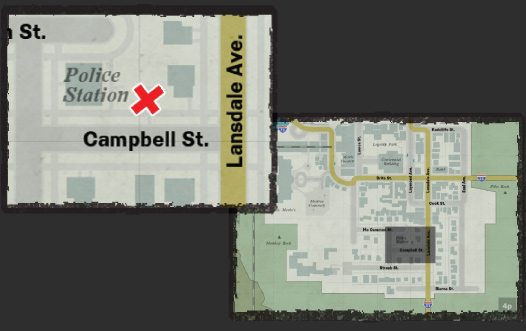
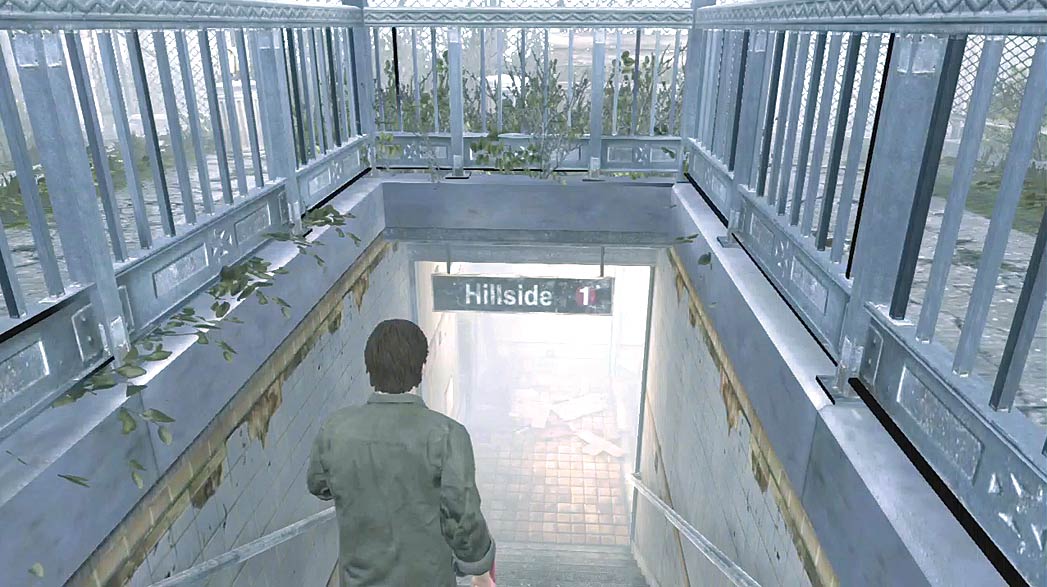
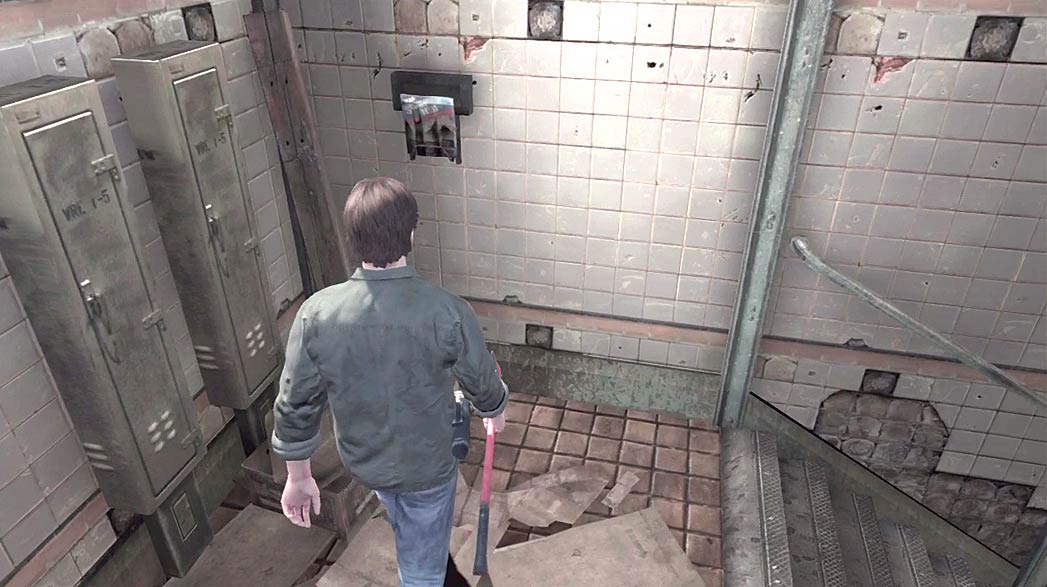
The Hillside underground entrance contains a map of the town’s underground tunnel system.
You must complete a related side quest before you can make use of these shortcuts, but it’s worth exploring each entrance you find.
Aside from providing emergency shelter and fresh weapons, some underground entrances contain quest items.
There’s a dangerous enemy hidden in the Hillside underground entrance. If you choose to fully explore the area, turn on your Flashlight and be ready to defend yourself.
Basement
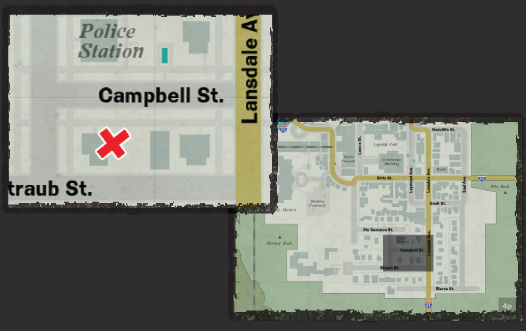
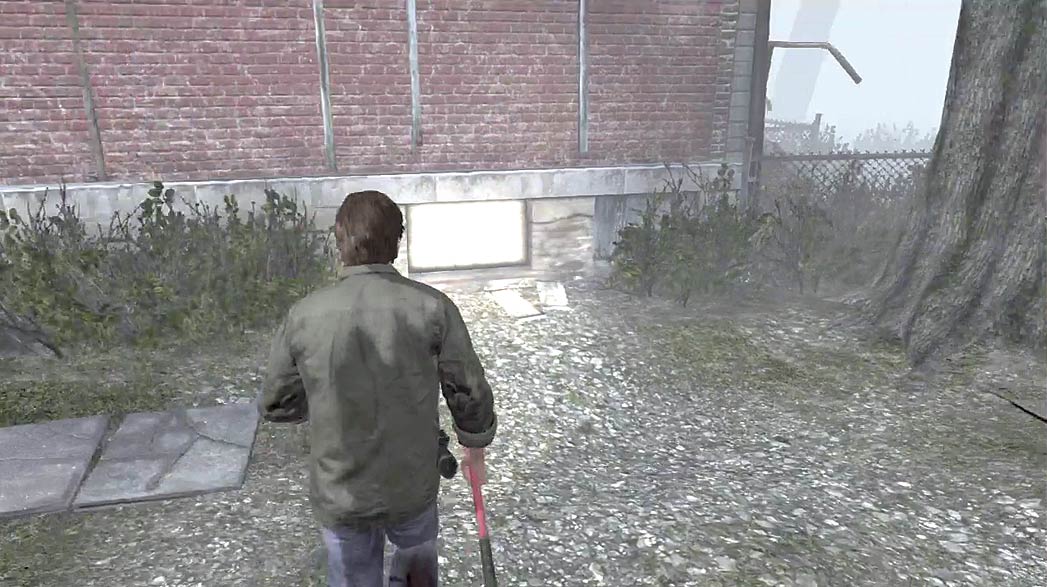
Explore the yards along the south edge of Campbell Street to find a lit window at the base of a brick house. To enter the basement, simply examine the window.
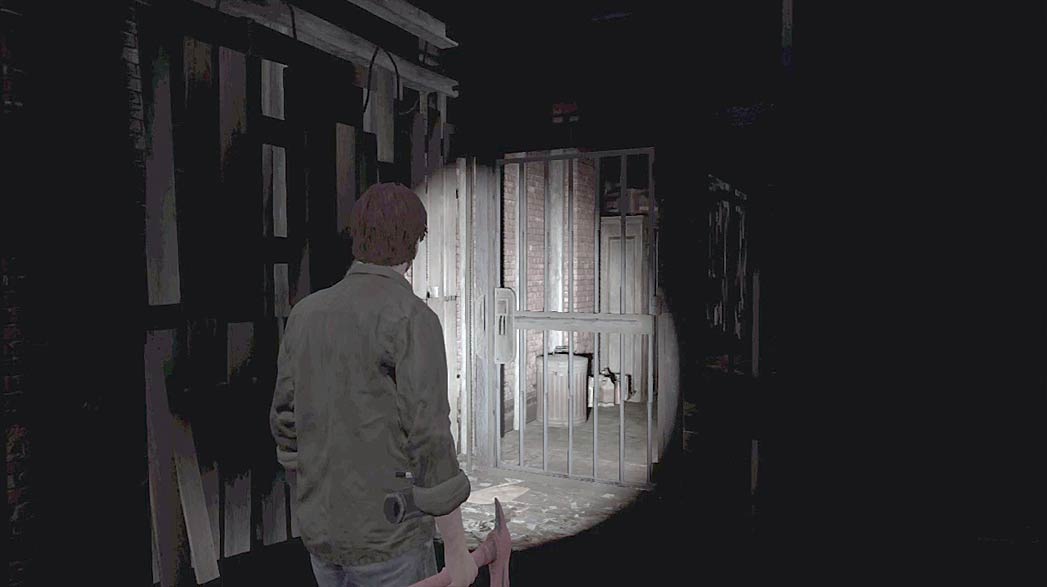
When you’re done exploring the lit sections of the basement, use your Flashlight to find the cell door hidden in darkness. Before you can enter the cell, you must find a way to unlock it.
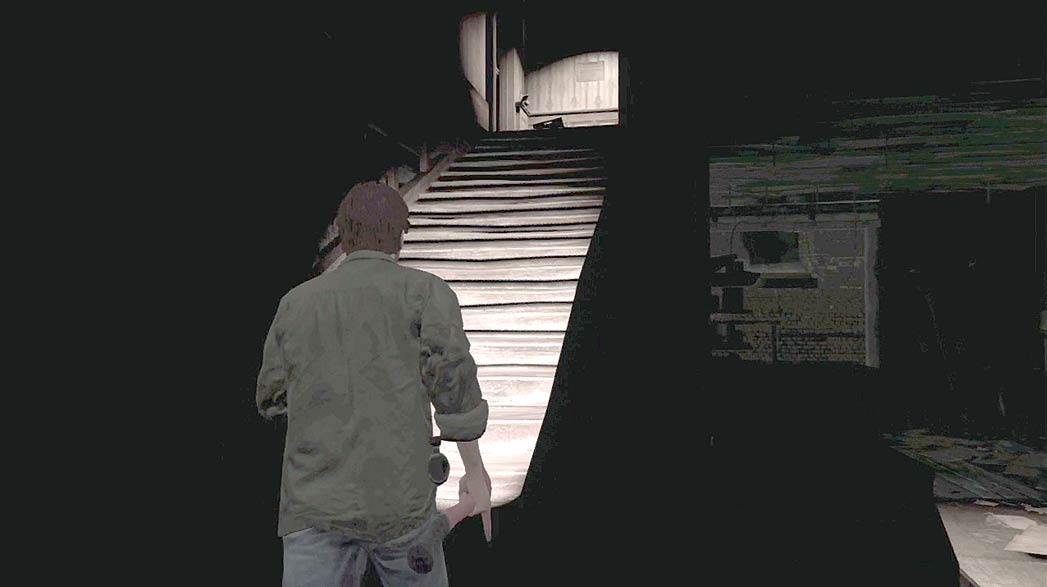
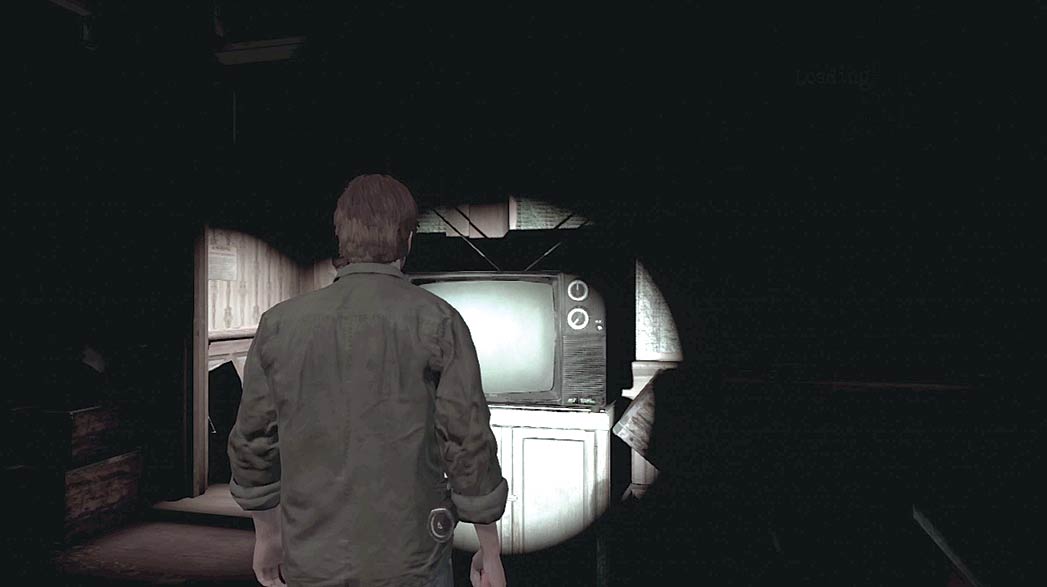
Climb the nearby stairs to find a small apartment above the basement. As you enter the apartment, look for the television set near the entrance. Switch on the television, then head back down to the cell.
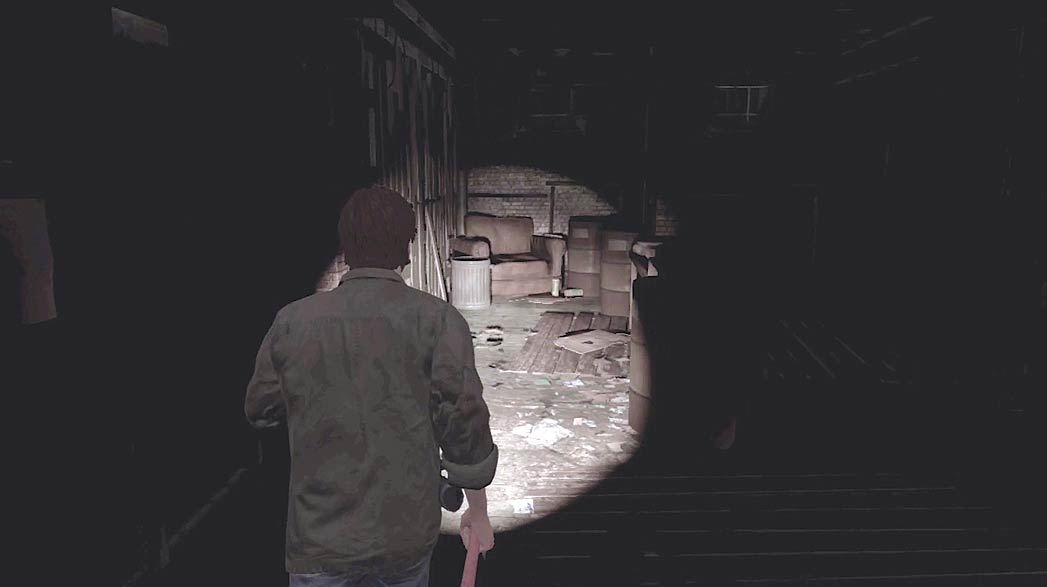
Explore the cell to find a Colt on a chair near the back wall.
When you take the Colt, the cell door slams shut and a Doll appears in the room. Rather than engage you directly, Dolls spawn Shadows to fight for them.
Shadows are nearly invisible in normal light. In darkness, however, the beam from your Flashlight reveals their silhouettes.
In most situations, it’s best to damage the Doll directly. However, the cell’s layout makes it very difficult to reach the Doll without engaging its Shadows.
Luckily, the location near the chair offers you the same protection. Stay put and take down each Shadow as it approaches. You can use your newly acquired firepower, but consider retrieving the weapon you dropped when you collected the Colt.
Each time you defeat a Shadow, the Doll takes damage. Clear the area of hostile creatures to unlock the cell.
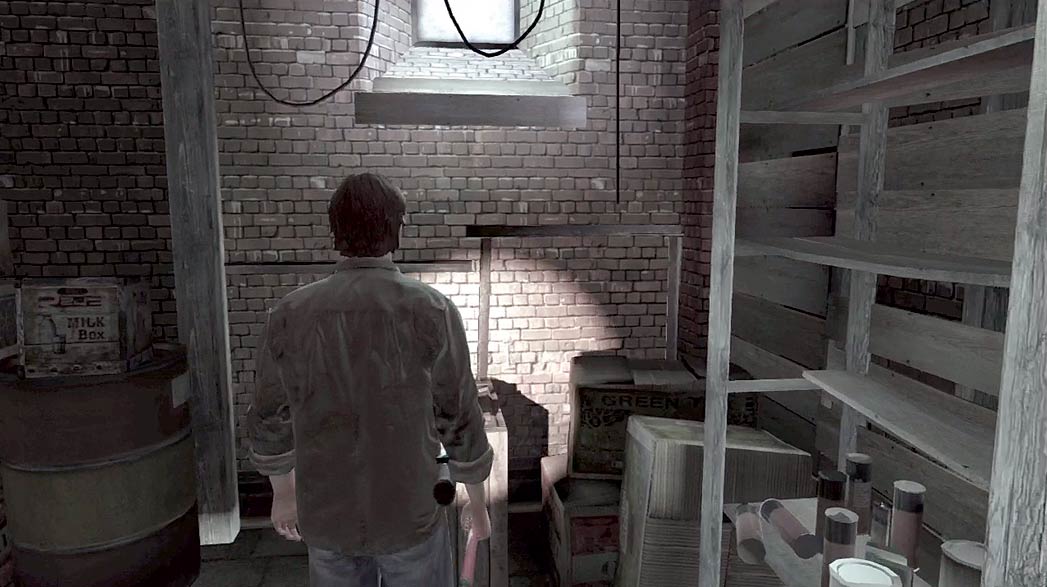
When you’re ready to leave the basement, return to the window and head outside.
Transition to Pearl Creek
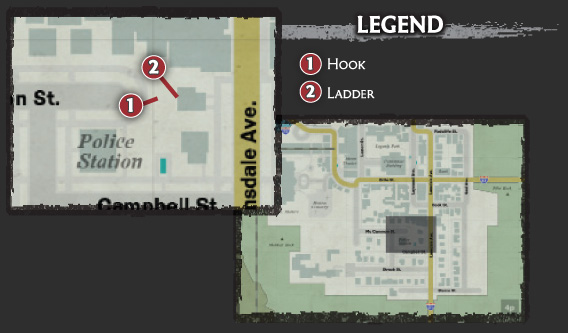
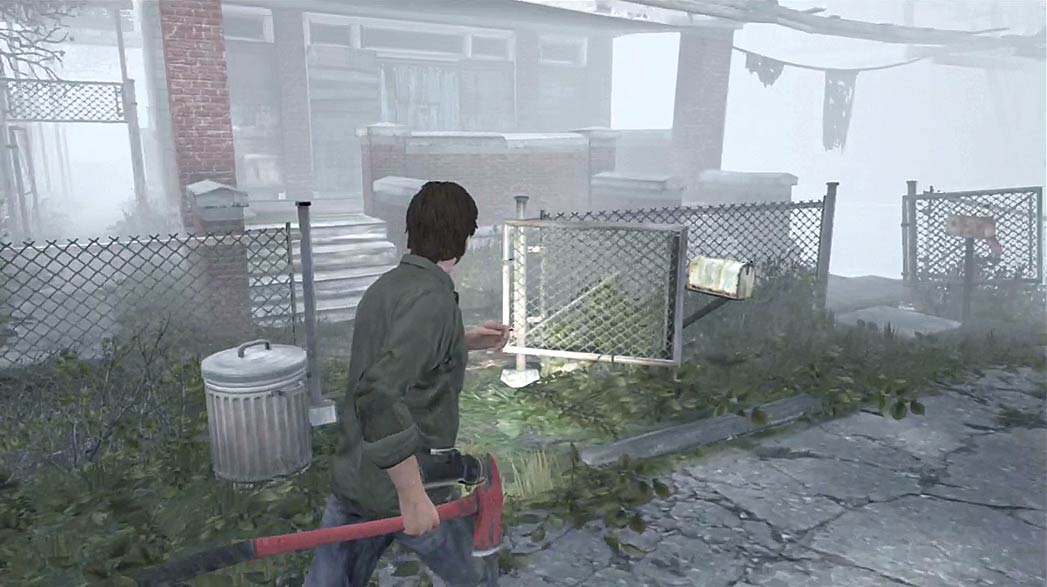
When you’re ready to leave Hillside, head north on Lansdale Avenue until you reach the chasm at the edge of the neighborhood. Enter the yard on your left and follow the path around the side of the house.
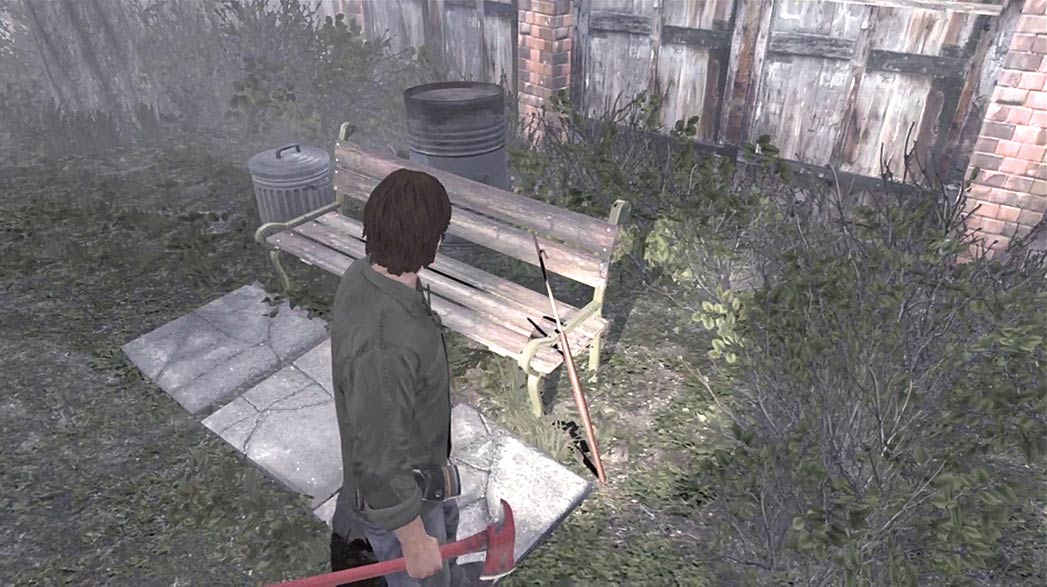
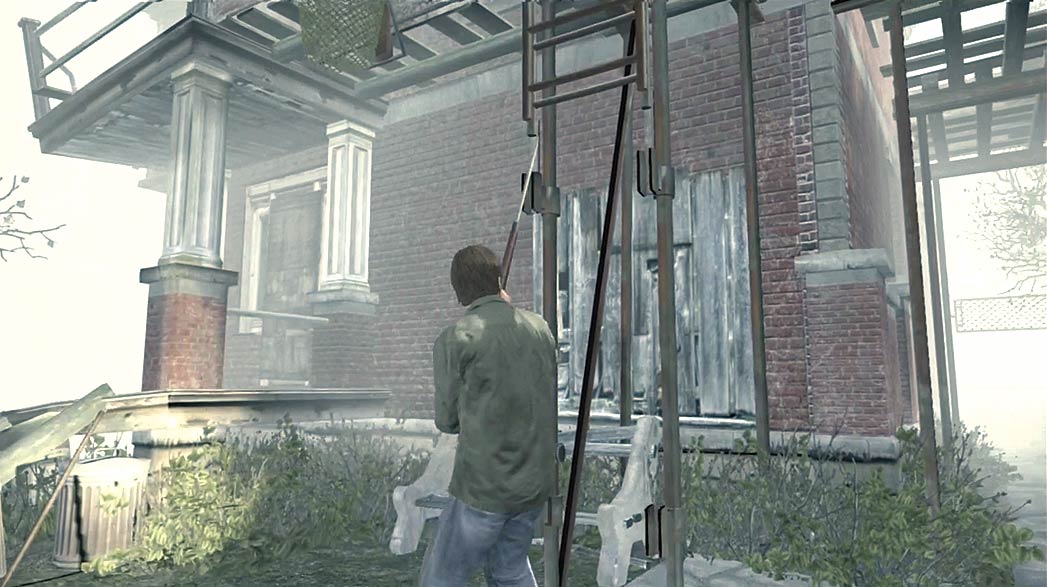
Grab the Hook leaning against the bench behind the house, then use it to pull down the house’s retractable ladder. Once the ladder is in position, approach it to automatically climb up to the balcony.
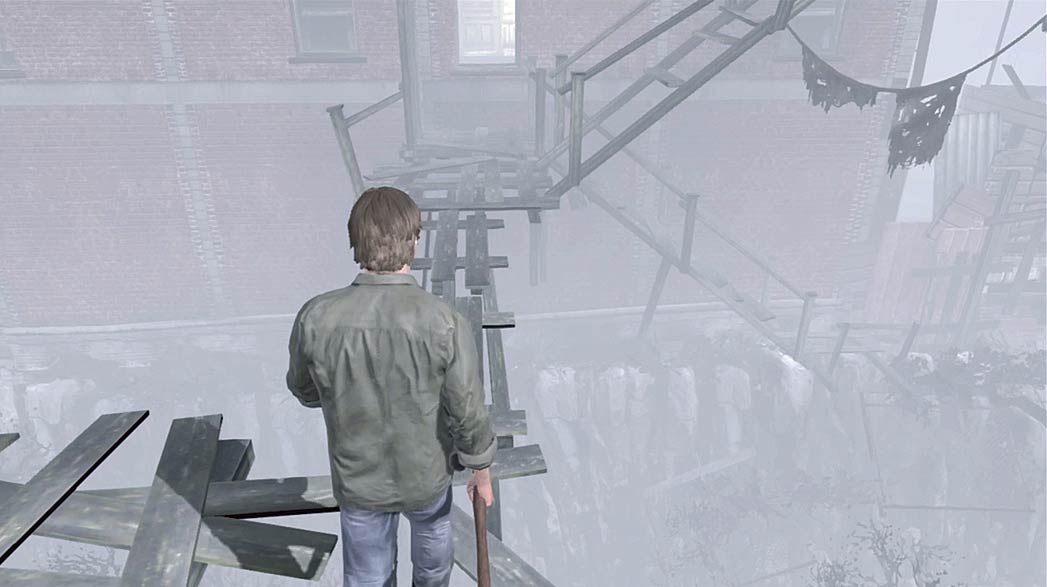
Follow the balcony along the north edge of the house to find a narrow walkway above the chasm. Follow the walkway across the chasm, then climb through the open window to enter Pearl Creek.