
Silent Hill Downpour Guide Walkthrough Campaign
Devil's Pitstop
Gas Station
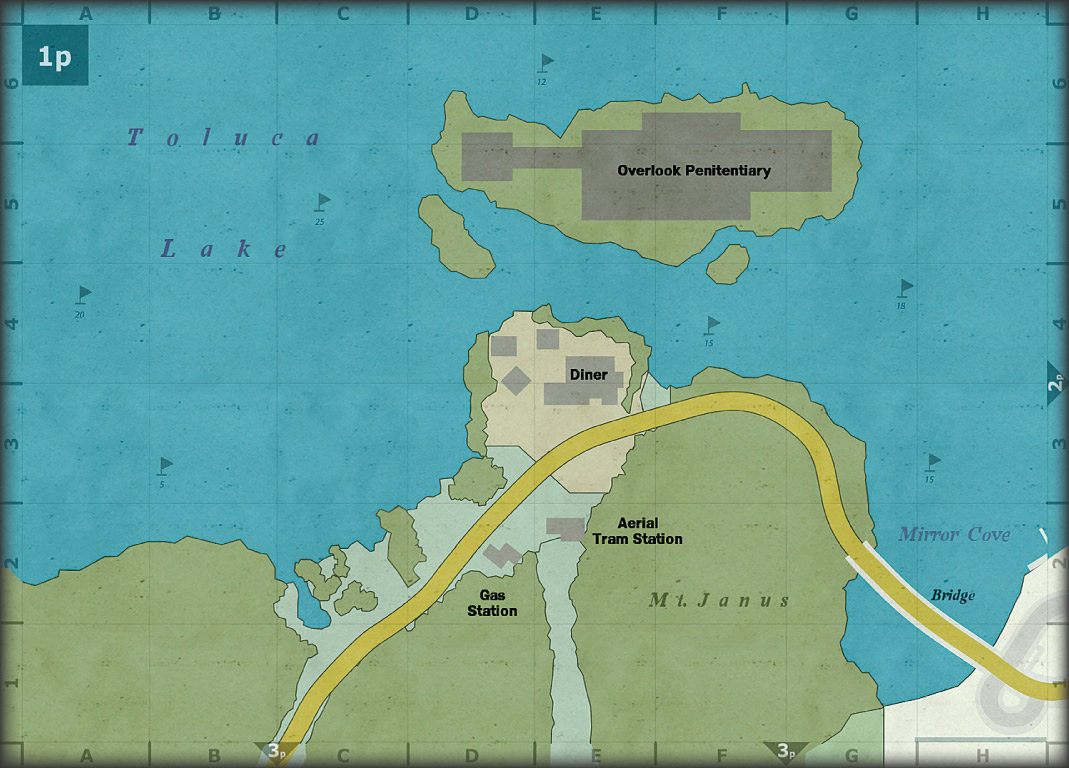
Gas Station
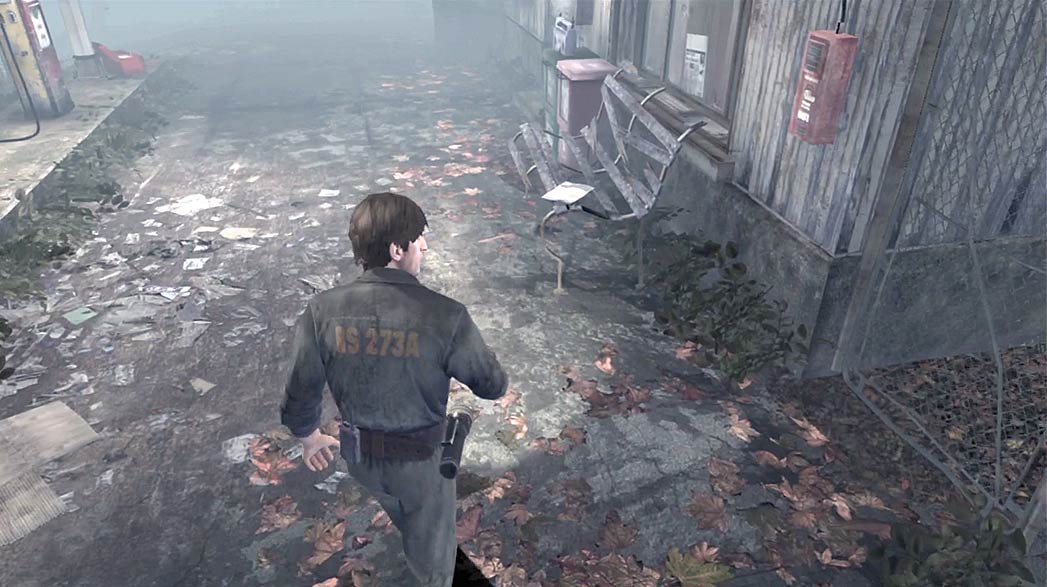
After you reach the highway, follow it to the gas station just up the road. You’ll find several items of interest clustered near the pumps, but take note of the locked gate next to the building.
Grab the map from the bench to add it to Murphy’s Journal, then have a look around.
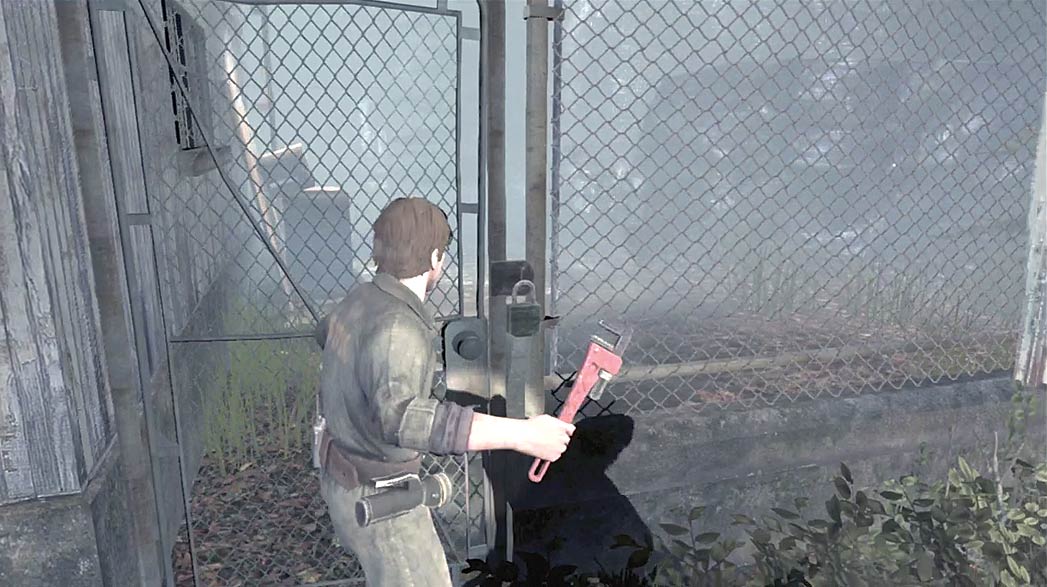
When you’re ready to move on, grab a Wrench from the toolbox near the pumps and return to the locked gate.
With the Wrench equipped, attack the padlock until it snaps loose. Pass through the gate to trigger a brief tutorial, then use the ladder at the corner of the building to climb up to the roof.
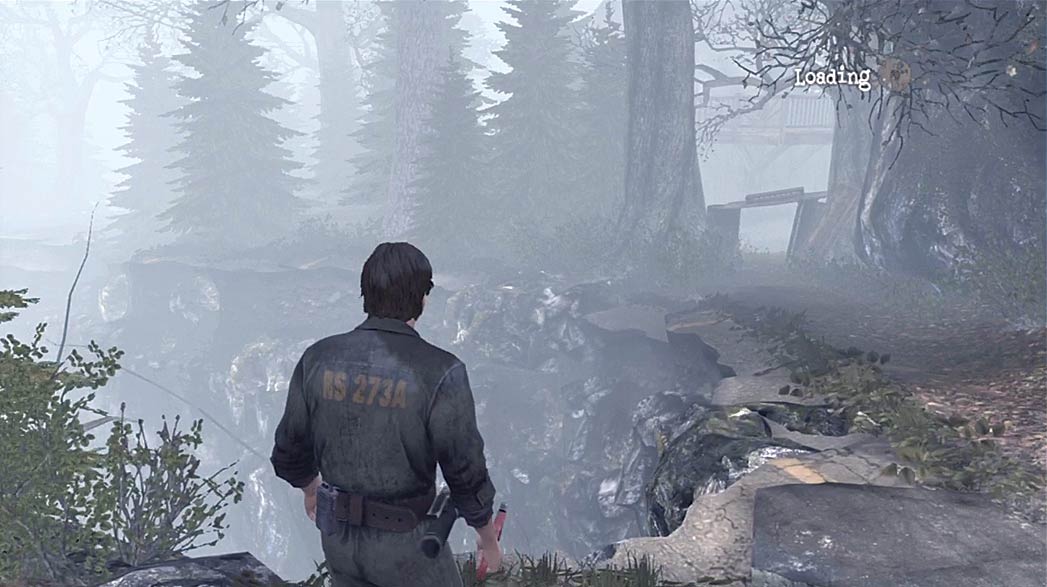
Move across the roof to automatically drop down from the far edge. When you land, look for the gap in the trees in front of you.
To your left, you’ll find a crank mechanism near a closed shutter door. Use the crank to raise the door, then grab a fresh Wrench from the toolbox.
Head back behind the gas station and through the gap in the trees when you’re ready to continue.
Aerial Tram Station
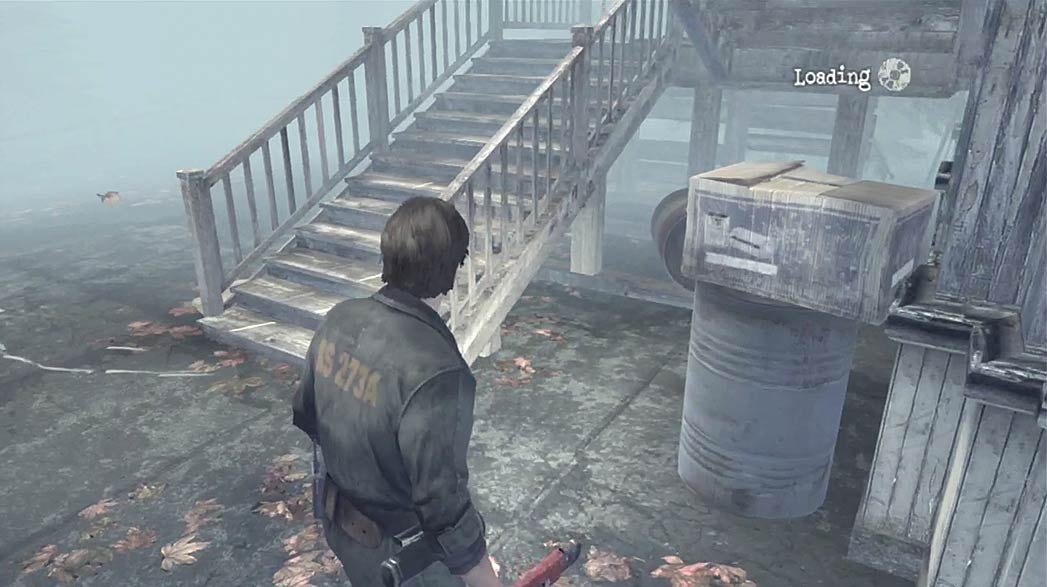
Follow the path around to the front of the tram station, then climb the stairs up to the building’s entrance.
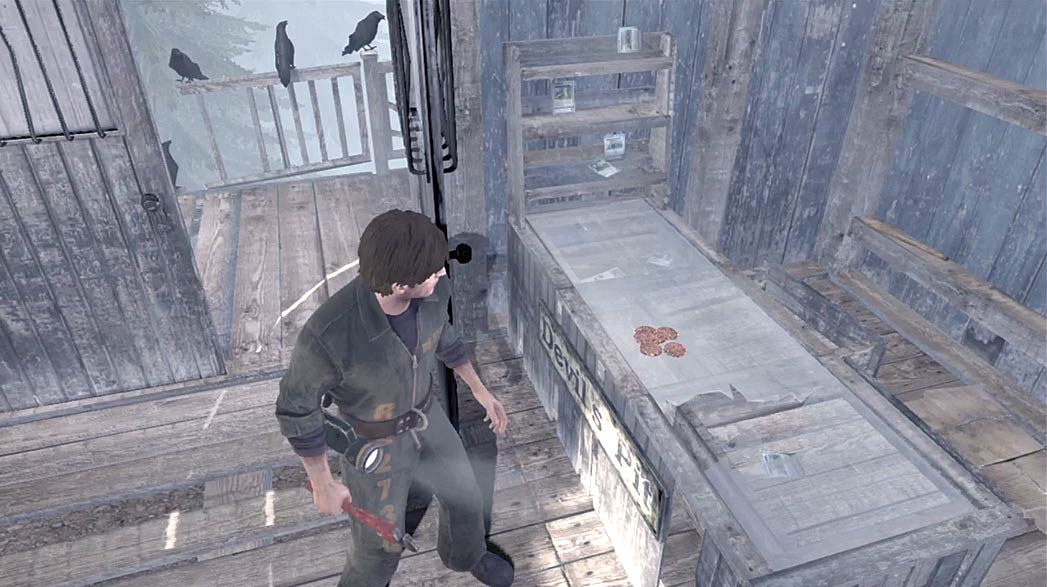
Enter the tram station, collect the Game Tokens from the glass counter, and head deeper into the building.
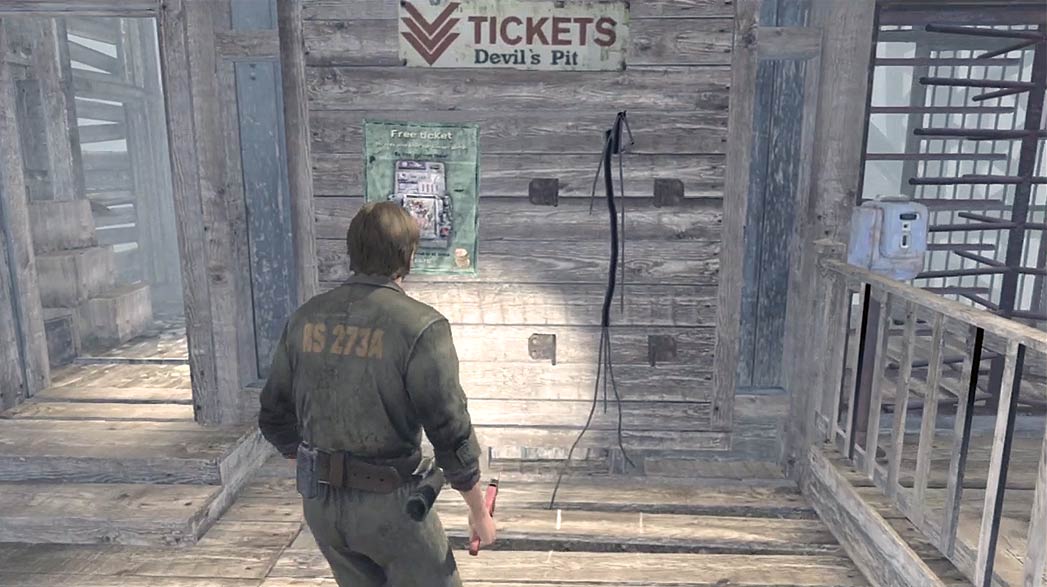
Approach the poster on the far wall to receive a new objective: you must find the missing ticket machine. Before you leave, pass through the opening on your left.
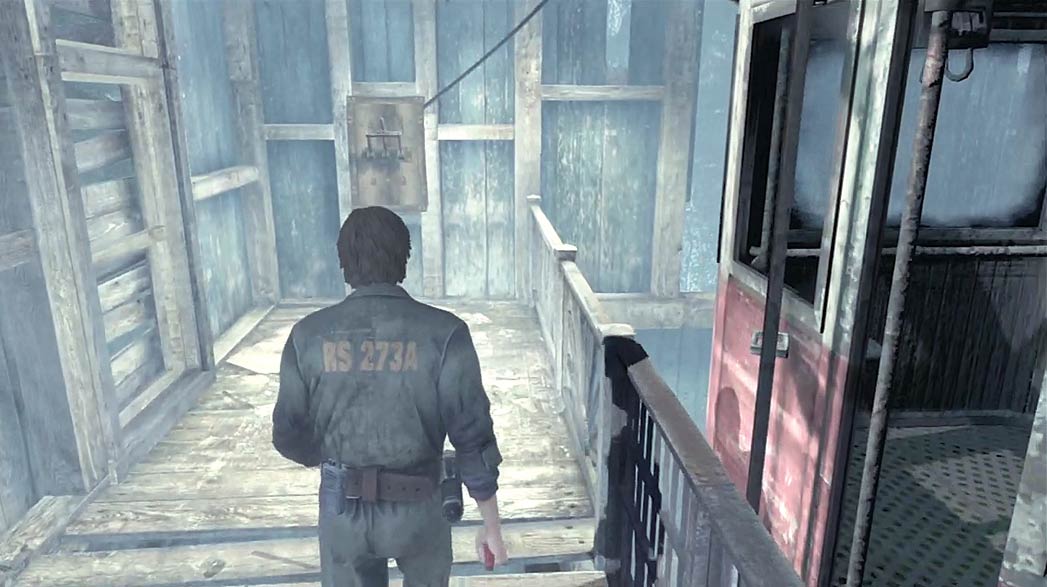
Continue to the end of the walkway, then activate the large switch to swing the aerial tram into the proper position. When you’re ready to leave, exit the building and follow the drag marks down the stairs and across the street.
Diner—Exterior
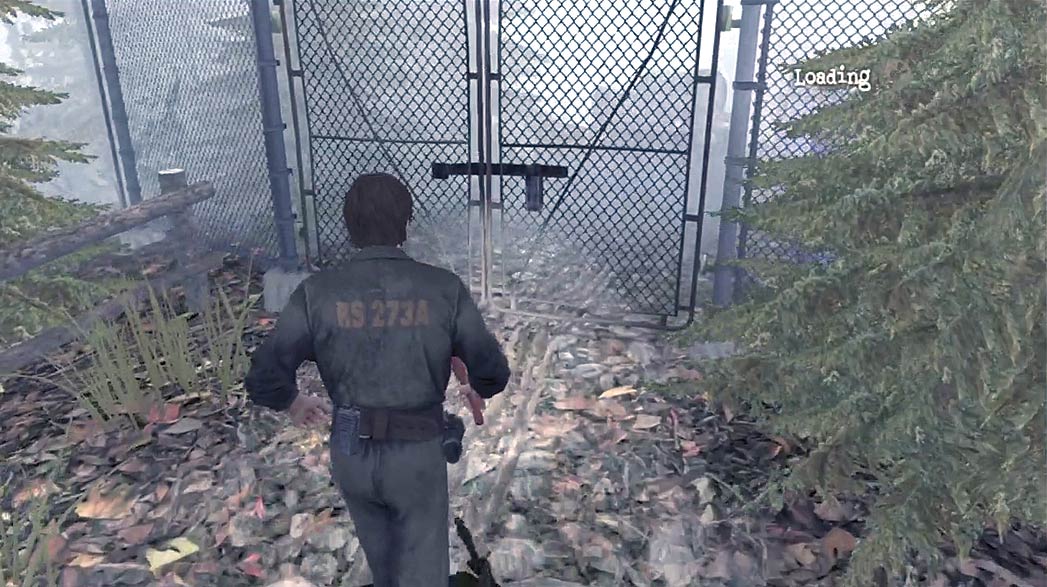
The trail ends at a locked gate next to the diner. When you’re finished exploring the area, approach the pick-up truck parked in front of the diner to trigger a cutscene.
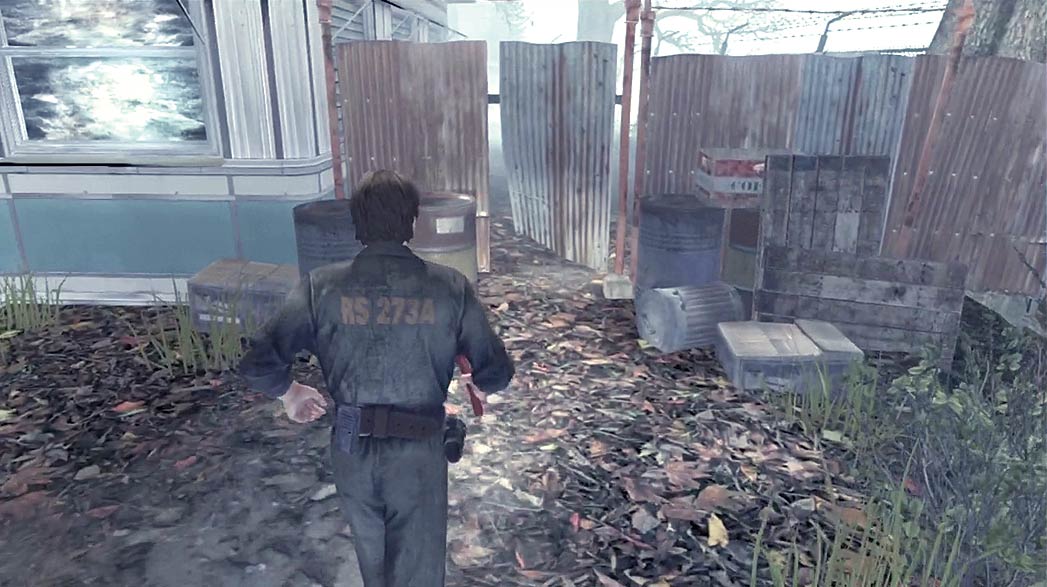
When the cutscene ends, continue around the side of the diner to find a fence of corrugated metal. Slip through the small gap between the panels and continue to the diner’s entrance.
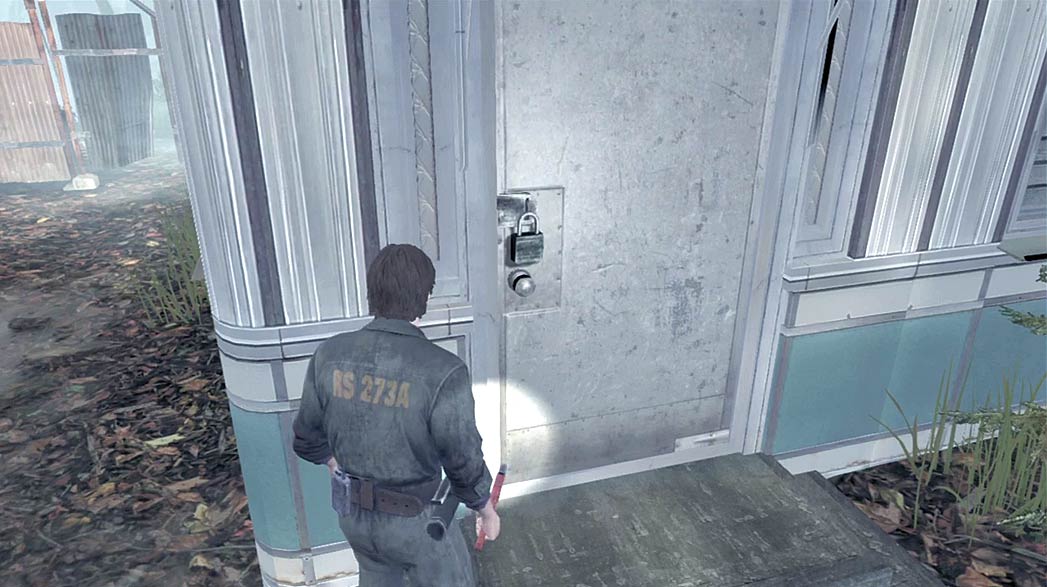
When you’re ready to move on, break the diner’s padlock with your Wrench and head inside.
Diner—First Floor
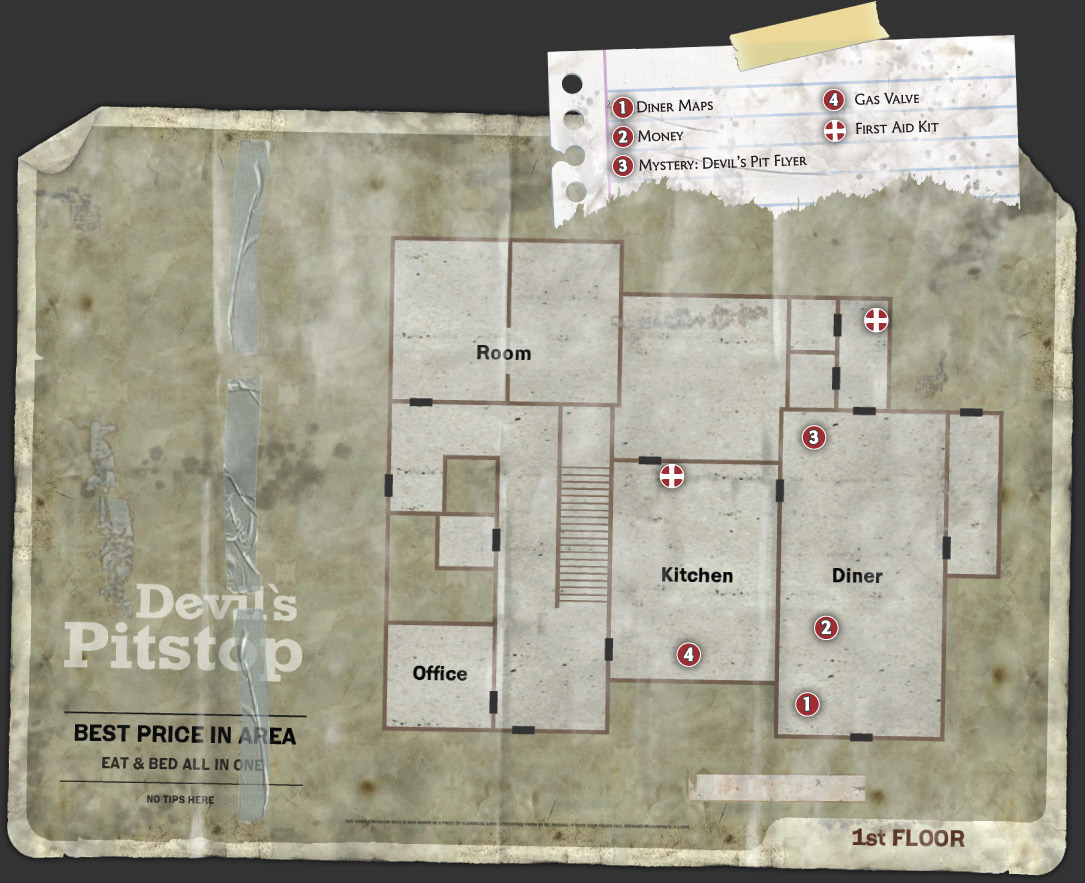
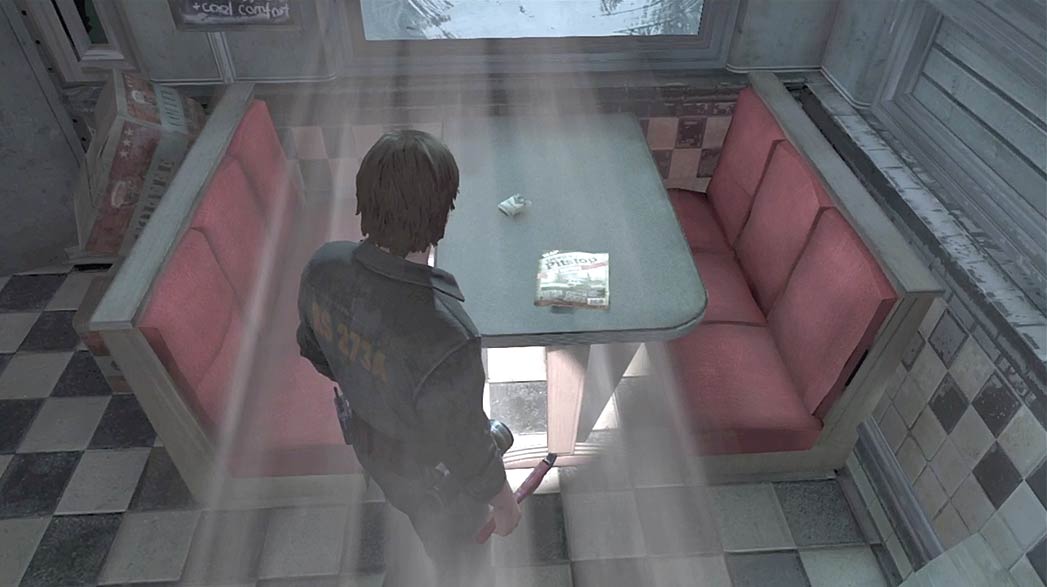
Once inside the diner, you’ll find several items worth investigating. While you explore the dining area, grab the maps from the table in the room’s southwest corner.
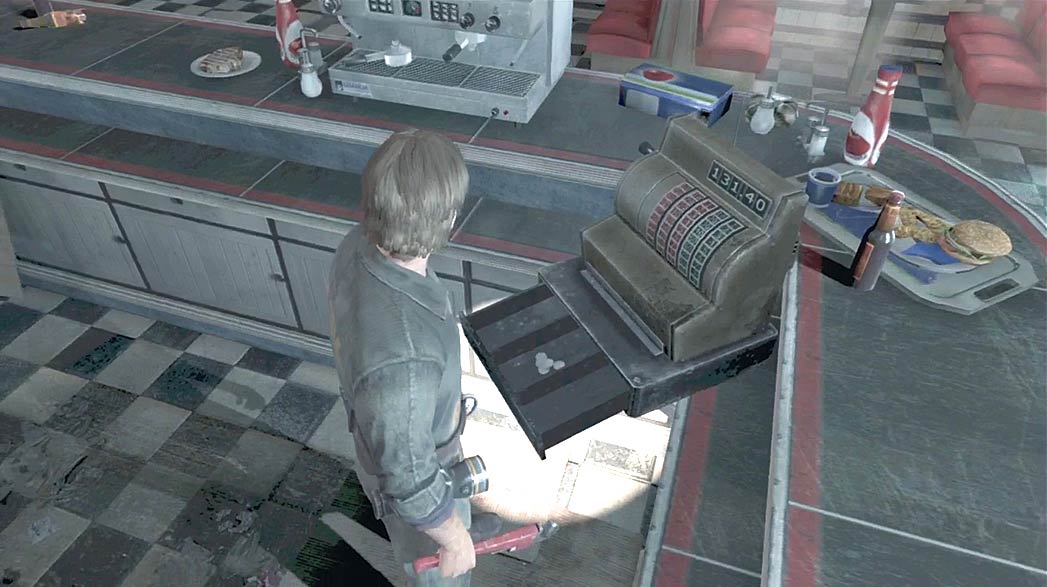
The cash register contains a bit of Money; make sure you take it before leaving the room.
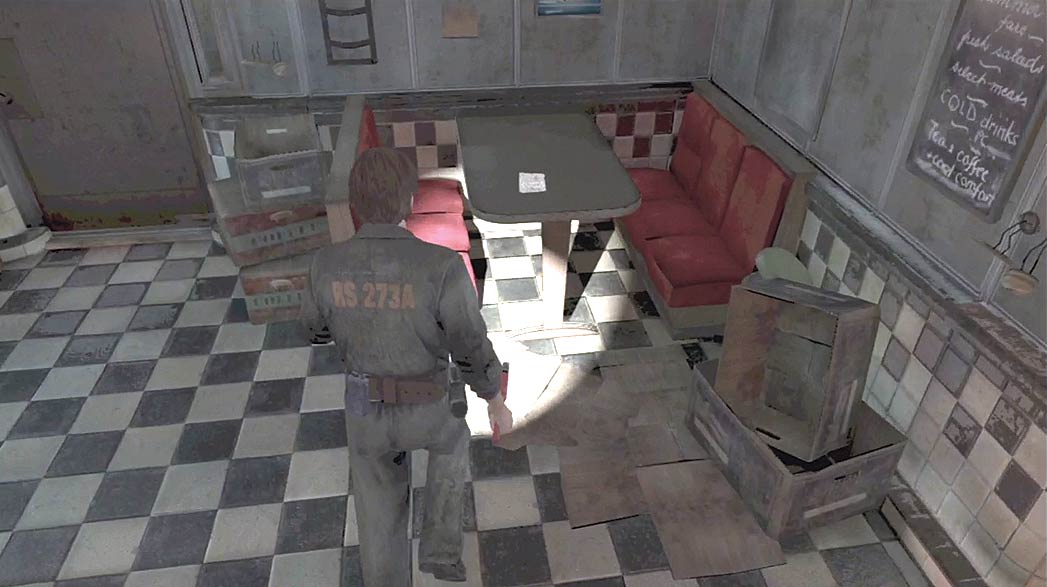
Look for the Mystery item located on a table near the kitchen entrance. Collect the Devil’s Pit Flyer to add it to Murphy’s Journal.
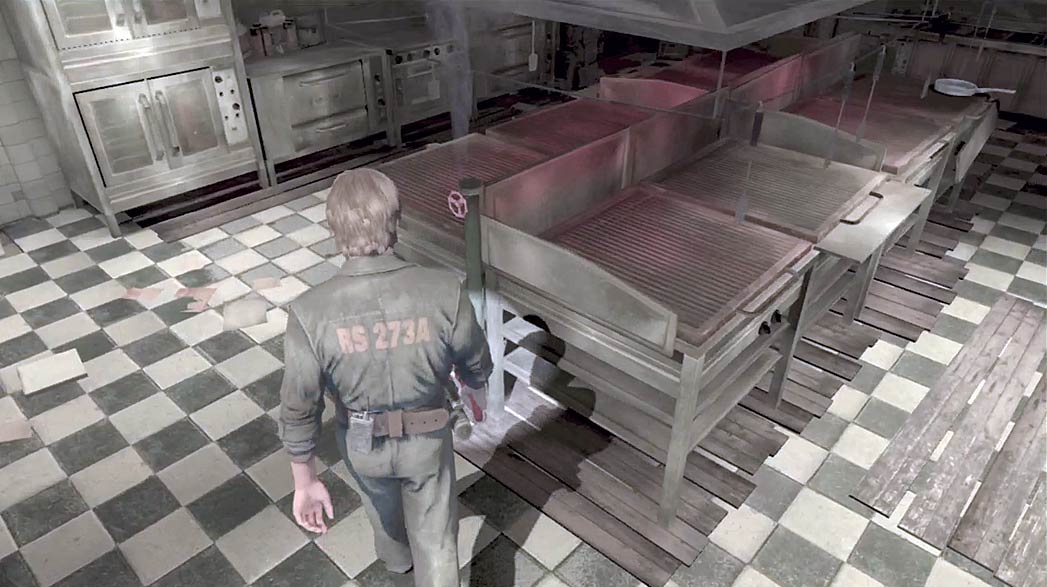
When you enter the kitchen, you discover that the room is filling with gas. Locate the gas valve attached to the grills, but take a moment to explore the kitchen before you activate it.
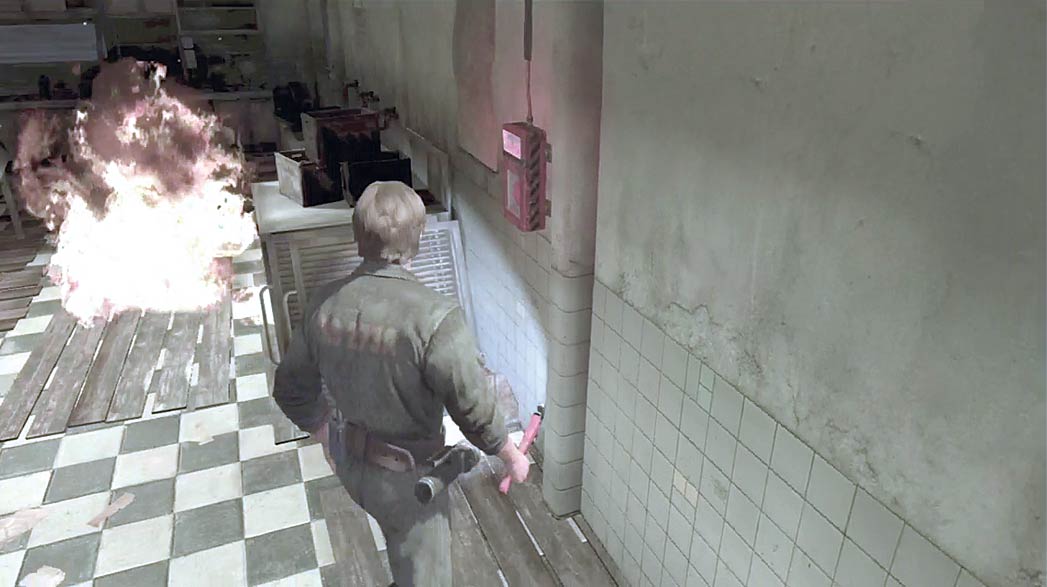
When you’re ready to move on, return to the valve and shut off the gas. When the fire breaks out, activate the alarm on the wall to the right.
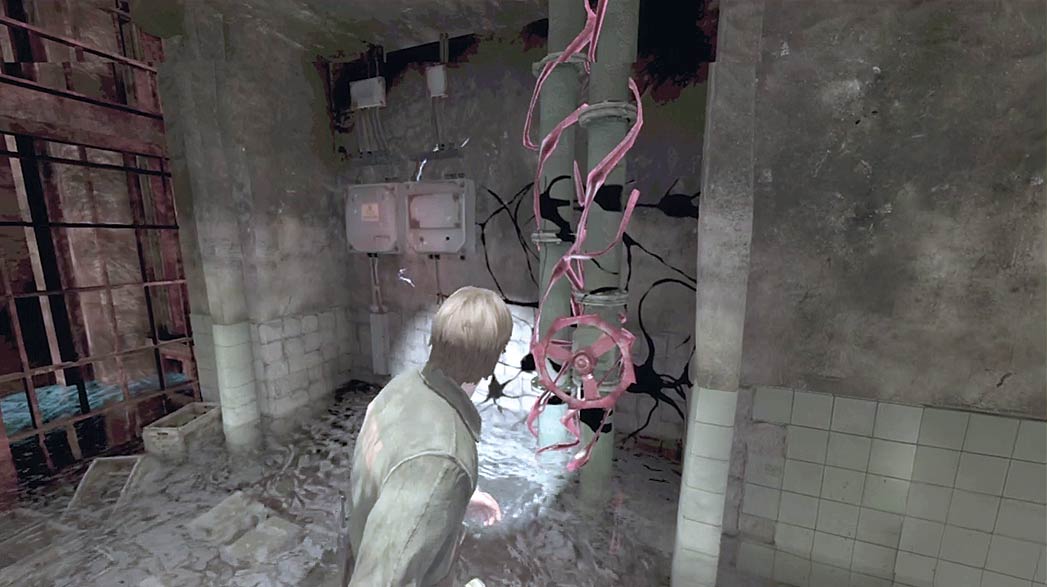
Shortly after you trigger the alarm, the environment changes significantly.
As soon as the change is complete, use the large valve in the room’s southeast corner to shut off the sprinkler system and open a path out of the kitchen.
Diner Otherworld
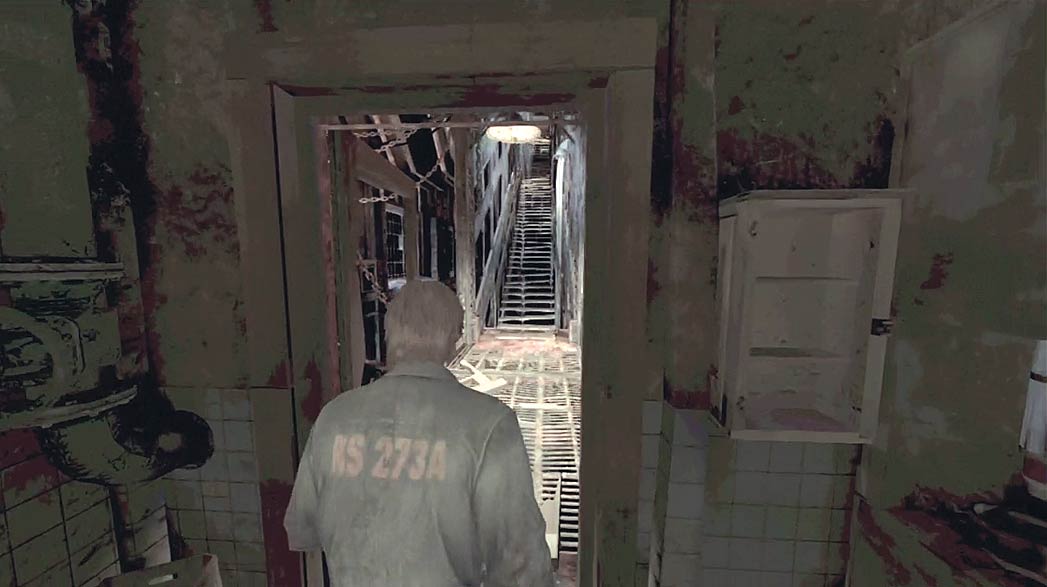
Head through the smashed door and up the stairs. When you reach the room at the end of the corridor, look for the portrait on the far wall.
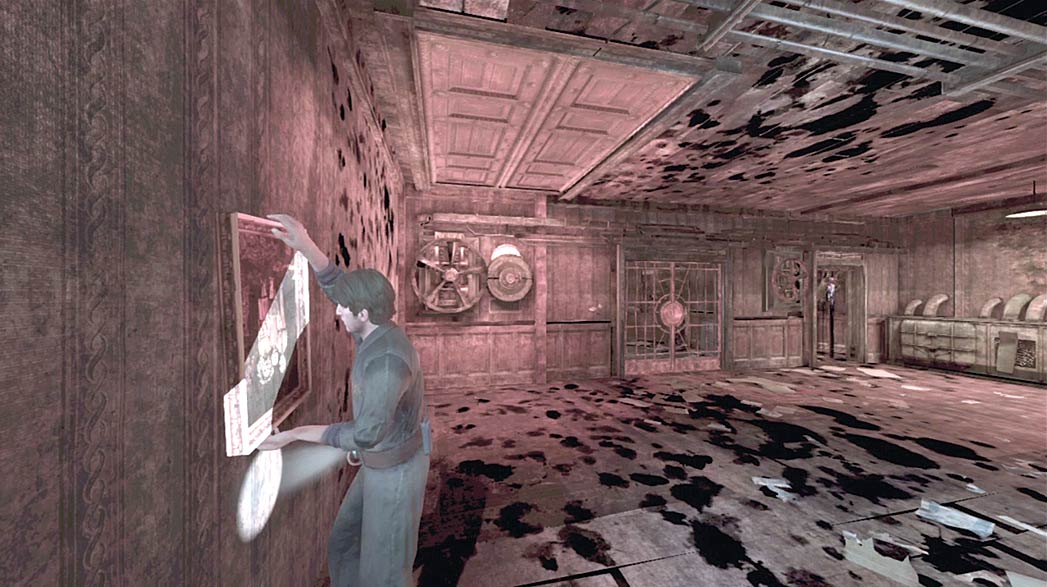
Rotate the portrait to open the nearby gate. You only have a few seconds before the gate slams shut; move quickly to exit the room and trigger a short cutscene.
The cutscene signals the start of a chase event. These events are fairly common in Otherworld areas; you must always be prepared to flee from danger.
If you allow the pursuing void to get too close, you begin taking damage. Watch the screen for new tutorials during this chase, but make sure you keep moving.
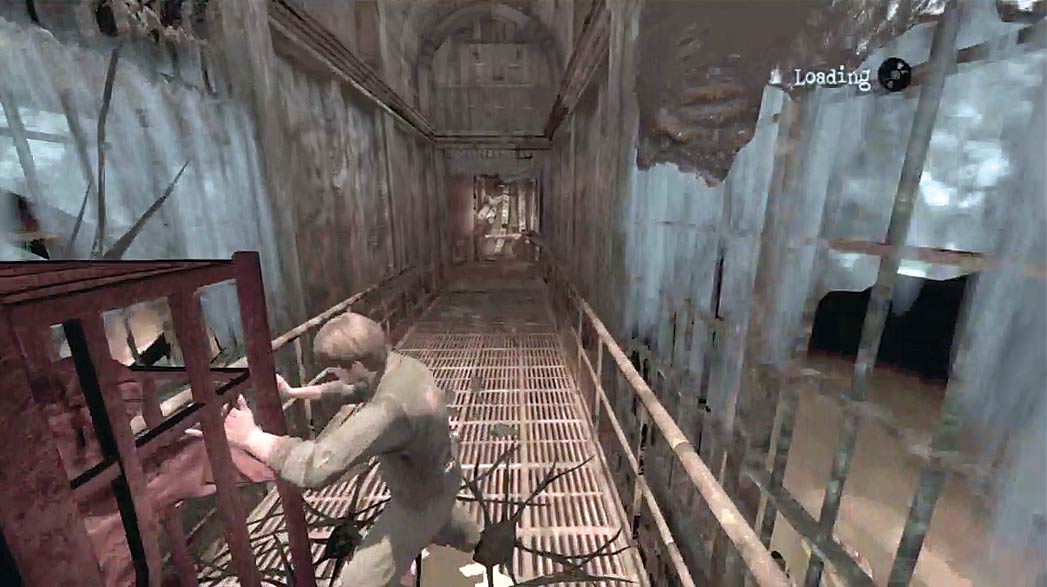
After the cutscene, veer left and run into the open passage. Continue to the end of the hallway, then follow the path around the corner. Knock over each cage you pass until you reach the end of the corridor.
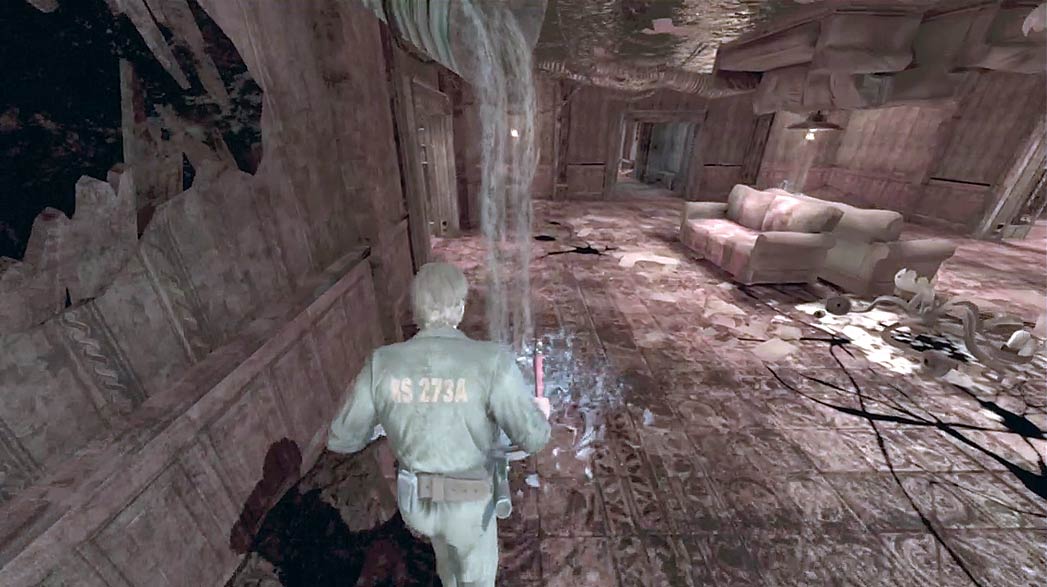
When the path opens up, make a hard left and follow the wall around the edge of the room. As you approach the first exit, a gate slams down to block your path.
Run to the next passage to trigger its gate, then head through the last available exit.
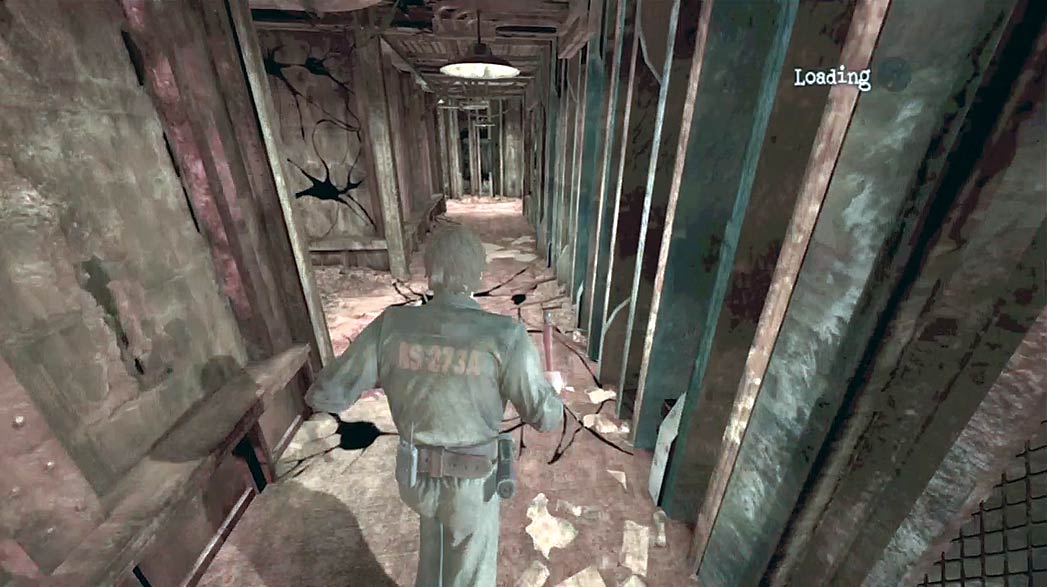
Follow the corridor as it leads you around the corner. Both passages to your left will lead you back to the previous room, so it’s best to avoid them. At the end of the passage, continue around the corner to the right.
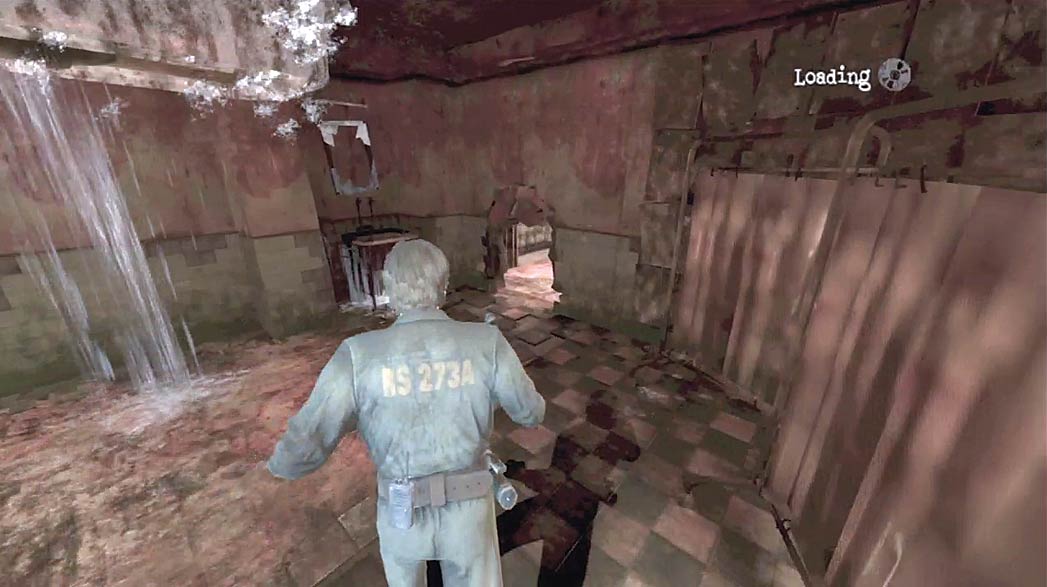
When you reach the bathroom at the end of the corridor, slip through the small hole in the wall ahead of you.
Once you’re safely in the next area, step through the doorway and drop down from the ledge. As you slide down the decline, steer away from any obstacles in your path.
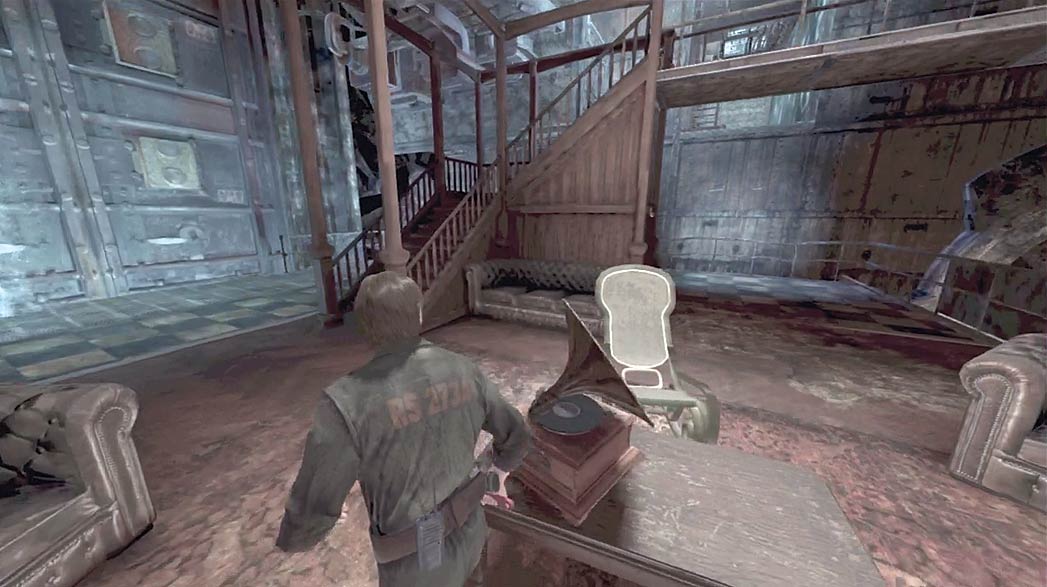
After you land, move across the room to find an arrangement of furniture. When you’re ready, head up the nearby staircase and continue to the valve at the end of the walkway.
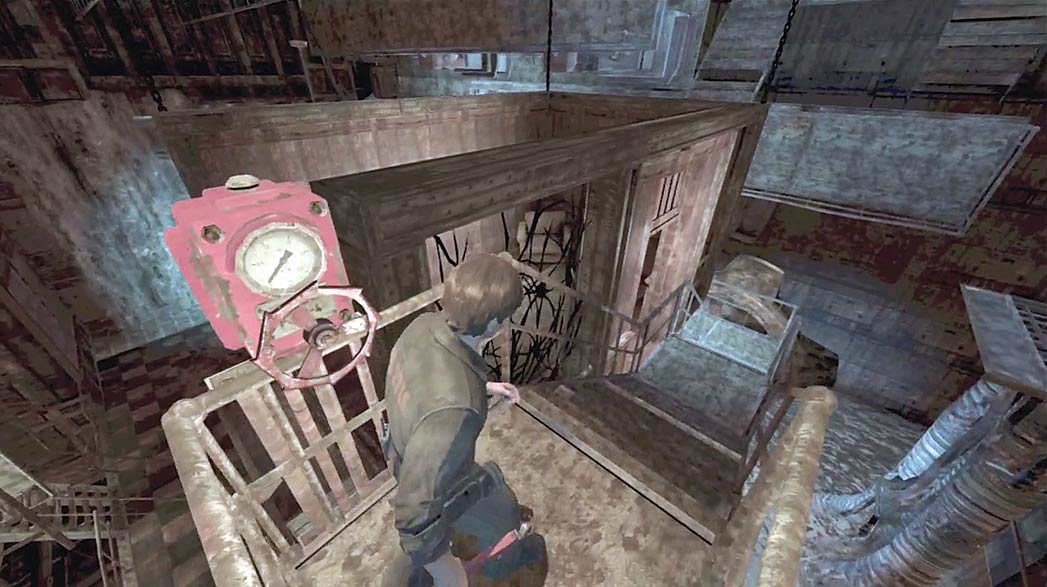
Turn the valve to raise a small room up to the walkway. Head inside and rotate the portrait on the wall to swing another small room into position.
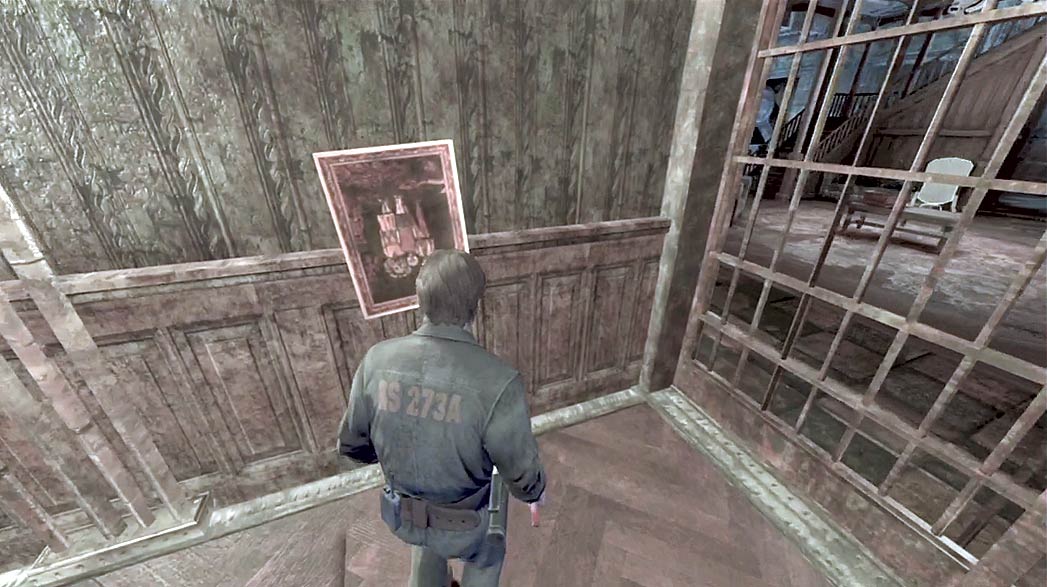
Return to the ground floor and continue past the furniture. Follow the path around to the new room’s entrance, then rotate the portrait on the wall to move the exit into position.
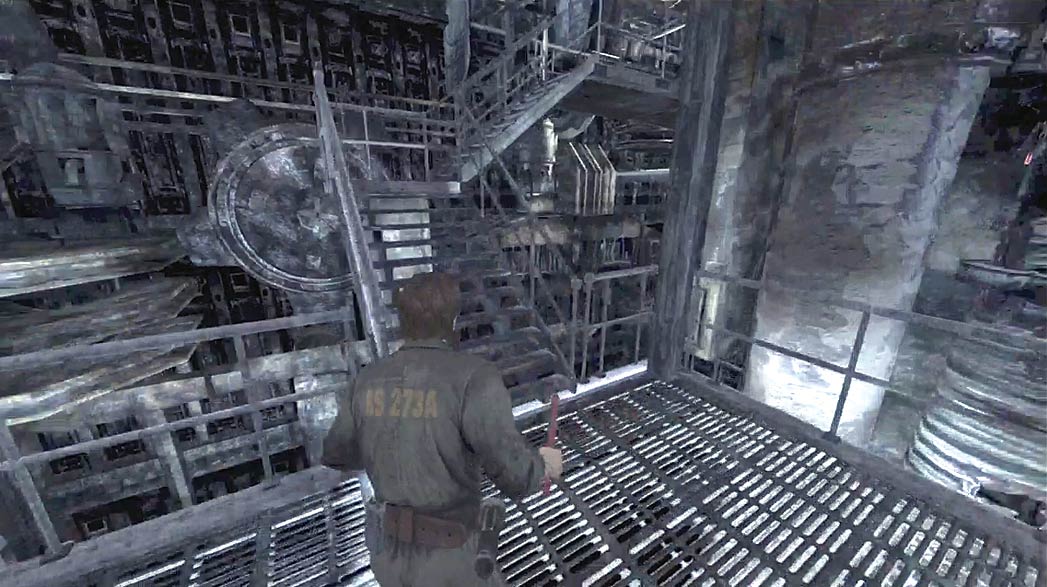
Follow the path through the bedroom and into the next area. Keep moving until you trigger a brief cutscene, then run up the stairs on your left and follow the walkway around the machinery.
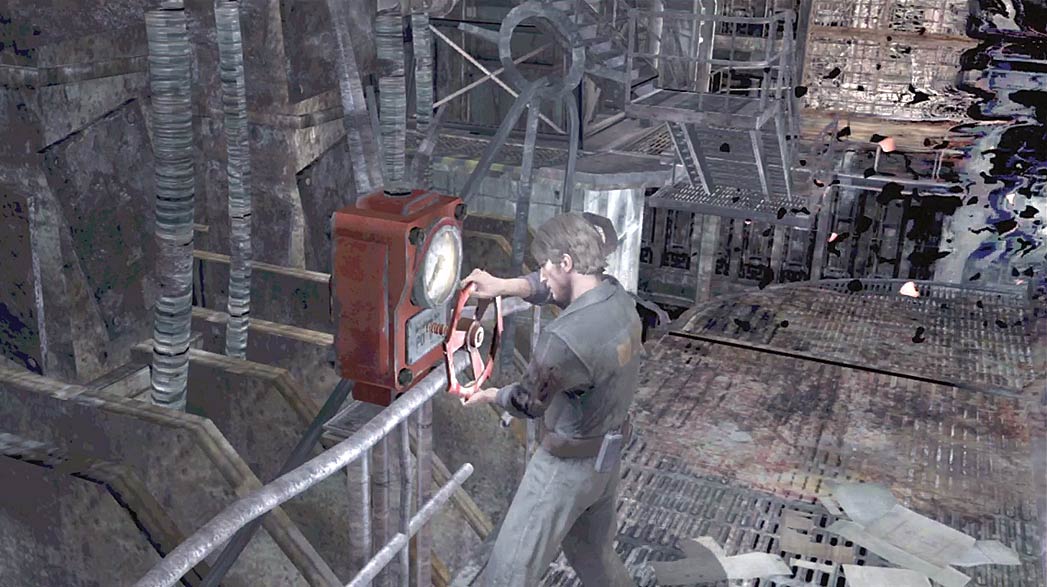
As you near the exit, a gate slams down in your path. Keep moving, and follow the walkway as it leads you back toward the entrance. Watch the guardrails on your right to find another valve.
Quickly rotate the valve to raise the gate, then circle back to the exit and head up the stairs.
Run up the stairs until the void stops chasing you. Once the path is clear, turn around and head back down the stairs to return to the diner’s kitchen.
Diner—First Floor (Continued)
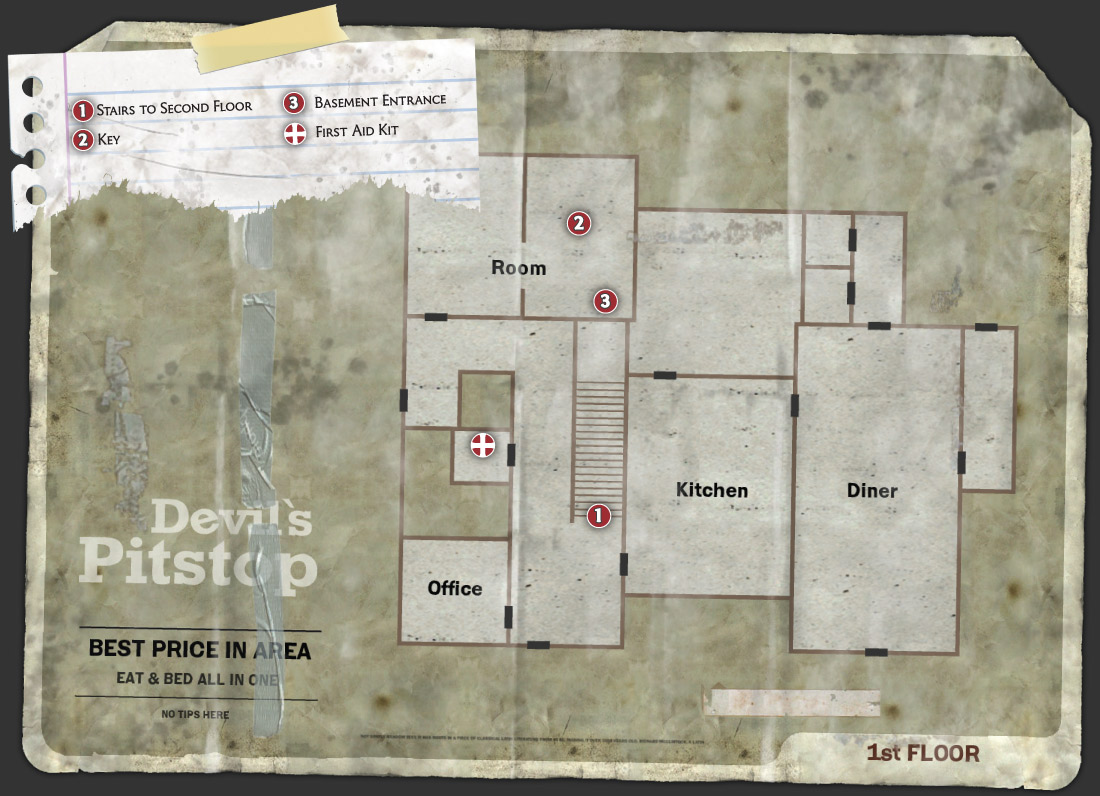
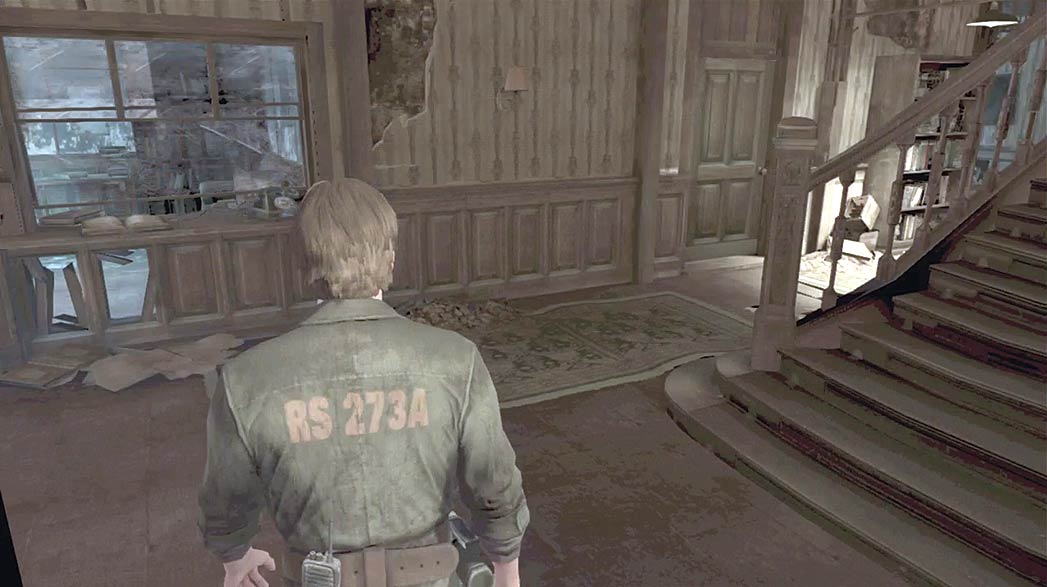
After you return to the diner, use the door in the southwest corner to enter the adjoining motel. Before you head upstairs, make a thorough search of the ground floor.
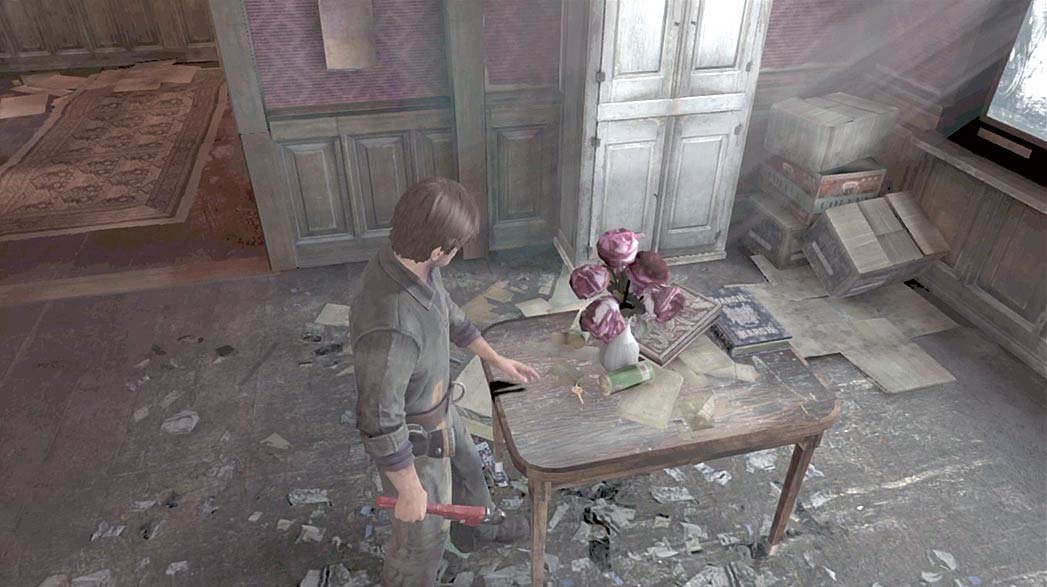
When you reach the room on the building’s north side, collect the Key from the small table. The nearby door leads to the basement, but explore the building’s second story before you head down.
Diner—Second Floor
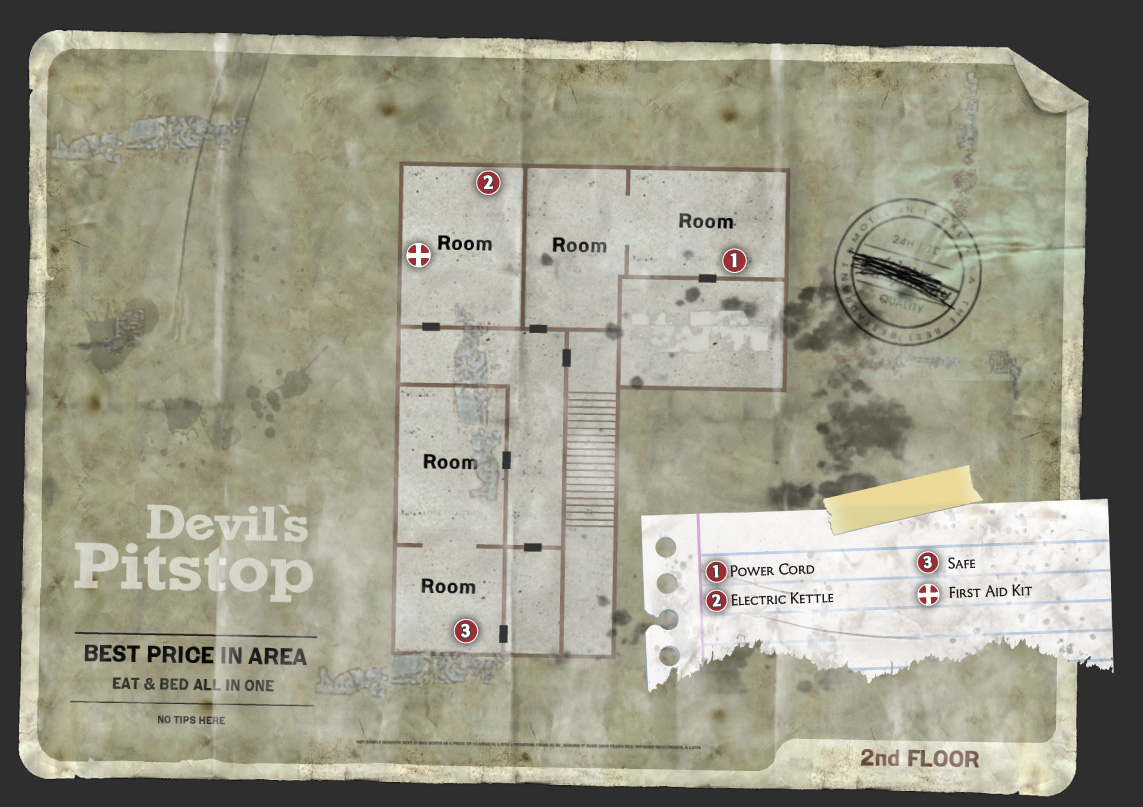
Use the Key to open the door at the top of the stairs and then enter the first room on your right.
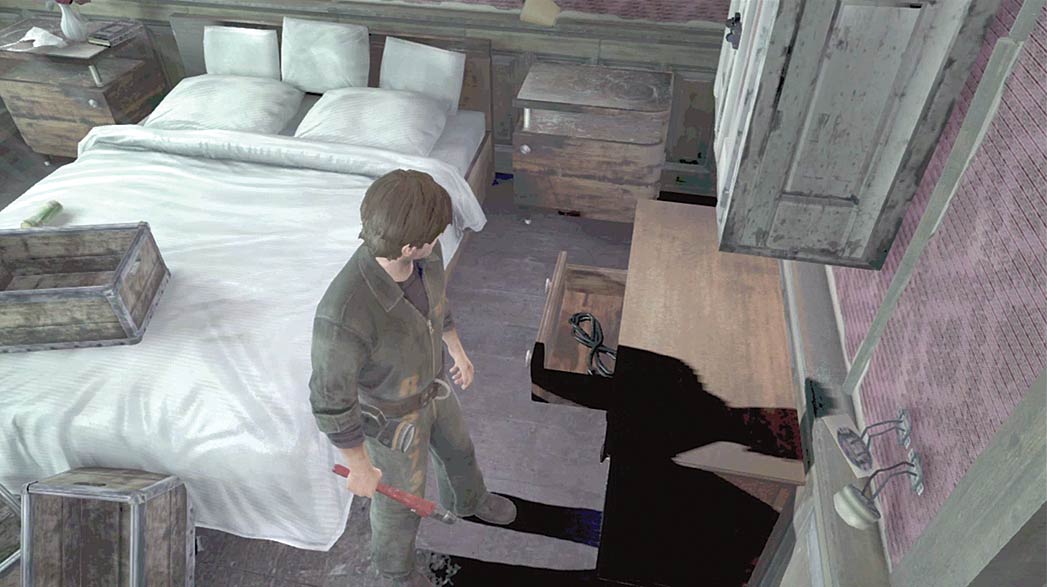
Open the dresser near the bed and grab the Power Cord from the drawer. When you’re done looking around, exit the room and turn right.
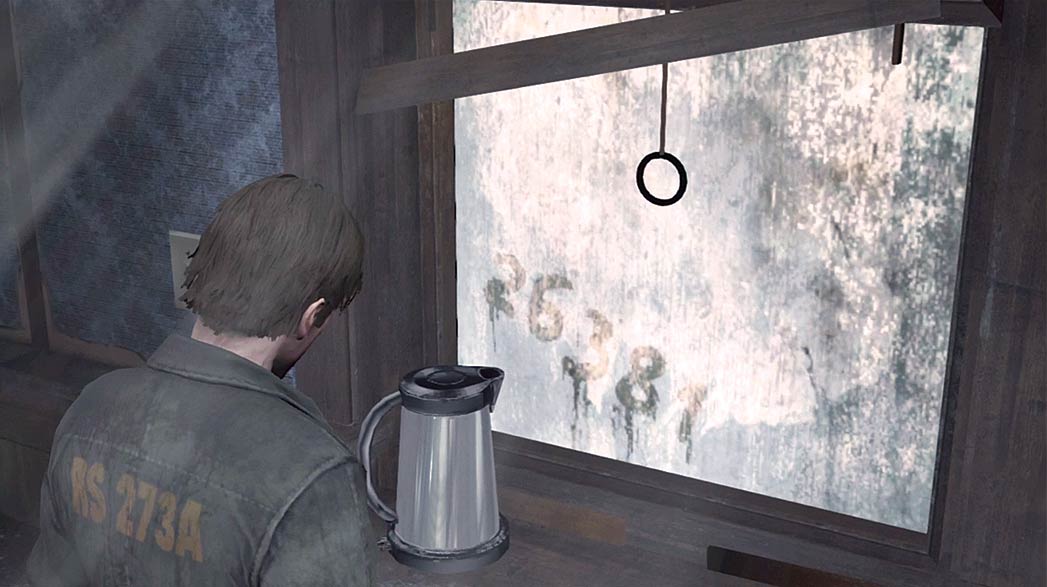
Head through the door at the end of the hall and use the Power Cord with the electric kettle on the windowsill. When the glass steams up, it reveals a short sequence of numbers.
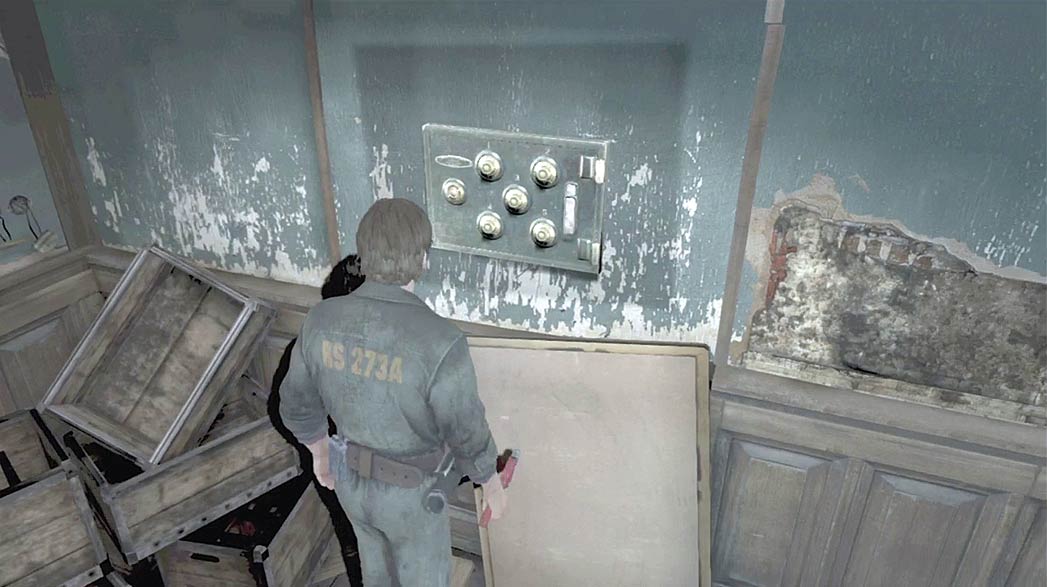
Once you have the sequence of numbers, complete your search of the second floor. Follow the hall around the corner and enter the remaining room. When you locate the safe, use the numbers you discovered to open it.
Diner—Basement
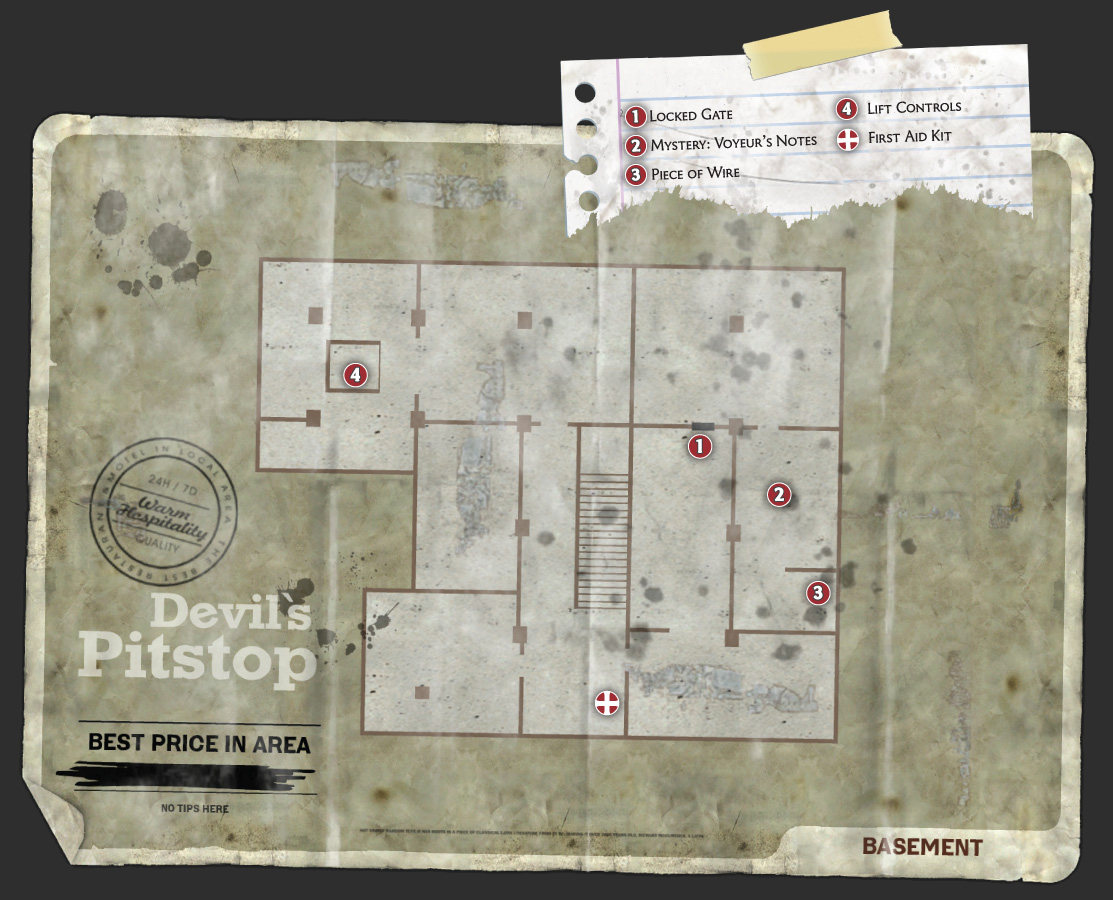
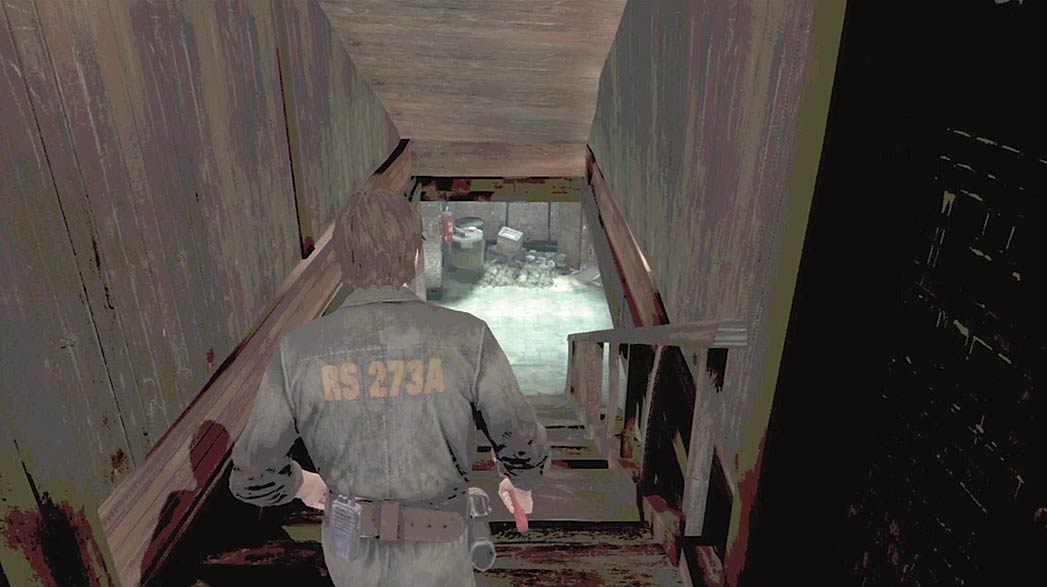
When you’re ready, head back downstairs and enter the basement.
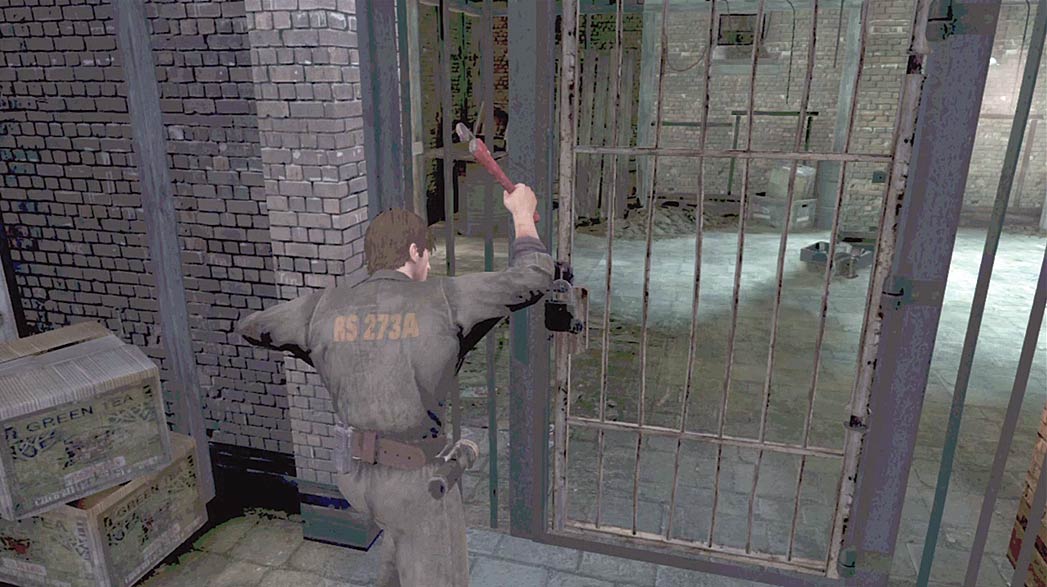
Explore the basement until you find the locked gate on the building’s east side. If you still have a Wrench, use it to break the padlock. If needed, you’ll find a fresh Wrench just a few feet away.
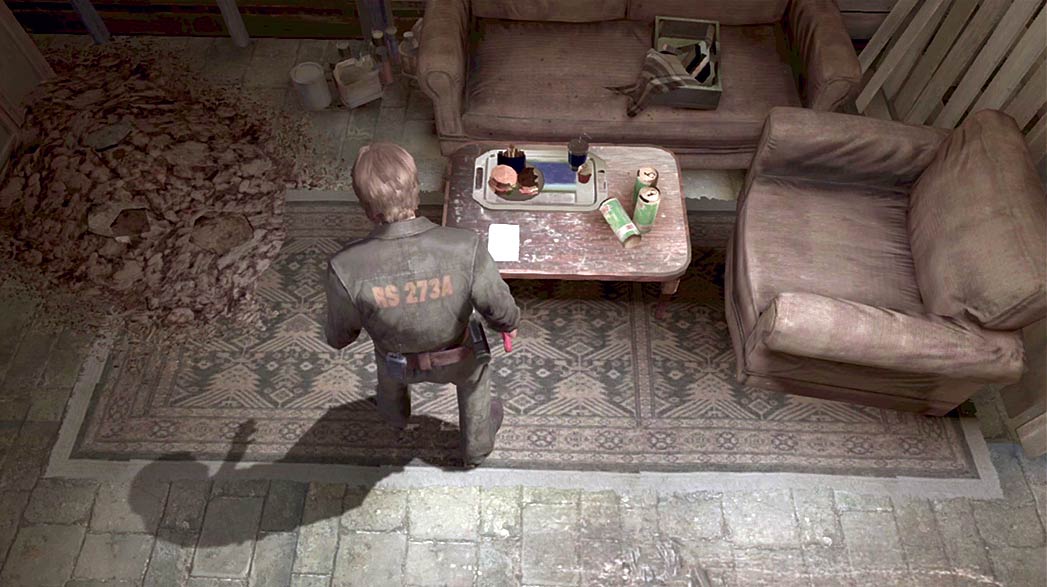
Collect the Mystery item from the coffee table to add the Voyeur’s Notes to Murphy’s Journal.
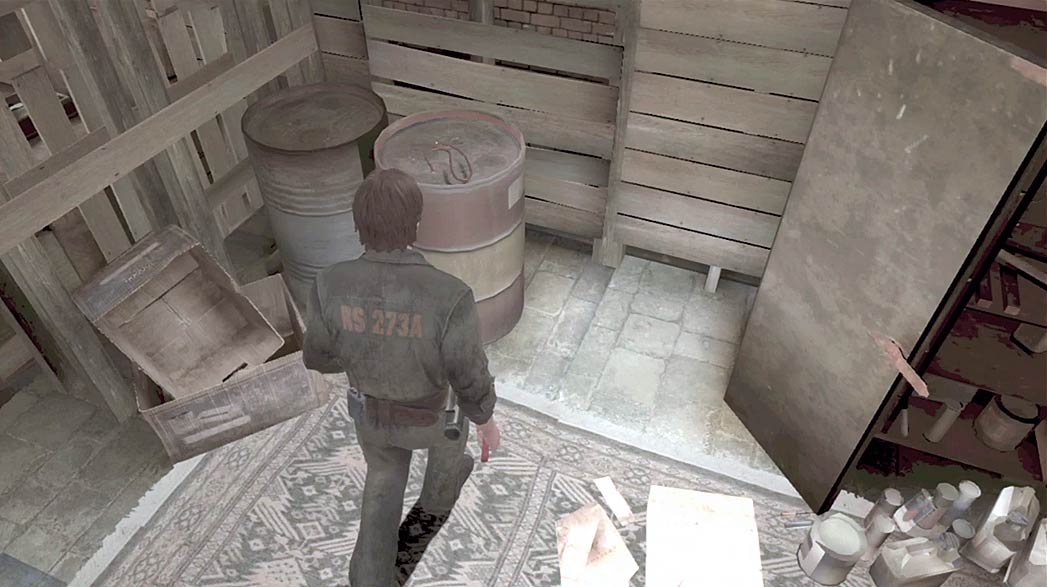
Before you leave the area, make sure you collect the Piece of Wire from the barrel behind the partition.
Once you have this important item, head back through the gate and return to the basement steps to trigger a cutscene.
Make sure you have a weapon equipped before you reach the basement steps. When the cutscene ends, you’re attacked by a Screamer.
These common creatures are fairly easy to handle one at a time, so this fight shouldn’t pose much of a problem.
Block the Screamer’s initial attacks, then counter with a few of your own. Remember that blocking damages your weapon, so try to attack at every opportunity.
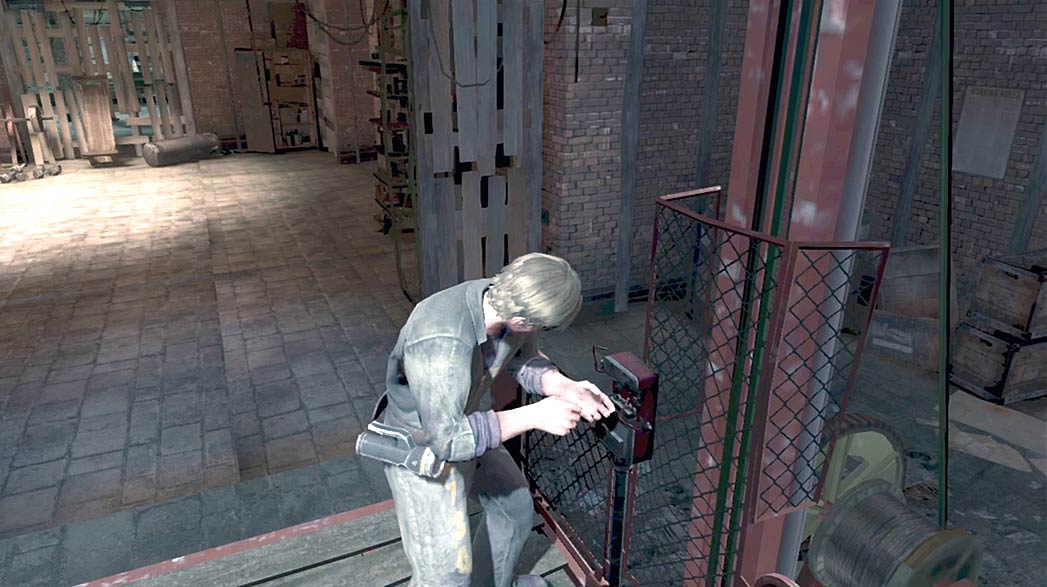
When you’re ready to move on, find the lift near the building’s northwest corner. Use the Piece of Wire to patch the lift controls and transition to the next area.
Diner—Shacks
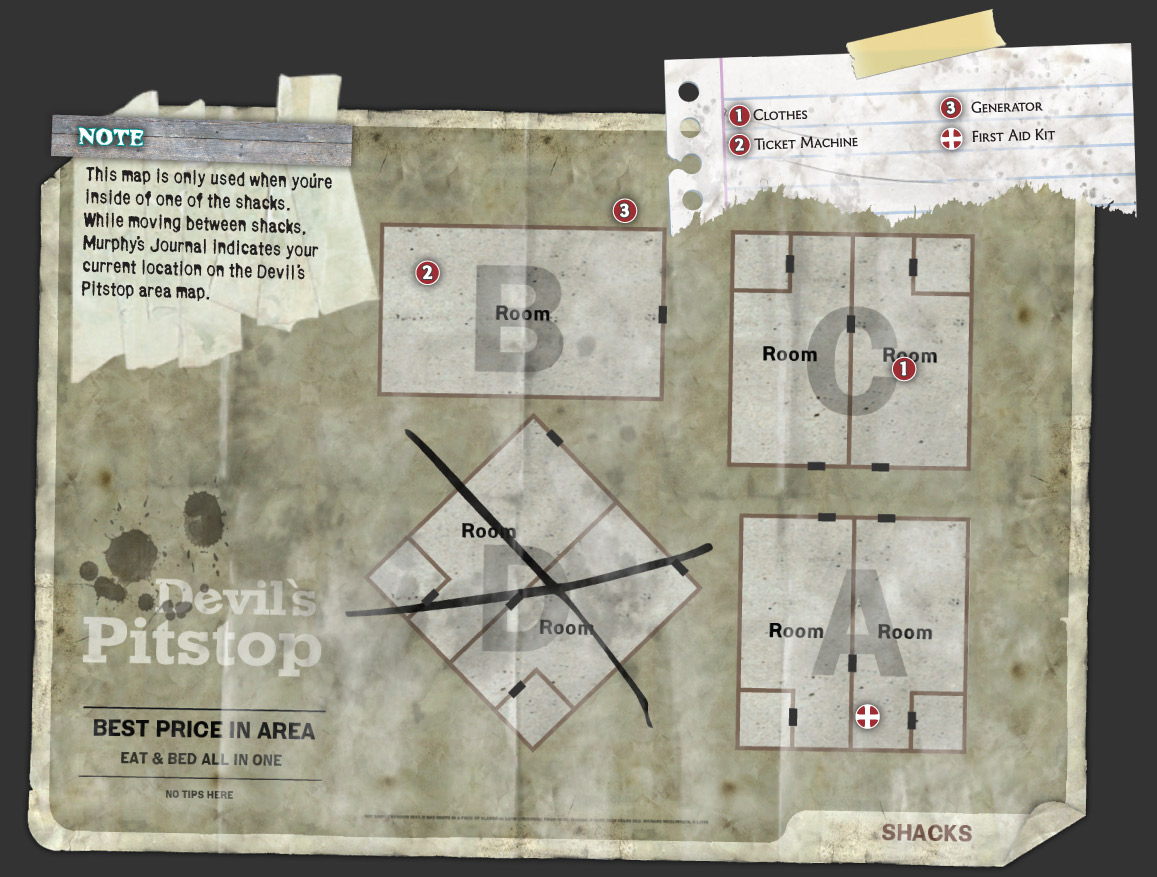
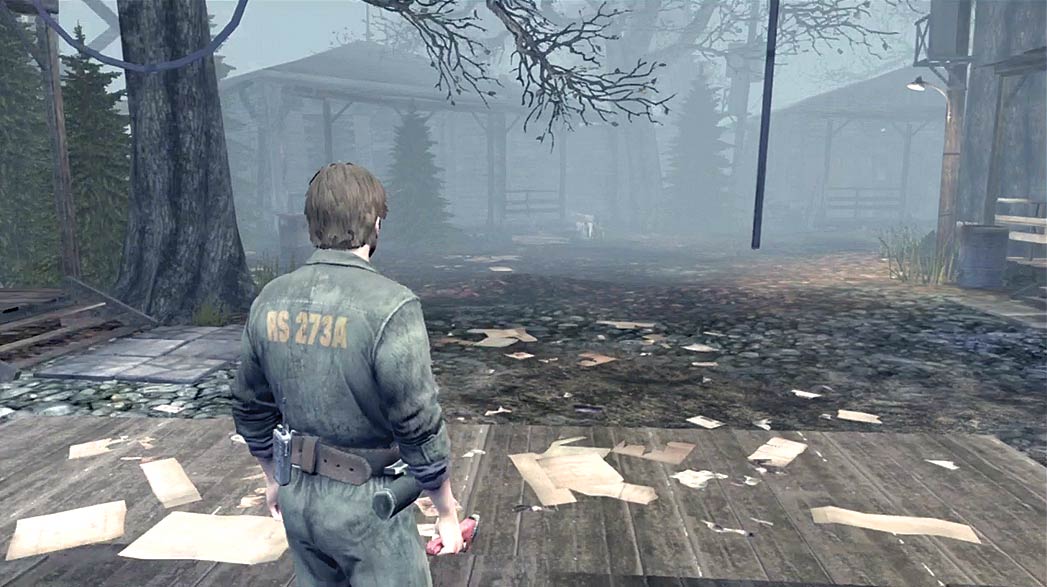
Ride the lift up to find four shacks clustered behind the diner. You can investigate the three accessible shacks in any order, but consider searching the shacks near the lift before you head into the yard.
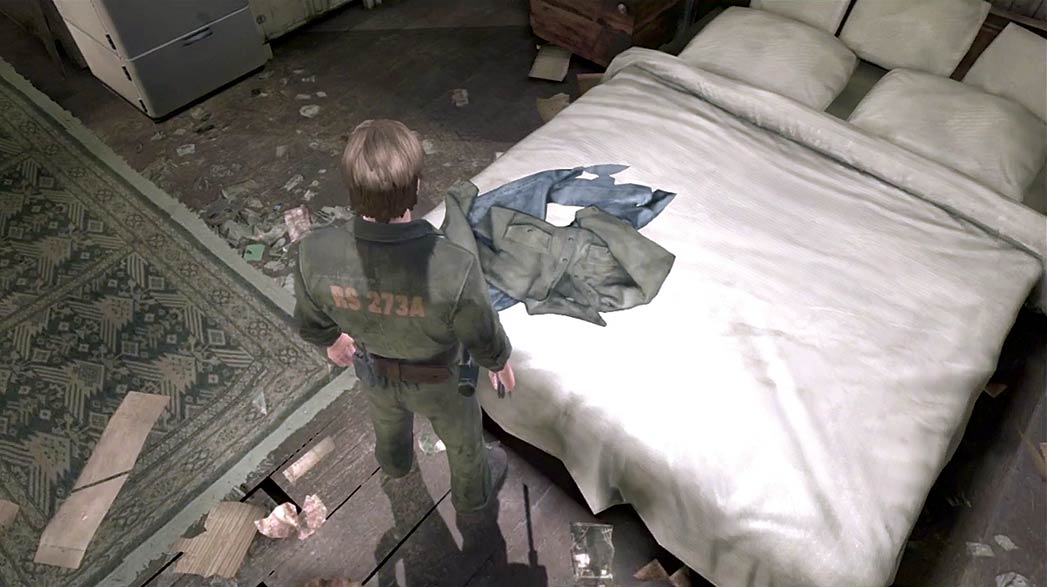
When you search shack C (north of the lift), use the clothes on the bed to change out of the prison jumpsuit.
These clothes also contain a Police Badge and a Rusty Key that are added to your Inventory after a short cutscene.
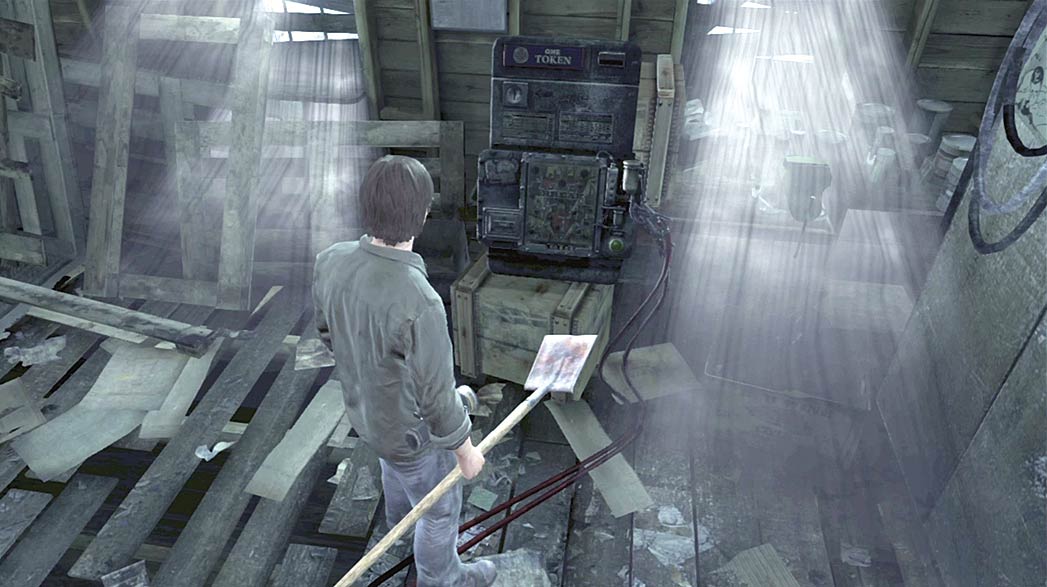
Investigate shack B (across the yard from the lift) to find the missing ticket machine.
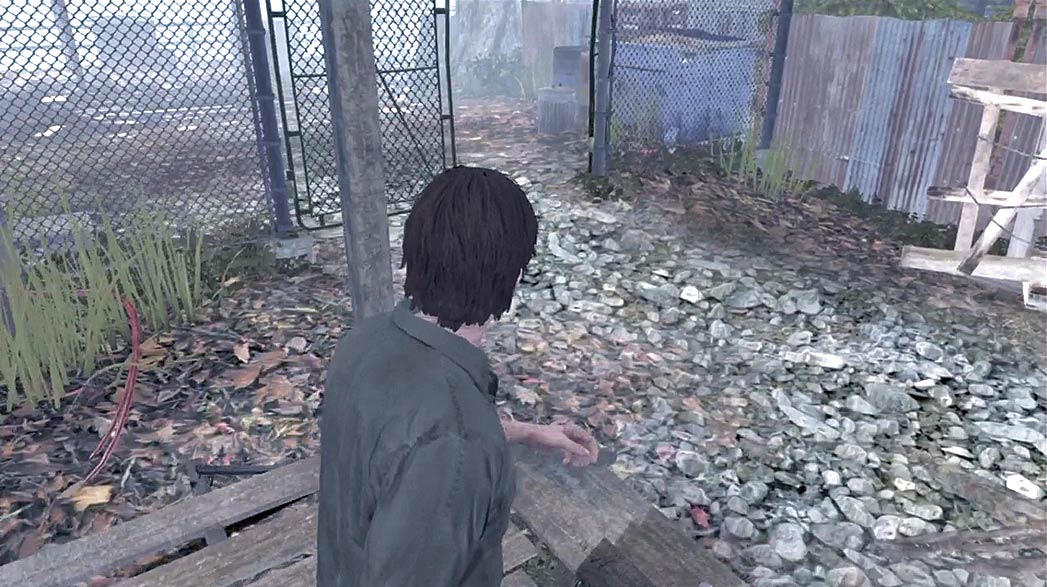
Before you can activate the machine, you must provide it with power. Follow the wires from the ticket machine out of the shack and into the adjoining enclosure.
There’s a variety of items that can be used as weapons throughout the area, so make sure you have one equipped before you enter the enclosure.
When you pass through the gate, a Screamer appears behind you and jumps onto your back. Follow the on-screen instructions to shake the creature loose, then turn around and fight back.
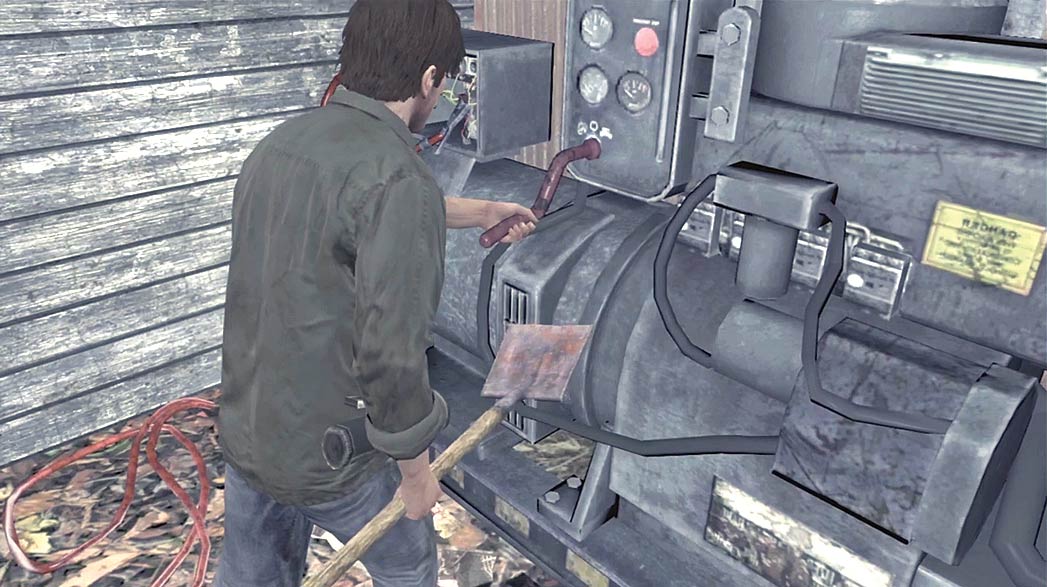
Find the generator and turn the crank until the area lights up. Return to the ticket machine and use the Game Tokens from the tram station to activate the Jail Break game. Defeat the game to win a Free Ticket for the aerial tram.
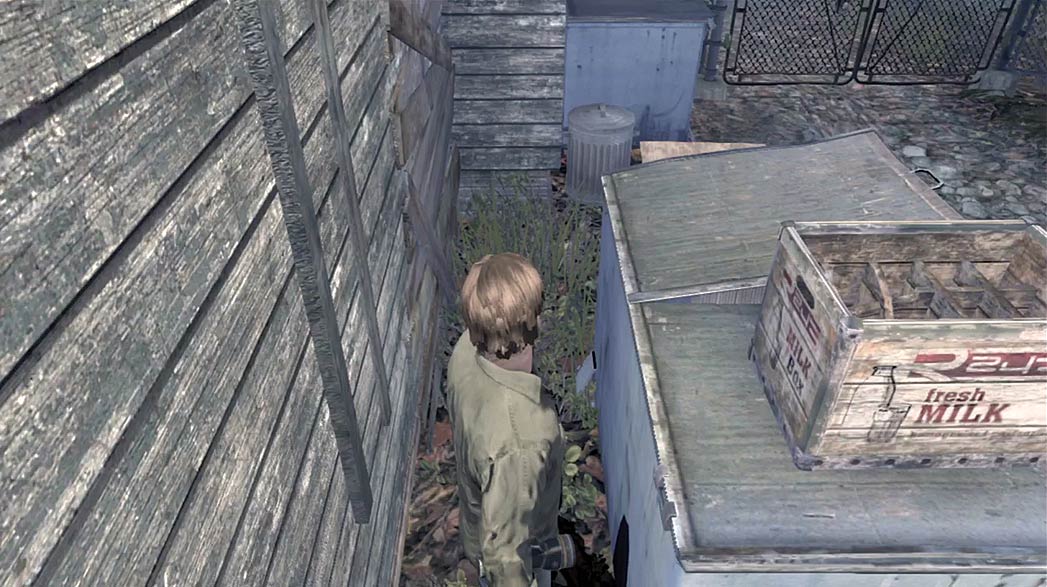
Once you have the Free Ticket, exit the shack and follow the drag marks across the yard. When you reach the barricade, squeeze through the gap between the shack and the dumpster.
Use the Rusty Key to unlock the gate, then follow the drag marks back into the aerial tram station.
There are several Screamers wandering the road between the diner and the tram station. Due to their scream attacks, these creatures are very dangerous in groups.
In this case, it’s best to run directly to the tram station. If you’re incapacitated by a scream, shake off the effects as quickly as possible, then resume your sprint across the road.
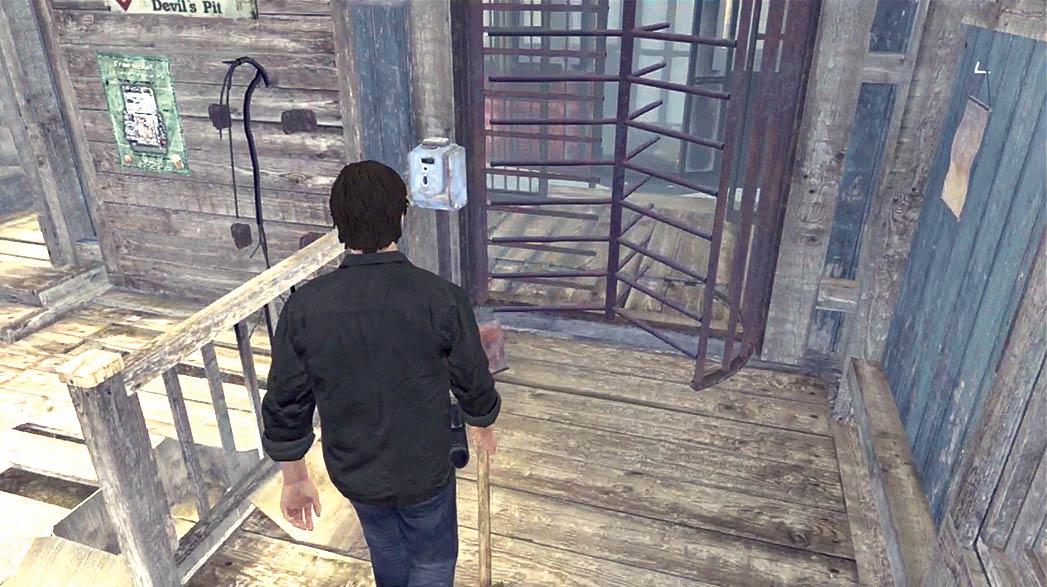
Enter the tram station and insert the Free Ticket into the box near the turnstile. When you’re ready, step onto the tram to travel to Devil’s Pit.