
Silent Hill Downpour Guide Walkthrough Campaign
Devil's Pit
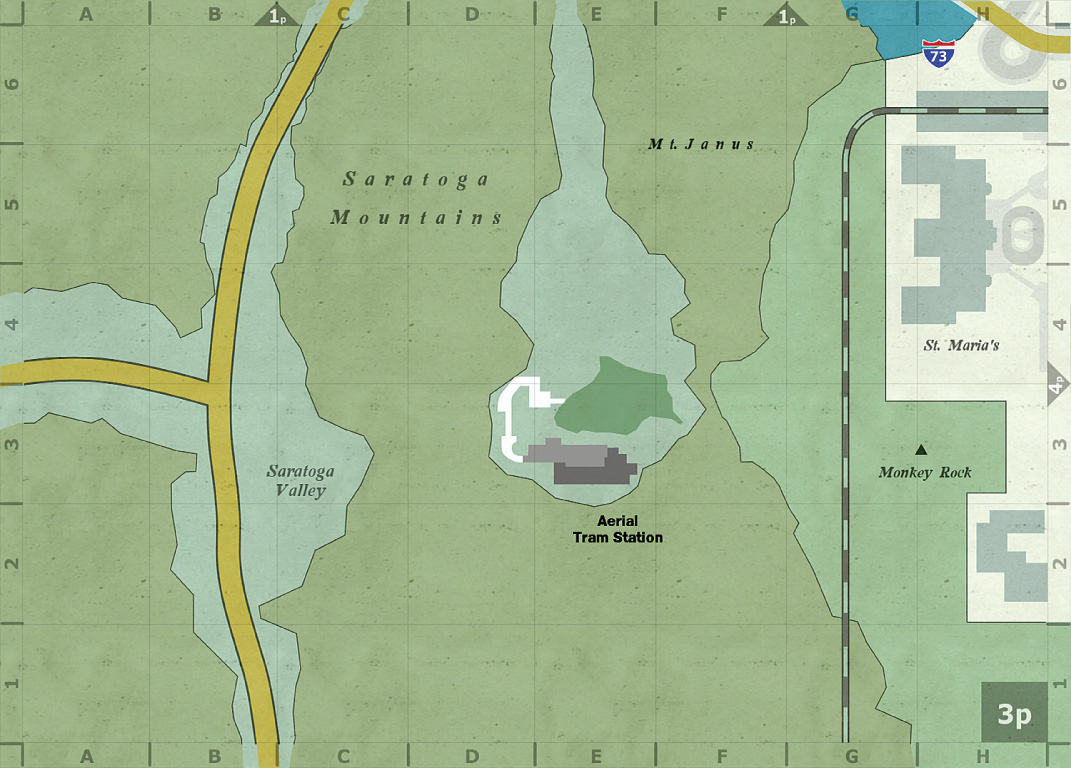
Aerial Tram Station
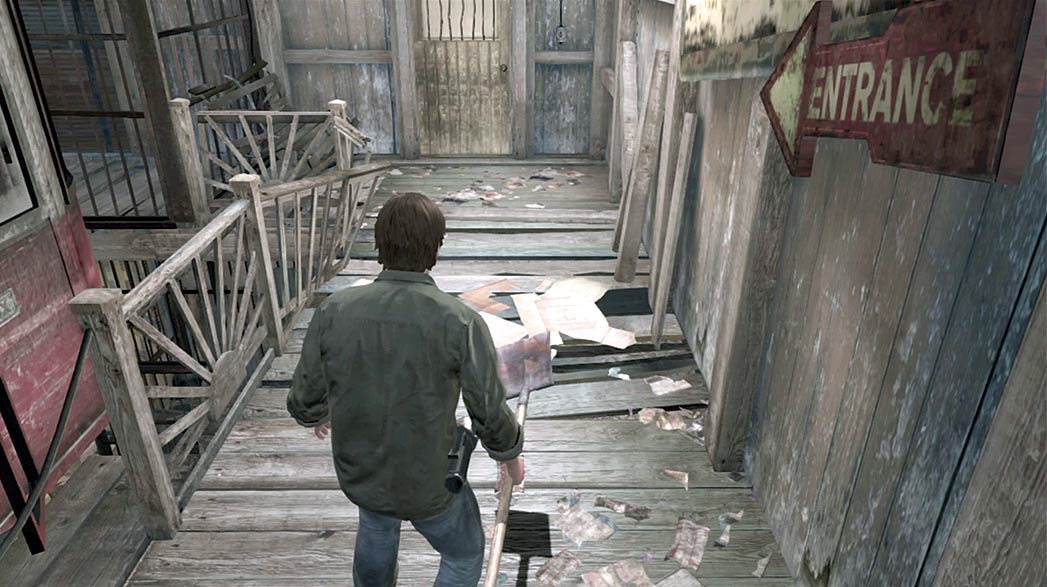
The tram drops you off near the Devil’s Pit tourist center, but you must find a way to unlock the door before you can leave the station. Descend the stairs across from the entrance to reach the area below the tram platform.
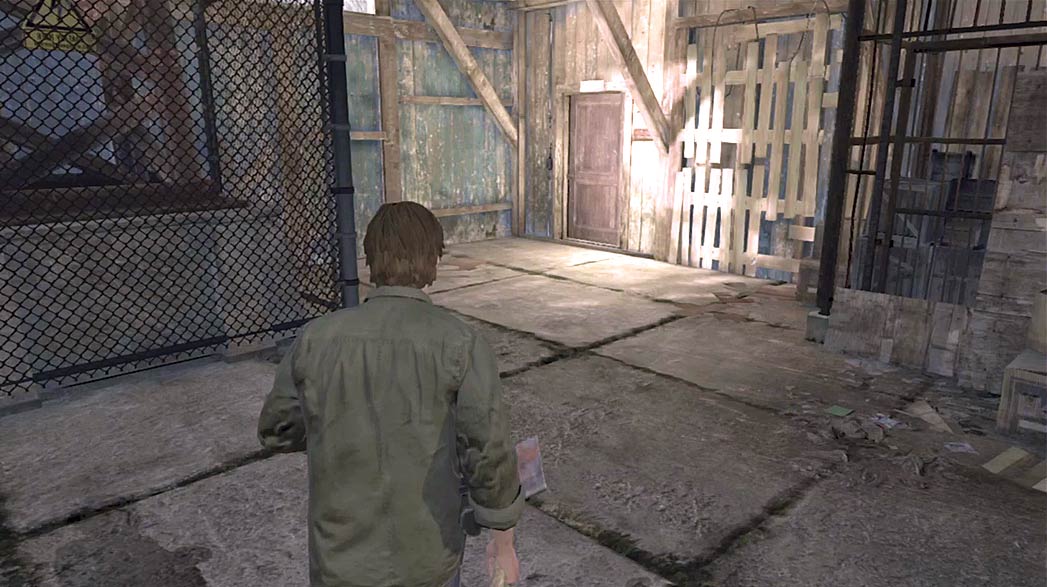
When you reach the bottom of the stairs, use the door across the room to cut through the train conductor’s office, then continue through the adjoining bathroom.
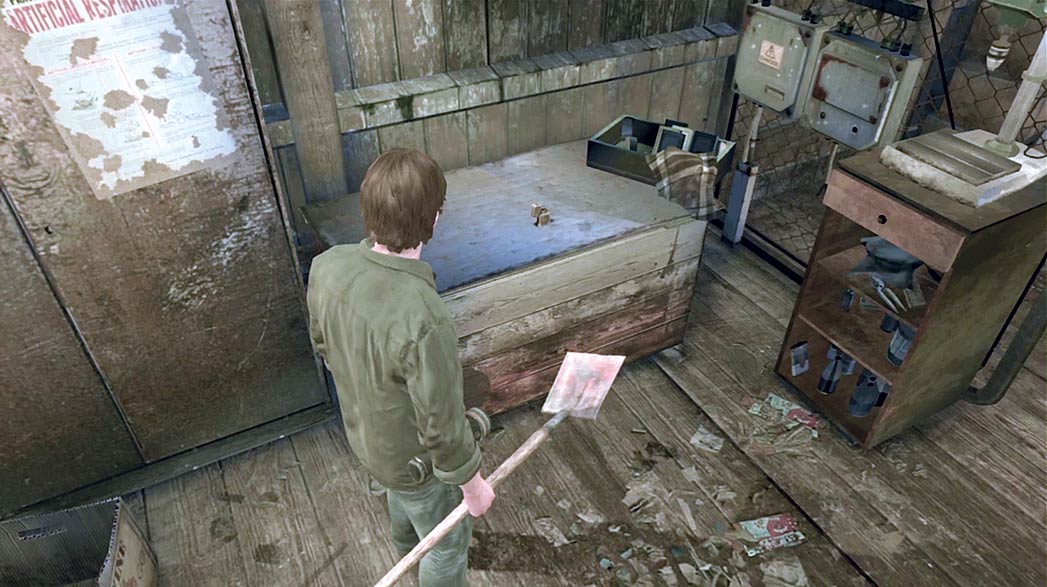
The bathroom leads to a small utility room. As you pass through the door, veer left and collect the Lighter from the workbench against the wall.
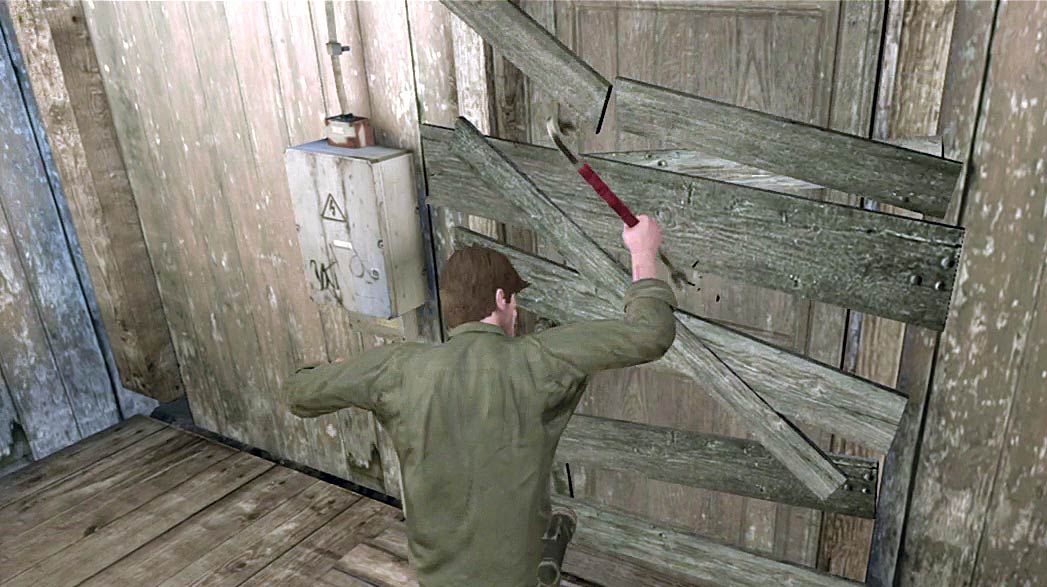
The path out of the utility room has been barricaded. Grab a Crowbar from the nearby toolbox and use it to smash through the boards.
When the path is clear, head through the door to return to the area under the tram platform.
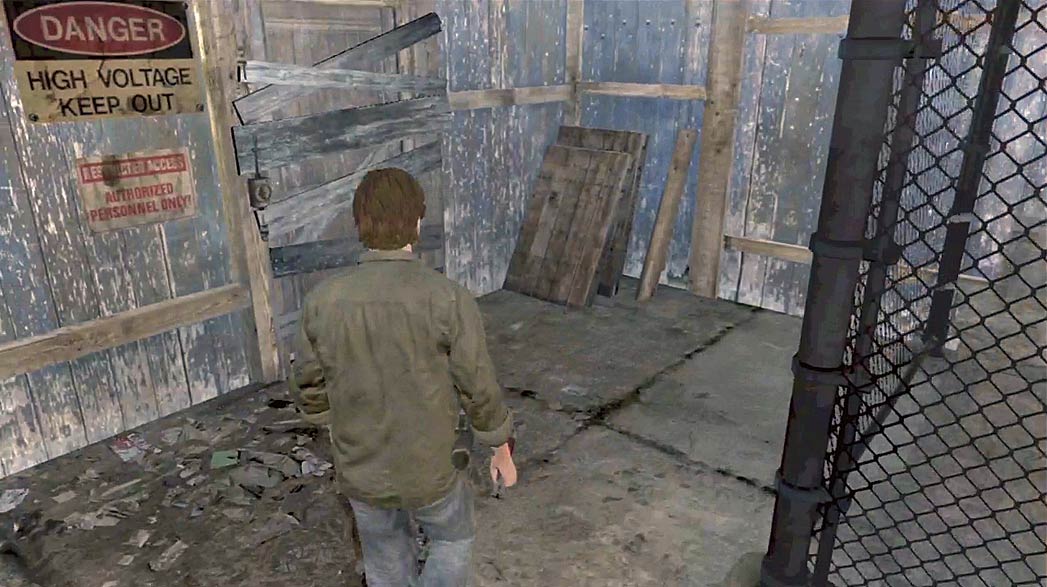
As you exit the utility room, veer left to find another barricaded door. Clear away the boards and head inside.
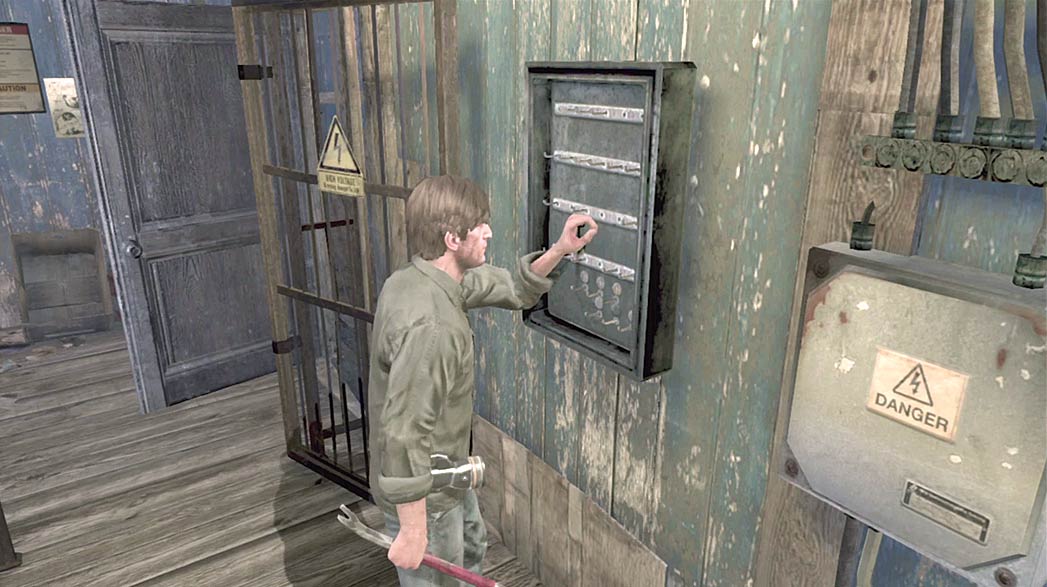
Collect the Key from the rack on the wall. When you’re ready, head back upstairs and use the Key to unlock the tourist center’s entrance.
Devil’s Pit Exterior
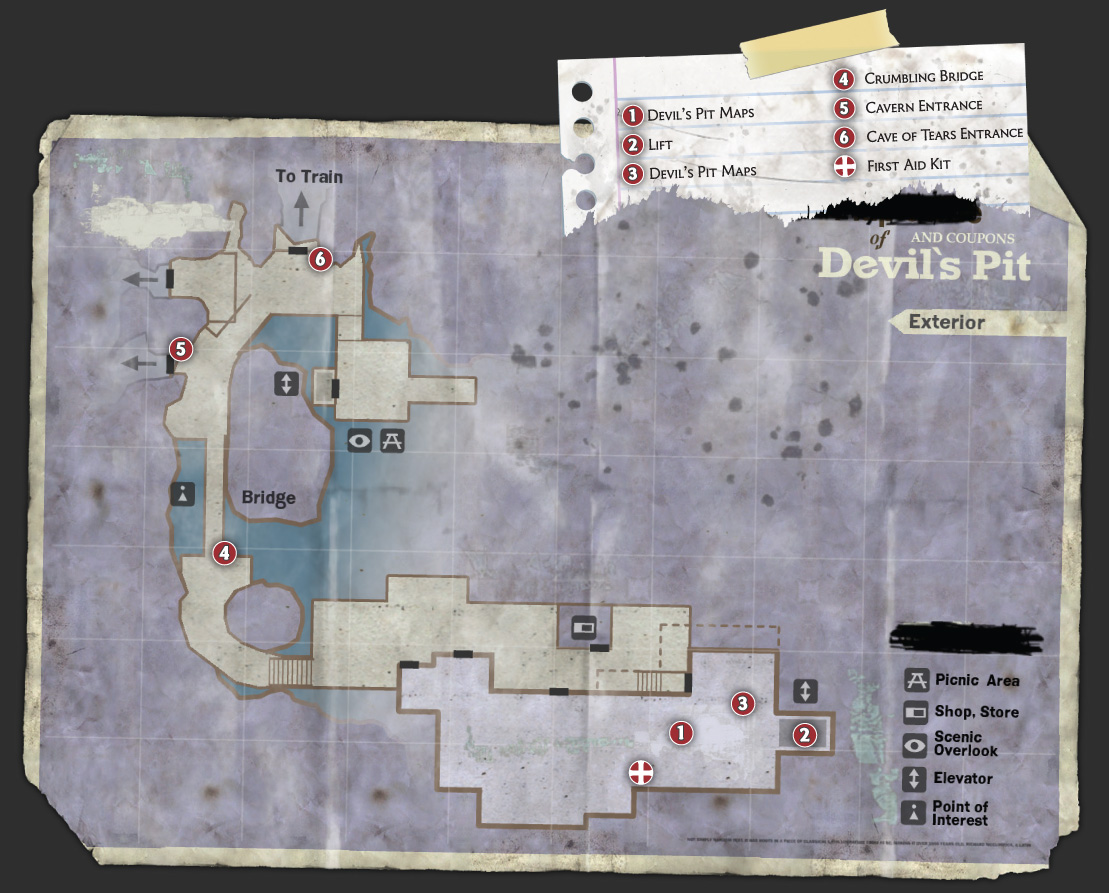
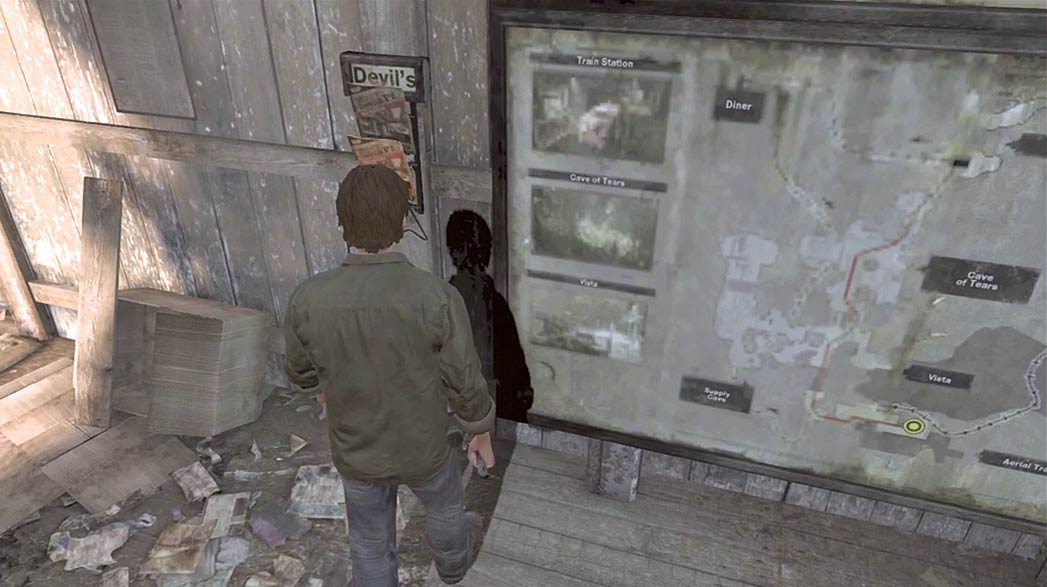
Before you exit the tourist office, make sure you collect the Devil’s Pit maps near the wall display. When you’re ready, continue outside to trigger a cutscene.
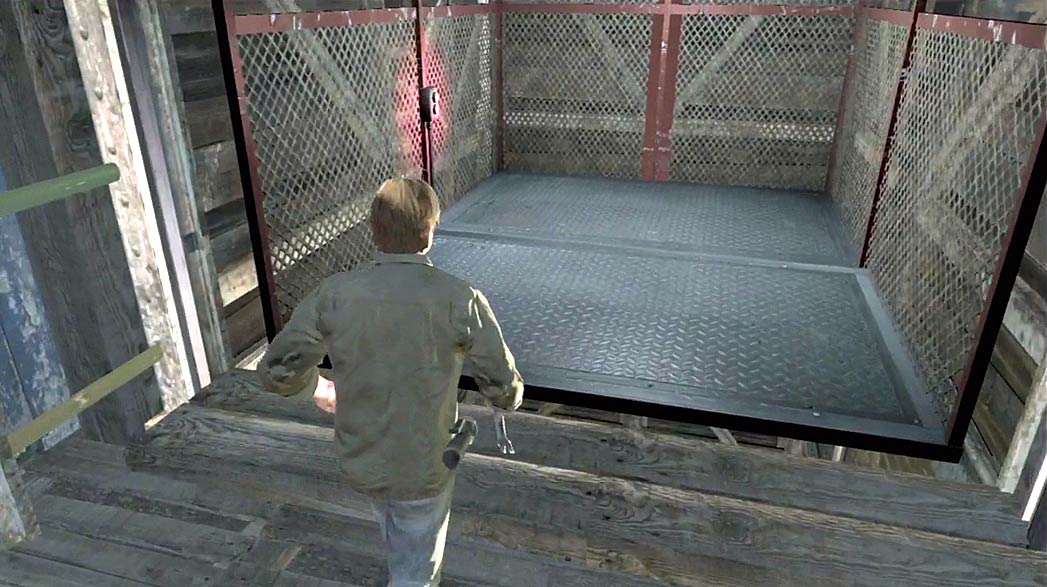
When you’re done searching the area, use the lift on the structure’s east edge to reach the lower observation deck.
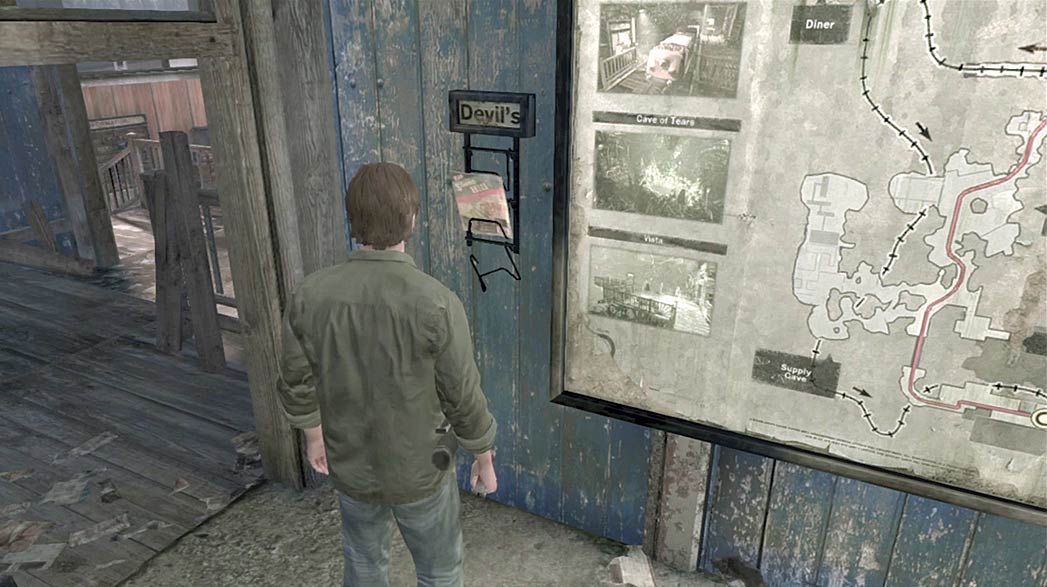
As you step off of the lift, look for a second packet of maps on the wall to your right.
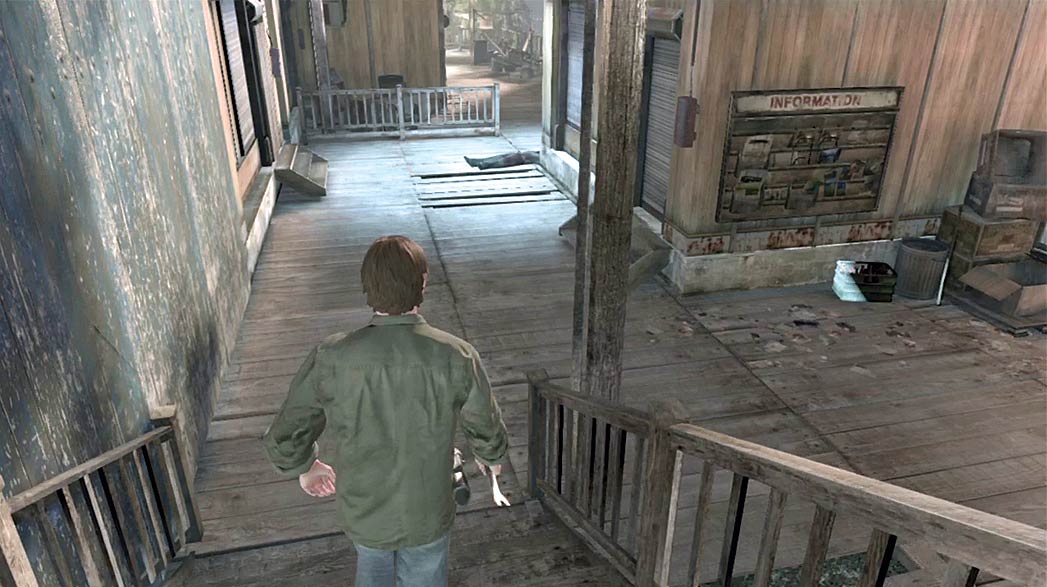
When you’re ready to move on, follow the path outside. In addition to some smaller items, you’ll find a long Steel Pipe near the information rack past the steps.
When you’re happy with your selected weapon, continue along the observation deck.
There are multiple Screamers hiding in the area. These creatures are very dangerous in groups, so consider equipping your Colt before you continue.
When opting for melee combat, pay attention to your enemies’ tactics. If a Screamer moves behind you, adjust your position before it jumps onto your back.
When one of the creatures prepares a scream, move quickly to interrupt the attack or run to cover.
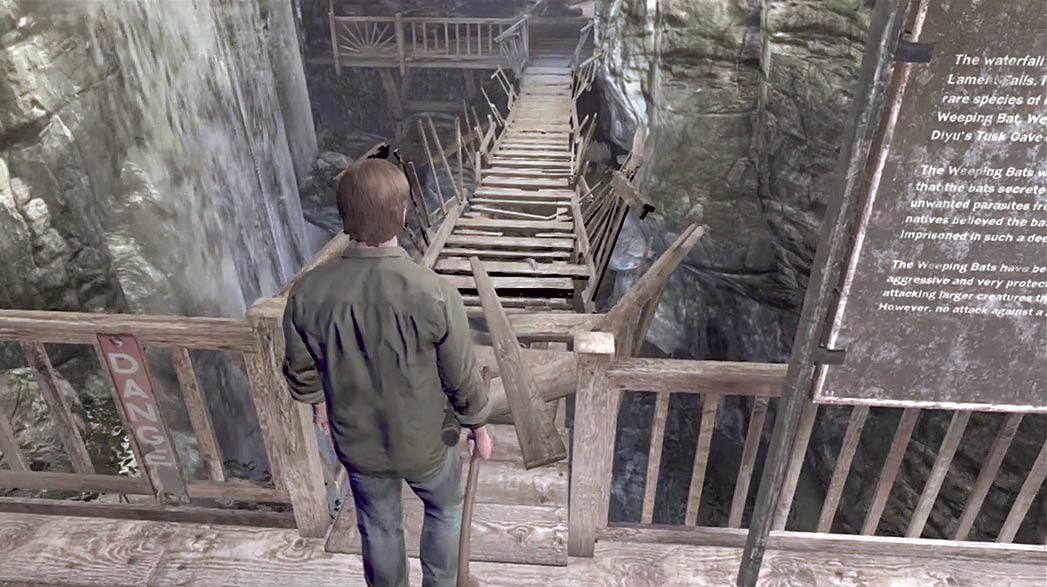
When you’re ready to move on, use the crumbling bridge to reach the cavern entrance.
The bridge gives way when you attempt to cross it. Follow the on-screen commands to climb to safety. Your Colt and Flashlight are lost during the struggle, so you’ll have to make do without them for a while.
The Lighter isn’t nearly as effective as the Flashlight, but it can help you navigate some of the darker caverns of Devil’s Pit.
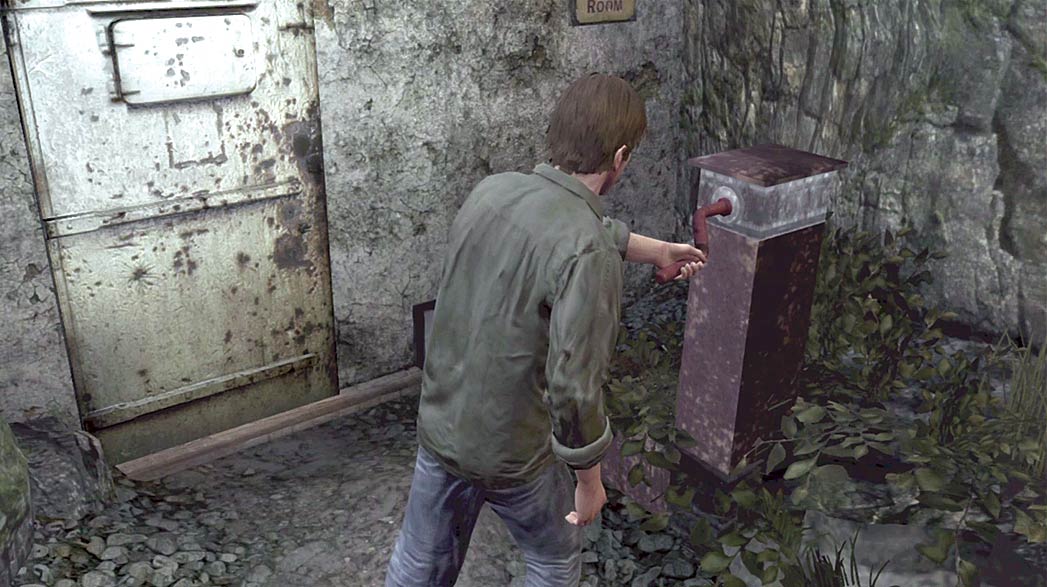
Once you’re safely across the bridge, use the crank near the metal door to open the path to the Devil’s Pit caverns.
Upper Caverns
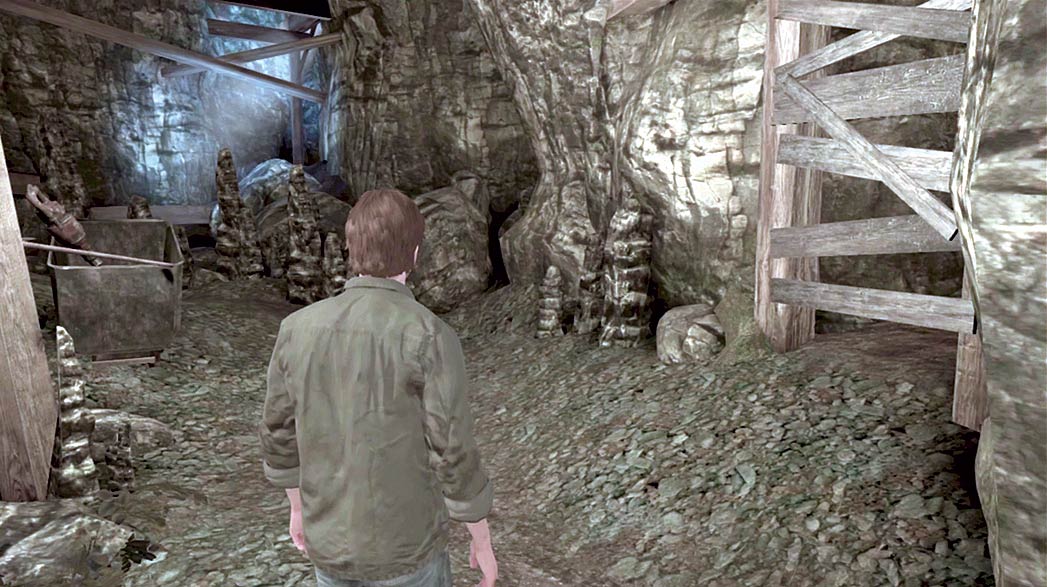
When you enter the first cave, the passage on your right is boarded up. Grab the Pickaxe from the nearby mine cart and use it to clear away the boards.
Move into the next cave and squeeze through the narrow passage. When you’re ready, head through the wooden door to enter a large cavern.
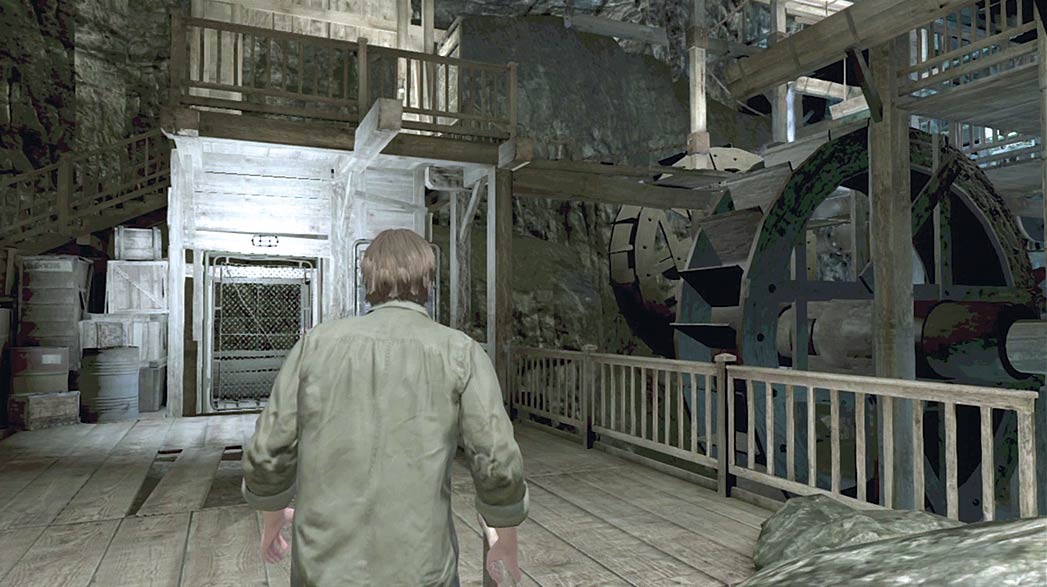
As you approach the lift in the center of the cavern, there’s a series of water wheels to your right. If you explore the area to your left, you’ll find a flooded cave through a gap in the cavern wall.
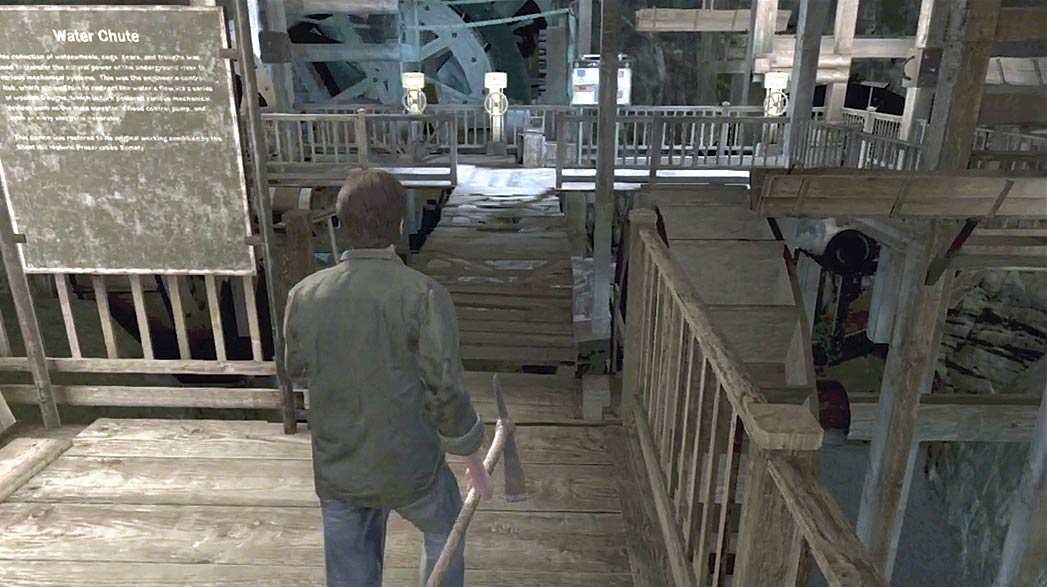
When you’re ready, climb the stairs near the lift to find three valves near the water wheels. Use the valves to rearrange the hanging troughs and activate the cavern’s machinery.
Before you enter the flooded cave, make sure you’re ready to defend yourself.
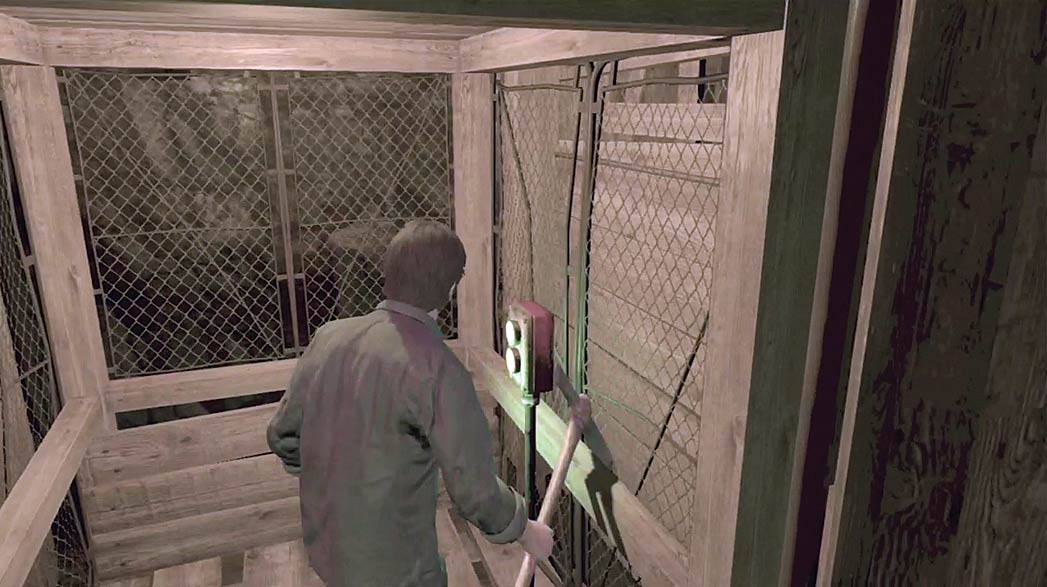
When you’re ready to leave, step into the lift and hit the button to ride down to the deep mines.
Deep Mines
After you leave the upper caverns, creature activity picks up considerably. You’ll find a variety of weapons in most areas, so make sure you’re always ready to defend yourself.
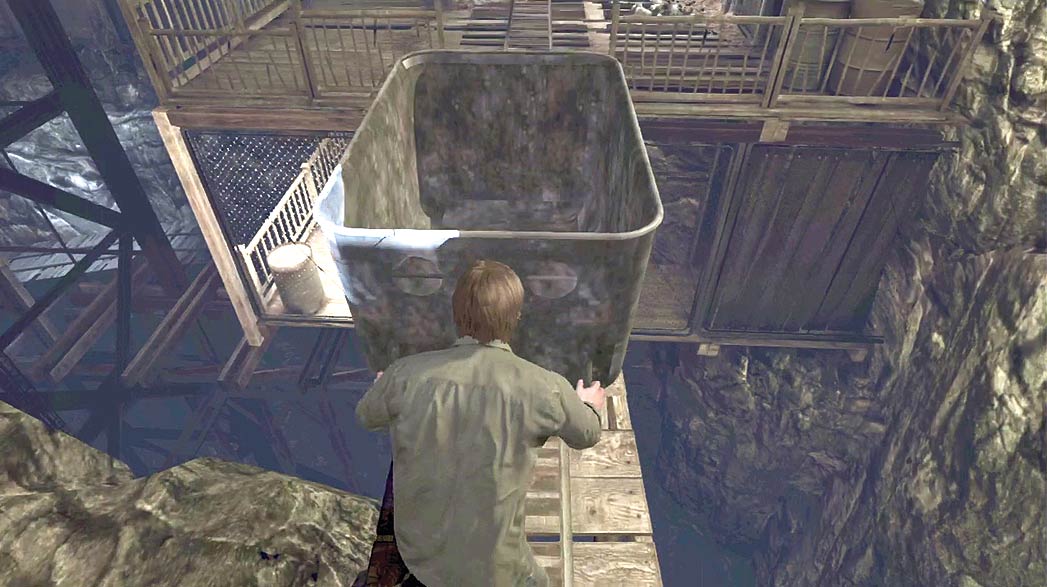
After the cutscene, follow the path through the deep mines. When you reach the mine cart, push it along the tracks to continue across the chasm.
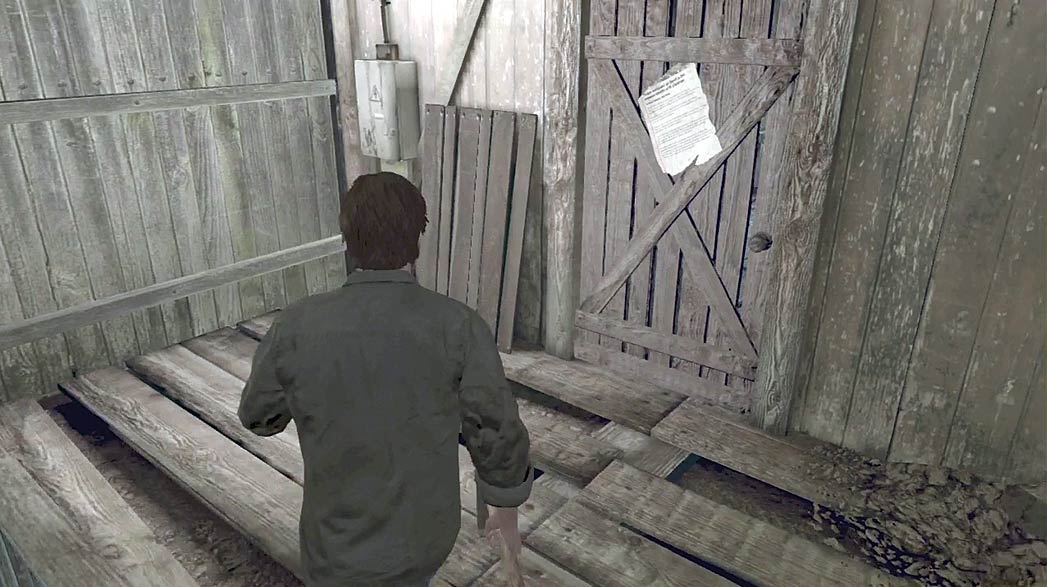
When you have enough space to slip around the mine cart, veer to the left and continue along the path. Head down the stairs to find a Mystery item posted on a wooden door.
Collect it to add the Newspaper Article (Accident) to Murphy’s Journal, then continue through the door to find a small storage area.
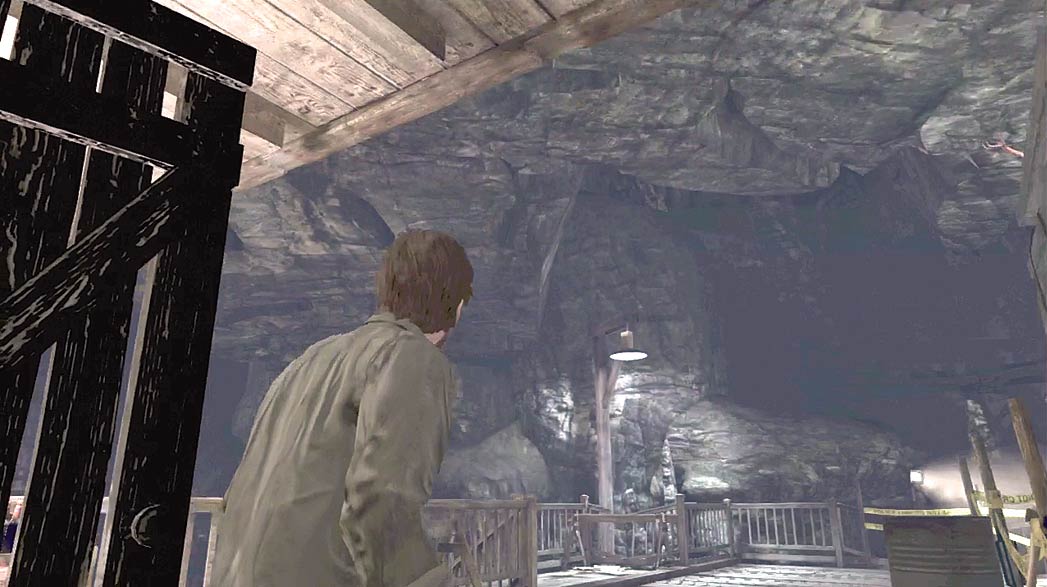
As you exit the storage area, there’s a slight overhang above your head and a fresh Pickaxe leaning against the fence to your right.
When you exit the storage area, it’s time to face the Weeping Bat that’s been hounding you since the upper caverns. These creatures have incredible agility, making their attacks fairly hard to predict.
When a Weeping Bat is latched onto a ceiling, take care to avoid its pounce attack. This often requires sprinting around an area, but this location provides a better alternative.
Consider staying under the overhang to prevent the creature from moving above you. Wait for the Weeping Bat to drop to the floor, then run in and attack.
Successful hits should interrupt most of its strikes, but remember to block its more powerful, two-fisted attacks. When the creature retreats to the ceiling, move back under the overhang and wait for your next chance to attack.
Occasionally, you’ll find a Weeping Bat refuses to leave the ceiling. In these cases, throw small weapons (such as the Bottles in this area) to deal damage from a distance.
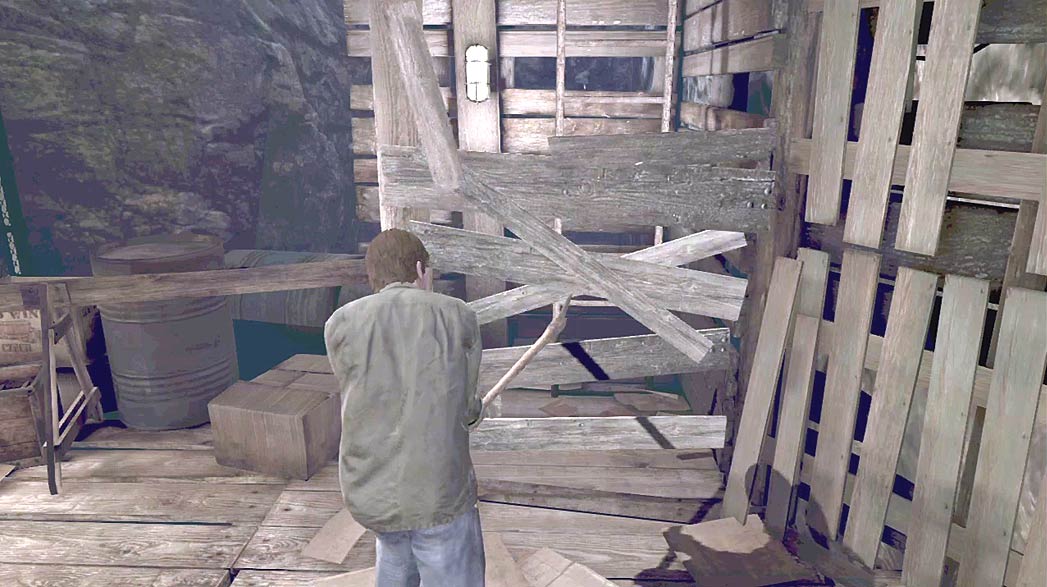
When you’re ready to move on, grab the Pickaxe leaning against the fence and continue down the stairs. Use the Pickaxe to clear a path to the ladder, then climb up to the platform above you.
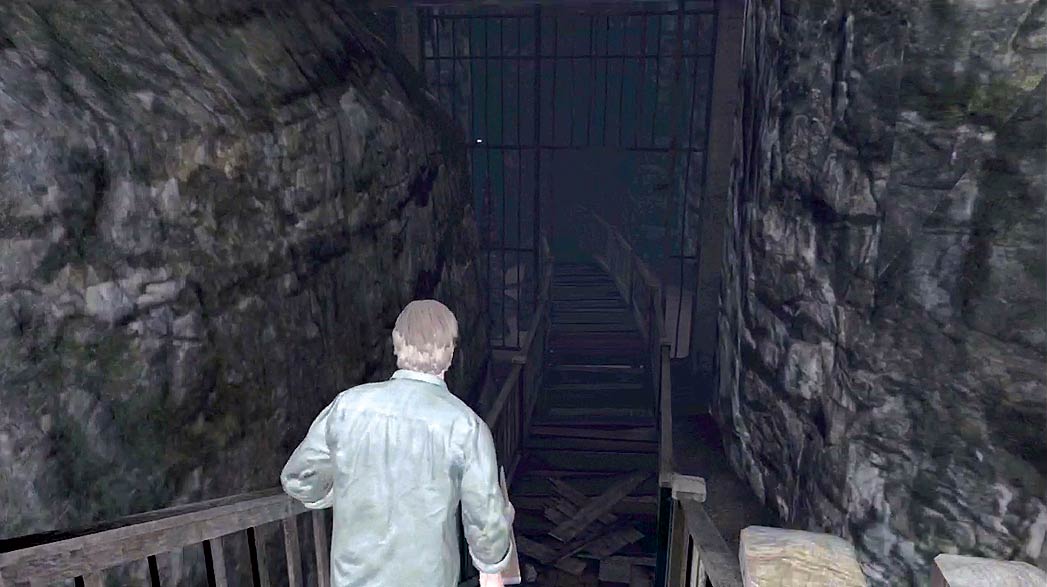
Near the end of the area, the path grows very dark. If needed, equip your Lighter to help illuminate your surroundings as you proceed down the path.
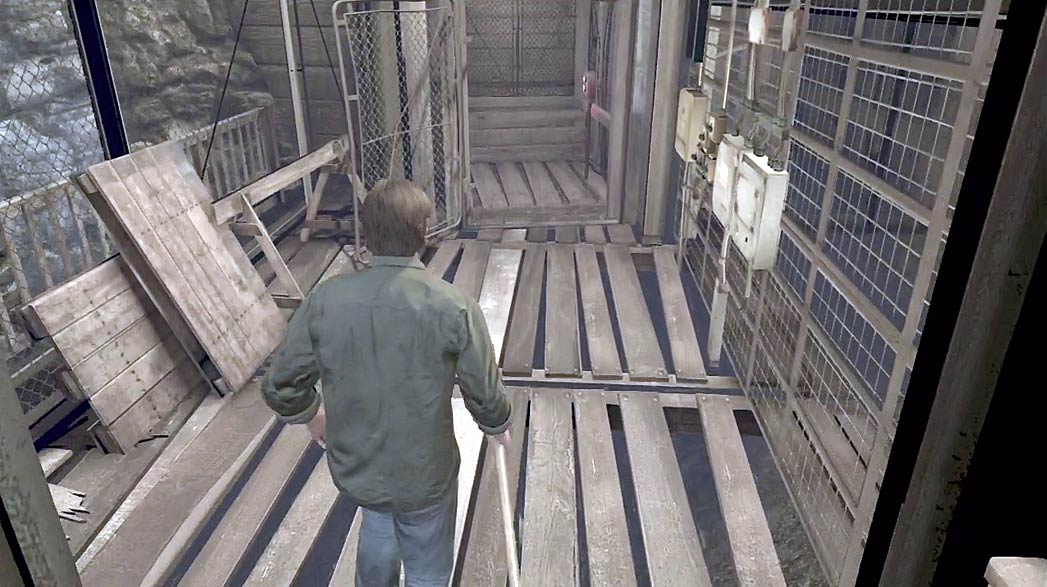
Continue along the path to find a lift. When you’re ready to leave, ride the lift back up to the surface. Step off of the lift to trigger a cutscene.
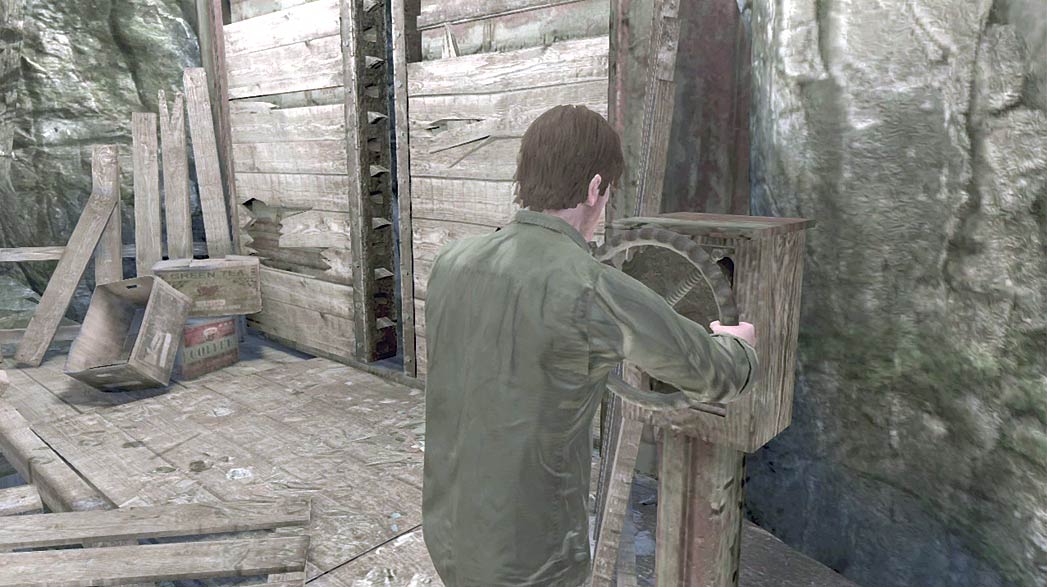
When you have finished exploring the area, use the valve near the Cave of Tears entrance and head inside.
Cave of Tears
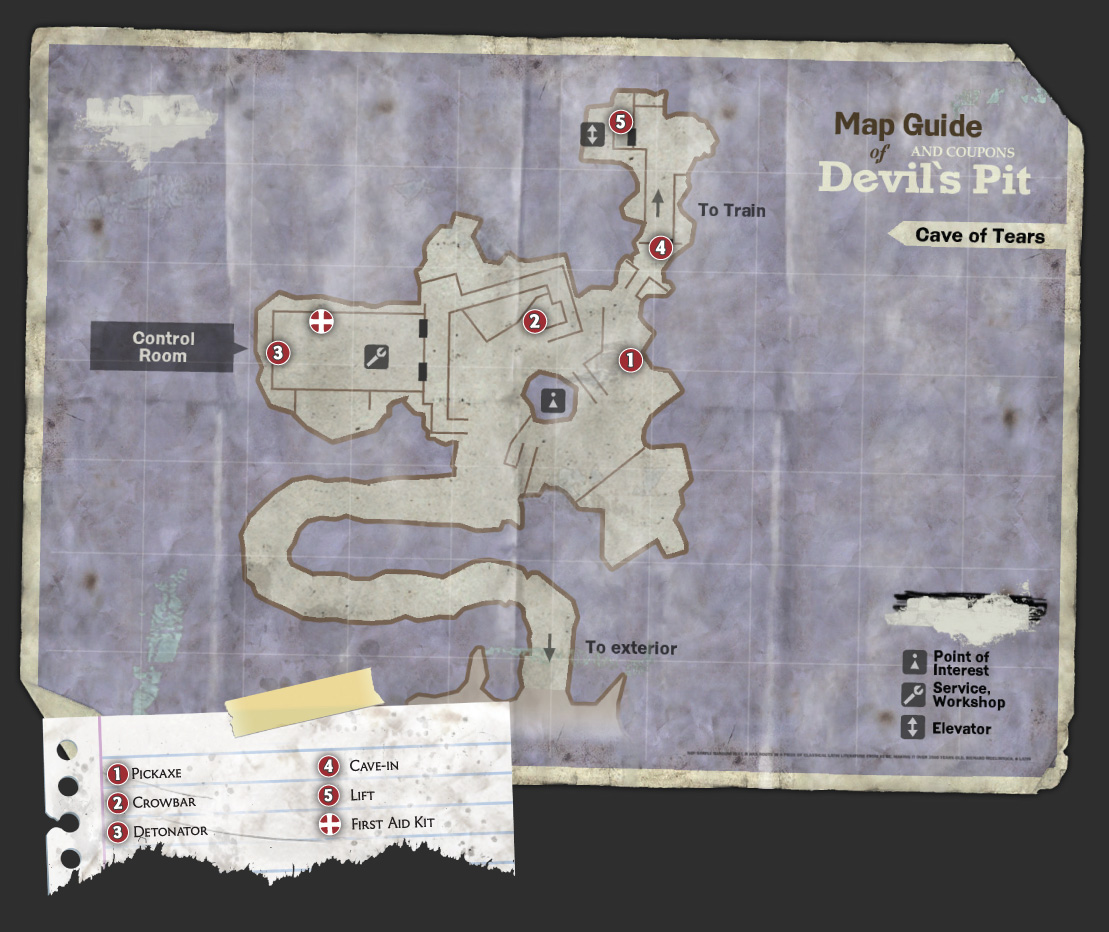
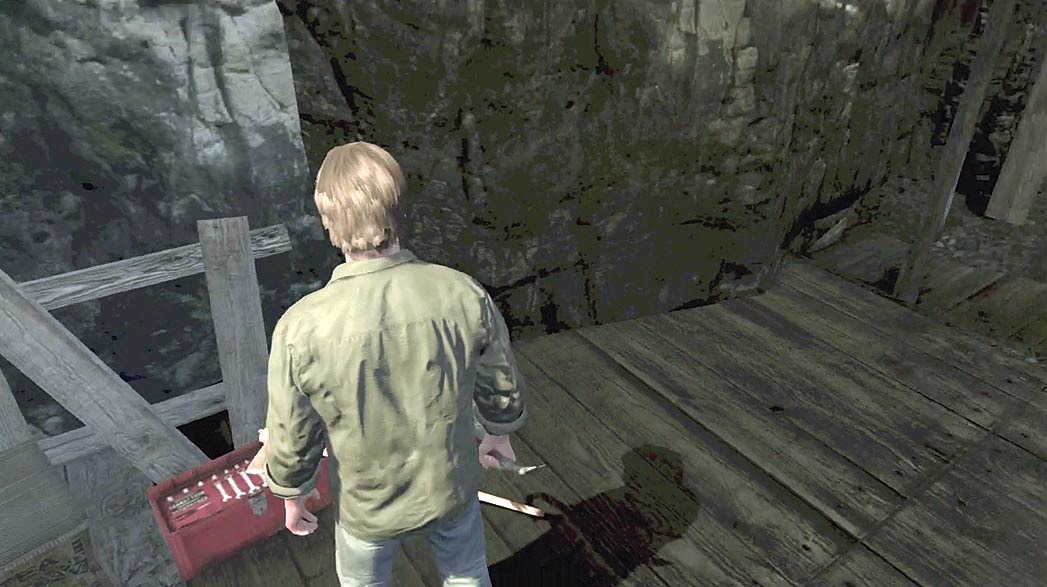
As you enter the Cave of Tears, look for the toolbox on your left. If you’re in need of a fresh weapon, make sure you grab a Crowbar before moving on.
The Cave of Tears contains multiple Weeping Bats. As you move around the area, check the surfaces above you for lurking enemies.
Not all of the creatures can be seen from a distance, so be particularly careful when obstructions prevent you from getting a good look at the surrounding area.
Proceed carefully to avoid drawing attention from multiple enemies, and try to keep each battle contained to a relatively small area.
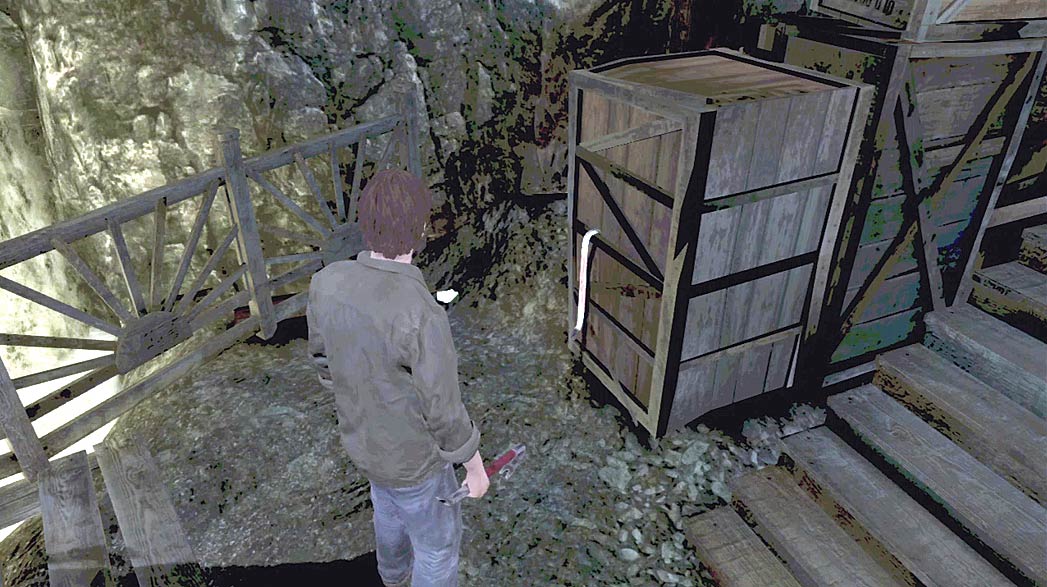
If you need a fresh weapon, there’s a Pickaxe located along the cave’s east edge and a Crowbar hanging from a crate tucked behind a set of stairs.
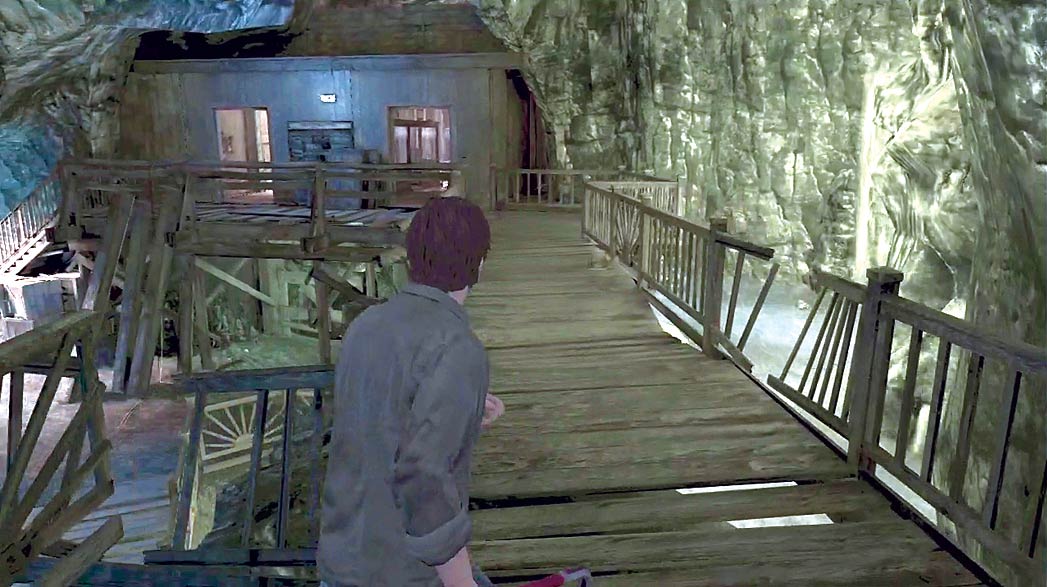
Before you can leave the Cave of Tears, you must clear the path to the lift. When you’re ready, climb up to the small structure along the cave’s west wall.
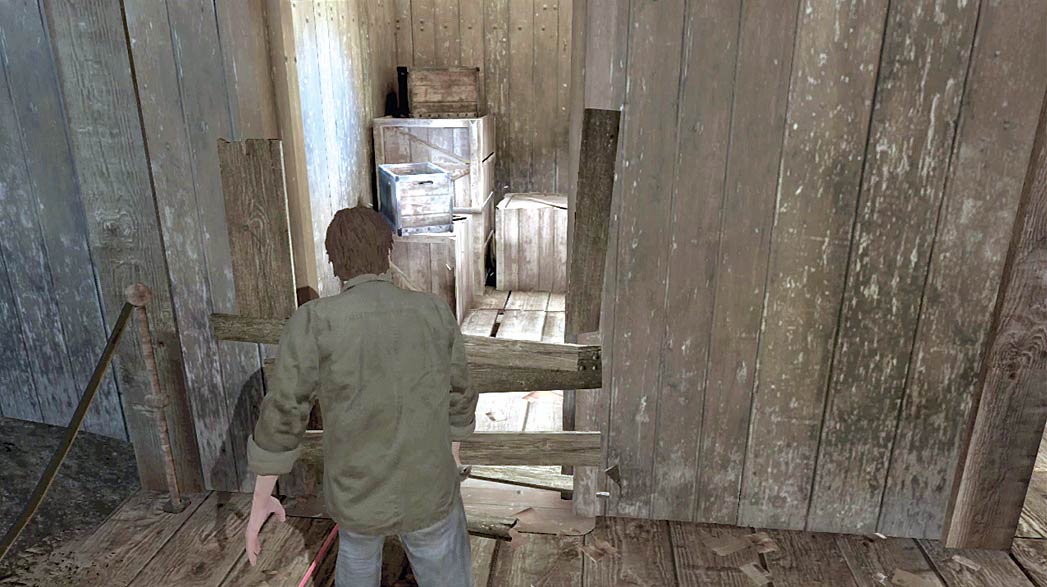
When you’re done exploring the building, use a suitable weapon to break through the boards on the back wall. Enter the small room and activate the detonator to clear the path to the lift.
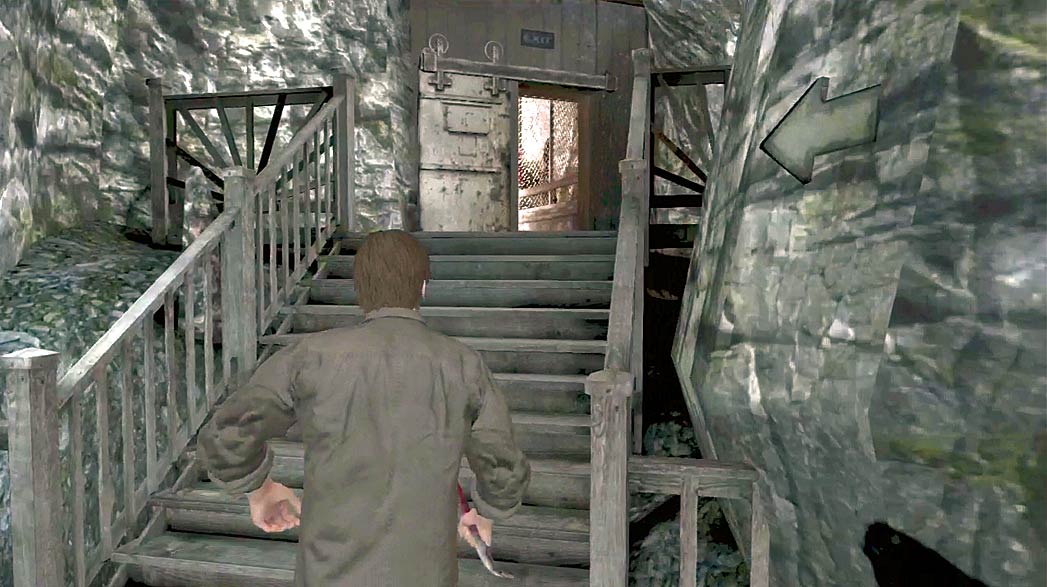
Once you’ve cleared the path to the lift, you’re free to exit the area. When you’ve finished searching the Cave of Tears, head through the passage in the north wall and take the lift down to the train station.
Train Station
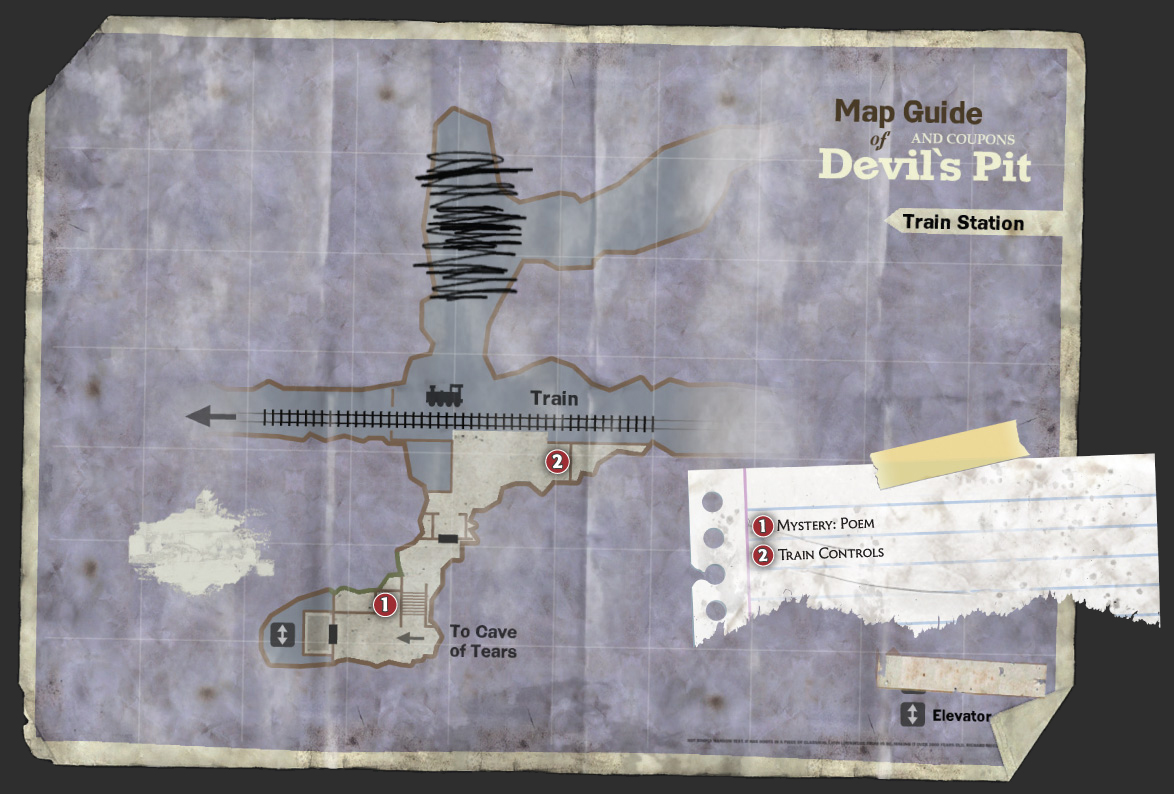
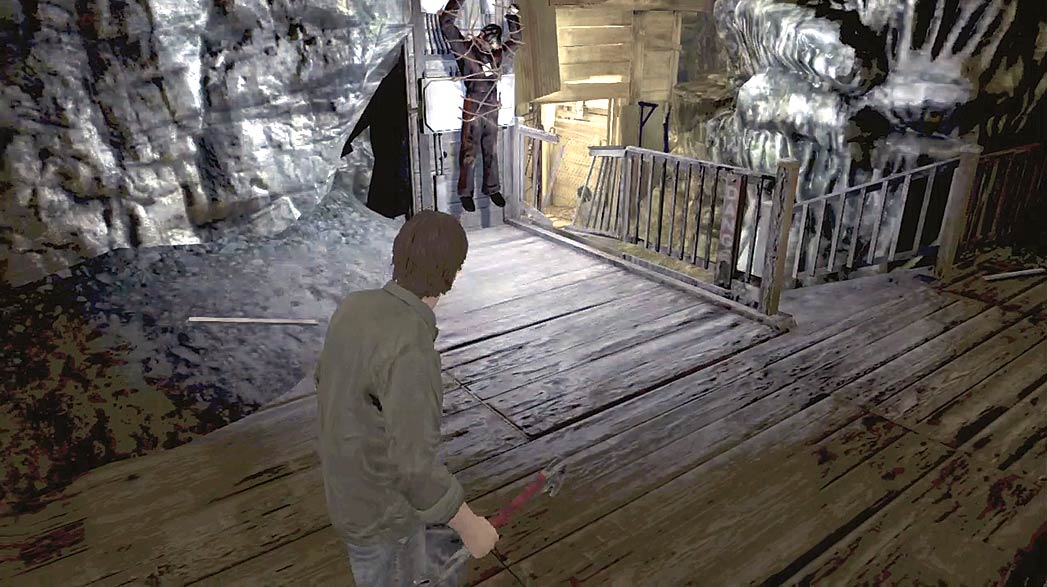
When the cutscene ends, step off of the lift and explore the surrounding area.
There’s a Screamer lurking at the bottom of the stairs. Consider luring it near the lift before you attack. The extra space makes it easier to land clean hits on your enemy.
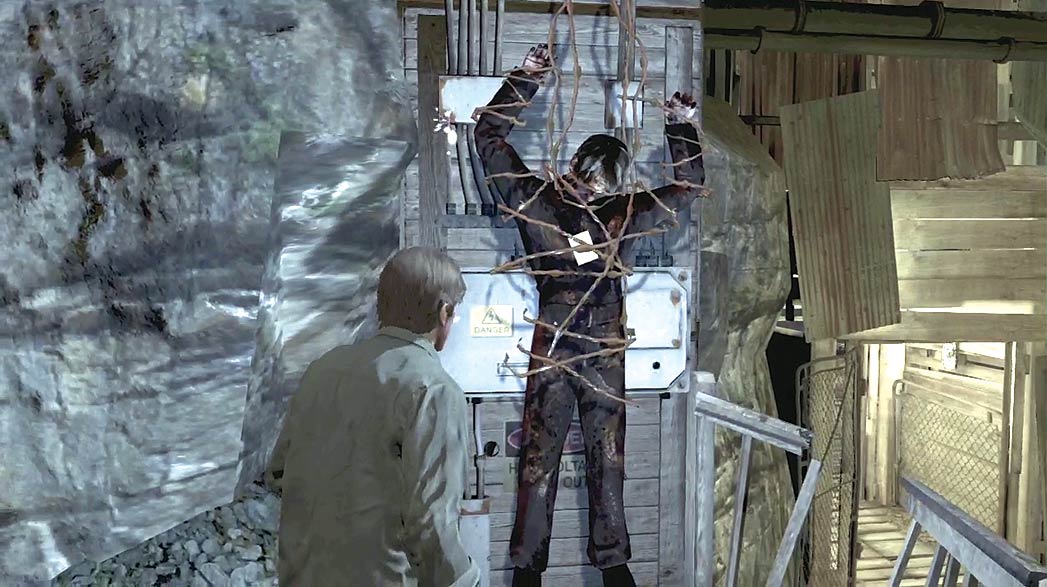
Collect the Mystery item from the hanging body to add a Poem to Murphy’s Journal, then continue down the stairs and onto the train platform.
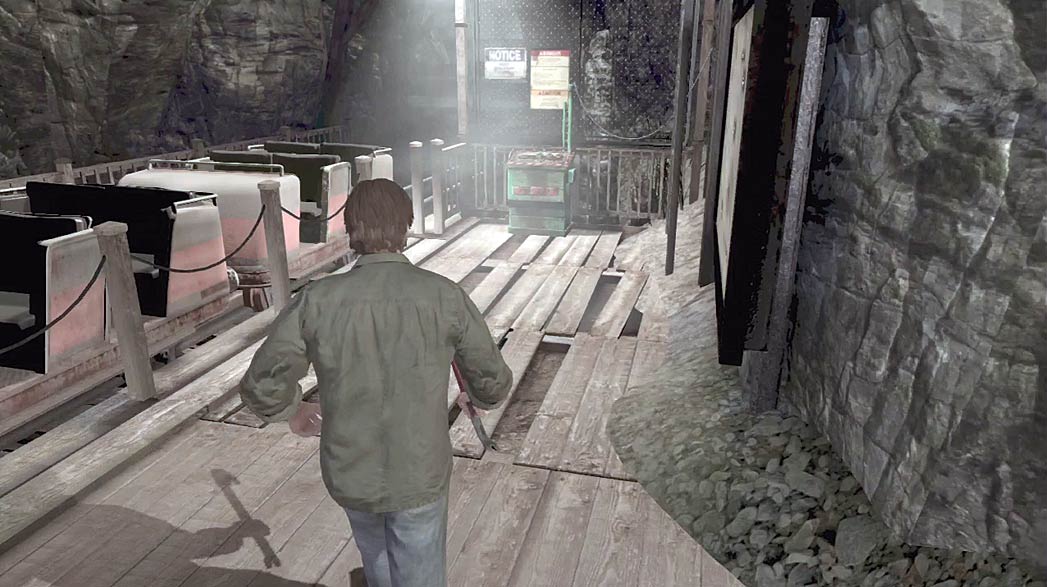
Continue to the end of the platform to find the train controls. To activate the train, you must press the correct buttons in the correct order.
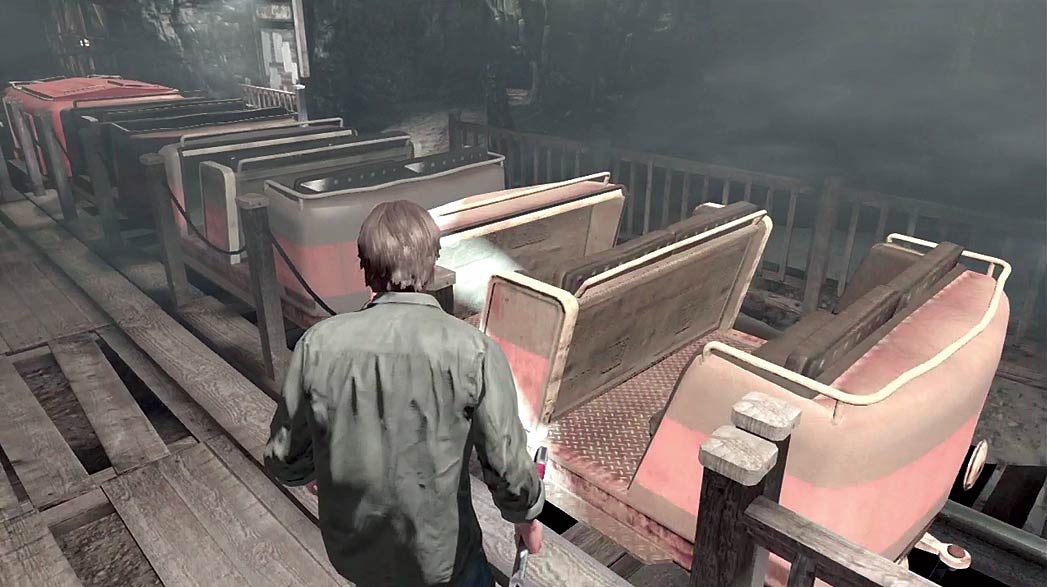
When you’re finished exploring the station, board the train to leave
the area.
Pay attention to your surroundings during the ride. Your limited mobility leaves you vulnerable to attack.
Devil’s Pit Exit
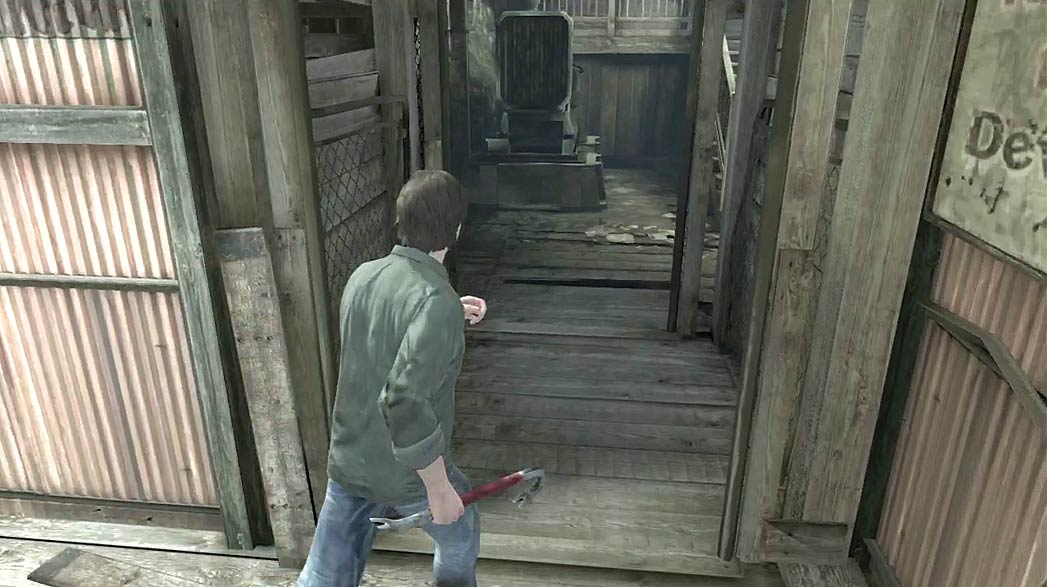
When you regain control of Murphy, follow the path out of Devil’s Pit.
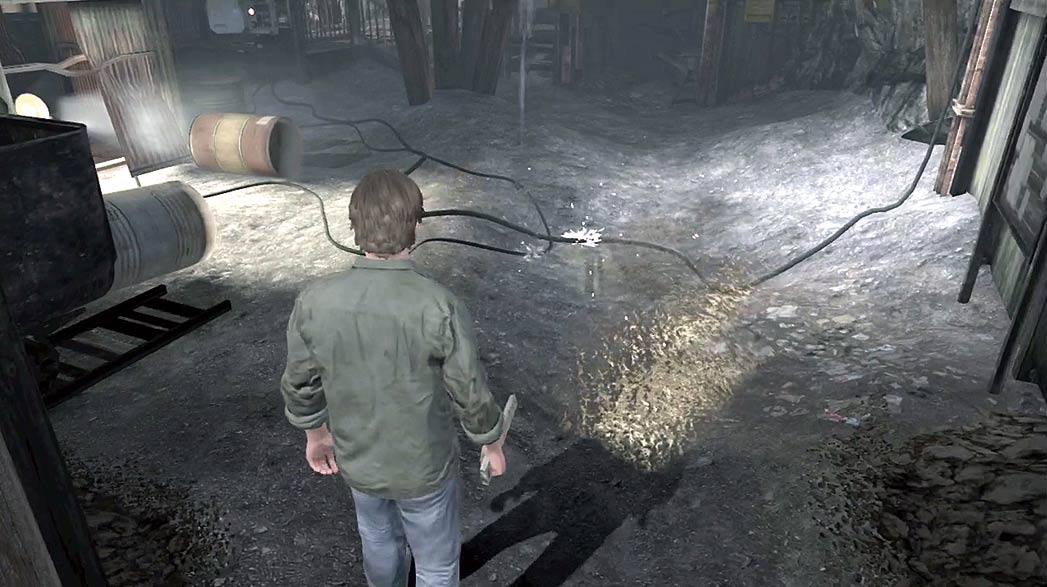
When you reach the end of the first corridor, take care to avoid the puddle on the ground. Some exposed wires have turned the area into an electrical hazard.
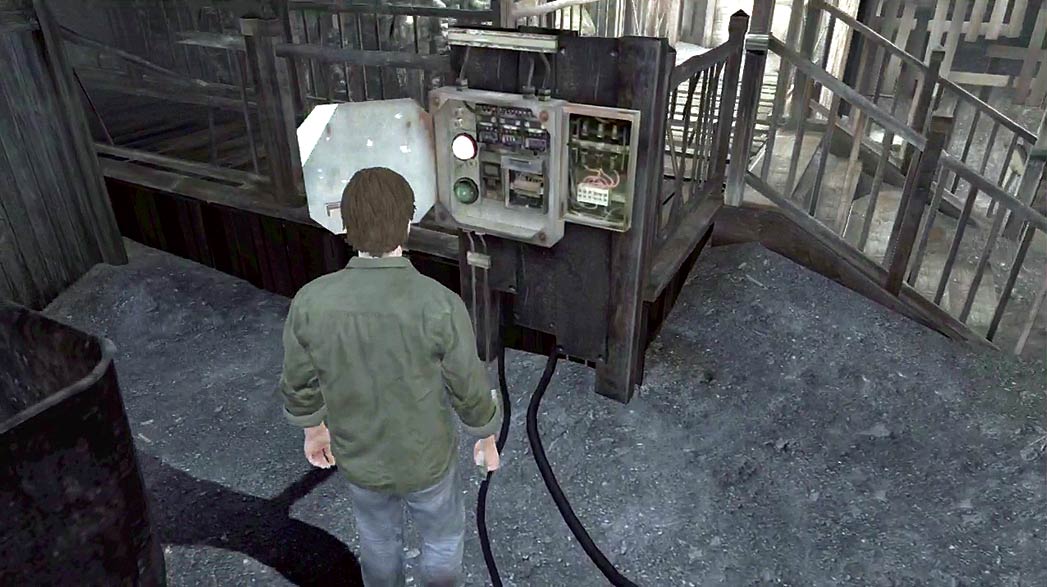
Slip around the puddle and follow the wires to find a fuse box, then flip the switch to open the nearby gate. When you’re ready, continue through the gate.
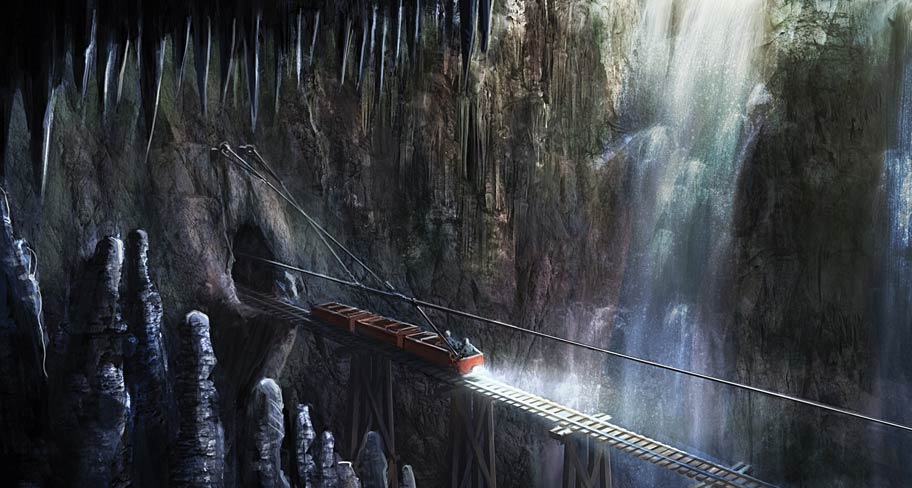
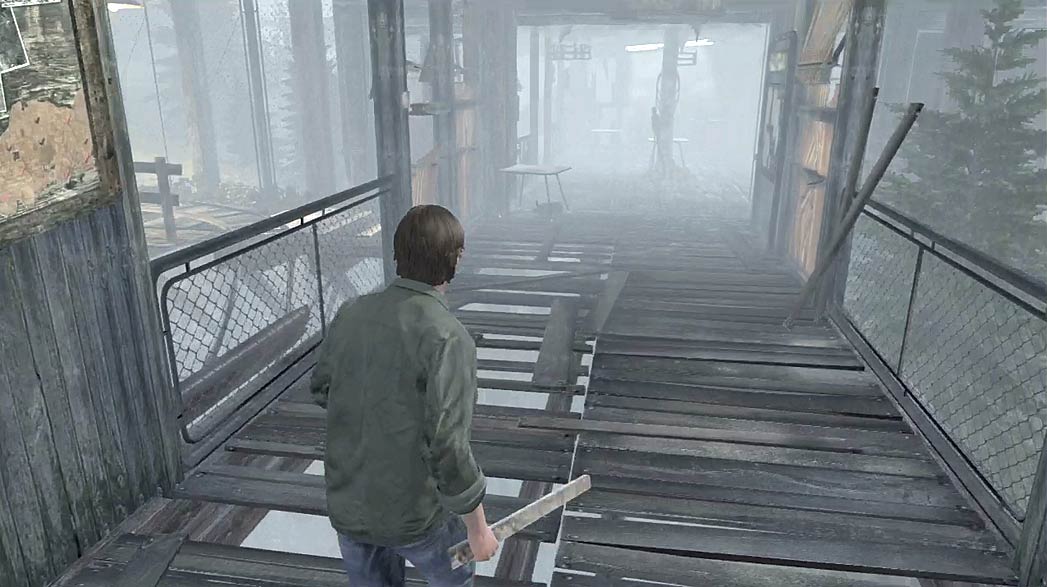
Follow the path through the corridor, across the bridge, and into a crumbling building.
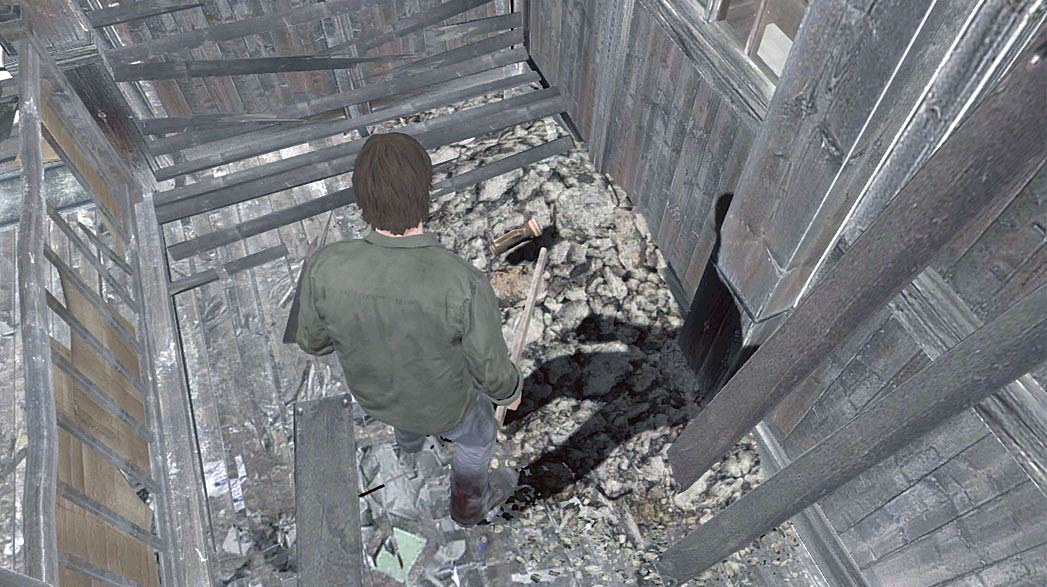
As you enter the building, hook around the railing on your left and search the rubble on the ground for a new Flashlight.
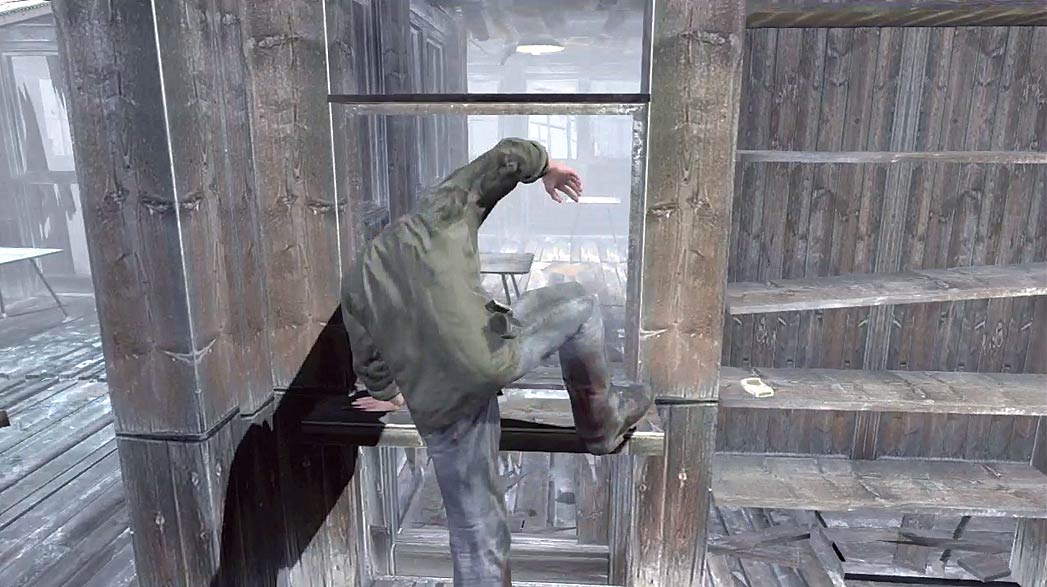
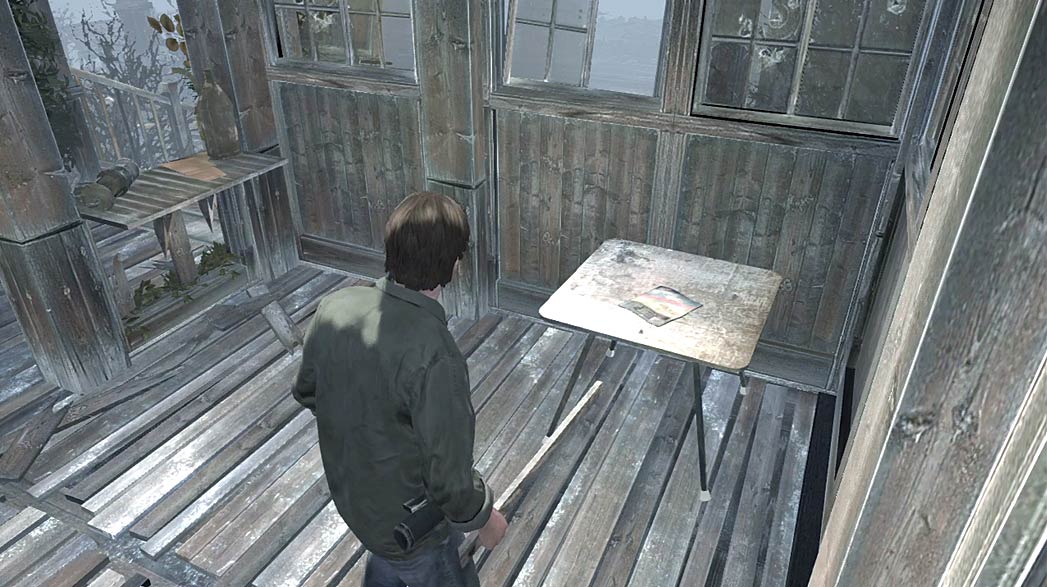
When you’re done exploring the area, hop over the counter near the center of the building and collect the town maps from the small table ahead of you.
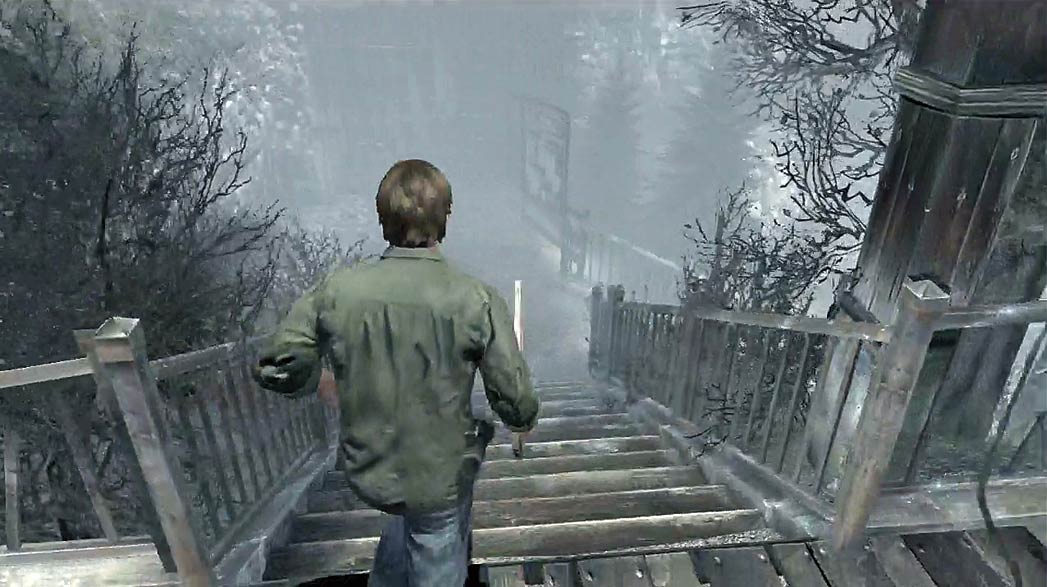
Exit the building and follow the path around the deck, down the stairs, and into town.