
Silent Hill Downpour Guide Walkthrough Campaign
Centennial Building
.jpg)
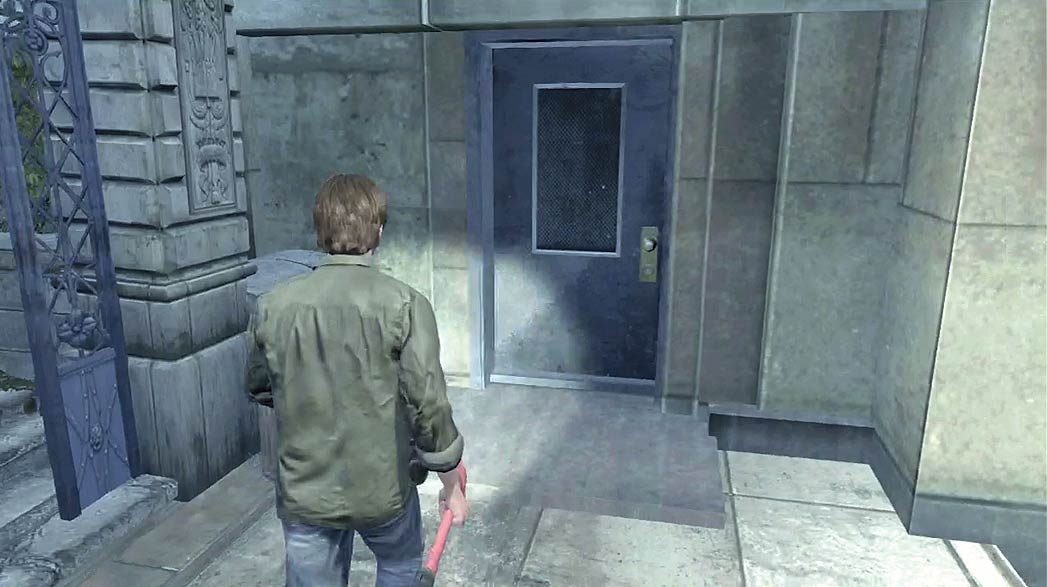
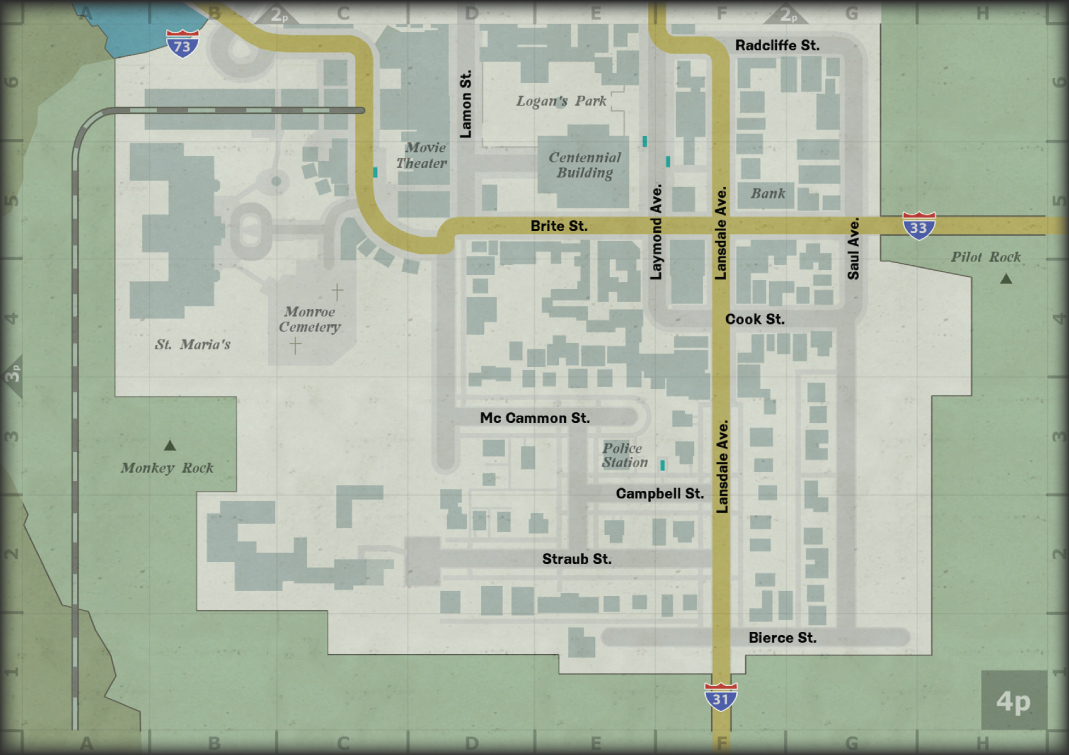
The Centennial Building’s garage entrance is located on the structure’s west side.
Once you enter the garage, you must complete a series of objectives before you’re able to resume your exploration of the town.
.jpg)
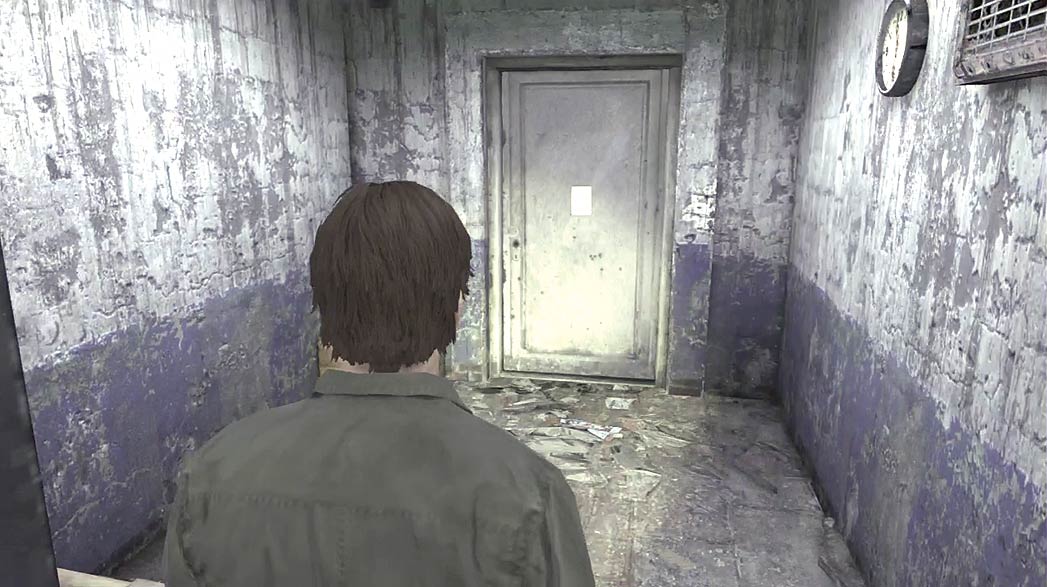
Enter the building to find a Mystery item posted on the door ahead of you. Approach the door to trigger a cutscene and add the Memorandum to Murphy’s Journal.
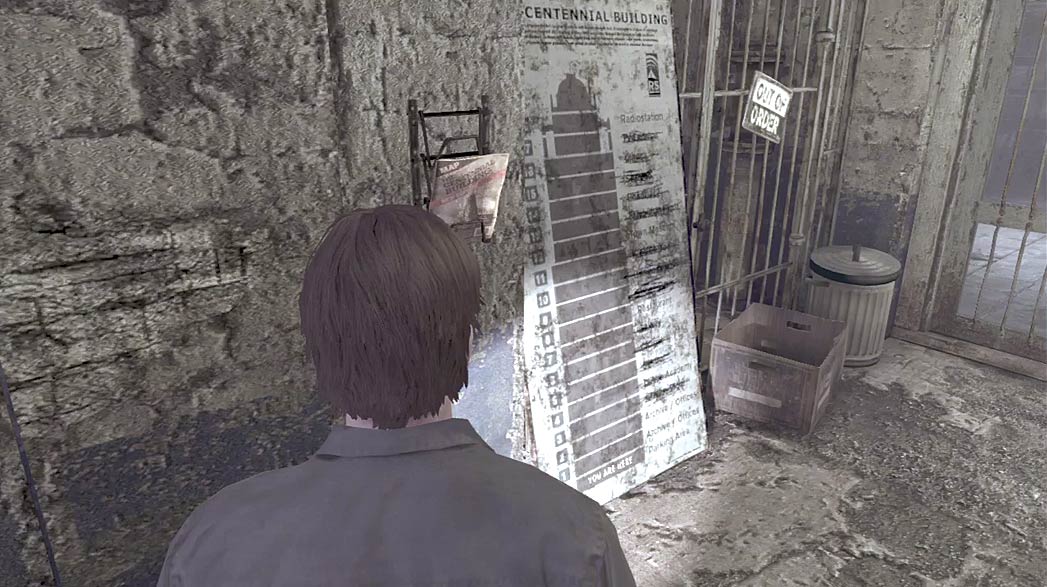
After the cutscene, continue through the door and collect the Centennial Building maps from the rack on your left.
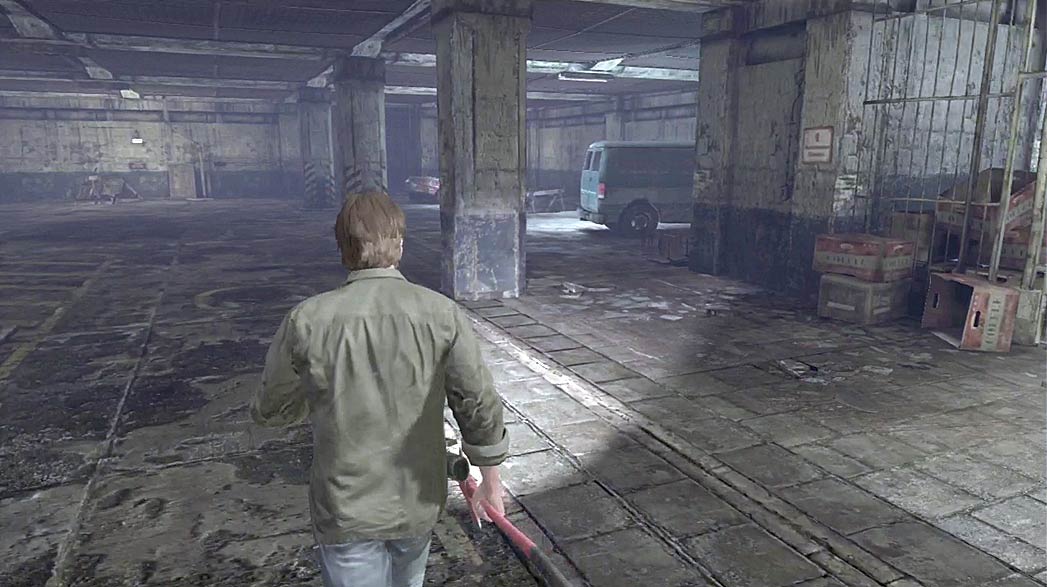
The security office near the garage entrance is locked, as is the gate blocking the path to the elevator. Head toward the parked vehicles and explore the area for useful items.
If you open the van’s rear doors, a Screamer attacks you from behind. Shake the creature off, then turn around to defend yourself.
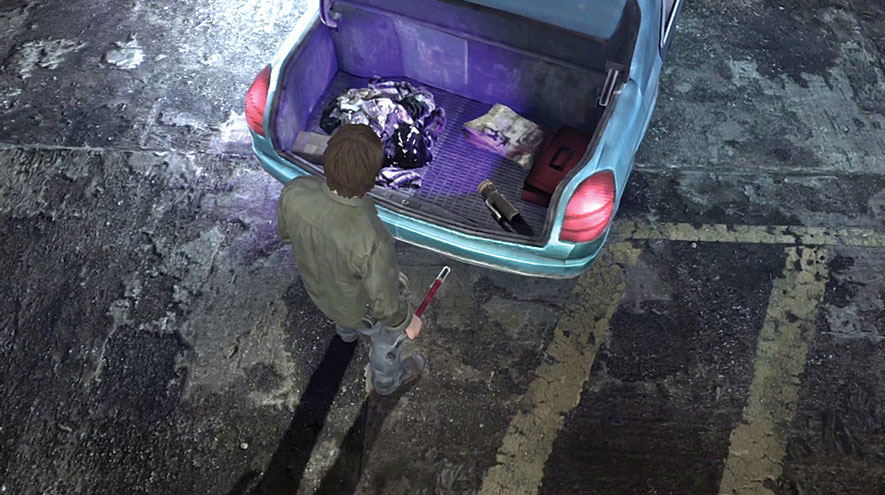
Open the police car’s trunk to find a Forensic Flashlight. Collect this item to replace the Flashlight in your Inventory. In addition to a standard light beam, the Forensic Flashlight can emit a UV beam. Certain clues only appear under UV light; be sure to take advantage of this function.
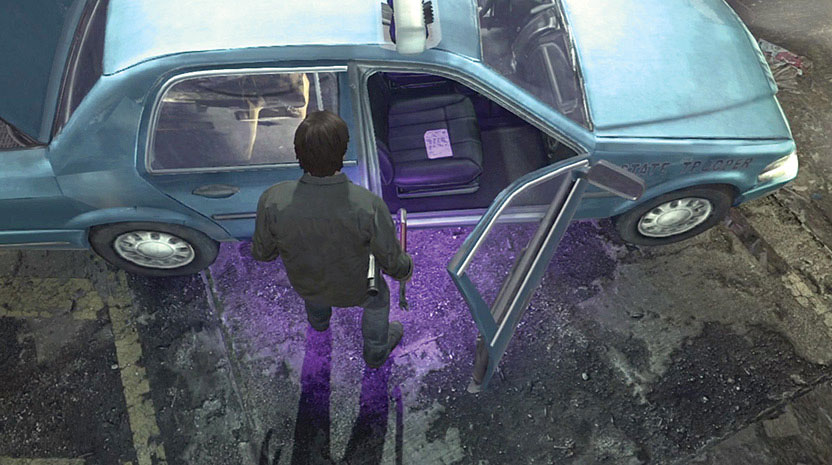
There’s a Mystery item located inside of the police car. Open the passenger door and collect the Internal Memorandum from the seat.
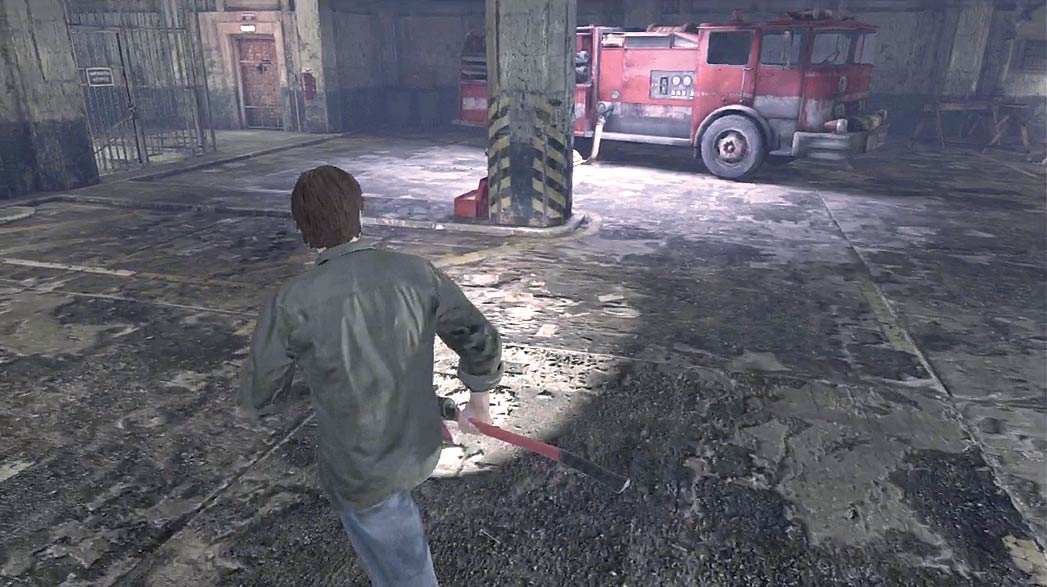
When you’re done exploring the garage, move to the fire truck at the north end of the garage. Use a Crowbar to remove the padlock from the nearby gate.
After you’ve opened the gate, you must find a way to remove the water from the flooded staircase. Examine the fire truck’s hose to trigger a short cutscene.
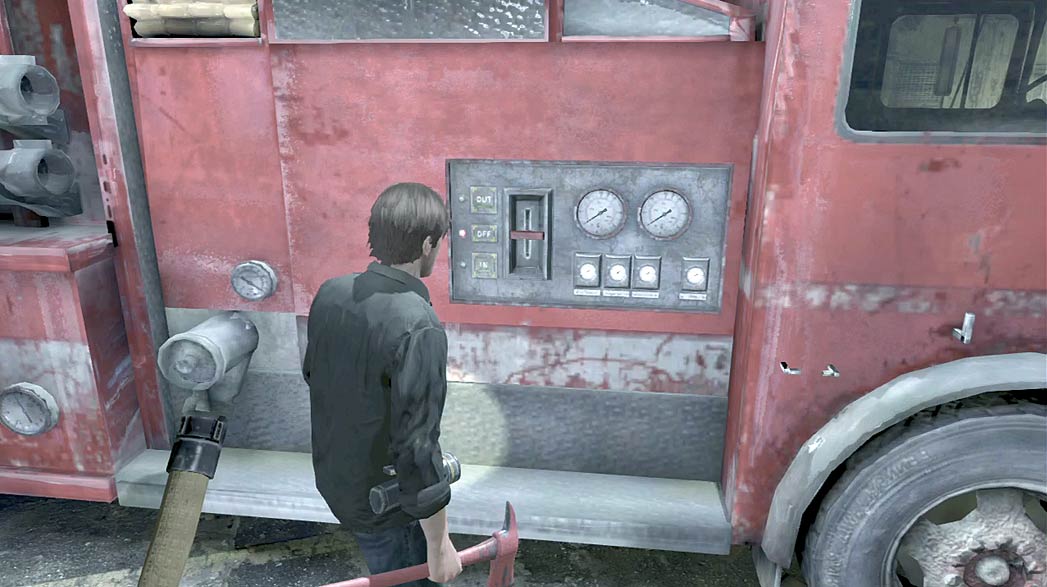
Once the hose is in place, use the fire truck’s pump controls to drain the flooded staircase.
Examine the bricks north of the flooded staircase to trigger a short cutscene.
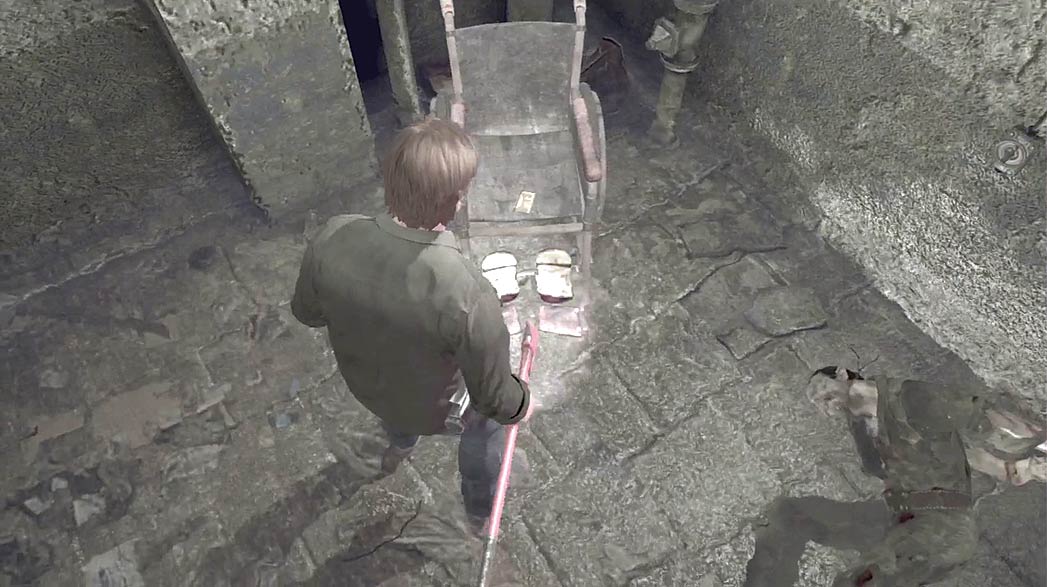
Head down the stairs and follow the path to the wheelchair at the end of the corridor. Collect the Security Card from the wheelchair, then return to the stairs and climb back up to the parking area.
Soon after you collect the Security Card, the corridor floods. Move quickly to stay ahead of the rising water. There are multiple Weeping Bats waiting in the parking area.
These creatures tend to attack from above, so always keep an eye on the ceiling. If you’ve got a decent supply of ammunition, consider using some of it to even the odds.
The weapons stashed around the garage can also cause decent damage when thrown. Each time a Weeping Bat drops down from the ceiling, run in and try to land a few hits before it springs out of reach.
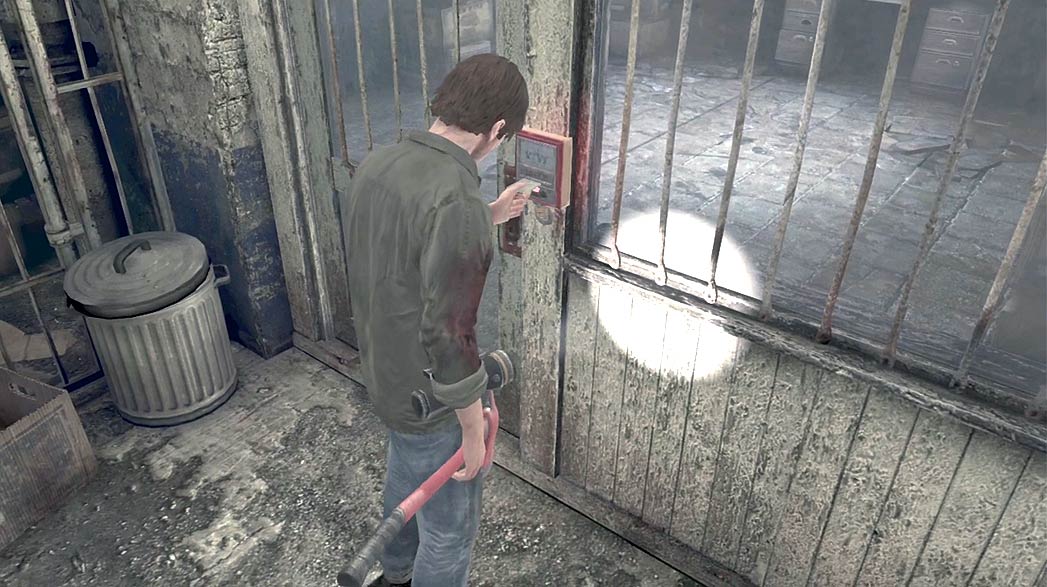
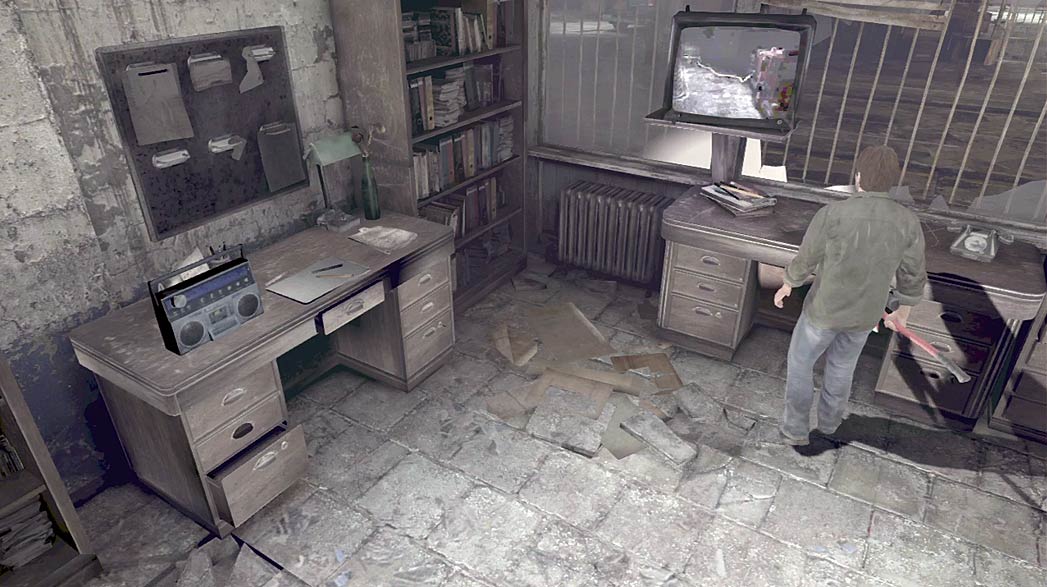
Use the Security Card to unlock the security office, then head inside and activate the gate controls to open the path to the elevator.
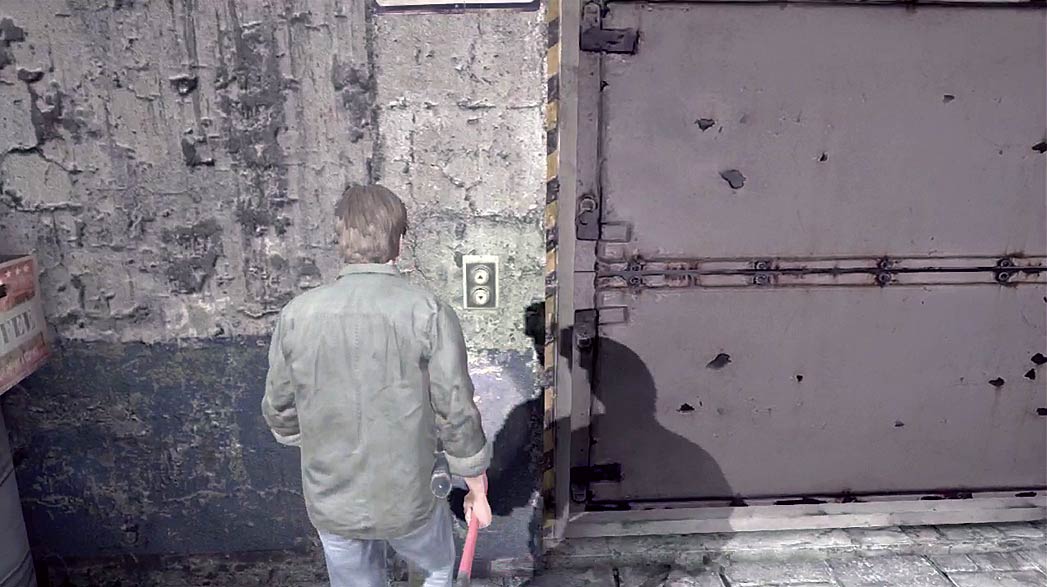
When you’re ready to continue, use the call button to summon the elevator. After it arrives, step inside and press the button on the back wall.
Storage
.jpg)
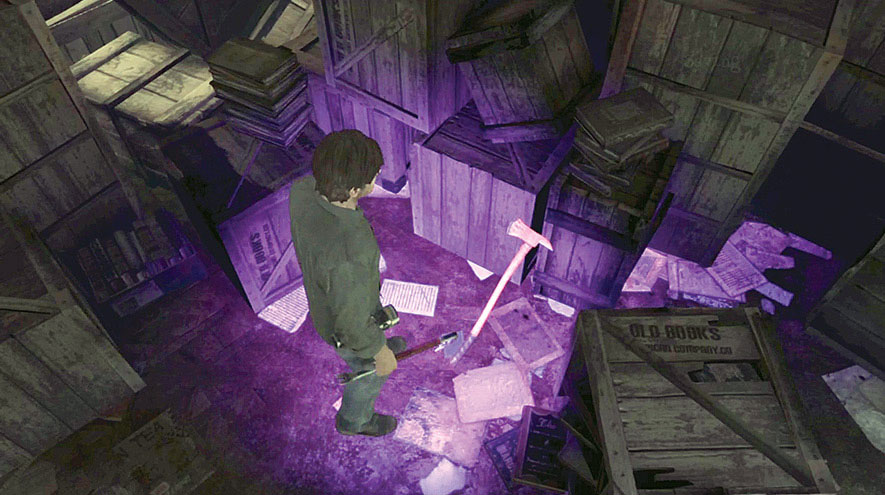
When you reach the storage area, step off of the elevator and search near the crates to your right. Grab the Fire Axe and turn around to follow the path along the edge of the room.
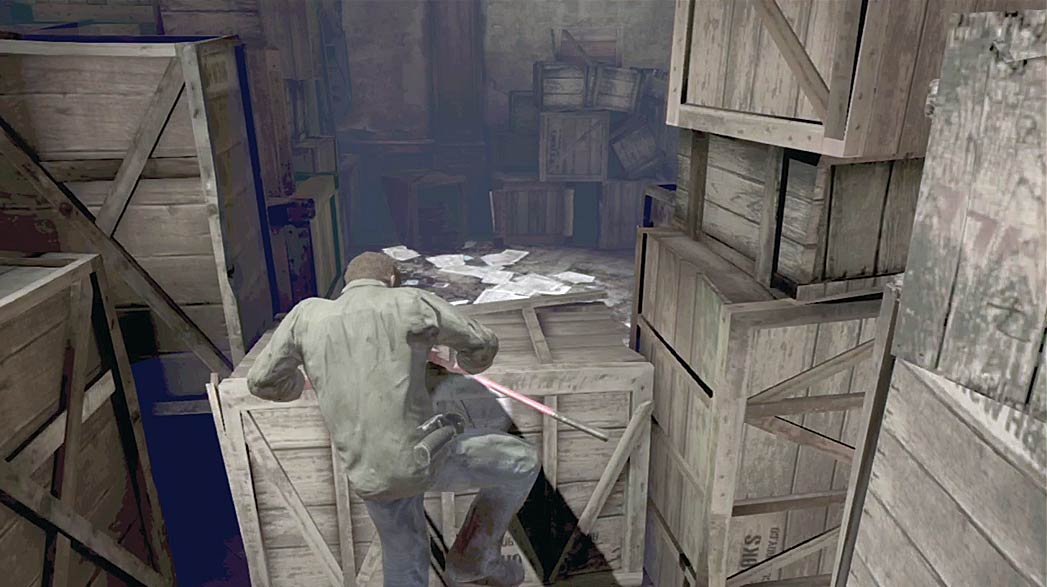
When you reach the end of the path, approach the toppled crate to automatically climb over it.
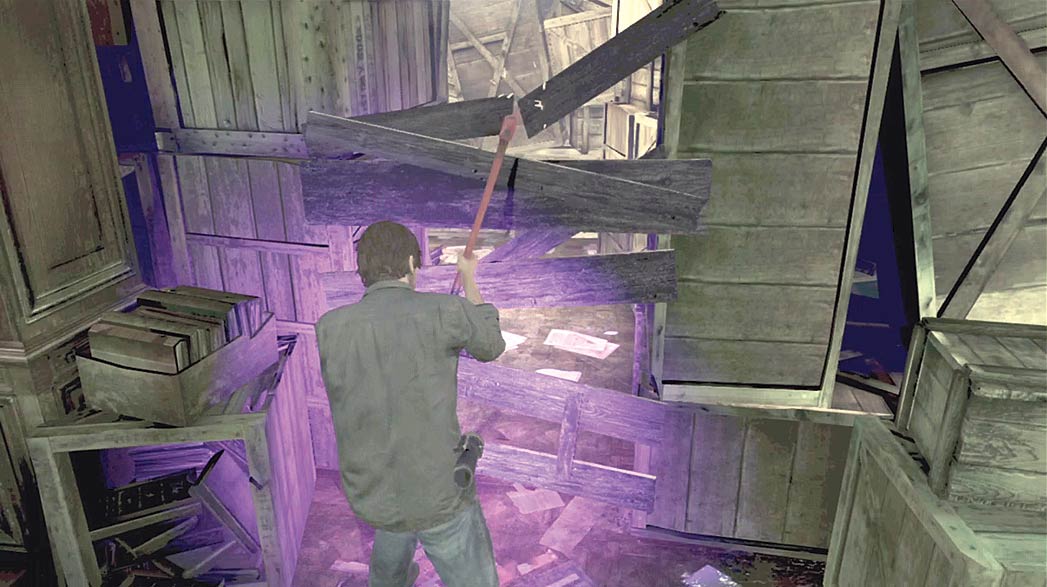
Use the Fire Axe to clear away the barricade, then follow the path through the rest of the storage area.
A Screamer is hidden just past the boards. Be prepared to defend yourself.
|
|
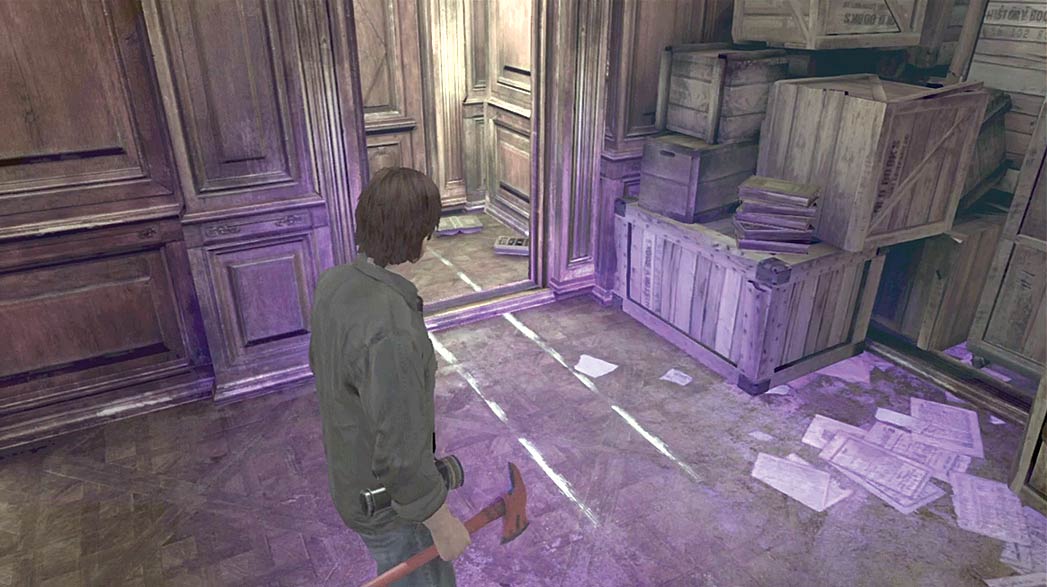
Use your UV beam to find a set of drag marks leading into the library.Before you leave the storage area, examine the nearby crates.

When you find the movable crate, push it toward the back wall to reveal a hidden area. After you search the area, return to the library entrance and head inside.
Library
.jpg)
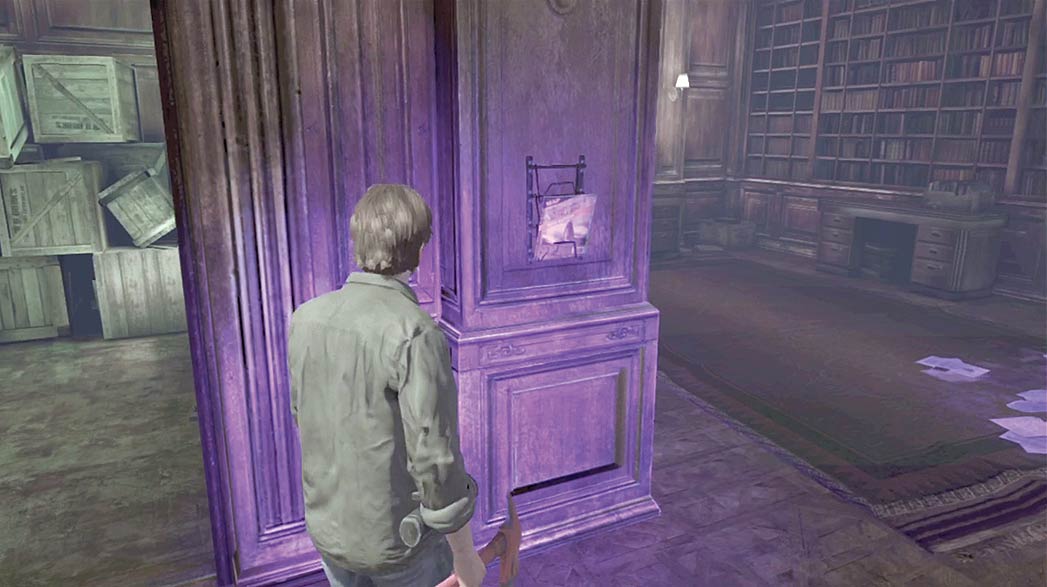
When you enter the library, veer left to find another set of Centennial Building maps on the wall.
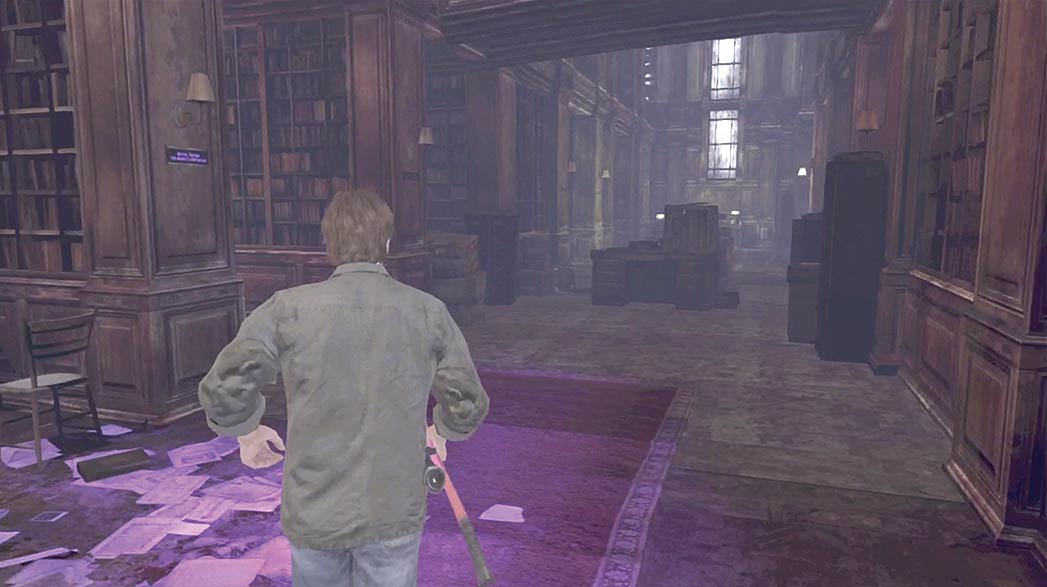
As you explore the library, make sure your Forensic Flashlight’s UV beam is active. Search each area for interesting items and hidden clues.
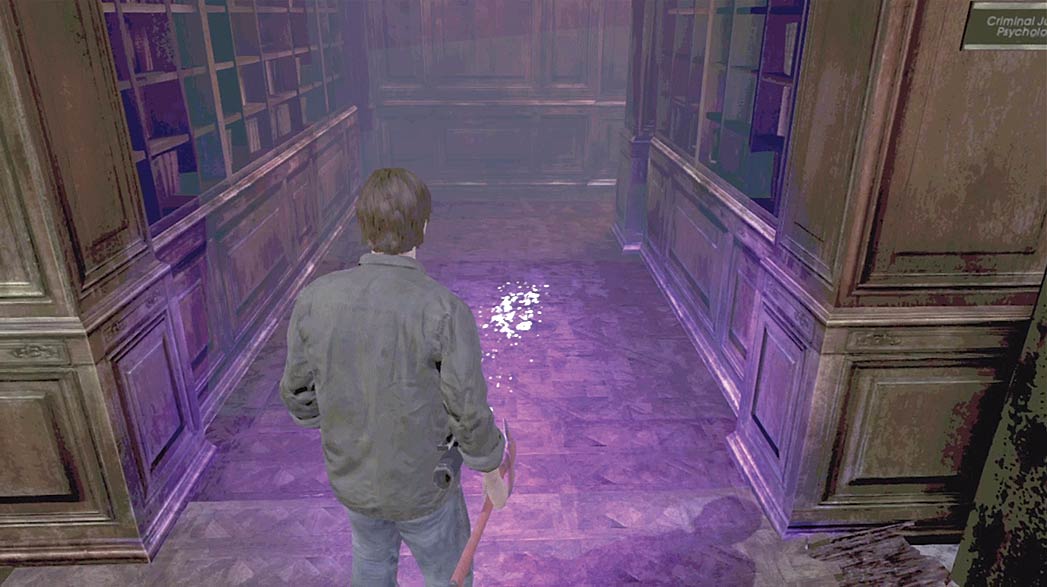
Search the stacks along the library’s south wall to find a blood spatter on the ground. Follow the path between the books to find hidden area.
There’s a Weeping Bat hidden just past the blood spatter. Be ready to defend yourself.
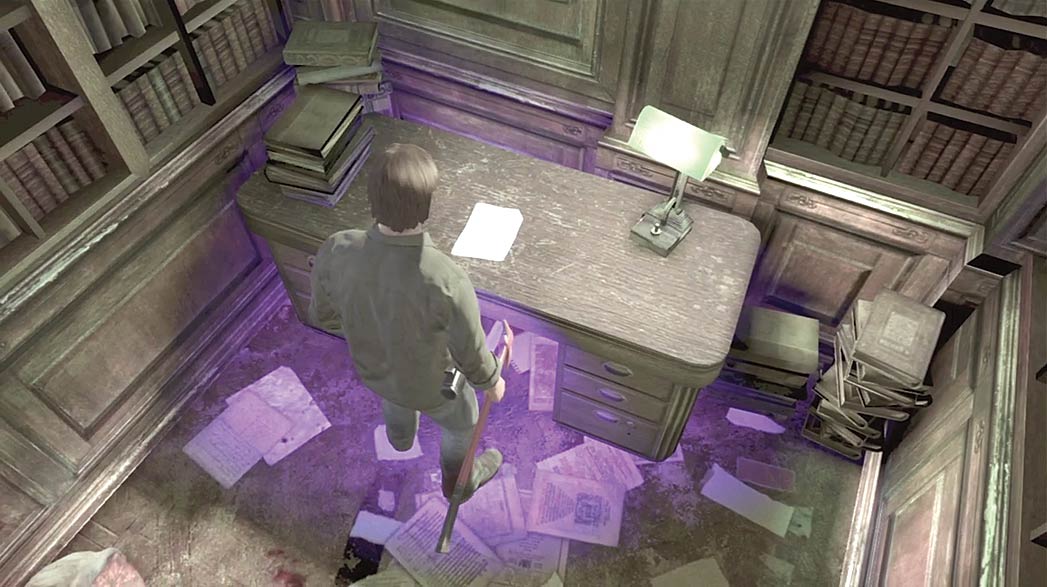
When you reach the desk hidden behind the stacks, collect the Mystery item to add the Incident Report to Murphy’s Journal.
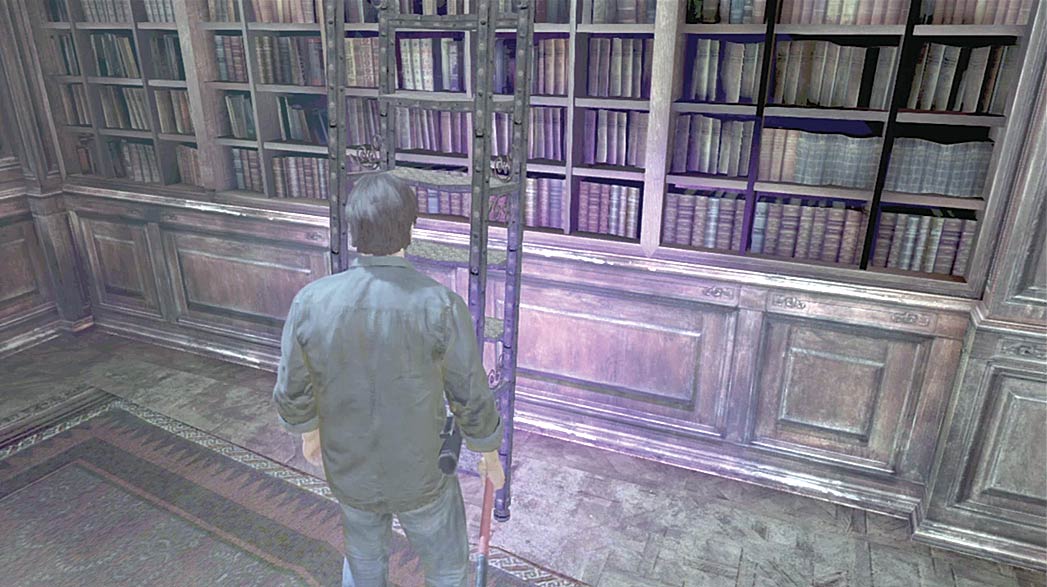
When you’re finished exploring the library, find the rolling ladder near the end of the stacks. Push the ladder into place, climb up to the second floor, and follow the path to the antechamber at the end of the stacks.
Video Archive
Room 207
.jpg)
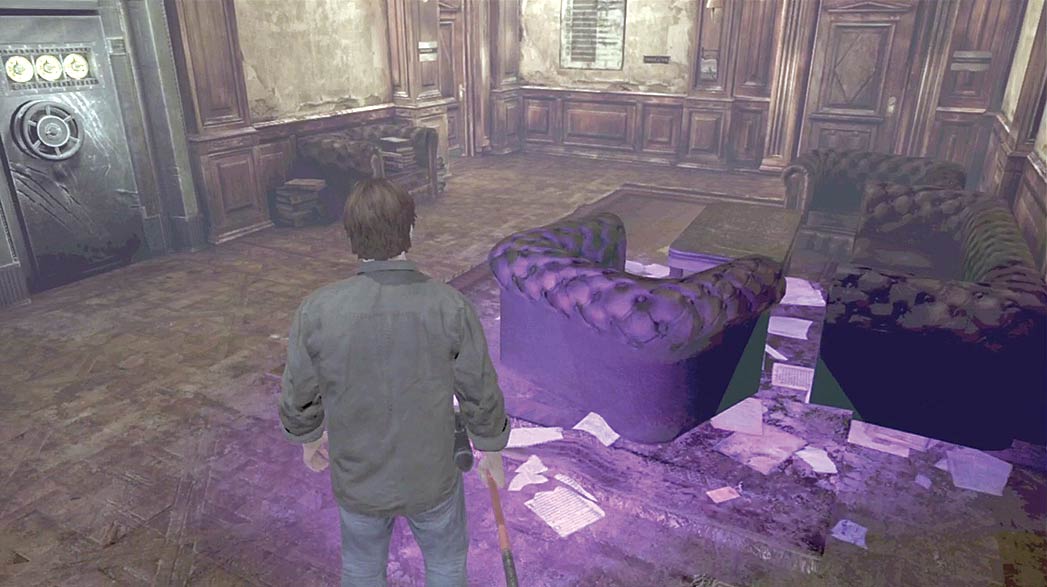
The second floor antechamber is essentially a hub connecting the Centennial Building’s library, vault, video archive, and offices.
Before you enter the video archives, use the Forensic Flashlight’s UV beam to search the antechamber for hidden clues.
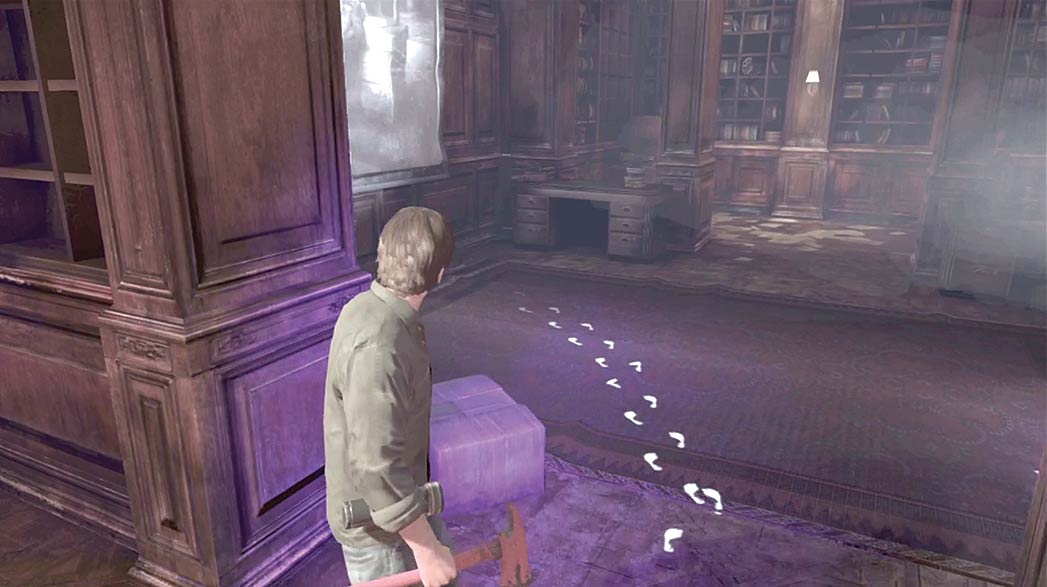
When you’re ready, enter the video archive and follow the footprints to the projector screen.
When you first enter the video archive, the projector screen is displaying a picture of the mayor. Aim a UV beam at the top of the image to reveal the mayor’s office number.
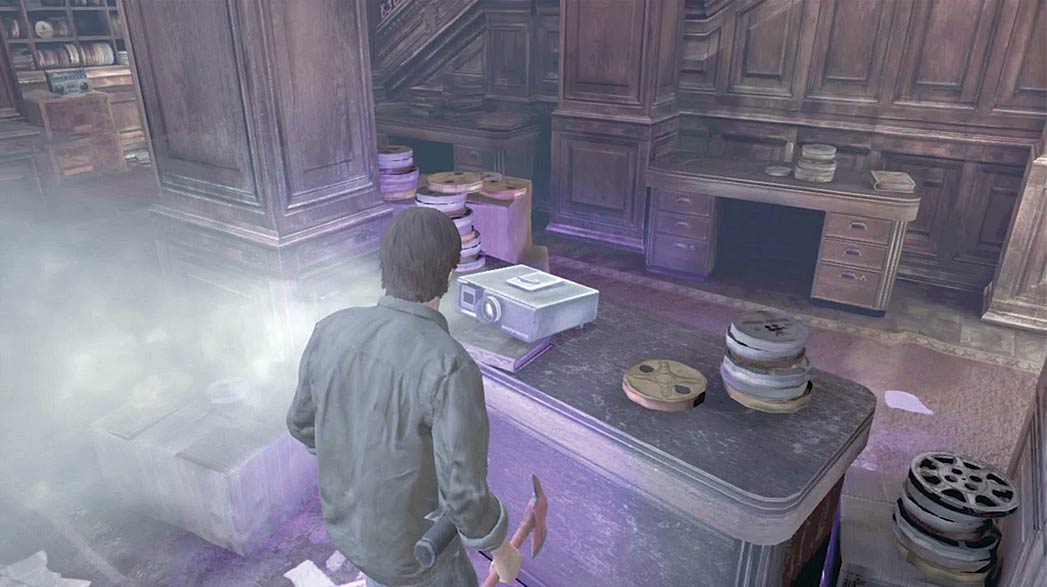
The video archive contains some important items. Take note of the slide projector in room 207, then use the nearby stairs to climb up to room 307.
Before you can use the slide projector, you must collect the Slides from the mayor’s office (room 200) on the other side of the building.
Room 307
.jpg)
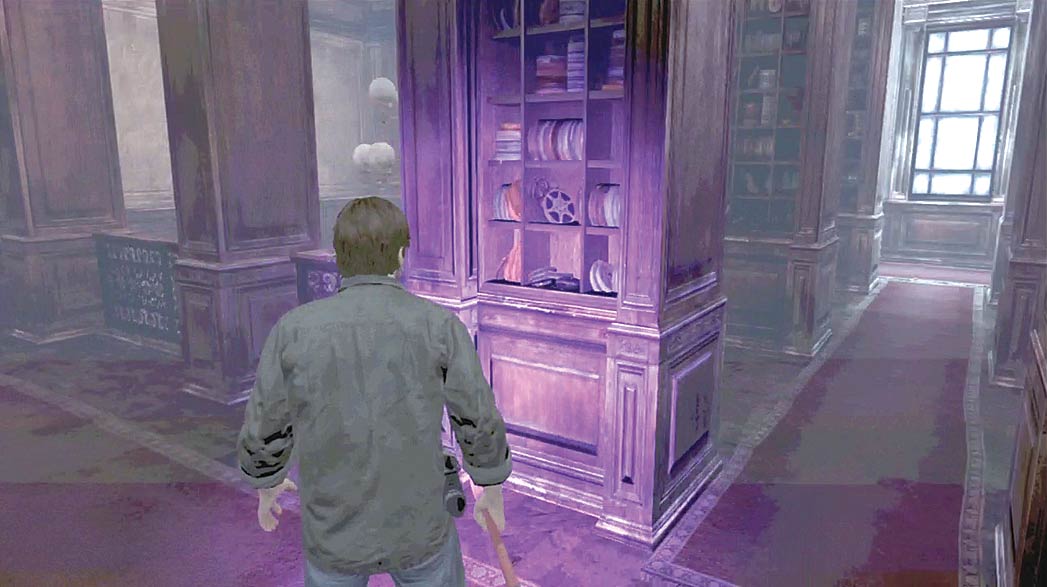
Room 307 is essentially a mezzanine that overlooks the rest of the video archive; as such, the layout is fairly simple.
Search the shelves lining the walkway for useful items and hidden clues. When you’re ready to move on, head back downstairs and return to the antechamber.
Main Hall—Second Floor
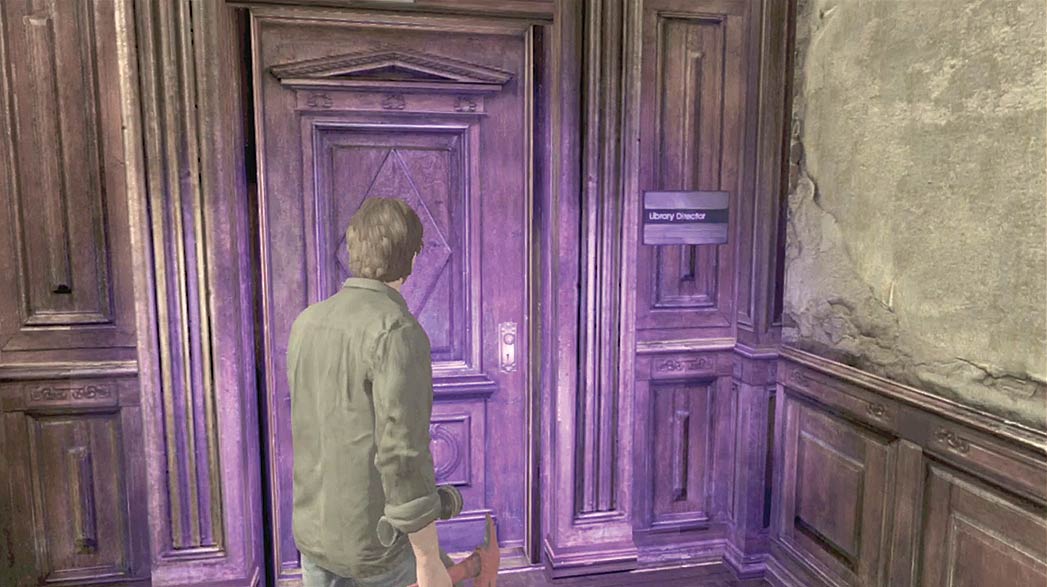
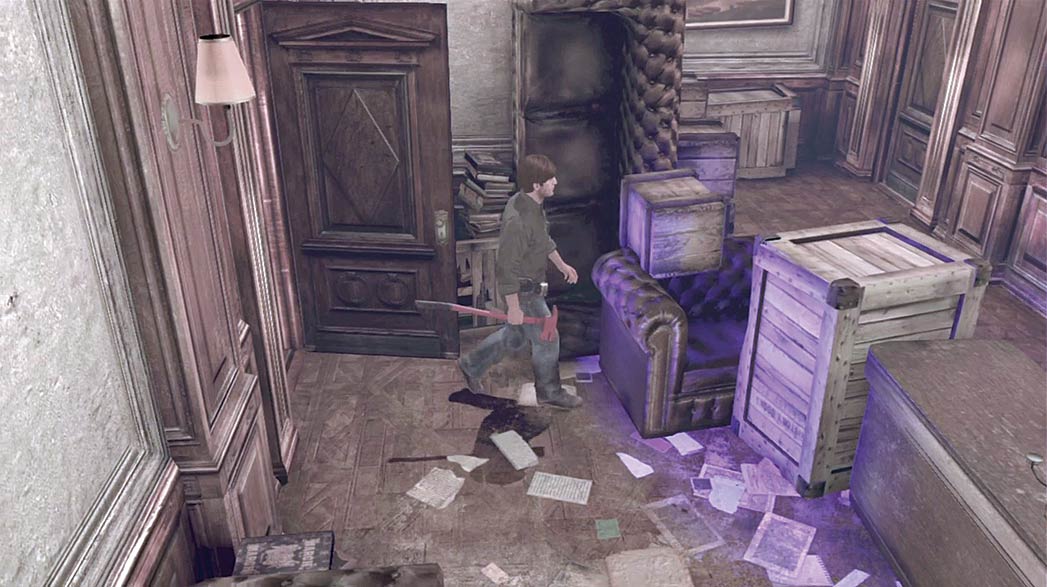
When you’re ready to continue, enter the library director’s office (room 208) north of the antechamber. Follow the path around the crates and furniture at the center of the office.
Pass through the door across the room to enter the main hall.
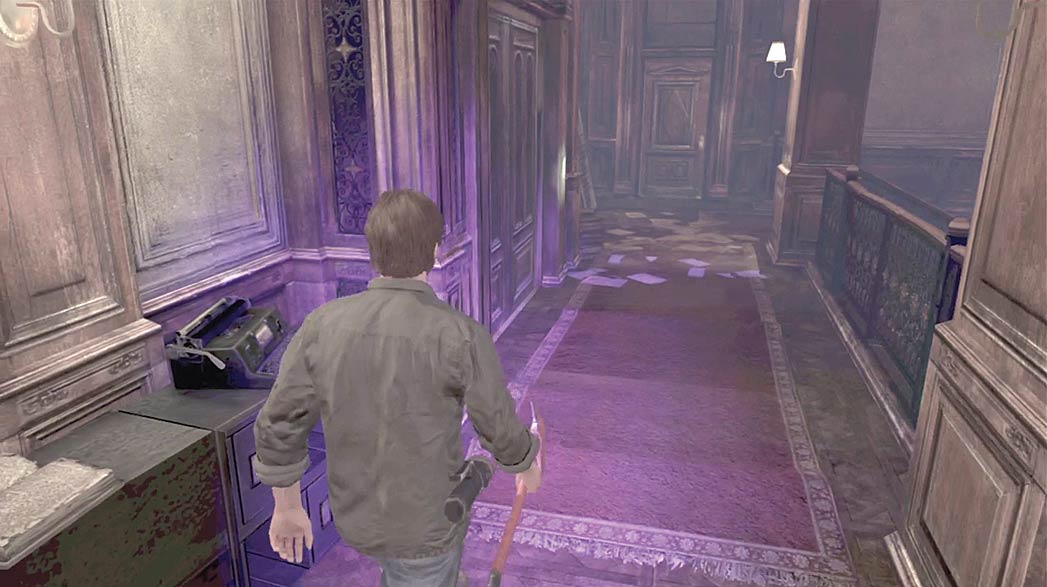
The second floor’s main hall is essentially a walkway overlooking the first floor’s main hall.
The building’s central elevator is located along the wall to your left and the second-floor offices are through the door ahead of you.
The stairs across the hall lead down to the first floor.
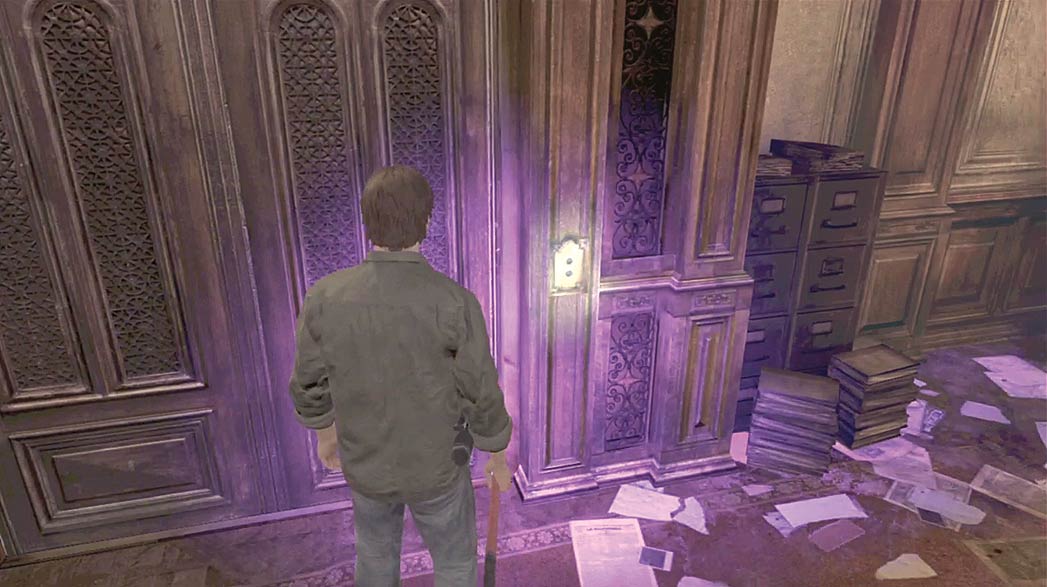
At this point, the building’s central elevator is unresponsive. You must find a way to reactivate the elevator before you can use it.
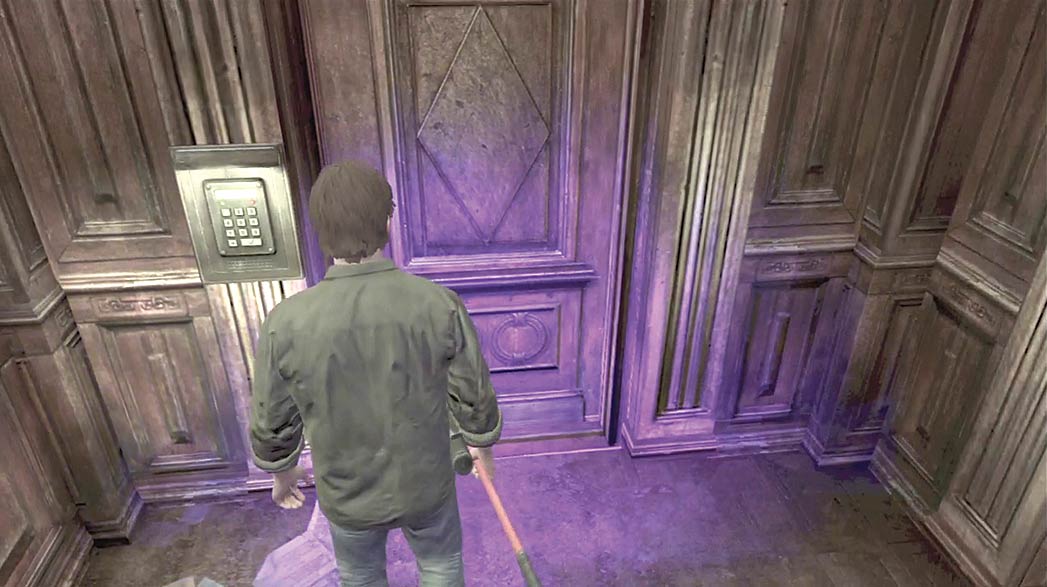
Continue past the elevator and enter the door across the hall. This small room contains a keypad. Before you can search the second-floor offices, you must obtain the appropriate code.
Return to the main hall and take the stairs down to the first floor.
Offices—First Floor
.jpg)
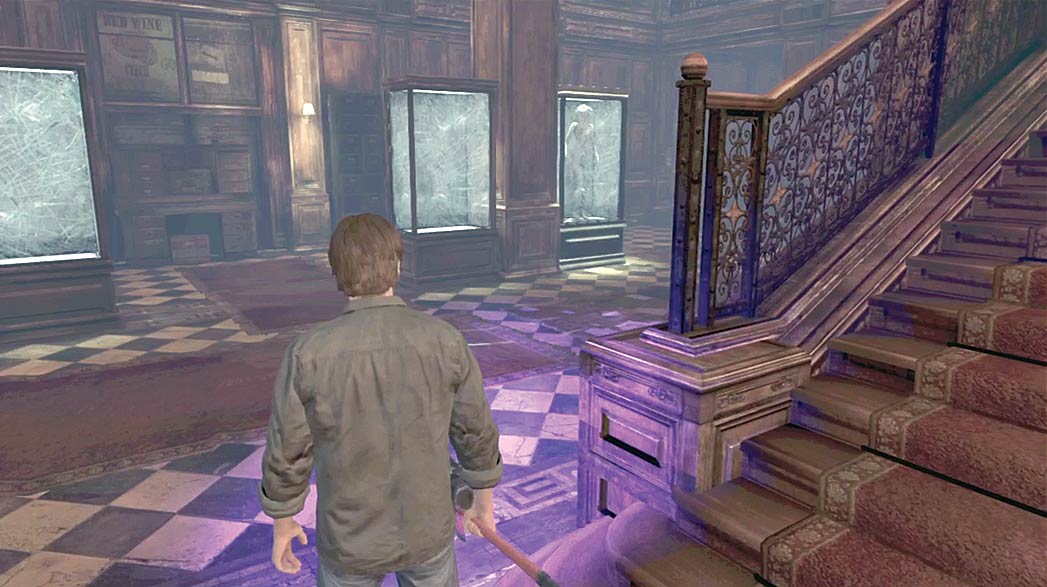
When you reach the bottom of the stairs, turn right and use your UV beam to reveal the drag marks on the ground.
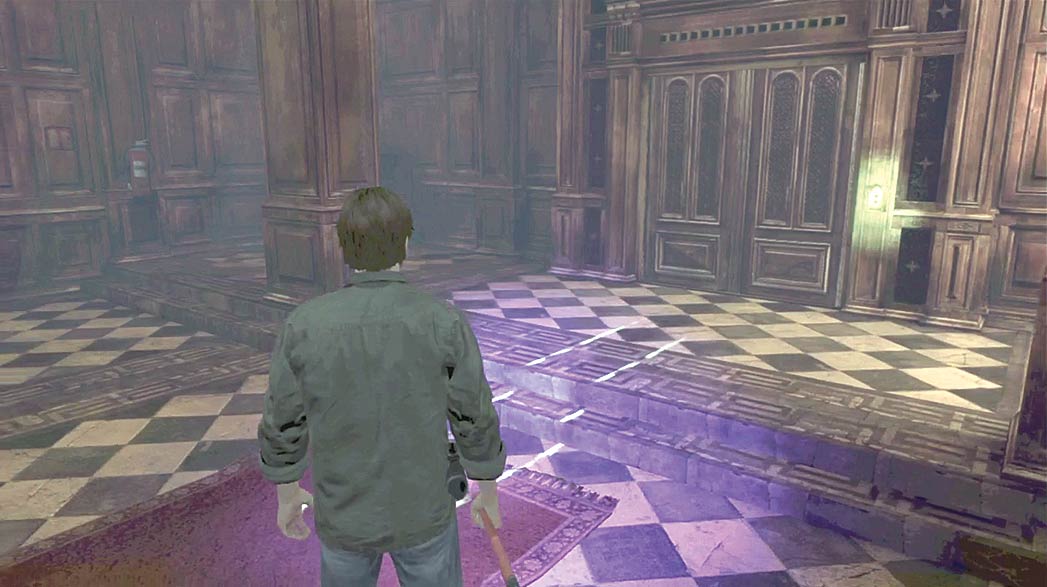
Follow the drag marks to the elevator, then head through the door on your right. Follow path through room 106 and into the office hallway.
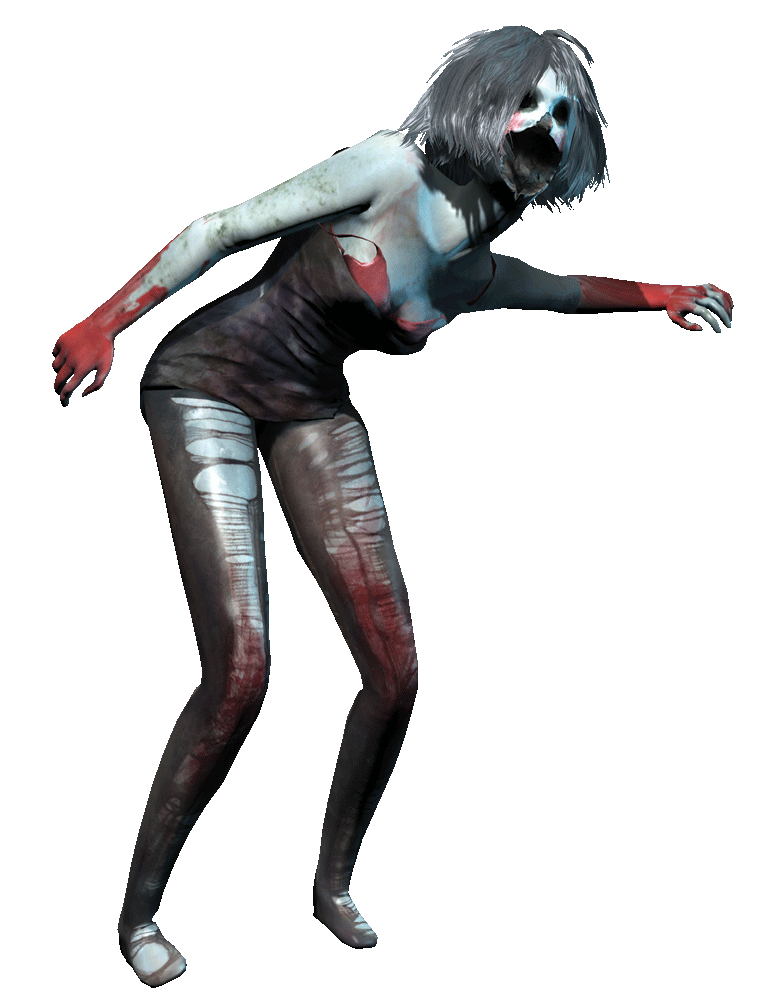
As you approach the elevator, a Doll bursts out of the nearby display case. Attacking Shadows are much easier to see in UV light; if you choose to fight, make sure your Forensic Flashlight is set to emit its UV beam.
If you prefer a quick escape, keep in mind that you’ll eventually return to this area.
There’s a second Doll in a display case at the main hall’s south end. If you choose to explore the area at this time, be ready to defend yourself from additional attacks.
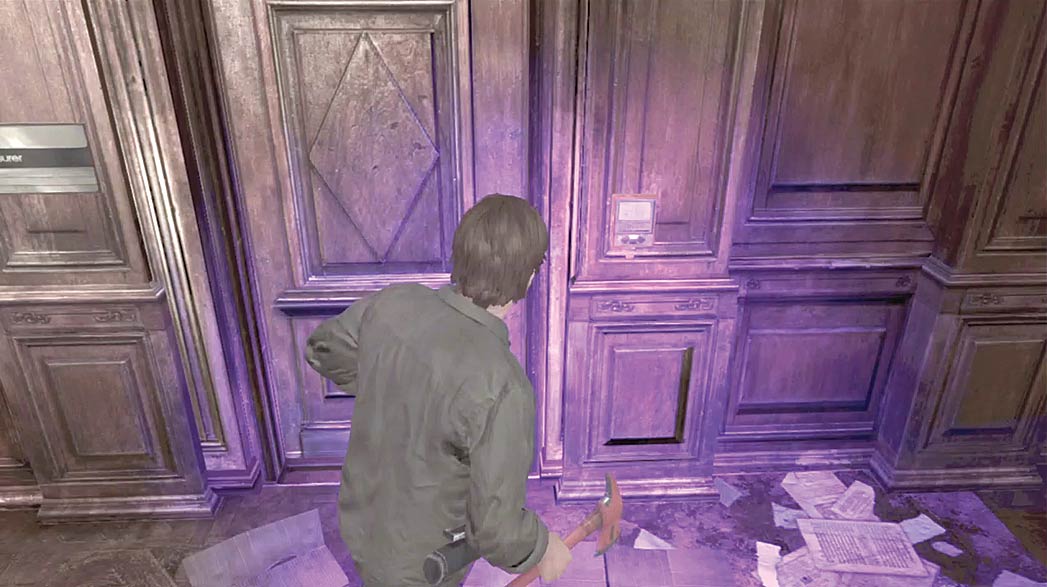
As you exit room 106, look for the card reader across the hall. The door to room 105 is locked; search the nearby offices for the means to open it.
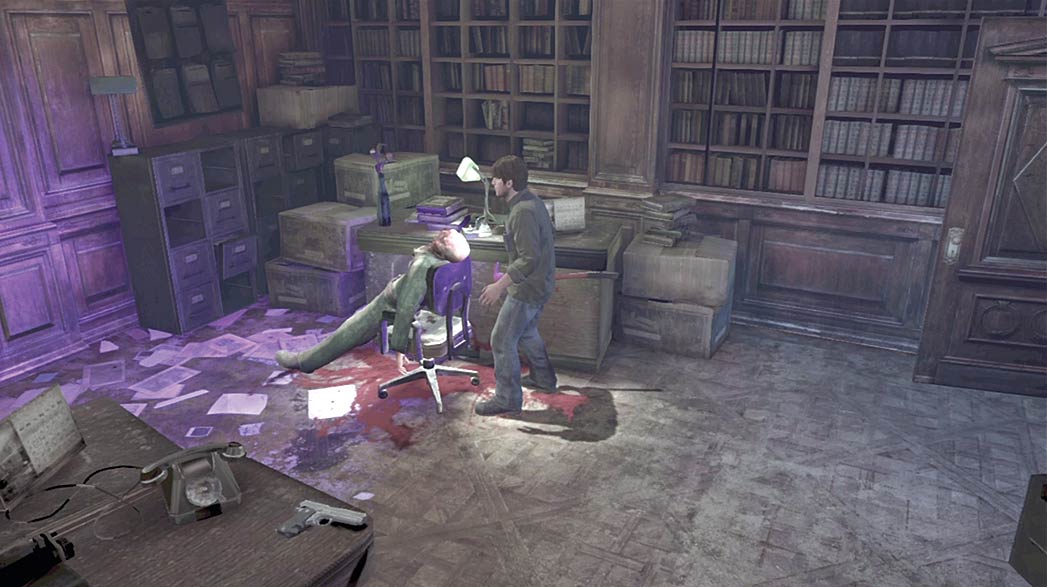
Examine the body in room 104 to add an ID Card to your inventory. Before you leave, collect the Colt from the nearby desk.
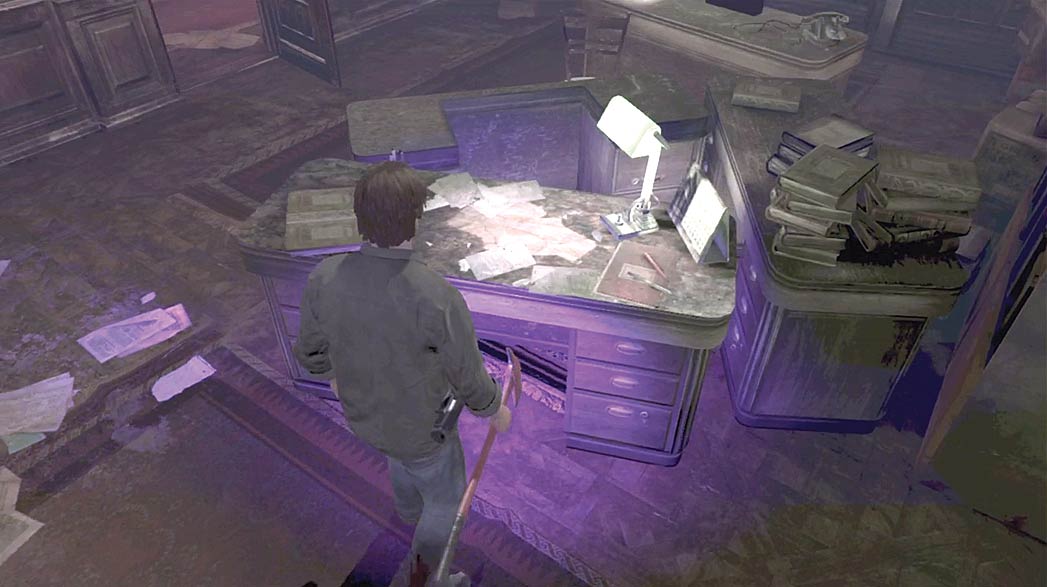
Return to room 105 and use the ID Card to open the door. Search the room to find some envelopes on one of the desks, then arrange them to reconstruct a series of numbers.
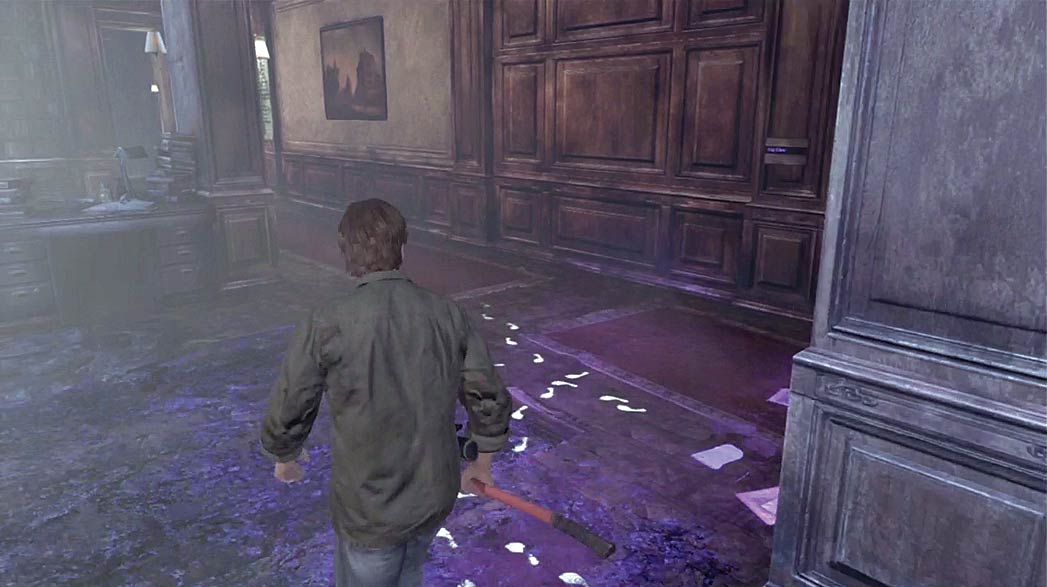
The code you obtained in room 105 unlocks the door blocking the second-floor offices; there are still some rooms to explore in this area, however.
Use the UV light to search for clues in and around the office hallway.
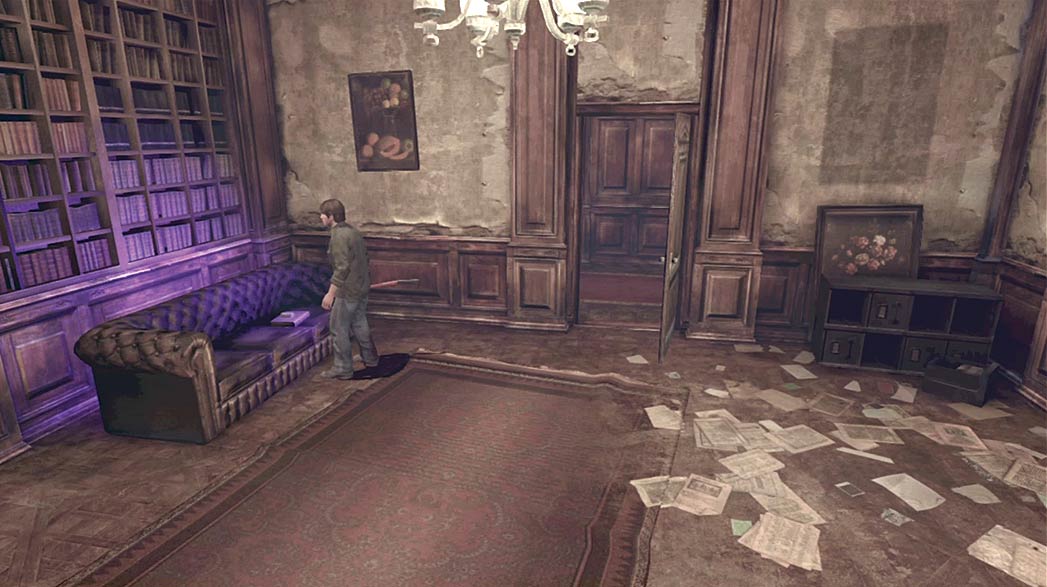
When you reach room 101, collect the box of Pistol Bullets from the couch. Follow the path through room 102 to return to the first floor’s main hall.
As you leave room 102, the second Doll in the main hall bursts out of its display case. Be ready for its attack.
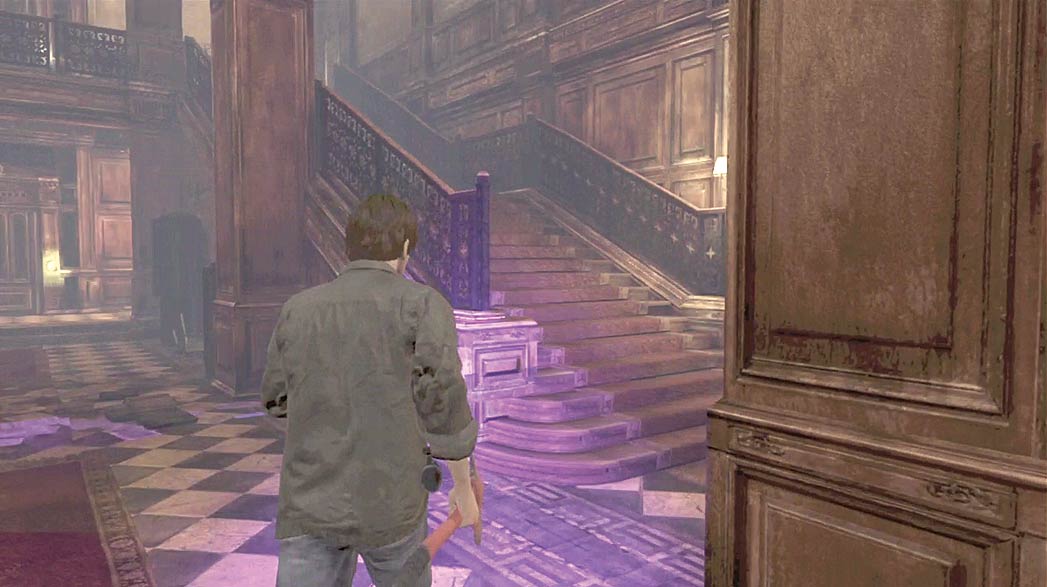
When you’re finished exploring the first floor’s main hall, climb the stairs back up to the second floor.
Offices—Second Floor
.jpg)
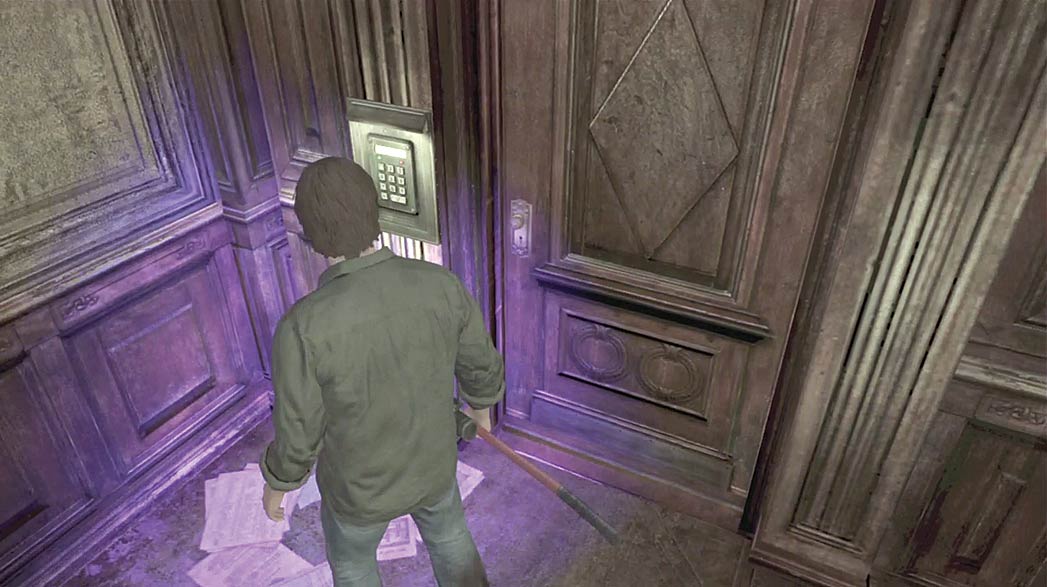
Return to the keypad at the north end of the second floor’s main hall and input the code you obtained from the envelopes in room 105 (851136).
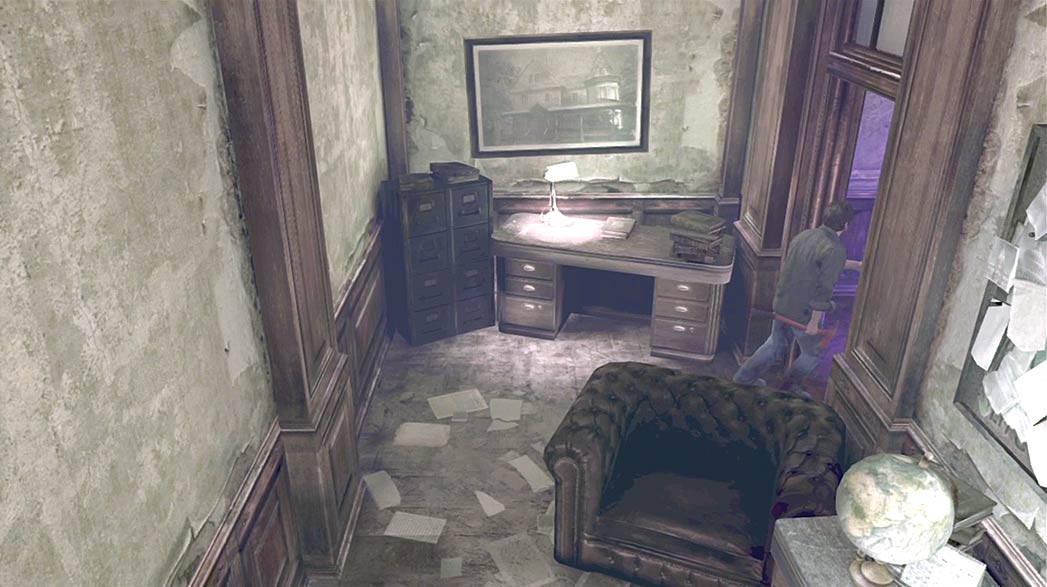
Open the door and follow the path through room 205 and out to the office hallway.
There’s a Screamer waiting in the office hallway. Move quickly to interrupt the creature’s first attack, or duck back into room 205 to draw the Screamer out of the hallway.
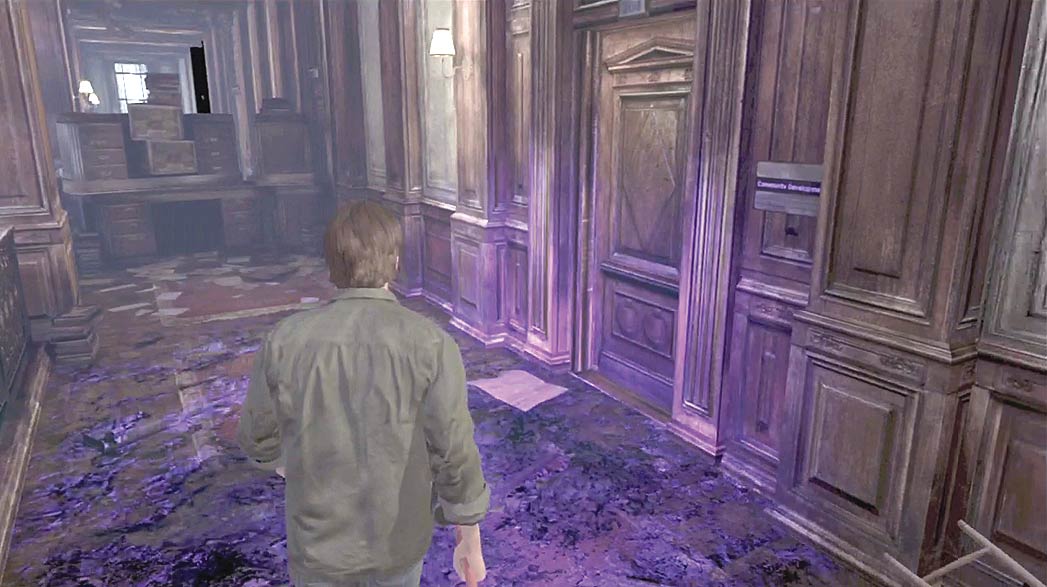
A barricade in the office hallway is blocking your path to the mayor’s office. Enter room 204 to find an alternate route.
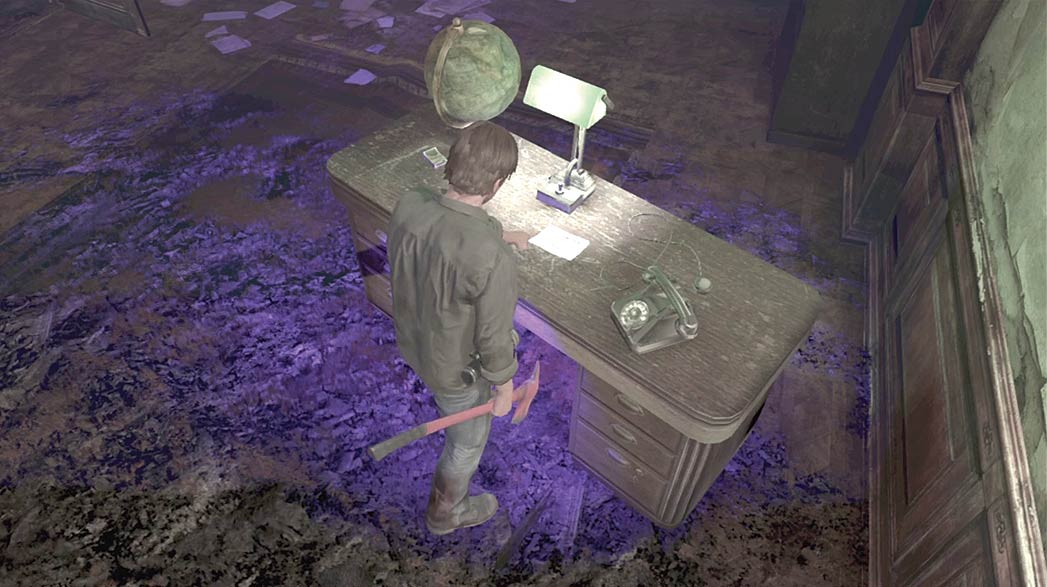
Examine the desk in room 204 to collect a Mystery item and add the Psychologist’s Flyer to Murphy’s Journal, then turn around to examine the stack of furniture behind you.
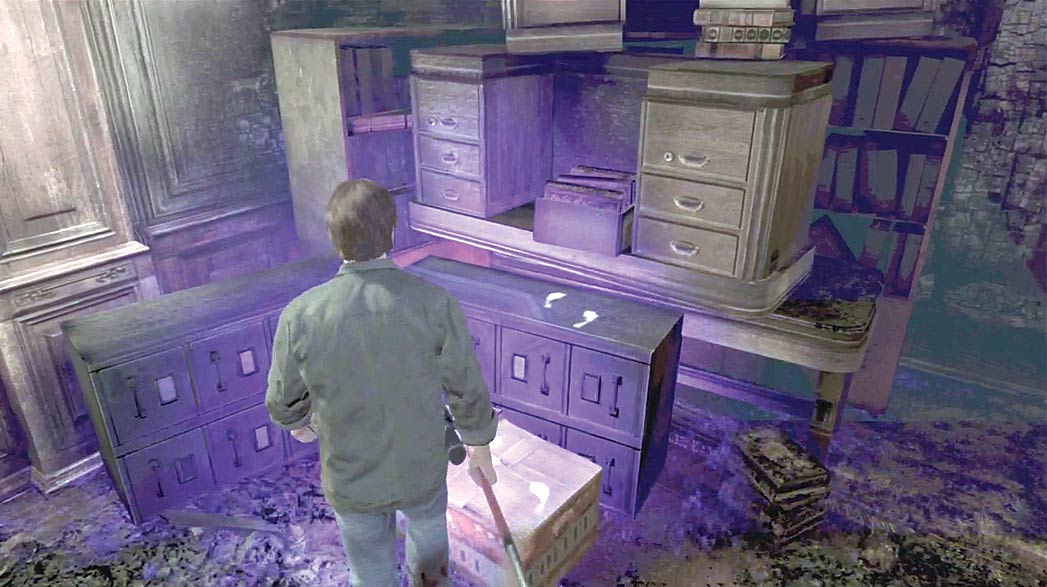
When you’re ready, climb up the stack of furniture, through the hole in the ceiling, and into room 305.
Offices - Third Floor
.jpg)
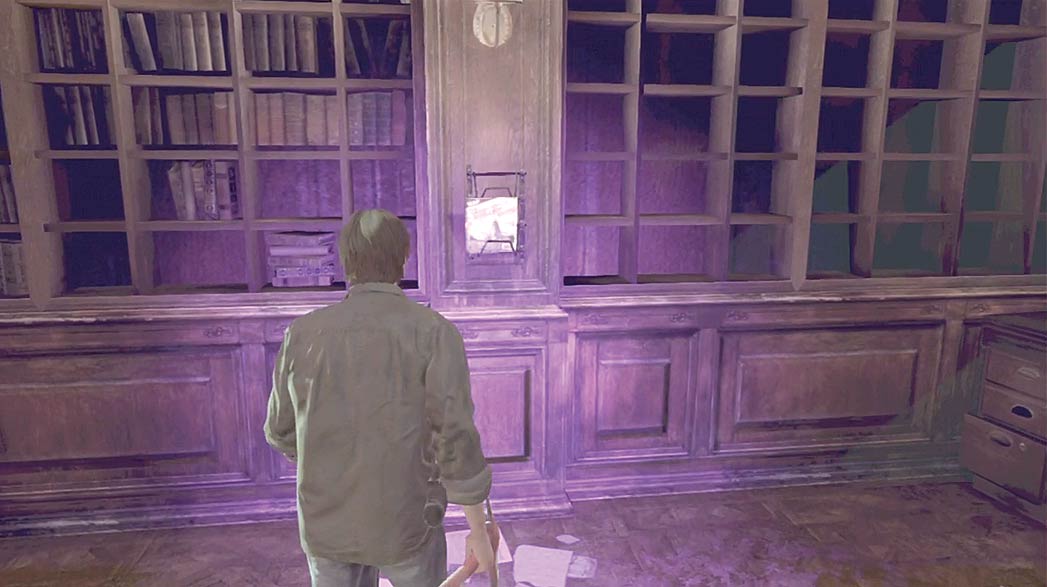
When you reach room 305, search the west wall to find another set of Centennial Building maps. Climb through the hole in the north wall and follow the path through the area.
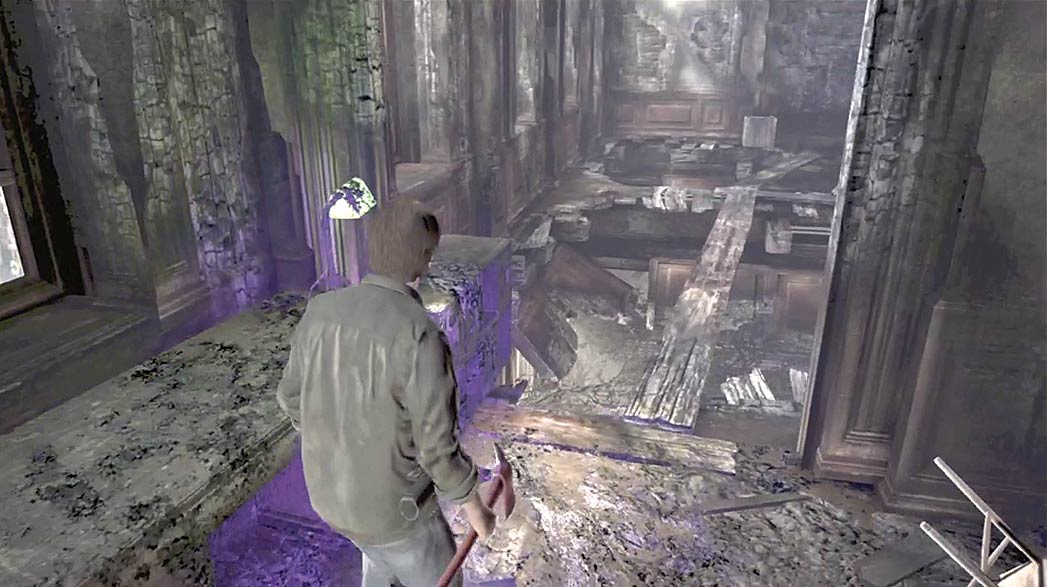
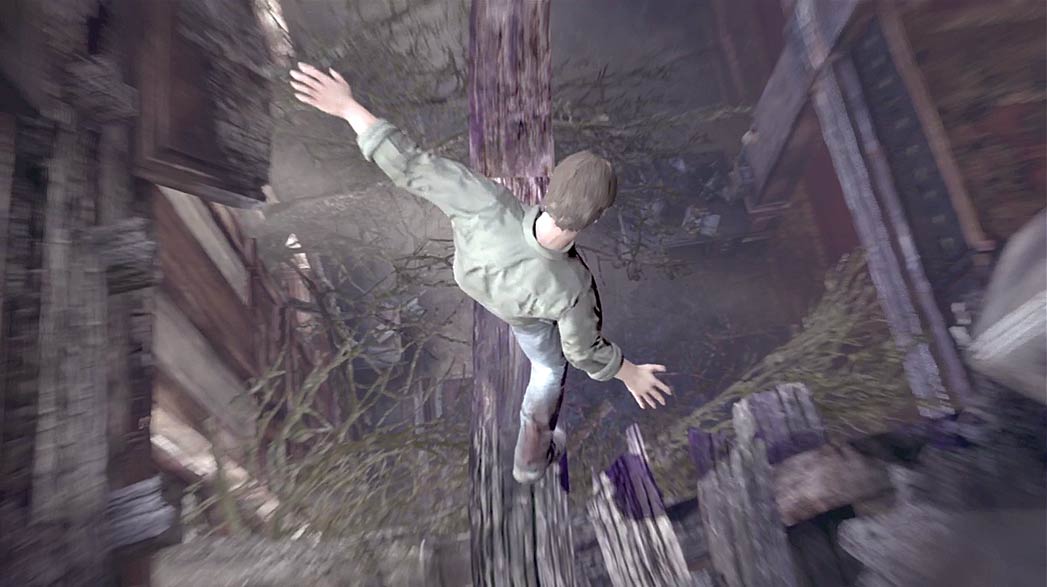
Follow the path across the hall, through the remains of room 304, and over the exposed floor planks.
There’s a Doll hiding in room 303. As you reach the end of the planks, prepare to defend yourself from attacking Shadows.
|
|
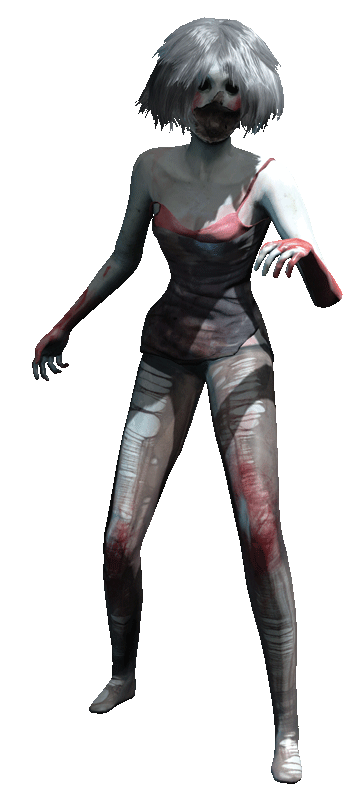
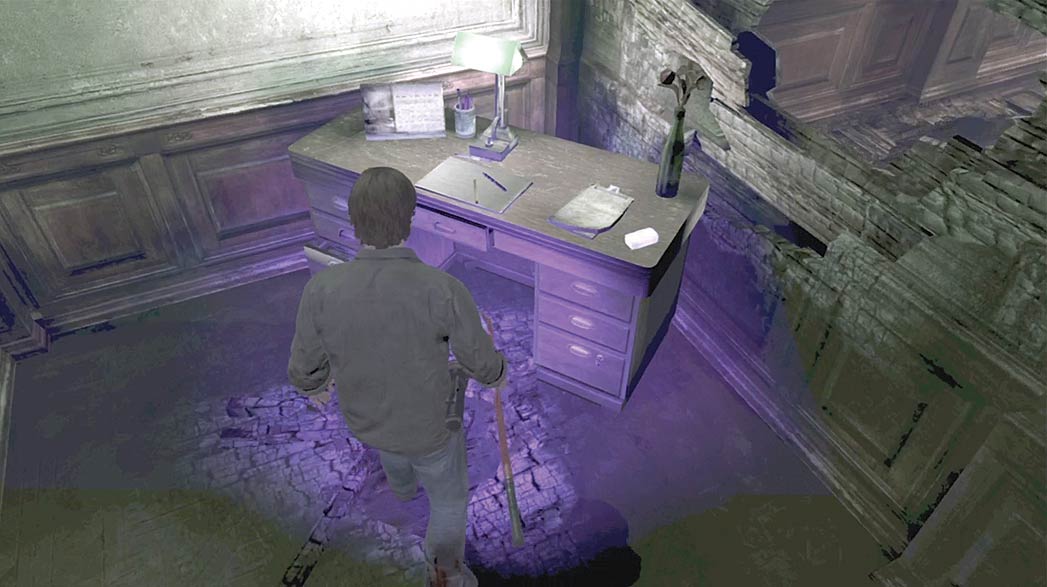
Before you follow the path through room 303, enter the small, unmarked office to the west and grab the Pistol Bullets on the desk.
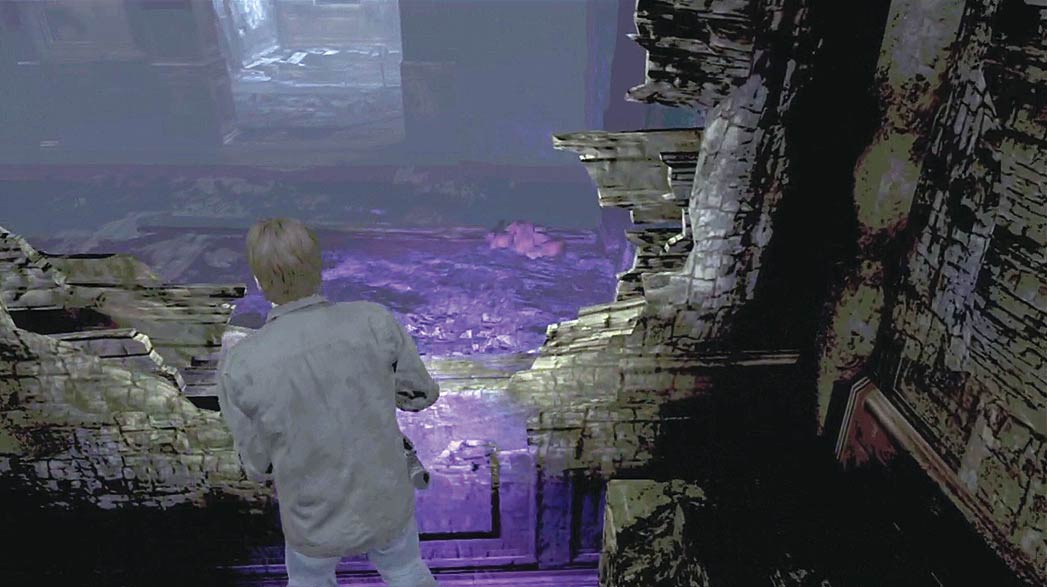
When you’re ready to move on, enter room 303 and climb through the hole in the east wall.
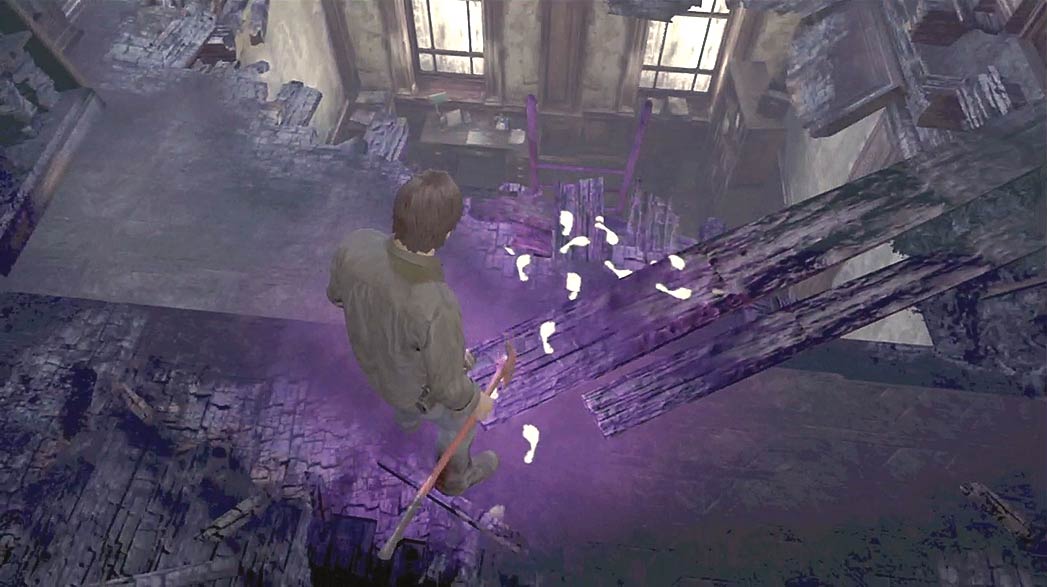
Follow the path through the remains of room 302 to find a hole in the floor of room 301. Climb down the ladder into room 201. The mayor’s office (room 200) is located just across the hall.
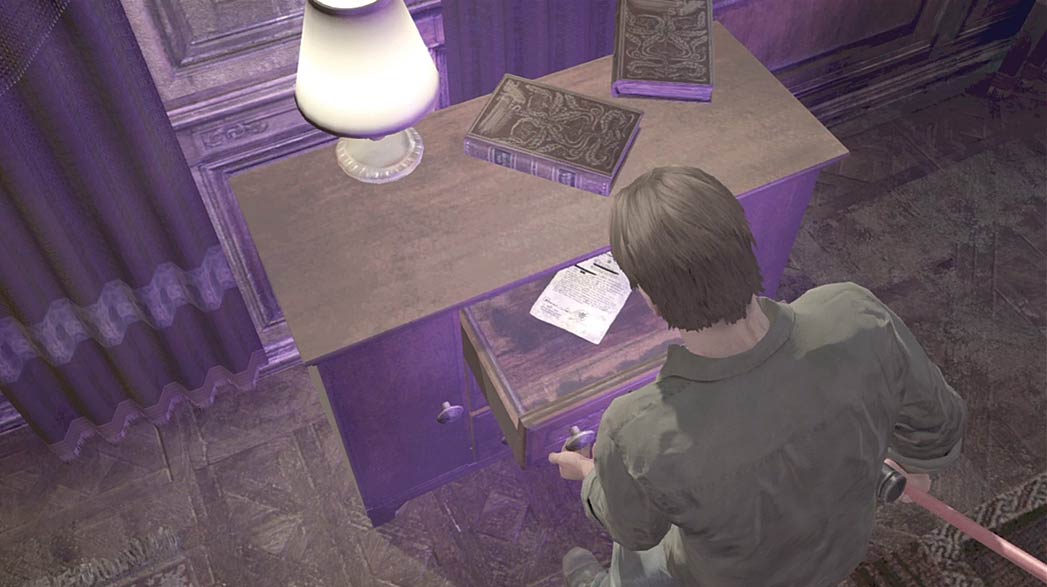
Enter room 200 and search the drawers along the north wall. Collect the Mystery item inside to add the Psychological Report to Murphy’s Journal.
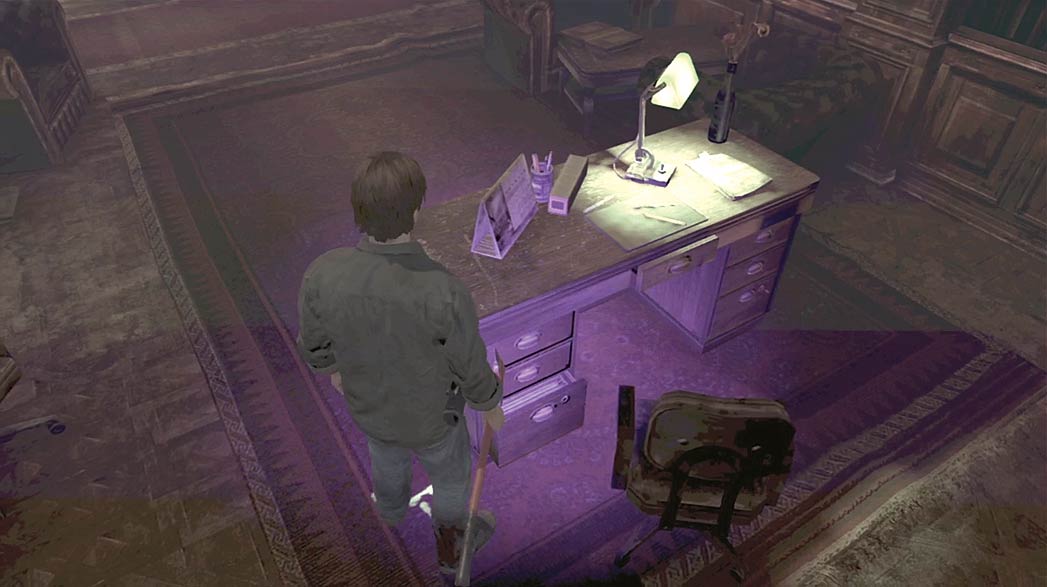
Collect the Slides on the mayor’s desk, then return to room 201 and climb back up to the third floor.
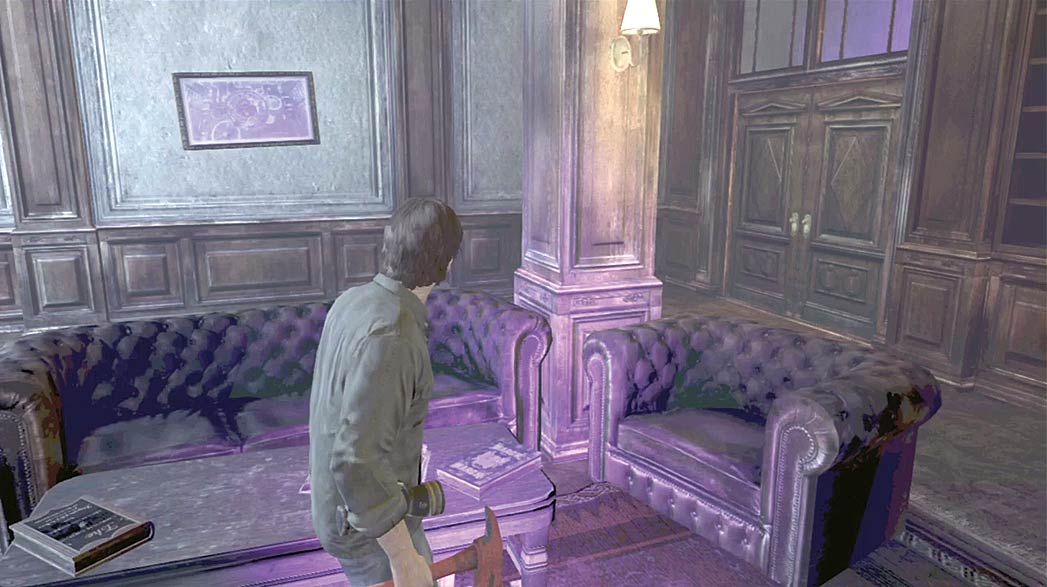
Pick up the trail at the top of the ladder and follow it into room 306. When you’re done searching the area, open the double doors to enter the third floor’s main hall.
There are two Dolls in the main hall. Before you open the doors, make sure you’re equipped to fight off multiple Shadows.
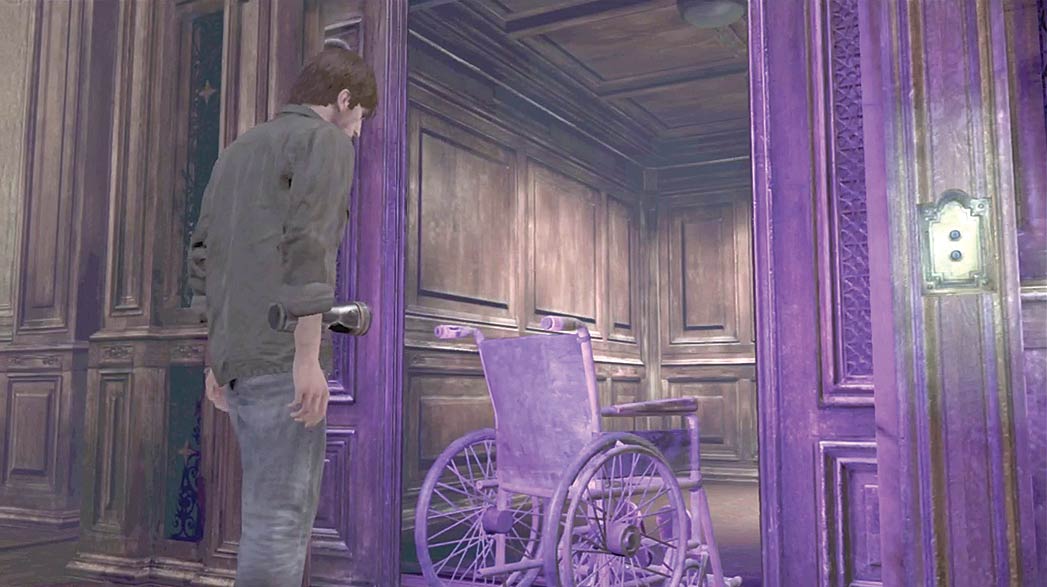
When you’re done exploring the third floor, remove the wheelchair wedged in the elevator doors. Now that the elevator is operational, ride back down to the second floor.
Vault
.jpg)
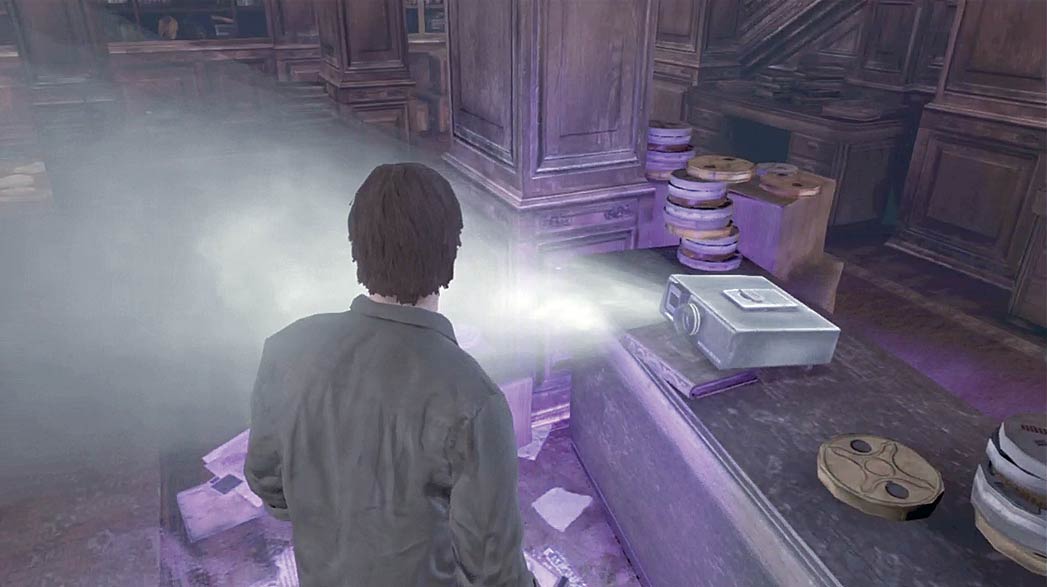
The Slides you collected from the mayor’s office contain all of the information needed to open the vault. Return to the video archive and insert the Slides into the projector.
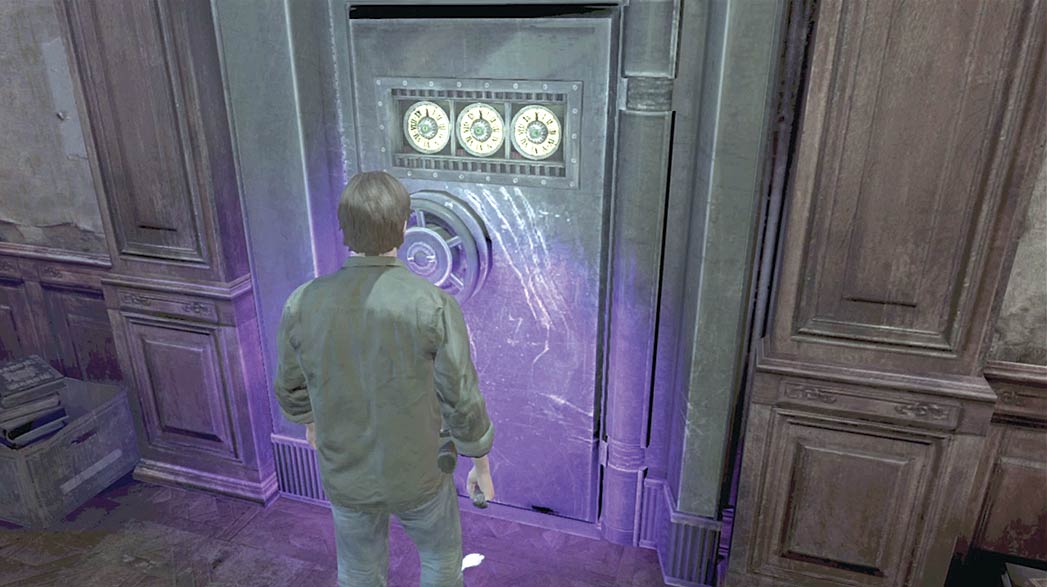
Use the images on the projector screen to determine the vault door’s combination. When you’re ready, unlock the vault and head inside.
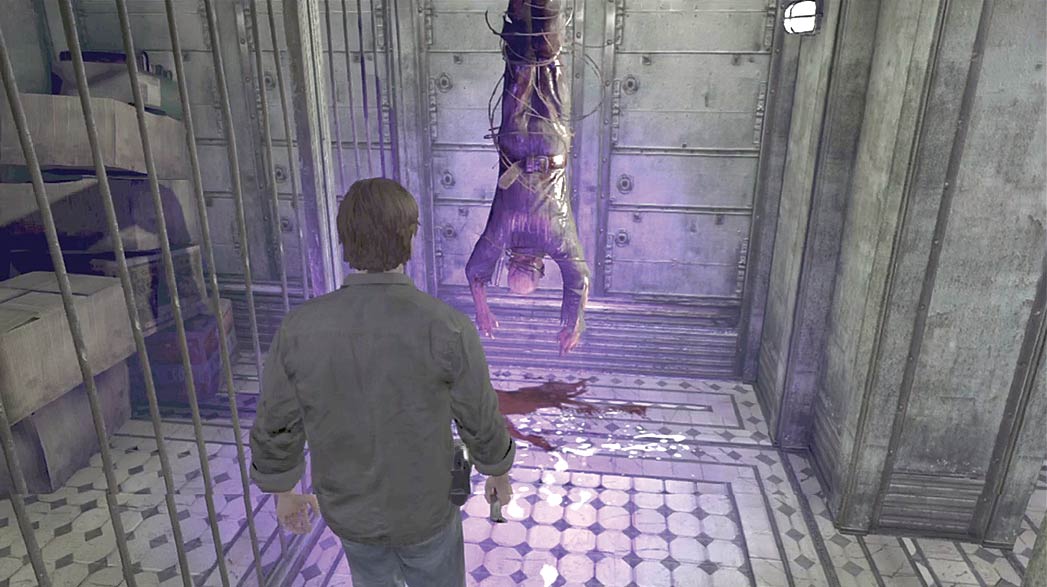
Examine the hanging body to find the ID Card, then head into the vault’s main room to trigger a cutscene.
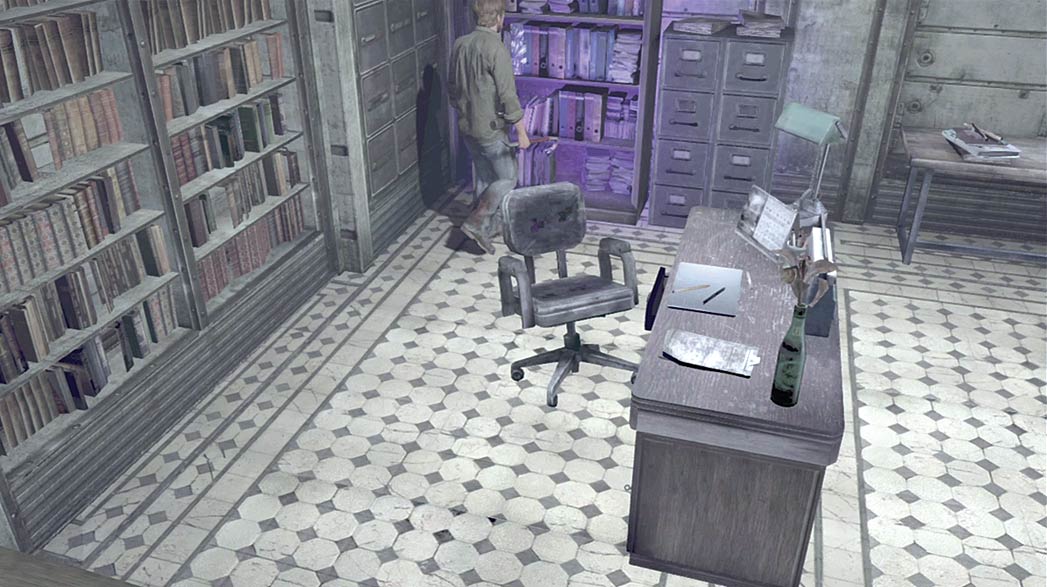
One of the books inside the vault contains a Mystery item. When the cutscene ends, examine the shelves near the file cabinets to add the Employee Review to Murphy’s Journal.
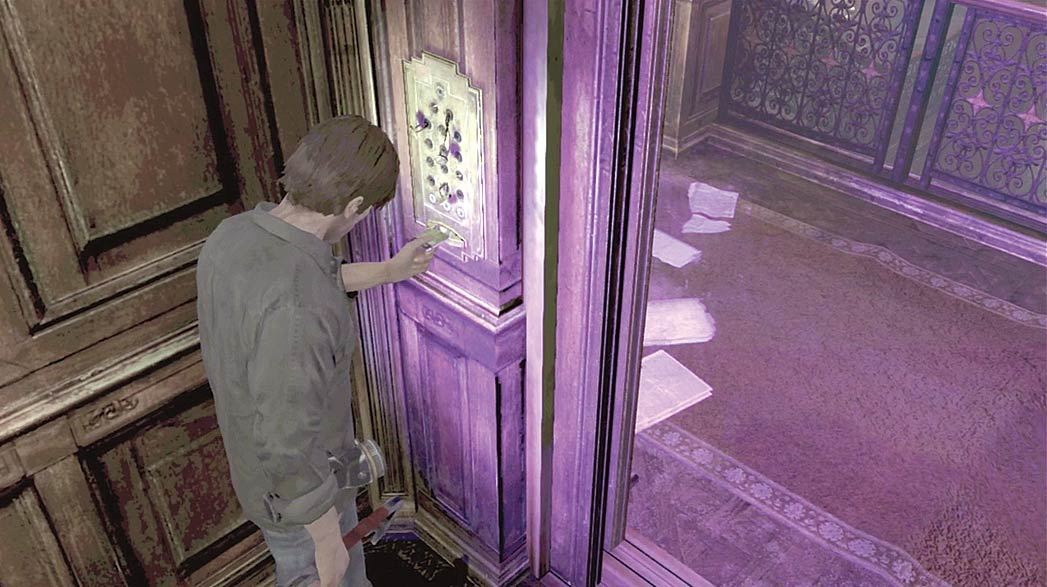
Step into the elevator and insert the ID Card into the control panel. When you’re ready to move on, use the elevator to reach the studio on the top floor.
Studio
.jpg)
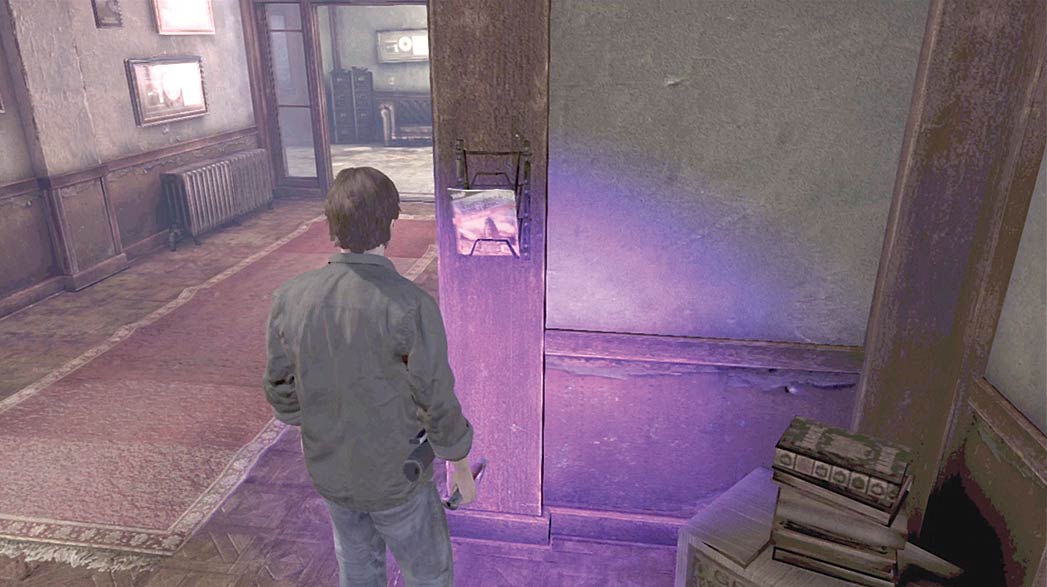
As you step off of the elevator, veer to the right and collect the Studio map from the wall ahead of you. When you’re finished exploring the hallway and the kitchen area, enter the broadcasting booth to trigger a cutscene.
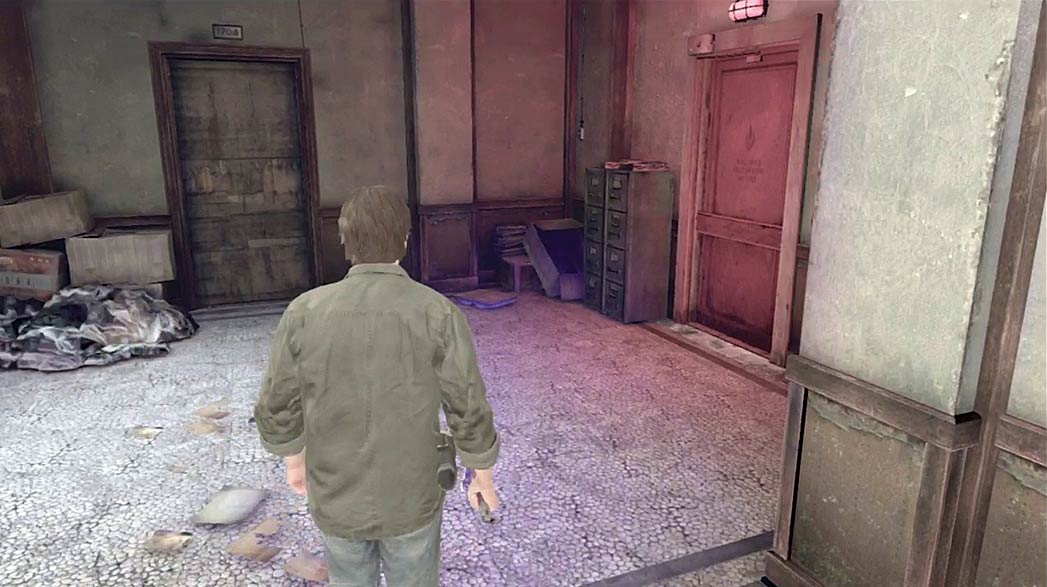
When the cutscene ends, continue through the booth and down the hallway to find some trash piled near the fire exit.
To leave the area, you must create a fire large enough to trigger the emergency systems. Search the studio for some Diluent to use as an accelerant.
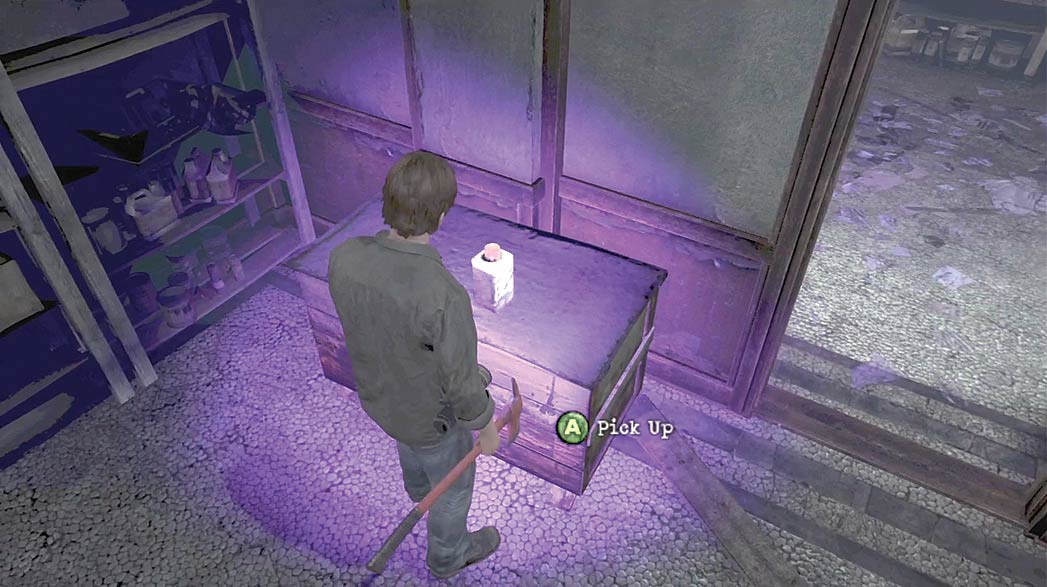
The Diluent’s location is determined by your selected puzzle difficulty. In the Easy and Normal puzzle difficulties, the Diluent is on a workbench in room 1703.
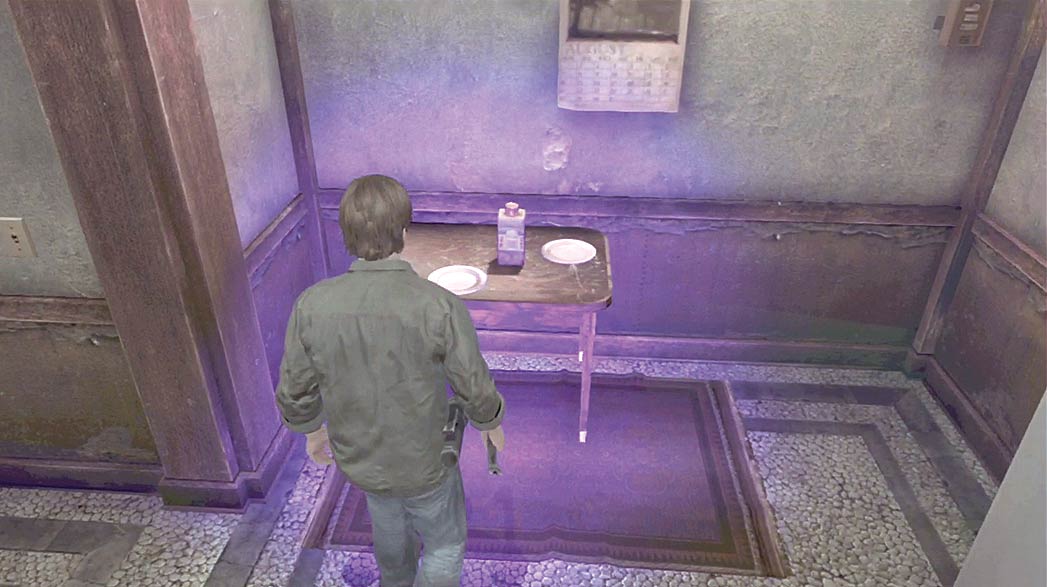
In the Hard puzzle difficulty, the Diluent appears on the table in the kitchen area.
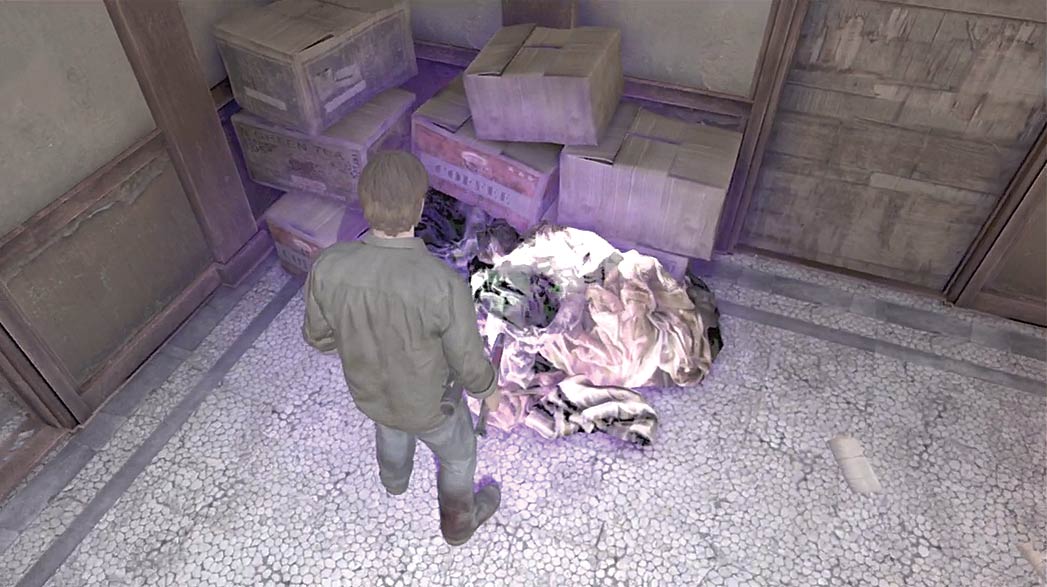
After you collect the Diluent, apply it to the trash pile. When you’re finished exploring the studio, use your Lighter to ignite the trash.
Igniting the trash pile initiates an Otherworld chase sequence. Start running as soon as you regain control of Murphy.
Centennial Building Otherworld
Hallway
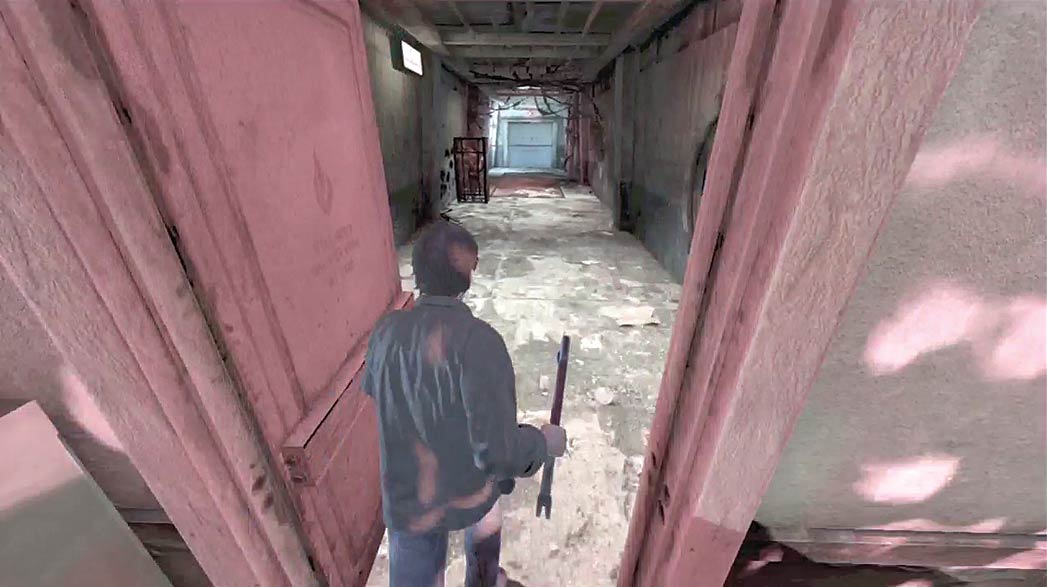
When the fire exit opens, run through the door and down the hall.
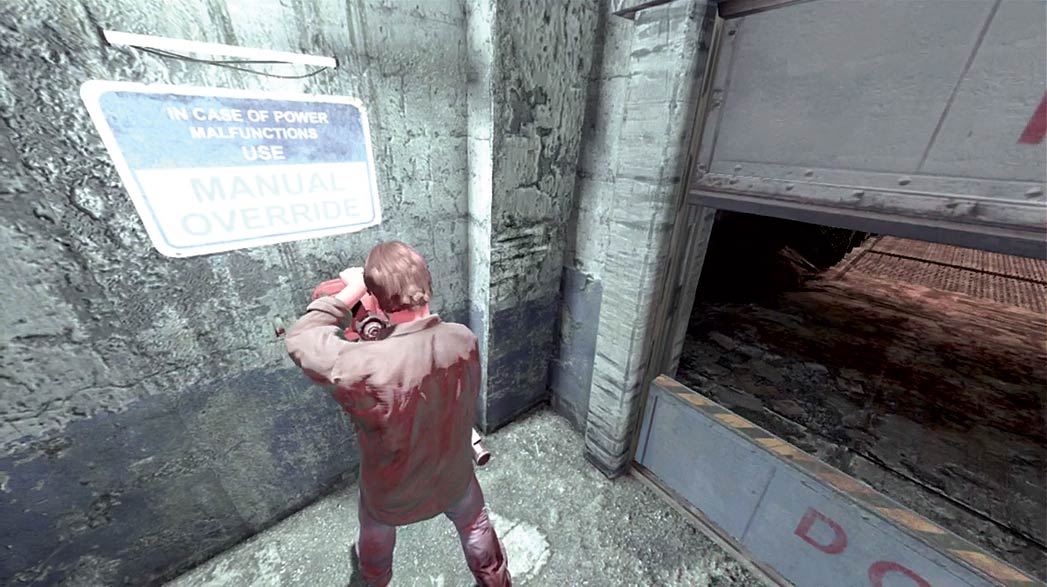
When you reach the fire door, use the valve to your left to open it. When the path is clear, run to the junction ahead of you.
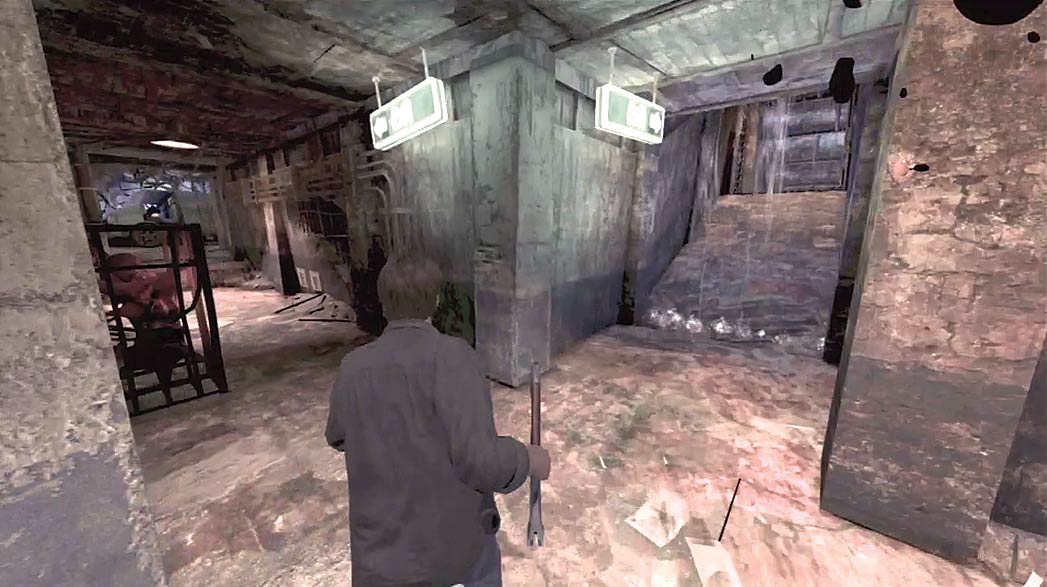
When you reach the junction, turn left and run to the end of the corridor.
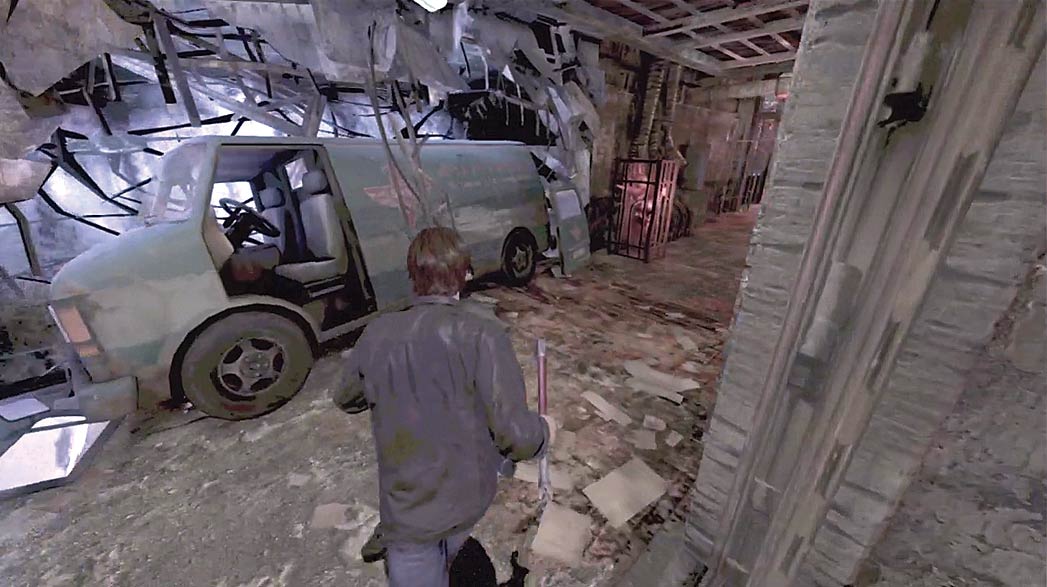
When you reach the van, make a right turn and run straight to the mirror at the end of the corridor. Remove the mirror from your path and explore the next room to trigger a brief cutscene.
The mirror is mounted on a fire door. The valve that controls the door can only be seen in the mirror image. Approach the “Manual Override” sign posted on the wall and turn the valve to open a path to the next room.
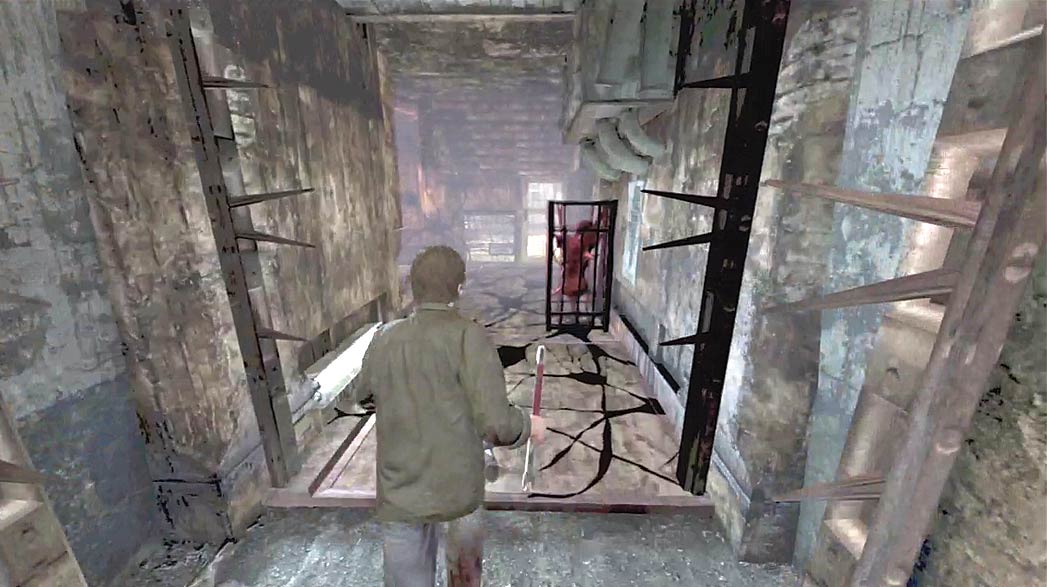
When you regain control of Murphy, turn around and run back down the corridor. Open the fire door, then follow the path into the next area.
Garage
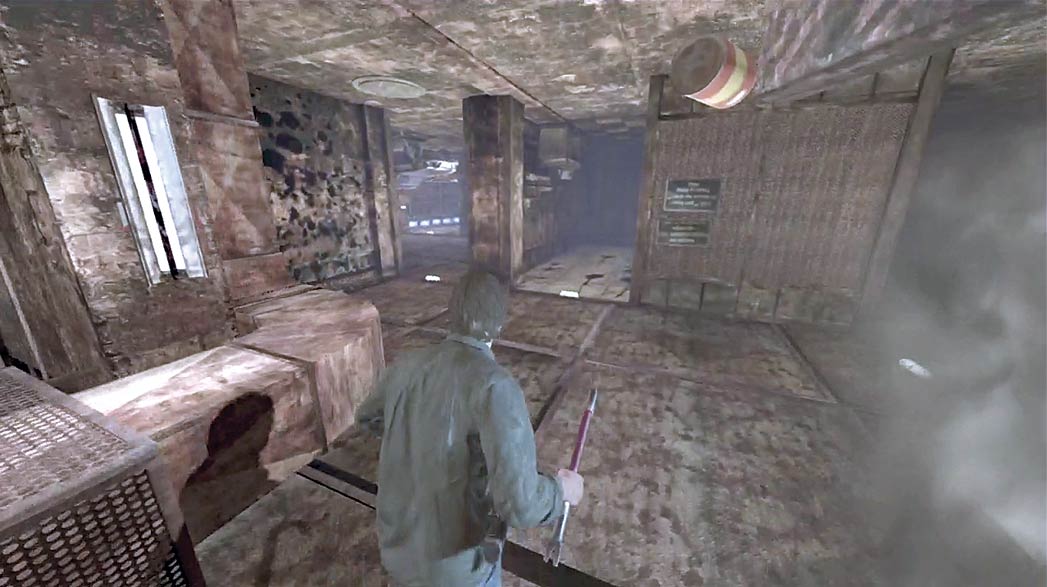
The corridors lead you to a partitioned garage. There are a number of potential routes you could take, but it’s simplest to follow the path on your left.
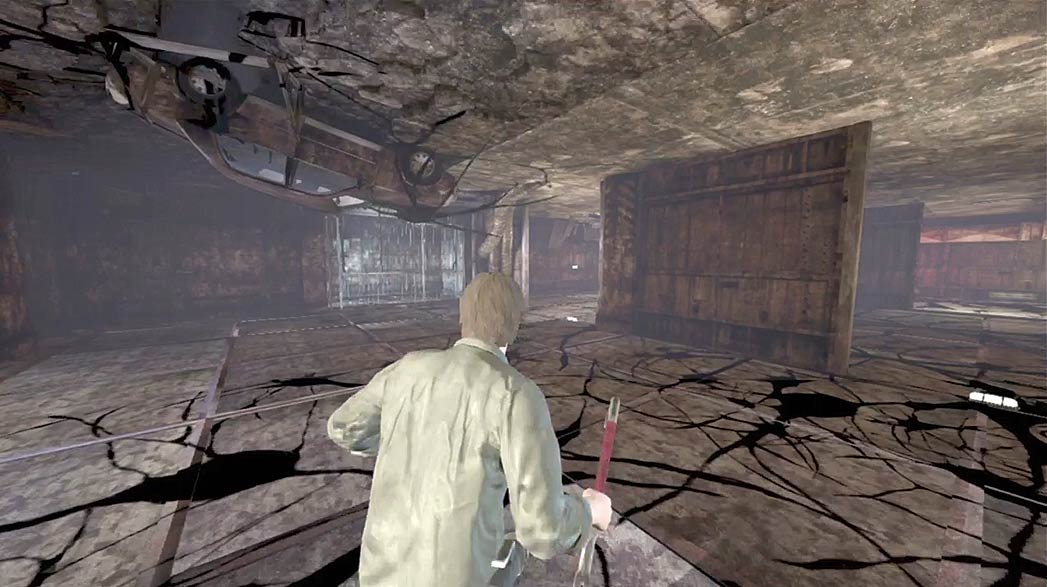
Each time you pass a partition, check the ceiling for any items that might fall in your path. Choose a direct route around each partition, but try to stay near the perimeter of the parking area.
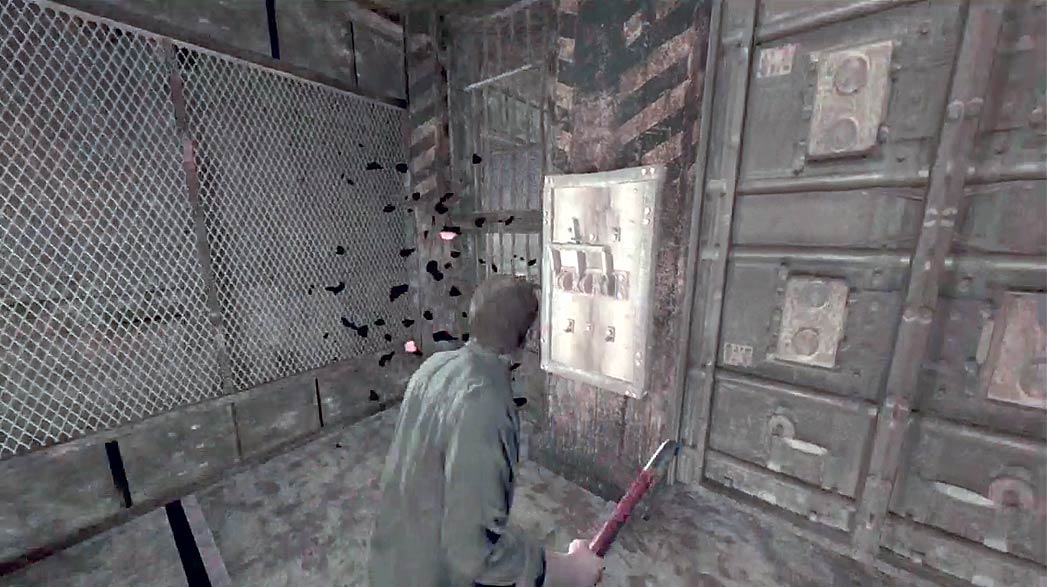
Follow the corridor at the end of the parking area and flip the switch near the large metal door. When the door opens, run into the next area and follow the path into the security office.
Cross the room and activate the console to open the nearby door.
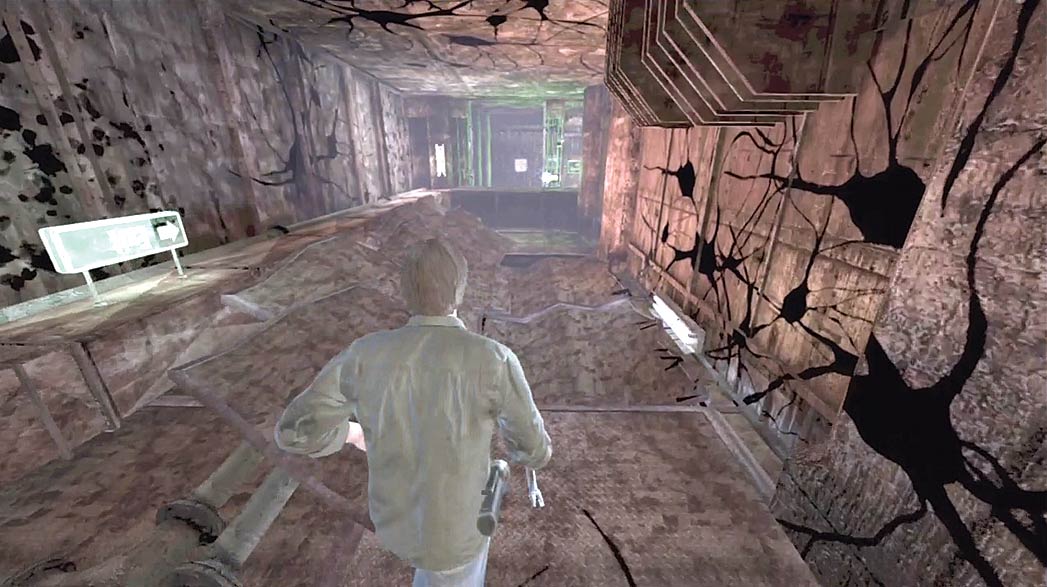
Exit the security office and turn right. Enter the cell at the end of the path to ride to the next area.
Cells
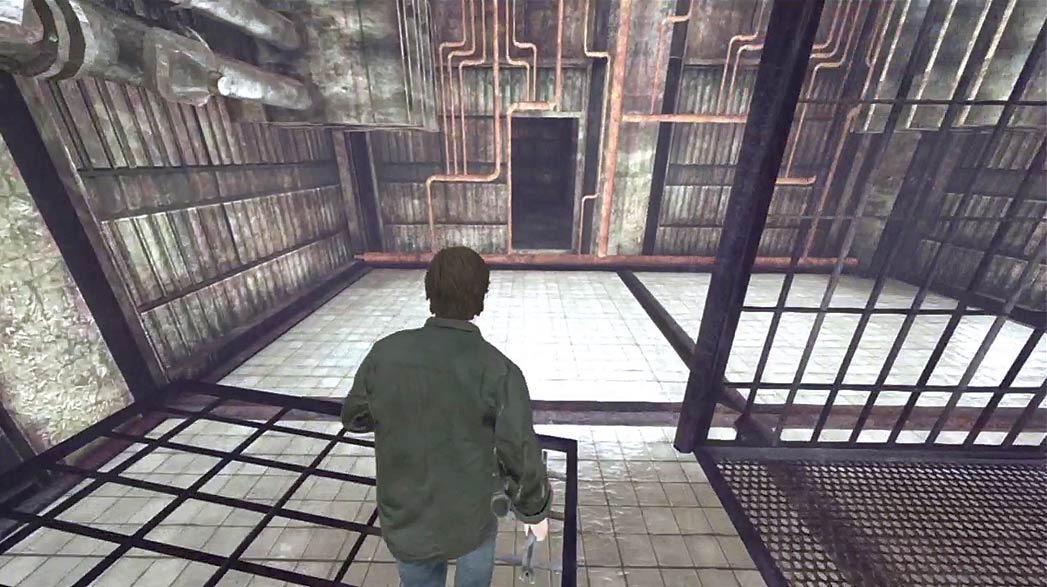
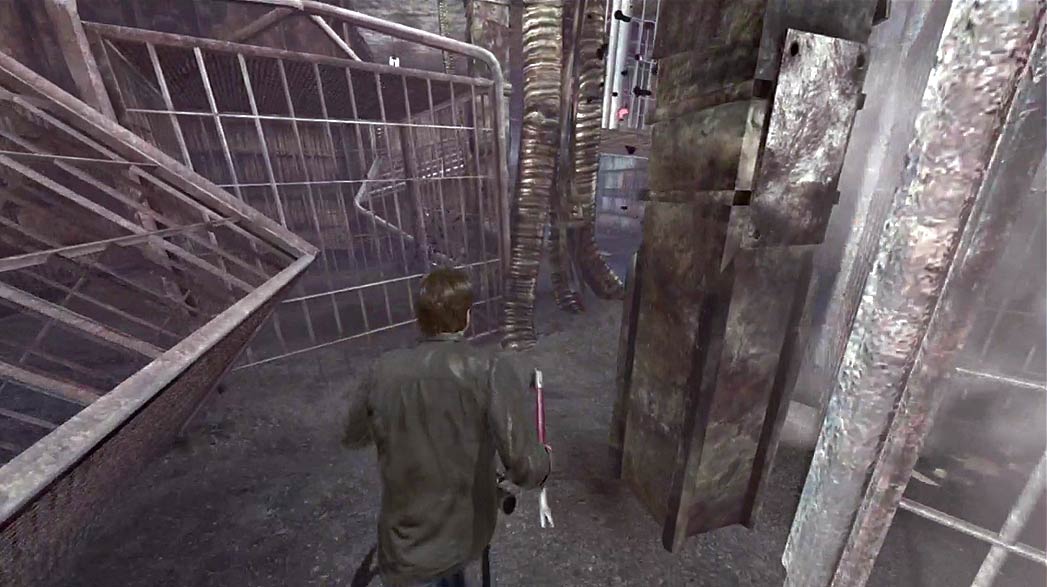
When the ride stops, leave the cell continue to the next area. Follow the path created by the falling cells and run to the marked exit.
As you exit the room, the void appears behind you. Turn right and run through the area as quickly as possible. Each time a cell lands, it sends a cloud of dust into the air.
The path created by the cells is fairly simple, but it can be difficult to see where you’re going. Stay alert, and keep moving. When you approach the exit, the floor gives way, dropping you down to the level below.
The void doesn’t follow you beyond this point, so you’re free to explore the remaining areas.
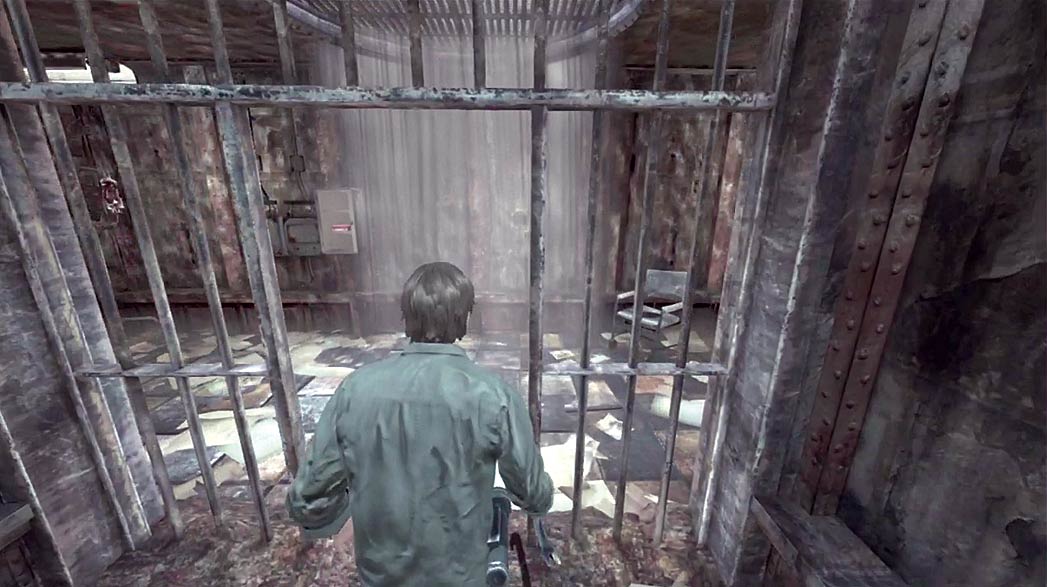
After you land, follow the path into the infirmary corridor. Proceed through the corridor in either direction to reach the next area.
The infirmary corridor contains a number of Wall Corpses. These creatures shoot out harmful fluids, alternating between a single spray and two quick sprays.
Unless you’re in a particular rush, it’s usually best to slip past a Wall Corpse immediately after its rapid-fire attack.
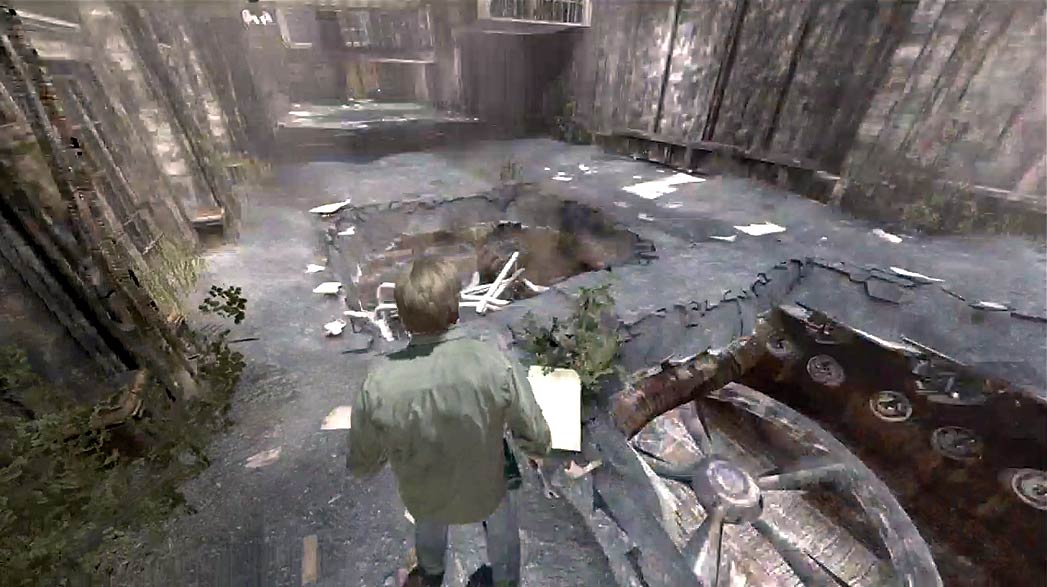
Exit the infirmary corridor to find more hanging cells. Carefully move through the area and avoid the holes created by any falling cells.
The last two cells that fall from the ceiling each contain a Screamer. If needed, select a new weapon from the rubble pile near the first Screamer.
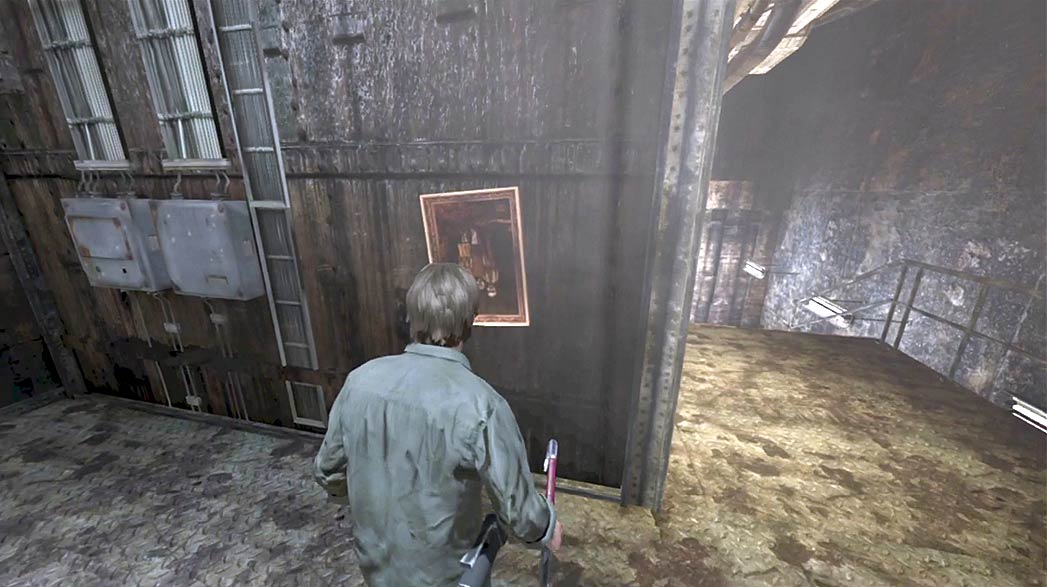
Once you’re past the cells, look for the portrait hanging on the wall. Rotate the portrait to reveal the path to the clock tower.
Clock Tower
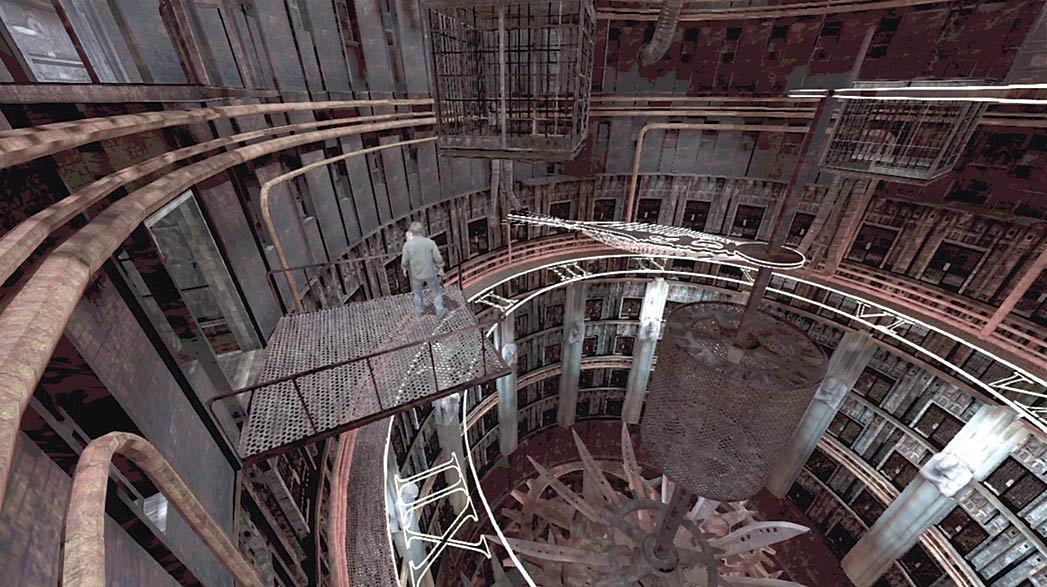
Proceed along the path to a small platform near a spinning hour hand. Press the button on the guardrail to stop the hand as it approaches the platform.
Step onto the hour hand, ride up to the minute hand, and follow the path through the clock’s inner workings.
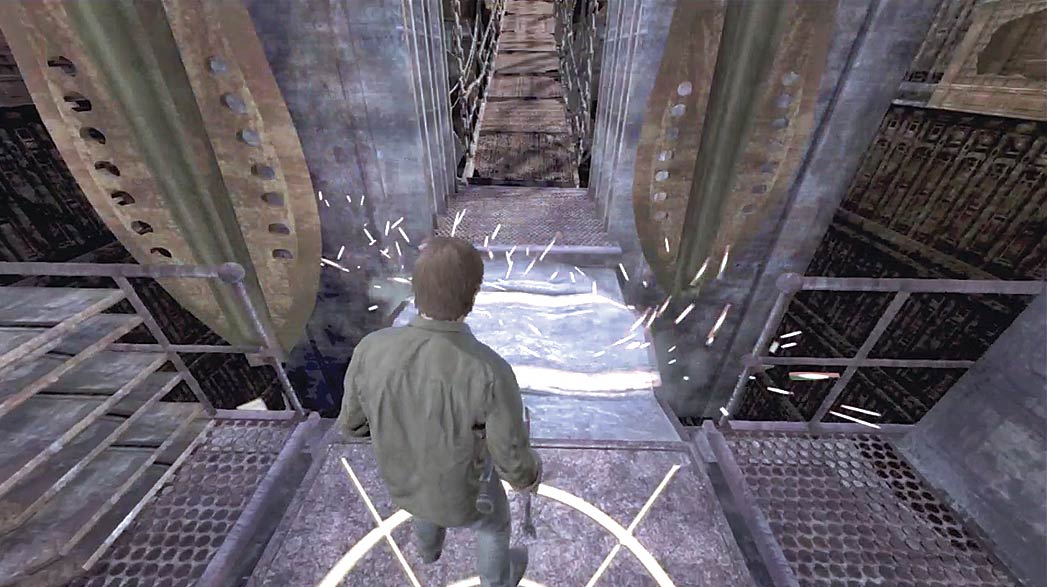
Two large blades are blocking the path beyond the gears. Approach the blades to trigger a pressure switch; after a moment, the blades slow down.
Run toward the blades as they scrape across the walkway to slip by them before they return. Continue to the end of the walkway to trigger a cutscene and leave the area.