
Silent Hill Downpour Guide Walkthrough Campaign
Overlook Penitentiary
.jpg)
_cropped.jpg)
|
|
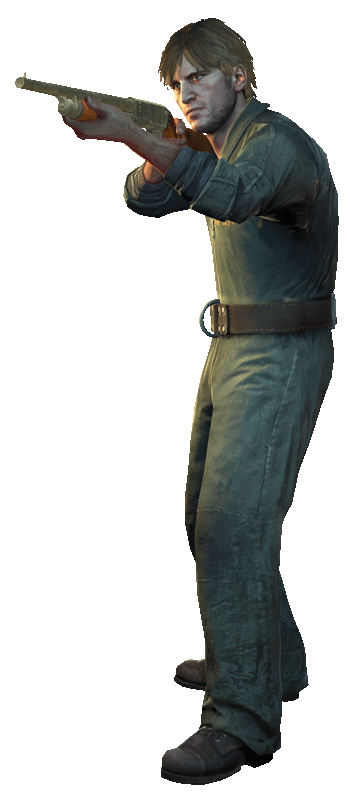
Cells - A4
.jpg)
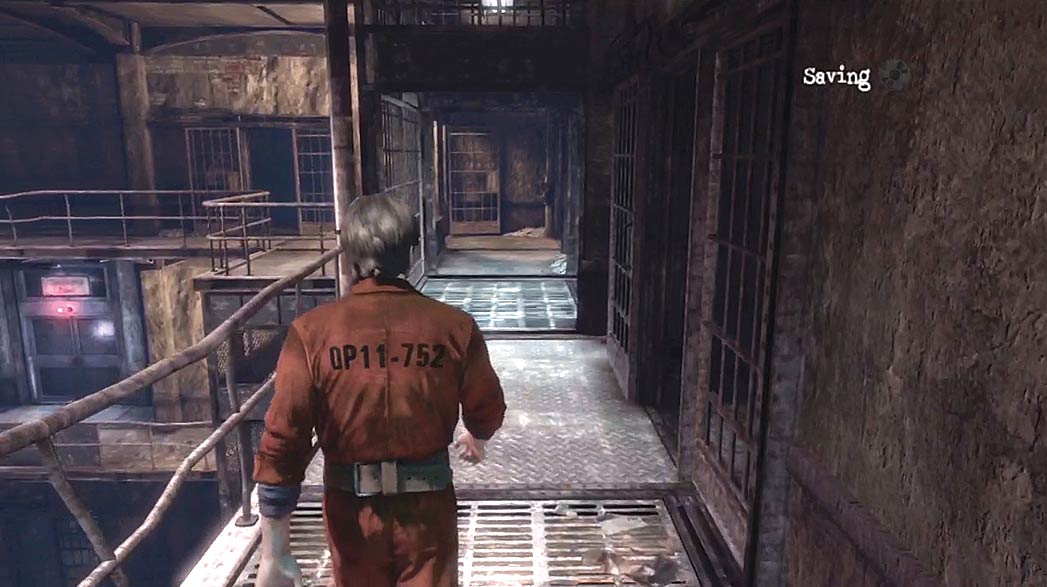
Overlook Penitentiary contains several difficult encounters. With your Inventory stripped of all items, you must take care to ration any First Aid Kits and ammunition you manage to collect.
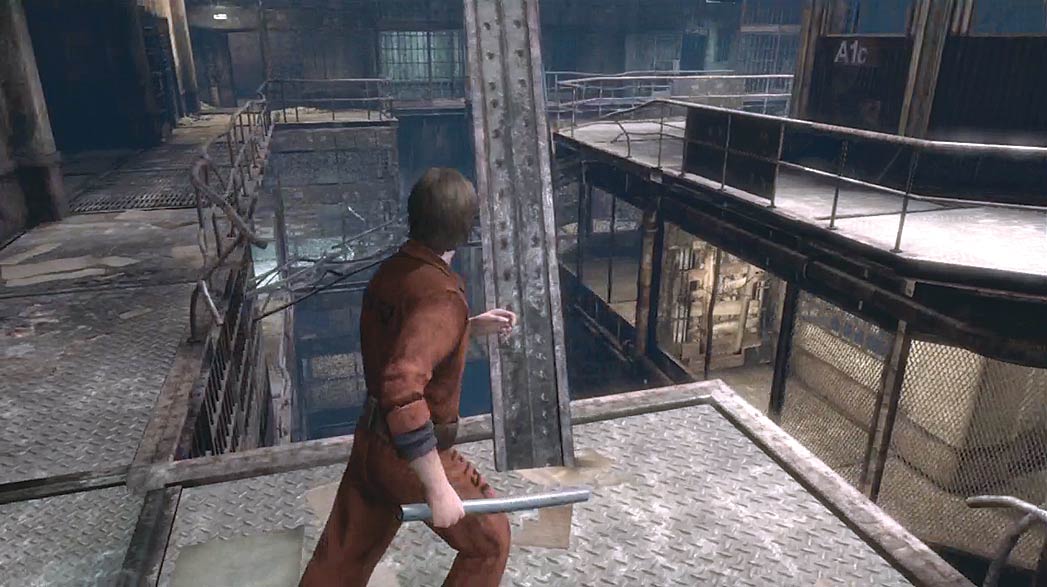
Continue past the stairwell and follow the walkway to find a damaged support beam at the end of the railing. Examine the beam, then follow the on-screen prompts to push it over. After it falls, step onto the beam and cross to the guard tower.
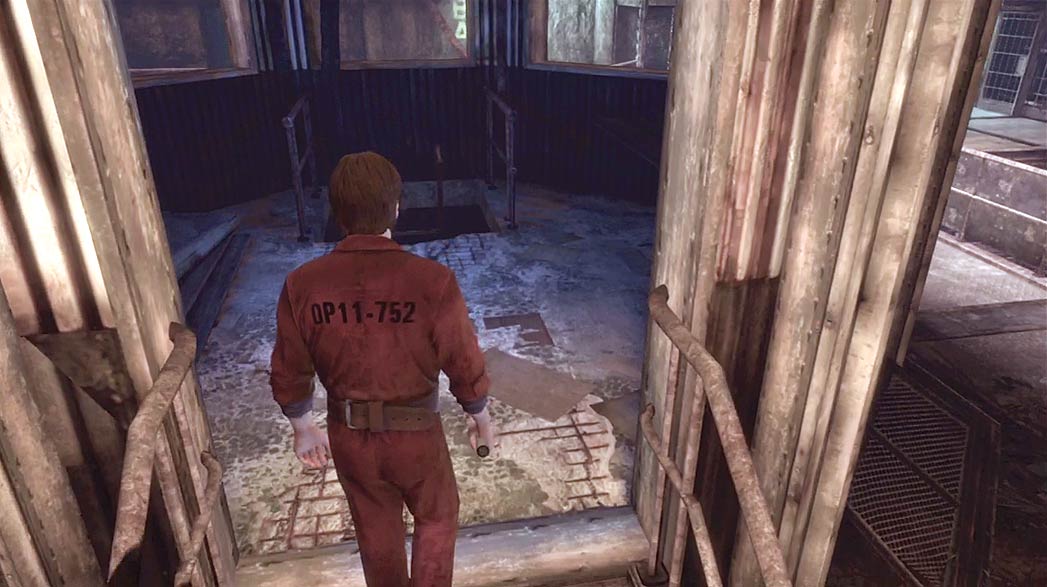
Head through the entrance at the top of the guard tower, then climb down the ladder to search the tower’s lower levels.
Guard Tower
Level A3
.jpg)
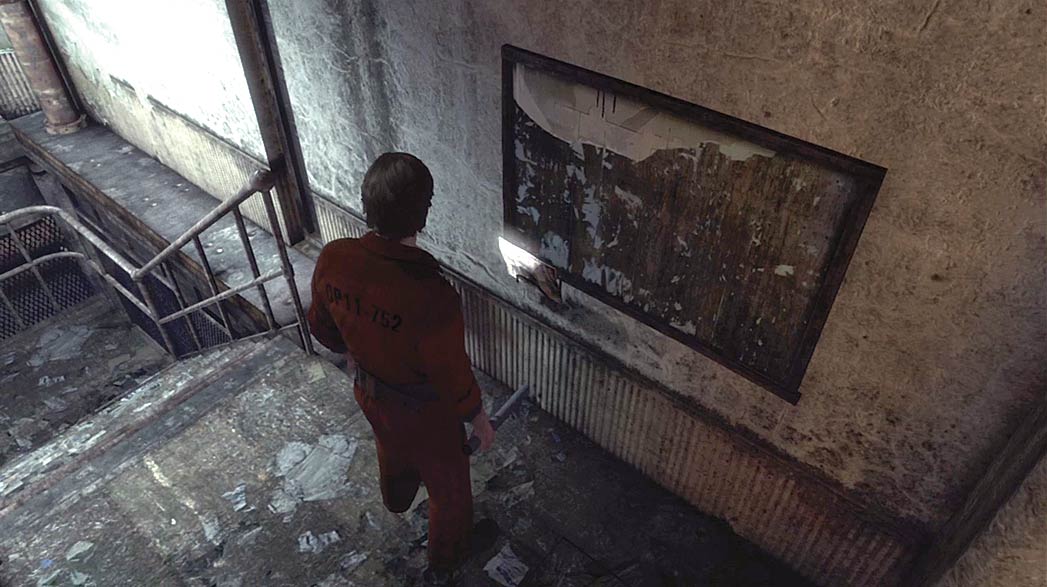
The ladder ends on level A3. Move to the nearby staircase and collect the Overlook Penitentiary maps from the rack on the wall.
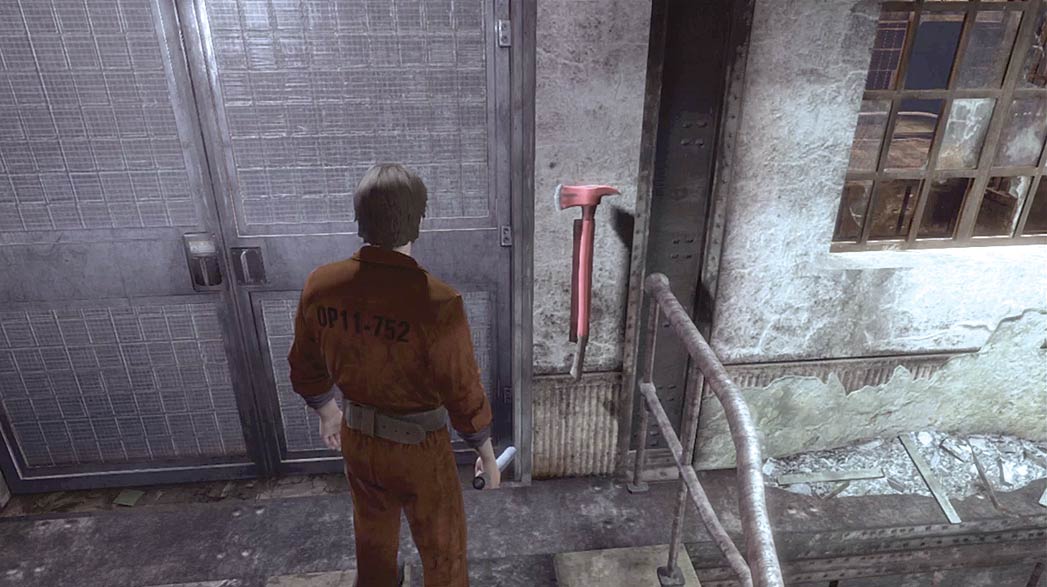
Before you head downstairs, collect the Fire Axe near the locked door. When you’re done searching the area, head down to the guard tower’s A2 level.
Level A2
.jpg)
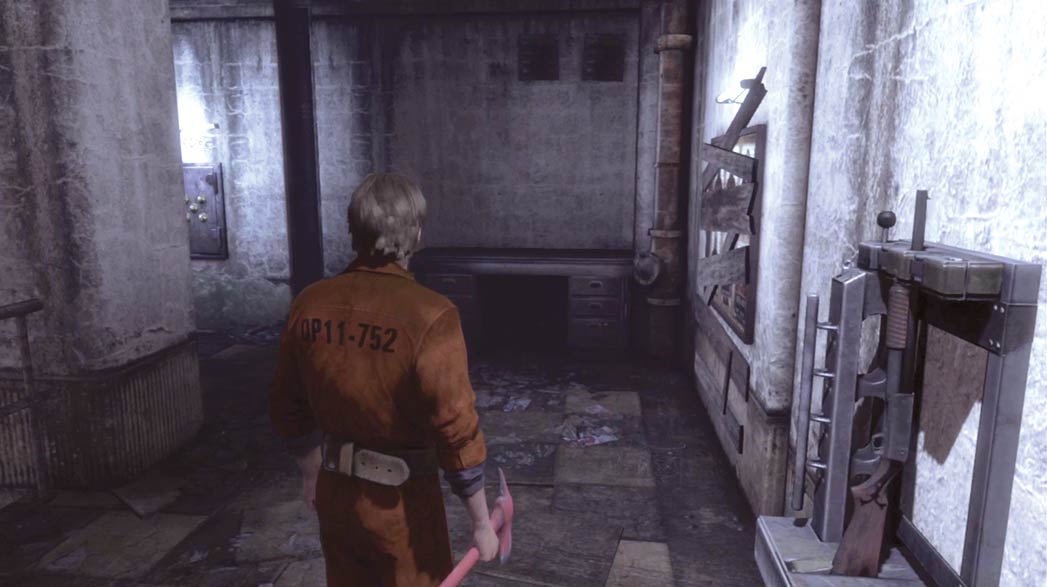
The guard tower’s A2 level contains several interesting objects. Move past the gun racks and approach the boards nailed to the wall.
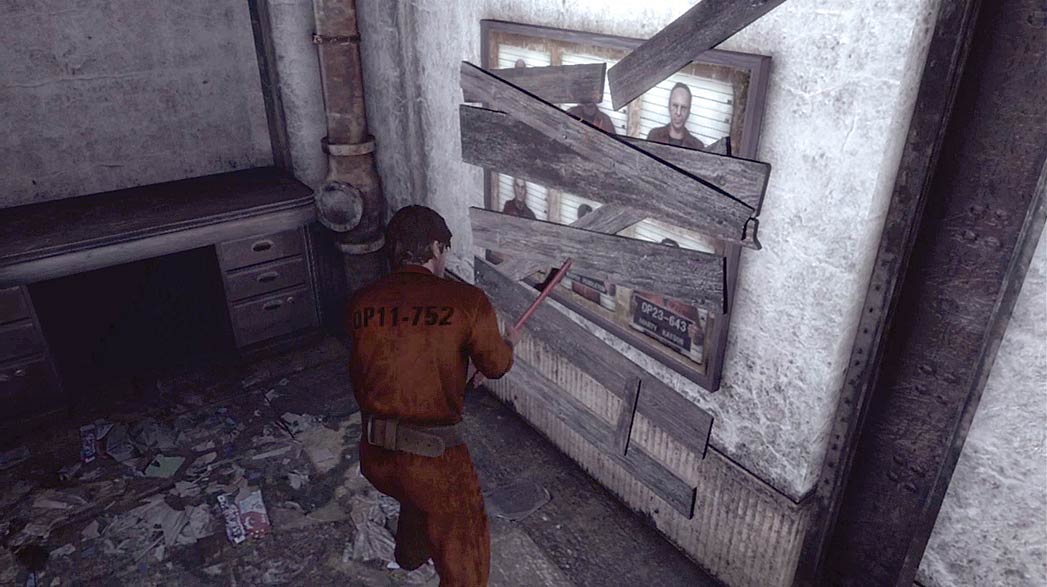
Use the Fire Axe from level A3 to clear the boards away from the photographs, then use the revealed clue to open the nearby safe.
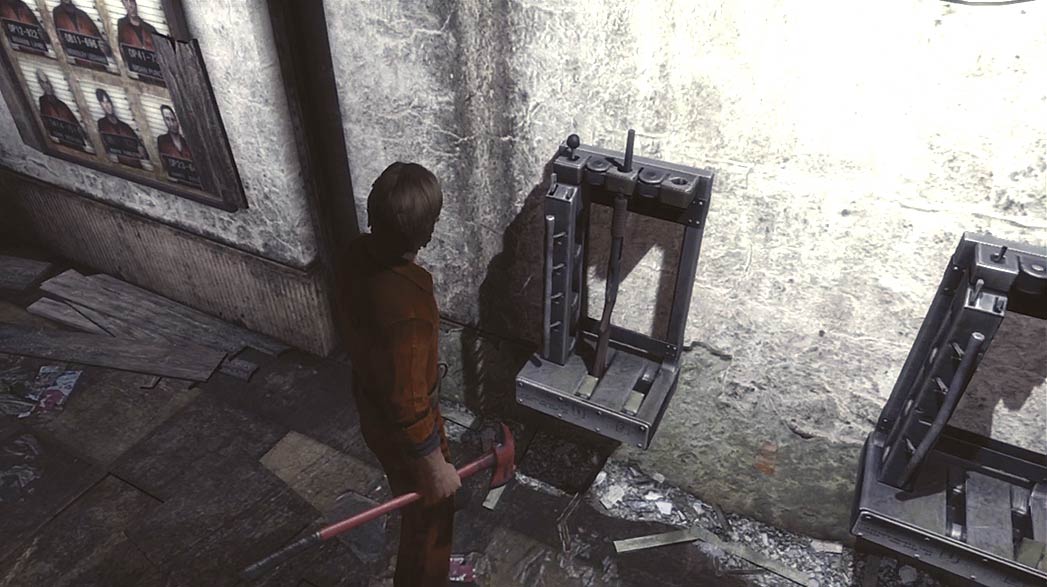
After you retrieve the safe’s contents, use the Small Key to unlock the gun rack. Grab the Shotgun, then follow the stairs down to the guard tower’s next level.
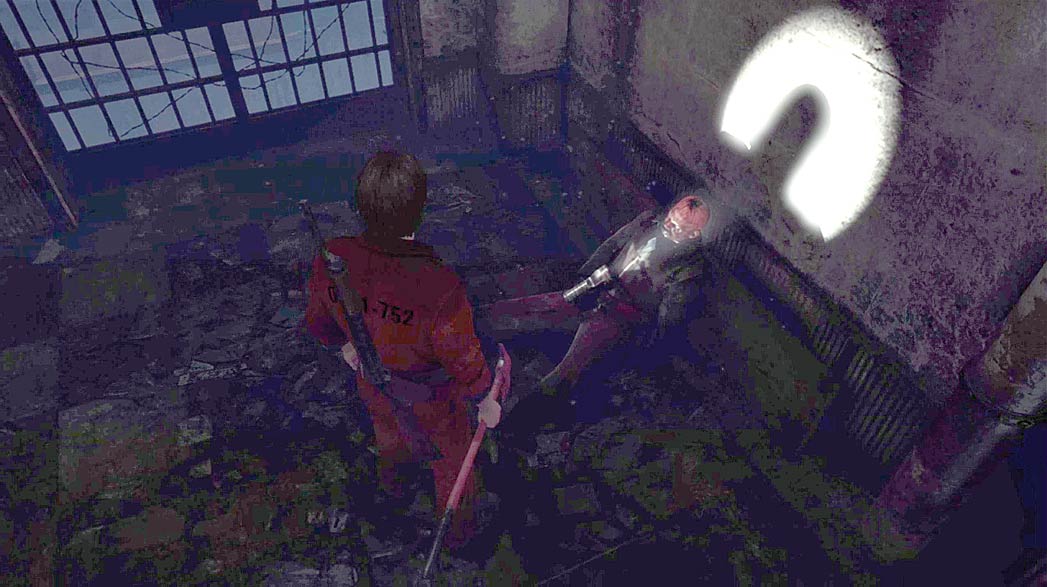
Examine the body near the bottom of the stairs to add a Flashlight and Access Card to your Inventory.
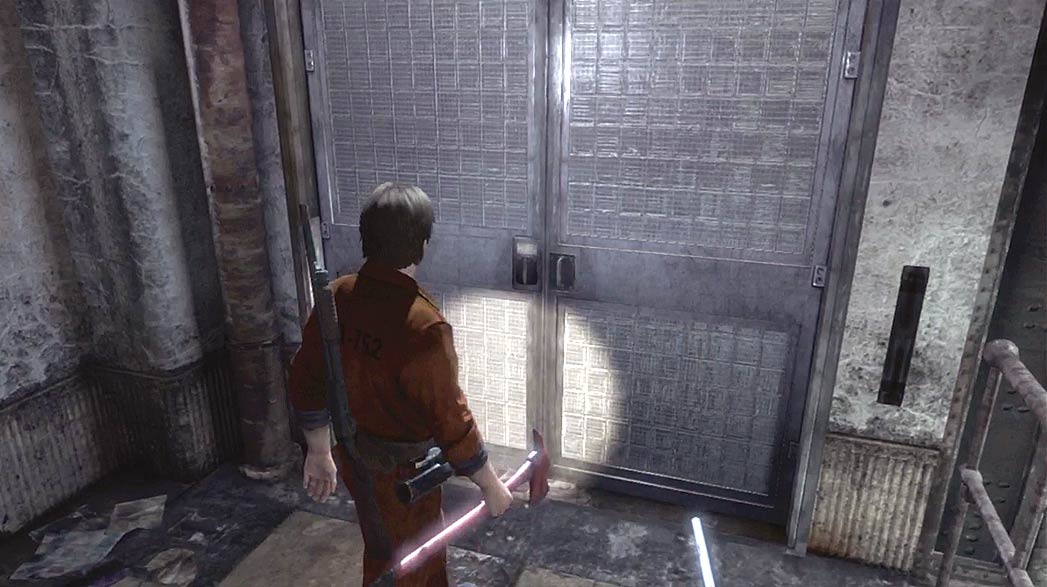
When you're ready to leave the guard tower, use the Access Card to unlock the door on level A3.
Cells - A3 (South)
.jpg)
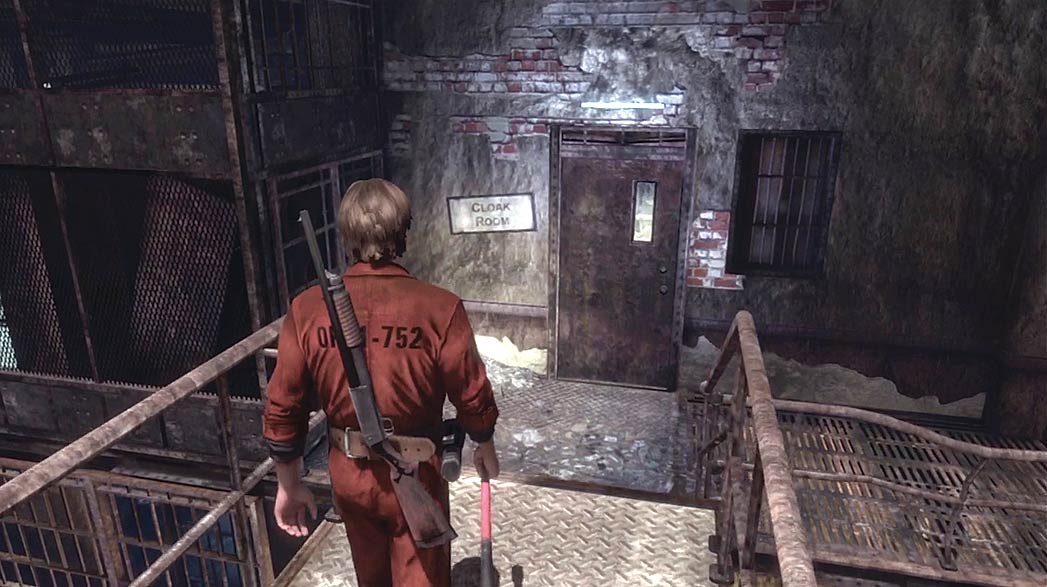
After you unlock the door, follow the walkway around the guard tower and toward the cloak room.
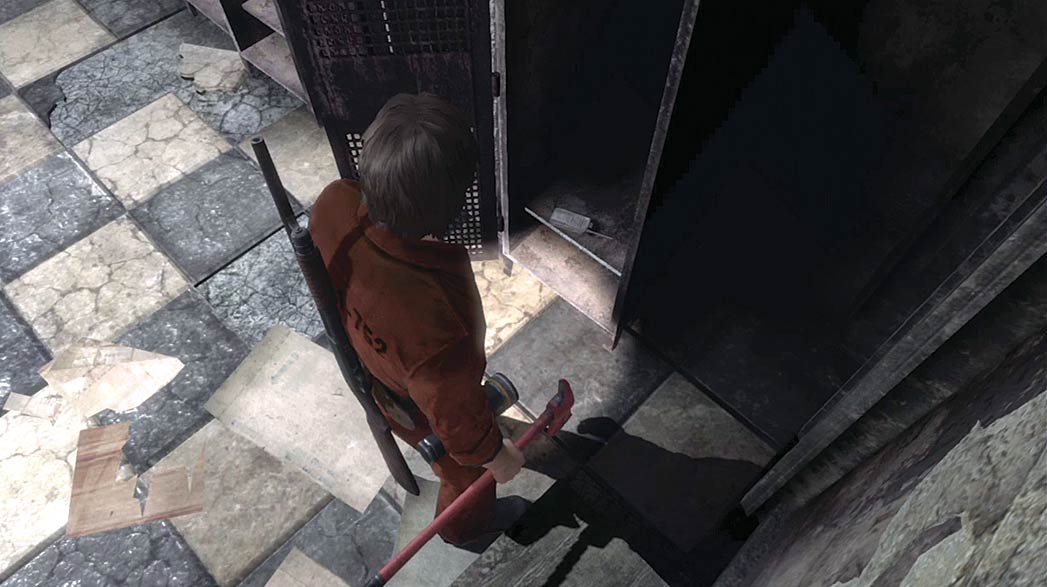
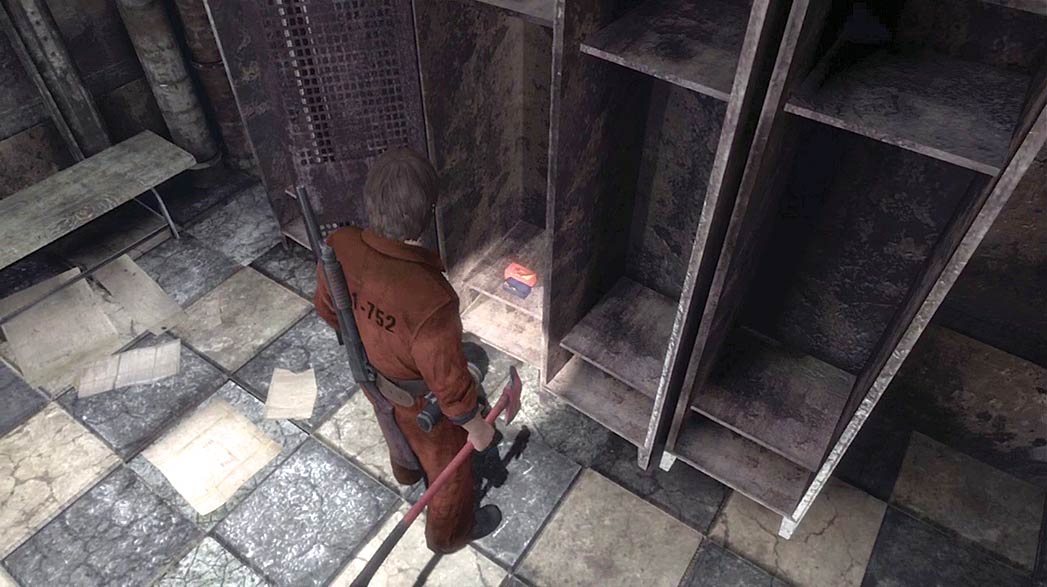
Search the cloak room lockers for useful items. One locker contains a Walkie-talkie; the other accessible locker contains some Pistol Bullets and a box of Shotgun Shells.
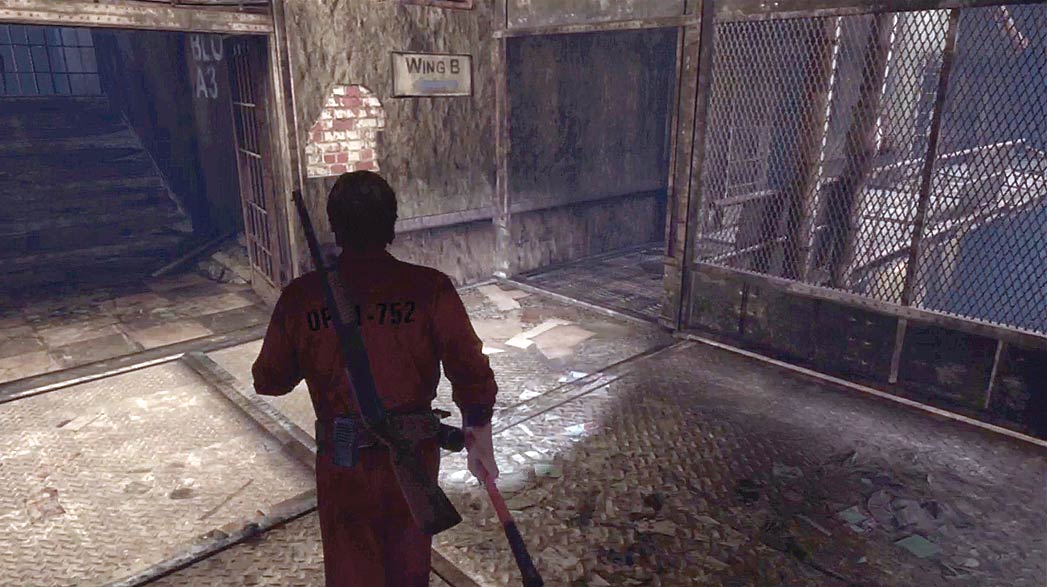
The stairwell south of the cloak room leads to level A2. Before you head down, finish searching the cells along the walkway.
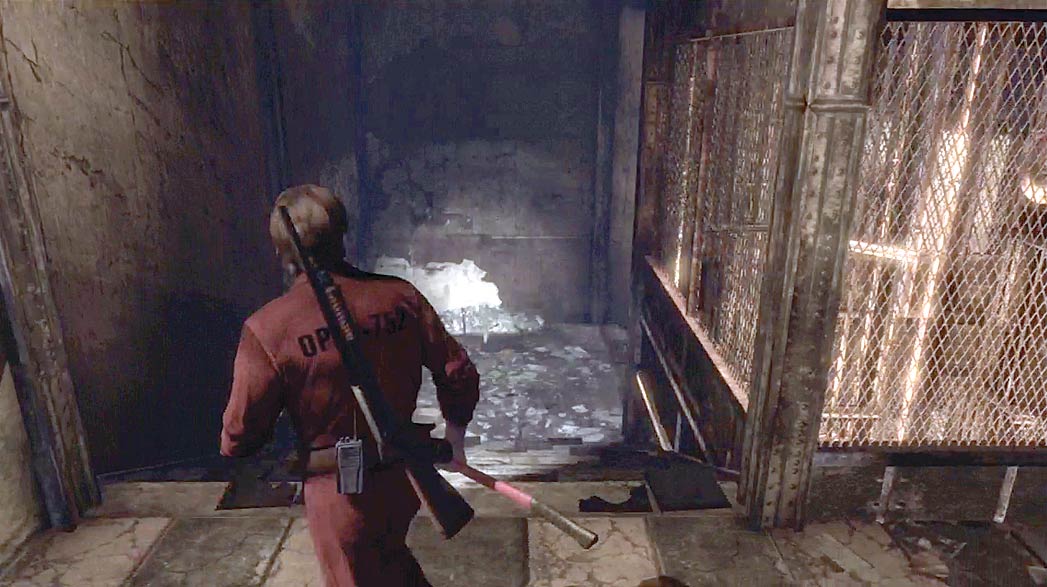
When you’ve finished searching the south half of level A3, take the stairs down to A2.
Cells - A2
.jpg)
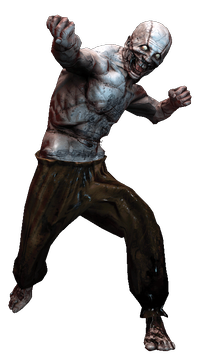
There’s a Brawler patrolling the walkway on level A2. Be prepared to defend yourself.
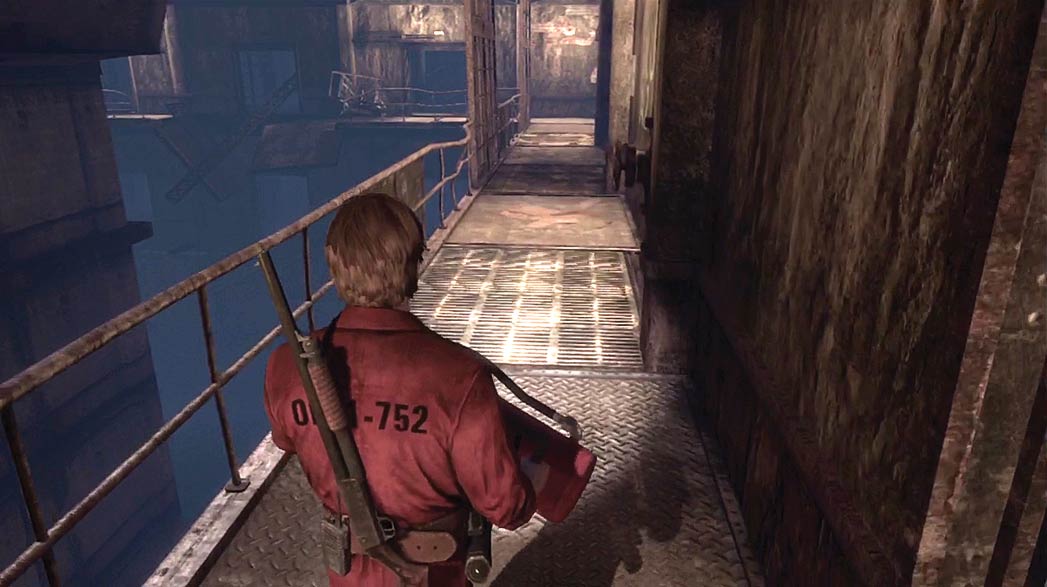
After you reach the bottom of the stairs, follow the walkway north. Search the cells along the building’s east edge for useful items.
There’s a Stabber hiding in the cell near the end of the walkway. Unless you have a fairly fast melee weapon, consider equipping your Shotgun as you approach the cell.
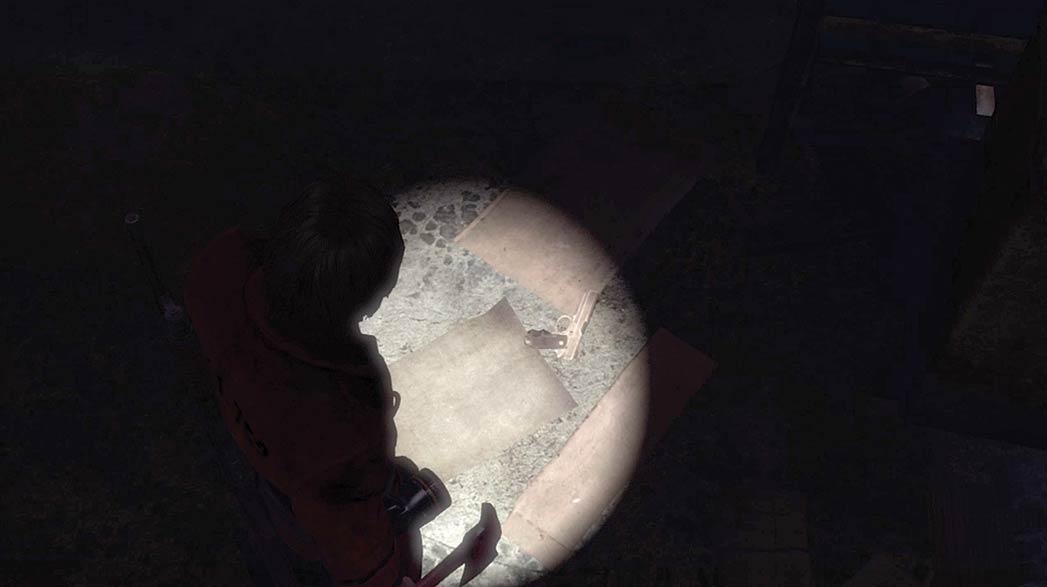
When you reach the room at the end of the walkway, search the area around the pillar to find a Colt. When you’re ready, turn back and explore the rest of level A2.
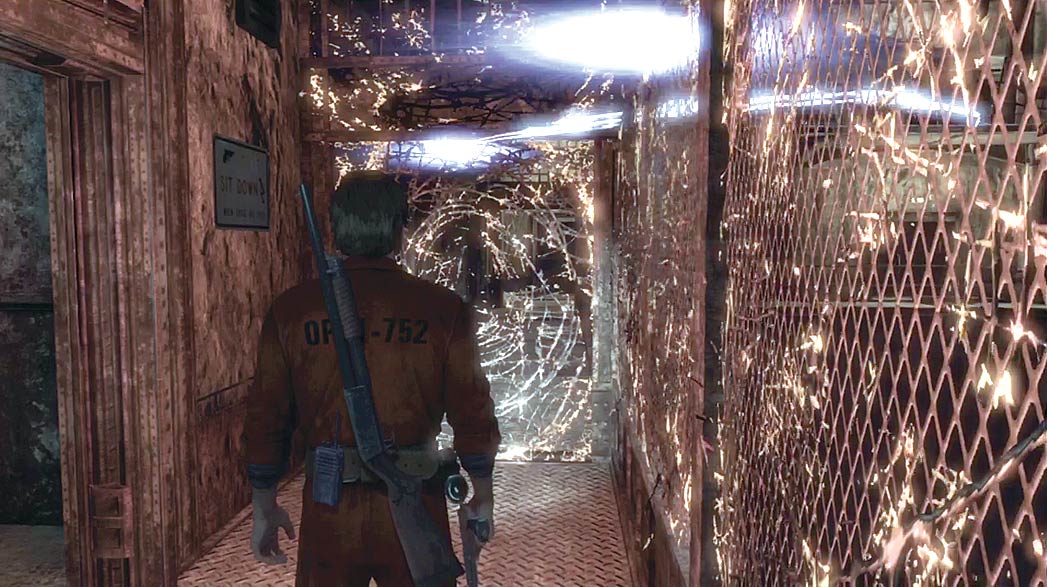
Search each of the cells as you follow the walkway to the north stairwell. As you approach one of the cells along the west wall, a barrier appears in the walkway. When you search the cell, the environment undergoes another change. Follow the flooded corridor to trigger a cutscene.
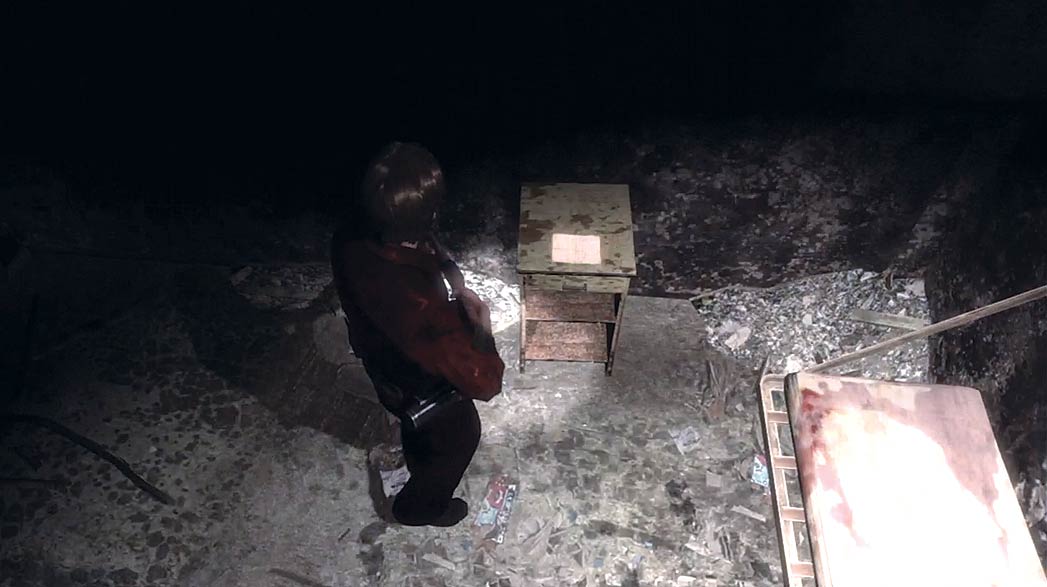
After the cutscene, continue to the end of the corridor. Collect the Mystery item from the end table to add the Angry Letter to Murphy’s Journal. Once you’ve done so, return to the cell and resume your search of level A2.
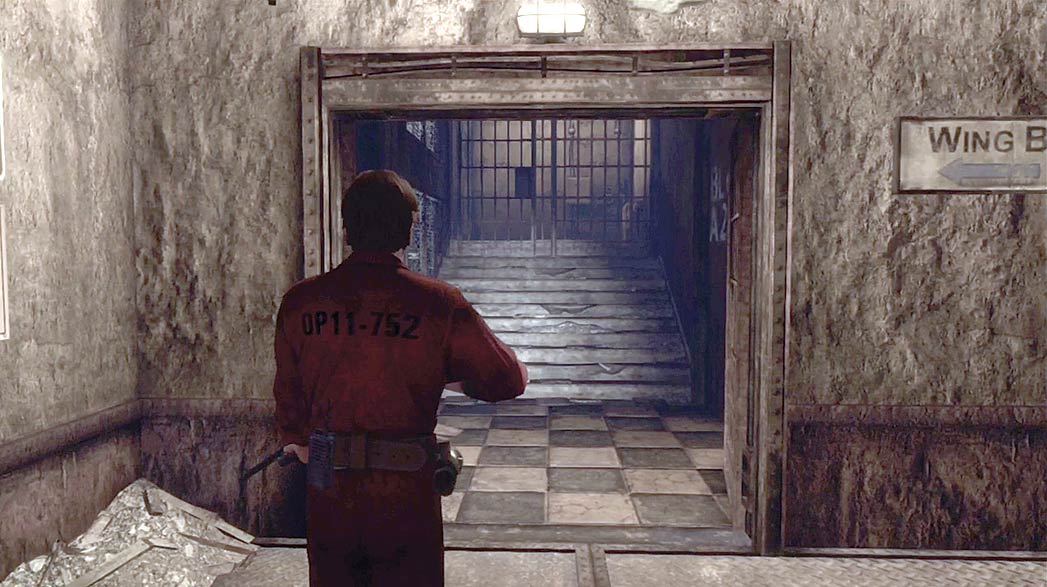
When you reach the north stairwell, approach the gate blocking the stairs to trigger a cutscene.
When you step into the stairwell, a Juggernaut smashes through the gate. During your time in Overlook Penitentiary, you’ll encounter several of these powerful creatures. Juggernauts have devastating strikes, and their charge attacks allow them to get into melee range very quickly.
When a Juggernaut gets up to speed, it’s usually best to step aside. Once you’re in close, use standard combat tactics: block each attack and look for opportunities to counter.
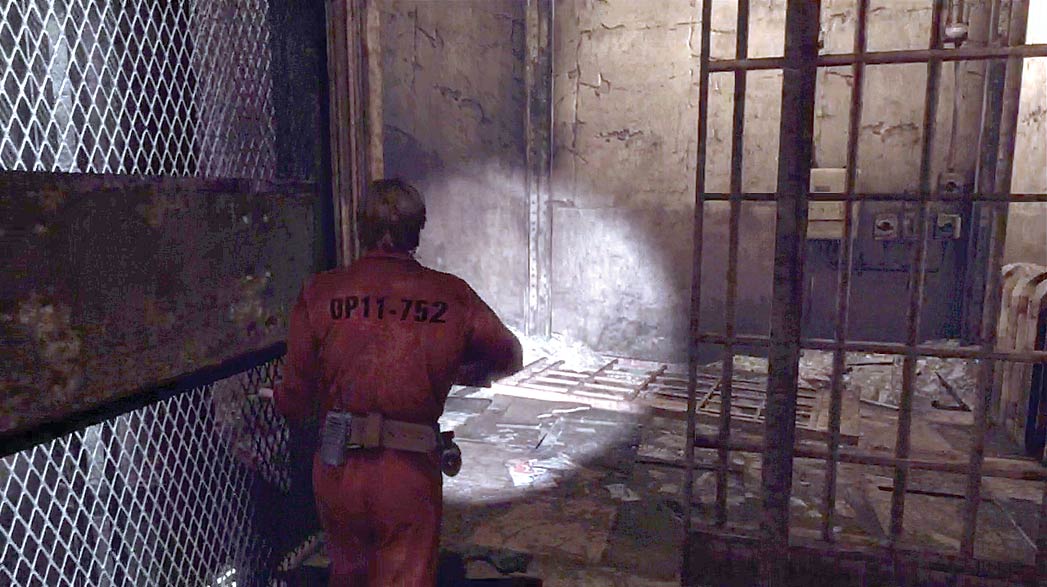
After the cutscene, head through the open gate and climb the stairs up to level A3.
Cells - A3 (North)
.jpg)
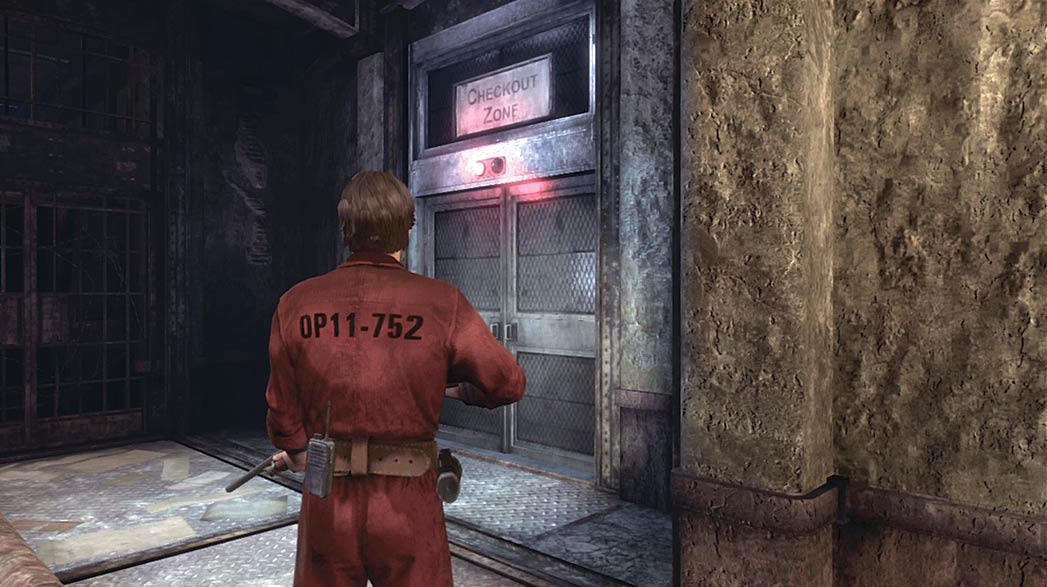
The locked doors on the west side of level A3 lead to Block B. Before you can leave the area, you must find a way to open them.
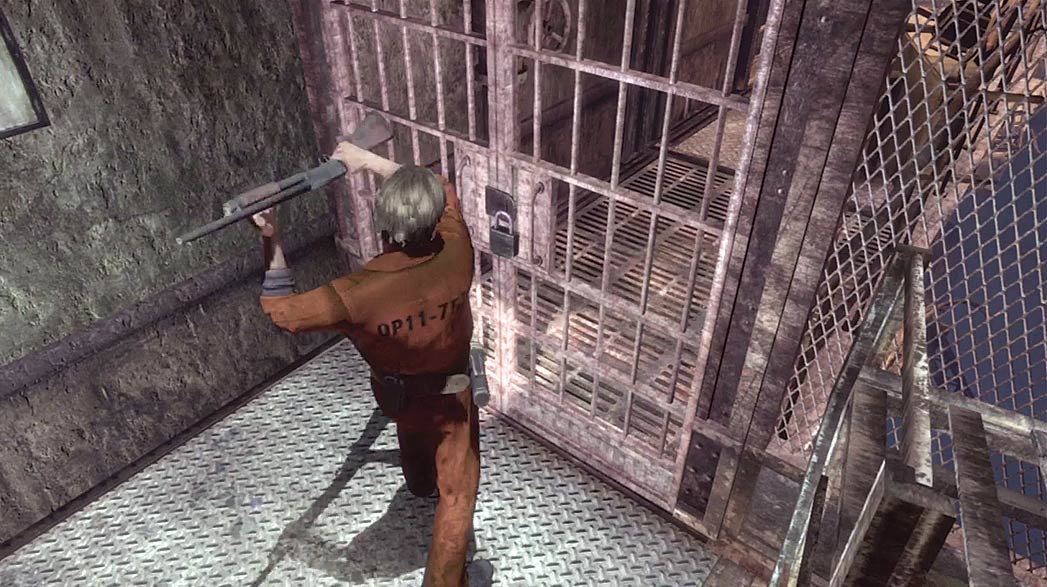
Move to the gate near the stairwell, then smash the padlock with your weapon. Follow the path toward the exposed wire to the east.
As you squeeze past the first cell, a Juggernaut grabs you through the bars. Follow the on-screen prompts to shake loose. After the Juggernaut breaks out of the cell, use standard combat tactics to defend yourself.
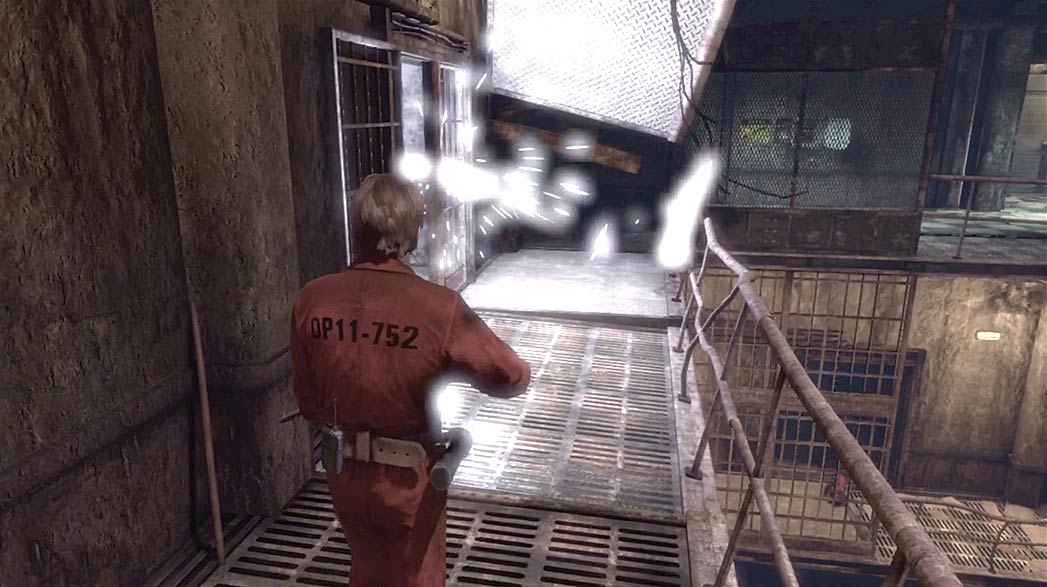
The current from the exposed wire causes it to bounce off of the cell door. Carefully approach the wire, then slip past when it bounces out of your path.
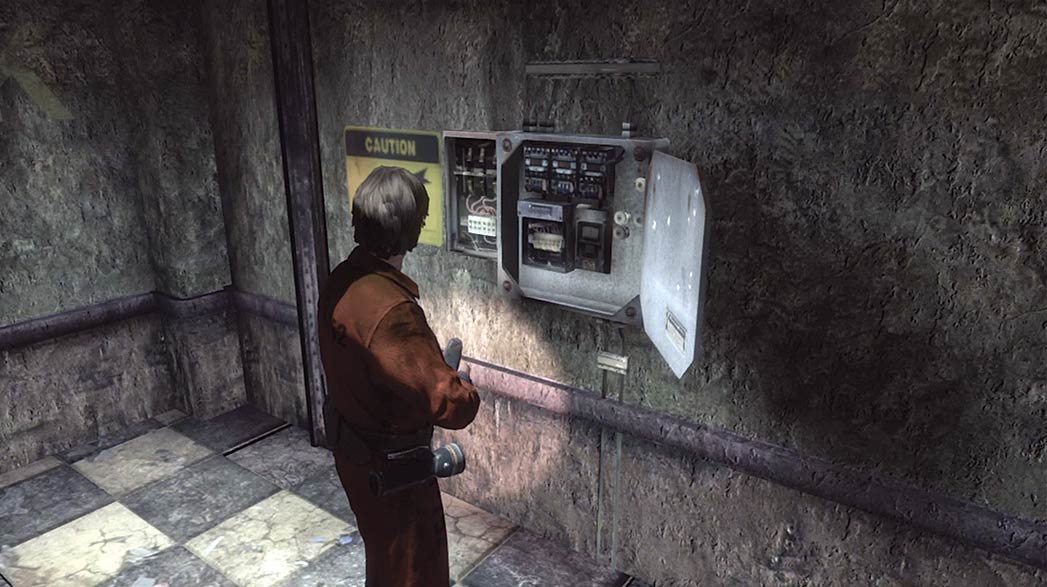
Once you’re safely past the exposed wire, look for the fuse box outside of the security room. Flip the switch to cut power to the wire, then move to the security room door.
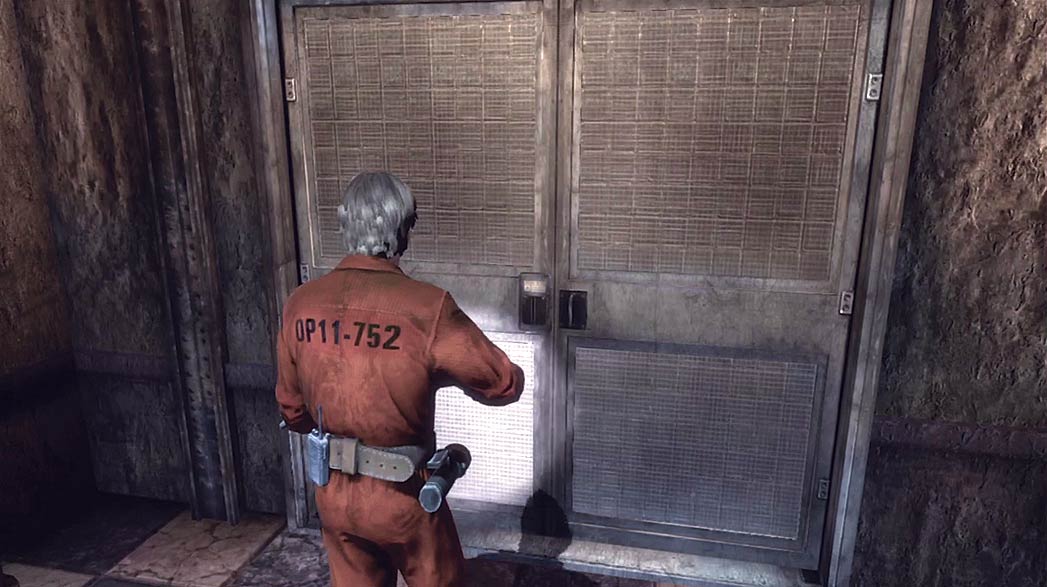
Use the Access Card you collected in the guard tower to open the doors, then head inside.
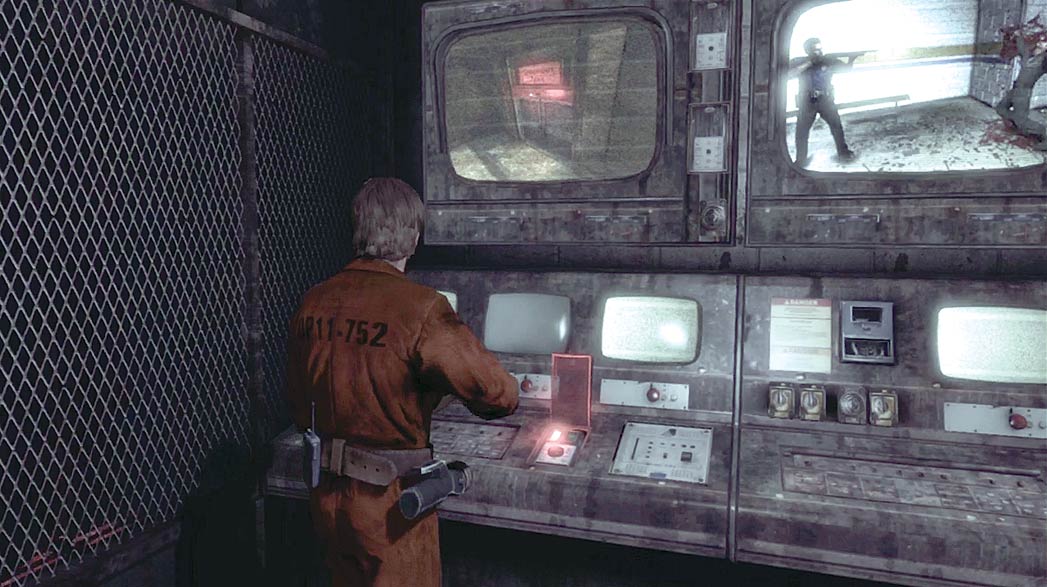
Cross the room to find the security console. As you approach the console, the monitors cycle through a series of images. Wait for the panel to flip open, then press the button to unlock the doors to Block B. Before you leave, conduct a full search of the security room to find several useful items.
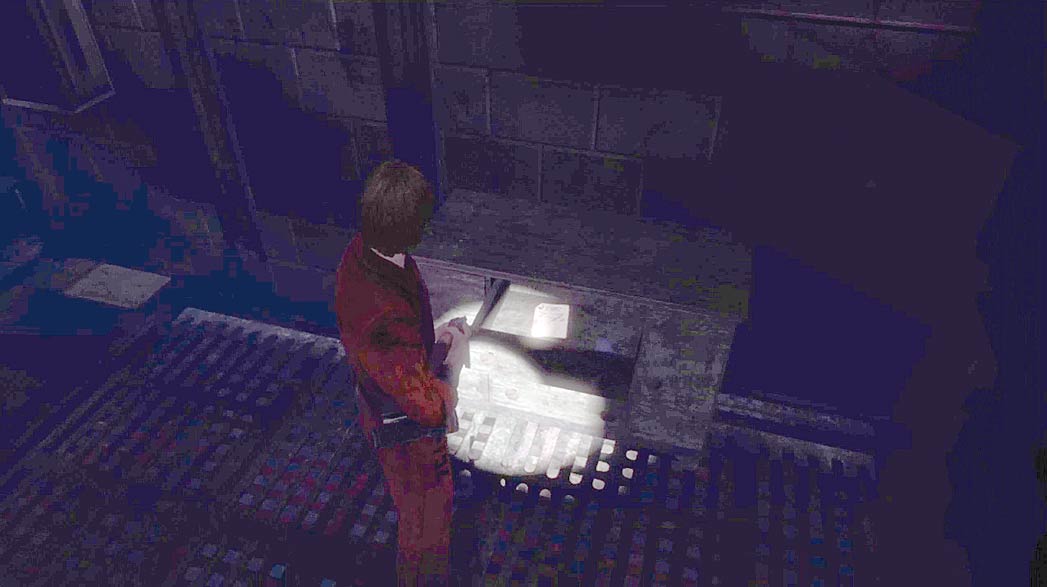
The drawers near the security room’s west wall contain two items. Collect the Mystery item to add the BOLO Alert to Murphy’s Journal, then grab the box of Pistol Bullets.
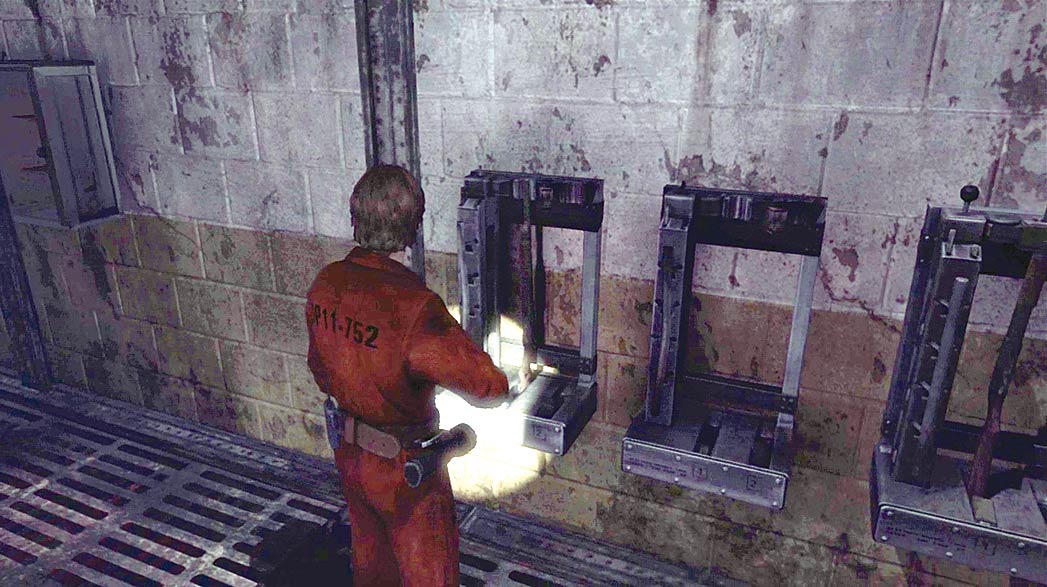
Grab the Shotgun from the first gun rack, then use the Small Key from your Inventory to collect the remaining Shotgun.
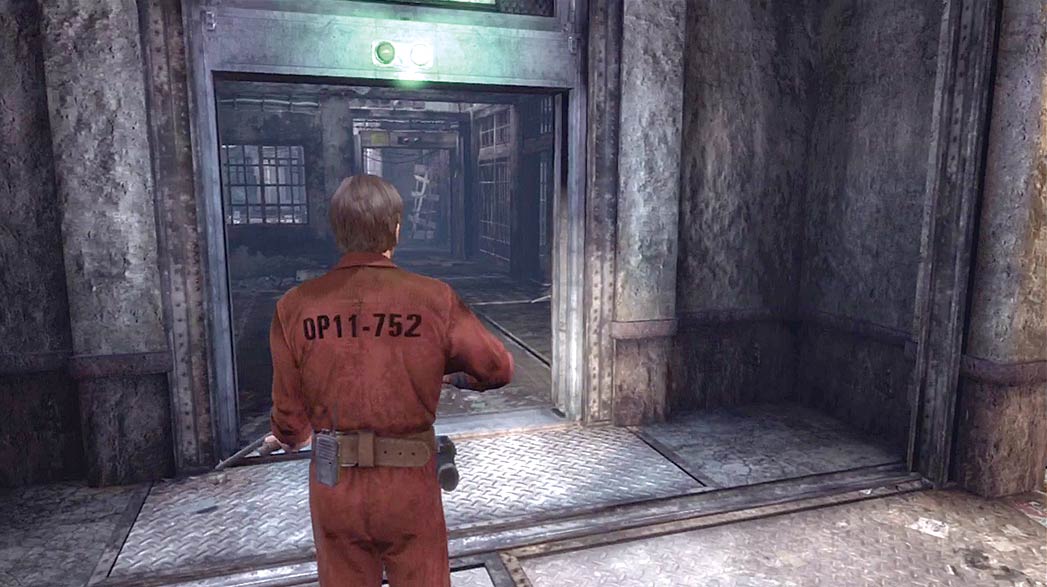
When you’re ready, leave the security room and follow the walkway back across level A3. Pass through the open doors to enter Block B’s checkout room.
Block B
Checkout Room
.jpg)
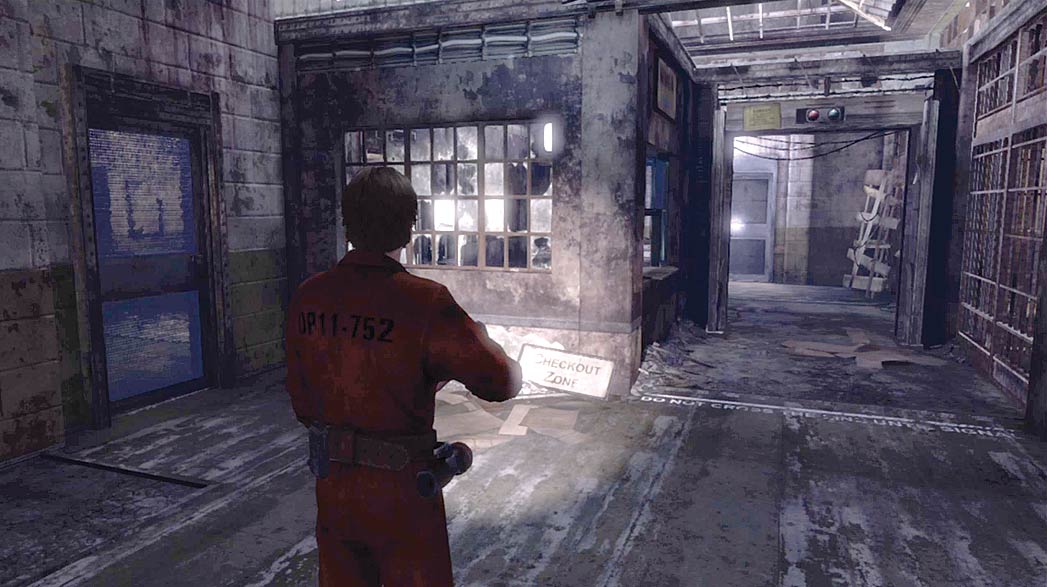
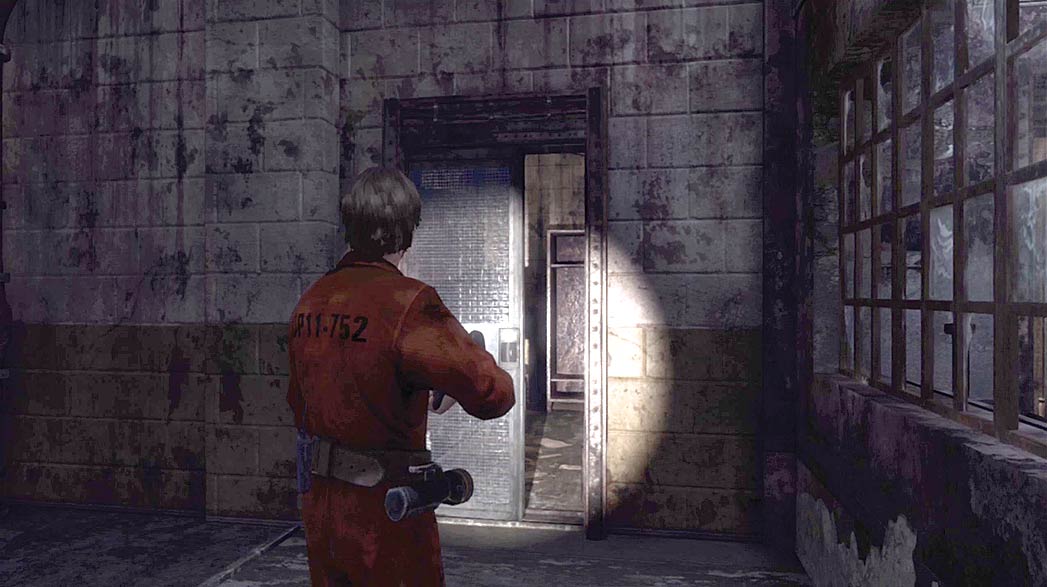
The checkout room contains a security booth and two holding cells. Use the Access Card from your Inventory to open the locked door near the security booth. When the door malfunctions, squeeze through the opening to enter the booth.
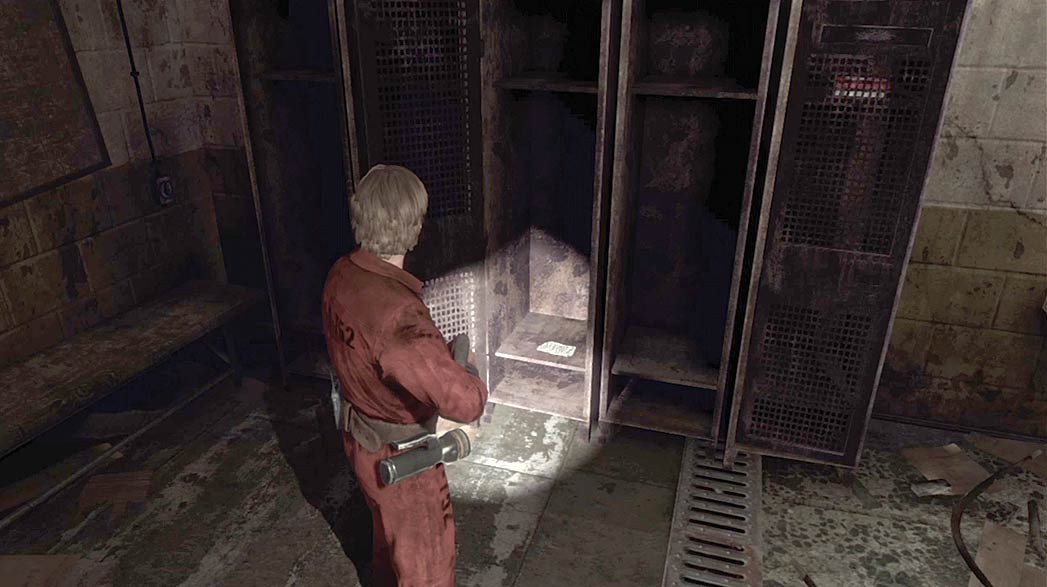
One of the lockers in the security booth contains a Mystery item. Collect the item to add the Magazine Article to Murphy’s Journal.
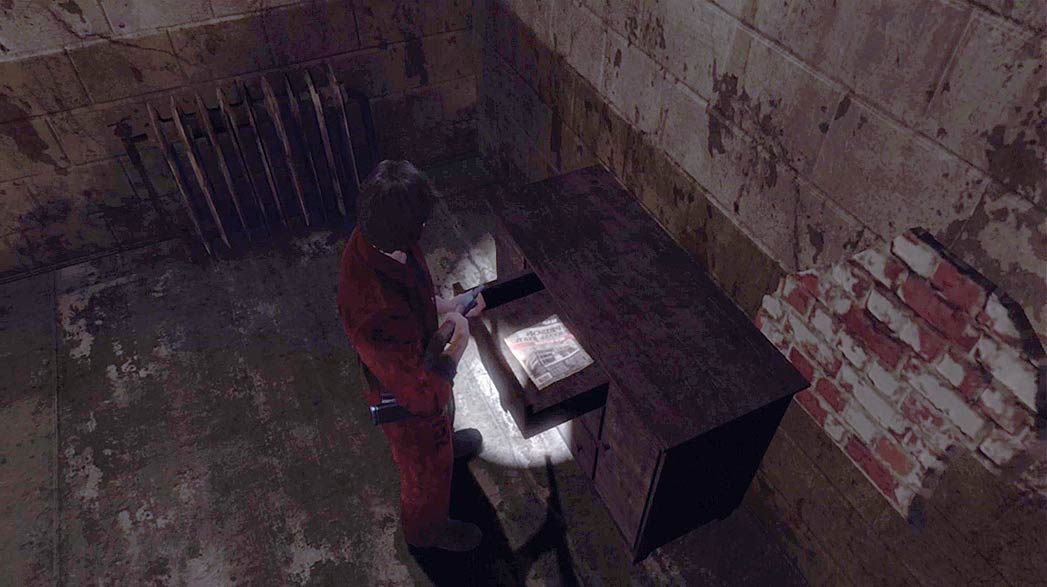
Collect the Block B map from the drawers near the booth’s west wall, then finish searching the booth.
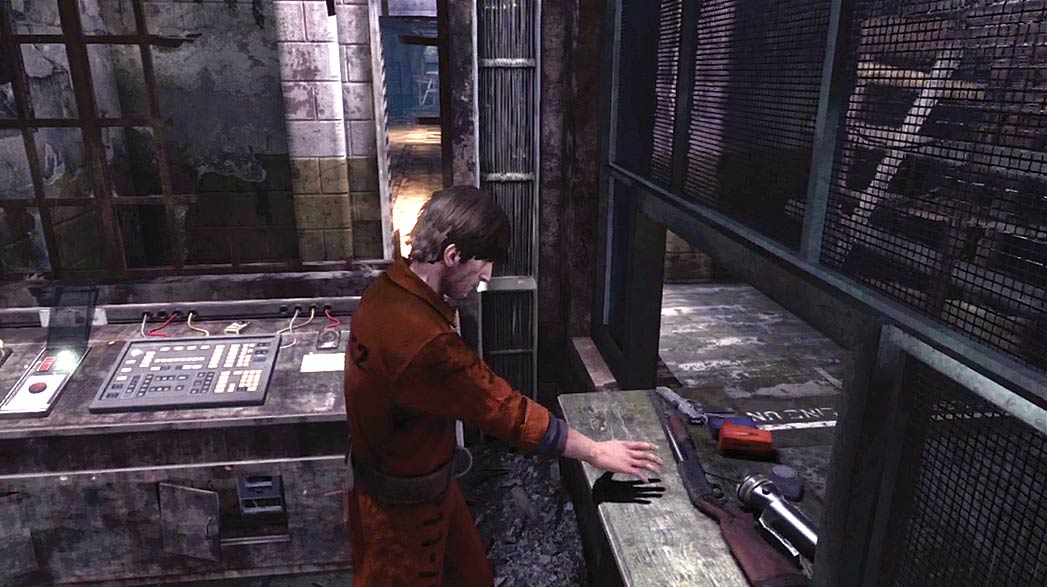
When you’re ready to leave the checkout room, use the door controls
to open the path to the main hall. The doors will slam shut if you set off the checkpoint’s metal detector. Examine the counter near the door controls to remove all metallic objects from your Inventory, then exit the security booth.
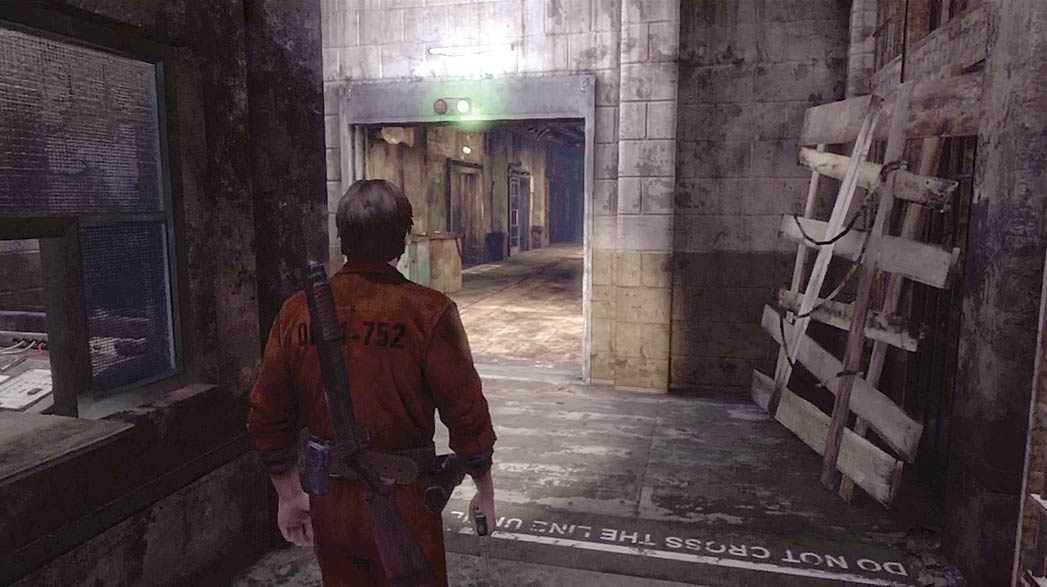
After you pass through the metal detector, collect your items from the counter. Equip your preferred weapon, then continue into the main hall.
Main Hall
.jpg)
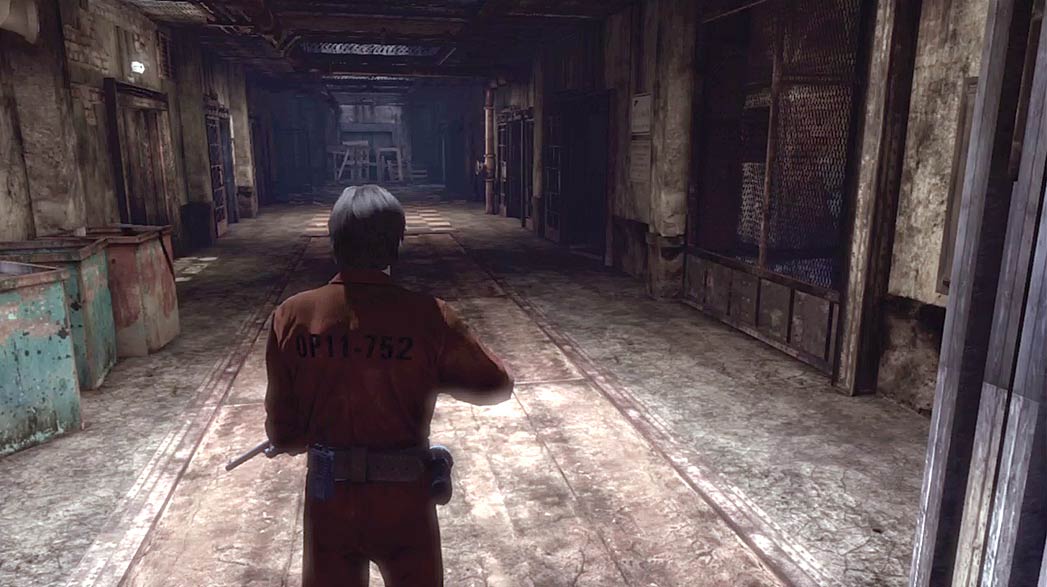
The main hall contains some additional cells and a large room filled with furniture. Move toward the nearest cell to trigger a cutscene.
After you enter the main hall, a Juggernaut, a Brawler, and a Stabber emerge from the large room.
This can be a fairly difficult encounter, so try to use the environment to your advantage. Run into the nearest cell and try to take out each enemy as it approaches the door.
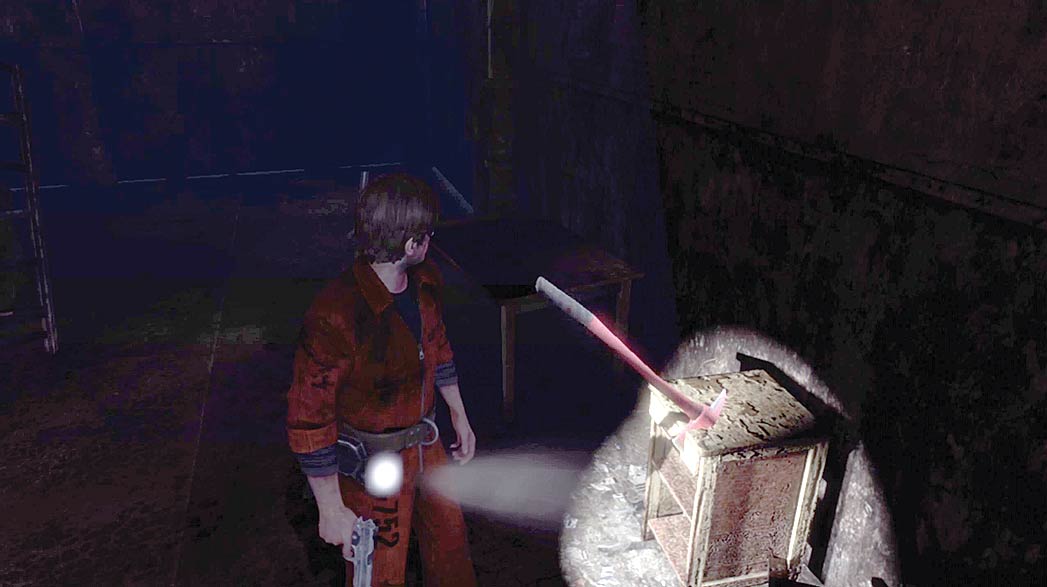
When you reach the large room, collect the Fire Axe from the end table near the wall. After you finish searching the area, head toward the workshops south of the main hall.
Workshops
.jpg)
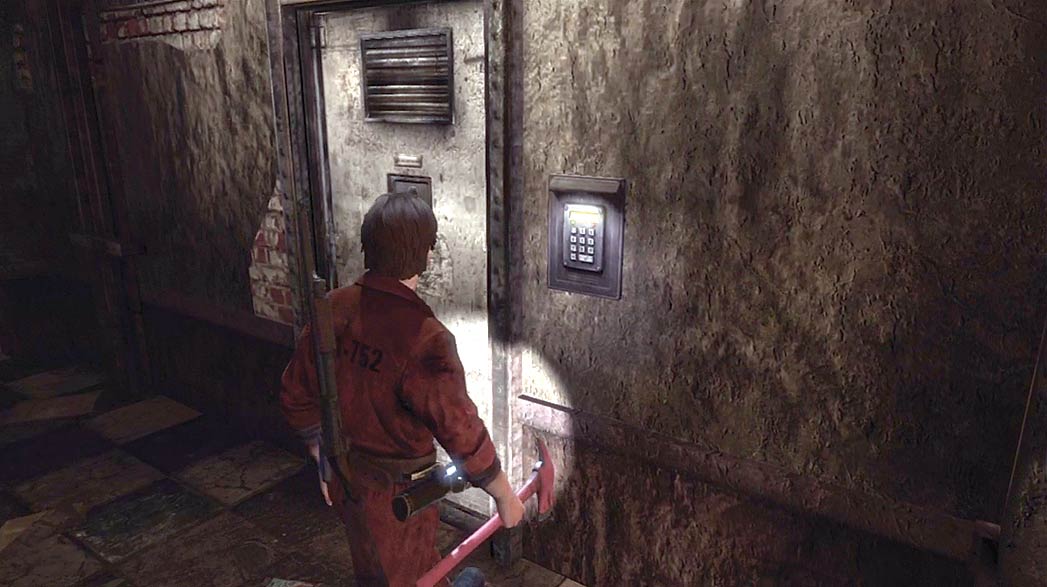
On your way to the workshops, examine the keypad on the hallway. Before you can open the nearby door, you must obtain the code.
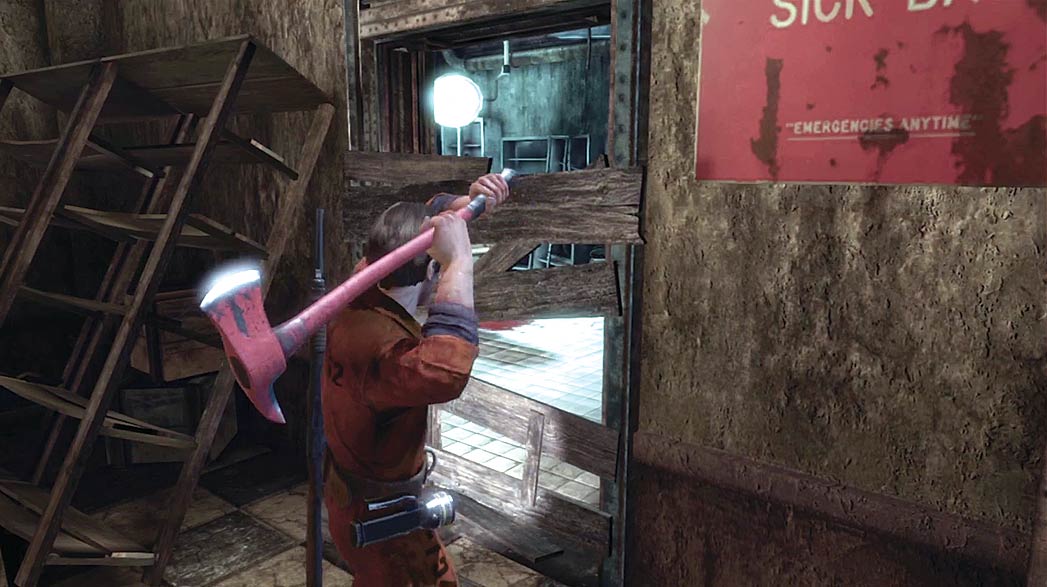
Use your Fire Axe to destroy the barricade near the end of the hall. Search the sick bay for useful items, then enter the workshop across the hall.
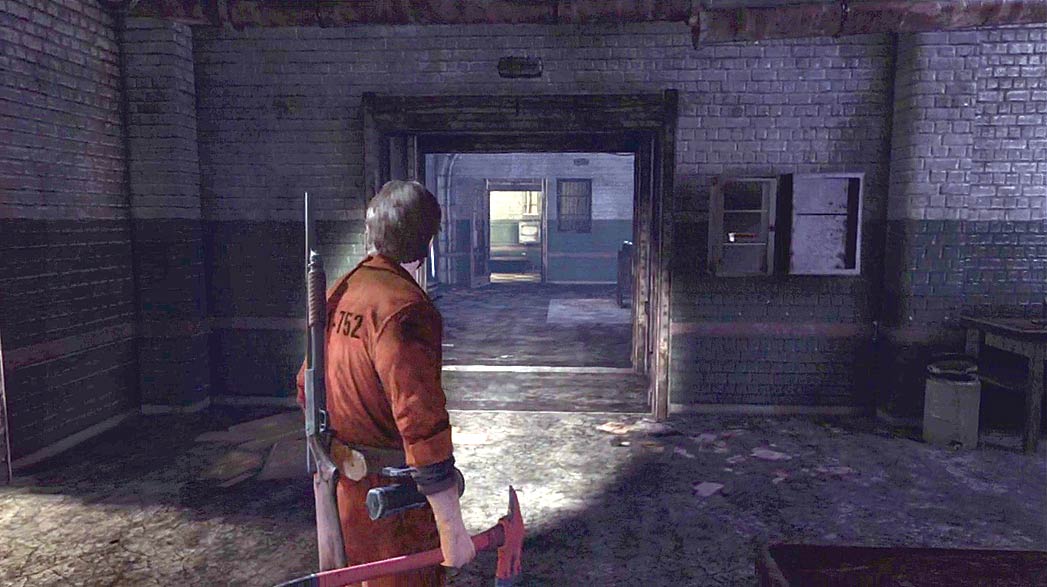
Before you activate any of the machines, cut through the workshops and investigate the small room to the north.
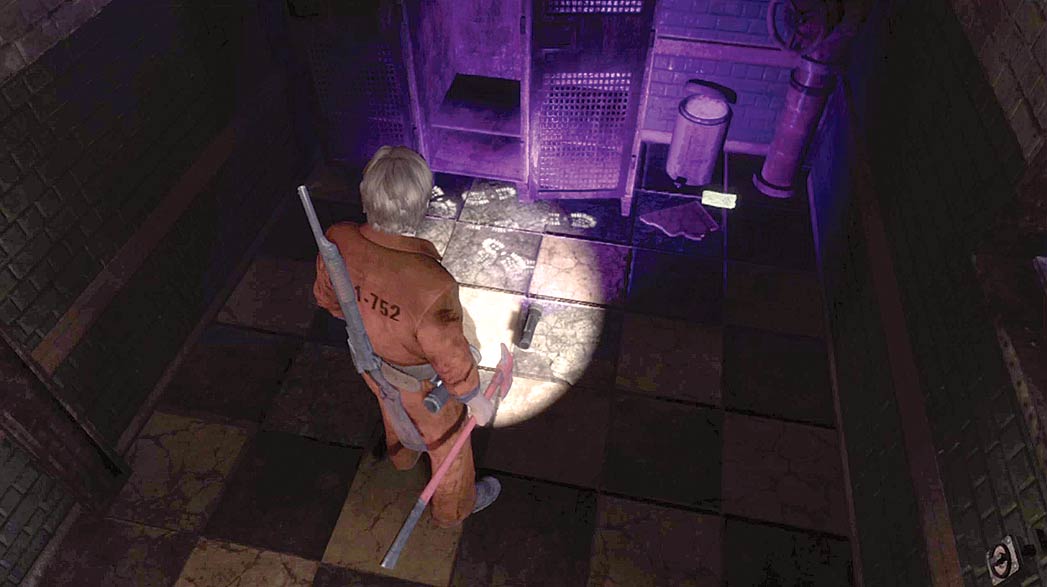
When you reach the small room north of the workshop, collect the Forensic Flashlight on the floor. Use the UV beam to search the area for clues.
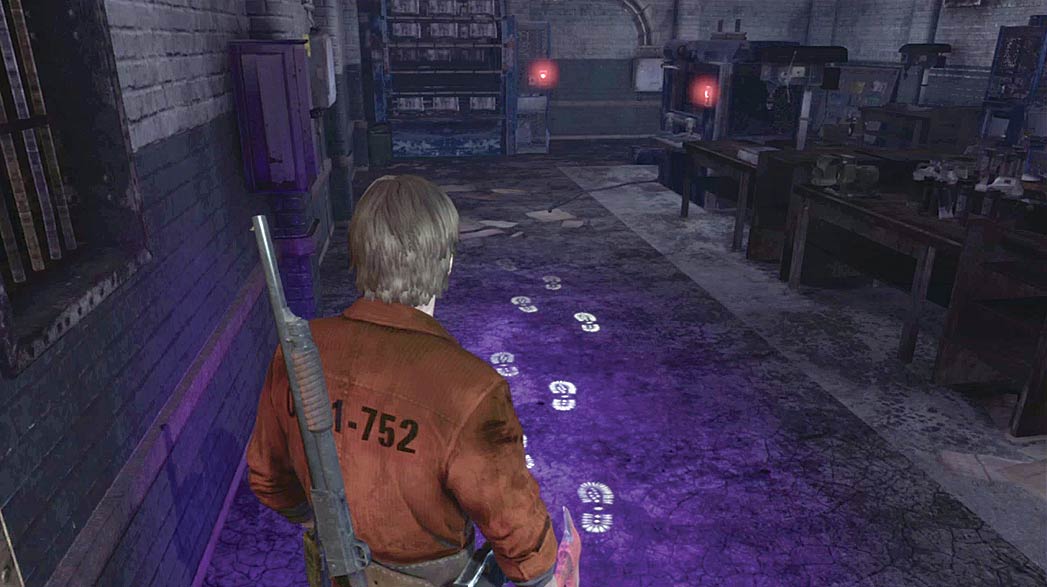
The workshops contain several clues that can only be seen in the Forensic Flashlight’s UV beam. Follow the trail of footprints and search for the numbers hidden in the environment. Once you’ve found all of the numbers, use them to unlock the door across the hall.
As you follow the trail through the workshops, listen for any warning bells that may sound; this indicates that one of the machines has switched on. Find the active machine and switch it off as quickly as possible. If you fail to do so, the noise will draw hostile creatures into the workshops.
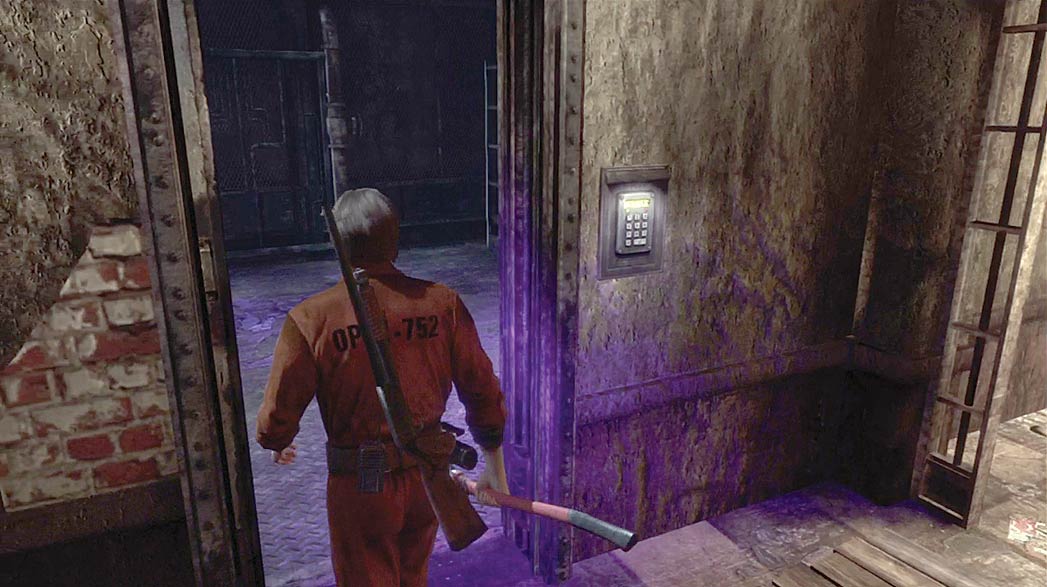
When you enter the code into the keypad, the storage room door slides open. When you’re ready, head inside and search the storage room.
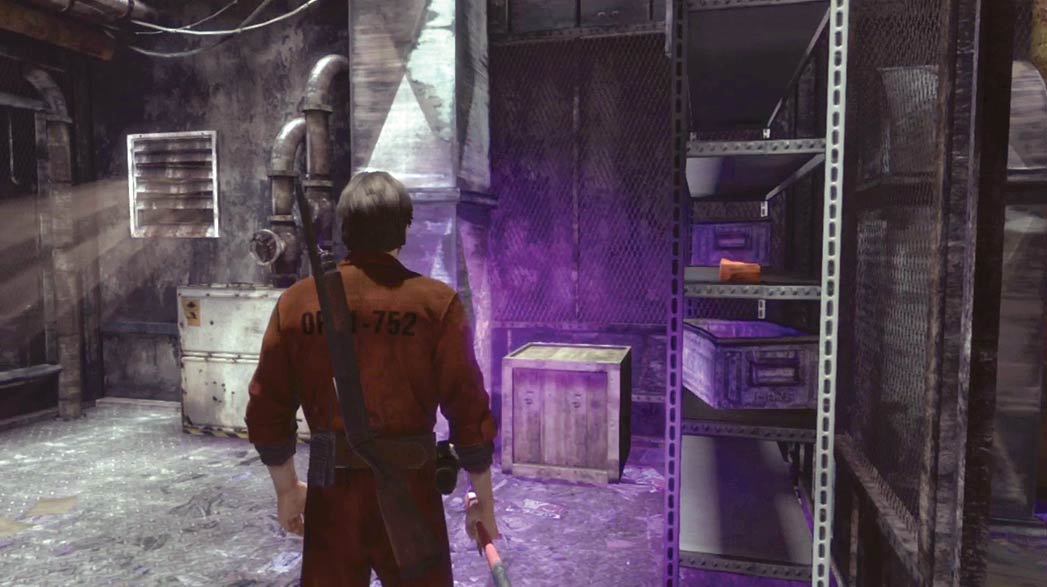
Soon after you enter the storage room, it begins to flood. Grab the Shotgun Shells from the shelves in the center of the room, then search for a way out.
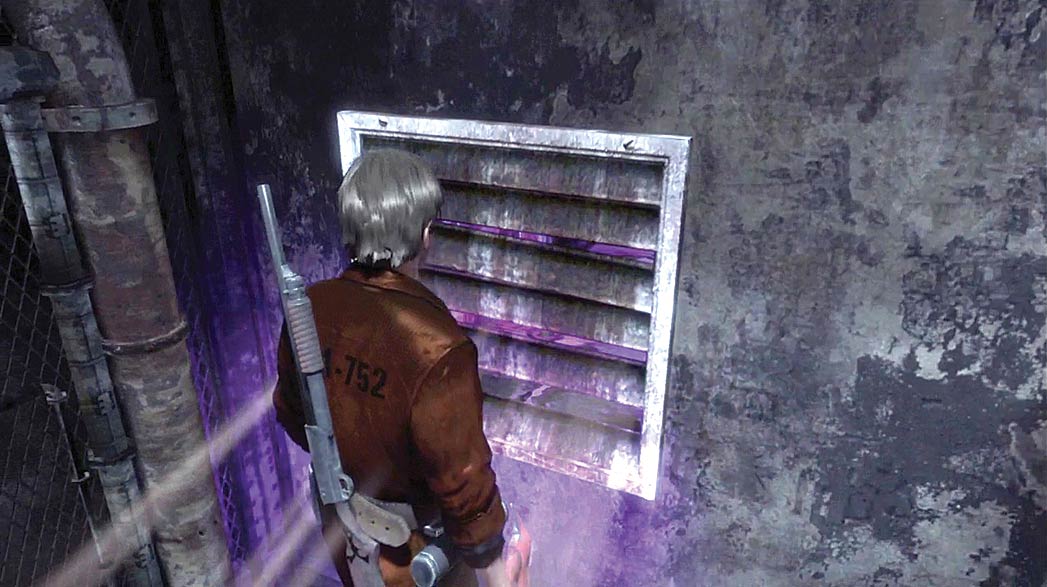
Move to the crate near the shelves and drag it over to the nearby vent. Climb onto the crate and use the Quarter Dollar from your Inventory to remove the vent cover. After the cutscene, follow the on-screen prompts to crawl through the ventilation duct.
Day Room
.jpg)
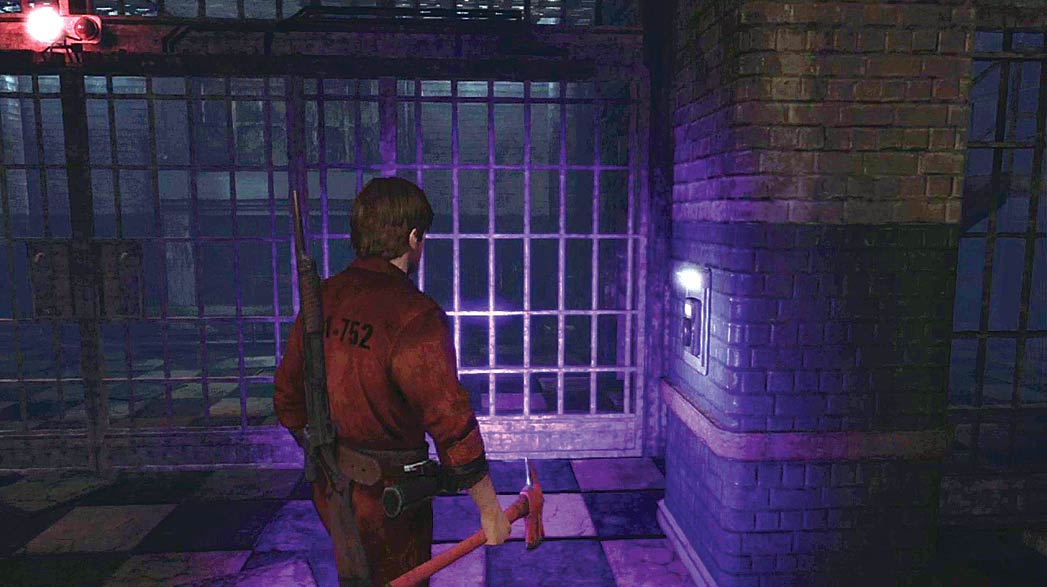
After the cutscene, you arrive in the penitentiary’s day room. The locked doors at the room’s west edge are flanked by two card readers. Use the Access Card from your Inventory to activate both of the card readers, then wait for the doors to slide open.
The day room contains a Juggernaut, a Brawler, and a Stabber. When the cutscene ends, run straight to the locked doors and activate both card readers before the creatures reach you.
It takes some time for the doors to open, so you must defend yourself from the creatures in the meantime. Once the doors are open, you can either stay and fight or flee from the area.
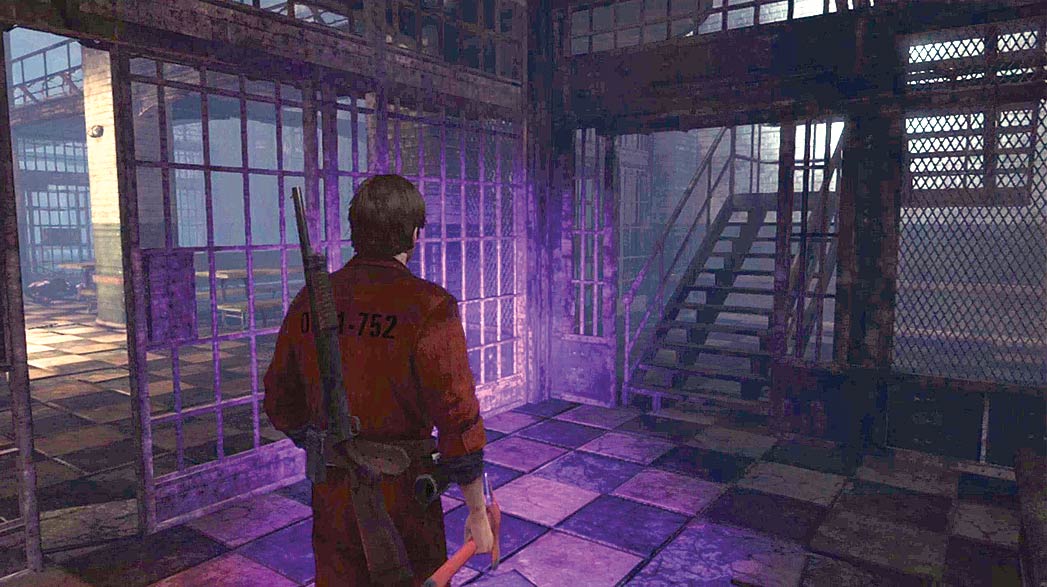
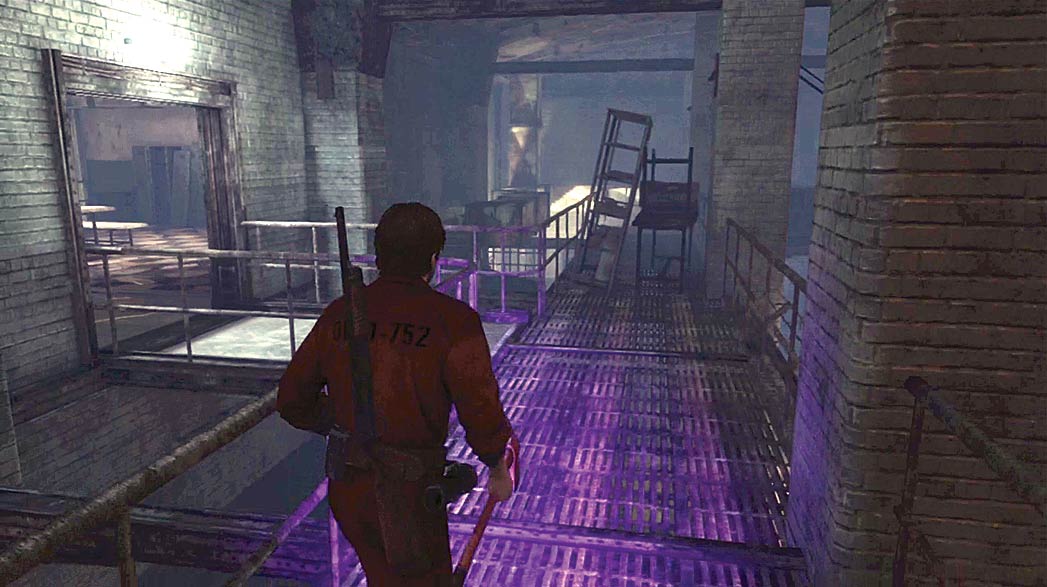
After the doors malfunction, squeeze through the opening. Climb up the stairs and follow the walkway to the day room’s upper level. This room contains several useful objects, so take the time to explore it thoroughly.
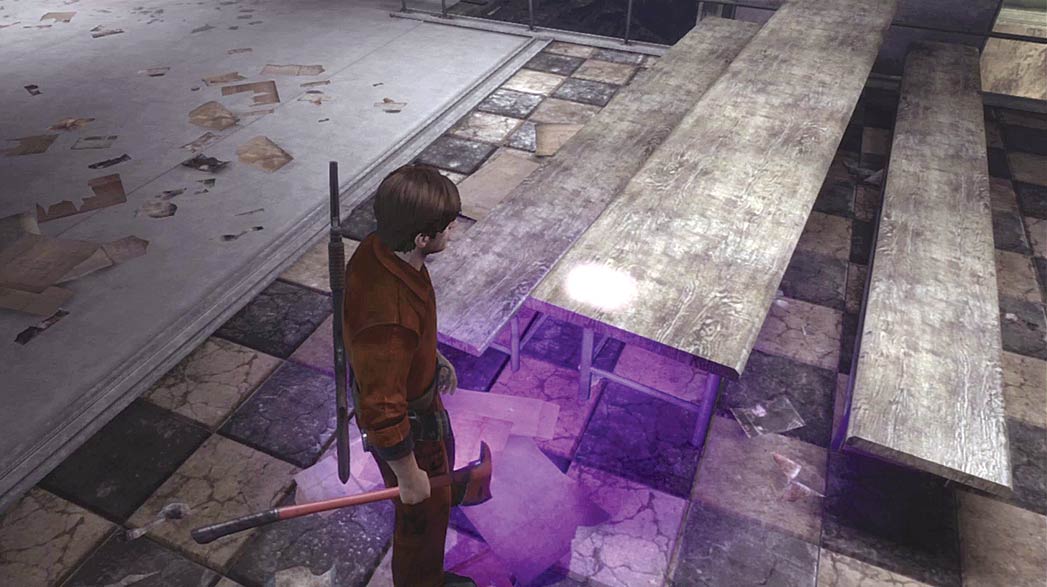
After you enter the room, collect the Mystery item from the table to add the Newspaper Headline to Murphy’s Journal.
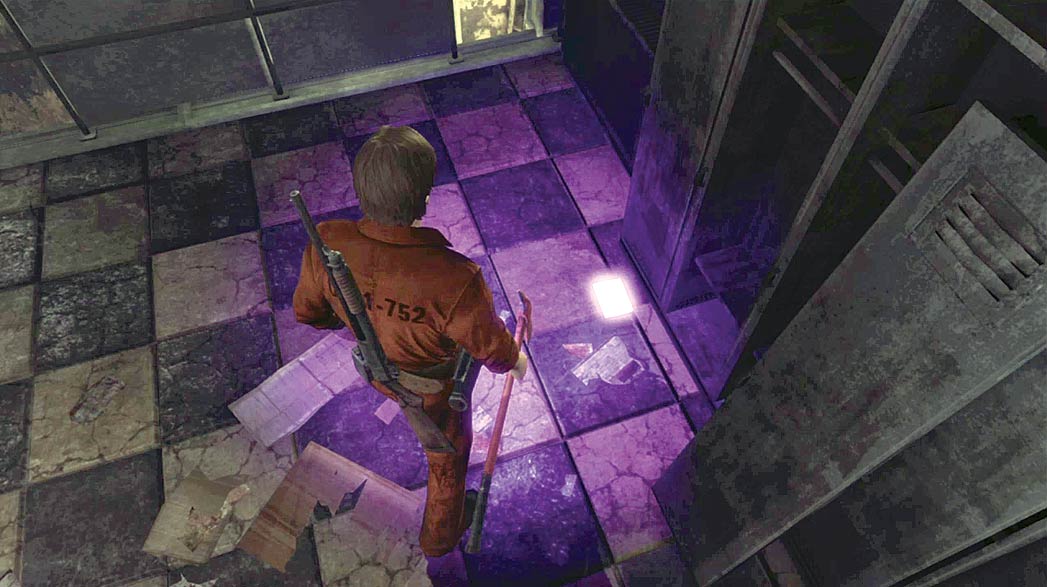
Continue past the table and grab the Mystery item to add the Whistleblower’s Letter to Murphy’s Journal.
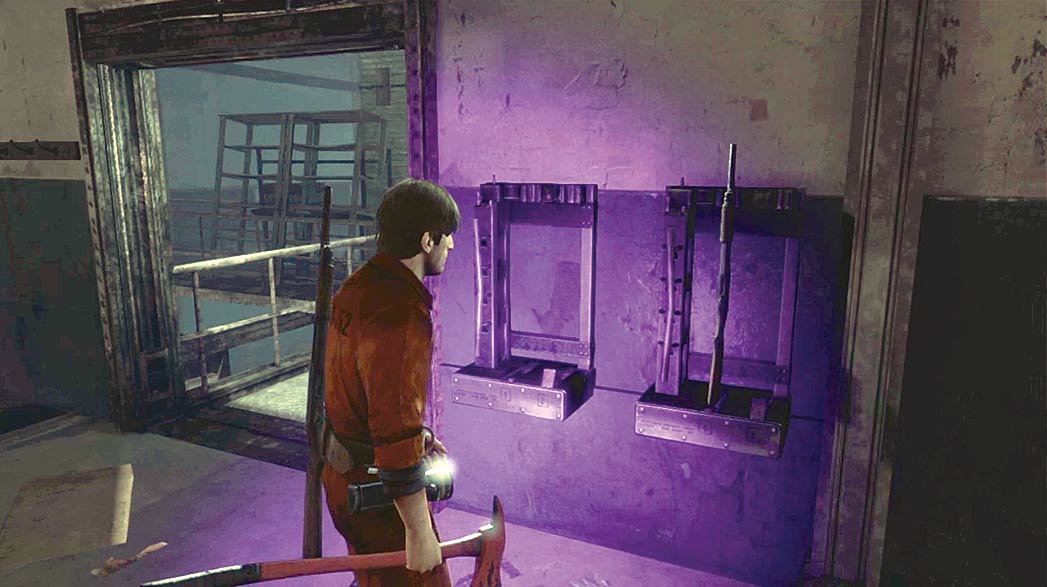
Collect the Shotgun from the gun rack near the door, then head down the stairs on the room’s west side.
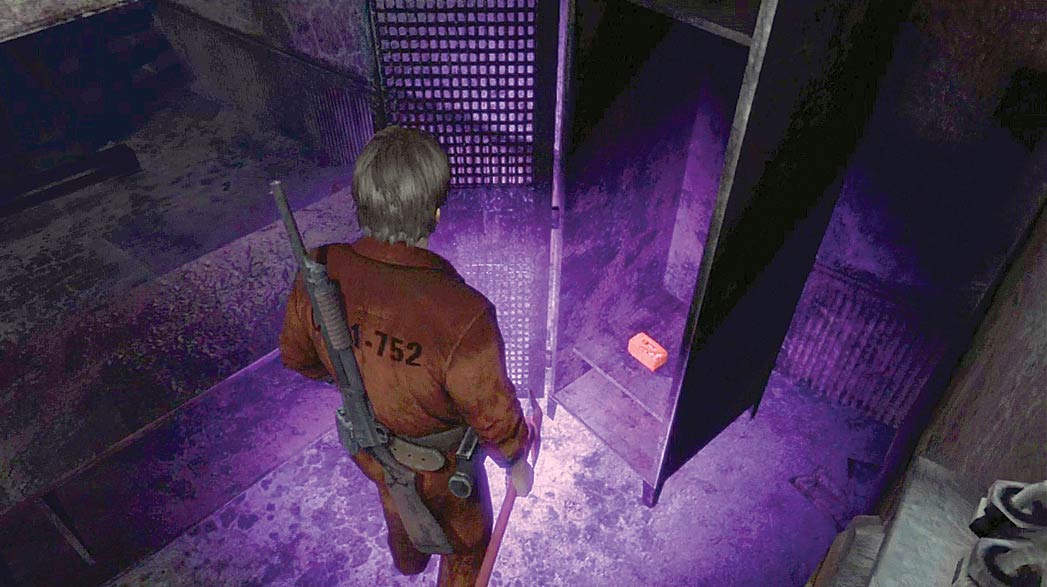
When you reach the bottom of the stairs, collect the Shotgun Shells from the nearby locker. Return to the upper level and complete your search of that room.
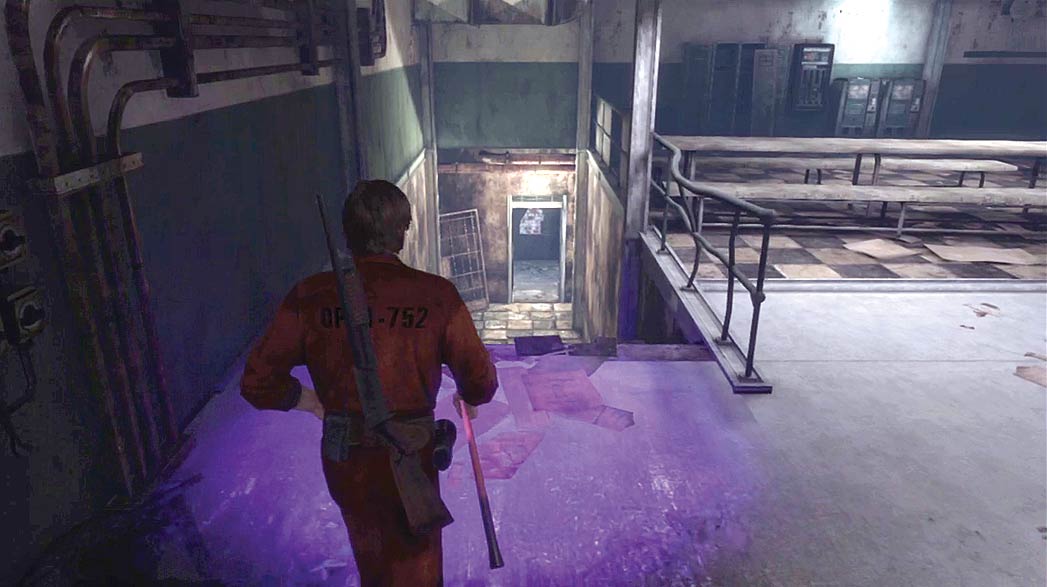
When you’re finished searching the day room, head down the stairs near the east wall and follow the hallway north.
When you reach the chamber in the middle of the hall, turn left to spot the Juggernaut lurking in the shadows.
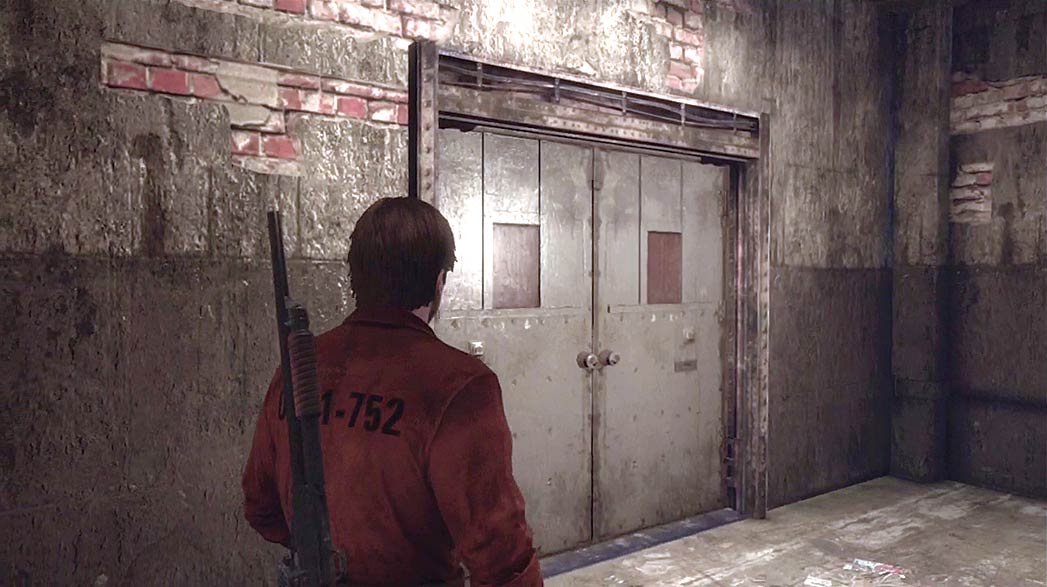
When you’re ready, open the doors near the end of the hall and step into the showers.
Showers
.jpg)
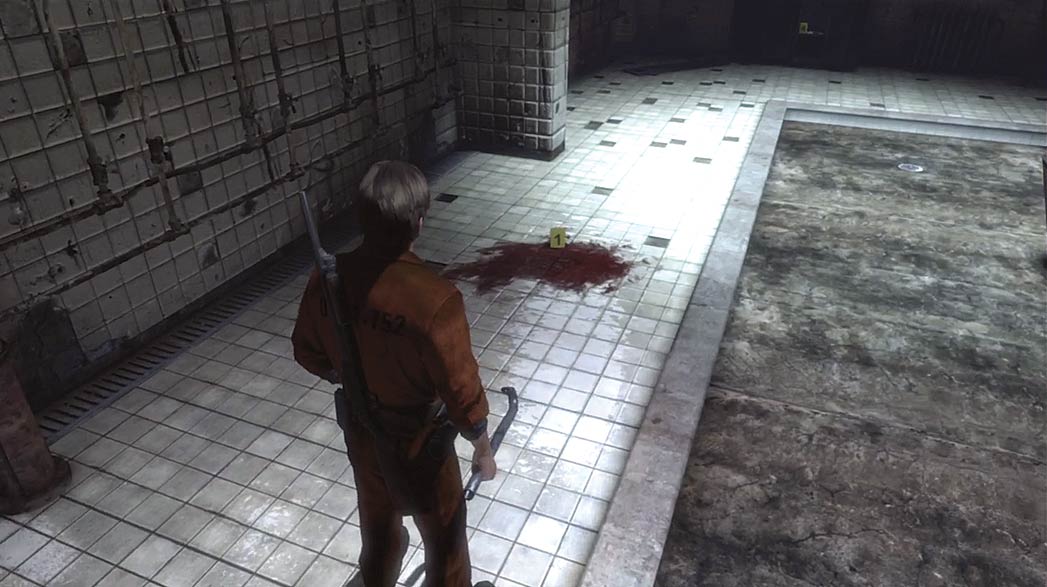
There are four evidence markers placed around the showers. Investigate each of the markers to find important objects at some of the markers.
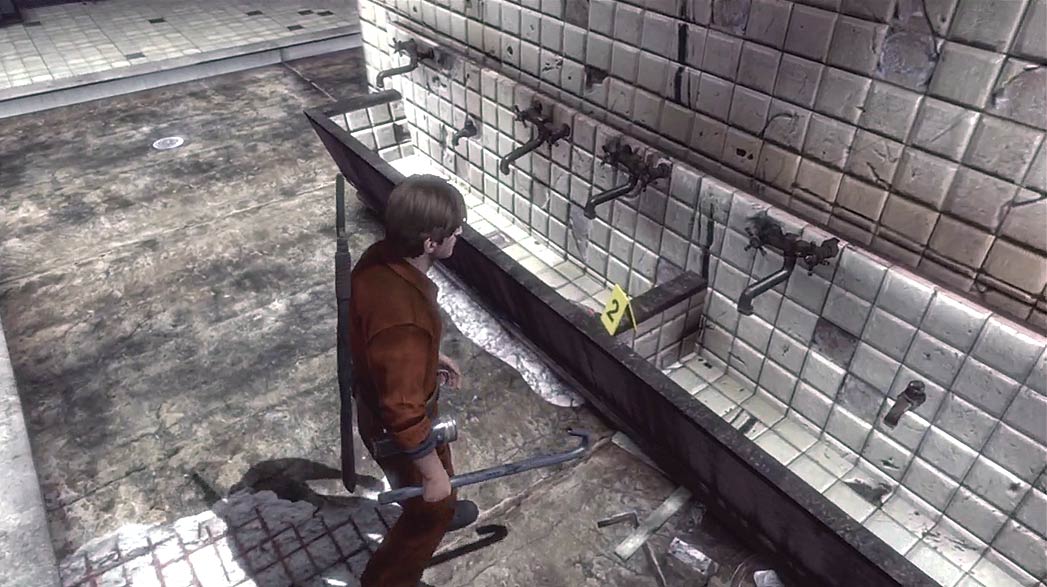
Collect the Prison Shank from the trough near the second evidence marker.
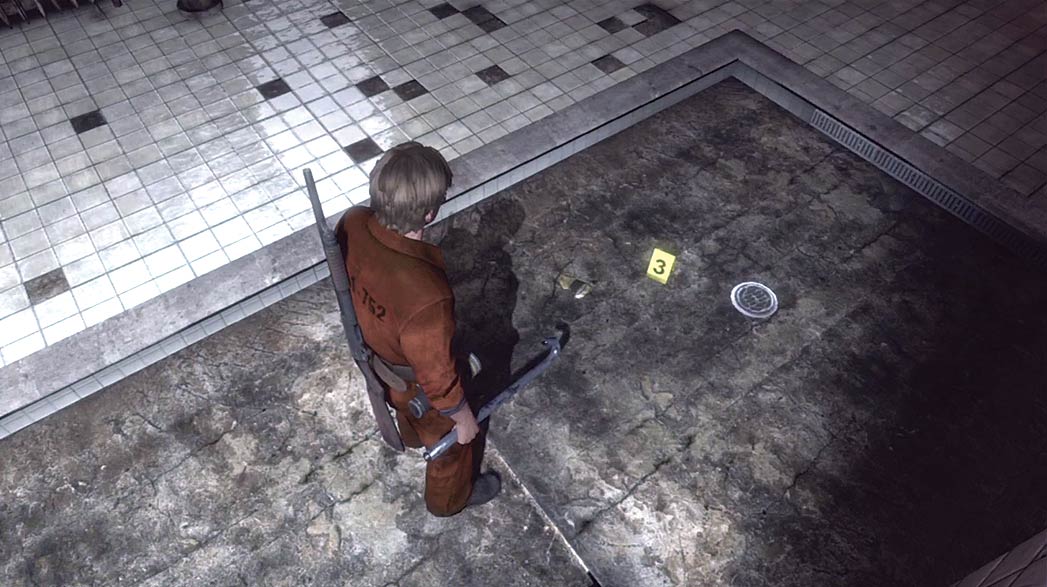
Collect the Mourning Badge on the ground near the third evidence marker.
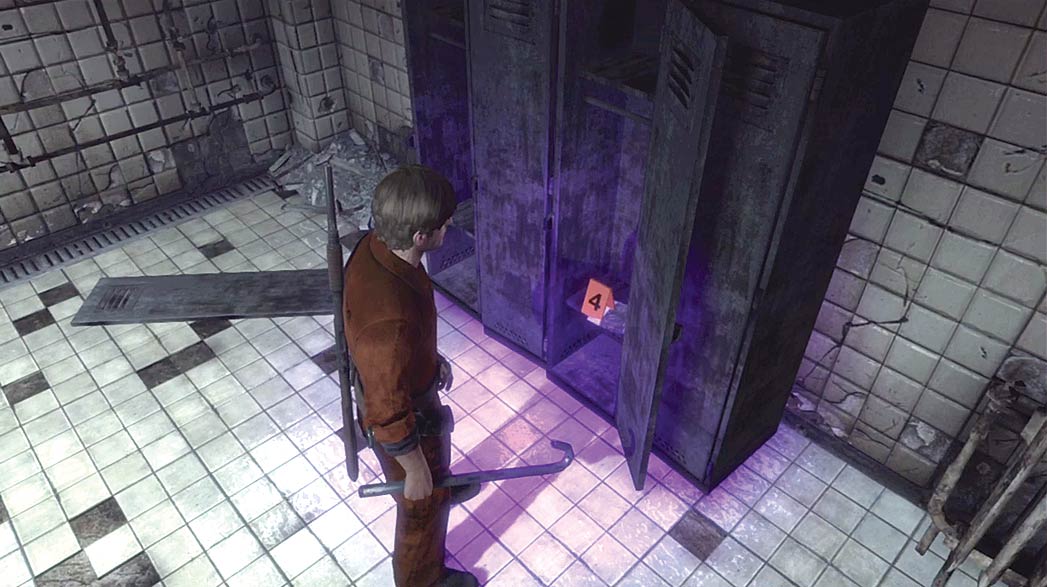
Collect the Crime Evidence from the lockers along the wall.
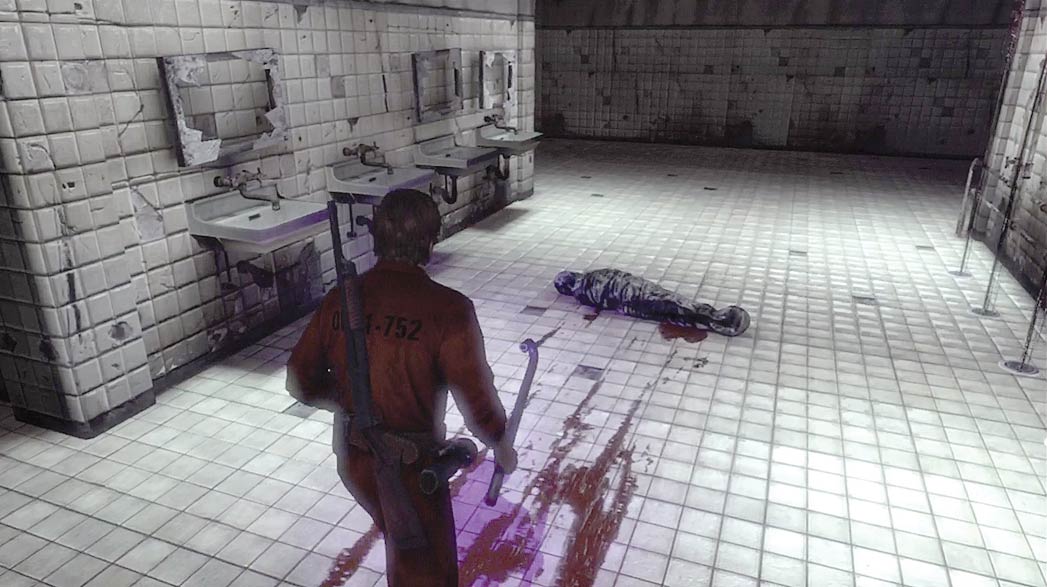
When you collect all three items, the environment changes slightly. Once this happens, leave the room. Approach the body at the end of the blood trail to trigger another a cutscene.
Overlook Penitentiary Otherworld
Cell Blocks
After the cutscene, the void appears in the room. Be ready to run as soon as you regain control of Murphy.
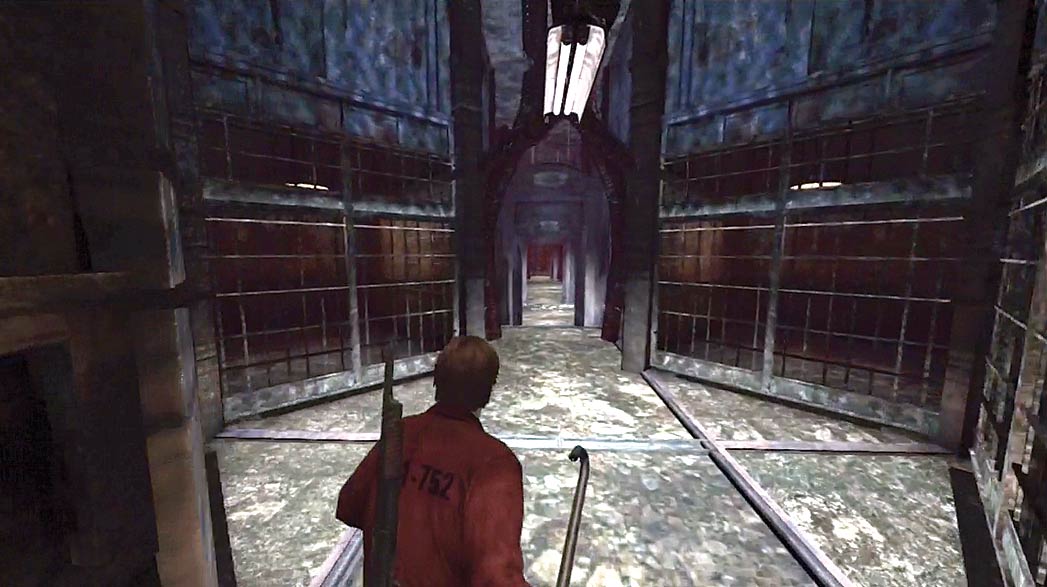
When the cutscene ends, run into the corridor and follow it to the first junction.
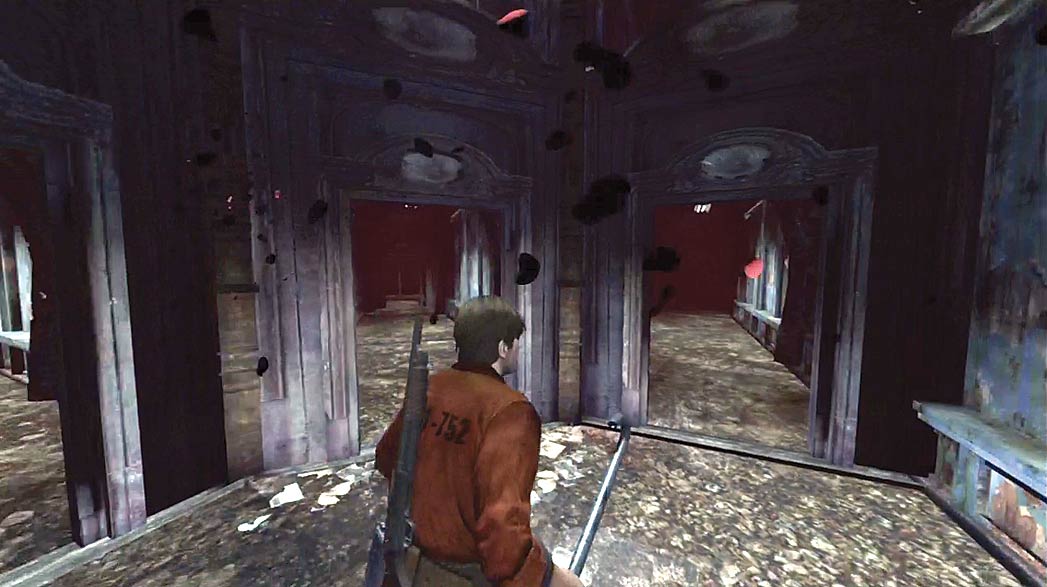
The first junction contains three doorways. The door in the center slams shut when you approach it; head through the door on the right and continue along the corridor.
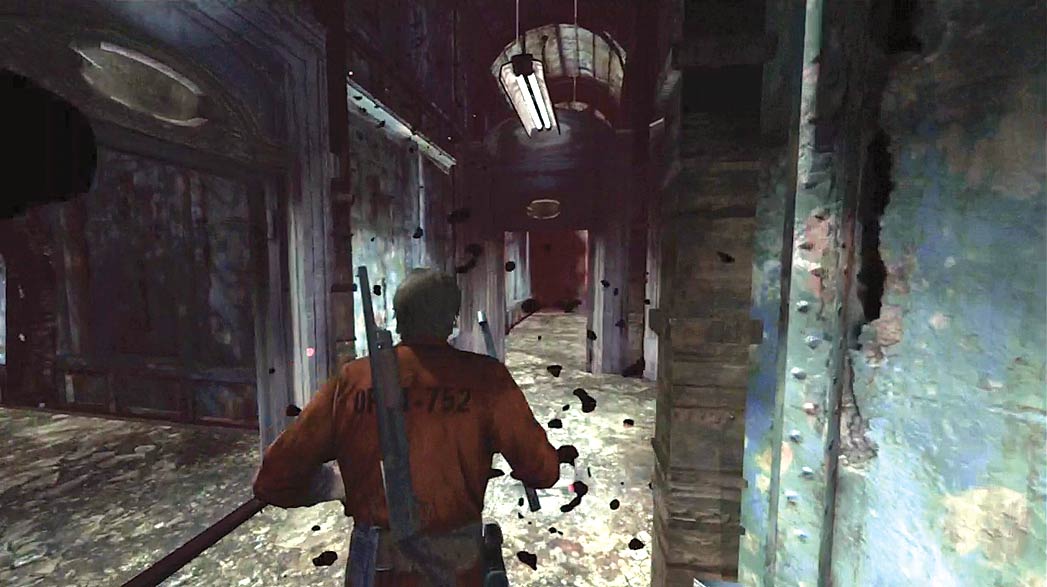
Follow the corridors as they twist through the area. Each time you reach a junction, choose the path to the right. Many of the doorways house large blades that slam down at regular intervals. When needed, adjust your speed to pass under each blade when the doorway is clear.
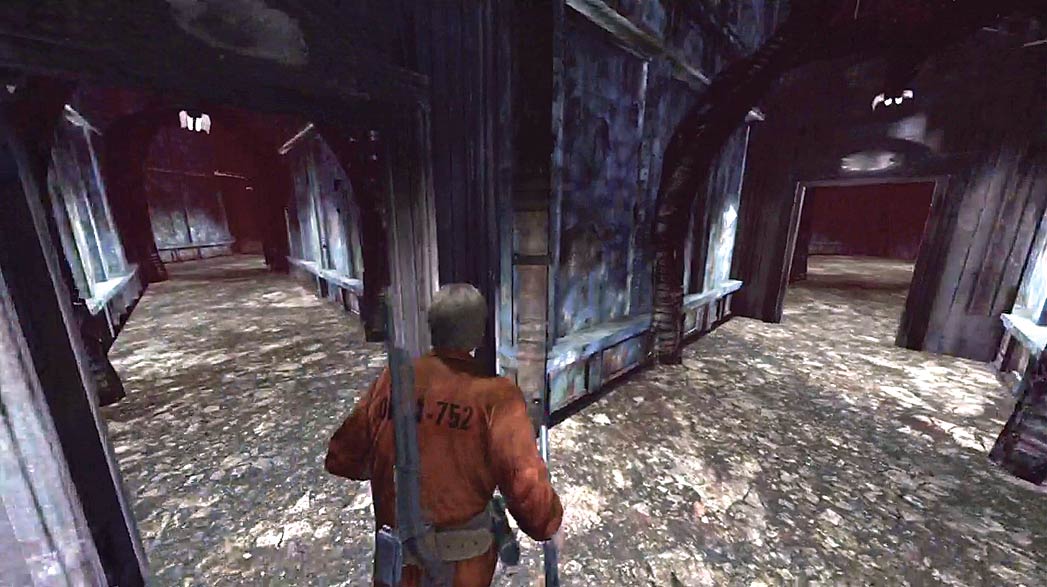
Soon after you pass the caged Juggernaut, the path forces you through a sharp left turn. After this happens, the corridor obstructs your view of the next junction. As you pass through the next doorway, make a hard right turn to continue toward the exit.
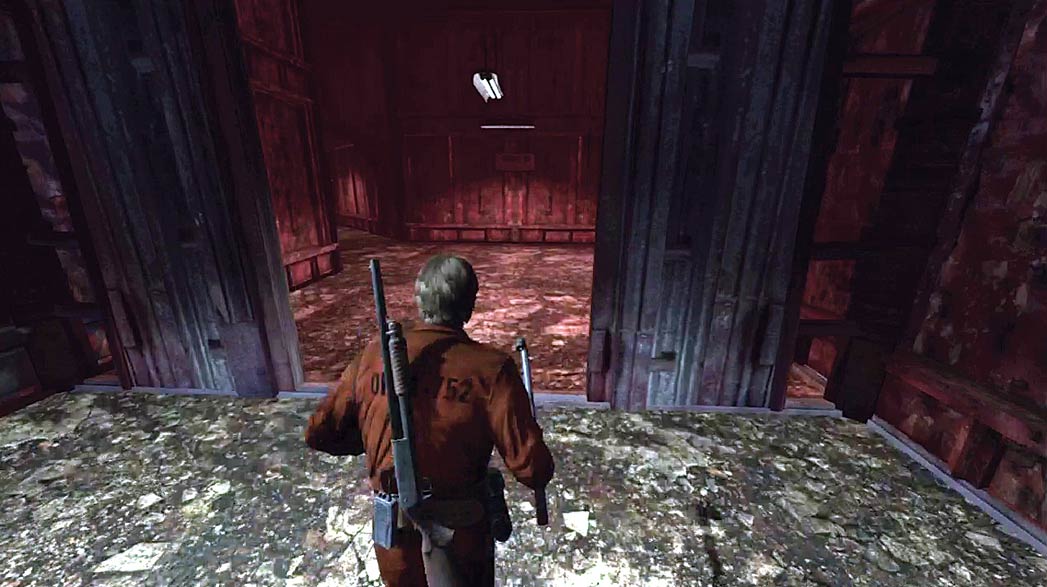
When you pass the Wall Corpse, follow the path into Block B. The transition marks the route’s halfway point. Aside from its red walls, Block B is essentially a mirror image of the area you just traversed. Continue taking each available right turn to move along the outside edge of the area.
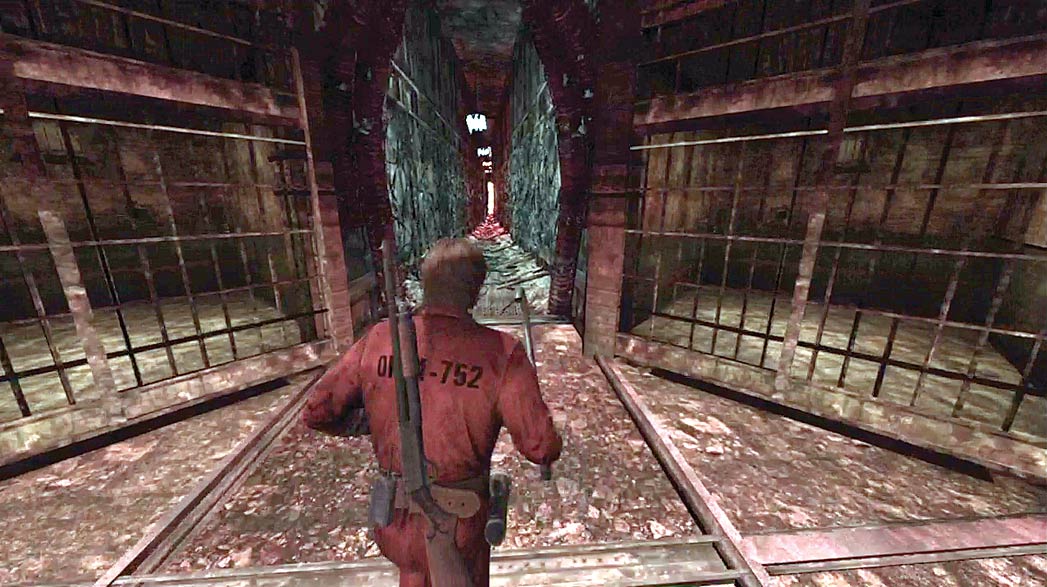
As long as you take each available right turn, the path leads you to the exit. Leave Block B and continue to the spikes toward the end of the corridor.
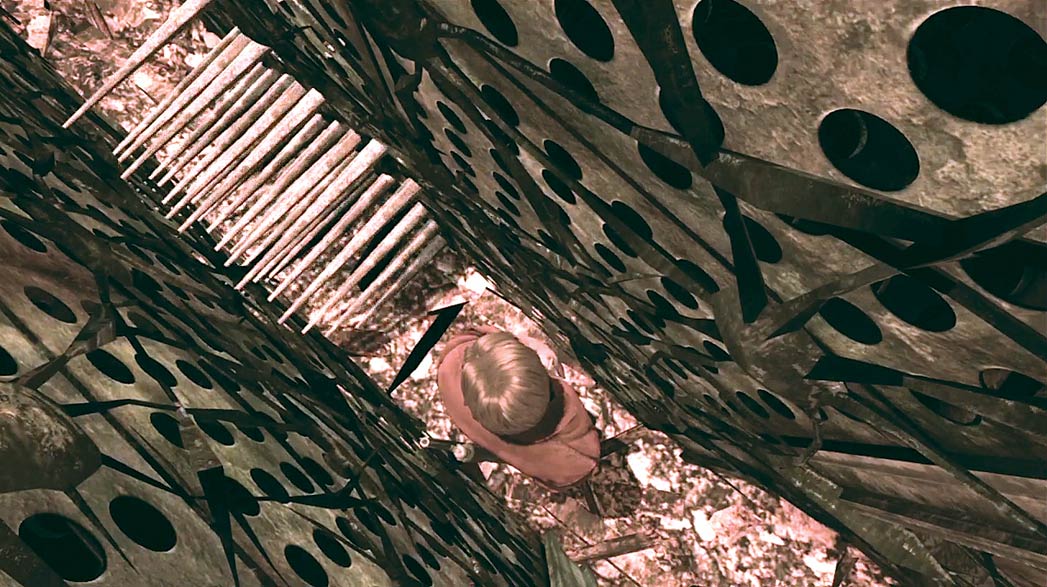
Before you attempt to move past a cluster of spikes, pause long enough to determine when and if the spikes will emerge from the wall. Move carefully through the corridor to reach the platform past the spikes.
Lift
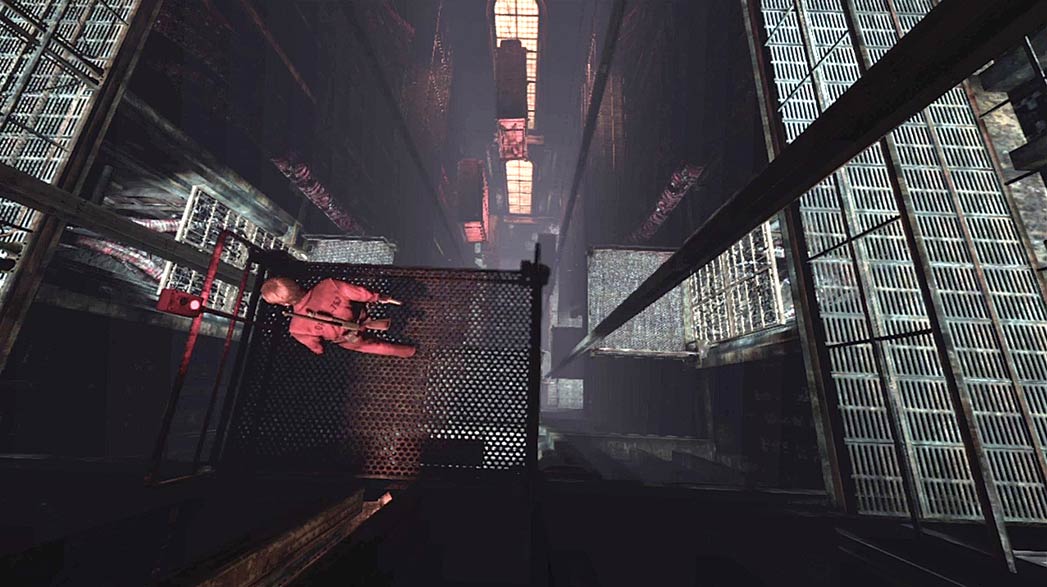
Once you’re past the spikes, press the call button and wait for the lift to arrive.
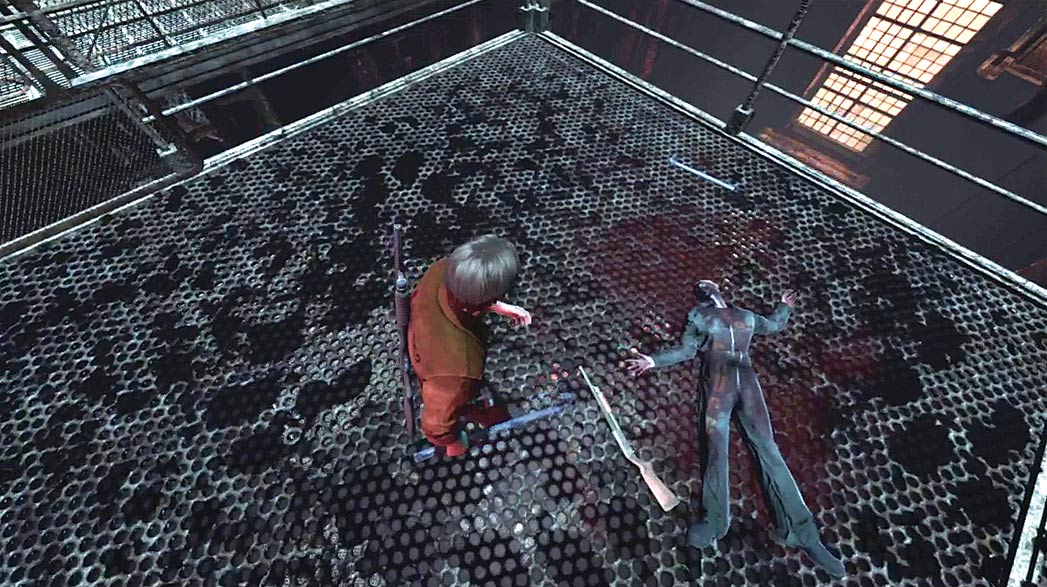
There are a couple of weapons on the lift. Move toward the body to find a Shotgun and a Steel Pipe. You must now defend yourself as the lift carries you down the shaft.
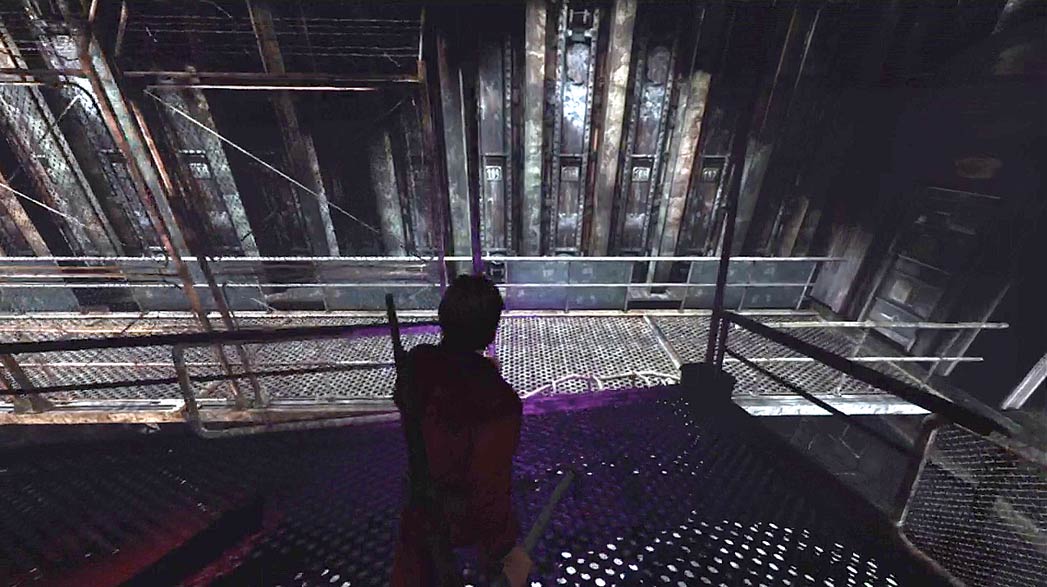
After the lift malfunctions, move to the walkway and follow the path through the area.
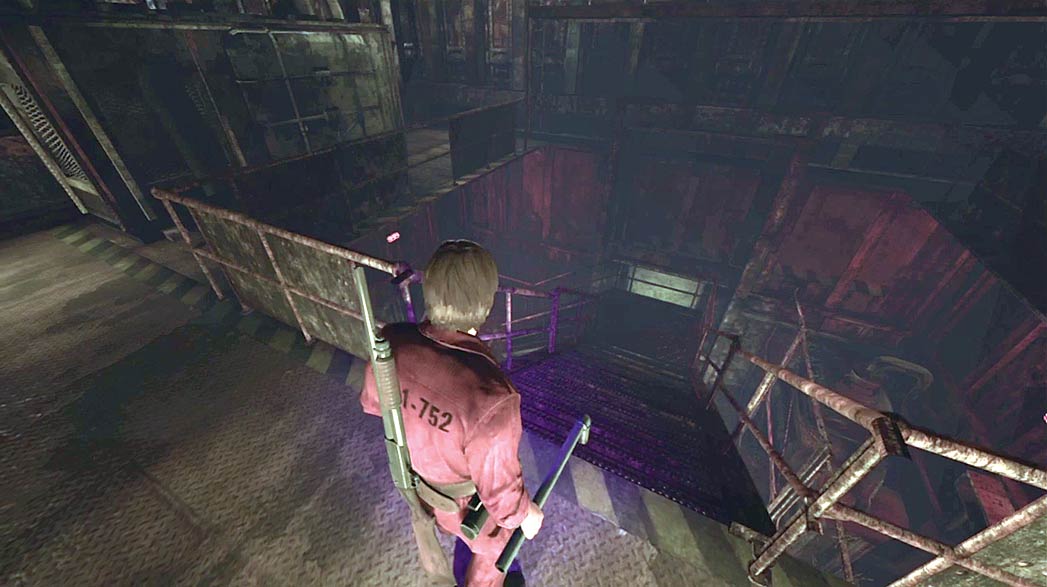
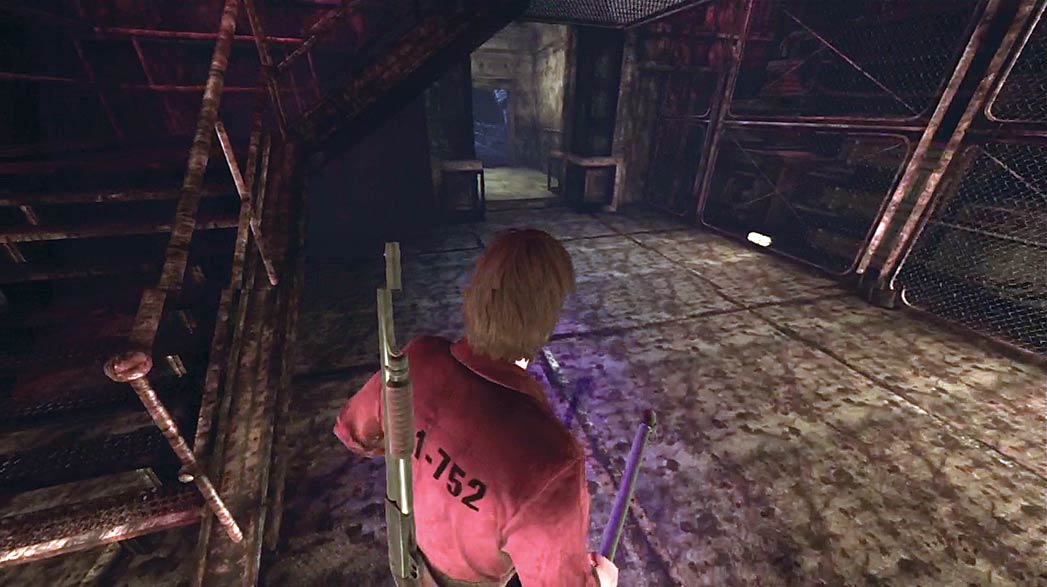
Follow the ladders and walkways to find a stairwell. Move to the bottom of the stairs, then continue through the nearby passage.
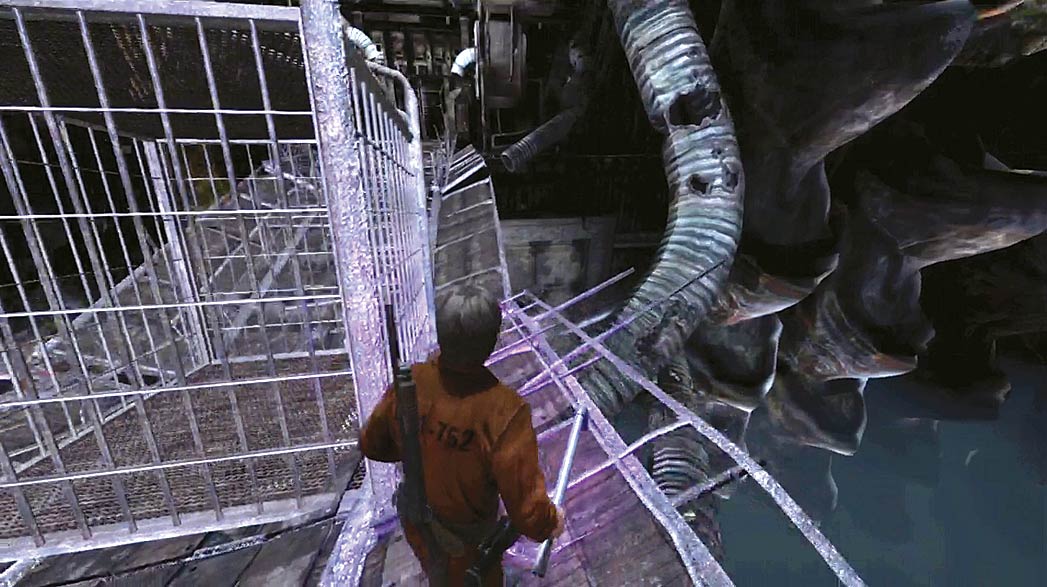
As you cross the bridge, slip around the cells that fall in your path.
As you approach the next area, the bridge begins to crumble. Follow the on-screen prompts to climb back up to safety. During the struggle, several items—including your Forensic Flashlight and any firearms—are removed from your Inventory.
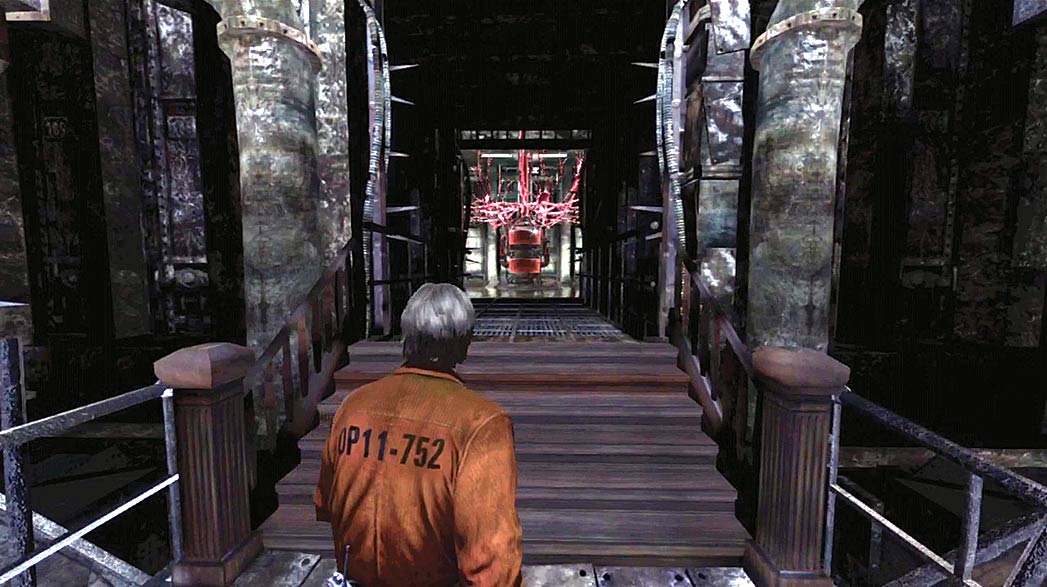
When you reach the end of the bridge, follow the path through the open gates and into the next area.
Reflection
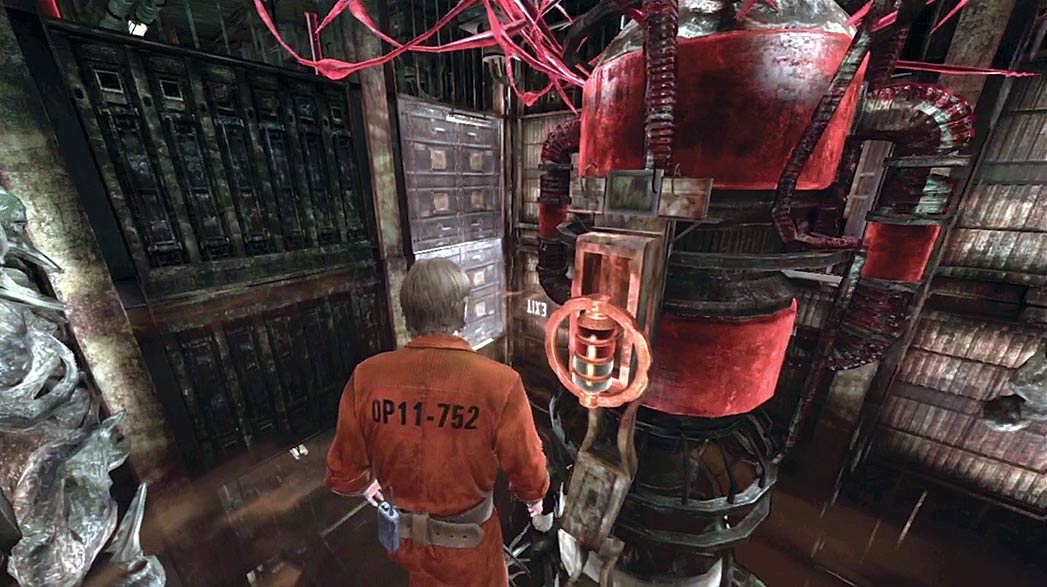
Pass through the gates to find a room with mirrored floors. Although the machinery is predominantly red, there’s very little color in the gray reflected image.
Examine the machine in the center of the room, then turn the attached wheel to move from the existing room with red machinery to the reflected gray image.
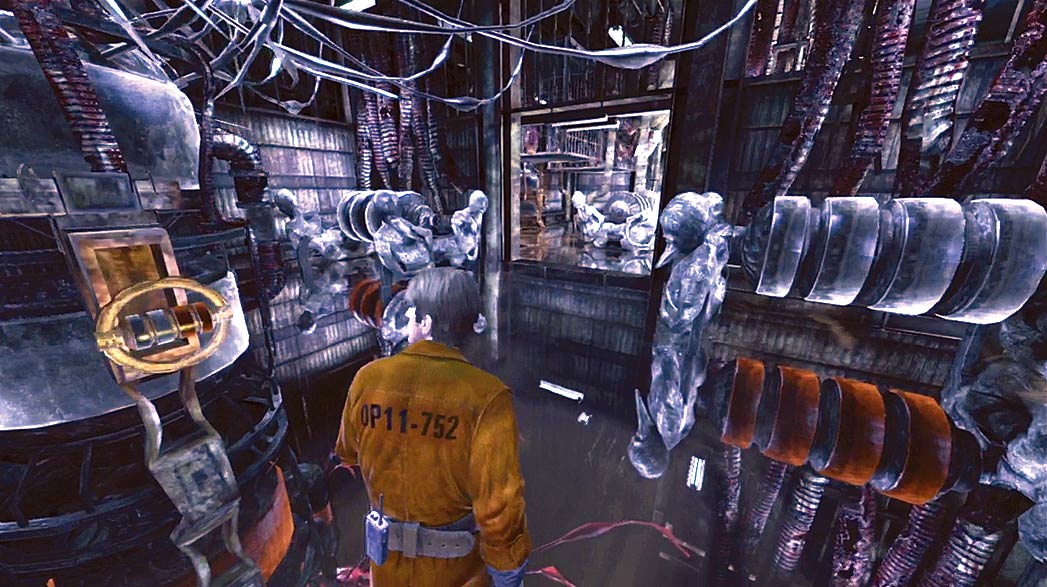
In the gray environment, one of the nearby doors is open. Head through the door and explore the adjoining room.
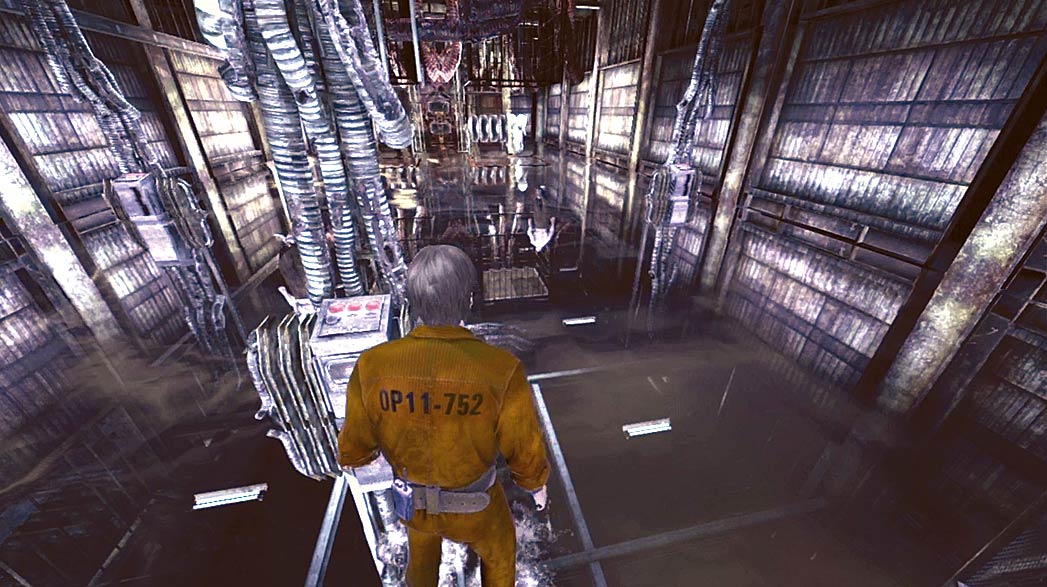
The machine near the entrance has another wheel that allows you to move between the red environment and gray environment. There are two Juggernauts patrolling the red environment.
Move across the room to find three button consoles. The consoles halfway across the room each drop one of the cages to the ground. The console near the far wall activates a spotlight.
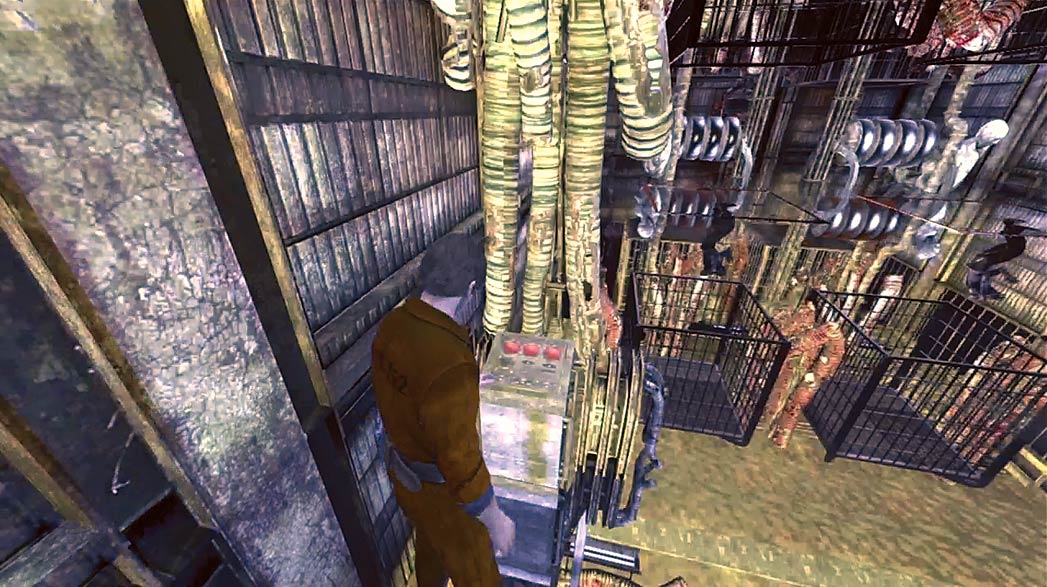
Activate the spotlight, then run to one of the other consoles as the Juggernauts retreat from the beam. Press the button to trap one of the Juggernauts in a cage before the spotlight switches off. Repeat the process to trap the remaining Juggernaut in the second cage.
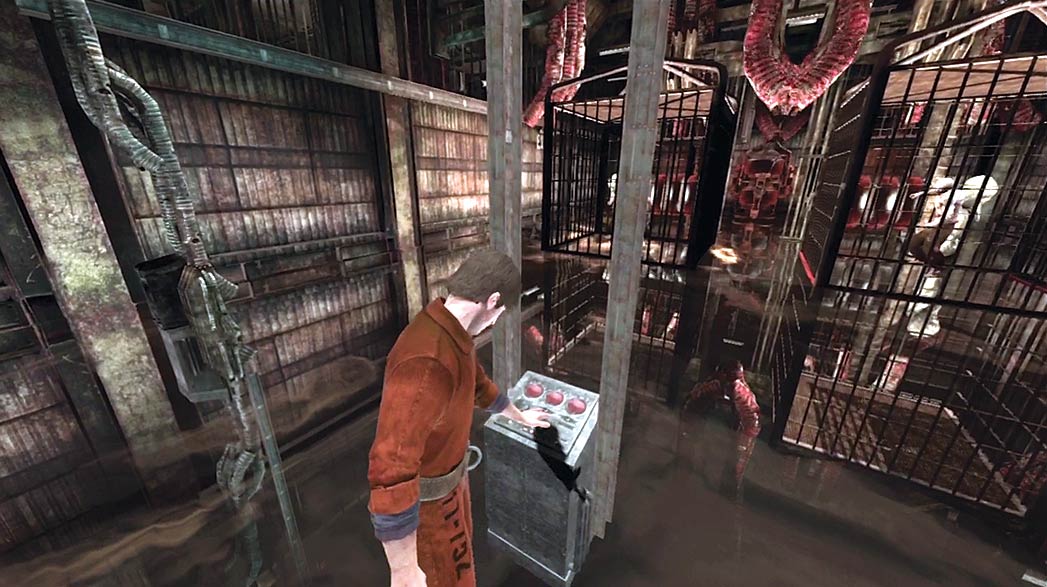
After you trap both Juggernauts, a fourth button console appears in the red environment. Move past the cages and use the wheel near the room’s entrance to switch back to the red environment, then activate the console in the center of the room.
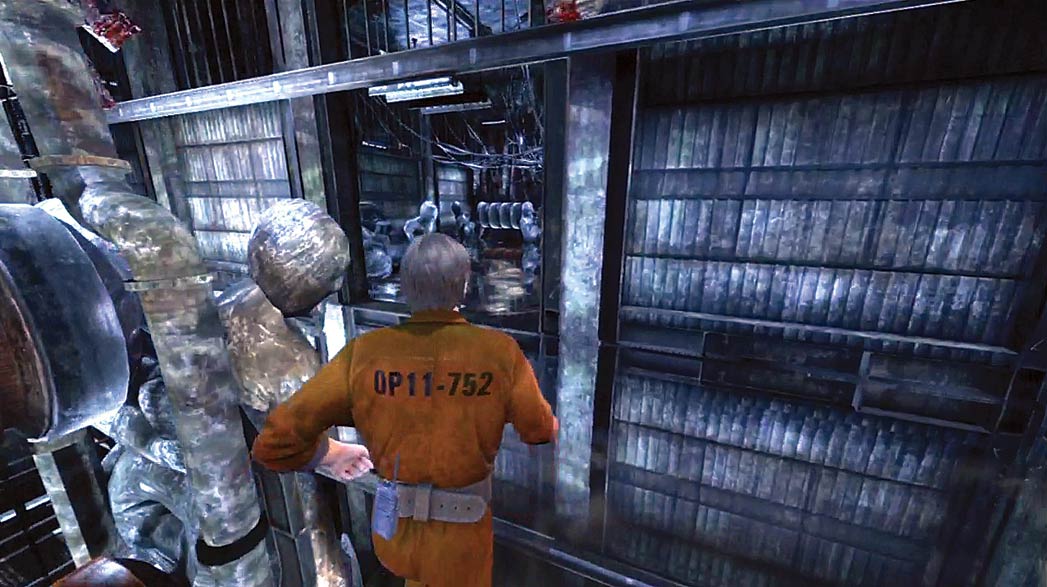
When you hit the button, a new door opens in the first room. Use the wheel to switch back to the gray environment, then move to the newly opened door.
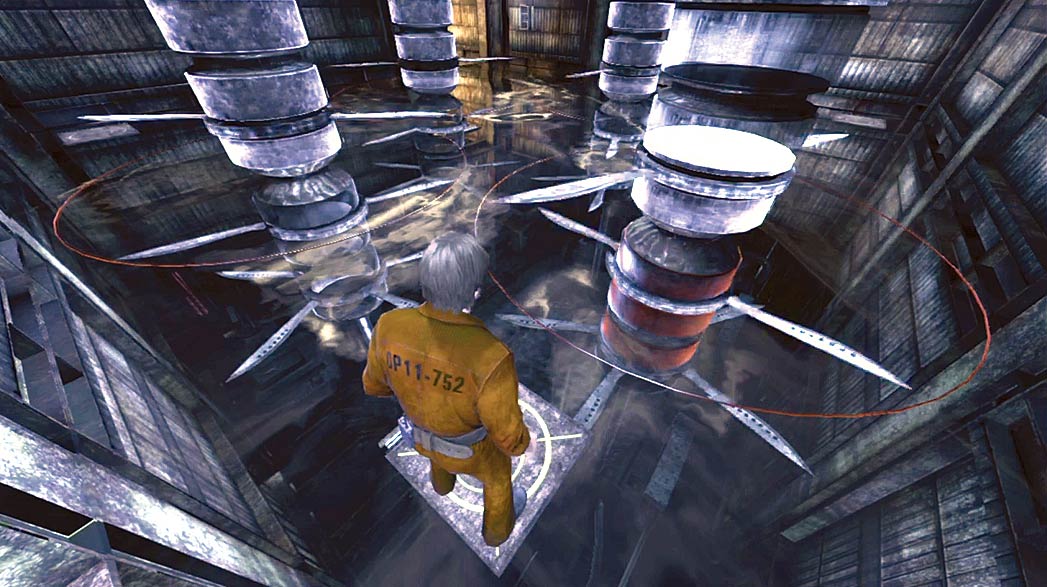
The new room contains four sets of spinning blades. The red circle around each machine indicates the range of its blades.
Stand on the pressure switch near the entrance to deactivate the nearest machine. When the blades come to a complete stop, run past the machine to find another pressure switch near the far wall.
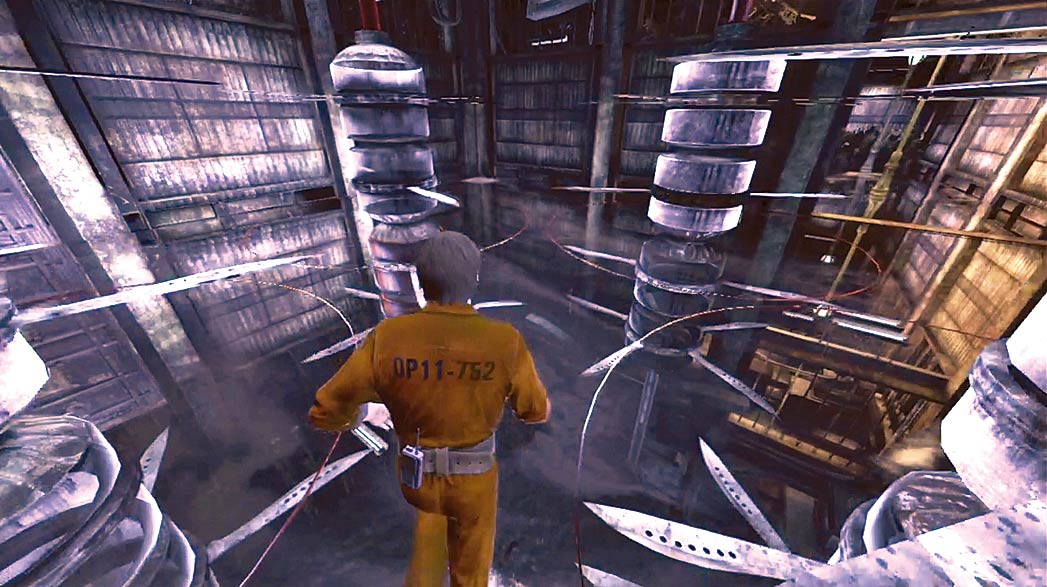
Stand on the second pressure switch to deactivate the machine in the far corner. When its blades come to a stop, run through the center of the room to reach the third pressure switch before the machine regains power.
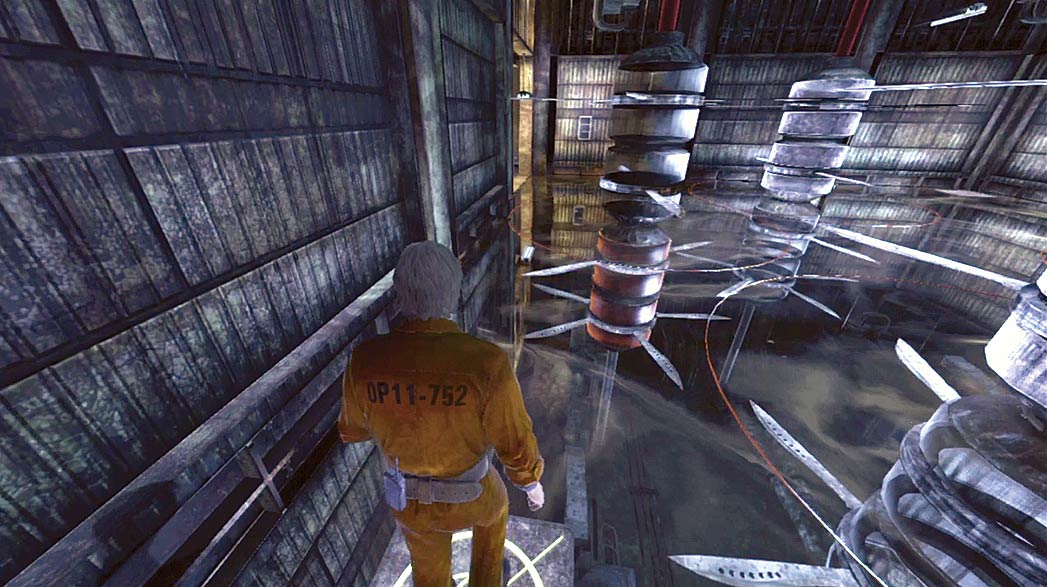
The last pressure switch deactivates the machine near the exit. Wait for the blades to stop spinning, then run past the machine and enter the next room.
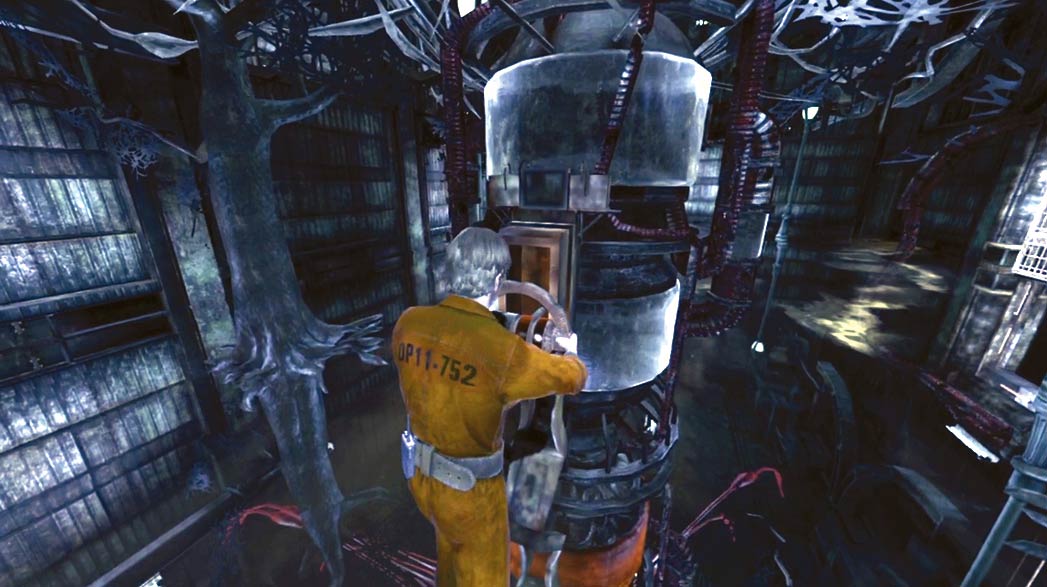
The room past the spinning blades contains another wheel. Turn the wheel to move back to the red environment. When you’re ready, follow the nearby corridor to the next area.
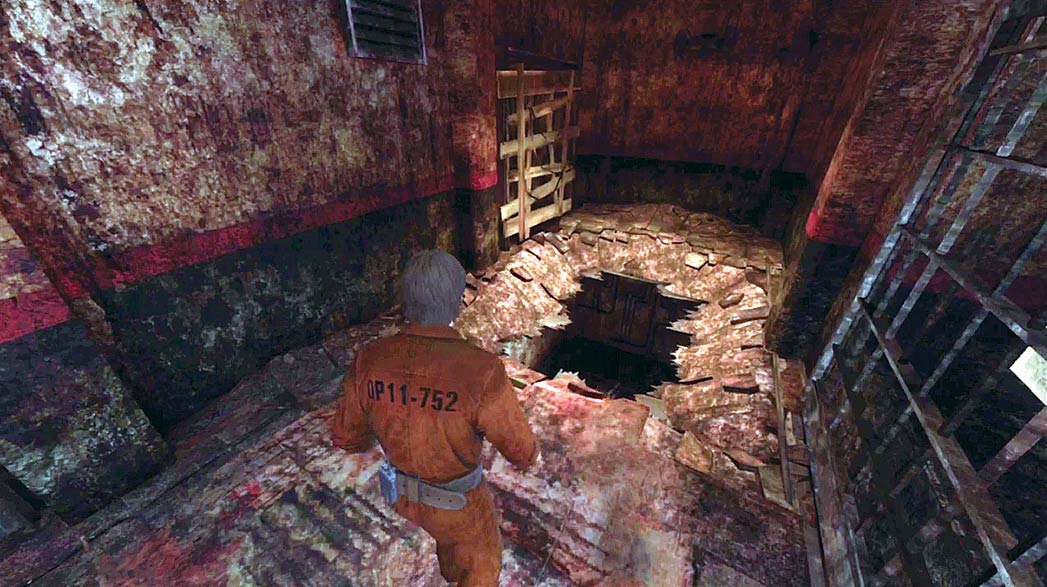
After you leave the mirrored rooms, drop down through the hole at the end of the corridor, then follow the path to the prison yard.
Prison Yard
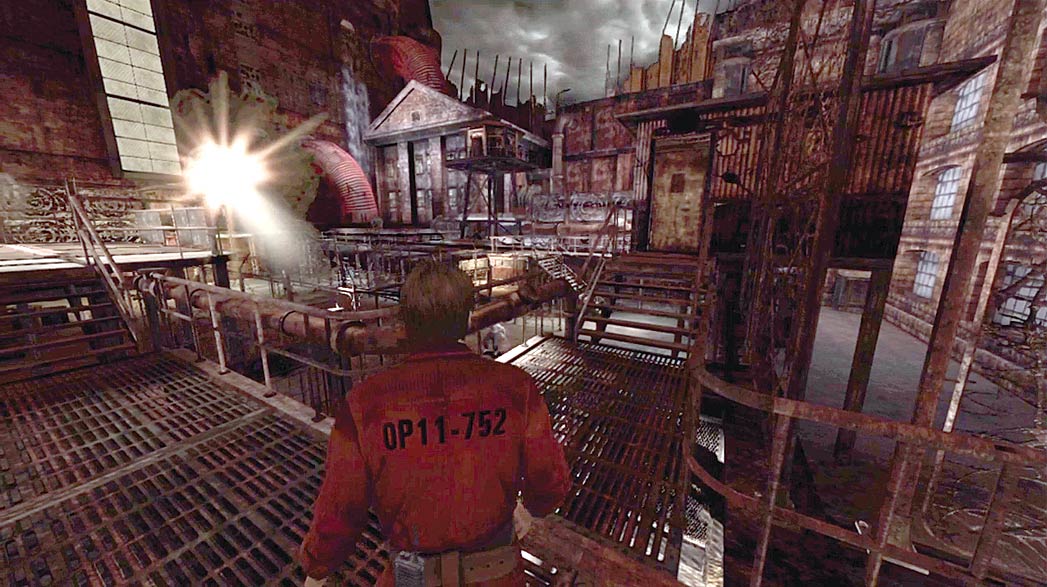
When you reach the prison yard, the walkway ahead of you leads to a perimeter spotlight and the walkway to the right leads to a security booth.
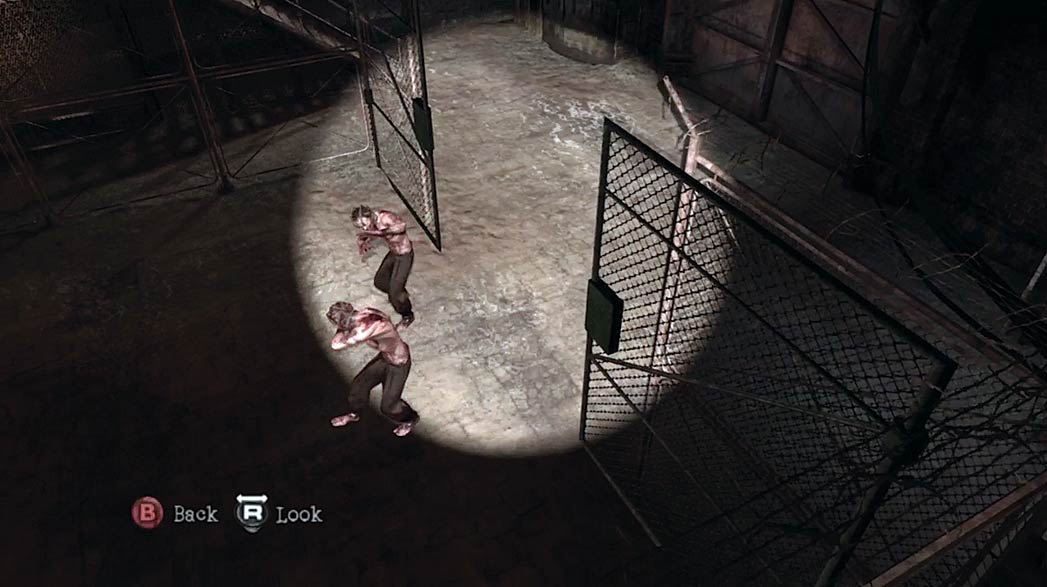
There are three Brawlers wandering the first half of the yard. Use the spotlight to force all three creatures into the first enclosure, then place the beam on the open gate to prevent them from escaping.
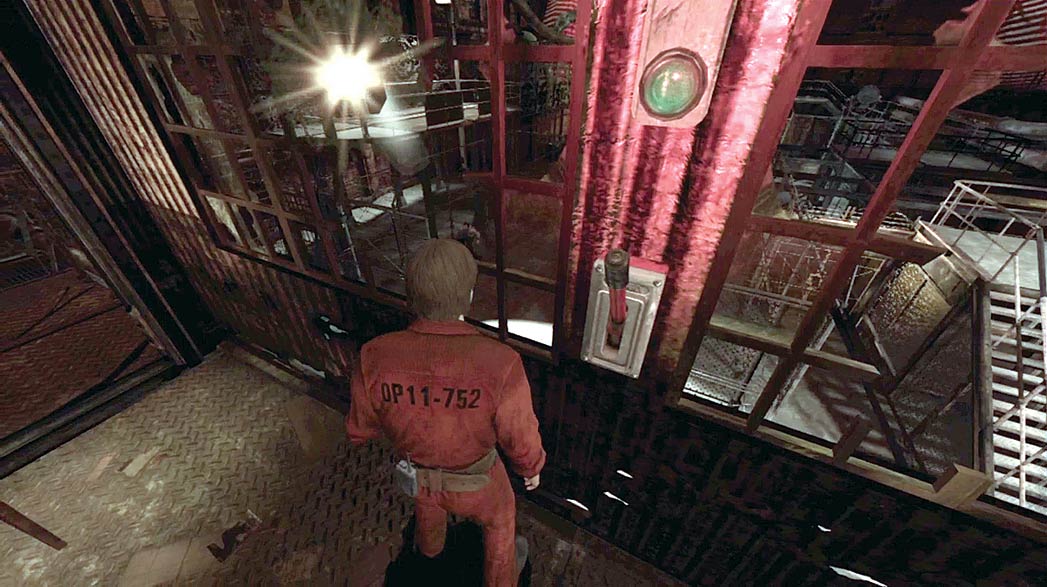
Enter the security booth and pull the lever near the window to lock the creatures in the enclosure. Exit through the other side of the security booth and follow the path down into the yard.
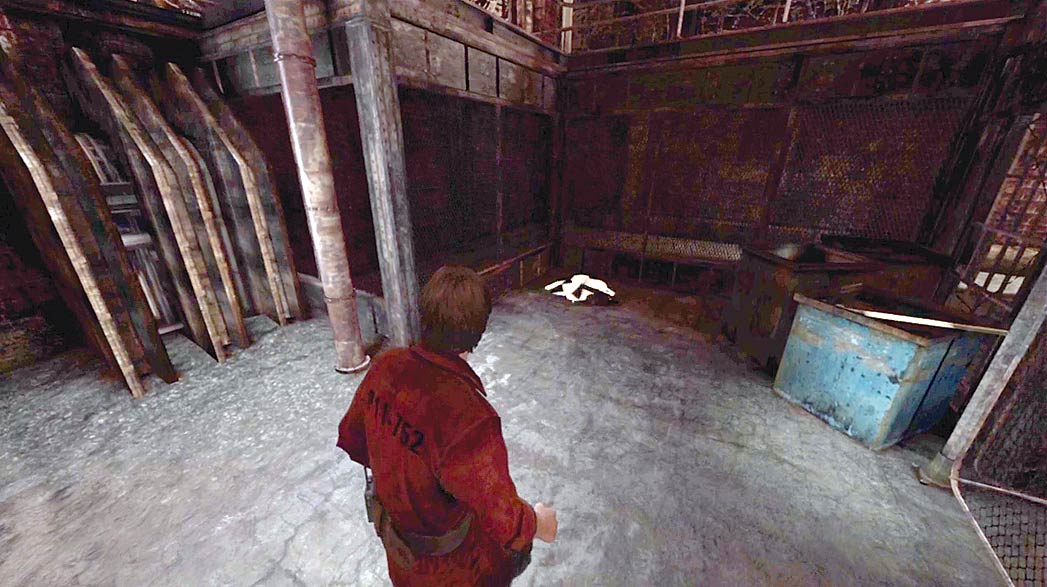
When you reach the bottom of the steps, move to the bins just outside of the enclosure. Search the nearby rubble pile for a melee weapon, then explore the rest of the area.
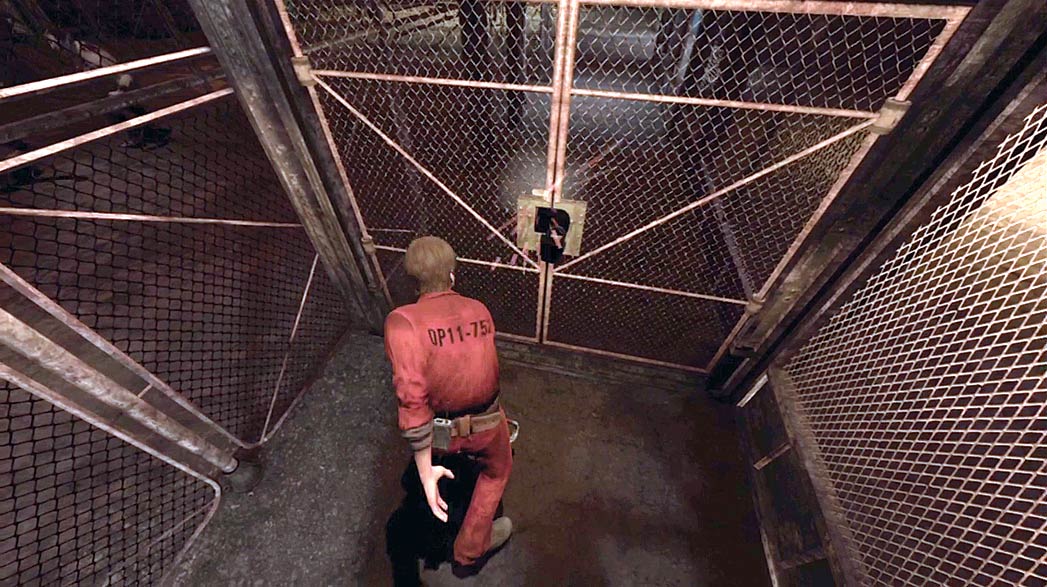
When you find the padlocked gate, use your weapon to smash the lock. Open the gate and follow the path to the second half of the yard.
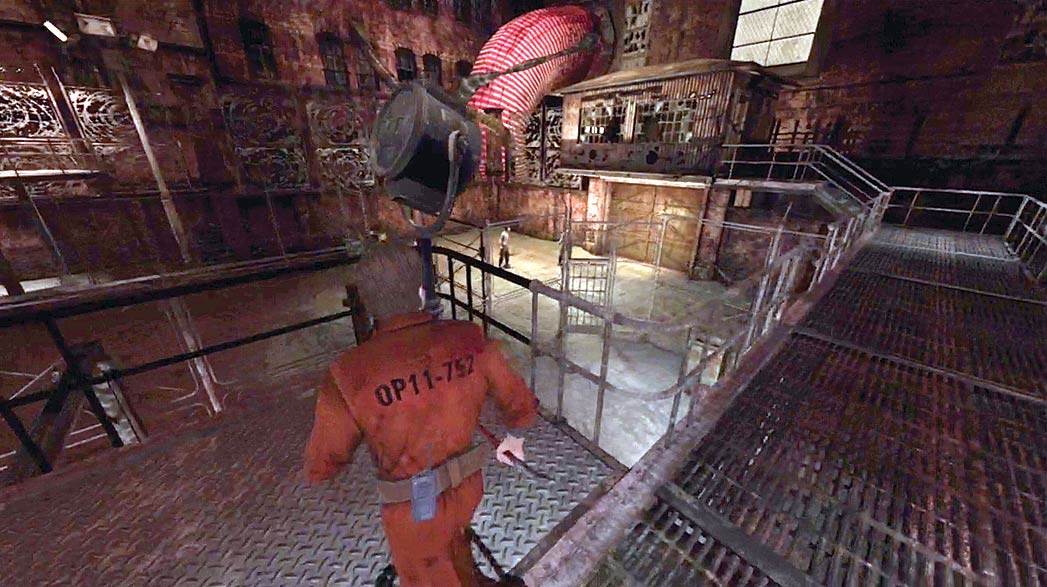
When you reach the ladder, climb back up to the walkway to find another spotlight. Once again, you must use the beam to force the wandering Brawlers into the nearby enclosure.
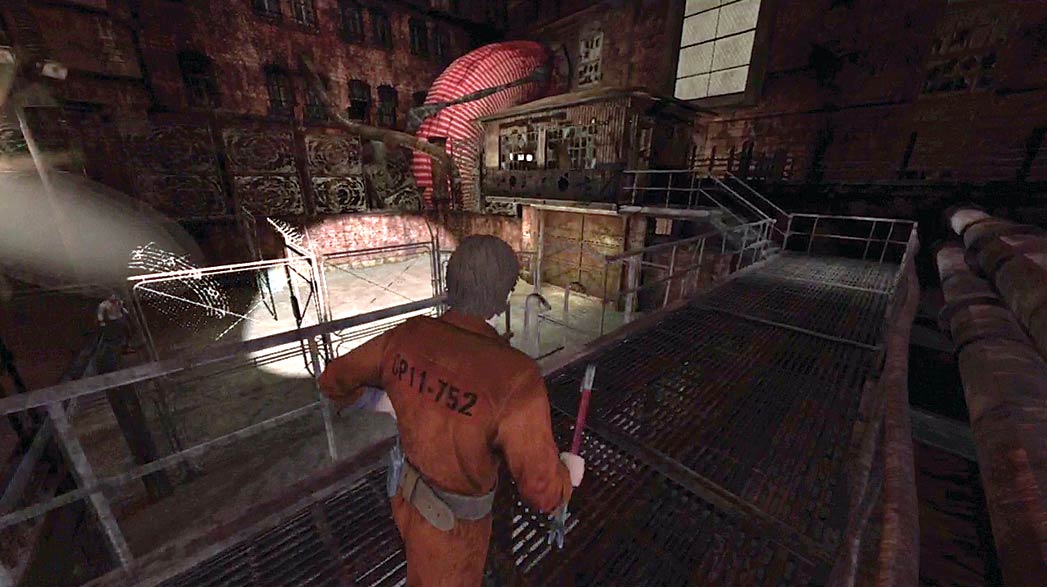
When all of the Brawlers are in the enclosure, run to the security booth at the end of the path. When you pull the lever, the enclosure slams shut and the small gate near the ladder opens.
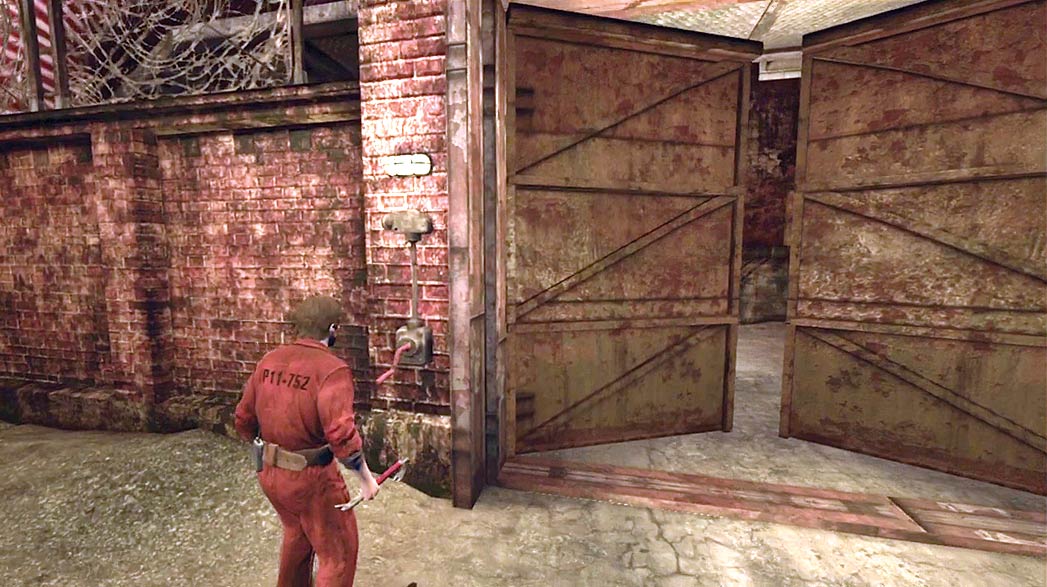
Climb back down to the yard and continue to the large doors below the security booth. Turn the crank to open the doors, then squeeze through the opening and continue to the next area.
Cells
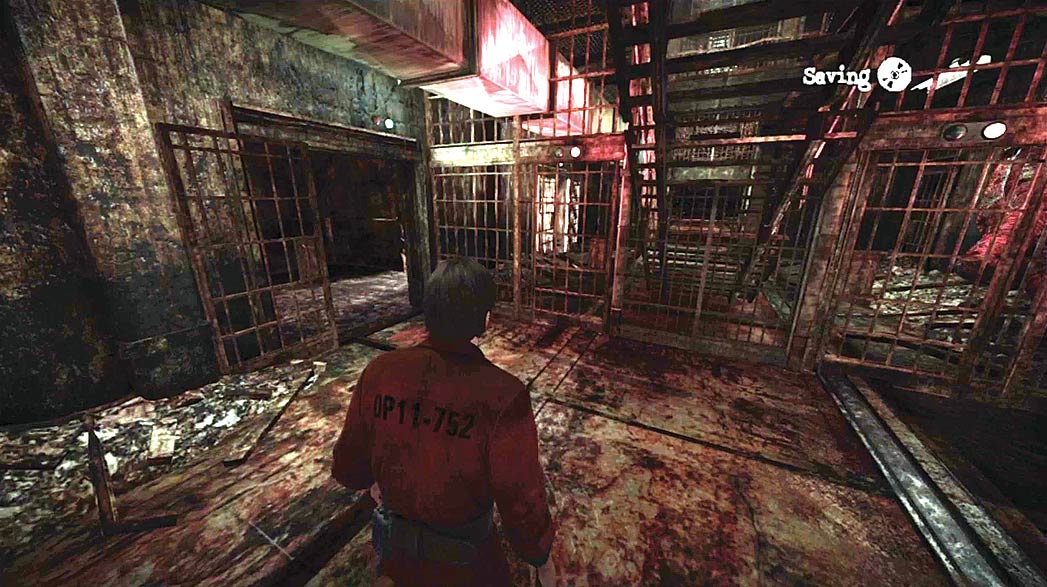
The path out of the prison yard leads to a room full of prison cells. Head through the open cell to the left, then slip through the hole in the wall to enter the neighboring cell.
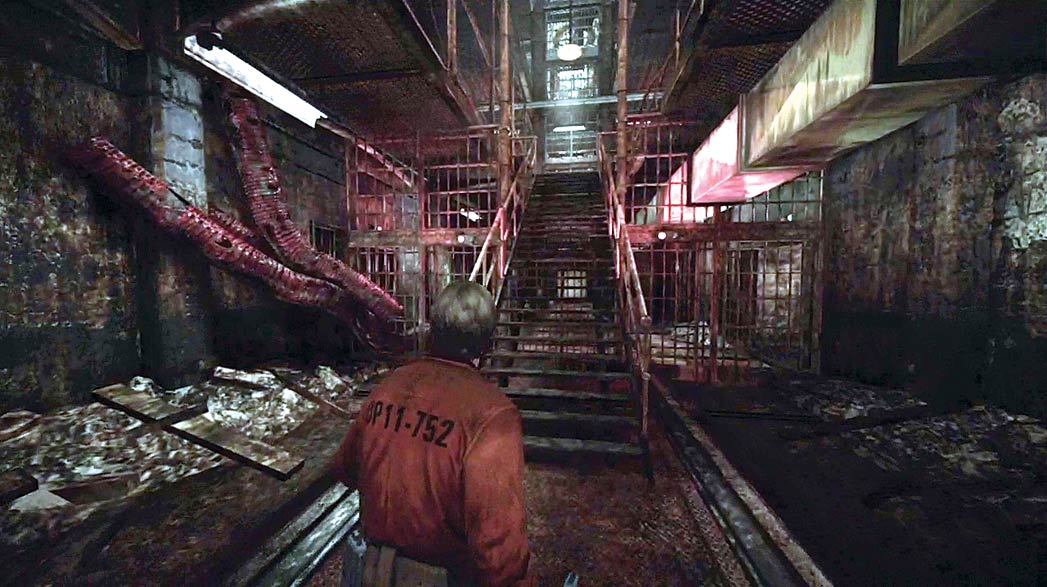
Follow the path back into the hall, then turn right and climb the stairs to the second floor.
As you approach the stairs, the void appears behind you. As you run through the area, you must avoid Wall Corpses, guillotine blades, and various obstacles.
The most important thing, however, is to stay away from the cells. If you get too close, the incarcerated Juggernauts grab you and pin you to the bars.
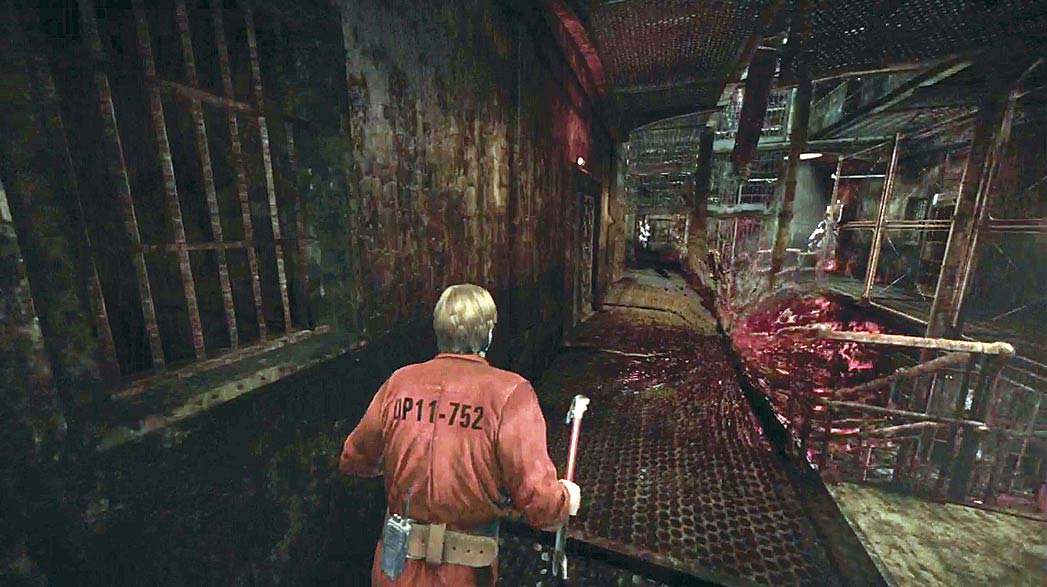
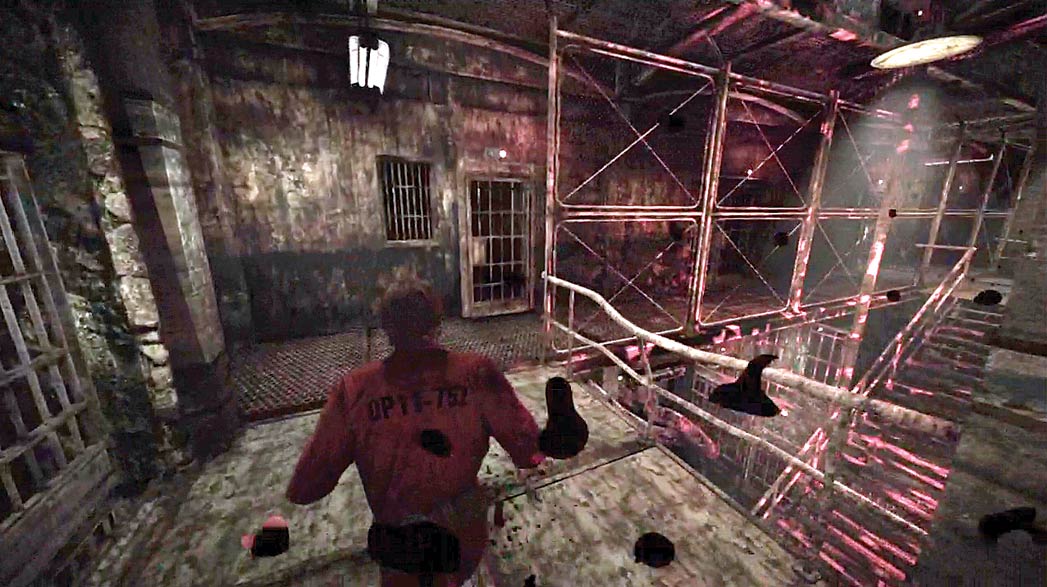
When you reach the second floor, make a sharp left turn and follow the walkway back the other direction. Take the next two available right turns to loop around to the other walkway, then follow the path to the next set of stairs.
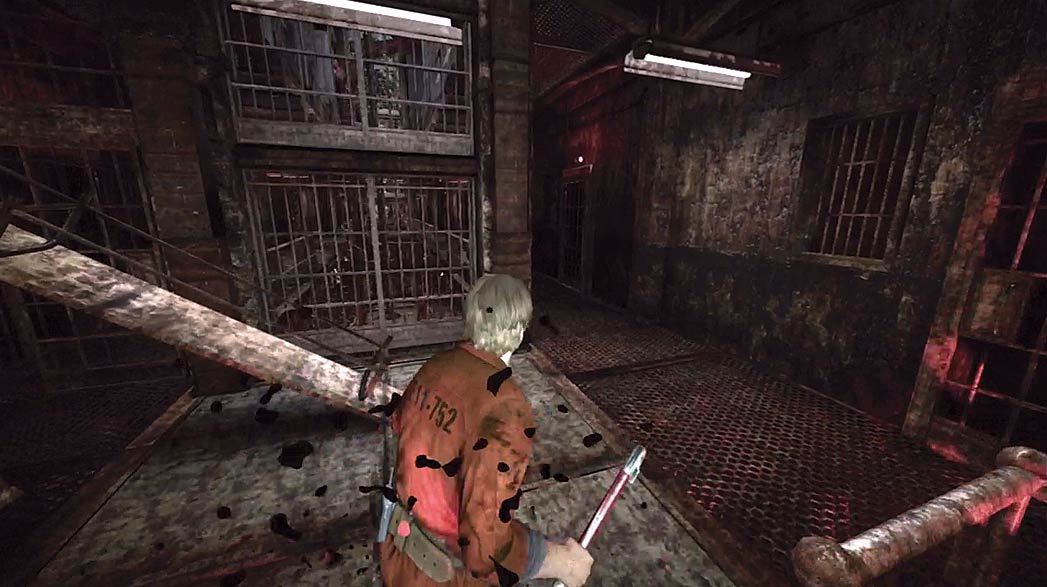
Take the stairs up to the third floor. When you reach the top of the stairs, veer to the right and continue along the walkway.
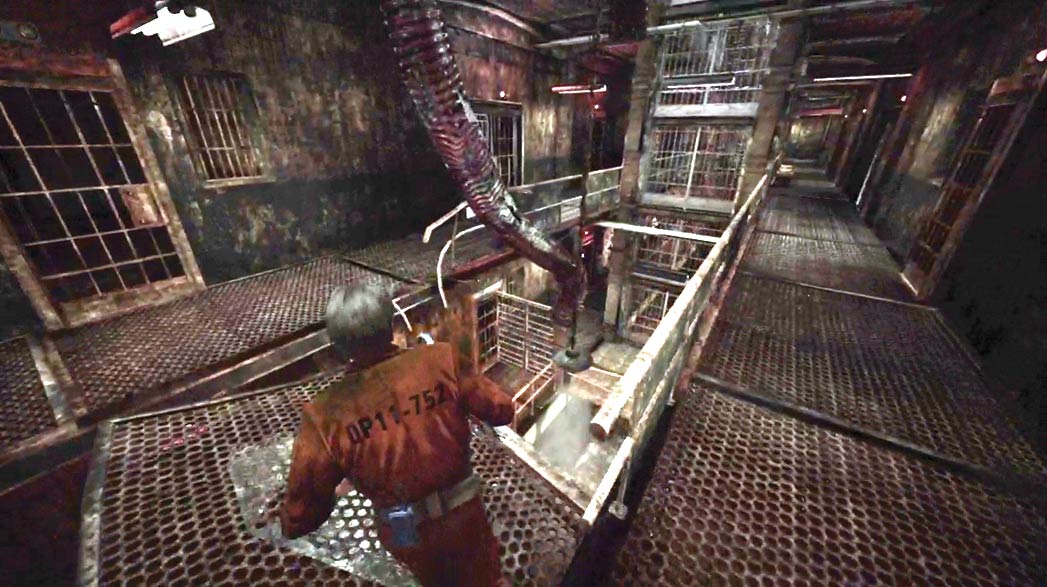
When you reach the platform in the center of the hall, cut across to the other walkway and follow the path to the next set of stairs.
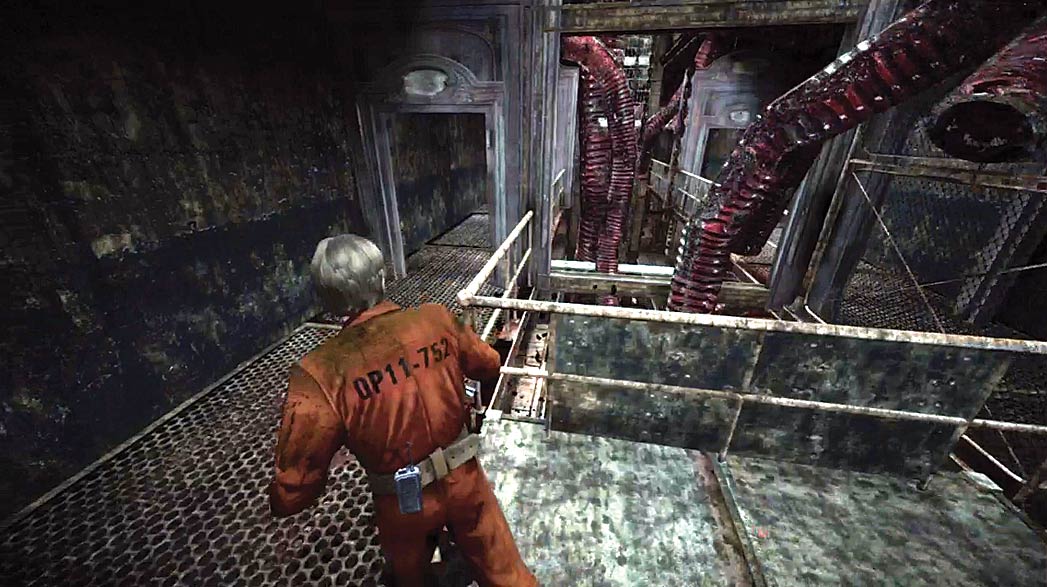
When you reach top of the stairs, veer to the left and follow the walkway as it loops around the fourth floor. Keep moving, but adjust your speed to avoid the guillotine blades and Wall Corpse attacks.
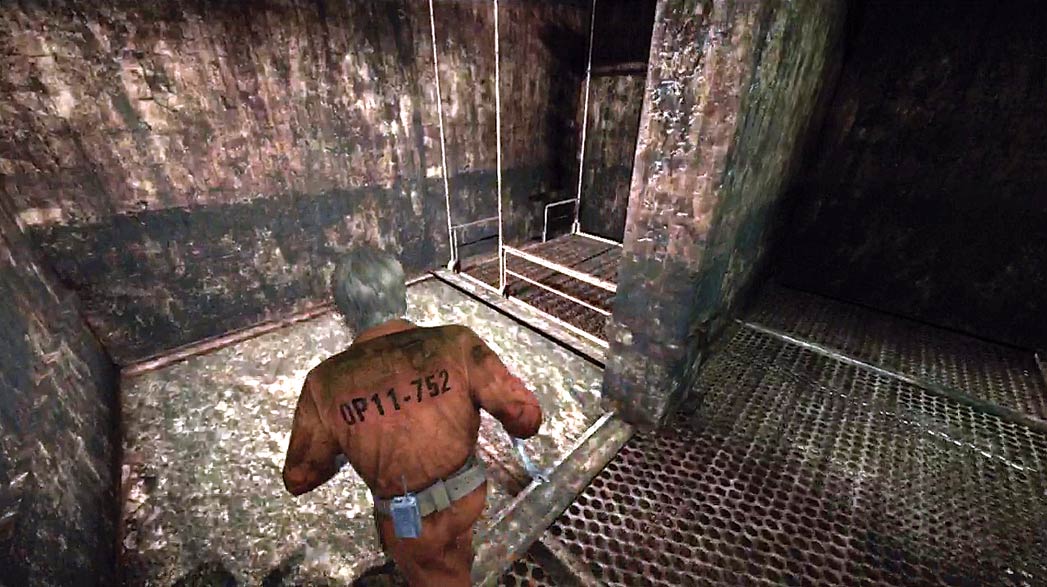
Approach the lift at the end of the walkway to end the chase, then ride down to the next area.
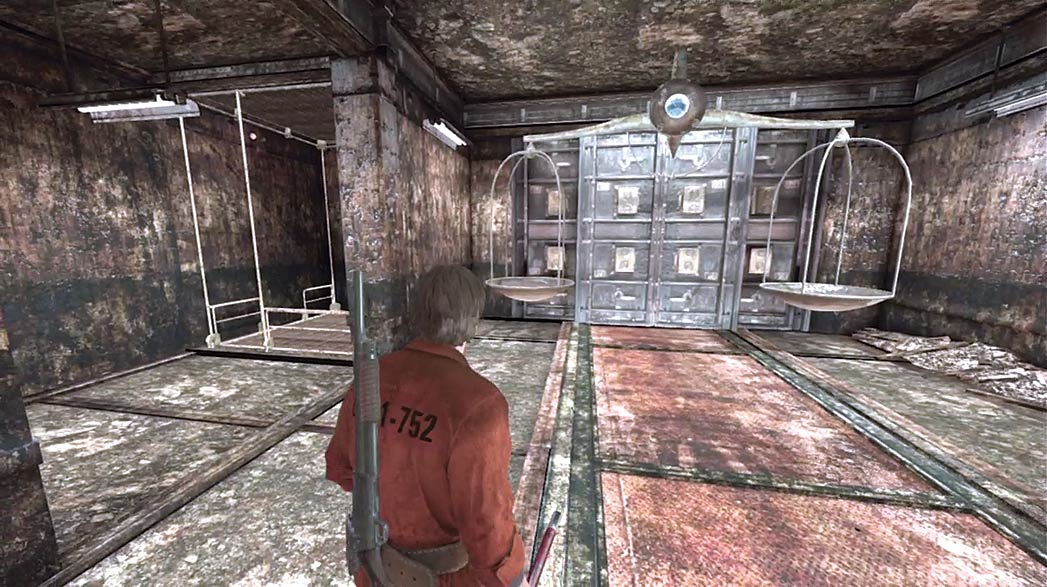
Move into the chamber to find a giant scale near a locked door. To access the next area, you must place the items you collected from the showers into one of the scale’s bowls.
Investigate either bowl, then select the Prison Shank, Mourning Badge, and Crime Evidence from your Inventory.
Boss Encounter
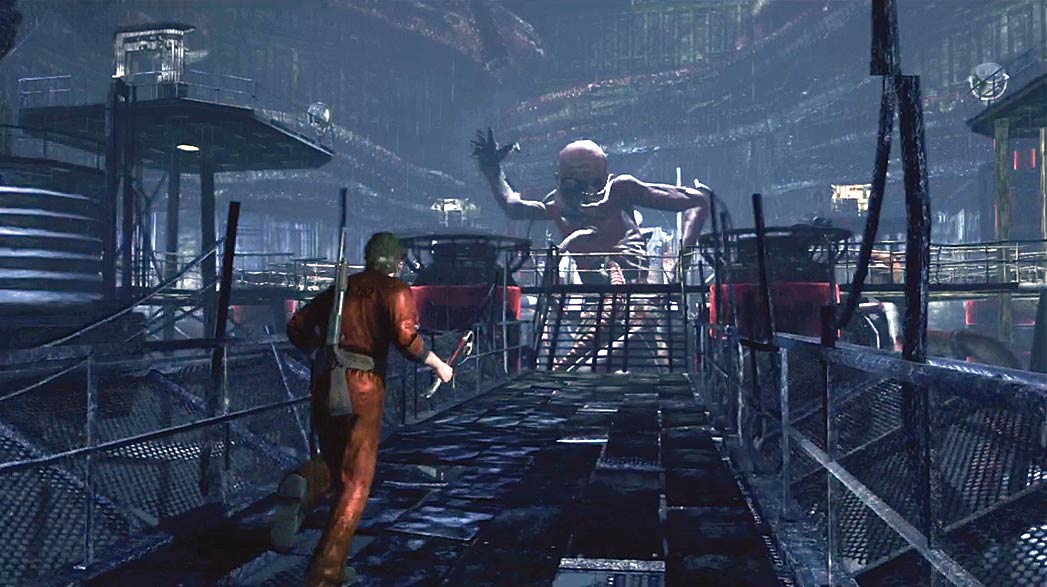
After you unlock the door, follow the path toward the boss in the center of the room. The giant creature is surrounded by medical equipment, including four respiratory bellows.
The bellows are connected by four walkways, creating a square around the boss. Two of these walkways are damaged, however, essentially dividing the area in half.
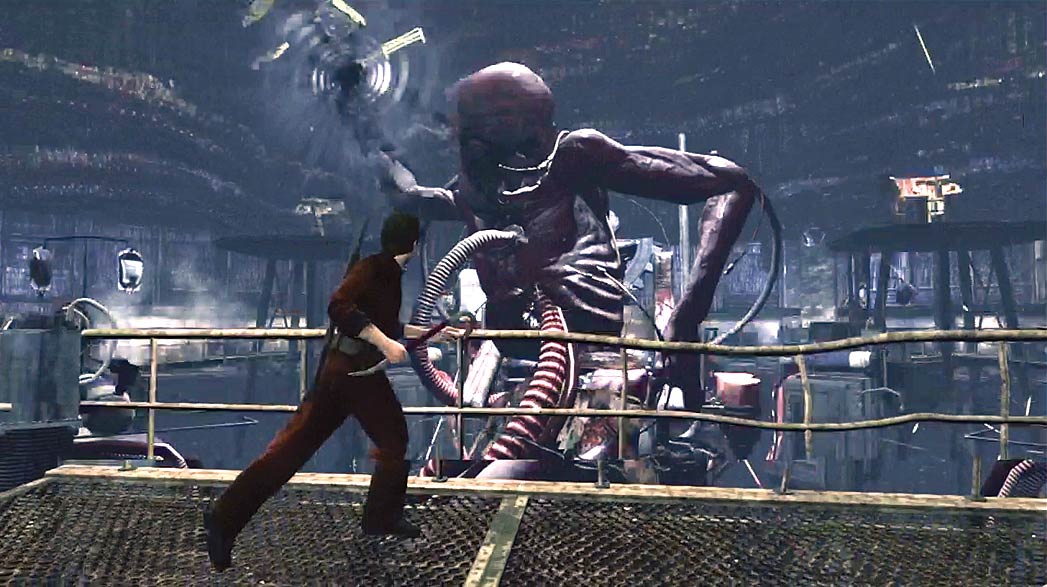
When the giant creature spots you, it charges its first attack. Look for the rippling effect on the creature’s raised hand. After a moment, the creature throws debris at you.
Keep moving to dodge the incoming objects, or take cover to protect yourself from the impact. When you reach the top of the steps, turn right and investigate the area around the first bellows.
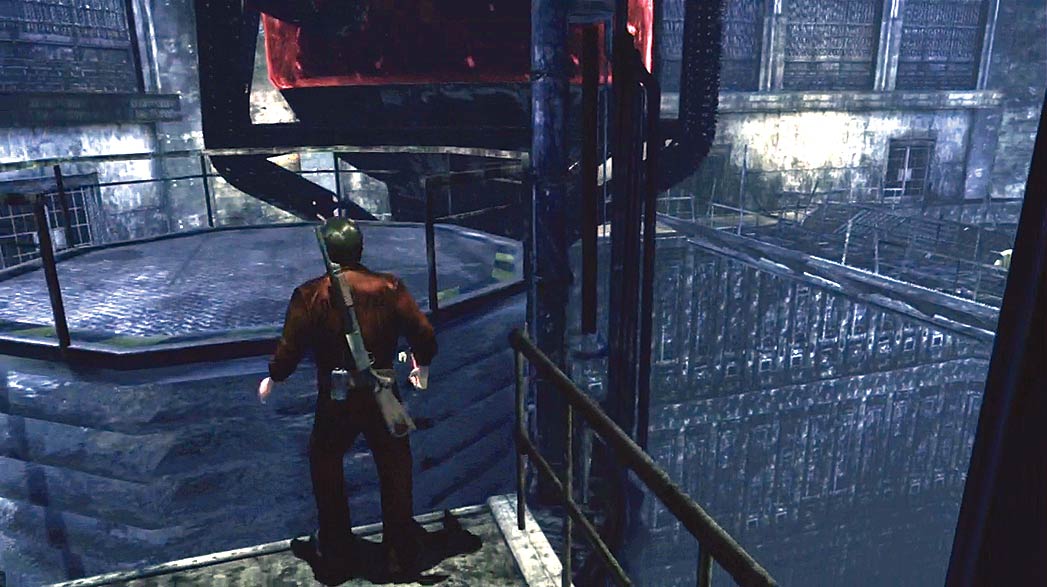
When the bellows drops down to the walkway, step onto it and ride up to the platform above you.
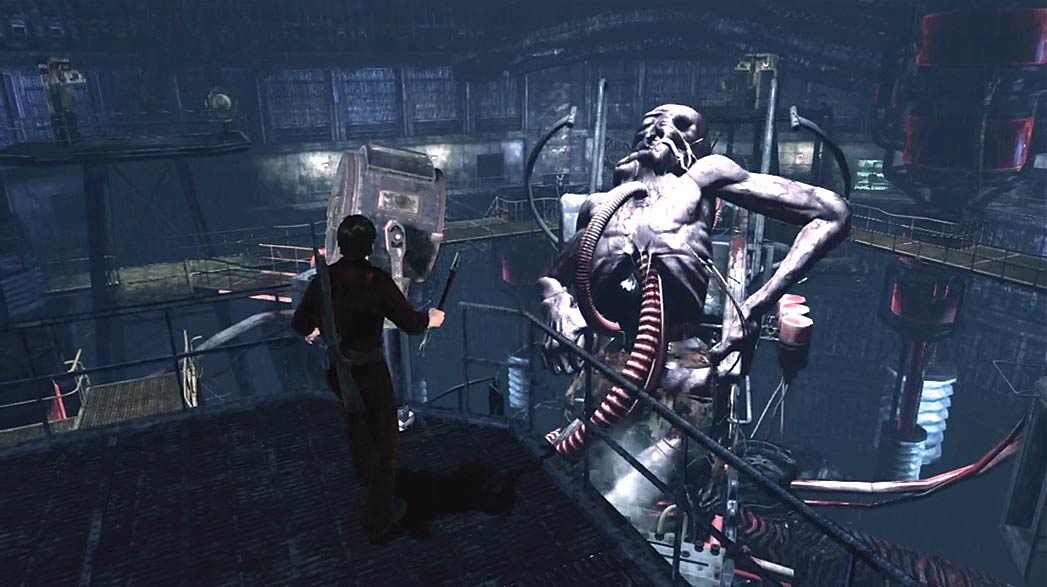
Dodge any incoming attacks, then run to the spotlight at the corner of the platform. Aim the spotlight at the boss to incapacitate it, then ride down to the walkway.
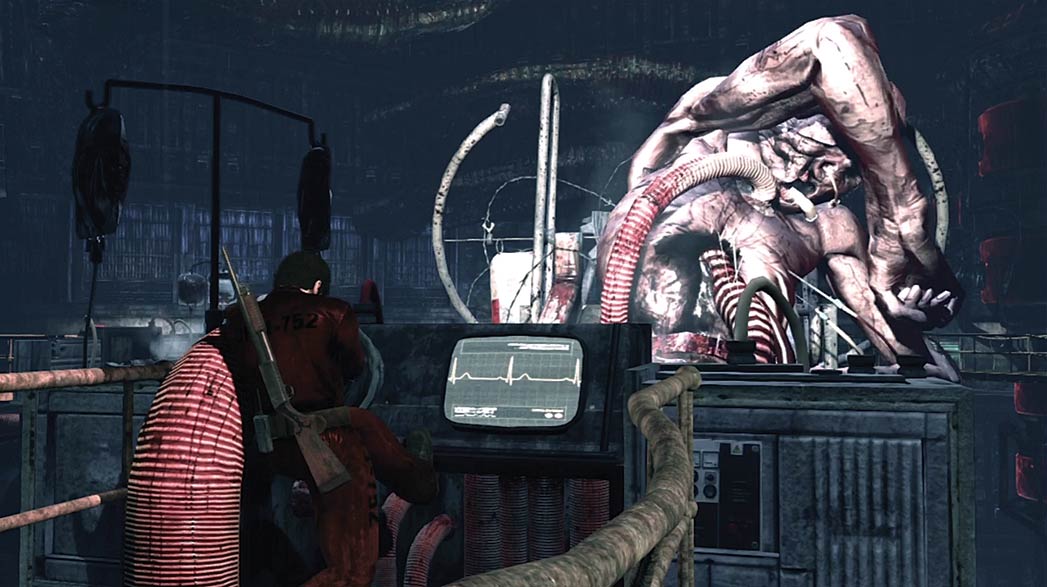
When the bellows reaches the walkway, run to the equipment ahead of you. Examine the red tube, then follow the on-screen prompts to tear the tube loose.
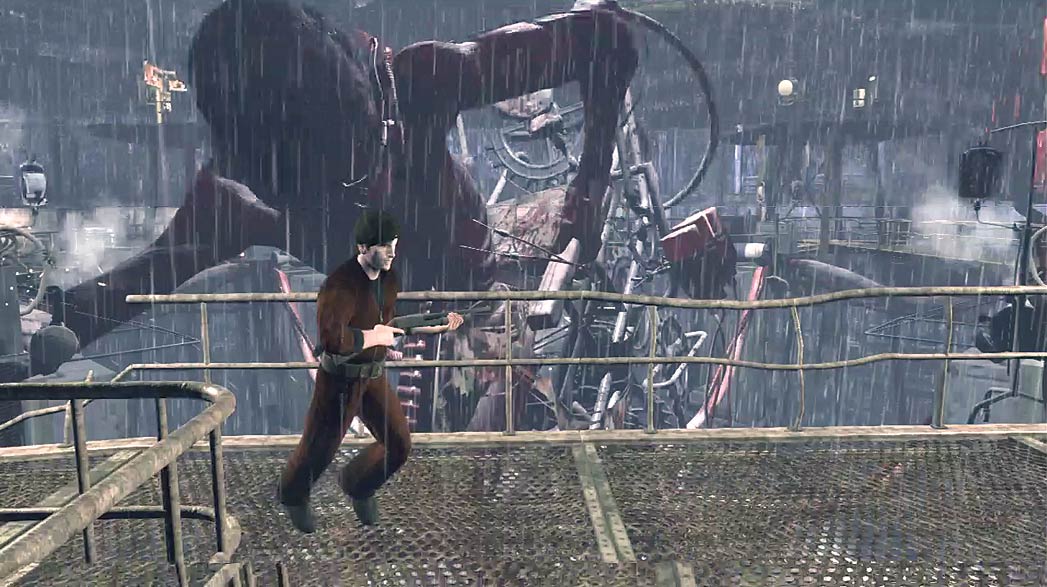
Now that you’ve damaged the boss, you must repeat the process to disconnect the three remaining tubes. As you move to the next bellows, the boss slams a fist down on the walkway.
This attack is very hard to dodge, but if you make it to the steps located between the connected bellows, you can avoid the impact.
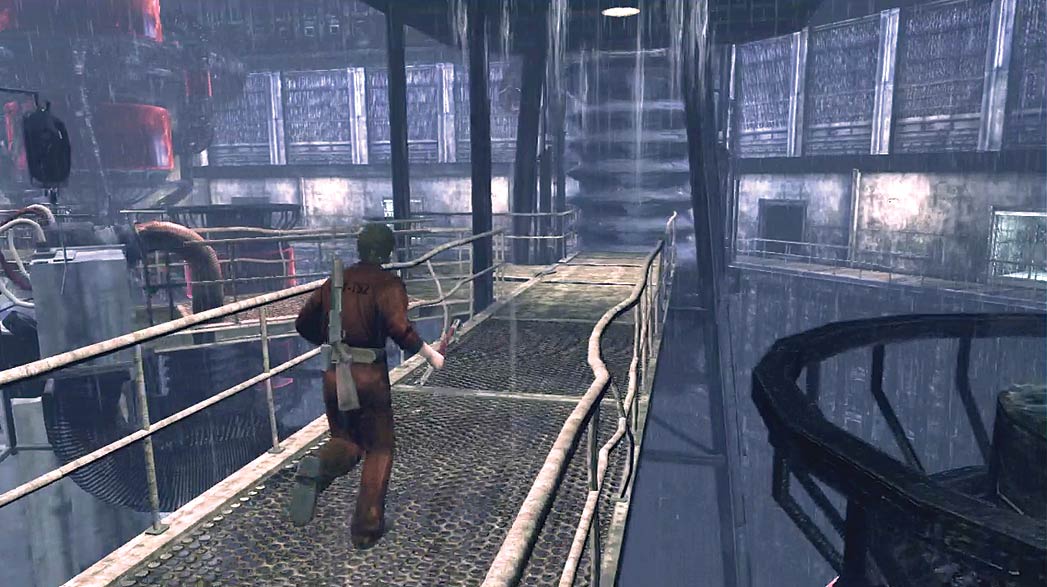
As you move between the bellows, continue to dodge any incoming debris. When you reach the second bellows, ride up to the platform, use the spotlight to incapacitate the boss, and then disconnect the tube from the medical equipment.
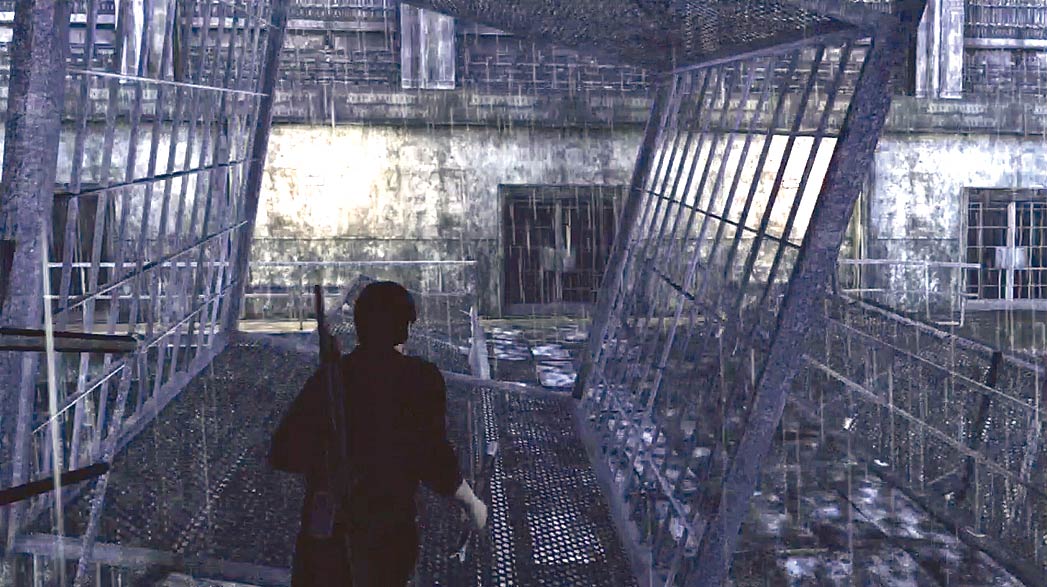
After you’ve dealt with the second tube, run back toward the first bellows. Turn left at the halfway point to head down the steps and across the bridge. Follow the path along the edge of the room to circle around to the remaining bellows.
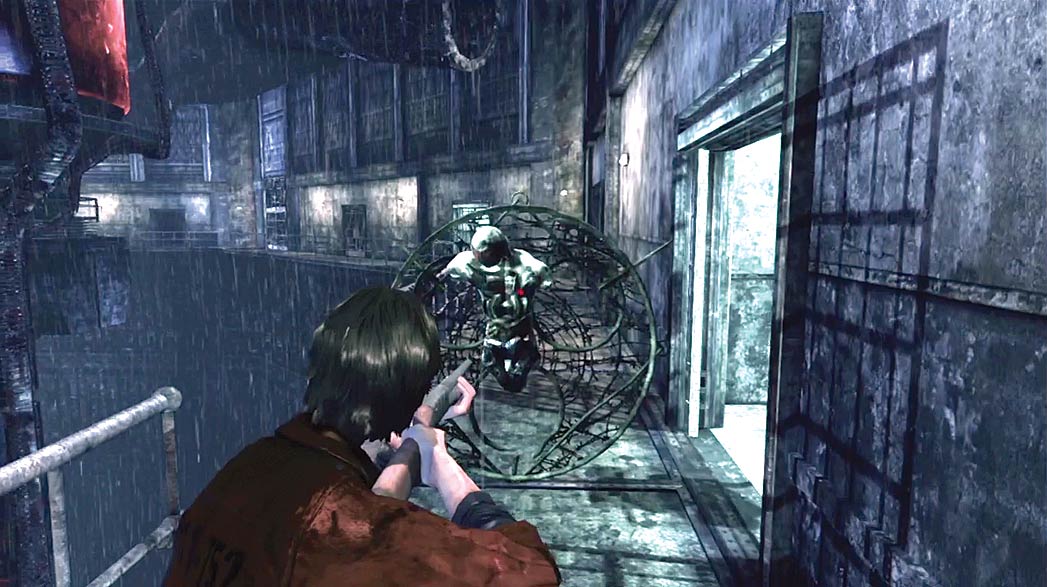
As you circle the room, watch for the creatures that emerge from the cells. Screamers, Brawlers, and Stabbers are scattered around the area, but some of the cells contain mobile Wall Corpses.
If you’ve managed to collect a decent supply of ammunition, use your Shotgun to deal with each enemy as it appears.
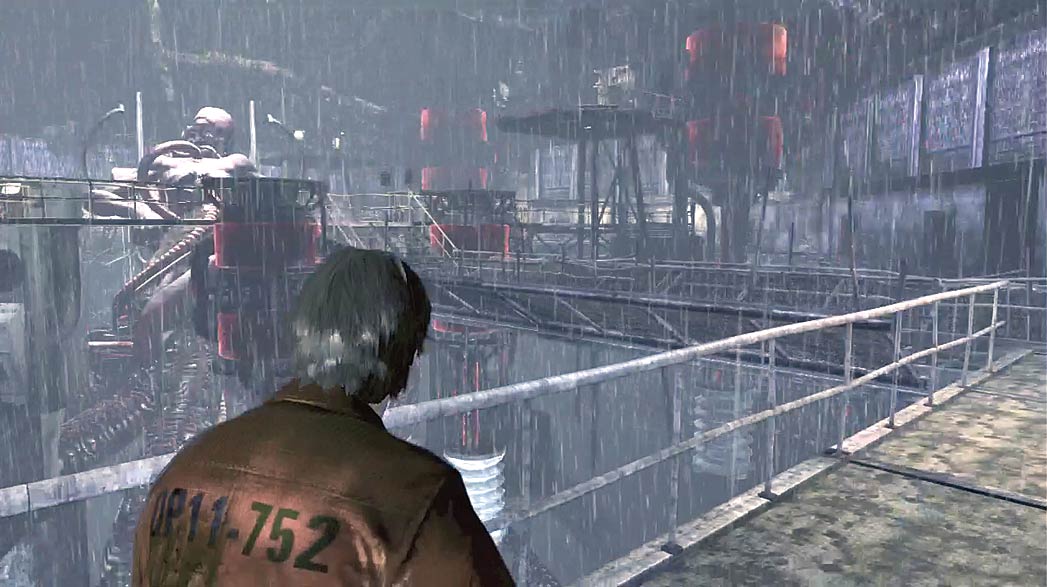
Cross the bridge at the end of the path, then run to one of the remaining bellows. Once again, you must ride up to the spotlight, incapacitate the boss, and then disconnect the tube. Once the boss starts using its lightning attack, the process becomes a little more complicated.
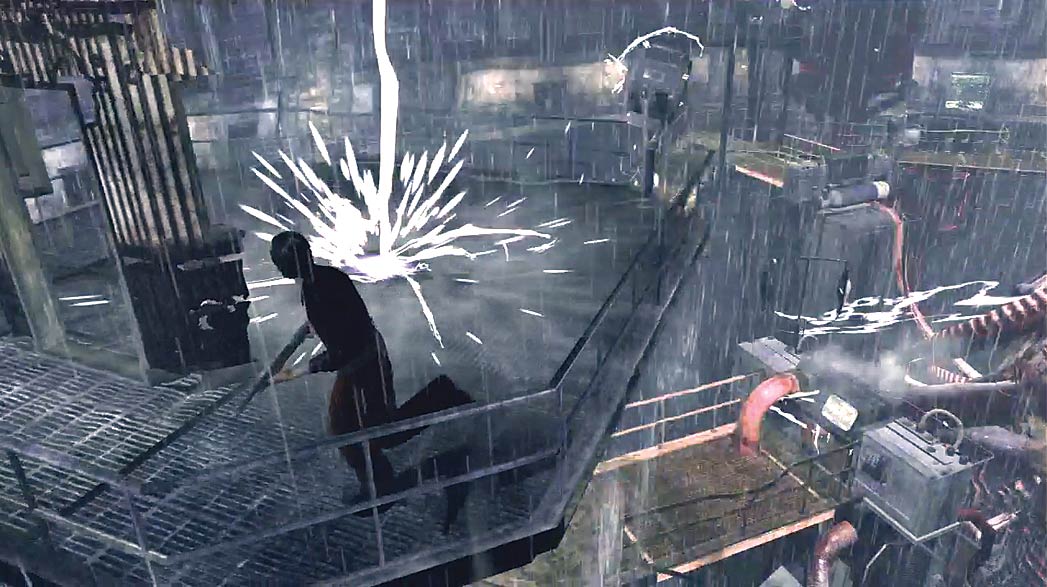
Before each lightning strike, a small glowing spot appears on the ground; this indicates the exact location the lightning will strike. As long as you keep moving, you shouldn’t take any damage. However, these attacks also disable the spotlights.
When this happens, circle the platform until the spotlight recovers, and then use it to incapacitate the boss. Disconnect all four tubes to end the encounter and trigger the cutscene.
Finale
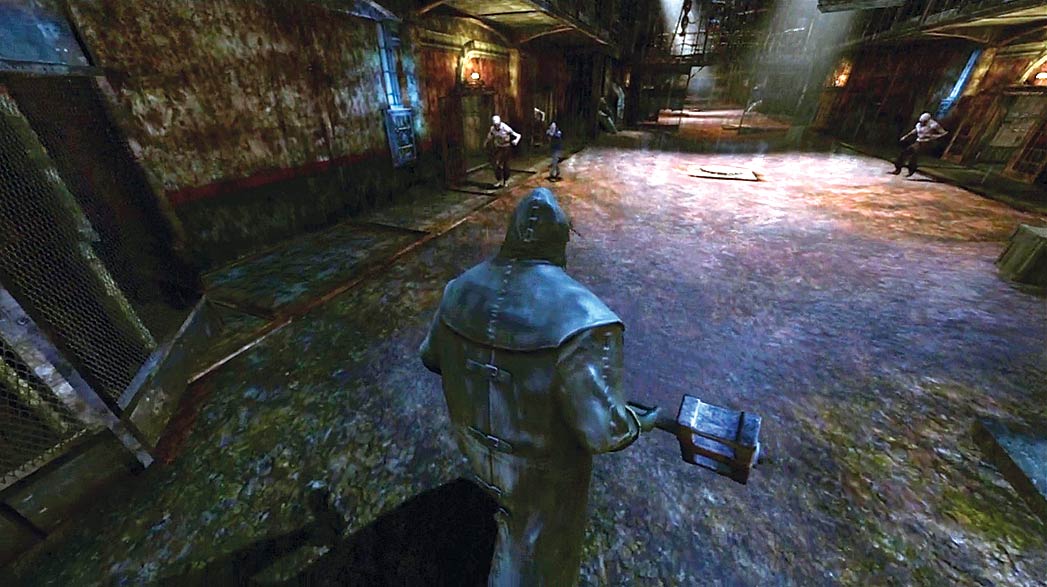
After the cutscene, you assume the role of the Bogeyman. When the encounter begins, Cunningham runs down the corridor and begins attacking with her pistol. To end the encounter, you must deal enough damage to incapacitate Cunningham.
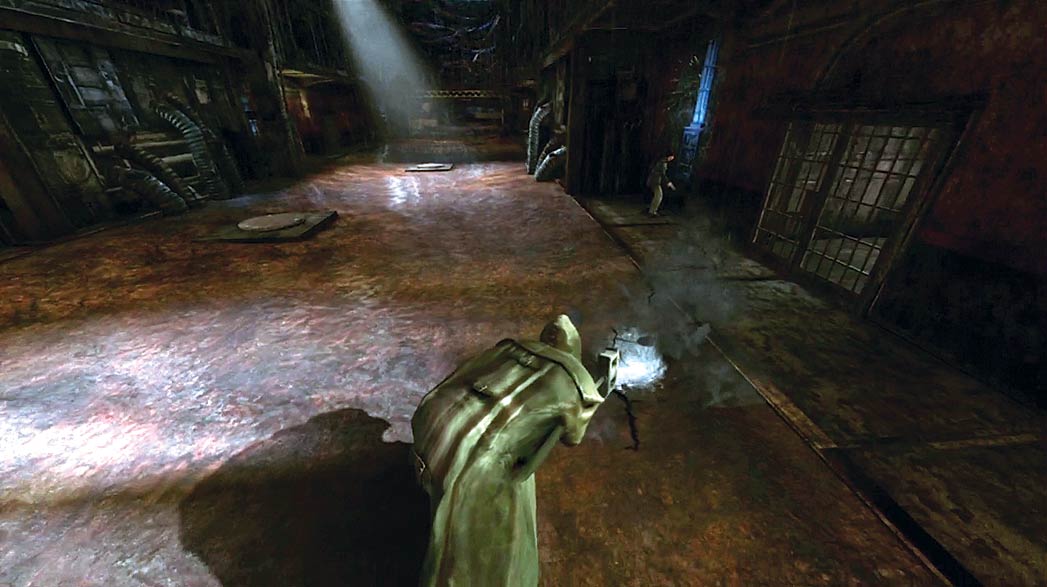
Cunningham’s superior speed can make it difficult to get close enough for a hammer strike. Your ranged attack, however, is a great way to deal reliable damage. As Cunningham moves down the corridor, she stops to release the Juggernauts from their cells.
Each time she does so, send a shock wave to intercept her at the control panel. Use your melee attack to clear out particularly troublesome Juggernauts, but try to stay focused on Cunningham. Continue to deal damage until you trigger a cutscene.
You can absorb a lot of damage as the Bogeyman, but you can eventually succumb to your injuries. If you take too much damage, you’ll trigger a special ending.
DIGGING UP THE PAST
After you complete the game, you gain access to the “Digging up the Past” side quest. To complete this quest, you must recover all seven of the buried Silent Hill Artifacts scattered throughout the town.
Start a new game and play through each area until you reach the town. Once you do, use any of the Shovels scattered throughout the town to activate each of the seven dig sites.
Downtown
.jpg)
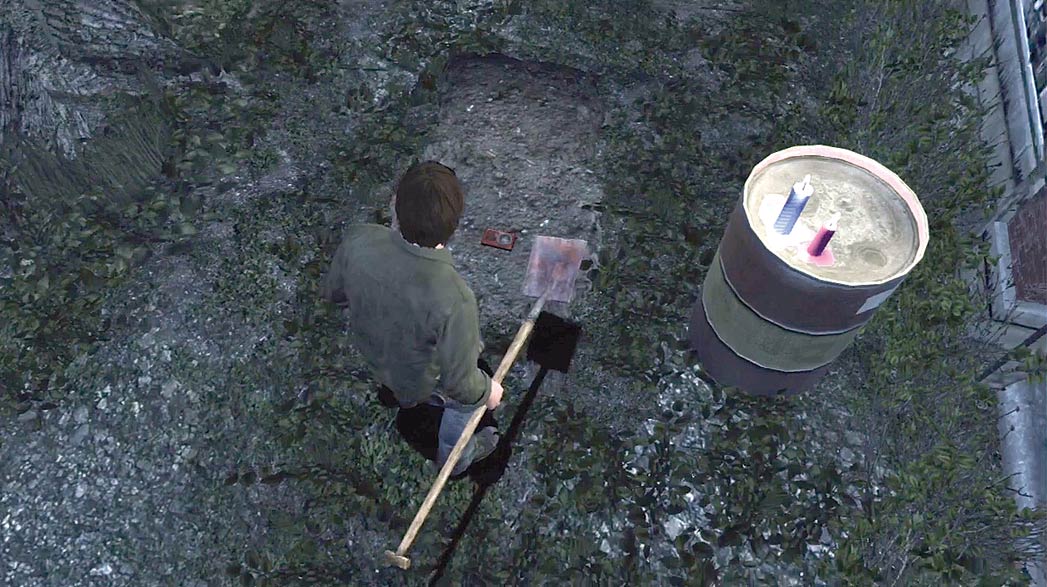
Dig site 1 is located in the Hillside neighborhood, in a yard north of Straub Street. The nearest Shovel is located in the shack on the southwest corner of the downtown area.
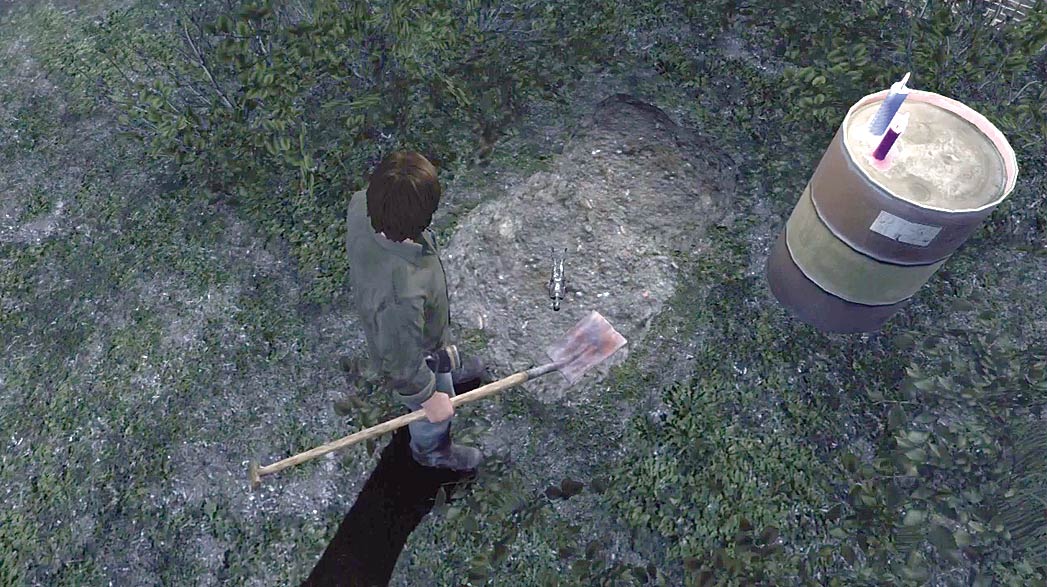
Dig site 2 is located near the border of Hillside and Pearl Creek. If you need a fresh Shovel, look for one west of the Hillside underground entrance, just outside of the police station’s yard.
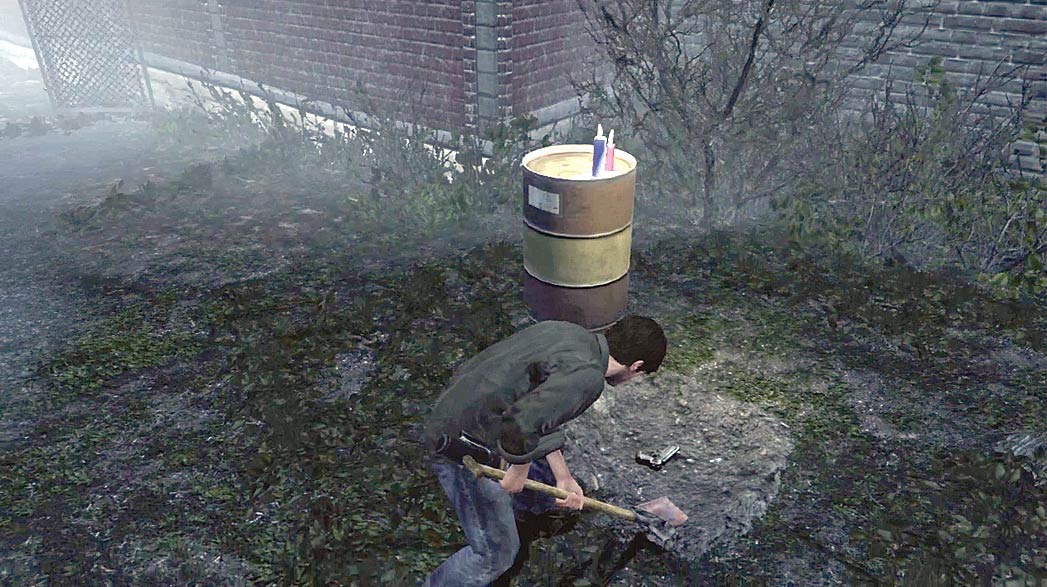
Dig site 3 is located in Pearl Creek, in a park south of Cook Street. If you need a fresh Shovel, look for one near the intersection of Cook Street and Lansdale Avenue.
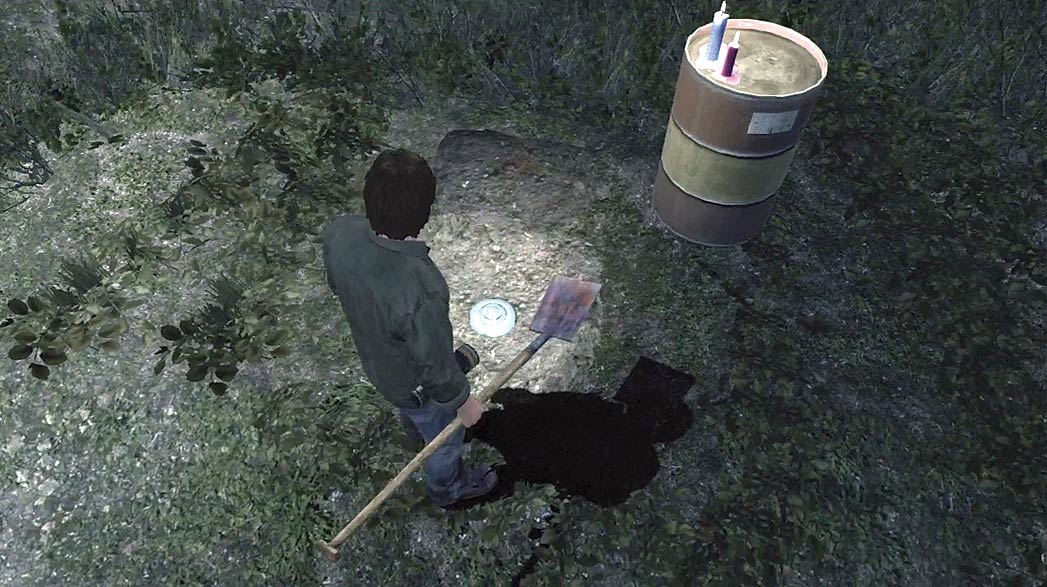
Dig site 4 is located in Logan’s Park, between Pearl Creek and Chastain Heights. If you need a fresh Shovel, look for one in the Pearl Creek underground entrance.
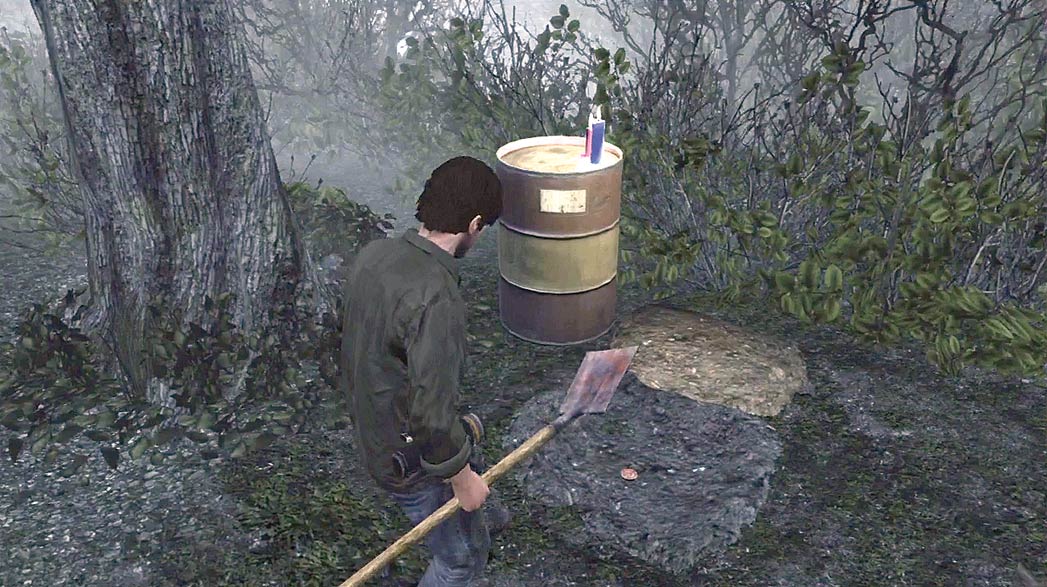
Dig site 5 is located in Chastain Heights, in the small park west of the movie theater. If you need a fresh Shovel, look for one in the alleys northwest of the Chastain Heights underground entrance.
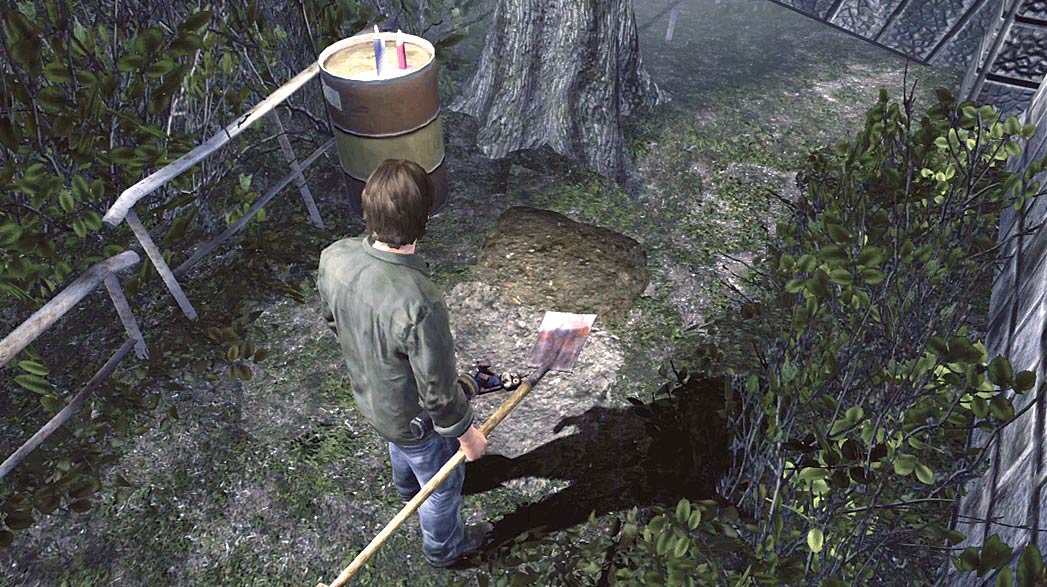
Dig site 6 is located in the yard of St. Maria’s Monastery on the west edge of Chastain Heights. If you need a fresh Shovel, look for one near the entrance of Monroe Cemetery south of St. Maria’s Monastery.
Port
.jpg)
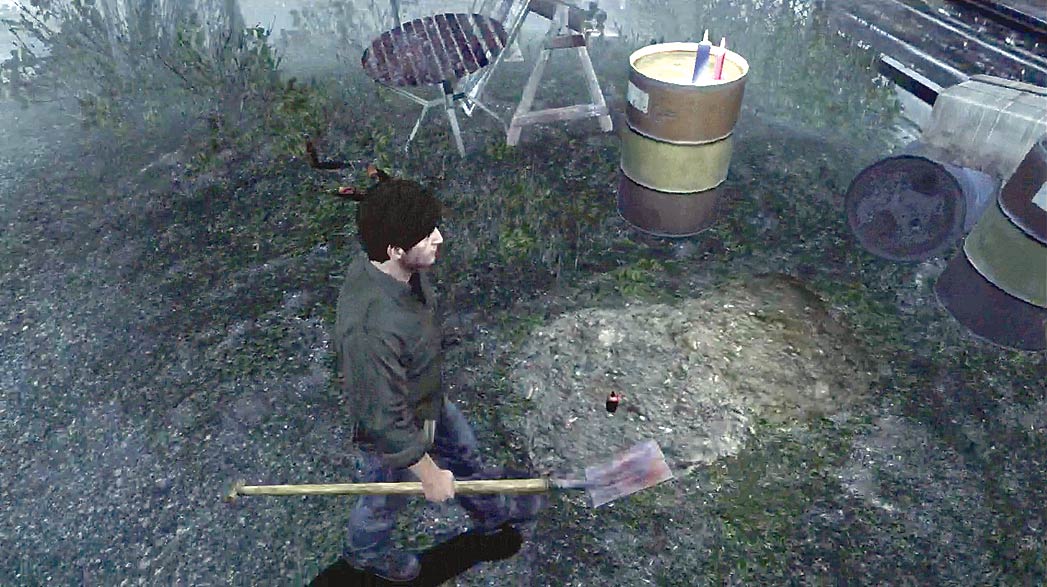
Dig site 7 is located in the Port District, in a small yard in the southeast corner of the neighborhood. If you need a fresh Shovel, look for one near the truck parked on Ketchum Street. Retrieve the Silent Hill Artifacts from all seven dig sites to complete the quest.
Complete the “Digging up the Past” side quest to earn a special ending when you finish the game.