
Tom Clancy's Splinter Cell: Conviction Guide Walkthrough Walkthrough
Mission 06: White Box Technologies
Overview
Thanks to intel passed along by Vic, Fisher has a new lead on Reed's operation: White Box Technologies.
White Box is a leading researcher of EMP technology and was recently bought by another corporation - perhaps the same that owns Black Arrow, the private military contractor.
Whoever bought White Box, they bought it for one reason: to get their hands on the EMP devices that were under construction in the double-walled EMP containment structure.
(After all, one cannot work on a device that shuts down city-wide power grids near the national mall without some sort of precaution.)
Fisher needs to get inside White Box's windowless building and find somebody with some answers about why exactly the chatter about EMPs has grown to a fever pitch.
Strategy
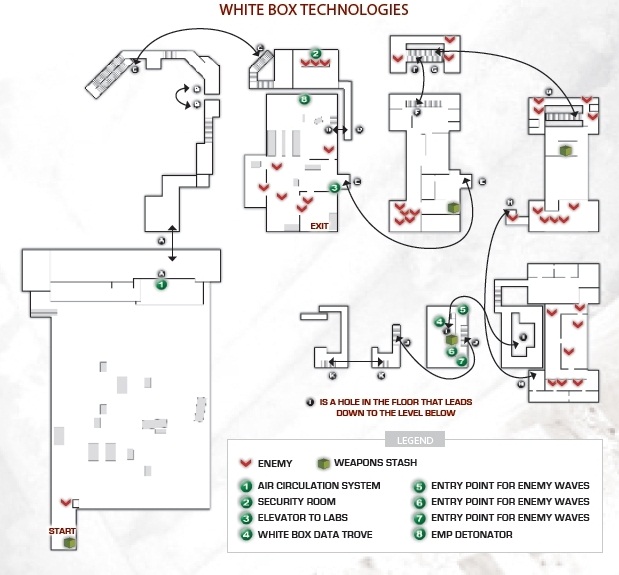
White Box Technologies is a multi-story building with no windows and few doors. You must infiltrate the building by discovering a weakness in its heavy protection.
Once inside, prepare yourself for a lengthy engagement with Black Arrow mercs on multiple floors. White Box is essentially a building inside a building, so there are plenty of windows and pipes within the shell to use for stealth tactics.
Lab equipment, desks, and walls also make for good cover opportunities if you choose to take White Box by force. However, with the sheer number of mercs inside, even an assault on the building must be tempered with some sneaking (either by using the shadows or tech such as a sticky camera), otherwise you risk getting overwhelmed by numbers.
Entry
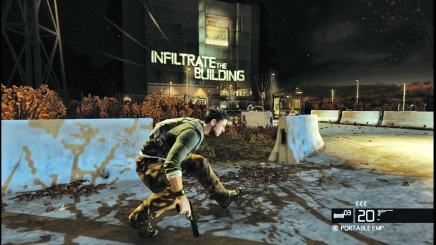
White Box looks impregnable from the exterior, but Vic has identified a possible entrance: the air circulation system. Look at the front of the building.
That vent system on the sixth floor is your ticket inside. However, you need to scale the building to access it. And before that, you must get by the Black Arrow guard at the parking gate in front of the site.
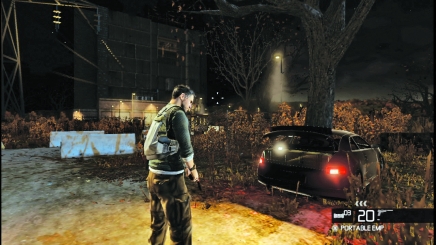
Before moving on White Box, access the weapons stash in the trunk of your car to choose your loadout.
The guard is alone, which makes this an easy task. There are multiple ways to handle this, from sneaking up along the concrete barriers and then dropping the thug with a headshot to putting out the lights with an EMP grenade and then taking him down with a close kill.
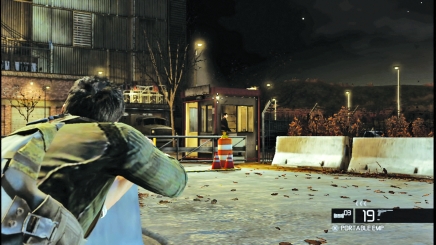
The close kill is a great move because you're then armed with an execution, and that will give you an advantage when you discover the first patrol of Black Arrow thugs inside the building.
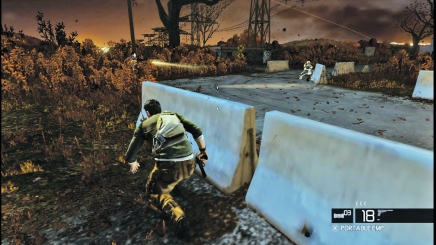
To draw the merc away from the gate, take a shot at him. The LKP lures him out toward the trees. Now you can sneak behind the target through the tall grass and grab him.
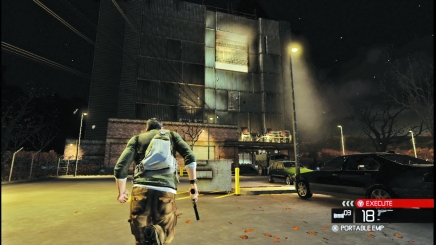
As you cross the parking lot to move on White Box, Vic tells you that after you breach the industrial air exchanger, you need to locate the security hub to survey the entire site.
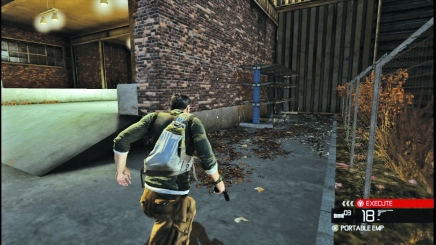
Use the shelves leaning against the right side of the loading dock (or the pipe on the left side) to start climbing the building exterior.
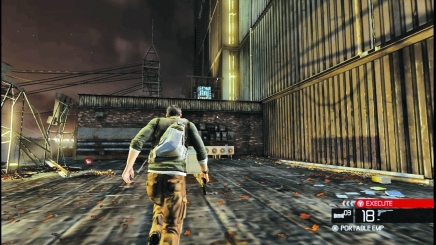
Next, scurry up the air conditioners and power boxes to reach the third floor.
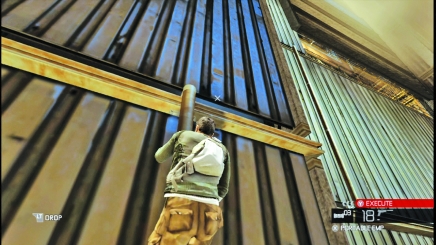
Climb up the drainpipes to reach the air exchanger. Slide along the face of the building via the fissures in the grating.
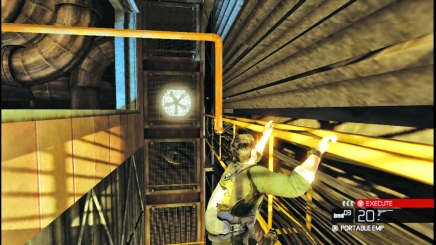
Once you reach the air exchanger, climb the pipe near the giant fan and then move across the yellow scaffolding to locate a tall orange pipe.
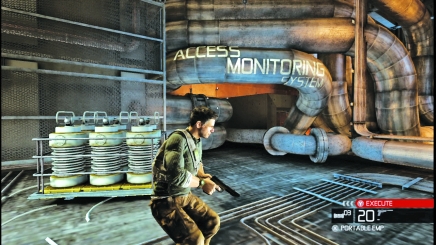
The orange pipe is your way in. Climb along the pipe and then drop down once you breach the exterior shell. You're now inside White Box. It's time to find the security monitoring system.
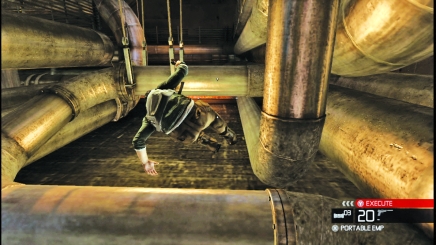
Leap over the pipes as you weave through the ventilation system and look for the exterior of the building within the building. You must drop down several floors to find the security room.
As you rush down the stairs, observe the White Box scientists at work in the various labs.
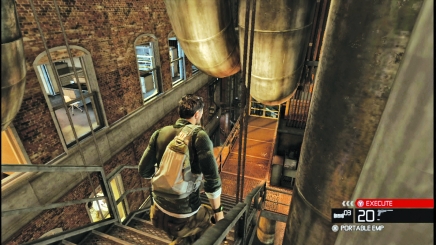
There is little sign of Black Arrow, but that's by design - scientists don't do their best work with guns pointed at them. The mercs will show themselves soon enough, though.
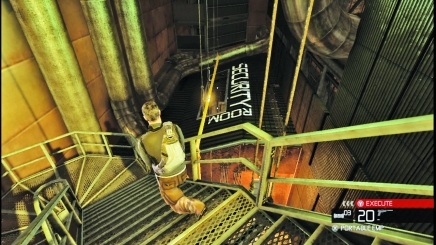
Slow down as you close in on the security room. There are two ways into the room: smash through the door to surprise the guards or drop through the hole in the ceiling.
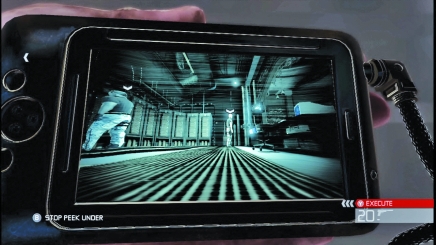
Use your snake cam on the door to spot the three mercs inside. If you have an execution, mark your targets through the snake cam.
Smashing through the door will give you about two seconds of surprise; that's enough time to execute guards. If you don't, you can eliminate one guard in the moment of surprise and then use the door as cover to target the remaining mercs.
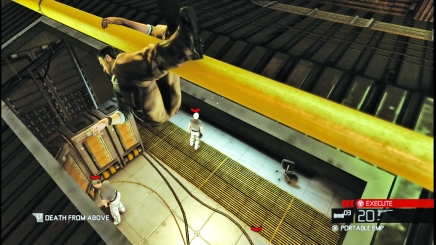
The pipe next to the monitoring room extends over the hole in the ceiling. As you cross the center of the hole, you can see all three targets. This is a good place to execute.
However, if you don't have an execution, you can use a Death from Above to kill one of the guards, which in turn gives you an execution.
If you already marked the mercs, quickly initiate the execution to drop the remaining targets before a single thug knows what happened.
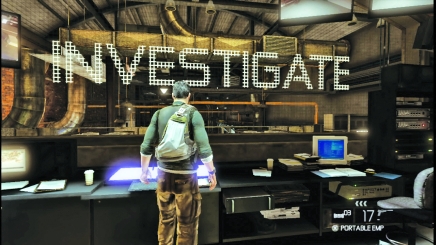
Now, access the security cameras through the terminal on the desk.
Cycle through the cameras until you locate a feed looking down on three scientists working on a device that looks like a jet engine. It's one of the EMPs.
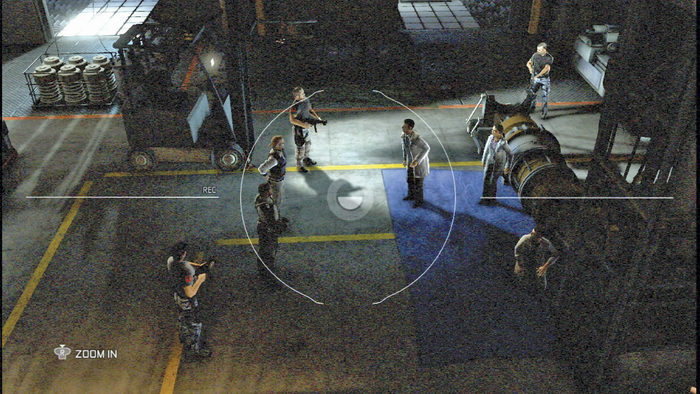
The scientists are surrounded by Black Arrow mercs. And surprise - they do not do their best work with guns to their heads. One of the scientists turns on the Black Arrow thugs and tells them that their boss, Lucius Galliard, will be displeased by their treatment.
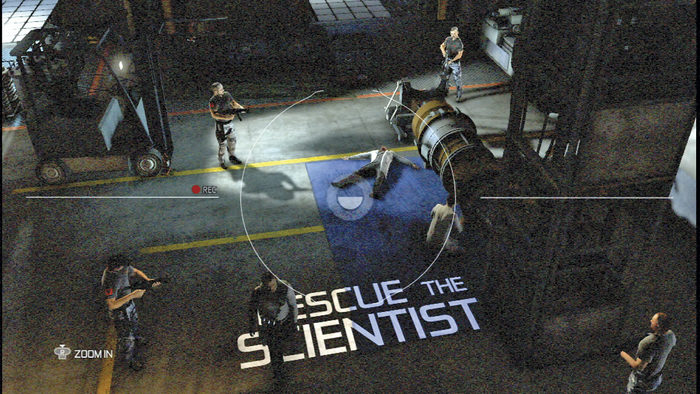
Just before opening the scientist's chest with a blast of bullets, the merc tells him that he also works for Galliard.
The merc then grabs one of the two remaining scientists and drags her away, leaving just one to finish up preparations on the EMP device. You need to question that scientist before he gets killed, too.
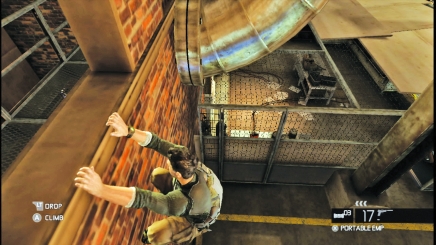
Leave the monitoring system via the open door to the left of the control panel and cross the catwalk until you locate a window looking on the loading bay where the scientists were prepping the EMP device.
Loading Bay
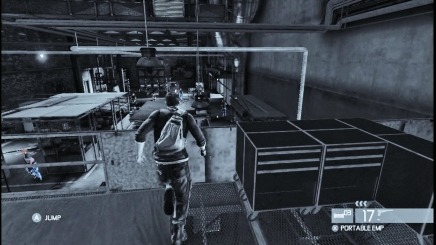
Several mercs are inside the loading bay. The remaining scientist is working on the EMP device in the center of the bay. One merc always stands over the scientist while two other remain in close proximity.
The remaining mercs patrol the bay. One typically moves up and down the right side of the bay, against the wall opposite the window.
Another moves along the wall directly below the window, but never makes it all the way up to the window. From time to time, one may come up to the middle of the bay and then stop at the base of the stairs leading up to the landing just under the window. There are pipes along the ceiling of the bay.
This is a great place to observe the room, but you must first cross to the opposite wall through the shadows to reach the bottom of the pipe.
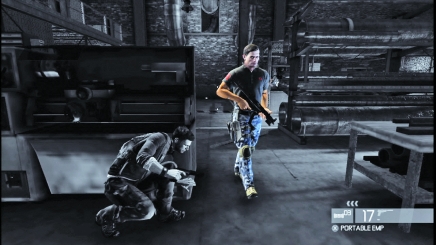
An execution will take out at least three of the mercs. If you need one, or just want to lower the number of mercs in the room before making a bigger play, drop to the floor and hide next to one of the consoles. Grab a merc as he walks toward your half of the bay.
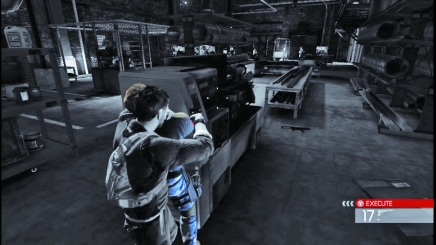
Take this merc close, into a human shield, so you can drop the body in the shadows and lower the odds of detection. Dispose of the body near the wall under the landing.
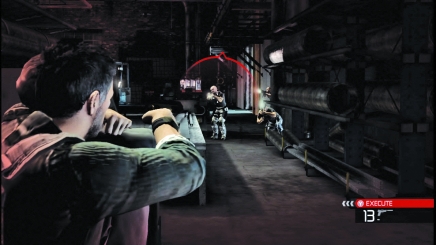
Feeling brave? Use the human shield and then step toward the rest of the mercs to engage. Act fast, though, because that merc torso can only absorb about six or so bullets.
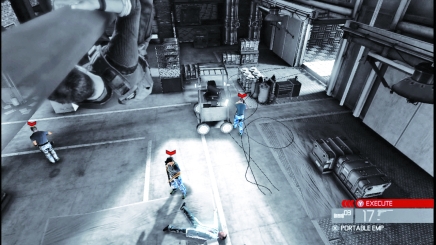
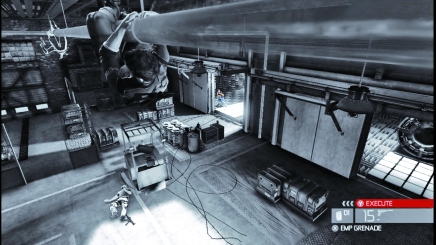
Crawl along the pipe and hang over the EMP device. From here, you can target three of the mercs: the merc standing over the scientist, one guarding the elevator, and another standing near a forklift.
However, be warned that executing the merc near the EMP device drops his body right in a pool of light. The surviving mercs will see his body and go on full alert.
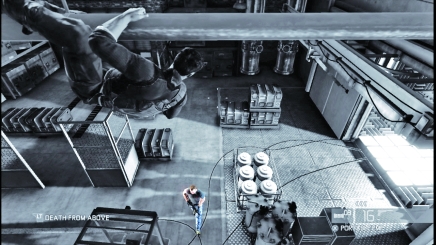
Performing a Death from Above on one of the mercs opens a new front. The other mercs may hear your landing and investigate.
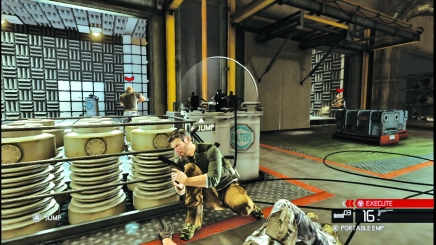
There is a lot of light near the testing room, too, so immediately move away from your kill. Seek cover and mark your targets for execution, then pull the trigger to clear out the area.
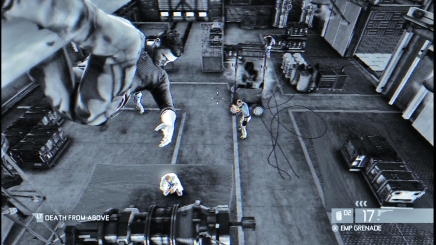
Temporarily take out the lights with an EMP grenade. In the darkness, you can perform a Death from Above with near impunity.
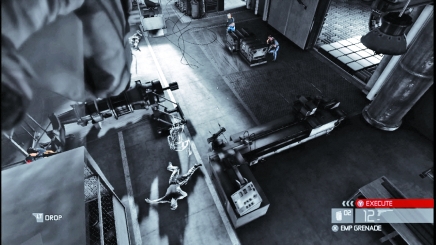
Casting the bay in darkness also lets you take advantage of LKP tactics. Shoot one of the mercs from the pipe or from behind an object (console, forklift, crate), and then quickly move once you see that your LKP has been established. As the mercs target your ghost, you can take shots at them or line up a great execution.
Once all of the mercs are down, question the remaining scientist. He tells you that he was working on an EMP countermeasure for the government but ever since new management moved in, things have changed at White Box.
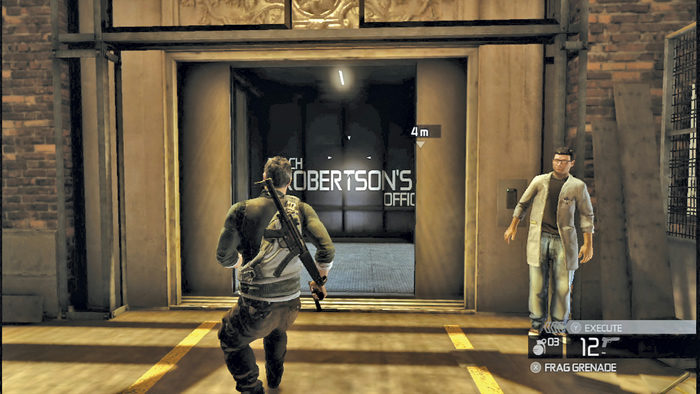
Robertson, the new head of White Box, allowed Black Arrow to put the place on lockdown and has been collecting all data from the scientists and then purging the system to keep each team in the dark about the others.
The scientist also says that Galliard is the owner of White Box and the one who hired Black Arrow and Robertson to handle security.
The frightened scientist then opens the elevator for you so you can ascend the interior and locate Robertson's office. Hopefully, you can download his data and get it to Grim, painting a better picture of what you are truly up against.
Fourth Floor
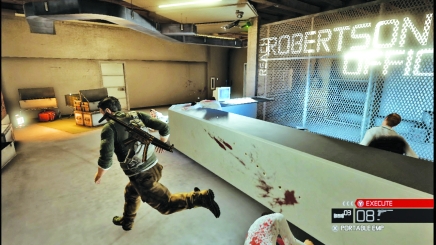
When the elevator doors open, you discover a grisly scene. Black Arrow has assassinated several scientists to contain the spread of data.
Use the weapons stash to the left of the elevator to load up on gear and upgrade any weapons. You receive a new gadget when you access this weapons stash: Sticky cams.
These little devices are great for causing distractions, surveying foes, setting up traps, and misdirecting your enemies. Once you are happy with your loadout, close the weapons stash and turn your attention to the nearby doors.
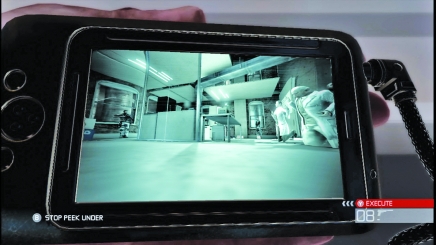
The snake cam reveals a whole crew of Black Arrow mercs about to murder two scientists. You cannot stop them. Observe the two Black Arrow mercs at the windows, though. Those look like good first targets.
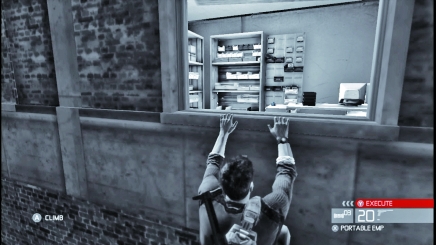
Enter the small room through the single room door near the weapons stash. Open the window and crawl out on the ledge. If you jump through the window, the breaking glass just attracts unwanted attention, taking the mercs away from the other windows.
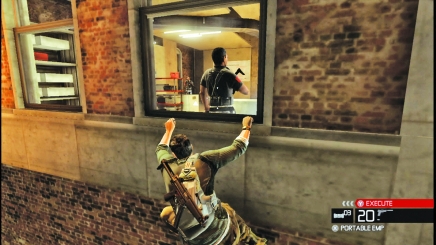
Silently open the window behind a merc and then pull him to his death. This makes some noise. You may be spotted., but your LKP is a powerful tool. Slide to one side of the window, wait for another PMC to stick his head out, and either blast him or grab him.
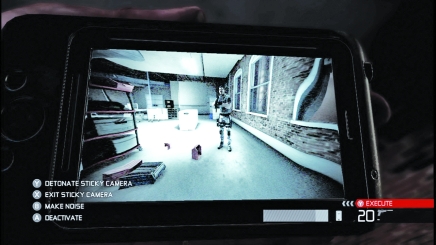
Toss a sticky cam through one of the windows to observe the mercs. Mark any targets through the sticky cam monitor, but hurry because the little device does not have unlimited juice.
Make a little noise with the cam to draw a merc close and then detonate it. This gets the mercs' attention, but they have no idea where to direct it.
Use that confusion to your advantage, targeting the mercs from outside the windows with an execution or headshots.
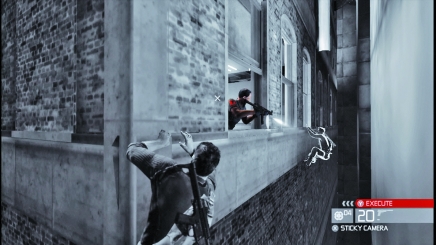
When you pop up from a window to take a shot, you establish a LKP. The mercs all rush for that window. Move around to the adjacent wall and then look in on the mercs as they investigate your window.
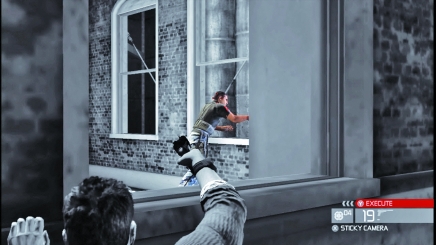
Use this system of cat and mouse to empty the room of mercs so you can push deeper into White Box.
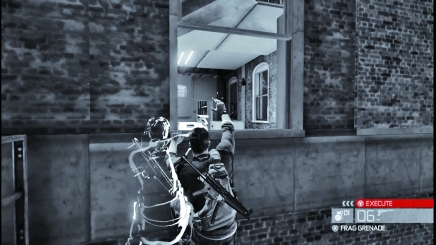
Don't ignore your frag grenades. They are not finesse instruments, but they guarantee kills in close quarters.
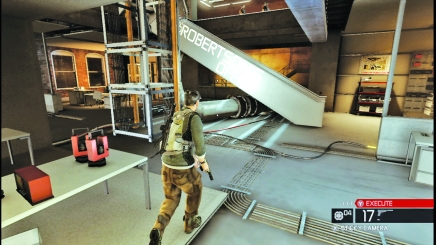
Follow the sound of gunfire until you reach the base of stairs marked with "Find Robertson's Office." You must ascend two more stories, but those stairs will lead you directly into two Black Arrow patrols.
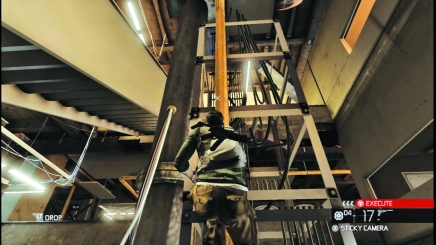
Use the pipes next to the stairs to silently survey the mercs on each of the two floors.
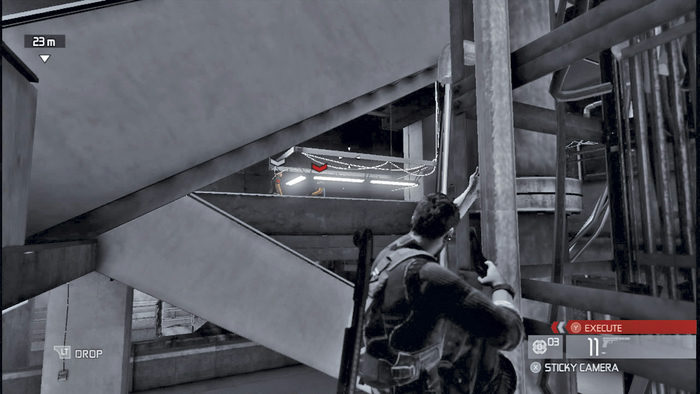
From the pipe, you can Mark and Execute enemies with little risk.
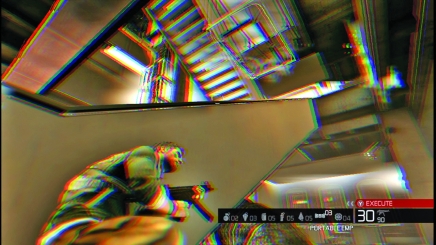
Whether you are going for a forward assault or a stealthy approach at the stairs, the portable EMP generator is great for knocking out the lights in this area - and there are a lot of them.
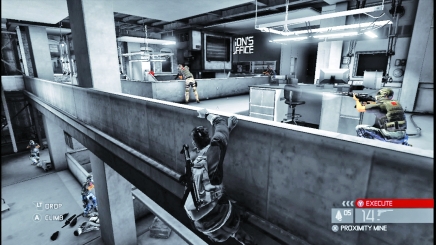
Use the windows and ledges to avoid detection while plotting your next move. These ledges allow you to target mercs for executions, individual shots, or Death from Above.
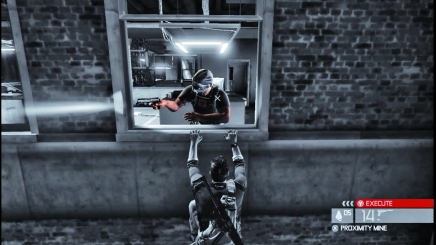
The windows are better suited for yanking guards to their doom because the ledges are not always above empty space. The windows, though, are always on the exterior of the inner structure and offer a long fall.
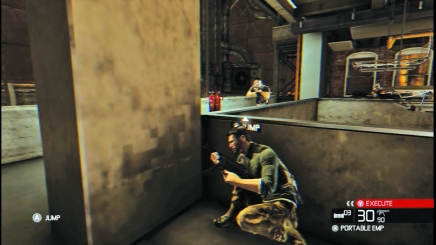
There are explosive canisters on each level. The first canister is on the landing between the two stairs. Under the cover of darkness, you can slip close to the wall overlooking it and then pop it just as Black Arrow mercs move close to it.
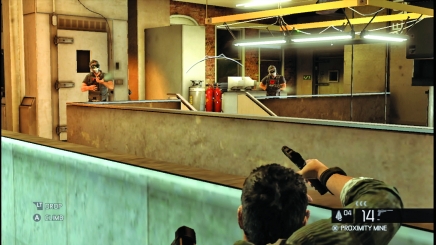
The upstairs canister is better shot while hanging over the ledge. Use a LKP to distract the mercs so they are not tracing your passage along the ledge, and then open fire as one or two mercs move near the canister.
The explosions are quite powerful with an extended blast radius. You can usually catch at least two mercs in each explosion.
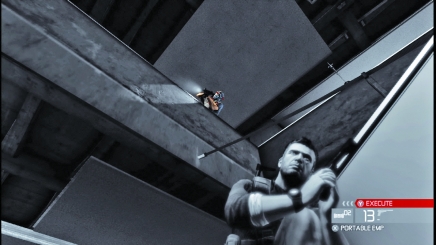
Use LKP on the lower floor to lure the mercs into leaning over the railing, exposing their heads.
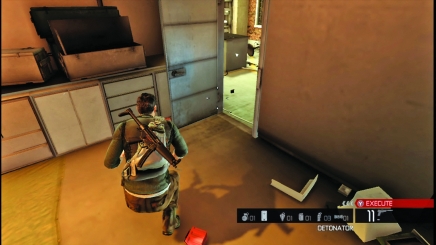
There is another weapons stash on the top floor, directly to the right when you reach the top of the stairs. This room doubles as a good trap.
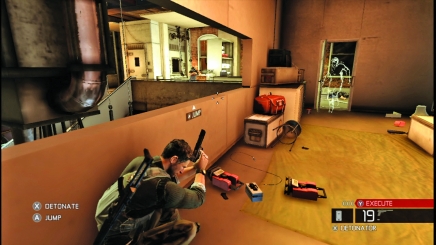
Get spotted going into the room so an LKP is at the door. Drop a remote mine at the open door and then wait for the mercs to give chase. The explosion at the door is strong enough to bring down at least one curious merc.
Sixth Floor
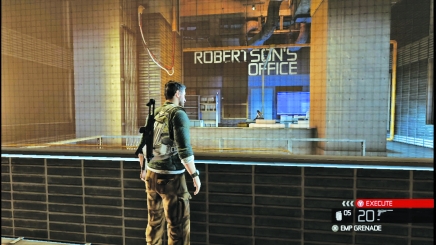
As you close in on Robertson's office, Grim comes over the earpiece. She needs you to contact her once you reach Robertson's system.
However, you need something from her first - to speak to your daughter. Grim patches her through, but coldly cuts the call short so you can focus on the task at hand.
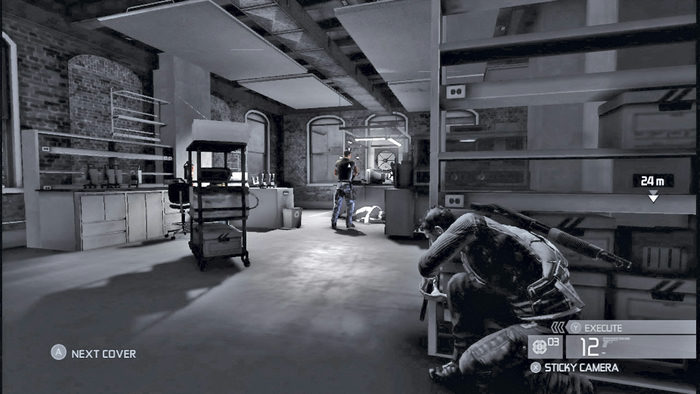
After Grim hangs up, quietly open the small white door. Slip up to the edge of the shelf and peek out to spy at least one Black Arrow guard standing watch over a dead scientist.
Though you cannot see any other mercs right now, he is not alone. While his back is turned, either take the silent headshot or stealthily creep behind him and slip through the window to access the ledge outside the room.
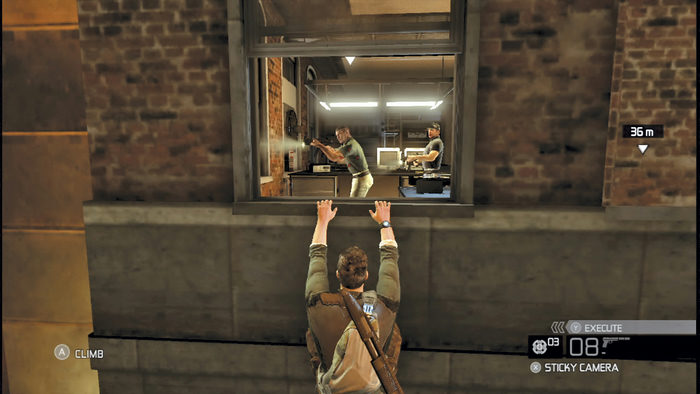
There are four more mercs just a little bit farther down the corridor from the initial thug. Shooting the first merc gets their attention, but if you get through the window without being spotted, lure the other mercs within range via a sticky cam whistle or a stray shot.
You want to get them near the windows, because then they are playing to your strengths. You can pop up, nail a merc with a headshot and establish an LKP. When the other mercs investigate the LKP, you can then either yank them through the window or blast them as their heads appear in the frame.
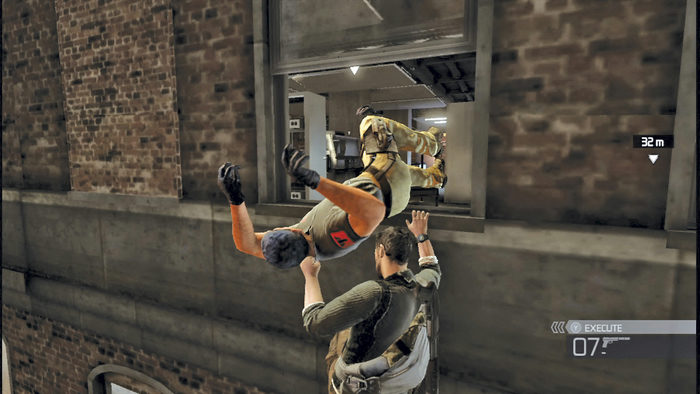
Pulling a merc through the window to his death results in a Mark and Execution, which is perfect for clearing out the remainder of the mercs.
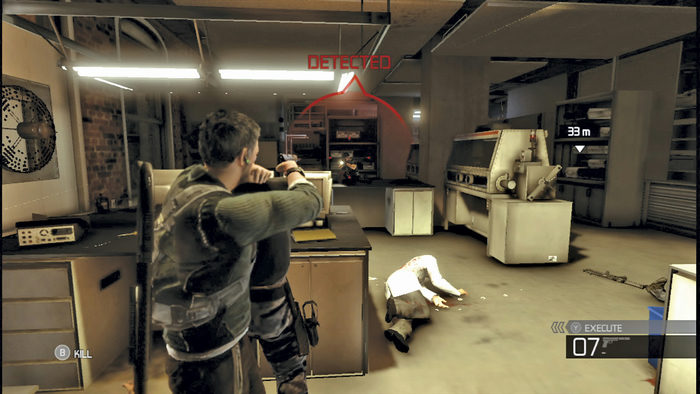
You have so many ways to dispatch the mercs in this area. If you tire of yanking them through windows, get them to cluster in a corner via an LKP and then drop a frag grenade right behind them.
Or jump in and immediately take one of the Black Arrow thugs as a human shield. While his friends ventilate his body, you can either perform a Mark and Execute or just go for headshots.
Move beyond the door and climb the pipe on the catwalk to move over Robertson's office and access it from the ceiling. You must first drop down into a small office storage room. There are several mercs just beyond the door. Use your snake cam to mark them.
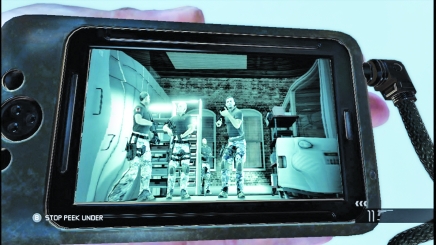
Listen into the mercs. One mentions that the lab is using smart lighting. If sensors in the floor are triggered, lights turn on. When the mercs see light, they will rush the room.
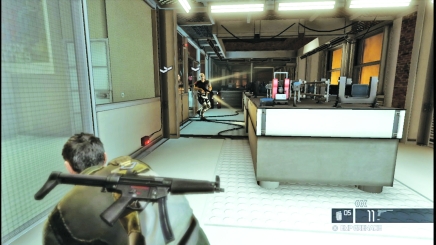
The lab to the right uses the smart lighting. As soon as you step into the lab, the lights pop to life. Target the gas canisters in the rear of the lab and then shoot them just as the mercs investigate.
A frag next to the canisters causes an even bigger explosion, which kills more mercs.
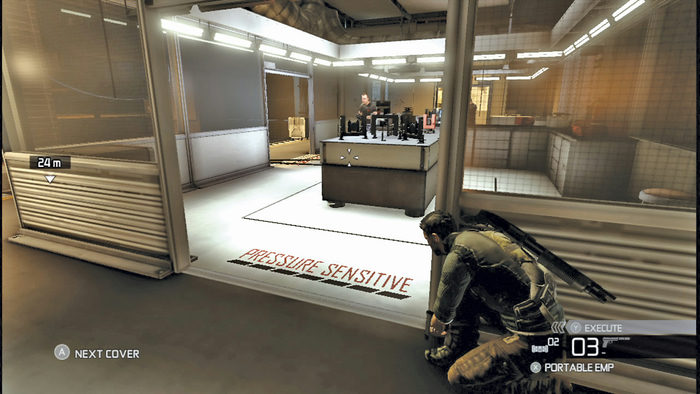
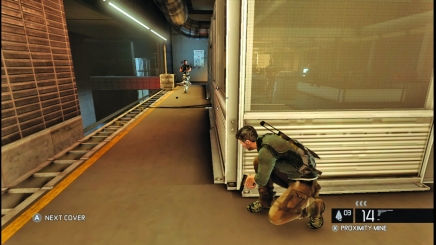
The next lab with smart lighting is separated from your current location by a corridor that is not attached to any lighting system. However, the mercs turn the lights in the corridor on.
Drop an EMP to turn them back off. Use that corridor to advance on the exterior of the lab. Mercs move through the lab, looking for you.
A lone merc stays in the corridor just outside the lab, just around the corner. Use remote mines to booby trap the corridor. Get spotted and then lead the mercs to their deaths.
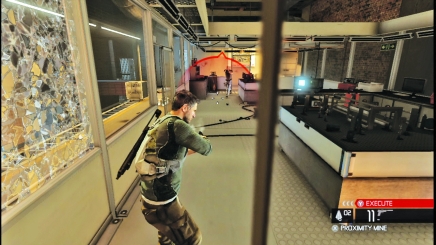
The best lure to a mine trap is your standing profile. Give the mercs a sense of hope and they come running.
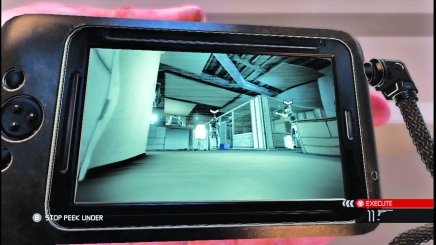
Another band of mercs waits for you beyond the next set of double doors. The snake cam helps identify their positions. Have an execution?
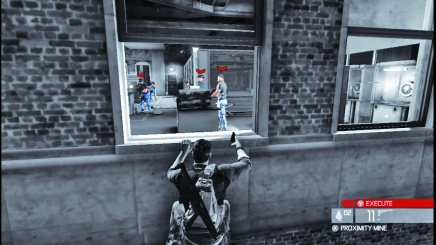
Mark your targets and then use the window to circle the room from the outside and take your shots. The windows looking into the room with the mercs are closed, though, so you need to quietly open one to get clean shots.
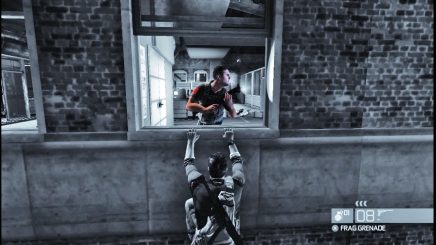
And here they come to investigate. Yank one right out of the window for an easy kill.
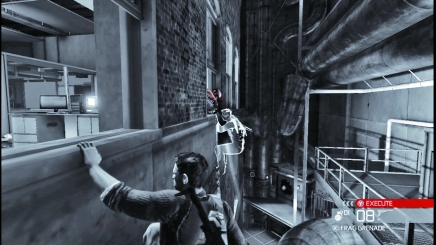
When mercs look out windows, they often leave their heads exposed. Those make perfect targets.
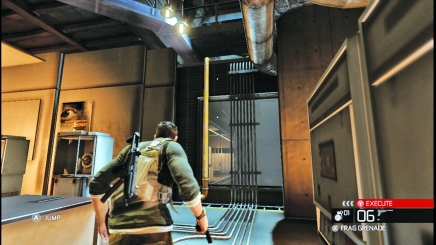
After the mercs are down, enter the room and cross the lab to locate an orange pipe. Climb the pipe to reach the ceiling of Robertson's office. Alternately you can use the calkwalk.
There is no direct entrance for you. You can only enter through the ceiling. Once inside the office, Grim comes back over the earpiece.
Robertson's Office
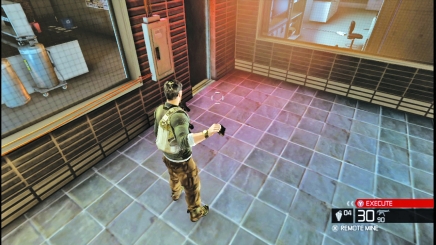
Inside Robertson's office, Grim tells you to make the room a "hostile environment for uninvited guests." She needs you to open a link between Robertson's computer and her terminal and know that as soon as the connection is made, Black Arrow will be all over that office.
You must set up traps for the incoming mercs. There are three ways into the office: the elevator and the two doors on the wall opposite Robertson's desk.
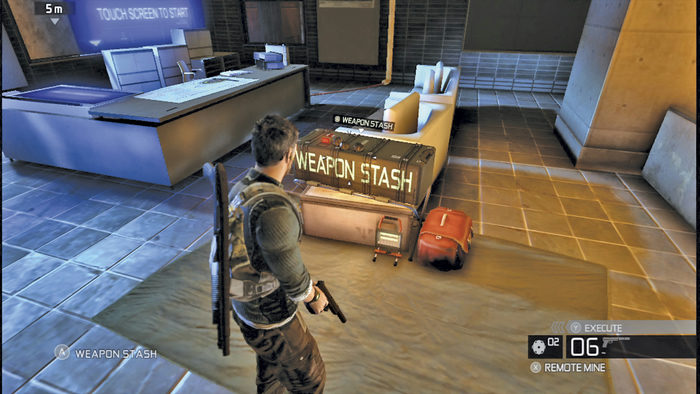
There is a weapons stash inside Robertson's office that provides you with a steady stream of gadgets. If you ever run out of EMP blasts, drop down between enemy waves and quickly access the weapons stash for a restock on spent supplies.
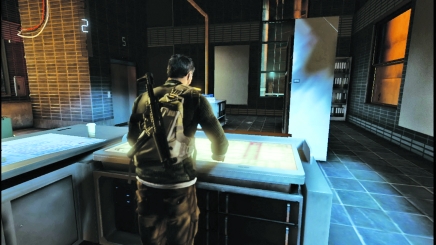
After setting your traps, access Robertson's computers. The EMP data is a plum find. You hack the terminal to give Grim access, but she cannot download everything right away.
She needs time to extract all of the data. If the terminal is tampered with during the download, she will permanently lose access.
The alarms that started going off as soon as the hack was initiated means mercs are en route. You must hold off the multiple waves of mercs that enter the office. If one merc reaches the computer, the mission is a failure.
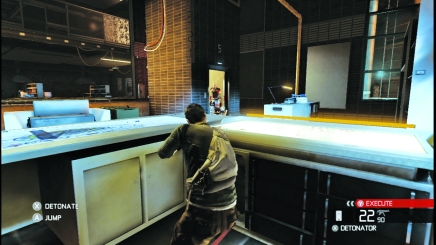
The first batch of mercs always comes through the elevator. Watch the floor numbers to track the ascent of the mercs from the first floor.
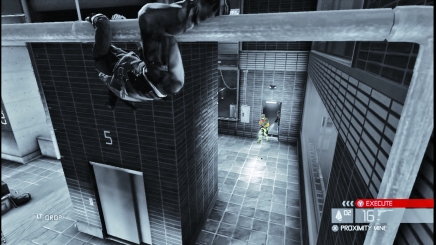
A pipe goes along the office ceiling. Climb up to the ceiling to get a clean visual on all entrances. This lets you get the drop on mercs not killed by your mines as they follow the first or second thug through the door.
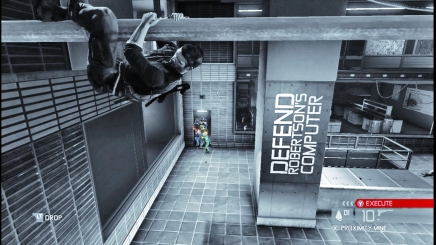
Shoot the mercs when they are looking in opposite directions. That will keep the "surviving" merc from marking your position on the pipe.
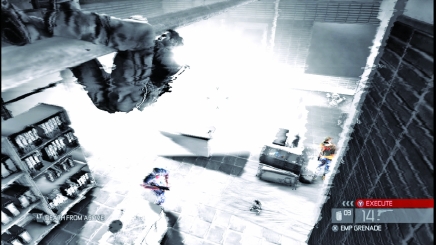
An EMP grenade will not disrupt the connection. Use it to turn out the lights and stun nearby mercs.
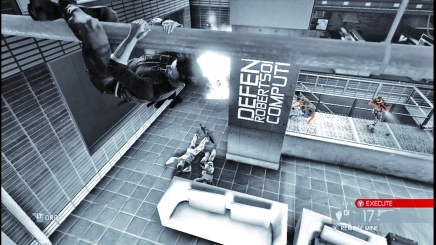
Remote mines can be used as grenades in a pinch. Toss one into the middle of some mercs and then immediately hit the detonator.
Grim announces the status of the download throughout the battle. When she says the download is at 80 percent, the mercs turn up the juice.
Instead of coming in one entrance at a time, they start filtering into the office via multiple entry points at once, such as the elevator and one of the doors, or both of the doors together.
You can easily cover those from the pipe, but you must be speedy with your shots or with dropping grenades.
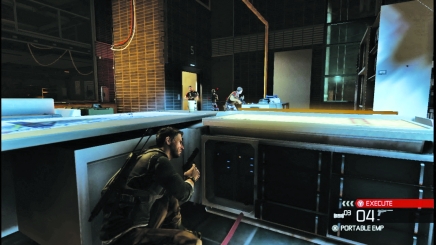
If you run out of mines and cannot reach the weapons stash, use Death from Above to smash one of the mercs and then seek refuge behind the desk. Use the execution to target multiple mercs and buy Grim some additional time.
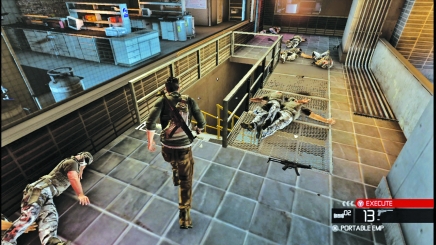
As soon as the data download is complete, the flow of mercs stops. Grim has bad news, though. Somebody on the first floor of White Box has managed to start a trace on Grim's computer.
You must race downstairs and stop that person from completing the trace, otherwise not only will Grim's cover be blown, but so will Sarah's. Use the stairs in the office to rush to the first floor of White Box, down at the loading bay.
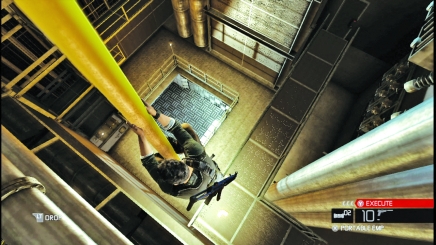
Grab the pipe that runs next to the stairs and slide down to the roof of one of the EMP test labs next to the loading bay.
Loading Bay
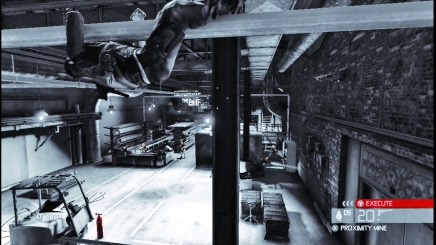
One last batch of mercs attempts to stop you in the loading bay next to the lab. As you enter the bay, the lights flicker on.
An EMP grenade or a squeeze from your portable generator turns them back off. Use the cover to run across the room and leap up onto the pipe on the opposite wall. You need to use the pipes along the ceiling to take out the incoming mercs.
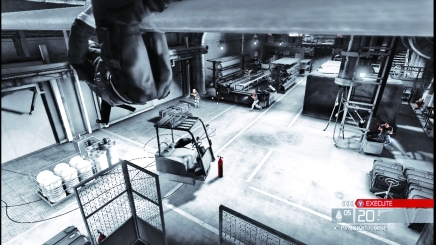
From the ceiling, shoot the red gas canisters to blast the incoming mercs.
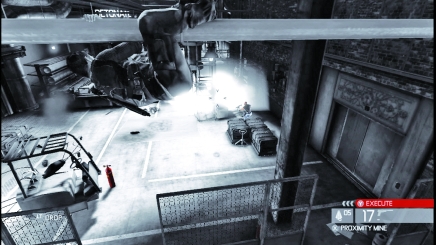
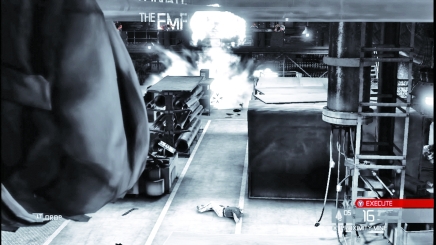
The canister under the landing on the far side of the room releases a blast powerful enough to kill the mercs standing above it.
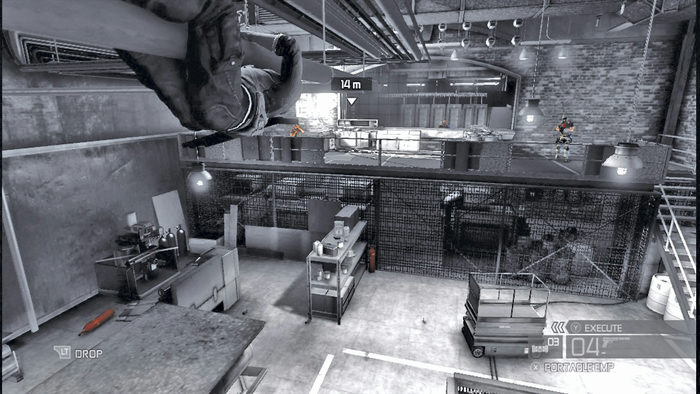
Cross the bay to reach the landing against the back wall, near the security station. An EMP generator there will destroy all systems on site, thus stopping the trace before Black Arrow can locate Grim.
There are three Black Arrow mercs guarding the EMP detonator on the ledge. Use the pipe to close in on them. To keep them from seeing you, have a flashbang or EMP blast ready.
Use the shadows of the ceiling to score headshots on the mercs and clear a path to the EMP detonator that will cover Grim's tracks.
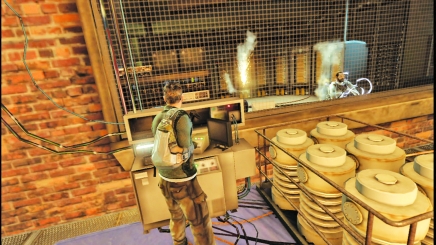
Once on the landing, access the EMP generator to kill the trace and fry Robertson at the security desk.
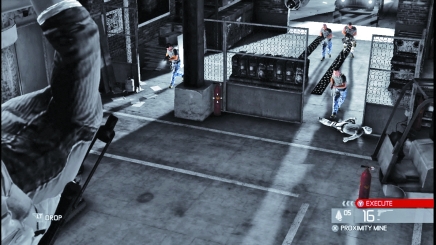
After you fire the EMP and kill Robertson, Black Arrow reinforcements attempt to retake White Box. Scramble back up to the pipes overlooking the bay.
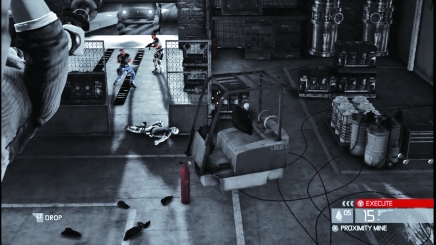
The loading dock doors open and a small crew rushes in. Shoot the red gas canisters near the door to shatter them before they get too far into the bay.
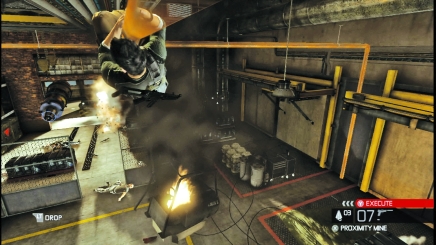
Use remote mines to drop the second wave of mercs that walk through the loading dock door.
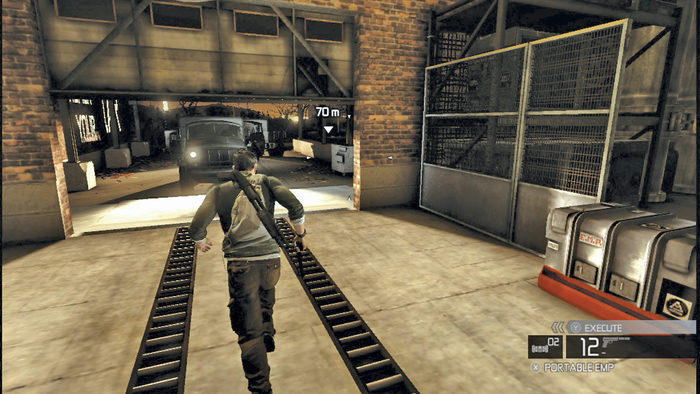
Stay up on the pipe until you no longer see any mercs entering the loading dock. When the music dies down, you know the last of the Black Arrow thugs have been dispatched and you can drop to the floor without worry of being shot.
Leave the facility and cross the parking lot to return to your car and end the mission.
Known Intel
Fisher now has a new name: Lucius Galliard. He is apparently the owner of White Box Technologies and Black Arrow. Scientists at White Box Technologies have created at least one EMP device that is no longer in the building.
Where these devices are headed and for what use is still unknown, but there is little doubt now that Black Arrow is not looking out for America's best interests and must be stopped.
As for Reed, it is increasingly obvious that the director of Third Echelon is up to his neck in something ugly, too, especially because he was seen at the Price Airfield commanding Black Arrow officers. Fisher must figure out how all of these threads - Reed, Galliard, EMP devices - tie together.