
Tom Clancy's Splinter Cell: Conviction Guide Essentials The Essentials
Training - Gear
You have access to several pieces of gear beyond your two allotted weapons, such as frag grenades and remote mines.
These tools are critical for accomplishing your goals. There is no right or wrong way to use gear, but many pieces of gear have multiple uses for different situations. Effectively deploying gear in the right situation can not only help you eliminate a dangerous target, but also escape without detection.
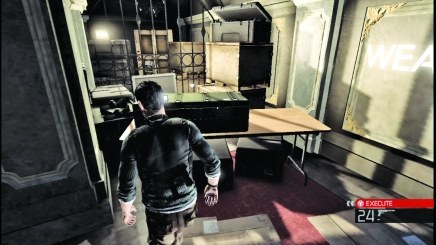
You find some gear in the field, such as snatching up some frag grenades off a crate. But spent gear is primarily refreshed at weapons stash crates placed in the field, green boxes that you access not only to pick up fresh gear, but also to change your weapons and upgrade them.
Frag Grenade
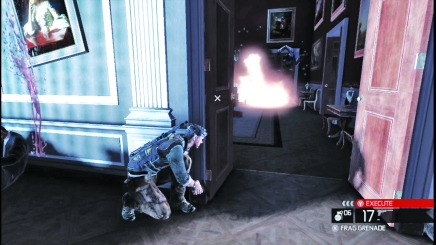
Loud. Messy. Deadly. Frag grenades are blunt instruments. They get the job done but they announce your arrival like the angel's trumpet. However, any enemy caught in the blast radius of a frag grenade is instantly killed, which makes it great for crowd control. To throw a frag, select it from your gear menu and then aim just like you were going to shoot a gun. You throw the frag in the direction of your target cursor, but distance and architecture matter quite a bit.
Grenades can be banked off walls or thrown through doorways to surprise enemies that either have not seen you or have retreated. Frag grenades roll along the ground until they explode, but if you throw them over a great distance, they may blow up before reaching your target.
Flashbang
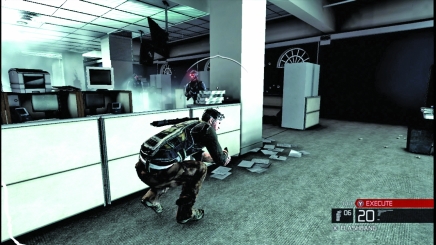
Flashbangs are excellent escape tools. These grenades let off a bright flash of light and noise that causes anybody in the immediate area to hide their eyes and recoil. If enemies are right next to a popping flashbang, they are temporarily stunned. However, starting off an attack with a flashbang is advisable only if you plan on finishing it soon. After enemies recover from the effects of a flashbang, they start looking around for who threw it.
So, instead of using one at the beginning of an attack, use it midway to distract enemies if you are ever discovered. If you are not only spotted but being fired upon, dropping a flashbang while running gives you a few seconds to seek cover and plot a new course. When the effects of the flashbang subside, your enemies will be focused on your LKP, not your new position.
EMP Grenade/EMP device
Electro-Magnetic Pulse (EMP) technology factors heavily into the terrorist plot you are attempting to stop. EMPs disable anything that runs on electricity, such as a microwave or a computer. You have two EMP devices to use in order to maintain your invisibility: EMP grenades and a portable EMP generator.
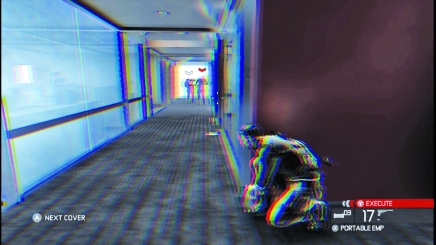
Use EMPs to disable lights and create extra shadows and dark areas. A pulse will extinguish every light in a room, including flashlights, allowing you to move with almost universal impunity. (Enemies can still see a few feet in front of their faces.) But do not linger when moving through the darkness because it is temporary. The lights will come back on after several seconds and it is possible to be caught right out in the open - total disaster.
There are several differences between the EMP grenade and portable generator. EMP grenades produce smaller effects that last longer than those created by the generator. The generator, on the other hand, affects a much wider area, but for a shorter period of time. This makes the grenade useful when you want to control a room while assaulting it, but makes the generator a much more useful tool when you just need an opening to get out of a tight situation.
Remote Mine
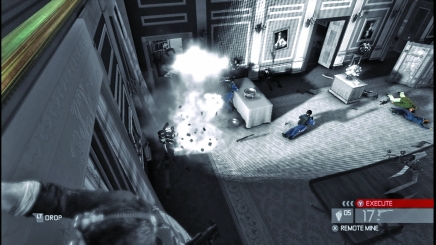
Throw remote mines against a surface and they stick, making them perfect trap material. Plus, you control when they blow up. As soon as you plant a remote mine, the gear button turns into the detonator. Watch the site of the remote mine and set it off when an enemy walks near it.
When you throw a remote mine, the detonator is automatically selected. However, you can still swap back to the remote mines in your gadget inventory and place some more. You can use this to lay some more complex traps, and make sure you take out a lot of enemies in one fell swoop.
Sticky Camera
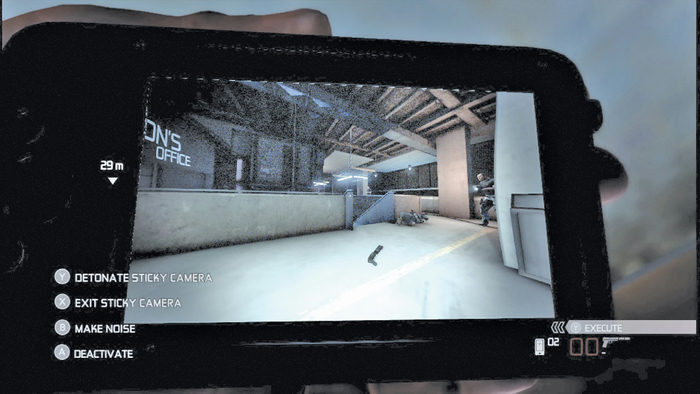
The sticky camera is similar to the snake cam you use to peek under doors. However, this camera has multiple uses beyond surveillance. When you throw it on a surface and access the feed, you can not only look around and mark targets, but the camera can also create a small noise. This noise attracts the attention of nearby enemies, which lures them closer to the camera. Once they're within range, activate a small explosive in the camera to take out nearby enemies.
Sonar Goggles
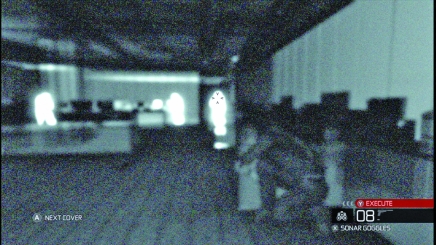
Third Echelon scientist Charles Fryman gives you a pair of sonar goggles that allow you to not only see in the dark, but also peer through walls. When you engage the goggles, a pulse "draws" a diagram of your surroundings. Humans show up as bright while outlines, making them very easy to spot. There is no camouflage from the sonar goggles, so do not worry about somebody hiding from you. You will always see their outline. Environmental hazards you can destroy, such as fuel drums, also appear in white on the sonar goggles.
The farther the pulse travels, though, the weaker it gets. Outlines are fainter. And objects that were spotted closer to you start to fade. Don't worry, another pulse refreshes your view and updates the position of your attackers. You can hunt while looking through the goggles, but it is hard to pull off accurate shots while aiming at human-shaped outlines. It is far better to establish the location of targets and then remove the goggles so you can line up precise shots.
Rapid movement makes the signal to noise ratio very high, so you will get the clearest picture of the environment when you are not moving. Also, you can mark enemies while in this view - it's super useful to plan your attacks using the goggles!
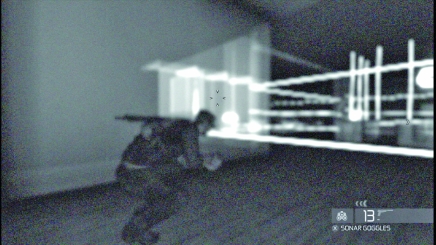
The sonar goggles also reveal laser tripwires. You will encounter security systems that use laser tripwires in tandem with mounted machine guns that automatically target a broken beam and then unload. Once the gun acquires a target, it does not stop until the clip is empty. You better find cover.
So, if you ever spot a mounted gun hanging from the ceiling, activate the goggles and look for invisible laser tripwires. Slowly move through the field of lasers by ducking under beams or finding ways over floor lasers via jumping over objects or shimmying along a ledge.