
Tom Clancy's Splinter Cell: Conviction Guide Multiplayer Co-op Story
Deniable Ops
Deniable Ops are a series of side missions separate from the Co-op Story, detailed in the previous chapter.
These missions are split across several game types and can be played either single-player or multiplayer with a friend over the Internet.
You may also play with a friend locally on the same Xbox 360 via split-screen play. You assume the roles of Archer and Kestrel from Co-op Story, but instead of following a set of mission objectives, you are assigned specific objectives as per the chosen game mode.
All maps for Deniable Ops are pulled from Co-op Story, plus two additional maps that are only available in Deniable Ops: Printing Press and Lumber Mill.
Setting Up
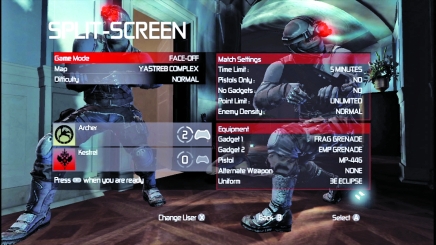
Once you choose either Deniable Ops or Multiplayer, you drop into a set-up menu. From this menu, you select the desired game mode appropriate for the number of players as well as the map.
After selecting mode and map, you can also choose the difficulty for the game: Rookie, Normal, and Realistic. The harder the difficulty, the more aggressive the enemies.
There are four Deniable Ops missions: Hunter, Last Stand, Face Off, and Infiltration. Face Off is the only mode of the four that requires a second player.
The remaining three can be played by yourself.
Hunter
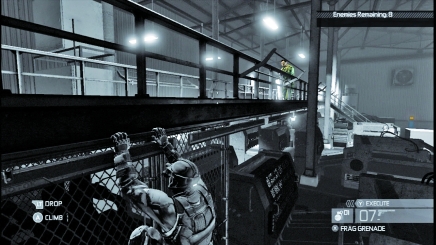
The goal in Hunter is to defeat all enemies on a map. You select a map from the Deniable Ops menu and then begin the mission in first sector of that map.
After you eliminate all enemies in a sector, the next sector opens. Once you clear out all sectors, the mission ends in success.
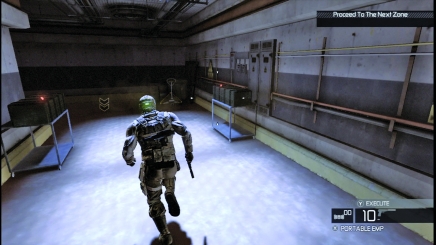
Between sectors in Hunter, you access weapons stash crates to refill spent ammo and gadgets, just like Co-op Story.
The number of enemies per sector varies depending on whether you're playing solo or co-op.
However, if you are spotted and do not neutralize the enemy before he can relay your position to the others, reinforcements arrive. These additional enemies spread out across the sector and must also be eliminated before moving on. If you have only one enemy left in a sector and the alarm goes out, you must then work your way back through the sector and flush the new arrivals before you may move on to the next sector.
The match settings for Hunter are:
Time Limit: Set the time limit to unlimited or select 2, 3, 4, or 5 minutes
Pistols Only: Limit weapons to only pistols for a greater challenge
No Gadgets: Toggle the use of gadgets on/off
Last Stand
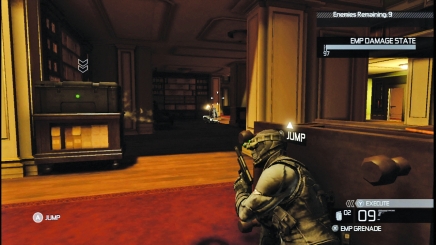
Last Stand tasks you with eliminating waves of enemies that are attempting to destroy an EMP generator, typically located in the center of the map. You must protect the generator from their incoming fire.
The EMP generator has armor and can withstand quite a bit of abuse, but if the armor plating shatters, the EMP is disabled and the mission ends.
As long as you remain hidden, the enemies will concentrate on the generator. While the foes are targeting the generator, you can slip above, below, and behind them to deliver the killing blow.
When an entire wave of enemies has been dispatched, the EMP will deploy its self-repair mechanism and recharge up to the last damage threshold passed (100%, 50%, 25%).
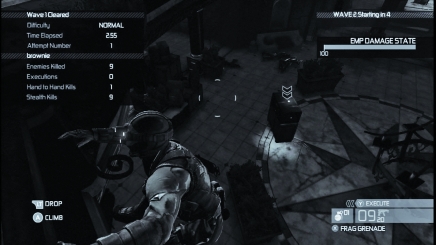
Enemies attack in waves. When you clear out one wave, you have several seconds to seek cover before the next wave arrives. During that time, you may wish to boobytrap the area with mines or just find a great hiding spot above the generator.
Your enemies grow more aggressive with each wave. You can also adjust the fierceness of the thugs with a difficulty selector on the Deniable Ops main screen.
The match settings for Last Stand are:
Starting wave: Choose the starting wave of enemies from wave 1, 5, 10, or 15. The higher the wave, the tougher the enemies. In wave 1, you encounter only low level thugs. By the final wave (20), though, you face down elite soldiers and spies who are experts at running down Last Known Positions and other stealth tactics.
Face Off
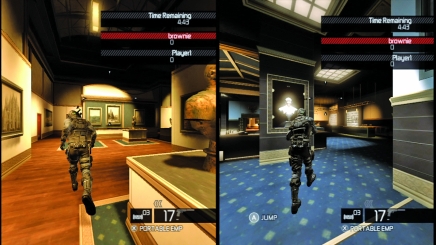
Face Off is the only game mode that requires a second player. This is an adversarial mission that pits two spies against each other. However, there are multiple hostiles in the same area hunting both players without prejudice.
Points are awarded for eliminating the AI-controlled enemies, but the big scores come from dropping your fellow spy. Do not treat the other enemies as unimportant. If you are spotted by an AI-controlled enemy, your Last Known Position is relayed to your opponent.
The match settings for Face Off are:
Time Limit: Choose 2, 3, 5, 7, or 10 minutes
Pistols Only : Limit weapons to only pistols for a greater challenge
No Gadgets: Toggle the use of gadgets on/off
Point Limit: Choose the number of points required to win (between 30 and 100) or turn points off so expired time determines the winner
Enemy Density: Set the number of AI-controlled enemies in the match between off, low, and normal
Infiltration
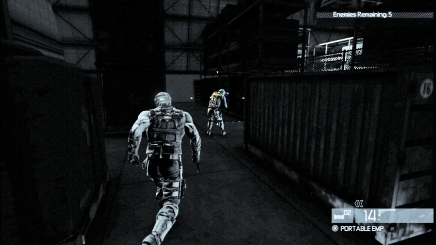
Infiltration is similar to Hunter. You must eliminate a gauntlet of enemies in each sector of a map. However, you cannot be spotted - ever. It's game over if you trigger an alarm (either by being spotted, being noisy, tripping a camera, etc.). So, stick to the shadows, hang off ledges, and remain unseen for the entire mission. Infiltration uses the same maps as Hunter, so refer to them and the associated tactics for remaining hidden.
The match settings for Infiltration are:
Time Limit: Set the time limit to unlimited or select 2, 3, 4, or 5 minutes
Pistols Only: Limit weapons to only pistols for a greater challenge
No Gadgets: Toggle the use of gadgets on/off
Equipment
Before going out on a mission, you may adjust the weapons and gadgets taken into the field. Choose equipment you feel most comfortable with or equipment that you think will be particularly useful for that specific map or game type. For example, in Infiltrator, you must never be seen by an enemy so a frag grenade is out of the question because it draws so much attention. In Hunter, getting spotted draws reinforcements, so a silenced pistol that keeps things quiet is incredibly useful. Here are the equipment categories:
Gadget 1: Select a gadget to take into the field
Gadget 2: Select a second gadget to take into the field
Pistol: Select a personal default sidearm
Alternate Weapon: Select a secondary weapon from the non-pistol categories such as shotgun and assault rifle
Uniform: Choose a uniform from the locker
Uniform Locker
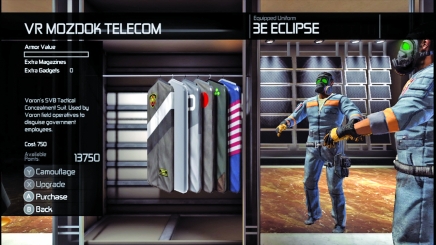
In Deniable Ops and Co-op, each spy is given either the 3E Eclipse uniform or the VR SV1 AKULA uniform (Kestrel). There are five extra uniforms you may buy via points accrued by completing P.E.C. Challenges, plus a sixth awarded for participating in Uplay: Russian Soldier. Uniforms offer only cosmetic changes.
| Uniforms |
Uniform Cost |
|---|---|
| VR Vympel | 200 |
| VR Mozdok Telecom | 200 |
| 3E Black Arrow | 200 |
| 3E Urban Tracker | 200 |
| Classified | 200 |
| 3E Eclipse | Open |
However, you may also buy up to a total of 3 upgrades for your uniforms (either the maxed level of one, a mid level and a low level, or a low level for each upgrade type). These upgrades are split across three categories: armor, ammo, and gadgets. Armor upgrades fill the armor bar in the upper-left corner, which increases the number of bullets you can take before falling. The ammo upgrade increases your ammo stocks for carried weapons. The gadget upgrade increases the number of each selected gadget you can carry. (You may still only carry two different gadgets.) Each upgrade costs 250 points and is a worthwhile investment.
No upgrade is necessarily better than another - it all depends on your play style. If you prefer to stick to guns, you definitely want to upgrade your ammo stocks. If you prefer to stick to the shadows and go for close kills, upgraded armor for those moments you get caught is beneficial. And if you find yourself adept with some of your favorite gadgets and gear, such as remote mines, then definitely upgrade gadget counts.
Last Stand
Hostile forces are converging on fragile EMP technology. You are the last line of defense. You must repel multiple waves of enemy thugs and soldiers so they cannot destroy the EMP generator at the center of the map. Each shot chisels away a little of the generator's armor plating. However, the generator is equipped with a self-repair mechanism that undoes the damage done to it up to the last threshold passed (100%, 50%, 25%) between waves of attack.
Each wave of enemies is more aggressive than the last. At first, you must repel only basic criminal lowlifes and thugs. Soon, though, you must deal with guards and soldiers who have weapons training. And as the training and aggression of the soldiers increase, so does the quality of their weapons. Thugs with pistols don't do too much damage to the generator. But an elite agent with an assault rifle and deadly aim? You better figure out exactly who is targeting the generator and bring them down ASAP.
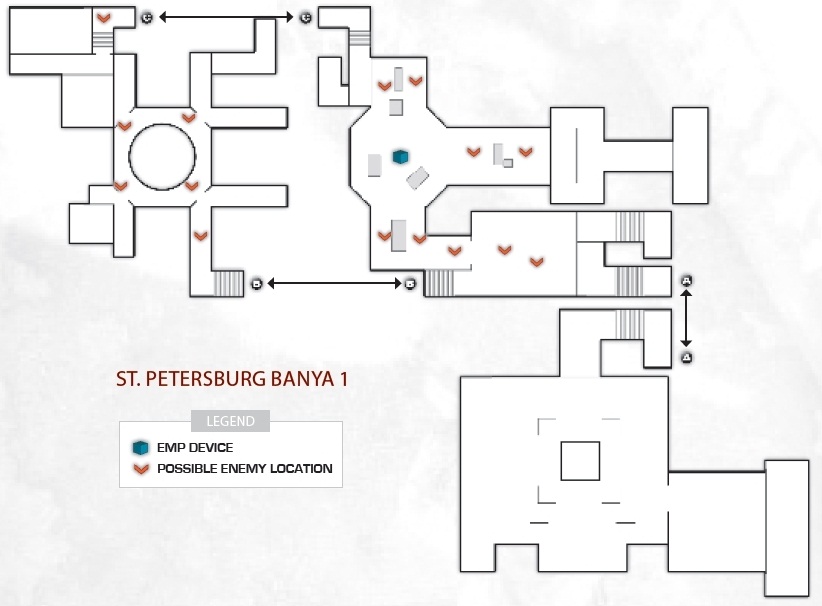
St. Petersburg Banya 1
The EMP generator is in the middle of a grand foyer, surrounded by alcoves. A balcony circles above it. Enemies approach from all four halls that stretch away from the EMP on the bottom floor as well as the rooms that line the upstairs balcony. With so many angles to cover, you better stay central and use your sonar goggles to keep track of incoming thugs and agents. Stray too far from the generator and you will lose it.
Strategy
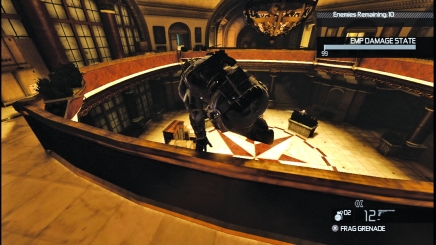
Though there are many shadows to use in this map, the best place to watch for incoming foes is the balcony overlooking the generator. From up here, you can fire on the chandelier that crashes down on enemies in the middle of the foyer, and use your sonar goggles to get a good look at every direction. One of the best places to hide is hanging off the balcony interior. You get clean shots at incoming foes and can slide left and right to change your view if you need to move to target your prey.
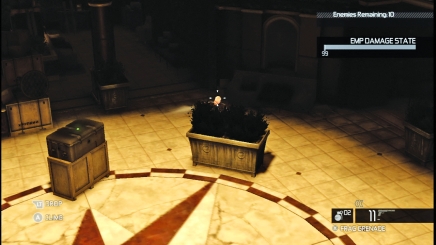
The balcony view is great for shooting enemies attempting to use the planters as cover. You can also spy the incoming enemies from the four hallways and cut them down with gadgets such as frag grenades. Prevent them from even reaching the center of the foyer!
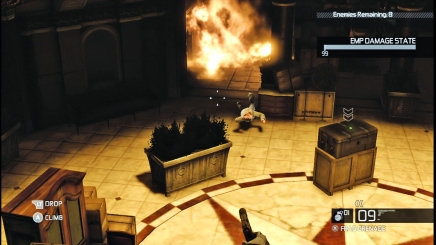
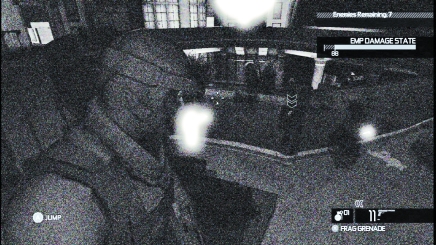
Hear gunshots but don't see the shooter? Activate the sonar goggles and look around to spot the next target.
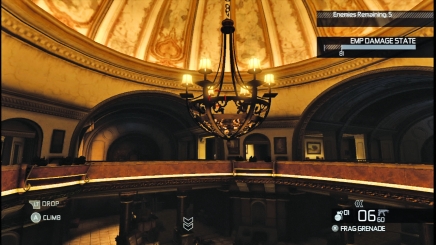
Dropping the chandelier not only crushes enemies below, but also cuts the amount of light in the foyer, increasing your shadow opportunities.
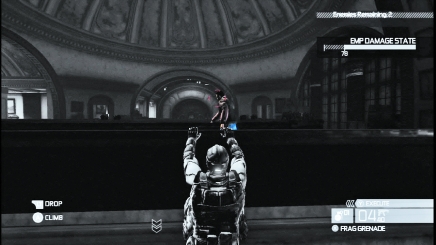
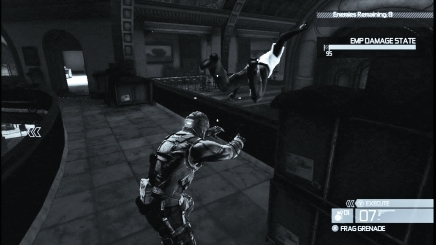
Many enemies approach not just from the ground level, but also the second floor. Track enemies coming up from the stairs at the end of the four hallways on the ground floor. If multiple hostiles appear on the second floor, hang from a ledge and watch them circle the generator. When you have your shot, take it. This can reveal your LKP, so be prepared to either drop down and escape detection or slide away to avoid a flashlight beam. Some enemies come to the edge of the balcony and look down. Grab them and pull them to their deaths or jump up and take them down with an execution. If you see an enemy on the ground floor below, fling the body off the second story either to smash the foe below or at least cause a distraction and disrupt their firing.
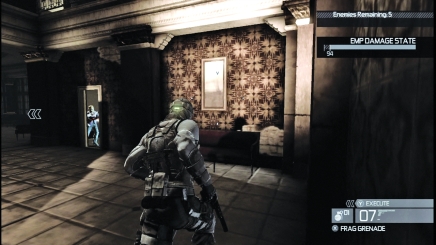
Do not ignore the rooms around the center of the foyer. Stairs at the end of each hallway lead to the second floor, and as you progress in the match, the smarter hostiles will use these rooms to flank you or draw you away from the generator. Watch for groupings in the room. Don't stick your neck out for solo enemies. They will come to you (or the generator). But if you have a group in a room, roll a frag in there or stun them with a flashbang. As they recoil from the grenade, you can either shoot them up or systematically execute until they recover.
St. Petersburg Banya 2
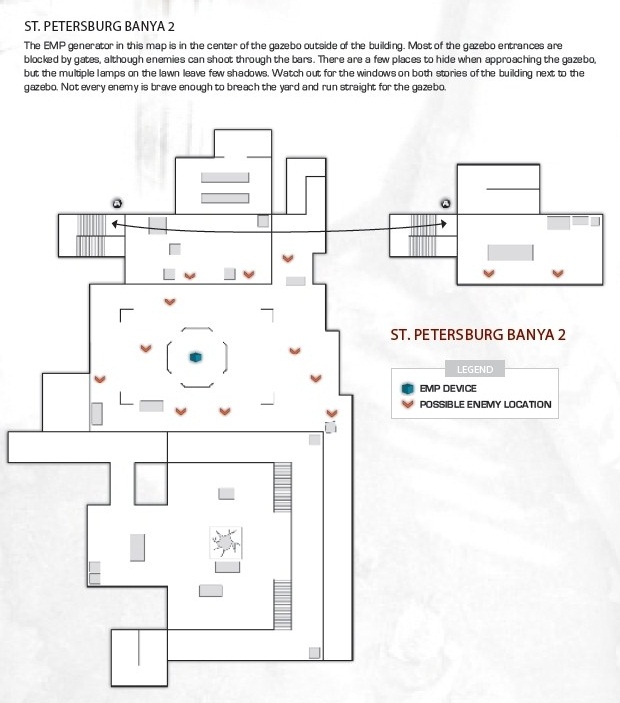
The EMP generator in this map is in the center of the gazebo outside of the building. Most of the gazebo entrances are blocked by gates, although enemies can shoot through the bars. There are a few places to hide when approaching the gazebo, but the multiple lamps on the lawn leave few shadows. Watch out for the windows on both stories of the building next to the gazebo. Not every enemy is brave enough to breach the yard and run straight for the gazebo.
Strategy
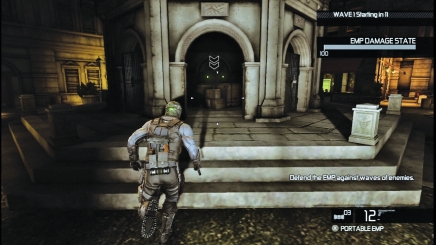
At the beginning of a wave, either make sure you are close to the gazebo or at least boobytrap it with mines so that others cannot approach it while you are cleaning out the two-story building or the alley directly across from it. This yard can really fill up with enemies fast, so try to never get caught out in it. For a quick escape, use shadows (or create them with an EMP blast) to rush to the gazebo and clamber up to its roof.
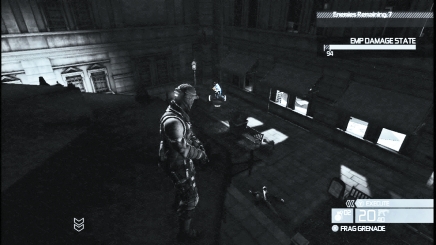
From the gazebo roof, you can see almost the entire map. Plus, you are comfortably in the shadows on top of the gazebo. From up here, it is easy to target incoming enemies. And the rooftop is wide enough that if you are spotted shooting a hostile, you can retreat to the opposite side and jump down without being spotted.
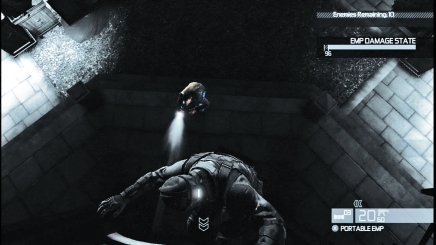
Use Death from Above on the gazebo roof to take out enemies that get too close to the generator.
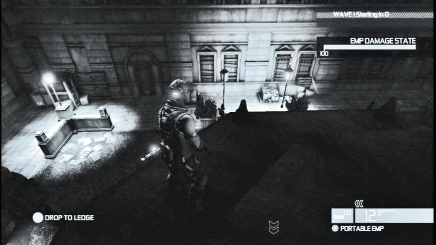
The lights around the gazebo can really limit your movement options. Between rounds, shoot out the lamps to cast the yard in darkness. If you don't have time to take them all out, an EMP blast not only temporarily disables the lights, but also stuns any enemy nearby. Take advantage of stunned enemies for easy kills to protect the generator.
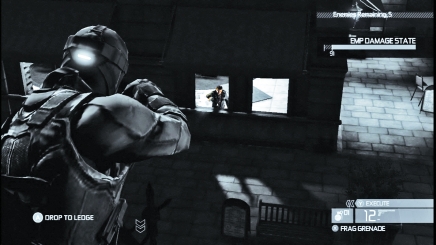
Watch the windows of the building next to the gazebo.
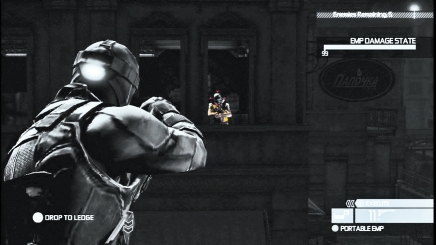
After a few waves, hostiles begin using the building's upper floor. This presents a real problem when your enemies start using advanced weapons that can really damage the generator from a distance. Getting an accurate shot at an enemy in the upper floor windows can be tricky, but lobbing a mine or frag through a window works for quickly cutting down a threat if you cannot cross and ascend the interior.
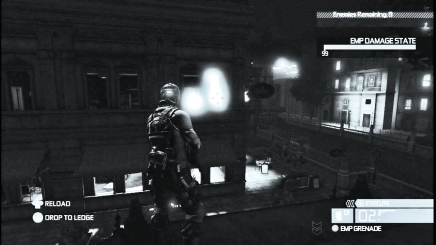
Russian Embassy 1
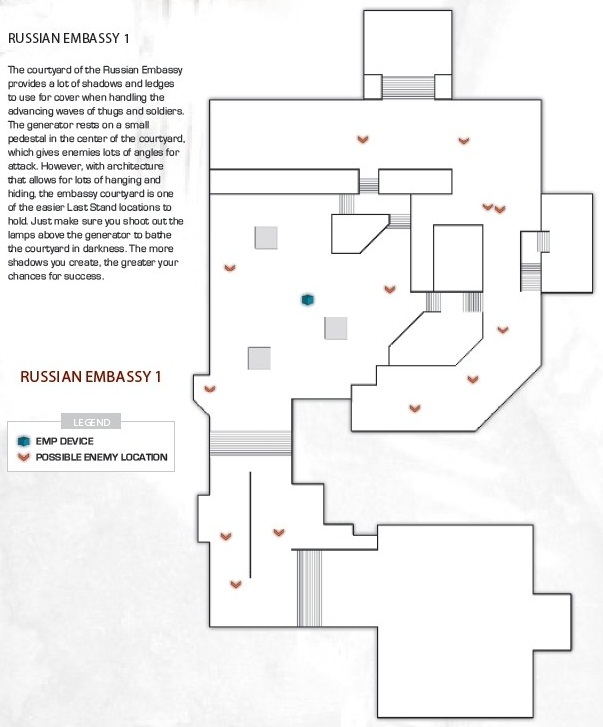
The courtyard of the Russian Embassy provides a lot of shadows and ledges to use for cover when handling the advancing waves of thugs and soldiers. The generator rests on a small pedestal in the center of the courtyard, which gives enemies lots of angles for attack. However, with architecture that allows for lots of hanging and hiding, the embassy courtyard is one of the easier Last Stand locations to hold. Just make sure you shoot out the lamps above the generator to bathe the courtyard in darkness. The more shadows you create, the greater your chances for success.
Strategy
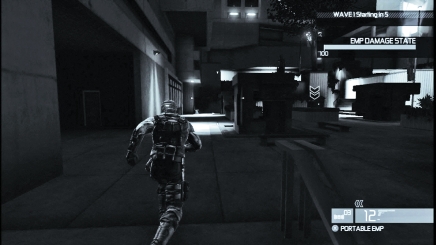
The lamps above the embassy offer a lot of light. In addition to the tall lamps that cast a gentle glow over the arena, the smaller lights throw harsh pools of light on the ground. Avoid these so as not to be easily detected.
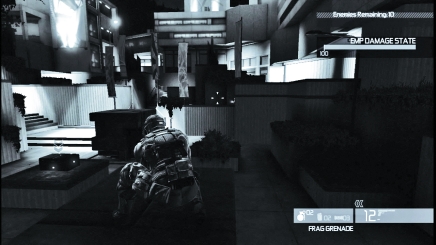
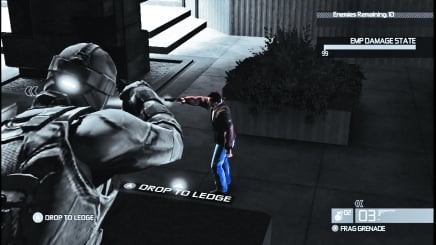
In early waves, the platforms around the generators are the best places to hide - especially if you blast the surrounding lamps. From these platforms, you can see a lot of the courtyard. Look for the telltale sign of arriving guards - flashlight beams - around the stairs and planters. Allow enemies to get within range and then blast them with headshots so you eliminate them without drawing attention to your position.
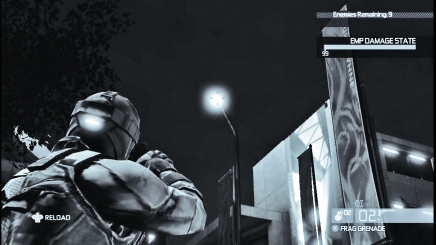
Whenever you have a chance in any Last Stand match, shoot out a light. Use a silenced pistol so nobody notices you.
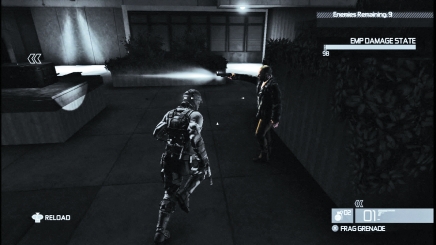
The more darkness you create, the more opportunities you have to slip through the shadows and attack. Hand-to-hand kills are great because not only are they pretty much silent, but they also result in earning a Mark and Execute.
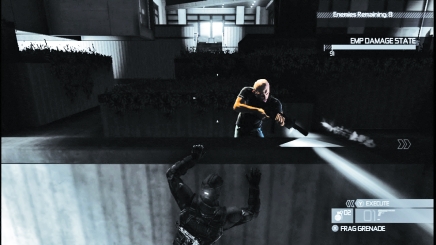
The architecture around the stairs is pretty crazy. You have multi-level planters to grab onto and hang from, which are both great hiding spots and good vantage points for taking out enemies. Also, you can slide from the planters to the railings on the ledges overlooking the courtyard. It's easy to reach up and yank an enemy off his feet from these ledges, especially in the dark.
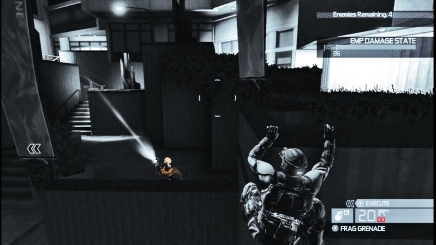
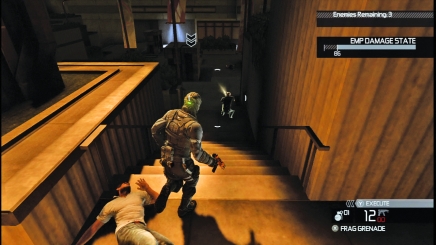
Use the architecture of the stairs to flank enemies as they rush the generator.
Russian Embassy 2
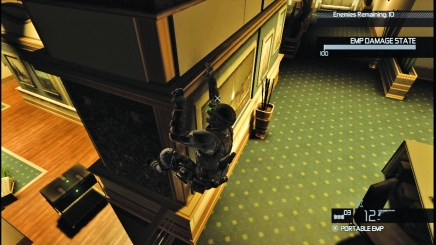
The second Russian Embassy Last Stand map is inside the art gallery. There are many standalone walls in the gallery, each laden with paintings. The EMP generator is in the middle of the lower level. A small office on a landing overlooks the gallery. Use the ledges on those gallery walls as cover while hunting the waves of enemies filtering through the room. As long as you don't give away your location while hanging there, you can remain hidden for a very long time.
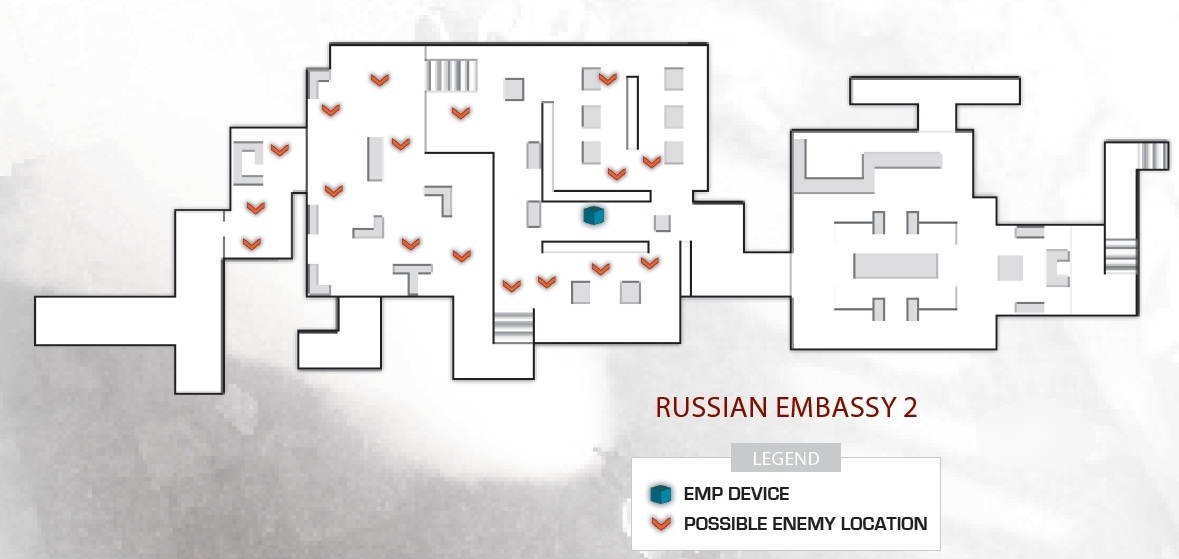
Strategy
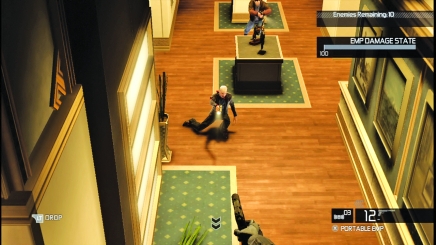
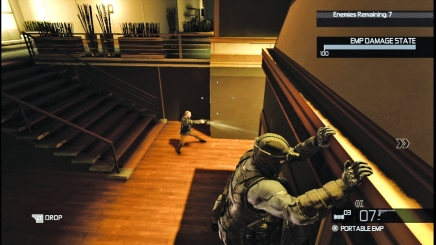
The gallery is filled with light, so use the first few moments of the match to put out as many bulbs as possible before scurrying up a gallery wall. While hanging, slip around the corners to seek out incoming enemies. (Use your sonar goggles to seek out unseen hostiles.) When enemies are close, use a silenced pistol to take them down without being spotted. If enemies group together, drop a frag on them.
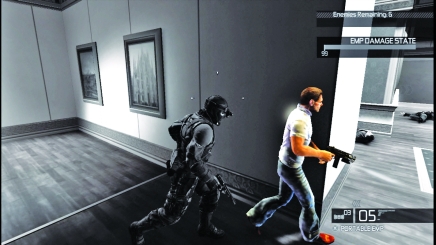
The sharp corners and winding walls in the gallery present a lot of opportunities to sneak up behind enemies and take them down with hand-to-hand kills.
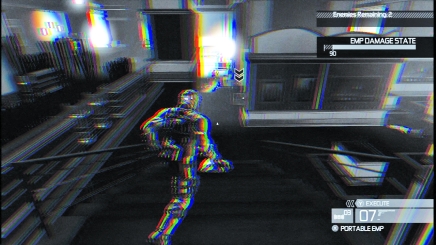
Use EMP blasts not just to put out the lights in the gallery. The blasts also stun enemies that may be too far away to accurately target inside the gallery. While the hostile doubles over or holds his ears, you can close the gap between the two of you. Just be mindful of the distance your blasts stretch. If you feel you always come up short, upgrade your devices with points earned by P.E.C. Challenges.
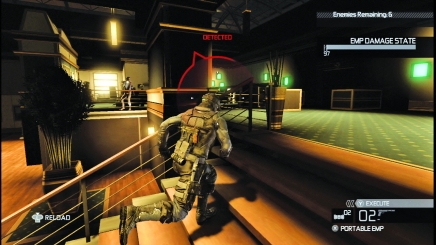
Watch out for enemies attempting to flank you via the landing above the gallery. These enemies have a stronger chance of seeing you hanging from the gallery walls. So, if you see flashlight beams on the landing or spot an outline via sonar goggles, zero in on the landing and take out the threat.
Yastreb Complex 1
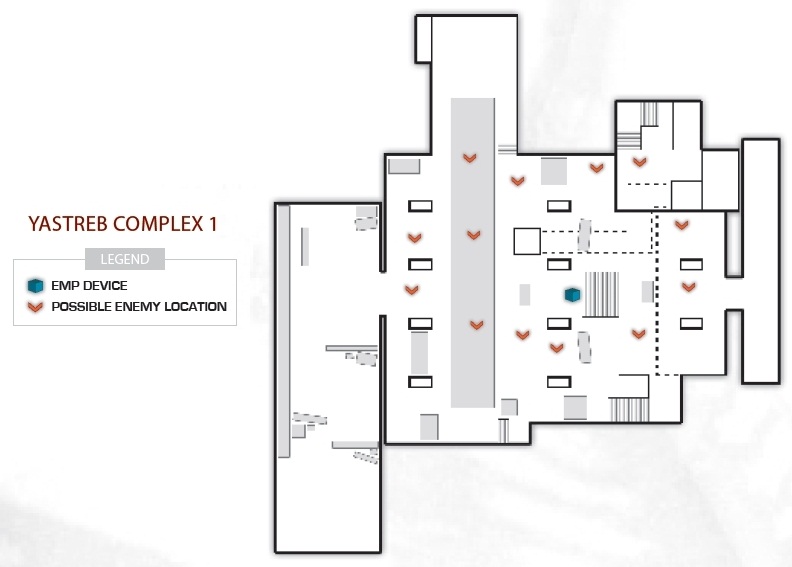
The map inside the Yastreb Complex is of the train station that connects the underground bunker with the rest of the Moscow Underground. The EMP generator is on a stack of crates near the abandoned train car. Enemies can take multiple routes in this map, coming down the tunnels where the train pulls through and pouring through the offices on the landing above the loading platform.
Strategy
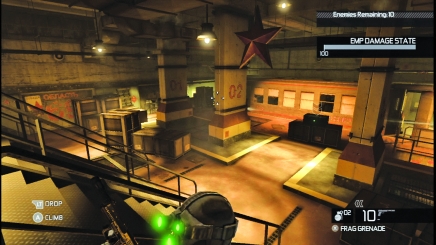
On the station's main floor, watch for enemies to come rushing through the doors in the train cars. You can gun them down from the windows or as they move through the doors. Enemies can fire upon the generator from the train and still enjoy cover. Watch for hostiles to use the crates on the loading platform as cover while taking aim at the generator.
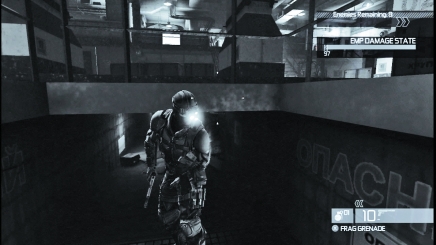
Moving around the main floor of the station is dangerous. So, use the service tunnels below the station to silently sneak from one side to the other. The holes in the floor leading to the tunnel can be tough to spot at first. Look for the railing around the holes as well as crates blocking them from easy view.
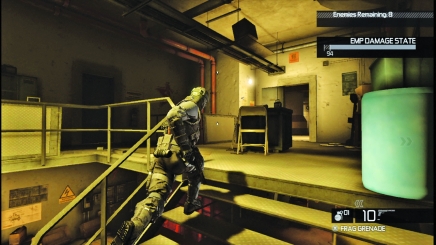
Watch for enemies on the stairs leading up to the office overlooking the station.
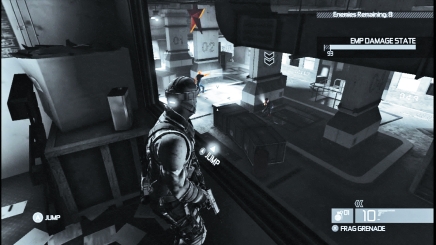
The upstairs office offers a moderately good view of the platform, but you cannot see the generator itself from the window. However, if you jump through the window and hang from the ledge outside, you have a much better view of the floor. Use your sonar goggles to spot anybody hiding just out of view (such as behind a support column on the main floor).
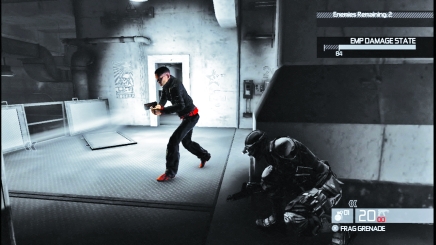
Use LKP to get the better of your enemies. Find good hiding spots and then jump out for hand-to-hand kills to bank an execution.
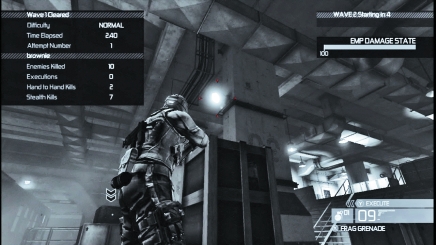
The loading platform is well lit by the ceiling lamps. Between rounds, shoot out as many lights as possible. With the main floor of the station so bright, you need to create as many shadows as possible. The enemies can still see the generator and shoot at it, but you'll have an easier time hiding among the pillars and crates. The closer you get to enemies, the easier it is to take them down without drawing too much attention to your position.
Mozdok Grounds 1
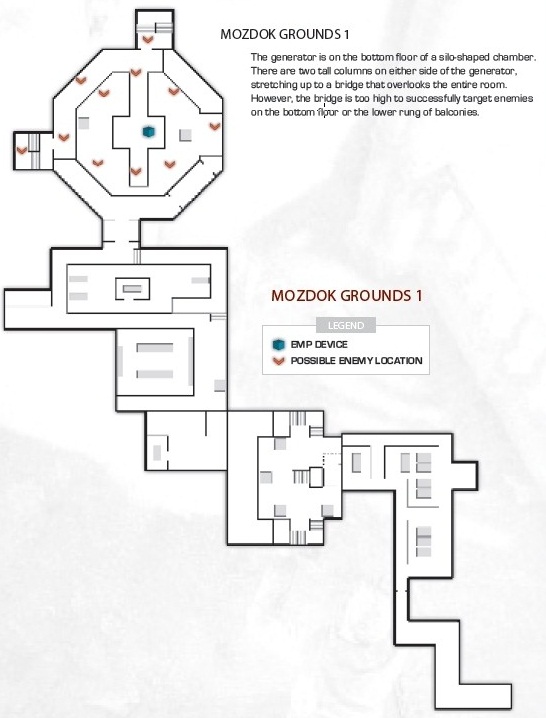
The generator is on the bottom floor of a silo-shaped chamber. There are two tall columns on either side of the generator, stretching up to a bridge that overlooks the entire room. However, the bridge is too high to successfully target enemies on the bottom floor or the lower rung of balconies.
Strategy
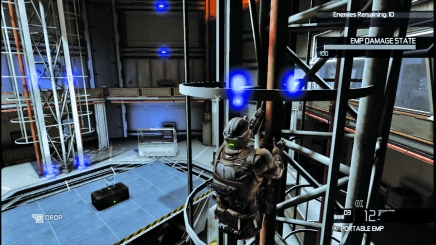
Though the bridge at the top of the room is too high to successfully get off accurate shots, the pipes that run up the columns are perfect for quickly ascending from the bottom floor to the mid-level balcony and drawing a bead on threats. The great thing about the pipes is that if you spot a menace on the bottom floor and cannot get a good shot off, it's easy to slide down the pipe and be on the floor in mere seconds.
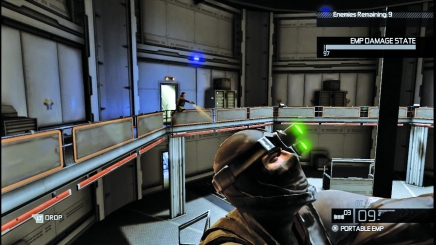
More hostiles fire upon the generator from the mid-level balcony rather than the ground floor as the game continues.
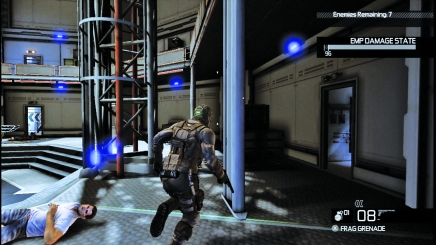
If you cannot get a clean shot at enemies on upper levels from the pipes, you may need to use the stairs. Hit the sonar goggles before moving upstairs, though, so you are not surprised by a hostile hiding between the floors on the landing. An EMP pulse in the stairwell stuns any interlopers, giving you a chance for a hand-to-hand kill before moving out to the balcony and targeting enemies. Look for targets to gather around the control room because it provides cover.
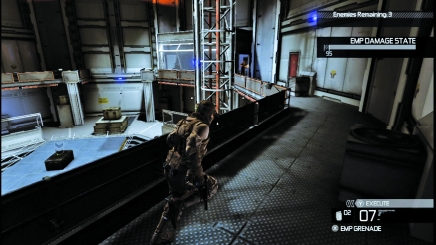
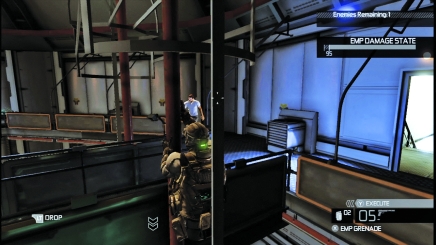
Many of the lights in the room cannot be extinguished with bullets. A pulse will take them out, but otherwise, you must be mindful of keeping out of direct lines of sight.
Lumber Mill 1
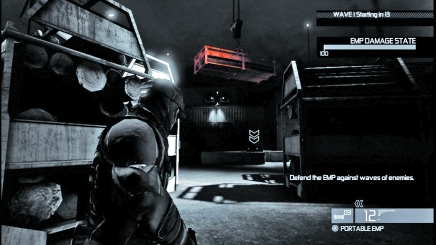
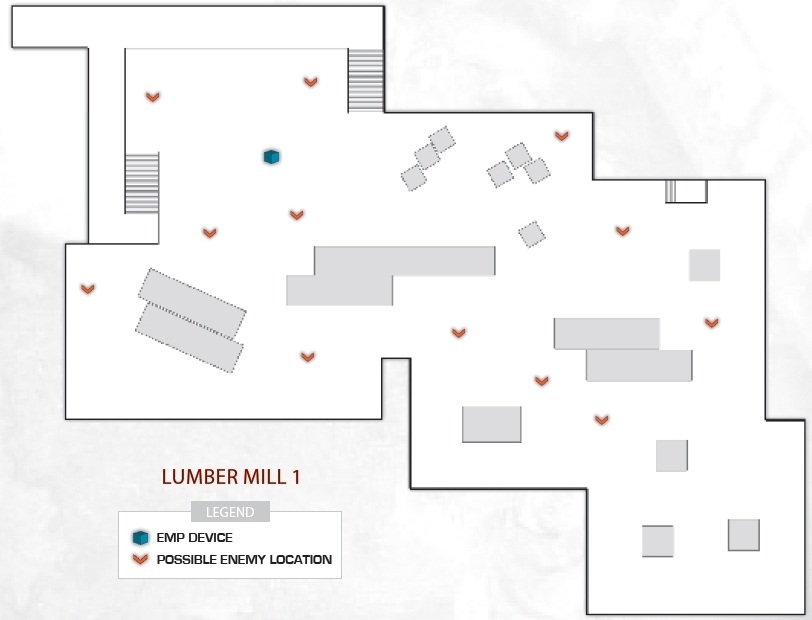
The first map in the Lumber Mill is the yard just outside the actual mill. You can climb multiple stacks of logs and hang from the railings around them. You can only pull yourself on top of about a quarter of them though, providing a good vantage point and a relatively secure position. The yard is illuminated by tall lampposts that can (and should) be shot out as early in the game as possible to cast most of the yard in darkness.
Strategy
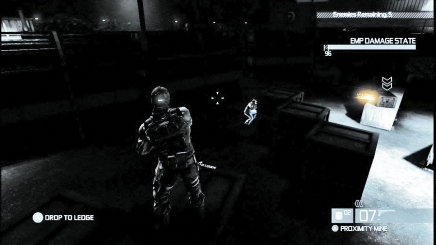
You can climb on top of some of the log piles and stand on several crates around the generator. If you blast most of the lamps, these crates are great shooting platforms for taking out hostiles surrounding the EMP.
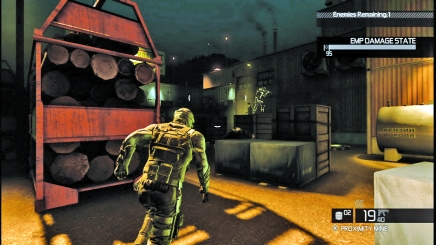
Get spotted on the crates to create a distraction. While the hostiles swarm the LKP, you can pick them off.
Lumber Mill 2
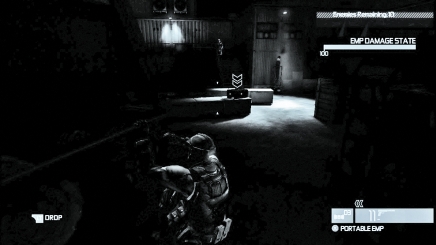
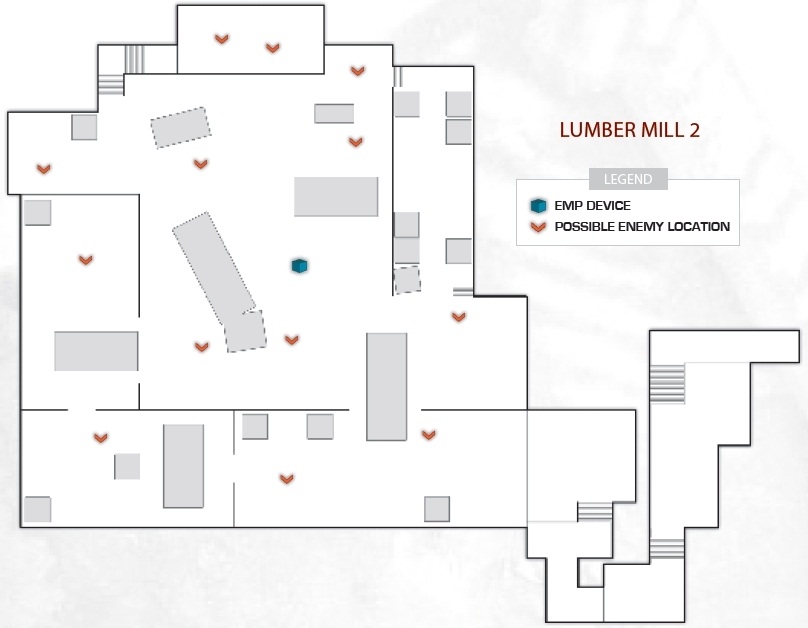
The second Lumber Mill map is the truck yard. Several large trucks are parked near the building. Fuel drums also litter the area, which can be used as makeshift bombs. (Because stealth is not a huge concern in Last Stand, setting off the drums does not threaten reinforcements.) The generator is on a small crate in the middle of the trucks, near a pool of light caused by a tall lamppost.
Strategy
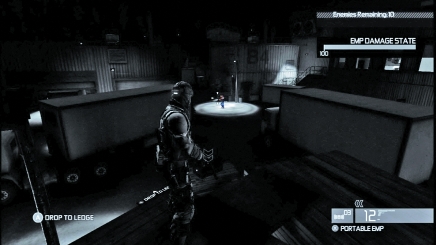
This map features several objects that you can ascend to get good view of the area. Pull yourself on top of stacks and trucks to get a 360-degree look. From up here, it is easy to pick off lights. However, unless a hostile runs near the trucks or stack, you may not have an accurate shot.
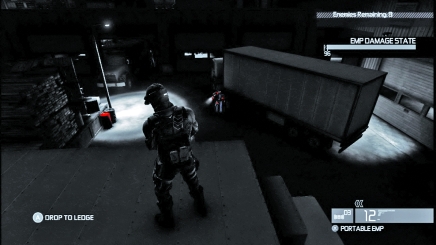
Look for fuel drums around the yard and use them as bombs. You may wish to save these for later waves, though, as you may need the help with elite troopers when you are running low on gadgets and grenades.
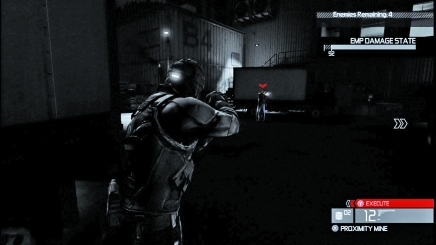
Use Mark and Execute to take down enemies who have a bead on the generator but are too far away to get a clean headshot.
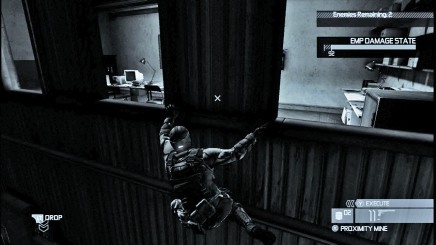
There is a dispatch office above the truck yard. At least two or three enemies per wave may come through the yard. The ledge outside the office is a great spot to view much of the yard and target enemies.
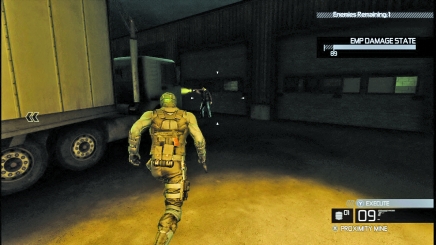
Leave LKPs around the yard to distract enemies and then flank them.
Lumber Mill 3
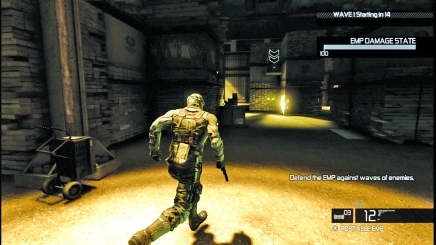
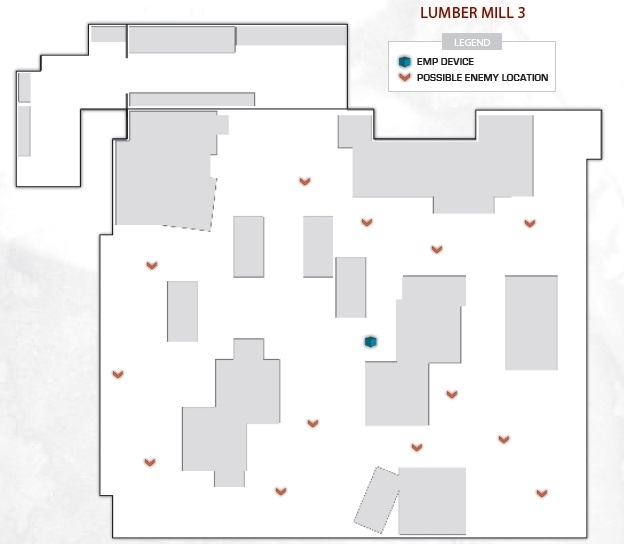
The third Lumber map is in a courtyard outside the buildings. The generator hangs from a chain in the center of massive stacks of cut lumber. Most stacks can be climbed, although only a few stop short enough of the ceiling for you to stand on and target hostiles below. This area is largely dark, although several floodlights illuminate the paths between the stacks. Take out those floodlights and you cast most of the mill in darkness, making it your playground.
Strategy
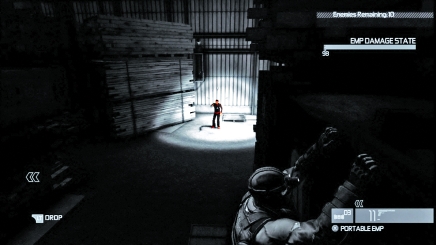
Hang from the giant stacks of cut lumber to stay well above the fray and make your targets. None of the enemies will attempt to climb the stacks, leaving you plenty of real estate to control without resistance. Leave a few of the floor lights active around the site for setting traps. Get spotted in the light and then run back into the shadows. When enemies investigate your LKP, they are right in the open and easy pickings.
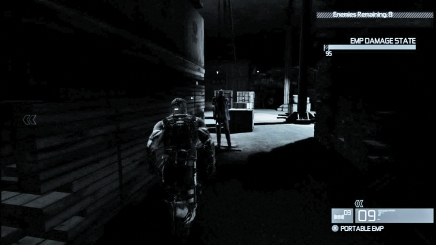
With so much darkness in the mill, sneaking up for hand-to-hand kills is easy.
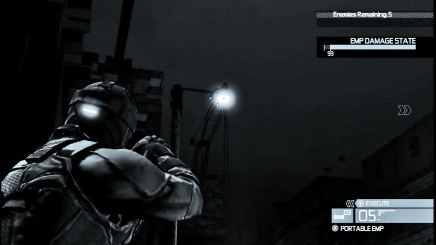
Whenever you have a spare moment with no enemies around or targeting the generator, pop the lights.
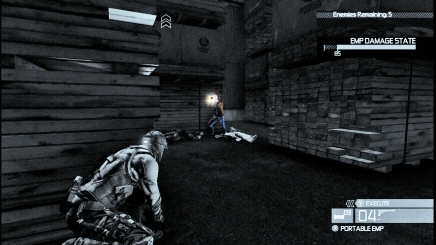
The generator is obviously going to be the focal point of the map. Fortunately, the area around the hanging EMP has enough shadows and corners to use for cover. Use sonar goggles to track the hostiles as they weave through the stacks toward the generator and then crouch down to pick them off as they look skyward. They will never see you coming through the dark.
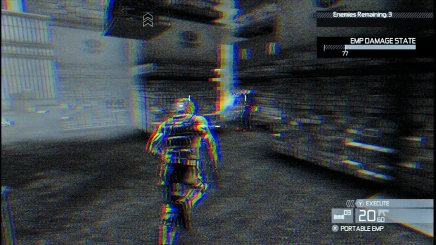
Is an enemy getting too many shots off? Stun them with an EMP blast and the rush them. If they recover before you reach them, slide into their legs to knock them down.
Printing Press 1
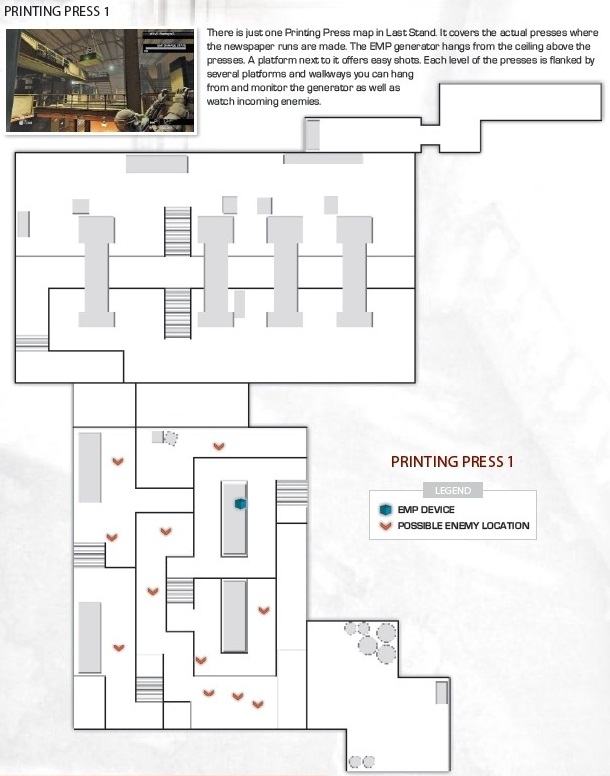
Strategy
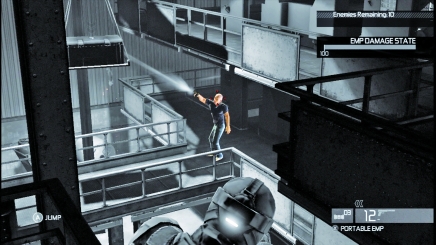
The early waves of enemies are poorly armed, so they must close in on the generator to damage it. Use the walkways to monitor the generator and pick off the hostiles who attempt to swarm. As the waves progress, the enemies can attack from greater distances, such as lower floors. If you cannot quickly close the gap between you and hostiles, use the fuel drums as makeshift bombs or throw grenades.
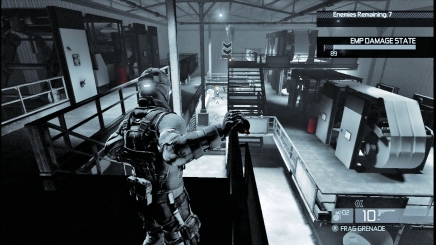
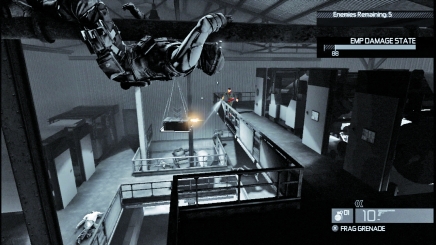
Use the pipes that stretch over the presses to track enemies without getting spotted.
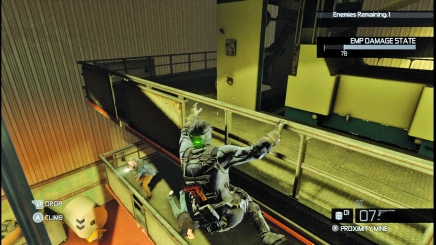
Targeting enemies from the floor above is tricky. However, if you are on the upper level of the press, you can drop to the lower level. Either make sure the hostile is not looking, or use an EMP blast so you drop without notice.
Hunter
Hunter is a Deniable Ops game mode that runs through the same maps and stages of Co-op Story, but also adds the Lumber Mill and Printing Press maps to the rotation. In Hunter, you are charged with clearing out every enemy in a sector (all maps have five sectors) to unlock the doors to the next area. At first, there are just 10 enemies in each sector. However, if you are spotted and do not immediately take down the hostile who saw you, an additional 10 reinforcements arrive and spread out across the sector. At this point, no additional reinforcements are added to the sector, even if you are seen and your location again relayed to other enemies. The maximum number of enemies you will ever encounter in a single sector is 20.
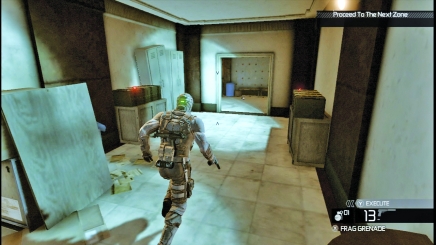
Between each sector, you may replenish ammo and gadget stocks at a weapons stash, as well as make any desired loadout changes.
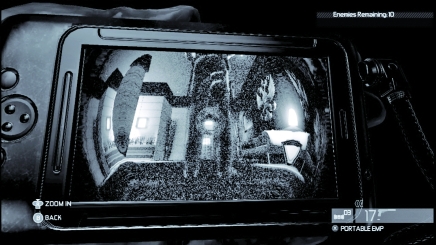
You always have your snake cam, so use it to peek under doors before just wildly walking into a new room.
St. Petersburg Banya
Sector 1
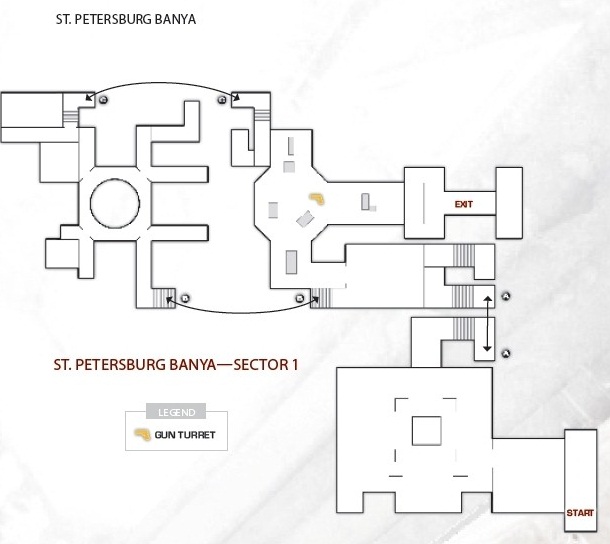
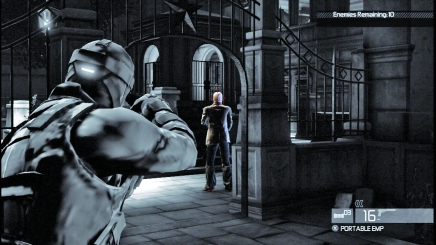
The first sector of the banya starts outside the grounds. You must move through the exterior fence and target the hostiles in the courtyard without being spotted.
Move up to the fence and pop them as they split apart. Then, enter the building either via the ground level door or the second story window.
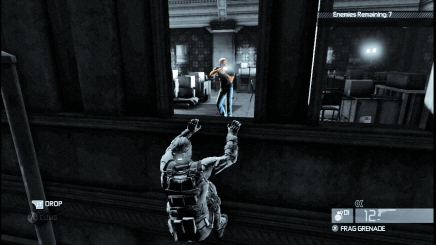
The window gives you a great view of the interior, which is crawling with thugs. An EMP blast stuns them if there are too many to target without giving away your position.
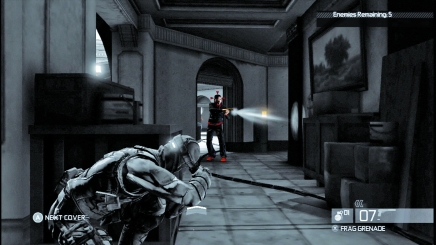
Once inside, move toward the grand foyer. Clear the hallway on the bottom floor leading into the foyer and then slink up the stairs and target the thugs on the circular balcony.
If there are any hostiles in the center of the foyer, drop the chandelier on them by shooting the chain holding it up.
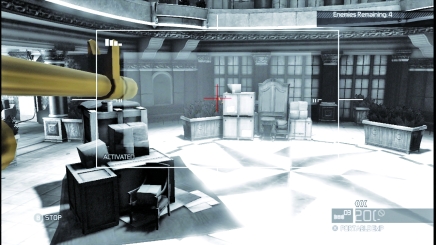
An auto-turret on the balcony will shoot you if you step into its field of vision. However, you can hack the turret via the console on the upper floor and use it to attack your enemies.
Just watch your flank. It's easy to get spotted while using the turret.
Sector 2
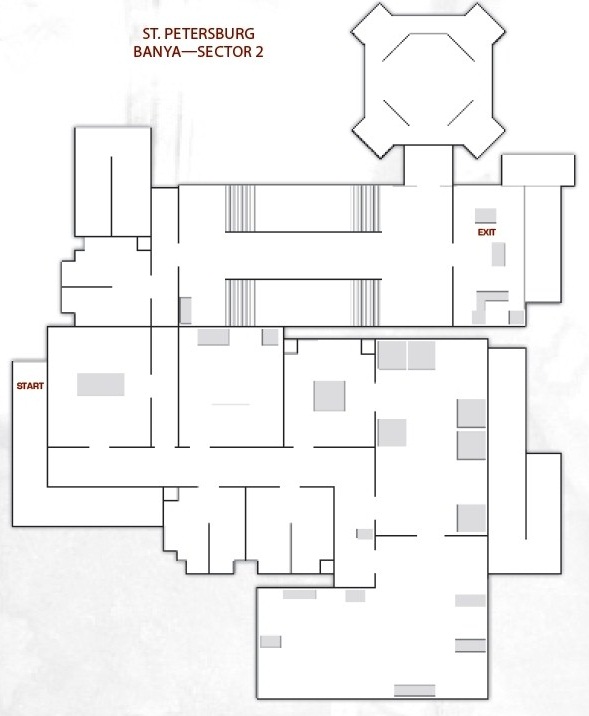
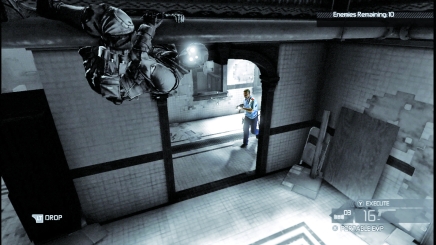
As you move into the bathhouse, use the pipes along the ceilings as cover to sneak over enemy positions.
With all of the smaller chambers in the bathhouse, it is easy to miss enemies in the dark, so rely on your sonar goggles to spot targets in advance and then move to strike.
Although enemy movement is never the same in each game, the guards in the bathhouse do tend to patrol the halls quite often, so unless you are pressed for time, be patient and let them come to you.
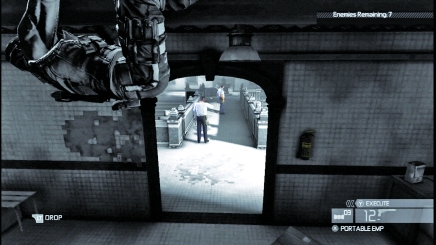
Typically, the largest congregation of guards is located in the large chamber near the back door of the bathhouse. Slink along the pipe in the ceiling to zero in on this large chamber and peer through the door.
Guards are on the bridge, probing with their flashlights. They will occasionally sweep the ceiling, so watch out. If one starts to look up, hit an EMP blast to disable the beam.
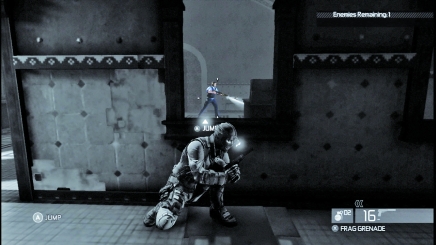
Use the large, ornate wall with the windows in the large chamber for cover when seeking the last few guards. You can hang from the upper windows or duck behind the low ones to finish off your targets.
Sector 3
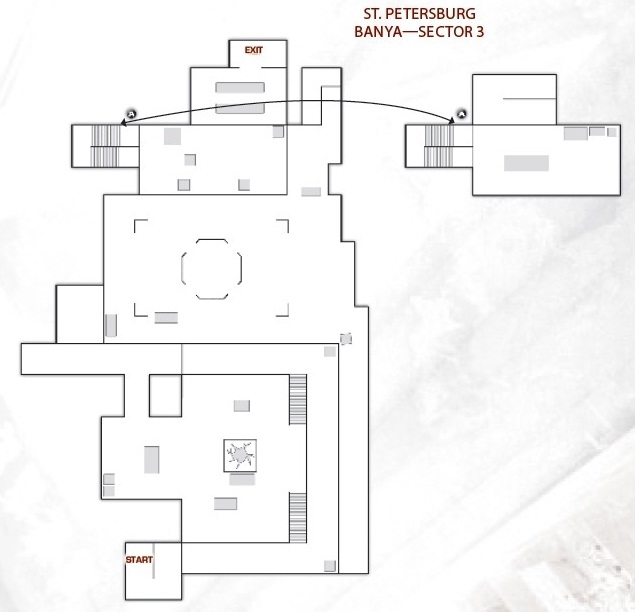
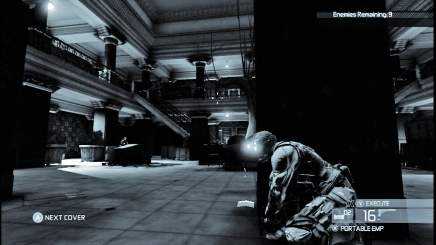
In the next sector, you enter another massive foyer. The sector is divided into two pieces: foyer and yard. The foyer inside has two stories. In addition to the main floor, a square-shaped balcony lines the room.
Guards patrol both floors, often moving up and down the stairs. Blast the lights in the alcoves to create shadows while hunting the guards.
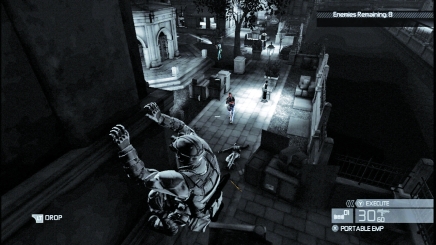
Slip through the window on the second story to crawl out on the fire escape and get a good view of the yard with the gazebo. There are always many guards out here.
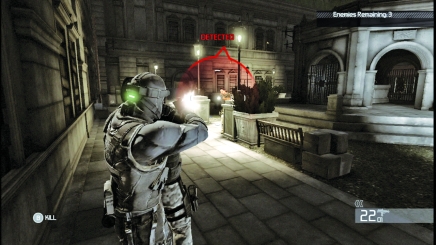
Remaining undetected with several guards in a small area is very difficult. Hand-to-hand kills maintain silence, but they are slow enough to leave you vulnerable to exposure.
If you are confident you can take out guards before they report your position, at least use a human shield to protect yourself from gunfire.
Sector 4
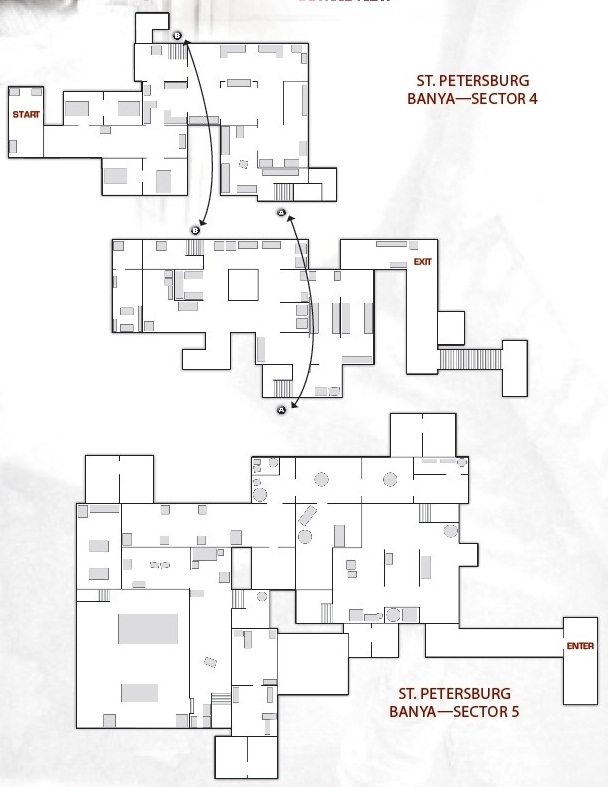
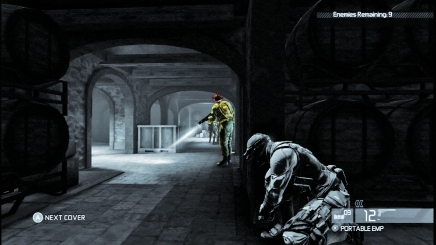
After clearing out the yard around the gazebo, you move into the underground club. Be careful down here. Not only are the hallways very well lit, but guards already seem on high alert.
With so many corners, you can easily be caught by surprise. Use sonar goggles to track guards in the rows of barrels above the dance floor and use only a silenced weapon to bring them down.
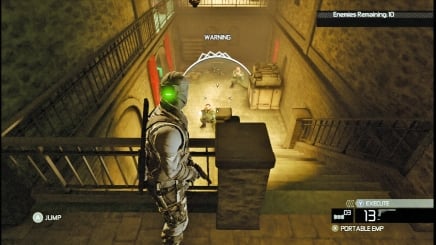
Oops. You just got spotted. Pump an EMP to stun the group and take them out before they recover. They may still call for reinforcements, but at least you can take down part of the patrol before the cavalry arrives.
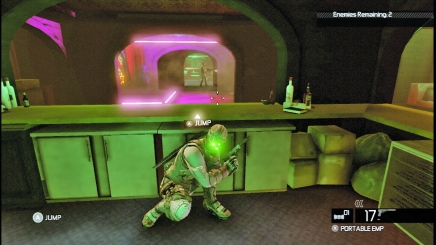
The bar next to the downstairs dance floor is a good staging position for clearing out the rest of the guards in the club. Stay low and watch their patrol patterns.
Then sneak out and flank them for silent kills so they cannot report your presence.
Sector 5
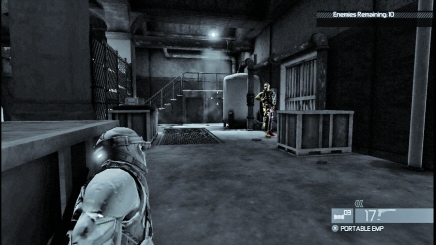
The final St. Petersburg sector is the old warehouse next to the club. The warehouse is dangerous, because the best guards patrol this area, each armed with an assault rifle and a flashlight.
Carefully sneak into the first room and assassinate the closest guard, slowly working your way through the large chamber before moving into the halls that are easier to manage.
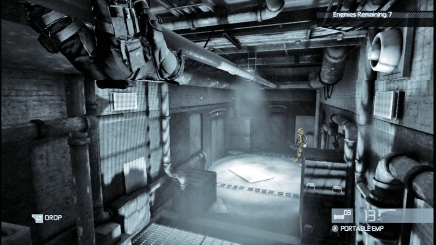
Use the pipe that runs the length of the main hallway to target unsuspecting guards.
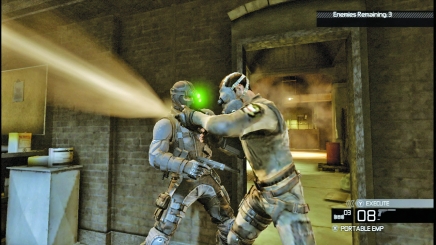
ABSK: Always Be Silently Killing. Wait next to doors and then pop out for hand-to-hand kills that attract no attention.
Russian Embassy
Sector 1
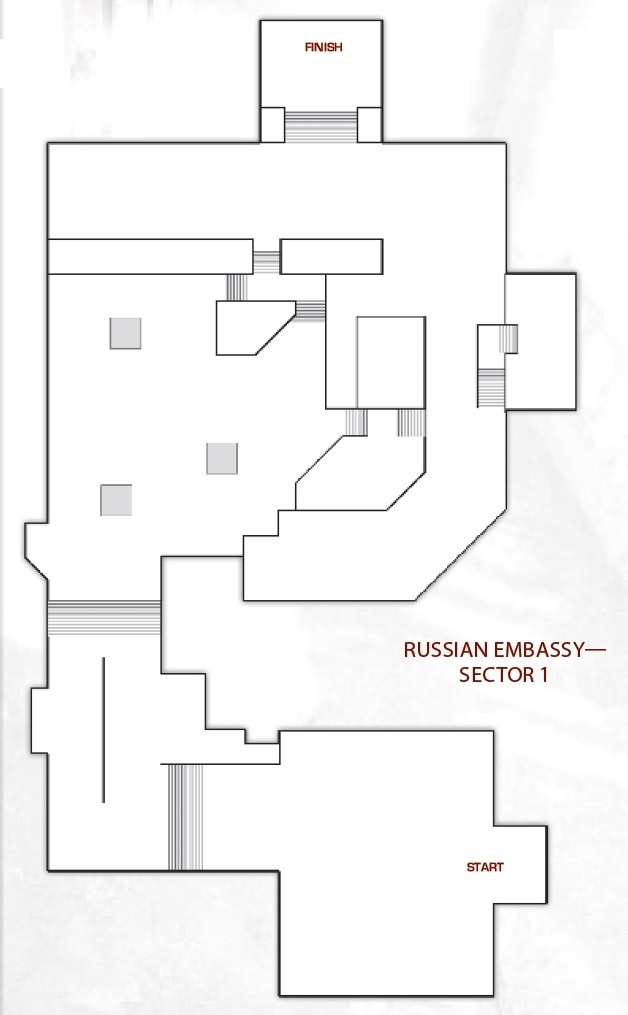
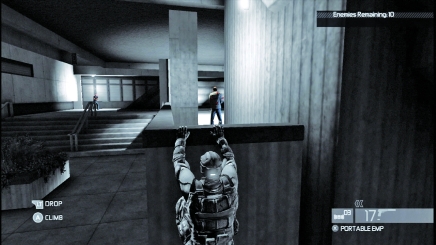
The exterior of the Russian Embassy is a large courtyard full of dark corners and funky architecture for you to use as hiding spots. When the mission starts, look for the first set of guards at the outer edge of the courtyard, either on patrol or standing in the pool of light near the stairs.
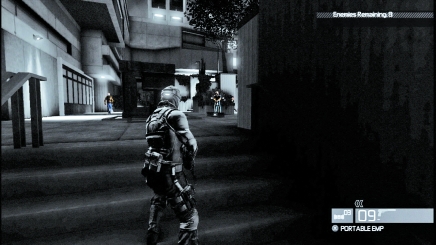
The main courtyard is where the remainder of the guards are milling about. Any guard on the main level of the courtyard and not patrolling the huge, multi-tiered planters to the right is within earshot of his comrades and will cry for help if you are spotted.
This is the easiest place to accidentally trigger reinforcements, so do not go in with guns blazing. Instead, use the perimeter of the courtyard, either moving through planters or hanging from ledges, to drop the guards one by one.
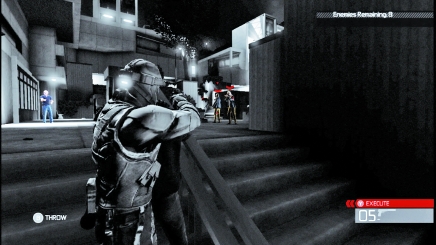
Mark and execute guards to take them down quietly, but make sure you eliminate anybody around or you raise a slight ruckus.
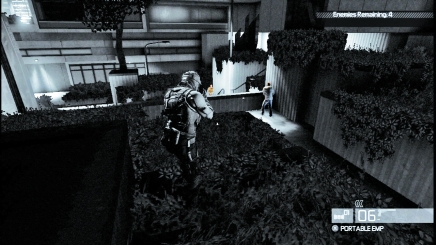
The guards never look into the planters. They mainly stick to the stairs and corridors. Use the planters to stage attacks and shoot the guards in the back so they never see you coming.
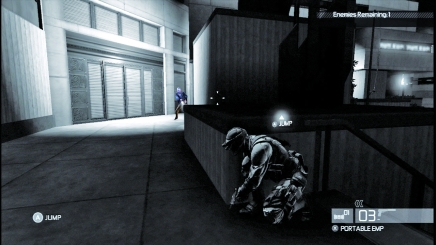
The cool, multi-tiered architecture near the entrance is perfect for hiding. Unfortunately, it's not just perfect for you. The guards use it as cover while stalking a potential intruder.
Use sonar goggles to spot the guards among the planters and tiered landings to finish off the sector and move inside the embassy.
Sector 2
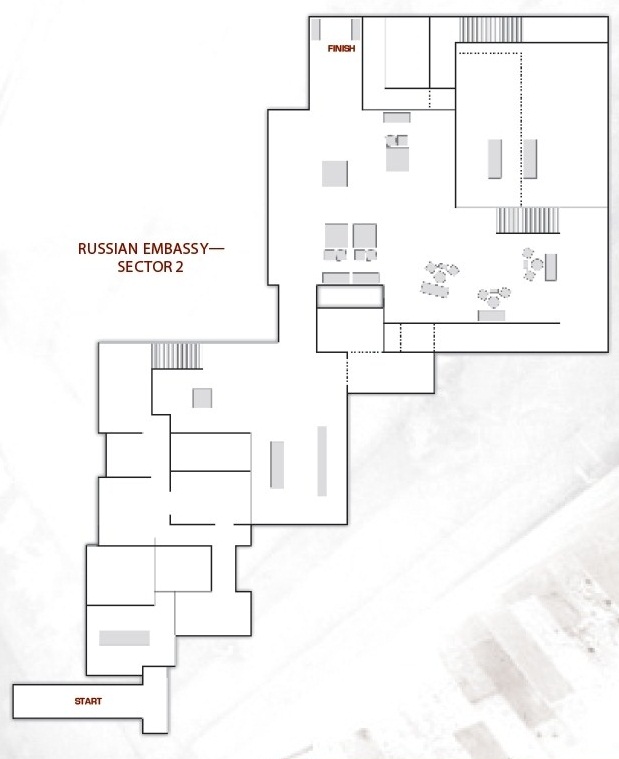
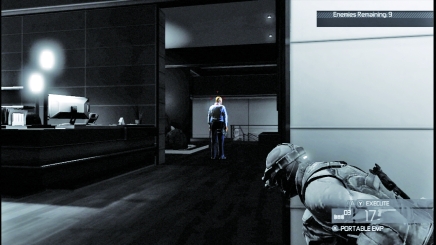
Once inside, carefully sweep the halls as you move toward the two large reception areas. You typically find at least one or two guards in the corridors leading to the reception areas.
Use corners for cover and then slowly move up on the guards to take them silently.
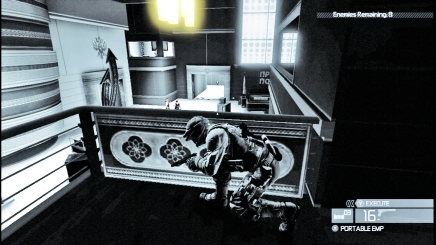
The chandeliers over the reception halls are great traps for killing guards below. Just make sure you shoot down the chandeliers with a silenced weapon to not draw attention.
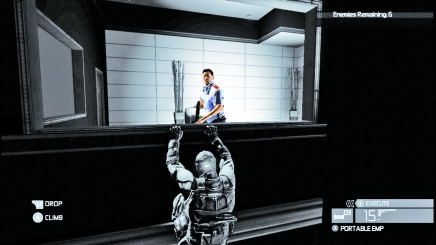
Hang on the ledges of the offices overlooking the two reception halls not only to get good views of the main lobbies, but also to peek inside the smaller rooms and pick out targets.
The guards occasionally walk to the edge of the windows. Make sure nobody is below you and then grab the guards.
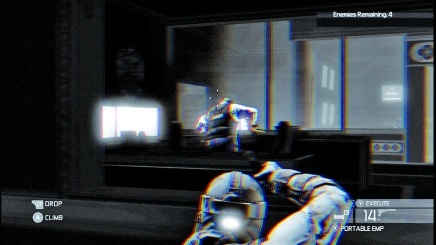
Too many guards in one room to kill without giving yourself away? Stun them with an EMP first.
Sector 3
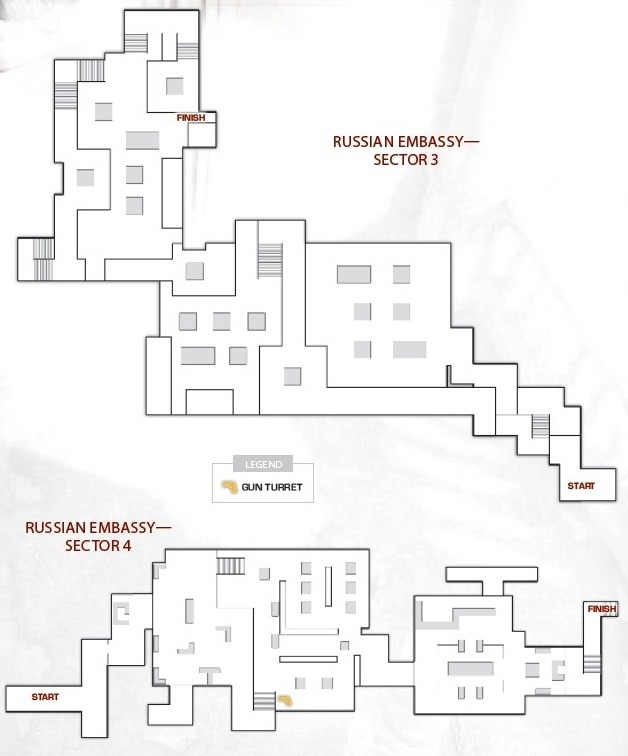
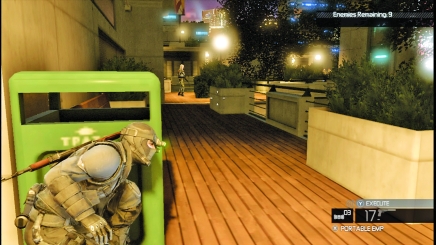
Back outside, push through another exterior courtyard to reach the gallery on the far side of the embassy. Guards patrol the walkways above the courtyard and on the main floor below.
The entire sector is well-lit, so be mindful of the globes and shoot them out with a silenced weapon when nobody is looking.
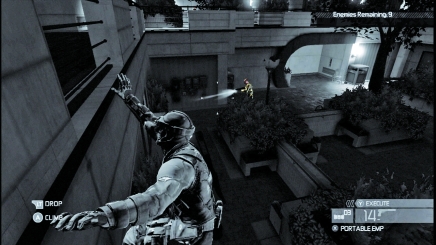
Hang from the ledges and railings on the walkways to avoid detection and target the guards on the lower level.
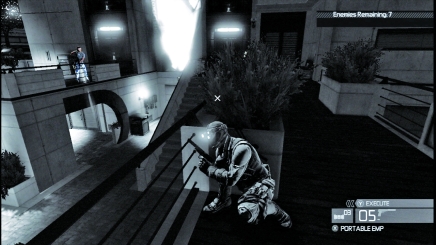
You must eventually move down to the lower level to reach the far side of the courtyard. Pop as many lights as possible to create some shadows before heading down the stairs and moving through hostile territory.
These guards have flashlights, so if you think you are in immediate danger, pop an EMP to put out all lights and then seek cover or go for a hand-to-hand kill to thin the herd.
Sector 4
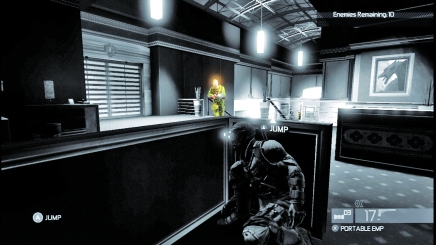
The gallery is a tricky place to clean out. Guards move through the walls in the gallery below the office landing, and an auto-turret provides extra support. Stay against the left wall of the gallery to avoid the turret.
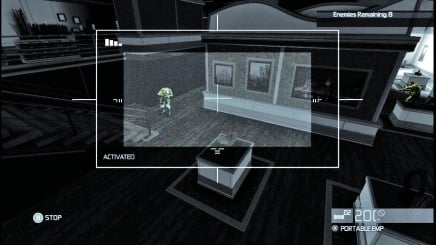
If you don't mind the reinforcements and can cover your flank (easier to do with two players), use the turret to clean the gallery.
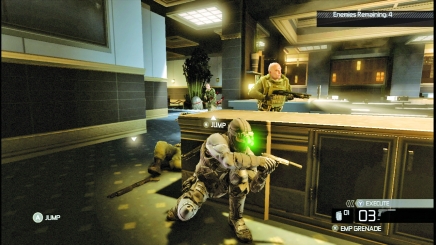
The bar/reception room on the far side of the gallery is positively brimming with guards. When you enter the room, use a gadget to kill the lights and slip behind the bar so you can take out the remainder of the force without exposing your position. The bar area is extremely well lit, so repeat EMP pulses may be necessary.
Sector 5
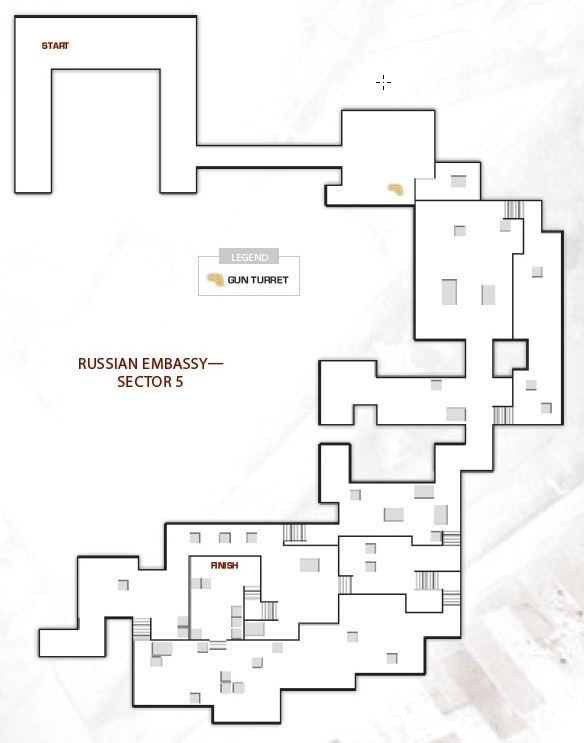
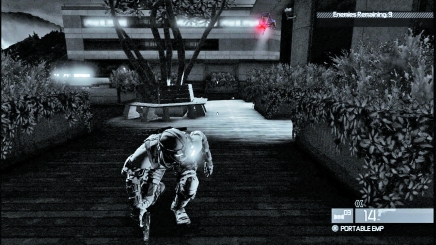
The final sector of the embassy is the rooftop. The first resistance on the rooftop may be a guard, but commonly, you encounter an auto-turret right away.
Watch that roving camera eye (stay out of the pool of light to avoid detection) and then swing around to make a push across the rooftop and exit the sector.
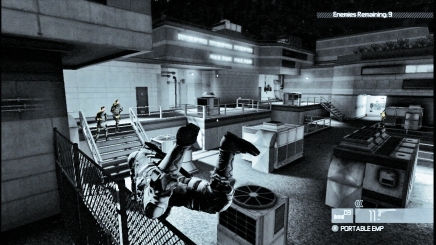
Watch the guard patrols on the rooftop before scaling the chain link fence. When you see that their backs are turned, hop the fence and immediately seek cover at an air circulator.
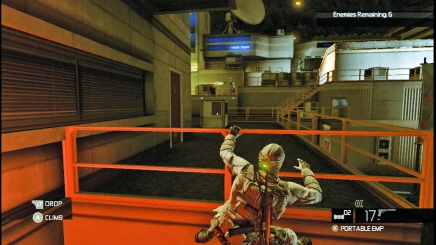
Use the railings around the rooftop to remain out of sight. The rooftop lights may be bright, but guards just do not look to the ledges for you.
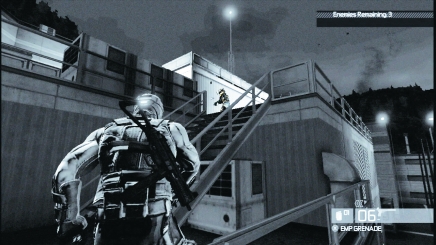
Continue slinking across the rooftop, moving from vent unit to vent unit. Do not hurry (unless you set a time limit). Wait in the shadows and watch the guards move around the vents and along the stairs until you can get the perfect shot.
There's no reason to risk reinforcements with just a few enemies left on the map.
Yastreb Complex
Sector 1
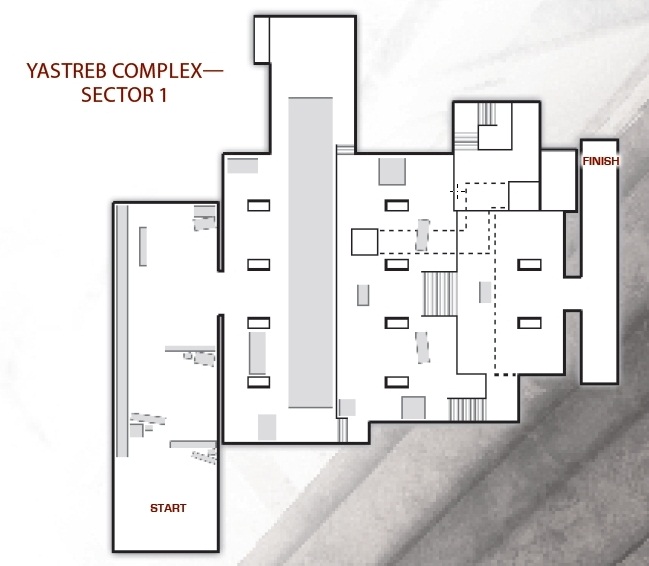
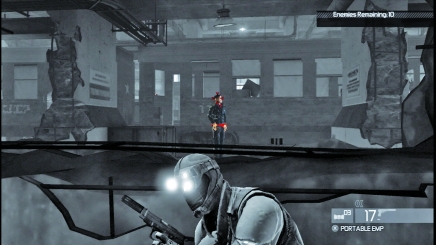
The first area in Yastreb is the train platform. As you approach the hole in the tunnel that leads to the station, duck down and observe the movement patterns of the guards inside.
Wait until you spot one by himself and then open fire. If you are spotted at the hole, 10 more guards appear and they all swarm that opening. It's overwhelming.
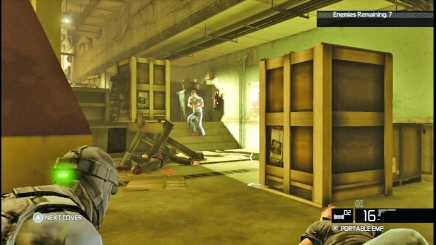
Pop the fire extinguishers on the platform to kill guards standing next to them. If the guard is more than a few steps away, though, they are merely stunned. If they get to their feet before you eliminate them, they call for help.
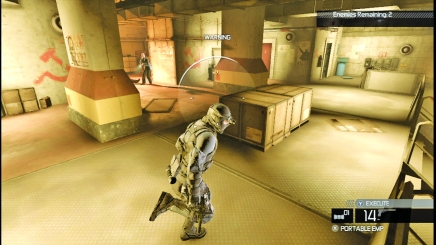
Watch out for guards on the landing above the train. There may be one or two guards in the small offices or hiding around the support pillars.
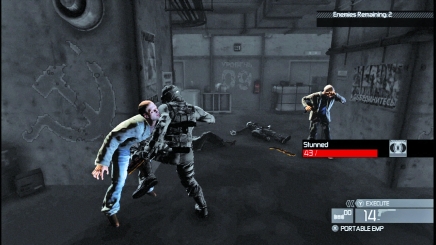
If you stumble into a patrol, punch your EMP and stun them. Rush in and clean up your mess before the guards recover and call in reinforcements.
Sector 2
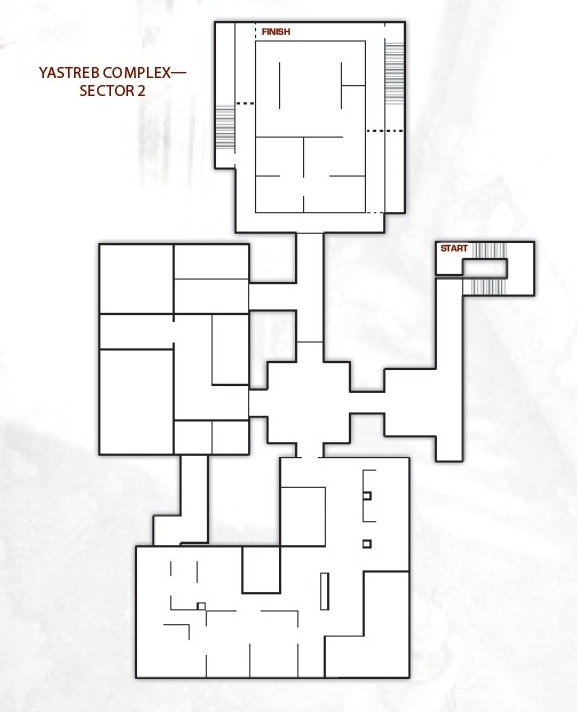
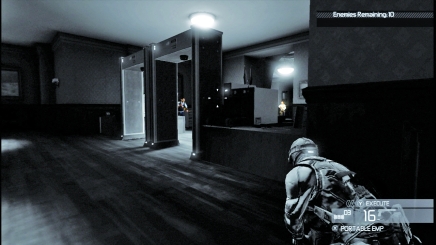
The first area in the sector is the entrance to an office. Metal detectors go off if you walk through them. Instead, leap the desk next to the detectors to avoid sounding the alarm, and then clear out the guards on patrol around the checkpoint.
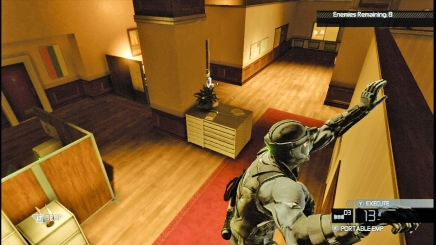
The office just beyond the checkpoint is a maze of cubicles. Guards hide among the cubicles, but if you scale the walls and hang by ledges, you can sweep through the office complex and bring down the remainder of the patrol without being spotted.
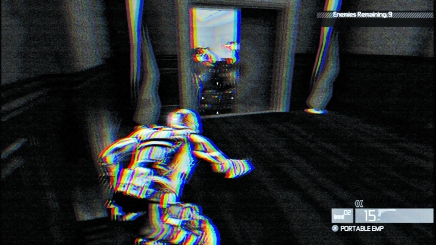
As you close in on the next sector, watch out for guards just beyond the doors leading into the larger office area. Peek under the doors with a snake cam.
If you have nearby hostiles, open the doors and immediately hit an EMP to stun them. Take them down and then leap over the ledge to vanish before any other guards in the sector spot you.
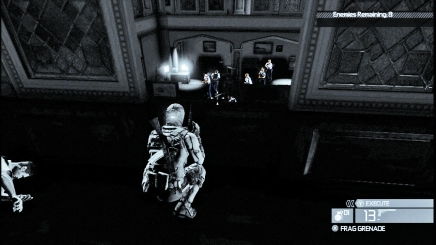
Most of the guards in this sector mill around the bottom floor of the office. This looks like a perfect frag situation, but avoid the temptation unless you don't mind another 10 guards taking their place.
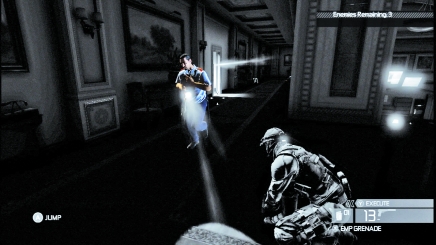
Stick to the upper balcony in this sector as long as you can. Several of the guards move up the stairs and investigate the balcony.
If you have the time, stay in the corners and just take them down with hand-to-hand kills. When you have an execution ready, you can then flush out the rest of the hostiles.
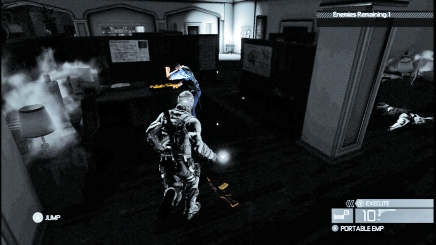
Watch flashlight beams in the cubicles below and then zero in on your prey. Stun them first!
Sector 3
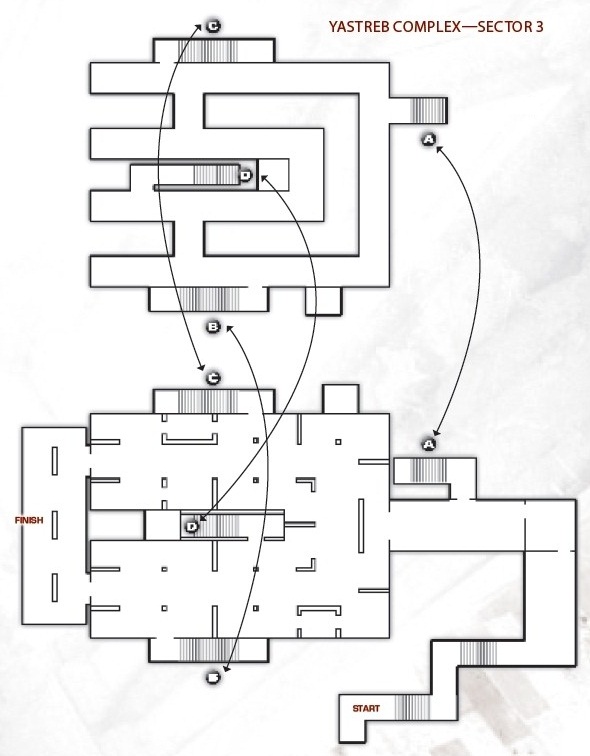
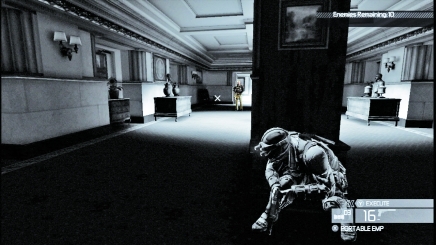
The fourth sector is a large library. The entrance to the library is guarded by one or two hostiles. Use the pillars as cover and slowly advance through the shadows to clear out the guards and then enter the library.
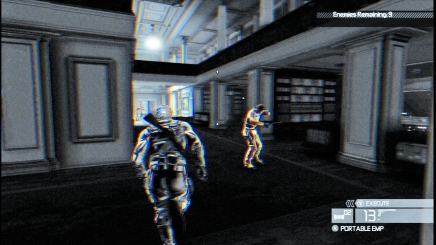
The main floor of the library is lined with reading rooms that make great places to hide.
The guards know this, too, which is why they search them regularly. Watch the patrol patterns and then move in for quick, close kills among the reading alcoves.
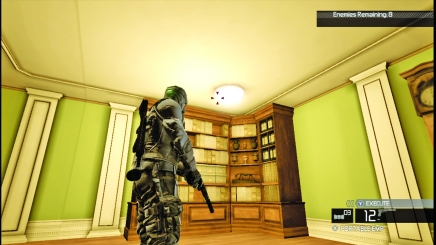
Shoot out the lights in the alcove to create cover.
After safely clearing the bottom floor of hostiles, pull yourself over a railing onto the balcony (if you use the stairs, just hit sonar goggles before going into the stairwell to make sure there are no surprises).
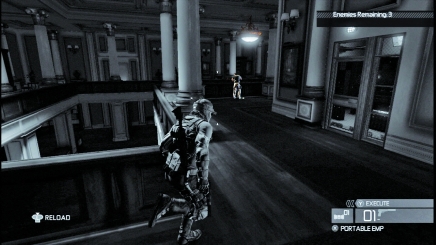
Hunt the last of the guards in the sector by sticking to cover at corners and pillars.
Sector 4
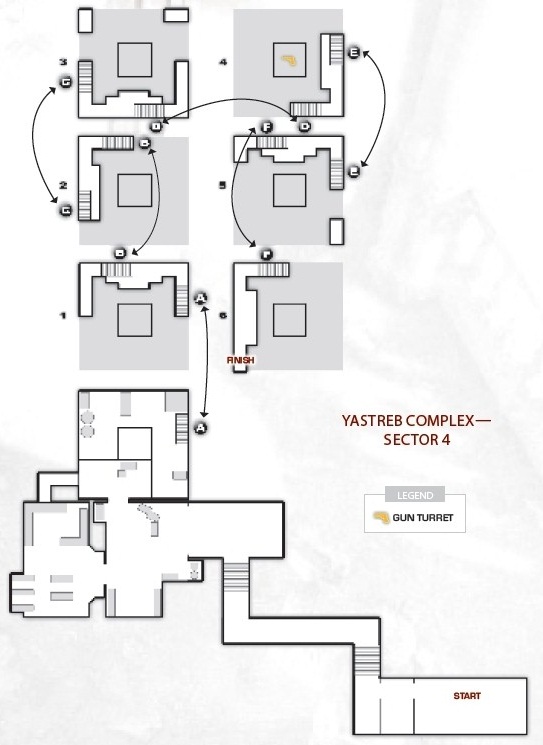
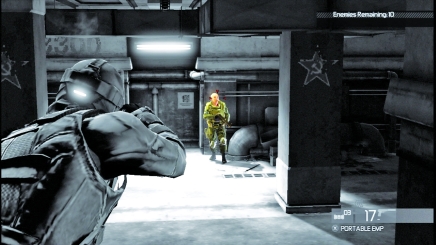
The only way out of the complex is to keep going deeper. Exit the library and then carefully descend the steps into the bottom of the bunker.
There is almost always one guard at the bottom on patrol. Take him out from the stairs and then move to the left to seek out any remaining trouble on the ground floor.
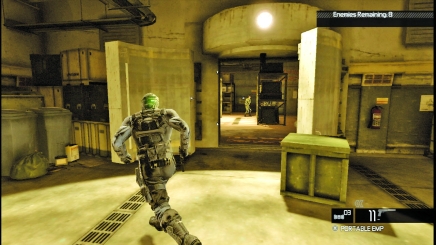
Check out the vault interior for one or two more guards before ascending the tower of turrets to the right.
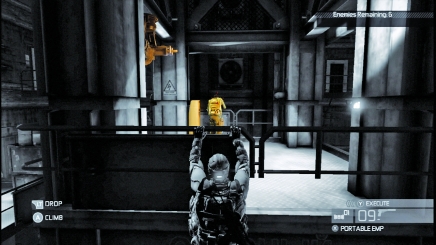
Start up the central tower in the tall chamber via the pipe. Creep around the tower, taking out guards while hanging from the railings.
There are auto-turrets on the tower, but if you just access their control panels (located below them), they are disabled. Don't use the turrets on the hostiles.
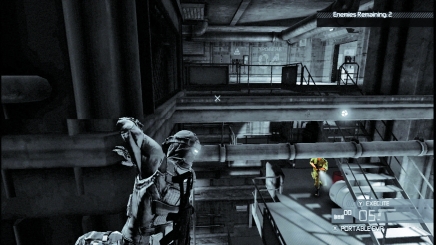
You just cannot hit them all and the turret only alerts them to your presence, guaranteeing reinforcements.
Sector 5
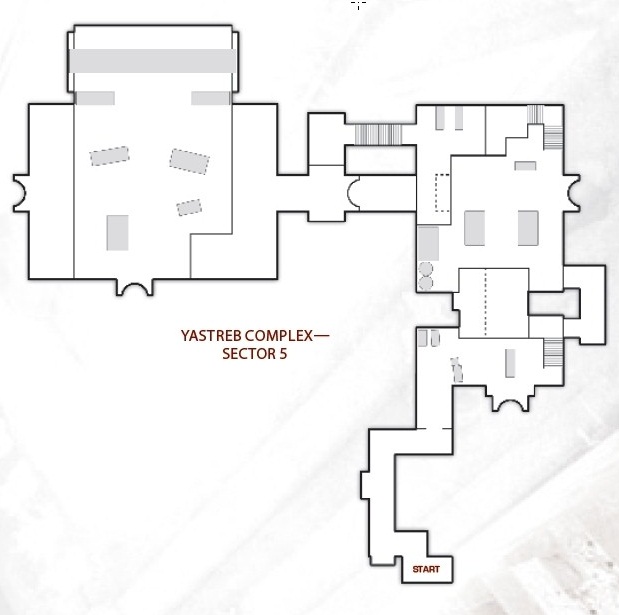
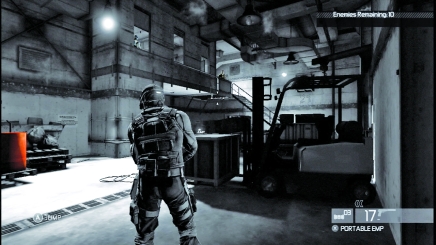
The final sector is composed of a handful of rooms connected by narrow corridors. There are offices overlooking the rooms, so watch for guards with a better view of the room than you.
Fuel drums make useful bombs, but detonate them only if you can kill every guard in a room with the explosion. Otherwise, you just invite 10 more guns into the sector.
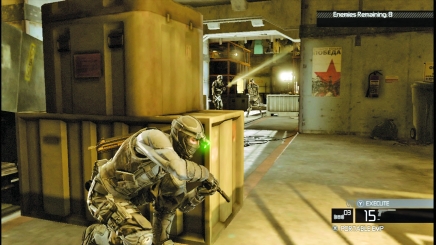
Use flashlight beams to track your targets. If you need a little breathing room, hit the EMP for a quick stun and then rush for close kills.
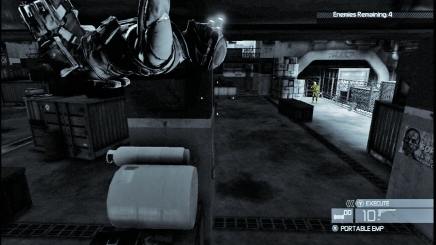
The ceiling pipes are good staging areas for clean up duty. Slink along the ceilings and monitor traffic patterns. Single out the guards whenever possible to not arouse suspicion.
Once you have just one or two guards left, try to get them near a fuel drum for an explosive finish.
Mozdok Grounds
Sector 1
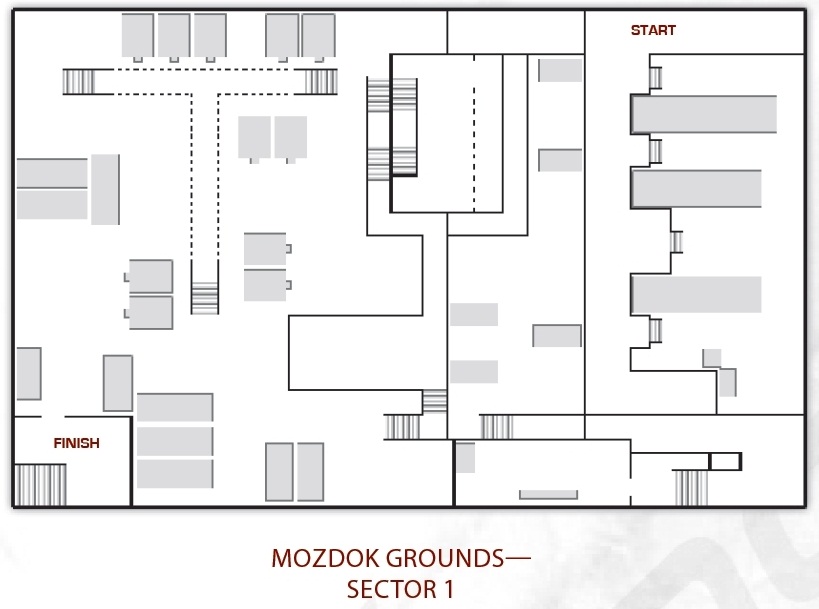
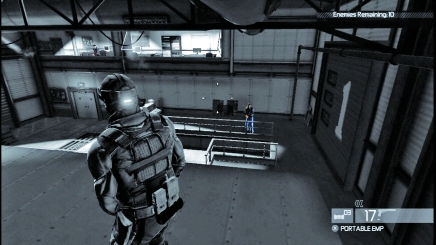
As you start infiltrating the Mozdok Grounds, you must first push through a loading dock. There is usually a single guard among the trucks with a second in the office upstairs watching the scene.
Silently kill the guard in the trucks and then scramble up the wall to neutralize the guard in the office. Pull him through the window for another quiet kill.
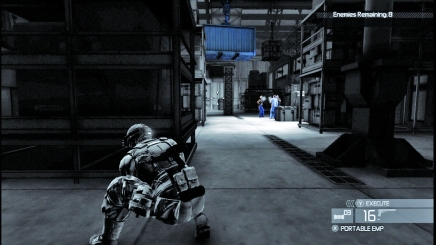
Expect a few guards in the shipping area behind the truck dock. Drop the giant cargo container on the thugs for a few quick kills - just make sure you get them all. Any survivor will sound the alarm.
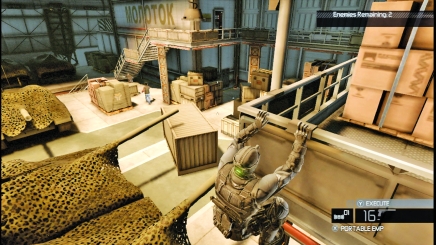
There is a giant warehouse behind the shipping area where the Russians store tanks. Slip along the railing of the platforms above the tanks to watch patrol patterns.
Single out guards for quick kills. Do not pop the fuel drums unless you can kill all remaining guards with a single blast.
Sector 2
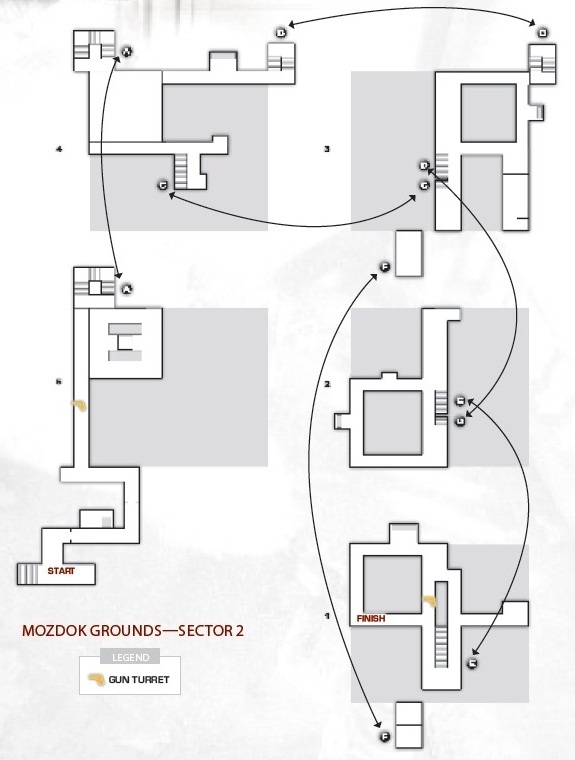
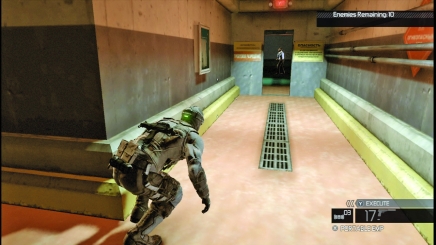
Beyond the tanks is a tall chamber with multiple stories, all connected by stairs. Creep up on the door that leads to the room, looking out for at least a single guard patrolling the area.
Take him quietly because this is a bad place to suddenly have 19 guards looking for you.
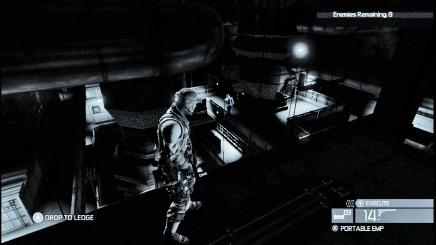
Auto-turrets are positioned around the central stairs. Watch for the pools of light in their camera paths. Clamber up on the ledges and containers overlooking the stairs in the room and monitor patterns.
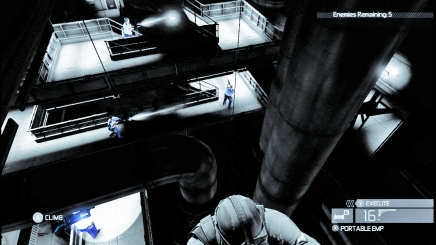
Take your time and just observe. Look for opportunities to get the guards alone.
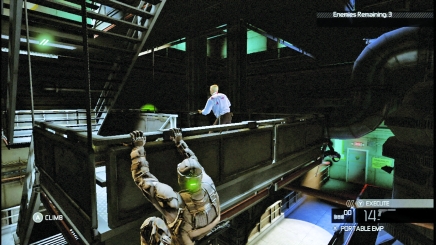
Linger on railings and pull guards to their deaths as they walk by or shoot them in the back of the head.
Sector 3
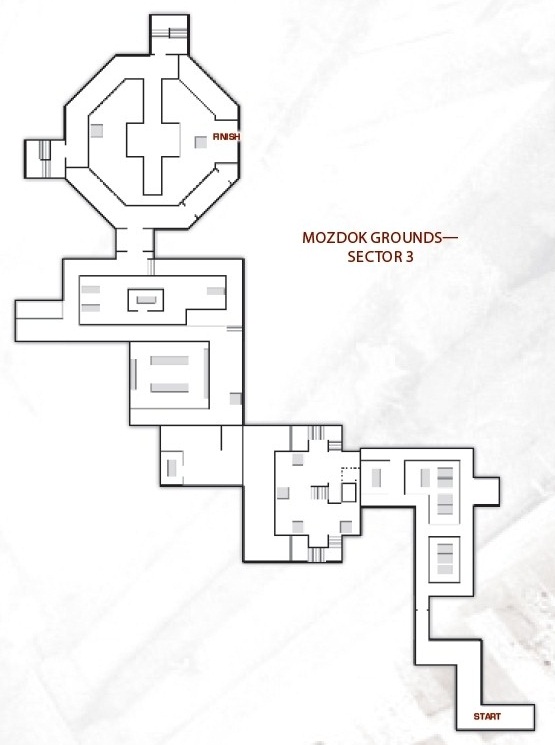
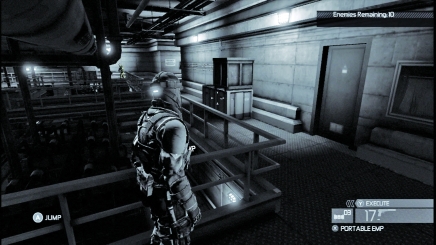
Beyond the tall chamber is the main testing area for EMP tech at Mozdok. Slip into the maintenance area and watch for at least one guard on patrol.
Slip around the railings in a crouch and take the guard, then access the test area by diving into the narrow tunnel and following it until it pops up in a large white room.
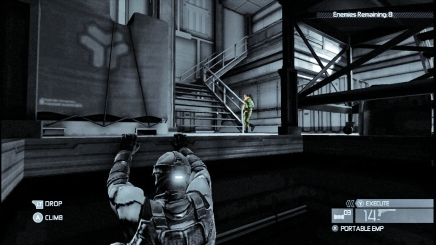
Before pulling yourself all the way up, look around for guards and track their movements.
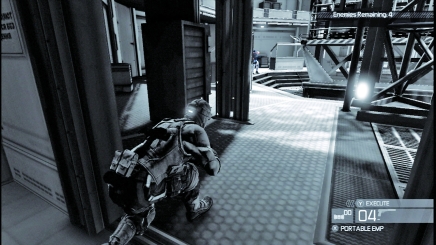
The huge test chamber is a tall, silo-shaped area. There will be at least one guard on the main floor (likely two or three, depending on how many guards are left) and one more on the mid-level balcony that surrounds the silo.
The balcony is accessed via stairs. You cannot reach it via the pipes that shoot up alongside the trellis that occupies the center of the chamber.
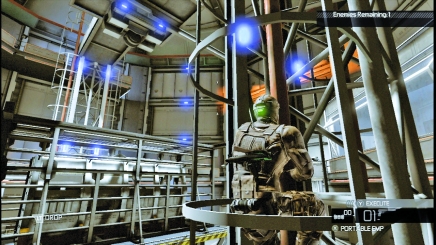
Looking for that last, pesky guard? Be careful - they may be at the top level of the test room.
If you ascend via the pipe, stop occasionally and use sonar goggles to make sure you don't pop up into a surprise and inadvertently call reinforcements.
Sector 4
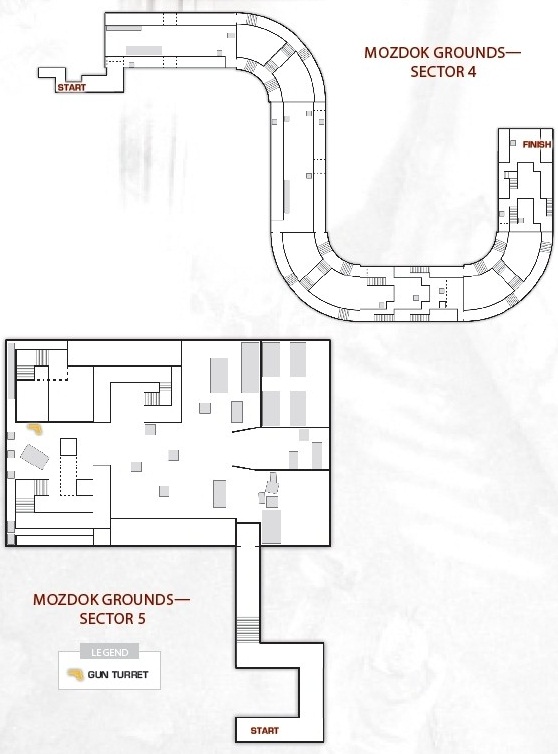
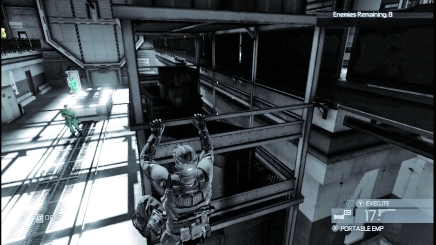
This sector is different. You do not encounter 10 guards in a single area. Instead, you must pass through four smaller zones, each with eight guards.
If you are spotted, they call in six reinforcements. An area within the sector is split into two parts: a large room and a tunnel. To open the door to the next zone, you must press a green button at the end of the tunnel segment.
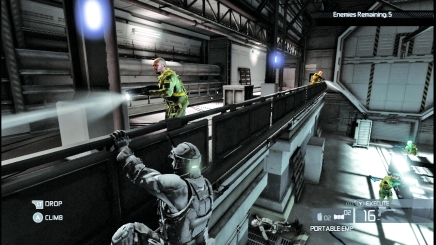
Use railings for cover in the non-tunnel areas. These guards are aggressive and you will not last on the floor or the balcony for long.
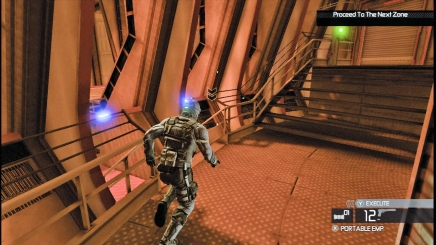
You must push through four zones to clear out this sector.
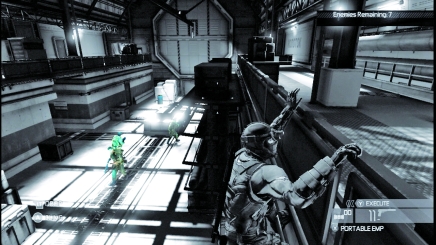
The deeper you get, the more antsy the guards. Because 14 is a lot more manageable then 20, you can risk using grenades to take out large swaths of guards.
Double your detonation power by lobbing a frag next to a fuel drum and you can slay six or seven guards with a single attack.
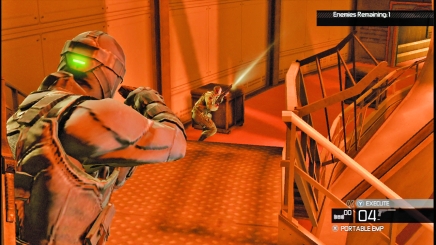
Watch for guards in the tunnels that connect the zones.
Sector 5
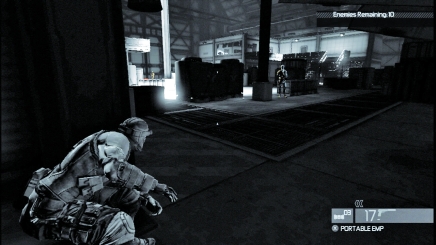
The final sector of Mozdok is an airplane cargo hangar. A giant plane is parked in the hangar and guards patrol the stacks of crates and cargo on the main floor.
There are multiple fuel drums in the area to use as bombs, but before turning this joint into the Fourth of July, watch movement patterns so you can pull stragglers into close kills.
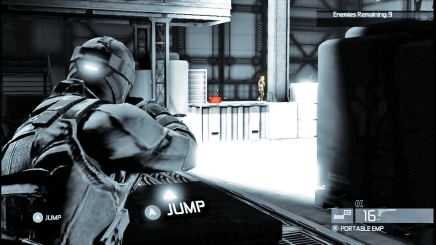
Spotted a few guards near a drum? If you can shoot it from halfway across the hangar, you may get away with not being seen.
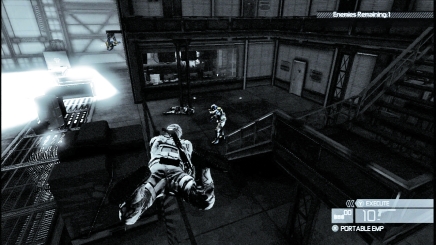
There is an auto-turret near the office in the back corner of the hangar. Avoid the camera's eye as you hunt the last of the guards around the office. A good stun will keep them busy while you hop the fence and take them in hand-to-hand kills.
Lumber Mill
Sector 1
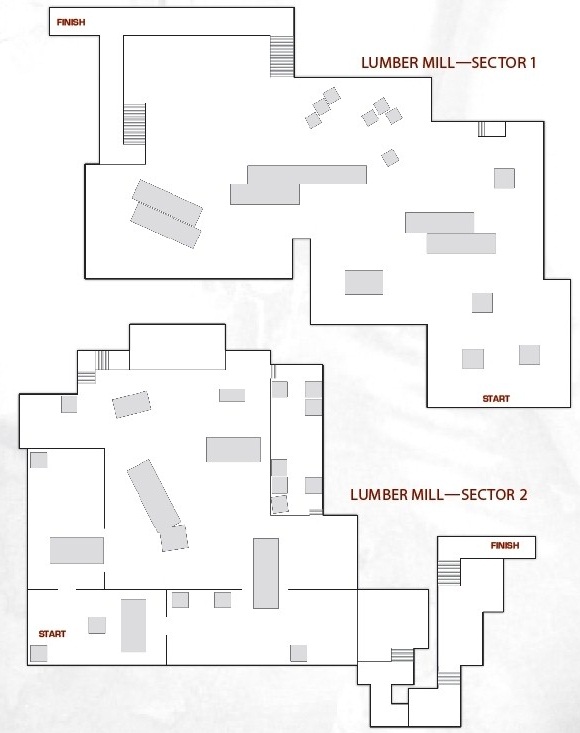
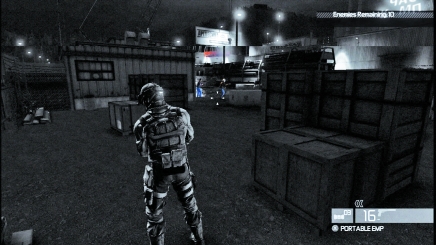
The first sector of the Lumber Mill is outside. You can climb up several huge stacks of logs and hang from them while hunting guards.
However, when the mission begins, hang back and watch the first push of guards. They spread out from a small office along the fence.
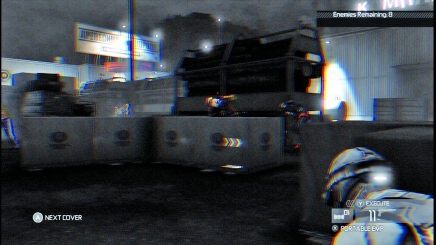
Stun those guards before they get too far into the yard.
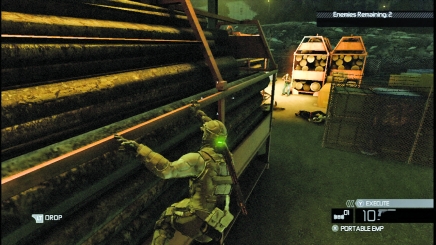
Use the log stacks to monitor the guards as they move around the yard. Watch them as they move, using sonar goggles to track movement.
The good thing about Hunter is that guards do not call for reinforcements when they spot dead bodies. So you can take down hostiles anywhere in the Lumber Mill.
Sector 2
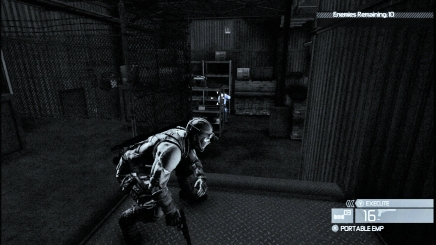
As you move into the interior of the Lumber Mill, look for at least one guard in the small office between the yard and the trucking area.
Silently sneak up on the guard and kill him. Then, use your snake cam to peek under the door and look at guards in the trucking area before moving deeper.
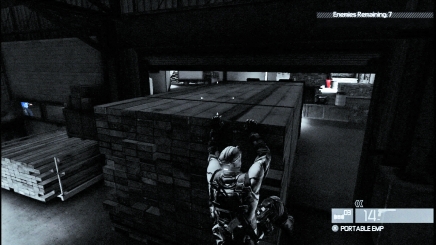
Jump up to the lumber stacks to avoid detection in the shipping area.
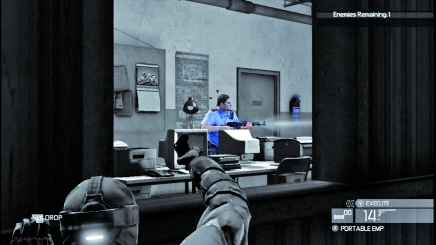
Another guard is in the small shipping office overlooking the yard.
Sector 3
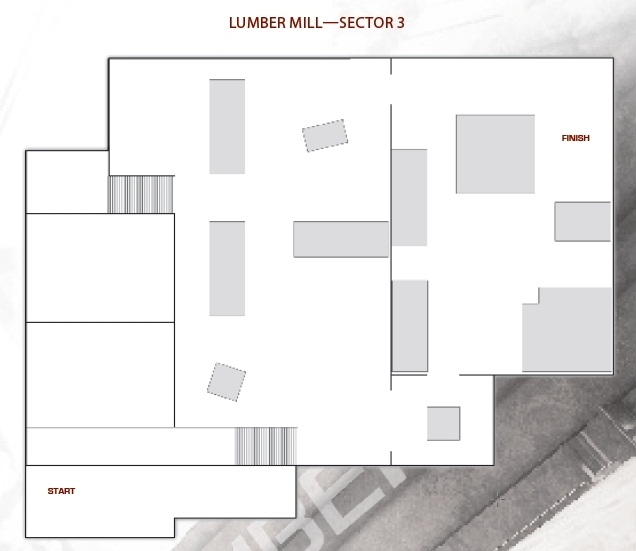
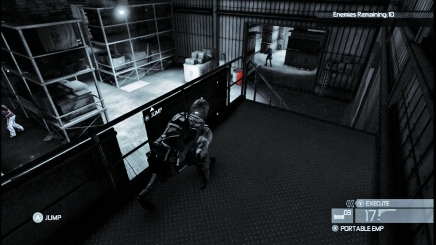
Beyond the office is series of storage areas with cut and stacked lumber. As you creep down into the sector, take out lights to create shadows and just watch the guards move around.
Two or three guards are usually near the entrance of this sector all within blast distance of a fuel drum. You use this drum at your own risk, though, because if even one guard survives, 10 more rush in.
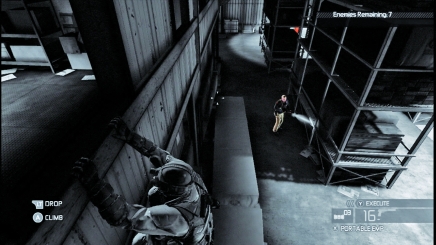
Hang from the windows of the offices above the lumber stacks to track hostiles.
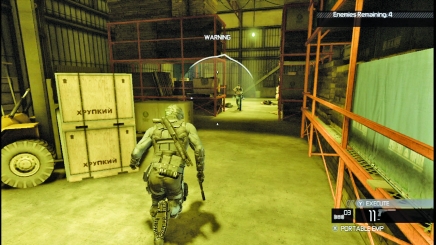
As you weave around the stacks, beware of getting caught. (Regularly using sonar goggles reveals guard positions, though.)
If you are spotted, hit an EMP before the white arc turns red, meaning the alarm has gone out. While the target is stunned, hammer him with a close kill or a headshot.
Sector 4
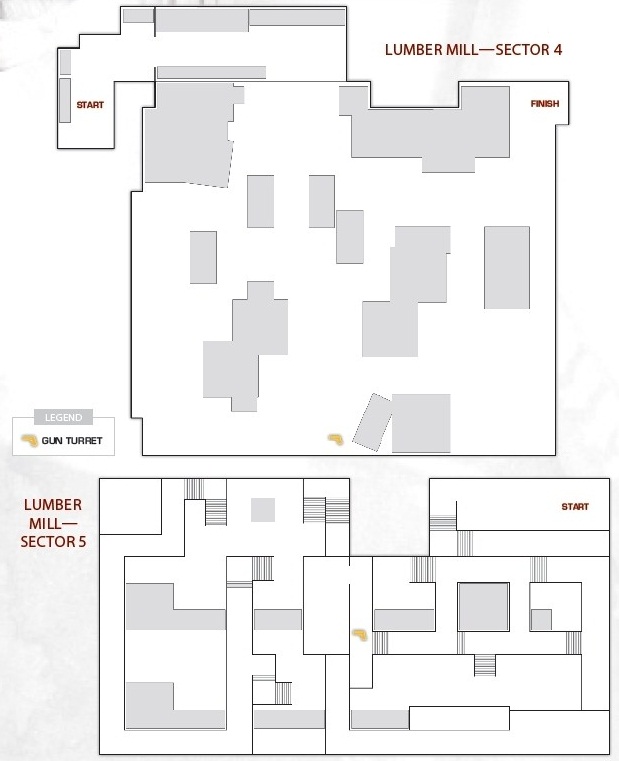
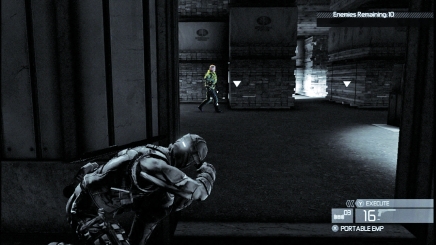
Carefully approach the entrance to the next sector and peer inside to watch guard movement. Most of these lumber stacks stretch to the ceiling, but you can climb up and stand on a few to remain totally hidden. Clear a path to the stacks as you enter the sector and then climb to avoid immediate detection.
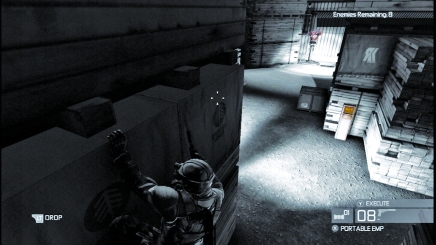
Stay on the lumber stacks for the majority of this sector. You can take almost all of the guards from the stacks.
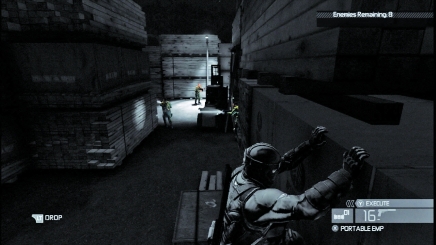
Not many guards left? Then go ahead and pop a fuel drum to finish off the patrol and move on to the next sector.
Sector 5
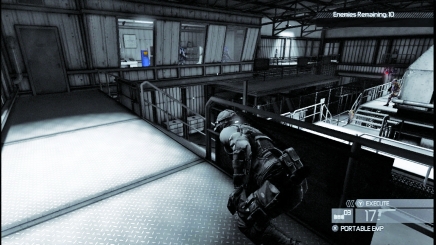
The saw area of the Lumber Mill is the most dangerous. It looks like you have the advantage with many railings and corners to hide around, but these guards are highly trained and will empty a full clip in you if they even sense your presence.
You must stay low and methodically move through the area to take them out. Taking risks does not pay off as consistently as being patient.
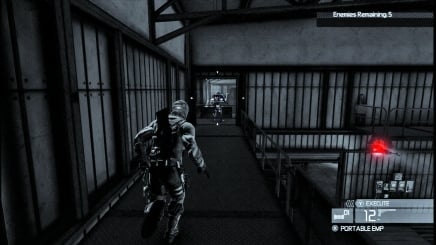
Move to the back half of the sector via the catwalks. There is an auto-turret on the main floor.
The back of the saw area is particularly dangerous. The equipment looks like it offers cover, but there are too many cracks and crevices the guards can see through.
Only the lumber stacks are solid. Watch for those flashlight beams because they can peer through the spaces between the equipment and spot you, which results in an immediate 10 reinforcements.
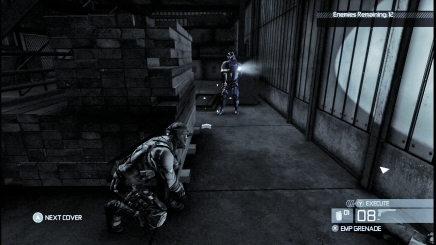
There is a lot of light in the mill. Popping bulbs may draw attention to your area, so be judicious with shooting out lights and just try to flank.
Printing Press
Sector 1
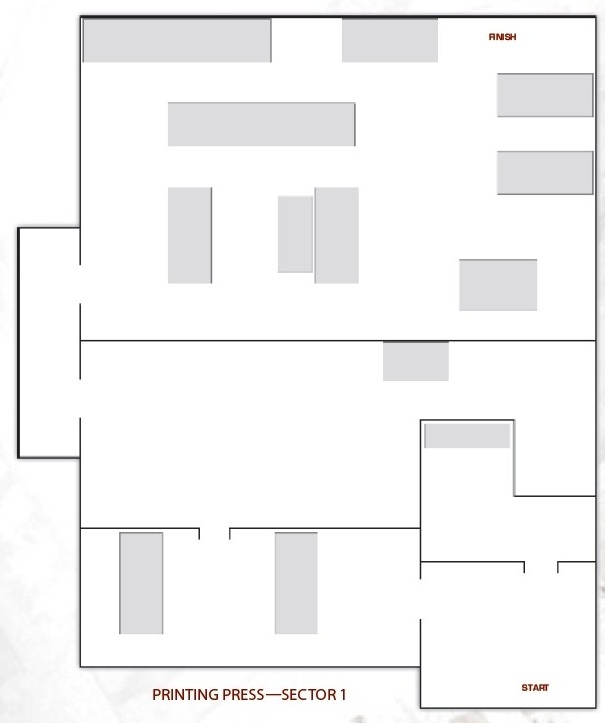
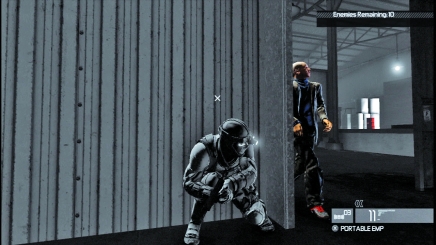
Upon entering the outer perimeter of the Printing Press, stay low and look for an early guard patrol. There is a lot of open space inside the first sector, so stick to corners and doors for cover and pull enemies into close kills to minimize exposure.
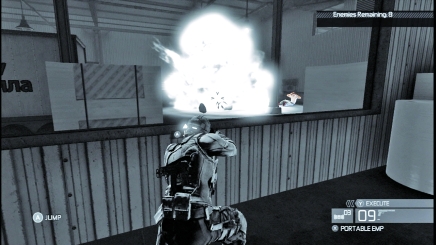
Fuel drums tempt, but pop them only if you can kill everybody in the room with a single blast.
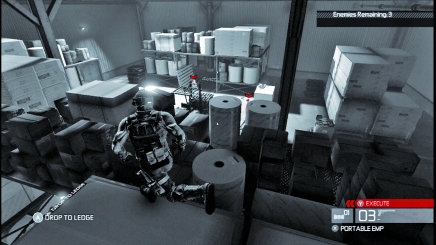
You always have an advantage when you are high. Seek out crates, presses, paper rolls, and more to get a bird's eye view of the sector and hunt your targets from above.
Rarely do these low-level thugs look up. Punish them for thinking you'd be so common as to work the floor.
Sector 2
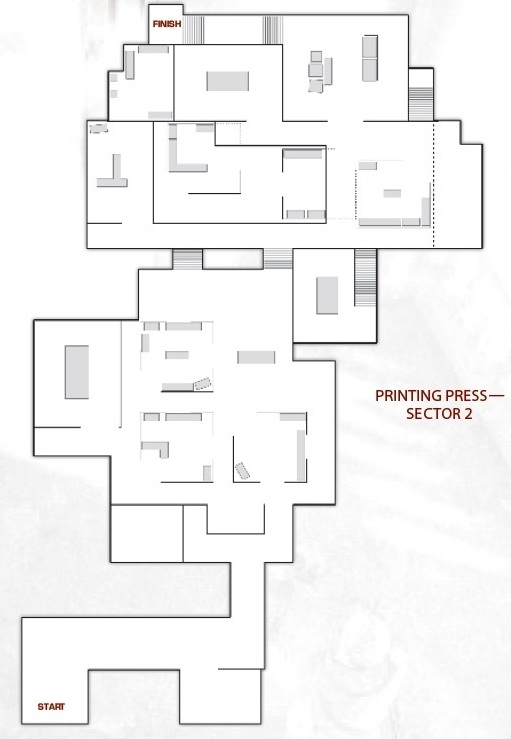
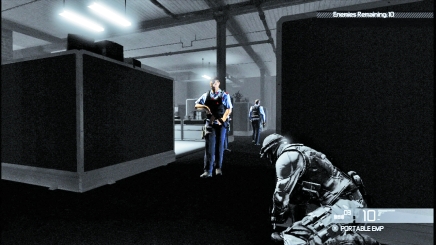
The next sector is inside a small office area. Ten guards mill around the cubicle farm, looking for any traces of your presence. Find a good hiding spot at a major intersection and hold your ground. (But do keep an eye on your flank or use sonar goggles to peer through cubicle walls.) When an enemy walks by, go for the close kill so you bank an execution.
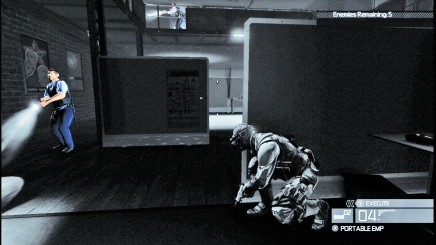
The guards in the office have flashlights. Turn them off with an EMP blast.
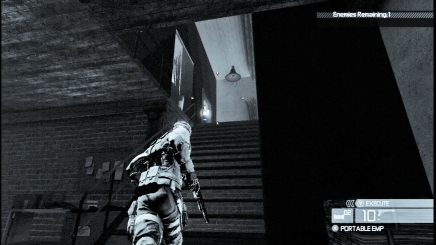
After sweeping through the cubicles, ascend the stairs in the back to look for any stragglers in the small editor's office.
Watch for those flashlight beams to pick your target out of the darkness and then wait for them to look away. Rush for the kill.
Sector 3
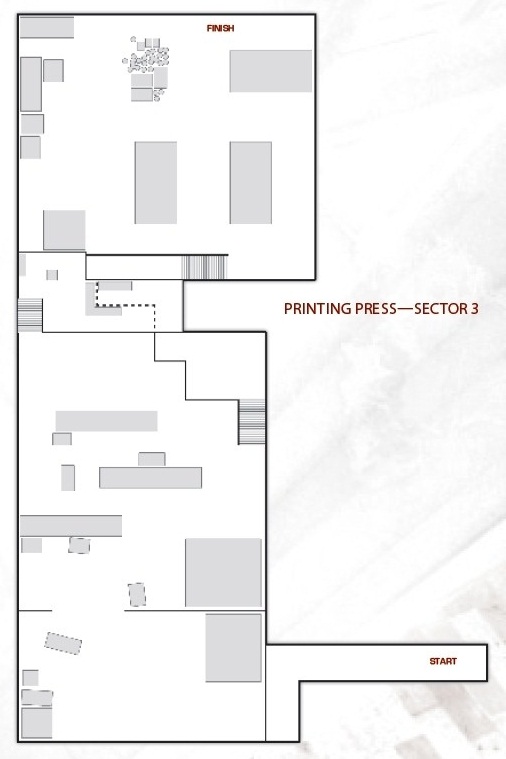
Finished newspapers are stacked in this sector. High-level guards swarm the sector, each armed with flashlights and shotguns.
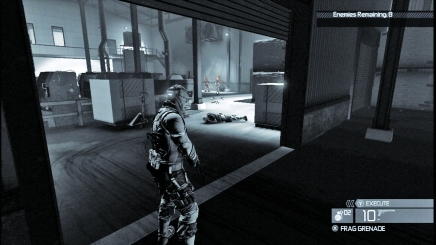
If you are caught in a close-quarters situation, hit the EMP to frazzle them. You cannot recover from a shotgun blast to the chest. Take the guards apart one by one, being cautious of them in groups.
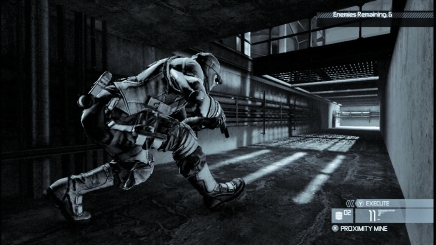
Use the small tunnel under the storage room to pop up and target enemies when they aren't looking.
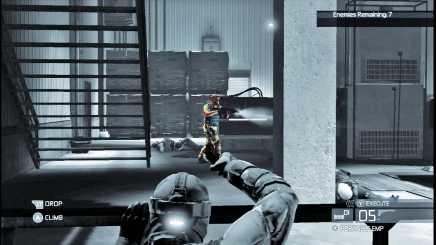
The tunnel is excellent for flanking. Just monitor movement with sonar goggles and then rush behind enemies.
Sector 4
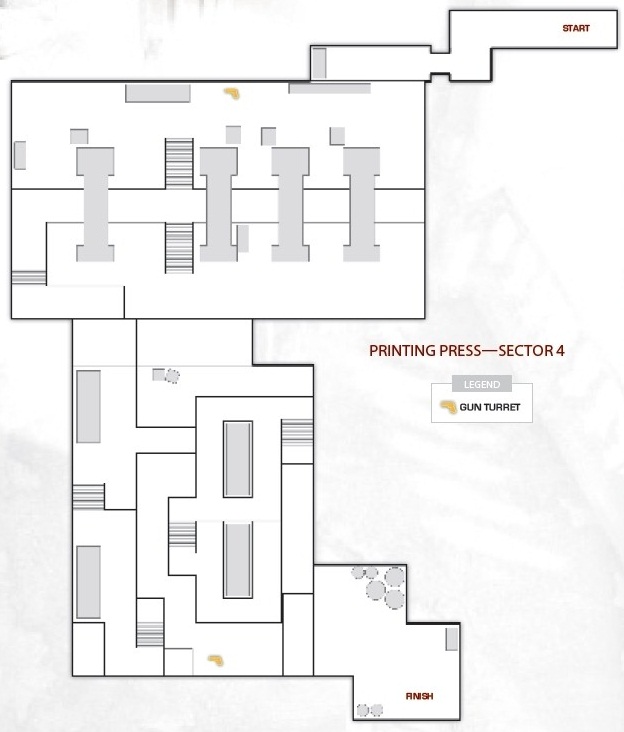
As you enter the fourth sector, look out for the auto-turret scanning the room for hostiles - namely, you. A control panel to the right of the turret lets you either take control of it or deactivate it.
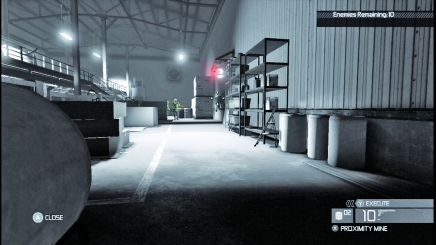
Be mindful of the camera on the turret as you make your way to the presses, which is where most of the guards patrol.
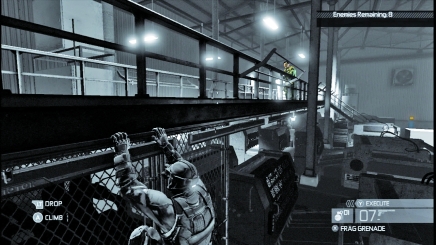
Hang from the railings along the presses to target guards as they watch for enemy activity.
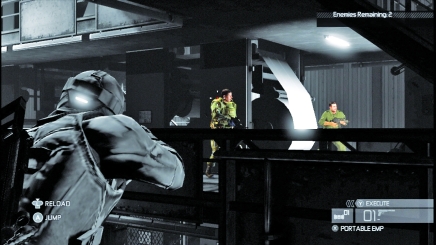
The guards that patrol the presses are merciless. You must take them with headshots or close kills. If you shoot and miss, they radio for help before you can say "oops."
You can shoot out several lights along the presses to create darkness, but you are better off just lying in wait in an already shadowy spot and going for kills as they become available. Mark and Execute works quite well here, too.
Sector 5
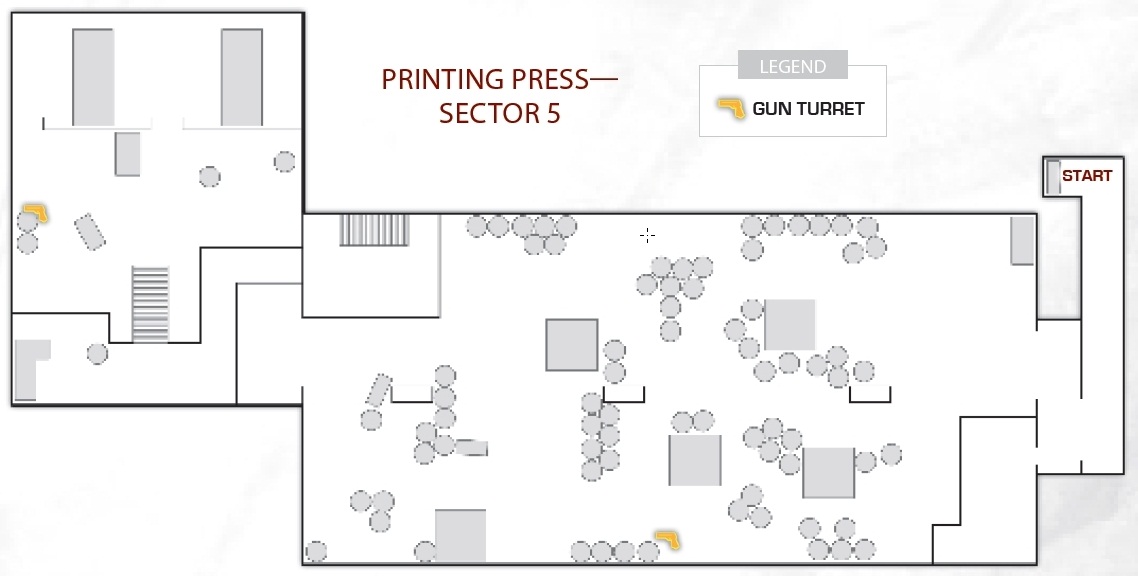
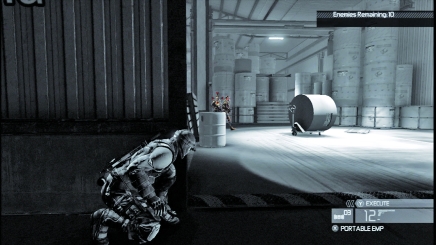
The final sector in Printing Press is where they store the giant rolls of paper. The guards in this area are aggressive, so keep your distance when you spot them in groups and only go for solo guards.
The only exception to this is if you can stun a duo with an EMP blast. Then rush in and take them down with hand-to-hand kills to bank an execution.
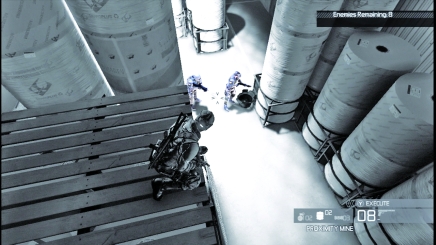
Climb on top of the paper roll stacks and target the guards below. Be careful detonating the fuel drums (as tempting as they are) because they can result in reinforcements.
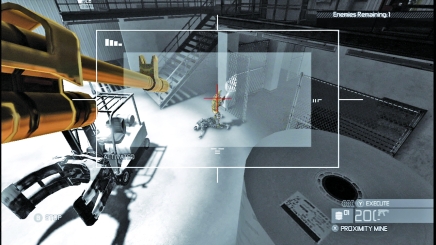
Take control of the auto-turret in the sector to wipe out the last of the enemies. Do not use it if there are five or more left. But just one or two? Happy hunting!