Tom Clancy's Splinter Cell: Conviction Guide Multiplayer Co-op Story
Mozdok Grounds
Mozdok Grounds
The warheads have been traced to the Mozdok Proving Grounds, where Yastreb is planning to fly them to a new buyer within 24 hours. Third Echelon has placed asset Andre Kobin on-site to secure the plane Yastreb was going to use to deliver the warheads to the waiting buyer. You must take Mozdok off the grid so local air defenses do not blow that plane out of the sky once Kobin has lift-off.
Sector 1 Strategy
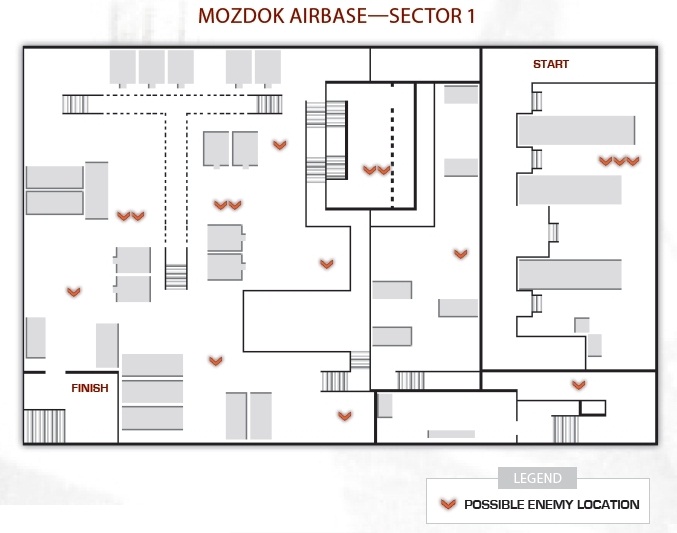
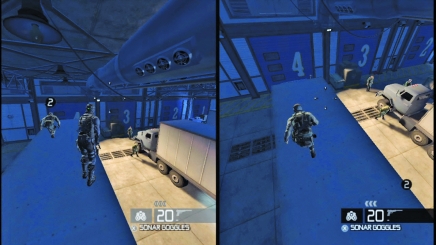
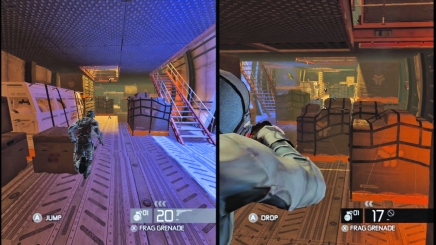
To infiltrate Mozdok, you must first push through the loading dock. You must use total stealth to enter the testing grounds. If the men guarding the docks detect you and report the intrusion, the mission ends. So climb on top of the trucks and split up the targets. Once the men by the trucks are down, creep through the rest of the dock and finish off any stragglers. There is usually one near the back wall of the docks. In addition, there is one in the small office overlooking the docks. Take him by climbing up to the window and popping off a headshot.
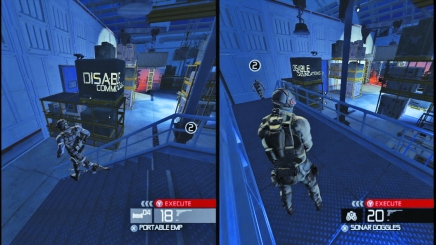
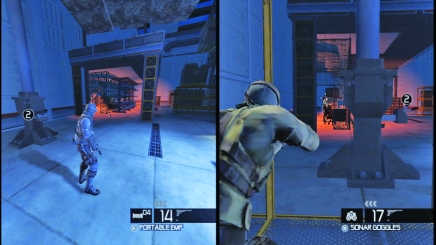
Follow the same plan in the next area. You must remain hidden as you sweep through the room on your way to the communications center of Mozdok. Stay in cover to move up through the room. Don’t hesitate to use an EMP blast to stun any incoming threats. The communications room is at the top of the stairs.
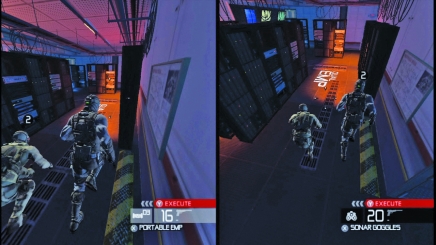
Perform a dual EMP in the communications room. However, make sure nobody is around. There is an outside chance a guard will pop through the door to the left of the EMP panel.
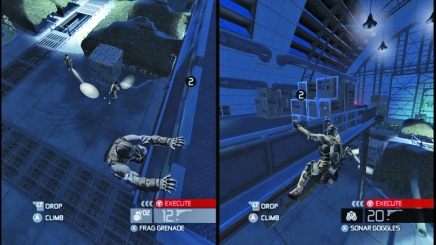
Now that communications are down, you can be a little more liberal with your attack tactics. Move into a giant hangar where the Russian army keeps a fleet of tanks. Several guards patrol the hangar. Hang from the ledges over the tanks to eliminate the guards, dropping grenades and using EMPs to stun.
As you move through the remainder of the garage, a panicked Kobin comes over the air. There are only three EMPs at his pick-up site. He is supposed to deliver four to Third Echelon. This changes the mission. You must now locate the fourth device. It is in the test lab below. You must locate it and move it to Kobin’s position in the hangar at the edge of Mozdok.
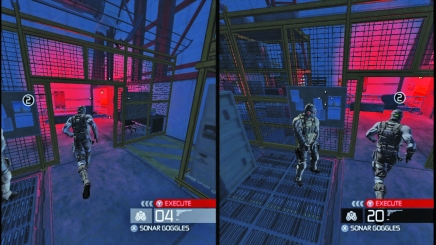
Exit the sector via the stairs in the back left corner of the hangar.
Sector 2 Strategy
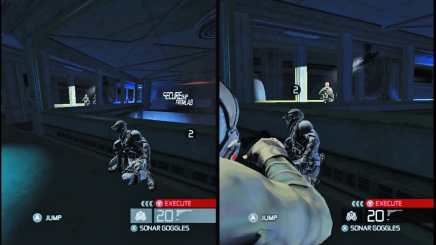
The next sector is a tall chamber. You must reach the bottom of the chamber to move into the next sector. To start moving through the sector, clear out the first pair of guards on the long bridge spanning the middle of the room. But after shooting them, hold back. There is an auto-turret on the bridge. So shimmy along the outside of the railing to pass the camera and start your descent.
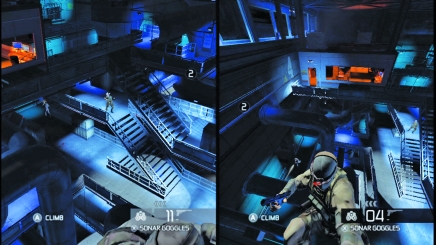
Most guards in this chamber patrol the giant stairwell in the dead center. Watch out for two auto-turrets located on the stairs, too. Use the railings to pass the watchful camera eyes of the turrets and hijack them via the nearby control panels to either disable the turrets or use them against the guards.
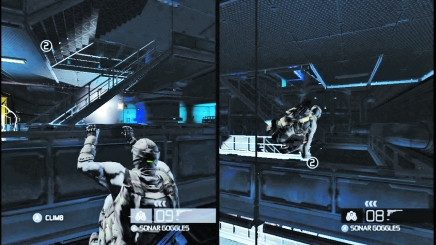
If caught by one of the autoturrets, dive over the railing to take cover.
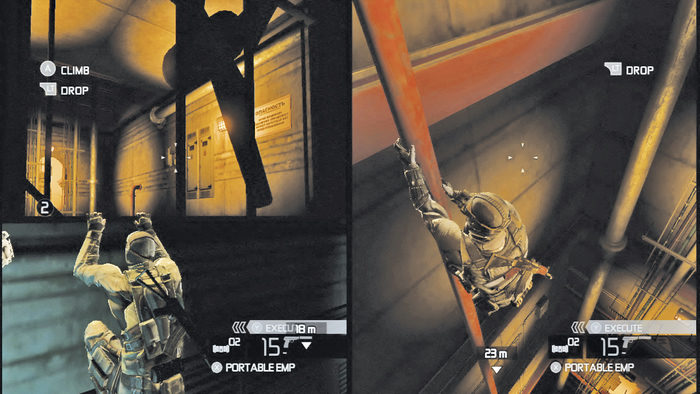
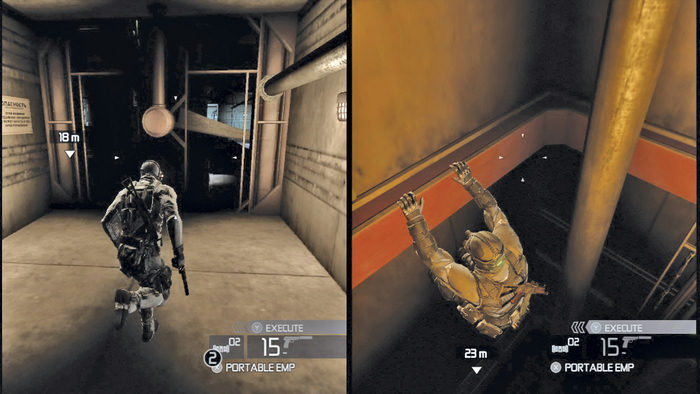
Alternately, there is a stealth path through the chamber that avoids a lot of the guards. See the four fans on the walls? They are marked with green lights. The fans are connected. Shimmy along the ledge out to one of the upper fans and slip through the slow-moving blades. Then, use the pipes behind the fans to slide down to the lower level of the chamber. You are now a straight shot to the exit. Be sure to use the back side of the catwalk to slide undetected below the security camera and turret.
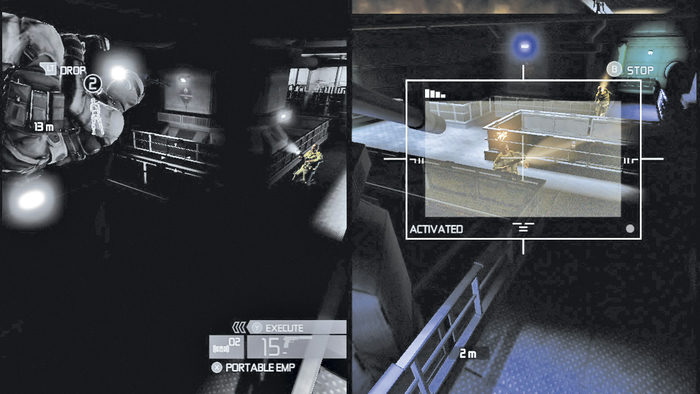
Use the control panel near the exit to take control of the turret and clear a path for your partner.
Sector 3 Strategy
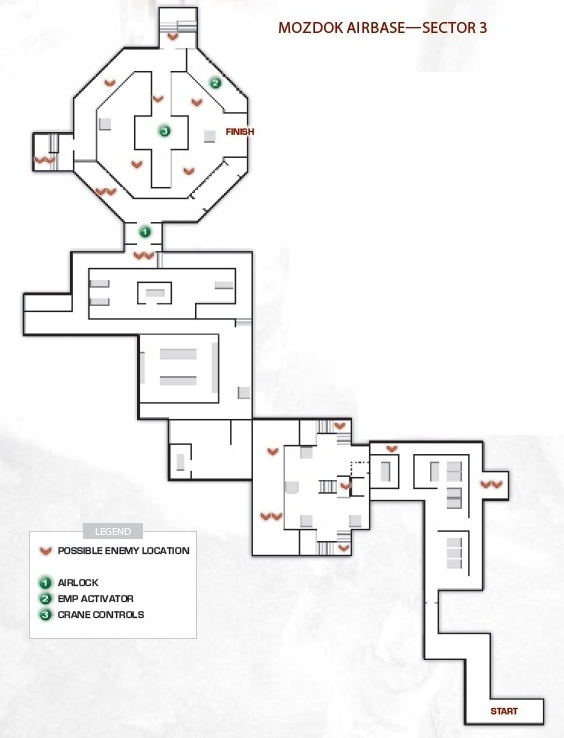
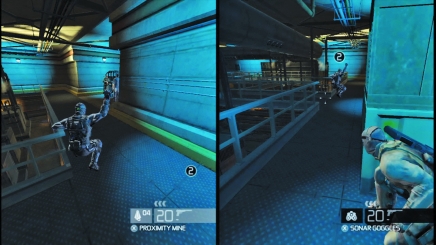
At the start of the third sector, look for two or three guards patrolling a system of pipes. Sneak up on them and take them out with grenades or mines, or target them with your partner and drop them with headshots. After killing the guards, sneak to the back of the pipe area and slip through a hole in the floor
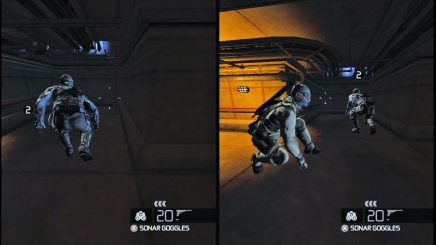
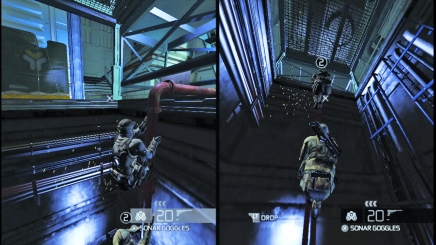
Crawl through the service tunnel beneath the sector and then ascend via a pipe into a test room. Slow up at the top of the pipe, because several guards patrol the test area.
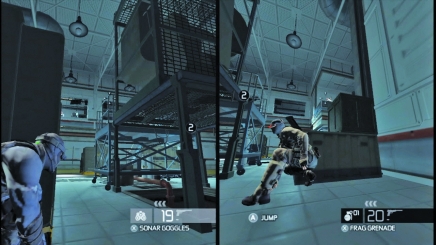
An EMP blast stuns the guards in the room, giving you a small break to climb up to the surface and take cover. Look for at least one or two guards at each side of the room as well as directly in front of the hole in the floor. Then, move up to the office above the room. Lob a frag through the window and then enter to clear up any survivors.
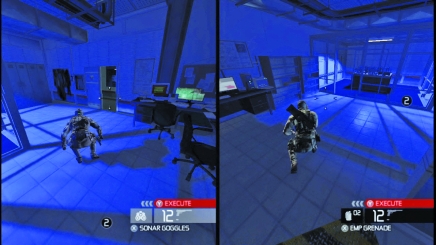
Move through the blue test facility, keeping watch for one or two guards patrolling the hallways. Use sonar goggles to track them.
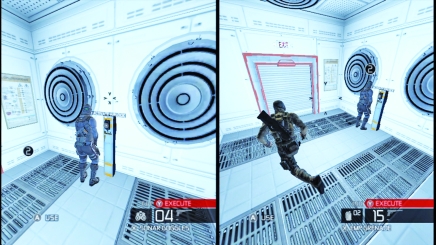
To move into the next testing room, you must pair up and open the airlock together.
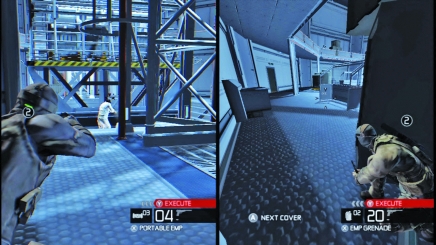
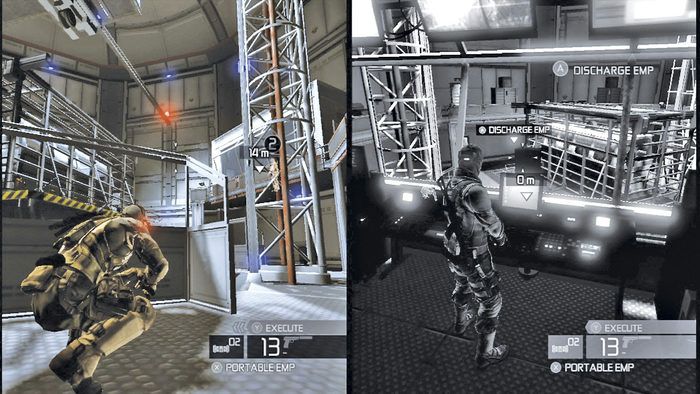
The testing room is another tall chamber. There are three levels to the room. The ground level has a handful of guards and enemy scientists who you can take out with headshots. The mid-level balcony is connected to the main floor via stairs, where you may encounter an enemy or two. However, to escape, you must climb up the trellis in the middle. You must fire the EMP in the lab in order to get it on to the crane system and out to the hangar where Kobin is waiting. To do this quickly, you need to split up. One player must enter the office on the mid-level balcony, neutralize the scientists and activate the EMP. The blast temporary turns off all power in the area.
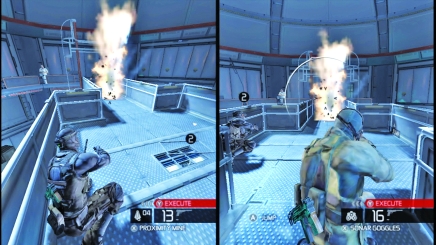
Now, the other player should be climbing the pipes in the center of the room to reach the top of the trellis. As soon as the system comes back online, access the open floor panel to hotwire the crane system and get that EMP moving. However, expect massive resistance. All three levels of the chamber fill with guards. You must fight your way to the exit on the lower level to escape the lab and move to the crane system, escorting the EMP to the hangar.
Sector 4 Strategy
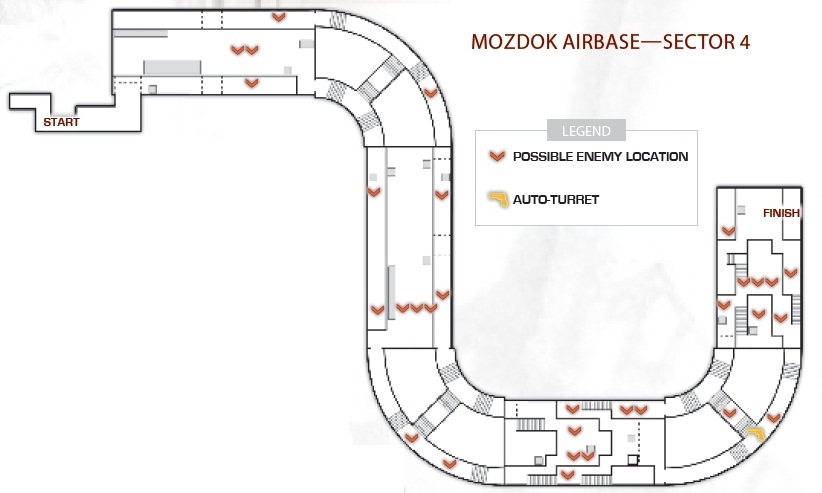
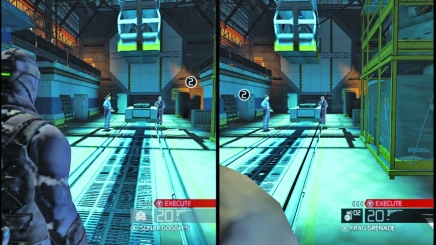
You finally have one of the EMP warheads in sight. You must escort it through the service tunnel to a hangar at the edge of the testing grounds where you can get it off-site. There are seven segments to this tunnel: four blue-tinged areas where you must draw down on Mozdok guards and three orange rooms where you must keep moving alongside the EMP. Each segment is unlocked by holding a pair of buttons on opposite sides of the tunnel together.
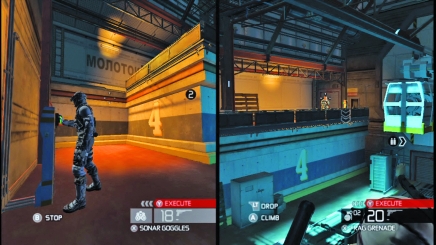
Keep in contact so one player doesn’t get too far ahead and hold a button while the other is still contending with hostiles.
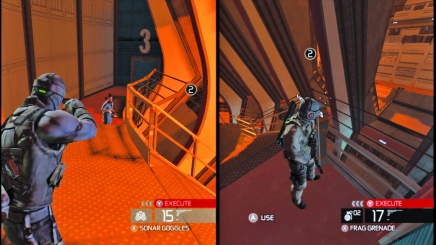
The orange areas usually just have one or two guards in them.
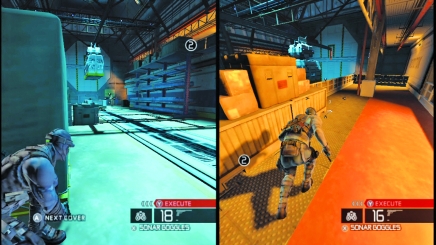
The guards in the blue areas grow more aggressive as you get closer to the end of the sector. However, you should still split up and clear out each side of the room. Just talk about any hostiles spotted and alert each other when you are about to deploy a gadget, such as an EMP blast, that will stun enemies in the immediate area.
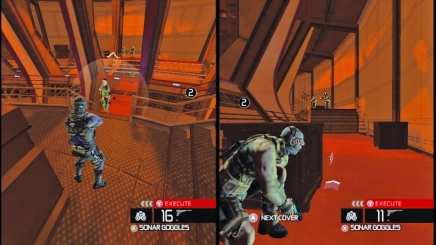
As you near the end of the sector, watch out for an auto-turret and a swarm of guards in the final orange segment. Use the narrow passage between the tunnels to gang up on the guards and slip around the turret’s camera.
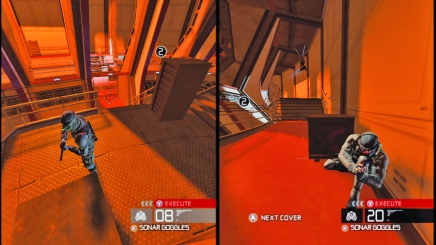
Sector 5 Strategy

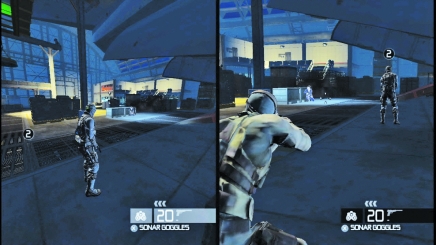
The final sector in Mozdok is the hangar where Kobin is waiting for you to help him escape with the stolen warheads. Meet Kobin at the crates in front of the plane. As soon as you reach Kobin, multiple agents storm the hangar to intercept you. You must push back hard and fast. Use explosives to stop the advancing patrols attempting to surround Kobin and the plane.
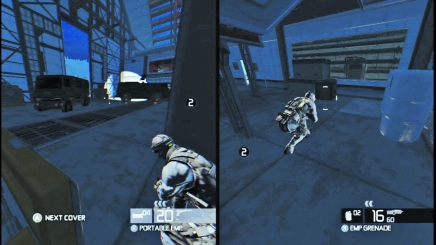
Before the plane can leave, you must disable a turret at the back of the hangar. Without taking it out, you cannot leave. The only way to disable the turret is a dual EMP blast in the communications room, which is just above the turret. You must shoot or sneak your way to the communications room in the corner and perform a dual EMP blast to knock out the turret.
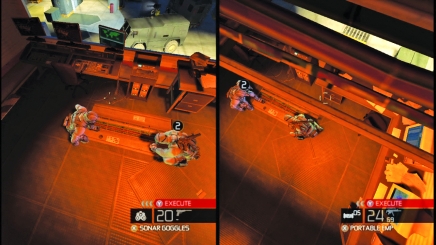
Creep into the office above the turret and perform a Co-op EMP blast to disable the rest of Mozdok’s defenses.
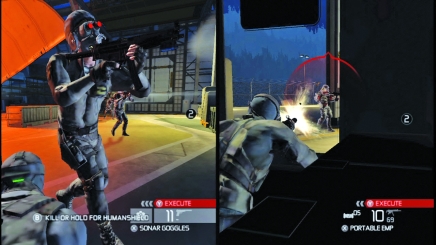
As soon as you pump the EMP, the hangar fills with a phalanx of ultra-aggressive agents. Use EMPs to stun them as you work back across the hangar to the plane. Try to nab one or two into hand-to-hand kills so you can use Co-op Executions to wipe out the advancing patrol.
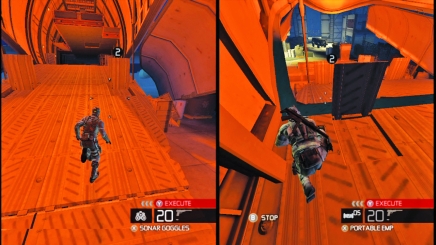
Finally, you and your partner must board the plane and get those warheads out of Mozdok. Quickly split up and grab a crank on each side of the ramp. Spin the cranks to close the cargo hold of the plane so you can take off and get these warheads out of Russia
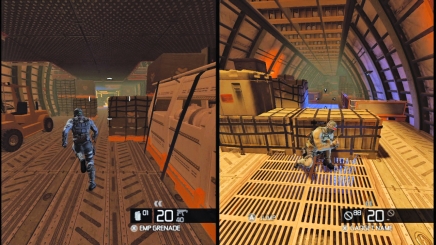
Archer and Kestrel have formed an unlikely partnership over the course of the mission, but the fragility of it is about to show. Each agent is ordered by his handler to kill the other. The hunt is then on. Inside the cargo hold, use crates and boxes as cover to take down the other agent. This battle is over fast. A well-placed frag or mine is enough to shatter the other agent, as is a pinpoint headshot.