
Tom Clancy's Splinter Cell: Conviction Guide Essentials The Essentials
Training - Combat Mechanics
Detection
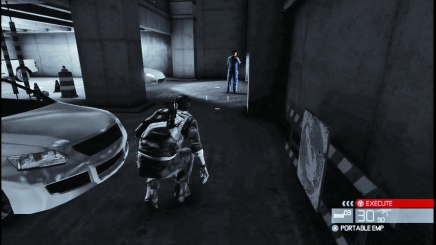
It is extremely important to know when you can and cannot be seen. The easiest way to know if your presence is obscured is to note the colors on the screen. If the view fades into black-and-white, you are invisible to enemies. When you move back out into the light or an enemy catches a glimpse of you in a flashlight beam or due to an attention-drawing attack, colors return to the scene.
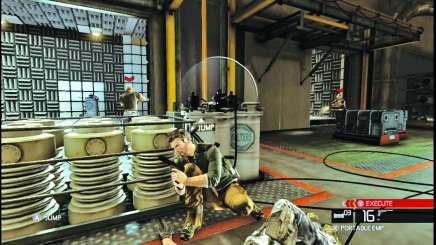
You can also judge whether or not you are about to be spotted by a white arc that appears in the middle of the screen when you are close to enemies. The apex of the arc points to the enemy who is about to detect you. The appearance of the arc is also accompanied by a flashing "Warning!" and an audio flourish. When you note the white arc, retreat to the shadows if you want to remain undetected. Otherwise, expect to get quite popular.
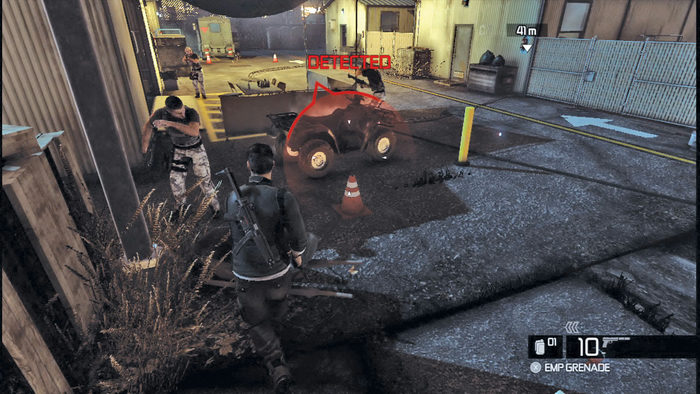
When an enemy has you dead-to-rights, a red arc appears. The triangle(s) on the arc point toward enemies who are shooting at you.
If you do not retreat from the white Warning soon enough, or if you happen to step right into the line of sight of an enemy, a red arc appears around Sam. An arrow on the arc points at the enemy (or enemies, which results in multiple arrows) that has seen you. The word "Detected" flashes above the arc, meaning that the enemy may open fire. Not only does Detected mean the enemy has you dead to rights, but he is also communicating your position to nearby enemies. The longer you remain Detected, the more company you should expect.
To escape being Detected, you must either physically retreat from the scene fast enough to break line of sight as well as put distance between you and your pursuer, or deploy a diversionary measure, such as dropping a flashbang grenade that temporarily blinds your enemies.
Cover
Because you are not bulletproof, use cover whenever possible to keep from getting shot. Duck down and press your body against walls, crates, and whatnot to take cover. You can stay in cover as long as you like, but this will not protect you from enemies trying to flank and attack from a more advantageous angle. While in this position, you can advance to nearby cover and minimize your exposure to prying eyes or the nasty end of a gun.
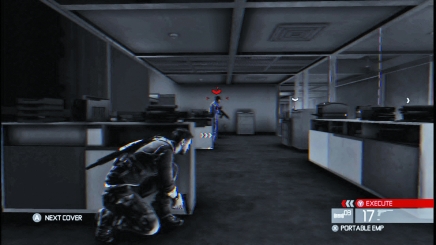
To determine if you can advance, aim (with your target cursor) at the next piece of cover. If you can move cover to cover, small white arrows appear on the next position. Those arrows point in the direction you will face when you advance.
If you decide to move, press the prompted button to advance. You stay low and rush to the next cover spot and slam flush to it. When moving, you can be seen or shot, unless the screen is in black-and-white, which indicates that you are invisible.
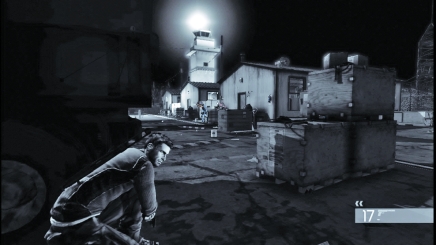
You can also lean out of cover to fire on enemies, but this exposes you.
Hand-to-Hand Kills
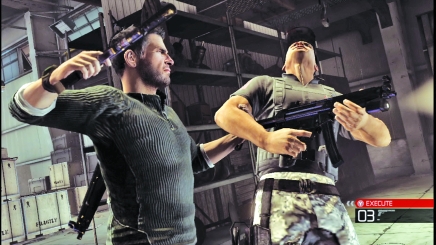
In addition to shooting them, you can kill enemies with your bare hands. You must be close enough to an enemy to strike, though. When you are within range, the button prompt for a close kill appears onscreen. These kills are unstoppable. Once initiated, your target is helpless as you grab their gun and turn it on them or snap their neck with a quick twist of the skull.
Hand-to-hand kills are silent, but if you perform one in plain sight, you are immediately detected by other enemies.
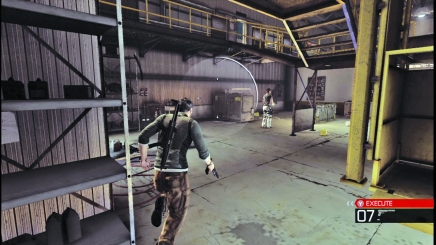
You can initiate hand-to-hand kills while facing an enemy, but the safest use of the attack is from the side or behind. The element of surprise makes submission much easier.
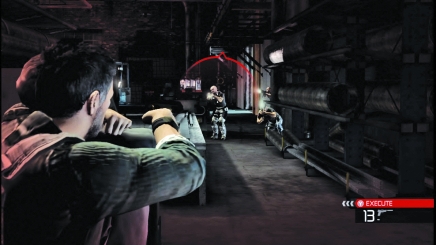
If you hold the hand-to-hand kill button, you do not immediately kill your target. Instead, you pull him close and use him as a human shield. You have the enemy by his neck, so he does not make any noise. You can move around the shadows and still not be detected.
The obvious benefit of a human shield is that it absorbs bullets while you engage the enemy. A human shield can absorb several bullets from pistols, but gets chewed up by machine guns and assault rifles. When a human shield is no longer useful, you automatically discard it.
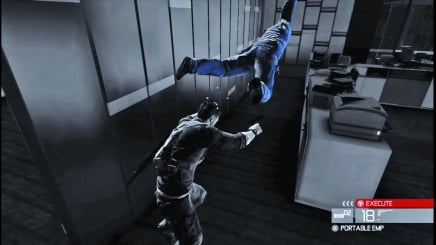
However, pulling an enemy into a human shield and then dragging him into the shadows lets you decide where exactly to drop the body. If you want to hide your presence, sneak up on an enemy and then grab him while nobody is looking. Retreat into the darkness and then press the same button to kill him and release the body.
Unless an enemy moves into the shadows with a flashlight and discovers the body, you have effectively hidden the evidence.
Mark and Execute
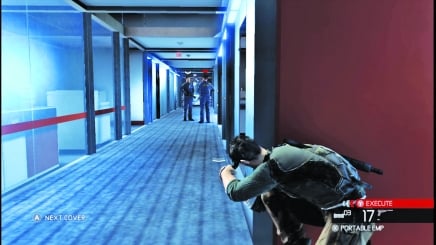
As a Third Echelon agent, you have an uncanny ability to pick your targets and take them out. Conviction, though, takes this to an entirely new level. The mark technique allows you to keep track of multiple targets in your immediate area. When you mark a target, a small chevron appears above it.
You can mark human targets as well as environmental features, such as traps and explosives. These chevrons remain constant until you either unmark or eliminate the target.
Marking targets is a great way to keep track of enemies as you survey a scene, moving around to assess the situation before deciding how to act. If you see your enemies splitting into two groups, for example, marking one group allows you to track their positions while you work on the second.
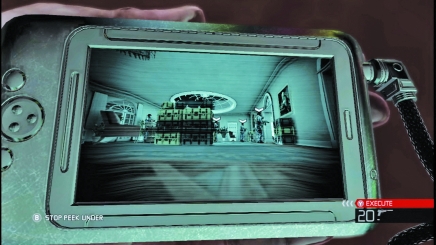
You can also mark targets while peeking under doors, using a piece of broken mirror or your snake cam.
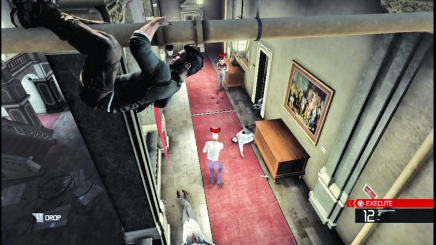
Marked targets can also be dropped in executions - lightning fast attacks that your enemies have no time to respond to due to your advanced training. Targets within range of execution are noted by red chevrons. Targets can move in and out of range, so keep an eye on the color of those chevrons. A target with a gray chevron will not be killed in an execution.
Try to maximize the effectiveness of your executions by making sure all marked targets are within range, because if you leave any survivors following an execution (unmarked targets) within visual range, you are bound to attract some serious attention.
You cannot execute marked targets whenever you like. You must first earn an execution. There are a few methods for earning an execution. Hand-to-hand kills (also known as close kills) are the most common. You also earn an execution by dropping on an enemy from a pipe or ledge in a move called Death from Above, which is detailed in the stealth section of this chapter.
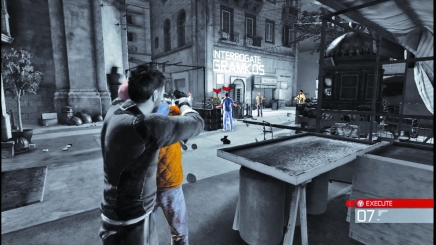
You can also execute marked targets while holding a human shield. This is a great way to wade into a dangerous scene and immediately tilt the odds in your favor.
Executions are quiet if you use a silenced weapon. You can execute from the shadows and remain unseen. Shadowy executions are an excellent way to systemically clear a room of bad guys.
Mark your targets and execute them with a silenced weapon. Then sneak up behind an unsuspecting enemy and take him down with a hand-to-hand kill. Then find a new vantage point in the scene and mark another batch of enemies for execution.
Doors
When you approach a door, you have multiple options. You can peek under a door with a piece of mirror or a snake cam to observe what is on the other side. If you want to quietly enter a room, just open the door. You automatically open it with zero fanfare.
If somebody has his back to the door, he will not hear you open it. This is a great way to sneak up on an enemy and take him with a hand-to-hand kill, dragging him out of a room without anyone the wiser.
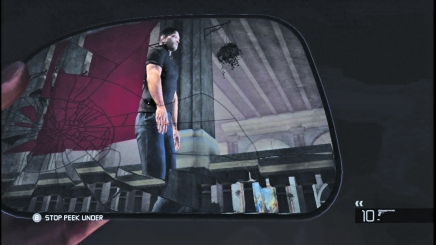
Peeking under a door is not without dangers. Enemies can still open the door and if one does while you are peeking, they discover you looking at the ground. They have the drop and will always get off the first shot. React fast with a melee kill.
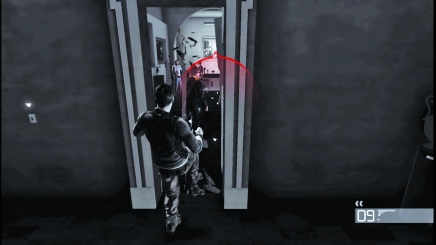
There is a third option: smashing doors. As expected, this makes a lot of noise. But it also surprises everybody on the other side of the door. You have a brief moment to take advantage of that surprise by popping off a few shots, executing marked targets, or grabbing the closest guy and pulling him into a close kill.
Environmental Kills
Keep an eye out for things in the environment you can use against your enemies. Shooting fuel drums, for example, results in massive explosions that take out all enemies in the immediate area. But also look for hanging objects that you can drop on enemies. Release chandeliers, cargo containers, and more by shooting the chains holding them up. The falling object instantly kills anybody beneath it. And even if you do not kill anybody with the explosion or falling object, you have still created an effective diversion.
Enemies in the area will rush to investigate. This can be used to either bring enemies within range (for an execution, perchance?) or move them to another area so you can easily slip into the darkness.
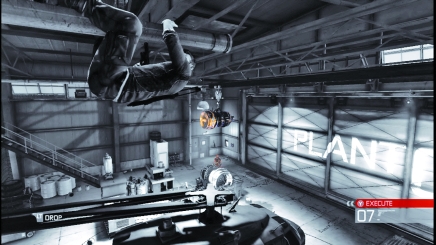
Fuel drums and hanging objects that can be used to kill enemies still show up in color, even when you are stealthily hidden from view.