
Tom Clancy's Splinter Cell: Conviction Guide Multiplayer Co-op Story
Yastreb Complex
Yastreb Complex
The intelligence gathered at the embassy has led to the discovery of the Yastreb Network, a terrorist cell operating within Russia. Its headquarters is a repurposed bunker deep below Red Square. You are to infiltrate the bunker and locate the weapons that have just been sold to Iranians. Stop this shipment by any means necessary.
Sector 1 Strategy
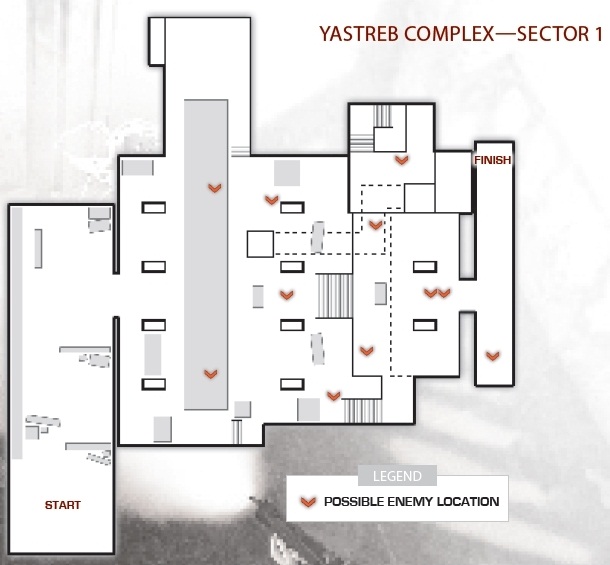
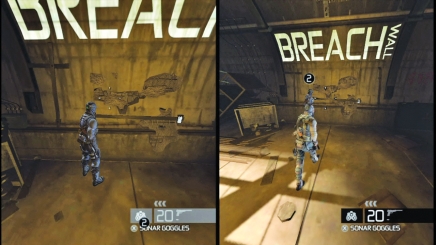
The first action inside the complex is to breach the tunnel wall that connects you to the interior of the Yastreb Complex. The pair of you must approach the marked wall and set charges to infiltrate. The blast makes considerable noise. A small group of guards approaches the hole. Take them down with silenced weapons so you don’t bring everybody down on your position.
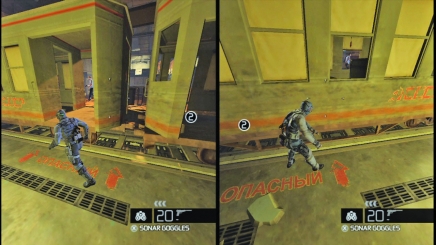
Inside, move into the stopped train car and use it as cover to take down the remainder of the patrol in the station.
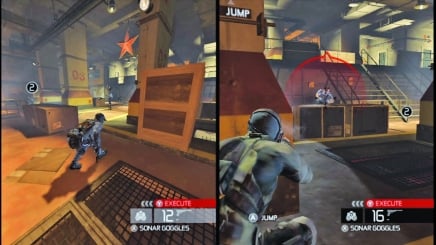
Sweep through the station together, each player taking one side of the sector. You must advance up the stairs to reach the exit in the back of the platform. Watch for enemies coming down the steps from the upper level of the sector. Use EMP blasts to turn off the lights and stun enemies so you can exit the sector and continue pursuing the weapons.
Sector 2 Strategy
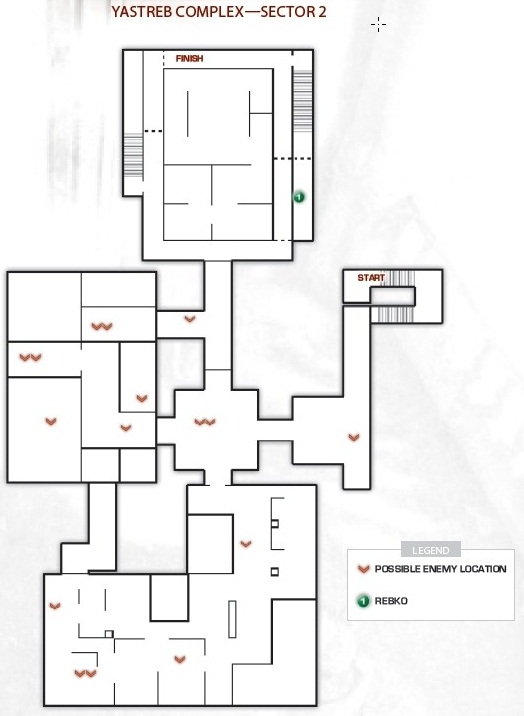
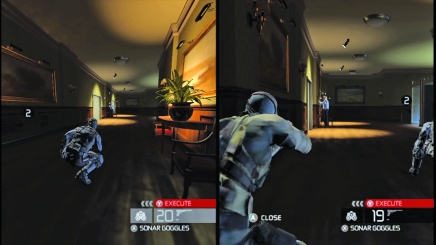
Inside the bunker, you access an office area. There is a patrol near the entrance to the office. Silently take out the guard right inside the sector and then infiltrate the security station. Be sure to vault over the desk and not pass through the metal detectors. Hit another EMP to stun the guards at the station and take them down.
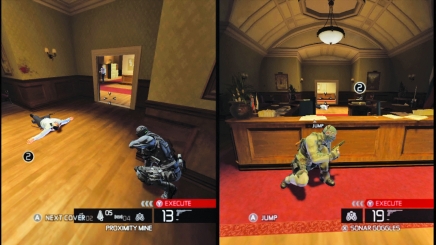
Continue pushing through the office entrance, relaying guard locations to each other.
The interior of the office area is a cubicle farm. There are several small offices with taller walls. Hang from those walls to survey the guards inside the office. Follow their progress by observing their flashlight beams. Hang above them and take them down with headshots.
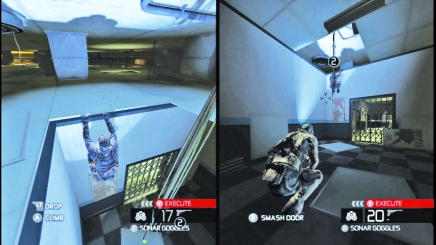
Move deeper into the less glamorous office area. Pull yourselves into the crawl space above the ceiling.
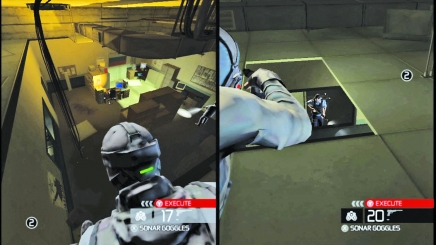
Target the guards from the holes in the ceiling tiles. If your location is ever made, pop an EMP and disappear.
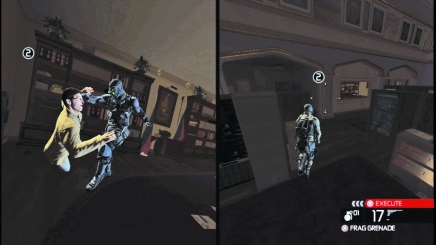
After clearing out the offices, breach the locked door together and then zero in on Rebko, the next person in Yastreb’s chain of command. Interrogate Rebko to convince him to give you access to the Yastreb servers where you can download additional intelligence on the weapons.
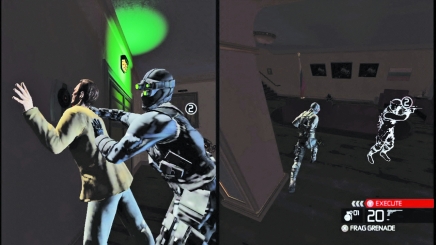
Force Rebko’s face into the biometric security system on the lower floor of the office to gain access to the archives where you will find the servers. However, as soon as you unlock the doors, Rebko turns on the player who held him. The other must hurry to take Rebko down. Coordinate your ducking and shooting so the bullet meets the right mark.
Sector 3 Strategy
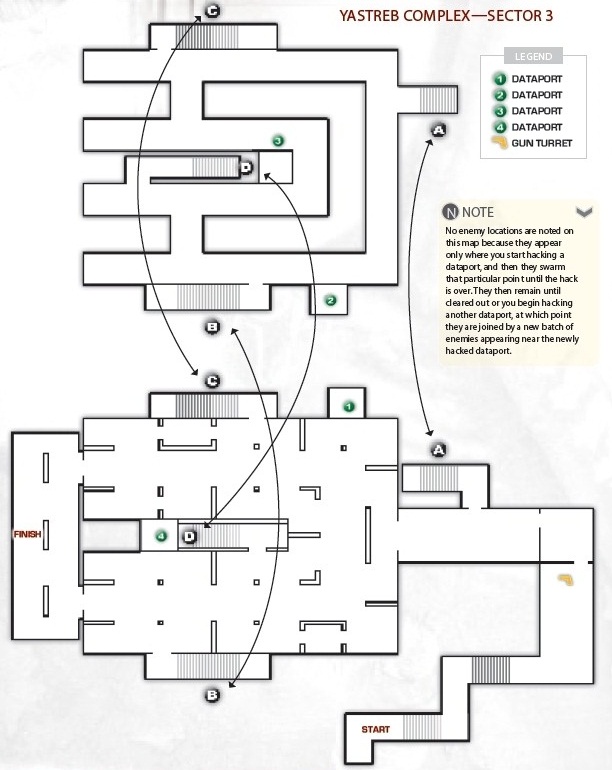
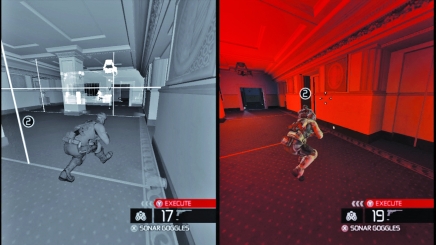
To access the archives, you must first slip through a field of moving laser tripwires. If one of you breaks the beams, the auto-turret hanging from the ceiling swings into action and starts shooting. Fortunately, there are pillars in the room wide enough for one person to take cover. Use those until the shooting stops.
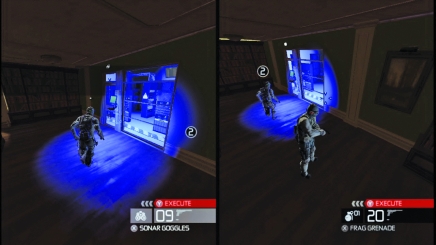
Inside the archive, you must access four dataports to download the necessary intelligence. It takes a few moments to download the data from the blue terminals. But as soon as you start that first download, hostiles breach the archives. While it’s active, you must prevent enemies from retaking the port before the download completes. You have seven minutes to access all four dataports and complete the downloads.
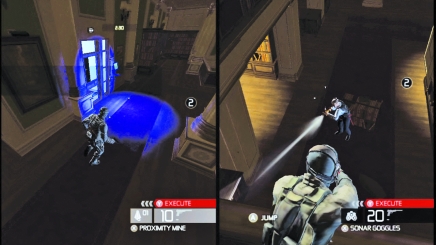
Work together to keep guards back from the dataports. Hang from ledges and target enemies as they attempt to swarm the dataports.
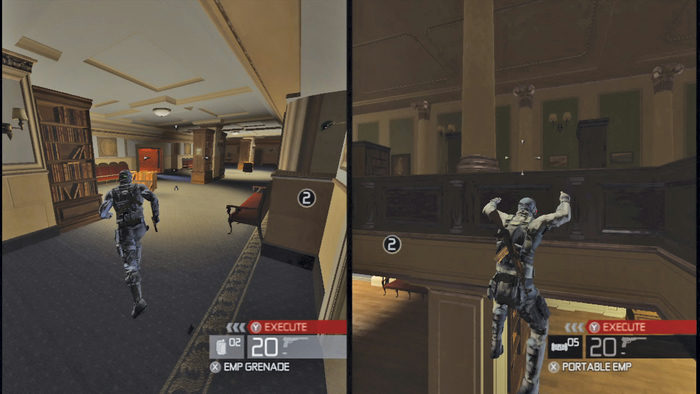
After hacking all four data terminals, escape the archive through the rear of the library.
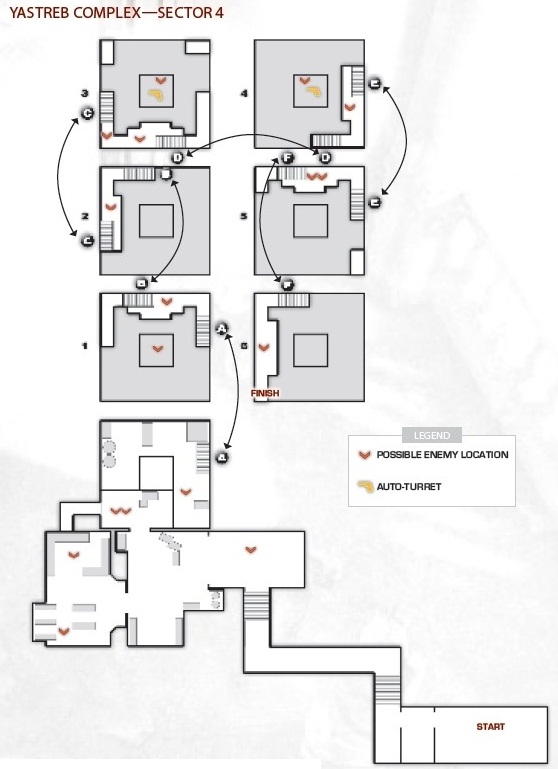
Sector 4 Strategy
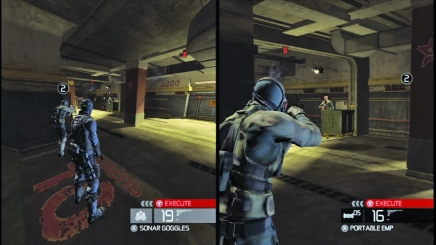
As you descend the steps to the bottom of the bunker, slow and look for guards. One typically lurks near some crates to the left. After taking him out, swiftly move through the corridor, looking for additional targets. A vault off to the left contains at least two guards. Duck down and take them out.
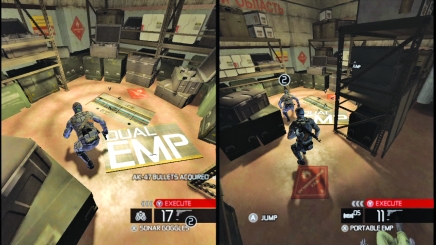
Activate the dual EMP blast inside the vault to sabotage security systems.
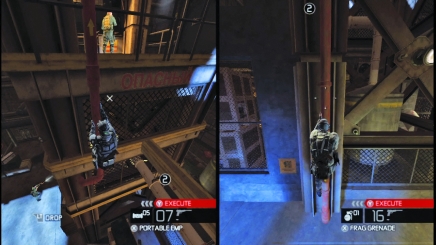
After performing the dual EMP blast, exit the vault and move to the right. There is another blast door with guards passing through it. Shoot them down. You can ascend the tower in the center of the tall chamber to begin your escape from the bunker, or climb the stairs on the outer edge of the circular chamber.
Use the pipe to start climbing. As you climb together, look for the sweeping flashlight beams from guards on the stairs surrounding the tower. The tower itself has two auto-turrets. Use the ledges to climb around the tower and avoid the turrets. Shoot the guards who operate the control panels and then use the panels to disable the guns.
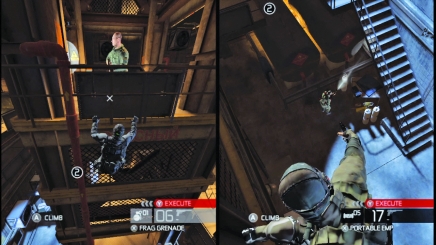
Communicate guard positions to each other, both on the tower and the stairs that circle it. And shoot out lights to create shadowy areas on the tower whenever available.
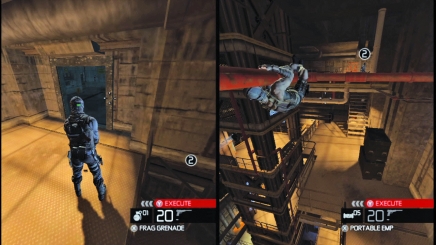
The sector exit is at the top of the chamber. Move away from the tower via the pipe at the tower’s top. The exit is at the top of the stairs. However, before crossing to the outer stairs of the chamber, make sure you either shoot all guards or pop an EMP to stun them into temporary submission.
Sector 5 Strategy
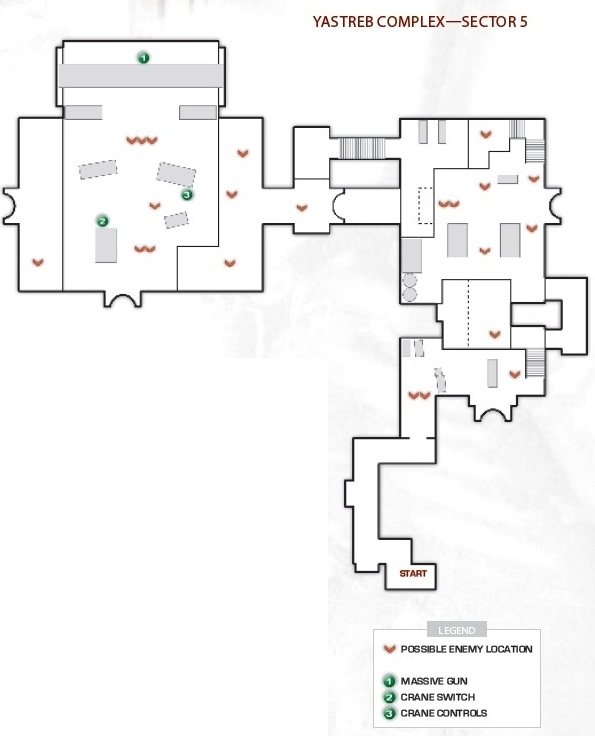
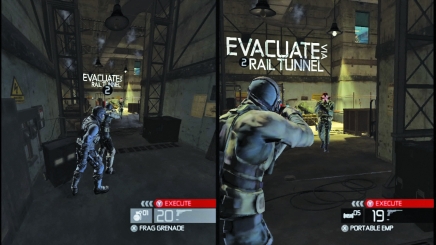
The only escape from the complex is via a rail tunnel. However, every surviving Yastreb guard in the bunker is now on high alert and hunting for you. As soon as you enter the sector, raise your weapons and start shooting. Use the fuel drums as bombs to blow up patrols.
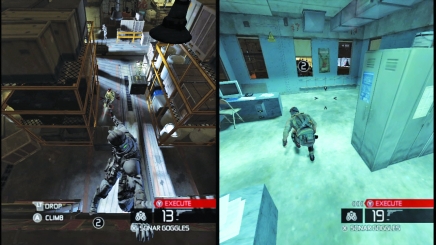
Talk your assault through, relaying enemy positions to each other. Mark targets so you both can follow hostile movements. And always stay in cover.
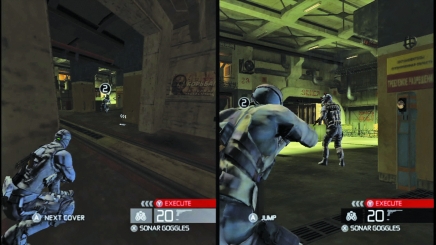
The multitude of guards is a major problem, but your greatest threat thus far is a giant gun positioned in the rail tunnel that serves as your exit. You cannot escape without destroying the gun. To do so, you must push back on the patrols. Use mines and frags to eliminate enemy positions. And if enemies do get too close, stun them with EMP blasts.
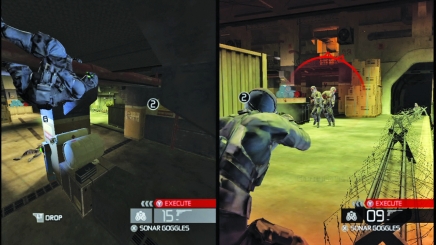
The gun can only be destroyed by activating a crane. The crane holds a heavy cargo container. The crane moves the container above the gun. Once it is in place, you can move to disable the gun.
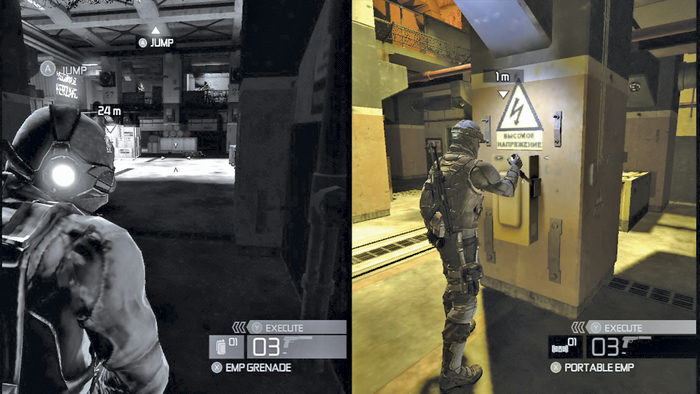
Before using the crane controls to destroy the gun, you must first power up the crane with the yellow switch on this pillar.
To raise the crane above the gun, press the giant red button on the wall. The other player must provide cover while you do this.
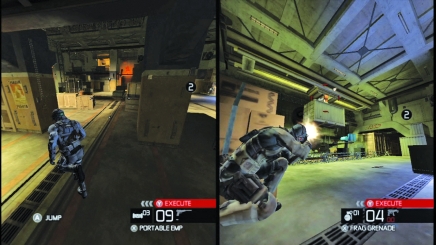
You must wait for the crane to move the giant cargo container over the gun at the far end of the room. As soon as the container is over the gun, blast the mechanism holding it up. The container falls on the gun, ending the threat. Now leave through the tunnel to the left of the destroyed gun.
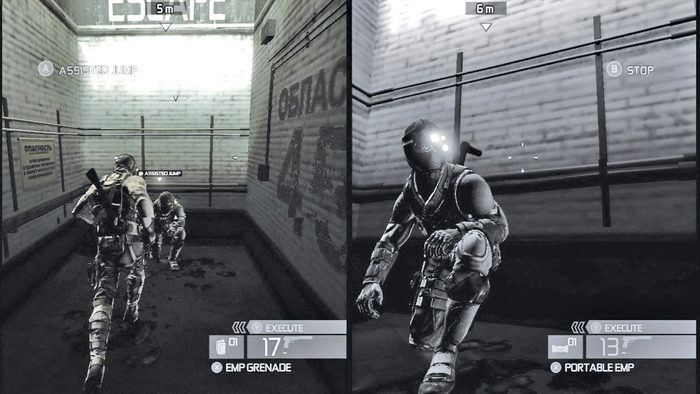
You must perform an assisted jump to escape Yastreb. One player must duck down and then vault the other up to the pipe to initiate the escape.