
Gears of War Guide Multiplayer
The Maps
Canals
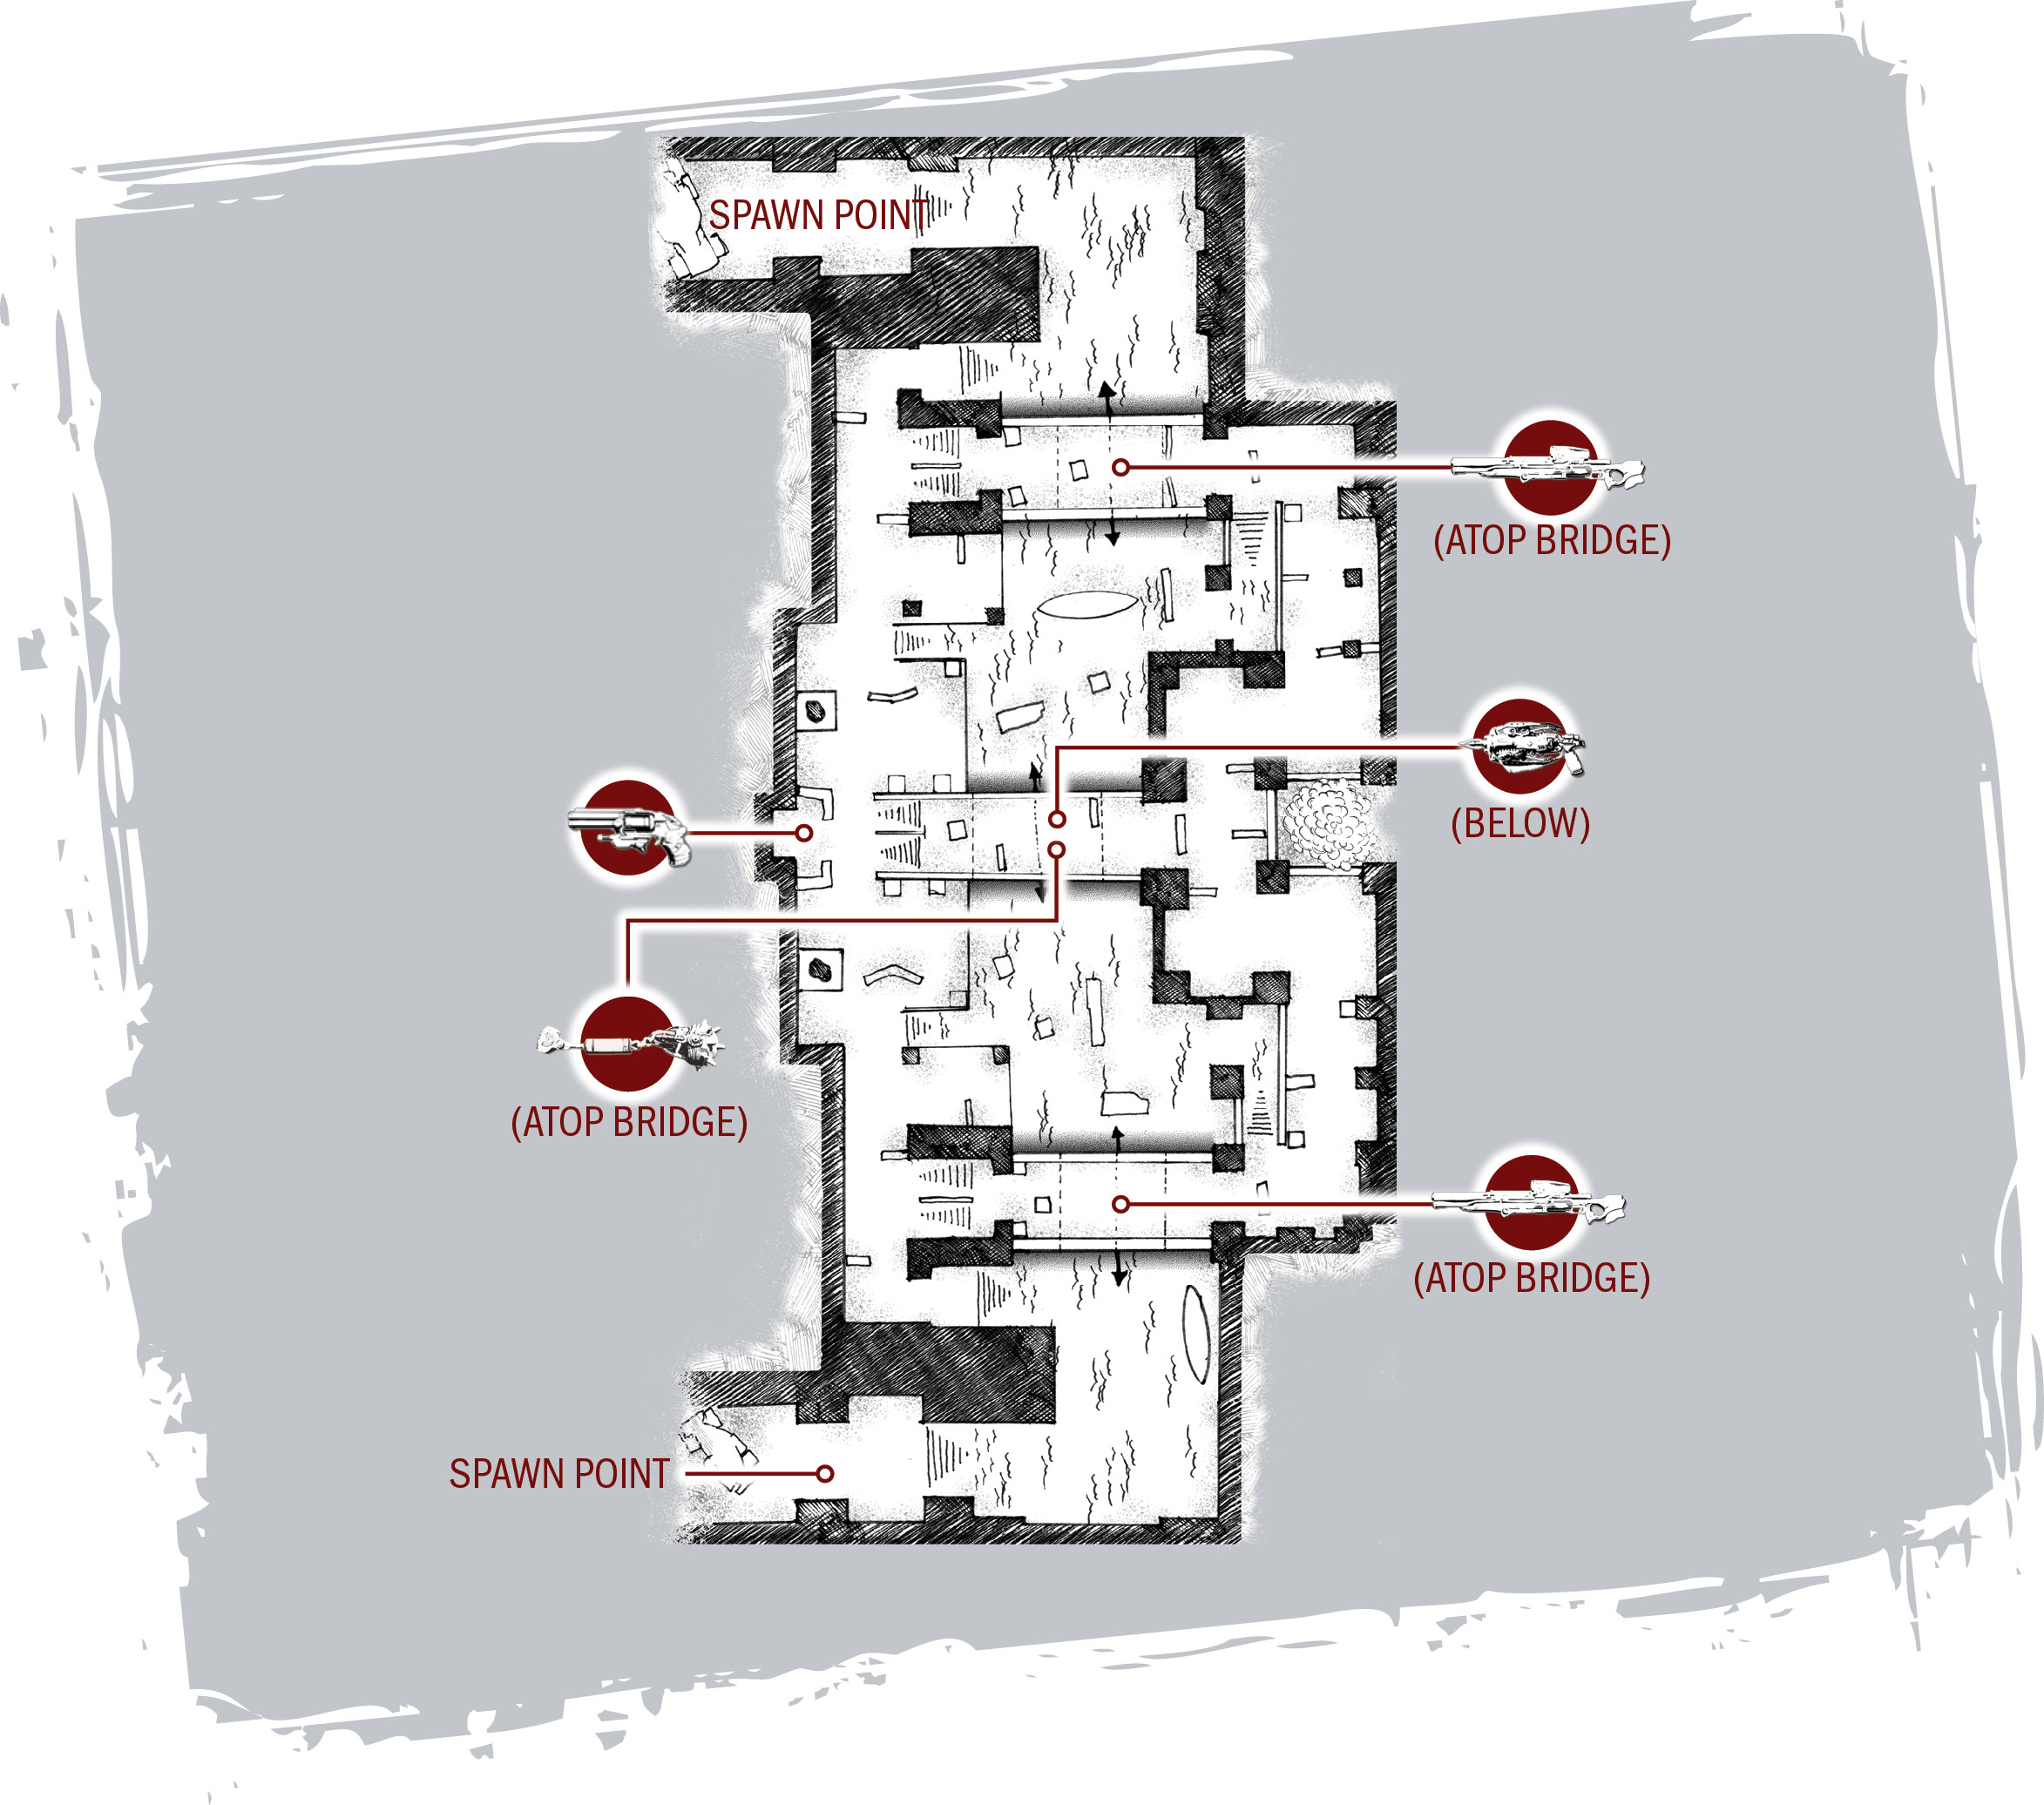
Canals is one of the only multi-level maps that allows players to regularly run below and above one another, thanks to the three bridges that span the canal. The three bridges provide ample sniping opportunities, but those who don’t mind getting their feet wet will find the Torquebow as a pleasant reward. This map’s elongated design puts a premium on securing either of the Longshot rifles or the Torquebow. Those with a knack for getting in close and surprising an enemy with a critical melee attack may prove superior.
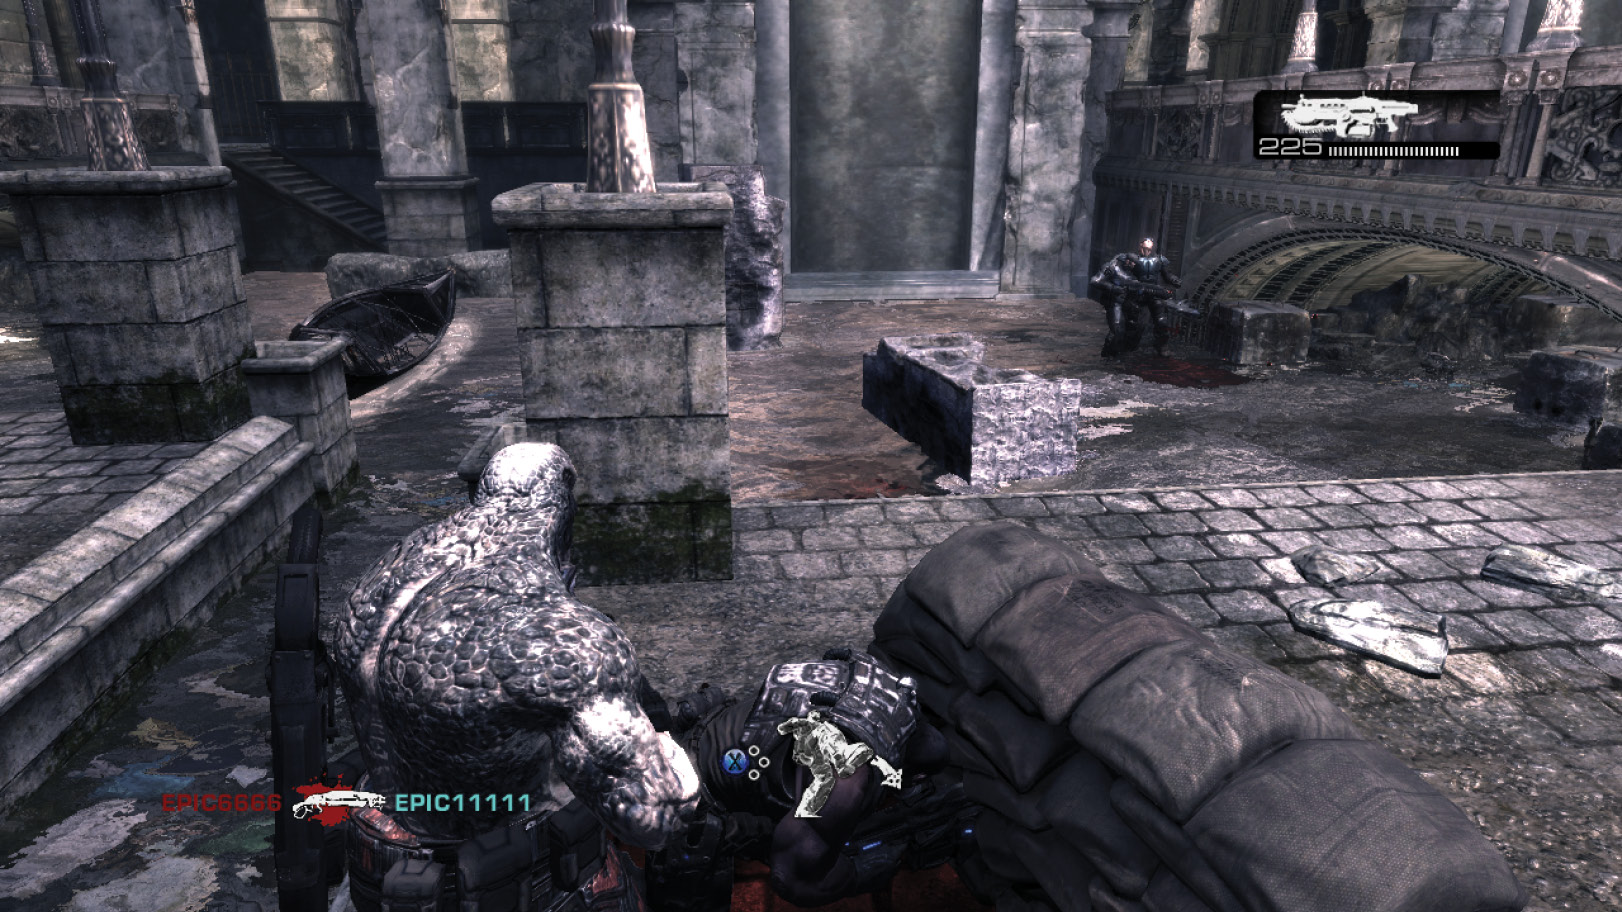
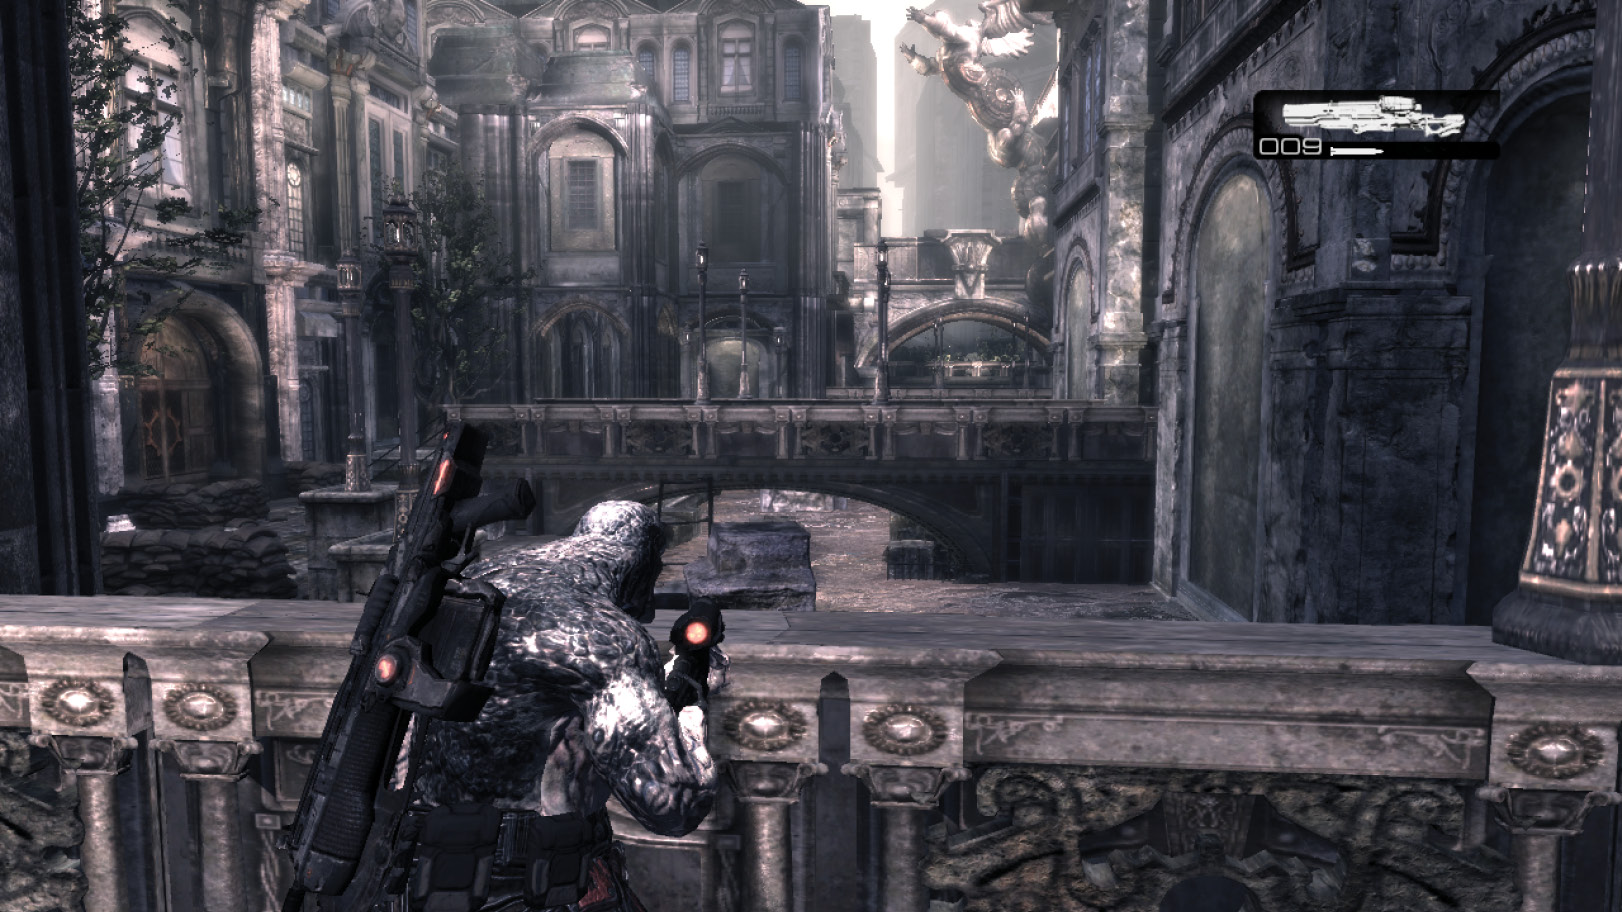
- Have one team member rush to the Longshot on the bridge nearest your team’s spawn point. From there, the player can snipe or provide cover fire while the other three teammates attempt to obtain the Torquebow under the central bridge.
- Decide ahead of time whether your team will make an all-out rush for the Torquebow—which carries the risk of getting sniped from the opposite side—or take a more cautious approach. There are Frag Grenades on the bridge above the Torquebow. If one teammate gets to them first, he or she can use them to hold back the opposition while another team member grabs the Torquebow.
- The pillars on the map’s edges provide shadowy cover from which to snipe or attempt surprise melee attacks. They are an excellent place to launch last-ditch attacks when you’re outnumbered.
Clocktower
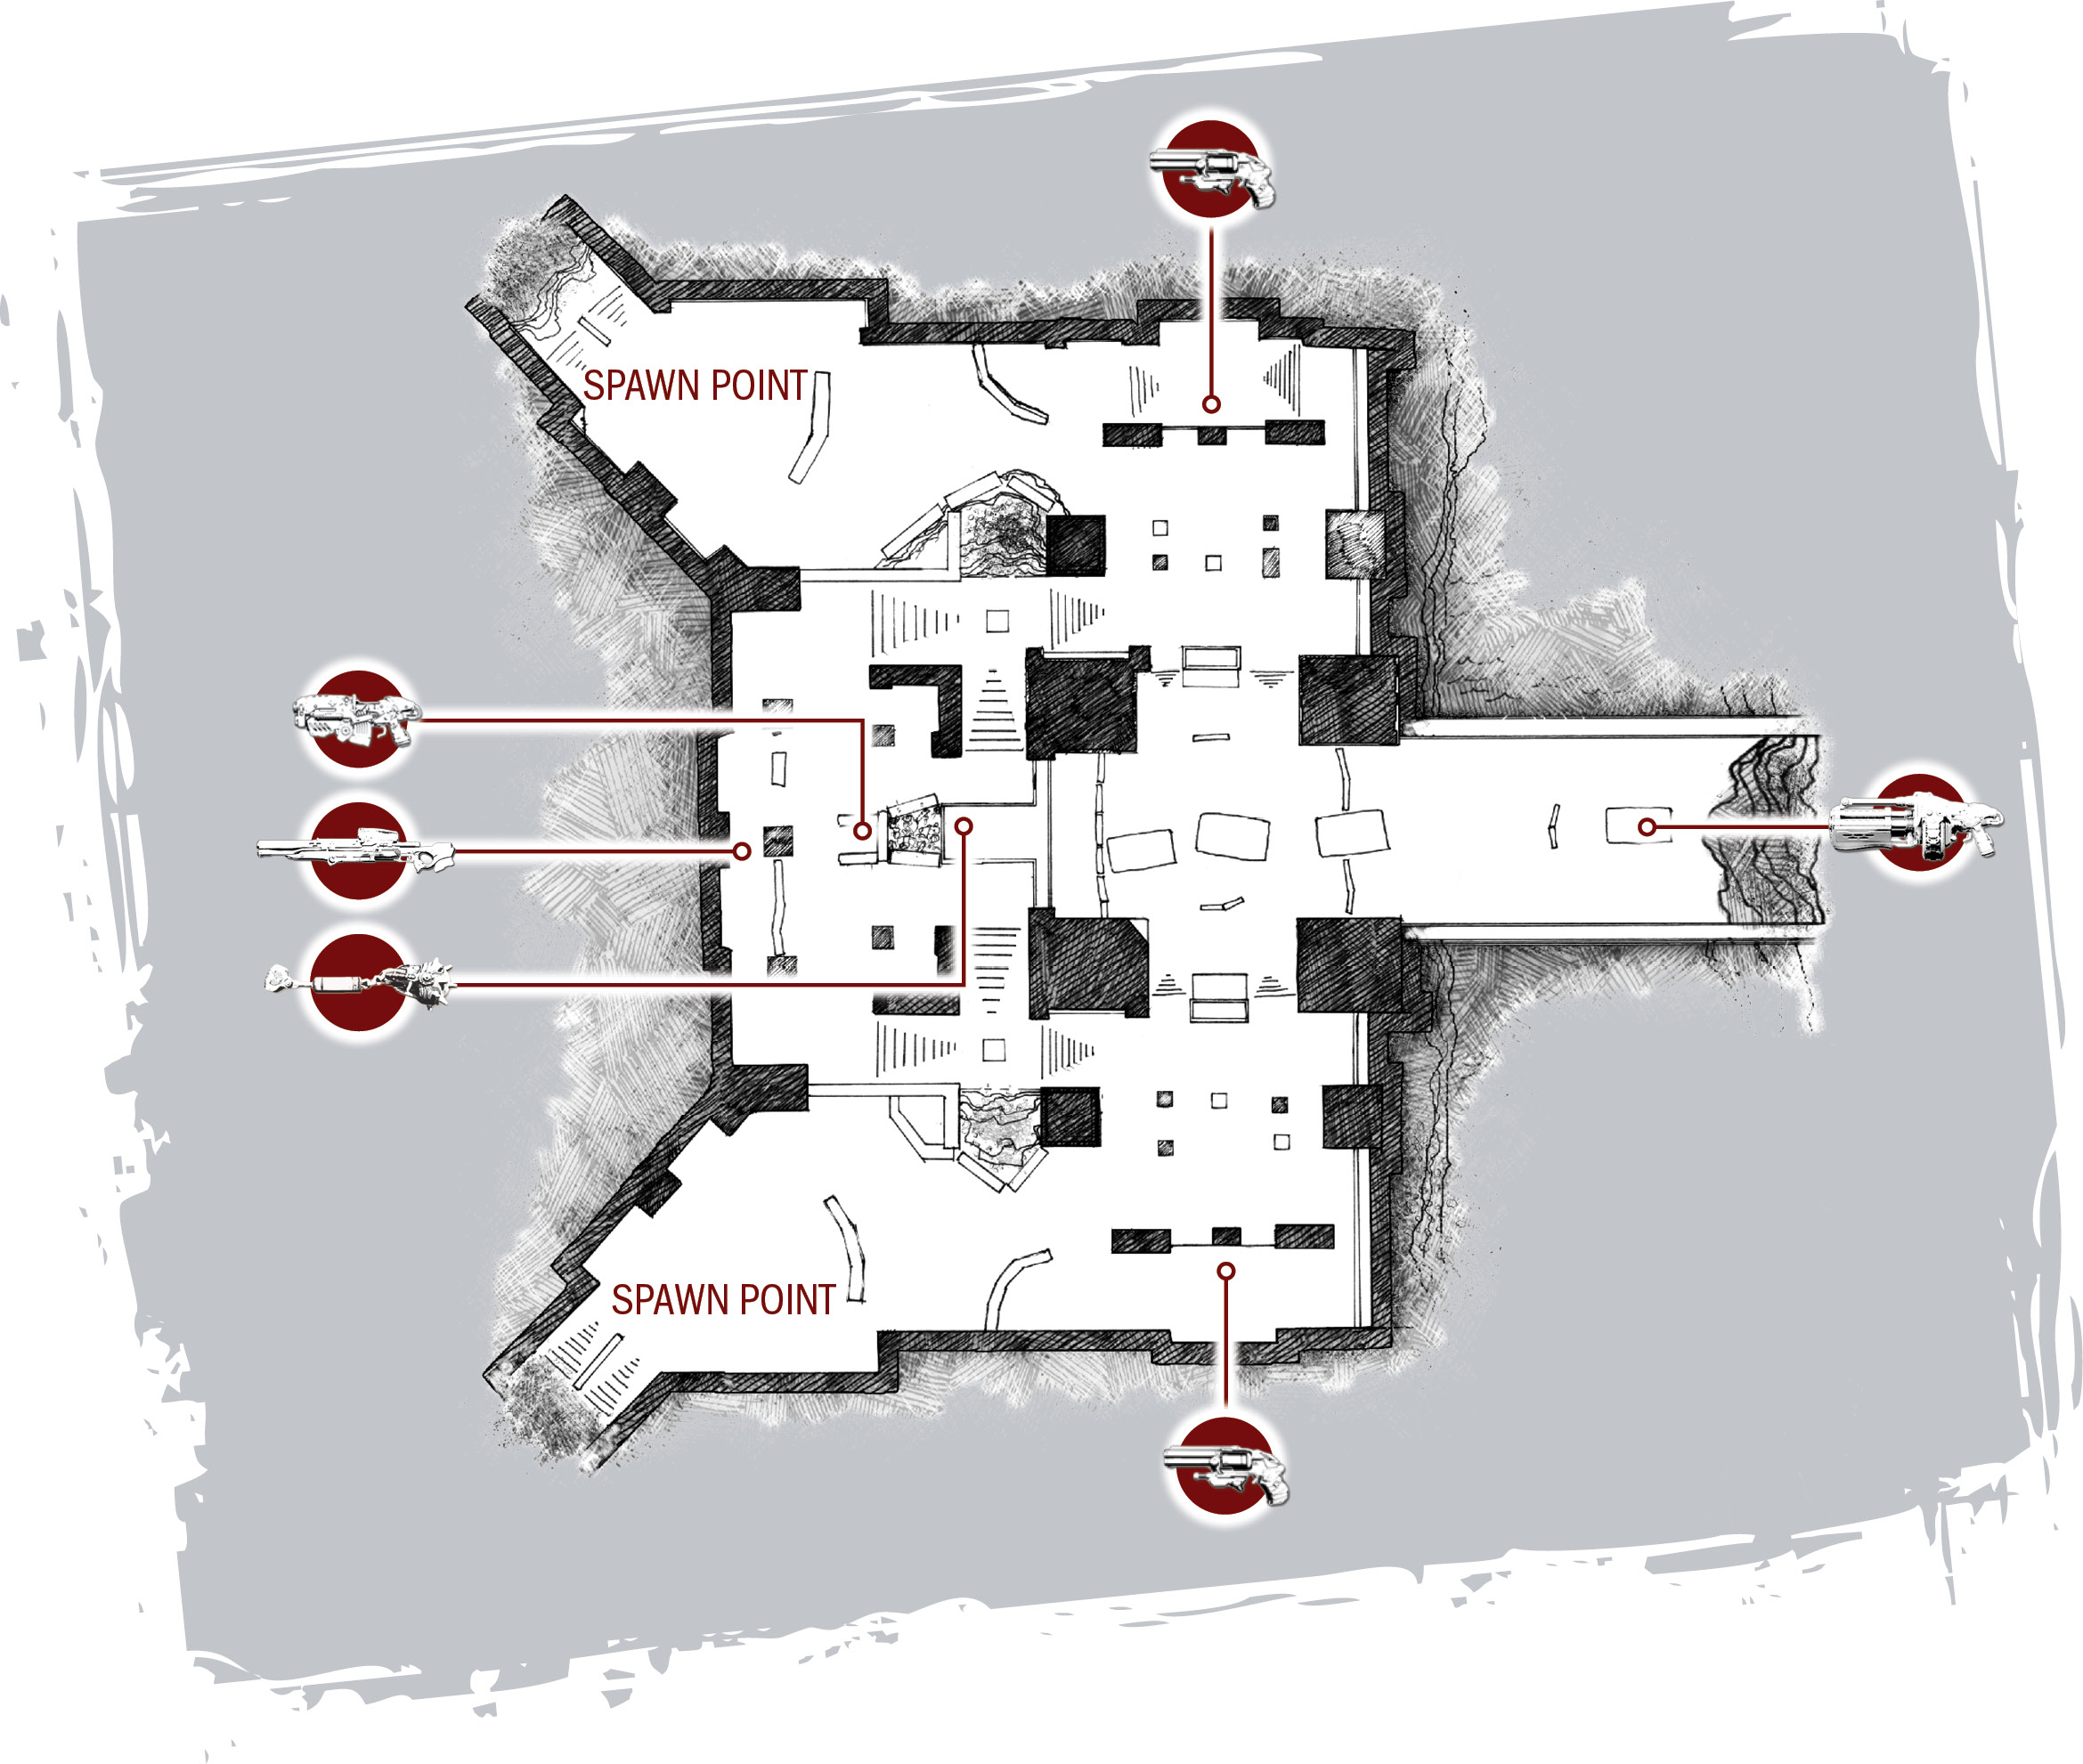
Clocktower is a rather complex map in that it has multiple levels, loads of intricate cover, and a large tower in the center that obscures the view. The map is not as large as some of the others, so there are few places that offer long-range views—much of the action will be up close and personal. Enhancing this element are two dead-end areas that force cornered players to turn and fight. Take it from us; don’t try to single-handedly hold off an entire team from the bridge near the Boomshot!
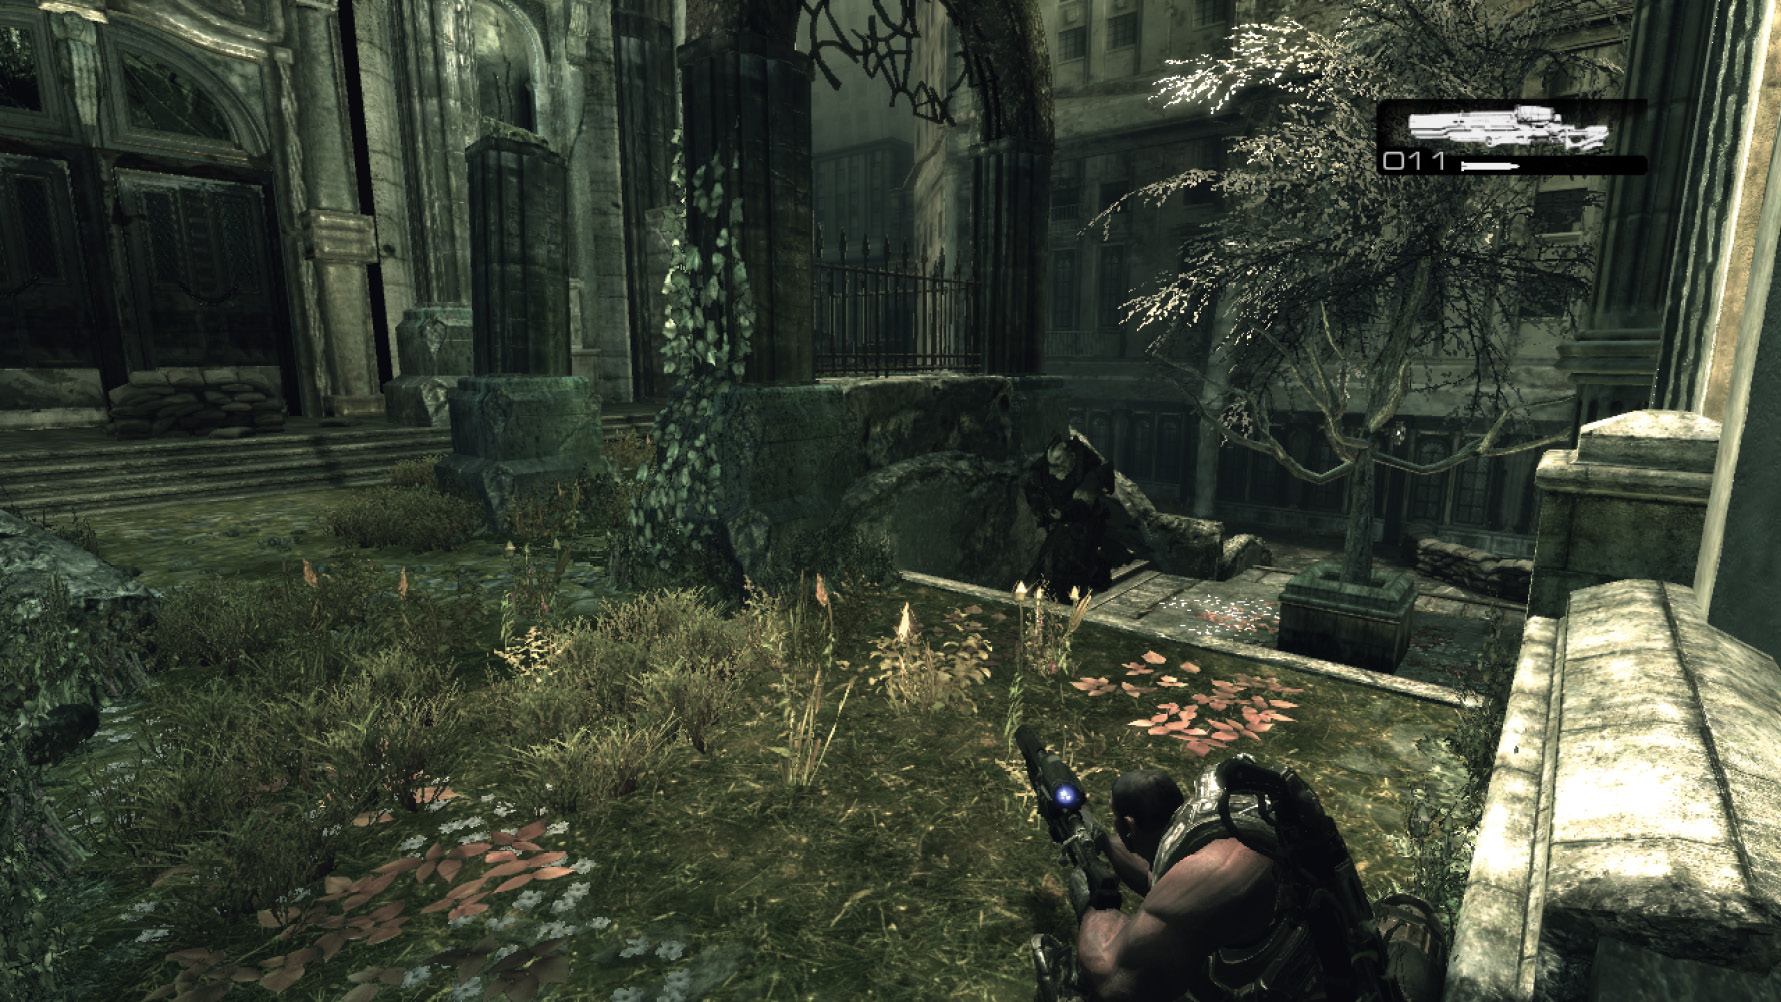
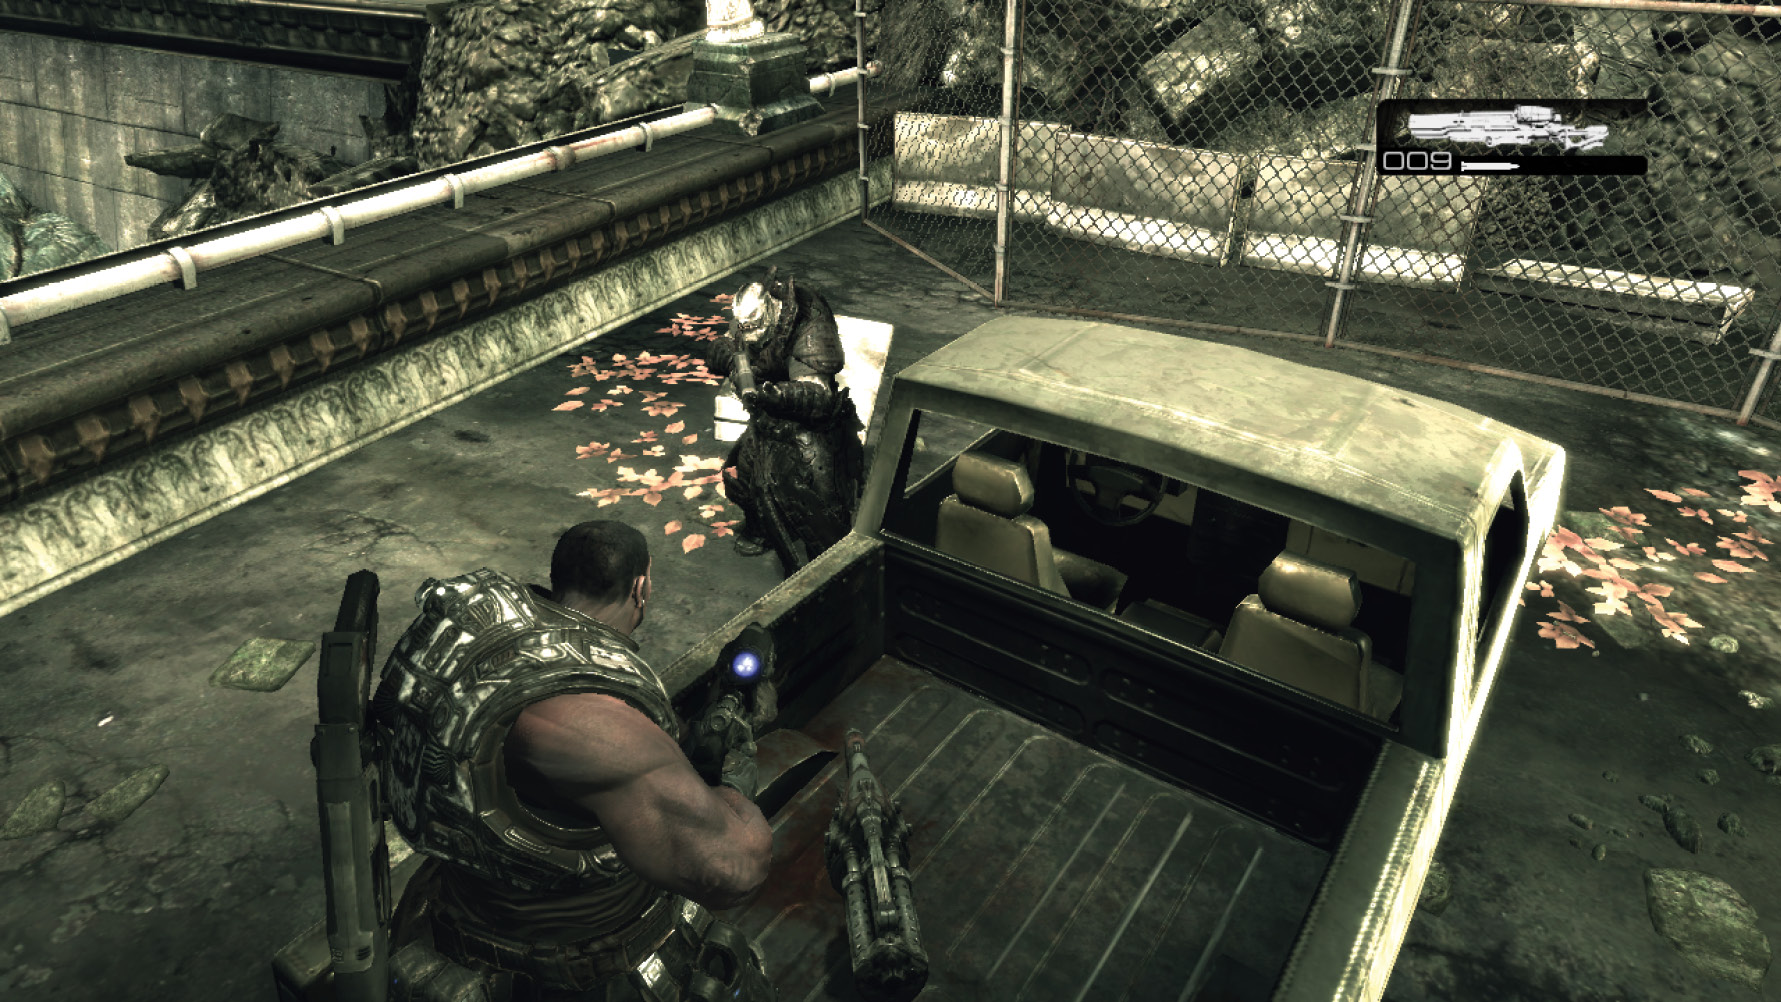
- Instruct one member of your team to rush toward the Boomshot location and hide behind the front of the truck. Wait for an enemy to grab the Boomshot, then jump out and surprise him with the Gnasher from pointblank range!
- The Longshot location is hotly contested, so sending multiple team members for the weapon is the way to go. This gives you a better chance at acquiring the Longshot. Failing that, it may at least help you counter the enemies’ tactics.
- Don’t overlook the area where the Frag Grenades are located. Many players rush past the area, thus missing out on these desirable weapons. Plus, the position is well covered, making it easier to defend. There’s no way to enter the area other than by hopping over the barricades. This little-noticed spot also affords opportunities to jump over the barrier and Frag-tag unsuspecting enemies.
Escalation
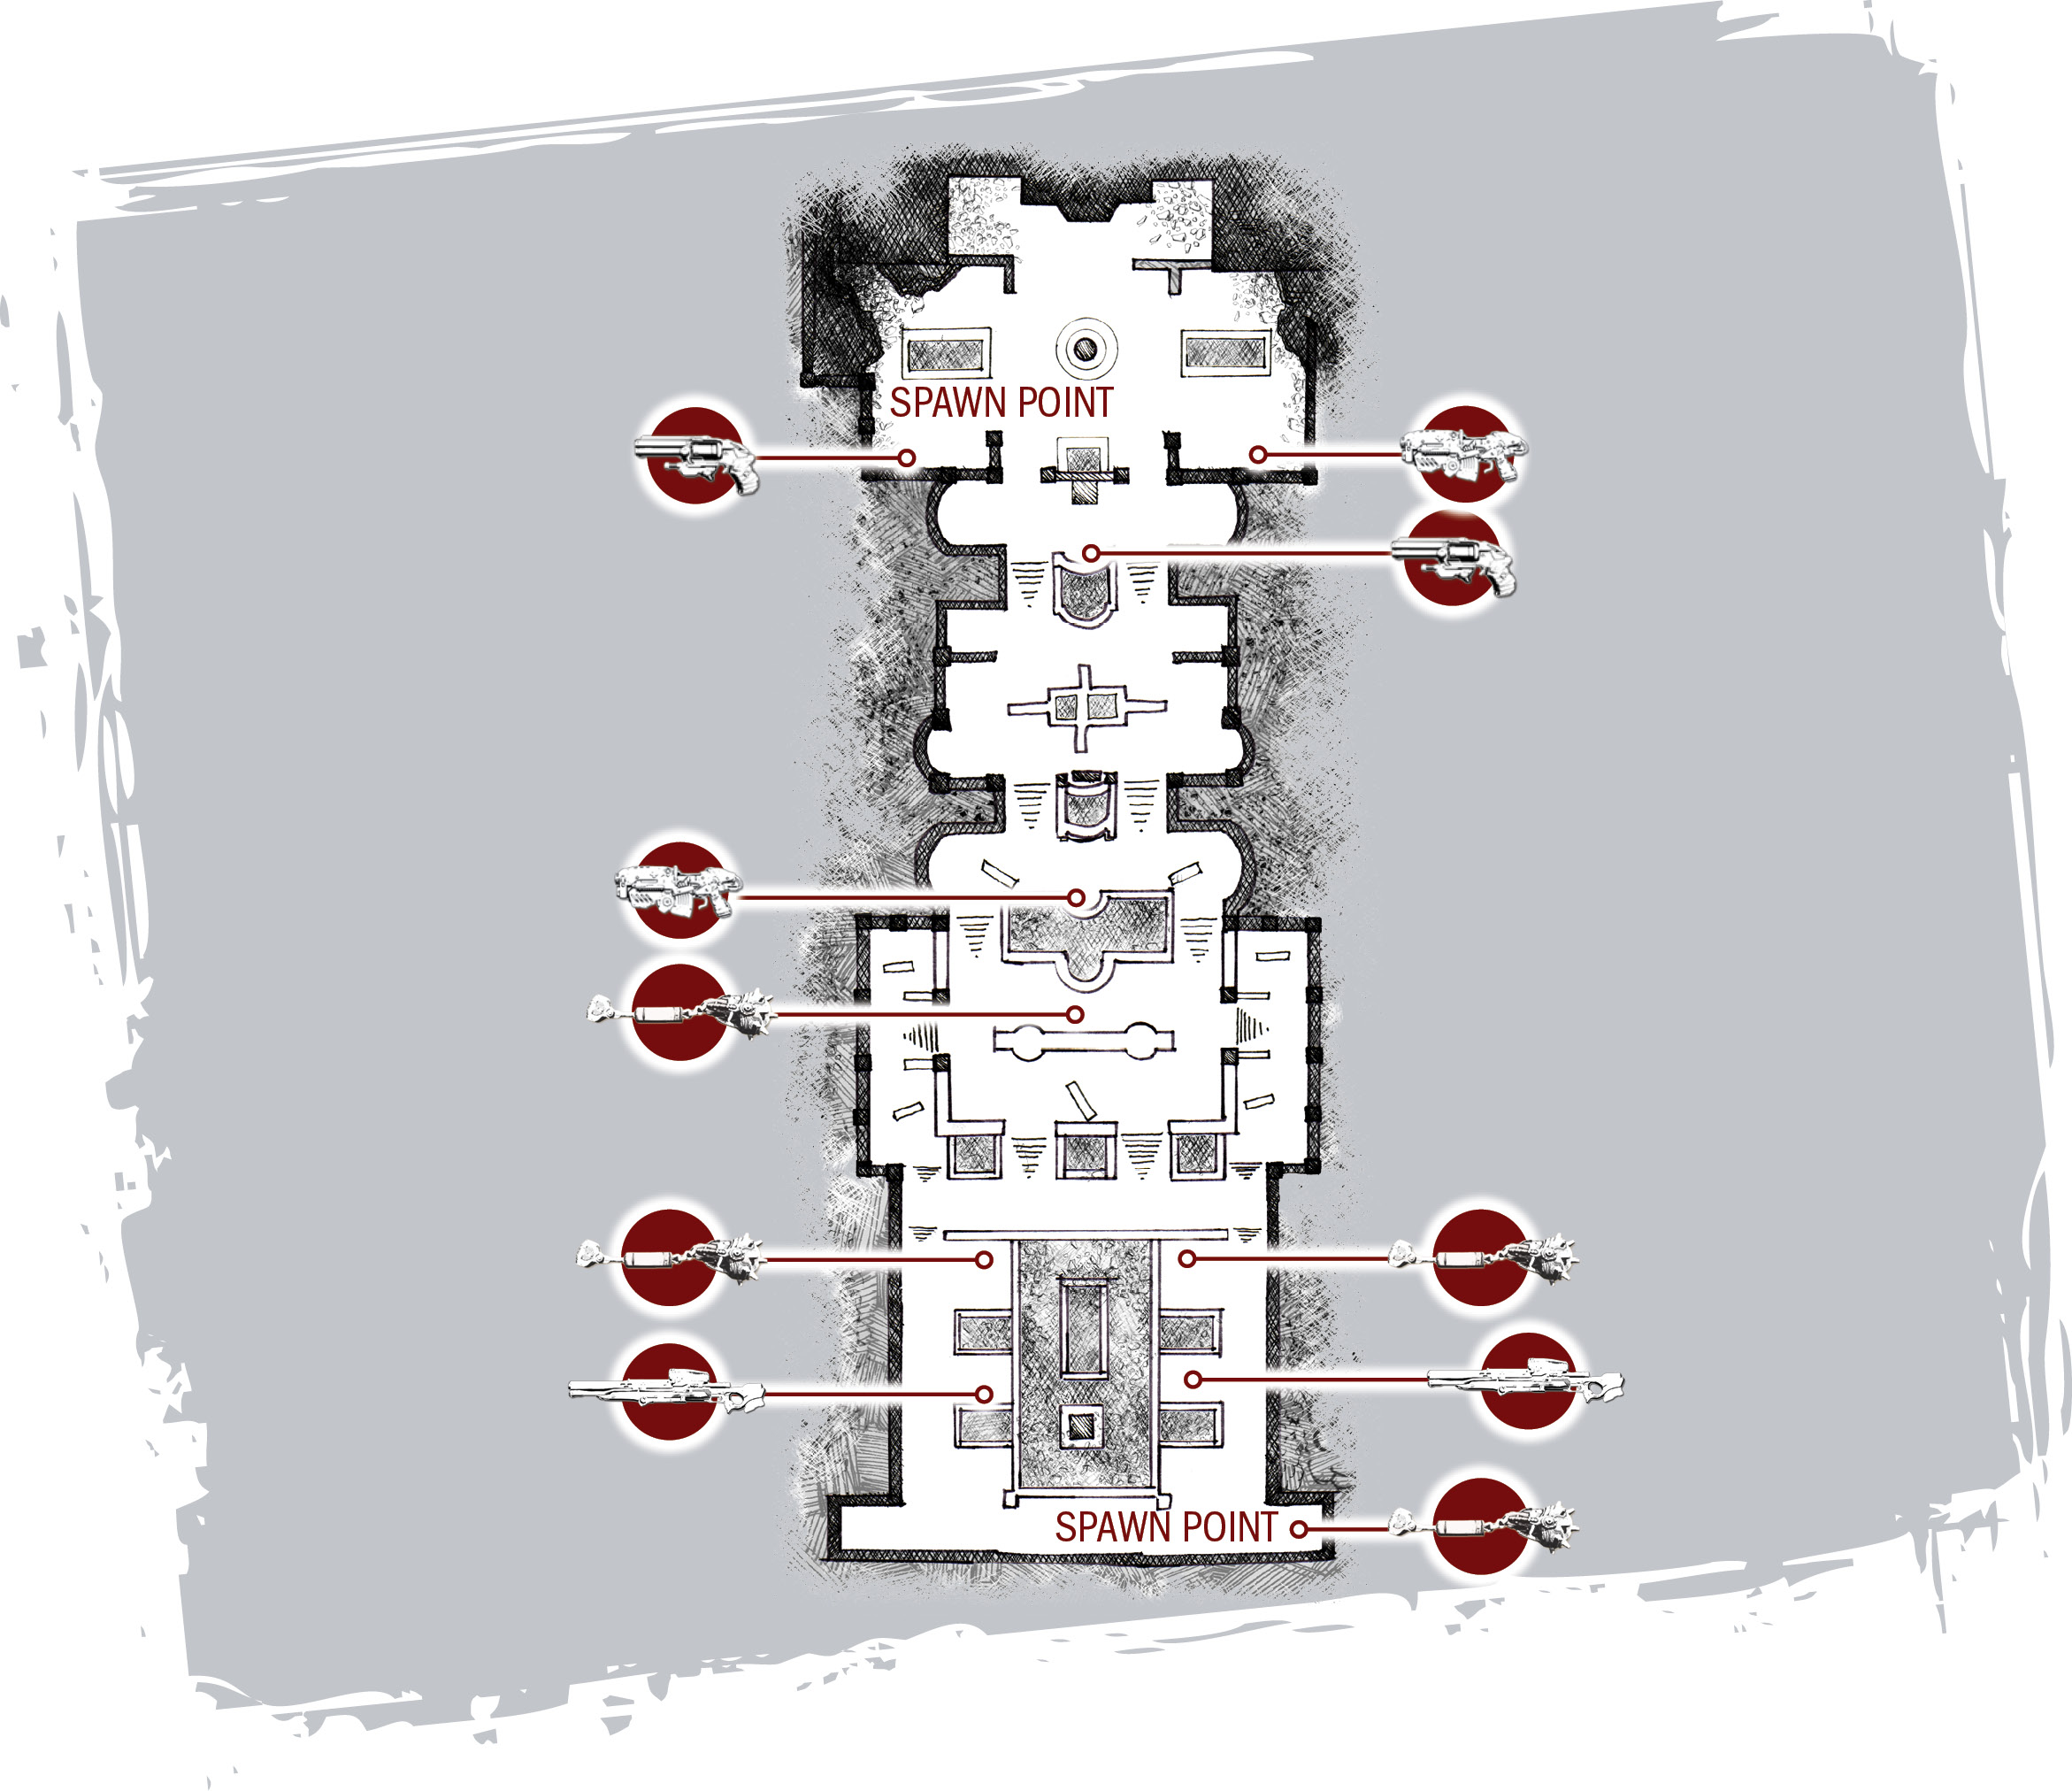
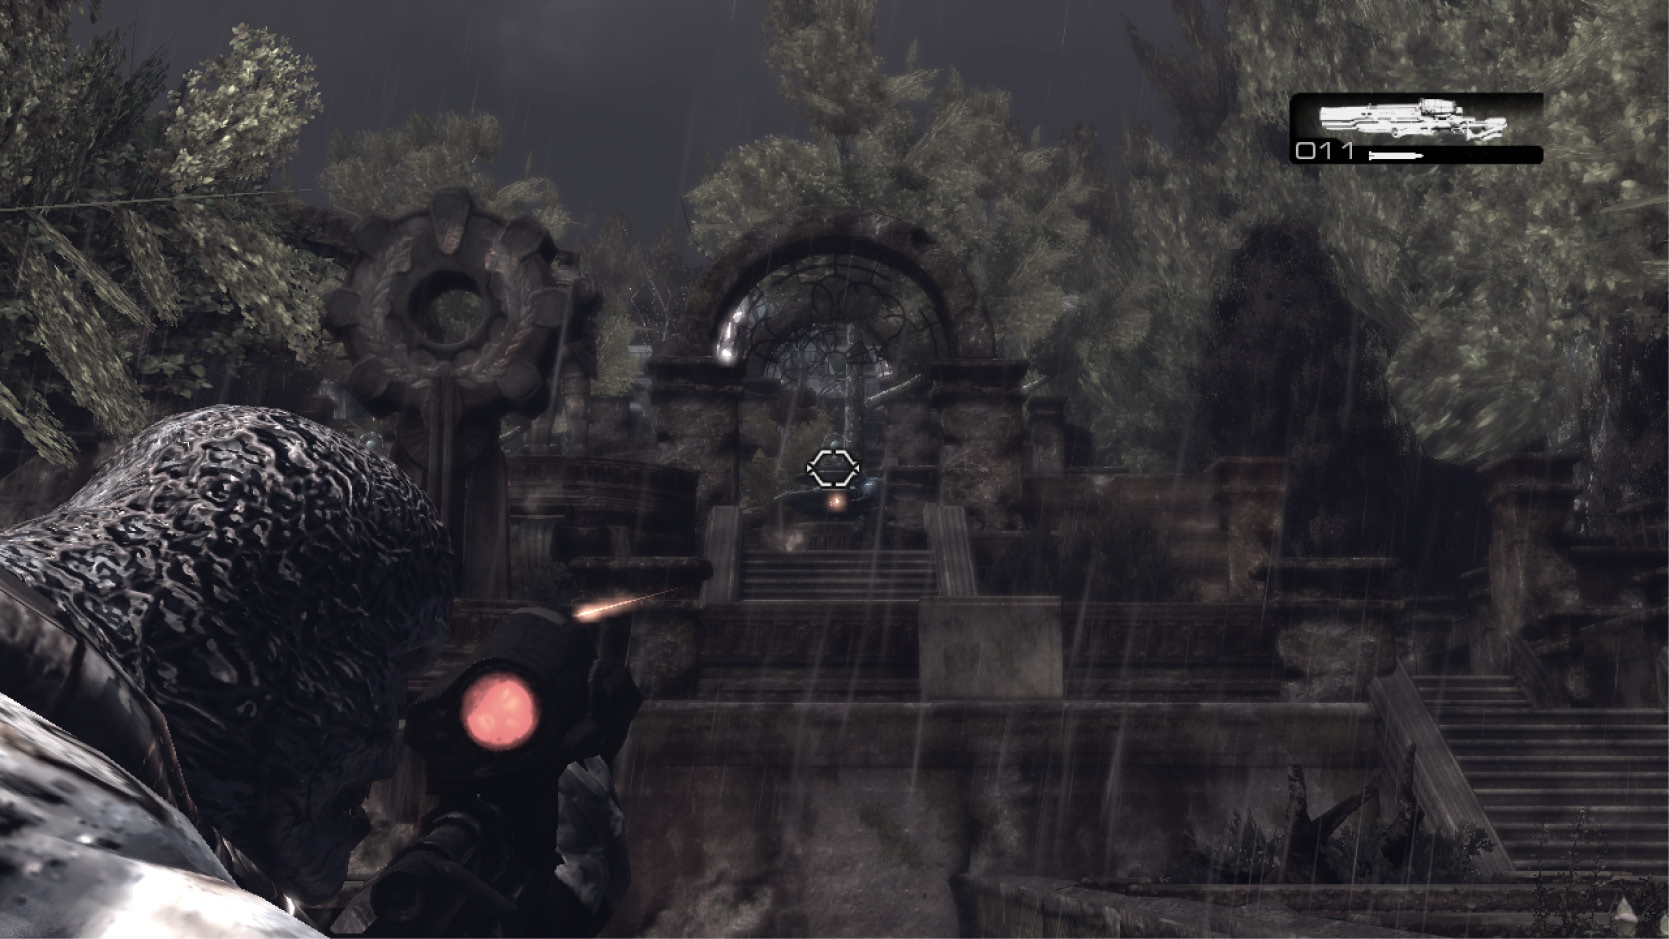
In combat, there are few things more deadly than a sniper with an elevated view of the battlefield. Escalation turns this concept on its ear by giving the team at the bottom of this vertical, stair-laden map a pair of Longshot sniper rifles. Meanwhile, the team that starts at the top can only upgrade to the Boltok Pistol and Hammerburst. Can the upper team dodge sniper fire and ambush those at the bottom? Are the players at the bottom skilled enough to pick off enemies at a distance? Your team’s talent and organization will certainly be tested one way or the other. Who will ascend to greatness?
- The team that starts at the lower spawn point should have two members immediately grab the Longshots and set up a defensive position at the center of the map. Initially, cover is not crucial, as there are no other weapons on the map to match the Longshot’s range. Focus your attention on the stairways near the two fountains, as enemies will likely pass those spots.
- The players at the lower spawn point who don’t get Longshots should grab the Frag Grenades and ascend one level, where they can carpet-bomb the area near the fountains. Obviously, they should stay out of sight and wait until the other team has had enough time to descend.
- If you find your team struggling from the higher spawn point, try hanging back to draw out enemies from the lower reaches. Enemies that don’t acquire Longshots might be especially tempted to come to you. If you eliminate them, you can then rush the remaining enemies below. Another tactic is to have the entire team pick one path (left or right) and rush the lower area, hoping to massacre the other team’s snipers at close-range.
Fuel Depot
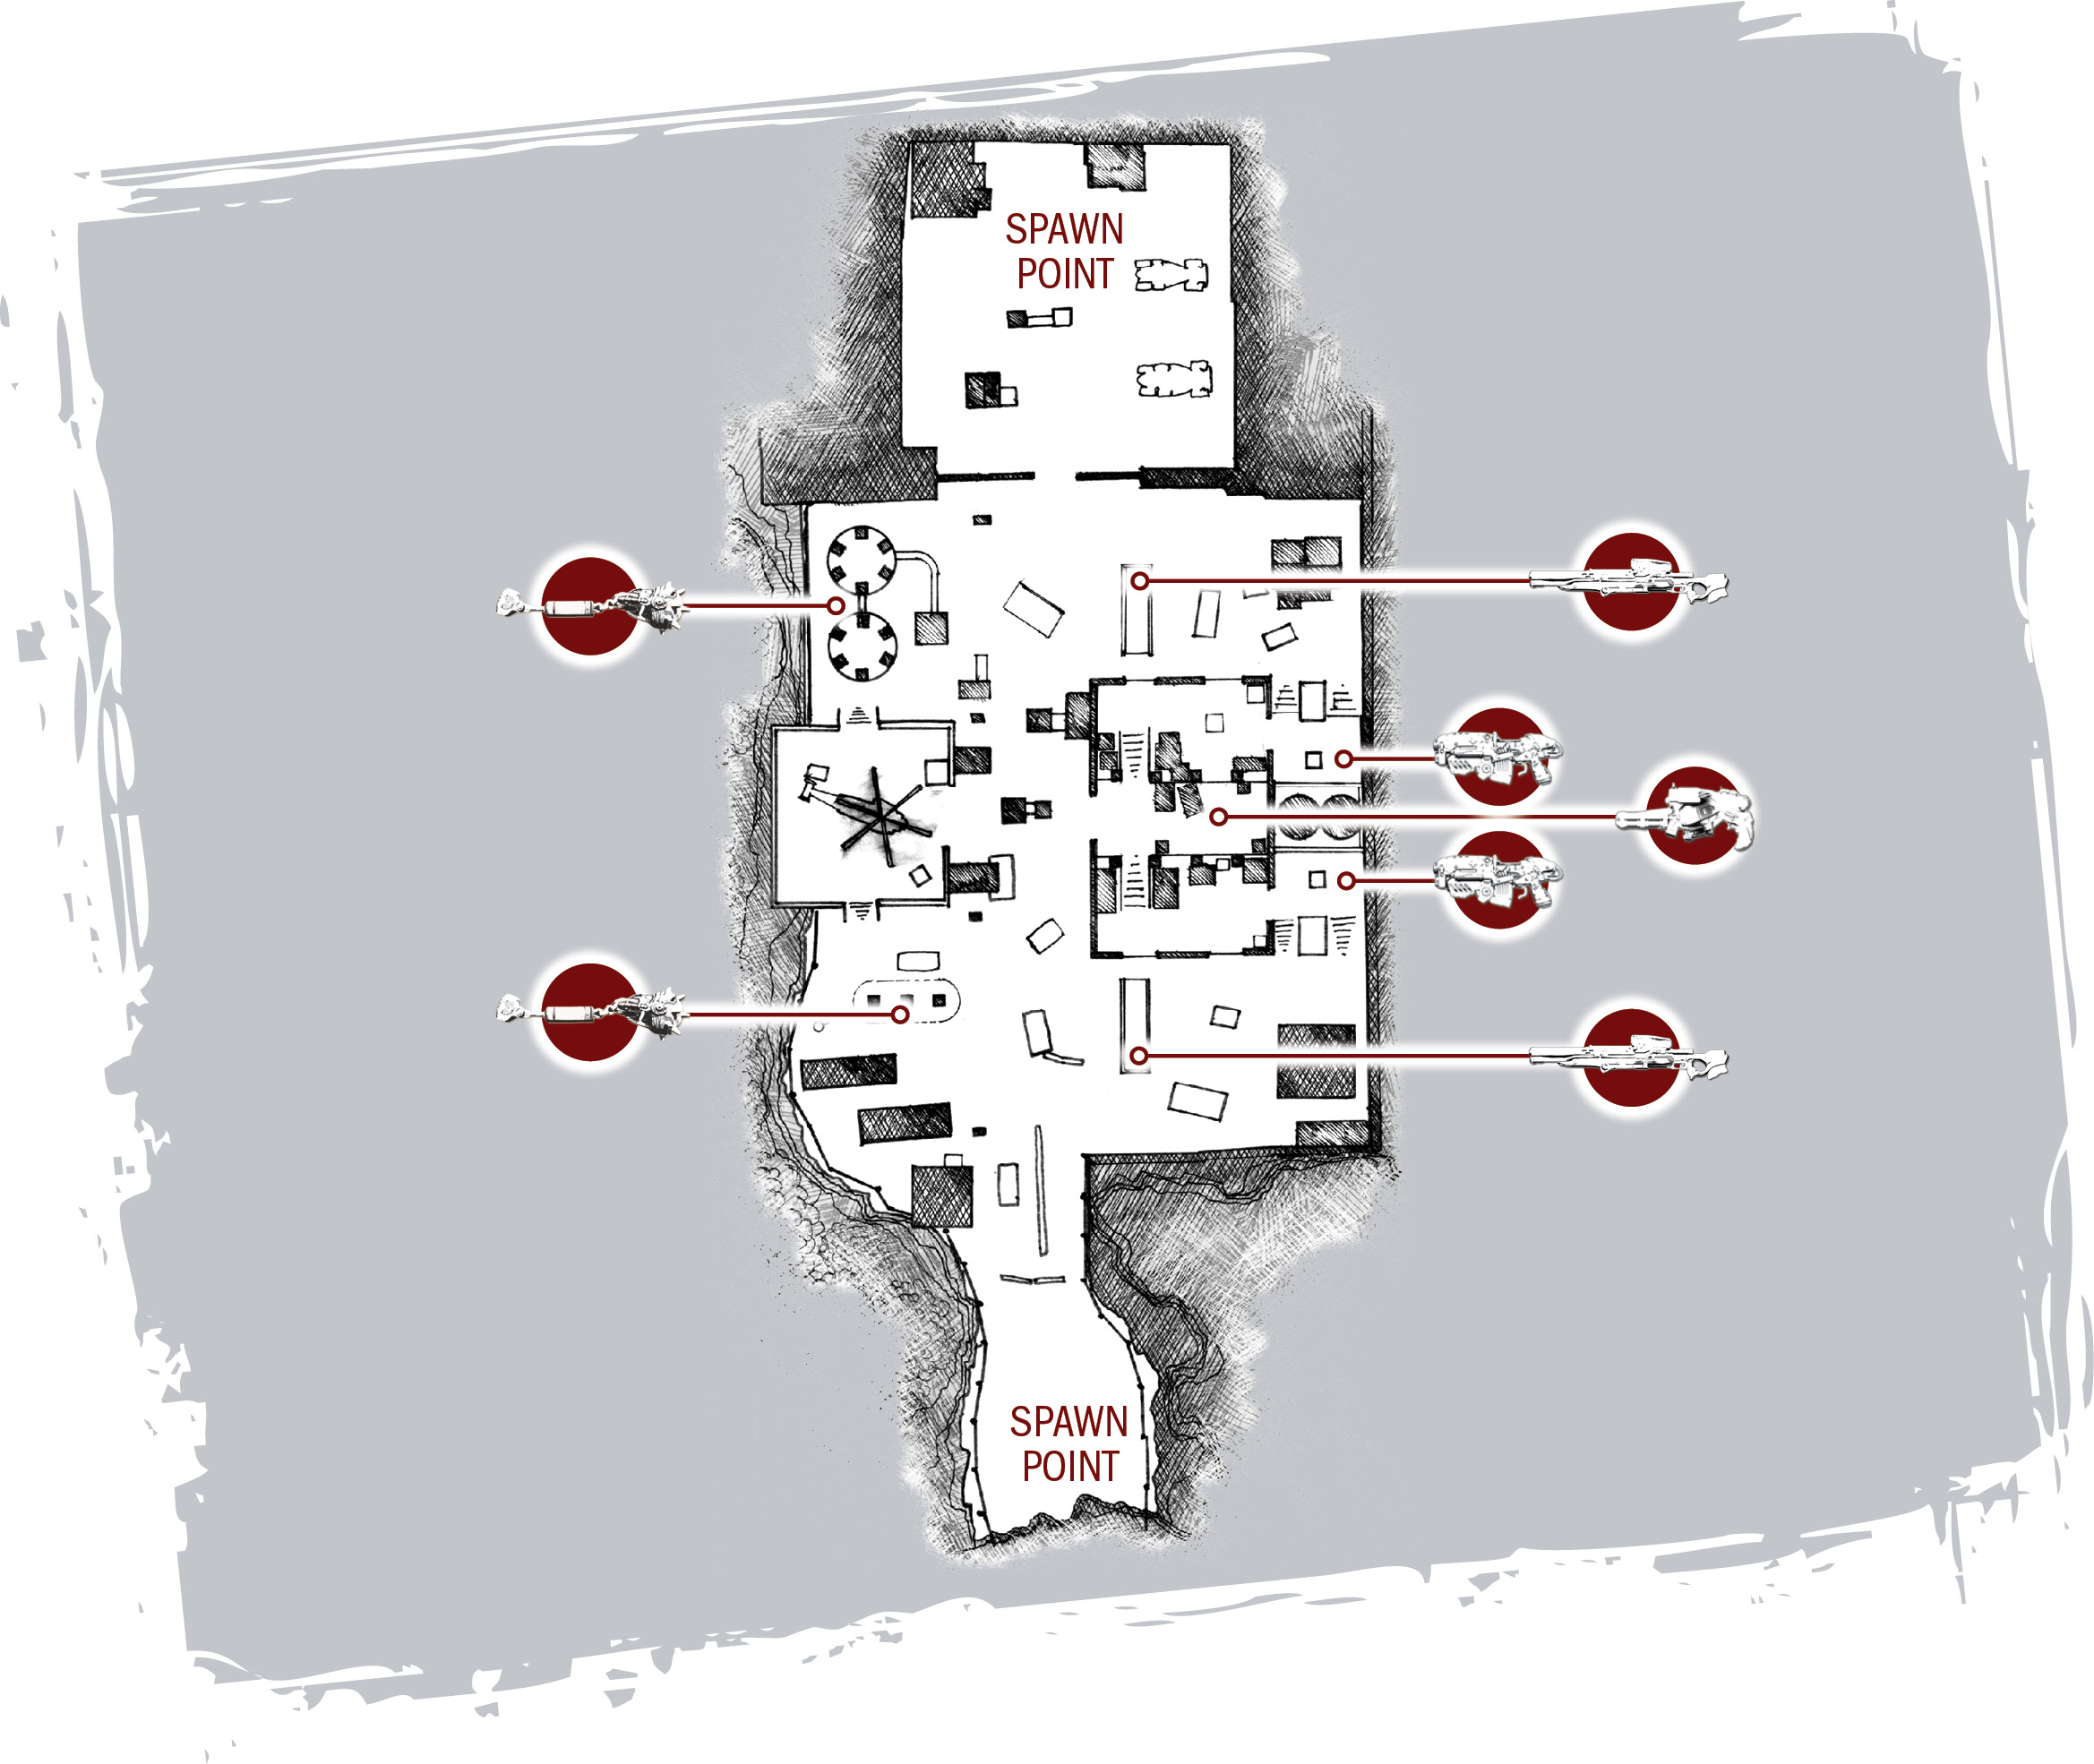
In this spacious outdoor map, teams fight amongst an explosive fueling station, look for weapons in the backs of trailers, and take cover behind a King Raven helicopter. Some will flock to the Hammer of Dawn inside the area’s central warehouse, where the stacks of containers and ledges provide ample opportunity to hide. There’s little doubt that this map caters to those who don’t mind a bit of the ol’ run-and-gun, but tactics and strategy—and a well-timed Hammer of Dawn attack—will likely prevail in the end.
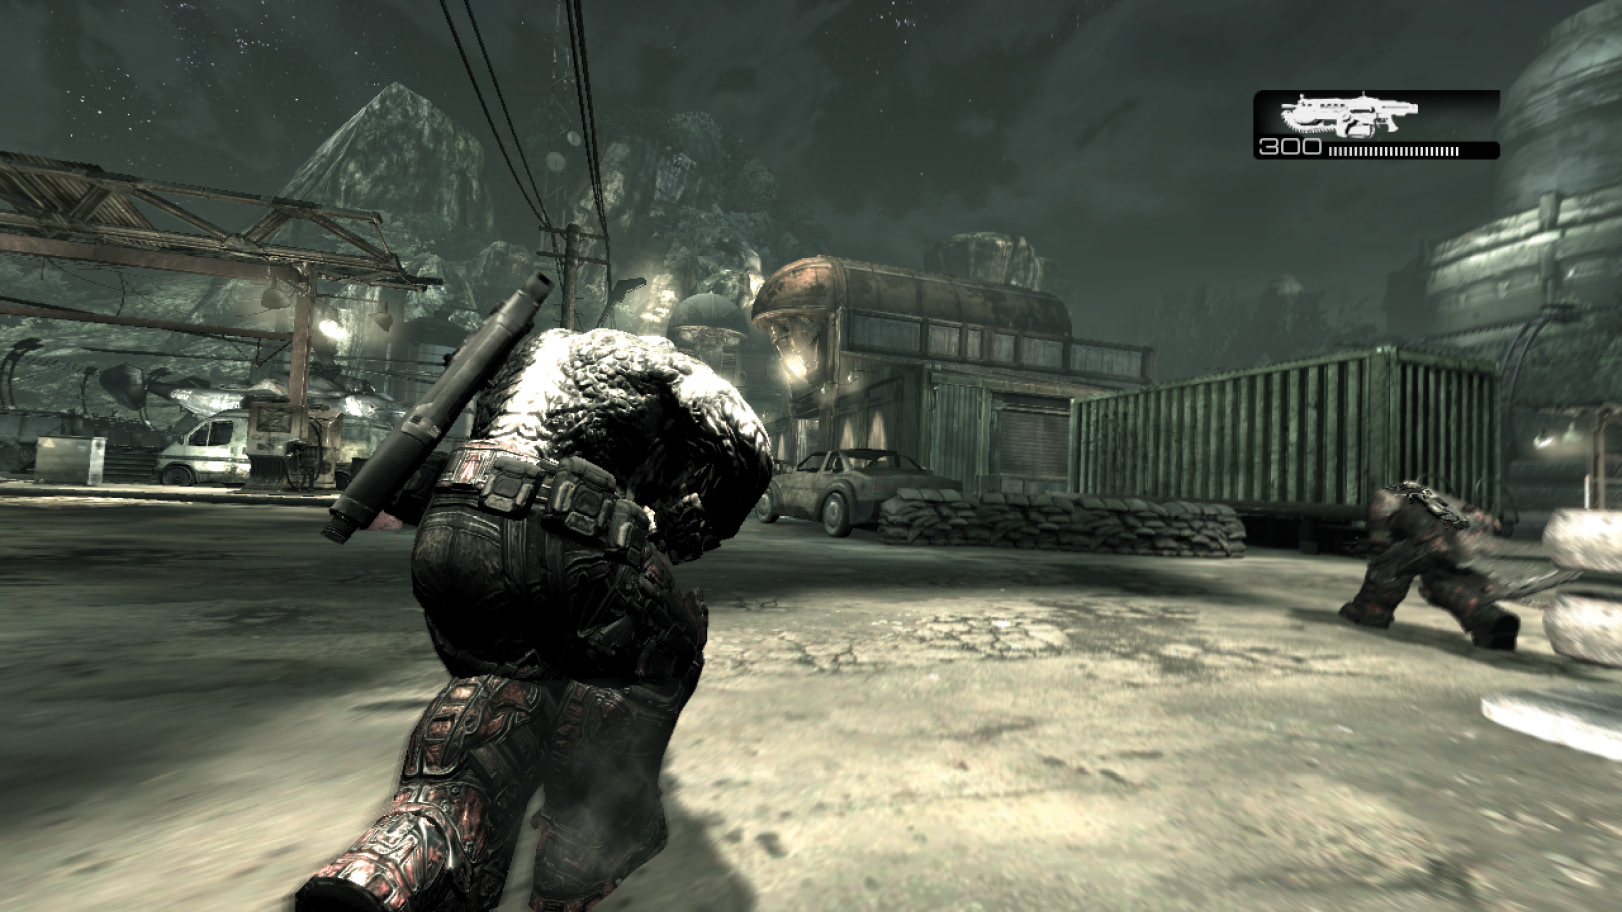
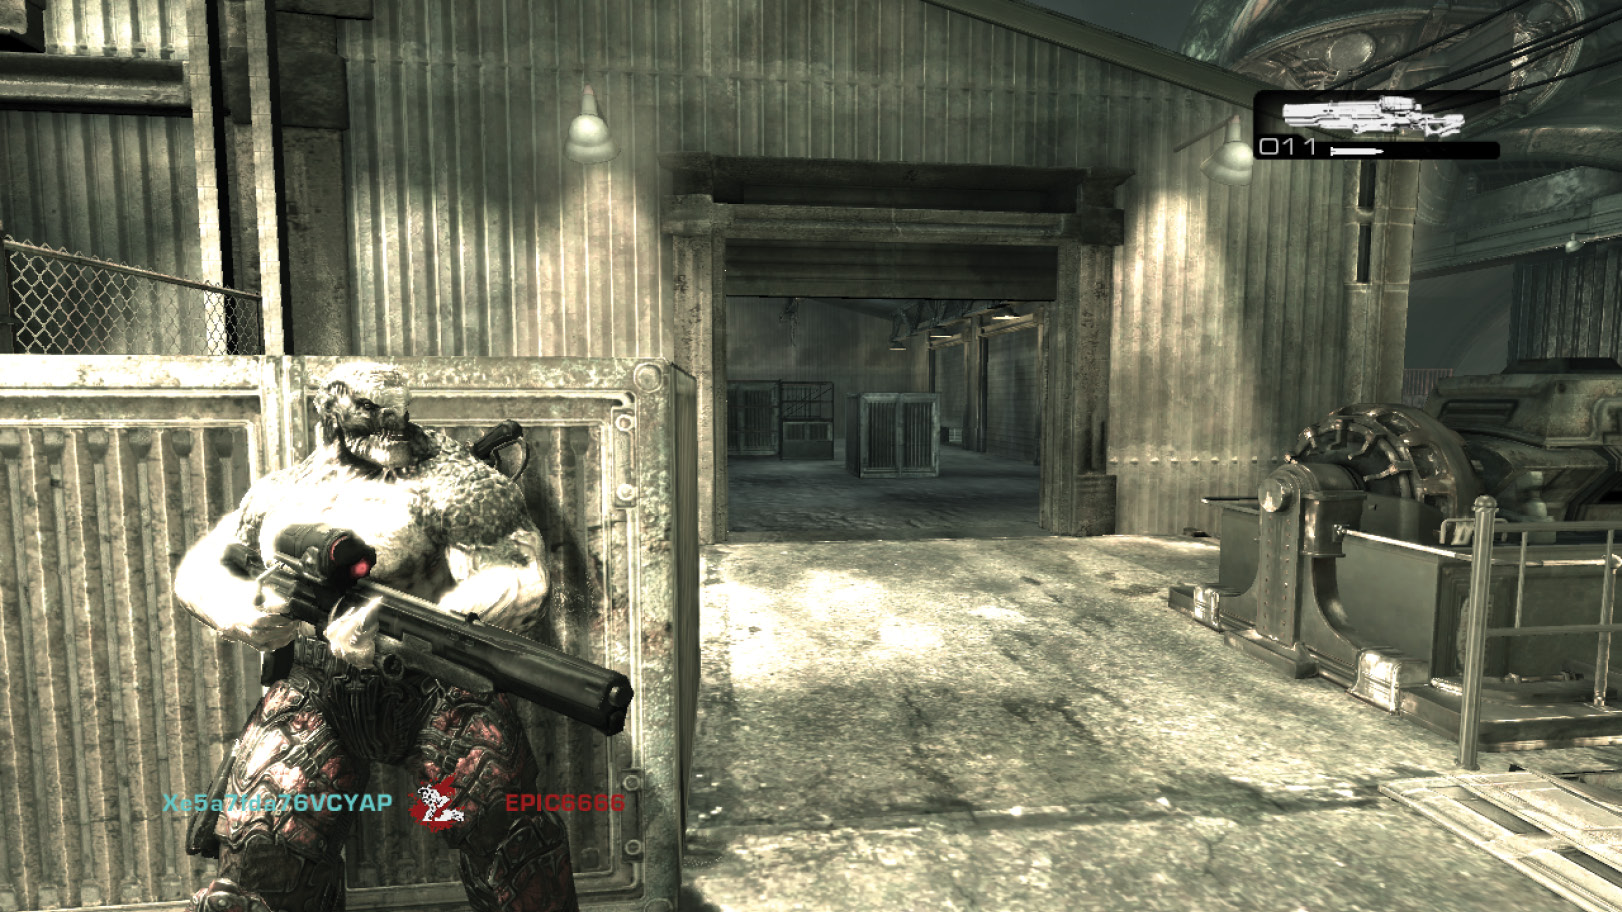
- The Hammer of Dawn located in the central warehouse can be used from inside as long as the targeting reticule is located outside and within eyeshot. This can be useful for setting up a defensive situation in the warehouse or to blast enemies seeking either of the Longshots in the trucks outside the partially open bay doors.
- When the match begins, have two team members rush the Longshot location nearest your spawn point. One can use the Lancer to attack the opposite Longshot location through the partially open bay doors while the other obtains the weapon.
- The hangar spawn area can be a good spot to set a trap for the opposing team. Have two members take up positions in the front corners near the entrance, while a third acts as bait by drawing the enemies’ attention and then falls back deeper into the hangar.
Gridlock
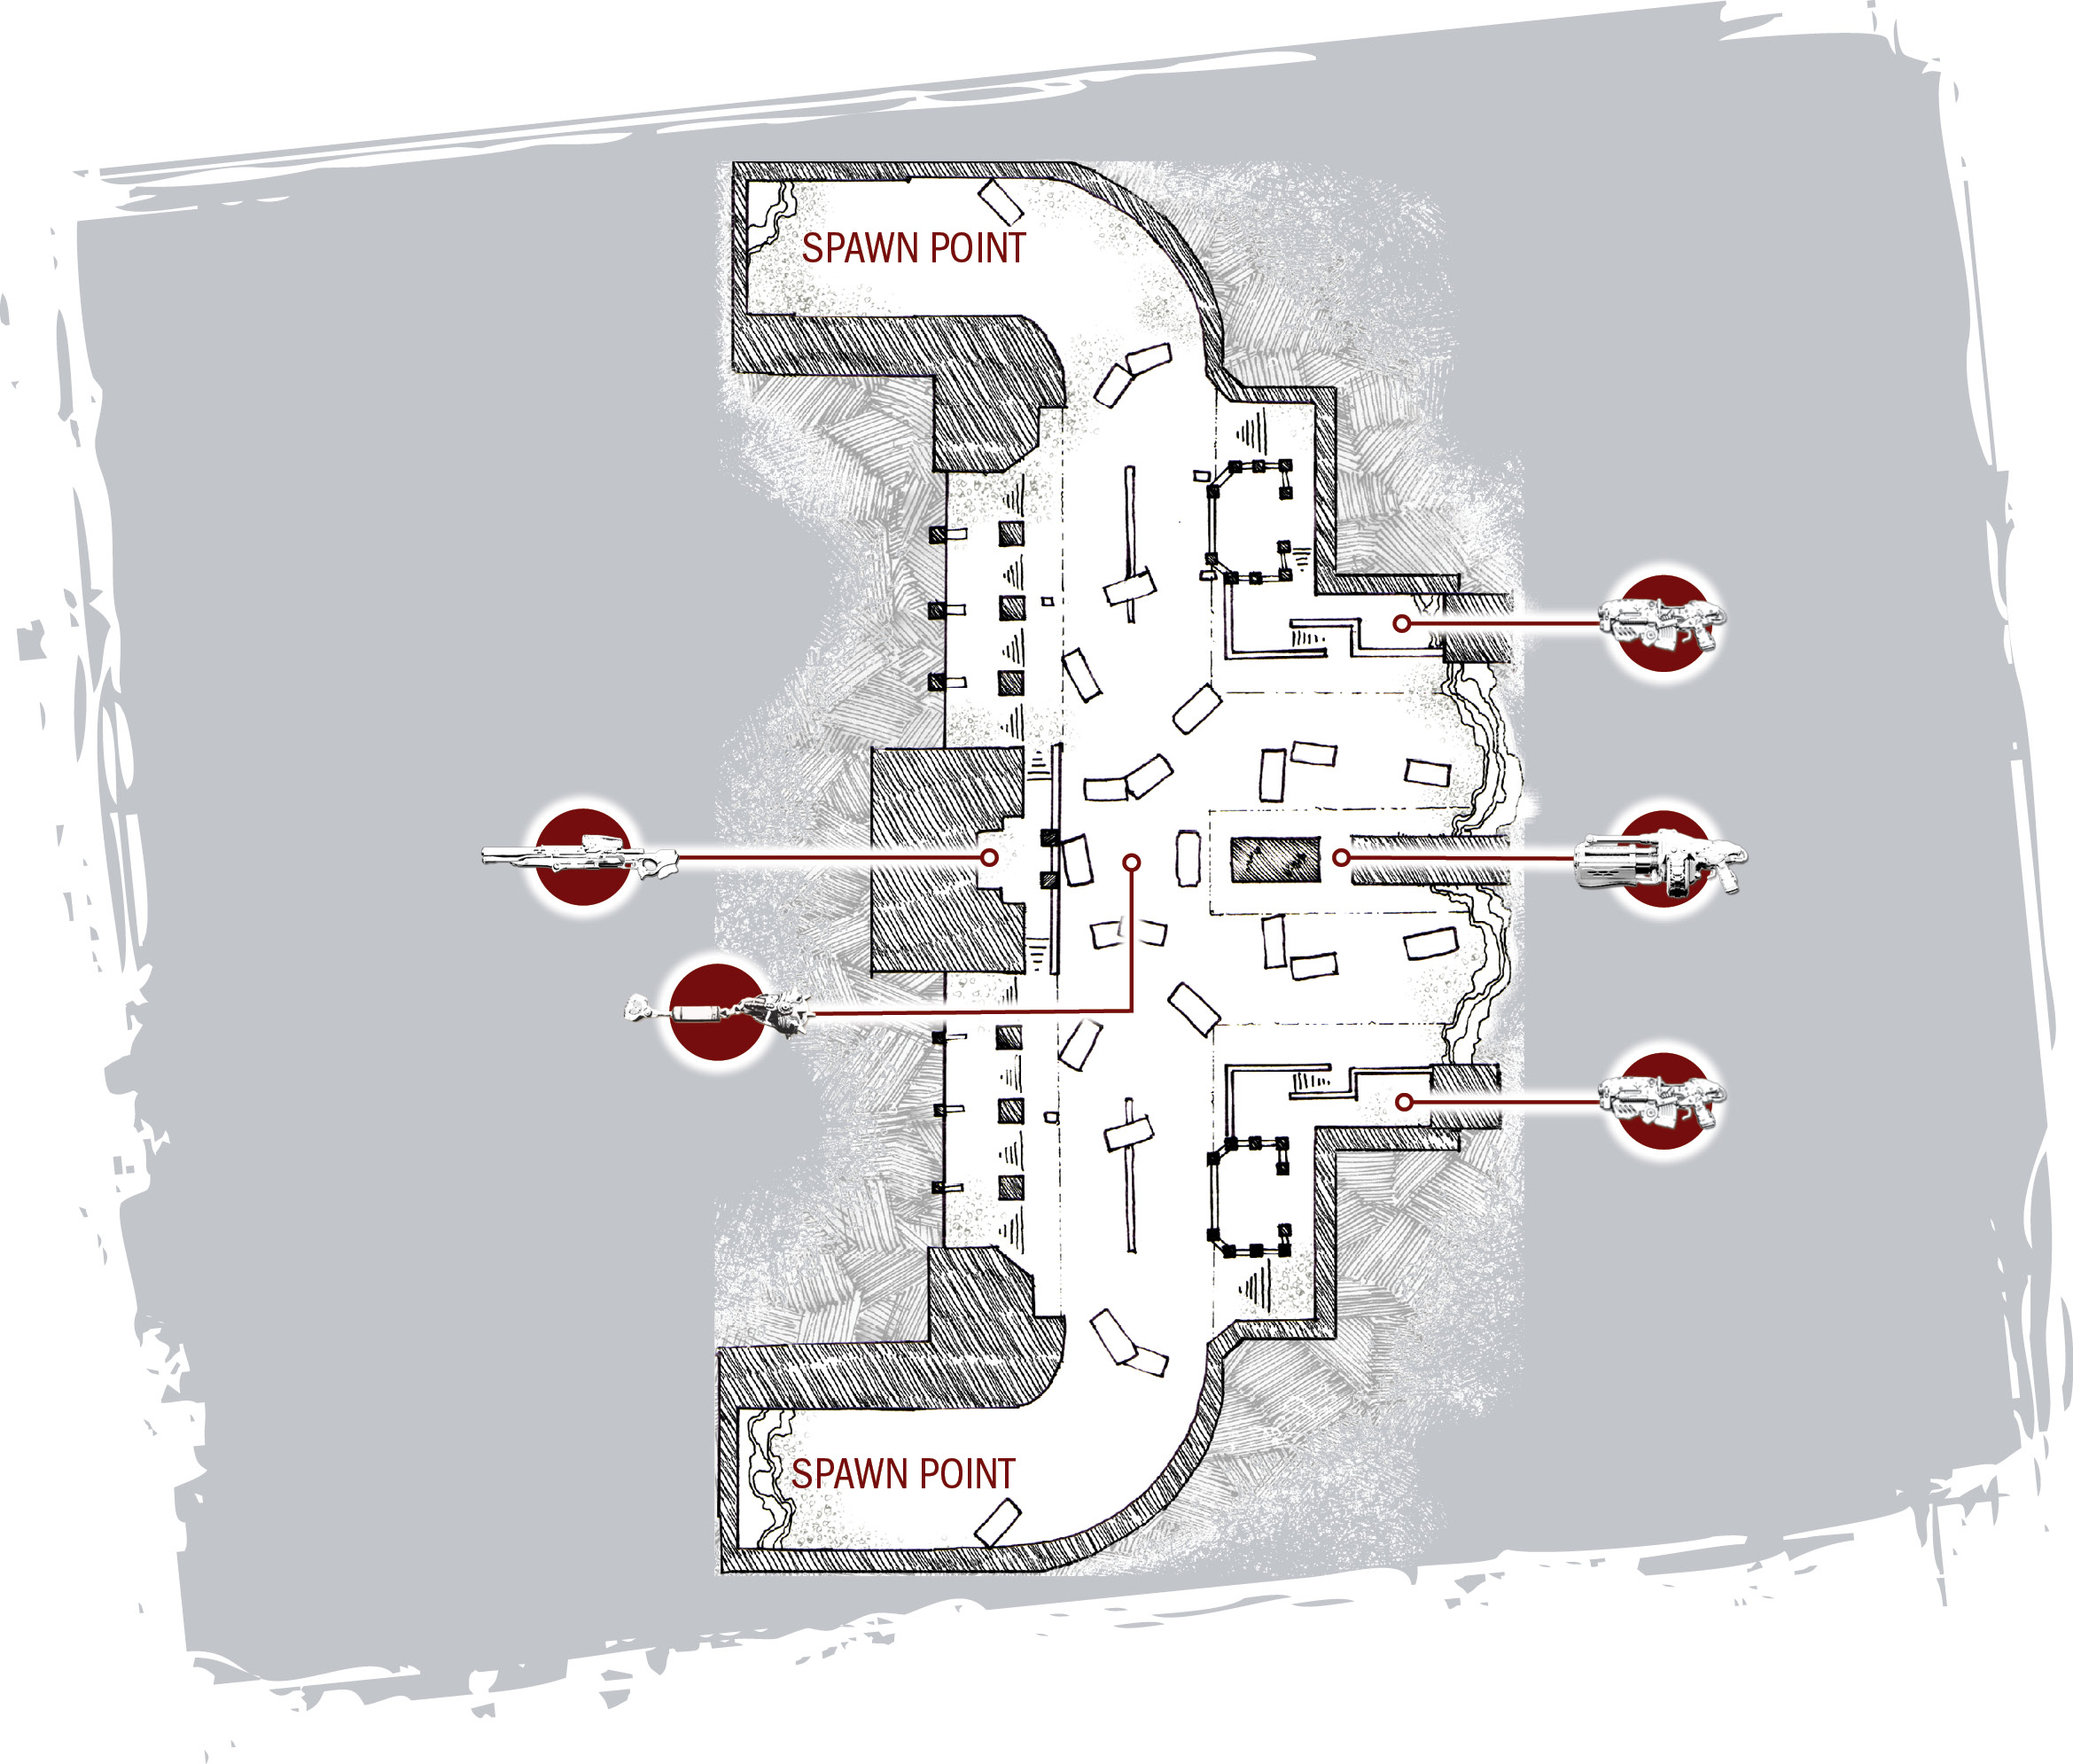
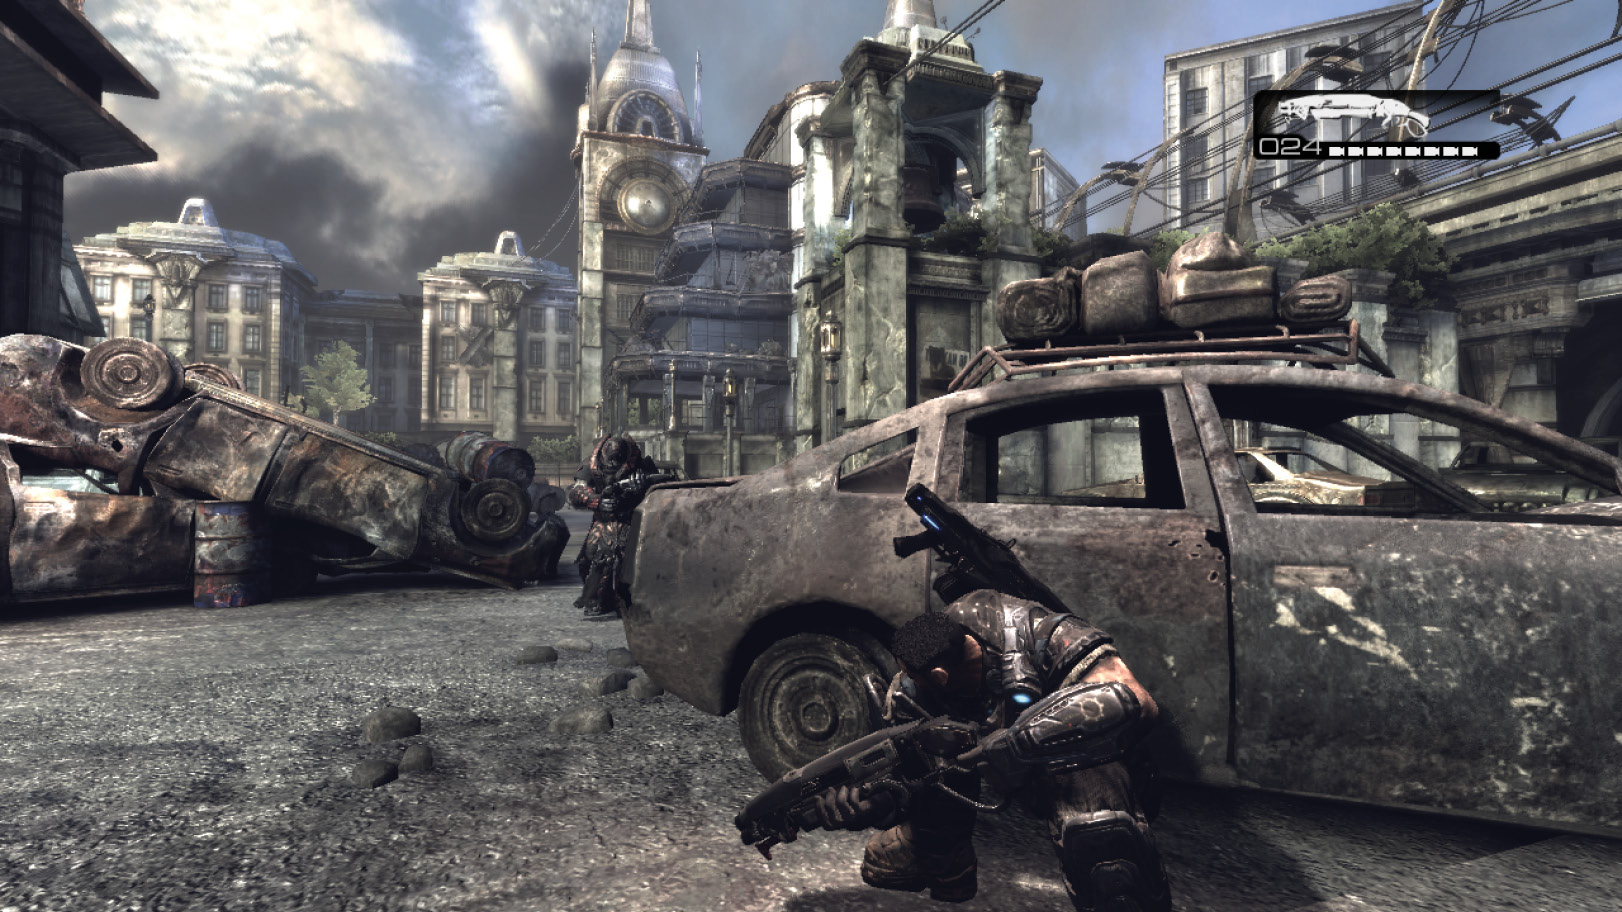
Gridlock is arguably the best map for first-time players to learn multiplayer fundamentals in Gears of War. This symmetrical map features just two of the advanced weapons, both equidistant from the spawn points. A number of bombed-out cars and trucks provide plenty of cover, not to mention the two platforms and staircases at the corners. Try hiding in the backs of the pickup trucks for some superb three-sided cover!
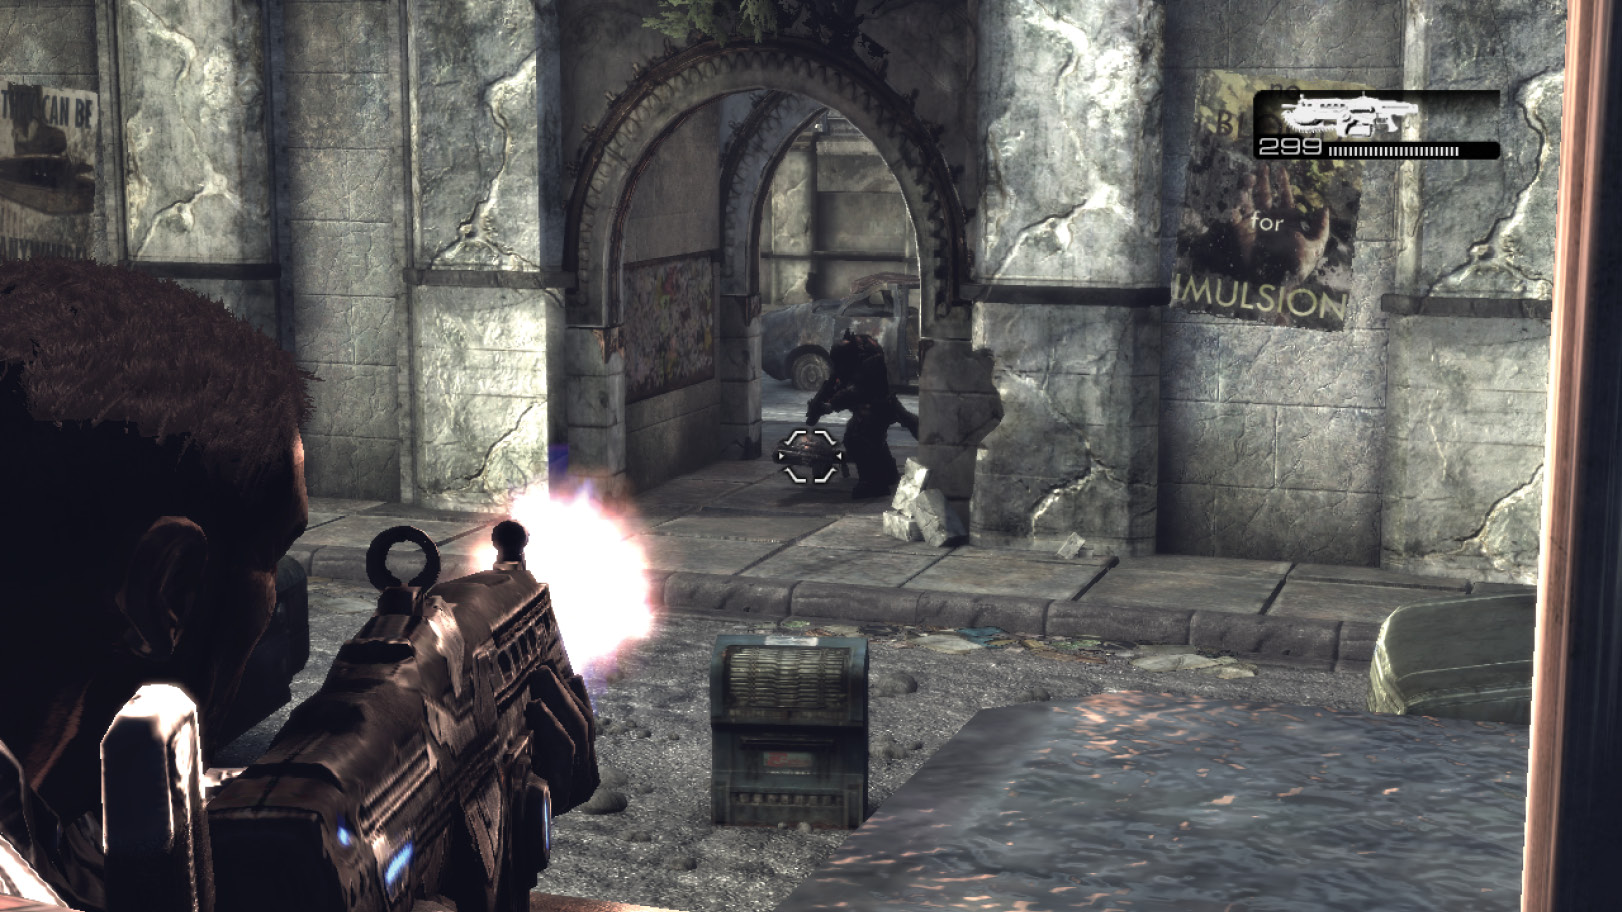
- If your team manages to secure the Longshot, have your sniper stay at the weapon’s location with one partner for defensive support. Snipe from the cover of the balcony while the partner hangs back, out of sight, guarding against enemies that flank the sniping position.
- Jumping into the backs of pickup trucks gives you a unique cover location, which players don’t normally expect. You can use truck beds to ambush enemies exiting the areas where the Longshot and the Boomshot are located. They’re also great hiding places when you’re the last man standing on your team.
- When you attempt to secure the Boomshot, be aware that enemies could be lurking in several nearby locations: the walls opposite the hall where the Boomshot is located; the nearby trucks; and, perhaps most importantly, the high ground opposite your approach. These spots present danger as you advance toward the Boomshot. Conversely, you may choose to take a defensive stance, wait for an enemy to rush the Boomshot, and have several teammates spring the trap. The combination of a downed teammate and the Boomshot might lure opposing players, giving you a chance to score a second enemy casualty.
Mansion
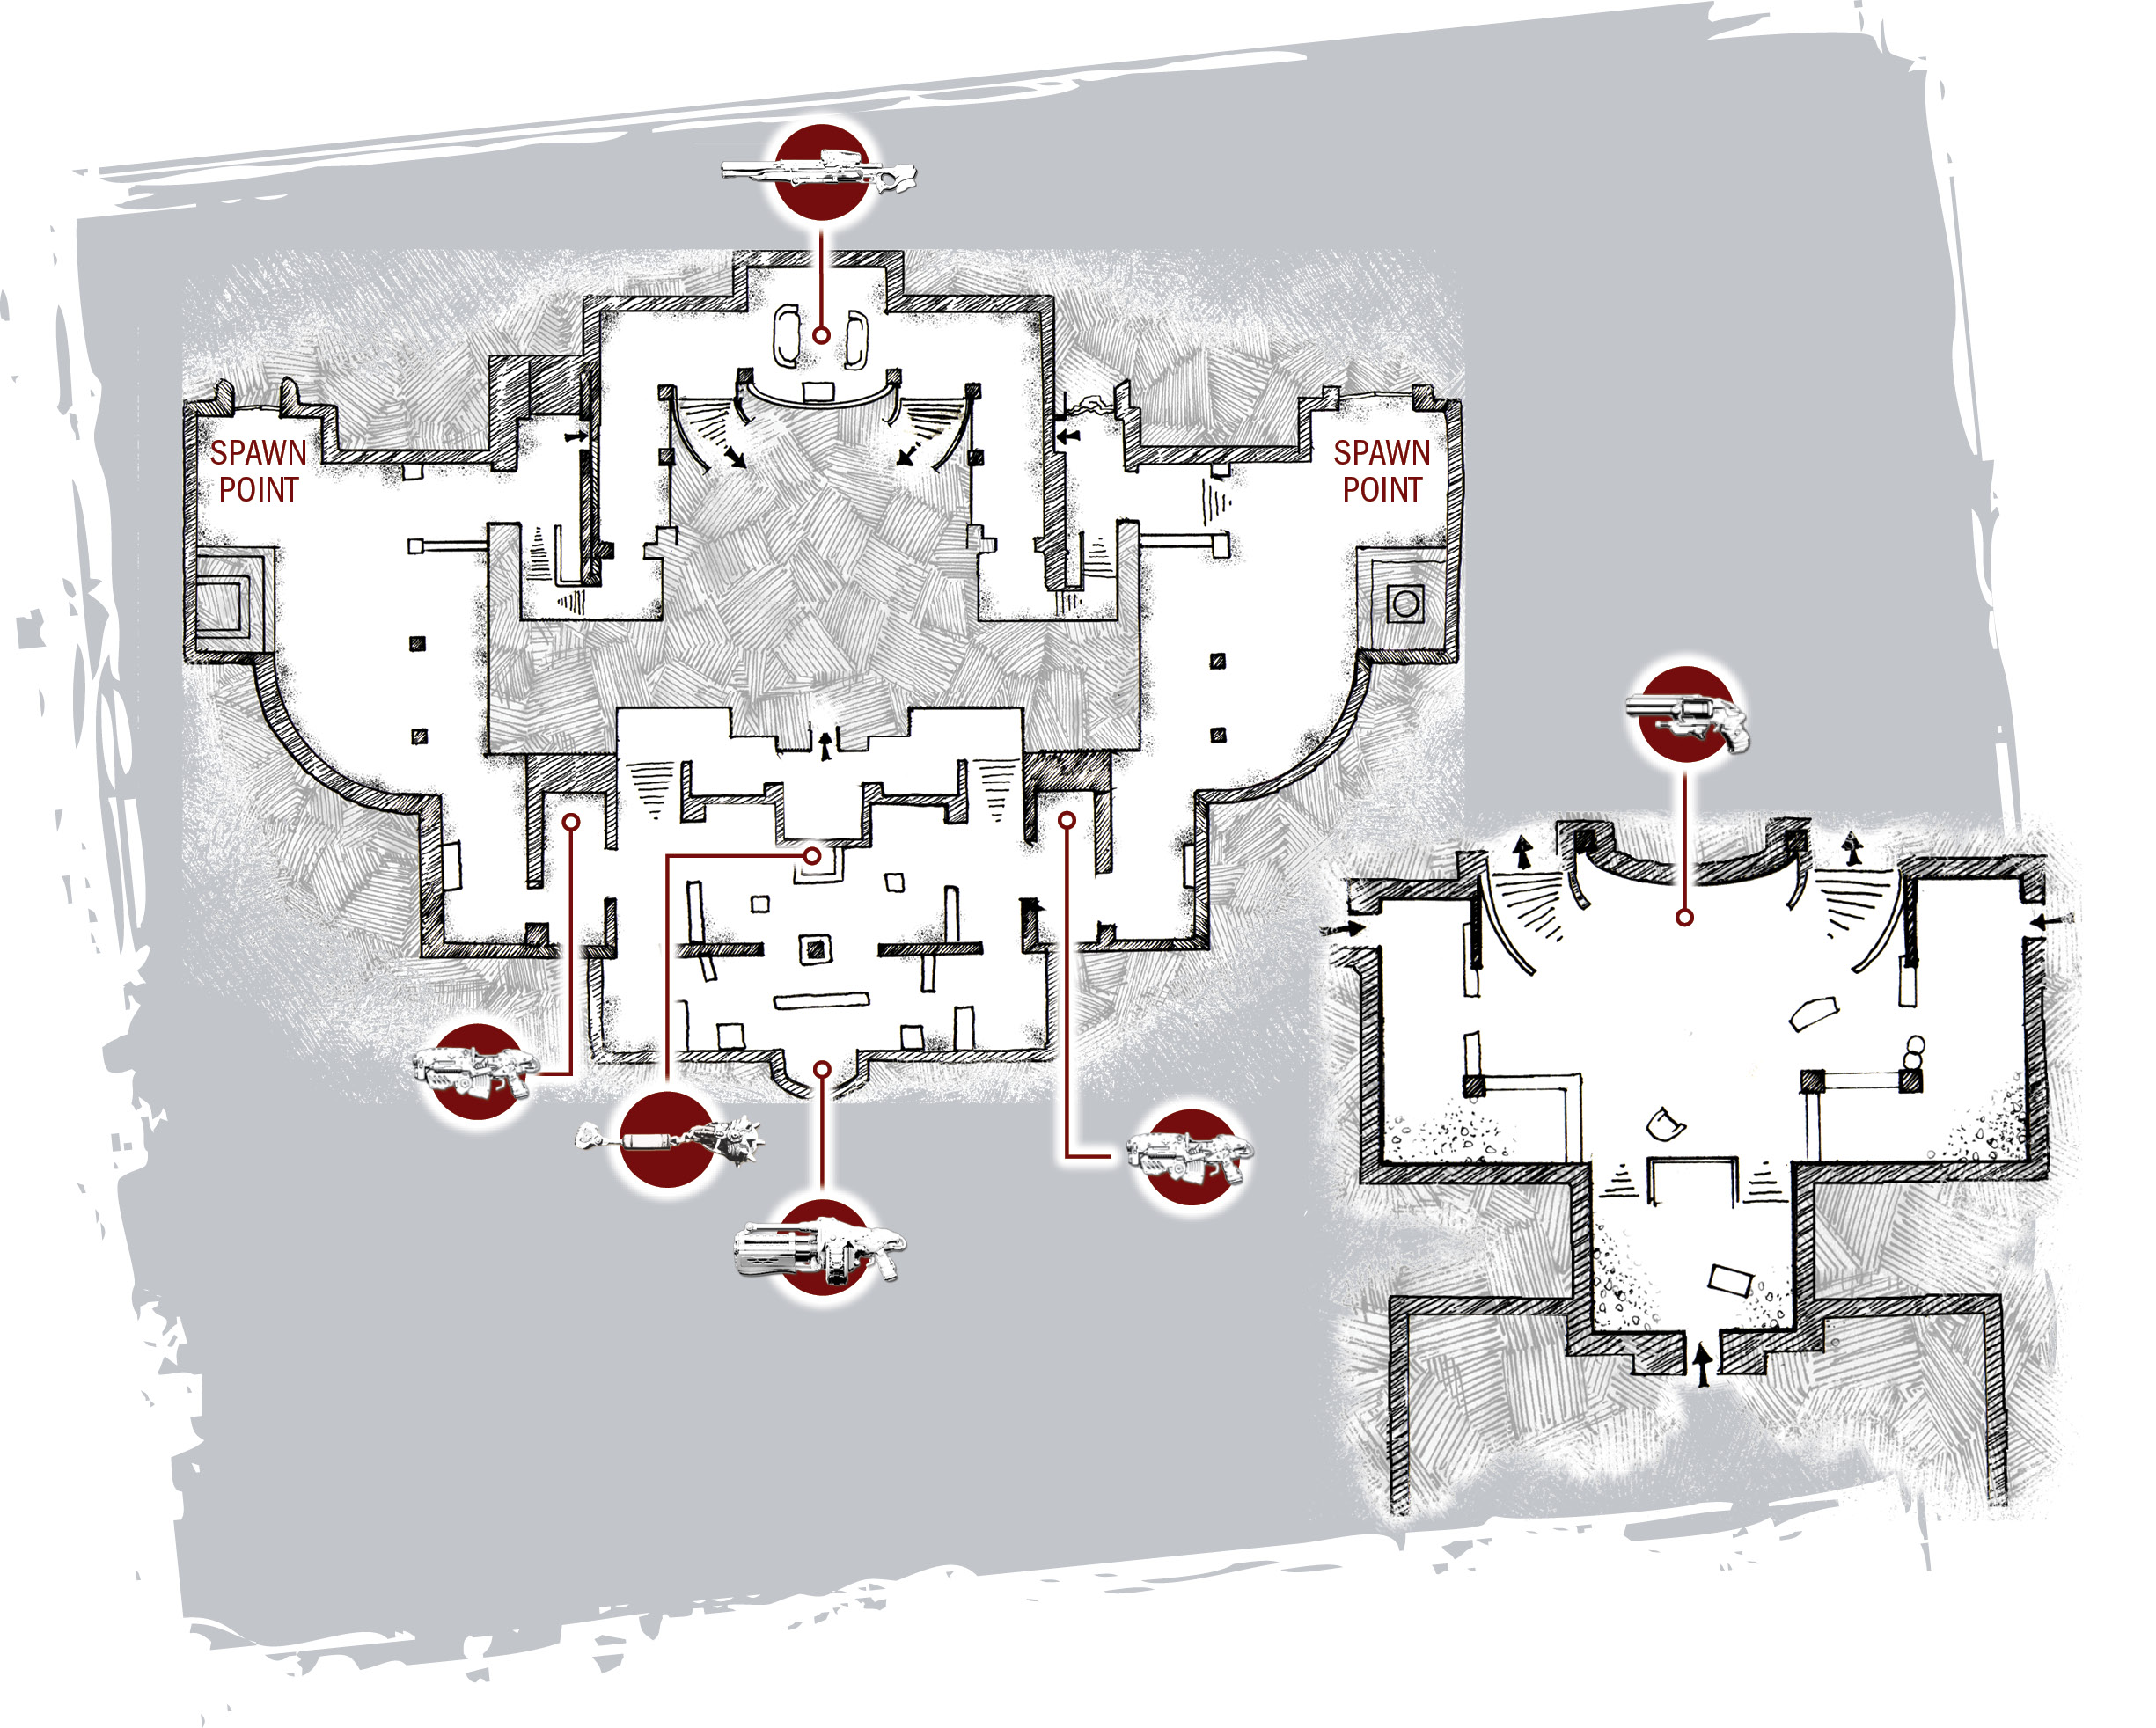
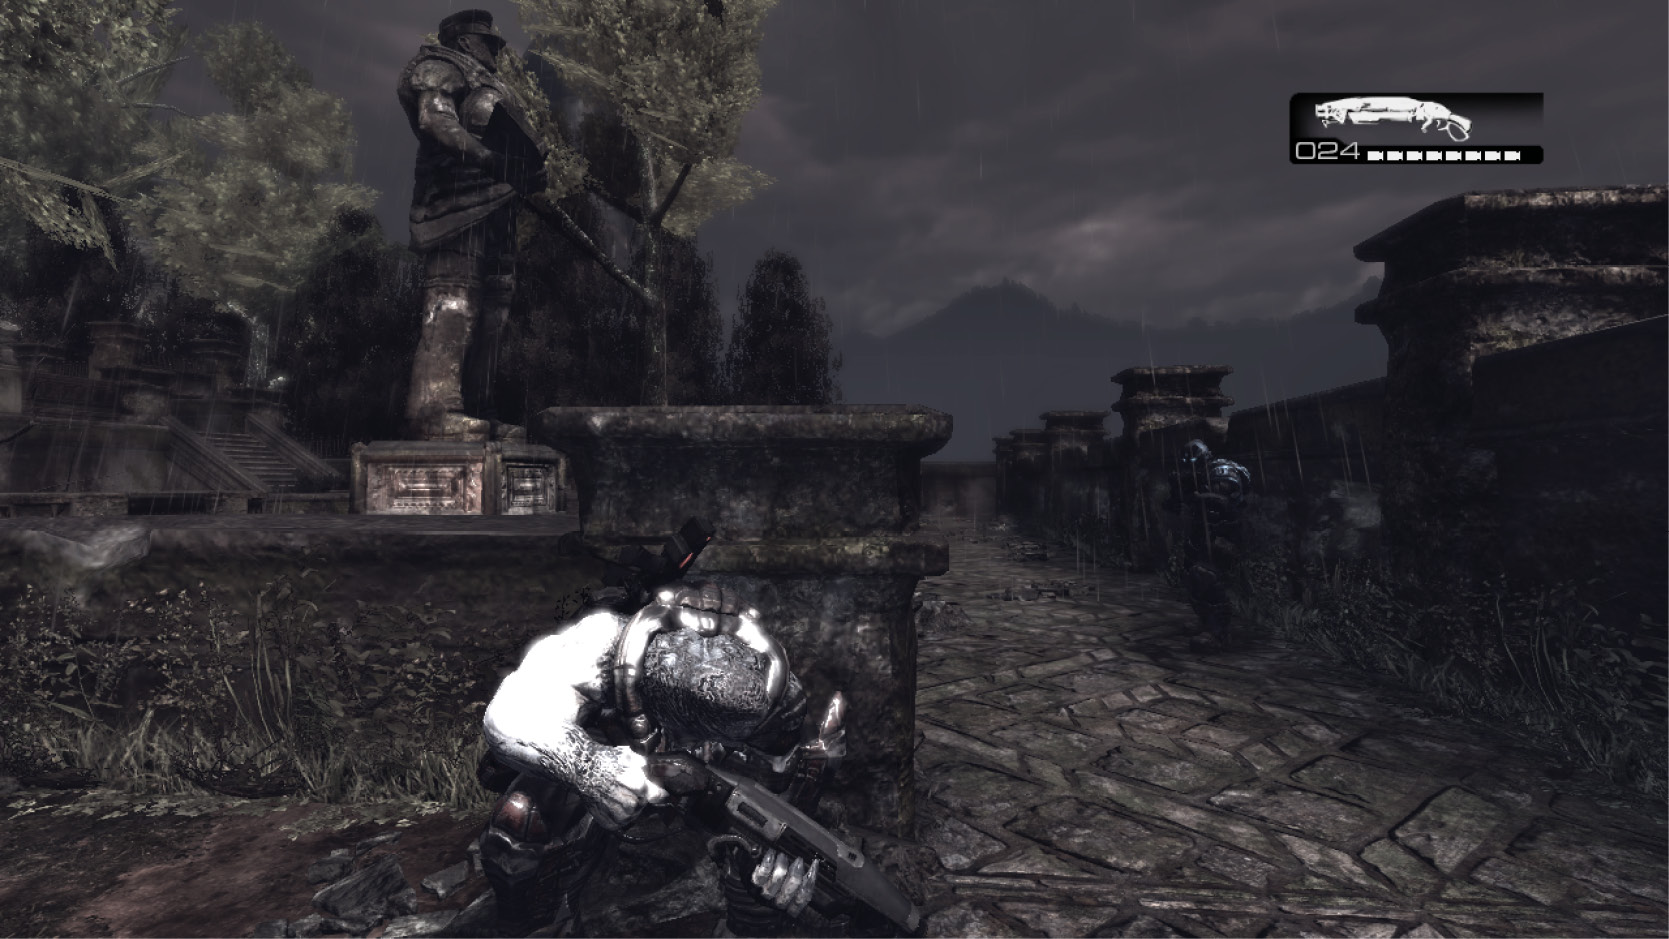
The Mansion is certain to be among the most played maps, if not for the distinctly different indoor and outdoor areas, then for the amazing rain effects and breakable furniture. In Mansion, teams take up arms along several different fronts: they can wage war in the courtyard, inside on the first floor, or upstairs on the balcony. The immediate rush to the Boomshot and Longshot often results in a tense standoff, only to be followed by surprise ambushes and adrenalin-pumping manhunts.
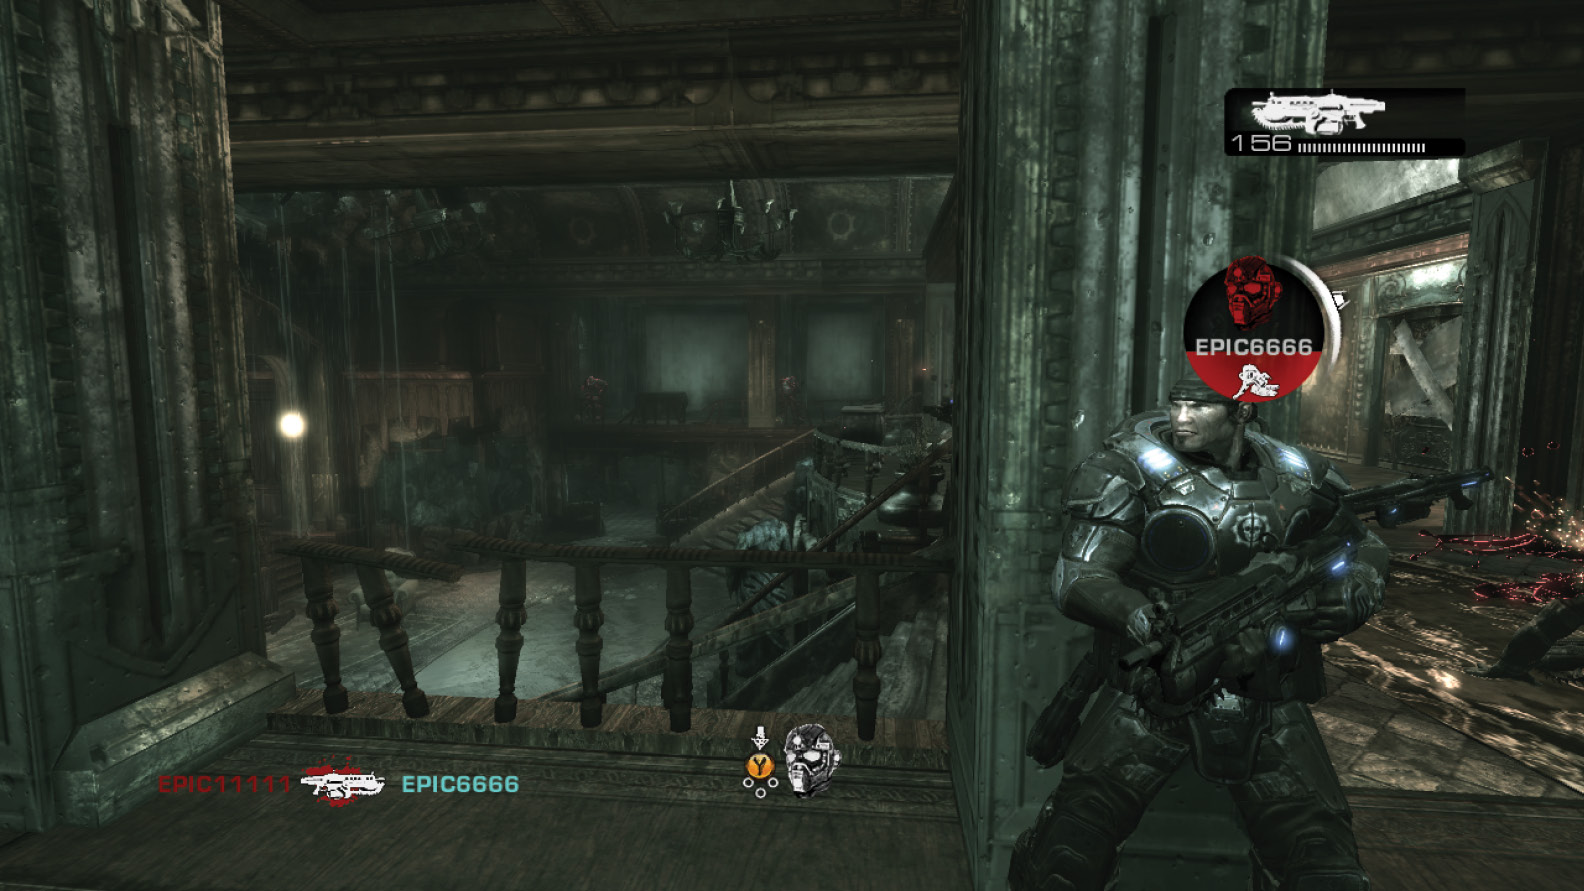
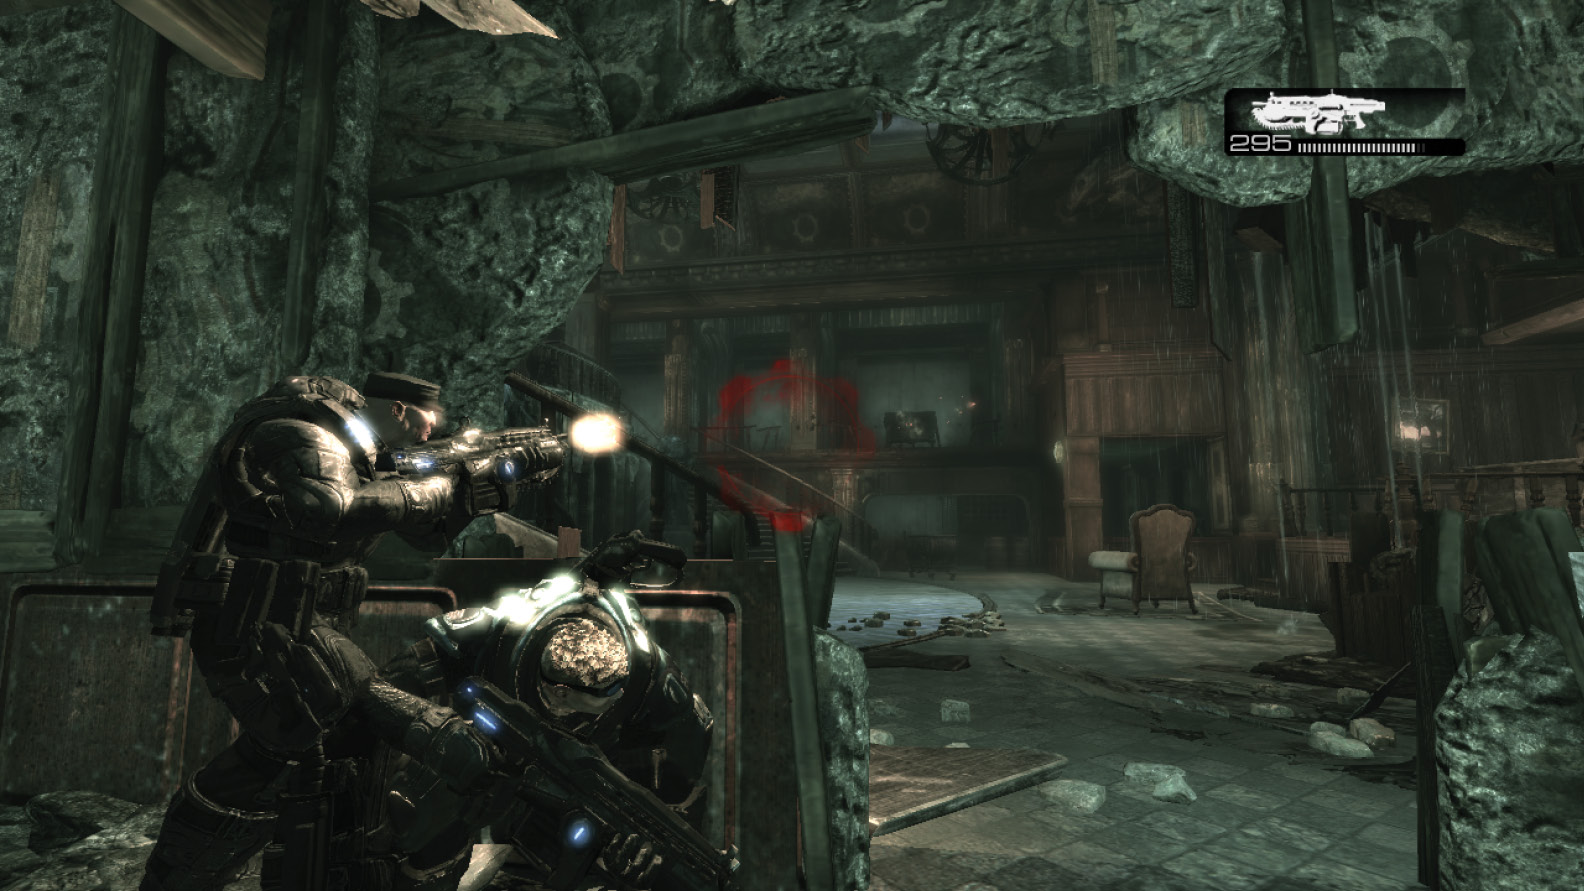
- When you rush for the Longshot, have three team members go upstairs to secure the weapon while one stays downstairs. Have this fourth player sneak up the staircase and attack any enemies that try to rush from the other side at close range. The crossfire between the teams upstairs should serve as a distraction.
- If your team encounters no resistance seeking the Longshot inside the house, take cover near the front door. Chances are the enemy will enter from that direction after they gather weapons in the garden area. In the opposite case, if your team finds no resistance in the garden, try doubling back to the mansion’s side entrance near the spawn point. Ambush any enemies who may be targeting the front entrance.
- Any attempt to obtain the Boomshot should not be made alone unless you know that most of the enemy team has entered the mansion. You can use the Frag Grenades outside the front door to harass the enemy squad while your teammates move in for the Boomshot.
Mausoleum
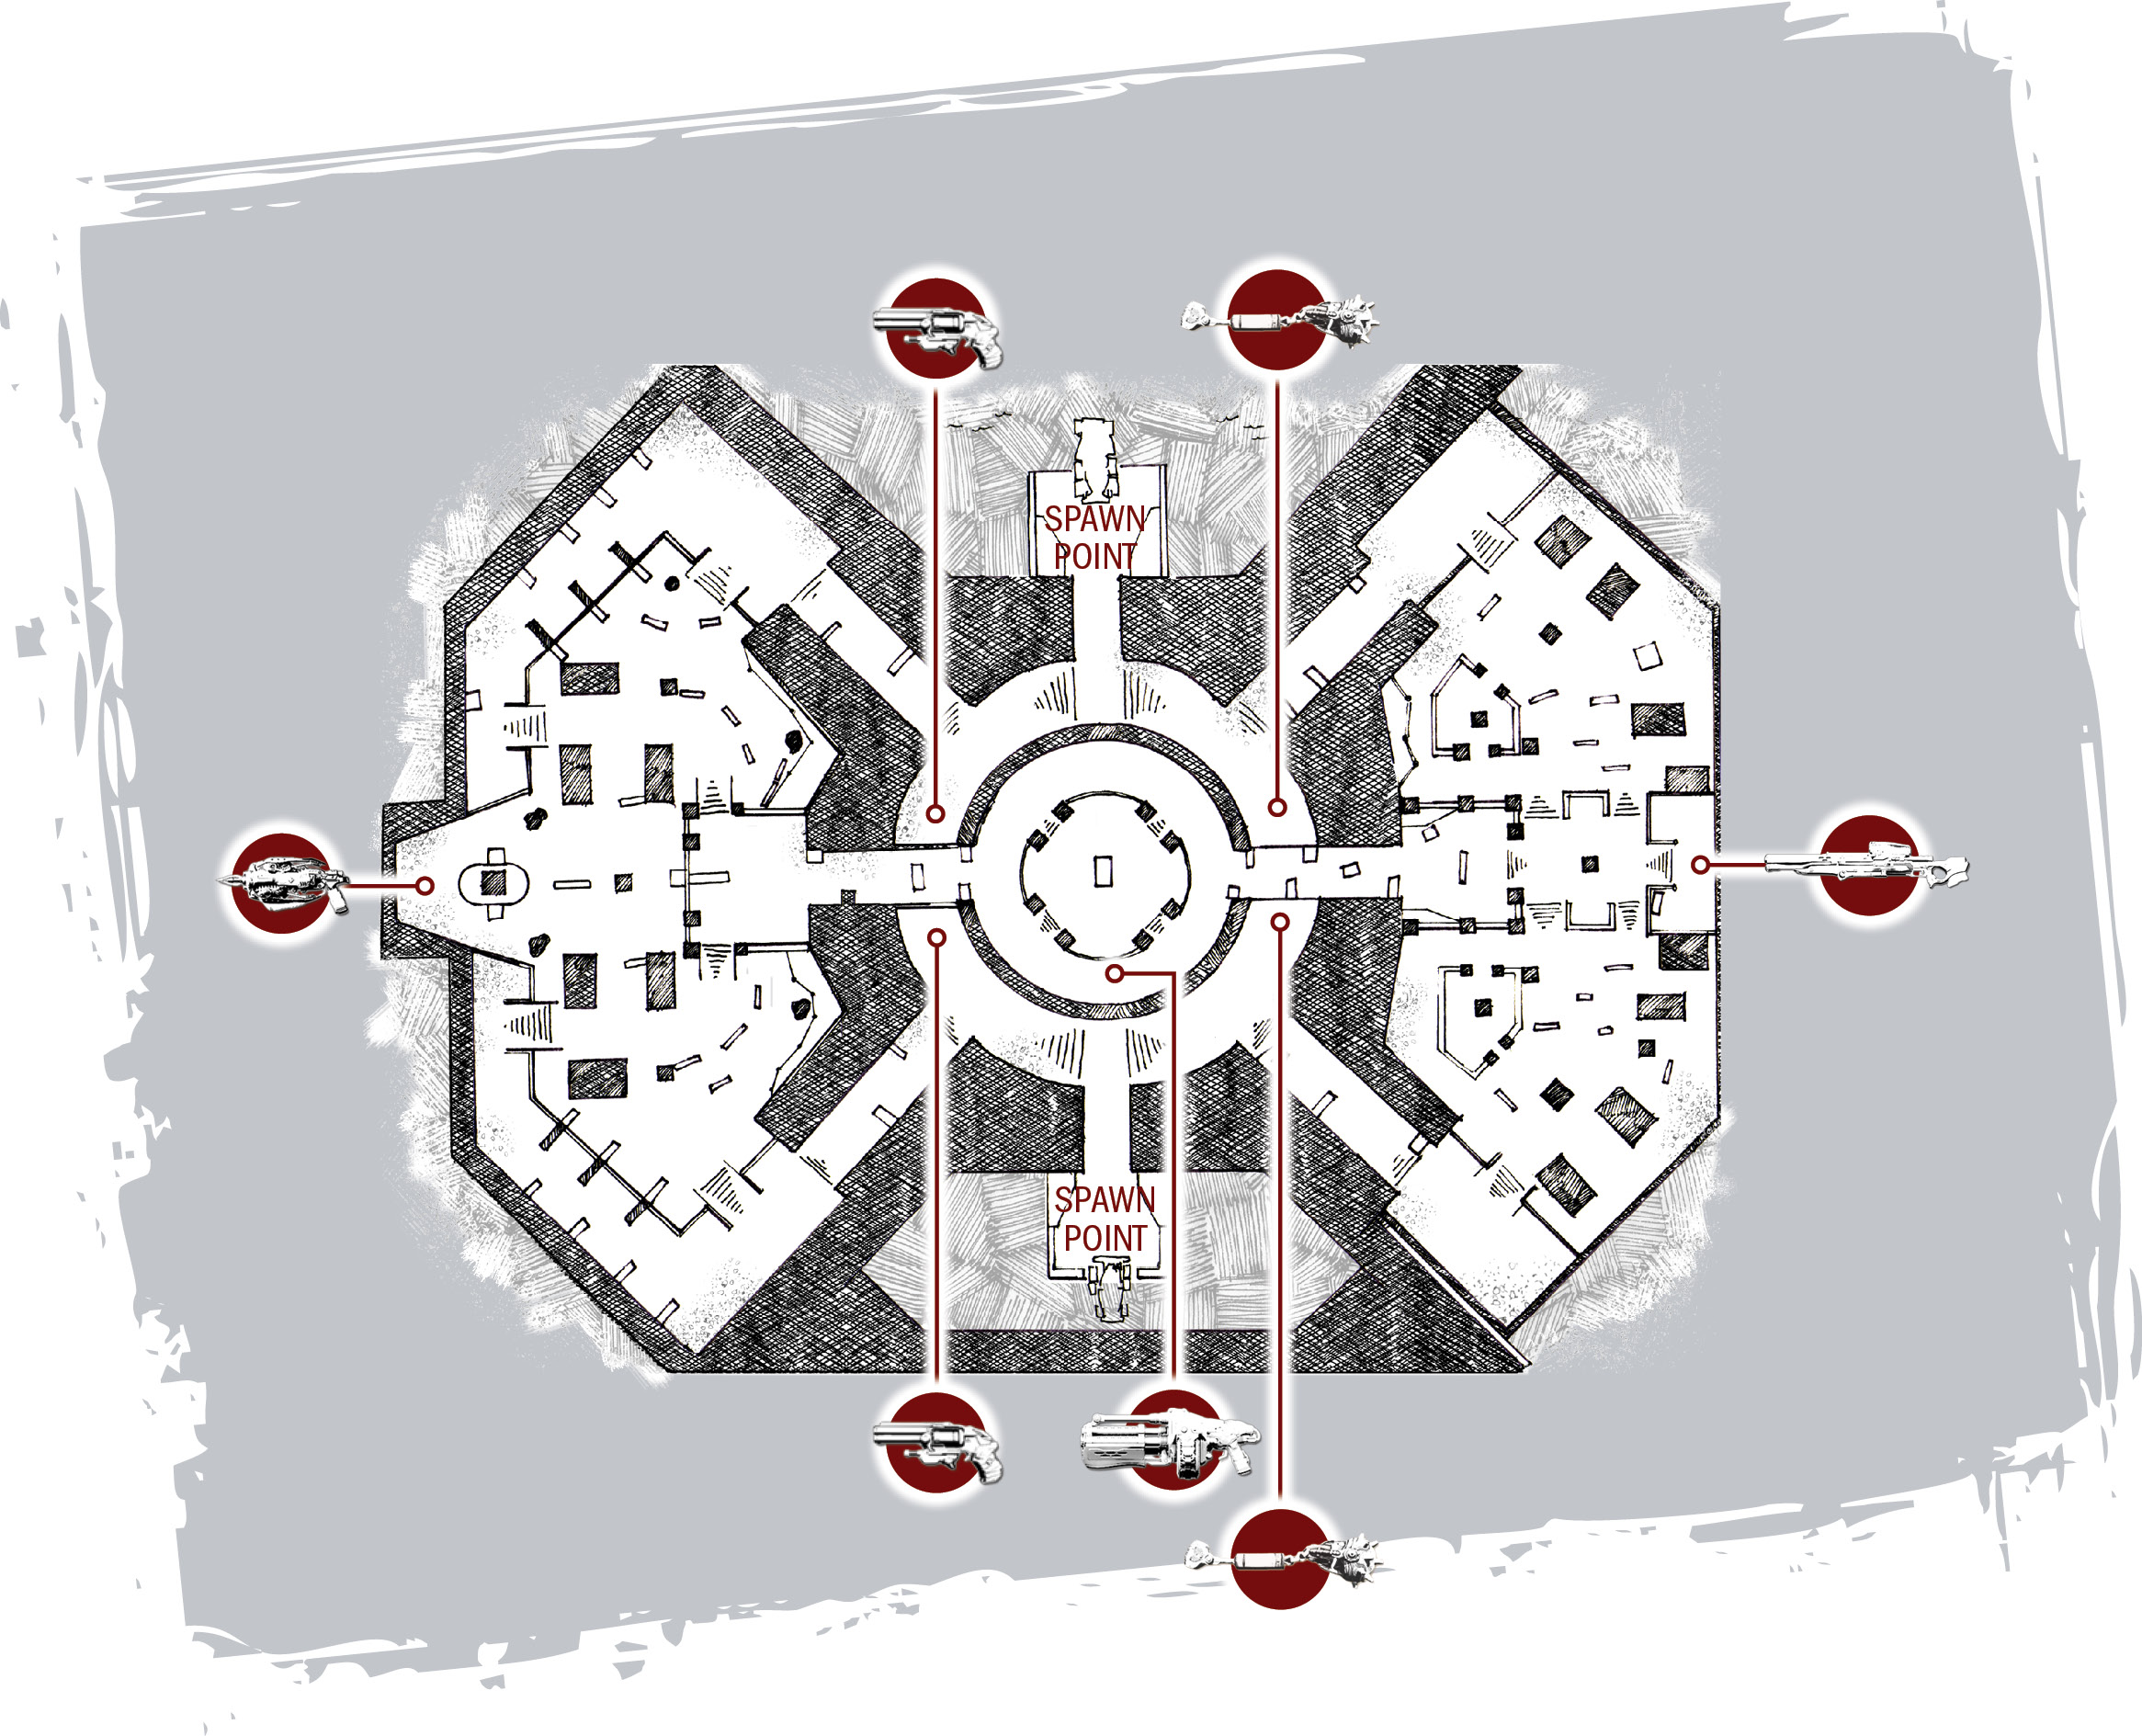
Possibly the largest map, and definitely the most complex, Mausoleum is roughly circular and features distinct “rings” that keep the action tight and focused. Teams begin on opposite sides and make their ways through the offset corridors toward the inner area, where the Boomshot is located. Or they can move to the map’s outer reaches to secure the Longshot or Torquebow. The abundance of grave markers and mausoleums provides plenty of cover (and it scares the life out of your opponent).
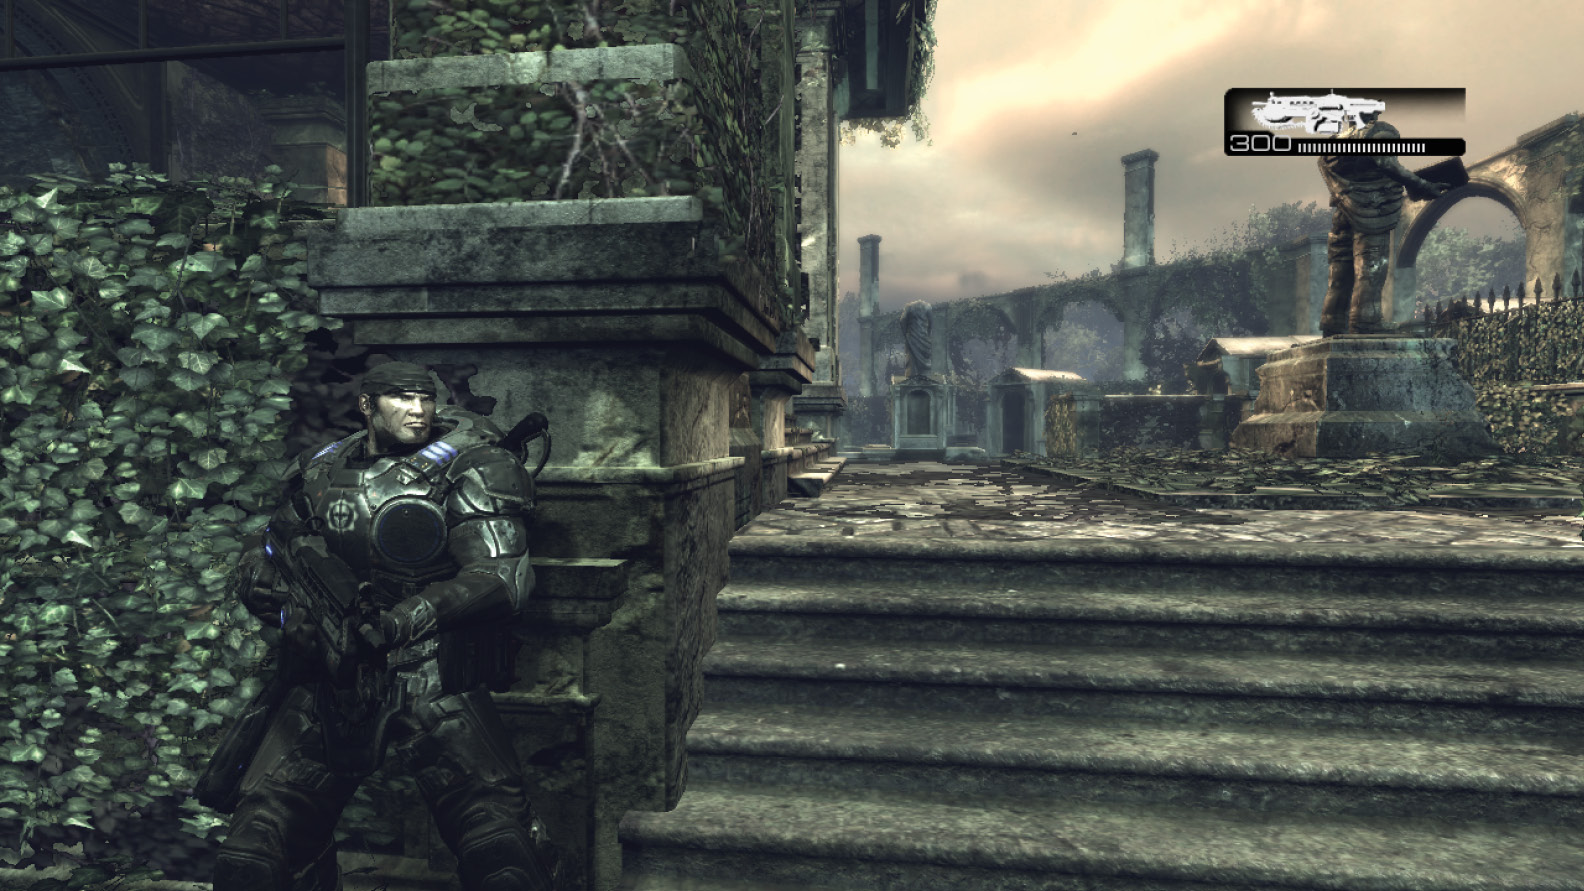
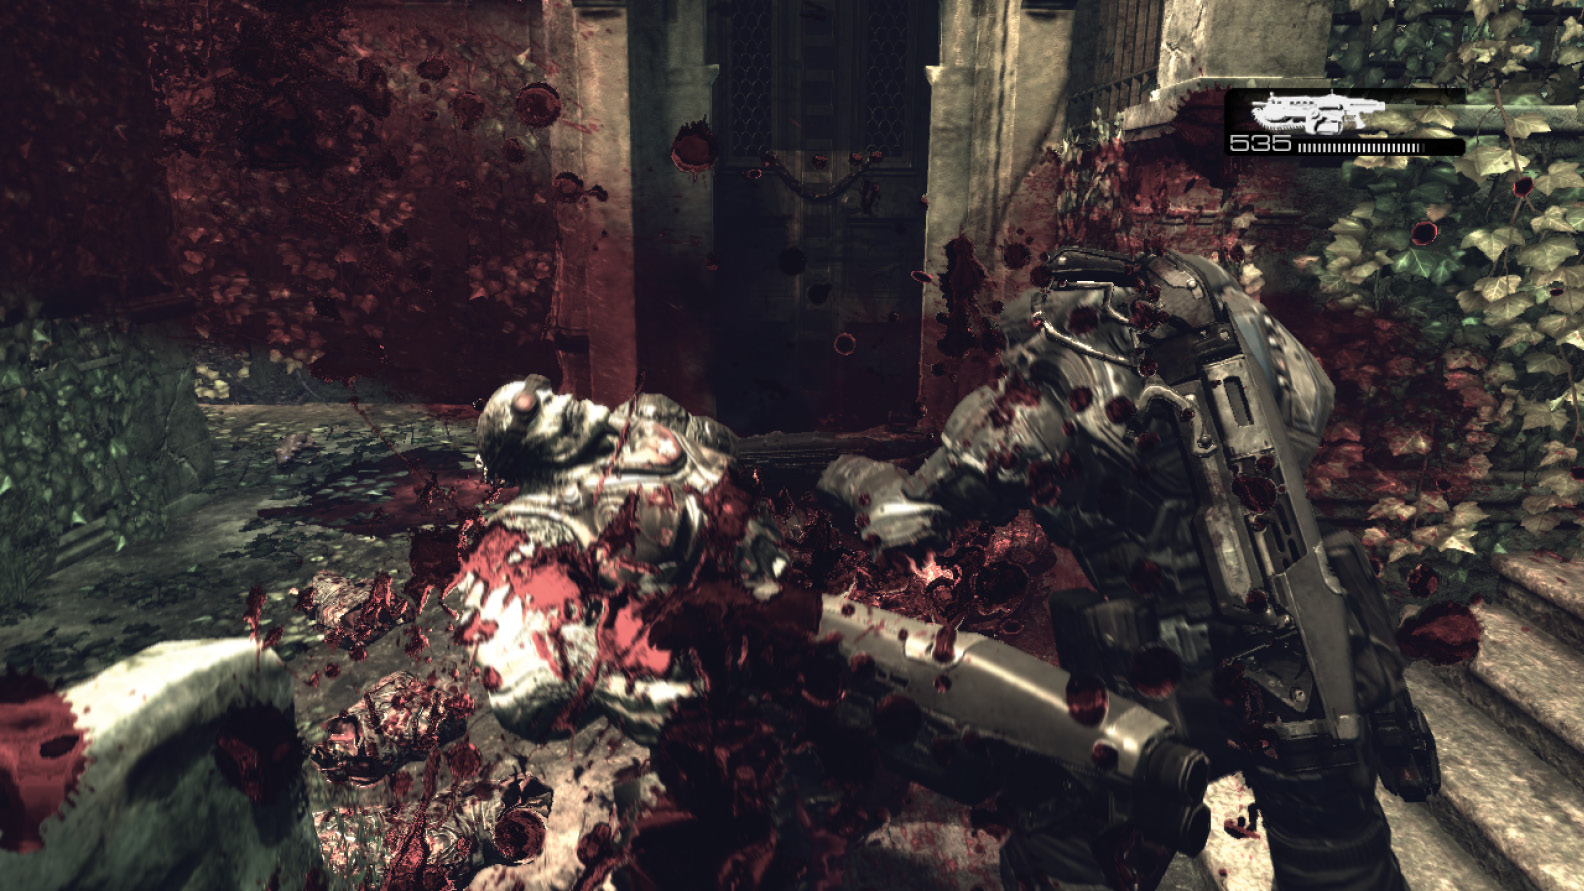
- You’ll find Frag Grenades by a wall near your spawn point; the enemy spawn point, along with another set of Frag Grenades, is on the opposite side of this wall. Try grabbing the Grenades nearest your spawn point and quickly tossing one through the gap between the arch and hedges. You might get lucky and kill an enemy lingering at the opposing spawn point.
- Have all four teammates move in unison to one of the outer areas, such as near the Longshot or Torquebow. Take cover behind the tall mausoleums. Wait for an enemy to approach, and attack from cover in force. There are many areas where an entire team can take cover just feet from one another. A wandering enemy unit will be easy to bring down.
- Due to the sheer size of the map and the many routes that lead through it, communication is vital. It’s very easy to get separated from your teammates in Mausoleum. Only an organized and talkative team will succeed in this arena.
Rooftops
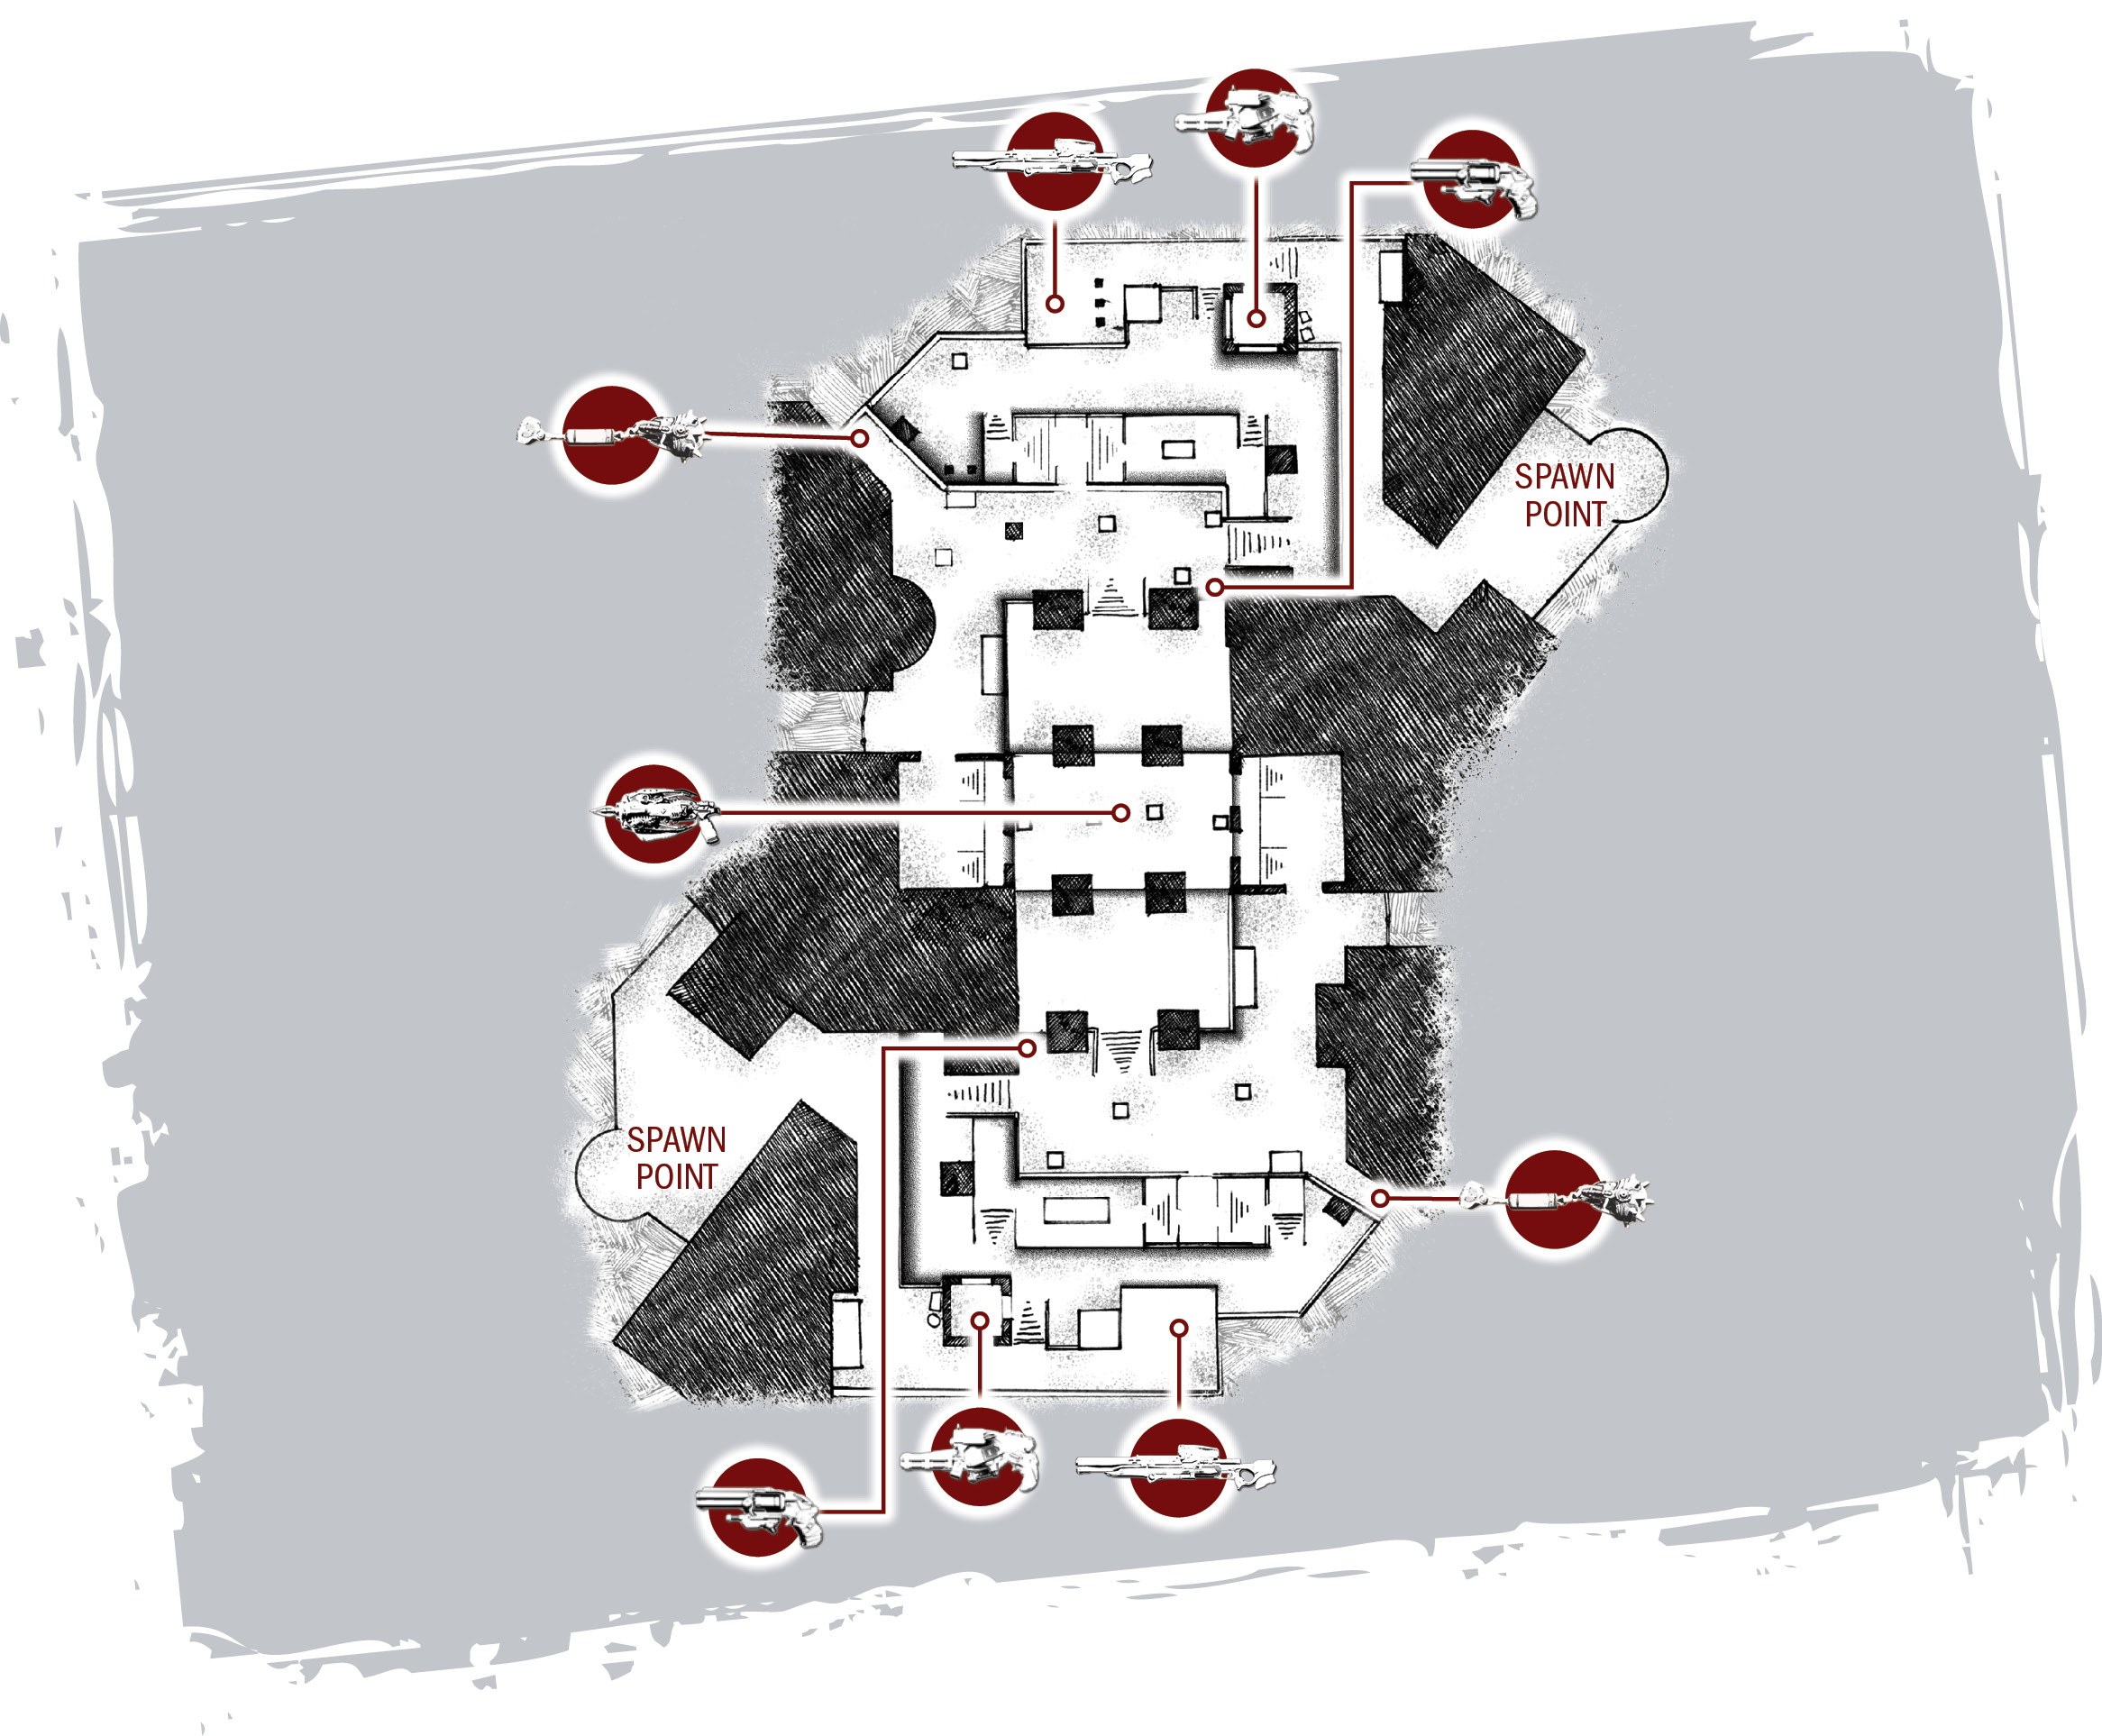
The many elevations, stairs, and side areas on rooftops make for great fun under the moonlit sky. Players can exploit the various elevations to lay traps for their enemies. The small, garage-like rooms on opposite sides of the map make for great foxhole-like places to hide! The Longshot, Torquebow, and Hammer of Dawn make the narrow paths and confined spaces that much more harrowing.
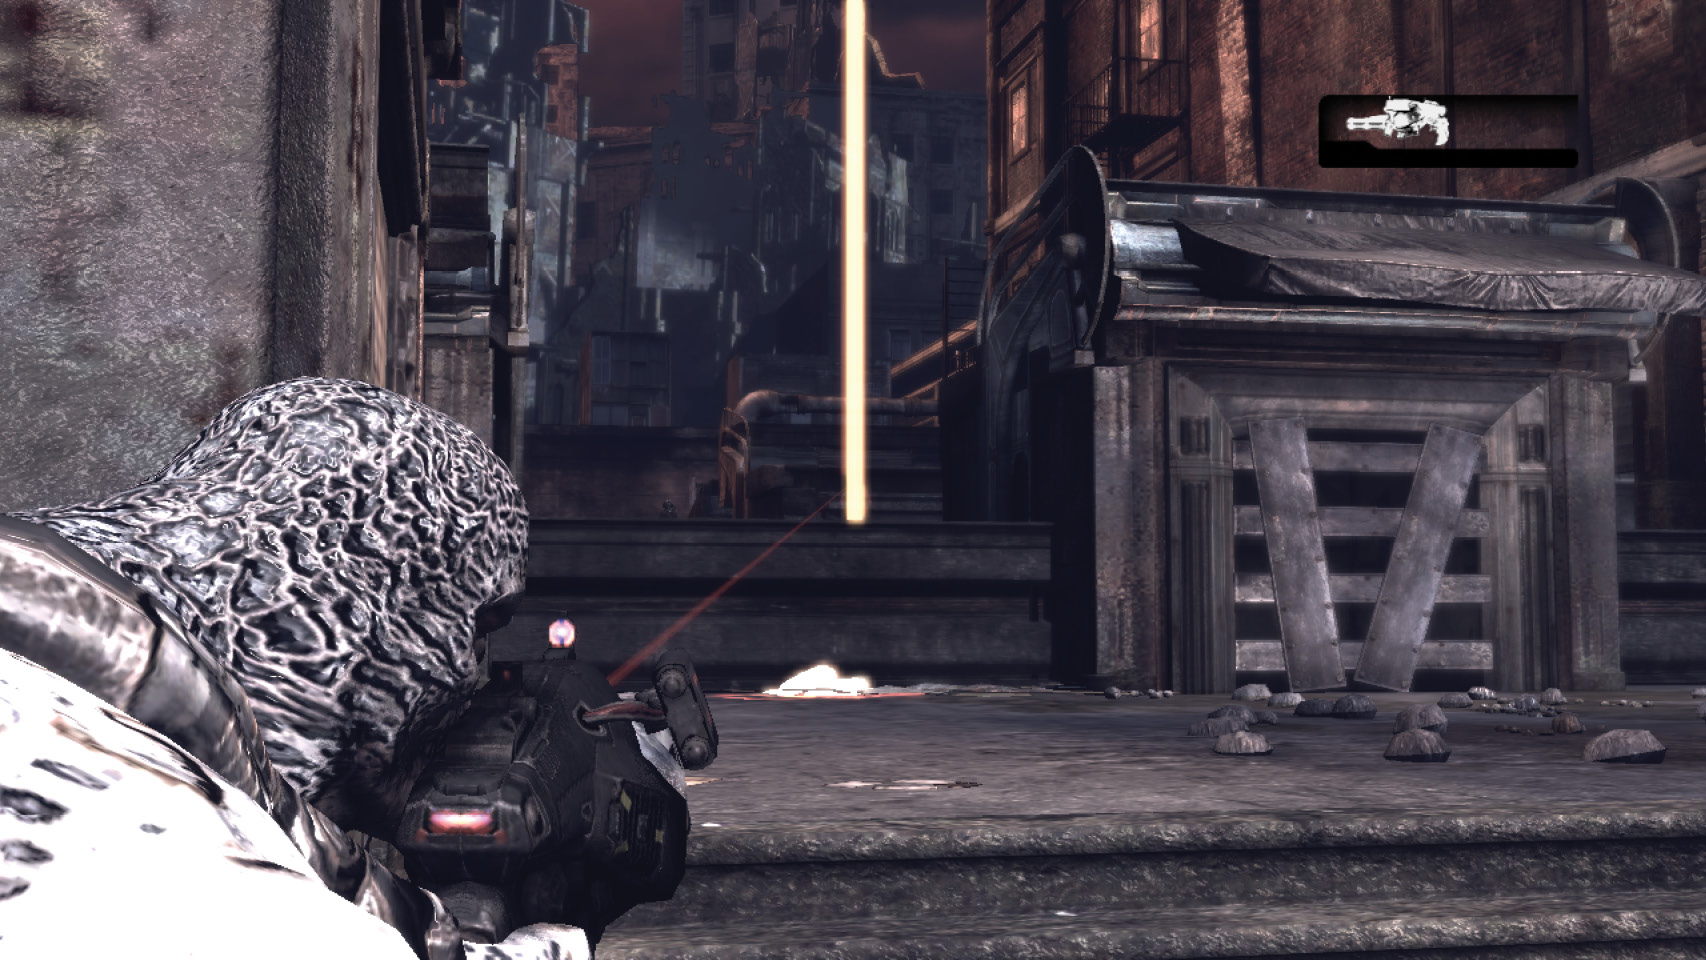
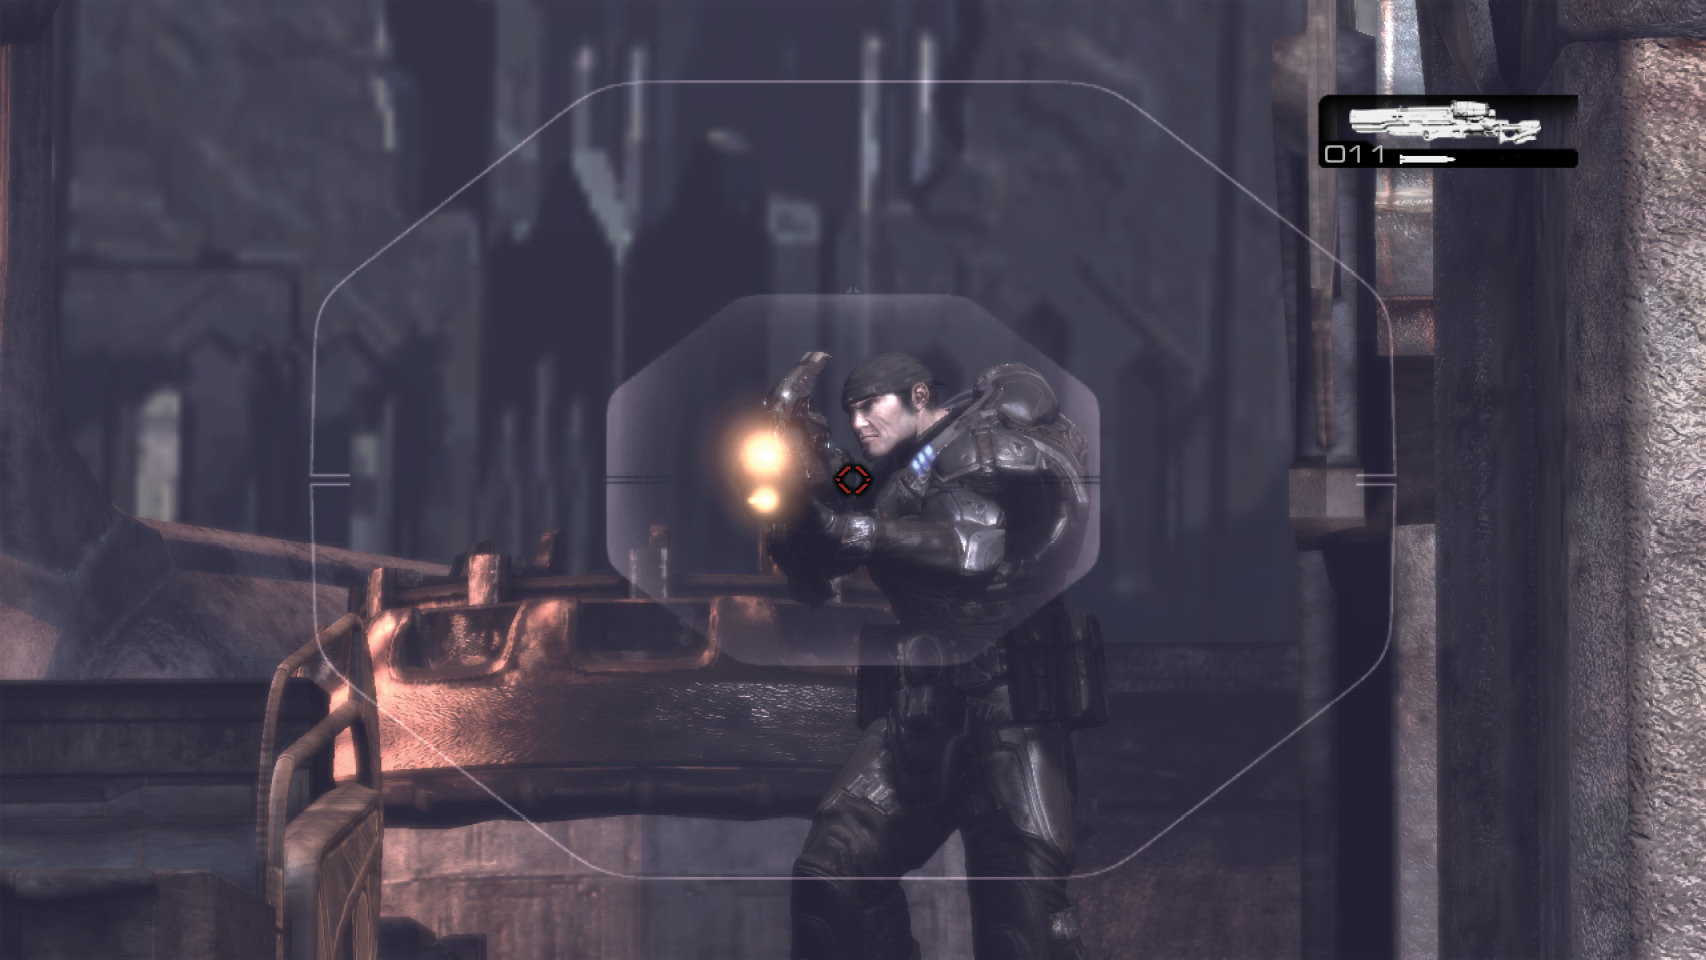
- The Hammer of Dawn and Longshot on each side of the map will be in play by the time the two teams reach the central battle area. Players without one of these weapons can use the Gnasher in a surprise rush against foes who have obtained them; you might catch them off guard.
- The garages on either side of the Torquebow location are good spots from which to snipe, but they don’t provide as much cover as you might think. Keep an eye out for enemies approaching via wall cover on either side, and consider bouncing a Frag Grenade off of the opposing walls to scare off any would-be assassins.
- The Hammer of Dawn is handy for attacking enemies behind the many cramped walls on this map. It’s also good for flushing them out of cover. Hammer of Dawn wielders should immediately rush to within firing range of the Torquebow location in an attempt to take out any enemies trying to obtain it.
Tyro Station
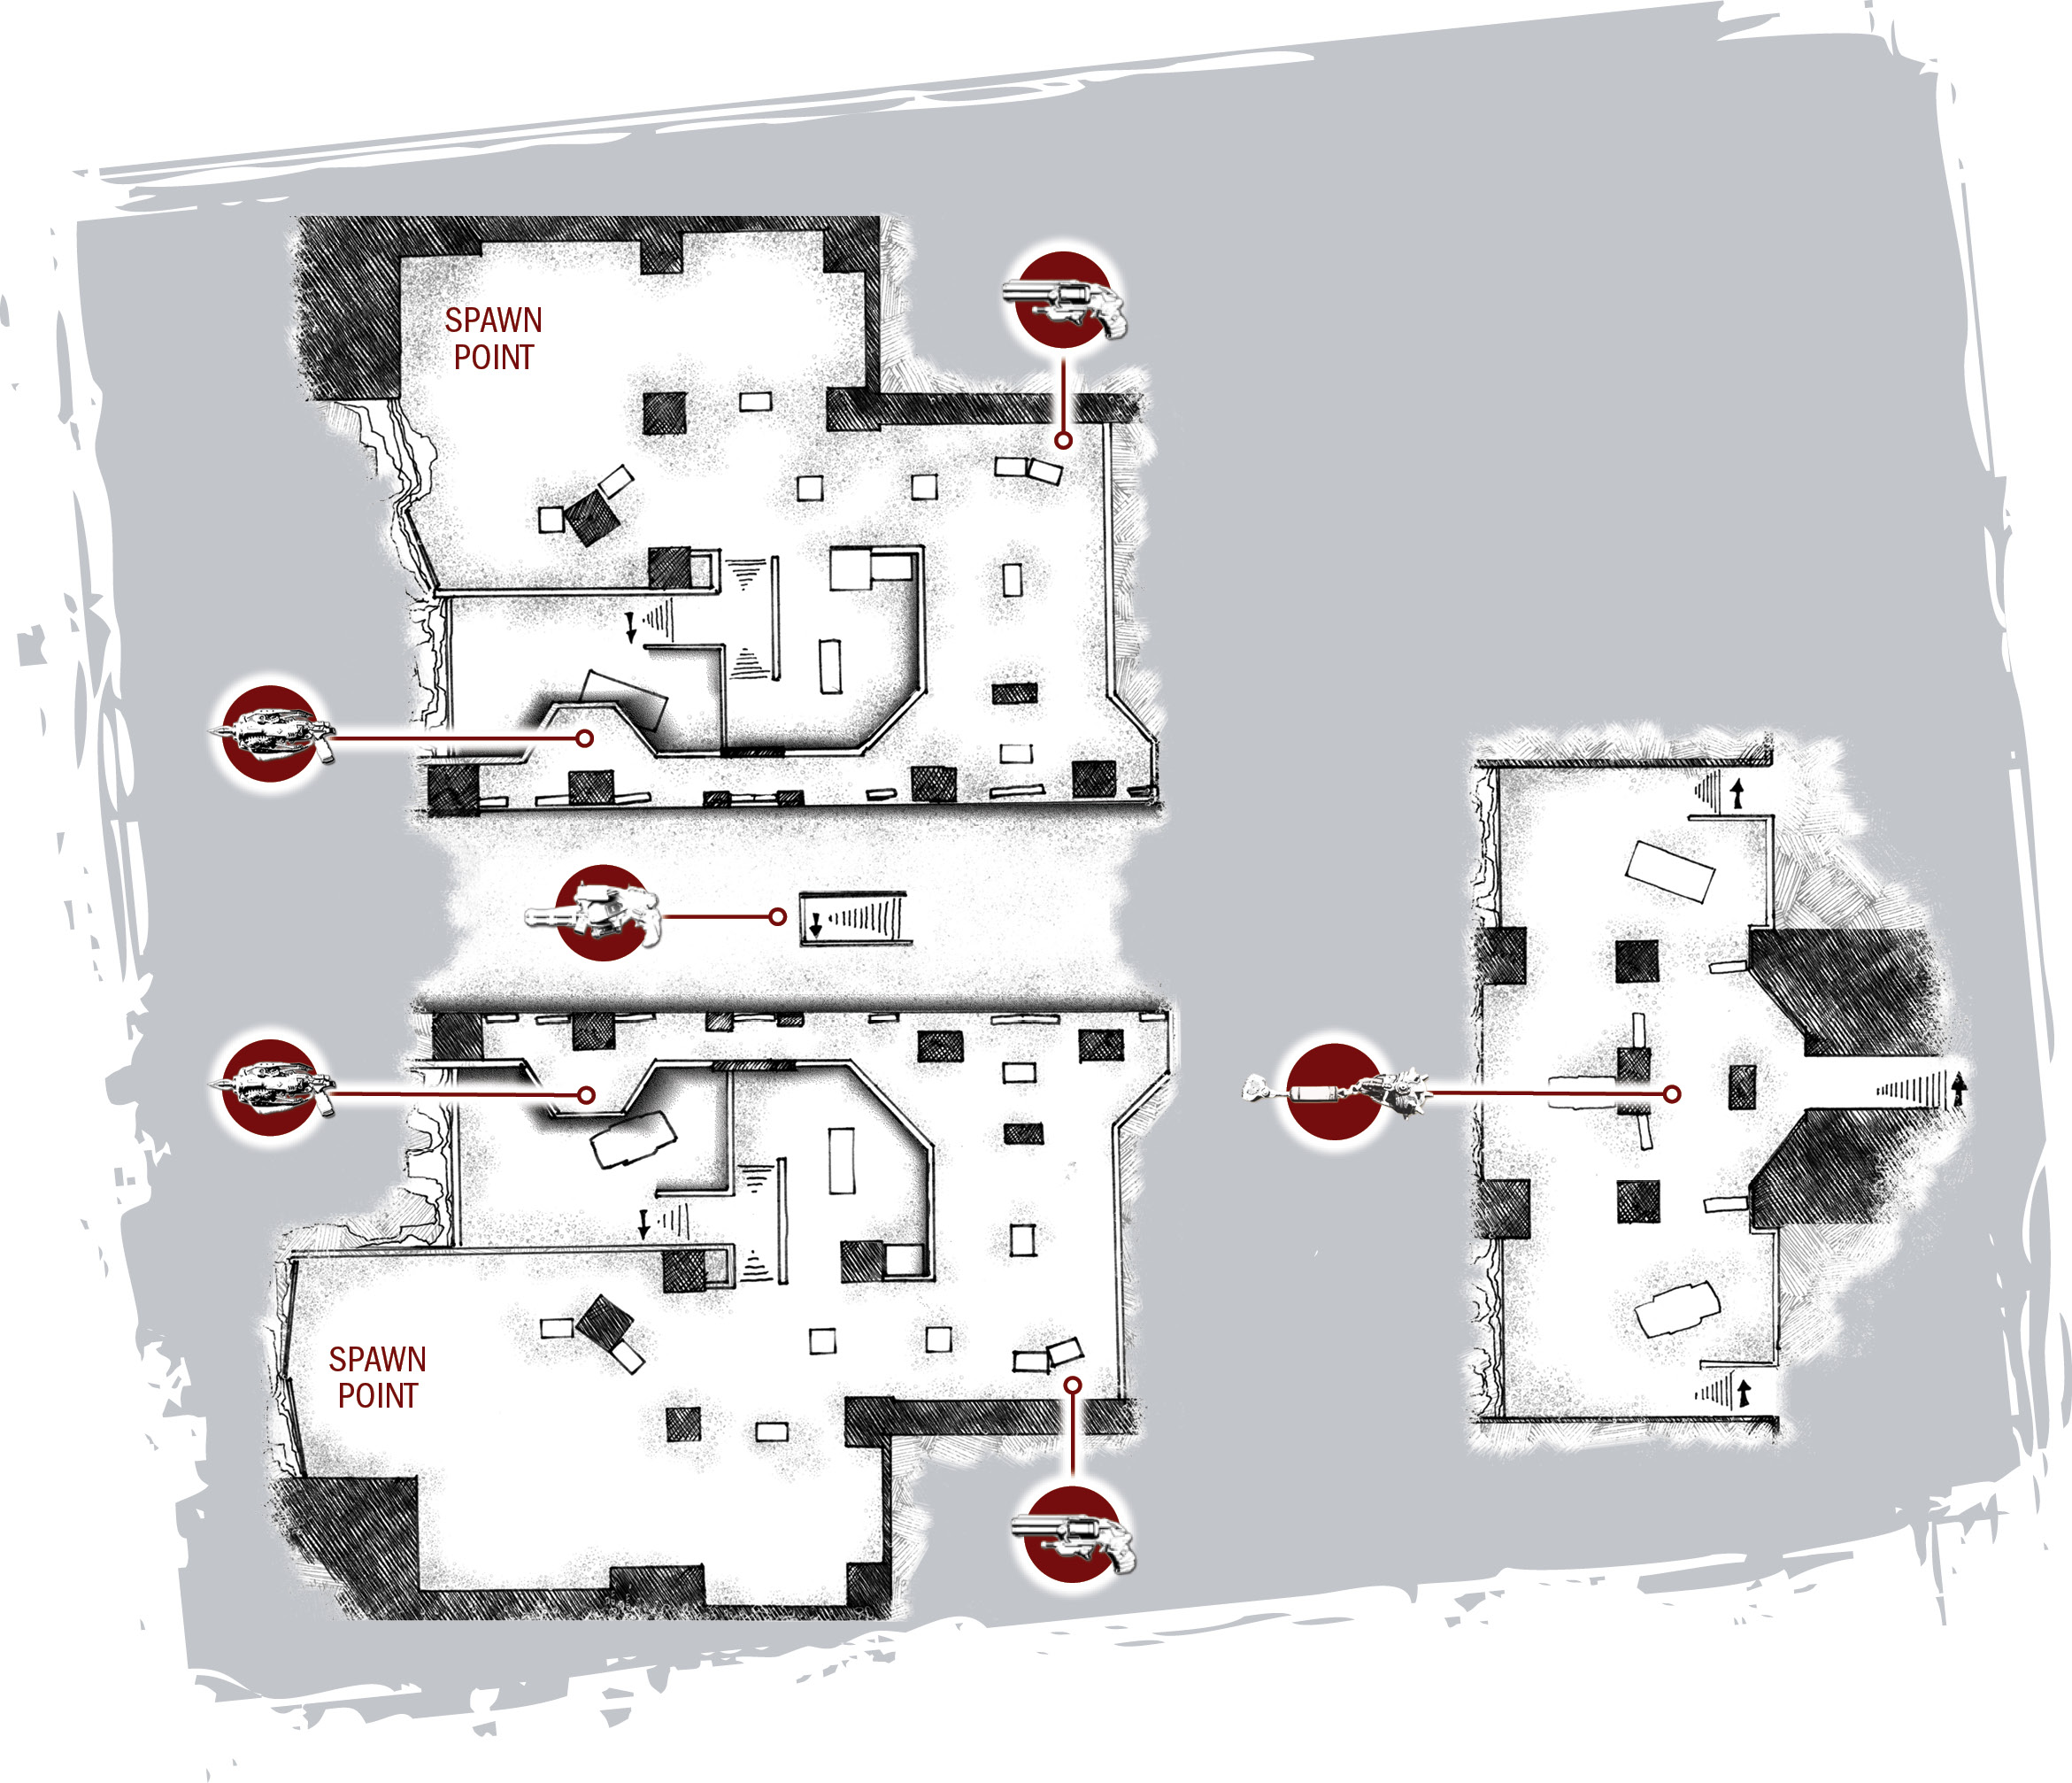
Tyro Station isn’t the largest map, nor is it the most complex, but it has one thing none of the other maps has: a train crossing its center every fifteen seconds! Opposing teams often set up front-line stands on their respective boarding platforms. Watch as only the most brave (or foolhardy) try to cross the tracks for a surprise ambush. Naturally, there’s a way to sneak up on your opponents. Use the underground parking lot to slip behind enemy lines and catch them in a crossfire!
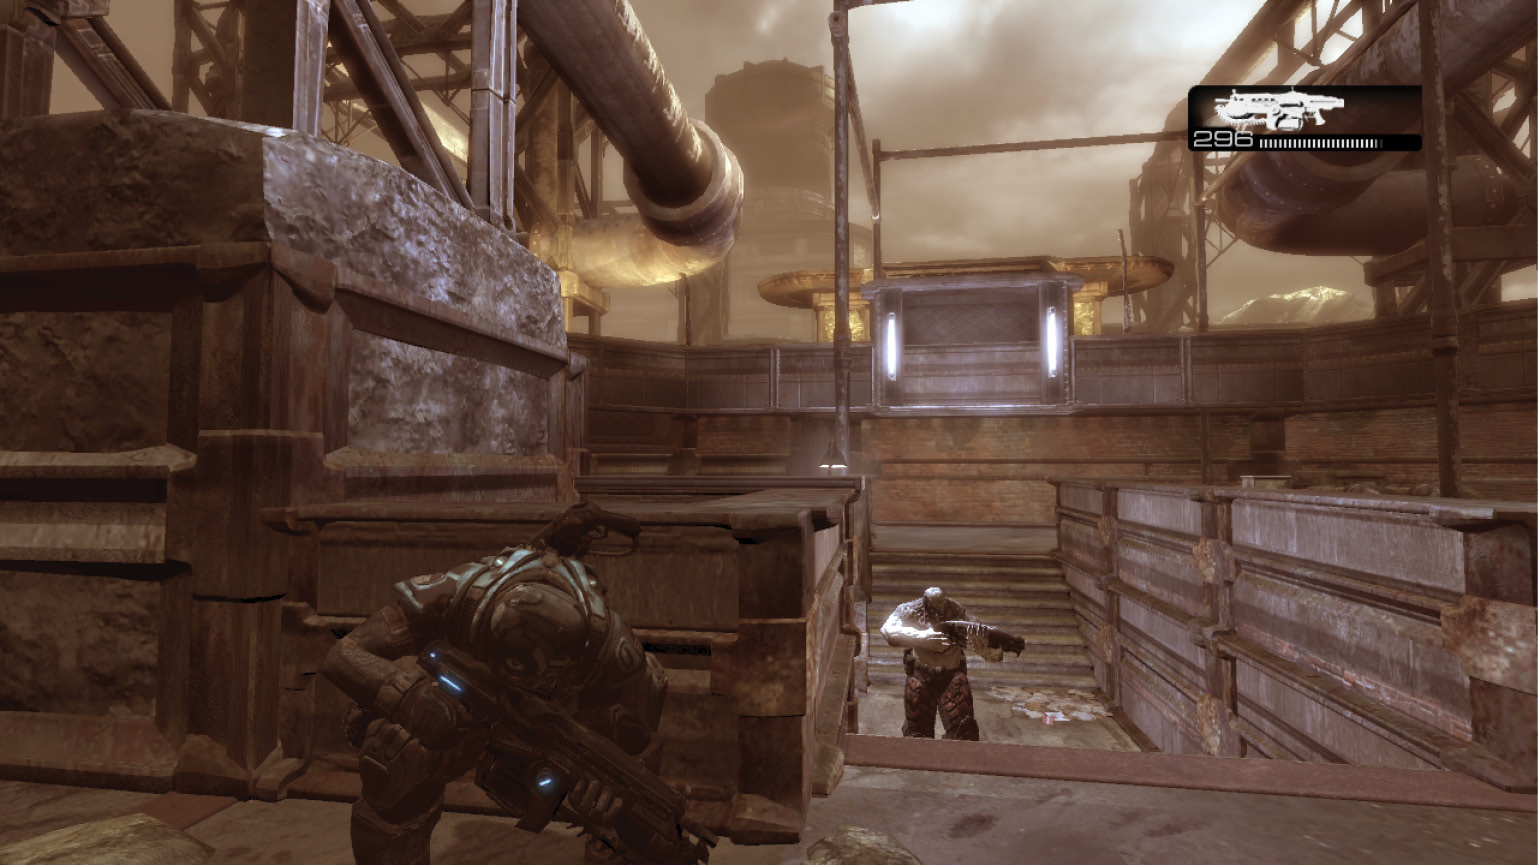
- The support column nearest the stairs that lead under the tracks provides an excellent point from which to monitor enemy movement in the lower area. Most of the battle takes place in the area near the boarding platforms, but leaving one member here provides an excellent opportunity to guard against enemy flanking maneuvers. It also gives you a decided advantage in that enemies can’t see you as they approach. Keep your Gnasher ready!
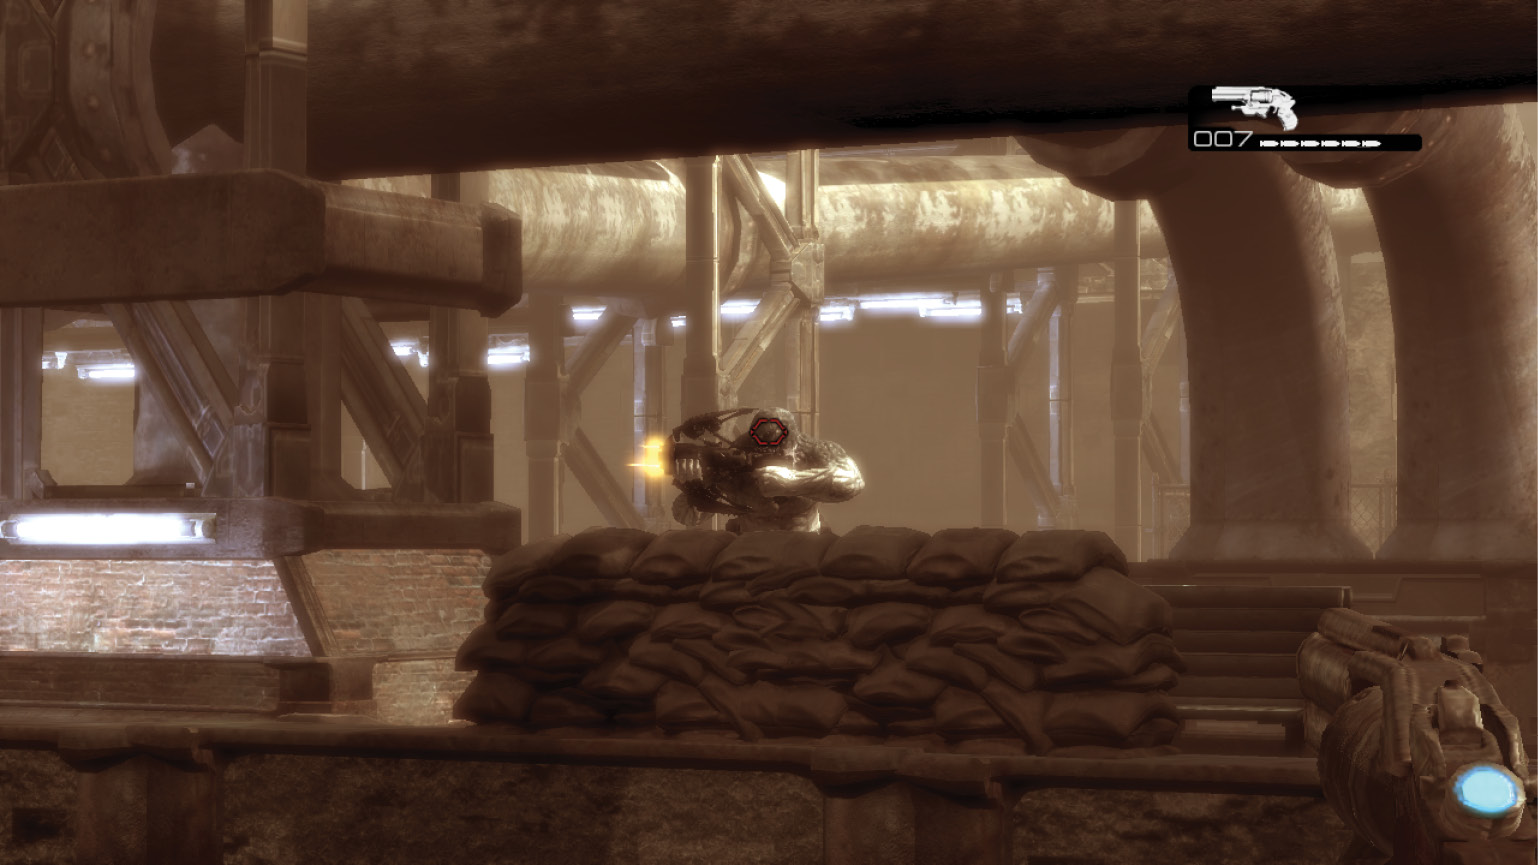
- Don’t overlook the Boltok Pistol behind the two dumpsters. It’s a powerful upgrade to your sidearm (albeit with a much slower firing rate). You can gain a good angle on enemies across the tracks by advancing from its position to the small sandbag pile near the tracks. Many of the enemies will be focused on your teammates near the Torquebow. Most won’t even notice you’re there, even after you start firing!
- You can use the Hammer of Dawn sitting on the train tracks to great advantage. However, this is by far the most dangerous weapon to obtain. The train that speeds through every fifteen seconds provides a deadly impediment. And, by running out to grab the weapon, you expose yourself to enemy fire from multiple directions. Do not venture out without covering fire, and even then the tactic is not guaranteed to succeed.
War Machine
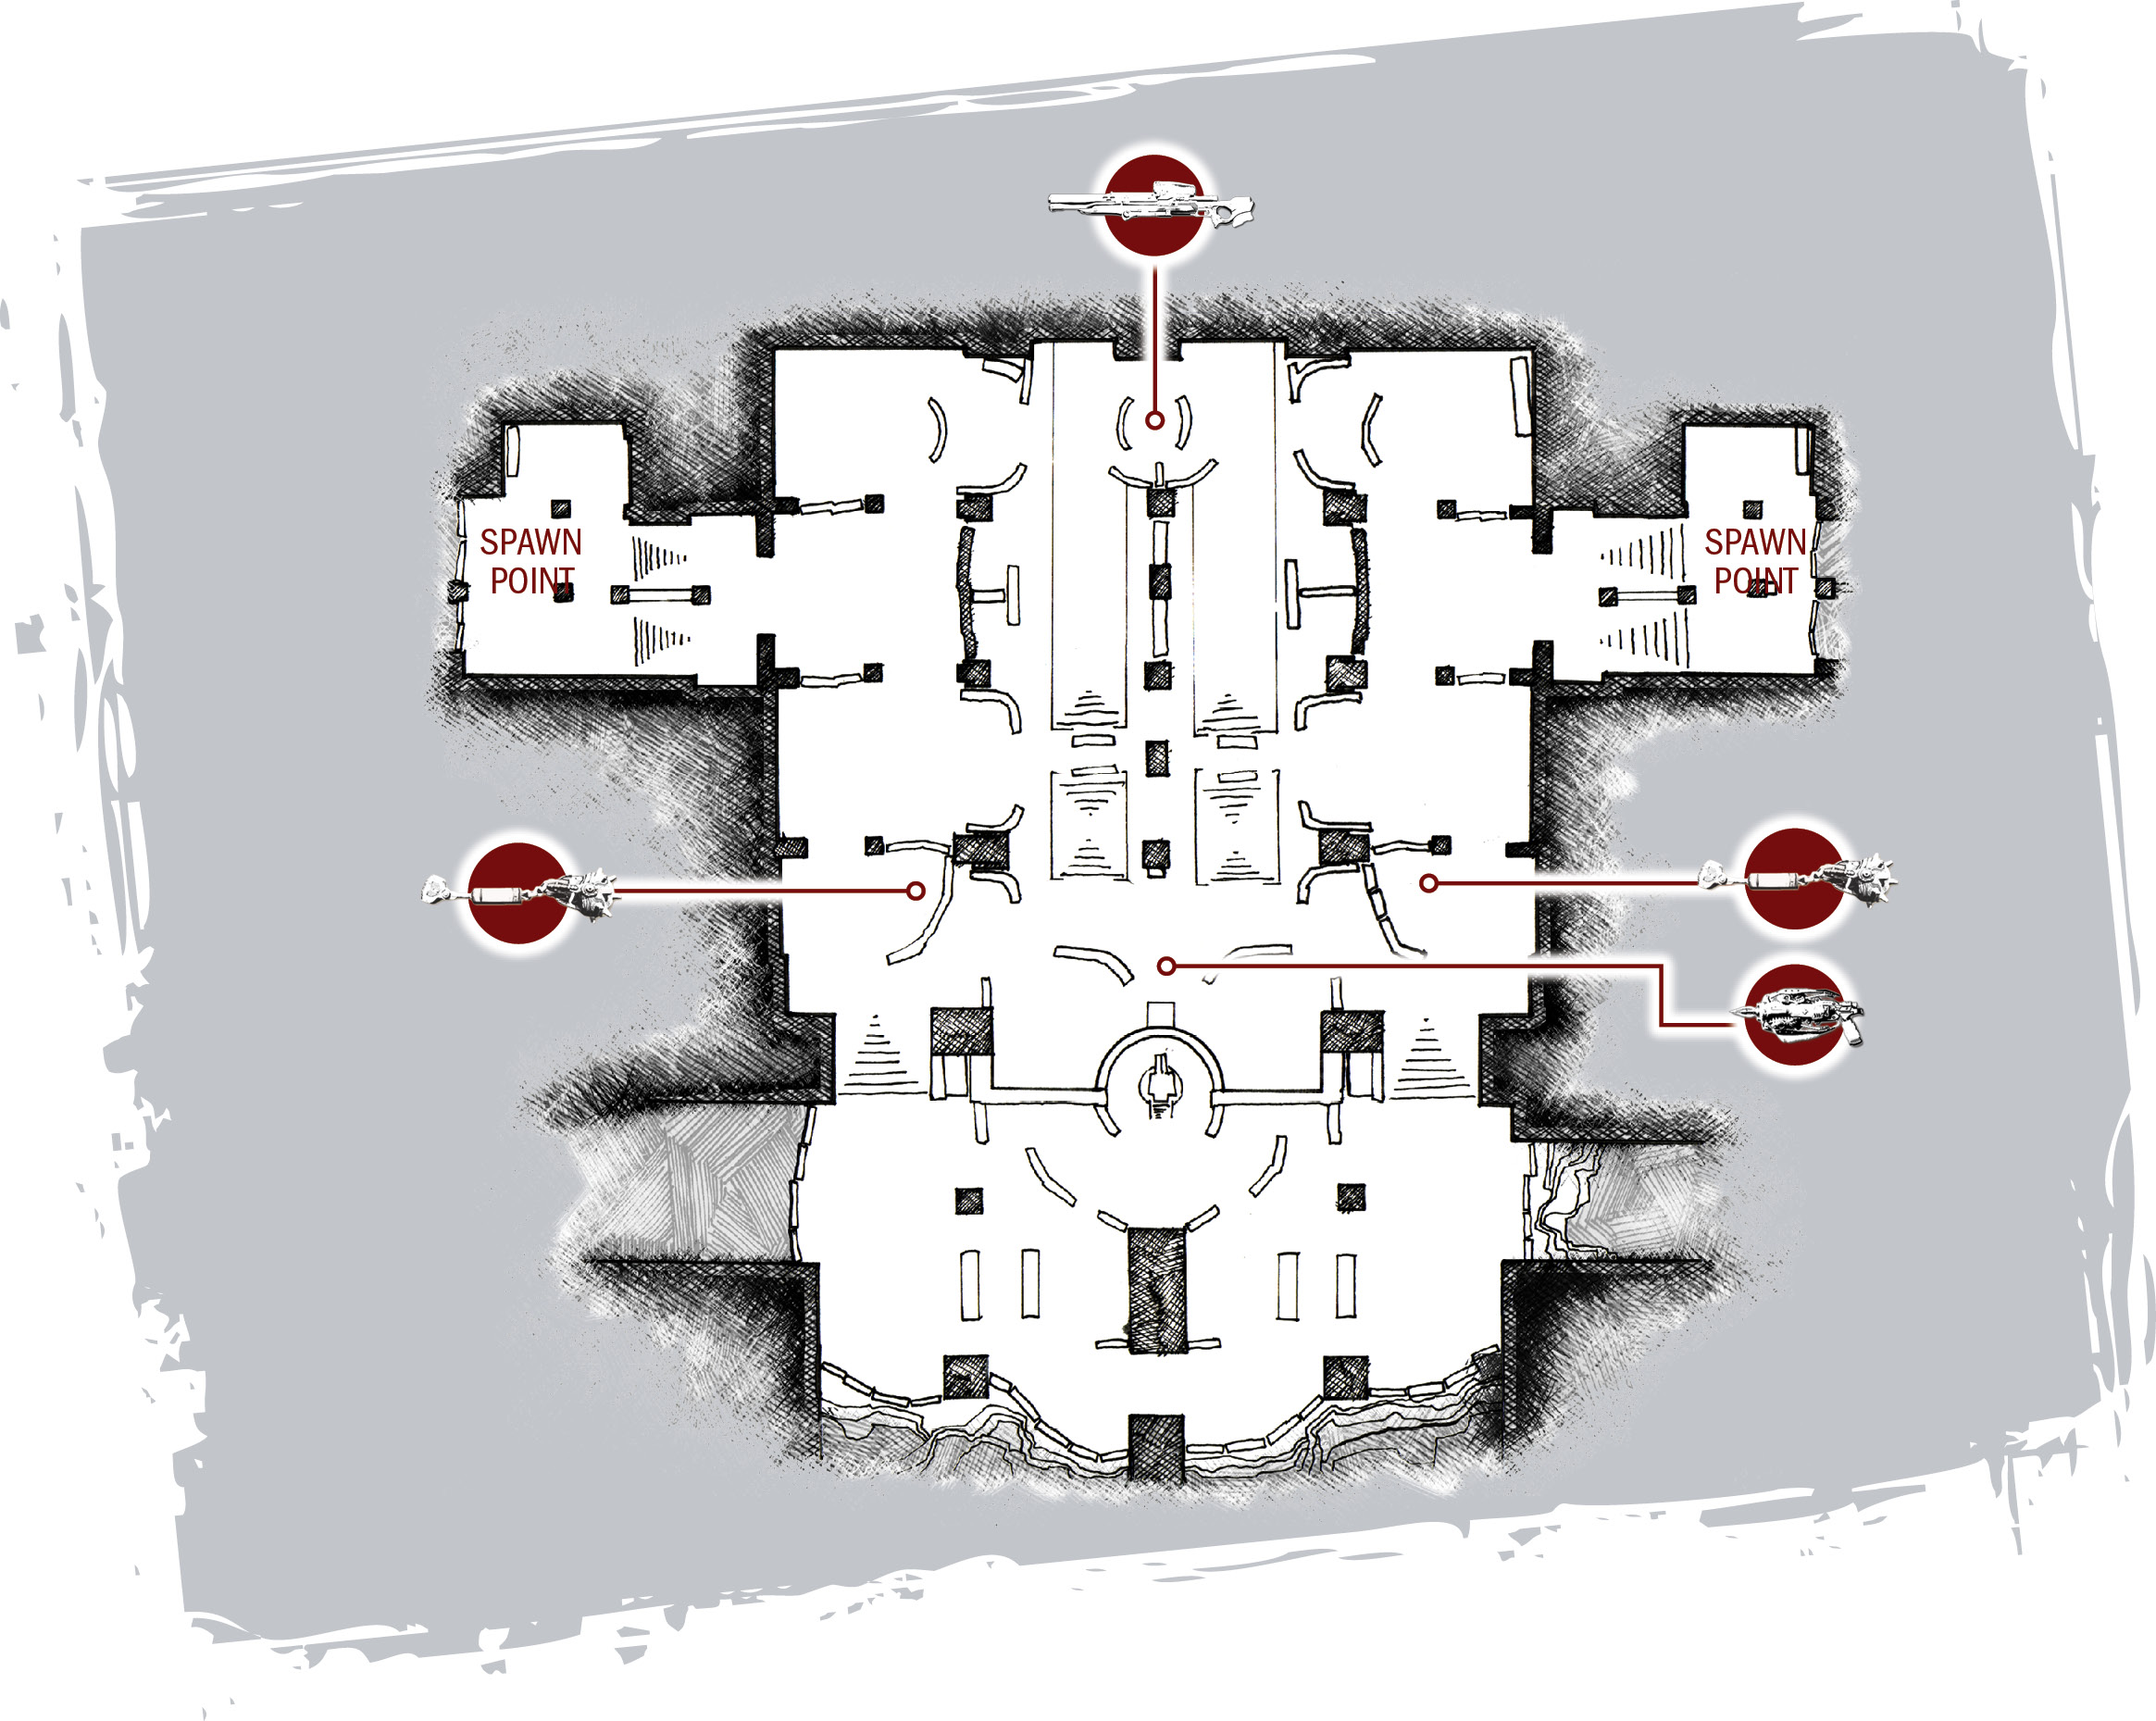
Unlike the other maps, War Machine features a Troika gun emplacement. This is an extremely powerful long-range weapon for the players that claim it. However, it reveals their position and leaves one of their players exposed. The intricate sandbag array provides ample opportunity to take cover, flank, and surprise your enemy, especially because many will be hunkered down, looking for chances to attack from afar with the Longshot or Torquebow.
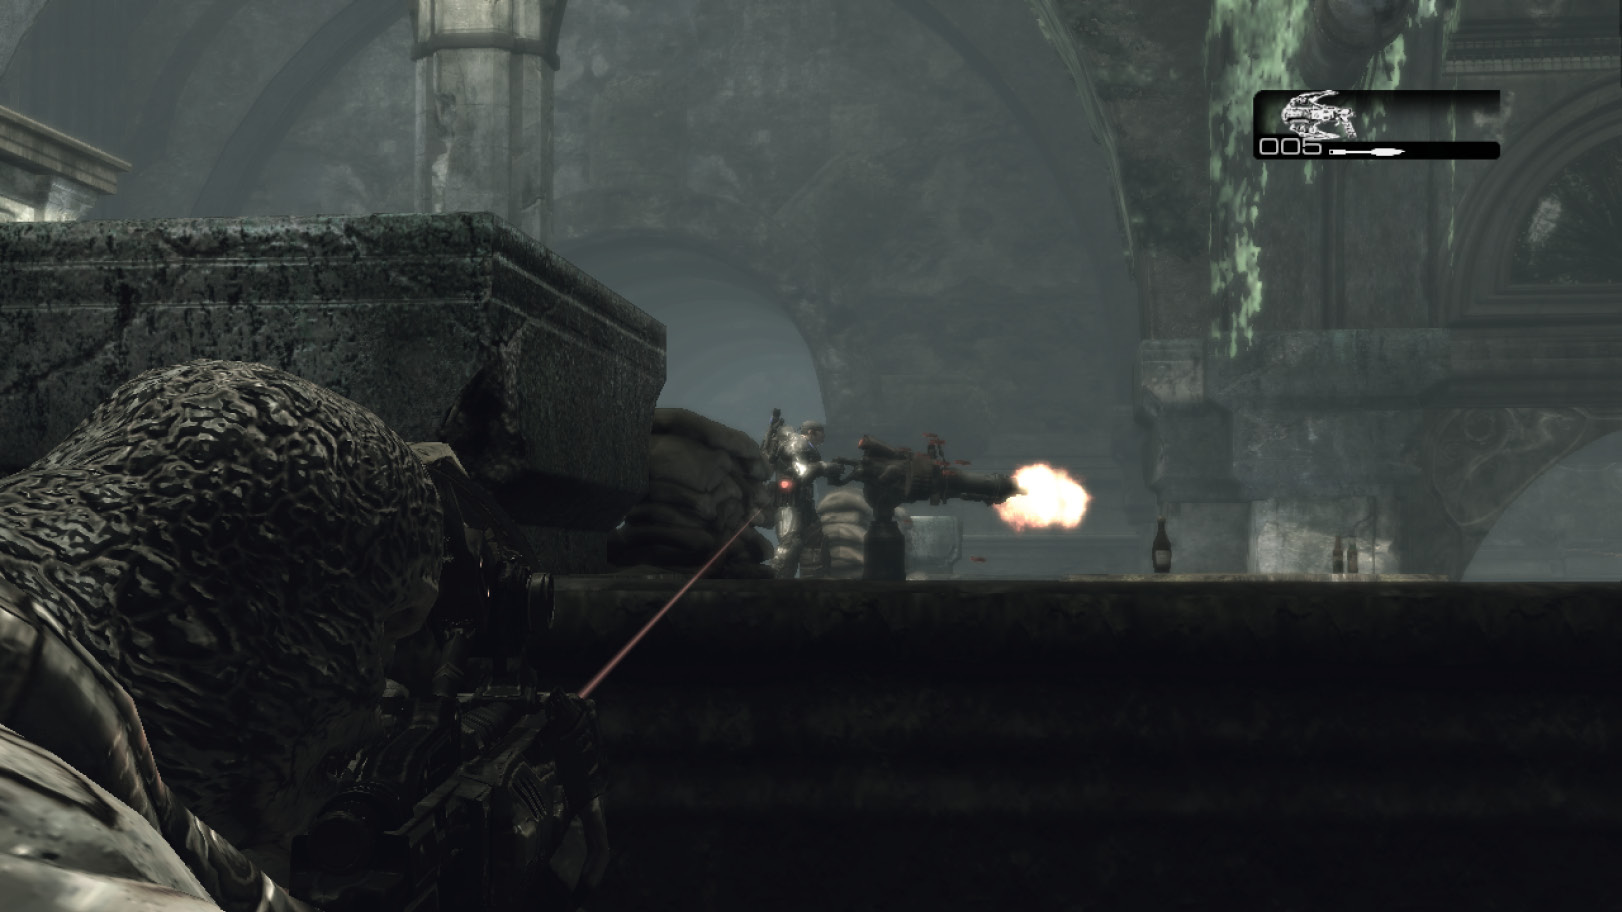
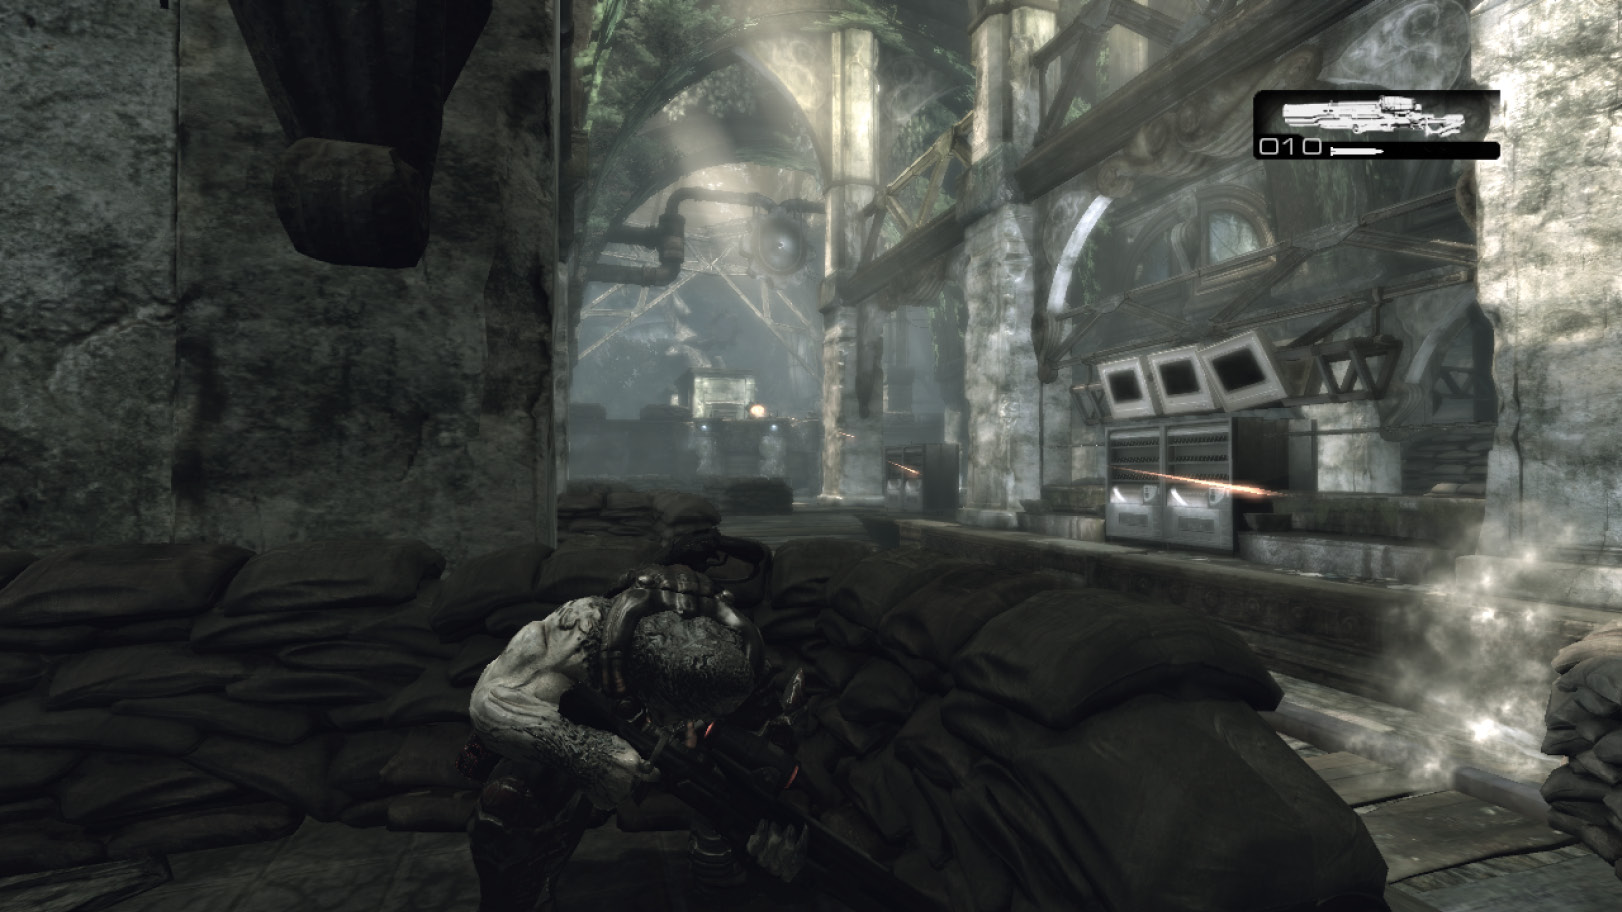
- The Troika in the map’s upper area can be very appealing, but it’s not as effective as one might think. A team member firing the Troika immediately reveals his position to the enemy, leaving him vulnerable to the Longshot on the map’s other side. If you decide to use the Troika, try sitting still until you see a good opportunity to fire, and then quickly move to another area.
- There’s a Torquebow underneath the Troika and hidden from its reach. Thus, the Troika gunner cannot assault the Torquebow’s location. Hence, enemies can flank the Troika via the stairs on either side and use the Torquebow to kill the Troika gunner.
- Consider using the Troika as bait. Take cover behind it and set an ambush for any enemies who decide to use it. There are multiple approaches; the best choice is a rear attack, thanks to the Troika’s limited rotation. Nothing is more gratifying than a chainsaw bayonet assault from behind, except maybe the always-humiliating Frag-tag. Equip the Frag Grenade and perform a melee attack. Quickly roll away to avoid getting caught in the blast.