General Gameplay Tips & Tactics
Take Cover!
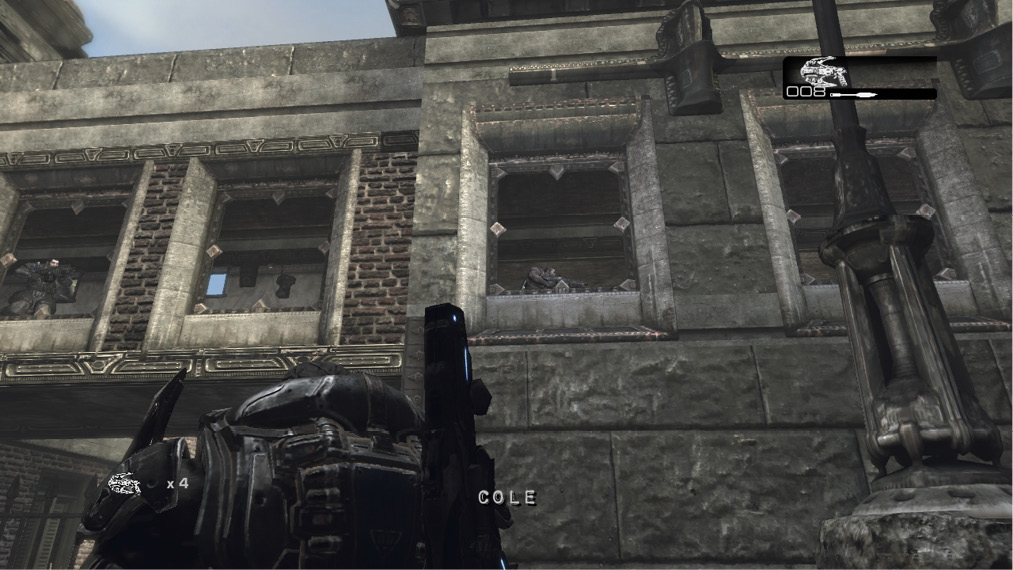
The creators of Gears of War have made it clear that they weren’t looking to create just another run-and-gun shooter. Cover is the key to success in this game. Running around with guns blazing does little more than get you killed. And, as the difficulty level increases, so does the frequency of the “Objective Failed” screen—that is, unless you use cover to your advantage.
Understand the Difficulty Settings
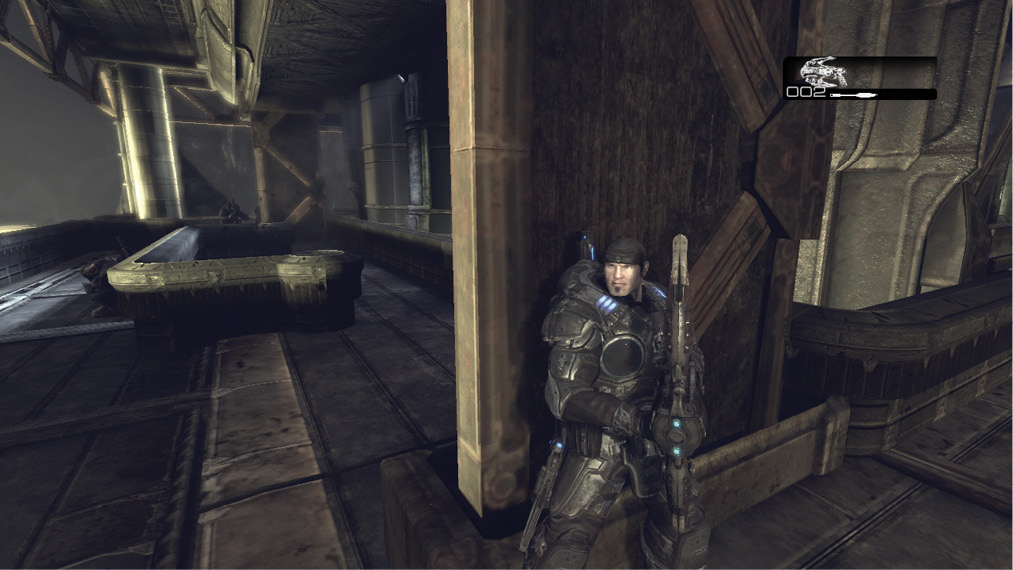
In Hardcore and Insane modes, those who fail to use cover and flank their enemies won’t survive long. Casual Mode is more forgiving of those who wander from cover on occasion and attempt frontal assaults when they shouldn’t. Hardcore Mode cracks down on this behavior, as damage the enemies inflict and the effort it takes to destroy them is increased. Insane mode requires near perfect observance of the game’s ideals and techniques. Cover is a necessity in all firefights, but that’s not nearly enough. You must watch your flanks and relocate accordingly, as enemy speed and intelligence increases exponentially. Enemies that find you camping too long rush your position; some even hop over your cover and attack with deadly melee techniques. The amount of damage it takes to destroy enemies is significantly higher, and we highly recommend aiming for the head.
You Are Not Alone
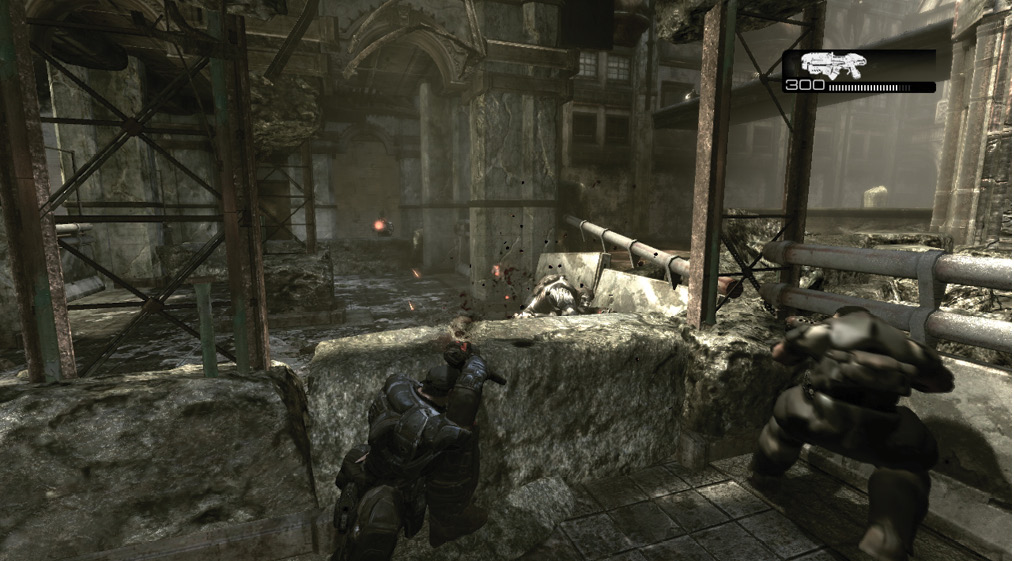
Your AI-controlled squad mates are there to provide support and direction as the game advances—be sure to take advantage of their presence. Whenever they are downed, try to revive them as quickly as possible so long as it doesn’t put you at unnecessary risk. Your AI partners automatically revive when you reach a new checkpoint, but that might be too late.
Pick Up Everything You Can
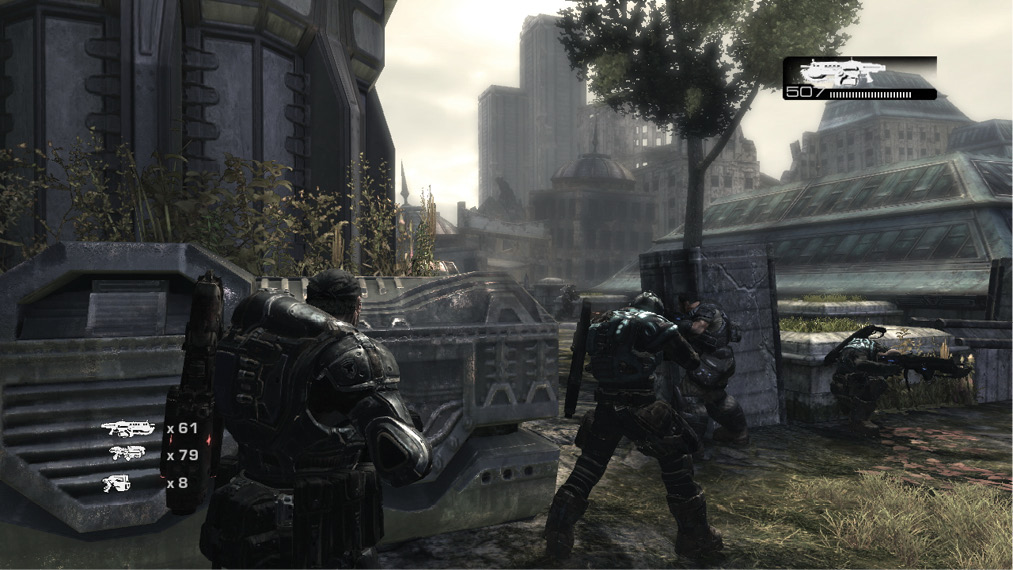
There is usually a generous amount of ammo to be had, so take a moment to collect as much of it as possible. That said, if your weapon is almost full, make a mental note of where extra ammo is located so you can come back for it later. Wasting ammo when you don’t really need it is almost worse than not grabbing any at all. Often, an enemy type appears just after a weapon that’s particularly effective at killing them becomes available—use this to your advantage!
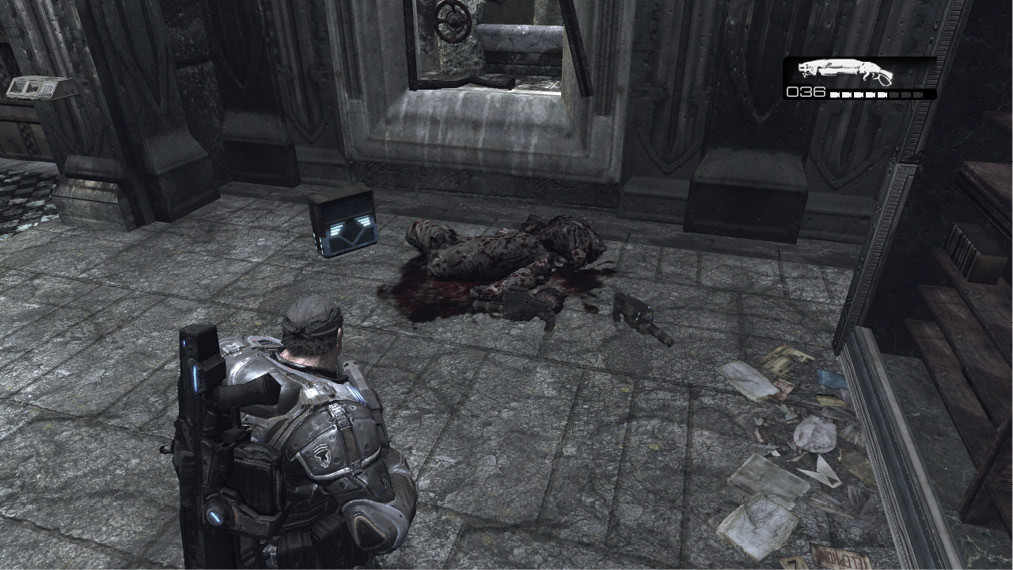
Weapons Storage Solutions
Pistols and Frag Grenades are automatically stored in their respective slots when you pick them up. But all other weapons replace the weapon in your hand when you grab them. Remember how you store your weapons so you can quickly switch to the right one for the job at hand. Giving up your Gnasher makes you less effective at short range, but dropping it for a Longshot increases your potency against distant enemies. You have to give to get, so go with what works best for the situation. We recommend always keeping the Lancer (or Hammerburst) in the weapon slot to the right, as switching to this default all-purpose weapon will become second-nature.
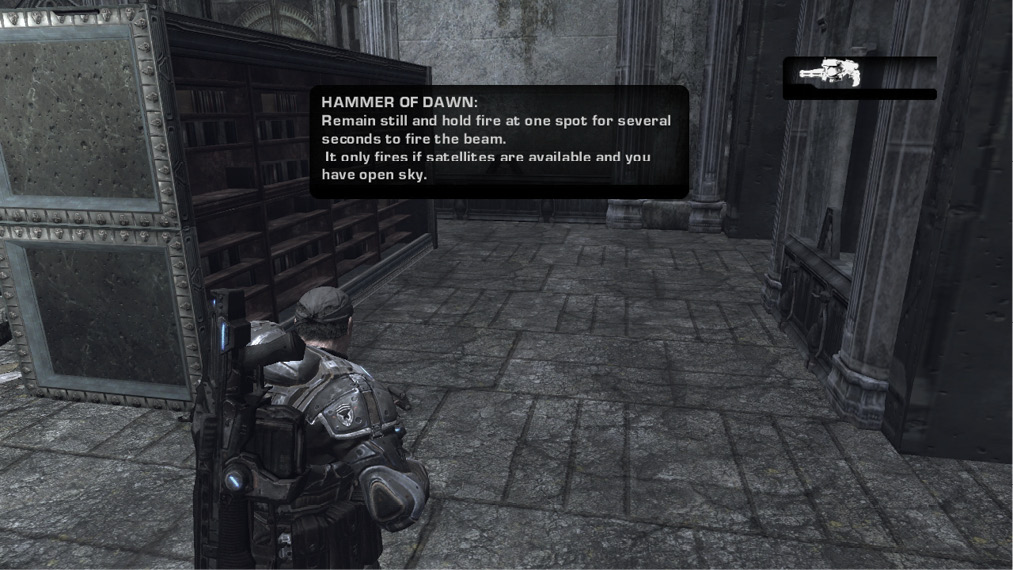
Only Fools Rush In
Never walk past or through an open doorway without first taking cover alongside it and doing a little recon. Try to size up the situation as best you can, and choose a weapon that’s suited for the task ahead before you advance. Reload if necessary, and try to scout out your next piece of cover—use the maps in this guide for help!
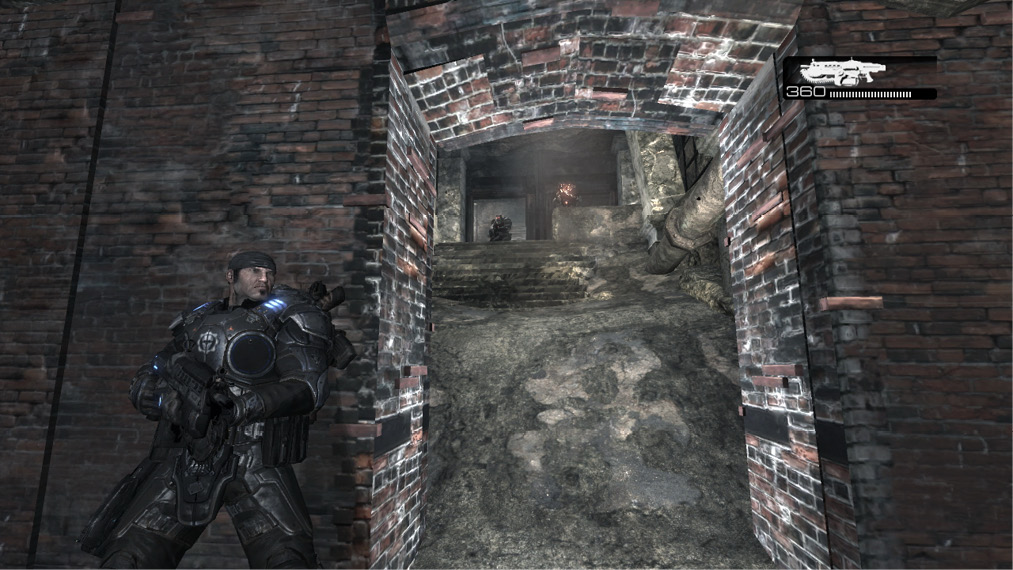
Active Reload Often, and Practice It!
When you face a large firefight ahead, try blindfiring at enemies while you maintain cover, and don’t be afraid to exhaust your entire magazine. If you manage to pull off a perfect Active Reload, you’re looking at an entire clip of powered-up shots (for a limited duration). This really can help you take down enemies at an accelerated rate. Remember that the flashing bullets in the HUD deliver, on average, 8% more damage than normal bullets.
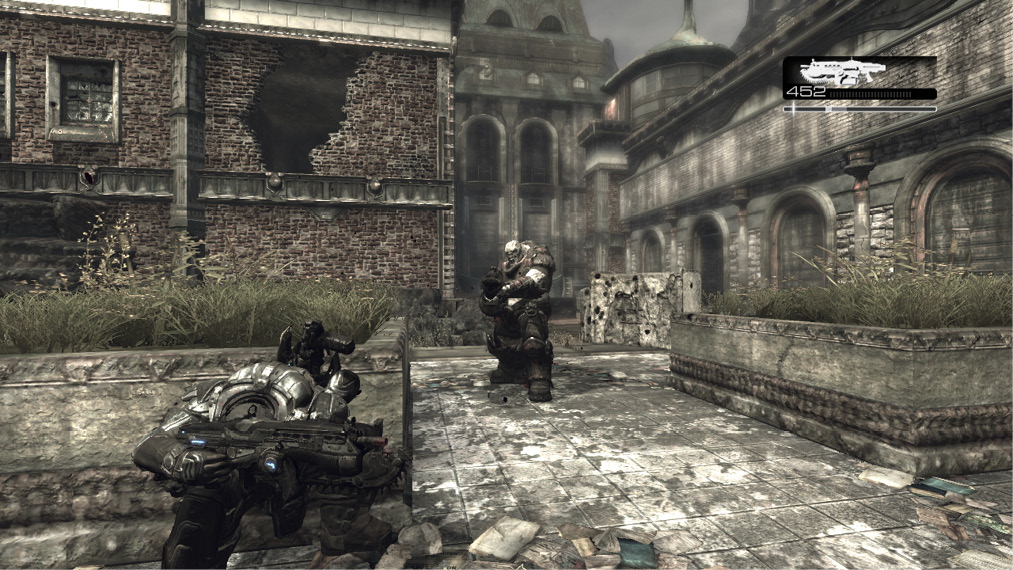
Plan Your Movements
You can’t take all the time in the world, because the enemy tries to flank you and adjusts to your position, so try to plan ahead where you want to go. React to your squad mates’ movements, work the angles to flank the enemy, and force them from cover. Often, squad mates yell for Marcus to flank to a particular side. These guys know their stuff, so follow their advice!
Don’t Ask “Y,” Press it!
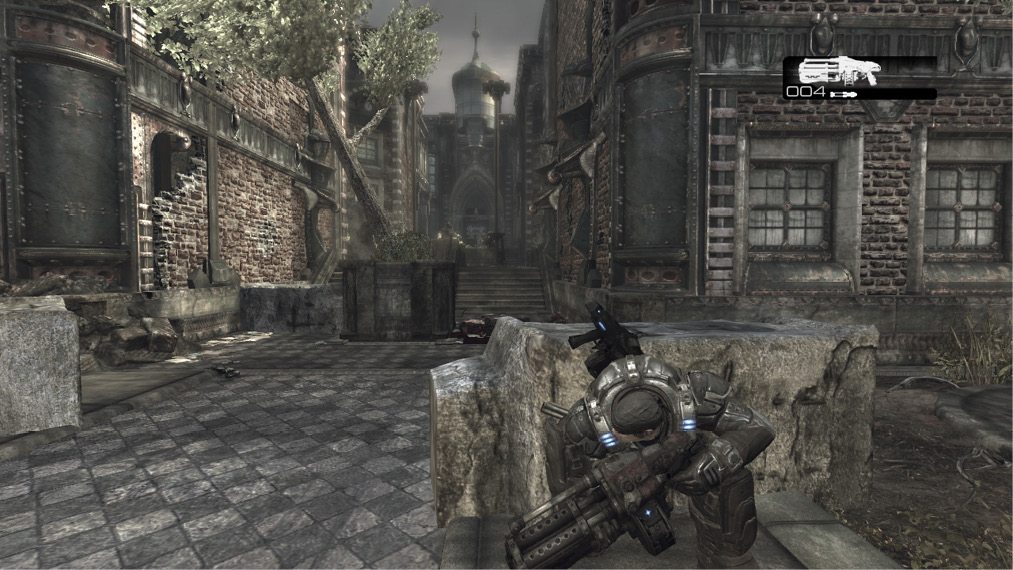
There are many Points of Interest scattered throughout the campaign that offer a close-up view when you’re prompted to press the Y Button. They aren’t always critical in terms of Marcus’ survival, but they provide information and give you a sense of actually living through the story as it unfolds.
Explore Your Surroundings Before You Advance
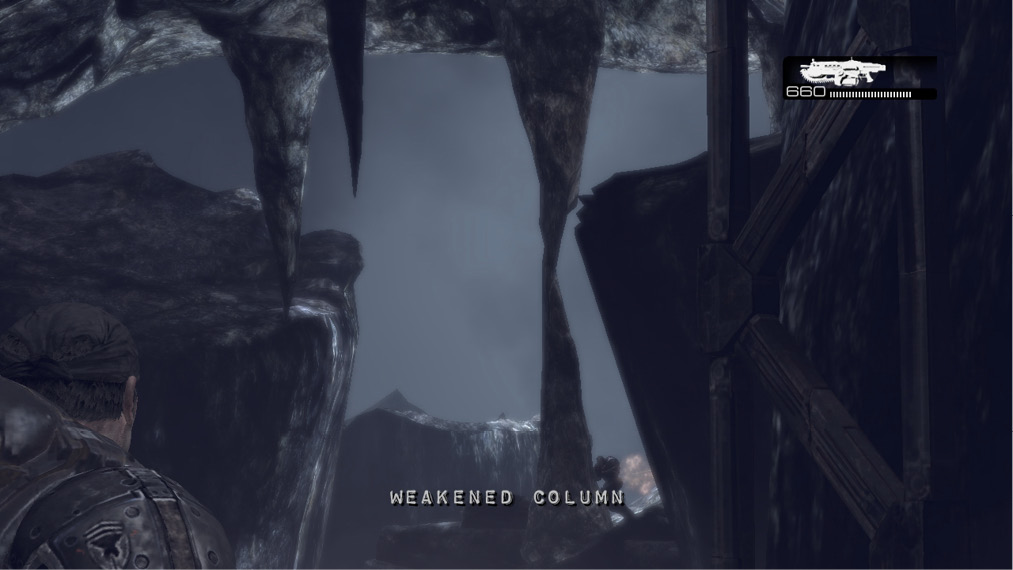
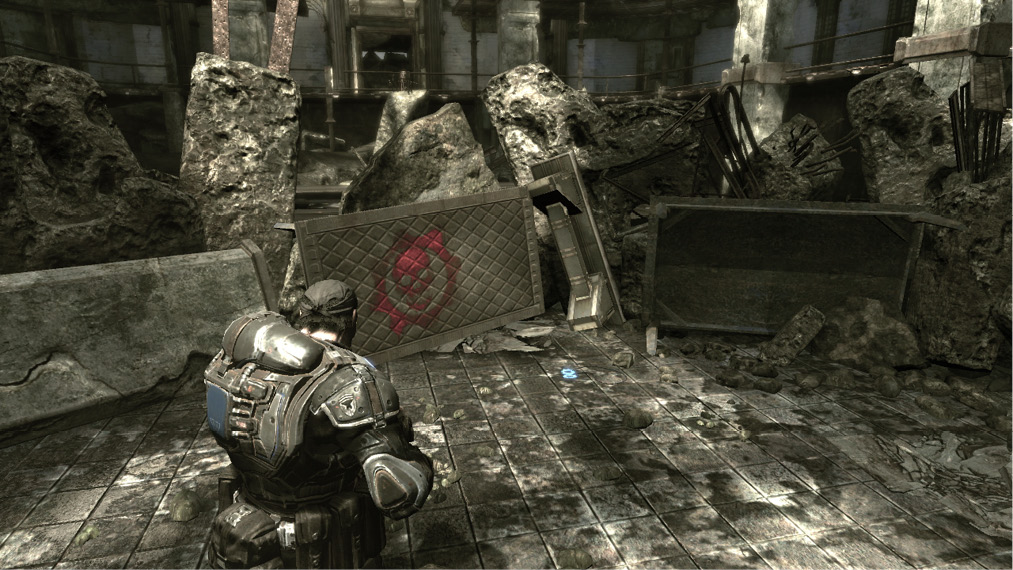
The best time to search an area for COG Tags or ammo is after a battle ends and the smoke clears. Refer to the COG Tag explanation in this guide’s Act 1 Walkthrough. Pay attention to the red Crimson Omen indicators; a little searching is all it takes to find their corresponding COG Tags. Destroy all crates and furniture in your vicinity with the hope of uncovering a hidden COG Tag or extra ammunition. Also, you may have to reenter the room you’re in from an alternate entrance in the next area in order to find the COG Tag.
Fire in the Hole!
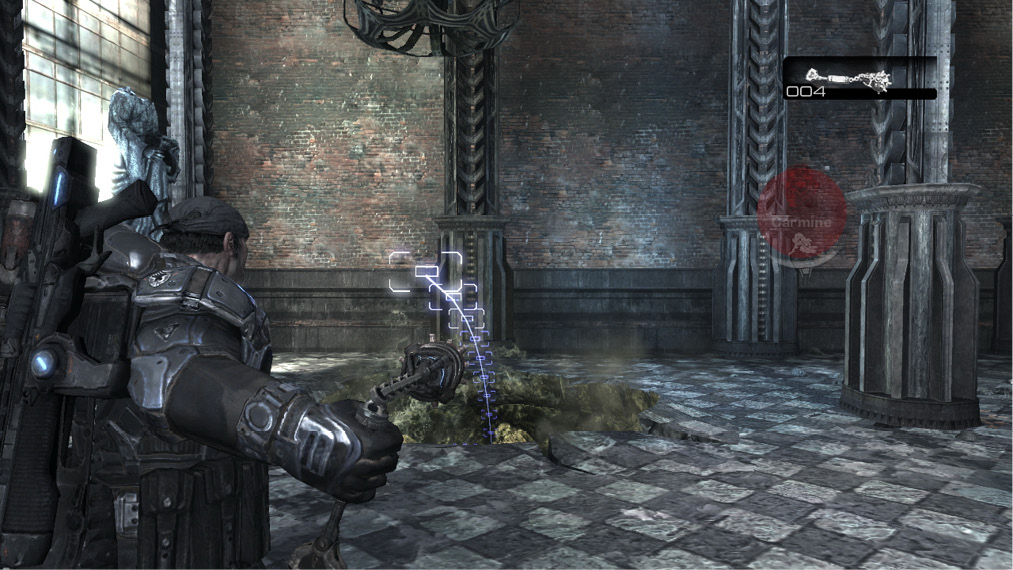
Close Emergence Holes as quickly as possible to prevent further enemies from surfacing. Frag Grenades are great for taking out groups of enemies in a firefight, but try to conserve them for sealing the many Emergence Holes that sprout up all around you. Emergence Holes close after you deal with all of the Locusts within them, but using a Frag Grenade is a great way to conserve ammo.
Approach Split Paths as Unique Situations
When the path splits, there’s a good chance that either you or the other team can provide significant squad support. Such opportunities often come in the form of higher elevations or superior attack angles. Size up the situation to determine who is in the flanking position, and take advantage of it.