Gears of War Guide Campaign Walkthrough
Act 5: Desperation
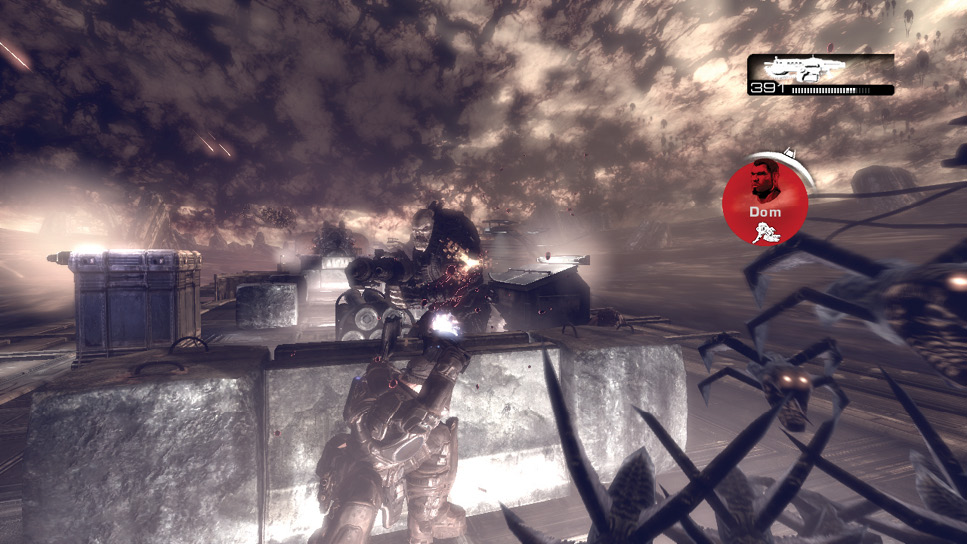
Delta Squad managed to escape the Brumak’s wrath by the slimmest of margins and drove without pause to the train station. According to Anya, a train carrying the Lightmass Bomb is due to travel past the station any minute. Delta Squad must somehow board the train in motion and program the Lightmass Bomb with the data retrieved from Adam Fenix’s secret laboratory. This may be the only opportunity to inflict the type of damage on the Locust Horde that the humans earlier unleashed upon their own civilization.
Reaver
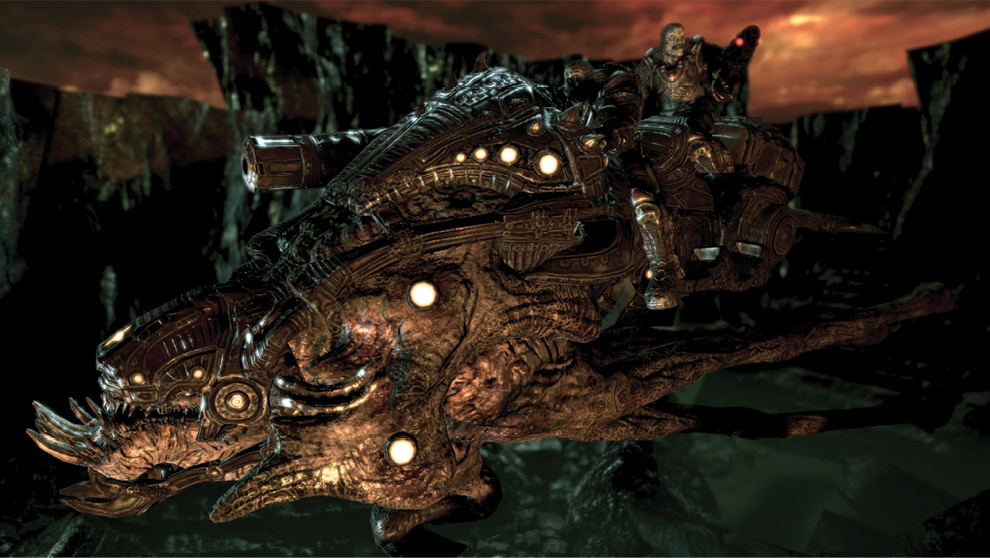
These enormous, flying beasts serve as airborne vehicles for the two Locust on their back, one of which usually has access to a Troika! Aim for the Reaver’s chest cavity to kill it, or simply shoot and kill its passengers.
Special Delivery
Secure the platform and catch the train.
Get to the Train Boarding Platform
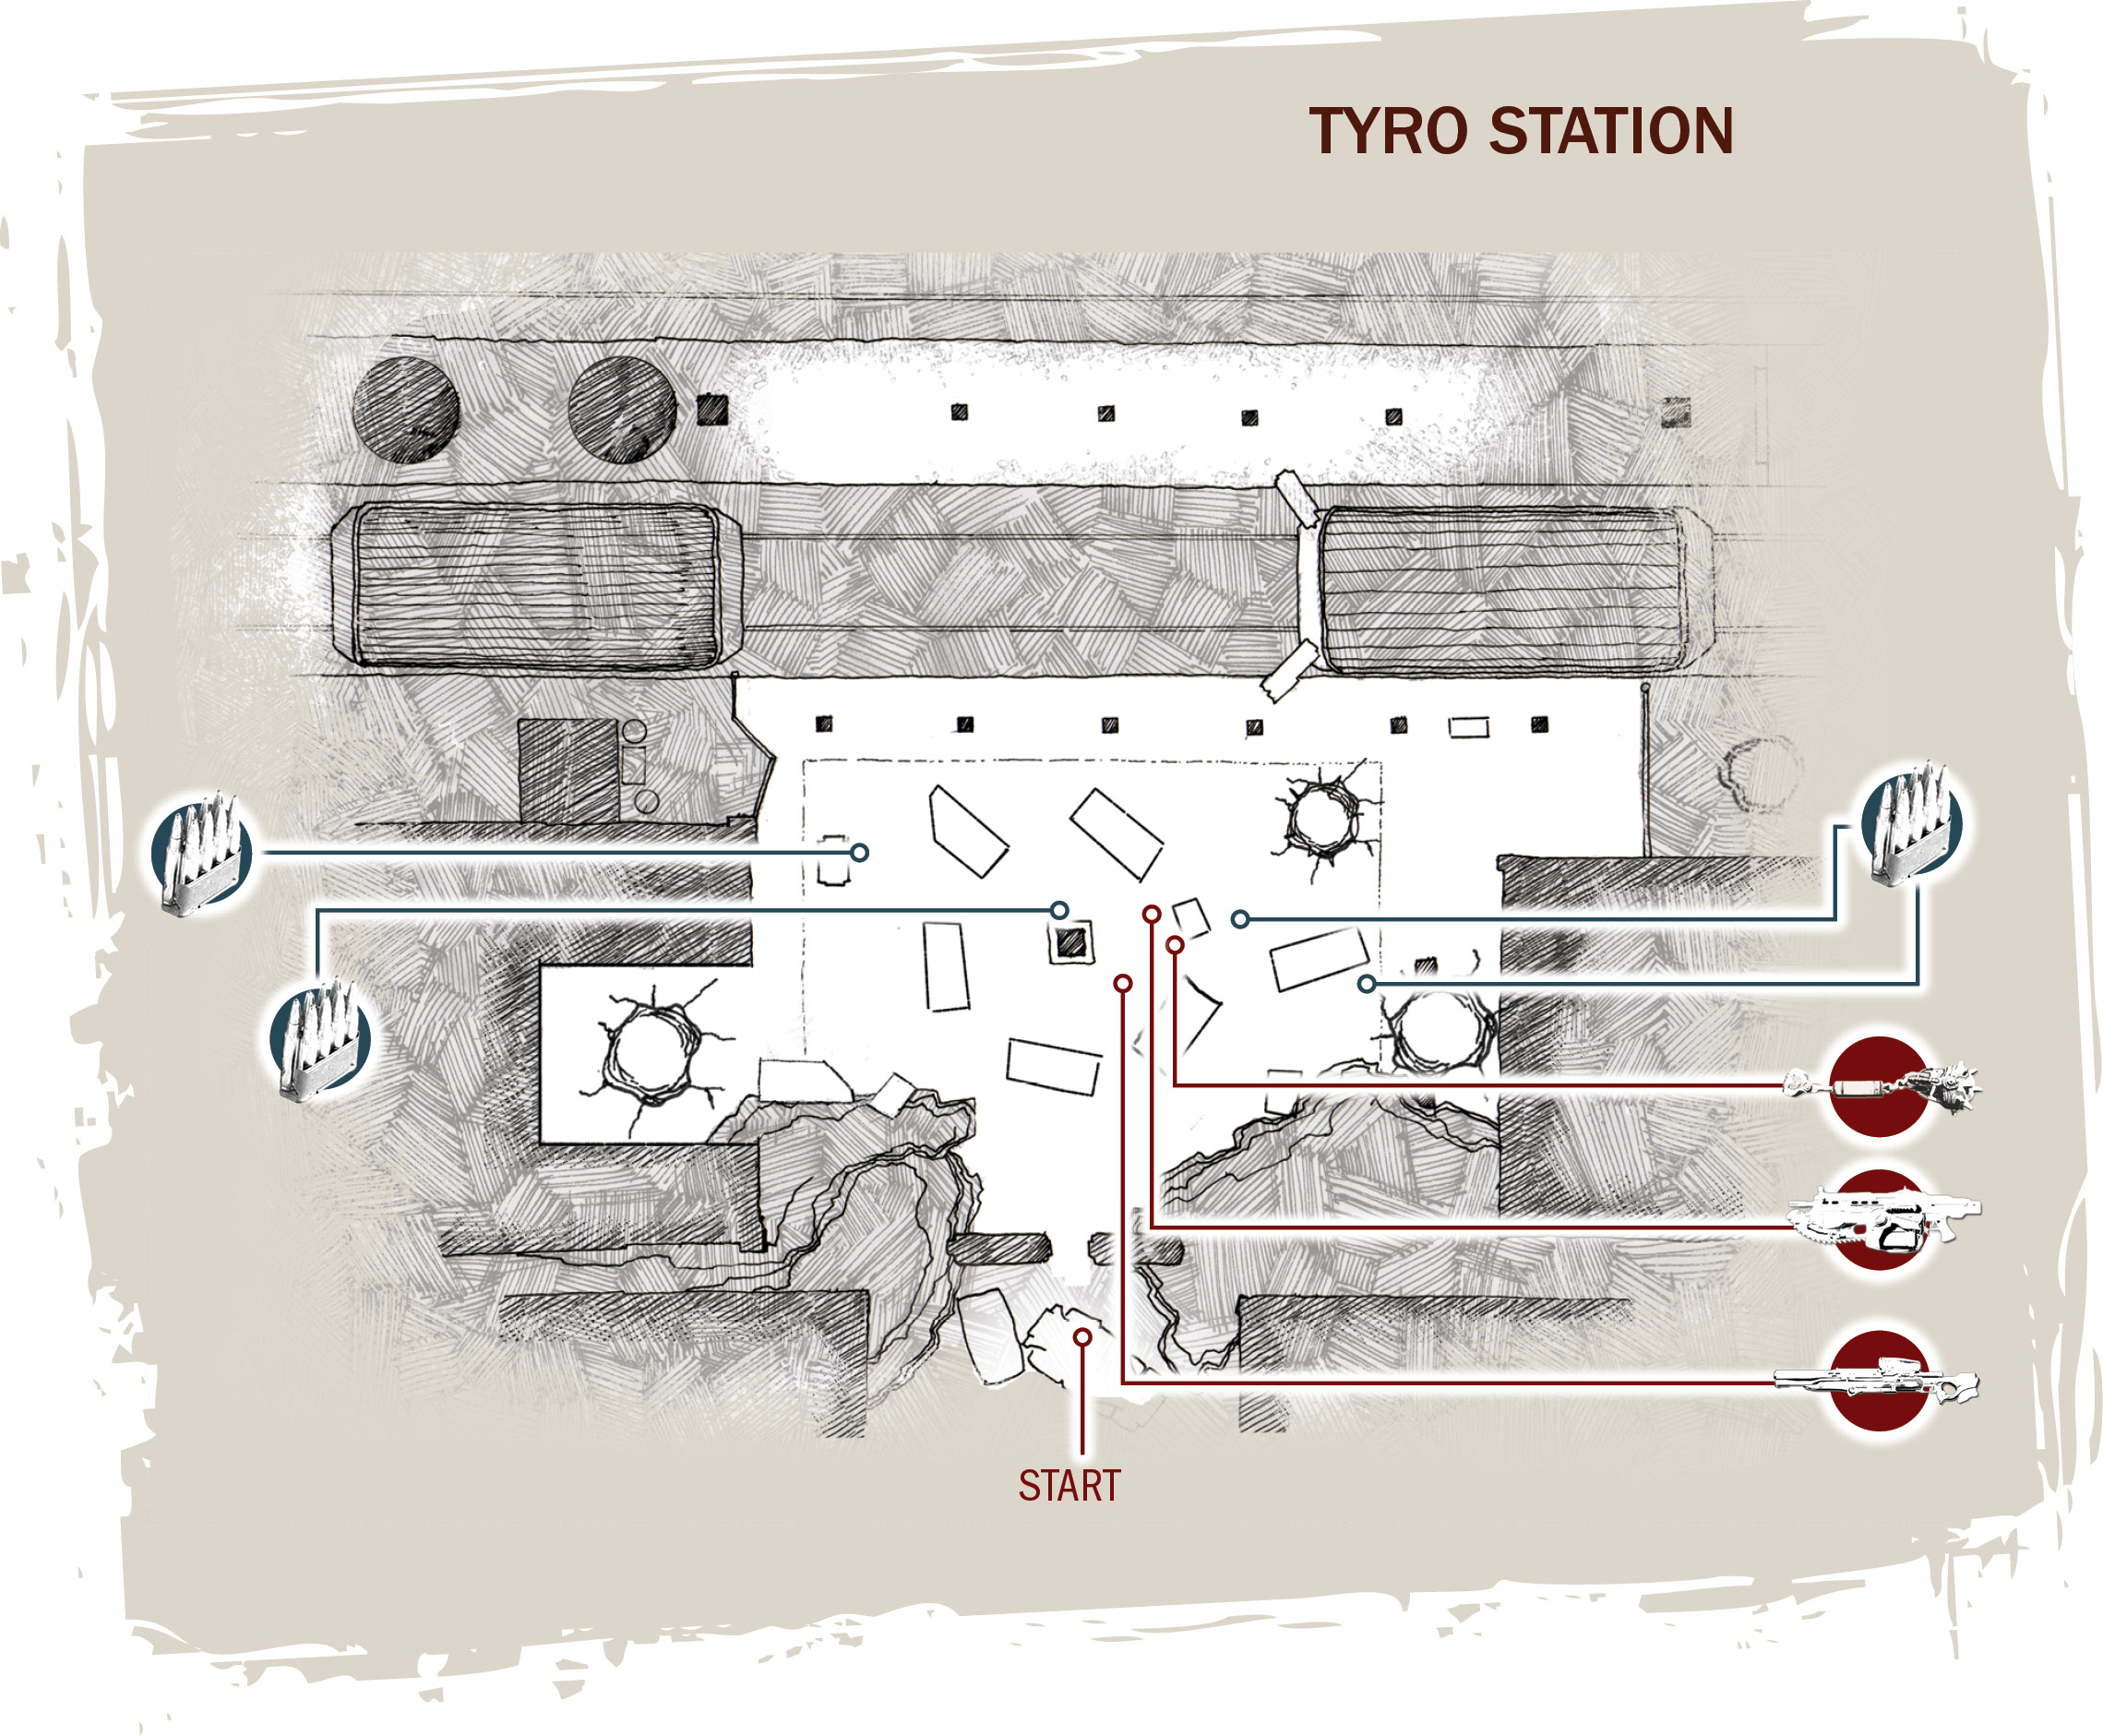
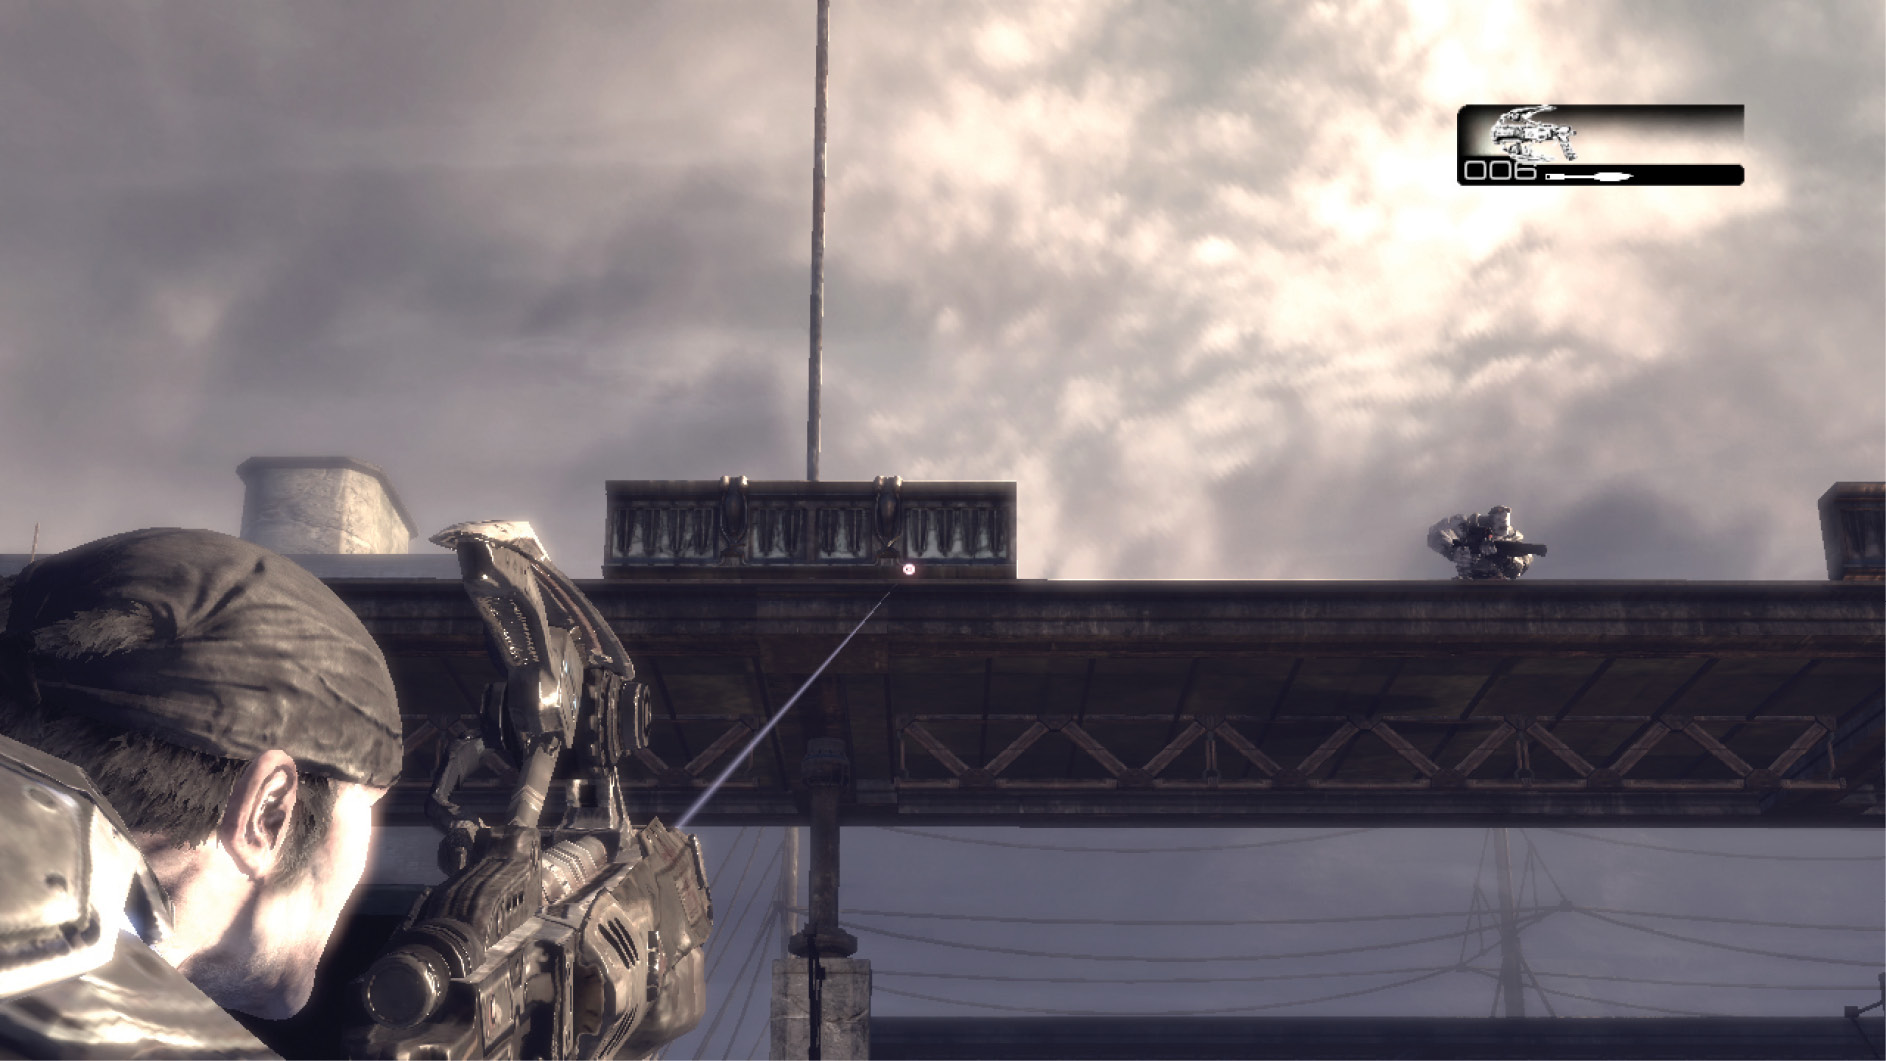
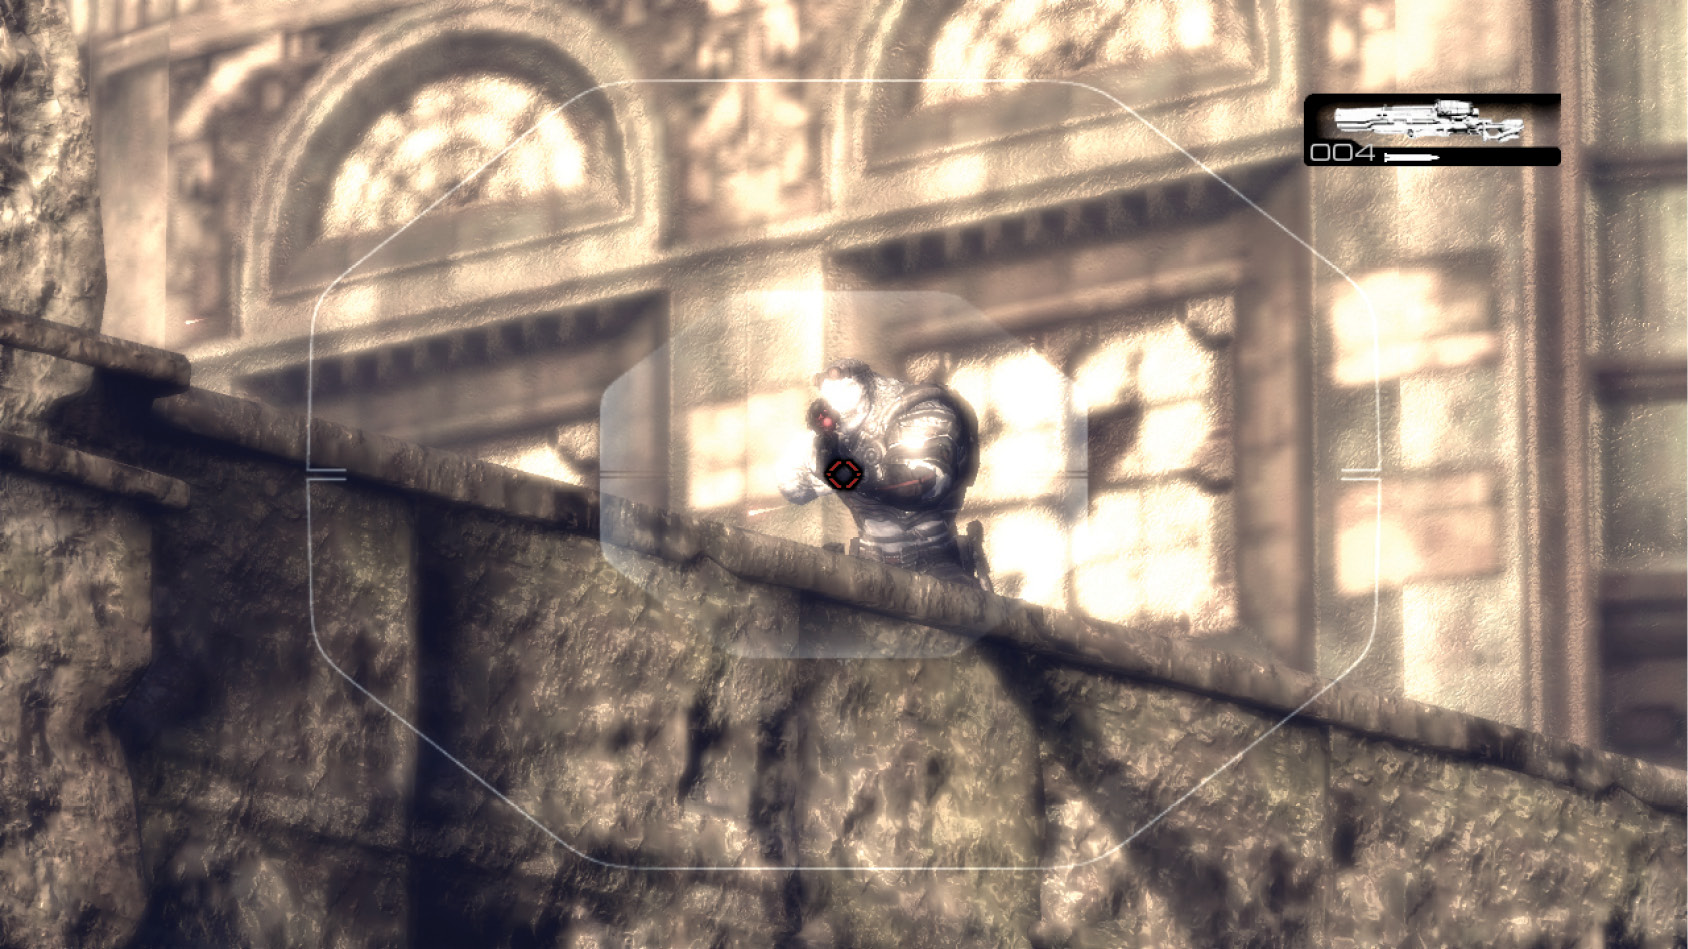
Marcus and the others arrive at the train station only to find that there are numerous Snipers on the roof above the platform. Dom, Baird, and Cole do a very good job of splitting up, taking cover, and shooting down the Snipers. Use the Torquebow to assist the others in eliminating the Snipers—start with the Sniper behind the leftmost piece of cover atop the roof. When he dies, this particular Sniper drops his Longshot down to the ground. Swap out the Torquebow for the Longshot and commence sniping! Your first target should be the Sniper on the roof behind the third barrier from the left.
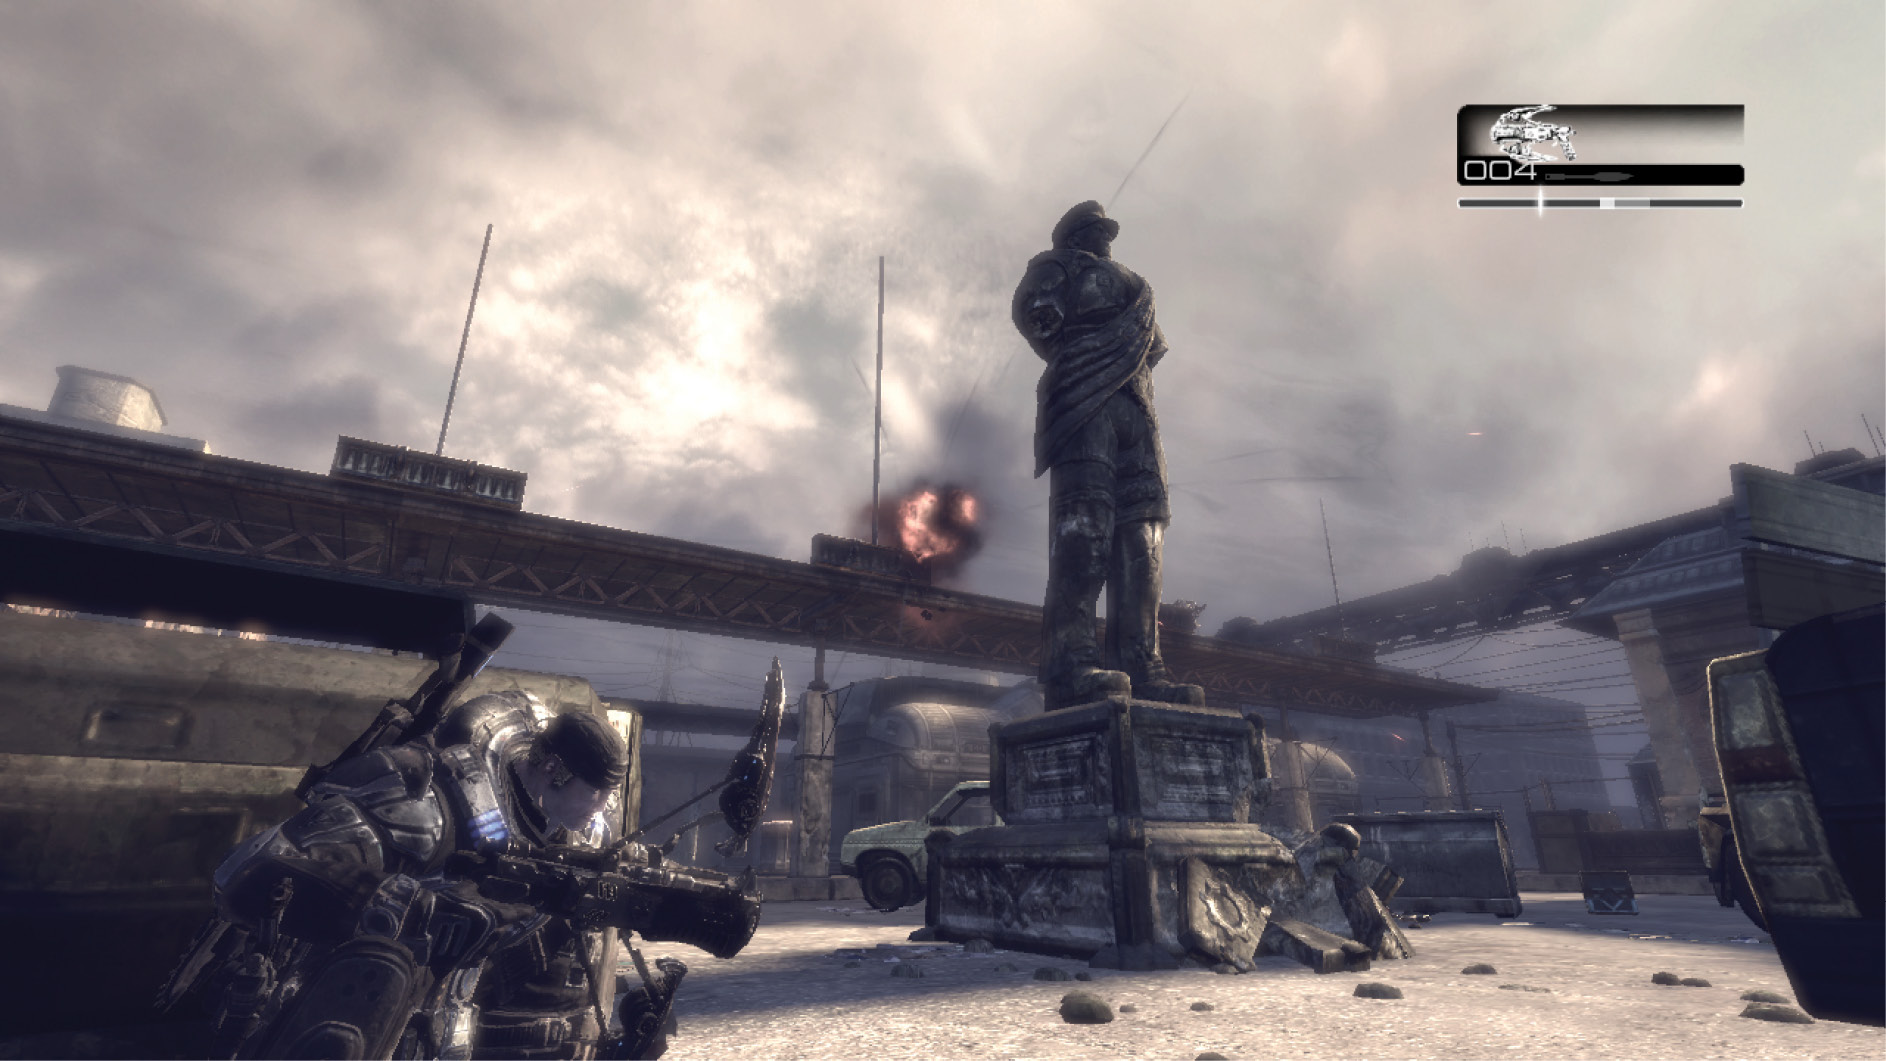
Wretches start to appear as the last of the Snipers on the platform roof are defeated. Another Sniper appears on a building in the parking lot’s corner, near the starting point. Take cover behind a car or the statue and take him out. From time to time, an Emergence Hole opens in the area to the left. Use a Frag Grenade to seal it. This happens at least four times before you hearthe sound of the approaching train.
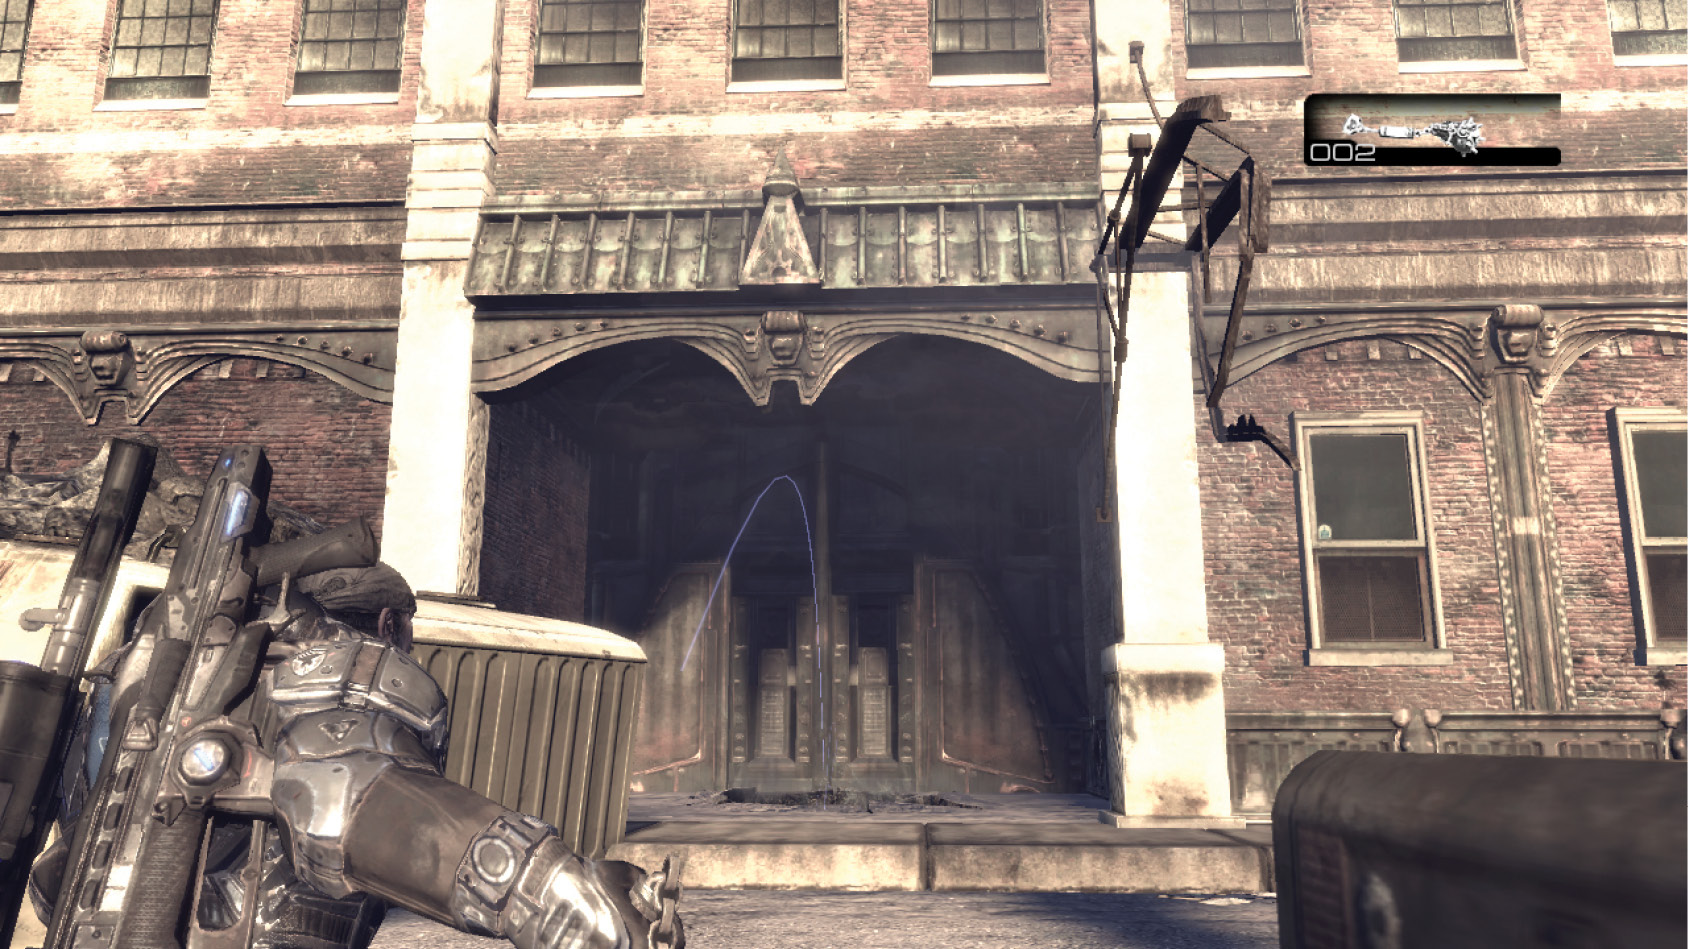
Once the whistle starts blowing, make a run for the boarding platform. Use the wooden planks as a bridge, and cross over the first set of tracks to get in position to board the train known as Tyro Pillar.
Train Wreck
All aboard.
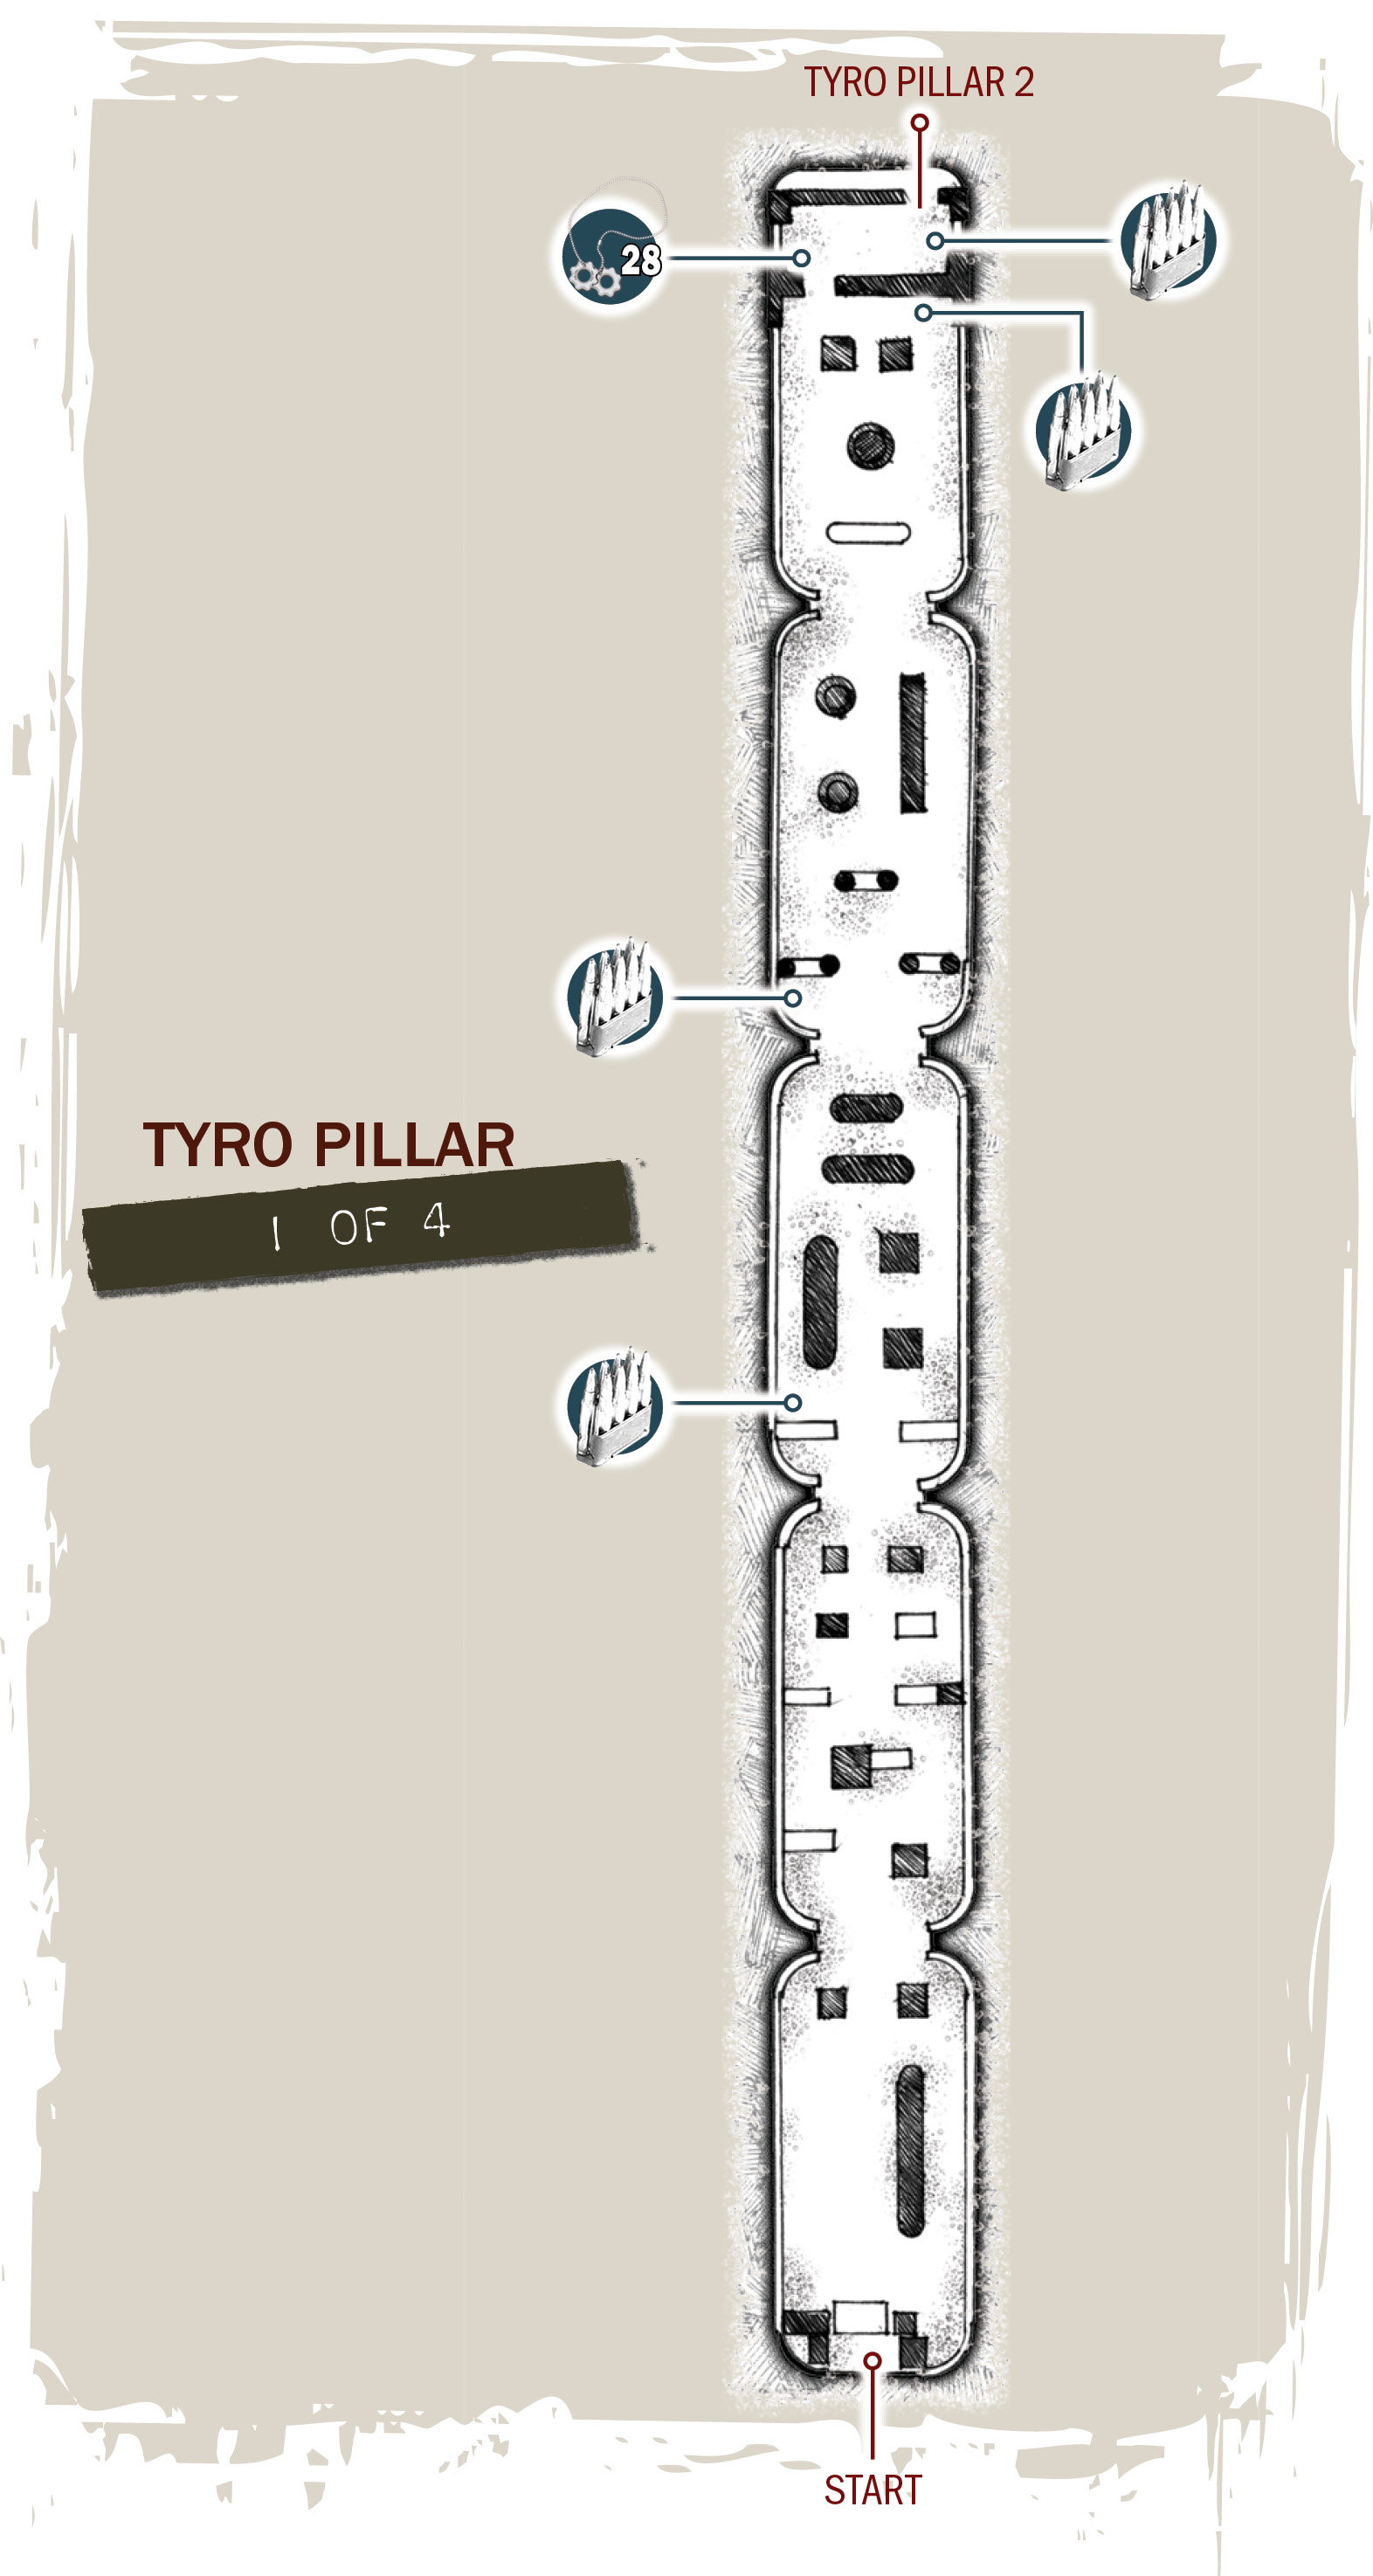
Get Nav Data to the Lightmass Bomb
Baird and Cole are too slow getting to the train, so it’s up to Marcus and Dom from this point on! Shoulder the Longshot and begin advancing toward the front of the train. Marcus and Dom find plenty of available cover and should have little trouble progressing past the first few cars. The Drones and Theron Guards are spread out and present easy targets, especially for a skilled marksman.
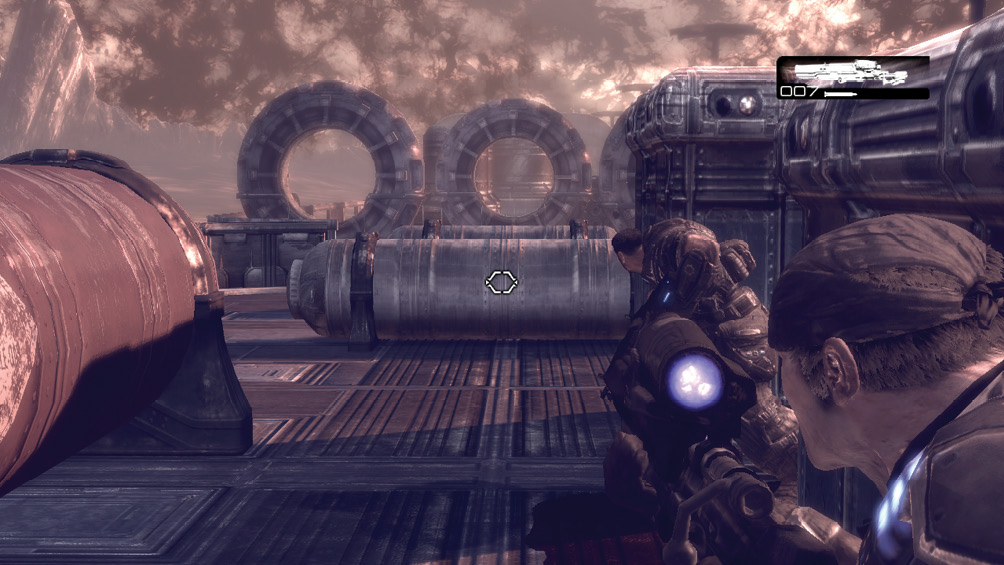
Advance to the front of the fifth train car. There’s no hurry; just use the Longshot and get there safely. Press the button to open the door. Unfortunately, Jack is the only one who can open it. Even worse, a Berserker rapidly approaches Marcus’ position from the rear of the train!
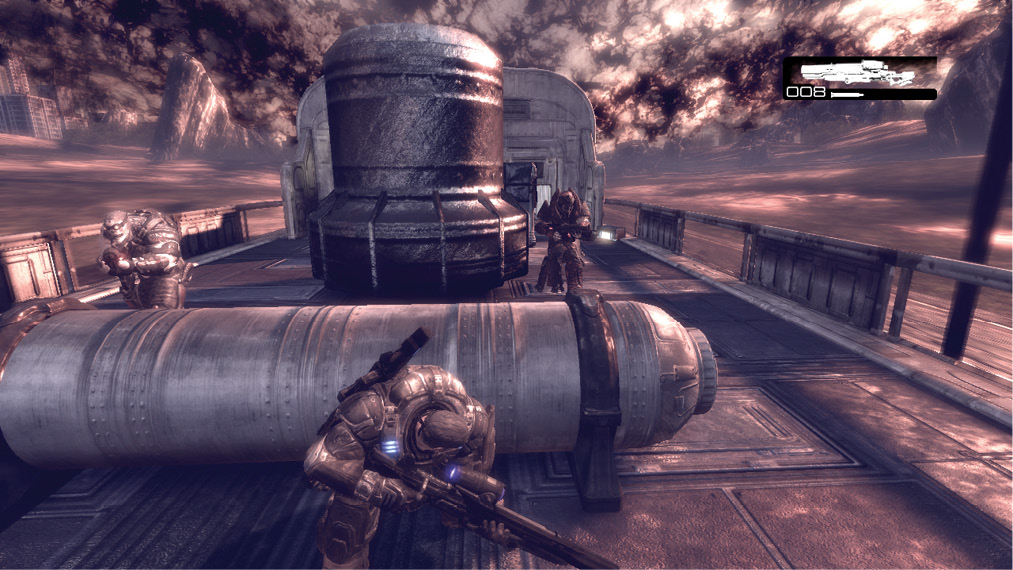
Eliminate the Berserker Threat
Thanks to the Nemacysts’ ink trails, the sky is too dark to use the Hammer of Dawn. One option is to lure the Berserker to a position next to the flammable gas tank and then detonating it. Marcus can also rid the train of the Berserker by luring the beast back onto the second (or first) train car and then disconnecting it via the coupler on the third car. Carefully bypass the Berserker en route back to the second train car. Get the beast to follow Marcus by revving the chainsaw bayonet or by shooting at it. Once the Berserker is on the second train car, step back to the third car and press the coupler device’s button to the left (as viewed while you face the front of the train). The cars disconnect and the Berserker is forever left behind.
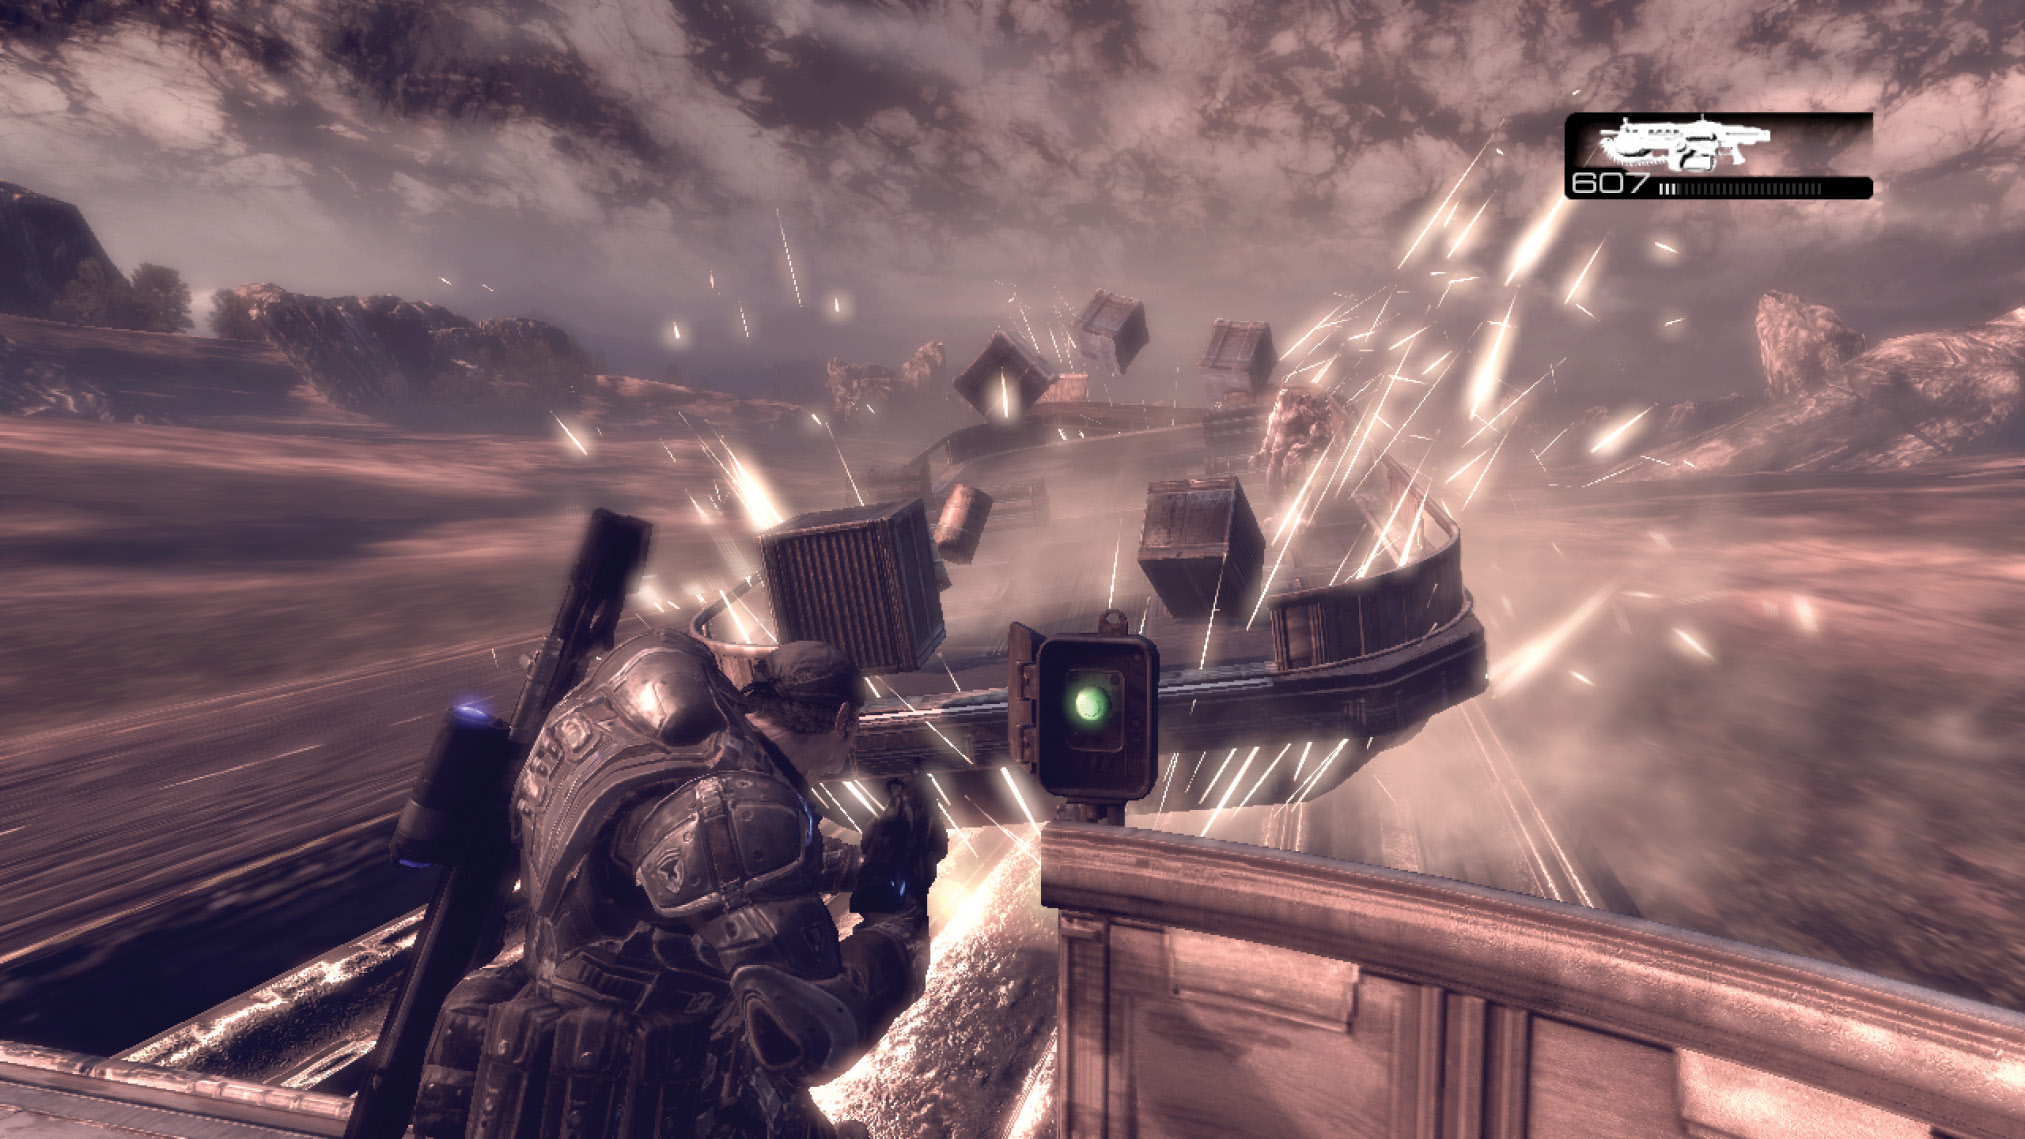
Return to the fifth car and enter it. The Reavers are coming and there’s quite a bit of train yet to explore, so get moving!
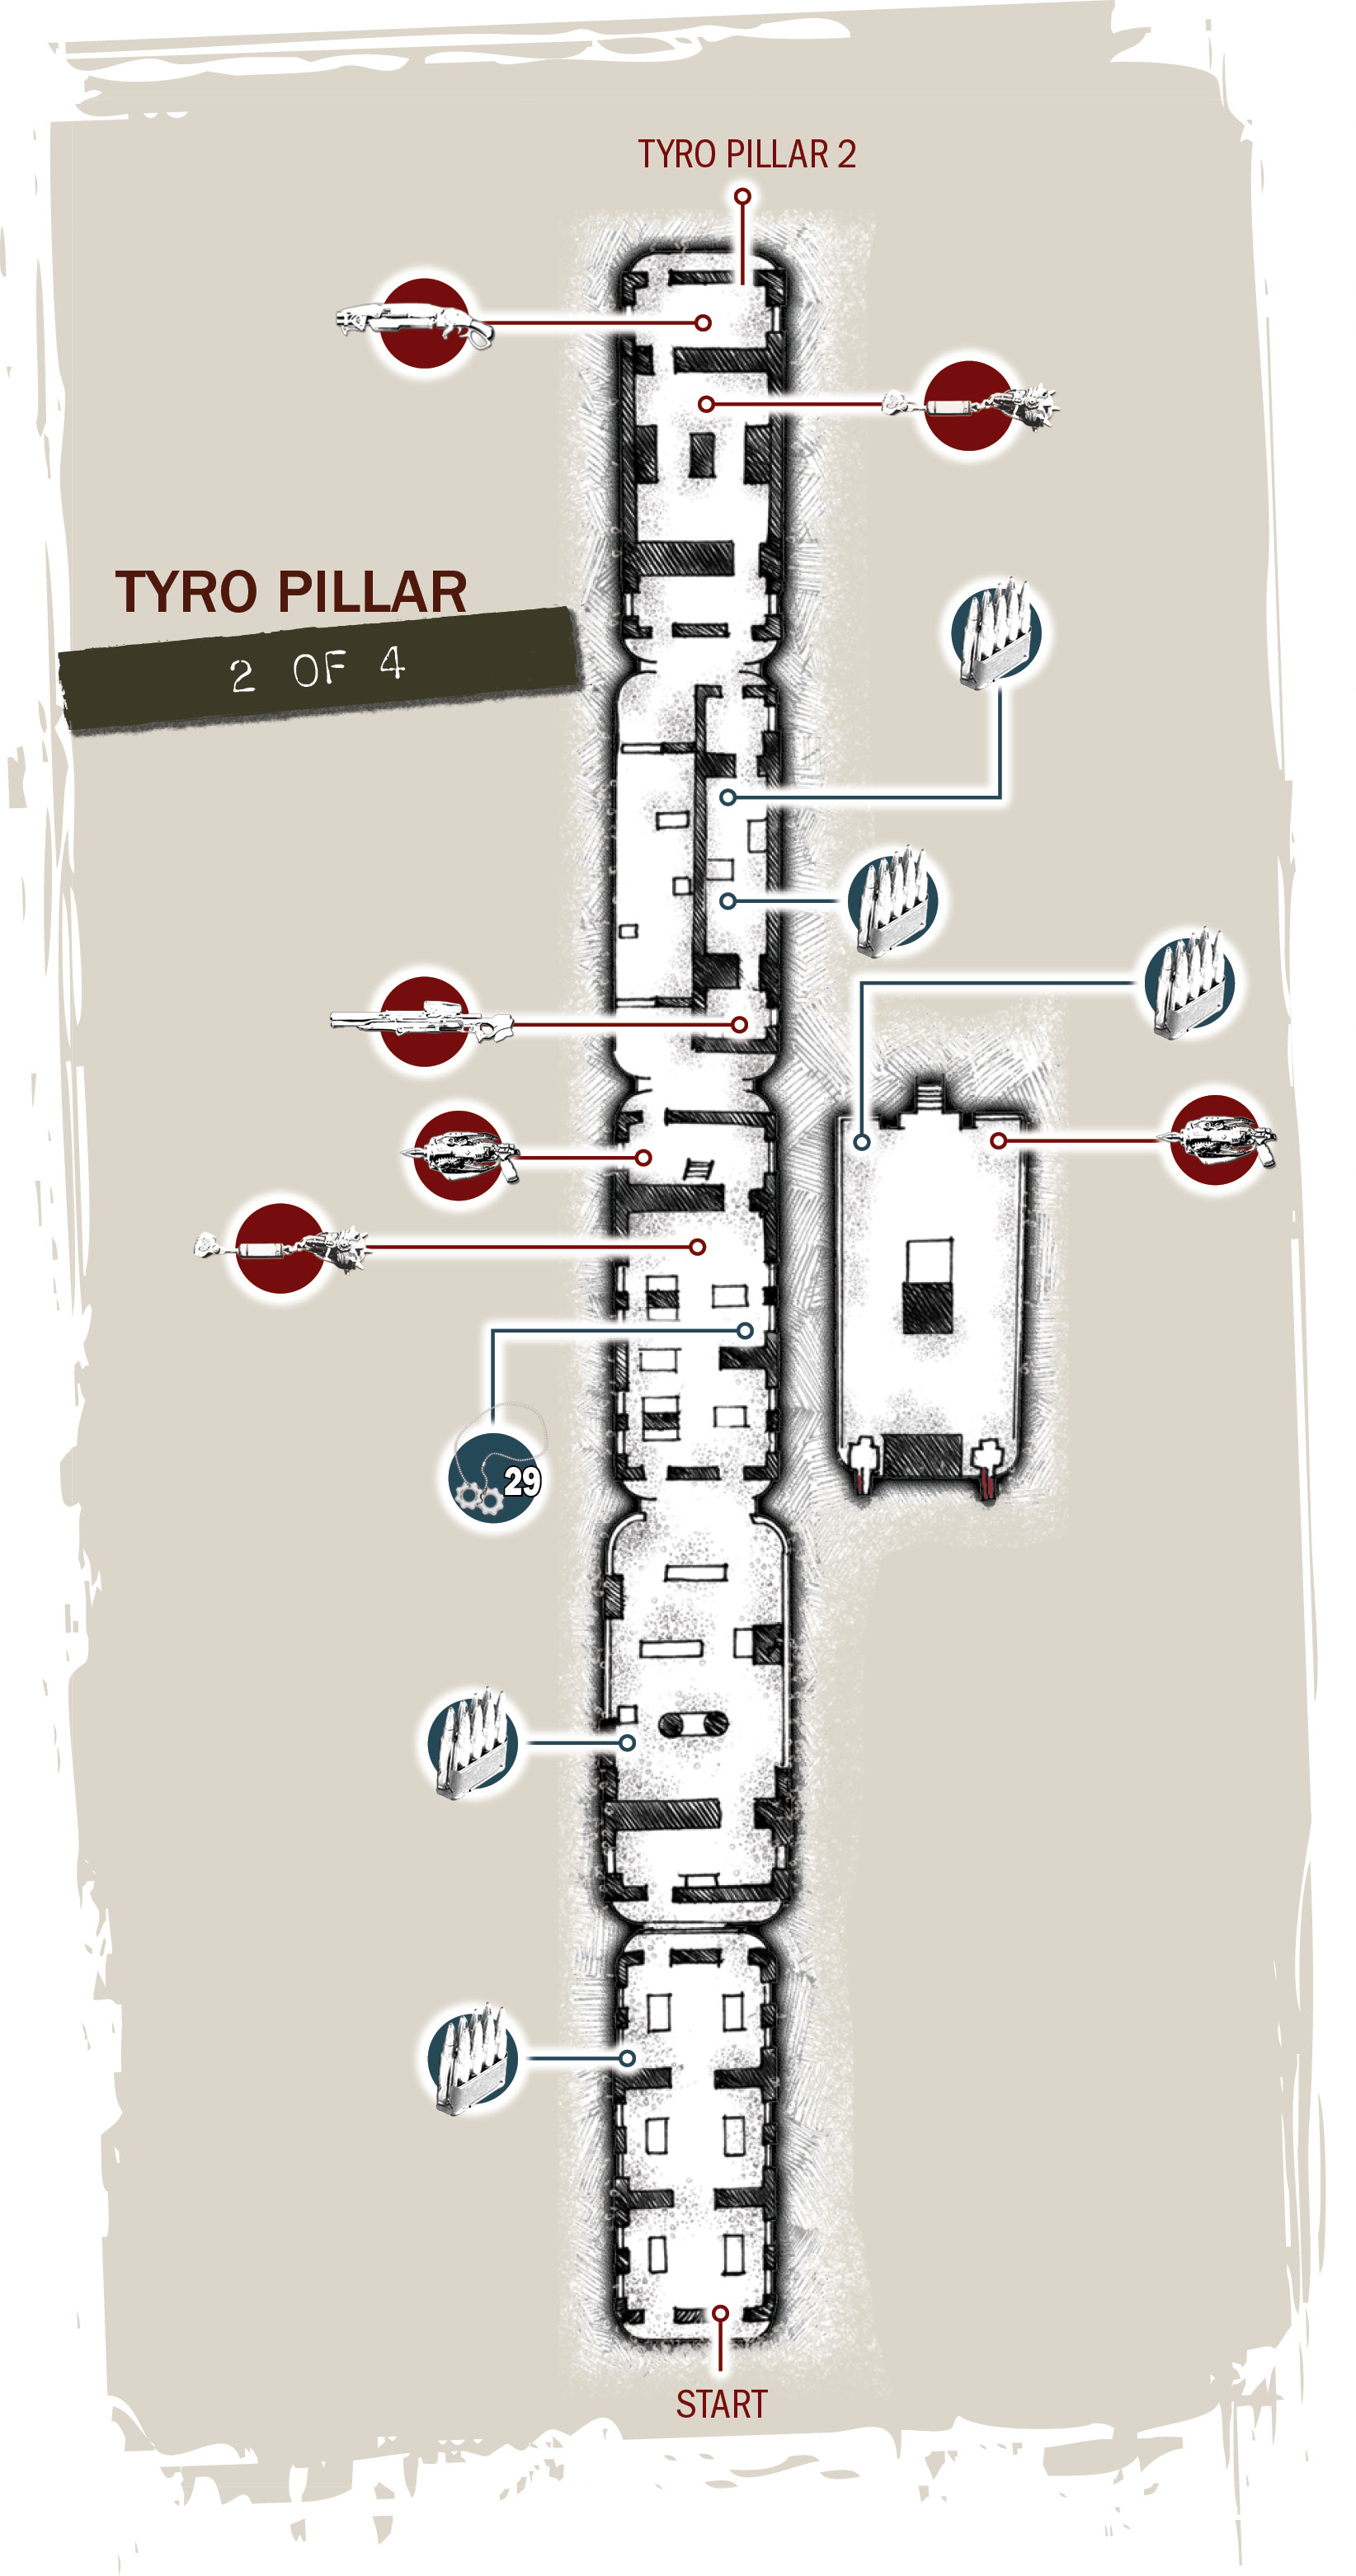
COG TAG #28This COG Tag is immediately inside the door that Jack rips open on the fifth train car. It’s to the left, just as you walk in. 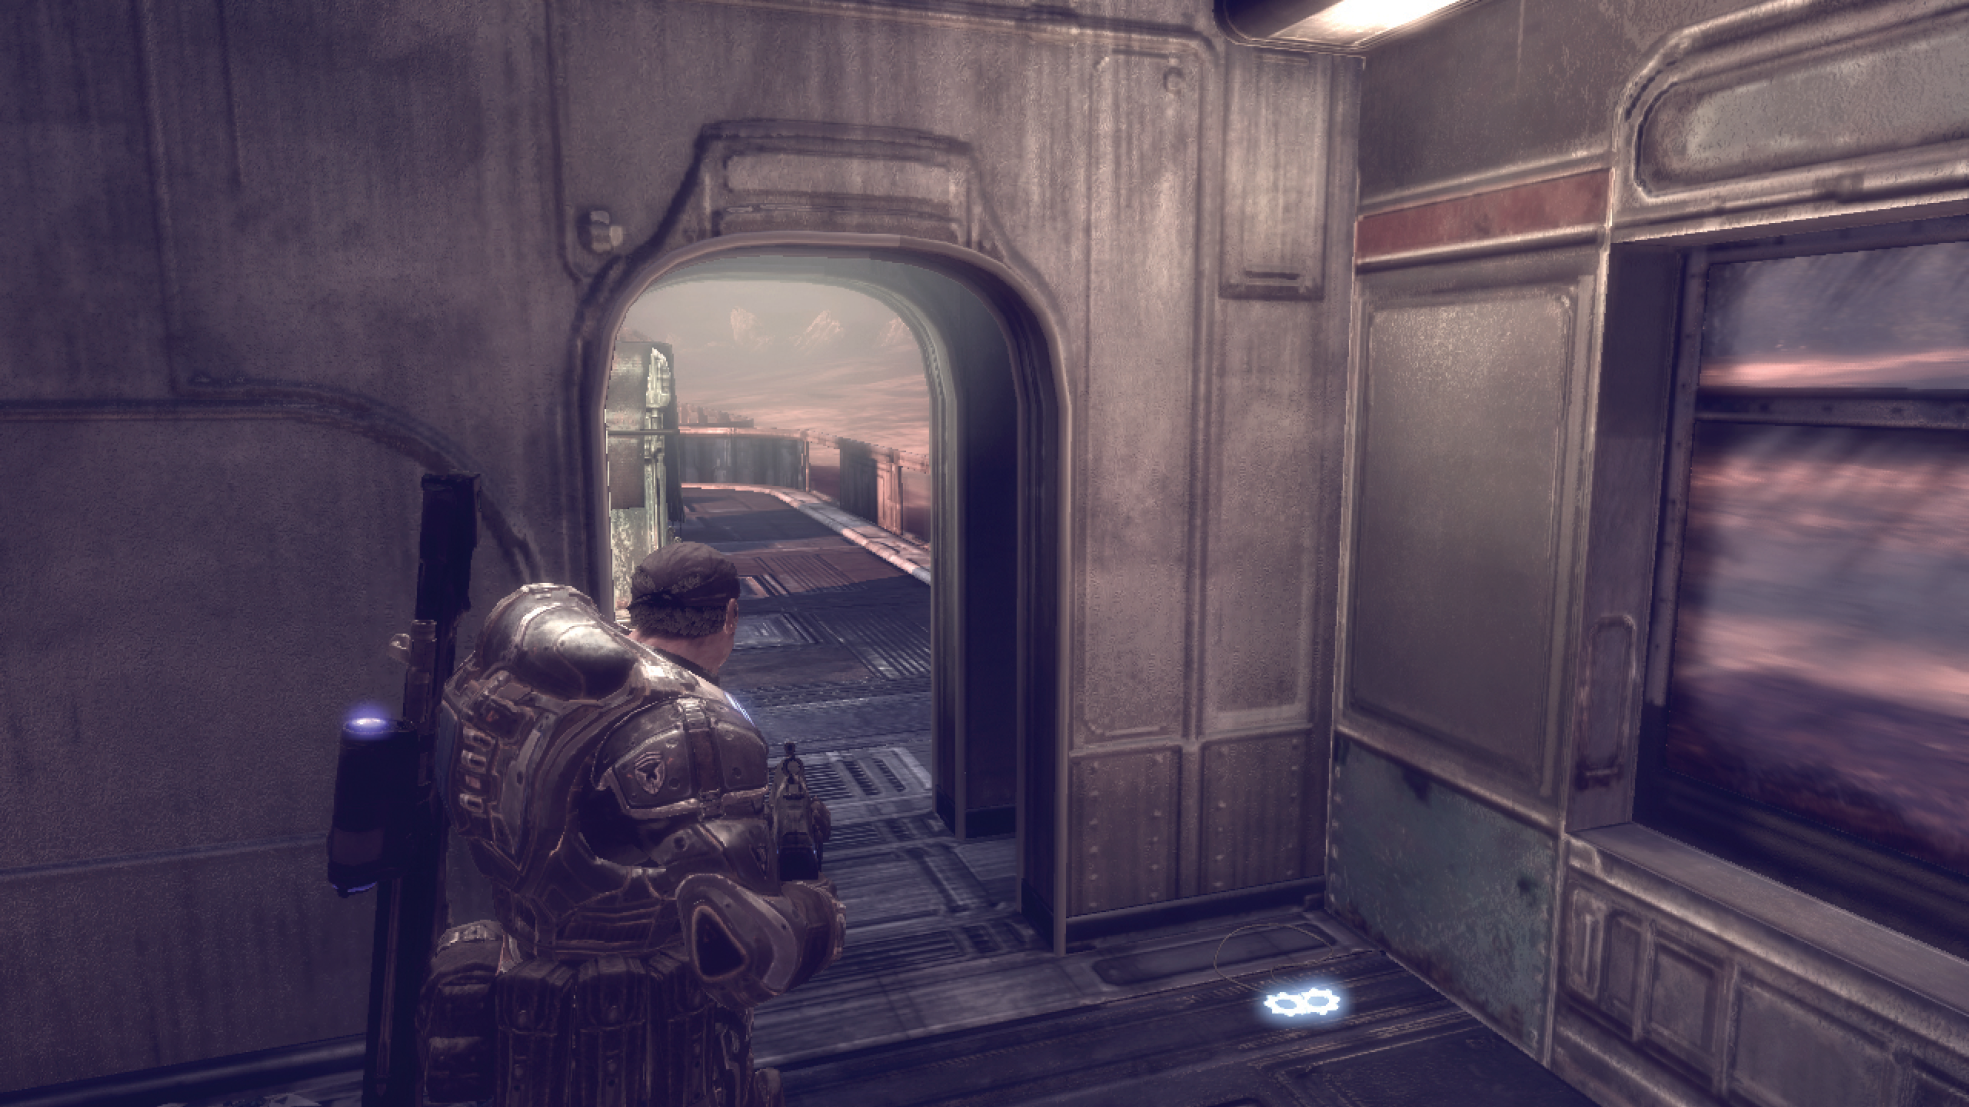
|
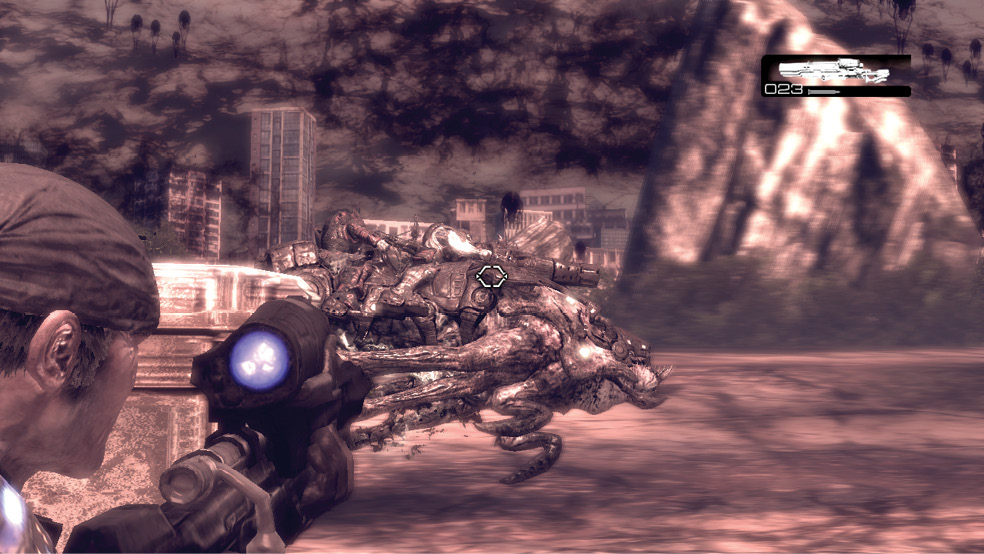
Now that Marcus and Dom have reached the first set of passenger cars, things are starting to get more claustrophobic. They need to stay away from the windows, as the train is flanked by Reavers. A Troika Gunner and a Theron Guard are this flying beast’s common passengers. They’re quite deadly if they get within attacking range of Marcus. A few Longshot blasts to the creature’s chest cavity is usually all it takes to bring it down.
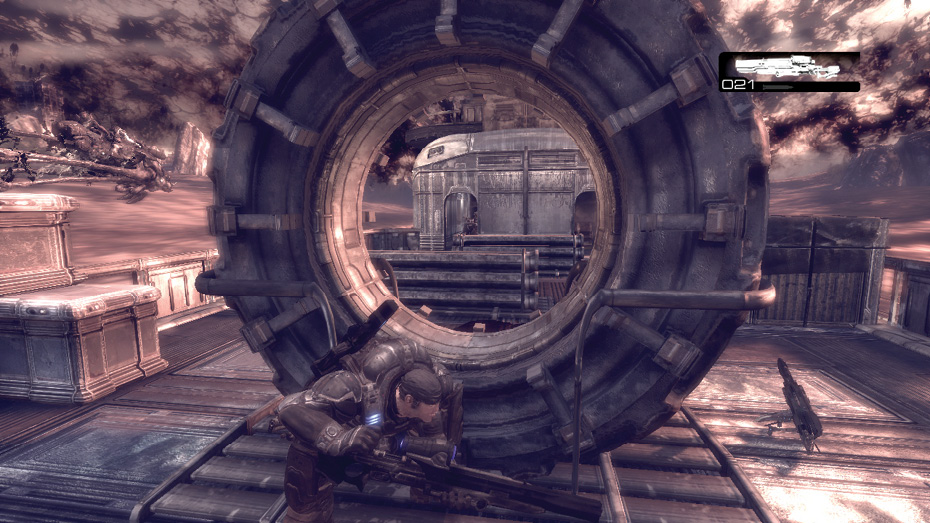
Use the Lancer to advance past the Drones in the passenger car, and proceed to the next train car. Don’t worry about shooting down the Reavers just yet, as more just keep coming. Instead, use the Longshot and Lancer to drop each of the Drones and Theron Guards on the next train car. Then continue inside the far end.
Get to the Chain Guns
Anya radios to let Marcus know that this section’s third train car has a ladder leading to its roof, where a pair of Troika chain guns is located. Swap out the Longshot for the Torquebow and climb the ladder to the third car’s roof to reach the Troikas’ location.
COG TAG #29Before you climb the ladder to the third car’s roof, pick up the COG Tag off its floor. 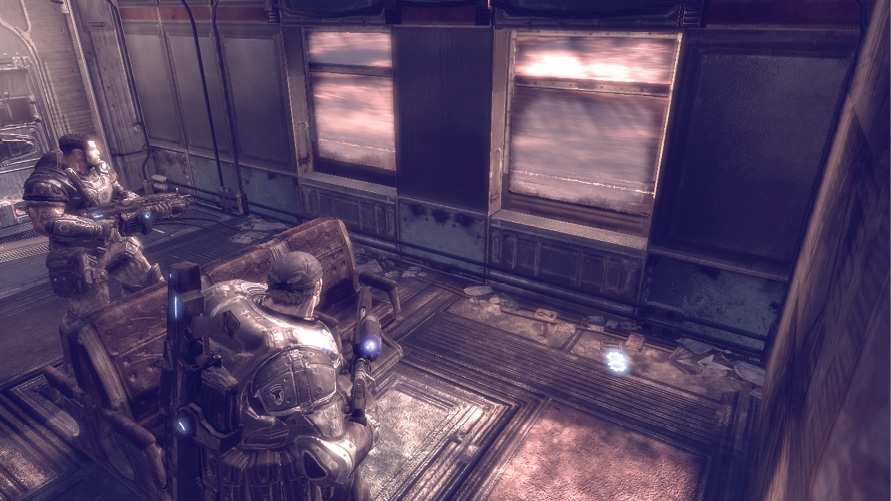
|
Destroy the Attacking Reavers
Grab the extra ammo from the Torquebow on the roof’s left corner, and duck for cover behind the cargo crates in the center. Use the Torquebow to take out as many of the eleven Reavers as possible. When you pull back the bowstring, aim at the ground or the crates in order to see the laser sighting, then target the nearest Reaver with it. Don’t fire unless the red laser target is visible, else the Reaver is out of range or your aim is off-target. Aim for the Reaver’s head or its side.
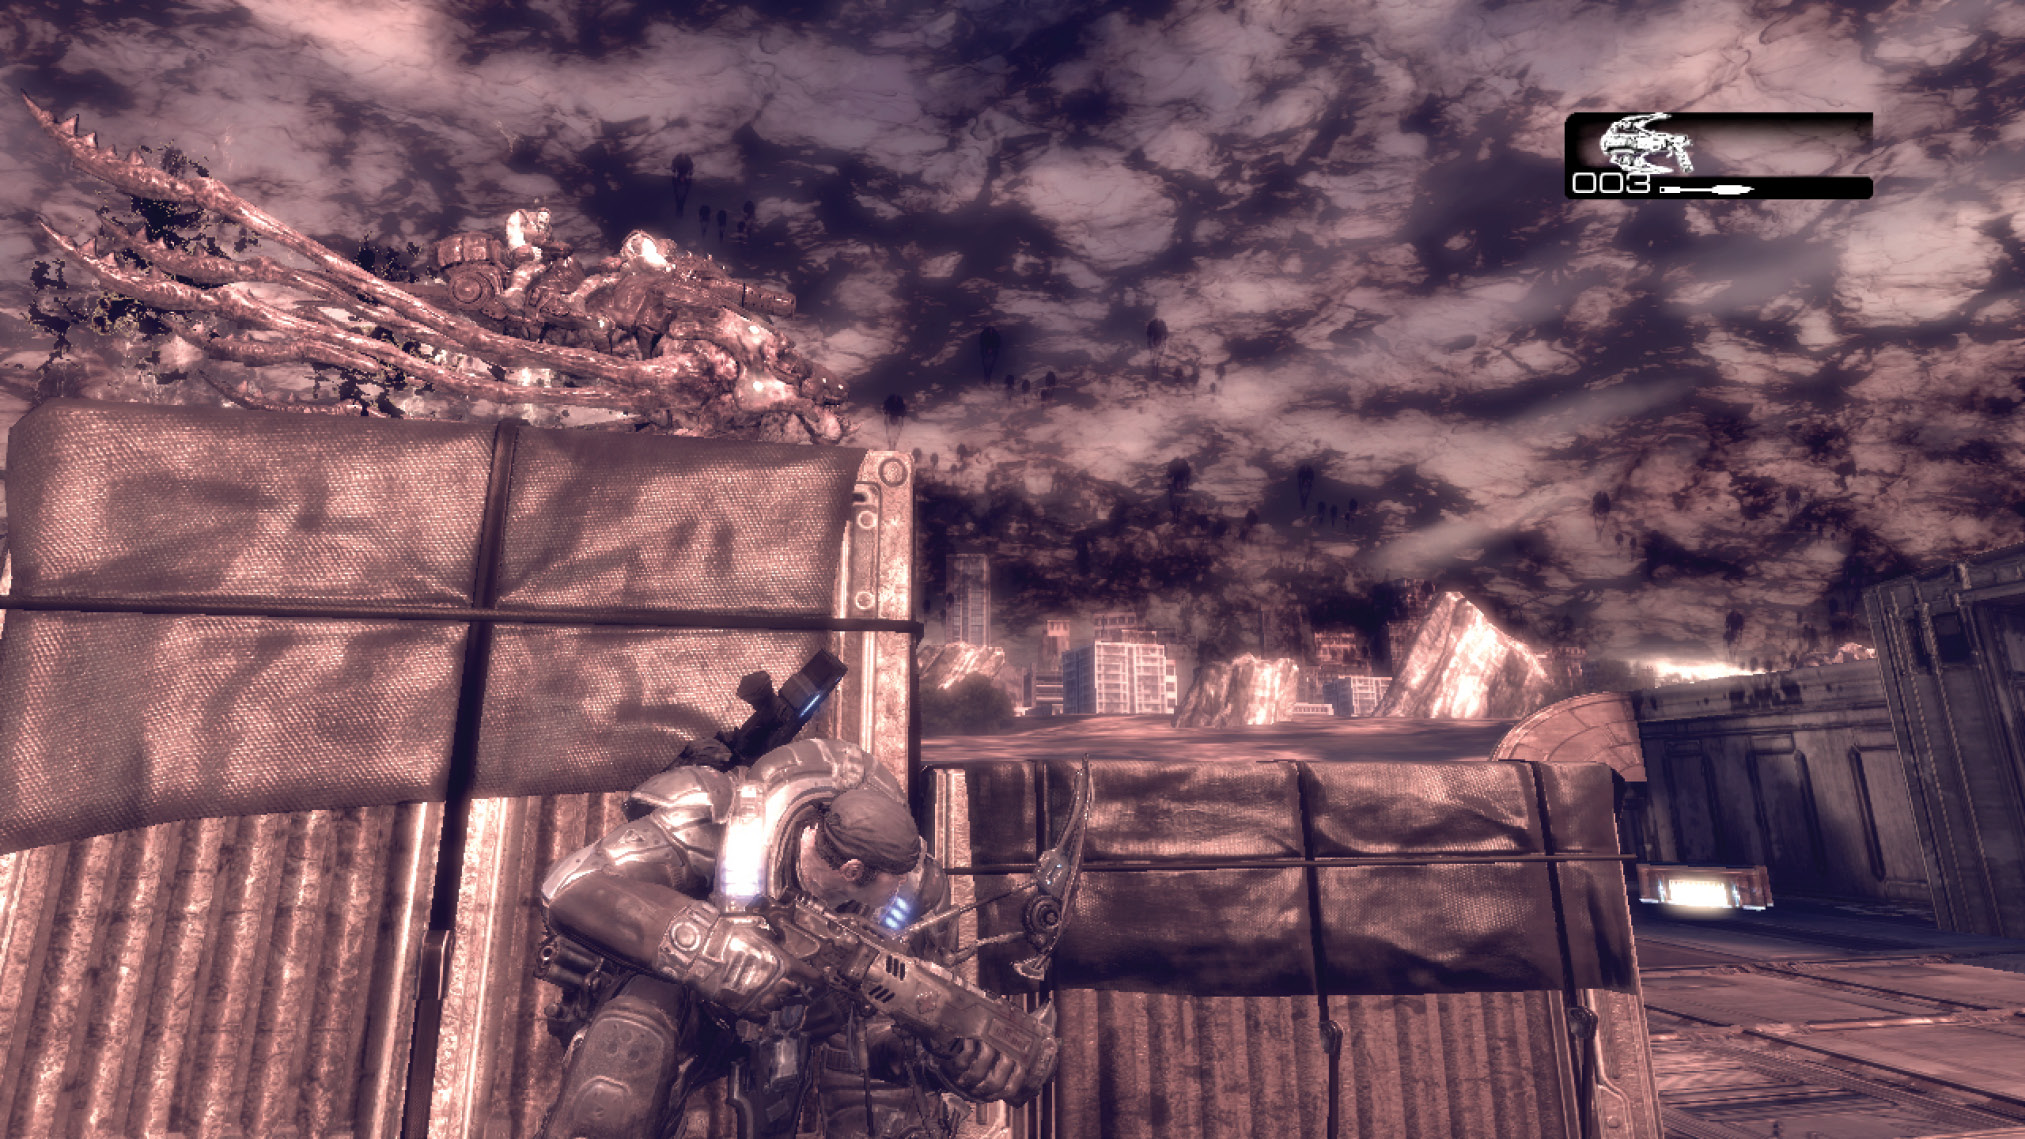
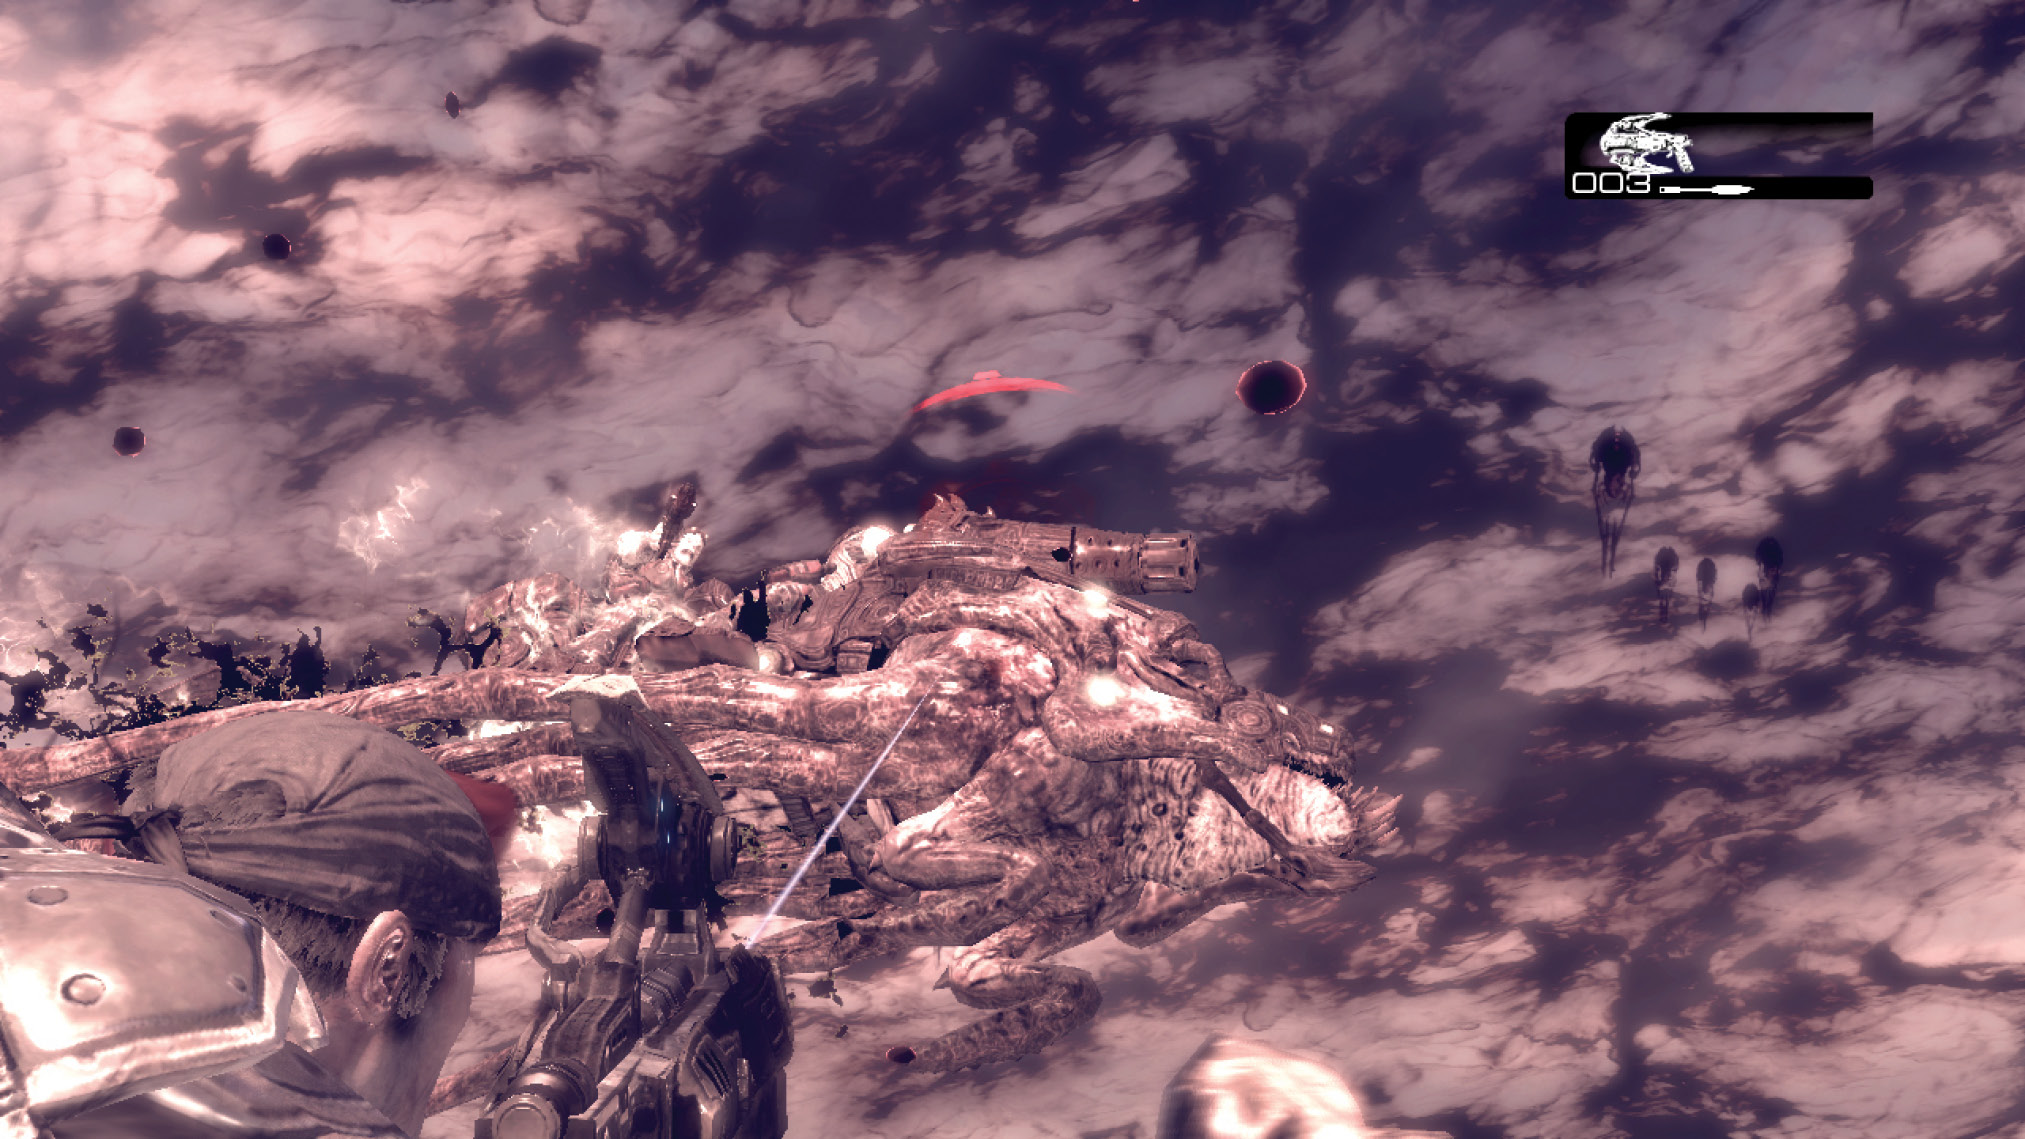
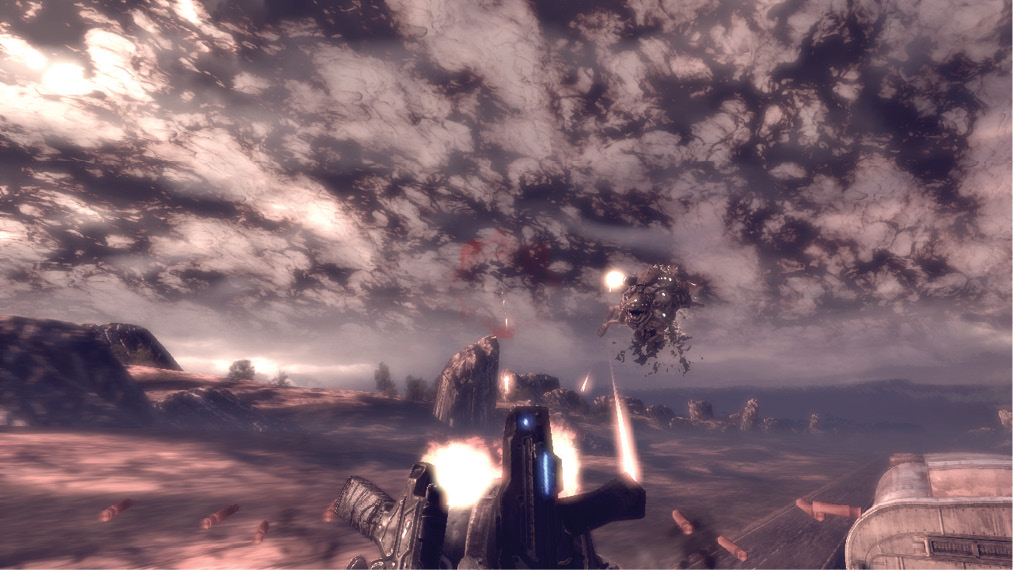
When you’re out of Torquebow arrows, rush to the Troika Gun that’s closer to the greatest number of Reavers and fill them full of lead. The Troikas can rotate roughly 160 degrees, so you can’t shoot Reavers that advance alongside the train. If one gets that close, either kill it with handheld weaponry or move to the other Troika and wait for it to fall back in line with the others. As you man the Troika, aim for the Reaver’s head, and always shoot the one nearest the train first! After you’ve pasted all the Reavers, return to the lower level and swap out the Torquebow for the Longshot.
Keep the Train from Stopping
While Marcus fended off the Reaver onslaught, a large army of Dark Wretches boarded the train. They’re trying to stop the locomotive—they obviously know what Marcus has planned! Use the Lancer to down the approaching Dark Wretches, and proceed along the fourth car’s left side. Double back through the narrow baggage area on the right. Collect the available ammunition and to kill the lone Dark Wretch near the Longshot in the back. Continue through this section’s fifth car to the next area of the train.
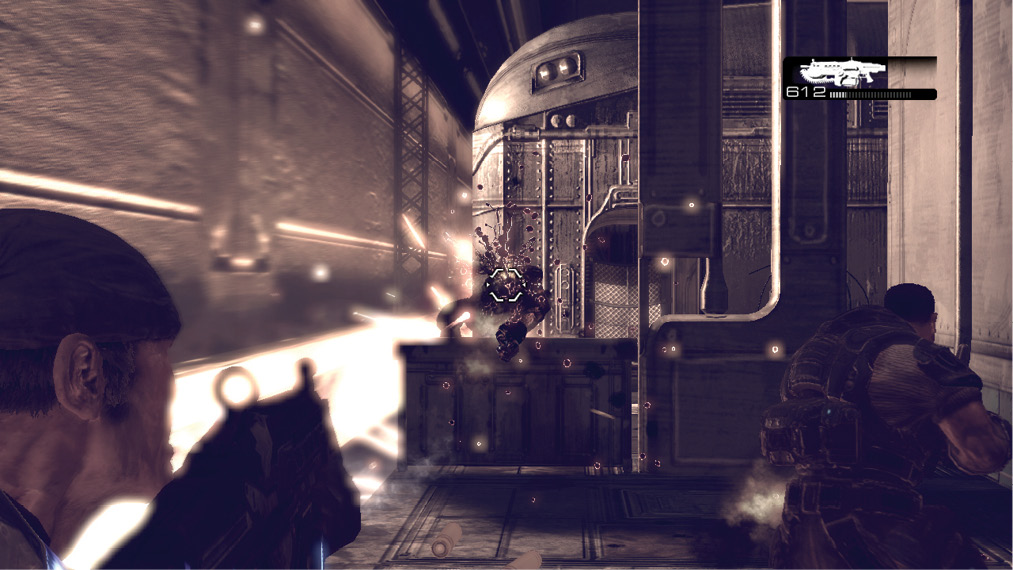
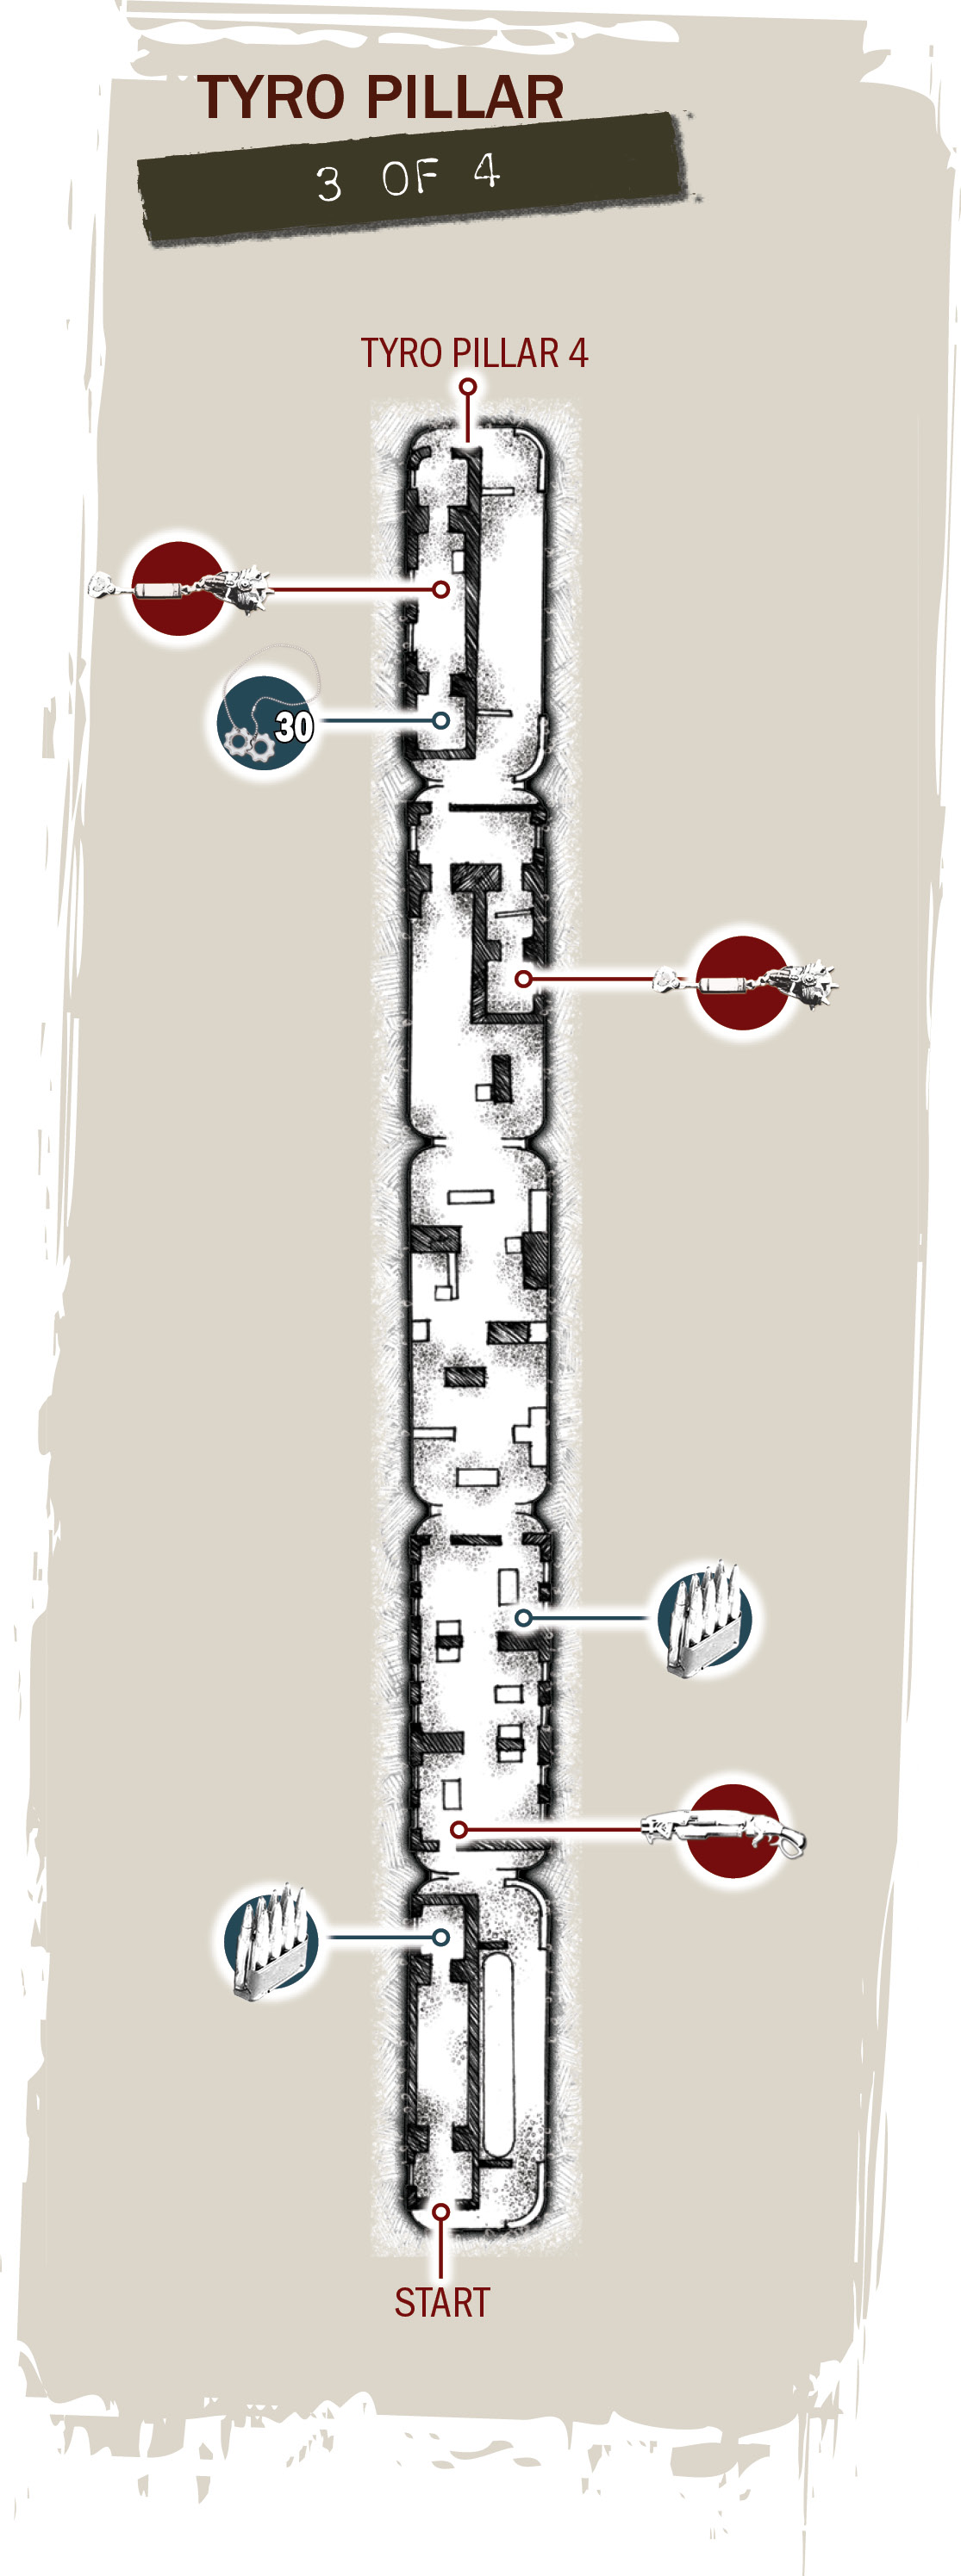
Marcus and Dom are flanked by a pair of Reavers upon reaching this third section of the train. Use the Lancer to gun down the Reavers—it takes roughly 80 rounds per Reaver. Duck in and out of the previous train car for cover when necessary. To advance toward the front of the car, press the button on the car’s right side to release the enormous cylinders from the storage rack. This gives Marcus and Dom a way past.
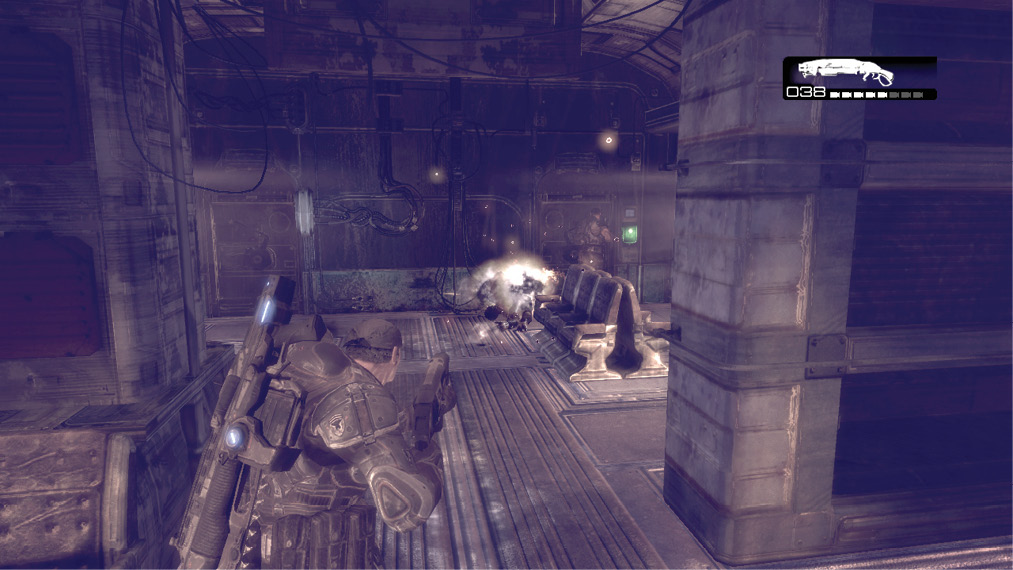
Pick up the Gnasher on the way into the next car and give Dom the “Attack” command right away. Nearly twenty Dark Wretches are about to board this train car, and they’re coming from the ventilation in the ceiling and from the windows. Using the Gnasher allows Marcus to get by with less accuracy, which is a good thing because he needs to move constantly during this fight. The Dark Wretches work hard to surround and kill Marcus, so keep your head on a swivel and reload the Gnasher every chance you get. You do not want to get caught in the middle of a reload when the Dark Wretches bear down on all sides!
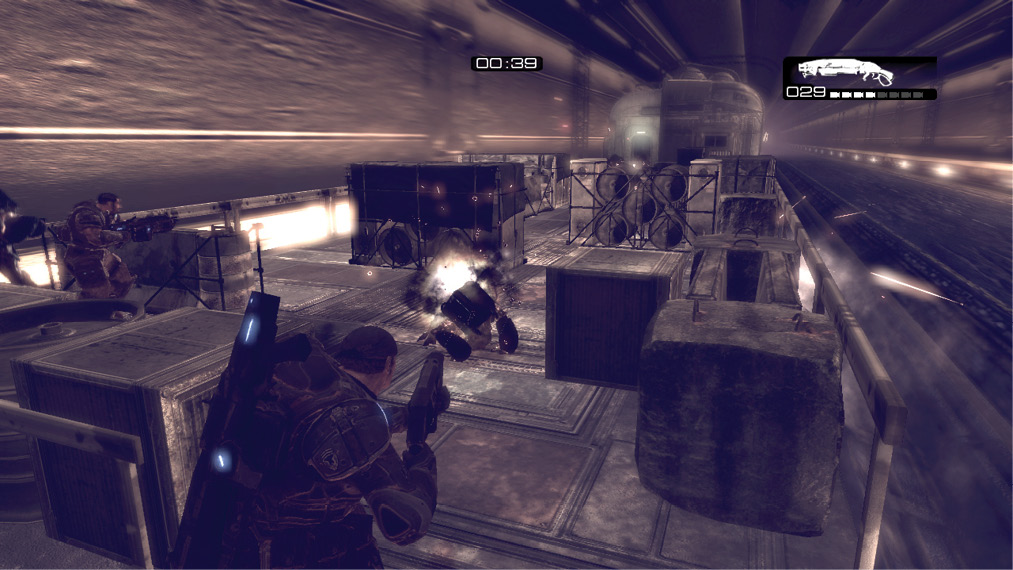
Anya and Hoffman alert Marcus that he has just 45 seconds to make his way to this section’s fourth car before the Dark Wretches pull the coupler. Make a run for it! There are several more Dark Wretches on the third car, but the area is rather open and Marcus and Dom can easily shoot their way past the foes as they appear. Get to the fourth car, and then turn around to shoot any remaining Dark Wretches from the safety of your position.
Get Nav Data to the Lightmass Bomb
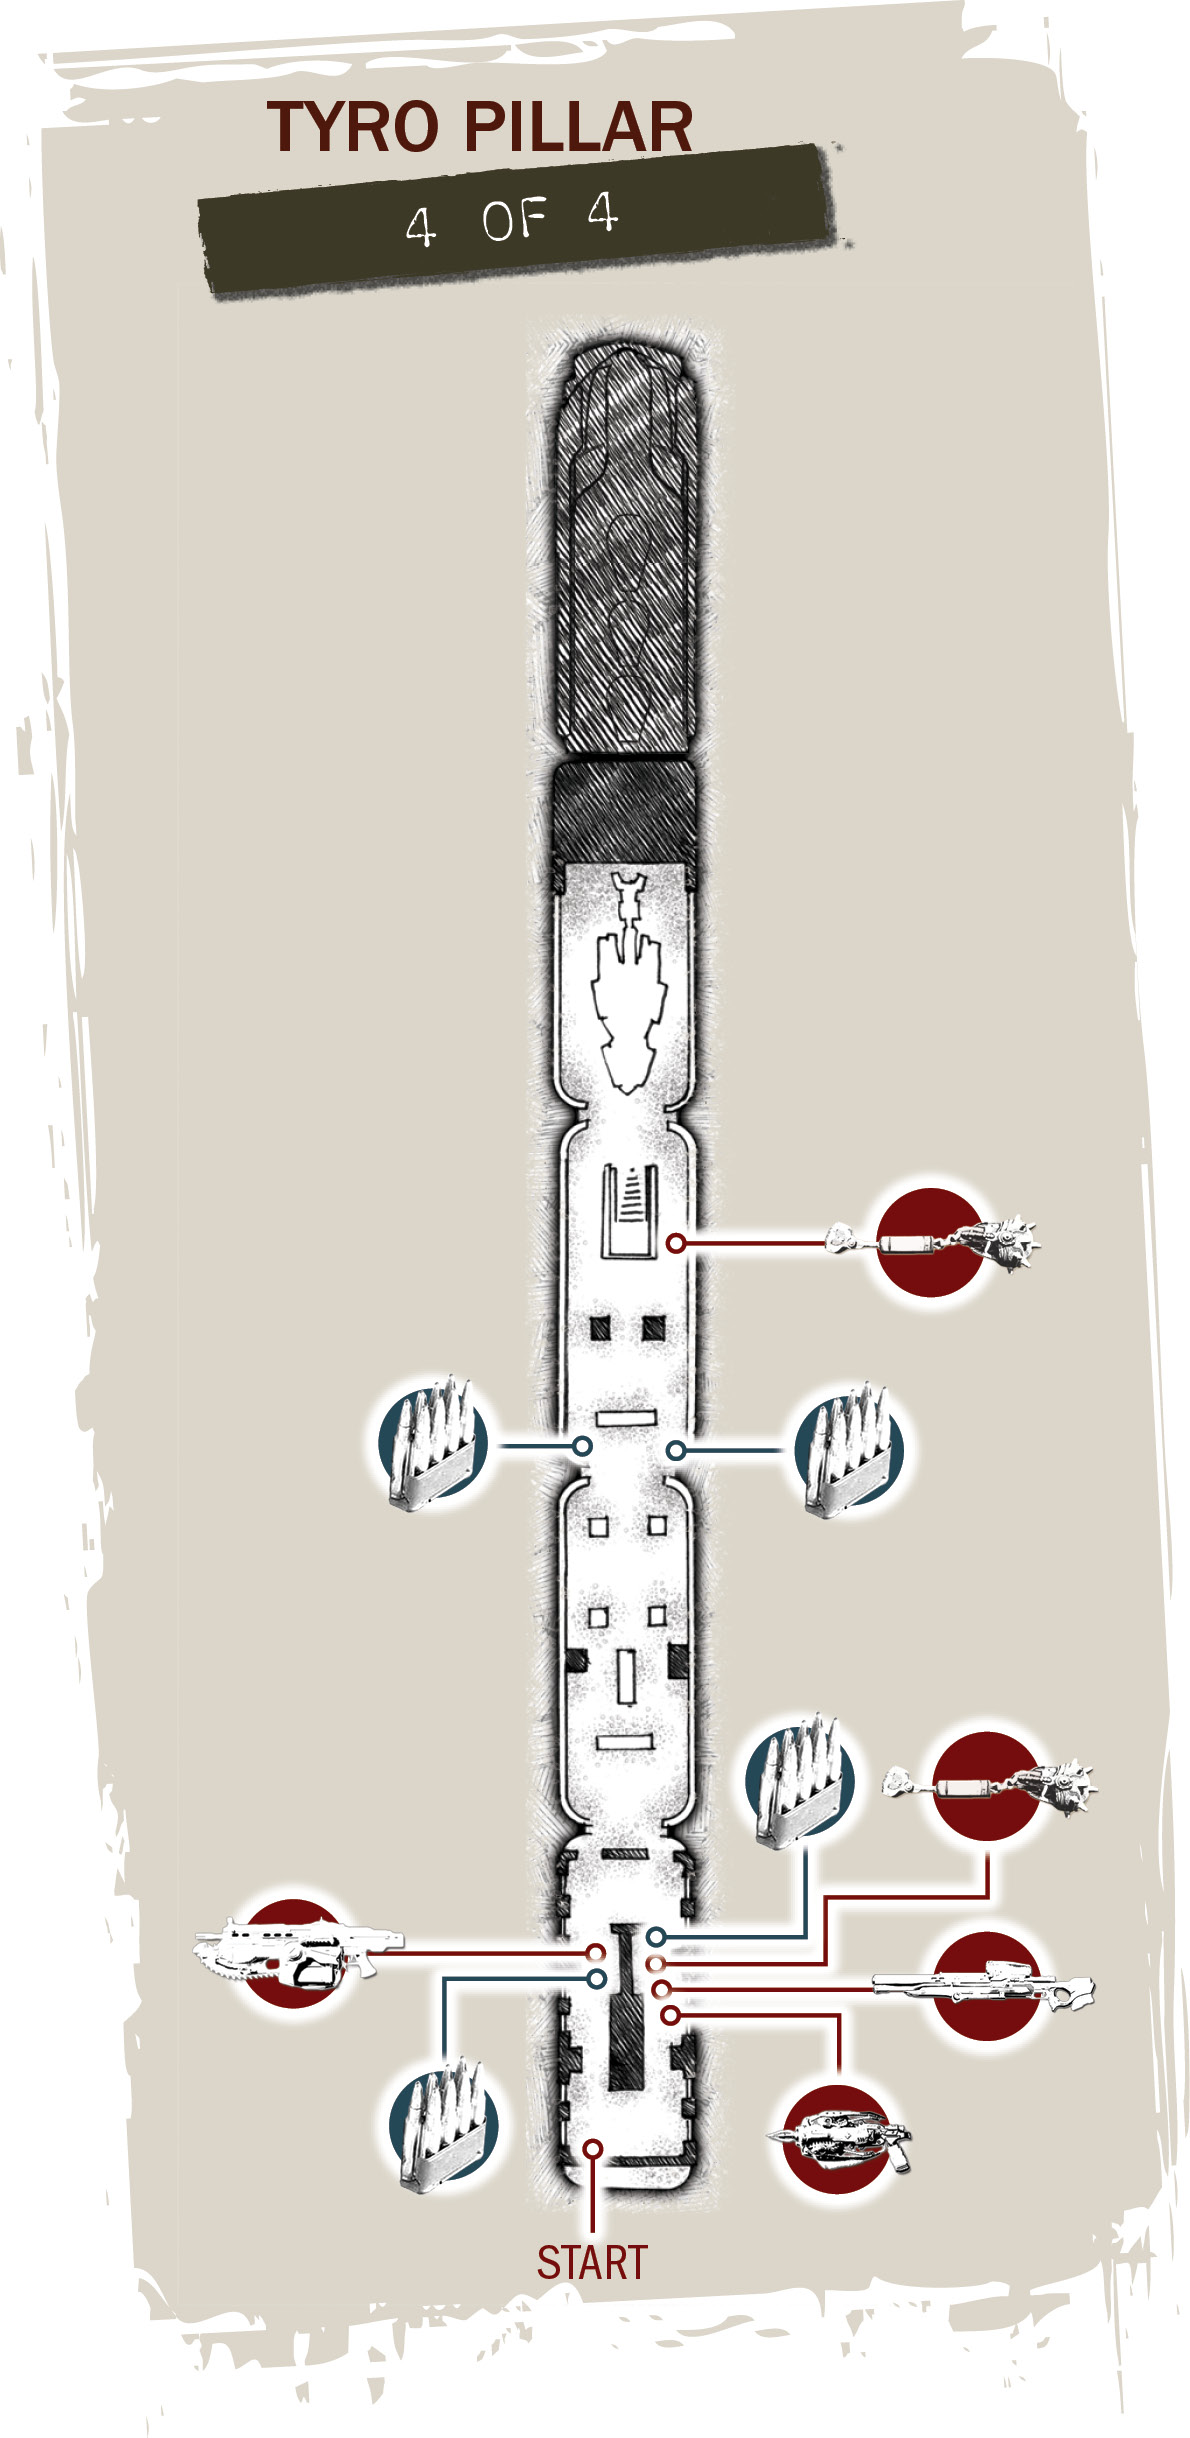
Grab the Frag Grenades from inside the fourth car and proceed to the fifth car. Release the large steel cylinders from the rack on the right to advance to the far end of the car. Then double back through the interior cabin to collect the final COG Tag in Gears of War.
COG TAG #30The final COG Tag is on the small storage room’s floor in the fifth car of the train’s third section. Be sure to get it before you advance to the train’s next section, as you’ll never a second chance. 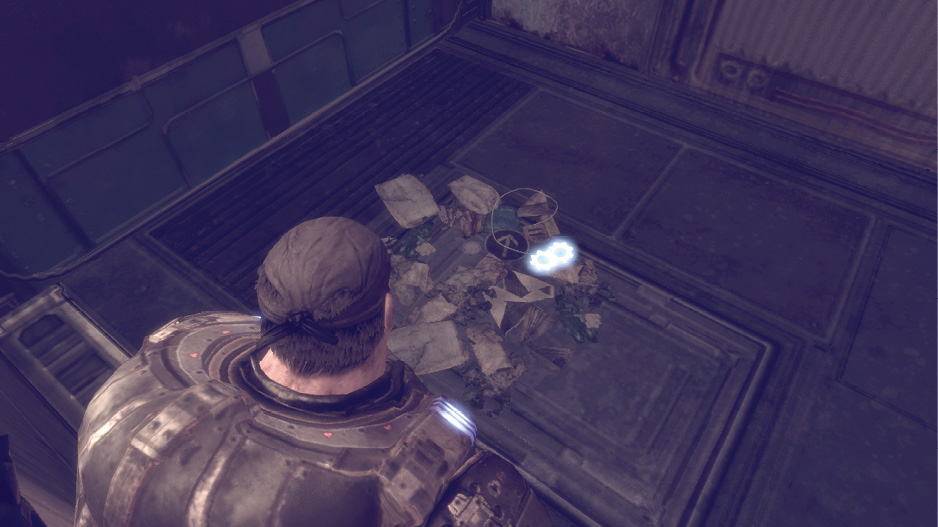
|
Pale Horse
Payback.
Kill RAAM
Gather up the Lancer and Longshot ammo in this section’s first train car. Continue to the next area. It all comes down to this: Marcus versus RAAM, the Locust Horde’s most powerful general. Marcus doesn’t have much time, so he must work fast to kill RAAM. Then he must reach the Lightmass Bomb to load it with the Locust network data map.
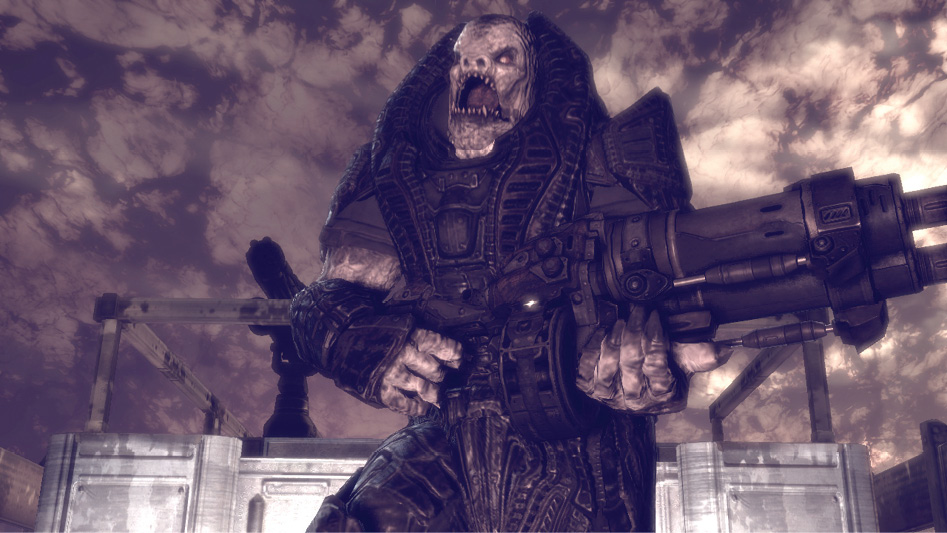
Although Dom and the nearby King Raven chopper help to distract RAAM, this is Marcus’ show. If anyone will finish this fight once and for all, it’s going to be him. After all, RAAM is the one that killed Marcus’ father, Adam.
RAAM begins the fight on this section’s third train car. He wastes no time in starting to spray chain gun bullets all over the place. Take cover behind the barrier at the starting point. In addition to his mighty gun, RAAM has a flock of Kryll that surround him like a carnivorous, feathery, protective aura. Marcus cannot harm RAAM as long as the Kryll are nearby.
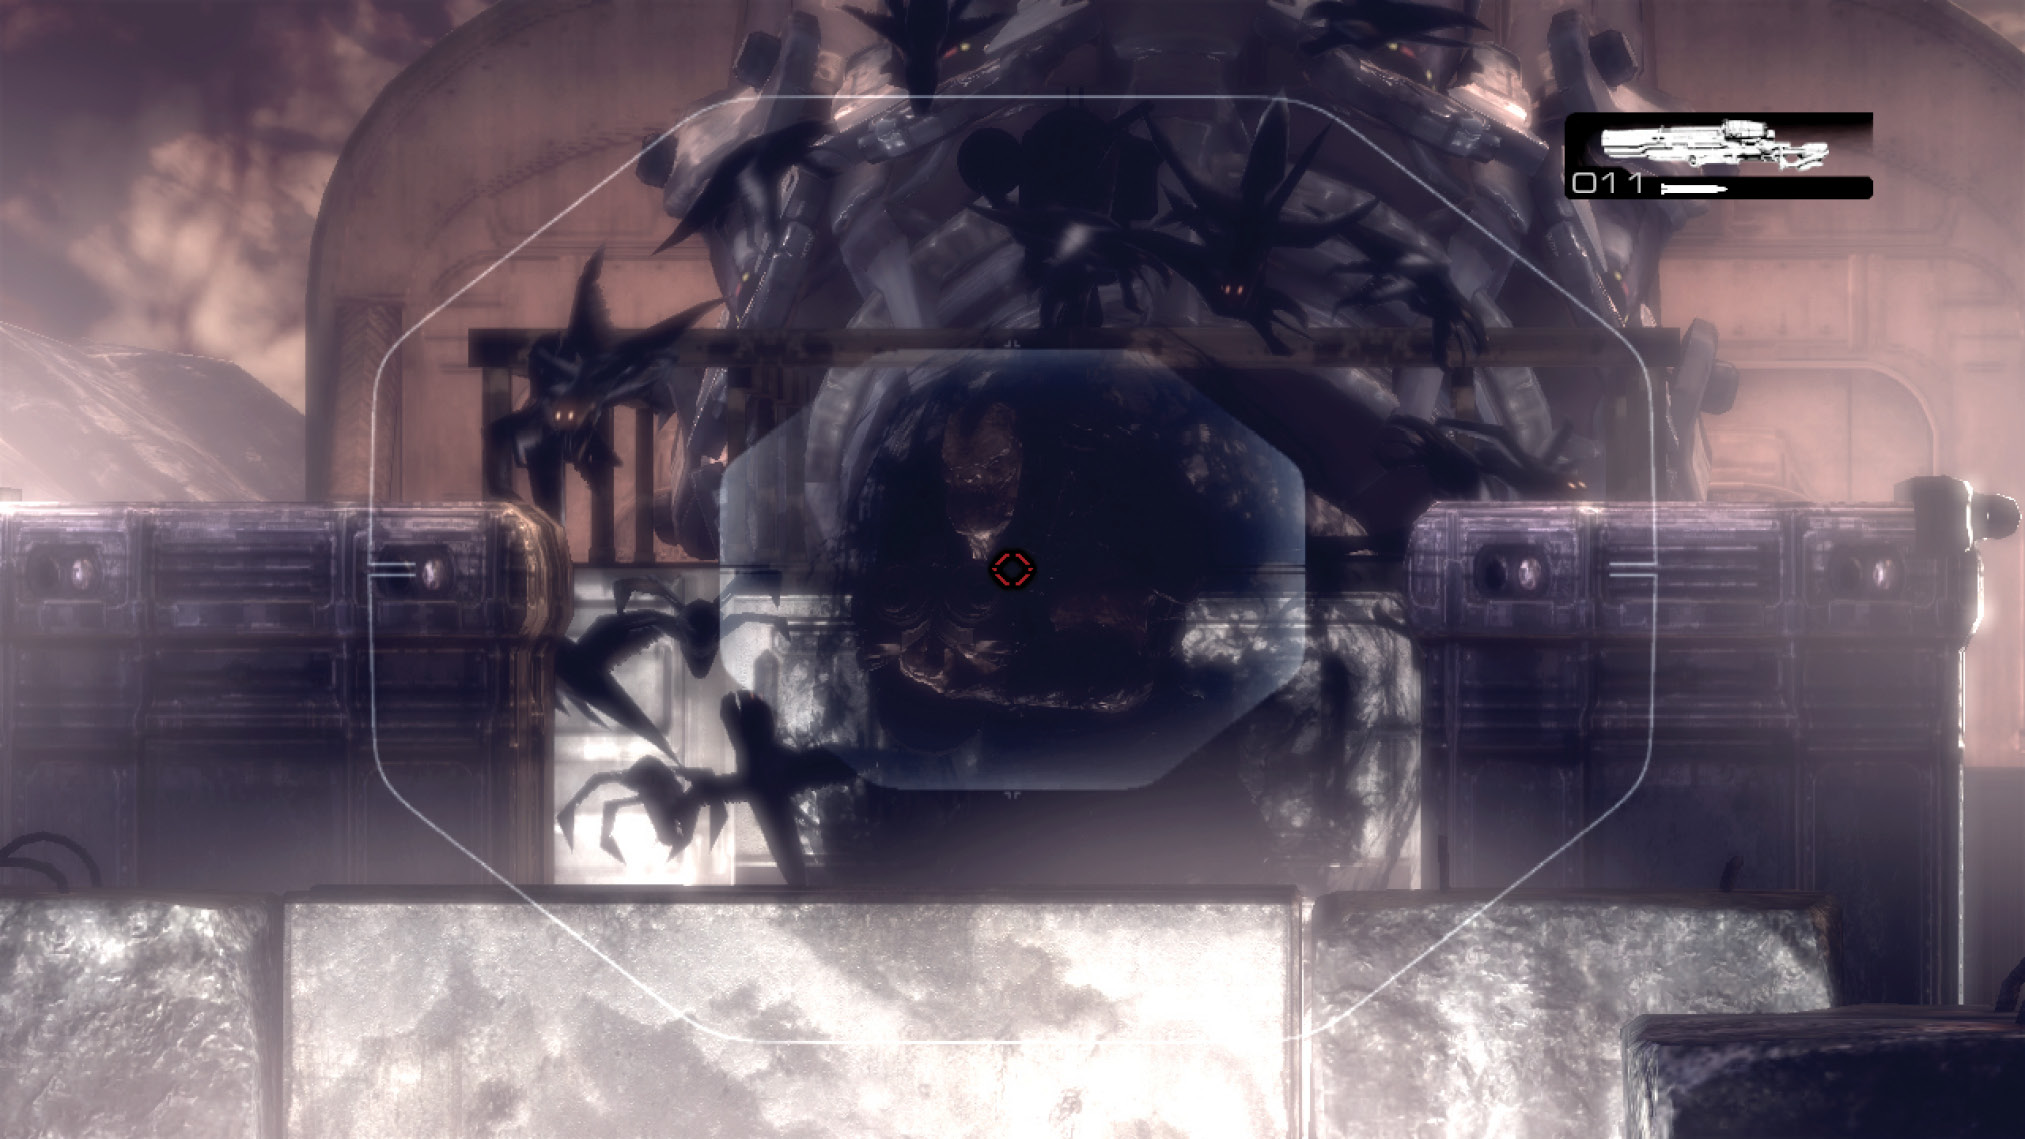
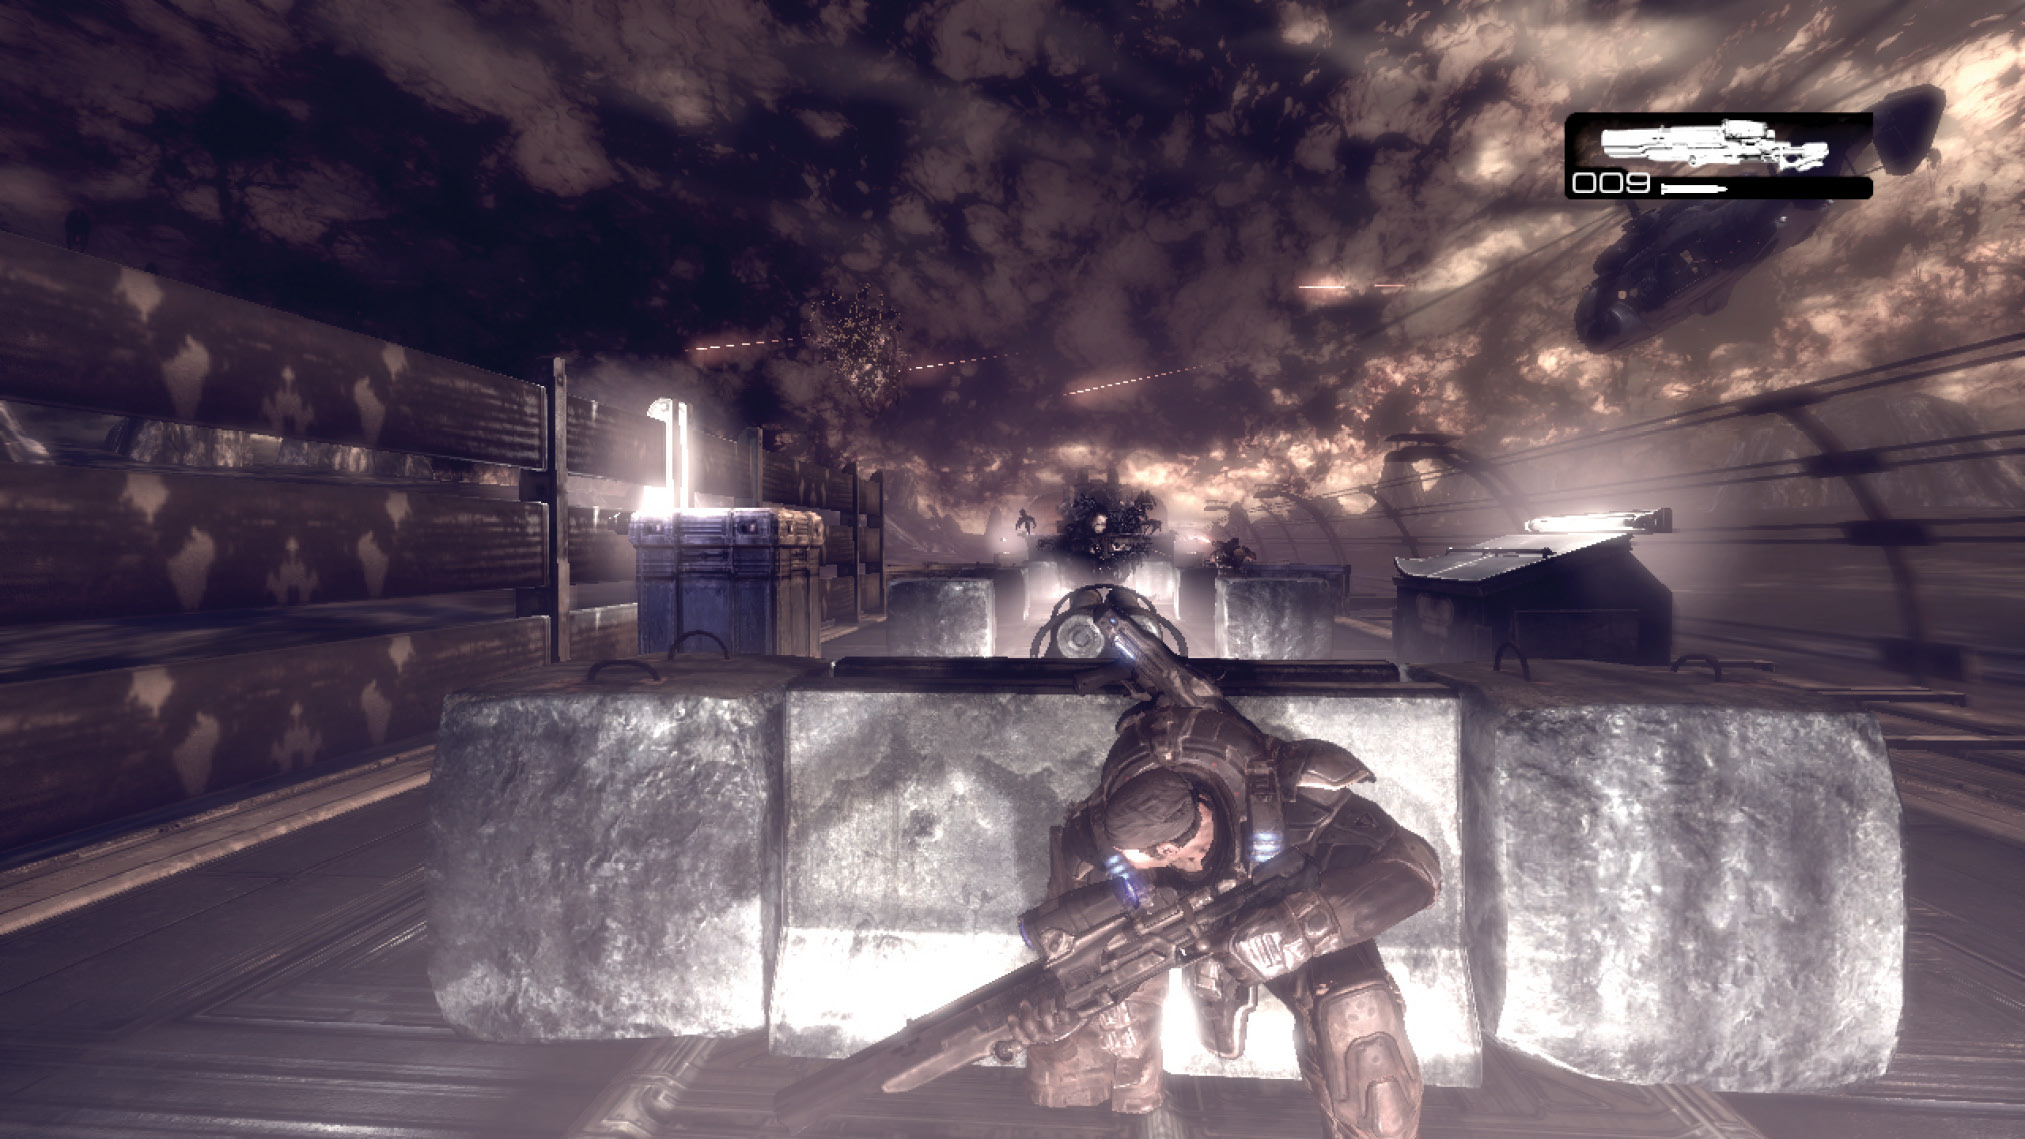
Fortunately, you can scare the Kryll away from RAAM’s side by shooting him at long range with the Torquebow. Watch for the Kryll to scatter, quickly switch to the Lancer, and proceed to empty a clip and a half into him.
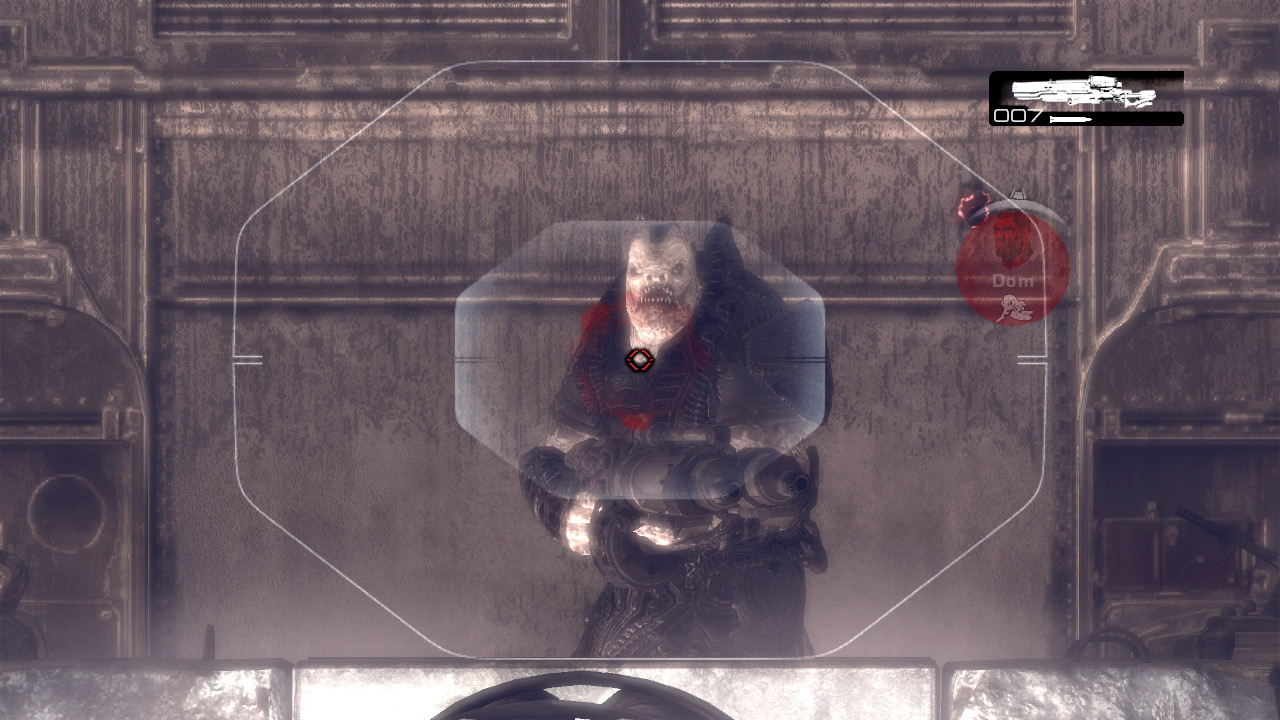
Using this strategy, it should take only a few Active Reloads to finish RAAM. If it takes you a little longer, he gradually marches the length of the train car to attack Marcus from close range. Continue scaring off the Kryll and pumpimg RAAM full of Lancer file as he gets closer. If RAAM gets all the way up to the small barrier, Marcus can inflict heavy damage with Lancer blindfire.
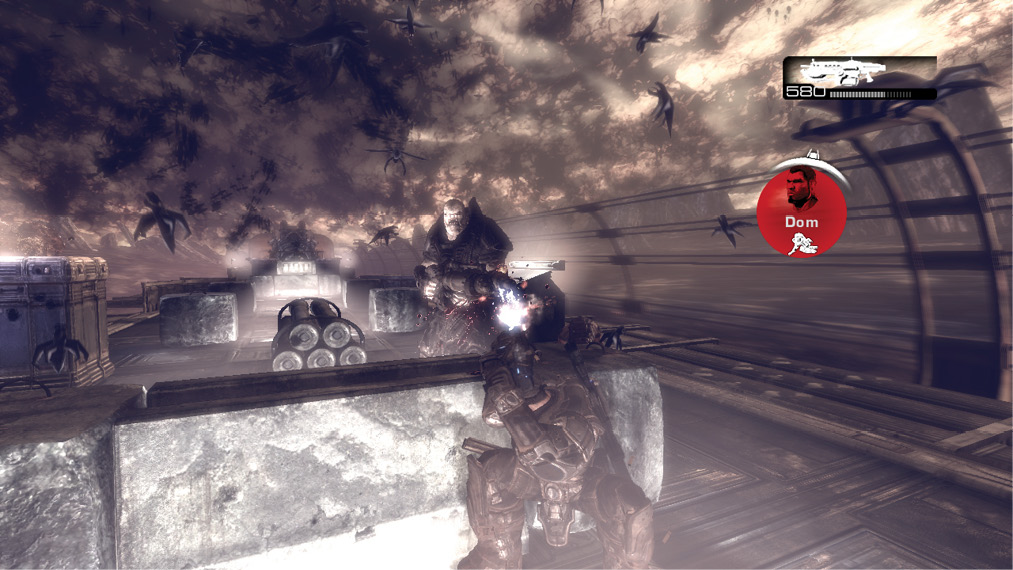
Of course, it’s impossible to survive near RAAM for long, thanks to his incredible size and strength, not to mention his chain gun. Wait for him to take a break from firing, quickly hurdle the barrier, and Roadie Run to the identical barrier at the train car’s far end. Hop over the barrier, duck into cover, and resume sniping at him in the other direction. The idea is to inflict as much damage as possible from behind cover, right up until RAAM tries to round the barrier and attack at close range. Then run like heck to the other side and repeat!
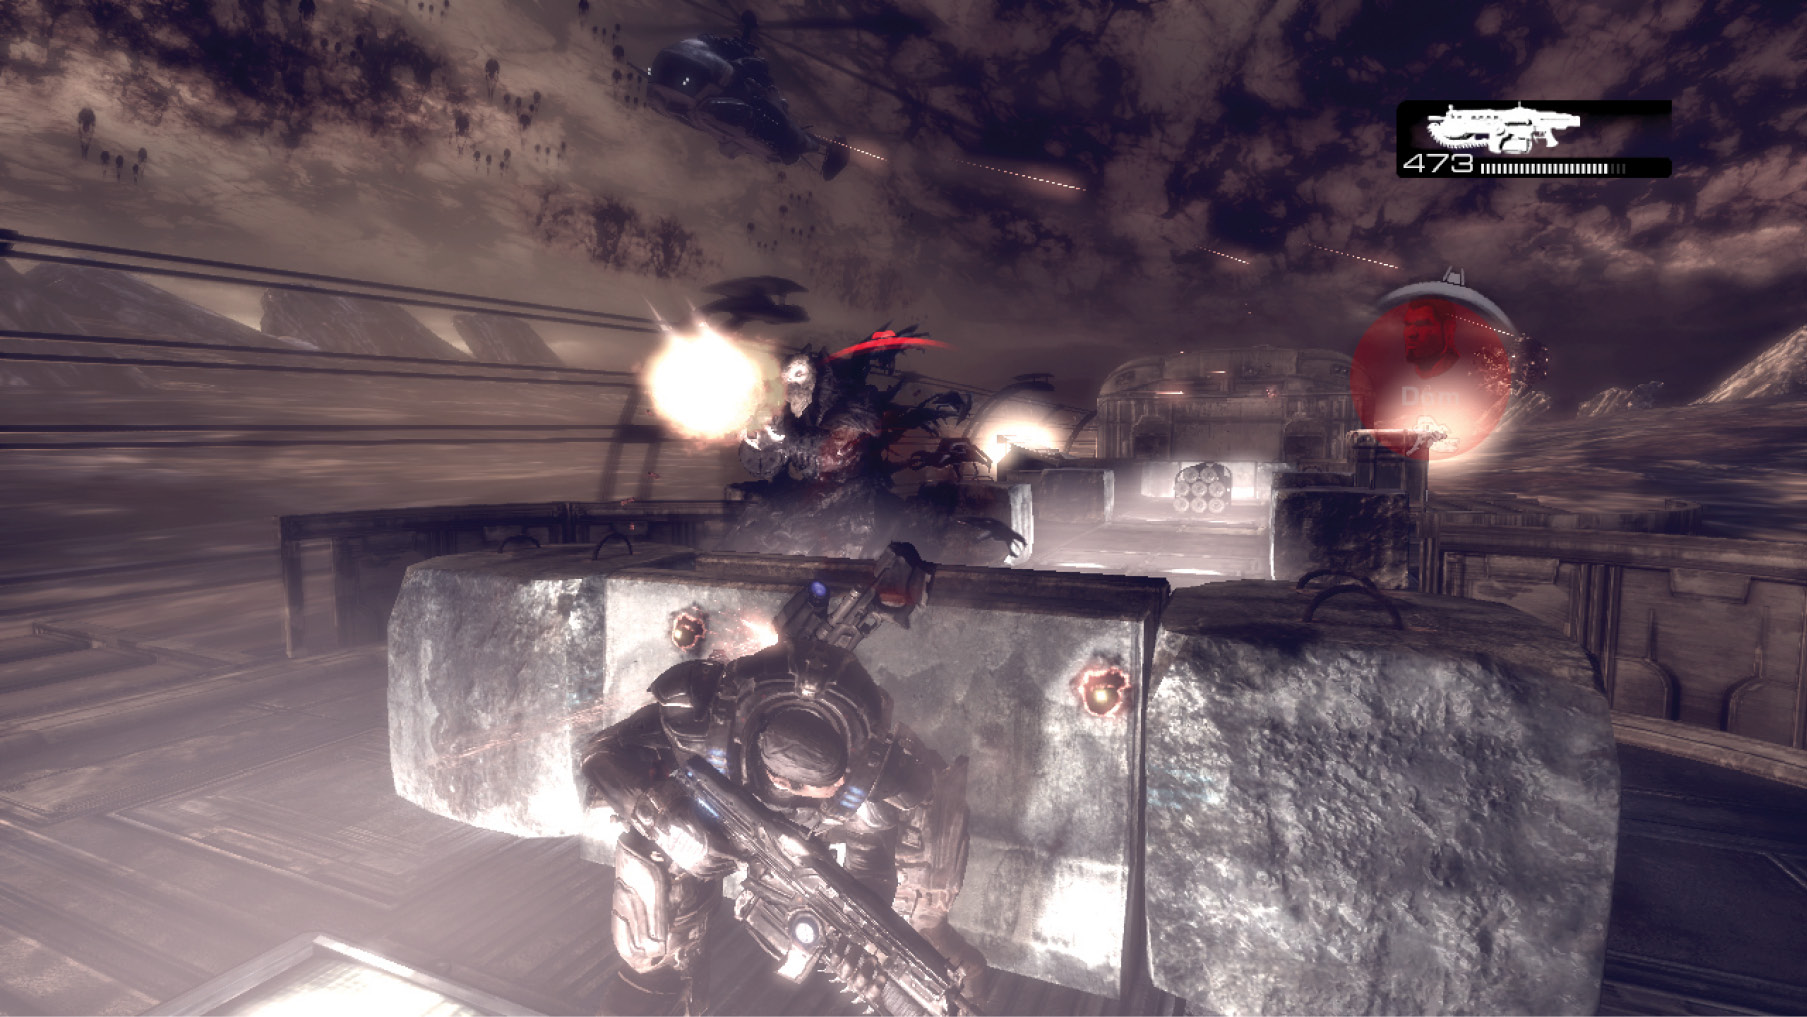
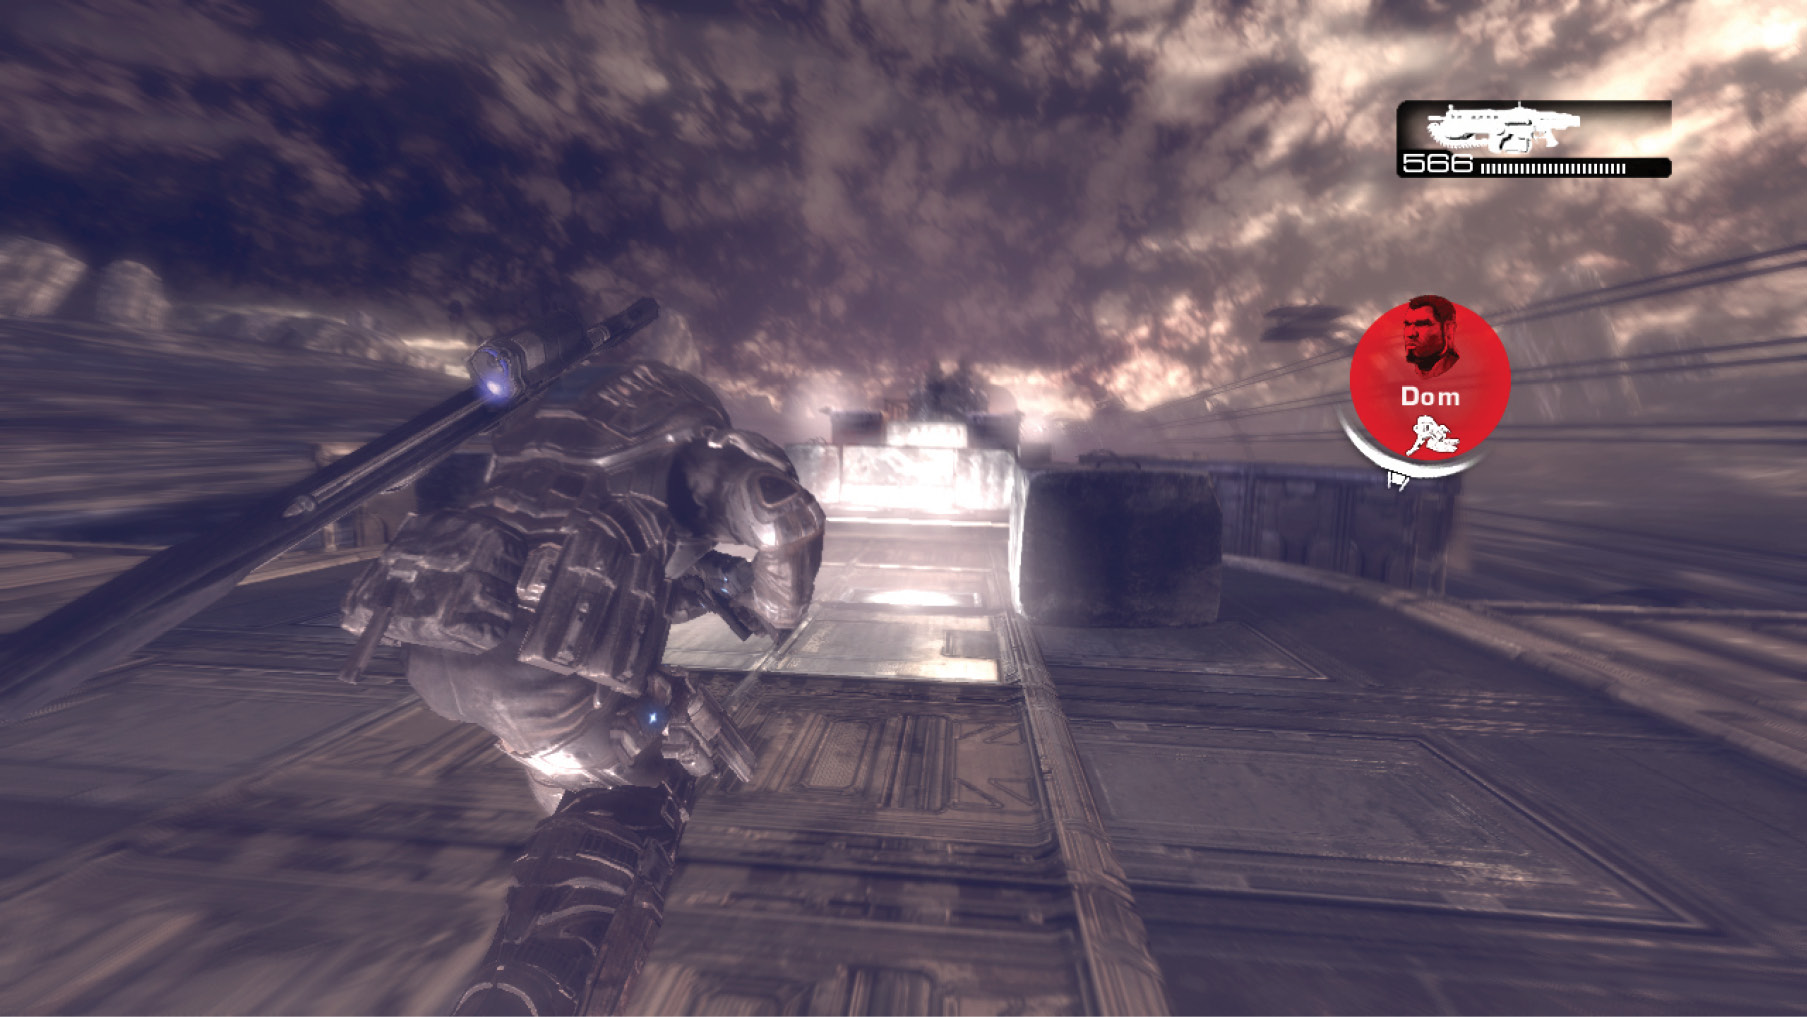
The Locust Horde isn’t just going to sit around and watch its leader take damage. Reavers carrying Troika Gunners, Drones, and even the occasional Theron Guard fly into range alongside the train, attempting to kill Marcus while he focuses on RAAM. Fortunately, the boys in King Raven eliminate many of the Reavers, but Marcus must cap them himself if they get a clear shot on him. The best way to do this is to shoulder the Longshot and shoot the Reaver’s chest while you’re zoomed out.
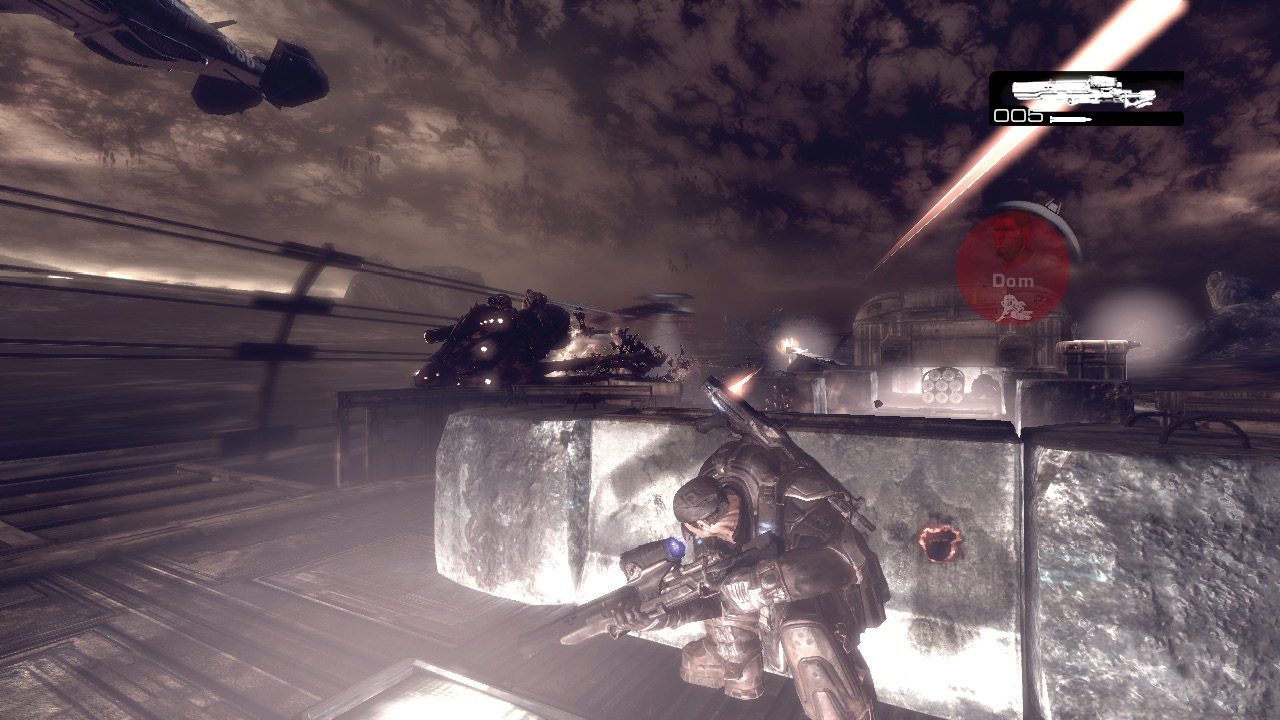
Swarms of Kryll occasionally show up, making it imperative that Marcus stay in well-lit areas at all times. Unfortunately, this means you can’t use the Troika on the third car’s platform. Dom and the guys in King Raven do a good job alerting Marcus when the Kryll approach or a Reaver moves into position. It may sound like you have a lot on your hands, but the key to beating RAAM lies partly in keeping away from the Kryll and Reavers. Naturally, RAAM’s mighty chain gun is a big threat. As long as you use cover and pick the right moments to dash toward the train car’s other end, you should get through in one piece.