
Gears of War Guide Campaign Walkthrough
Act 3: Belly of the Beast
This isn’t the first time a special COG unit has been dispatched with the goal of deploying a resonator-like device in the Imulsion mines. Unfortunately, that previous team was unmercifully slaughtered by the Locust Horde and direct access to the mine has been sealed off ever since. No, this time things are going to be much different. Not only must Delta Squad search for an alternate entrance through the Lethia Imulsion Facility, but they must be sure to get in and get out before sunrise. After all, with so few humans left to feed upon, the Kryll may still be hungry when they return.
Dark Wretch
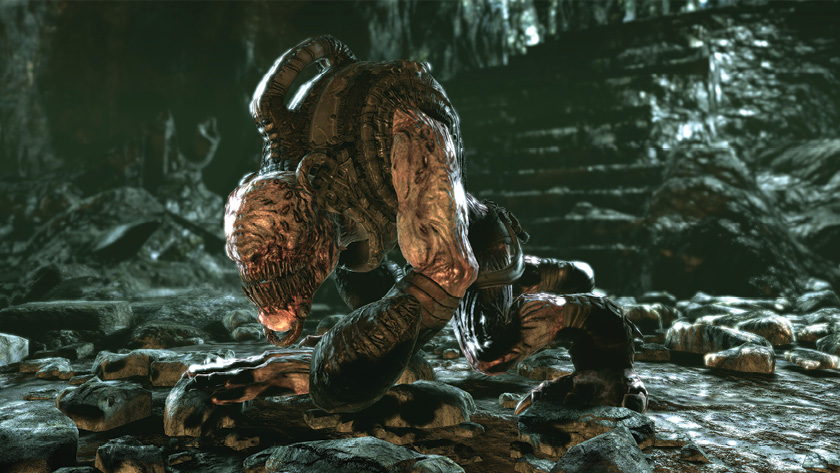
Dark Wretches are similar to normal Wretches but they are black, are more aggressive, and explode when killed.
Corpser
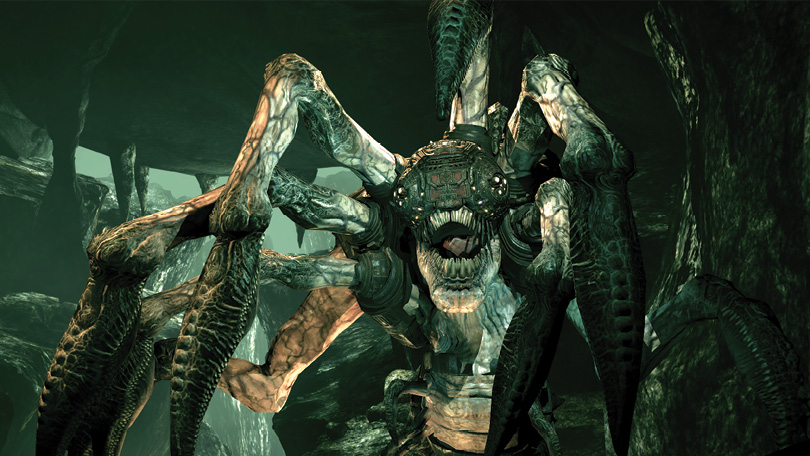
This monstrous creature resembles a hermit crab, except that it’s the size of a house! Its mighty claws can deliver death with a single jab.
Theron Guard
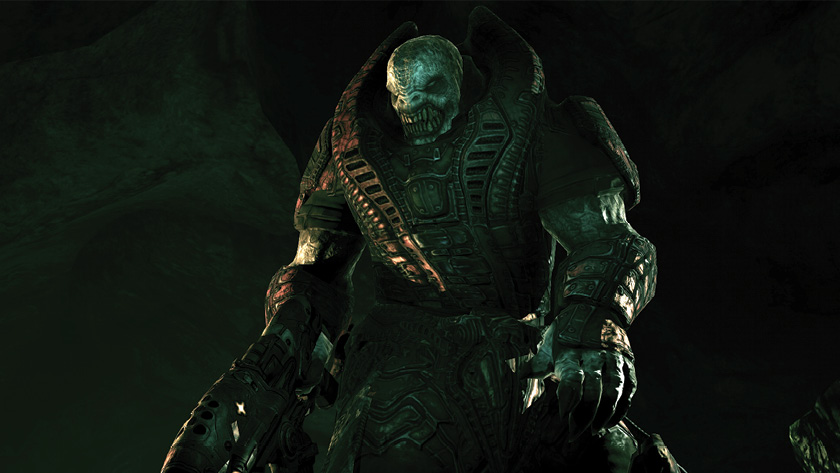
Theron Guards are faster, smarter, and stronger than standard Drones. These traits, combined with their possession of the Torquebow make them a fearsome foe.
Downpour
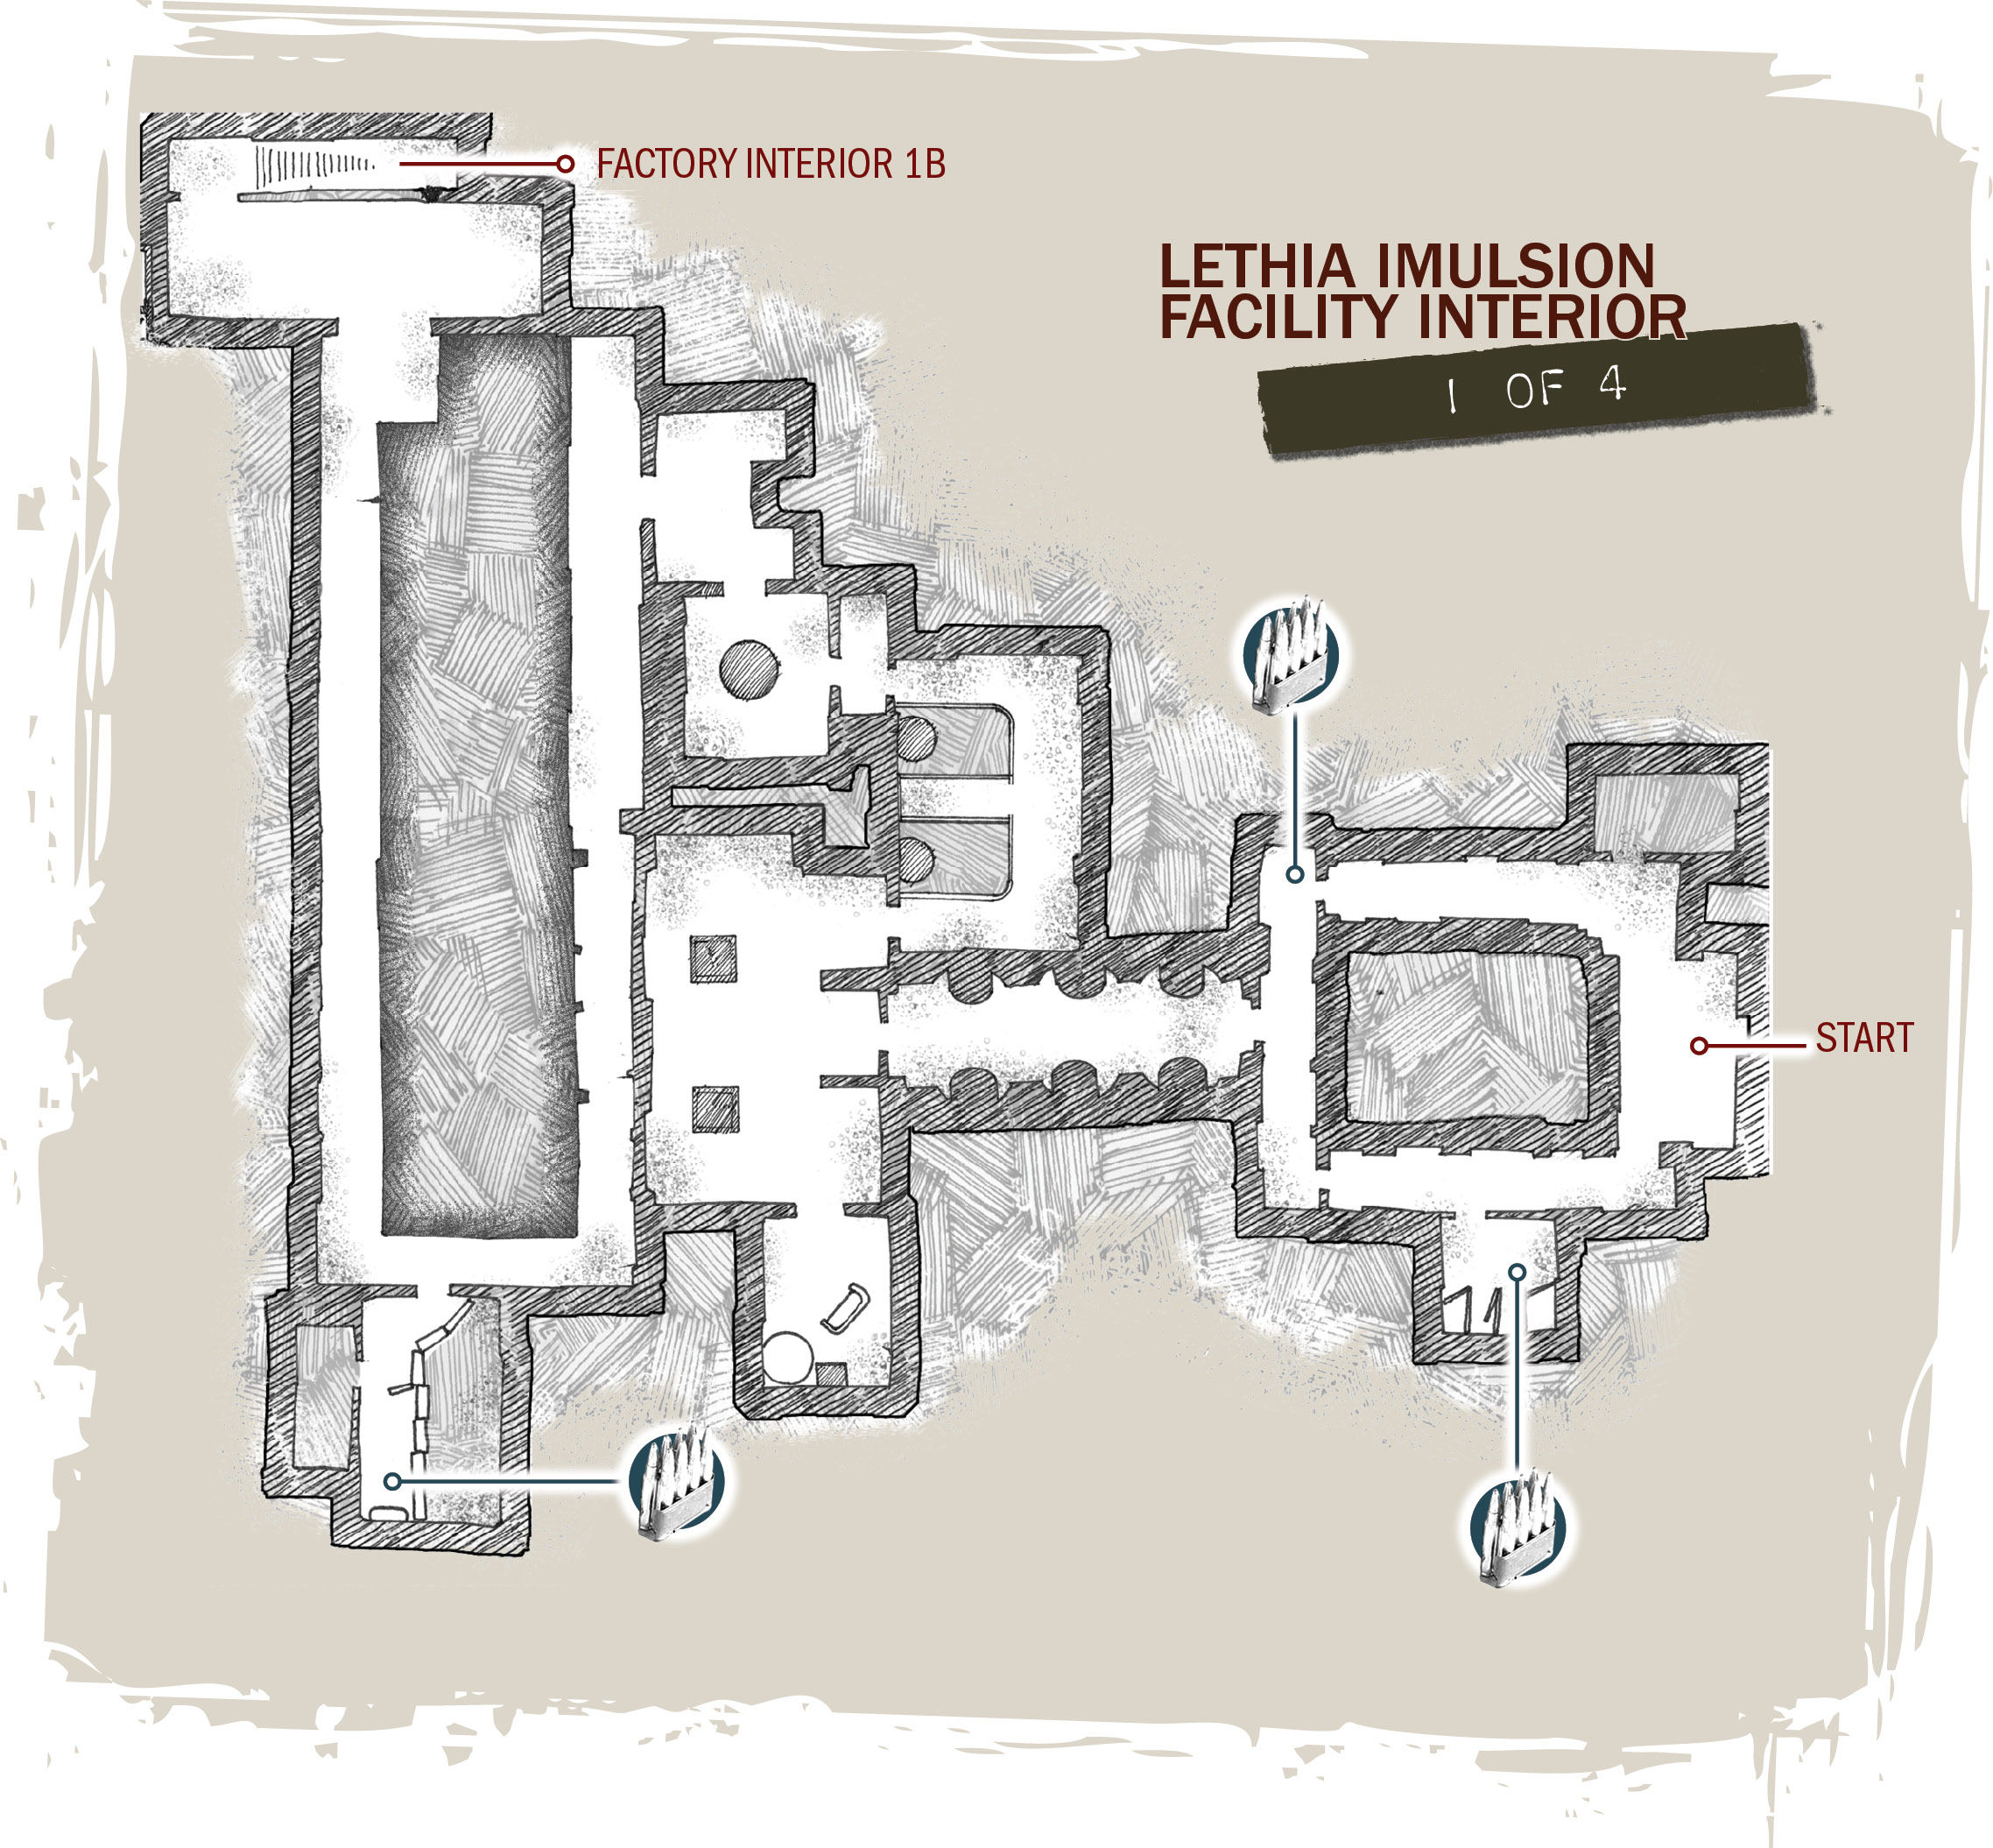
Enter Lethia Imulsion Facility.
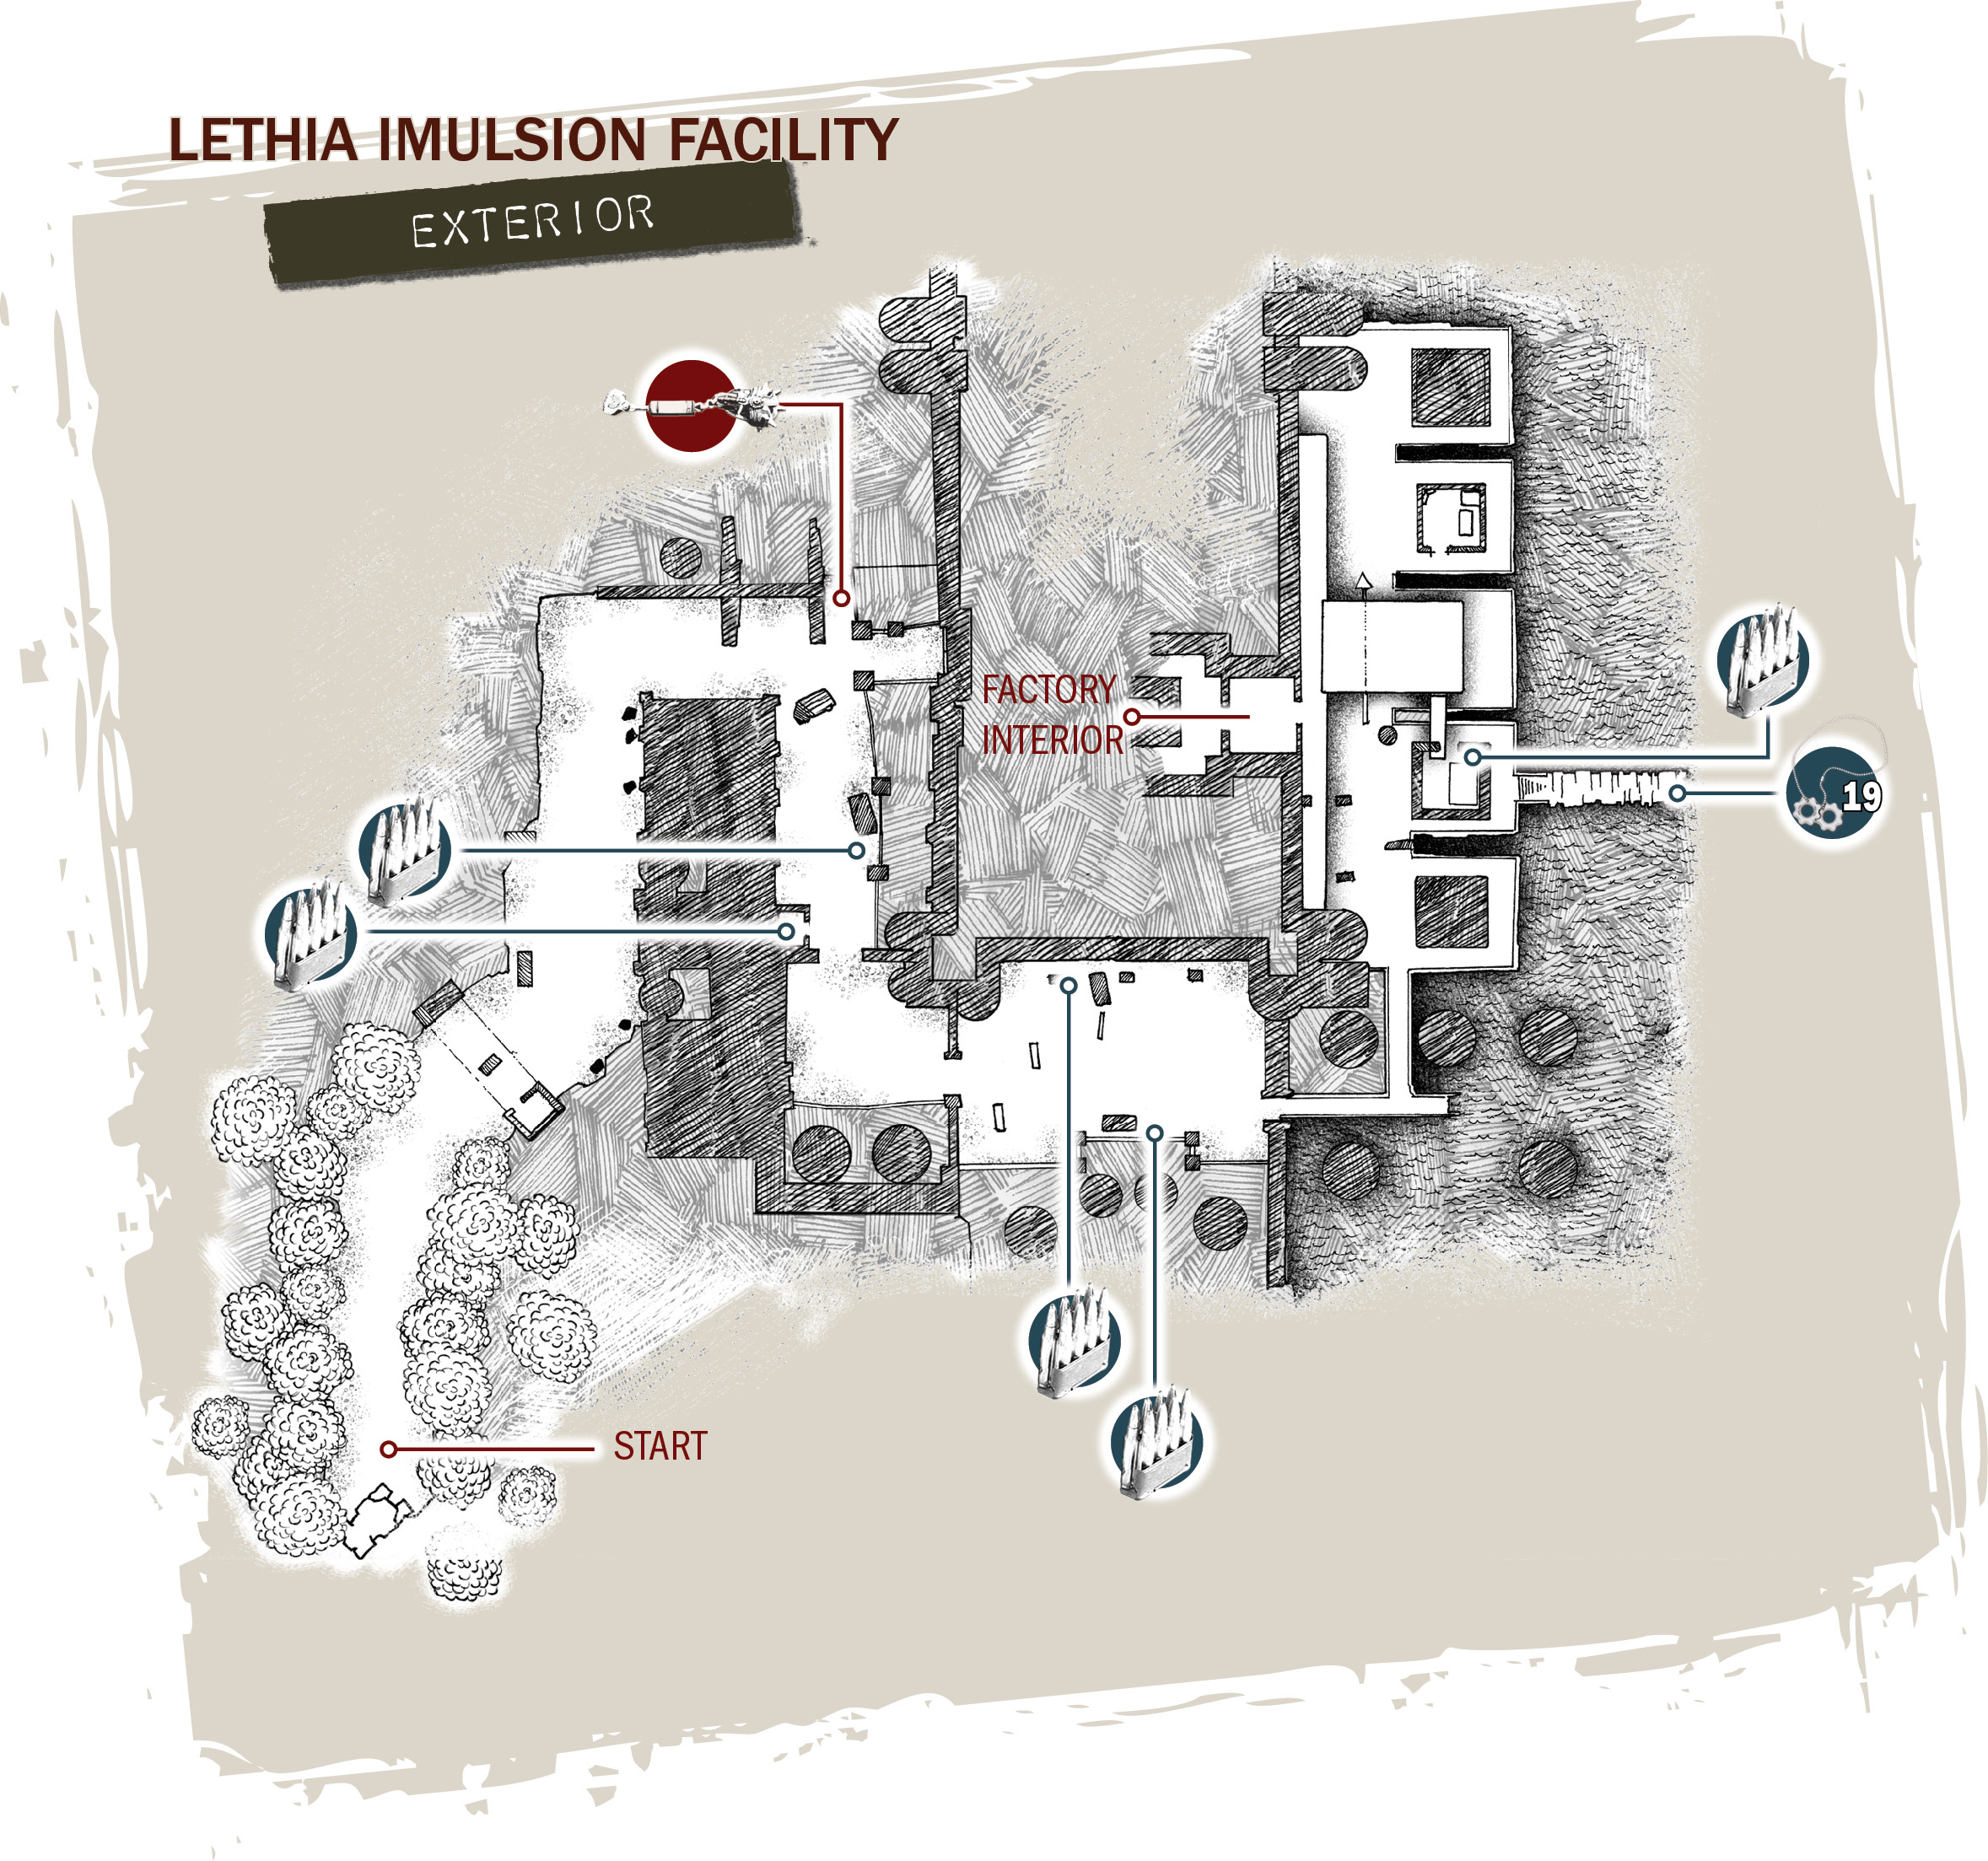
Scout the Factory Entrance
If the Junker had to break down, it couldn’t have happened in a better spot. It might be dark and rainy, but the factory is just a short jaunt from here. Follow the dirt road to the factory entrance—the walk provides Delta Squad with a nice preview of the “wildlife” they’ll encounter later on.
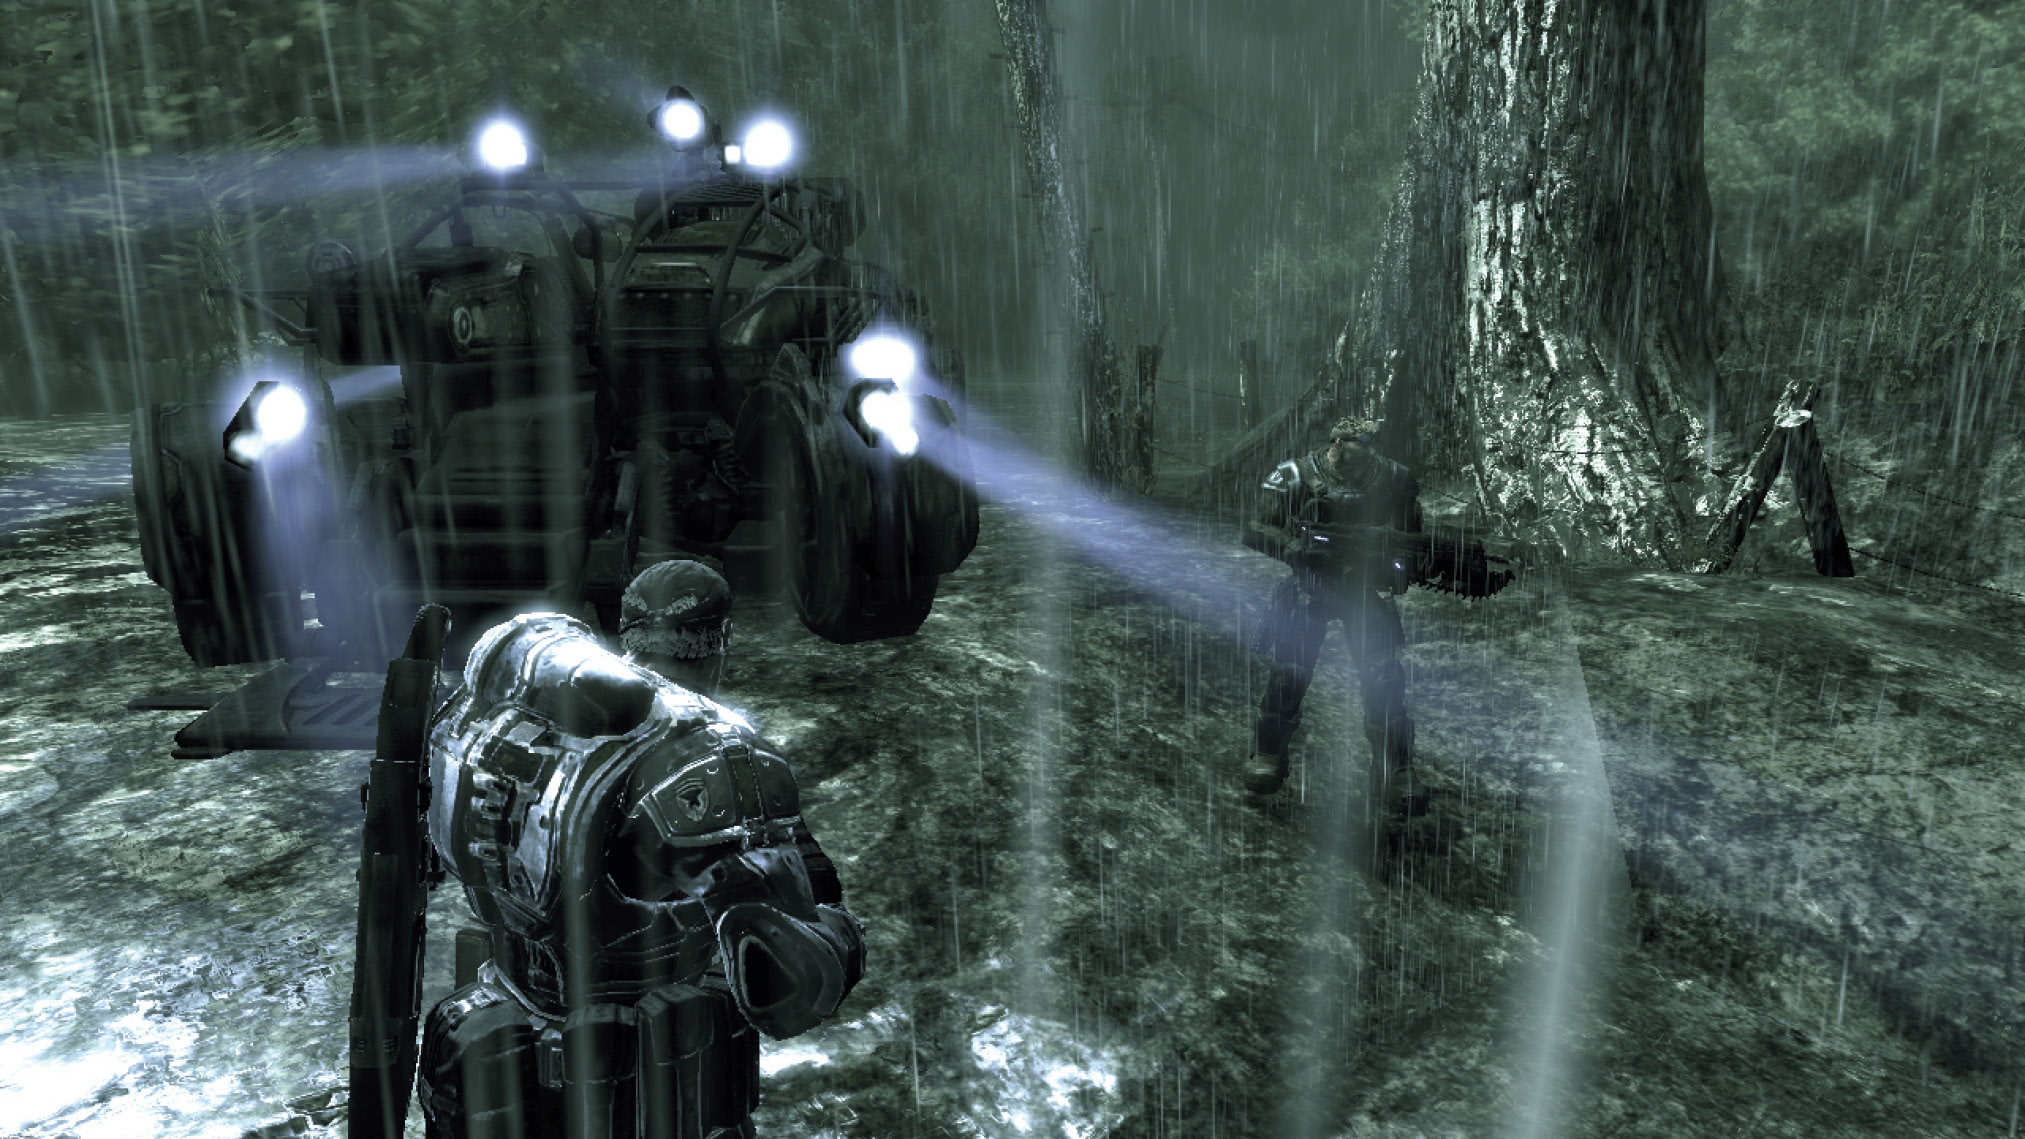
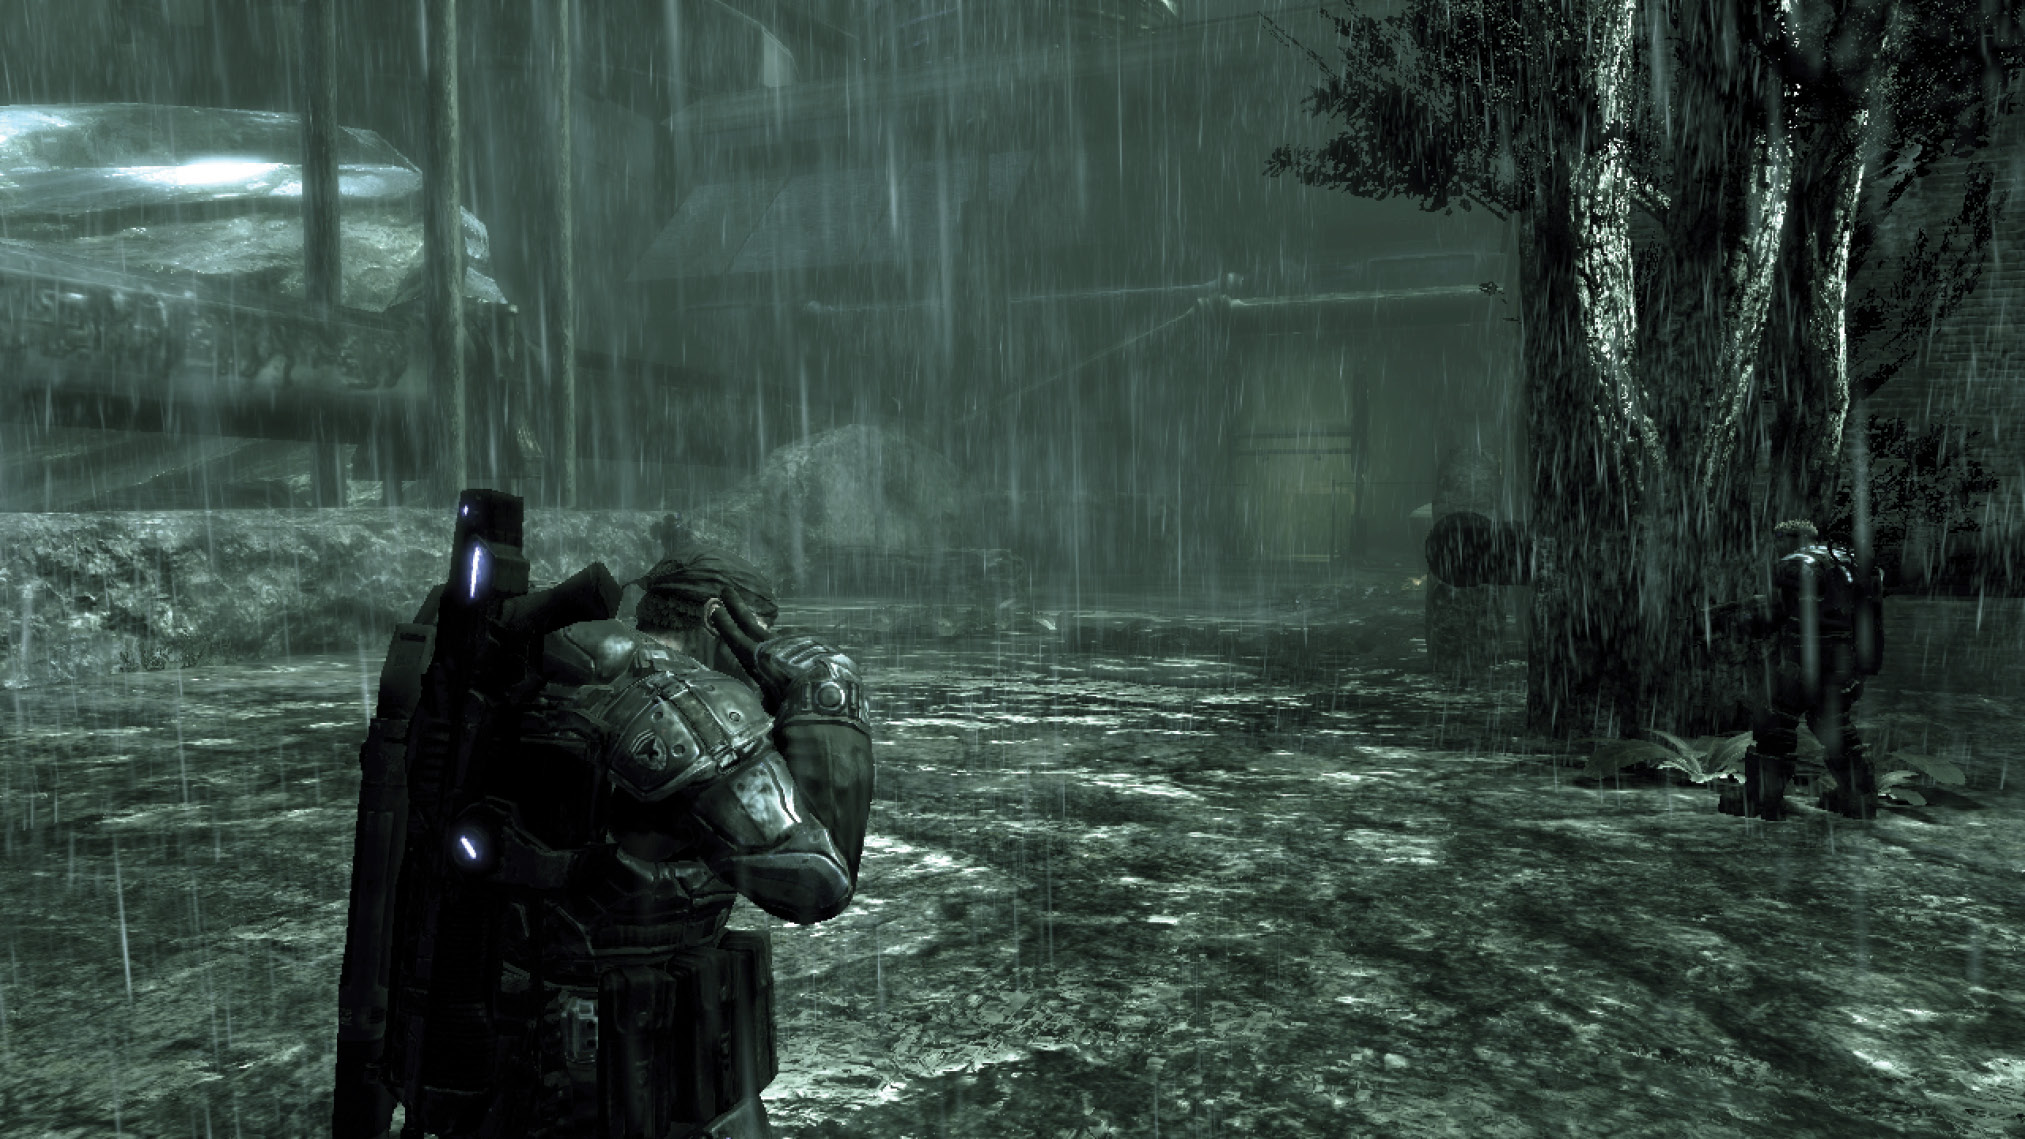
As can be expected in times like this, the main entrance to the facility has been locked and the doors are far too thick for Jack to rip open. Marcus decides the team should split up. He and Dom will look for an entrance near the docks, while Baird and Cole can look elsewhere.
Find an Entrance to the Factory
Follow Dom down the path to the right, toward the large storage tanks near the docks. There’s plenty of ammo to gather along the way, so be sure to grab it.
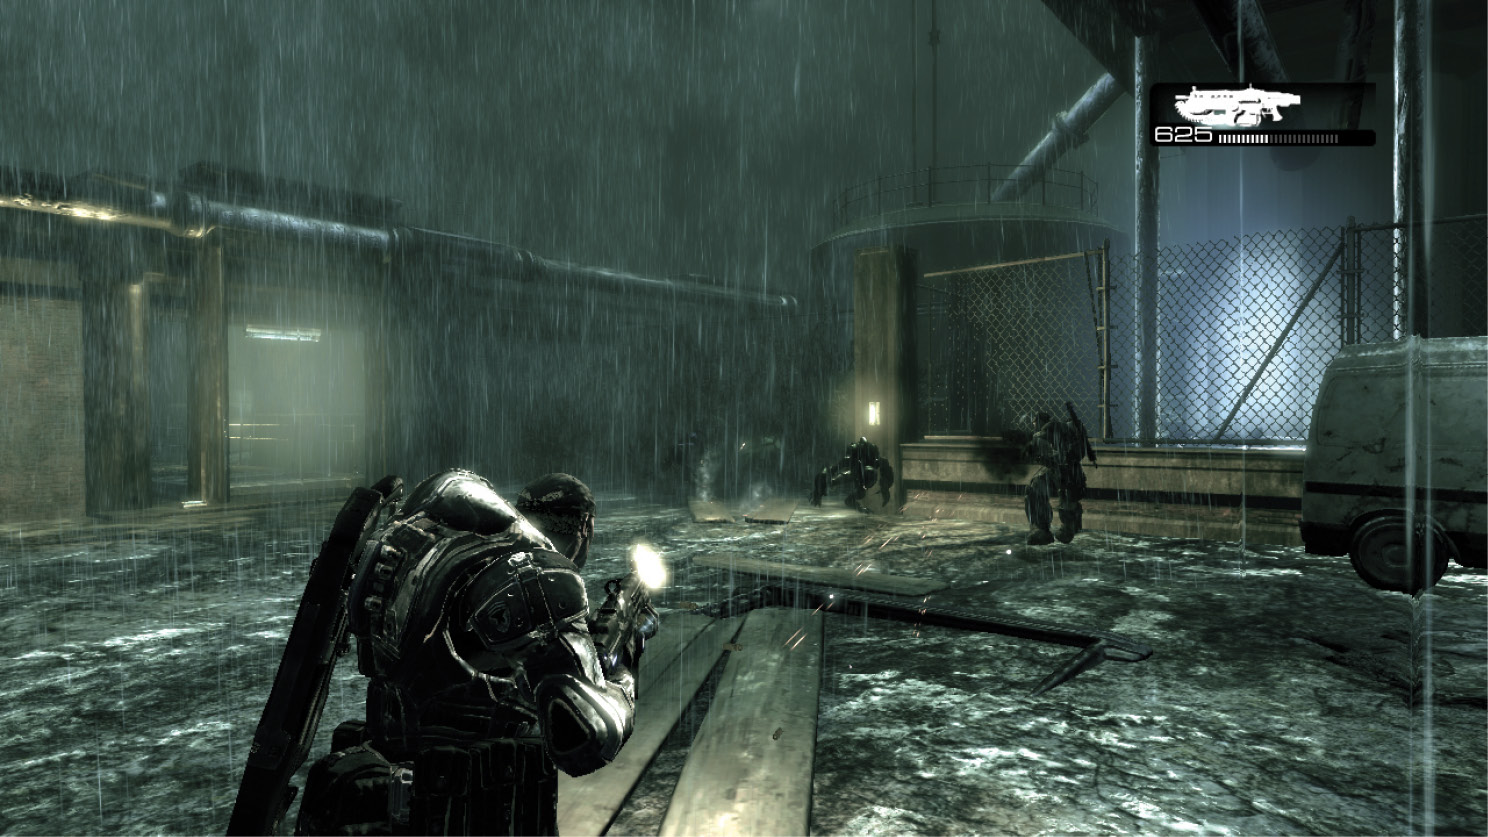
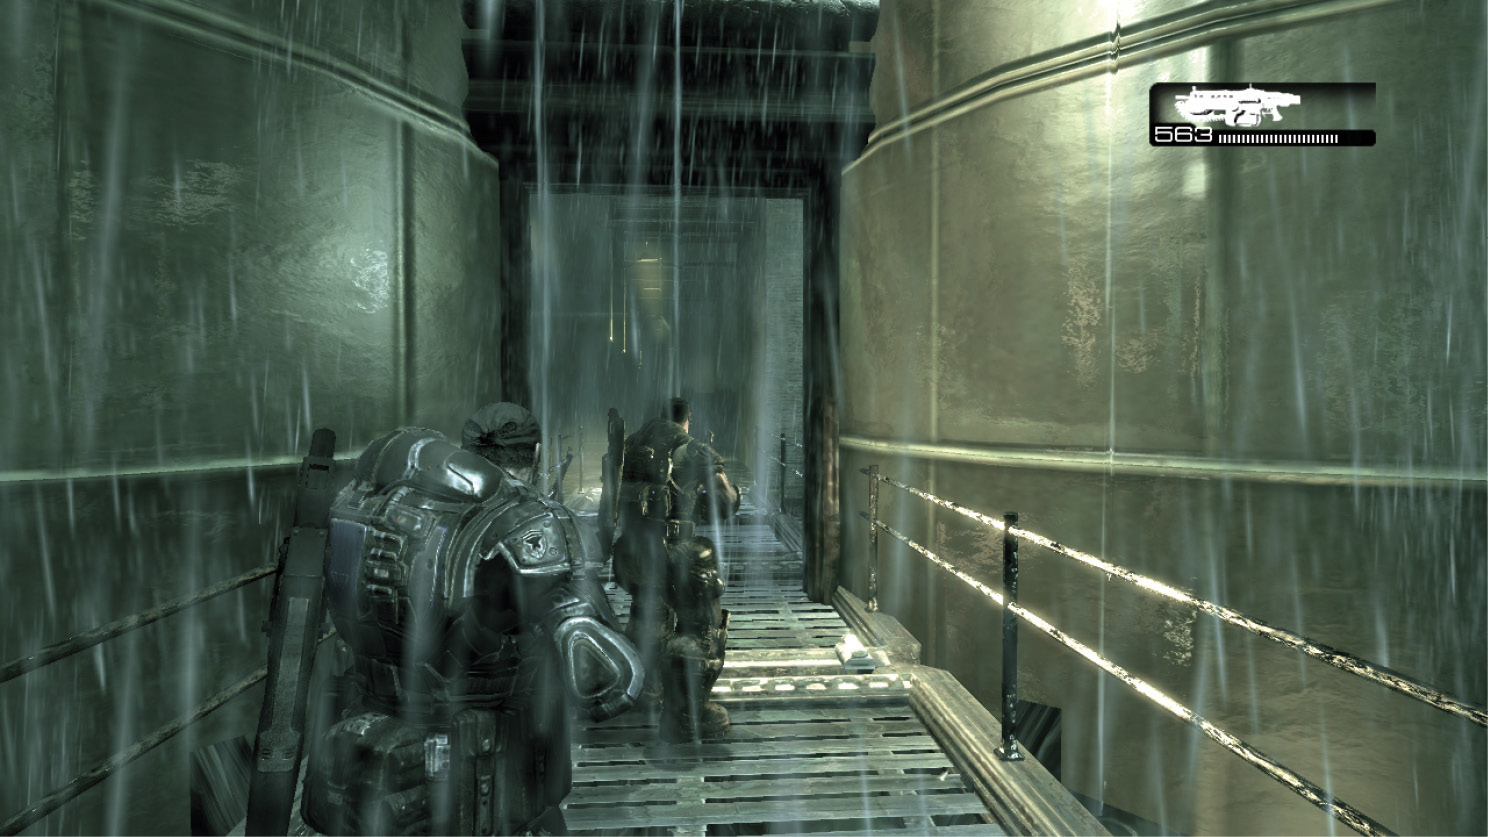
The Dark Wretches the team has seen scampering about the factory are finally ready to attack. Use the Lancer and shoot from the hip as you back away from them. If any get up onto Marcus, shoot to kill then quickly somersault away to avoid their post-mortem detonations. The first wave contains roughly eight Dark Wretches. Replenish your ammo and then approach the narrow walkway near the fluorescent light to lure out the second wave. Wipe out this last half-dozen or so Dark Wretches and continue toward the waterfront.
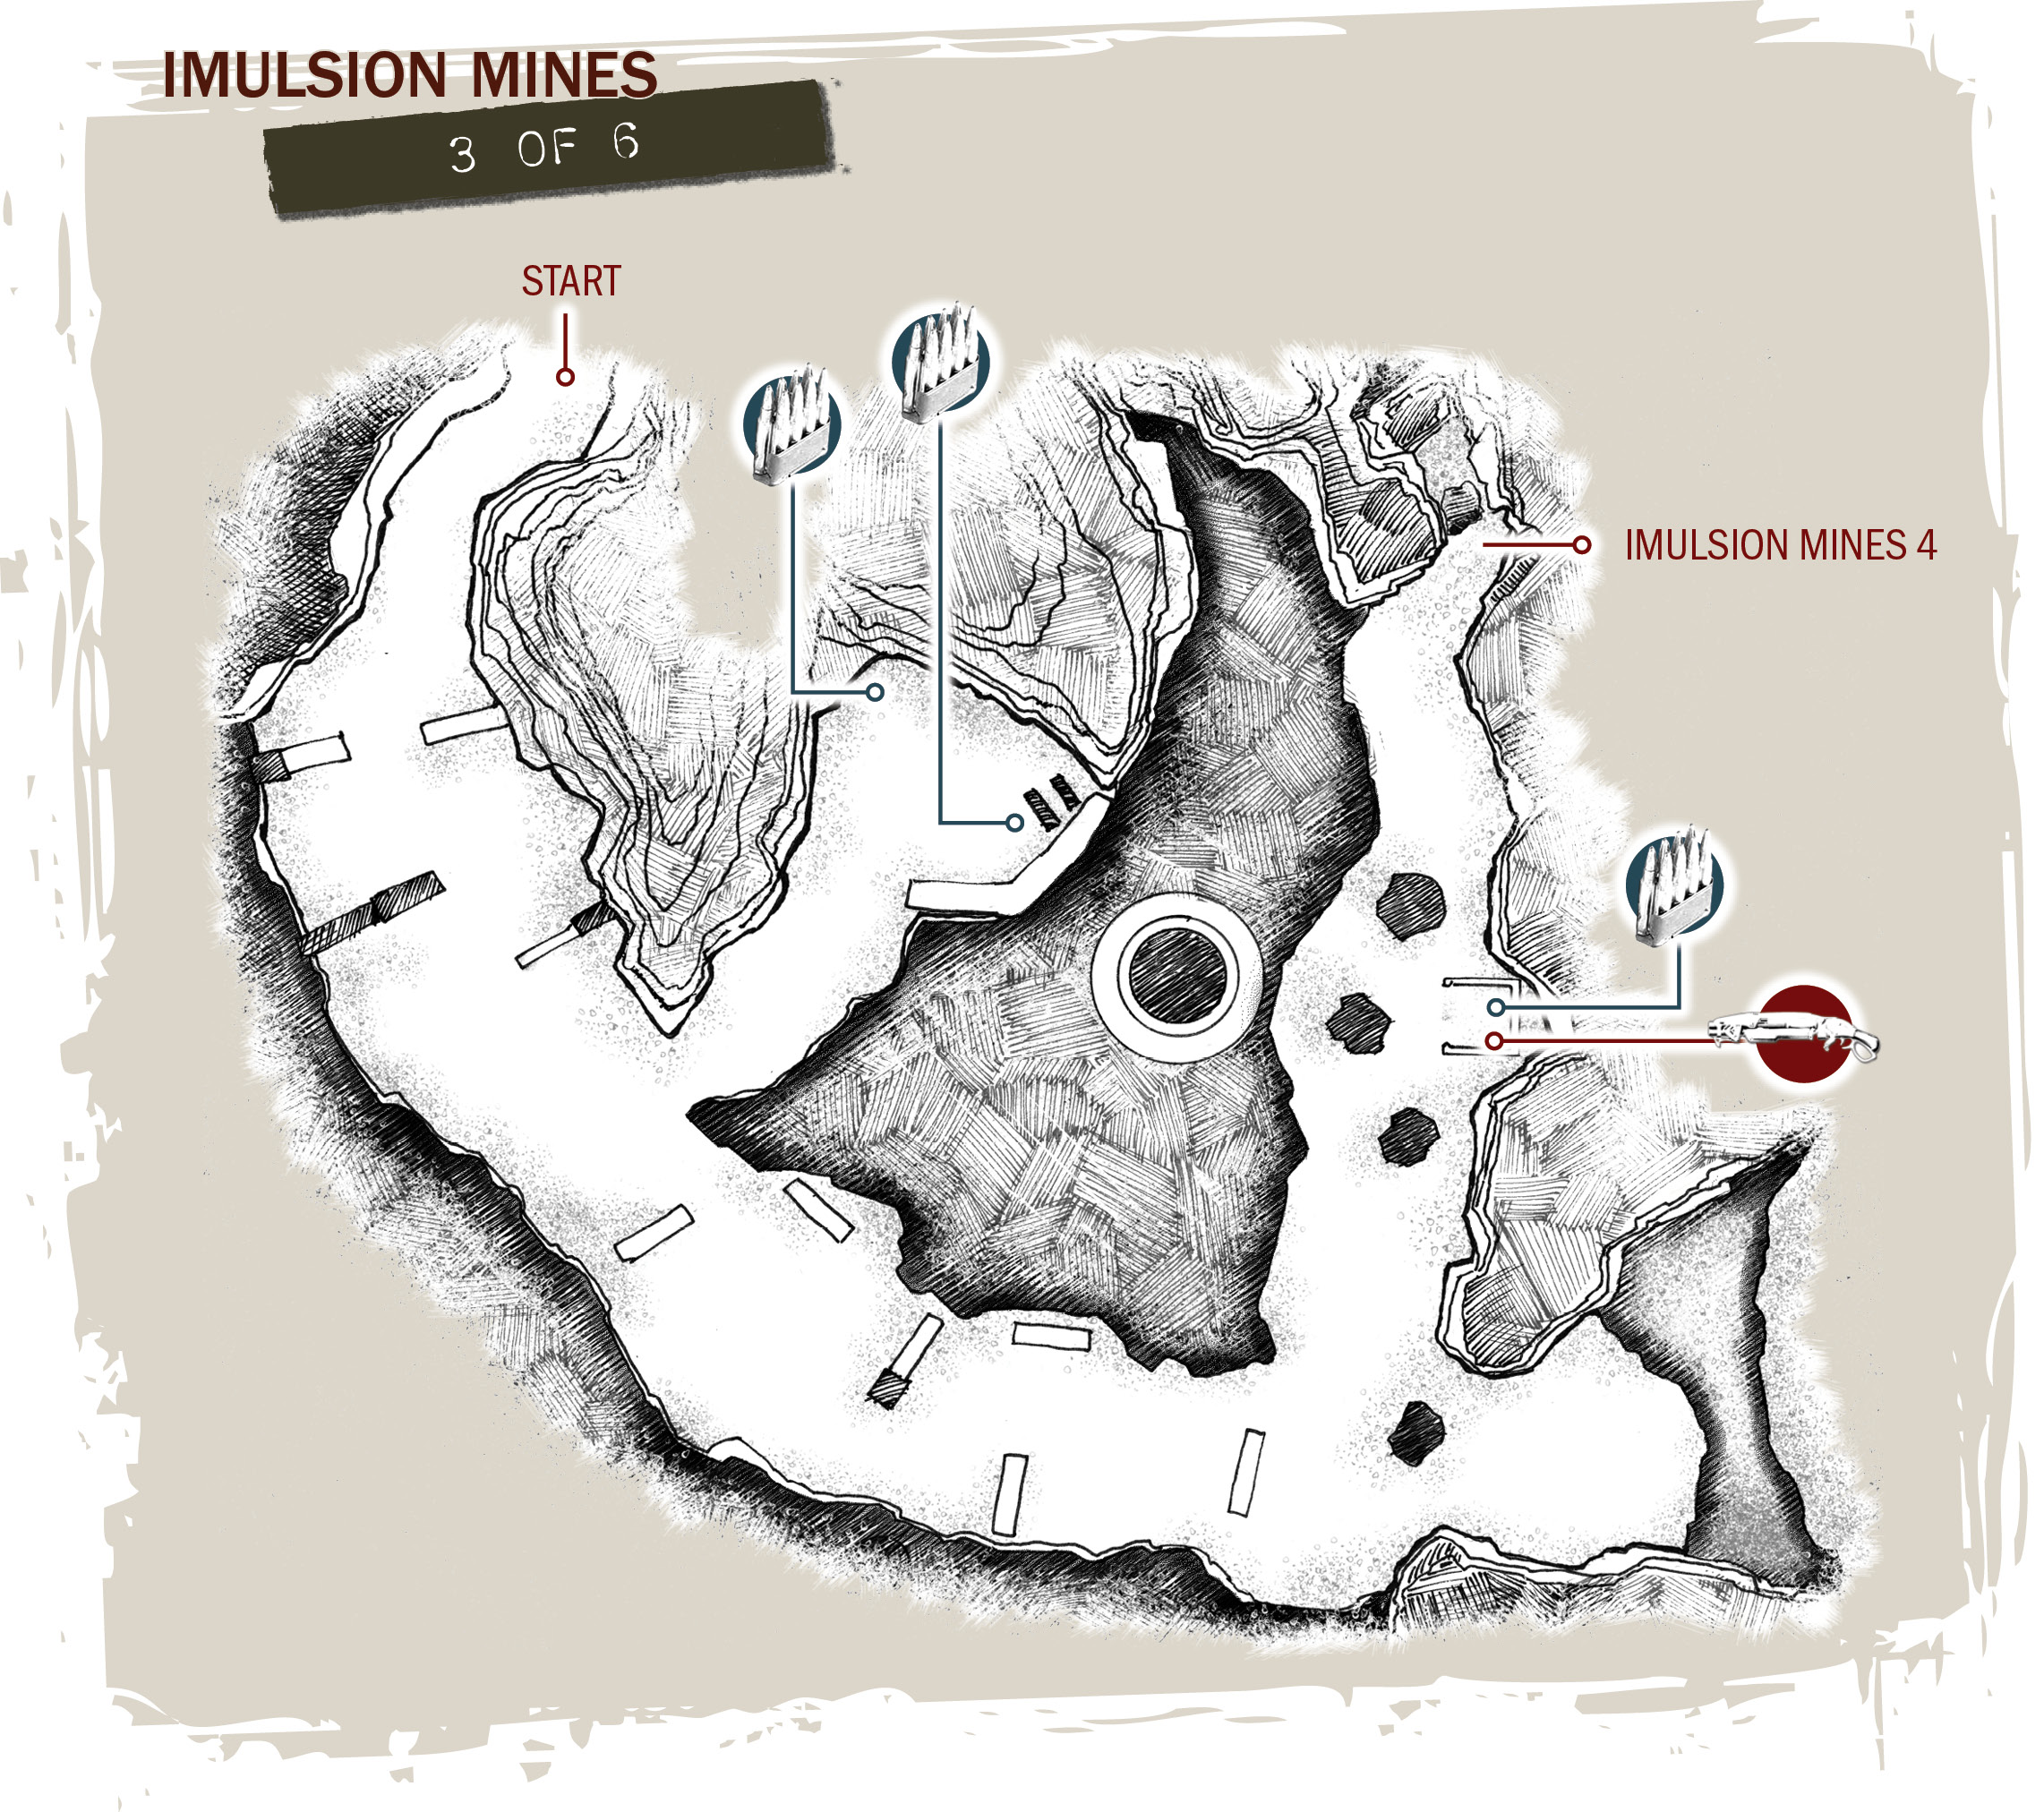
COG TAG #19Go behind the building with the elevator in it, and walk out onto the narrow wooden dock. Run to the far end of the dock to find this hidden COG Tag. 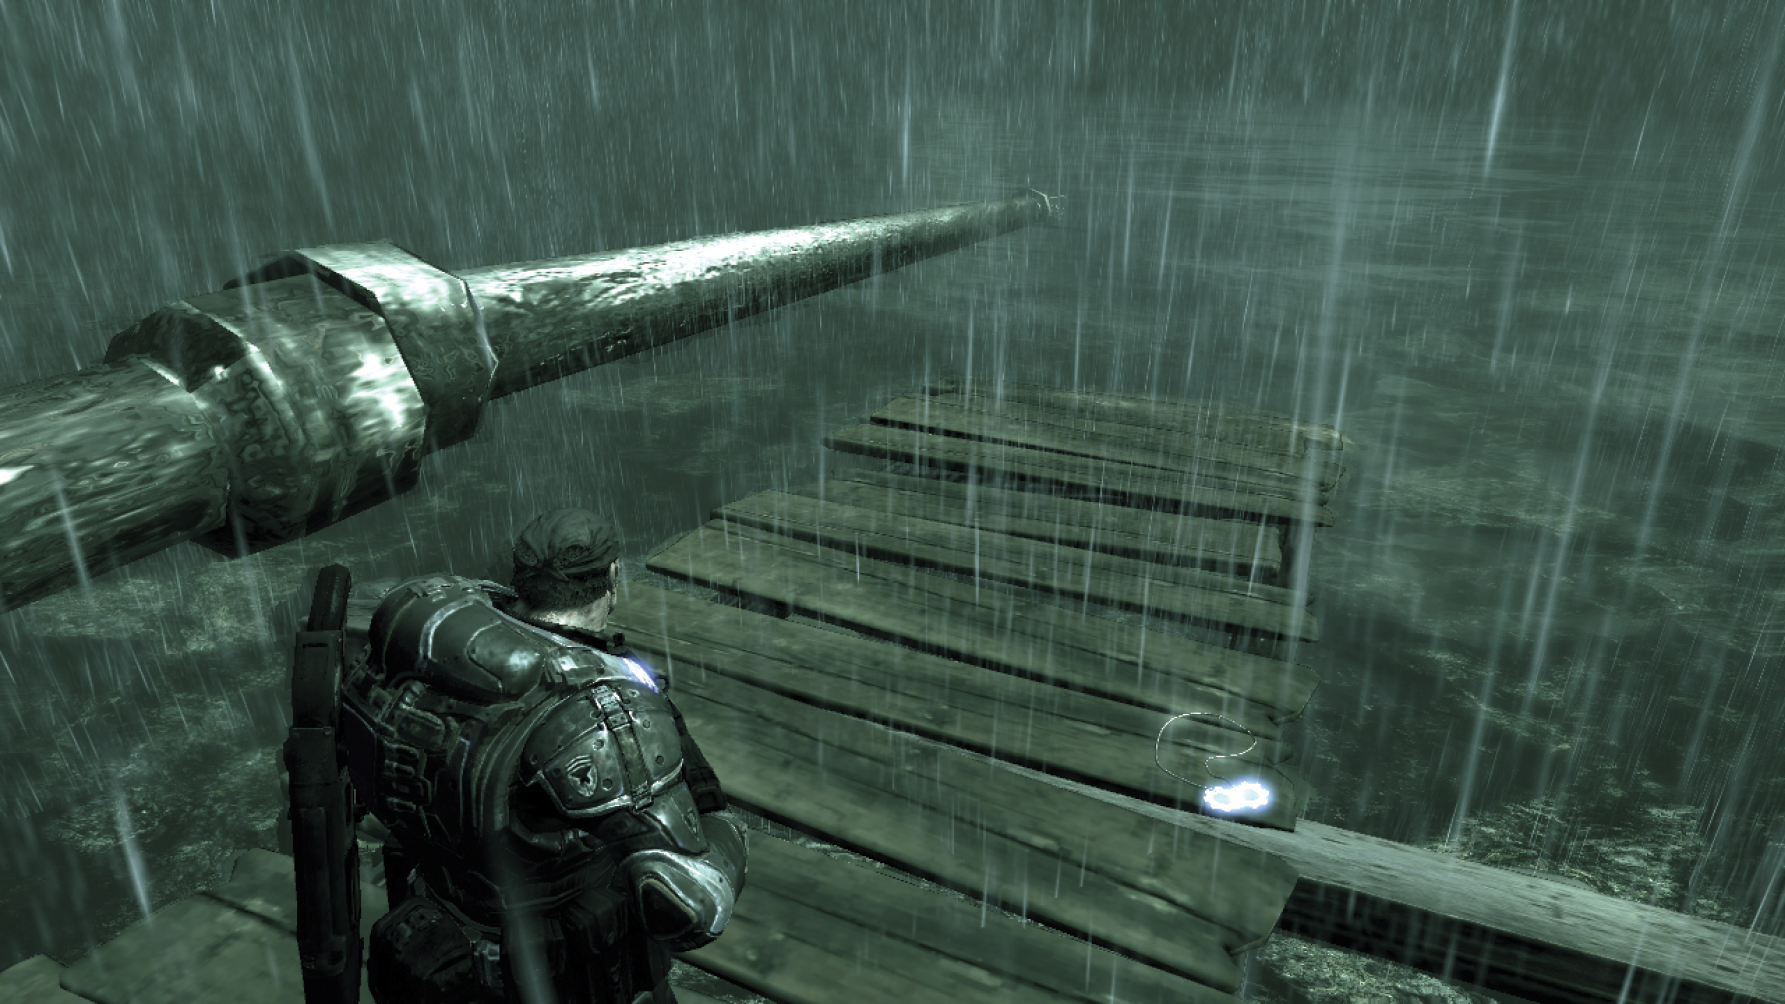
|
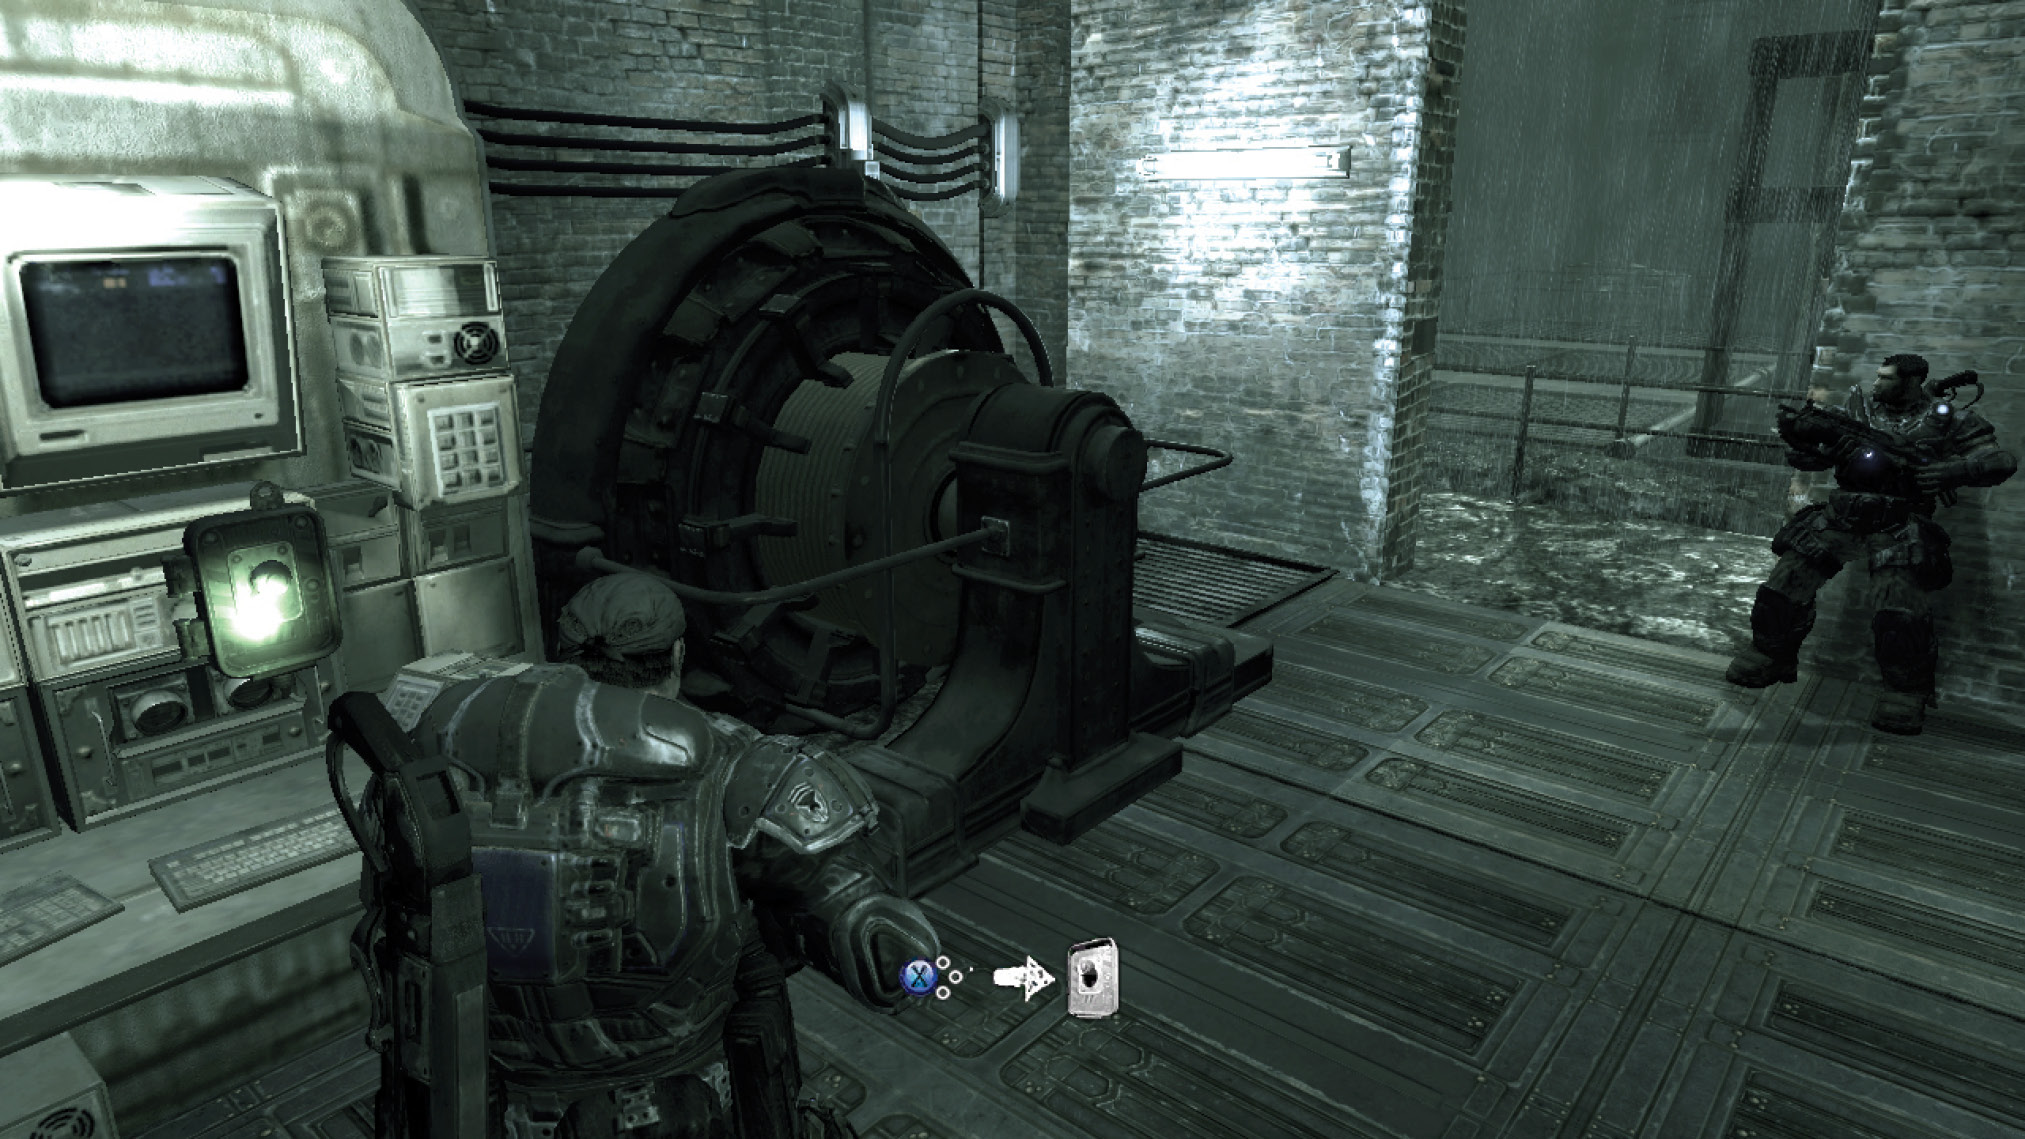
The second brick building on the right side contains an elevator but the power is currently off. Anya believes there might be an external generator nearby. Naturally, Anya is correct. Enter the third building on the right and press the green-lit button to turn on the generator. Return to the elevator, ride it up to the tin rooftop, and climb through the window to enter the facility.
Evolution
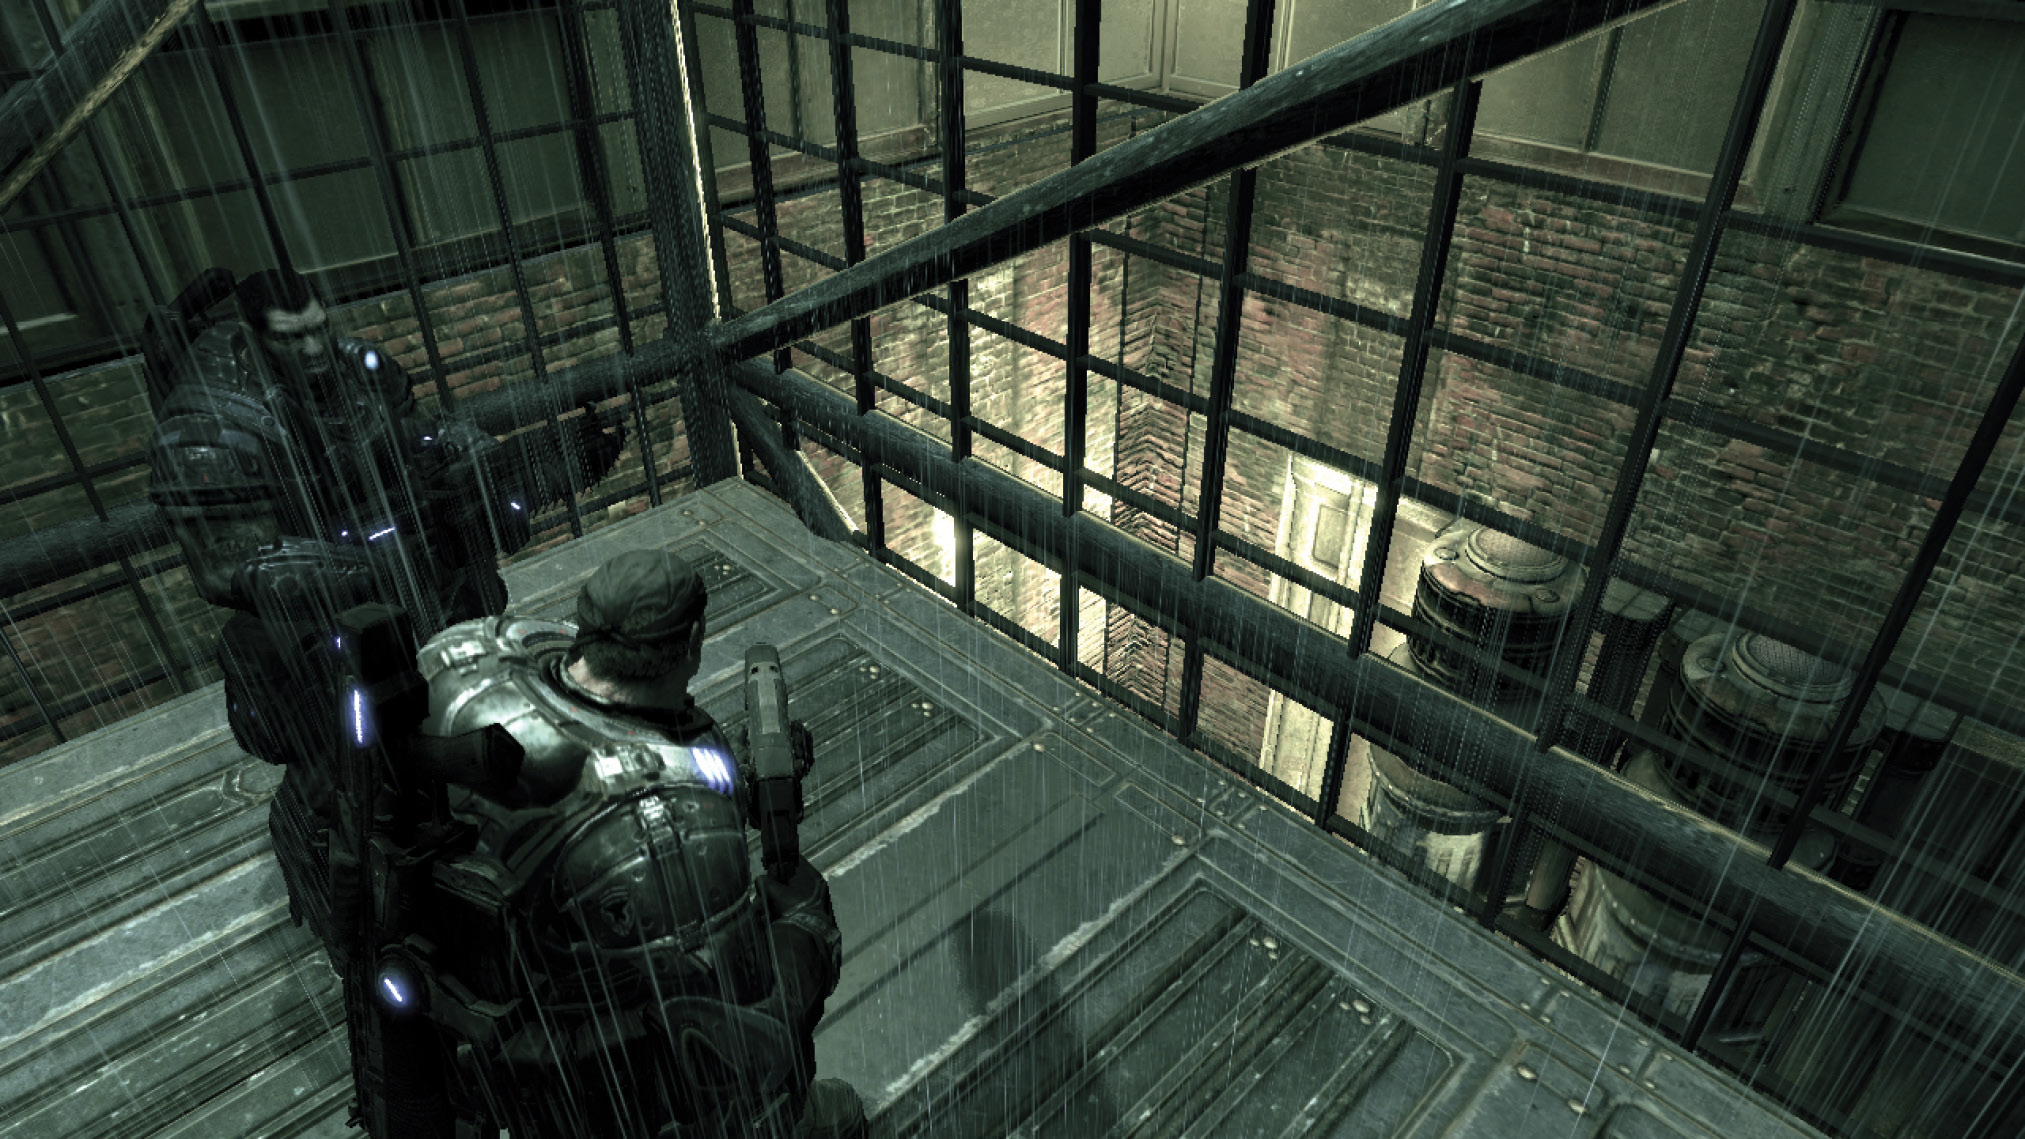
Keep your distance from Dark Wretches.
Find the Cart Control Room
Marcus and Dom enter the factory through an upper window. They need to find the cart control room in order for Anya to help them reach the mine. To do so, they have to navigate a long-abandoned factory with faulty electricity and a disturbing infestation of Dark Wretches.
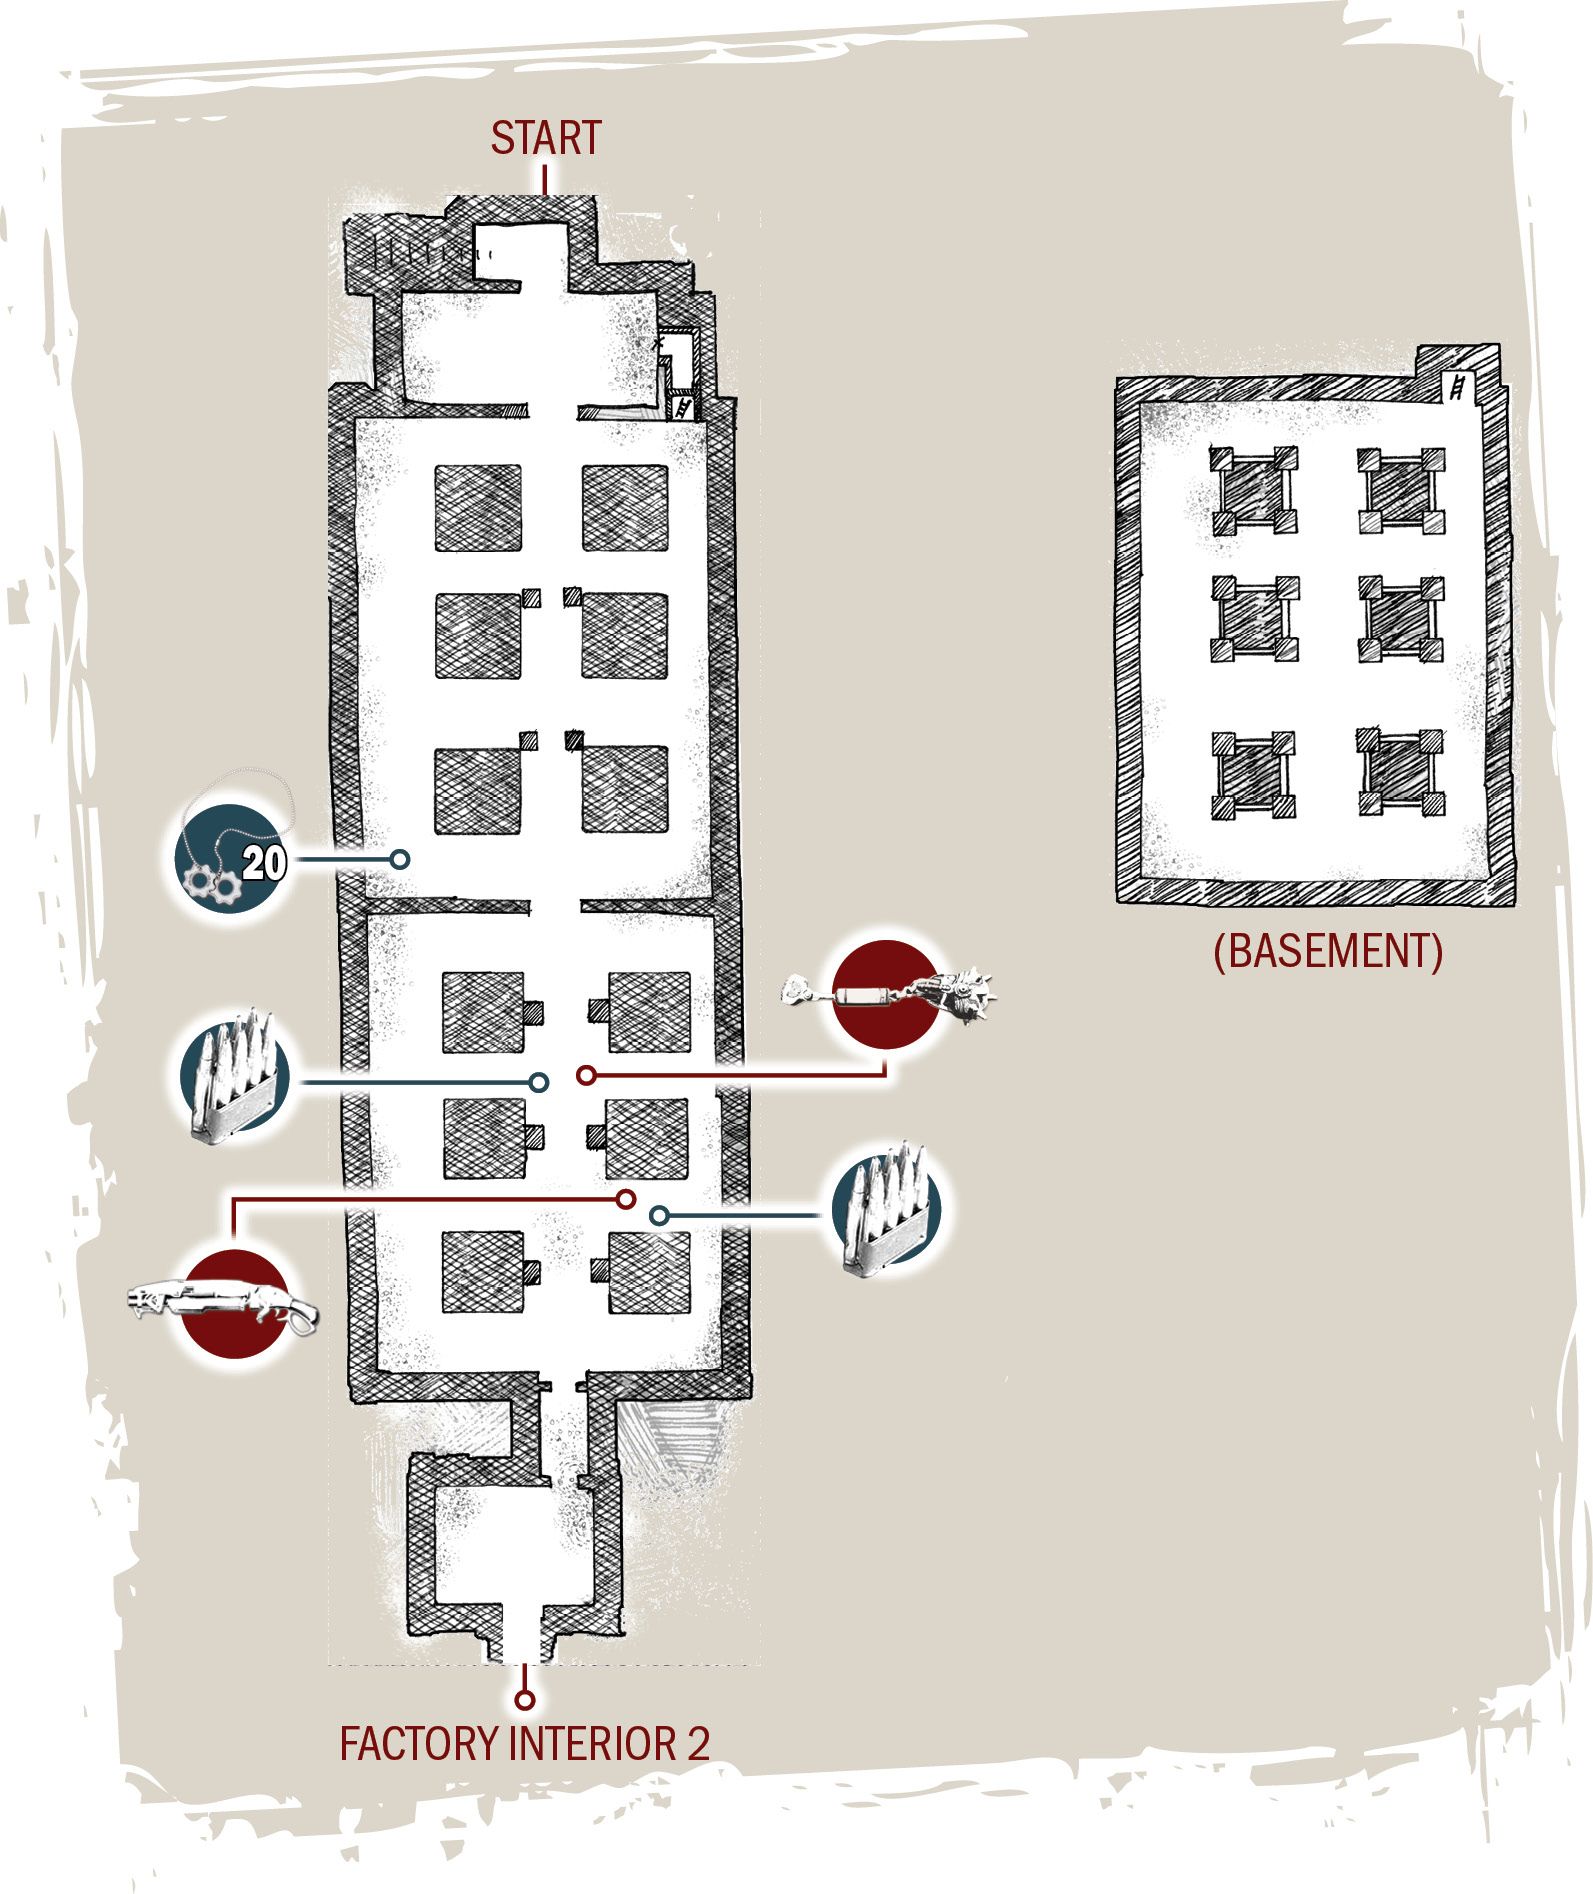
Baird and Cole work on getting the lights turned on during their stroll through the basement (and later the sewers). While they do that, lead Marcus and Dom down the hall on the left and across the metal catwalk. Proceed to a room of unimaginable carnage. The door on the room’s right side is locked and can’t be opened without a security code, so head through the door to the left.
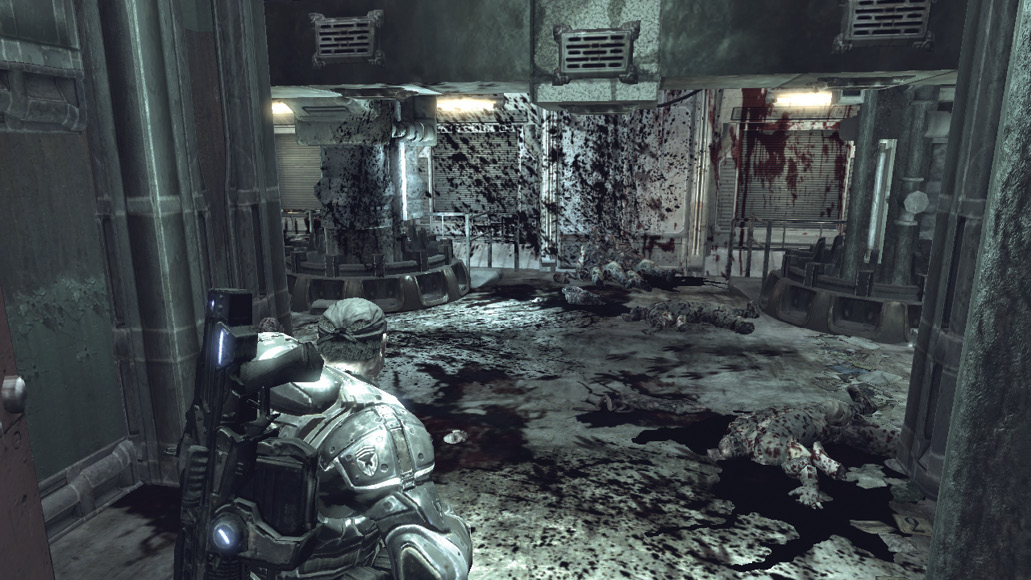
Turns out a Stranded has been holed up inside the factory awaiting rescue. He thinks Marcus is the savior he’s been praying would come, and he’s willing to unlock the other door and lead the way to the cart control room. Follow him through the next several rooms and out into the lengthy processing room. Follow the Stranded around the perimeter walkway and down the stairs to the lower level.
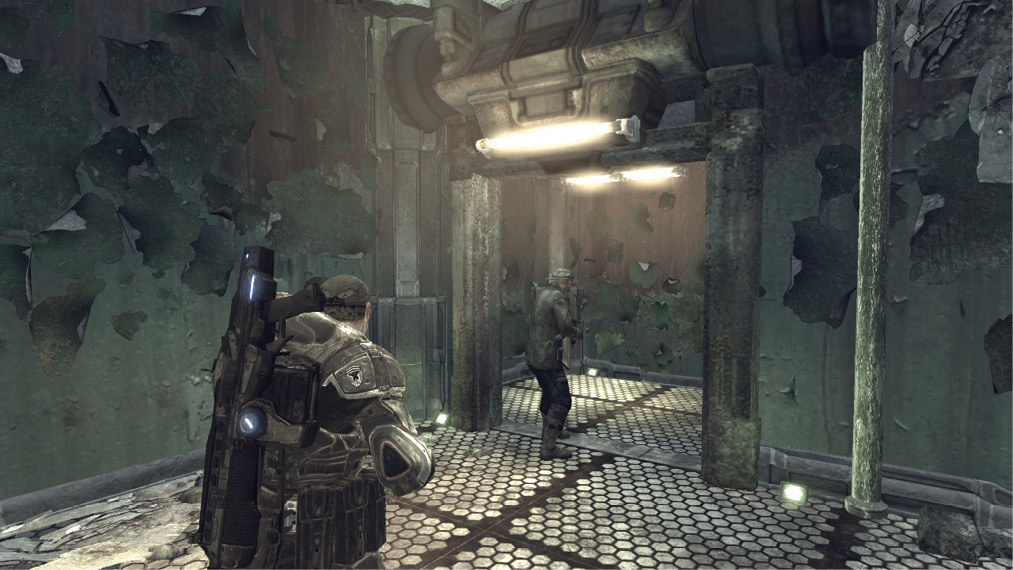
The Stranded doesn’t know the factory as well as he thinks he does. The poor guy walks out onto a crumbling wooden floor and falls into a pit of Dark Wretches in the basement. The wooden floor obviously has some structural weaknesses—the pattern of floorboards that collapse versus those that hold is random. Here’s an easy solution: take one step forward; if you hear a creak, step back before the boards fall. Continue testing in this method as you go. The good news is that falling into the watery room below doesn’t spell instant doom. If you fall, simply sprint back toward the direction you came and climb the ladder in the right corner. The Dark Wretches attack, but it’s not that difficult to hold them off as you flee to the ladder.
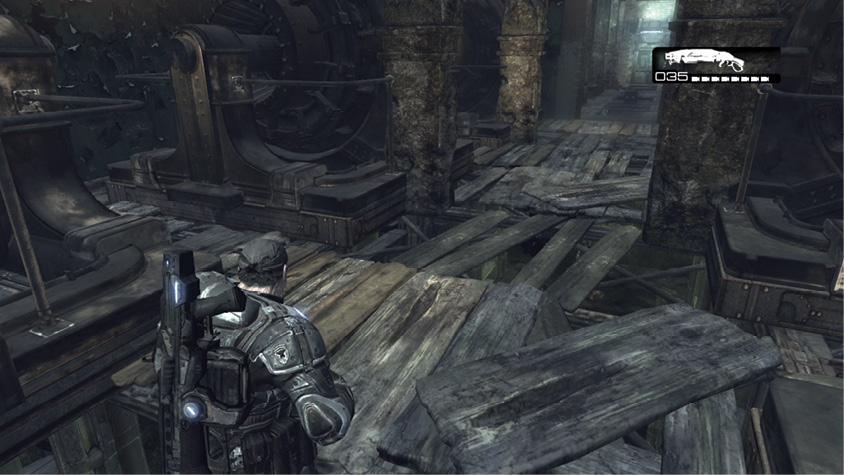
Although crossing the room does have a touch of trial-and-error to it, you can reduce the chance of falling by walking atop the metal support beams where the various floorboards come together. Some sections lack a support beam—walking on these boards is not a good idea. Either way, make your way over to solid ground, gather up the available ammo and Frag Grenades, and continue past the turbines to the next section.
COG TAG #20This COG Tag is in the far right corner of the collapsing wooden floorboard room. From the starting point, go to the right and then hug the generators as you cross the room. Once you’re near the COG Tag, walk across the metal beam to get it. 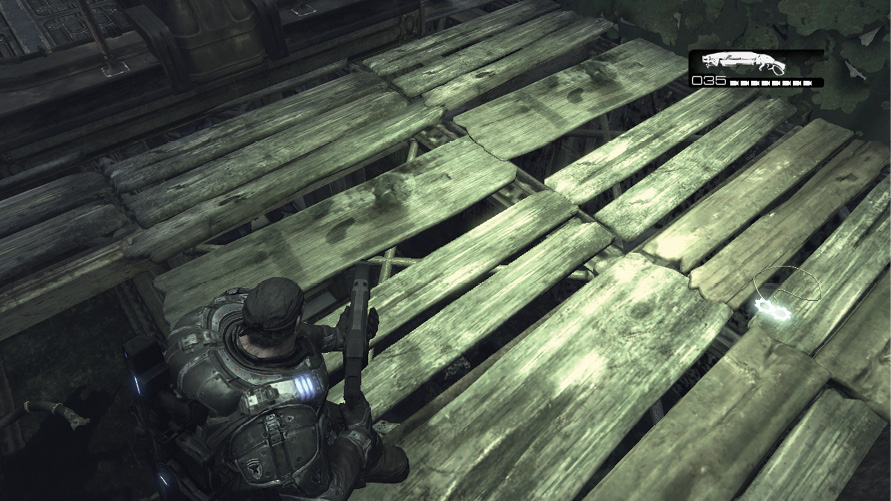
|
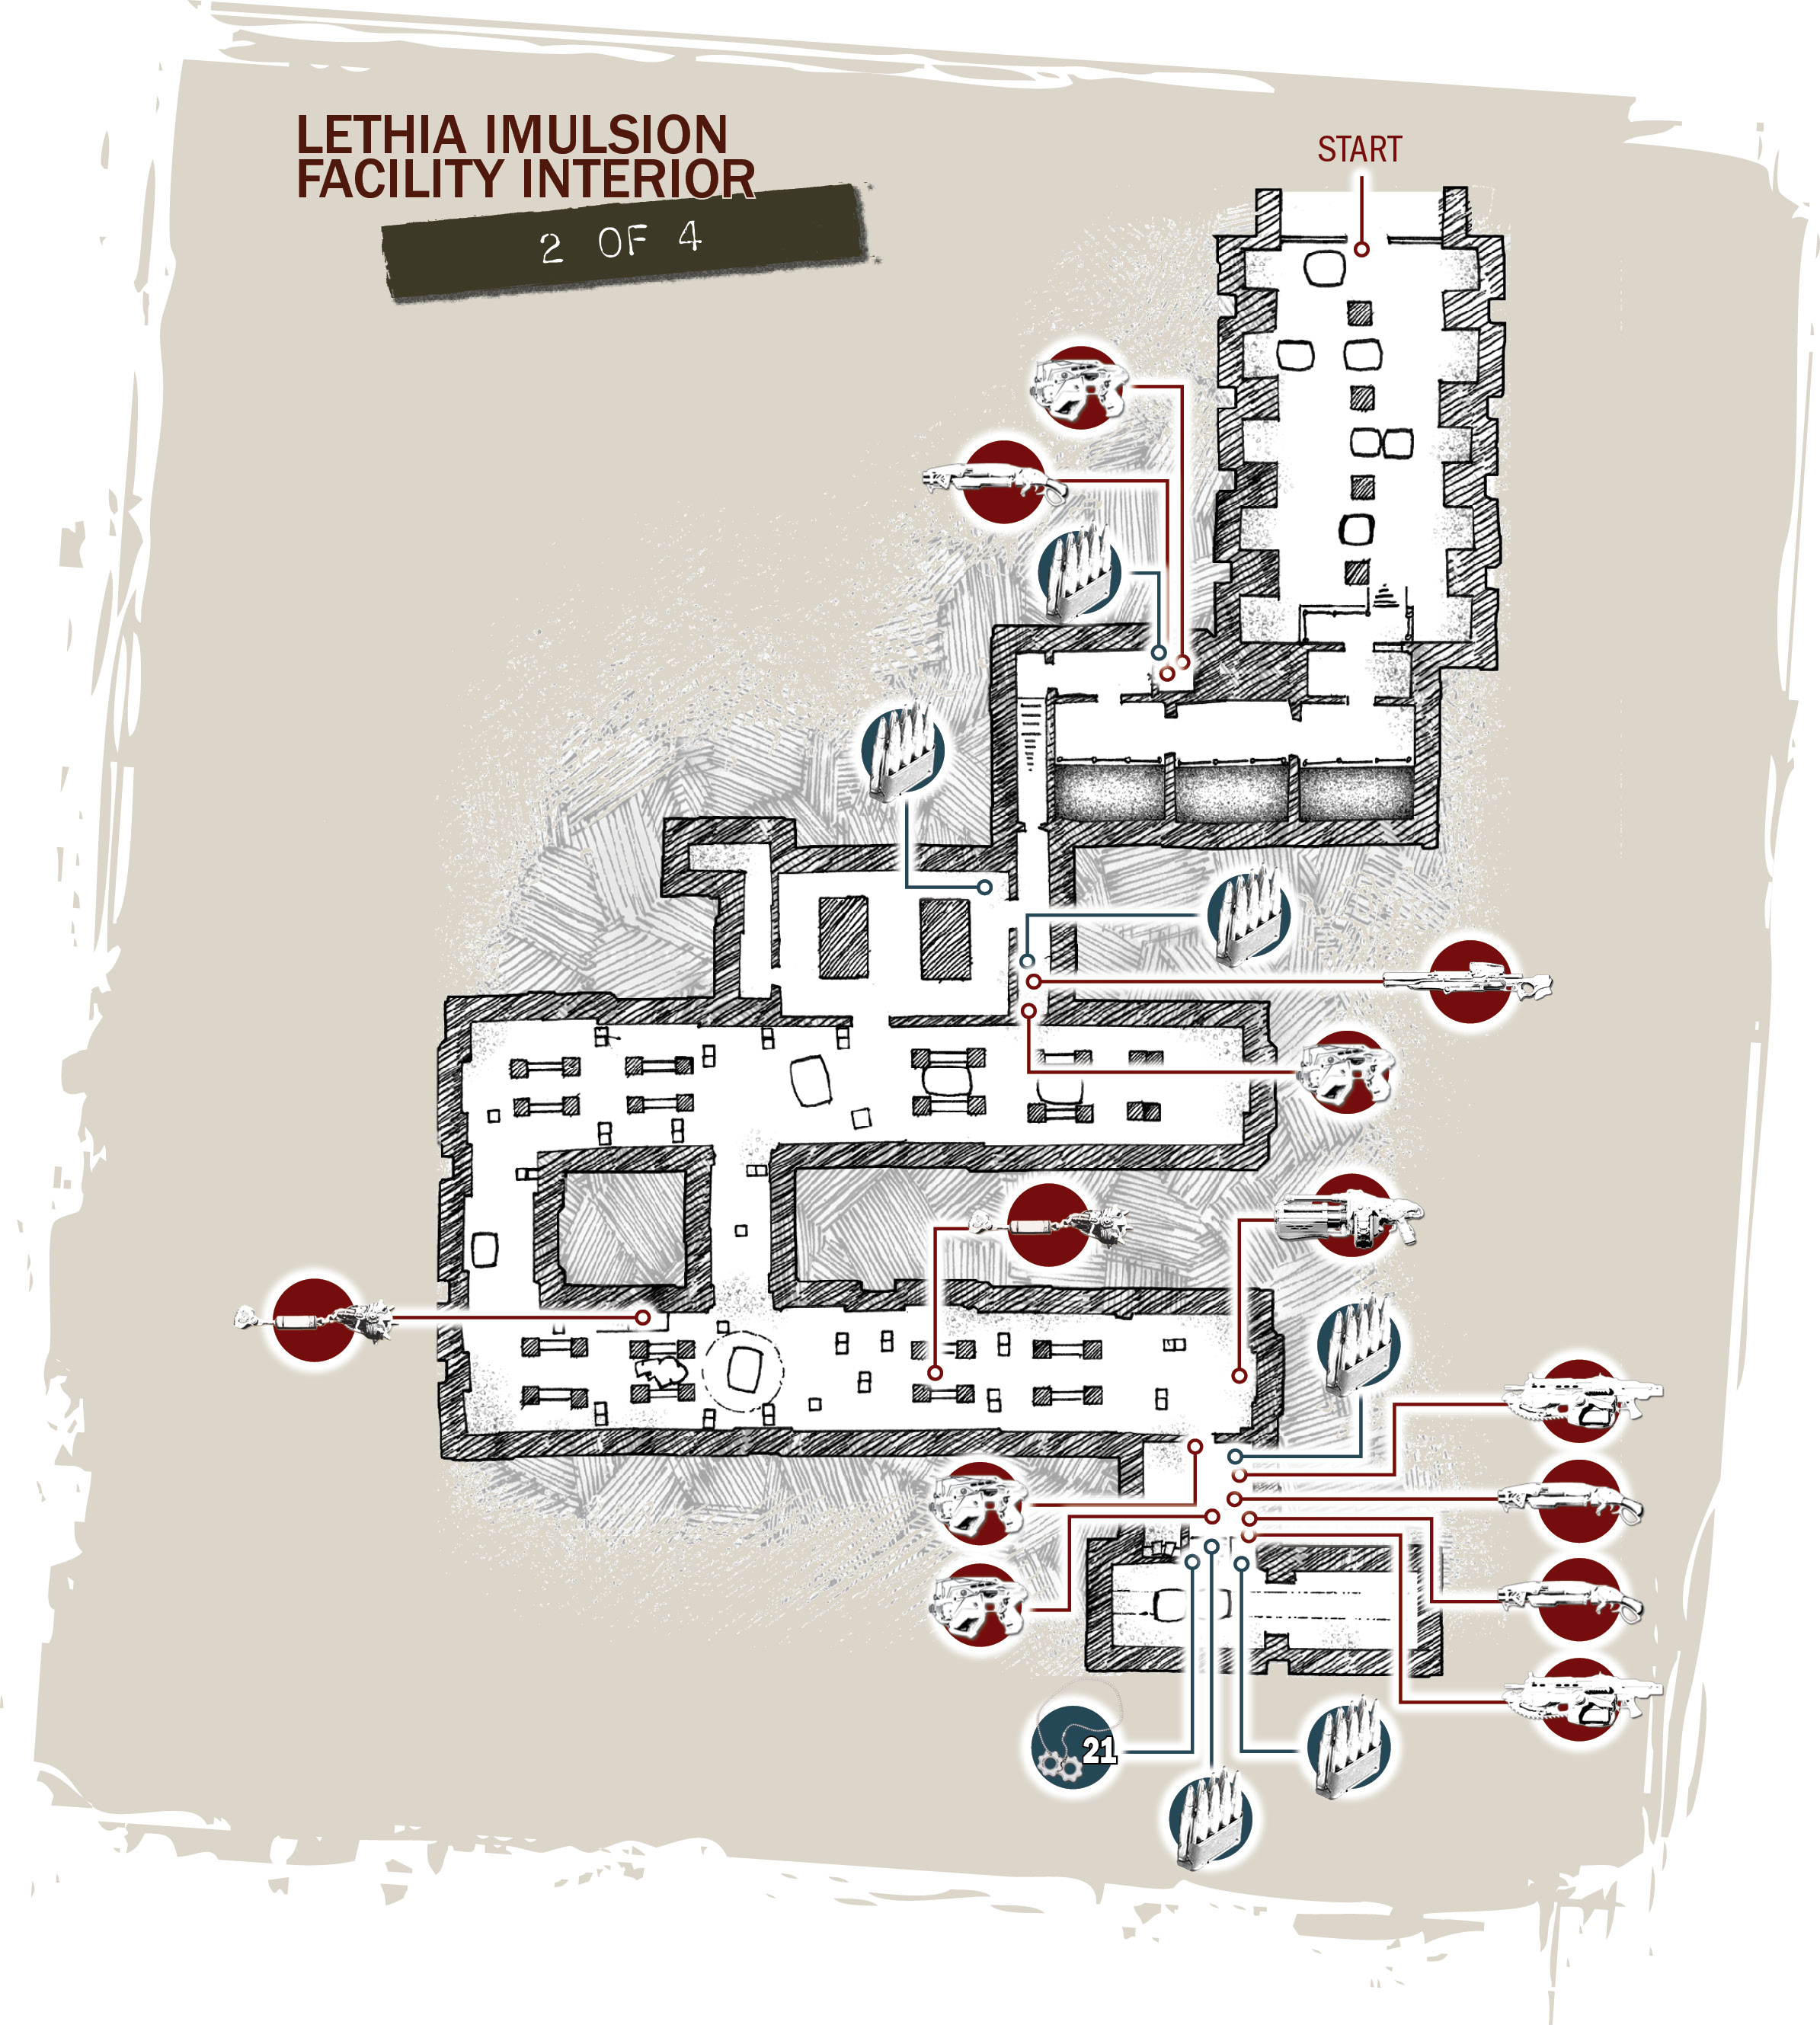
Find the Cart Control Room
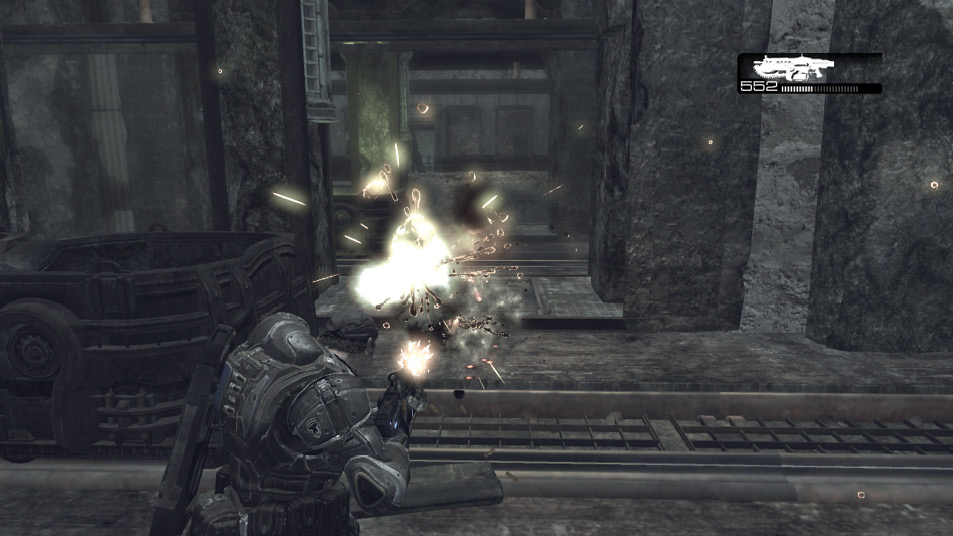
In the mine cart storage area up ahead, more than a dozen Dark Wretches attack Marcus and Dom. Make sure the Lancer is fully loaded and that there is plenty of room for evasive maneuvers on all sides. Rush forward toward the Dark Wretches as you shoot, then quickly reverse direction, backpedaling away from their explosions. Unlike dealing with other enemies, avoid locking into a cover position when you fight the Dark Wretches. Instead, keep moving and fire from the hip. Dom does a fine job helping to drop the Dark Wretches, but don’t even think of lowering that rifle until the silence returns.
Continue through the next several rooms to a small office with a sealed door on either end. Turn the primer valve on the wall in the room’s center to open the doors. Gather up the ammo and weapons in the closet, and then head down the stairs. Baird and Cole are in the room up ahead.
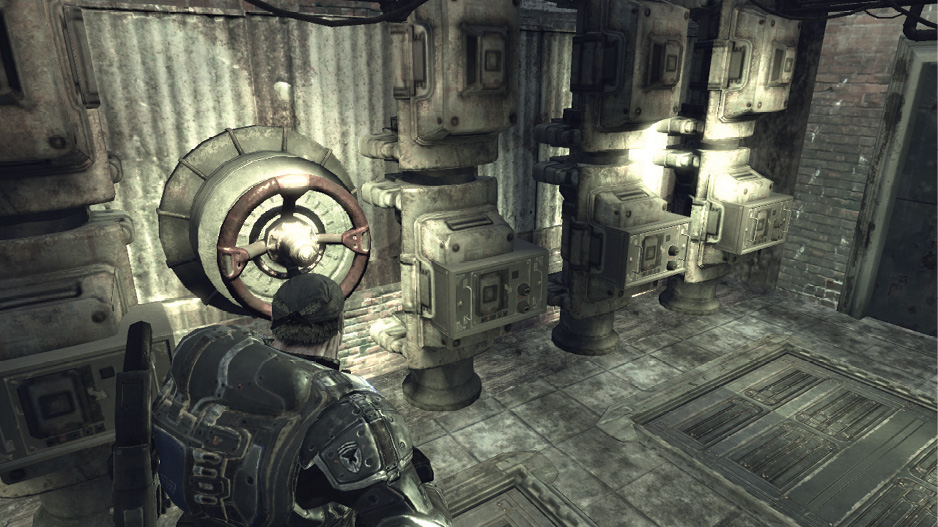
Turn the valve on the left wall (Cole raises the bars covering it from the other room) to raise the door, and enter the large processing room ahead. Unlike the previous rooms, this one contains more than just Dark Wretches; there are also a couple of Drones and Grenadiers. Good thing the whole team is back together again!
Enter the room and retreat to the left to put some distance between Marcus and the Drones at the far end. The rest of the team snuffs out most of the Dark Wretches that appear. While they handle those, use the Longshot to snipe any of the gun-toting Locust that show themselves. Alternate back and forth between the Longshot and the Lancer for the inevitable Dark Wretch that makes it through the front lines.
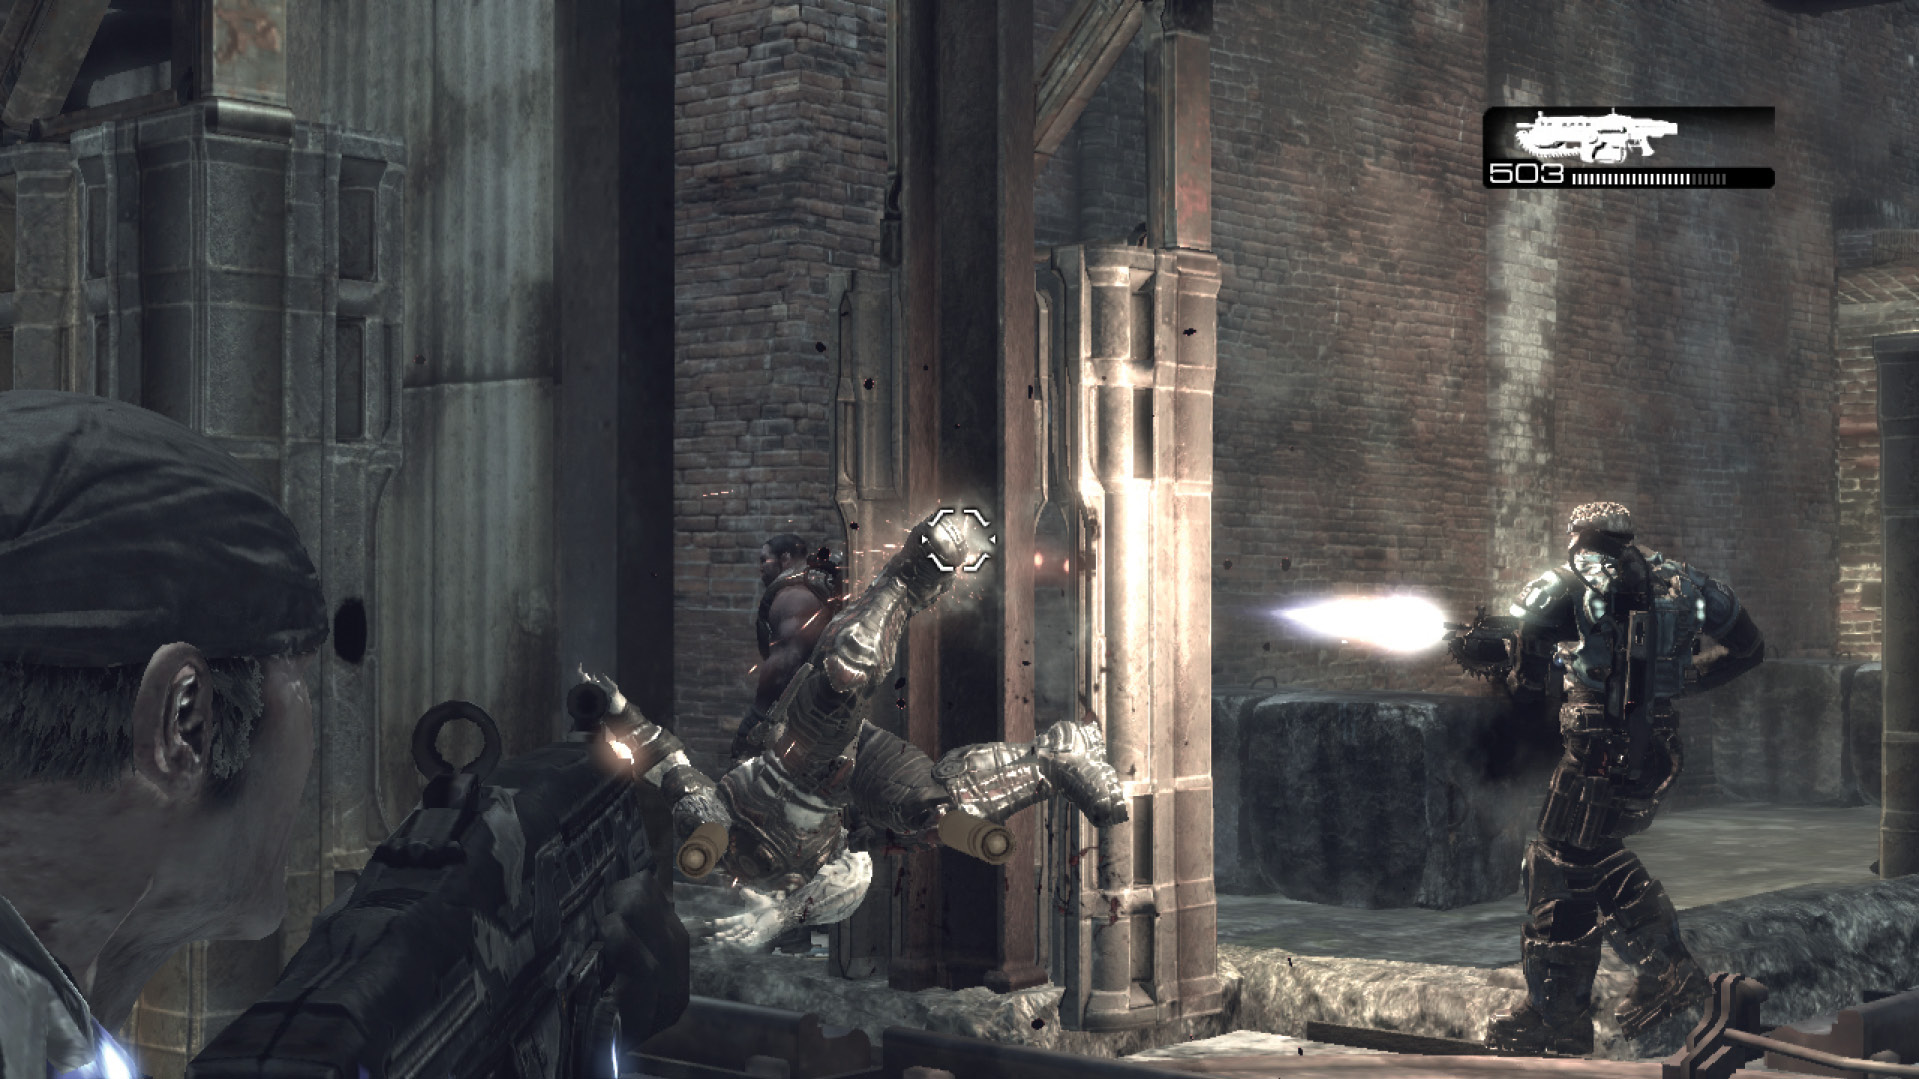
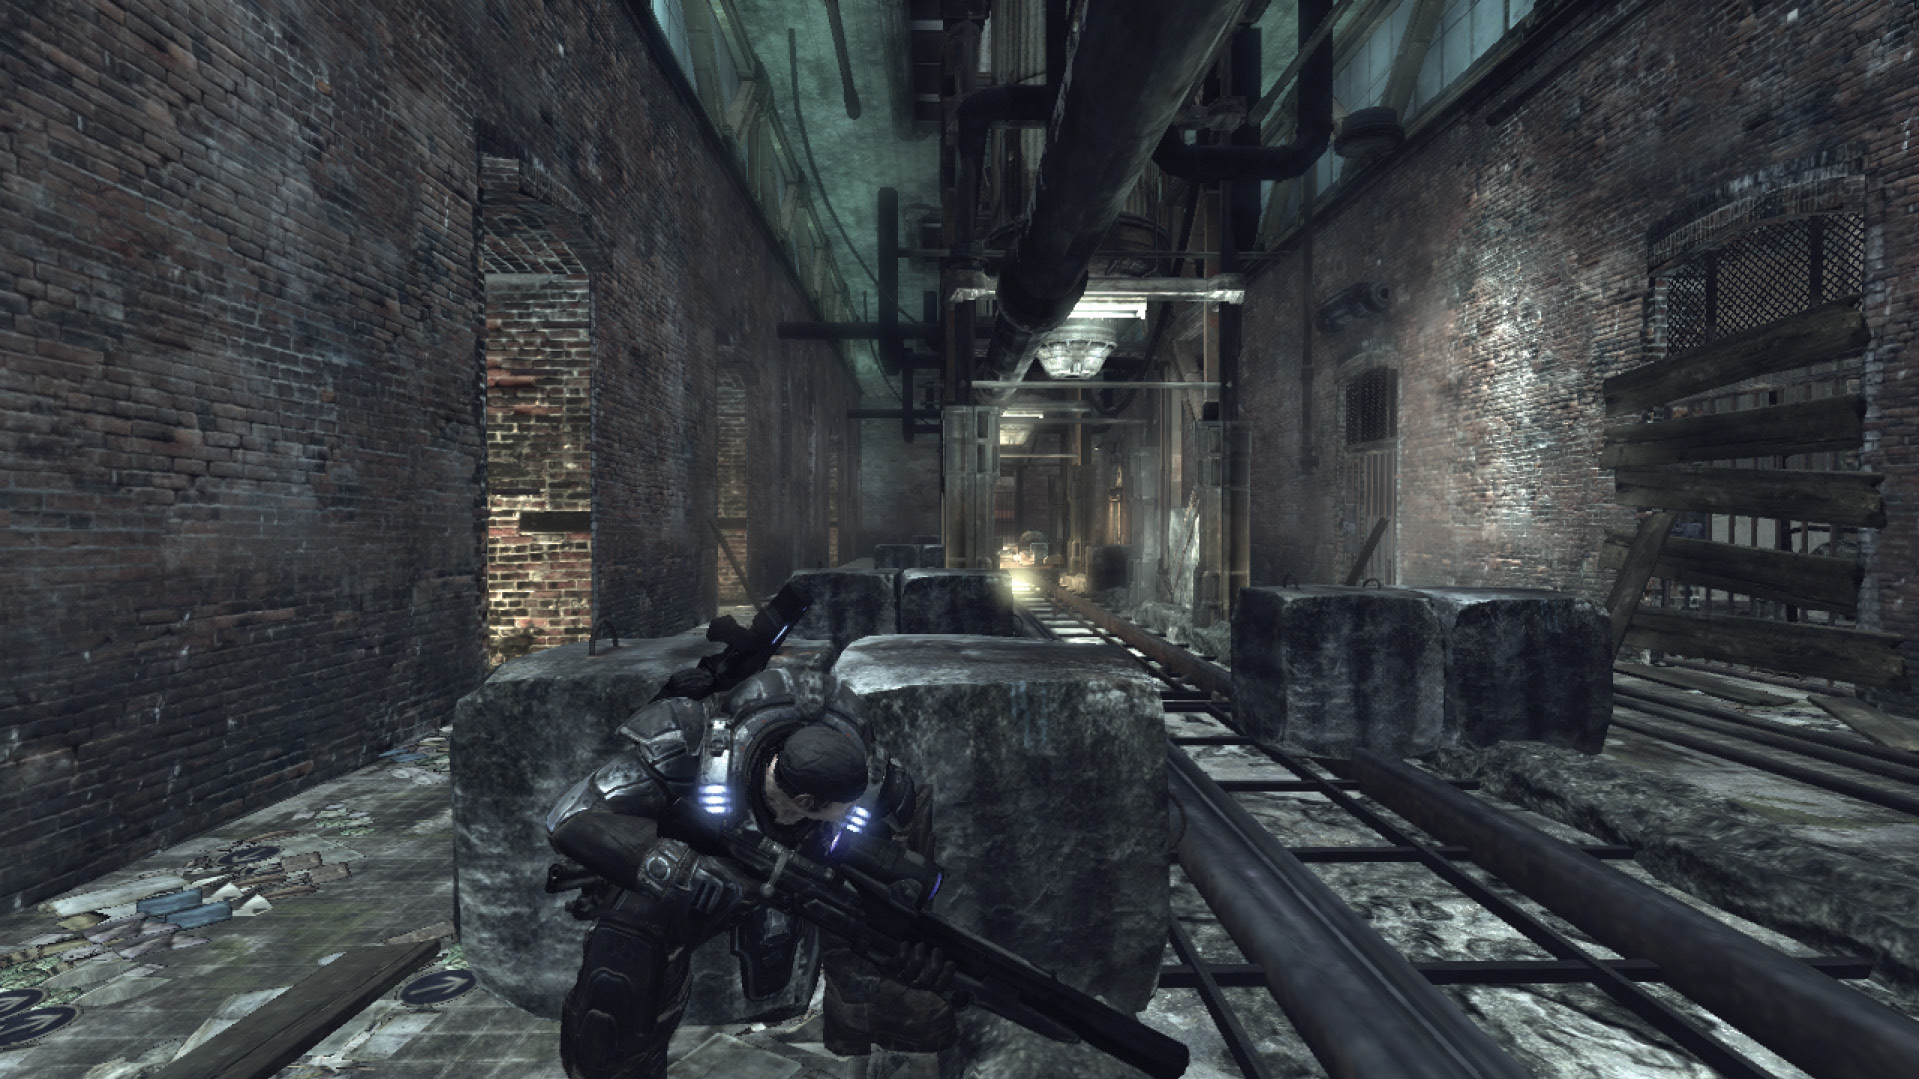
When the Dark Wretch invasion starts to subside, issue the “Attack” command to have the boys head out and hunt down the other remaining Locust. Round the corner to the right and advance slowly toward the locked door at the other end—this is the door to the cart control room. Marcus calls for Jack to rip open the door, but the second he does a Boomer and a Grenadier begin to descend on the nearby lift. Take cover behind the blocks and throw a Frag Grenade over the gate to greet them. Although Marcus can grab the Boomshot from the Boomer’s remains, we recommend holding onto the Longshot for the time being.
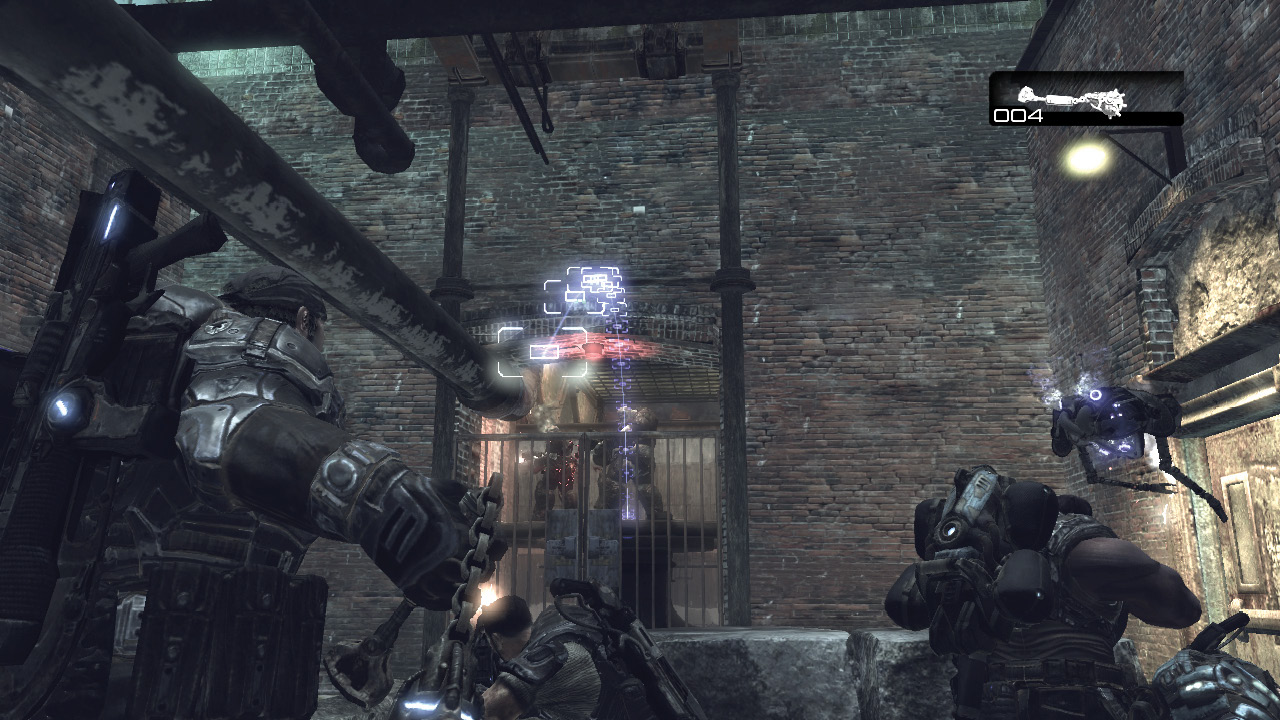
Enter the cart control room and push the button on the control panel to the right to open the gates. It’s time to go for a ride!
COG TAG #21Descend the stairs to the row of mine carts and turn around. There is a COG Tag in the small gap between the stairs and the wall to the left. 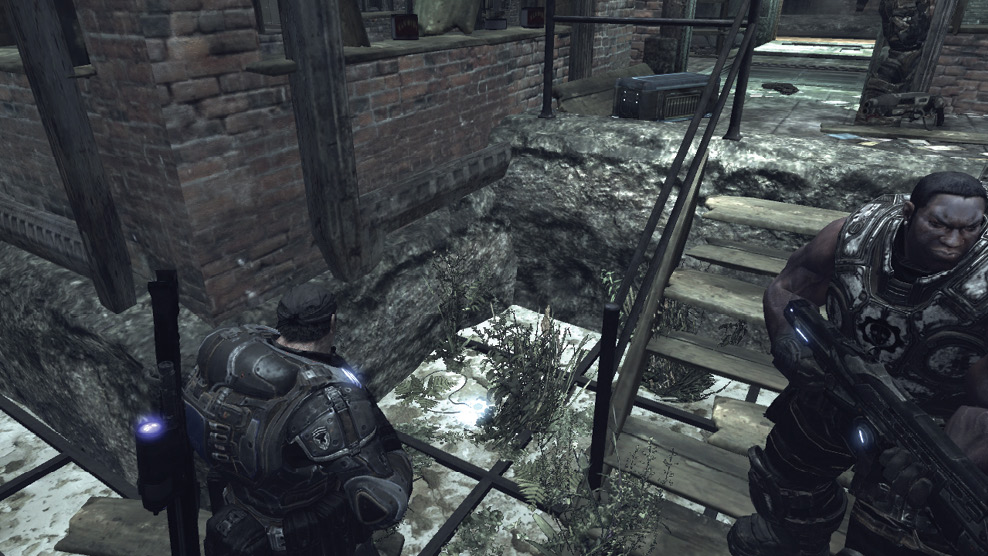
|
Coalition Cargo
Mechanized death ride.
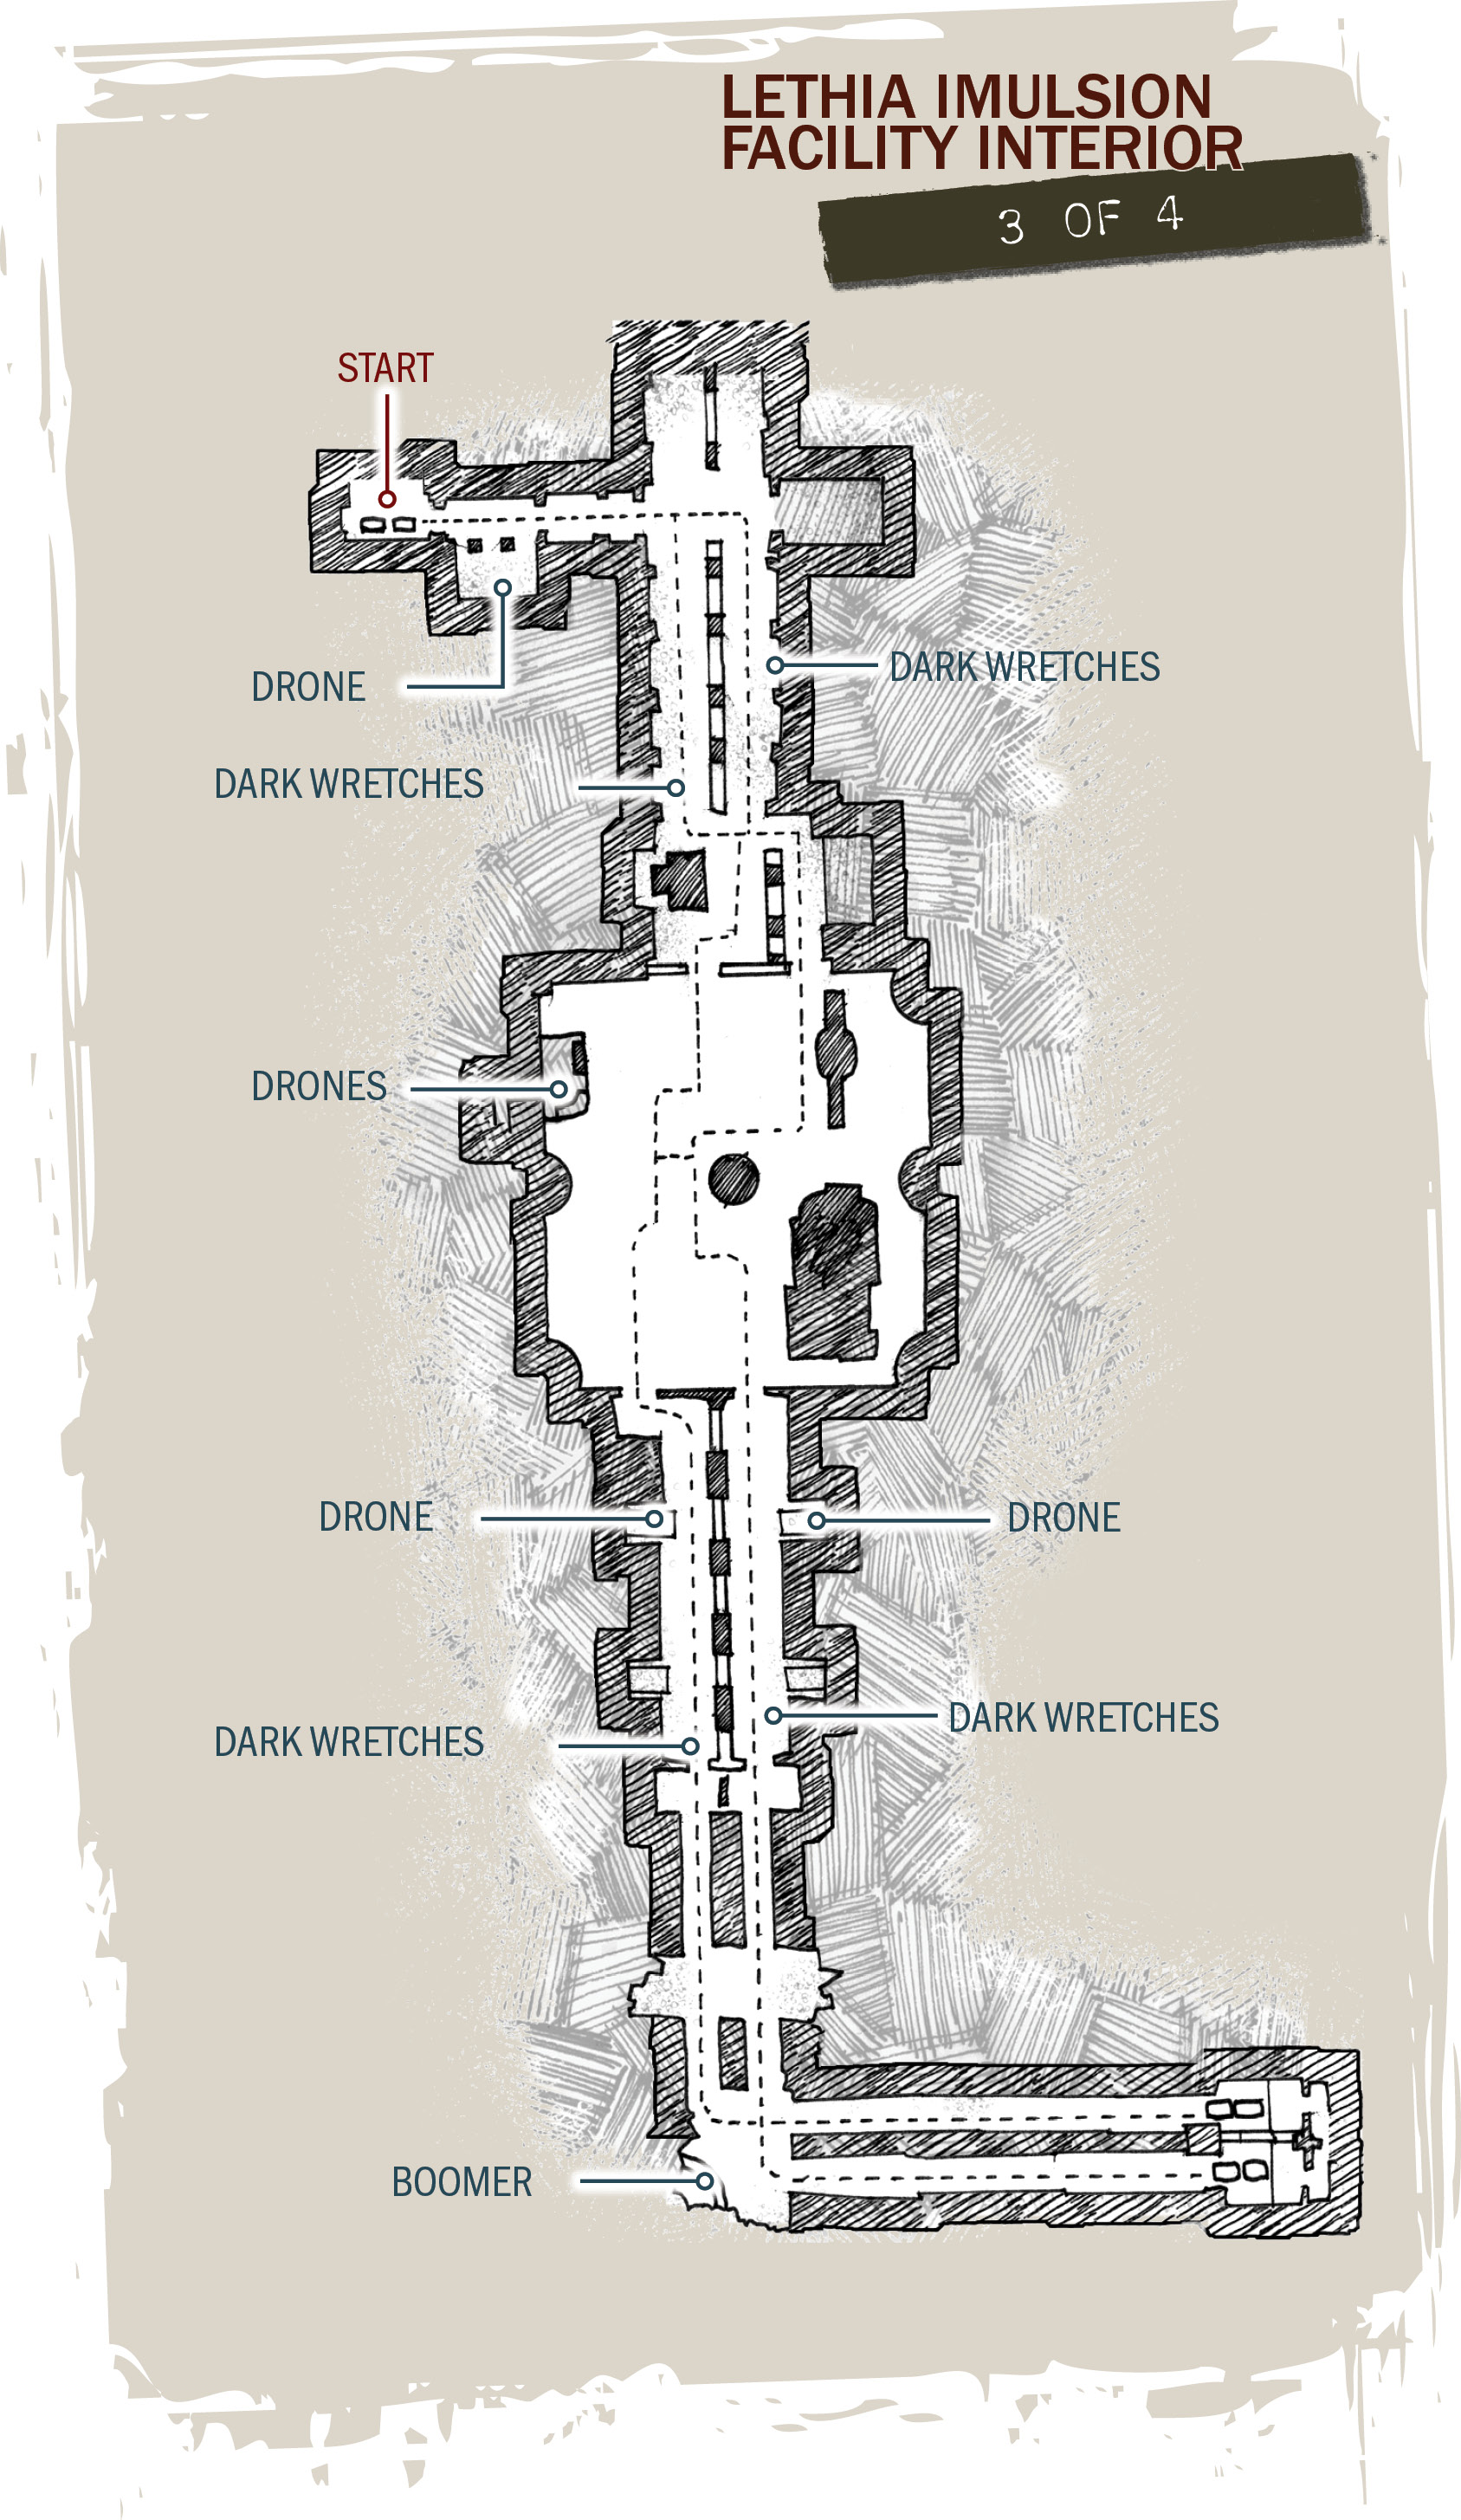
Ride the Carts to the Core Room
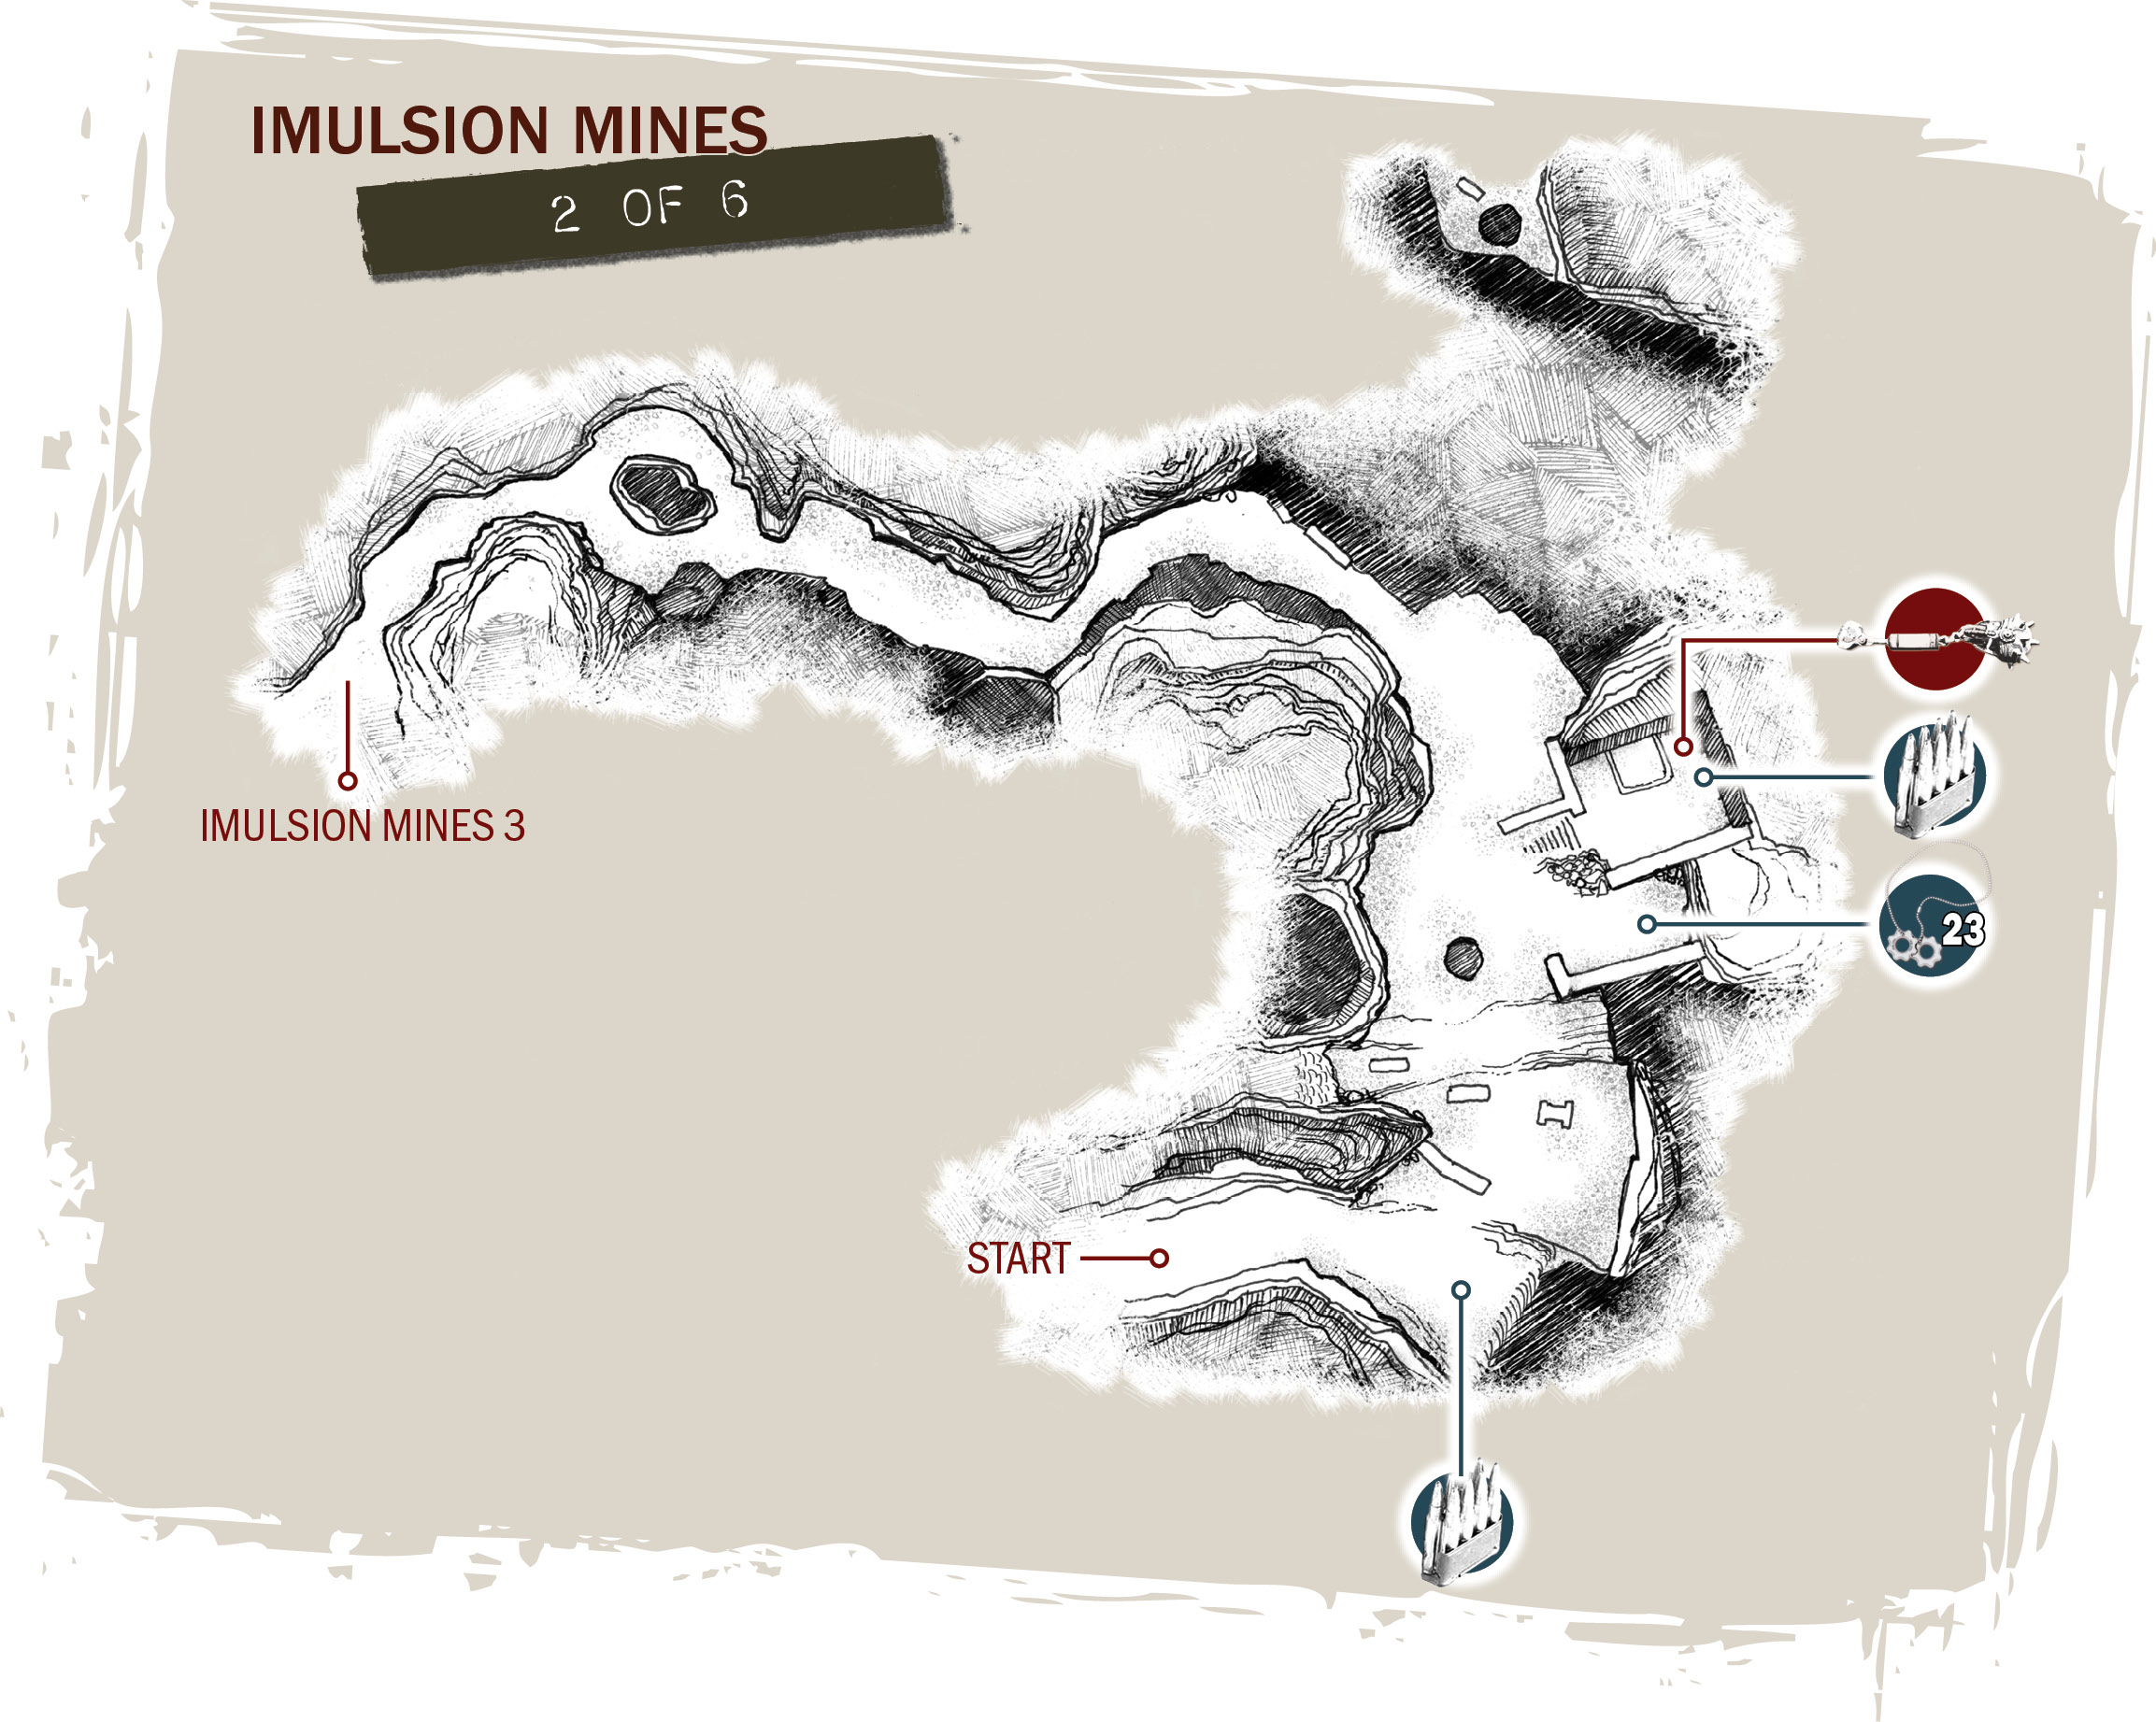
The ride to the core room takes place on one of two tracks—both of which lead to the same place and are shown on the maps. While you’re aboard the mine car, stay in a crouched position and blindfire the Lancer at the enemies you encounter. There are no items to pick up, nor is there any steering involved; your job is to make sure Marcus gets to the other end alive.
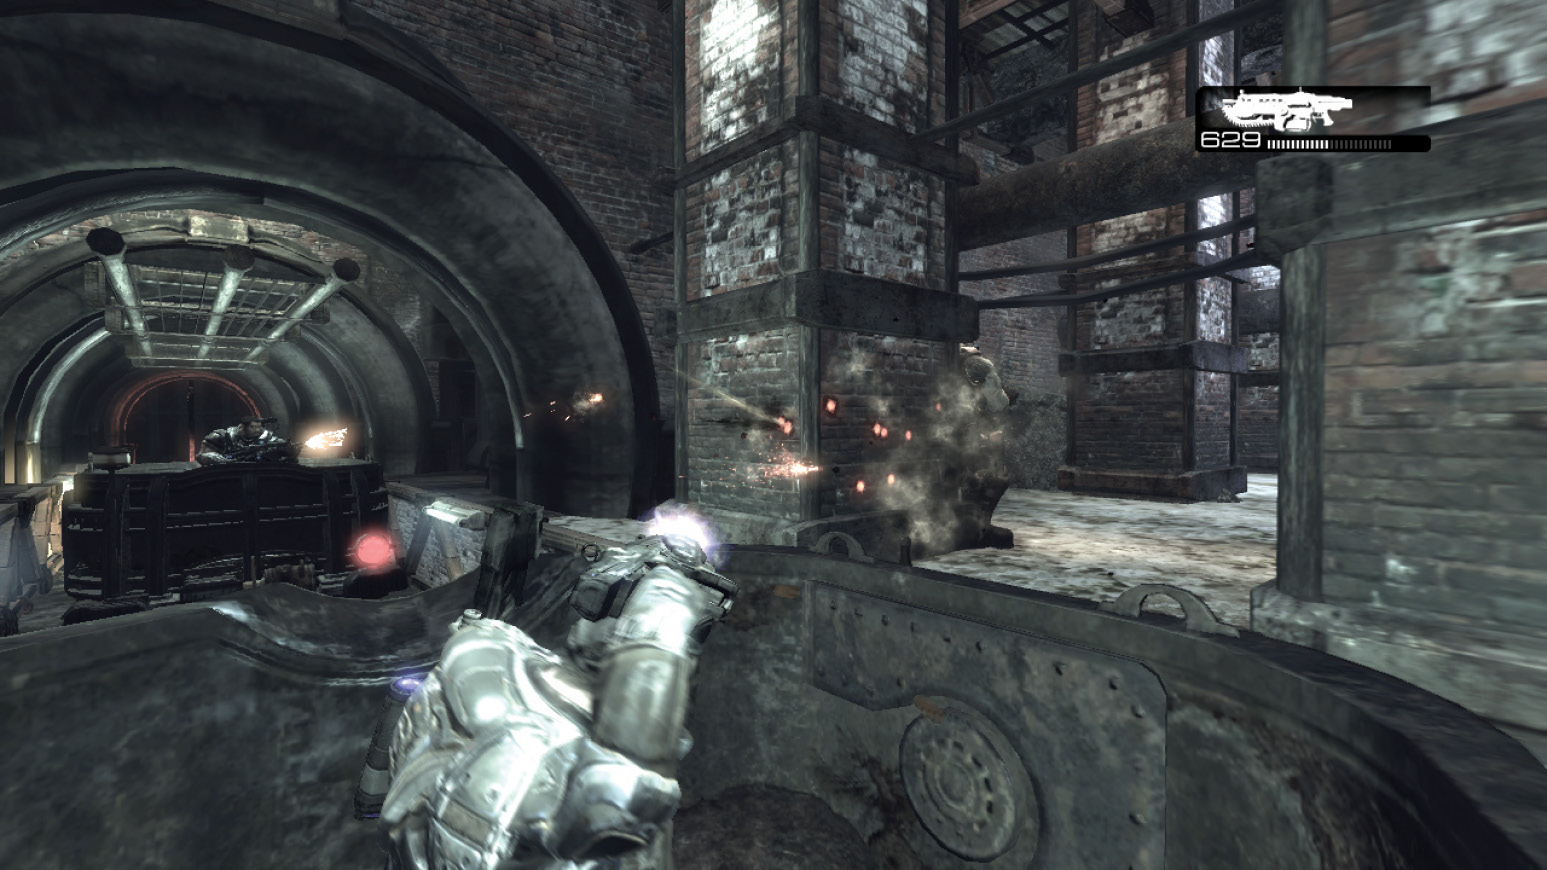
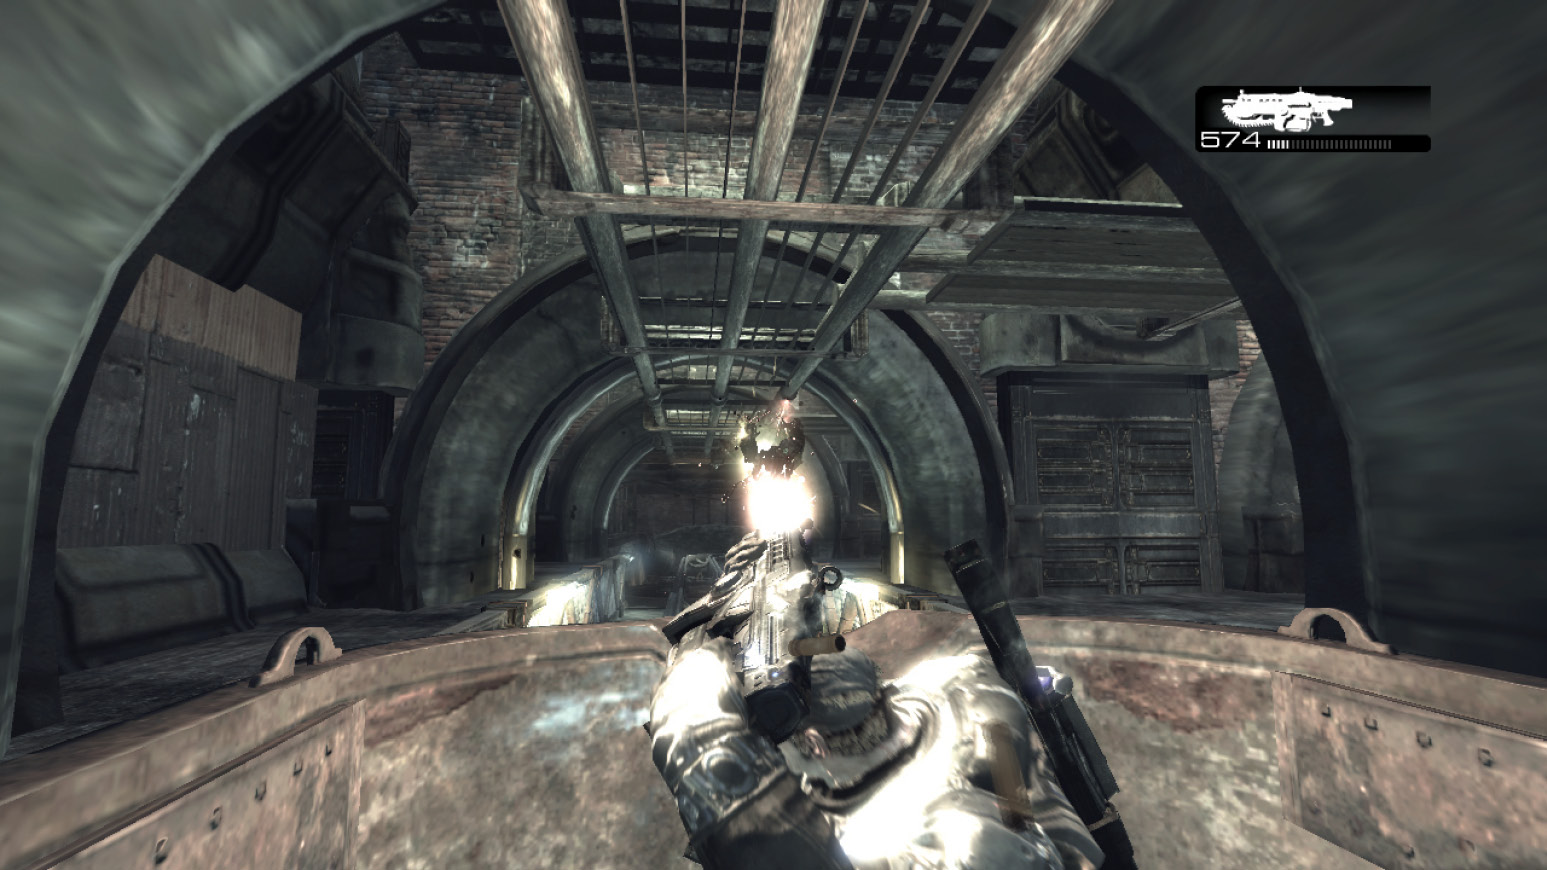
The enemies that lurk this section of the mining facility are restricted to one particular place. The mine cars spin and dip at numerous times during the ride, so you might get disoriented. Nevertheless, enemy locations are marked on the accompanying map. So long as Marcus keeps his head down and manages to keep the Dark Wretches from dropping on top of him, he shouldn’t have a problem.
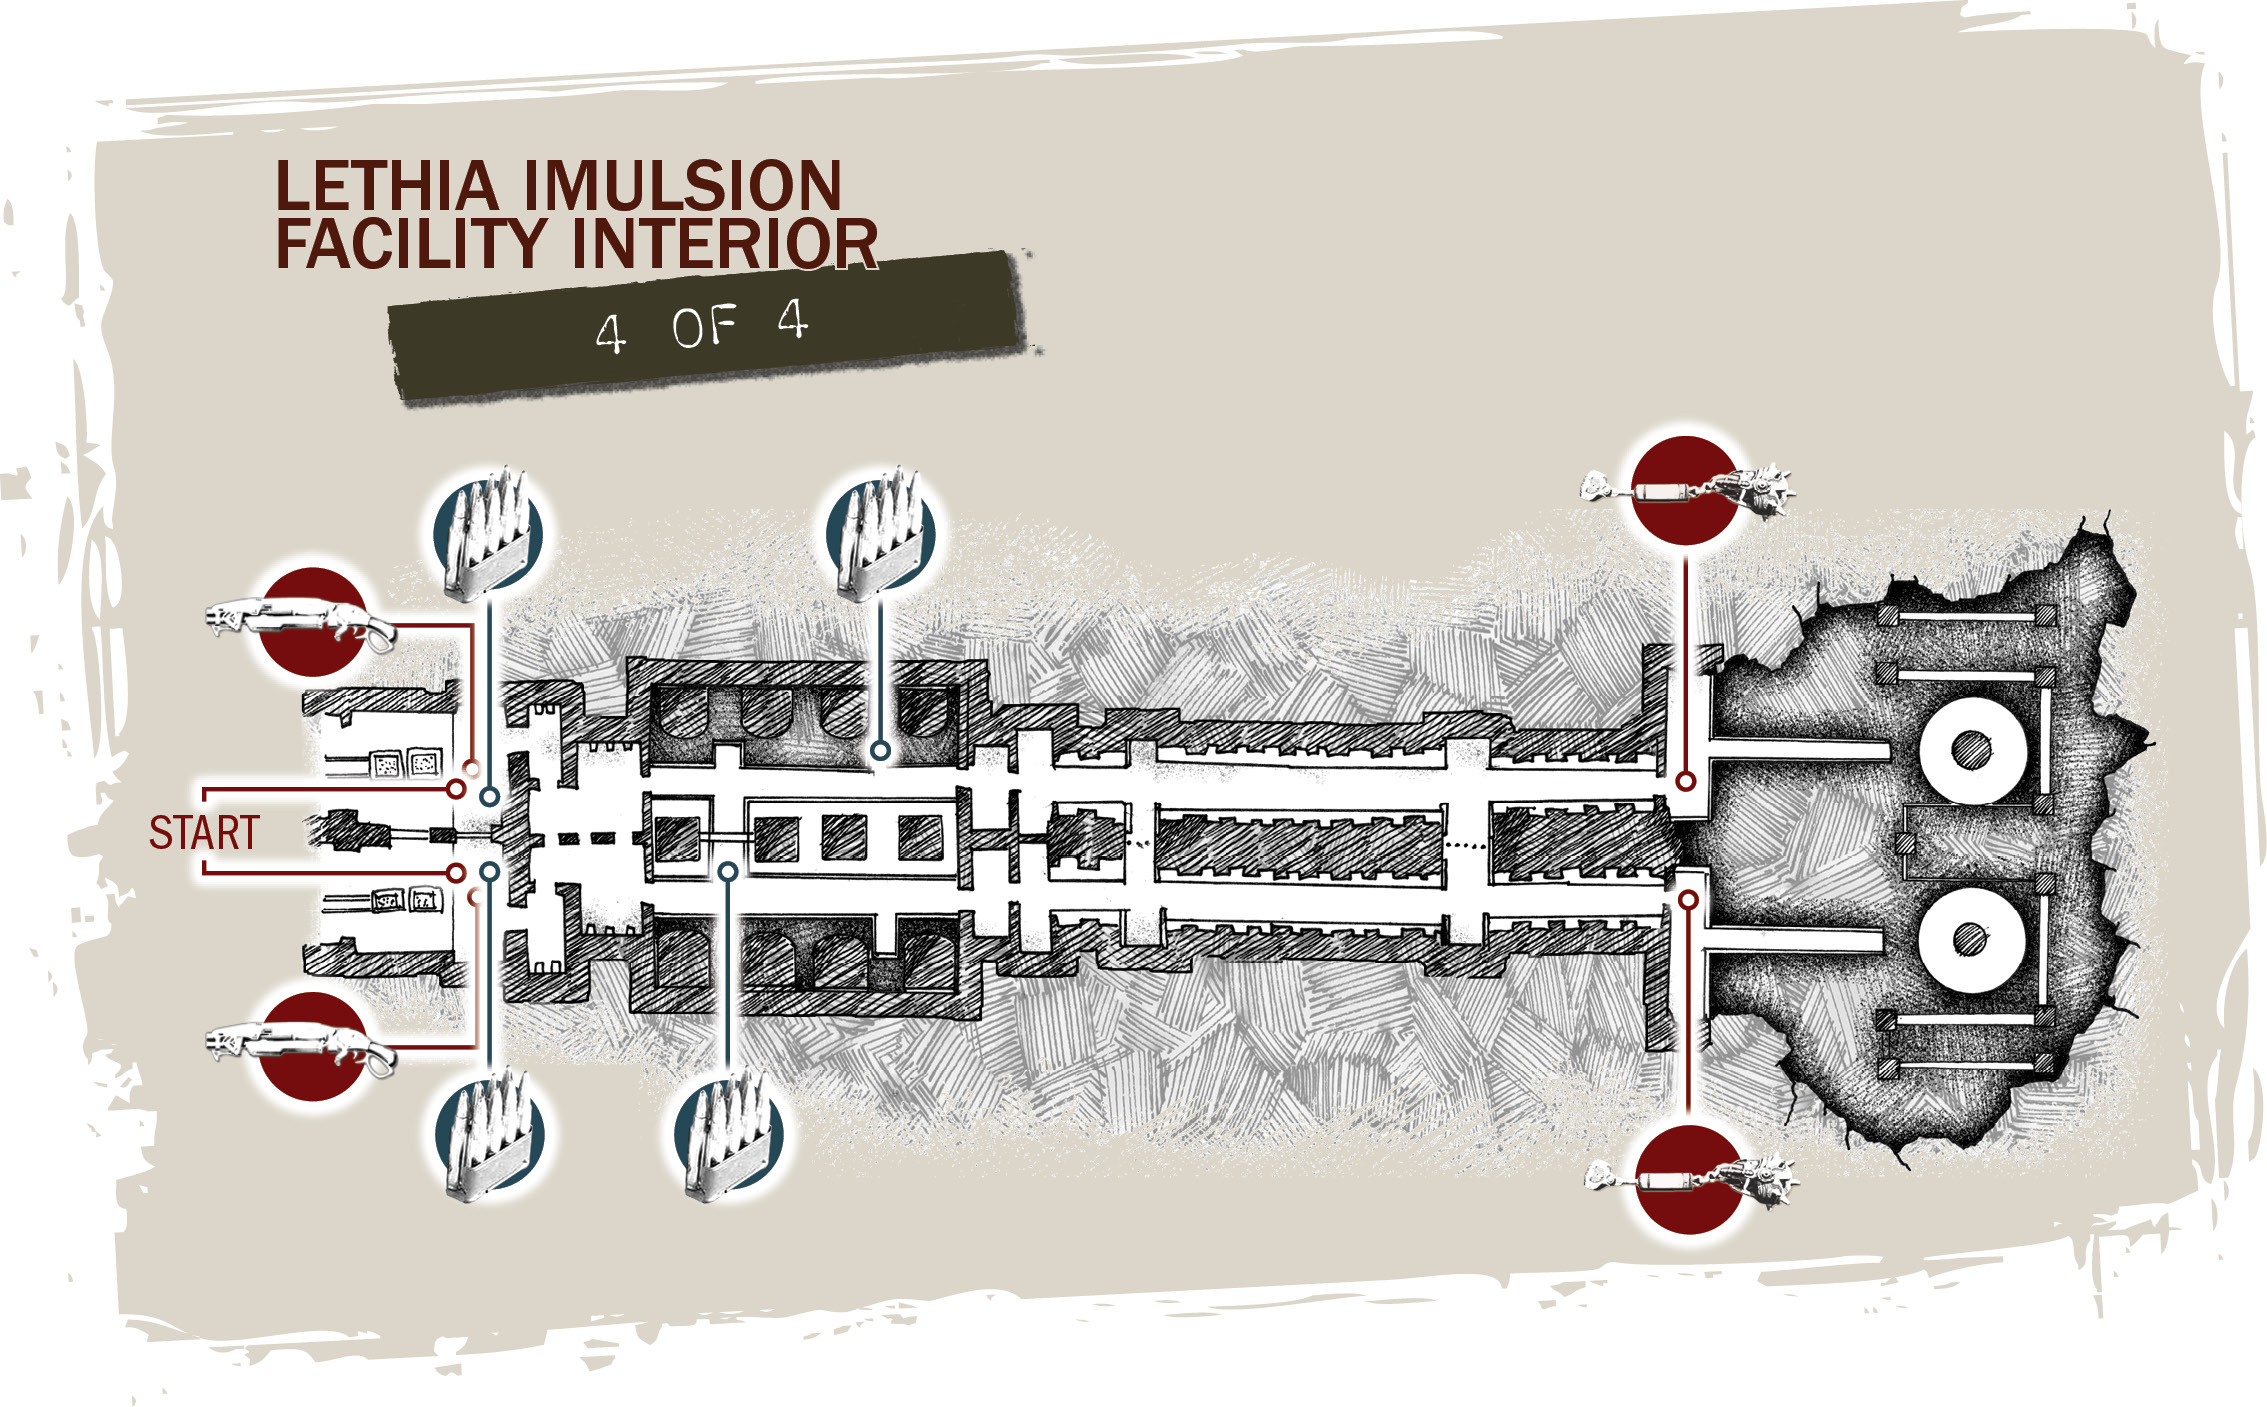
Get to the Core Room
Regardless of which side Marcus and Baird take, the two follow a narrow passage parallel to the one that Dom and Cole follow. Both walkways are the same, each having the same amount of ammunition to pick up and Dark Wretches to kill. The core room is just a short walk away, so get moving.
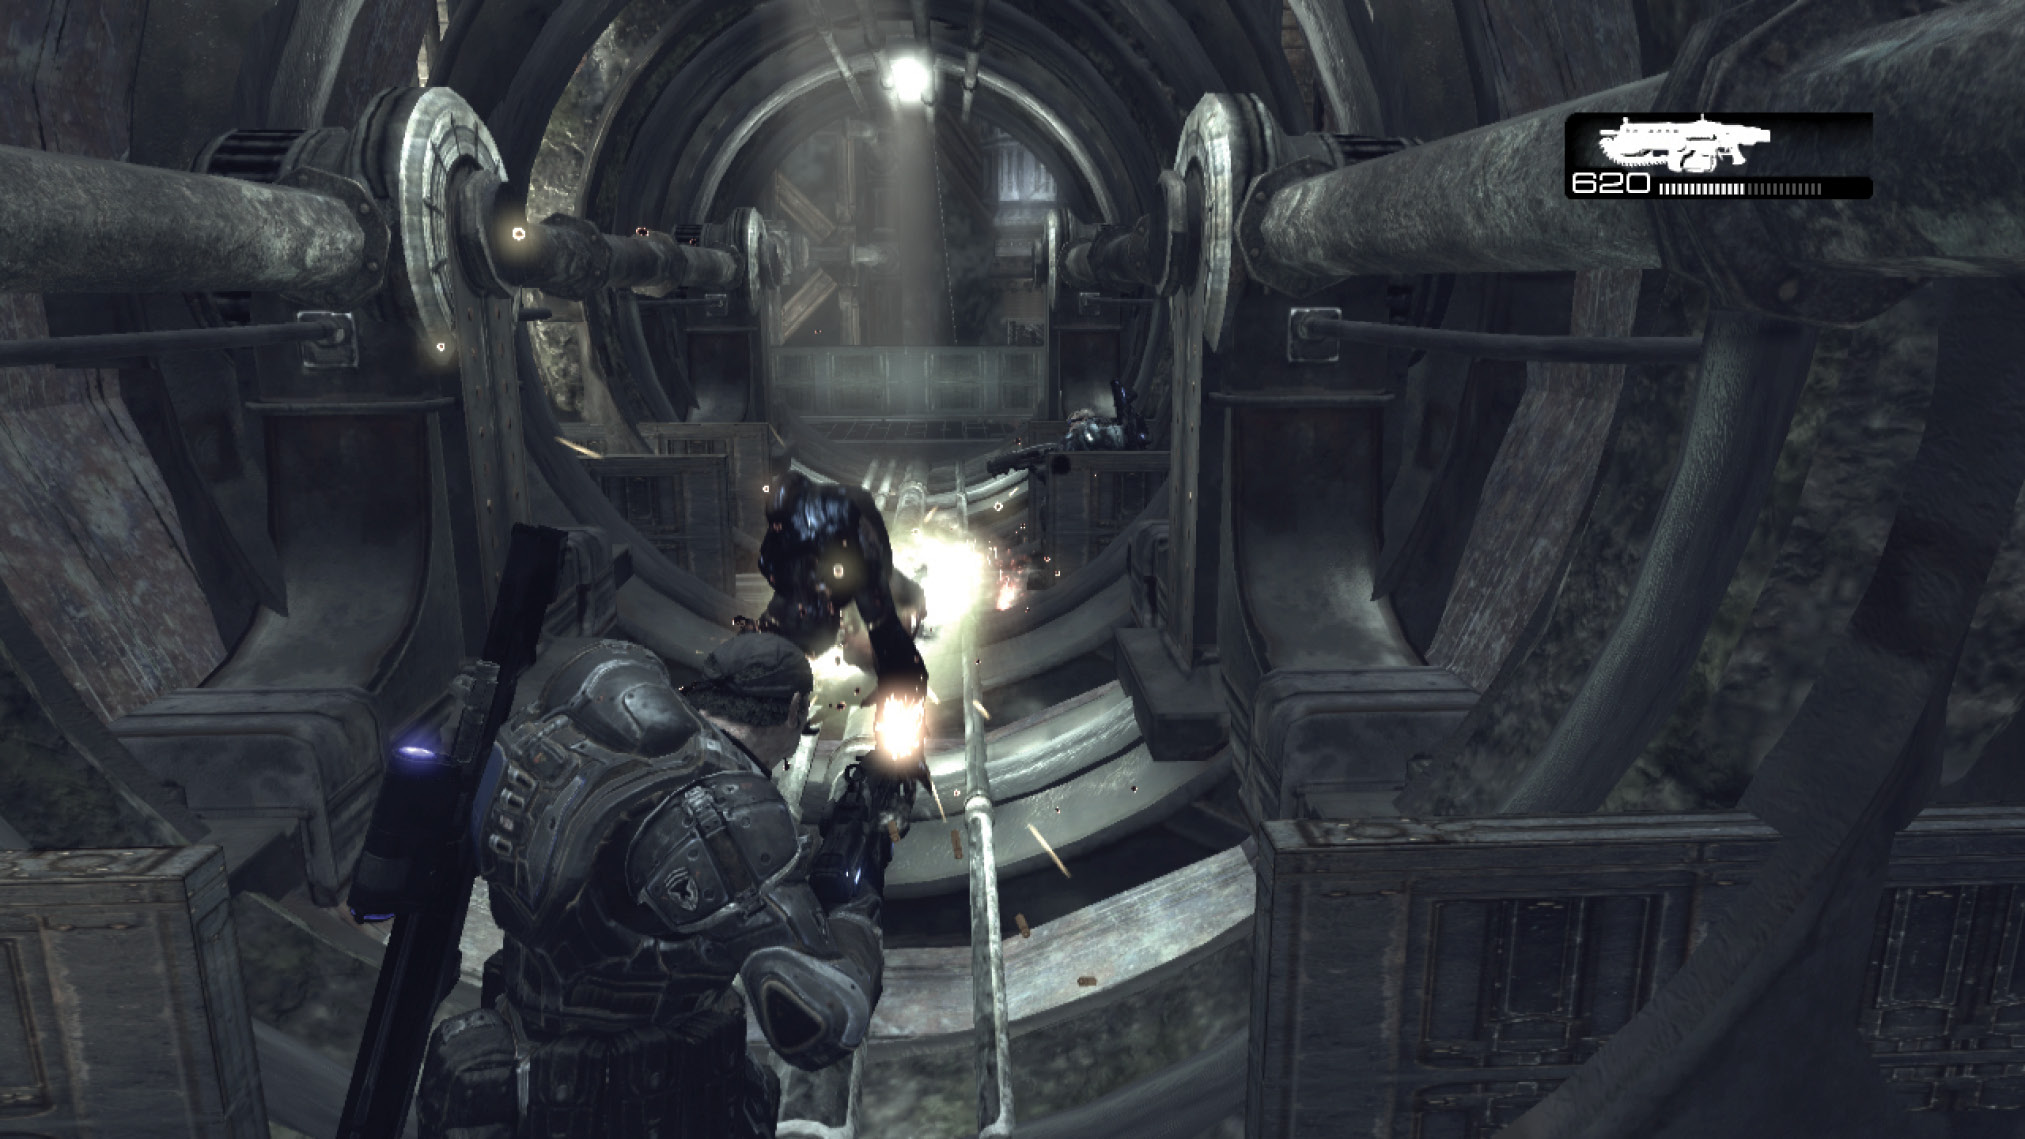
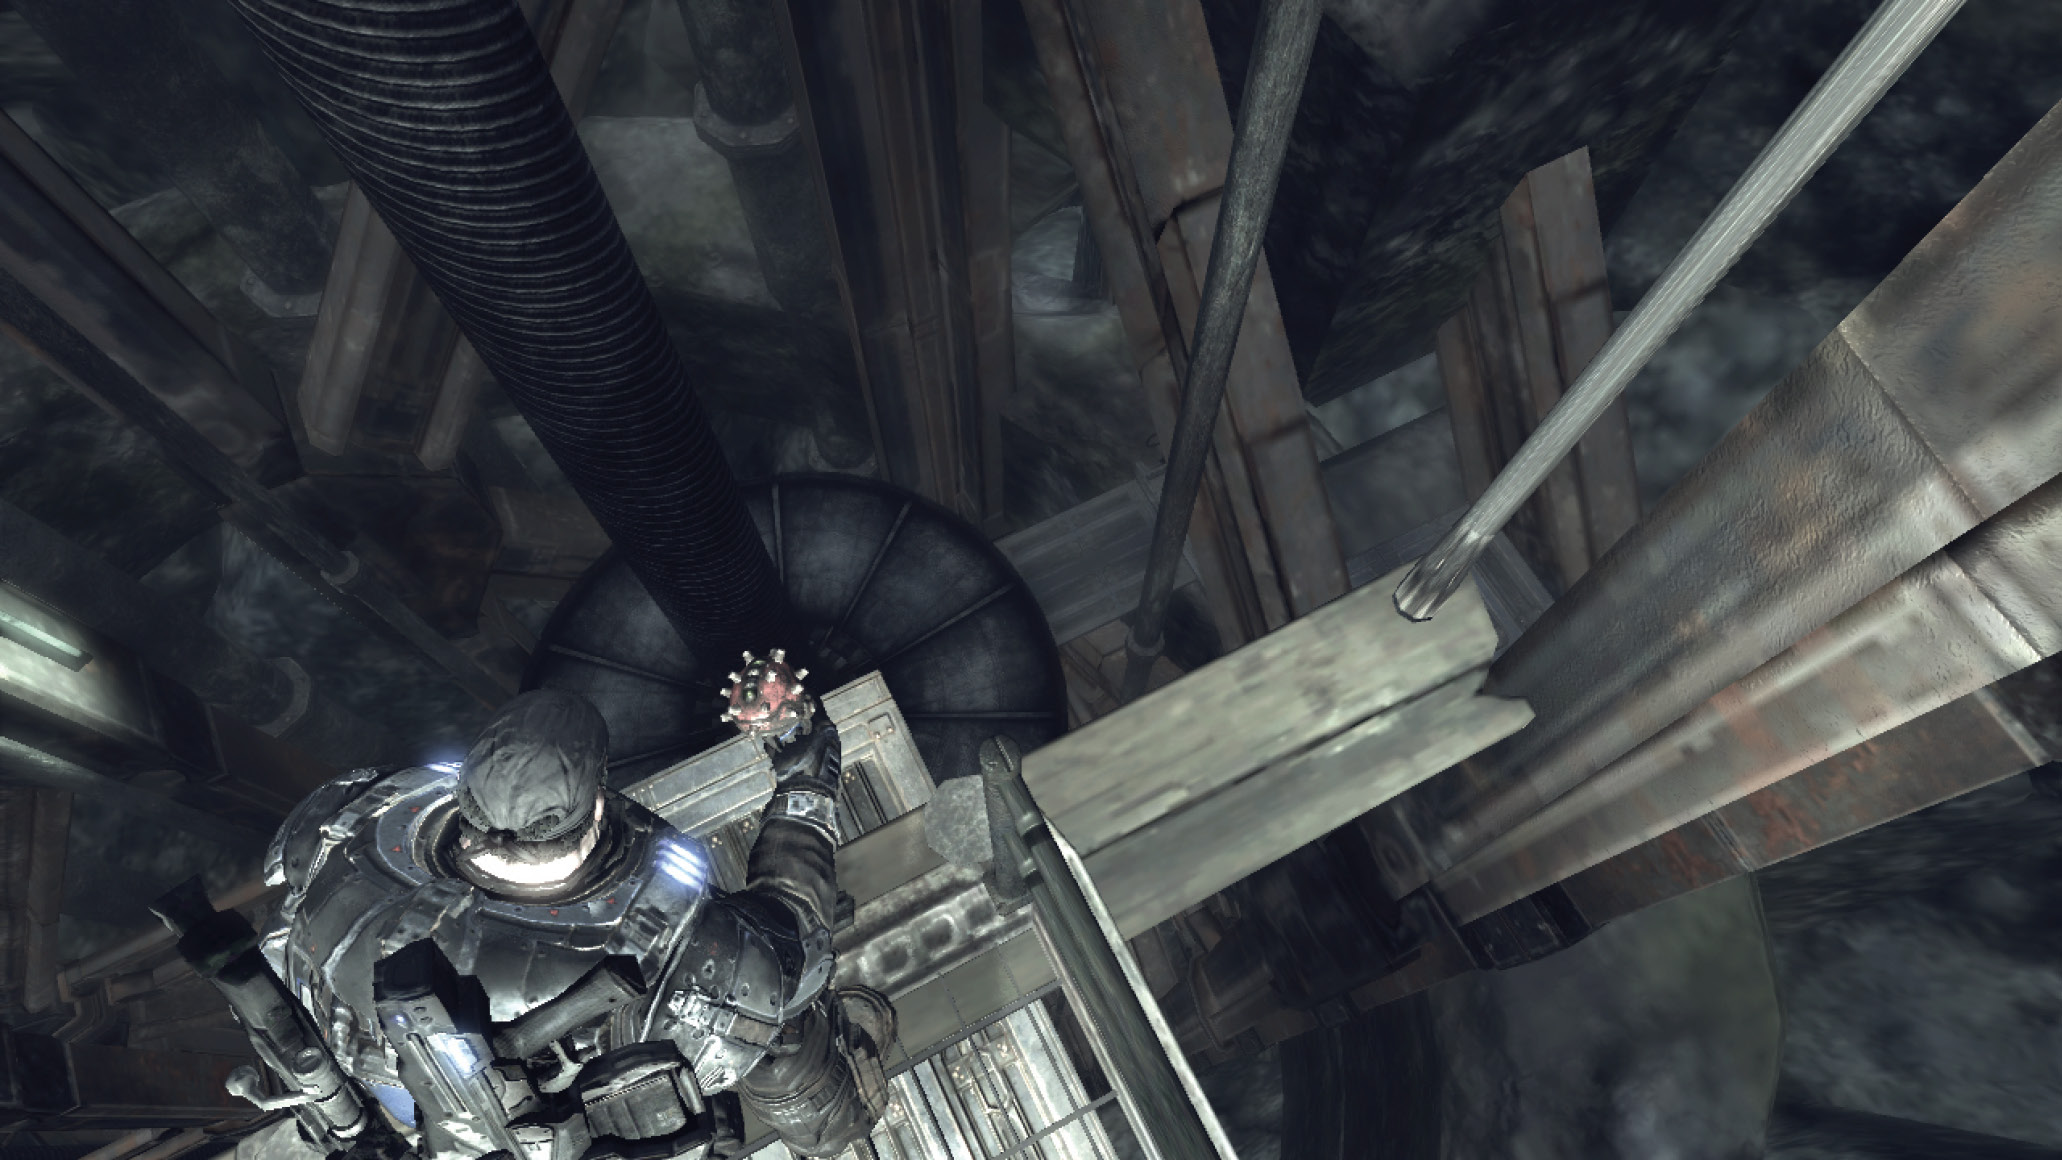
Grab the Frag Grenades near the entrance to the core room and move into position at the end of the walkway. Anya is in the process of raising the drilling platforms to Delta’s position, but that’s not all she’s raising! Each of the two platforms has a Boomer on it. Ready several Frag Grenades
for the Boomer on the platform near Marcus. Switch to the Lancer to finish it off in case the Frag Grenade merely injures it. Turn to help Dom and Cole deal with their Boomer only after you’ve killed the one nearest Marcus.
Darkest Before Dawn
Traverse the caves before the Kryll come home.
Locate the Pumping Station Before Dawn
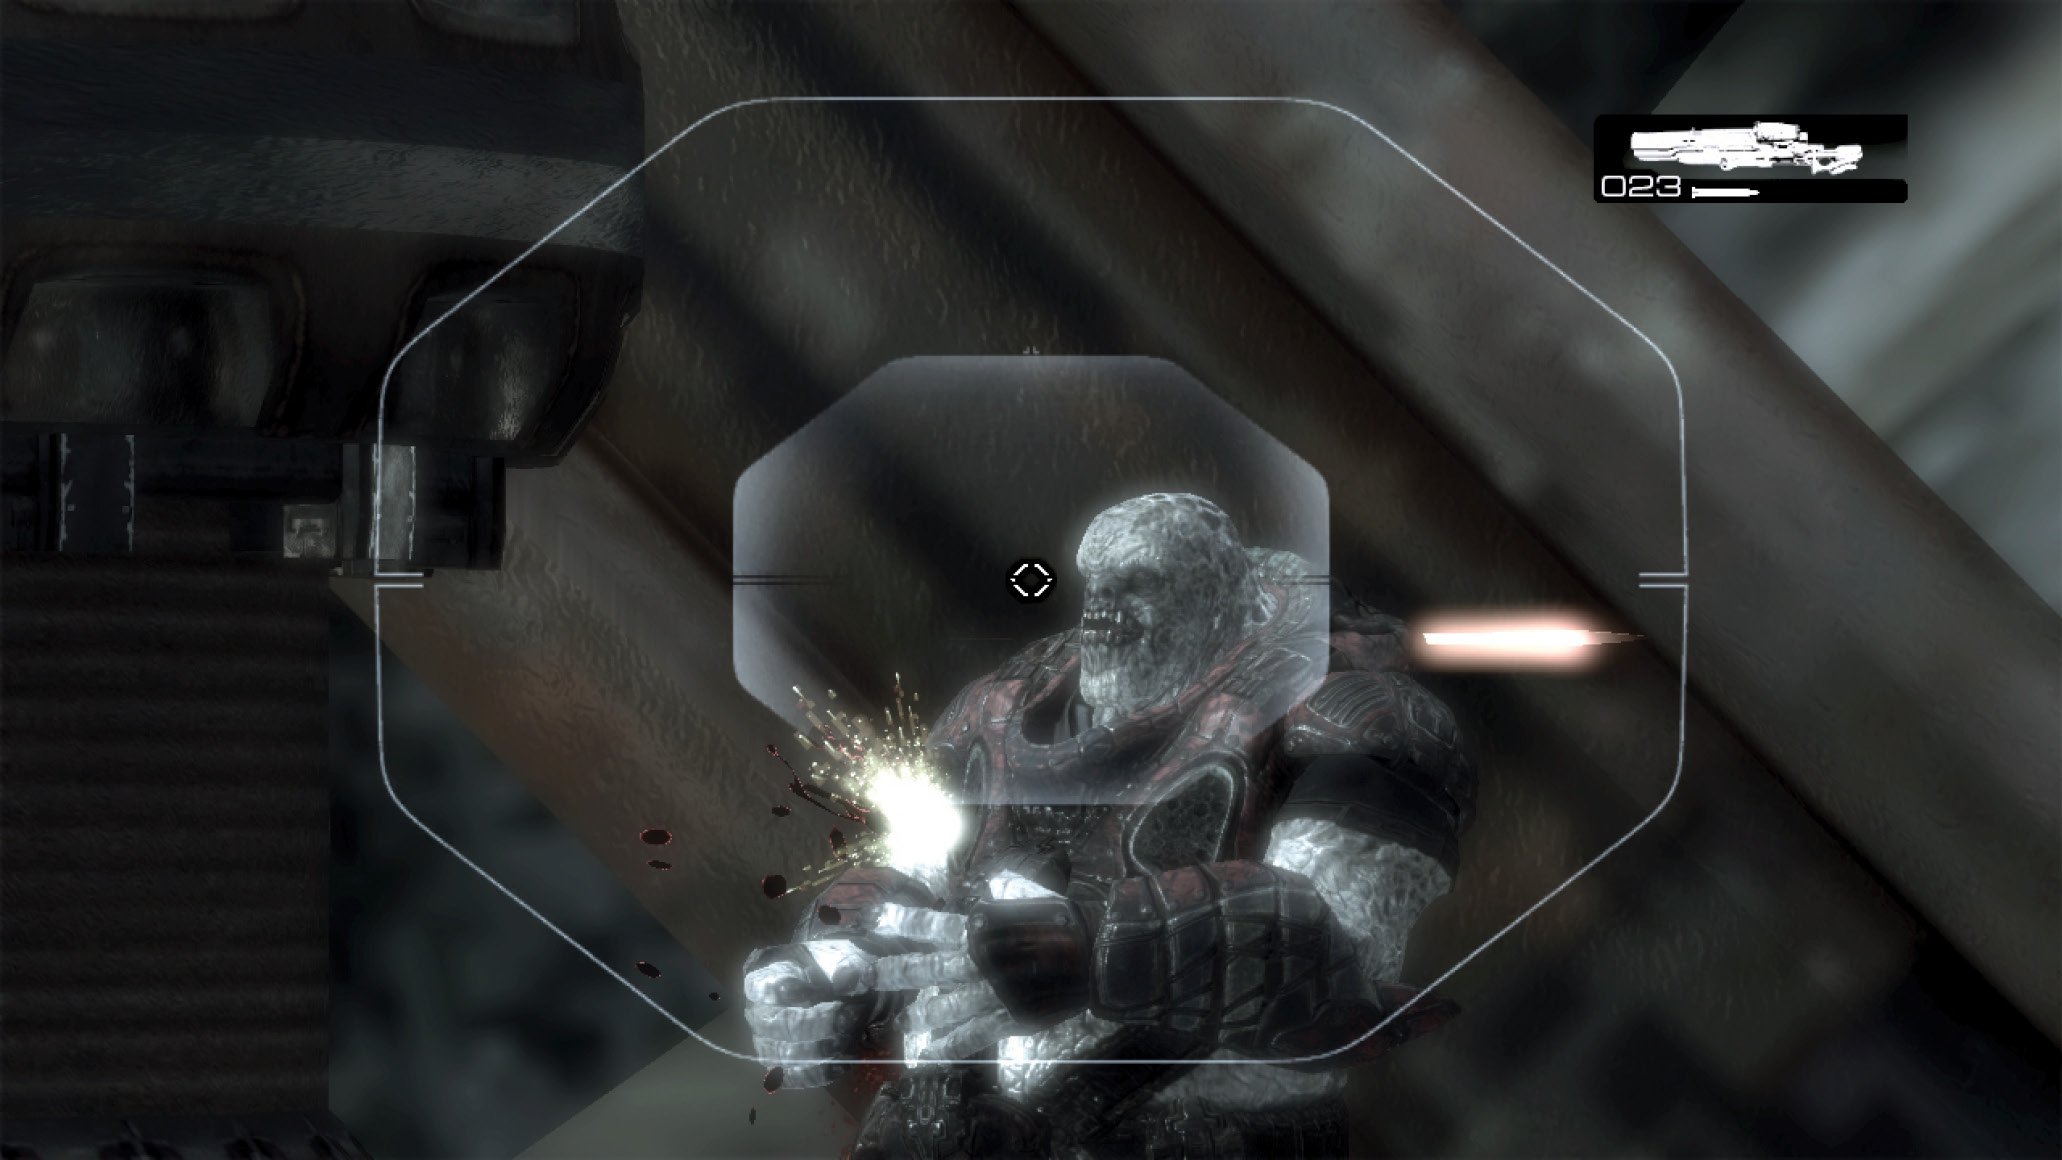
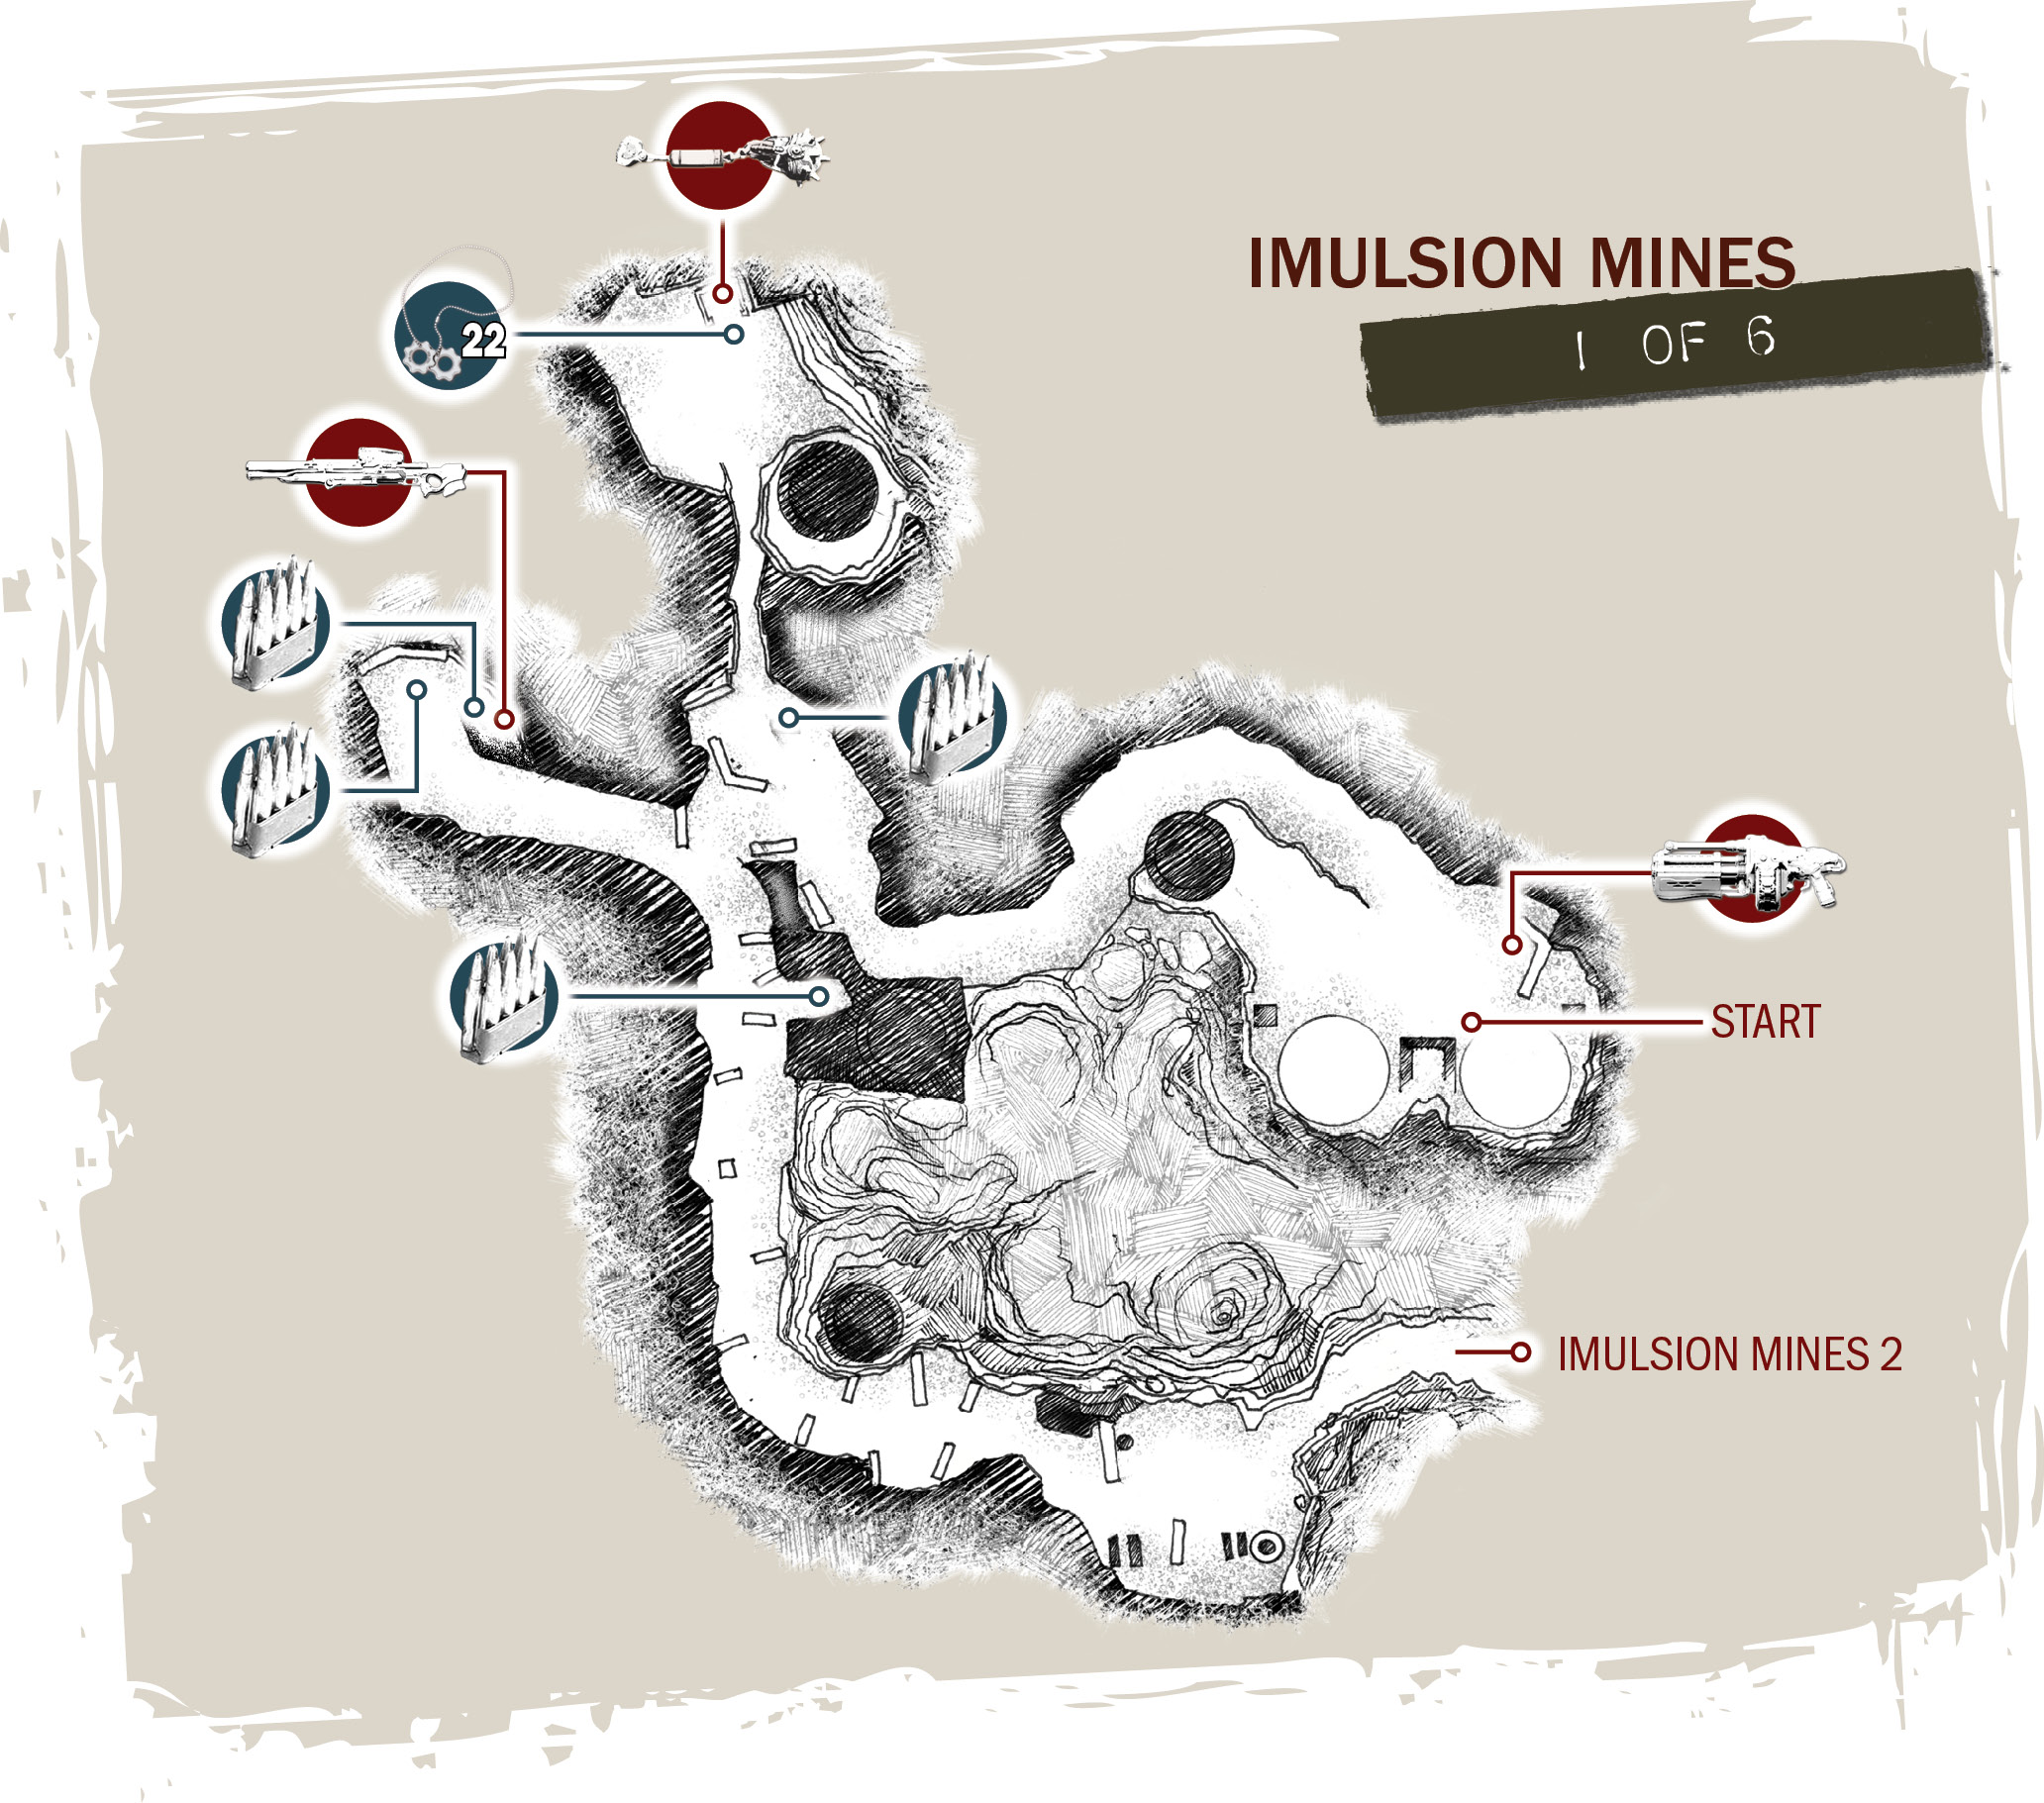
The drilling platforms don’t necessarily let out very close to the pumping station, so Delta Squad has to walk pretty fast to finish the job before the Kryll return. Follow the path leading away from the drilling platforms. Make your way toward the Crimson Omen in the distance. You’ll find some Frag Grenades and a COG Tag there.
COG TAG #22This COG Tag is on the ground in front of the Crimson Omen, not far from the drilling platforms you ride down into the mine. 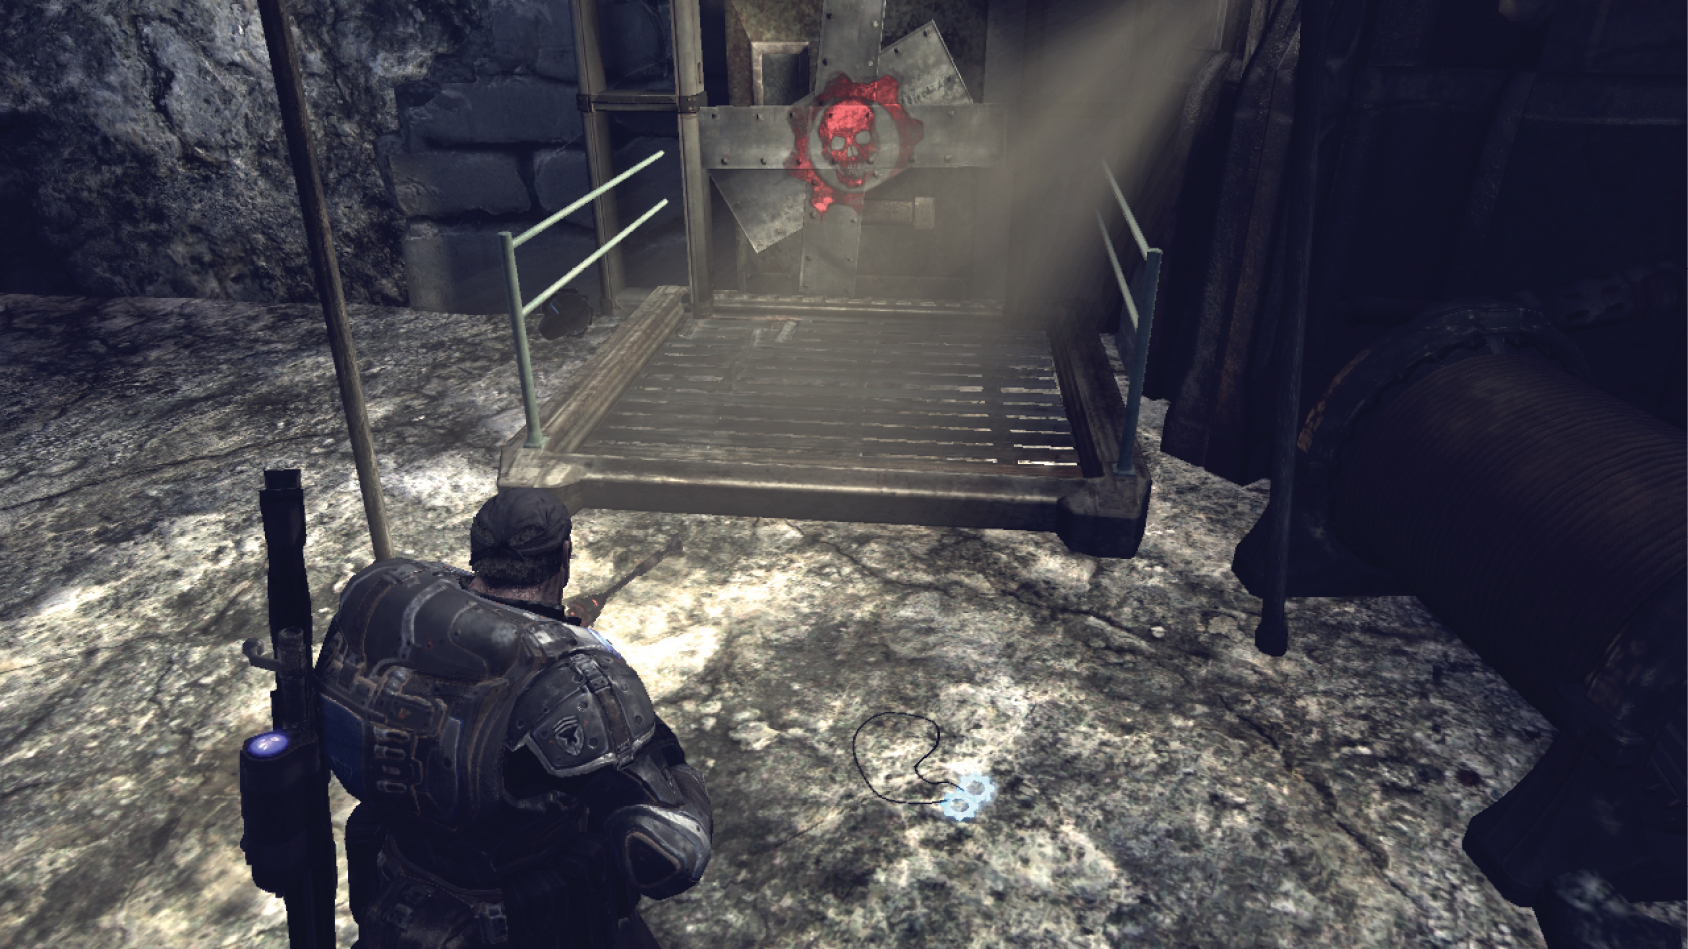
|
Return the way you came, and turn right to descend a steep slope toward a collection of steel drums. You can reclaim the Longshot if you swapped it out earlier. The Longshot definitely comes in handy during Marcus’ little spelunking episode, so keep it and the Lancer on hand until we advise otherwise.
Return up the slope with the Lancer in hand and flatten the approaching Dark Wretches. There are only eight of them, but it’s enough to make Marcus instruct Baird and Cole to stay behind and guard the resonator—it’s just Marcus and Dom from here on out.
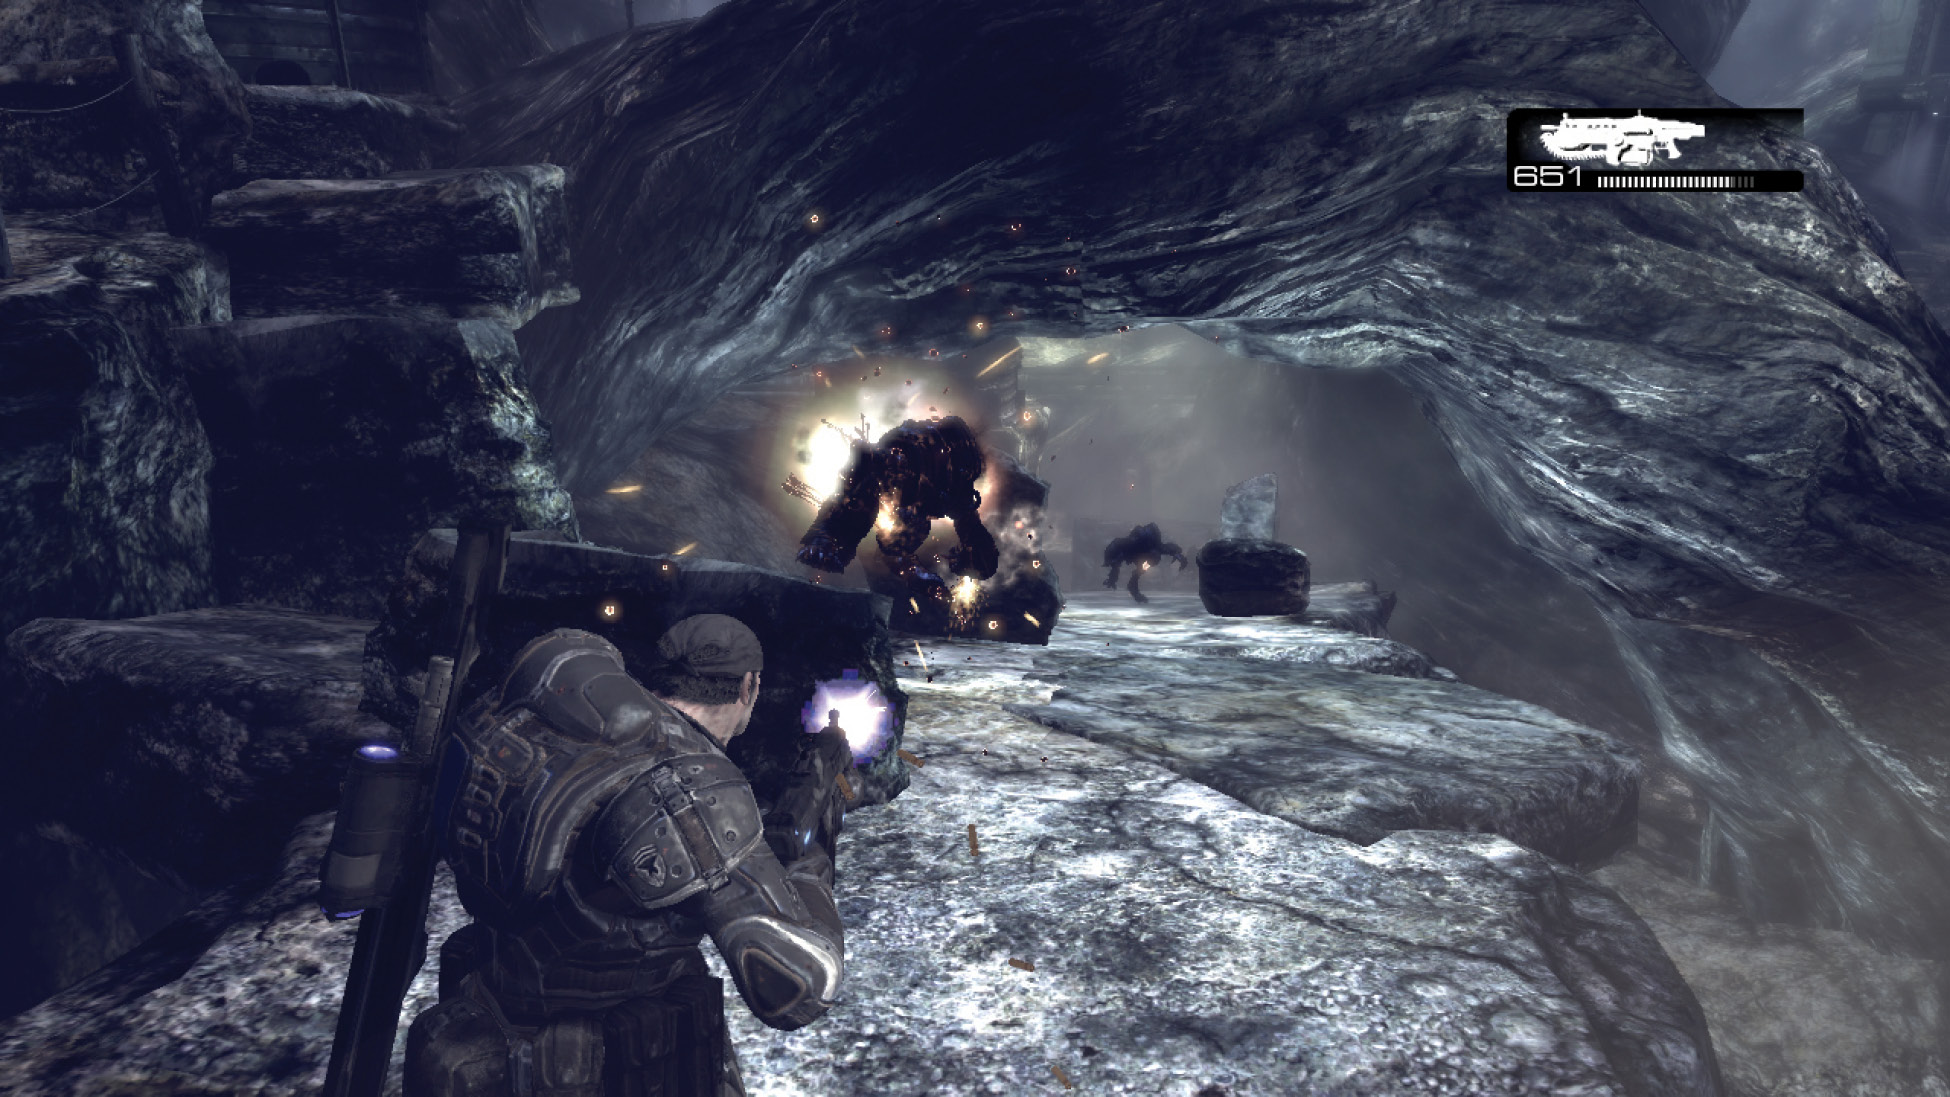
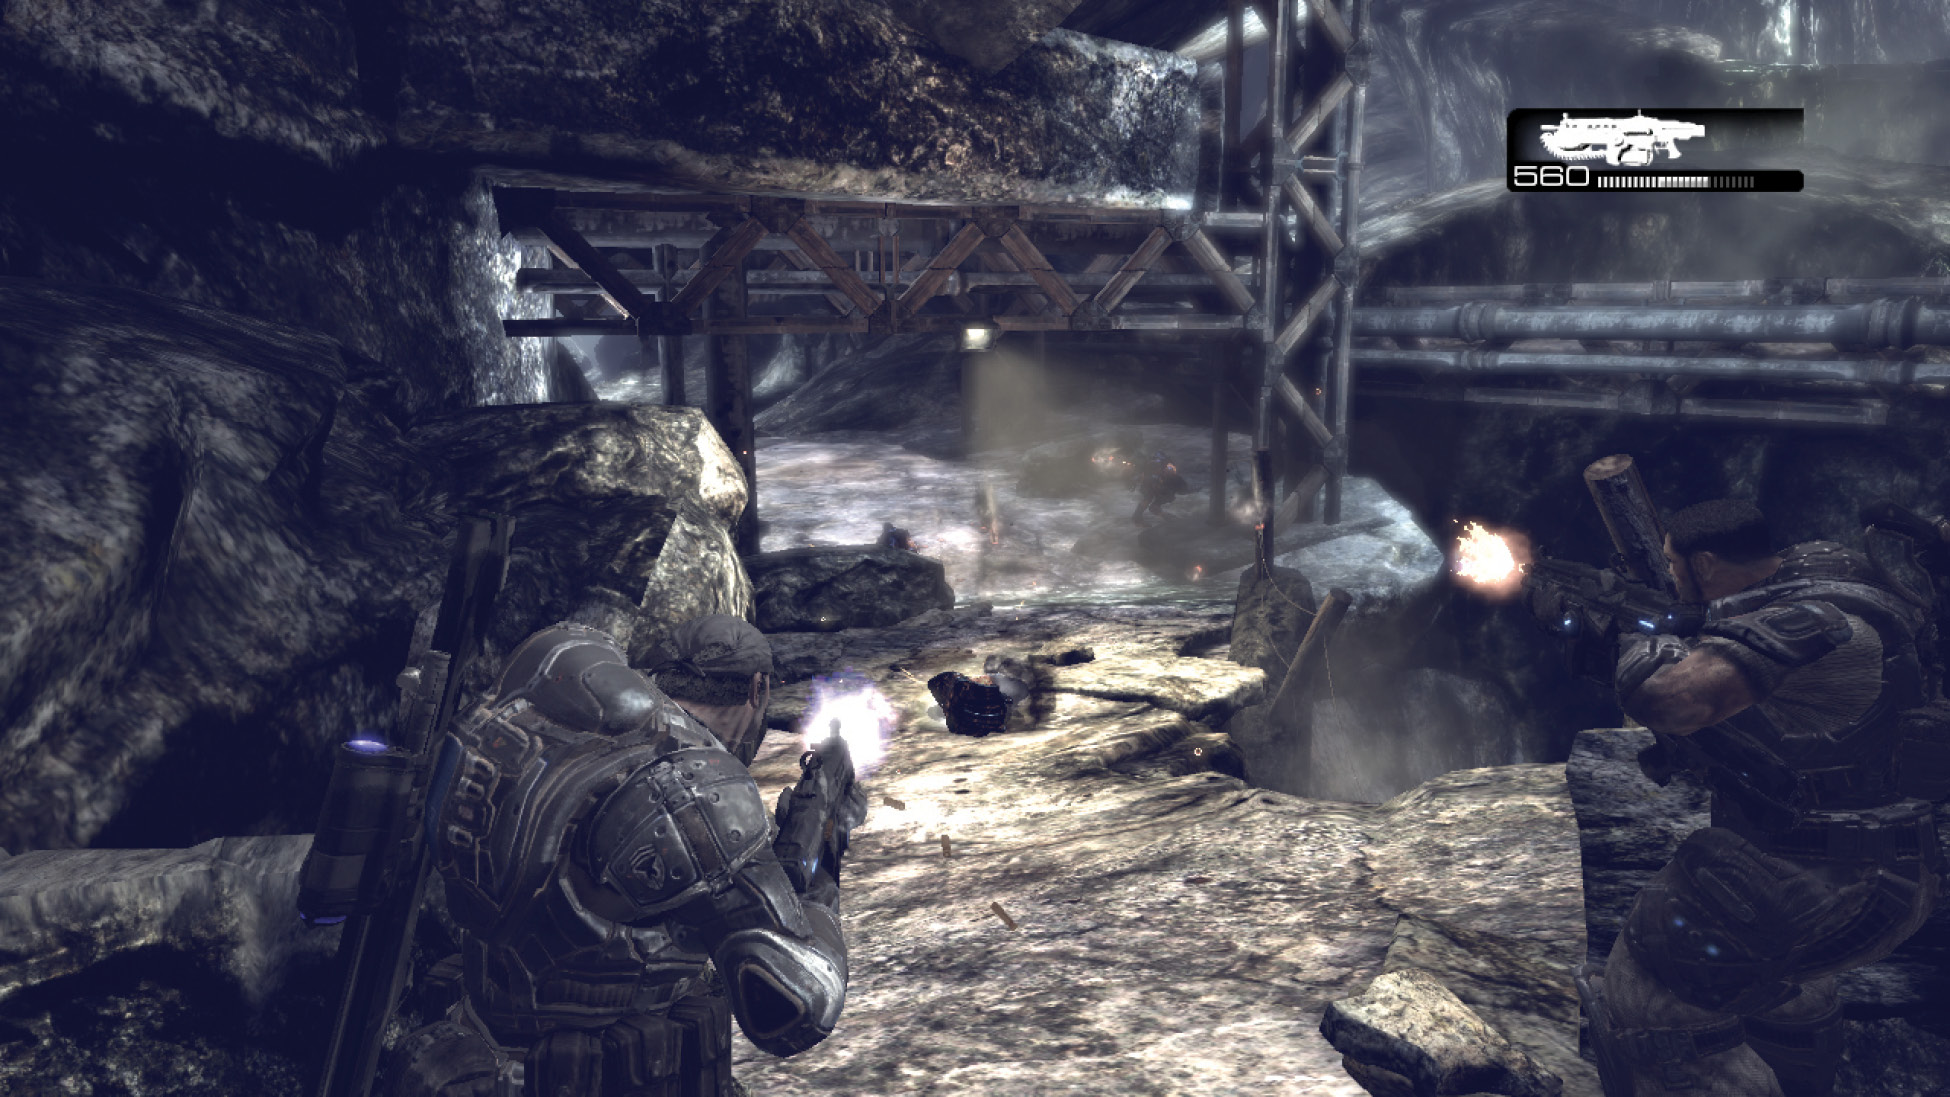
Keep moving, and fight through the second wave of Dark Wretches en route to the ledge overlooking the water fall. It’s time to take another ride! Marcus and Dom slide down an impossibly slippery slope to a lower level of the mine.
Regroup with Baird and Gus
Cross the bloody river and take cover behind the rocks ahead. A small squad of Grenadiers and Drones rapidly approach from a position near the structure on the right. Focus on the Grenadier on the right first, as he tries to rush Marcus and Dom’s position. Once he’s out of commission, use the Longshot to pick off the Drones one by one.
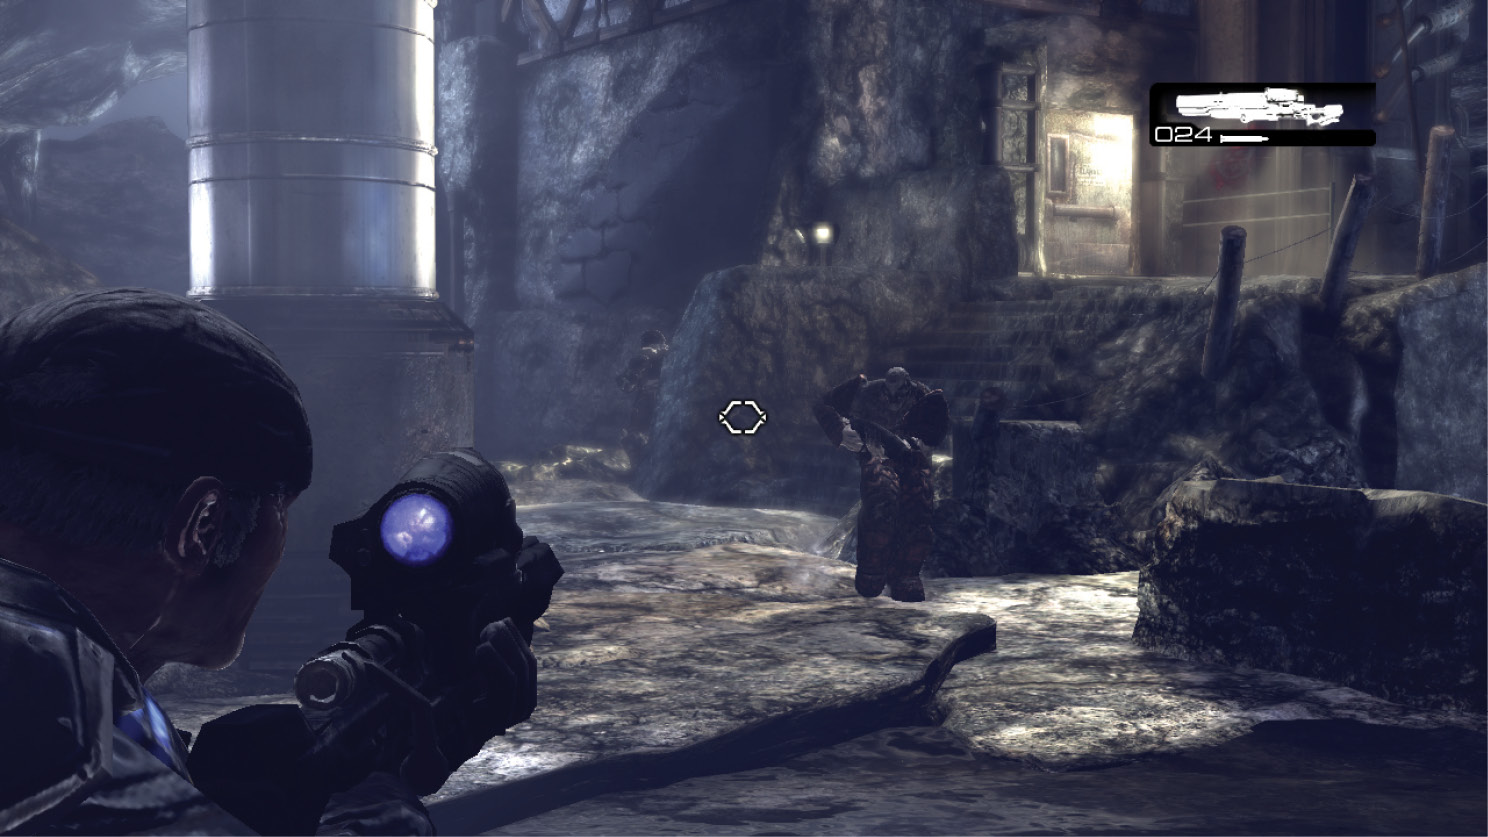
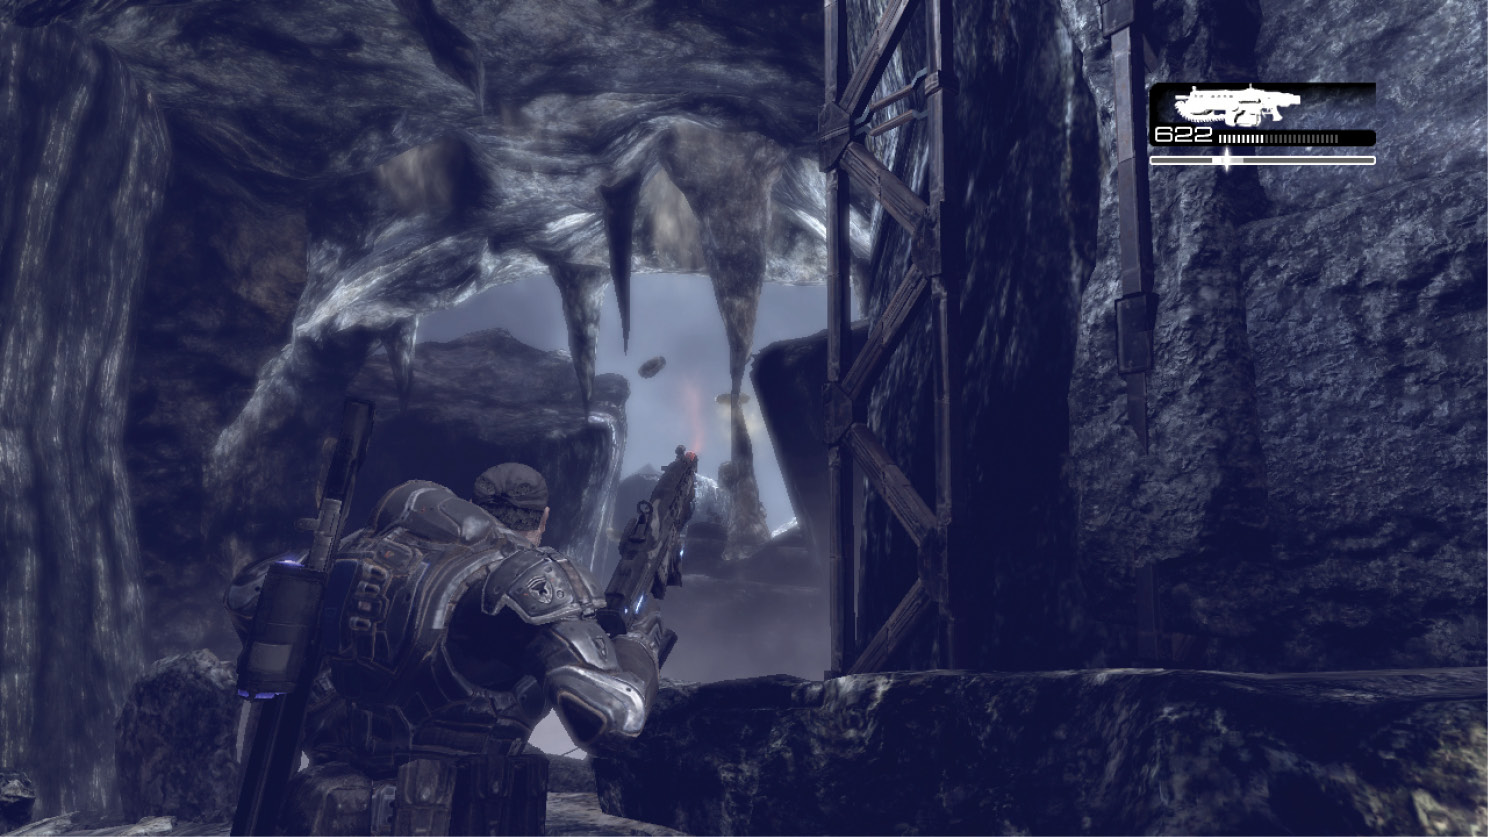
Proceed past the structure and note the weakened column across the chasm to the right. A Sniper has moved into position on that ledge under the column. Marcus can either use the Longshot to snipe the Sniper or use the Lancer to shoot the column, depositing several tons of rock on him. Proceed deeper into the mines.
COG TAG #23Approach the area to the right of the stairs that lead up to the small structure. The COG Tag is on the ground near the wall. 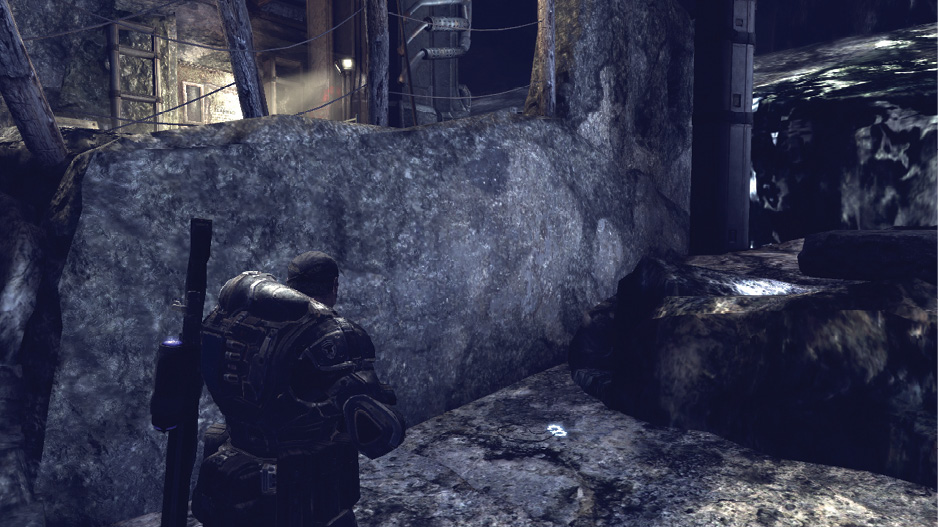
|
Fight past the smattering of Dark Wretches ahead, and move into position behind the cover on the left. A Boomer fires his massive Boomshot from across a small canyon in the distance. Shoulder the Longshot and hit him with two or three bullets to the head. Manage this, and the next “boom” you’ll hear will be his massive derriere slamming to the ground.
Gather the ammo from this cave section’s side areas and continue to the left. Marcus and Dom soon take another nasty spill, this time down the chute of a grub hole. A call into Baird reveals Marcus isn’t the only one lost.
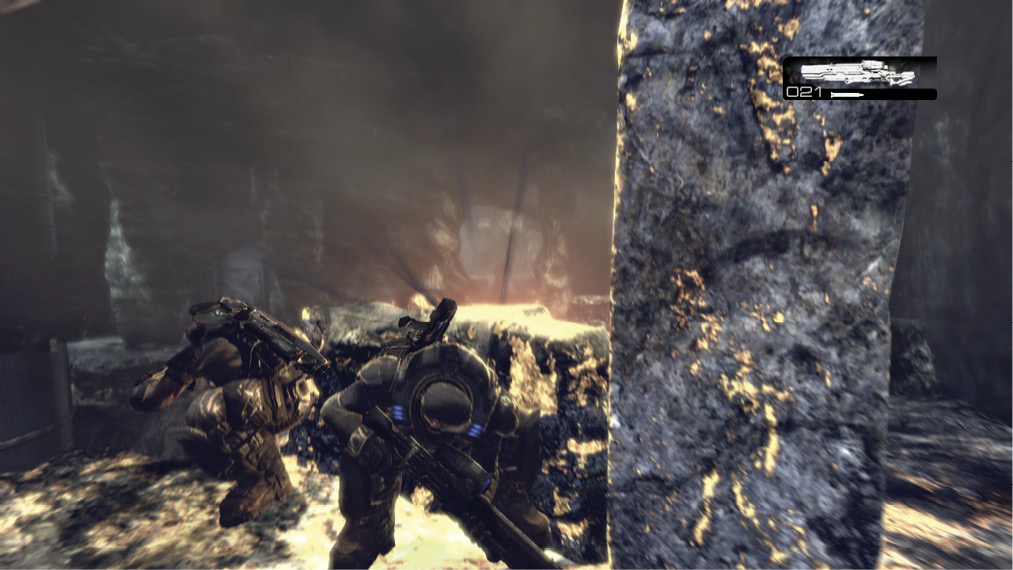
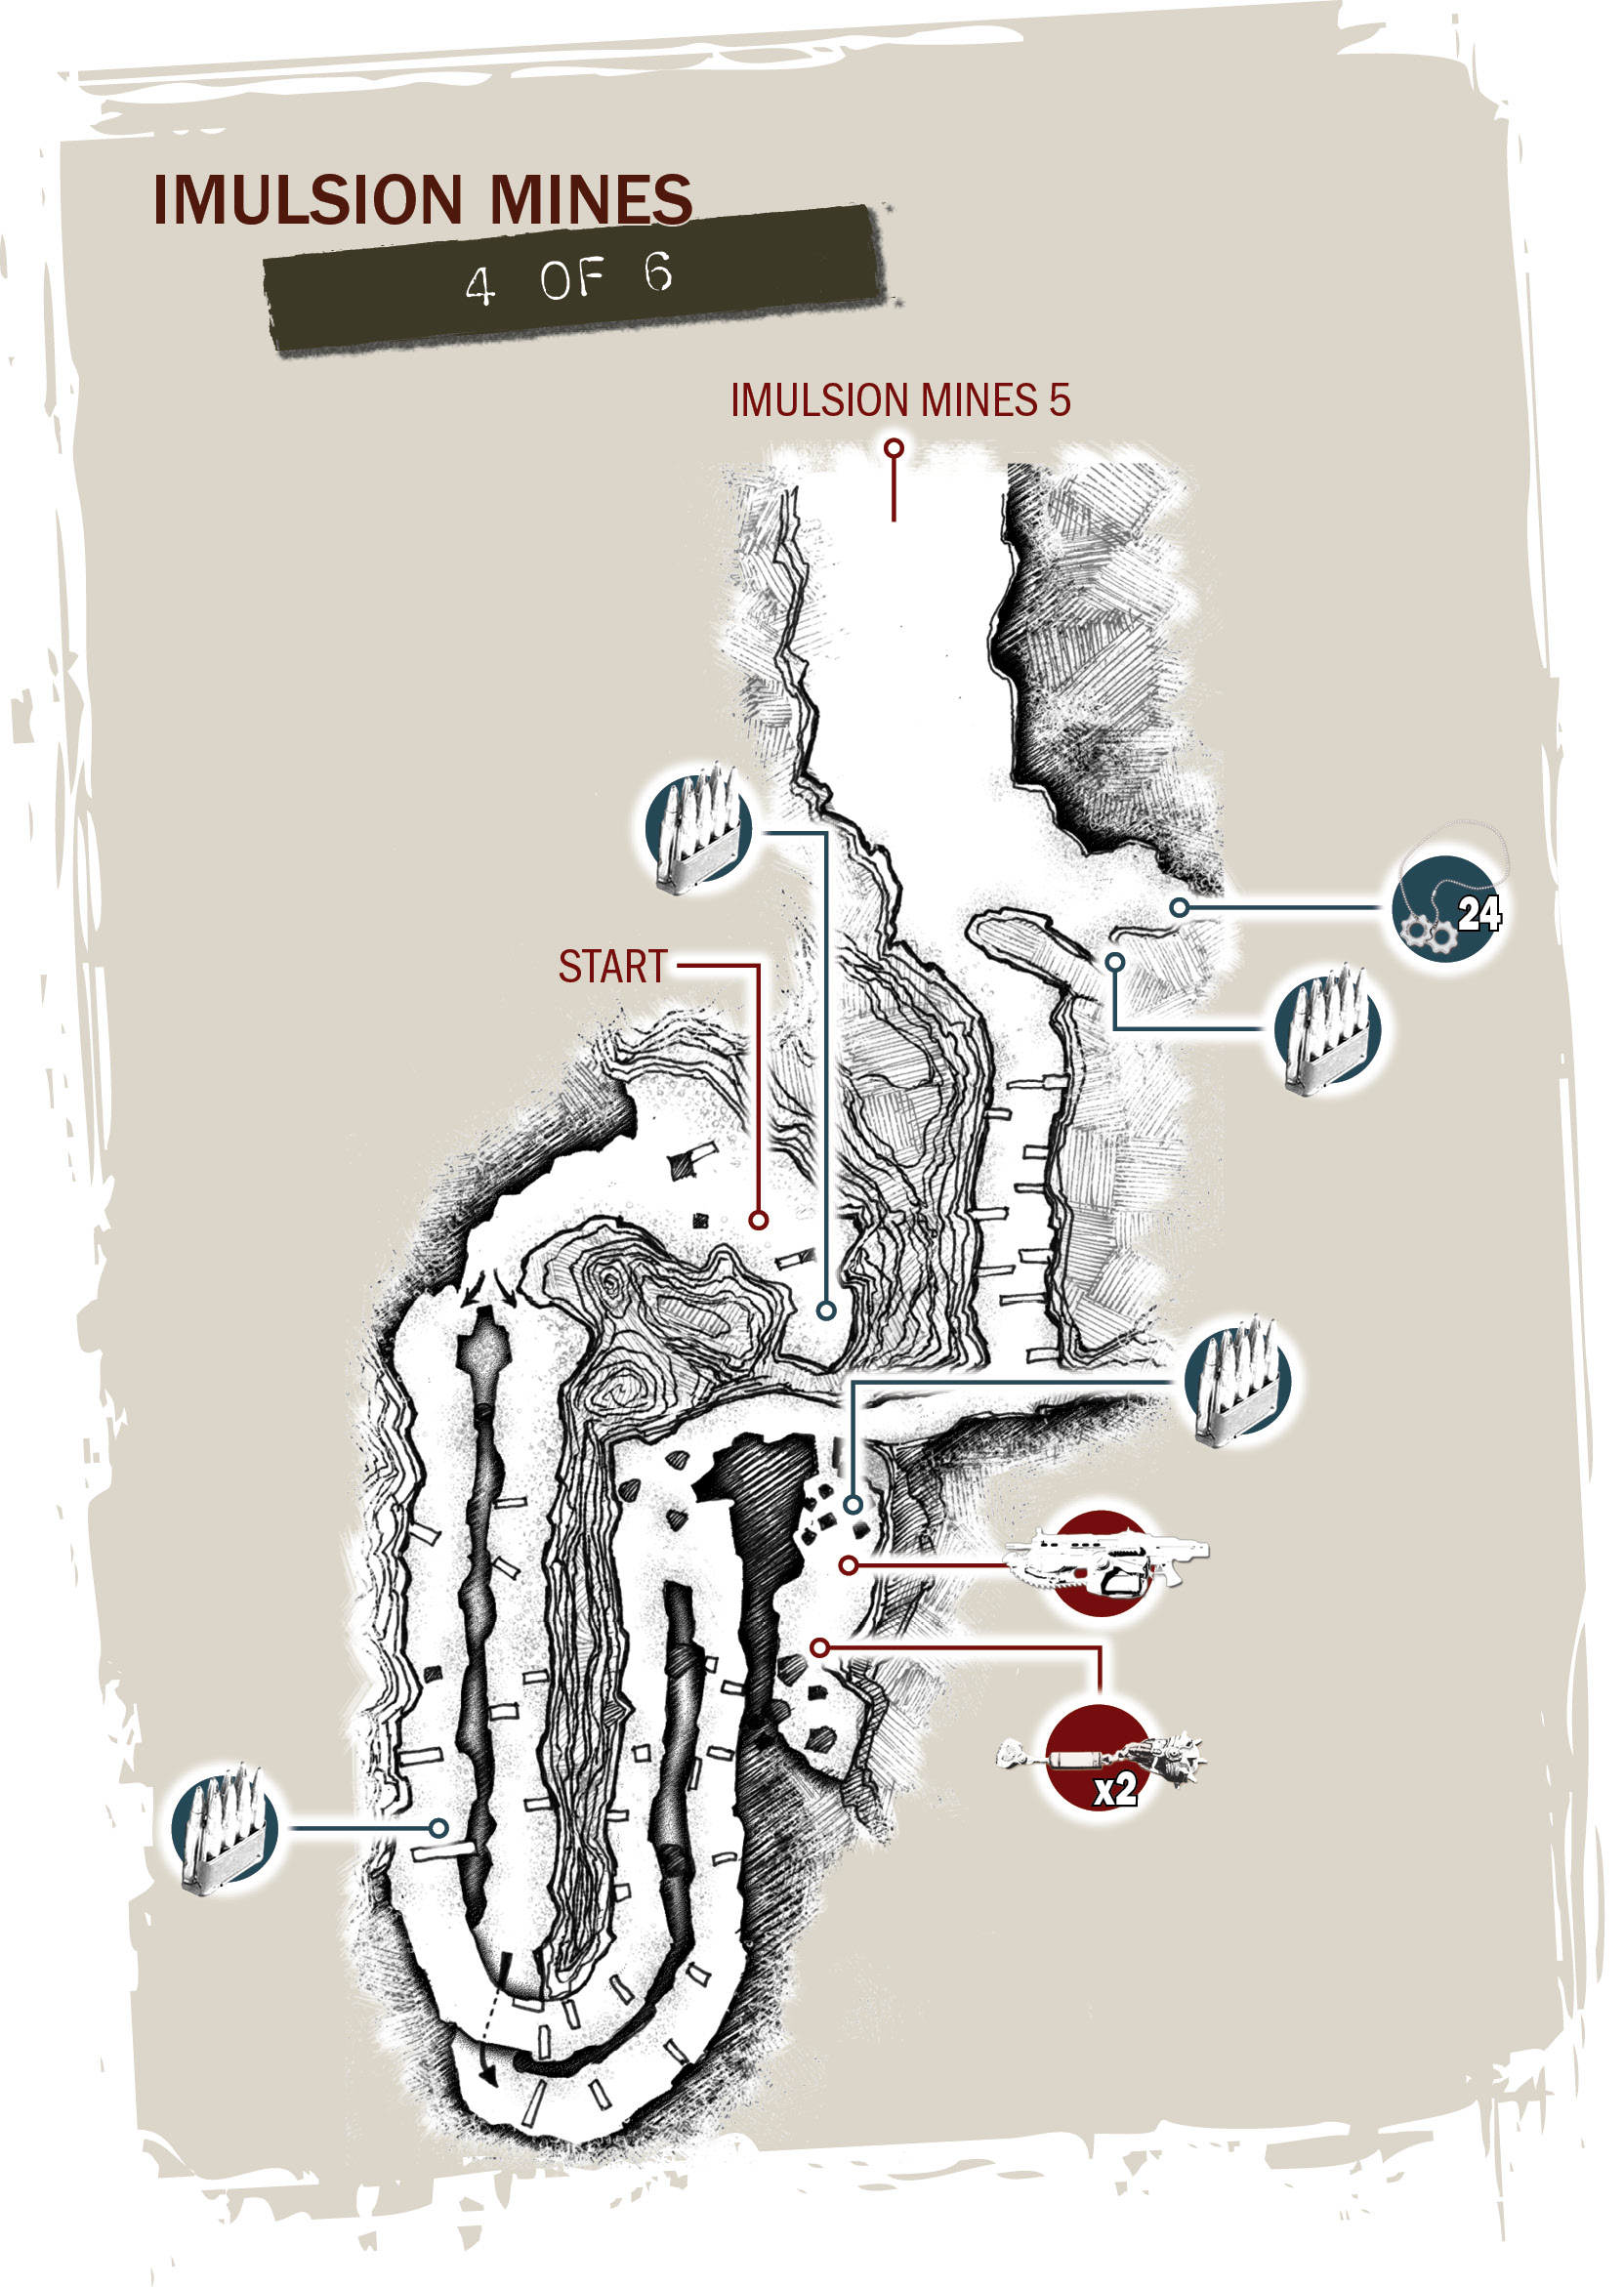
Give Dom the “Attack” command and work together to slaughter the fifteen or so Dark Wretches that rush forward. There’s a fork in the road just beyond the fracas with the mine’s lambent critters. Regardless of the path you choose, you have the good fortune of always being in close proximity to Dom, as he isn’t far away.
Right Path: High Route
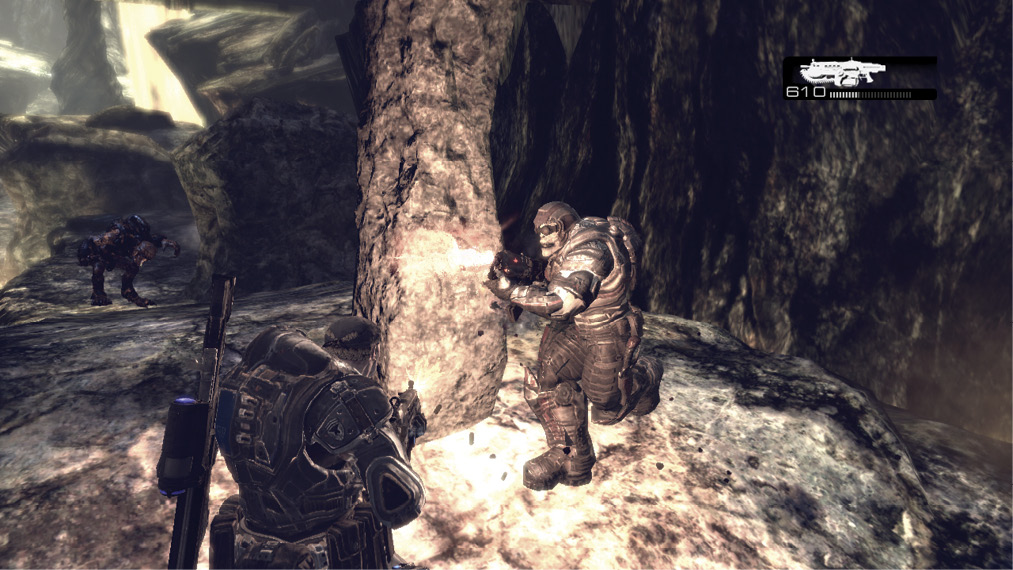
Marcus and Dom may be on separate paths, but they’re within eyesight of one another the entire time they’re apart. It’s not long before the first wave of Dark Wretches rushes forward. Backpedal as you use the Lancer or Gnasher to spray them with lead. Whenever Marcus’ immediate area is clear of enemies, take a quick look to the left to give Dom a hand. There are a couple of Drones mixed in with the Dark Wretches, so expect some gunfire. The last of the enemies is likely to be the Drone on the distant left side. If you’re still carrying the Longshot, use it to snipe him so that Dom can push on.
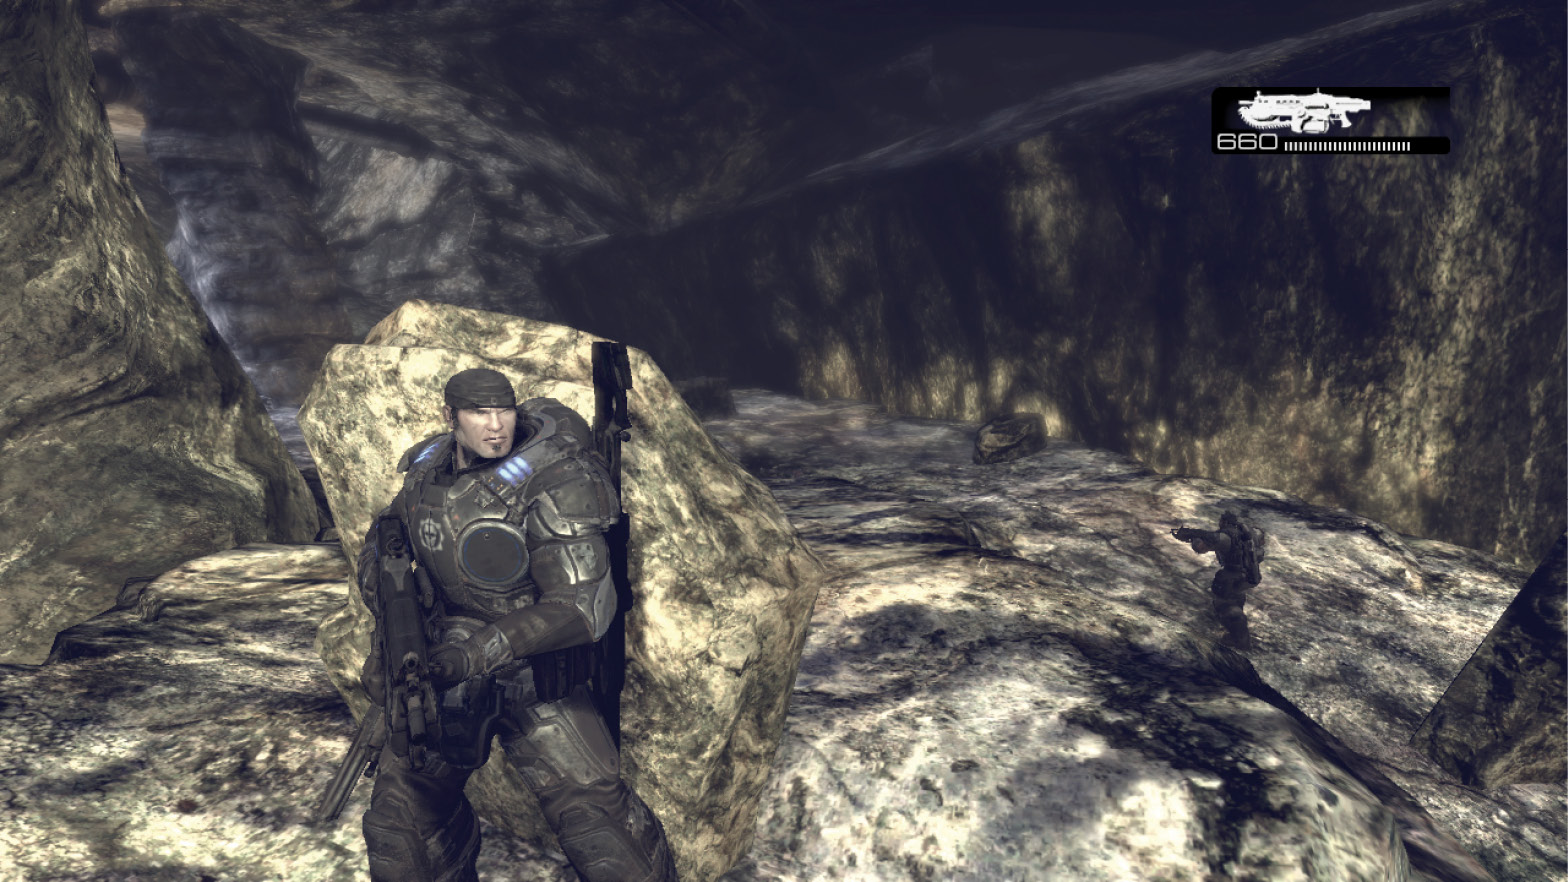
The two rocky paths crisscross up ahead. Keep moving, making a mental note that Dom is now on the right. Cut a path through the Dark Wretches, Drones, and Grenadiers up ahead. The Grenadiers try to utilize the available cover, sometimes even moving into position opposite Marcus against the same object. When this happens, utilize blindfire or even the Lancer’s chainsaw bayonet to slay them. Regroup with Dom up ahead.
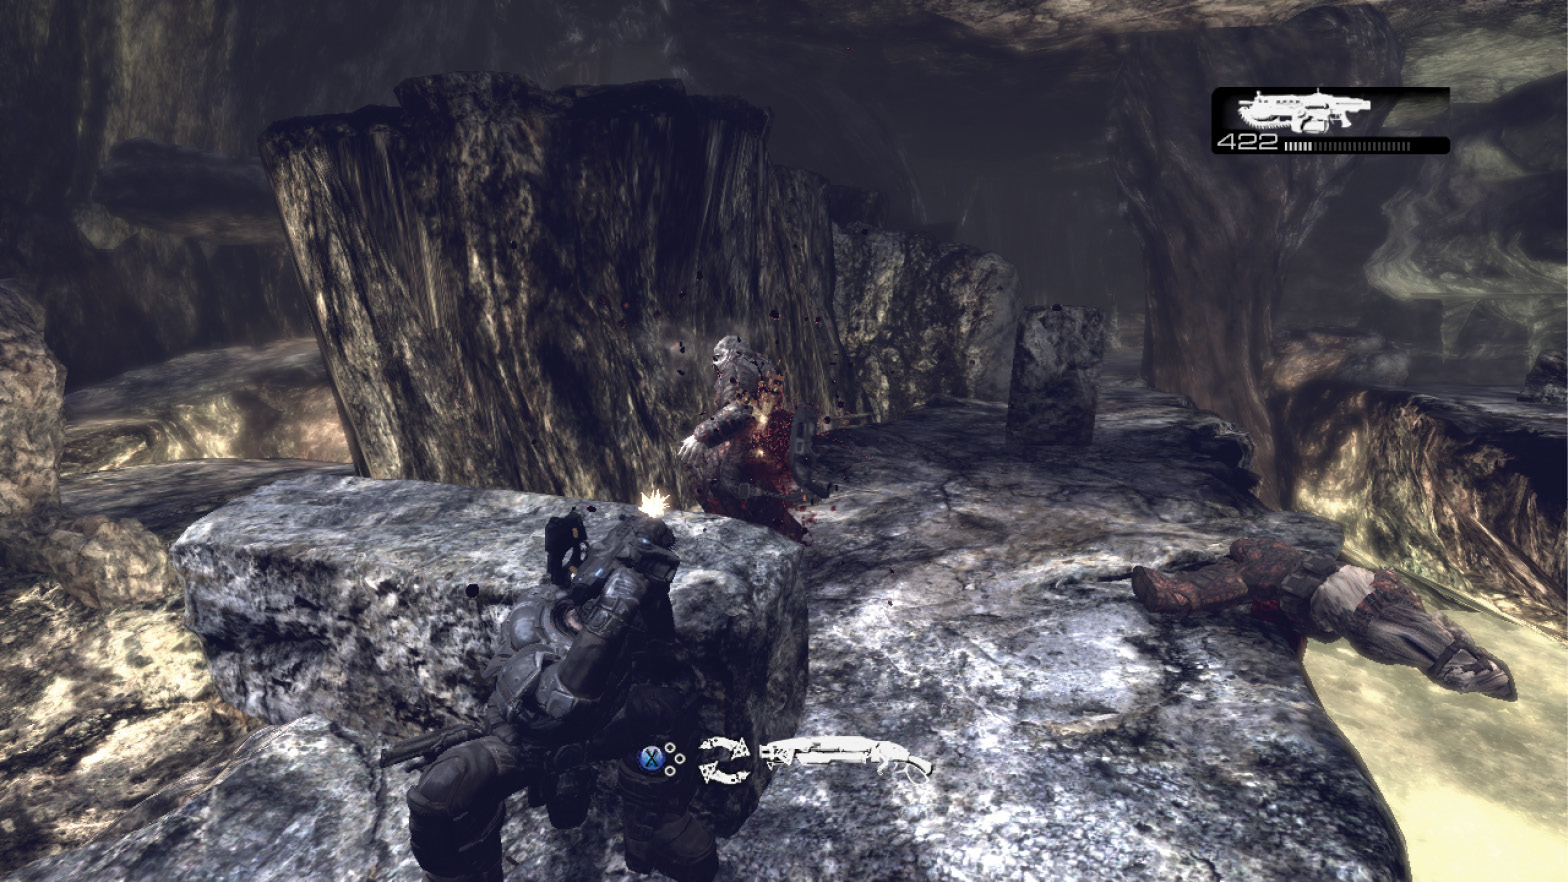
Left Path: low route
Allow Dom to get ahead of Marcus, and listen closely for the sound of the Locust battlecry. Quickly draw the Longshot and snipe the Drone rushing toward Dom on the right path. Switch back to the Lancer and mow down the Dark Wretches closing in around Marcus. Keep tabs on Dom’s position, and use the Lancer to give him a hand whenever you can, as the Dark Wretches may overwhelm him.
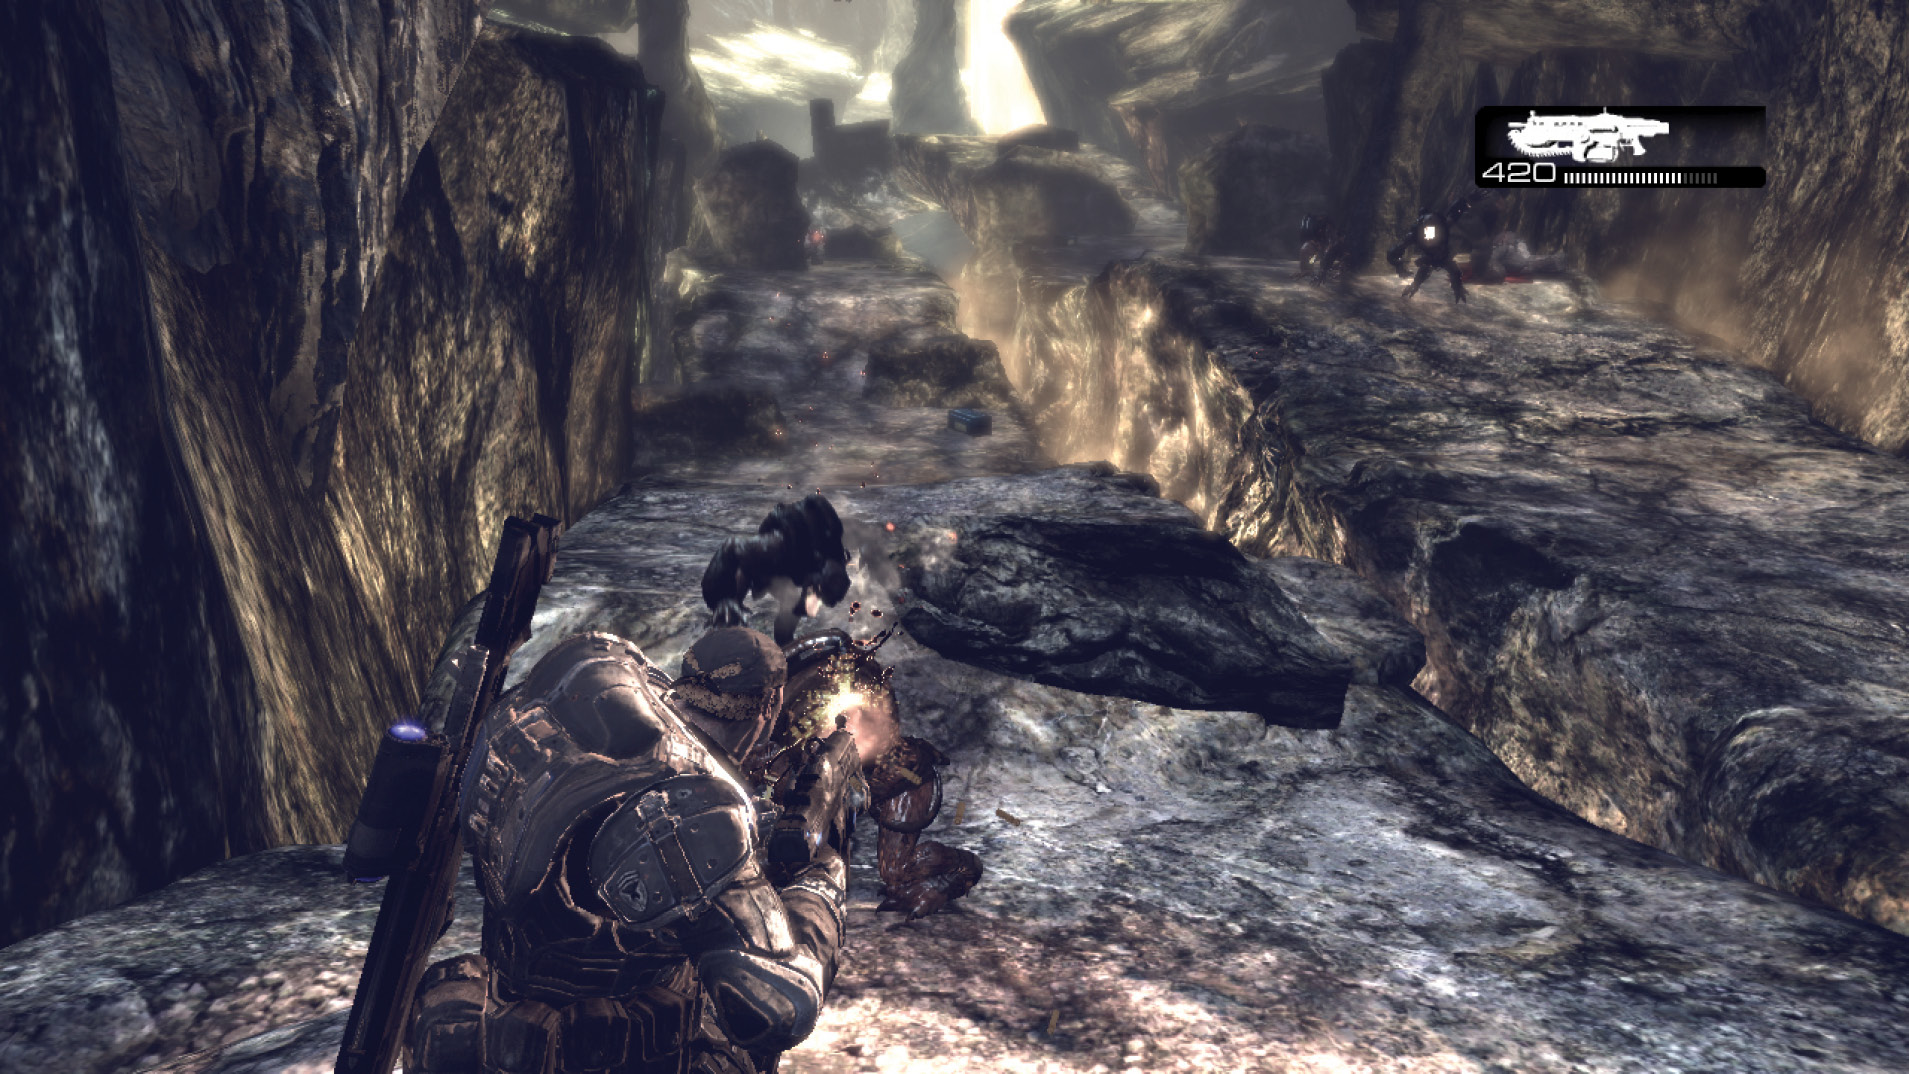
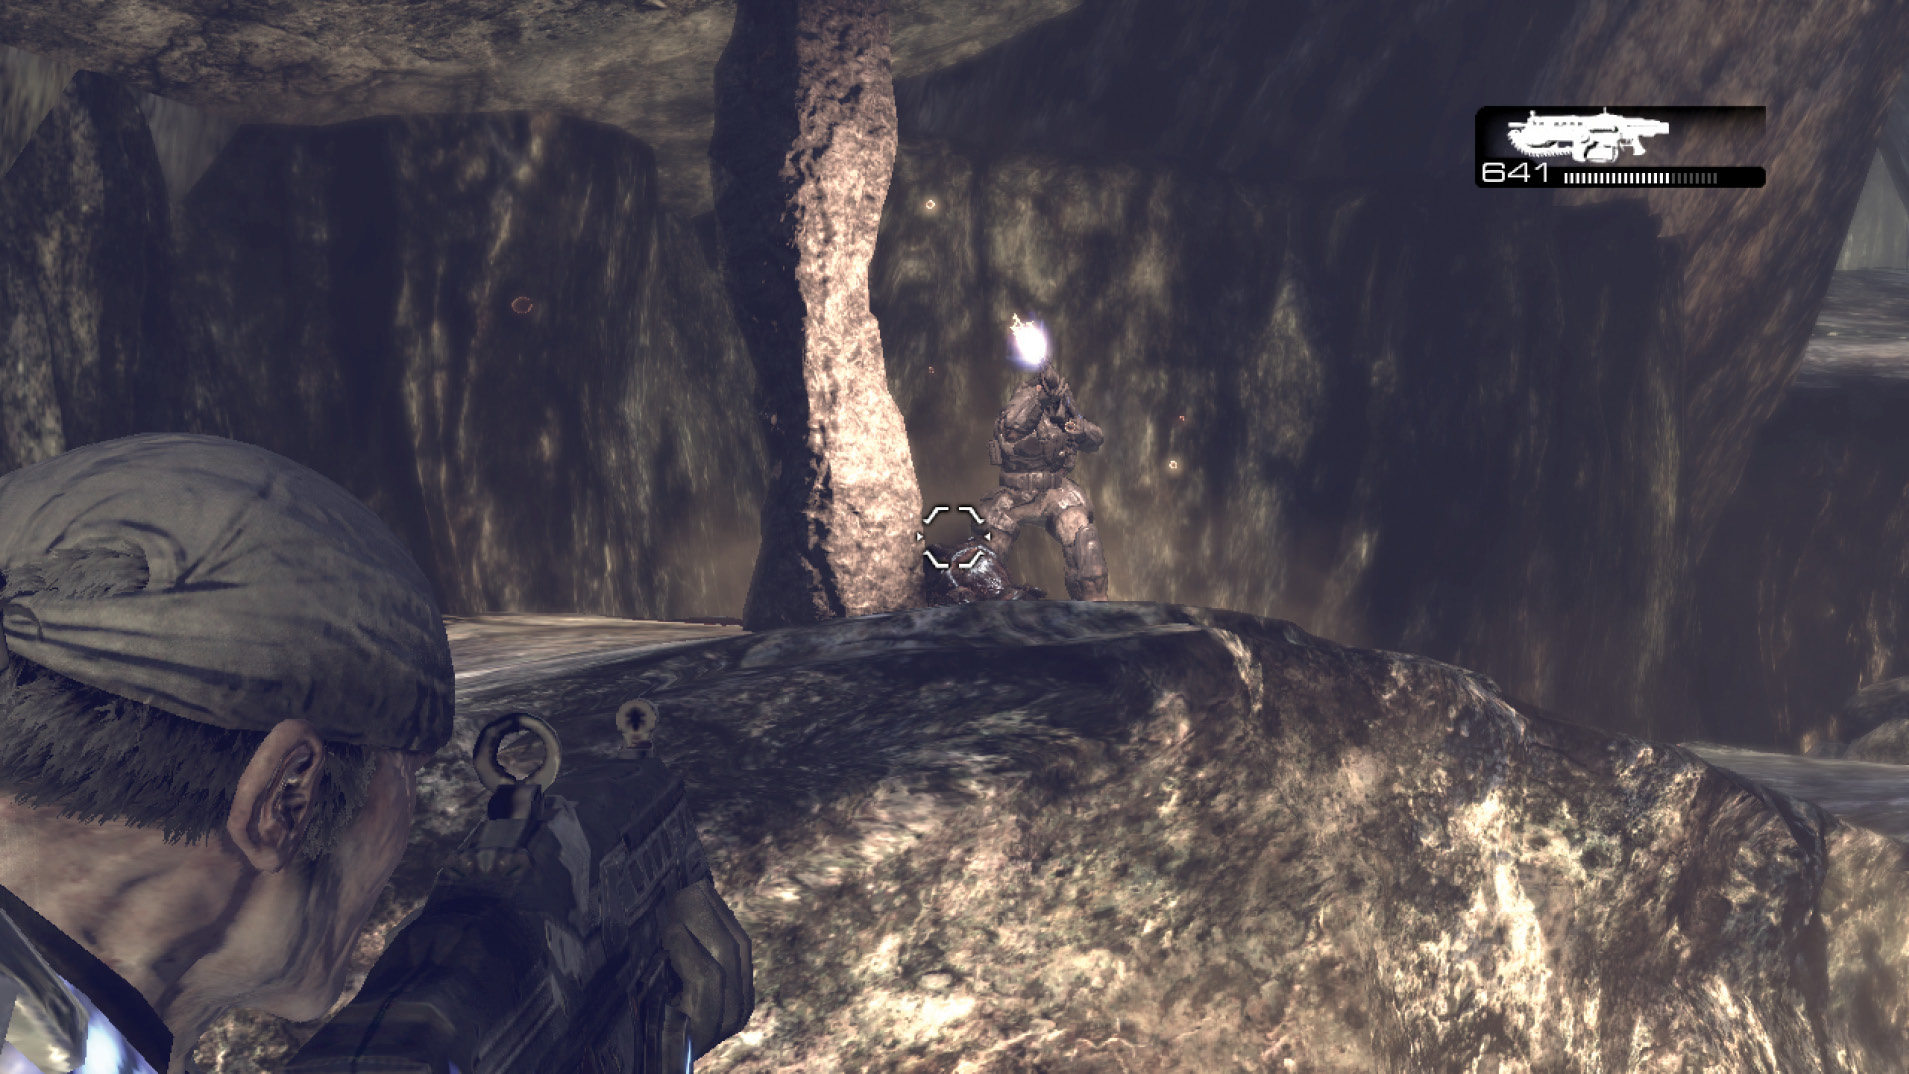
The two paths crisscross ahead, and the trail Marcus is on dips under a stone archway. Use the Longshot to put down the Drone beneath this arch and keep moving.
There are several more Drones and another dozen or so Dark Wretches split between the two paths up ahead. Move to the first piece of cover when you hear the Locust bellow, and employ the Longshot against them. Clear out the nearby Dark Wretches before you suppress the Drones near Dom’s position. This gives him time to rush in with the chainsaw bayonet. Regroup with Dom up ahead.
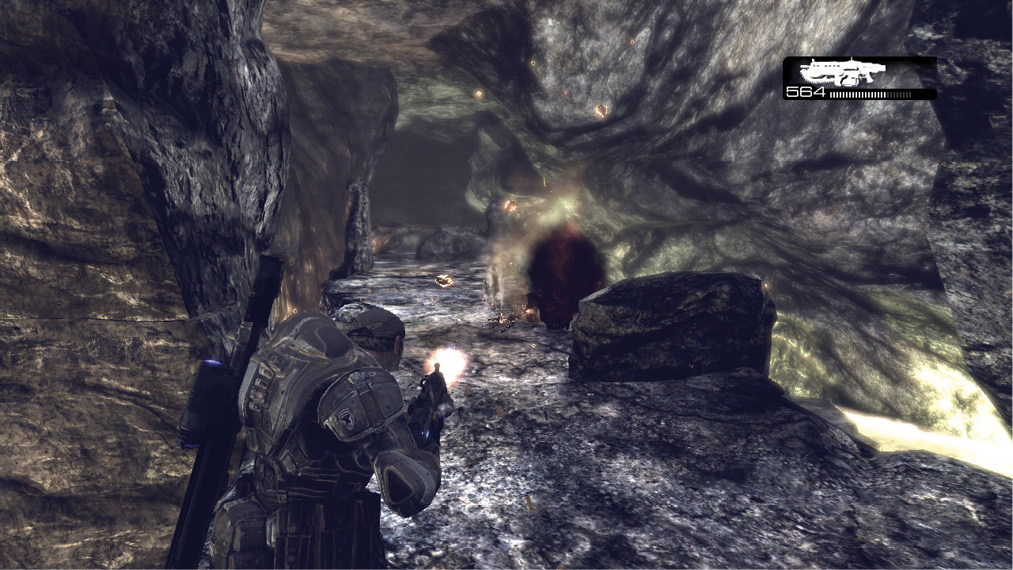
Approach the edge of the walkway. Land a Frag Grenade on the nearby rock ledge. The resulting blast causes the nearby rock ledge to crumble, thereby giving Marcus a way down to the platform. Gather the ammo and Frag Grenades amongst the chunks of Wretch flesh, and continue your journey.
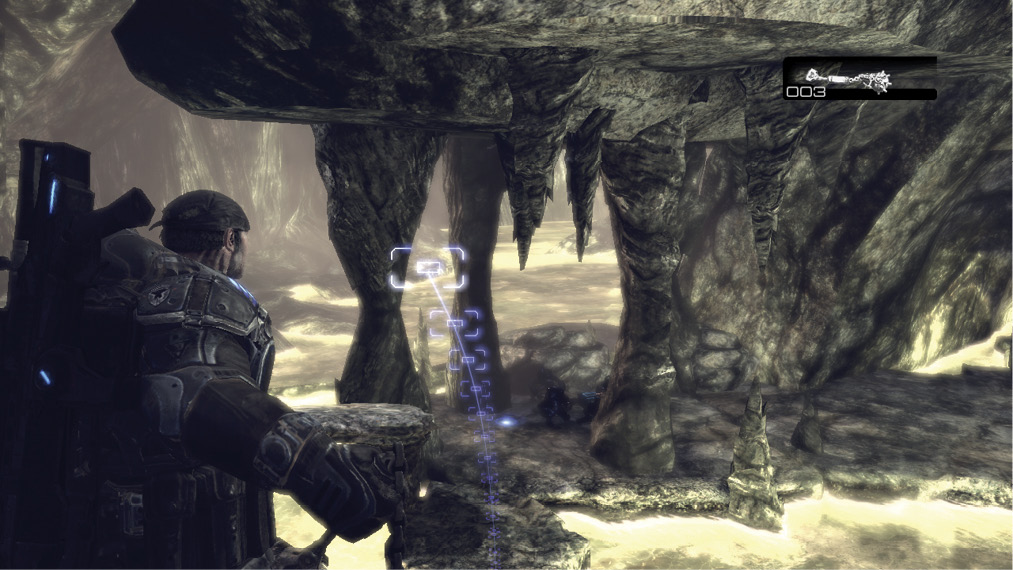
The pathway ahead has many pieces of cover for Marcus and Dom to use as they fight through a throng of Drones and Dark Wretches. The battle kicks off with a Grenadier rushing forward. Stay behind cover until he’s in view, and then cut him open with the chainsaw bayonet. Next up is the Dark Wretches. Ignore the distant Drones for the time being. Instead, lure the Dark Wretches back around the corner so you’re out of view from the Drones. Once you eliminate the Dark Wretches, move back into cover and advance slowly alongside Dom, allowing him to suppress the enemies while you ready the Longshot.
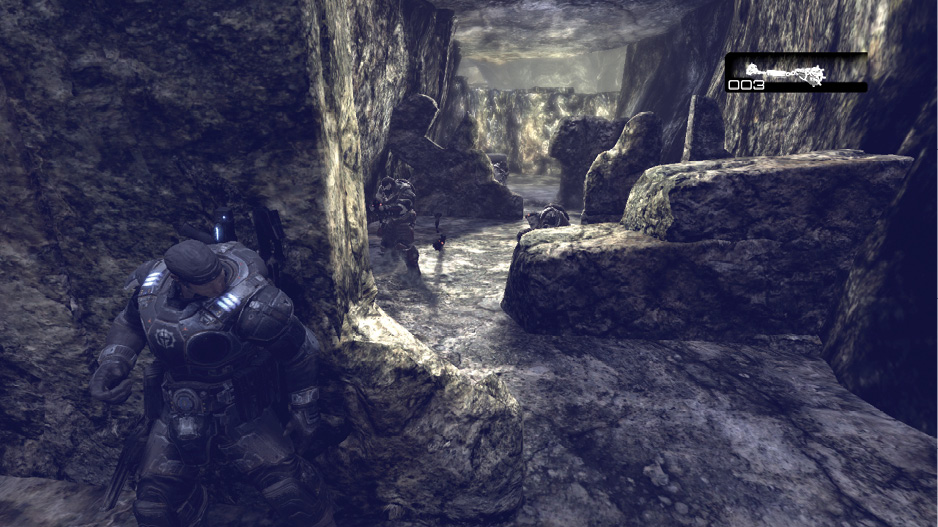
COG TAG #24Follow the cave’s right edge to the narrow ledge over the massive Imulsion pool. The COG Tag is off the main path, and you must turn around to find it. 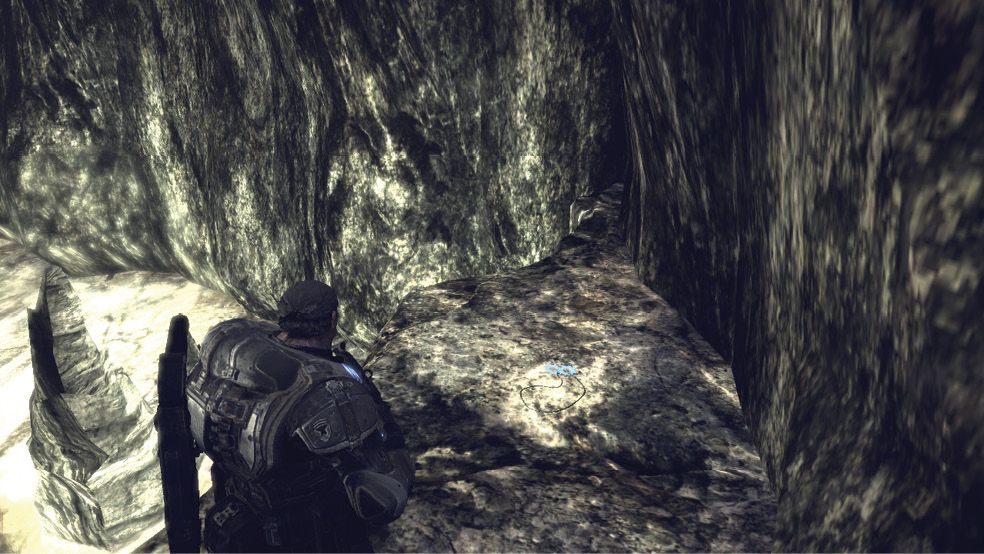
|
Angry Titan
David versus Goliath.
Kill the Corpser
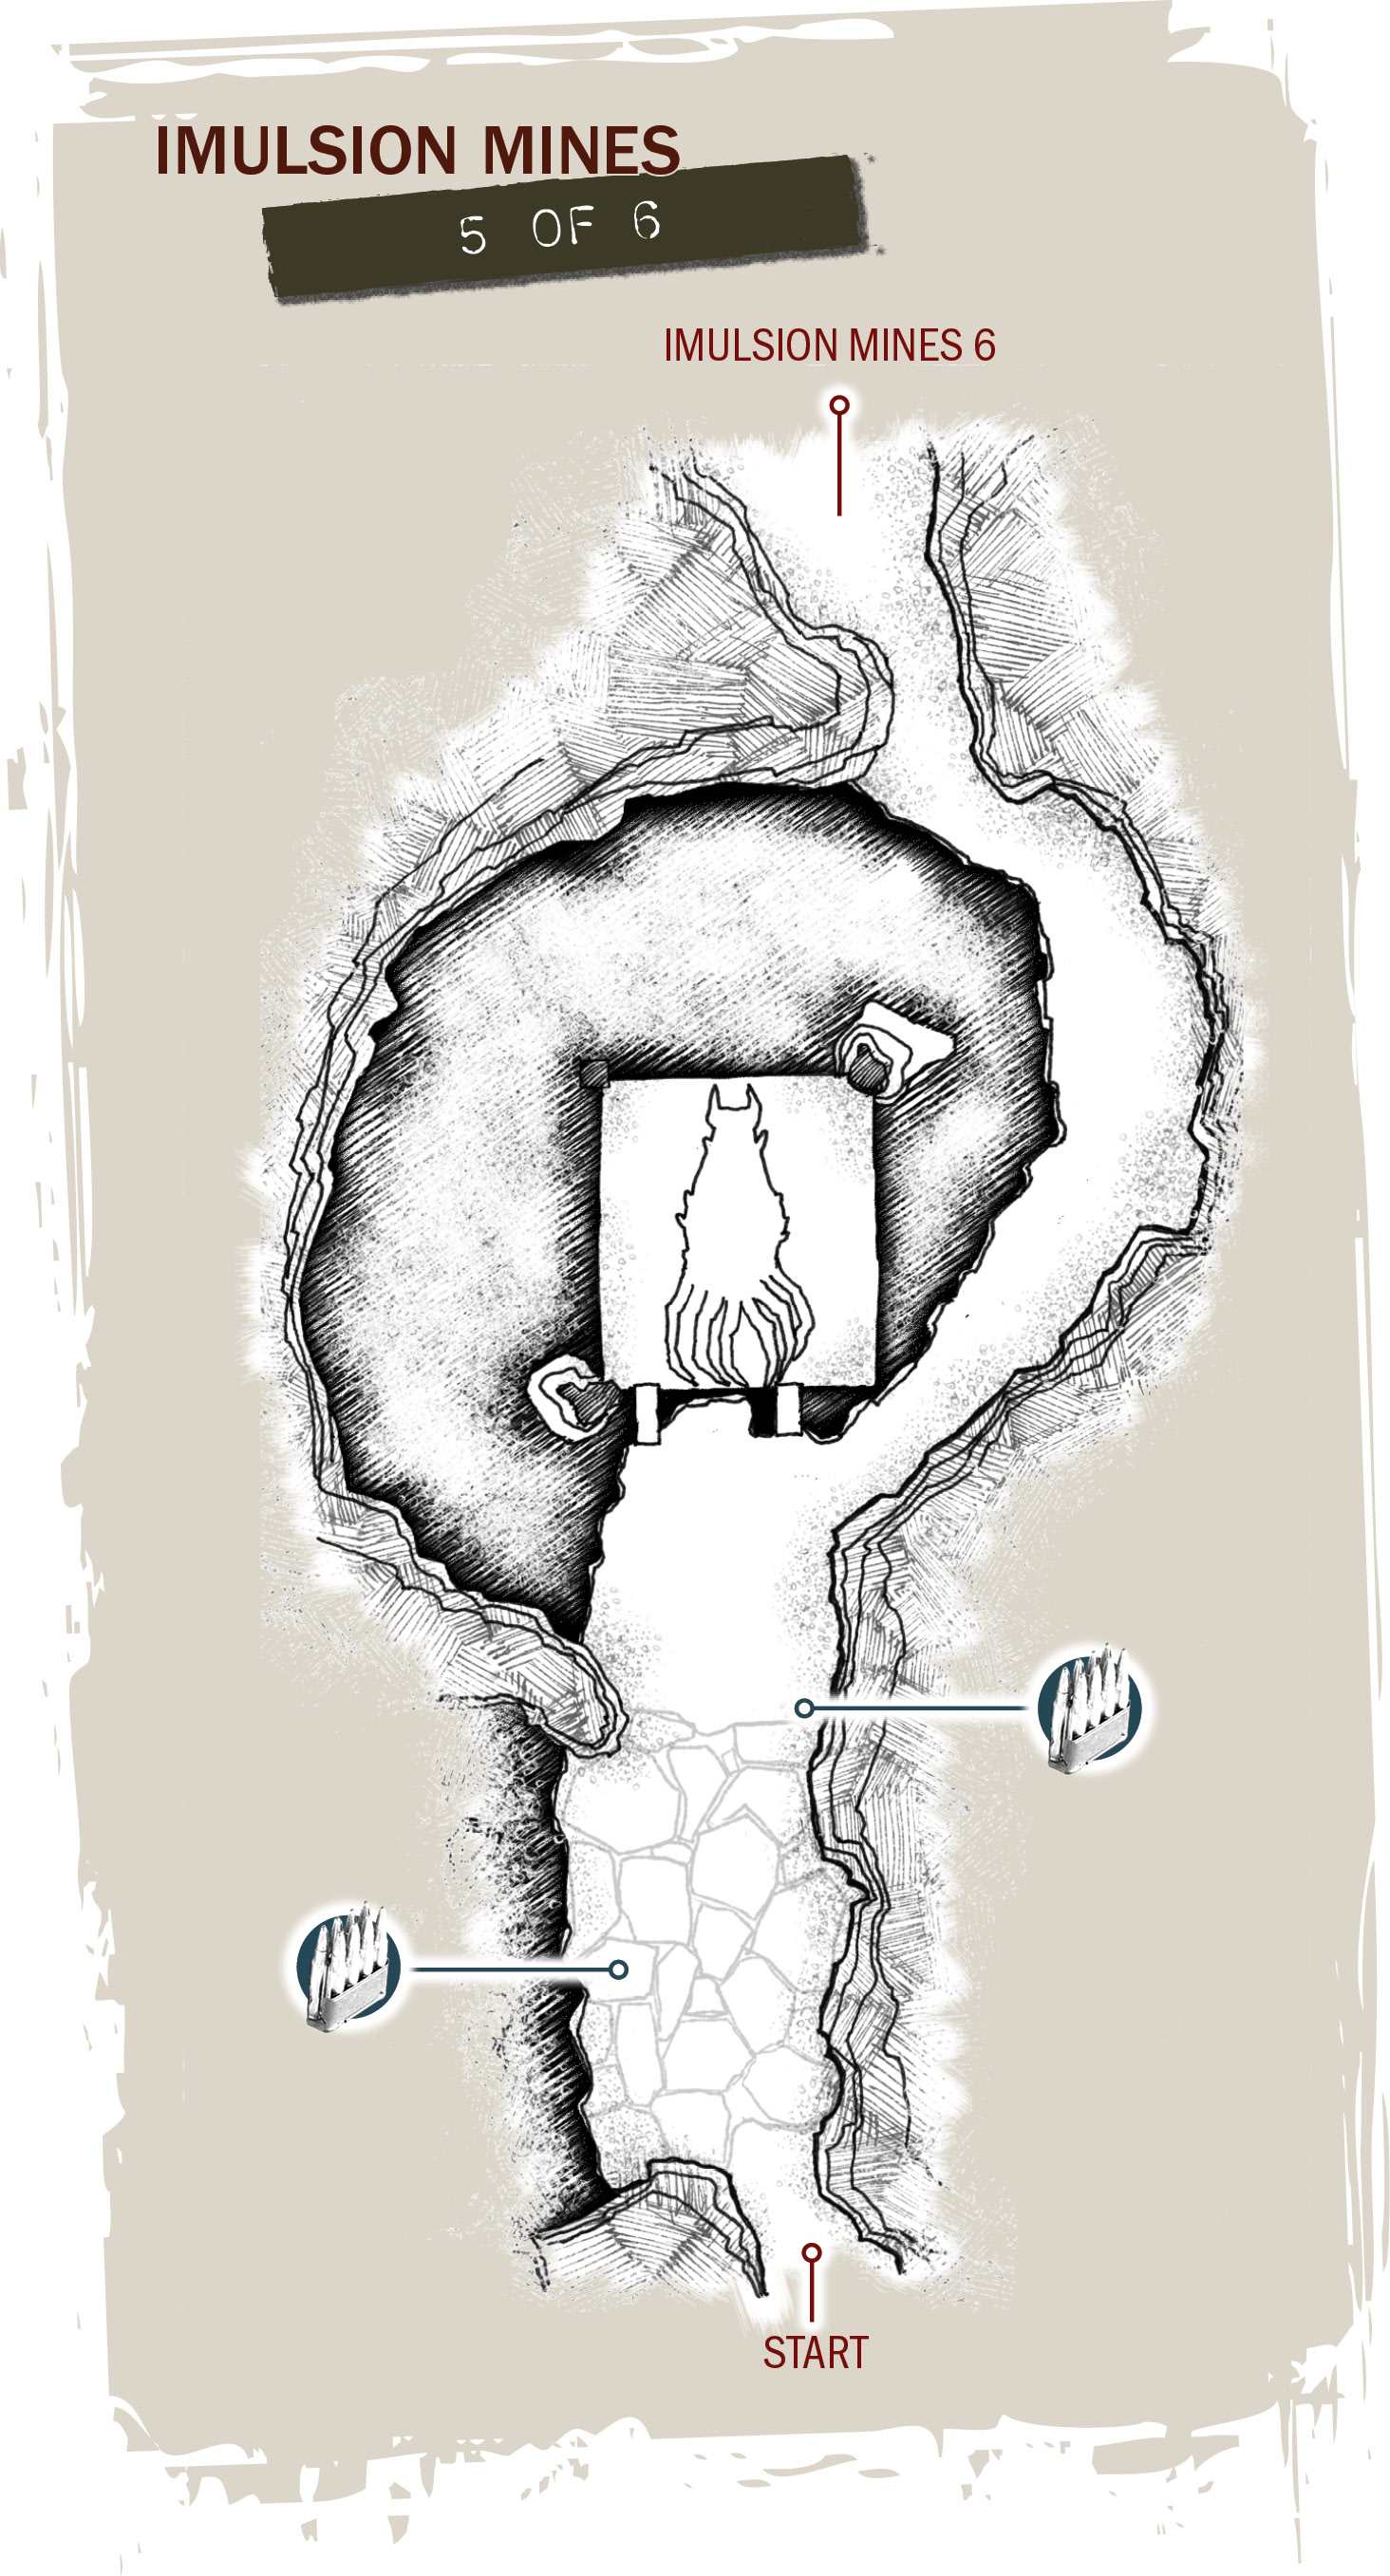
The Corpser has lurked in the distance everywhere Marcus and the others have gone, but it has always fled without confrontation…until now. Delta Squad has entered the Imulsion mines, the home of the Corpser, and there is no going back. It’s either kill or be killed.
Marcus and Dom battle the Corpser atop a series of floating rock slabs in an otherwise deadly pool of Imulsion. Although these rock chunks can support the Corpser’s weight, they crumble and sink with a particularly powerful jab from its mighty claws. As these blocks sink, Marcus and Dom lose the ability to keep a safe distance from the Corpser.
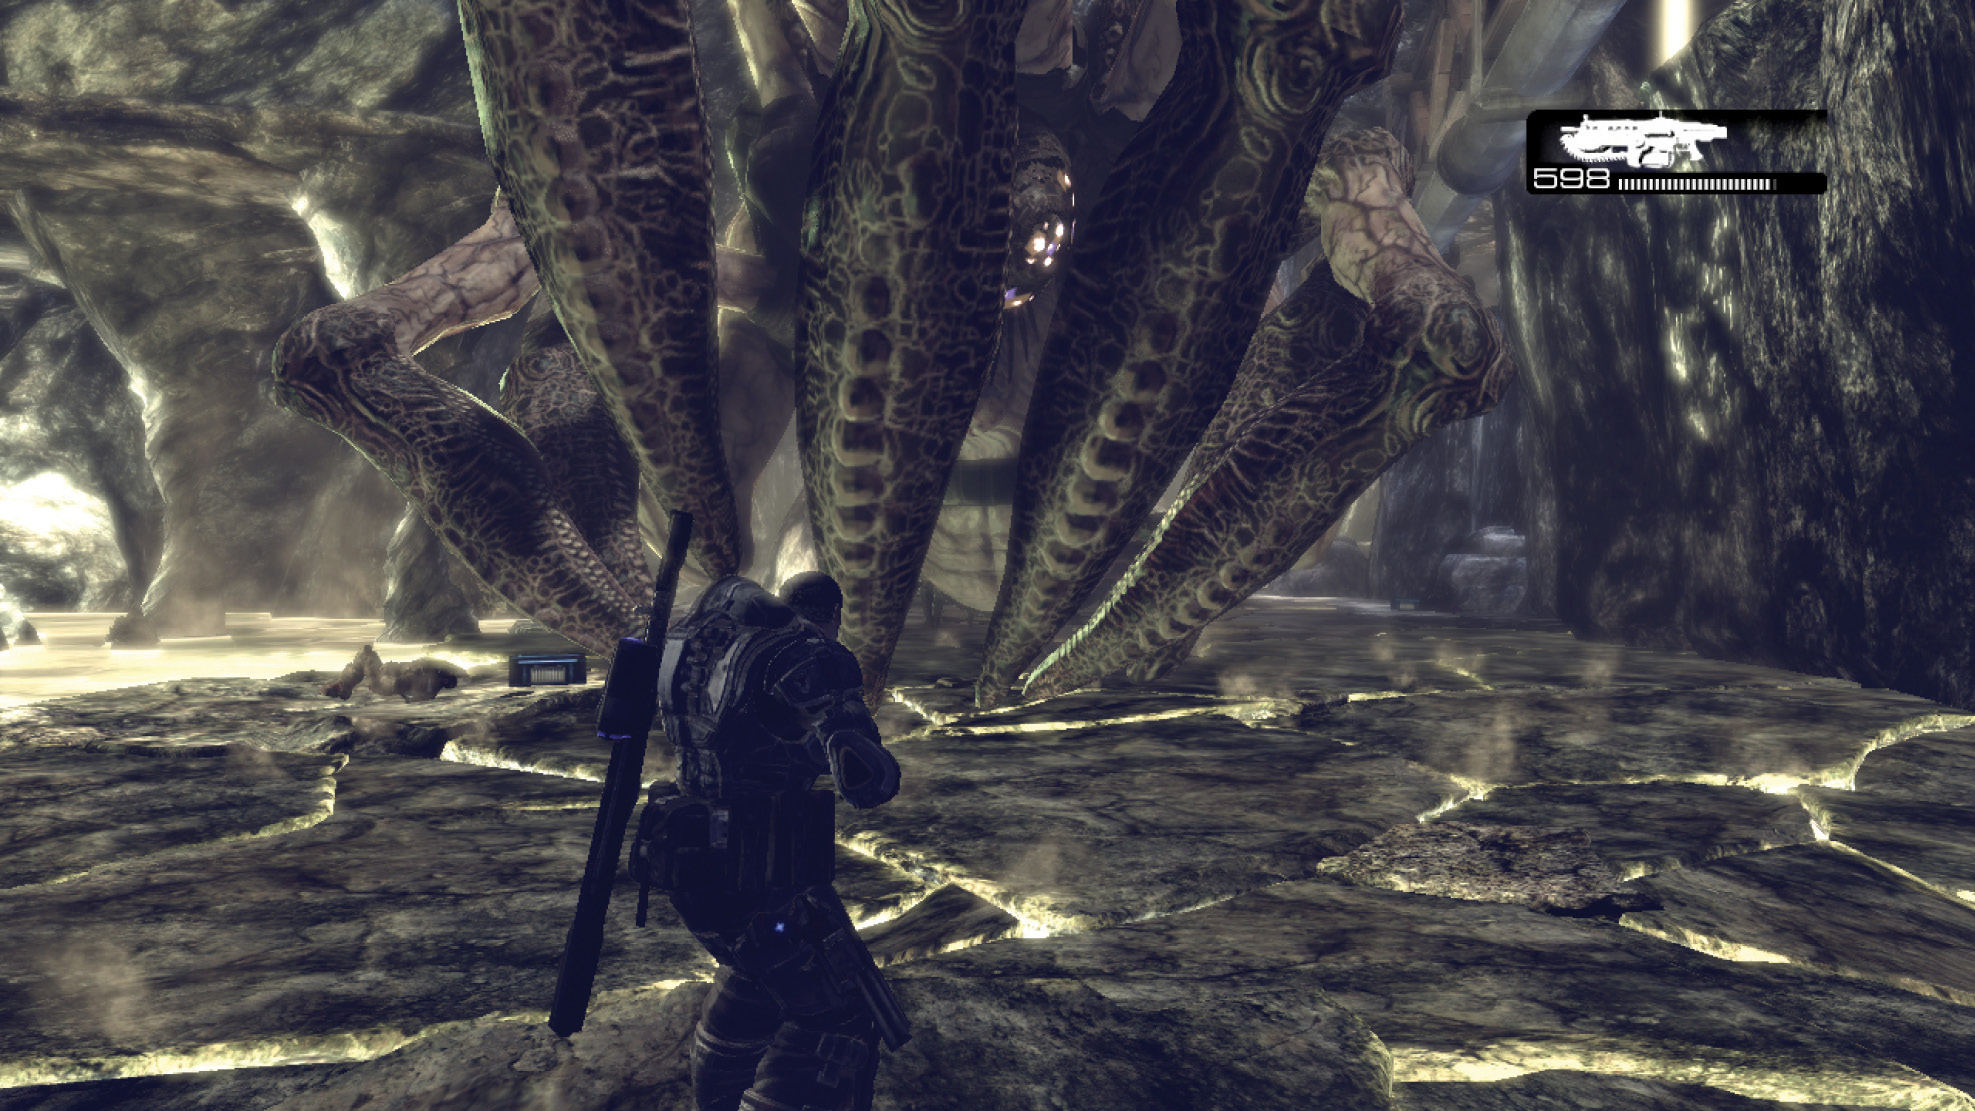
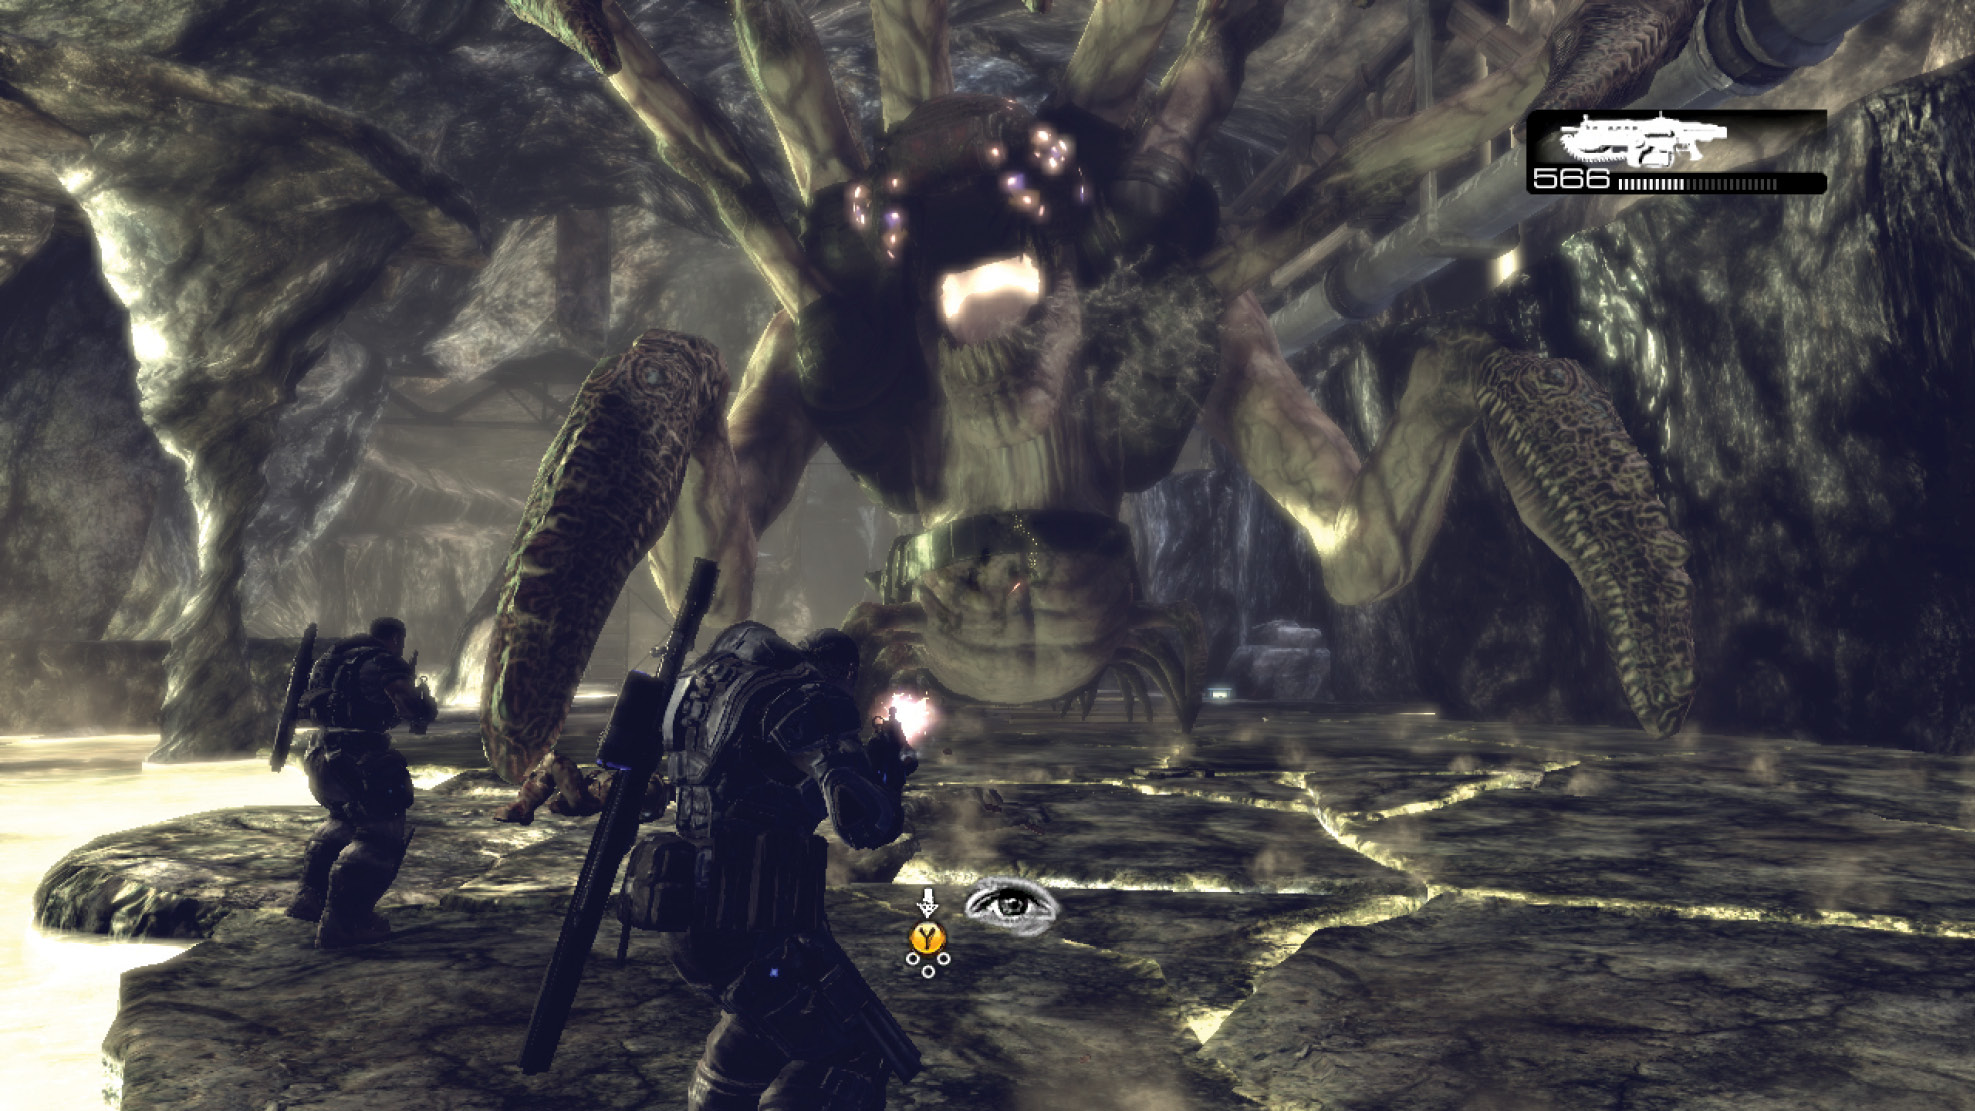
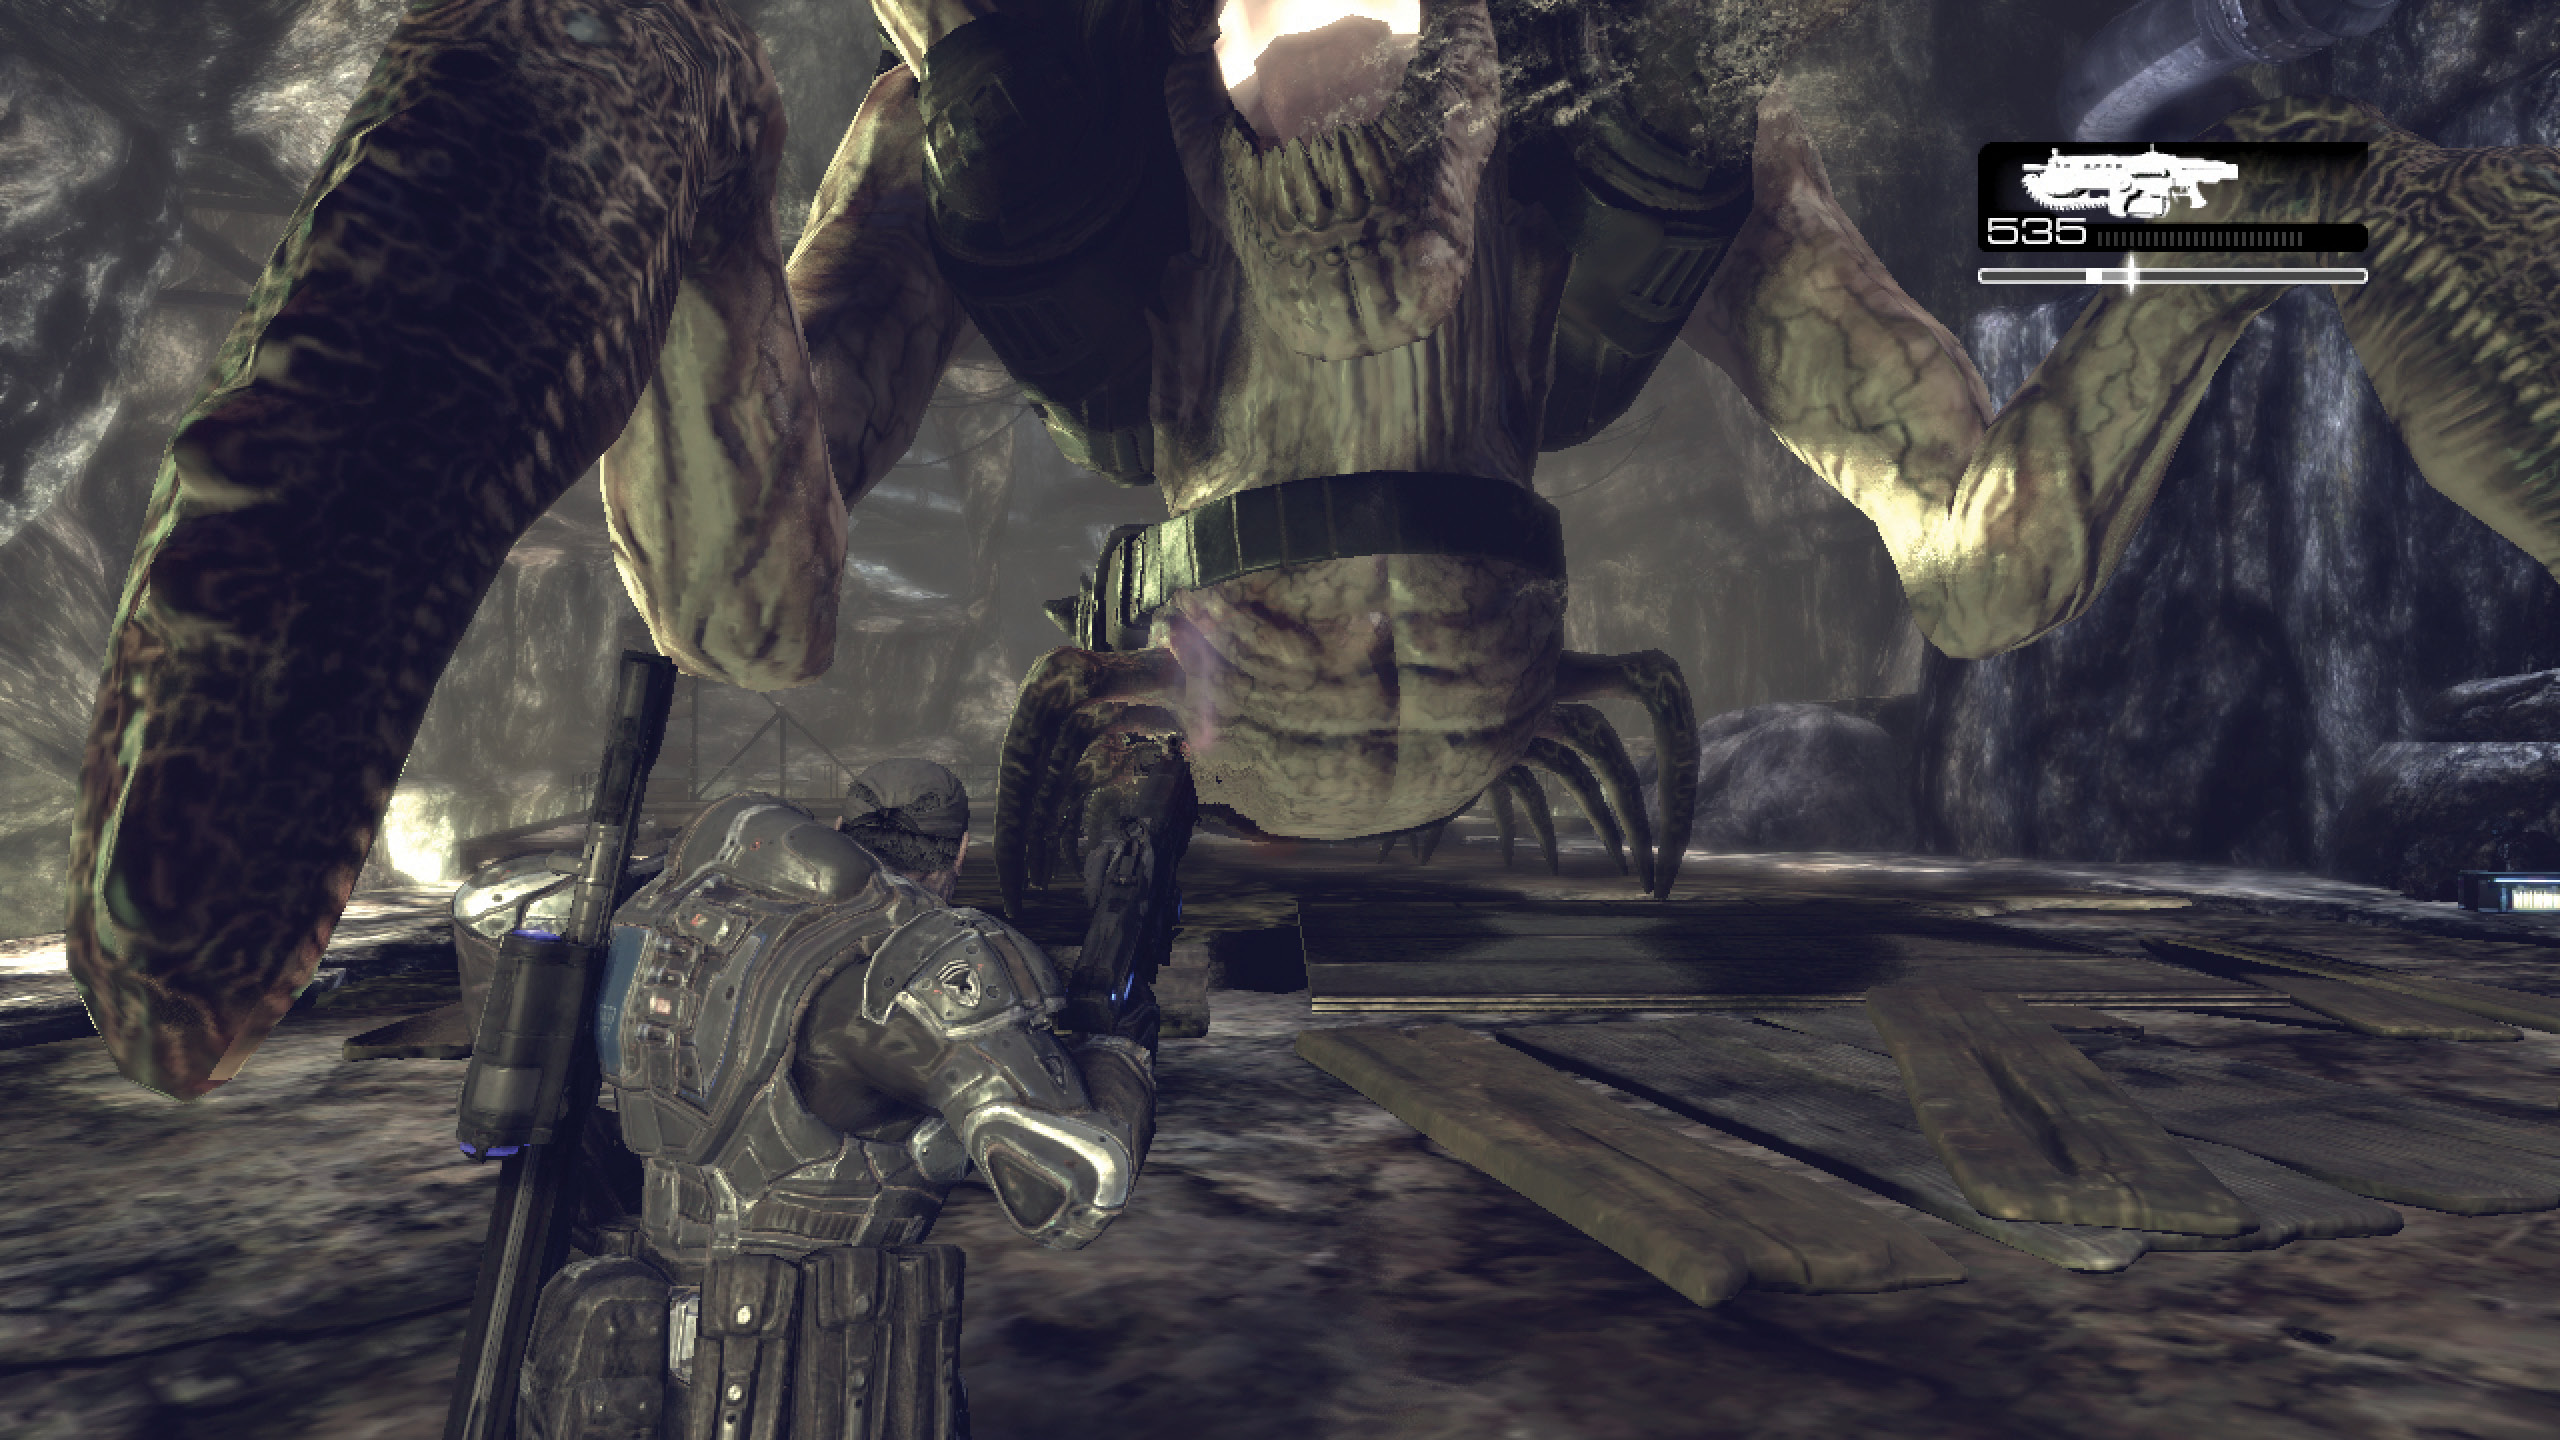
Fortunately for Marcus, the gigantic Corpser is not without weakness; it’s possible to kill it somewhat quickly. Equip the Lancer and stand in the middle of the floating battleground. Wait for the Corpser to lift several of its claws. The Corpser raises its claws into the air before striking down at Marcus or Dom. The key is to get close enough to the Corpser so that the claws come down behind them.
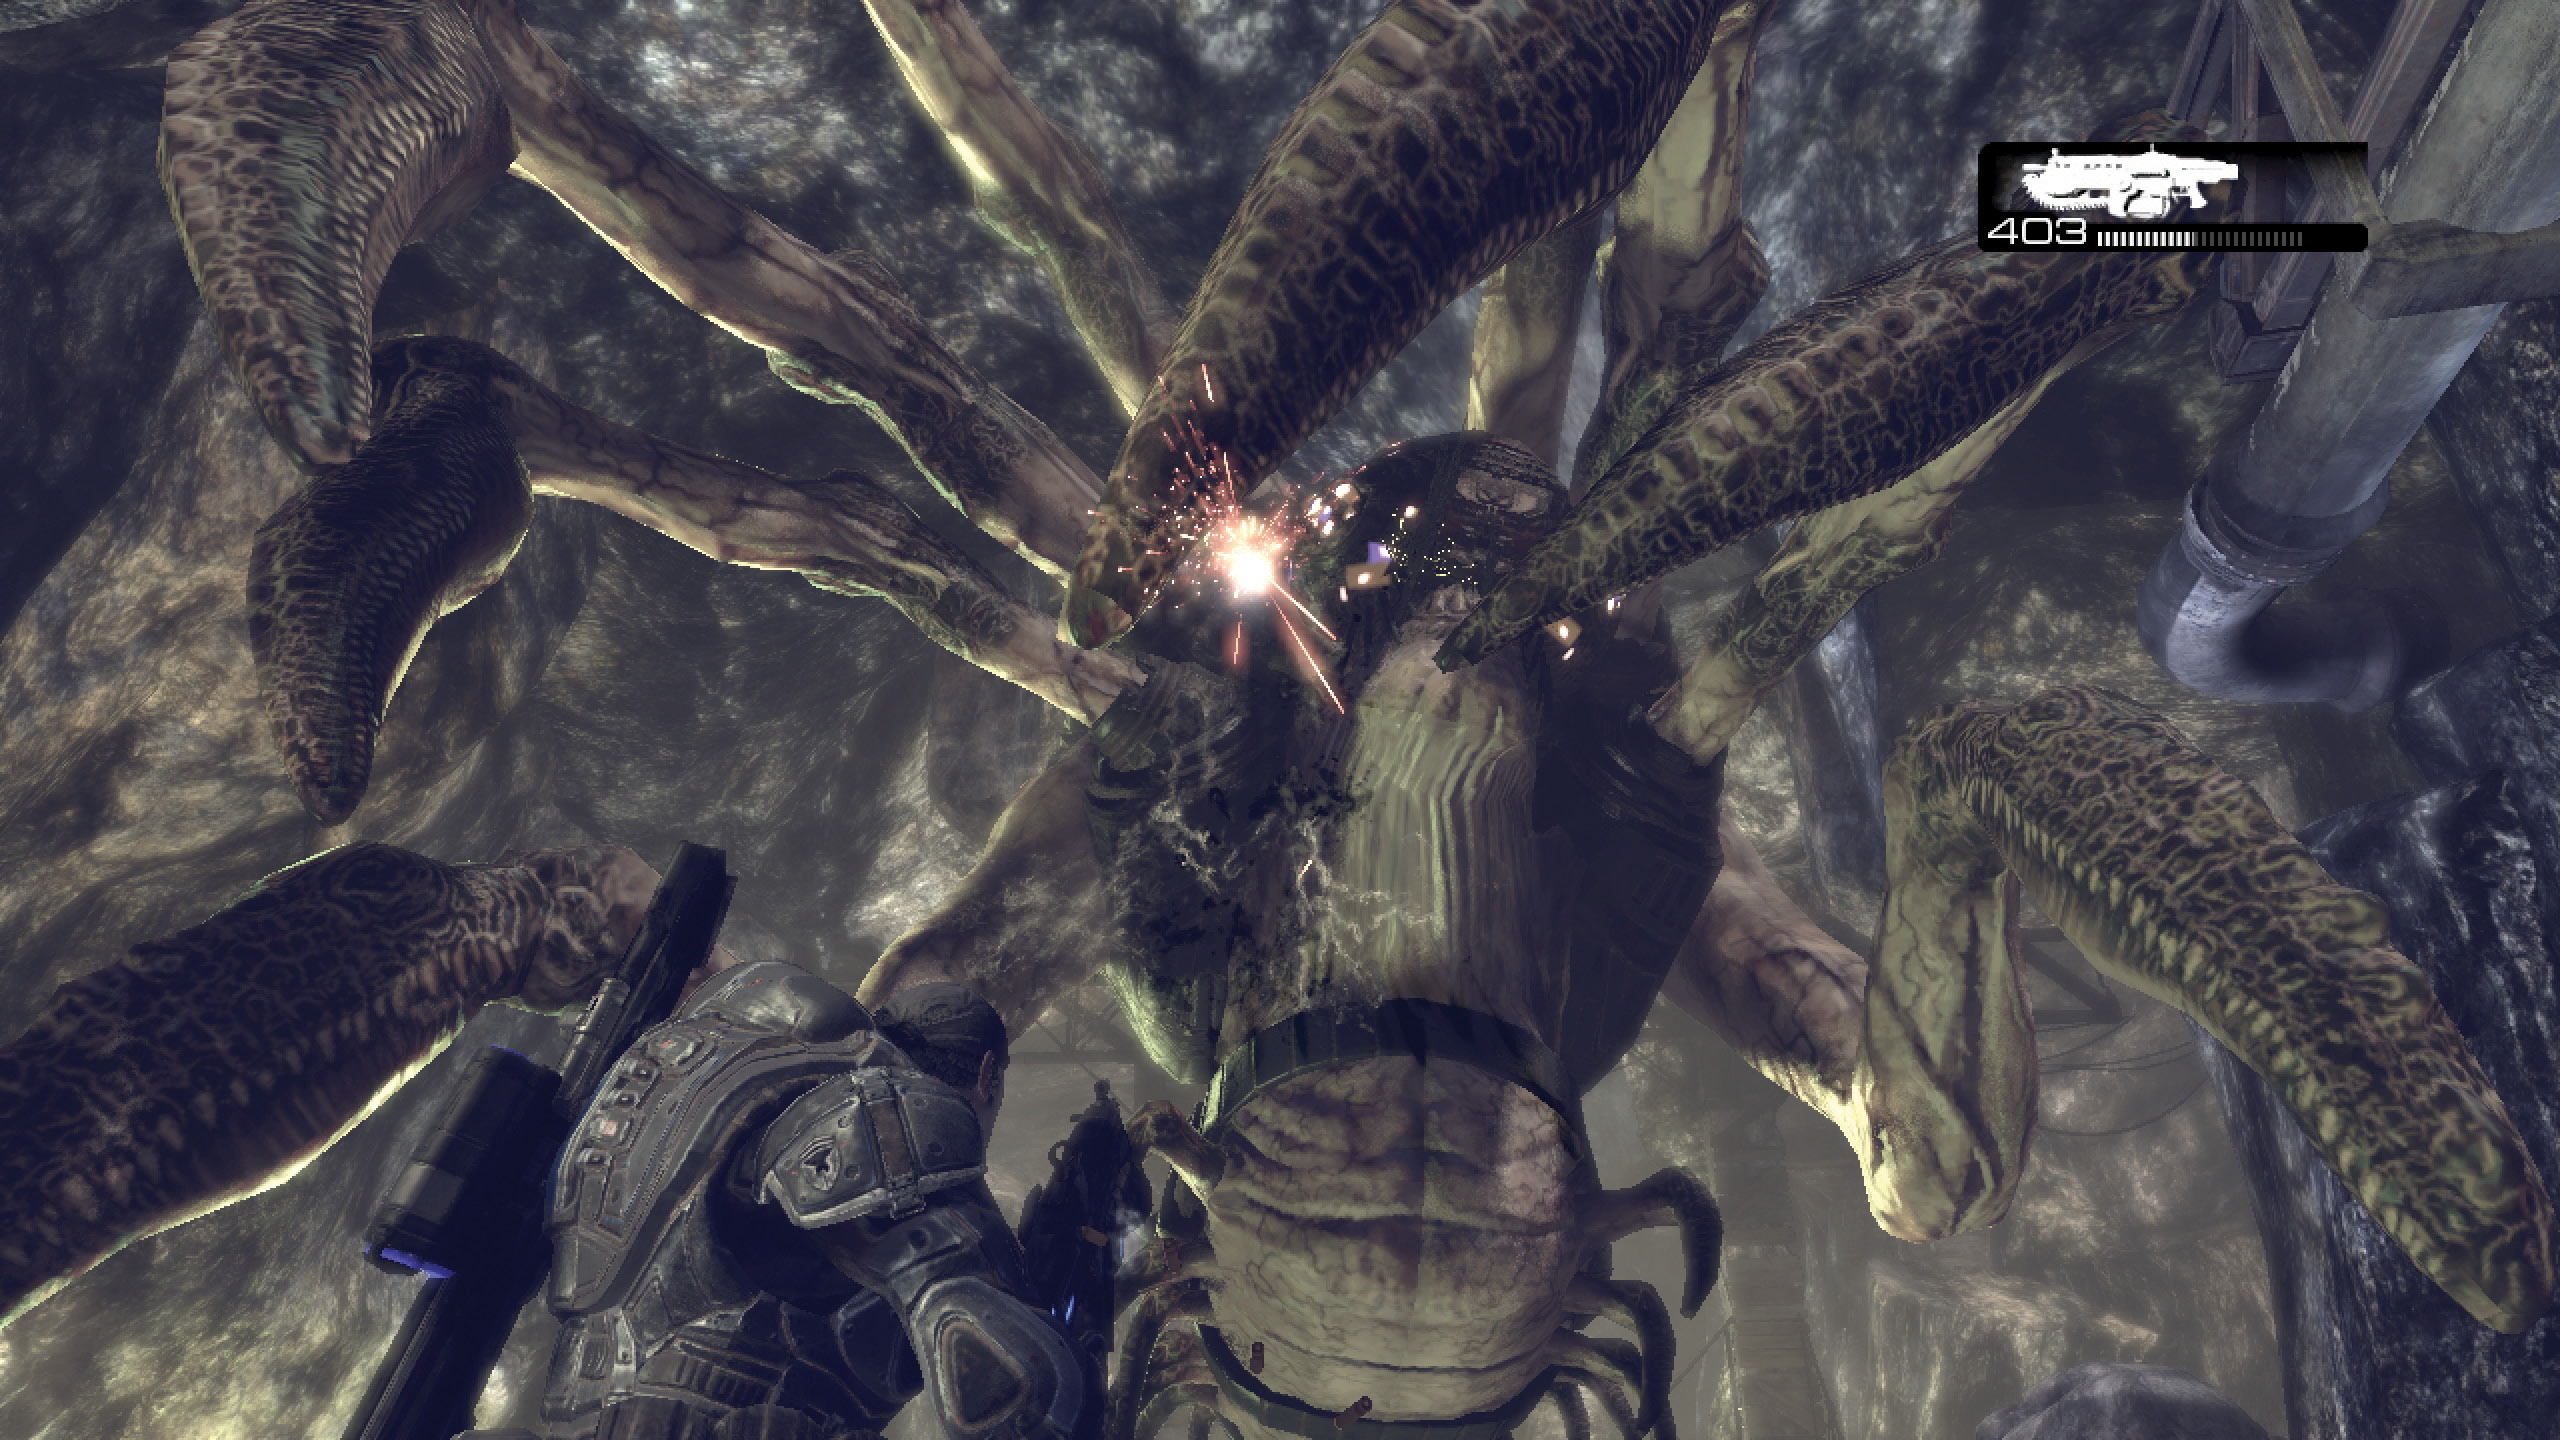
While the claws are raised, use the Lancer to target the Corpser’s soft belly. Aim for the area just above what appears to be a metallic belt. Hit it in the stomach with half a clip of ammo to inflict enough pain that it rears up and begins to scream. Now it’s time to strike! Quickly raise the Lancer’s barrel and shoot the Corpser in its open mouth. Aim for the lower jaw to avoid its protective outer layer. When you successfully hit the Corpser in the mouth, it retreats a few steps.
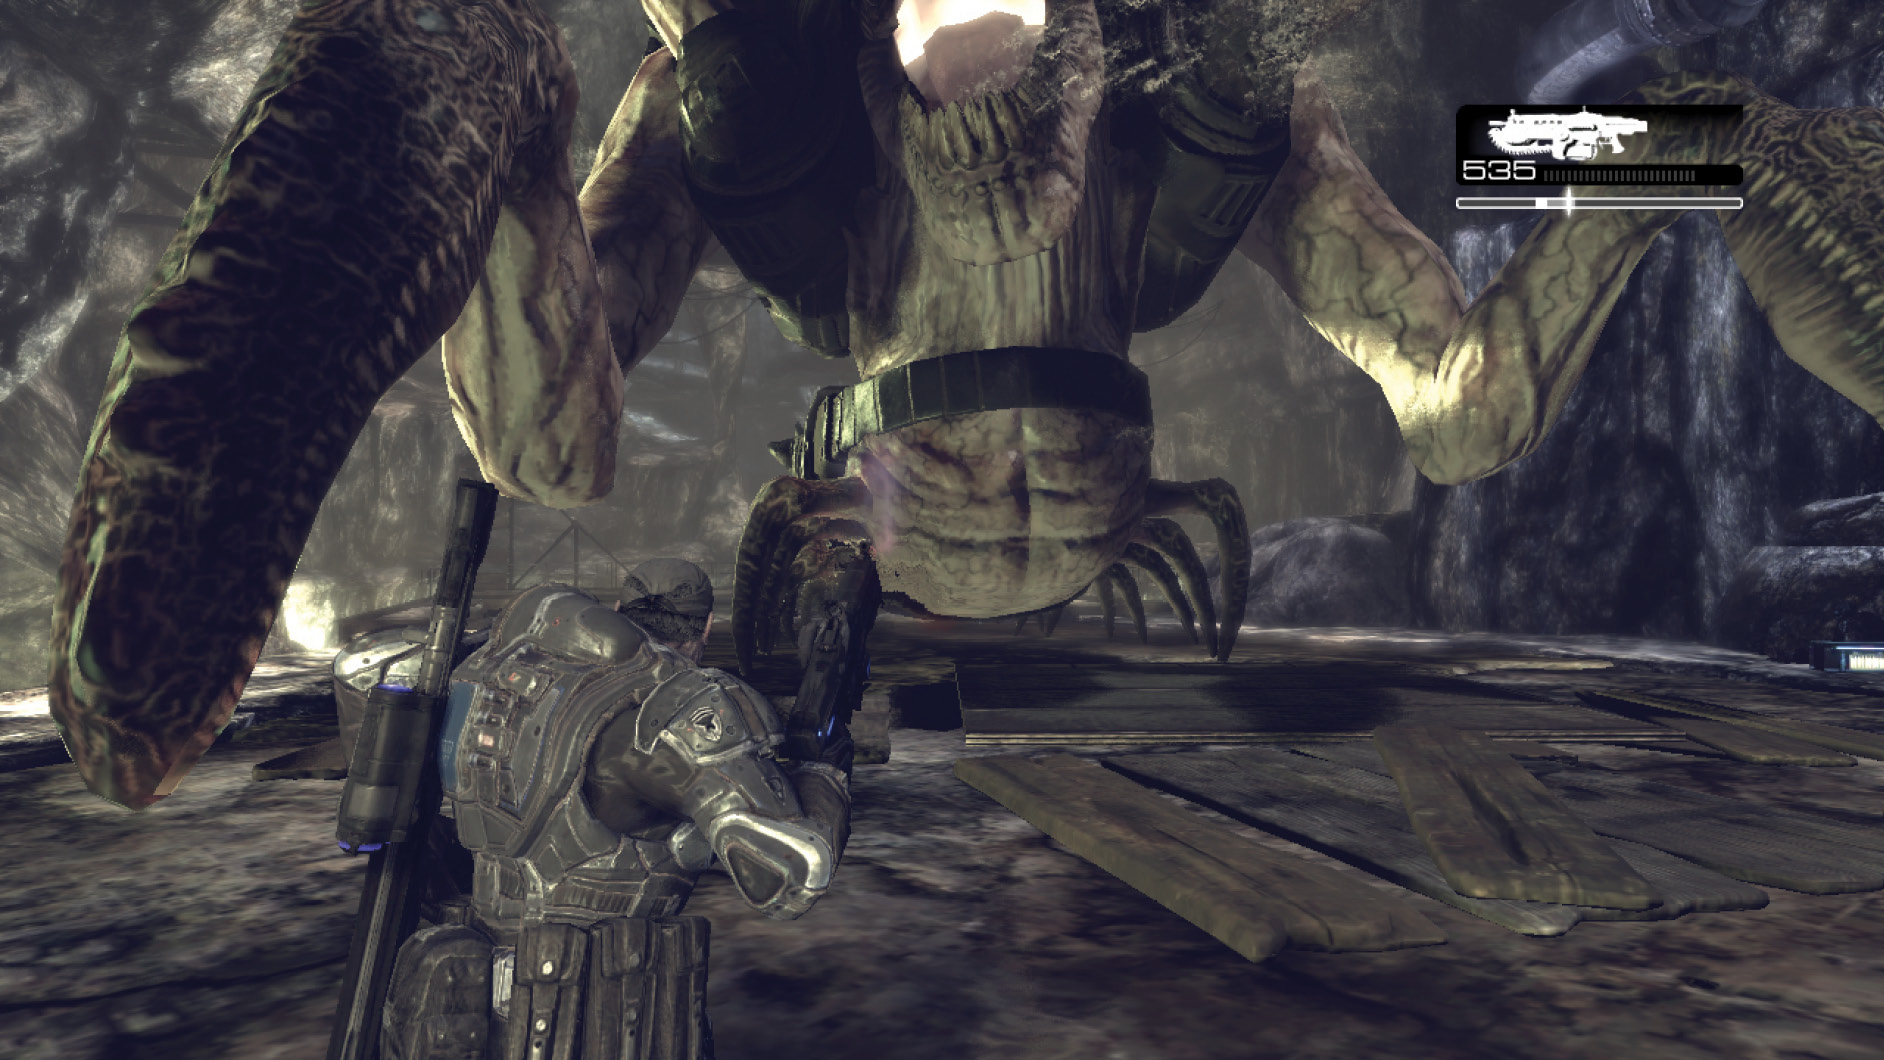
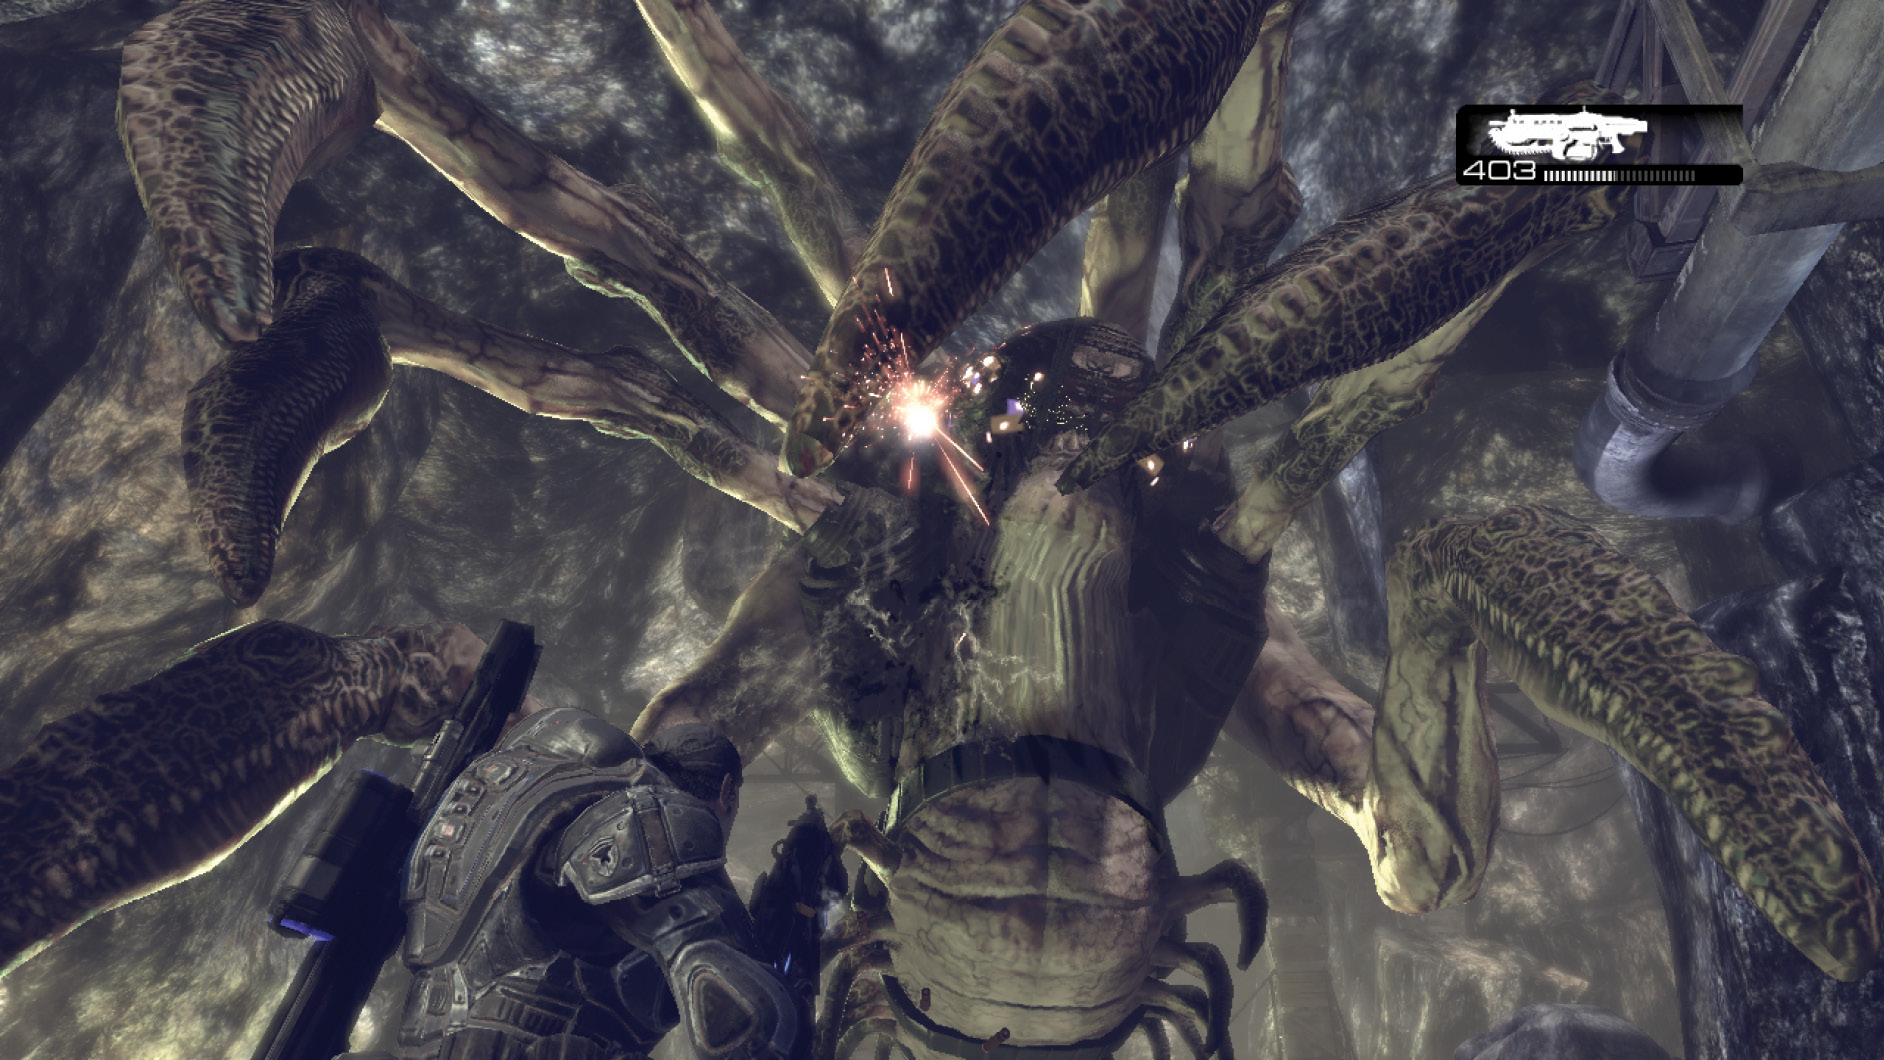
The Corpser strikes with its claws in several ways. When it raises three claws, it attacks at a distance with each one individually. This attack is easy to avoid, as the attack’s focus is to destroy the floating rock slabs behind Marcus and Dom. When it spreads its claws really wide, Marcus should expect it to strike hard with its middle claws at close range—this attack will likely kill Marcus if it hits him. The third attack is less predictable. The Corpser spreads its claws out in a sudden jabbing motion as it lets loose a powerful scream. This attack simply knocks Marcus backward and stuns him, but it’s not fatal.
The best way to kill the Corpser is to move to the area’s far left side and get within a couple steps of the Corpser’s claws. To make the Corpser rear up, use the Lancer to shoot between its side claws. Then quickly shoot it in the mouth. Run after the Corpser, keeping to the left, and repeat this process a second and a third time. Once the Corpser retreats to the wooden platform in the Imulsion pool’s center, use the Lancer to shoot off the two clamps holding the platform to solid ground (use the Y Button to pinpoint their location when the prompt appears). If you follow these tactics, you can kill the Corpser and be on your way in well under a minute.
Tip of the Iceberg
More mysteries found.
Secure the Pumping Station
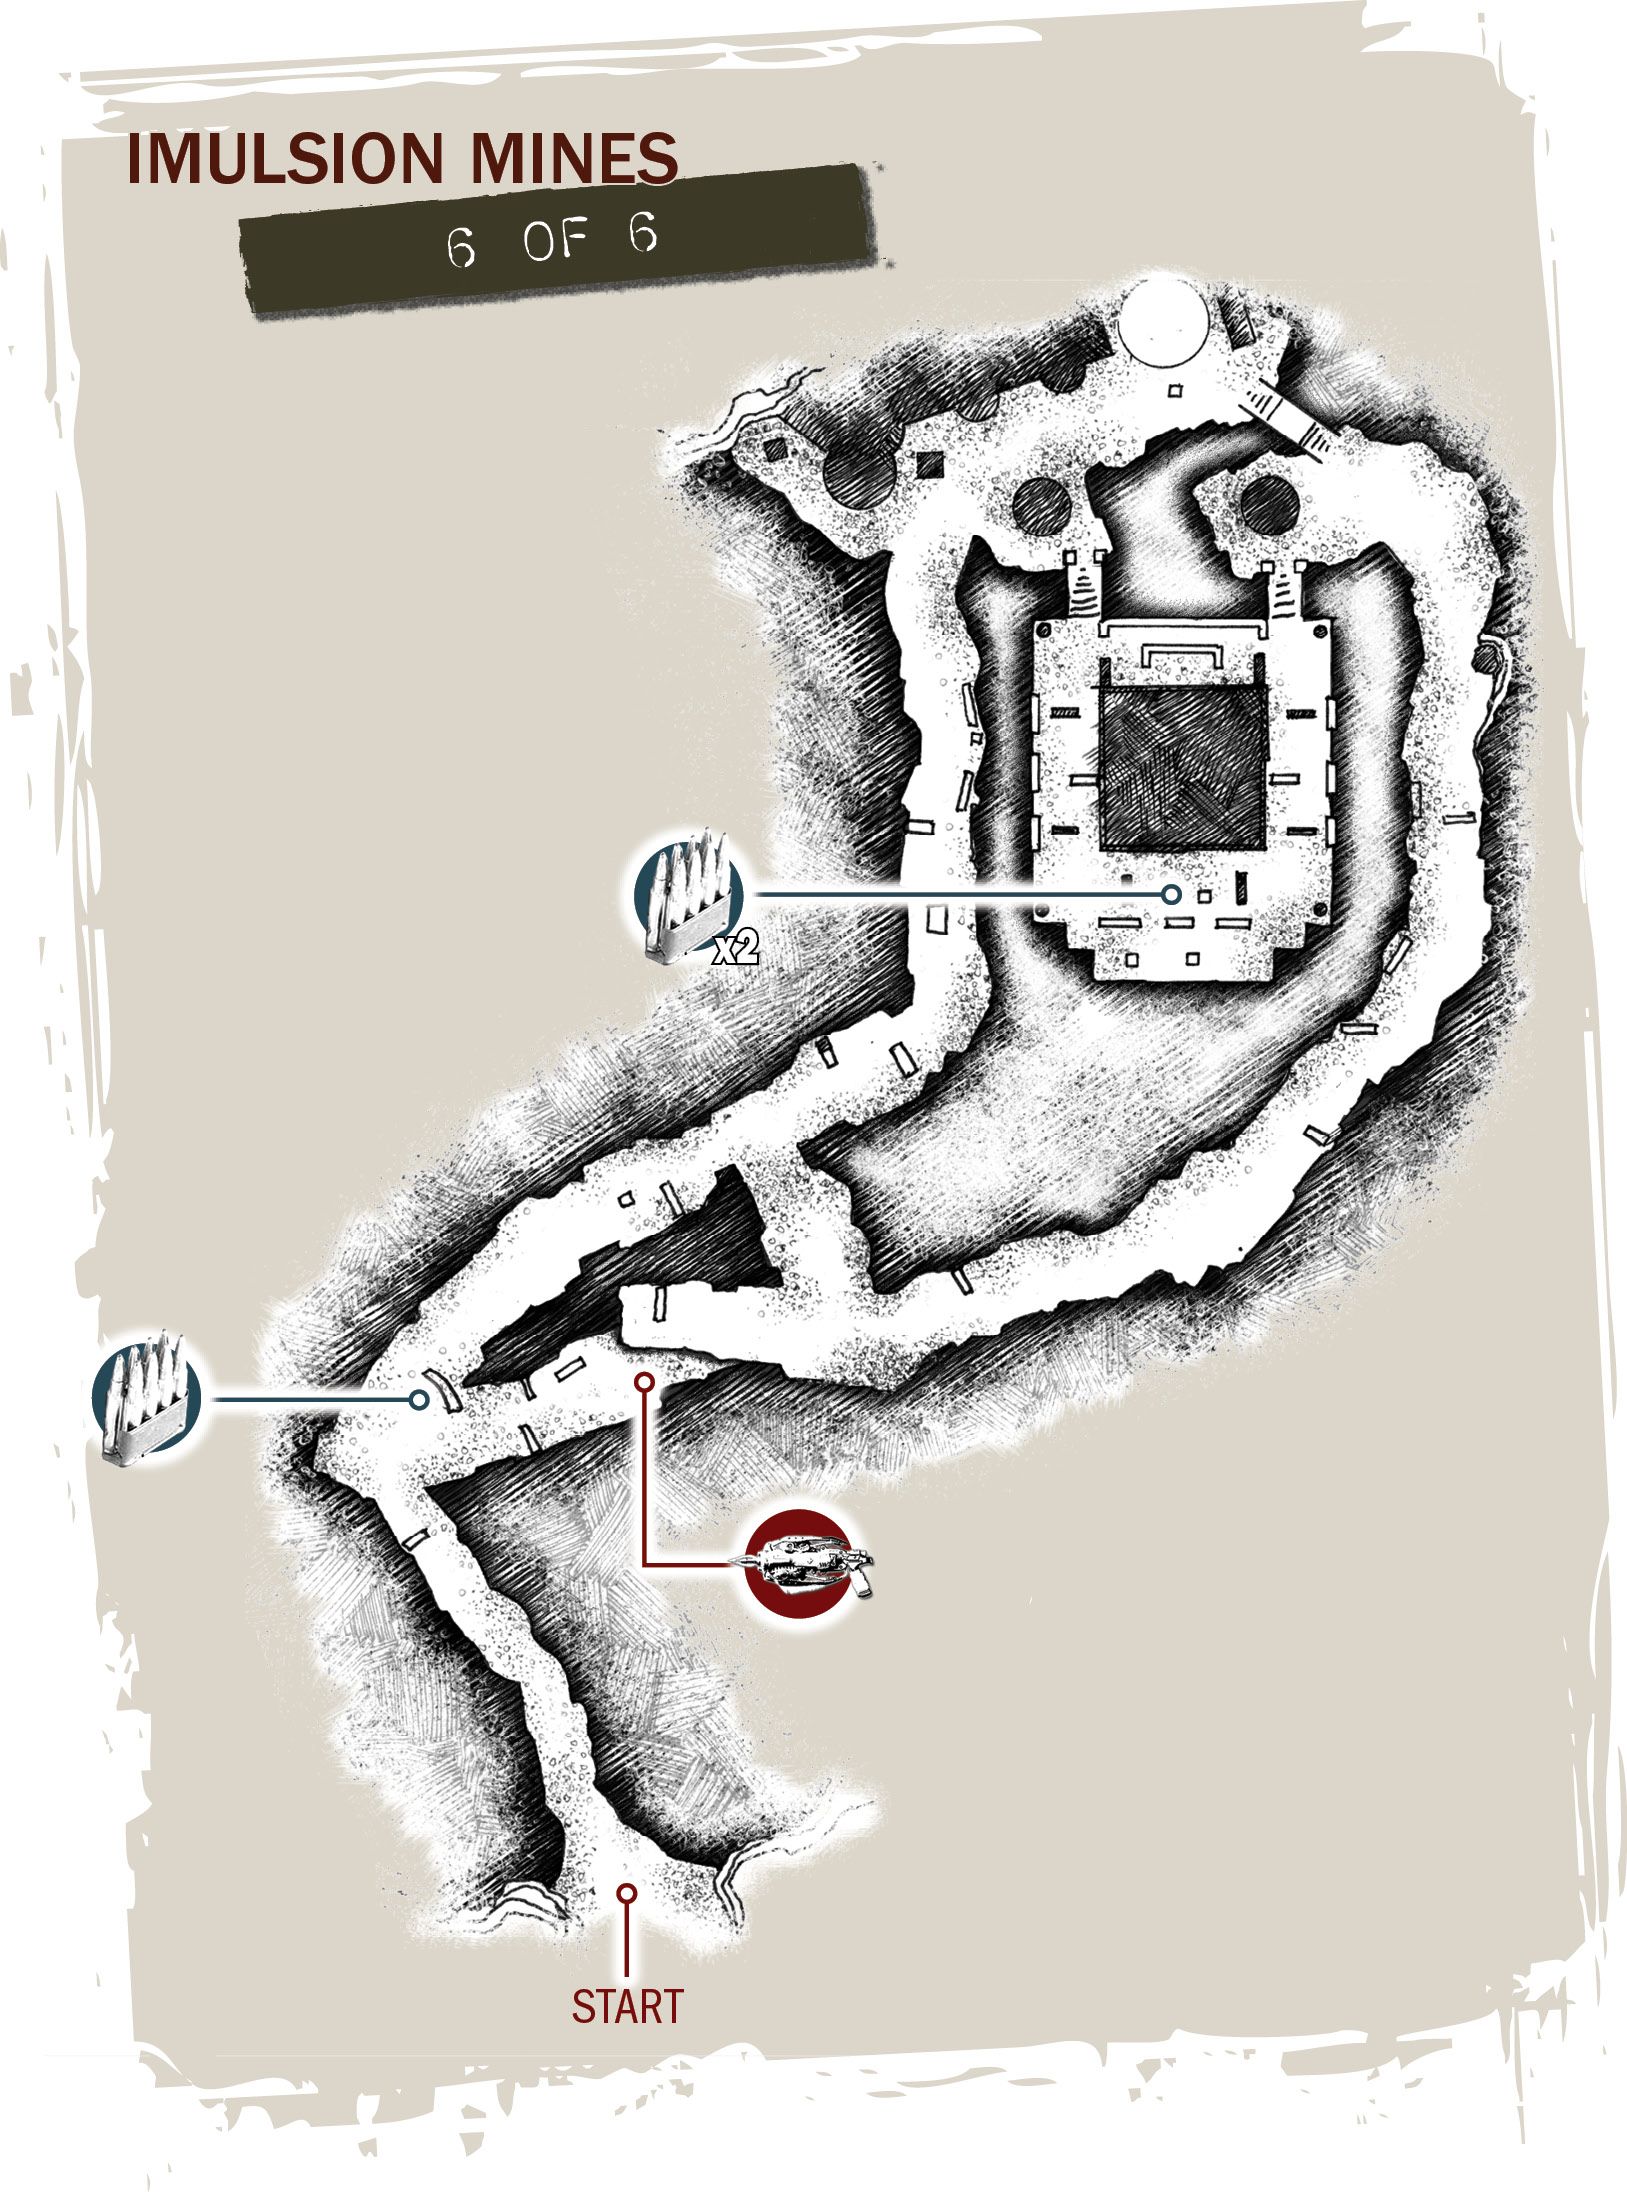
Baird and Cole made their way to the rear of the Corpser’s location and have the resonator intact. Proceed onto the narrow path across the Imulsion, and locate the Torquebow at the base of the cliff to the right.
Within sight of the pumping station, Marcus instructs Baird and Cole to flank to the right while he and Dom storm the front. Move from cover to cover along the pumping station’s left side.
As the duo gets closer, they realize that Theron Guards defend the pumping station. Unlike standard Drones, Theron Guards are faster, stronger, and much, much smarter. They’re also equipped with Torquebows and Gnasher shotguns (they sometimes even have Lancers). Theron Guards are very good at using cover and, overall, they’re simply harder to kill.
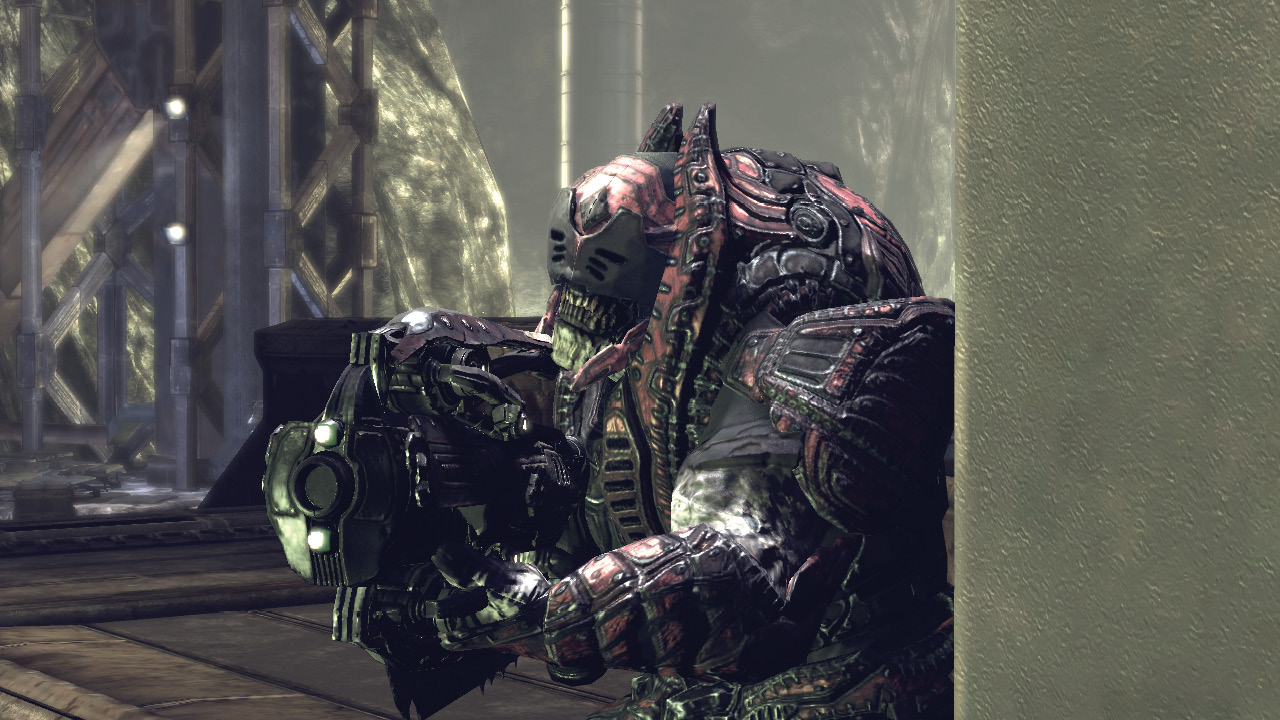
Duck for cover behind the short wall that parallels the pump station. Use a Frag Grenade to flush out the first wave of Theron Guards. Now switch to the Torquebow and hit the Theron Guards with the explosive arrows. Marcus and Dom can take out over a half-dozen Theron Guards from this vantage point. Once the Locust stop coming, go around to the front of the pumping station to regroup with Baird and Cole. It’s time to put the Lancer to use!
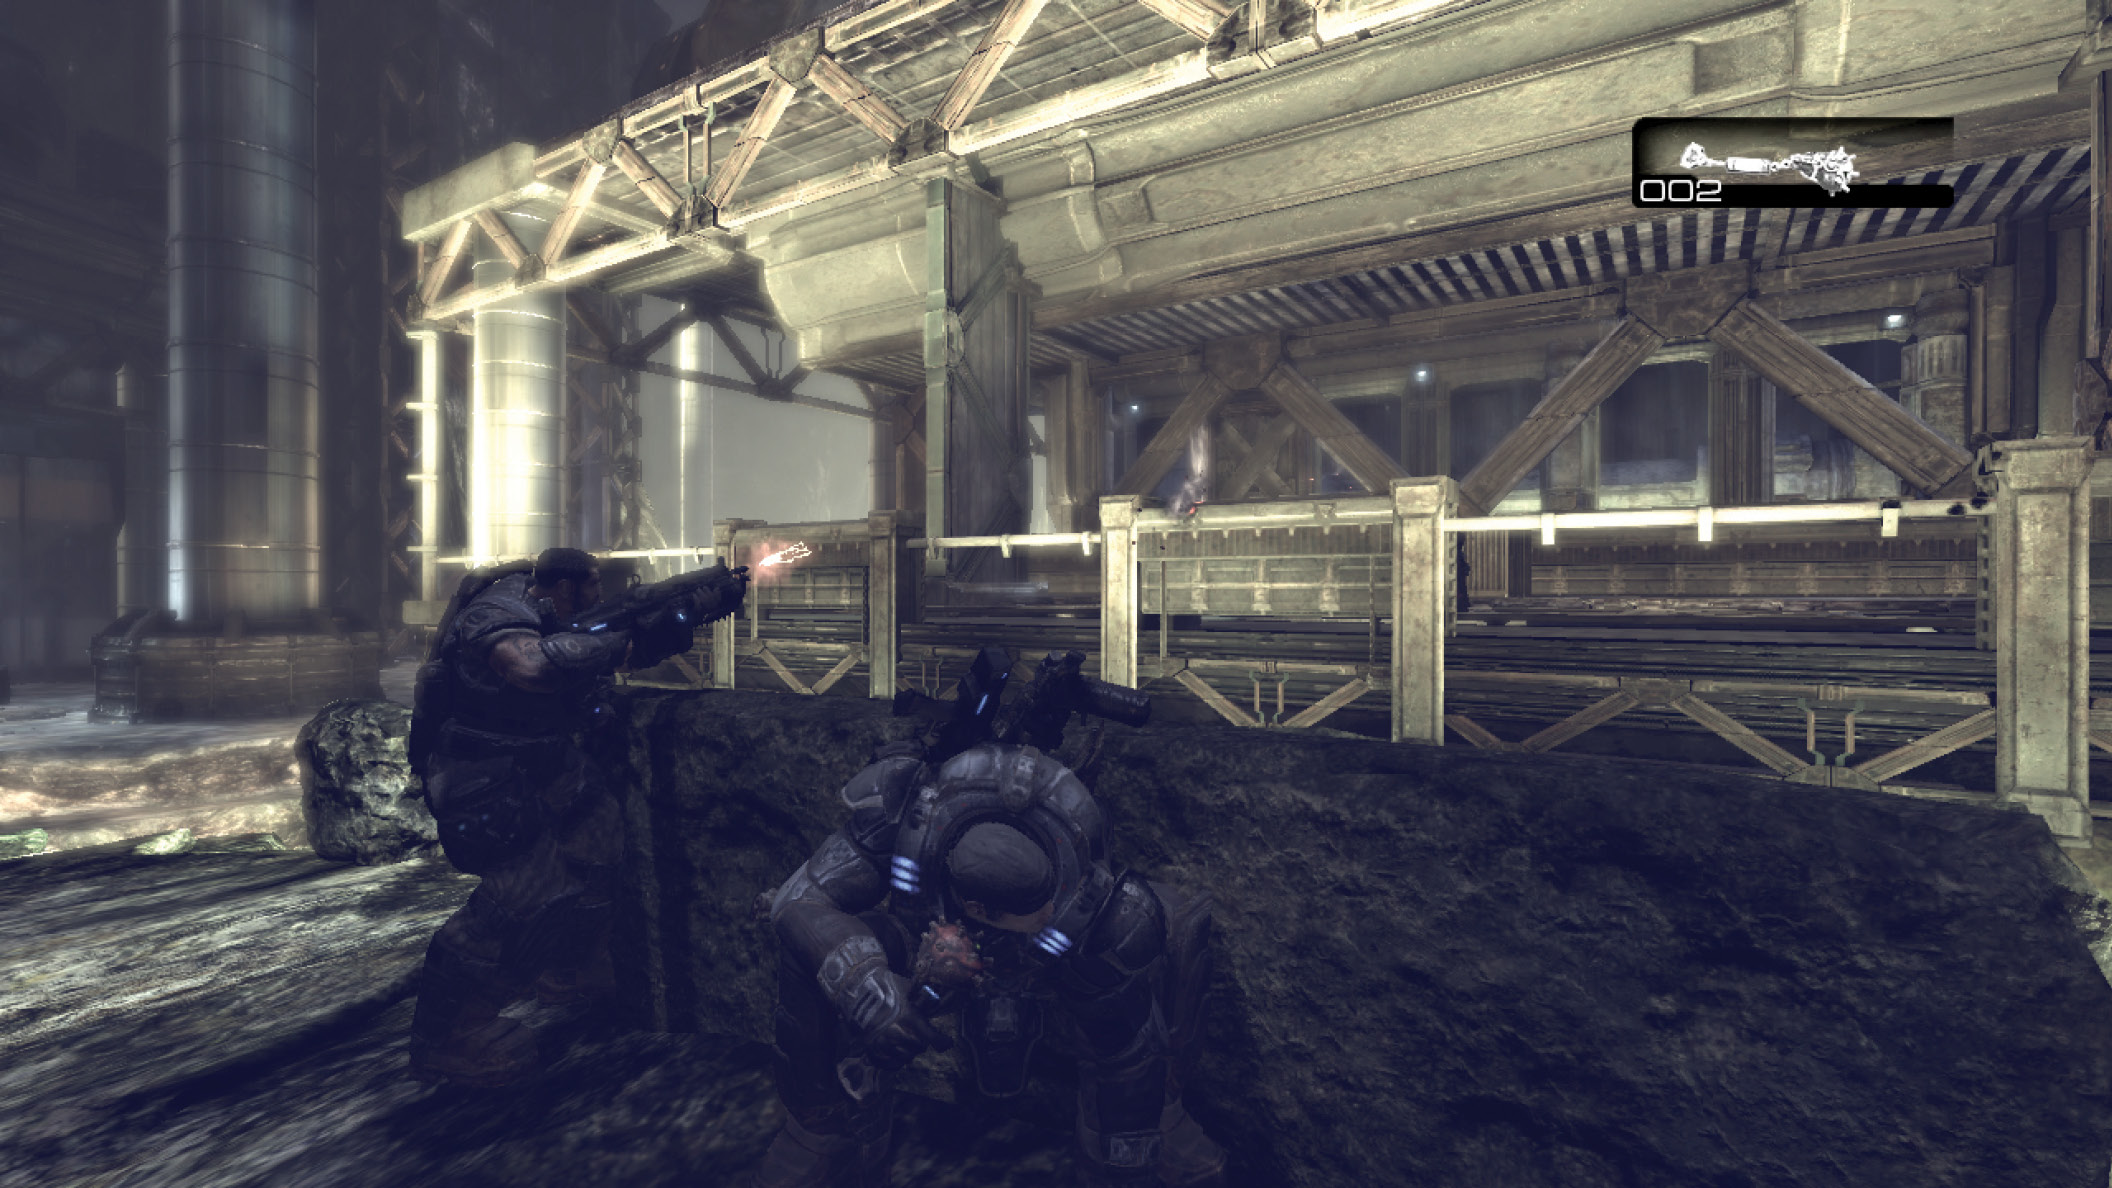
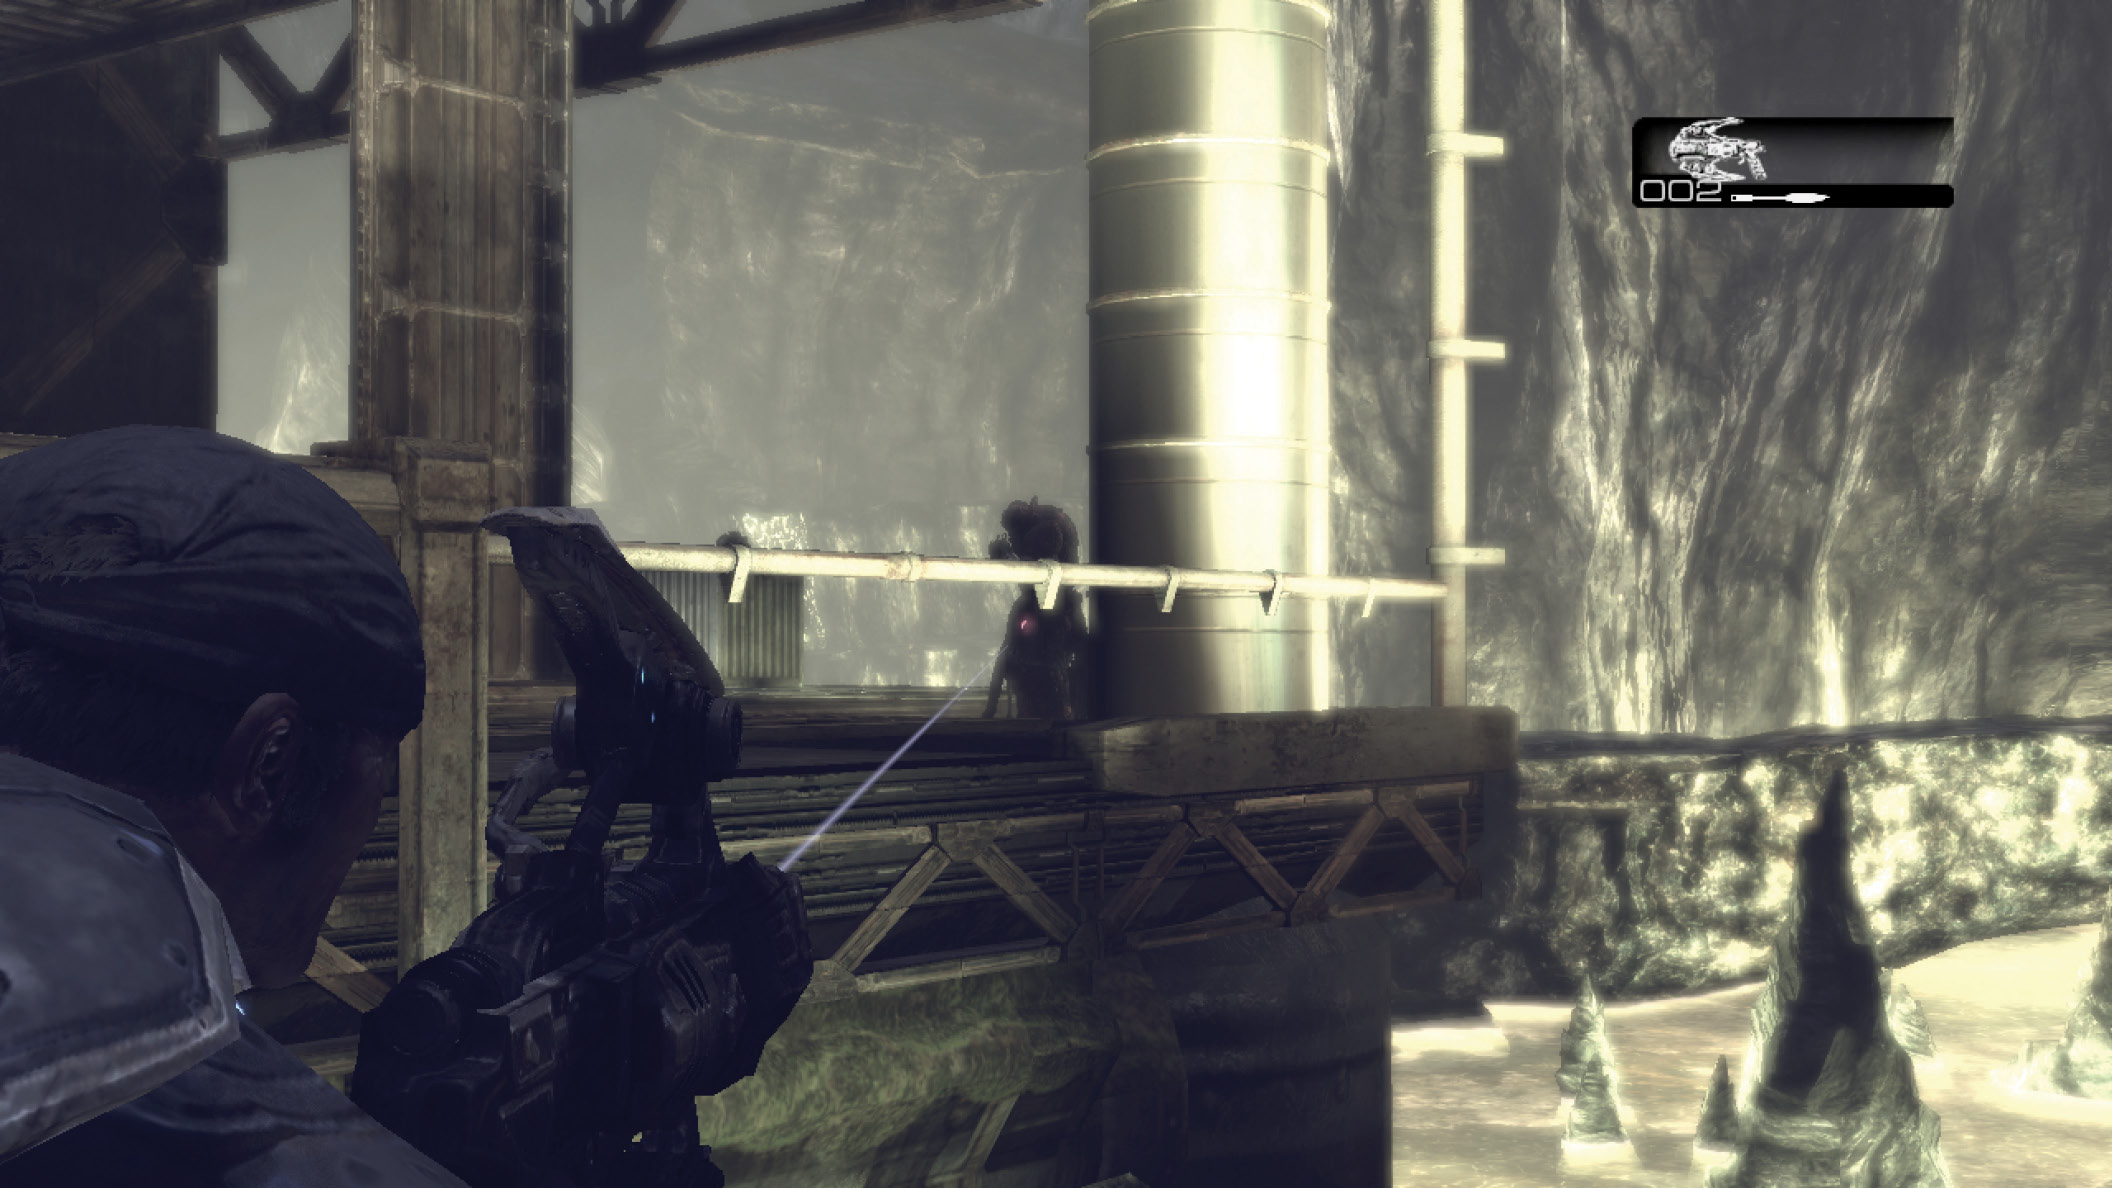
Make your way to the near-side ramp that leads up to the pumping station walkway. More than likely, a couple of Theron Guards and a Grenadier will be there to greet you. Use the chainsaw bayonet or a Frag Grenade to slice through them, and pick up any extra Torquebow ammunition from the corpses. Take cover on the right and peer around the corner to spot the Theron Guards in the distance. There may be as few as one or two or as many as three or four. Either way, use the Torquebow to thin the herd, and gradually advance toward the far side of the platform. Issue the “Attack” command to get the others to join in your counter-clockwise sweep of the pumping station.
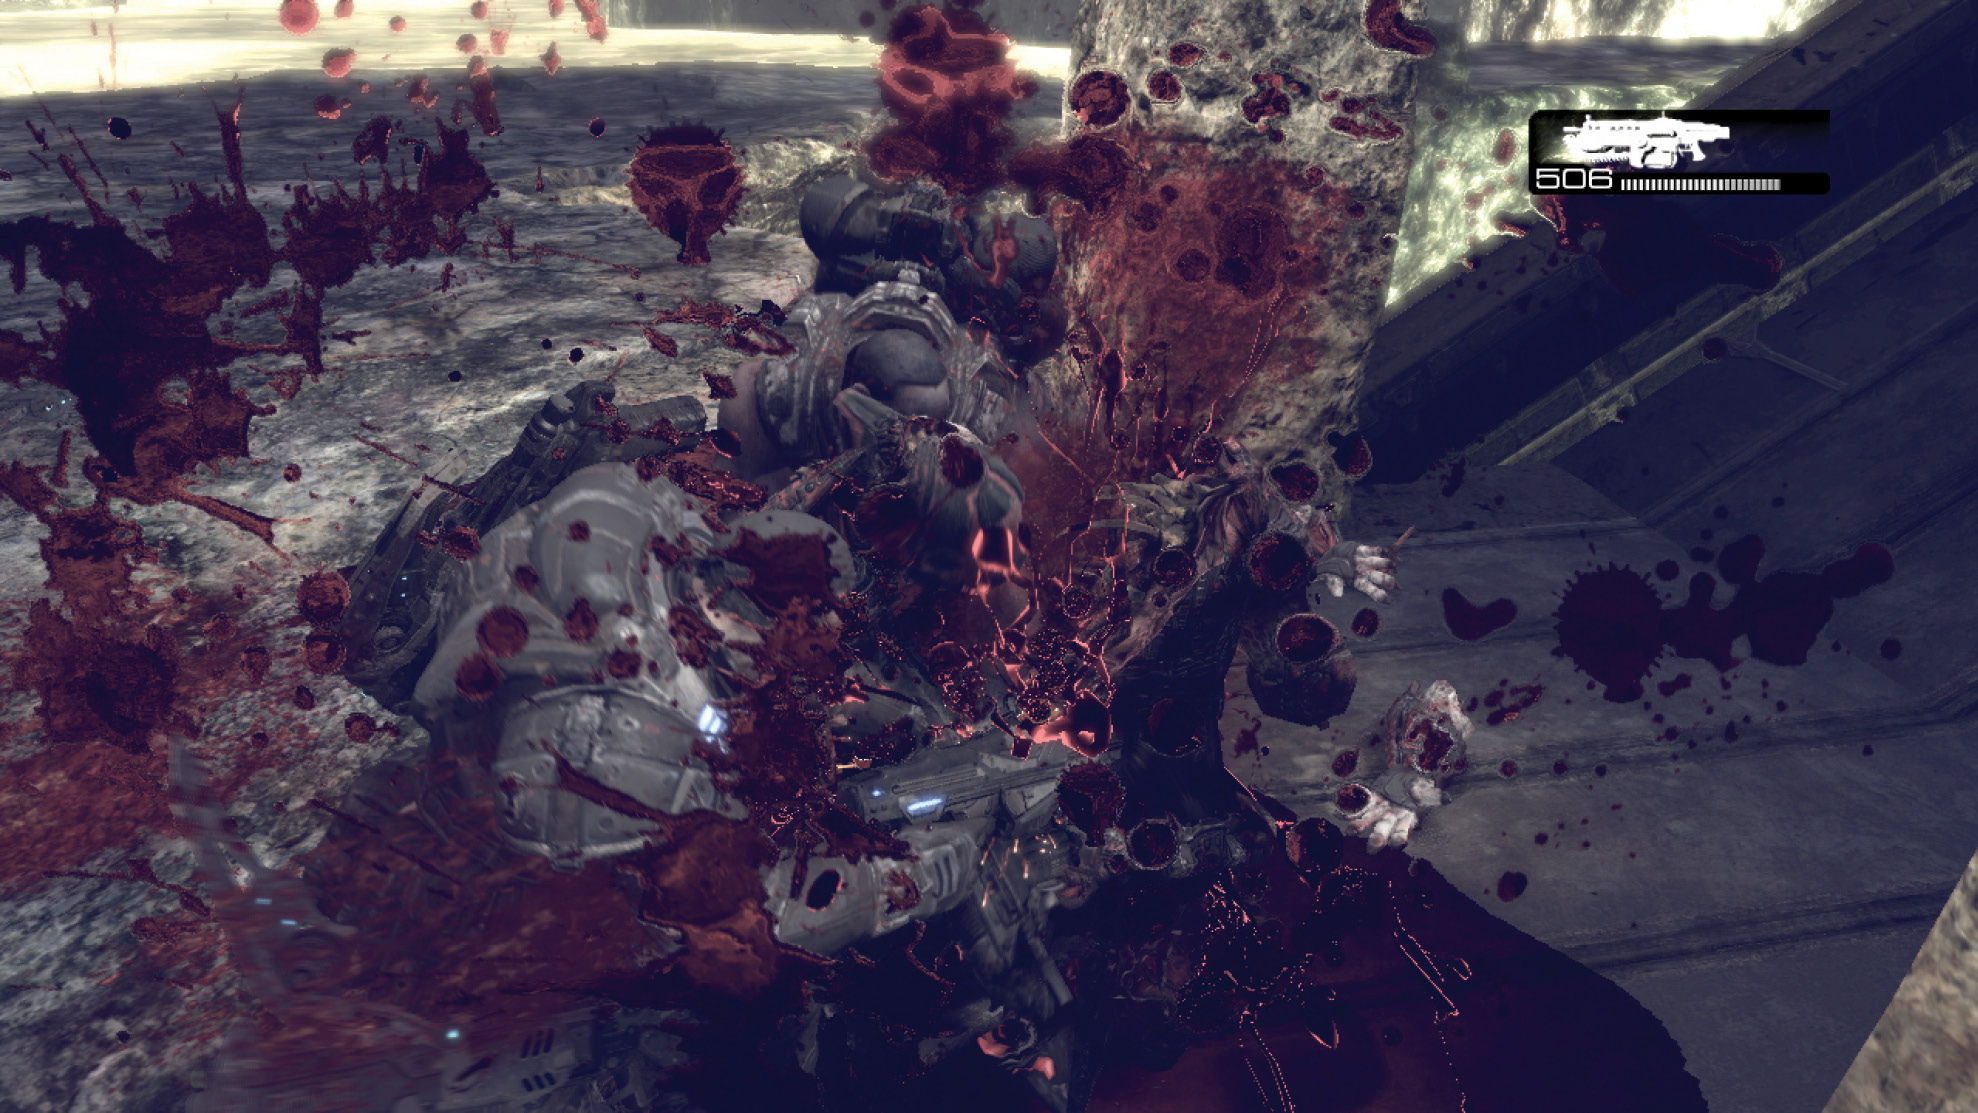
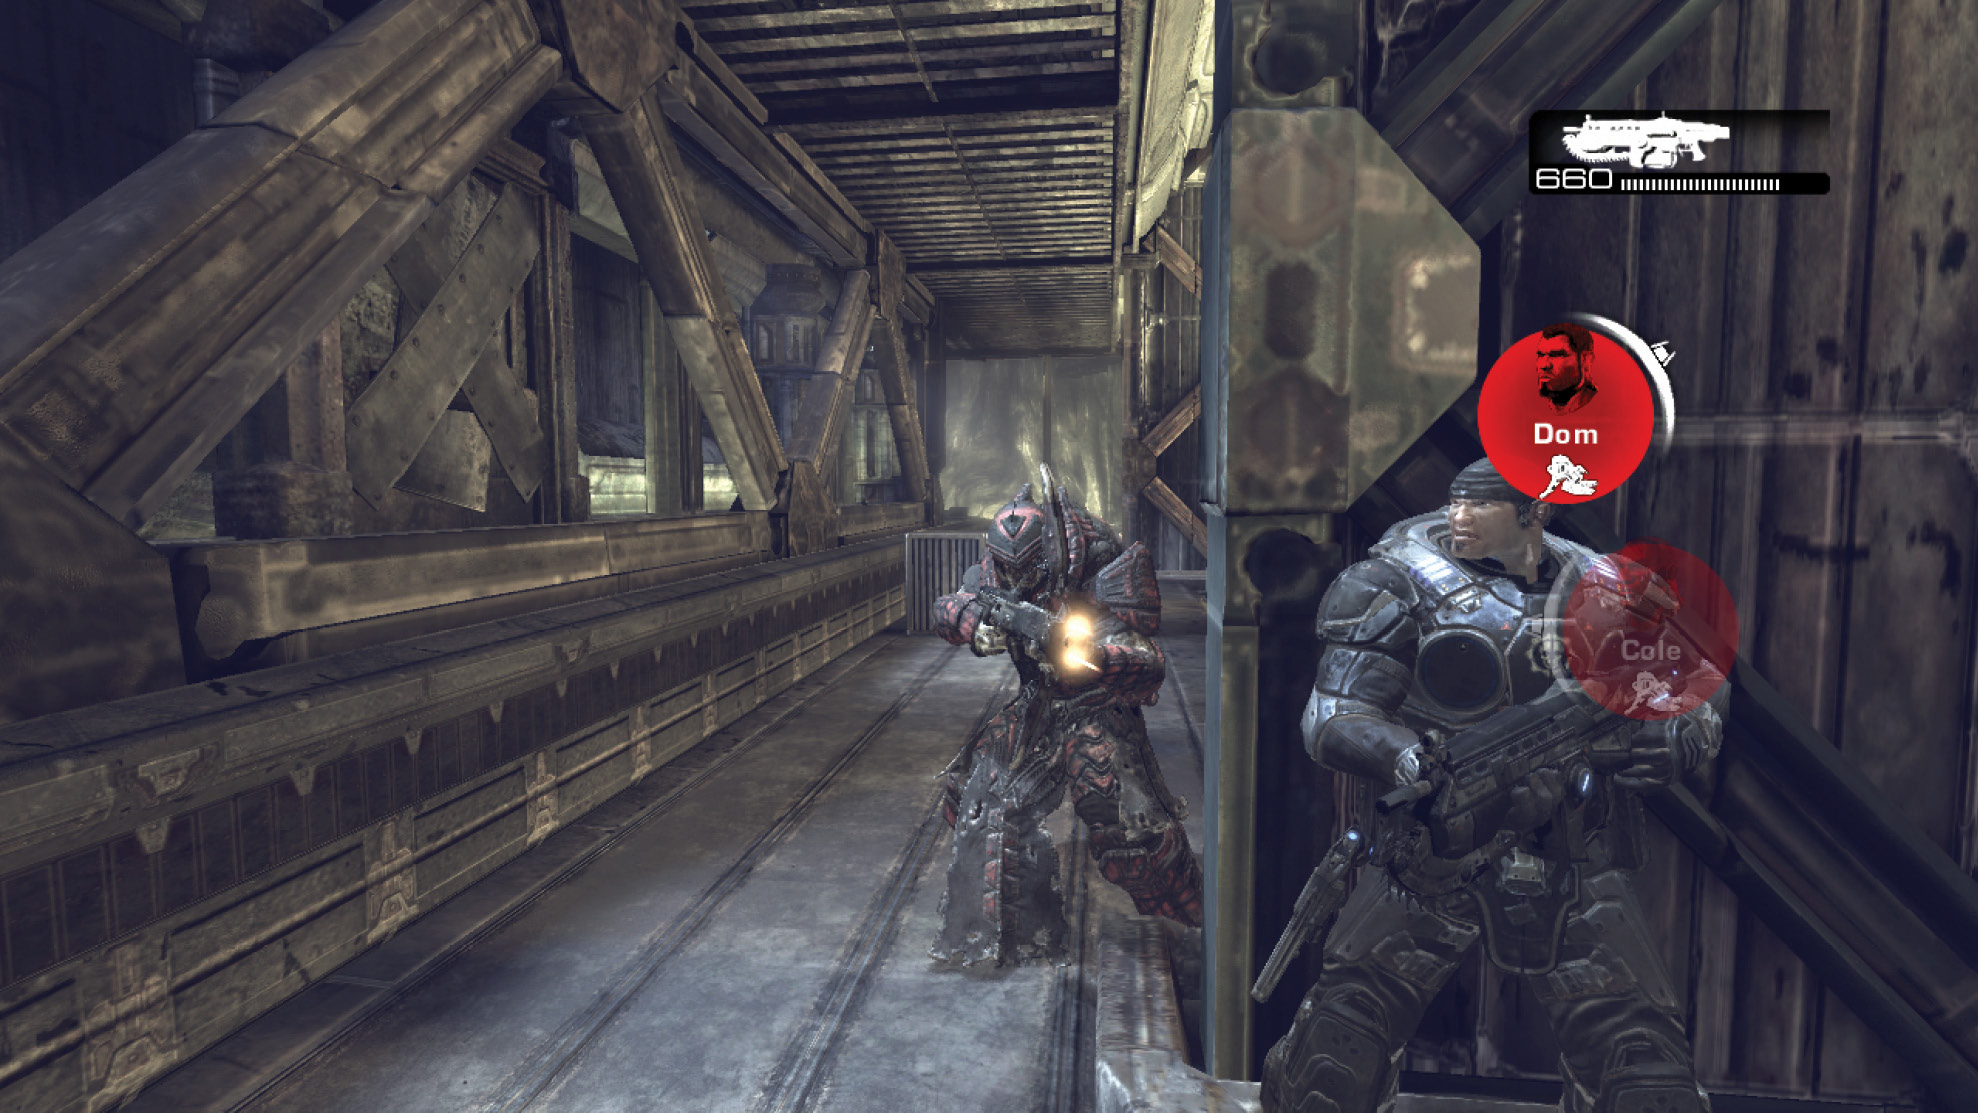
Restore Power to the Elevator
Once you’ve won the battle and secured the pumping station, cross the bridge toward the power column near the path that Baird and Cole took. Press the green button to start the elevator. Baird and Cole deploy the resonator. Good job, men!