Gears of War Guide Campaign Walkthrough
Act 1: Ashes
A military prison can be an unforgiving place. But as cold and hard as the steel and concrete can feel, it can sometimes pale in comparison to the ruthless, unsympathetic demeanor of the men who run it. This is the hand that has been dealt to one Marcus Fenix, an accomplished soldier who has spent the past several years paying for a single indiscretion any loving son would have made. Charged with Dereliction of Duty for abandoning his post, Marcus has been left to rot—alone—in an otherwise vacant prison. With the Locust Horde on the prison’s doorstep, his former commanding officer has pardoned everyone except him. Everyone always knew Marcus was special.
Drone
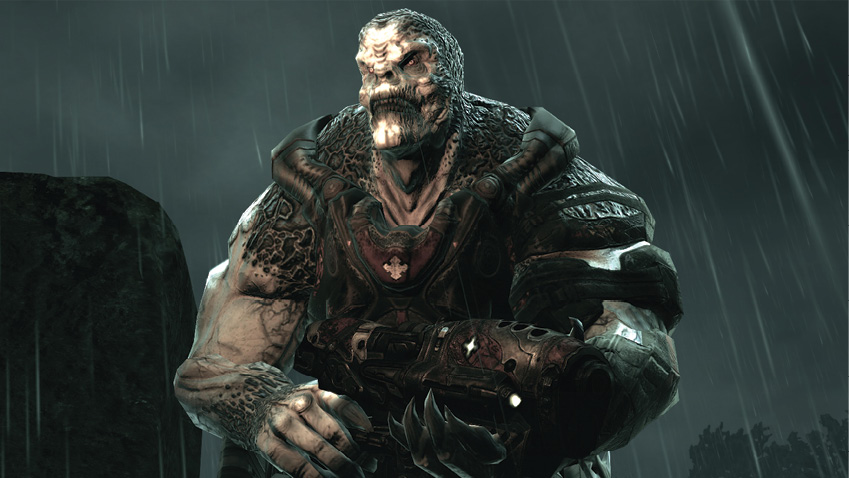
Drones are the basic Locust grunts, and they attack with limited intelligence. They rely primarily on the Hammerburst weapon, although some will come to possess a Lancer every now and then.
Grenadier
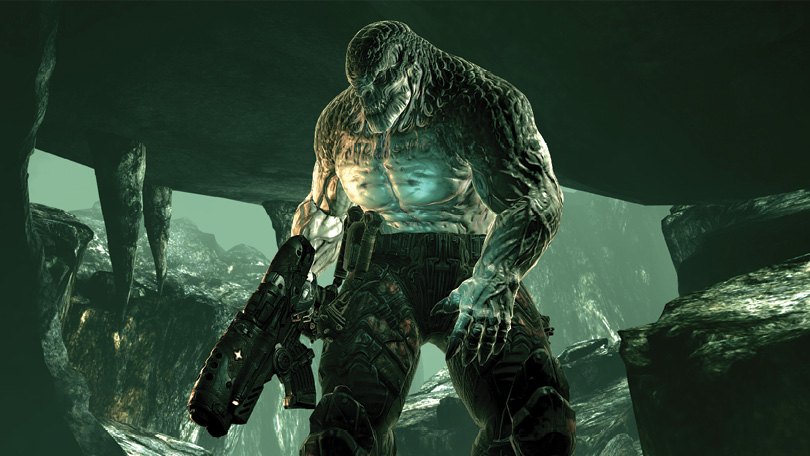
These bare-chested brutes are very aggressive and excel at short- to mid-range combat, thanks to their supply of Frag Grenades and use of the Gnasher.
Spotter
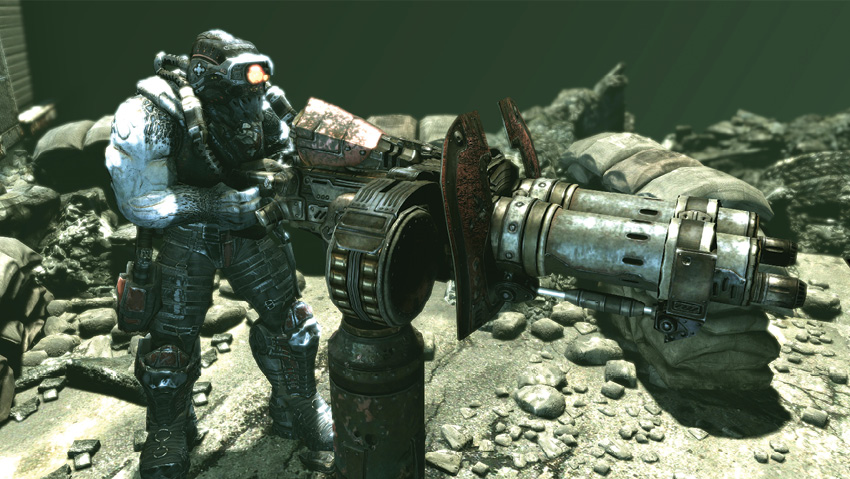
This mask-wearing member of the Locust clan is similar to a Drone but is sent out only to accompany those manning a Troika. It is rarely on the go, as it prefers to stand and alert the gunner to COG Team whereabouts.
Gunner
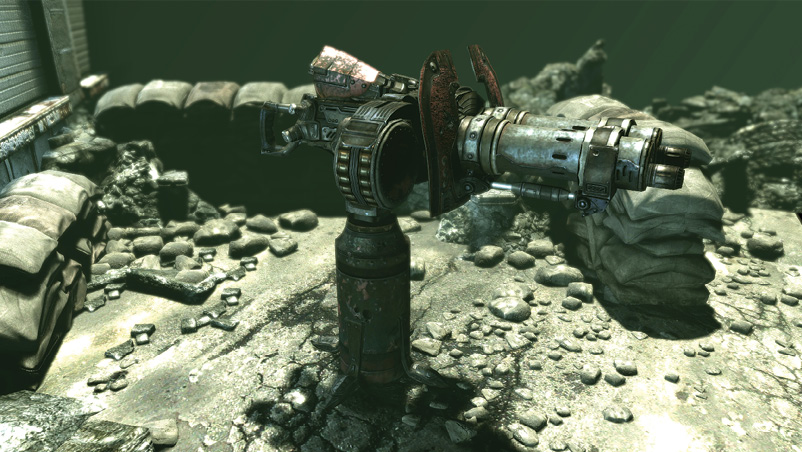
For some, using the Troika is a unique opportunity. For the Gunner, it’s all he knows. The Gunner is a designated Troika expert and must be flanked to be eliminated.
Wretch
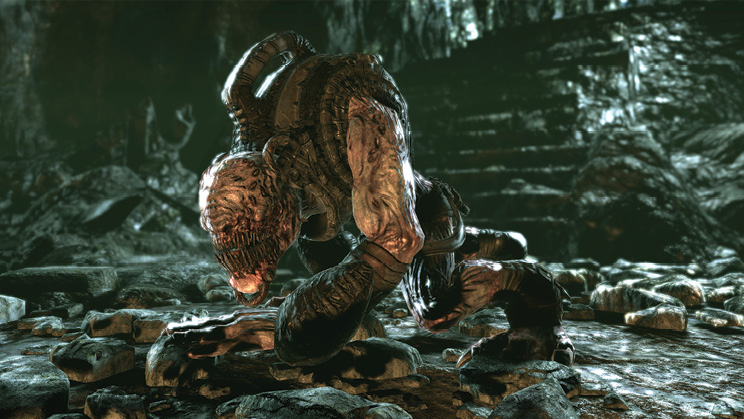
Wretches are fast, nimble creatures that run across the ceiling en masse and attempt to claw their prey to death. They are unintelligent and very easy to put down.
Nemacyst
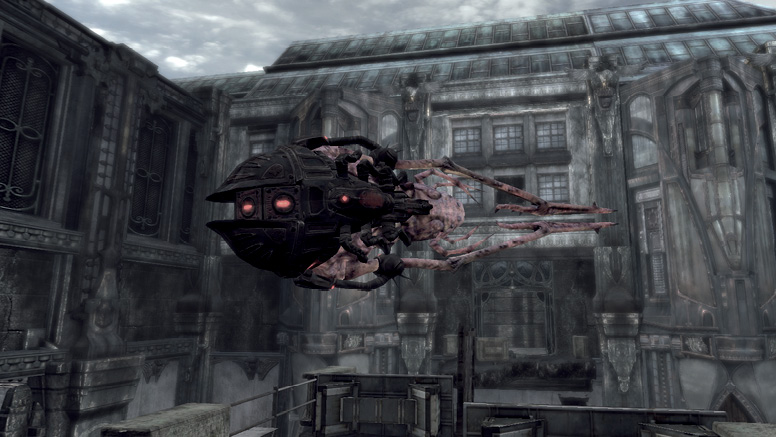
These flying, organic bombs are spewed forth from the tail-end of a Seeder and are as deadly as they are putrid. They seem to harmlessly float toward their targets, but explode with deadly power on contact.
Seeder
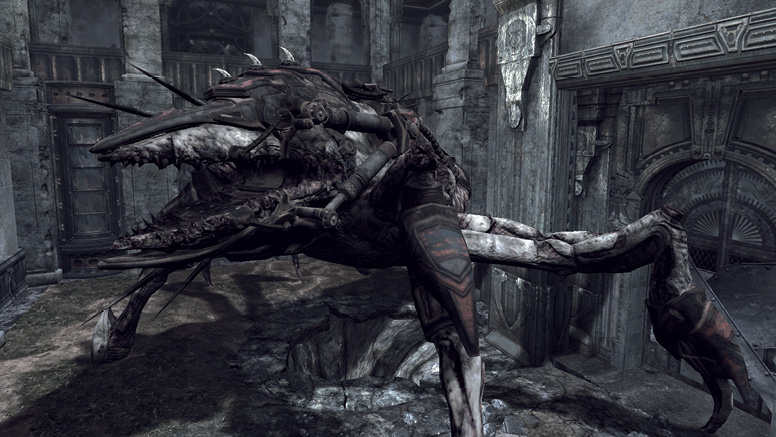
These massive creatures seldom leave their equally large Emergence Holes. They attack from afar by spewing a constant barrage of Nemacysts into the air. They can be killed only with the Hammer of Dawn.
Berserker
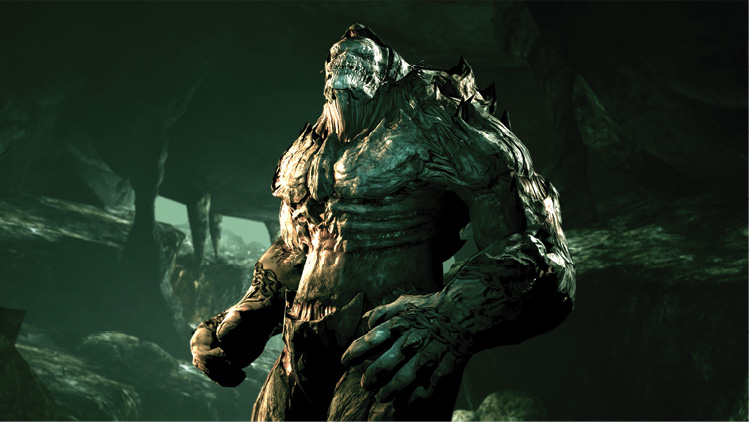
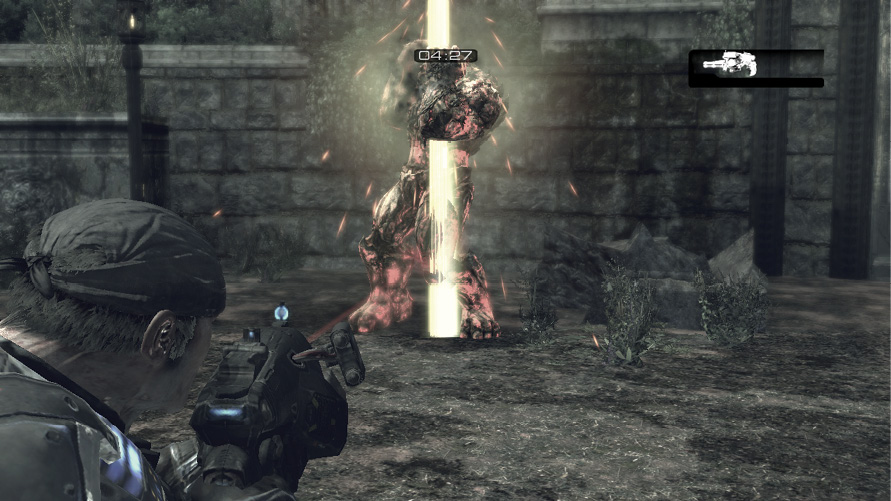
This massive monstrosity can’t see, but boy can she smell and hear! Capable of smashing through solid walls and killing humans with a single claw swipe, the Hammer of Dawn is the only way to stop her.
14 Years After E-Day
Time off for good behavior.
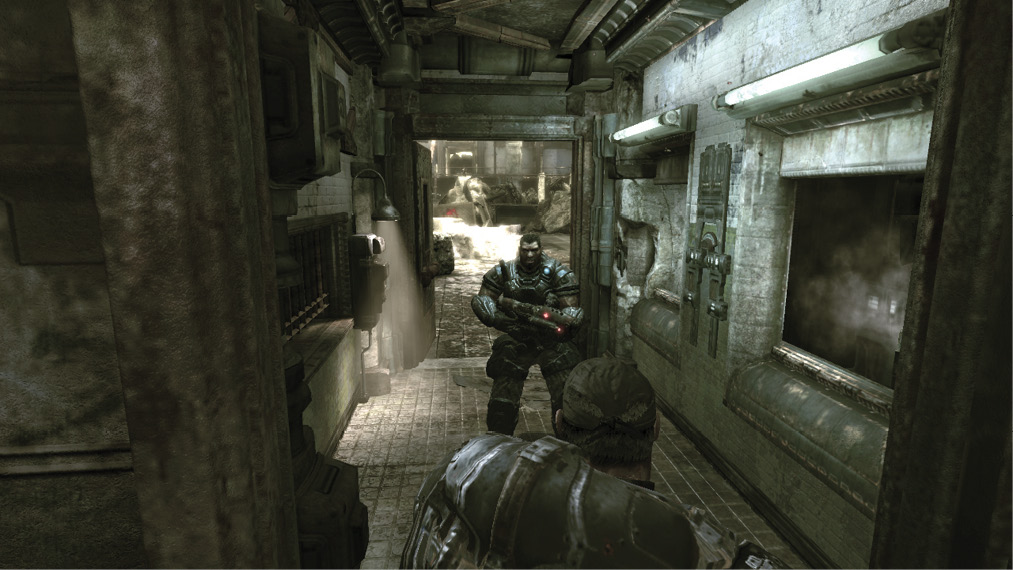
As far as solitary confinement goes, Marcus isn’t short on visitors. Fortunately for him, not all his guests today are as unwelcome as the Wretches crawling around atop his cell bars. Marcus’ old war buddy, Dom, has come to break him out of prison—he even brought a bag of gear for Marcus, including the Hammerburst assault rifle and Snub Pistol. The former may not be standard COG issue, but it will do.
Exit the Cell Area
Dom wastes no time deferring to Marcus with regard to escape plans. There are two routes out of the prison: They can either go through the guards’ quarters, which is a relatively safe route, or they can take the shortcut through the cellblocks and deal with the Locust that have already entered the area. We recommend that first-time players opt for the easier route to the right.
Until Dom calls in to request a pickup, no one is aware that Dom and Marcus are still in the prison and therefore at risk from the air raids taking place. There is a courtyard at the far end of the prison where they can rendezvous. Until then, the twosome is on its own.
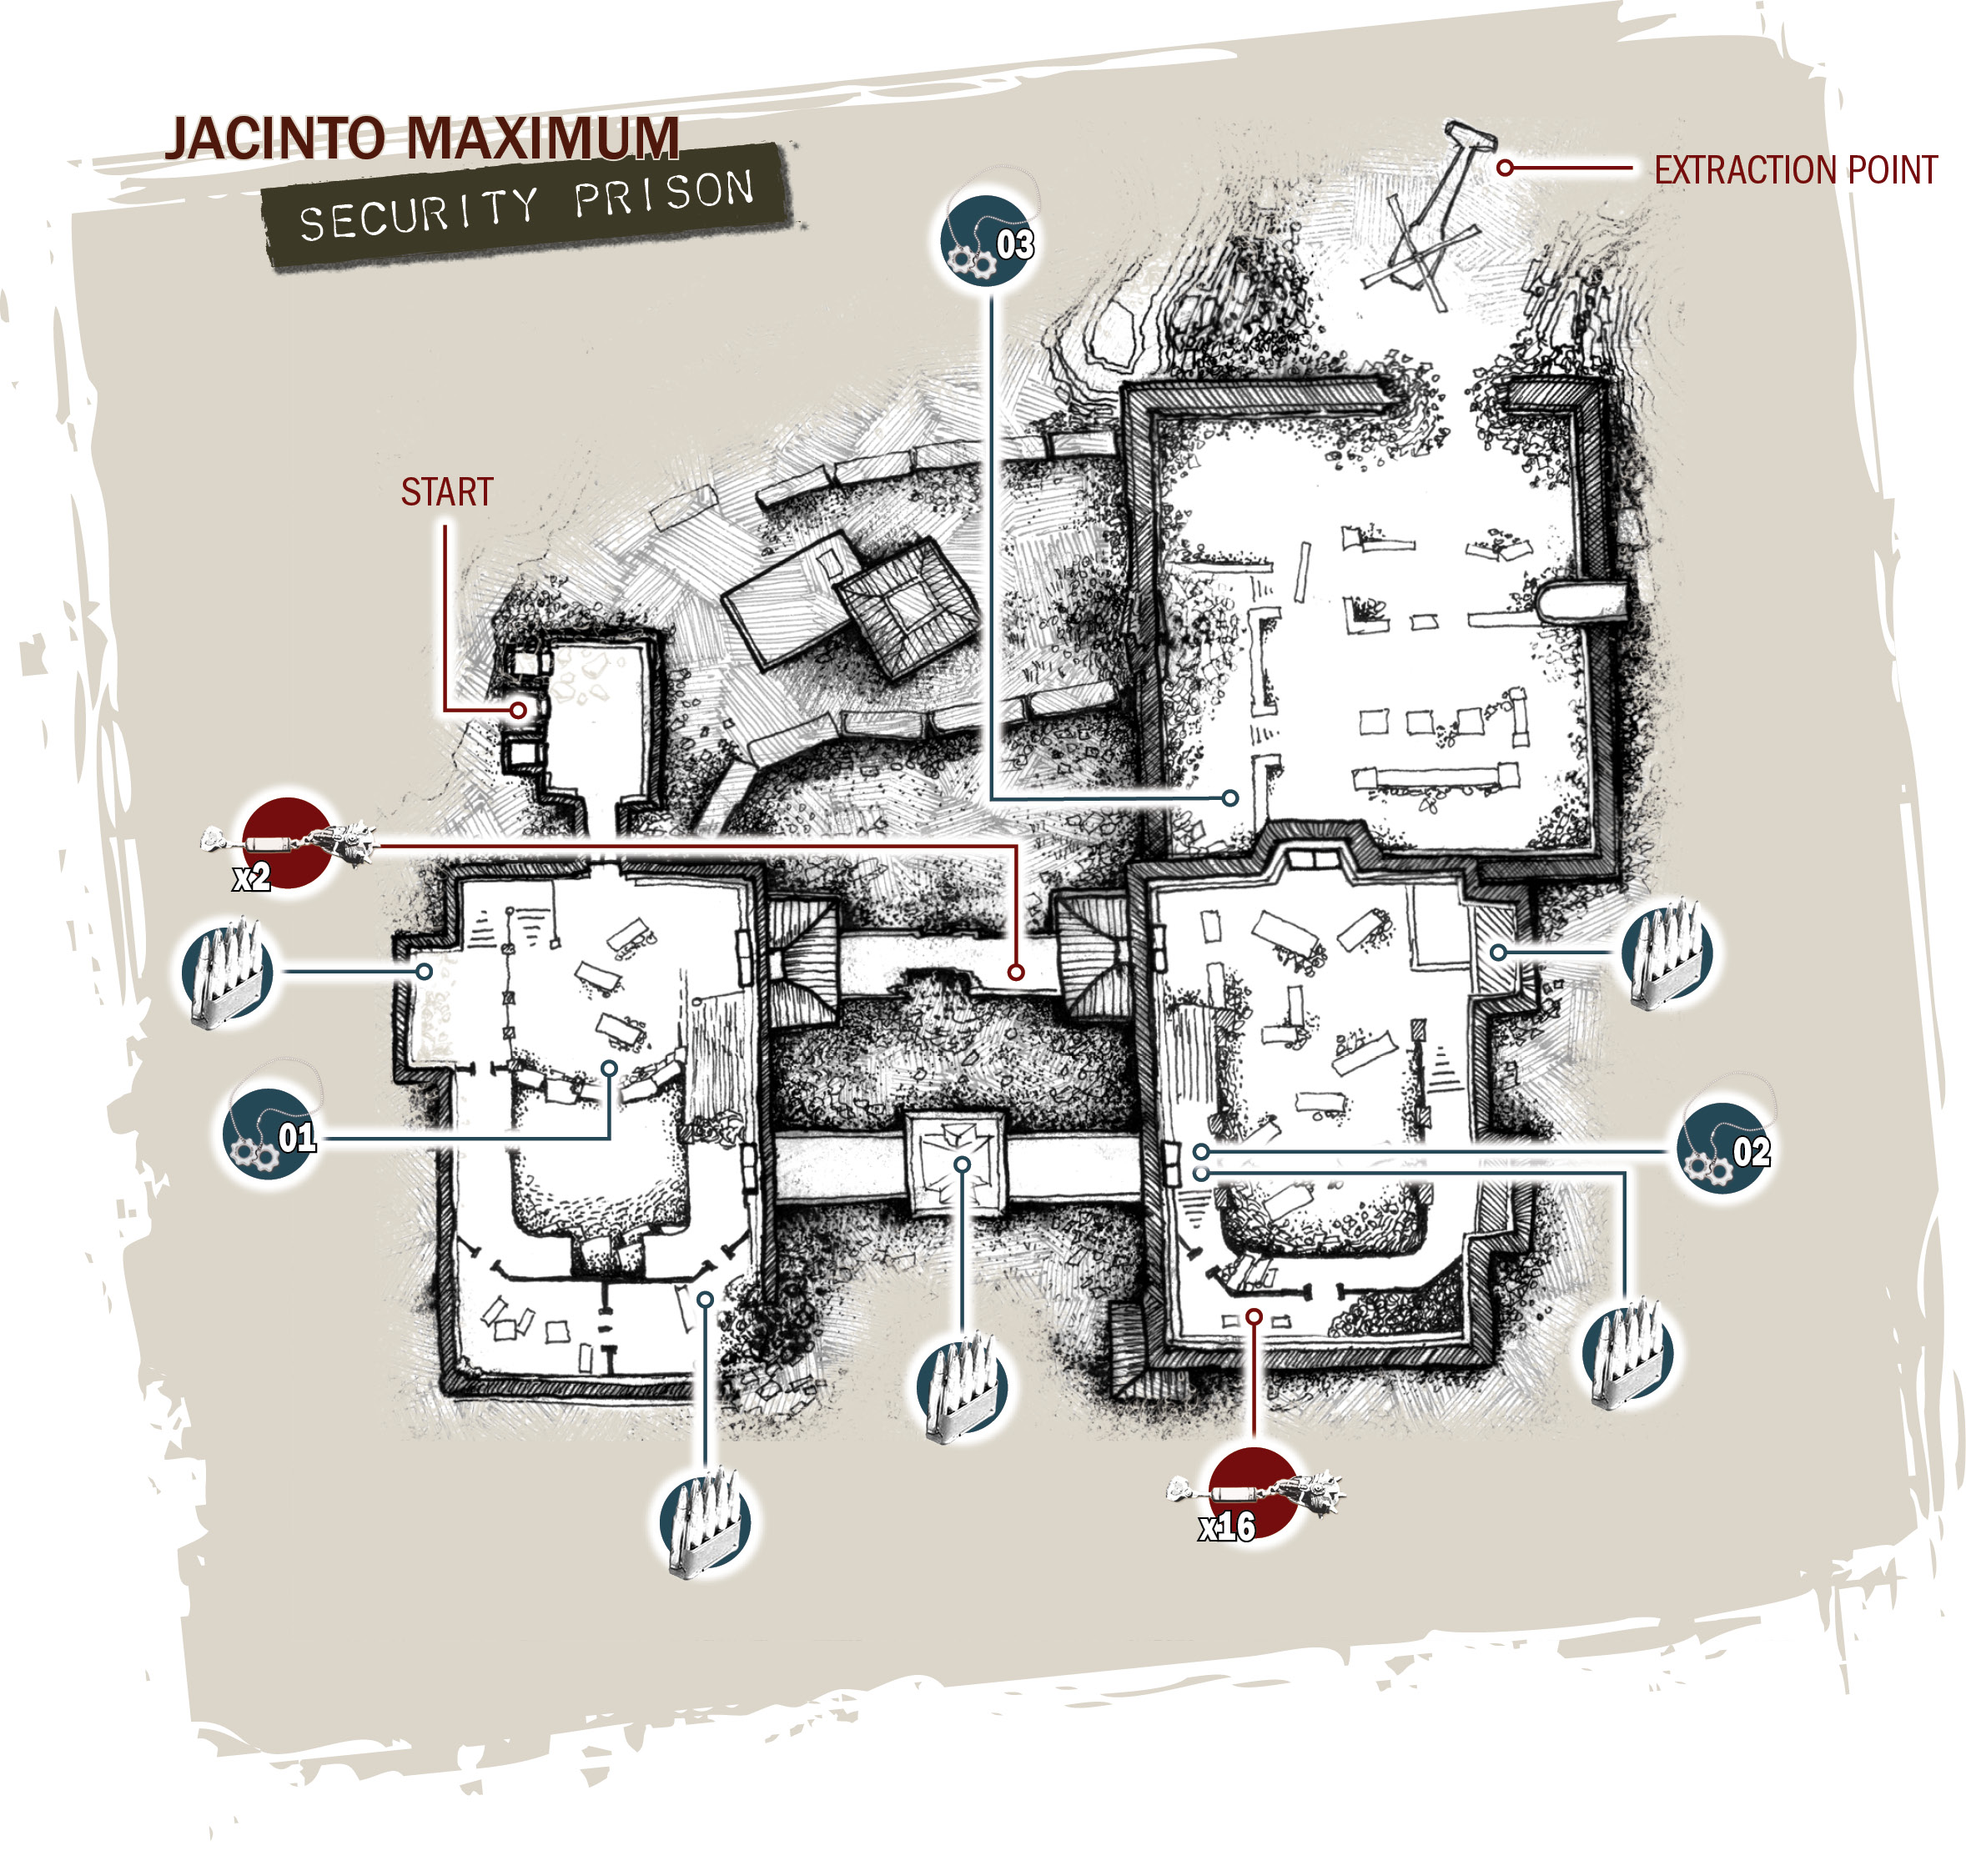
COG TAG #01Cross the courtyard outside the prison cell area toward the rear wall—you can do this regardless of the direction you opt to take when talking with Dom. Locate the COG Tag on the ground in front of the Crimson Omen. 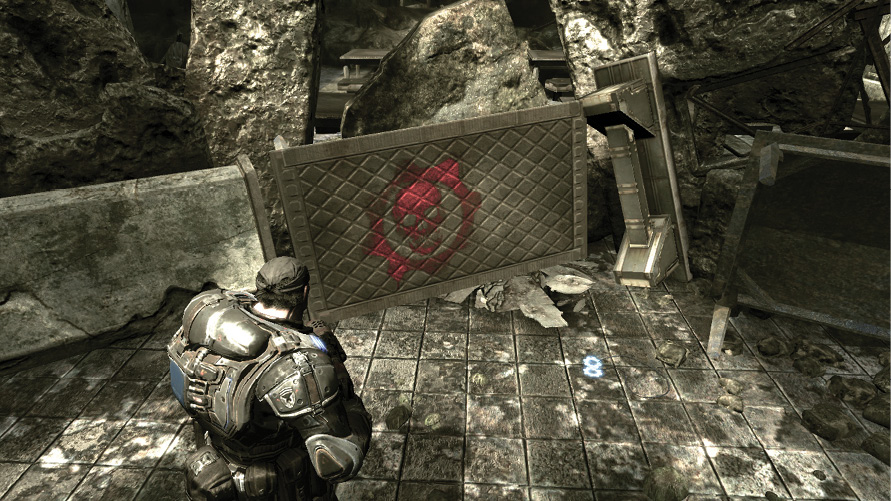
|
Right Path: Training
Head Toward the Guards’ Quarters
If you choose the right-hand path, continue reading. If you follow the left path, skip to the next section, entitled “Left Path: Combat.”
Follow the sign for the cafeteria and ascend the two flights of stairs to the security room above. Grab the ammunition box behind the couch on the right. These boxes contain extra ammo for most every weapon except Frag Grenades, whereas dropped weapons yield ammo that’s exclusive to that specific weapon type.
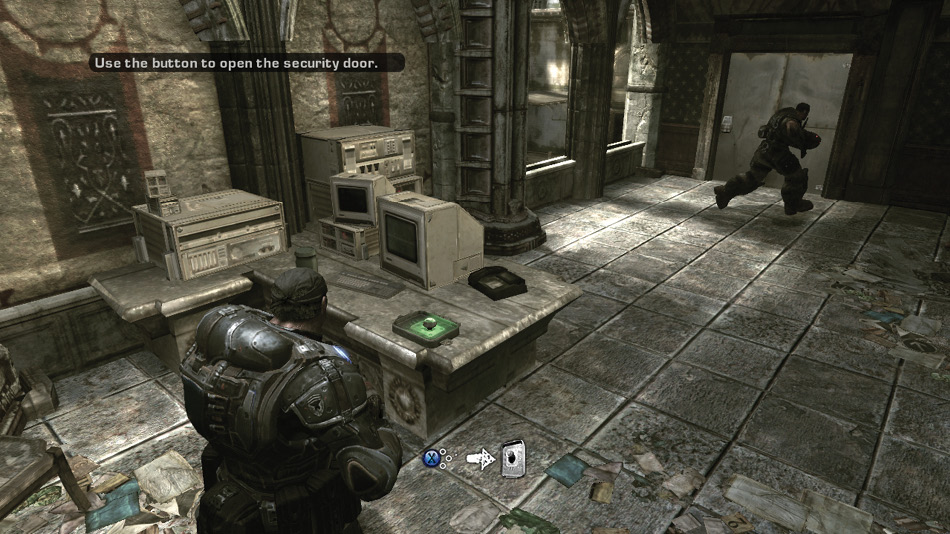
Use the Button to Open the Security Door
The door across the room is currently locked. Approach the green-lit button on the desk and press the X Button. The X Button is a multi-purpose button used for interacting with objects, kicking doors, picking up items, and even curb-stomping a downed opponent.
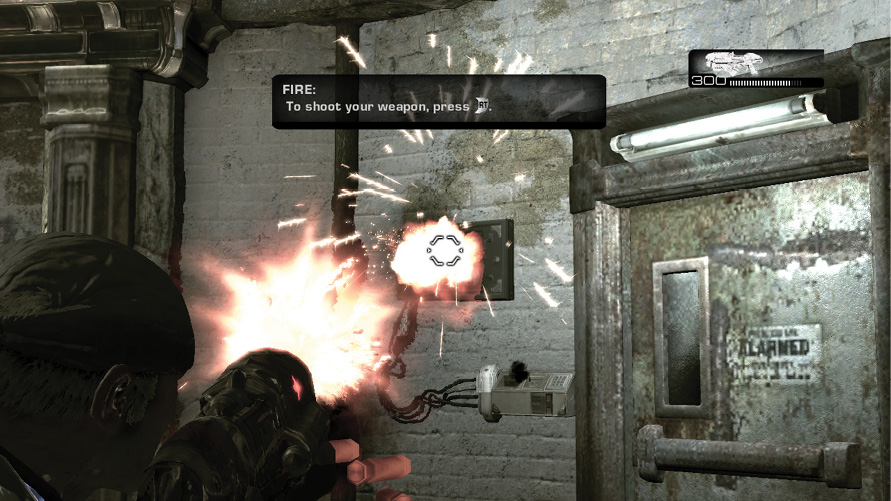
Shoot the Two Breakers to Unlock the Doors
Follow Dom to the locked door on the balcony ahead. A portion of this upper walkway has been destroyed. In order to get to the prison blocks, the duo must first go through the two rooms on this floor. Unlock the doors to these rooms by shooting the circuit breakers near the doors; these control the locking mechanisms. Use the L Trigger to aim Marcus’ weapon and the R Trigger to fire. The circuit breakers have faint red lights—shoot them!
Get to the Prison Blocks
Approach the door and press the X Button to kick it open. The vacated room contains several columns and obstacles that are perfect for practicing the art of using cover. Use the A Button in combination with the Left Thumbstick to move in and out of cover, to roll, and to hurdle over a low-lying object. Kick open the door at the end of the second room to return to the balcony. Continue out onto the prison wall on the right.
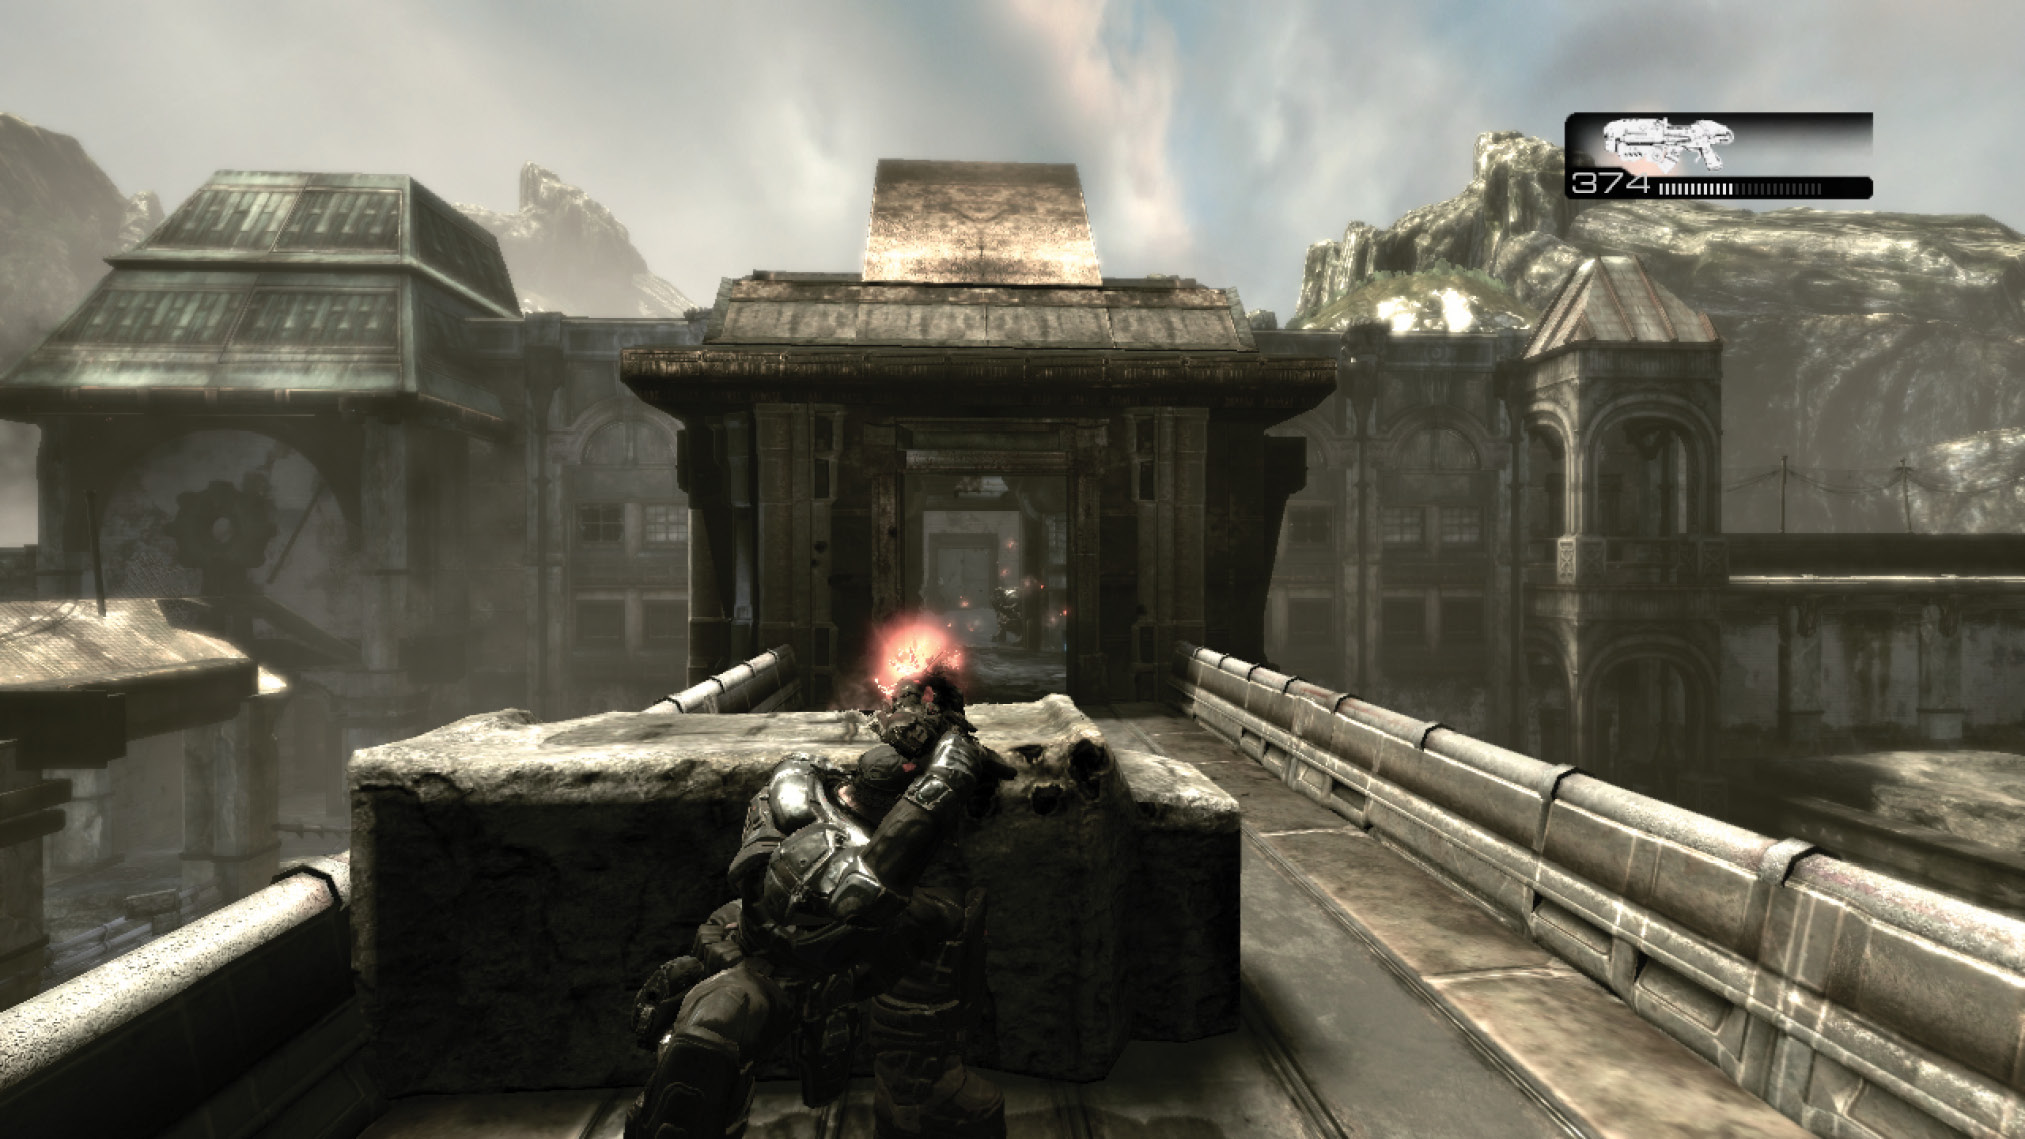
A low-level Locust unit known as a Drone is holed up inside the guard tower halfway across the walkway. Take cover behind the toppled pillar and use blindfire to take it out. Follow Dom across the wall and press the button in the guard tower to open the security door in the distance. The door will stay open only for a few seconds, so Marcus must Roadie Run in order to get through. Hold the A Button to make him duck forward and run with his head down.
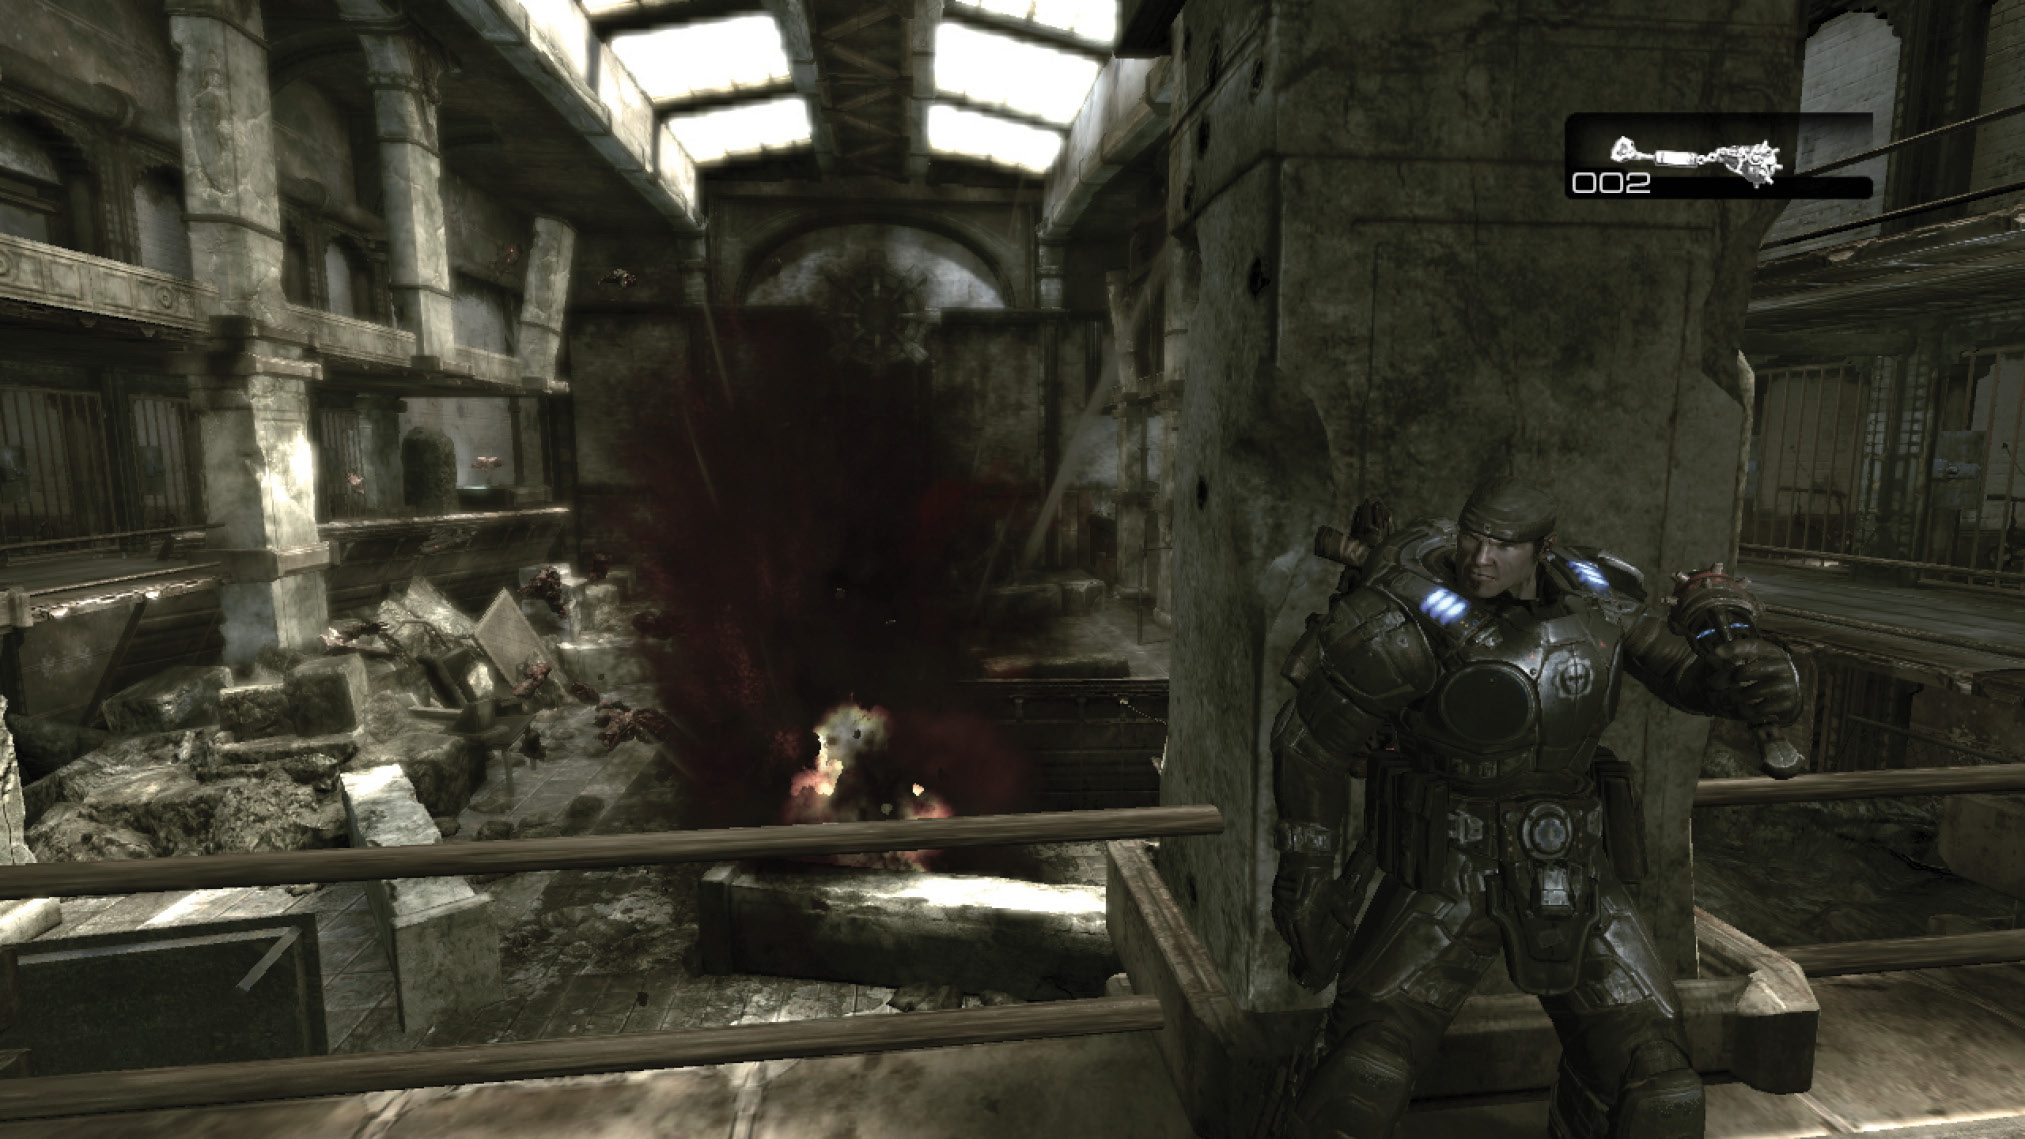
Descend the stairs on the right and gather up the grenades in the room on the right. Follow Dom outside onto the balcony. Really work over the pair of Drones below with Frag Grenades. Don’t hesitate to use half a dozen or so, as there’s an ample supply. Circle around to the right and descend the stairs to reach the main prison block area.
Left Path: Combat
Open the Jammed Door
Approach the door on the left and press the X Button to kick it open. The X Button is a multi-purpose button used for interacting with objects, kicking doors, picking up items, and even curb-stomping a downed opponent.
Get to the Prison Blocks
Move into cover behind the toppled column by pressing the A Button while pushing toward the pillar with the Left Thumbstick. From this position, Marcus can blindfire the Drones approaching from the far end of the area. Another way to kill them is to use the L Trigger in conjunction with the Right Thumbstick to manually take aim on the Drones. However, this method exposes more of Marcus’ body from cover. Once you’ve put down the Drones, grab the Frag Grenades on the floor and enter the prison block area up ahead.
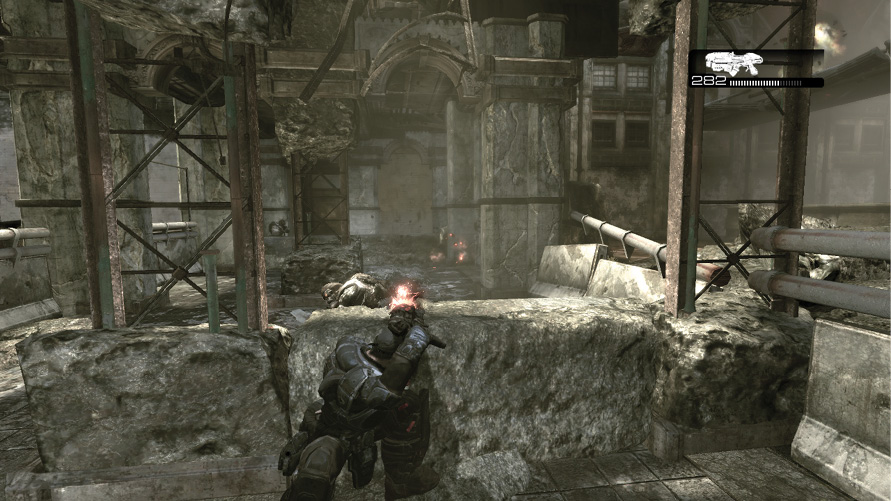
Dom helps lure the Drones’ attention toward the center of the block. This allows Marcus to slide into cover just beyond the door and take out the Drones on the ground. If you kill one, the other often retreats, allowing you to gun him down as he runs. The trickiest one to get is inside the room at the far side of the area. This room has no roof, so you can easily toss a grenade over the wall. To do so, switch to Frag Grenades by tapping Up on the Control Pad and aiming and firing with the L and R Triggers, respectively.
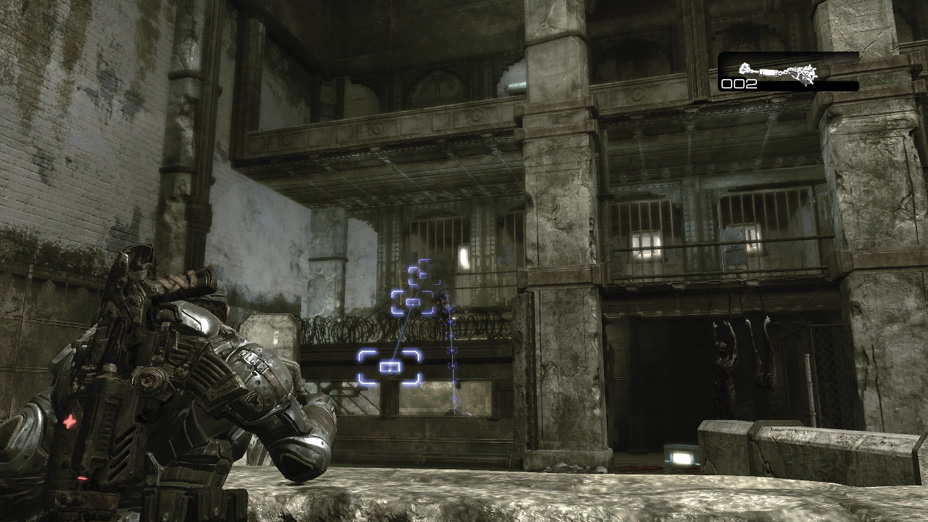
Welding Door
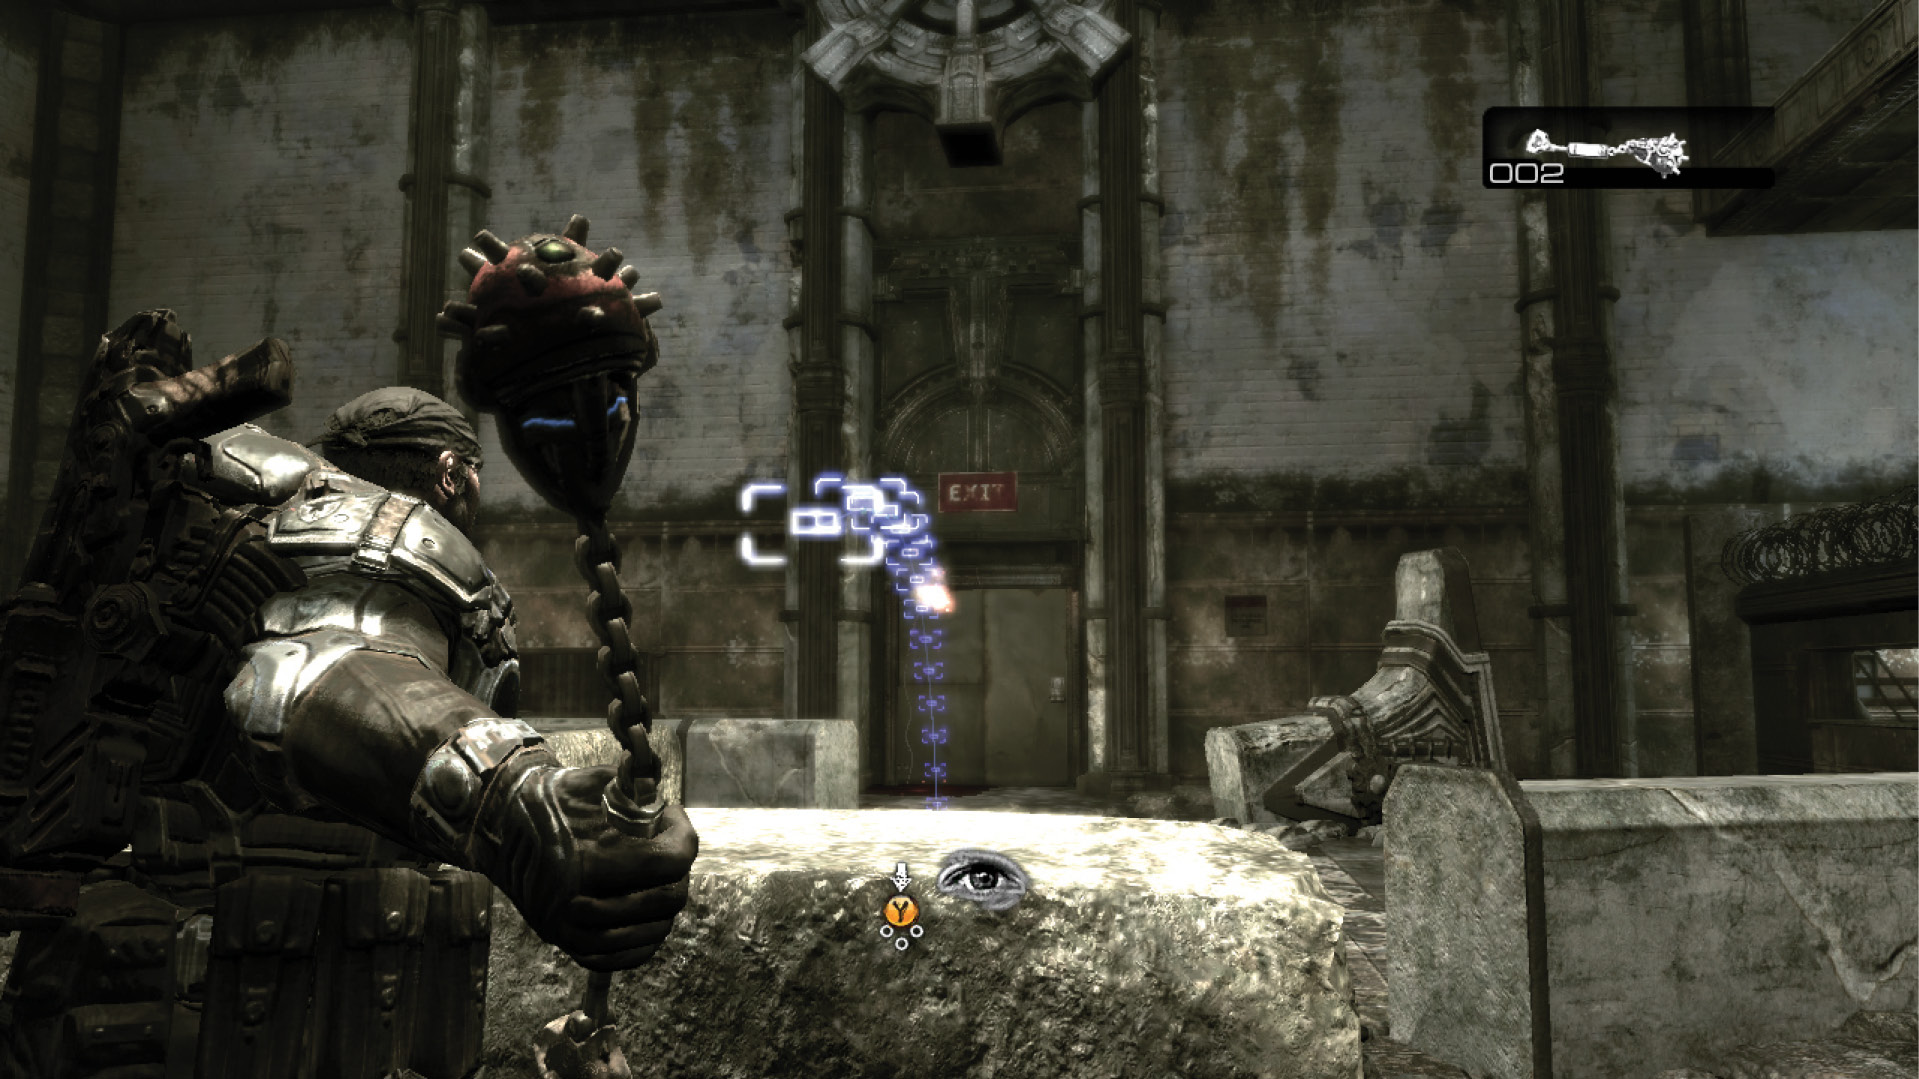
Don’t worry about collecting the ammo and nearby COG Tag just yet; first get behind the piece of cover in the middle of the area and ready a grenade. Hold the L Trigger and aim the grenade’s trajectory at the door that’s being cut open by the Grunts on the other side. Wait for the door to fall, and throw the grenade to destroy most of the assailants. Finish off any stragglers from behind cover.
COG TAG #02The COG Tag is on the ground, under the stairway opposite the one you descended if you took the training route. It’s to the left and below the Crimson Omen painted high on the wall. 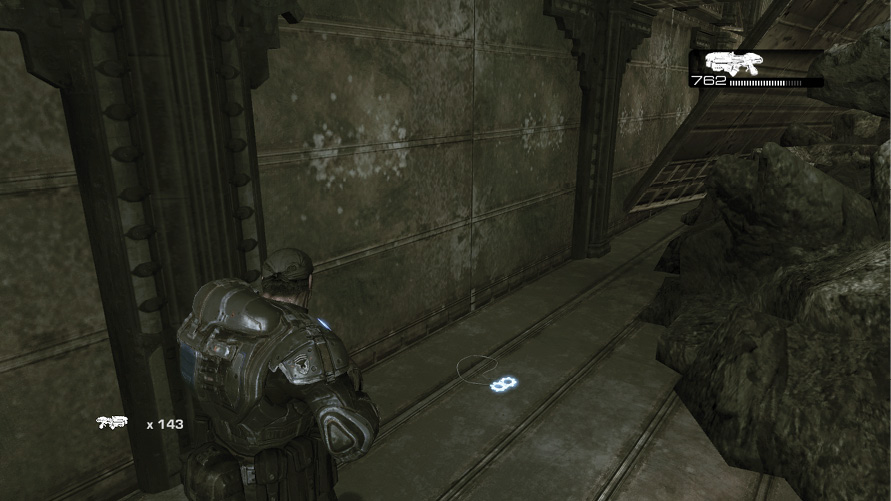
|
Proceed to the Yard for Extraction
Multiple Grunts are waiting in the yard to intercept Dom and Marcus as they attempt to flee. Dom uses the short wall near the yard’s entrance for cover while he draws the enemy fire. Marcus must climb the stairs on the left and flank the enemy. Use the cover on the left to take out any Locust that may be on the walkway, and then slide into position near the steps leading back down to the ground. From there, Marcus can swiftly eliminate many of the Locust, either with the primary weapon or with any grenades he still has in hand.
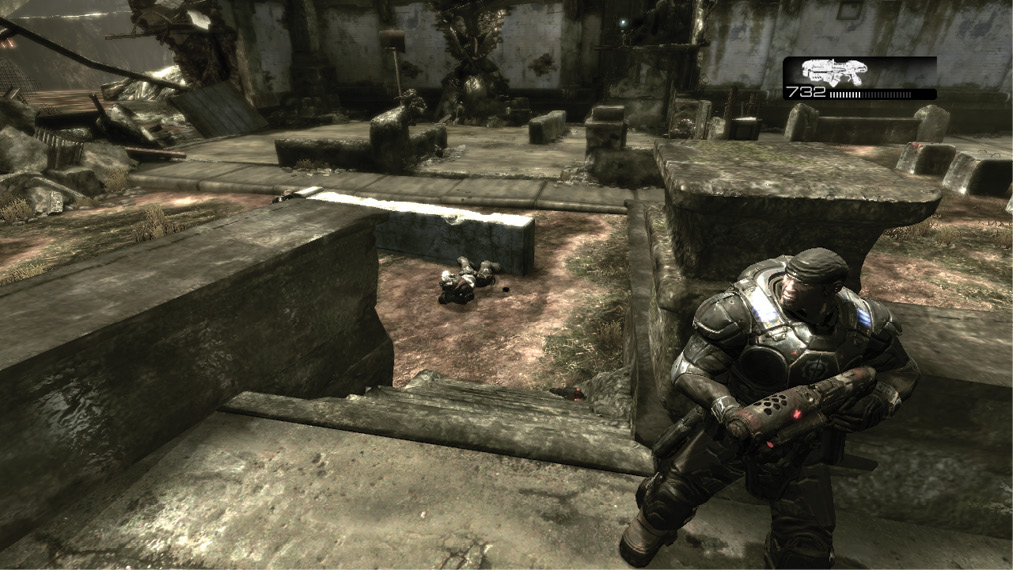
Coalition Command senses an underground disturbance and promptly calls off the counterattack. A lone King Raven chopper is made available for extraction, but you’d better hurry! Grab the COG Tag on the ground to the left and make a dash for the chopper.
COG TAG #03The Crimson Omen for this COG Tag is in the lower southwest corner of the yard. 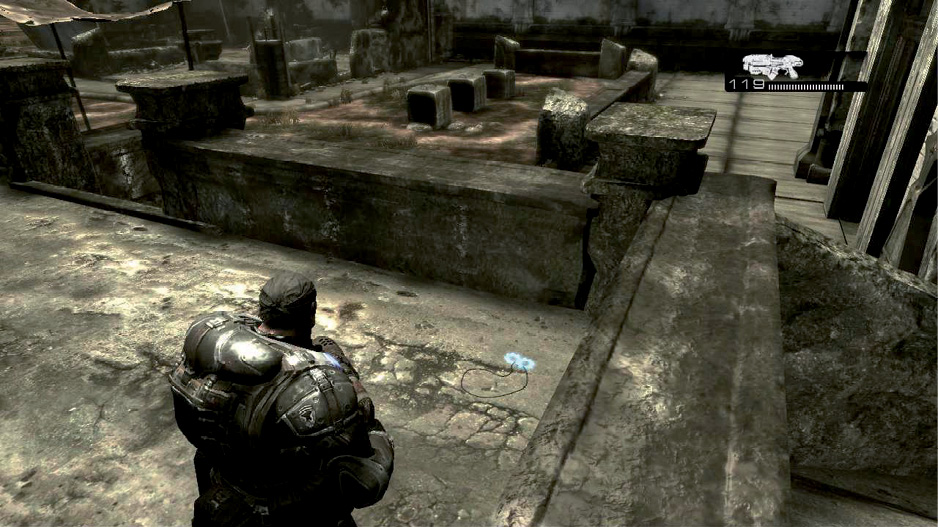
|
Trial By Fire
Begin the mission to find Alpha Squad.
Search for Alpha Squad
The reunion with Hoffman goes about as well as Marcus could hope for, but the news isn’t great—he’s stuck here for the time being. Fortunately, Hoffman and Anya hop back into King Raven and crush the initial wave of Locust attackers outside Embry Square.
Ascend the stairs alongside Carmine, Dom, and Lieutenant Kim, and regroup near the entrance. Proceed down the corridor toward the yard outside, and allow your squad mates to move into position in the center and draw out the Locust. While they do that, use the opportunity to move from cover to cover along the yard’s left-hand side, advancing toward the Crimson Omen in the distance. This provides the perfect flanking opportunity for eliminating the Locust wave before it can do any harm.
Gather up the grenades and ammunition at the base of the stairs and ascend to the upper structure. There’s no time for enjoying the ancient architecture right now though, as an Emergence Hole just opened at the yard’s far right-hand corner! Let Dom and the others lure the enemies toward them while you flank to the left.
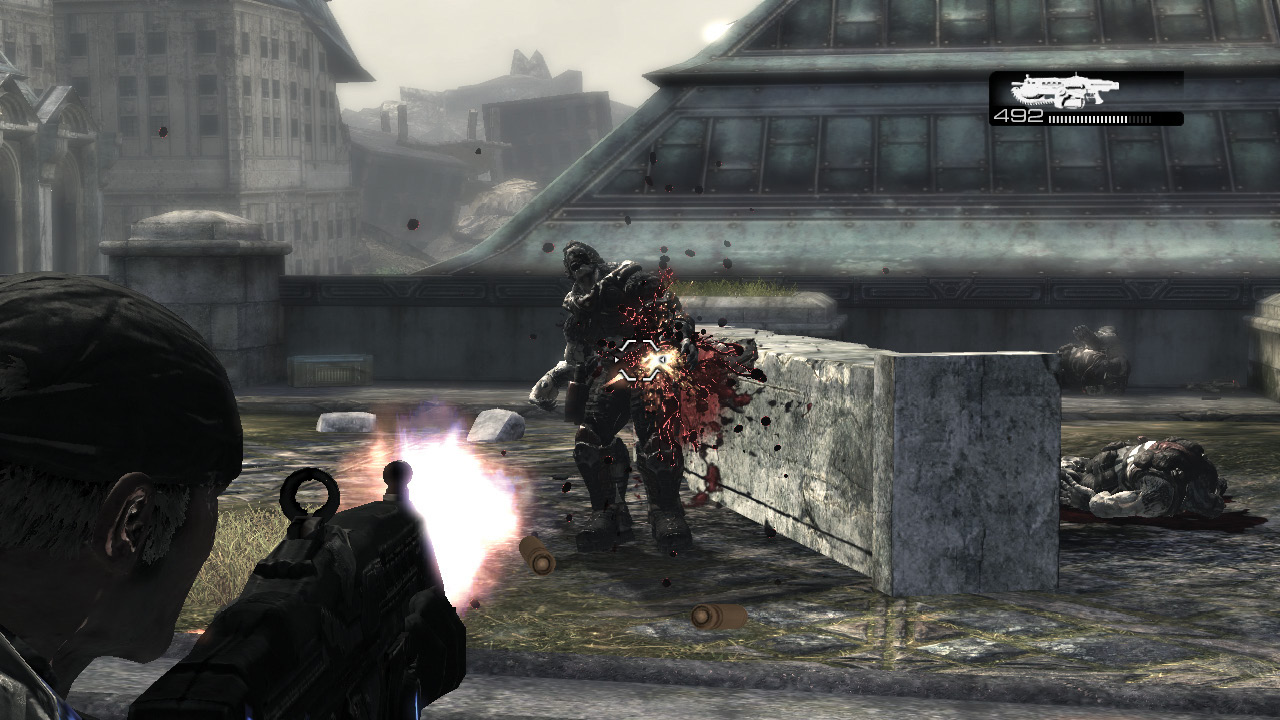
Make your way across the yard while moving from pillar to pillar, using the Lancer against each of the Locust. Should any of them get too close (or you get the opportunity to sneak up behind one), hold the B Button to saw them in half with the chainsaw bayonet.
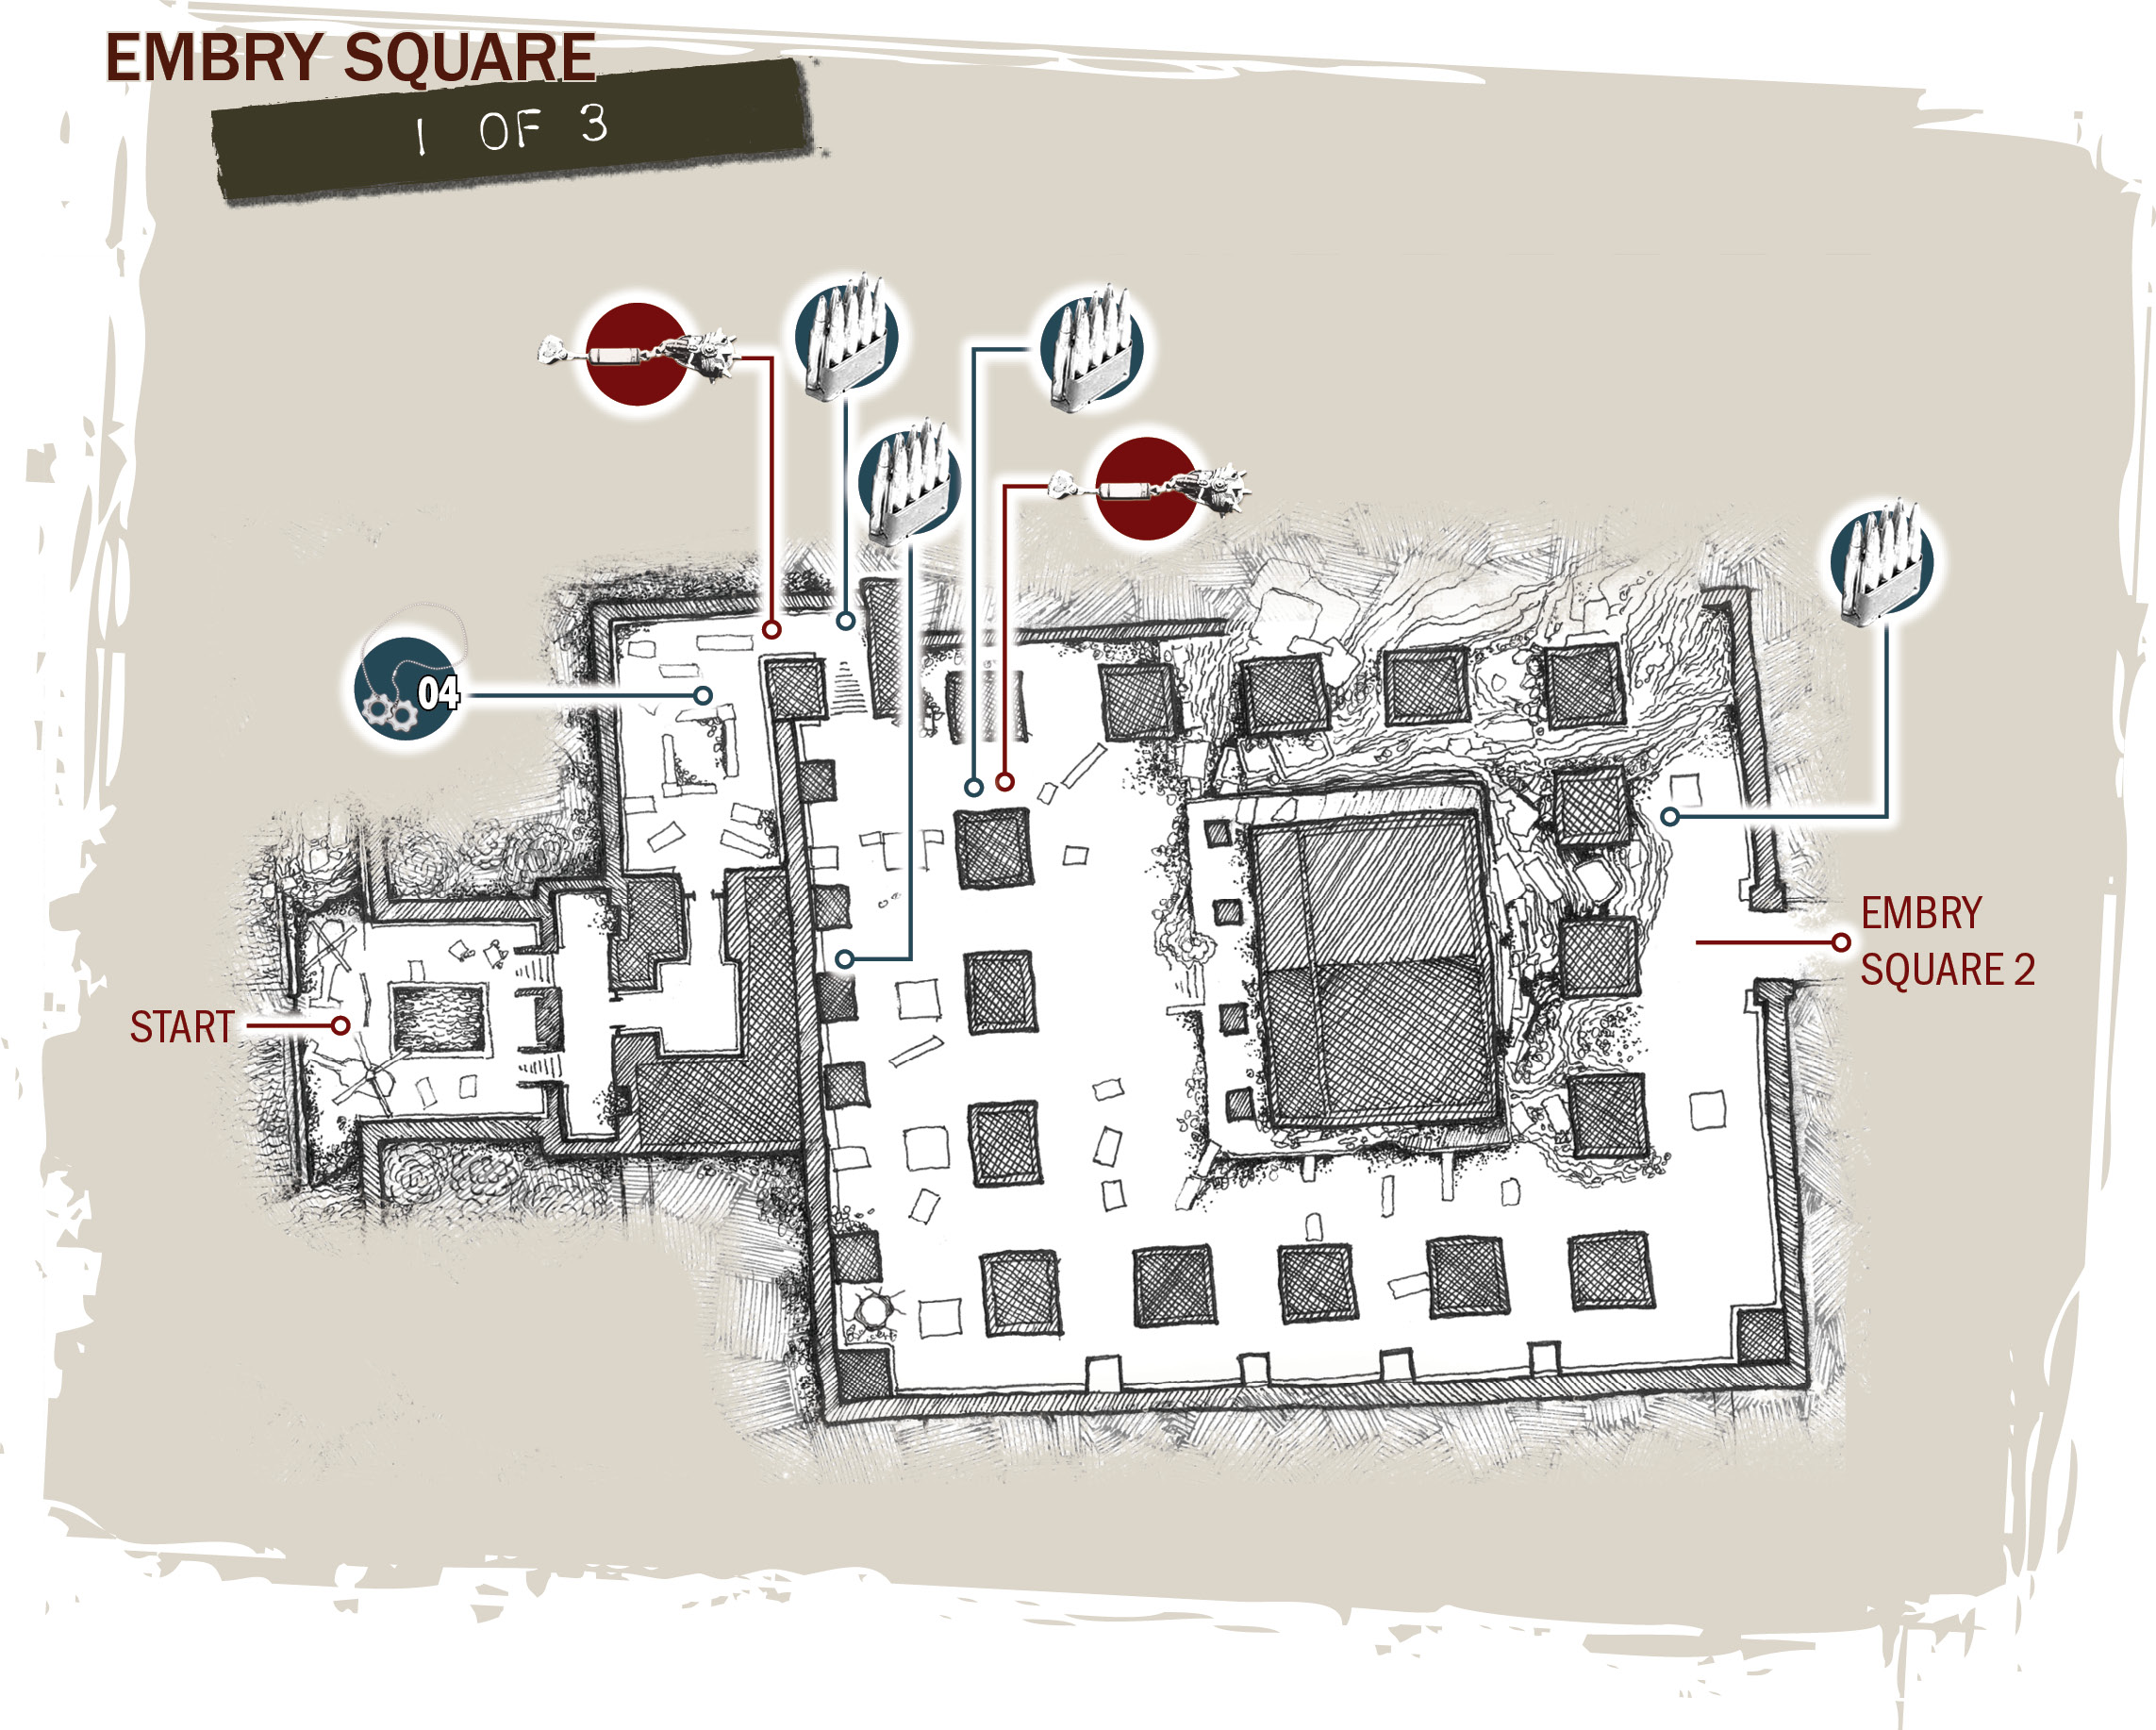
COG TAG #04Unlike the other COG Tags, one of Marcus’ squad mates actually mentions this one’s location. It’s on the ground, just beyond the last short wall in the yard’s center. Look to the right of the Crimson Omen. 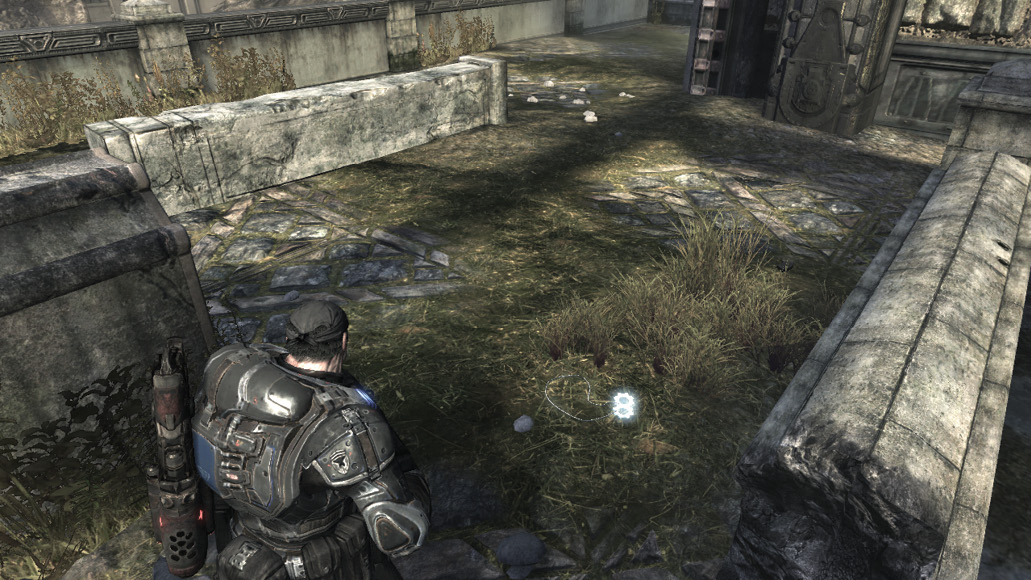
|
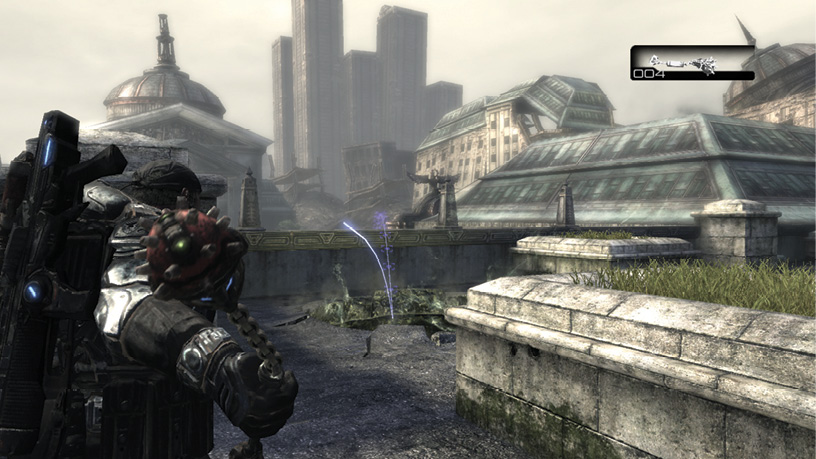
At the rear of the yard, switch to grenades and lob one into the Emergence Hole in the corner. This hole leads directly underground to the massive network of Locust caverns—it must be sealed off before reinforcements arrive. Throwing a Frag Grenade down into it is the only way to accomplish this.
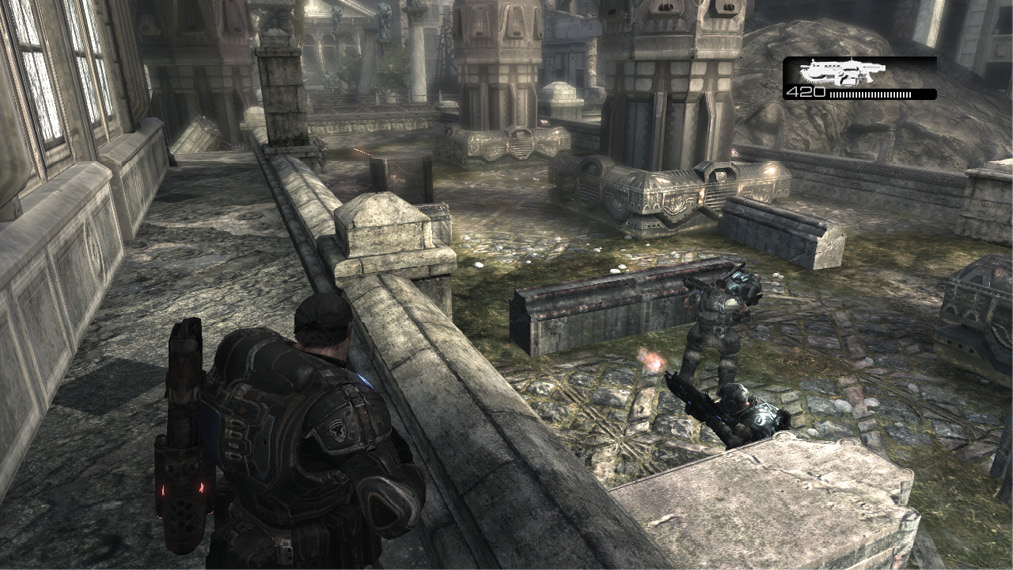
With the Emergence Hole sealed, return toward Kim and the others and climb the stairs in the center of the yard. The others advance on the ground around the temple’s side and lure out additional Grunts. By taking the upper walkway, Marcus gains a height advantage and gets the perfect angle to toss a grenade straight down into the lot of them. Descend from atop the ramped rubble pile and follow the others out onto the bridge, where Lieutenant Kim thinks he may have found Alpha Company.
Emergence Holes
Kim opens the door to the inner yard and, just as he does, you hear an Emergence Hole ripping open to the left. Take cover behind the masonry to the left, and use the Lancer to rip apart any Drones that attempt to rush your squad. A second Emergence Hole opens at the other end of this area when you are in the second half of the room and the earthquake occurs. Clear out everyone from the first hole before you advance and trigger the second one. Cross the yard to the right and zigzag back to take out the next batch of Drones.
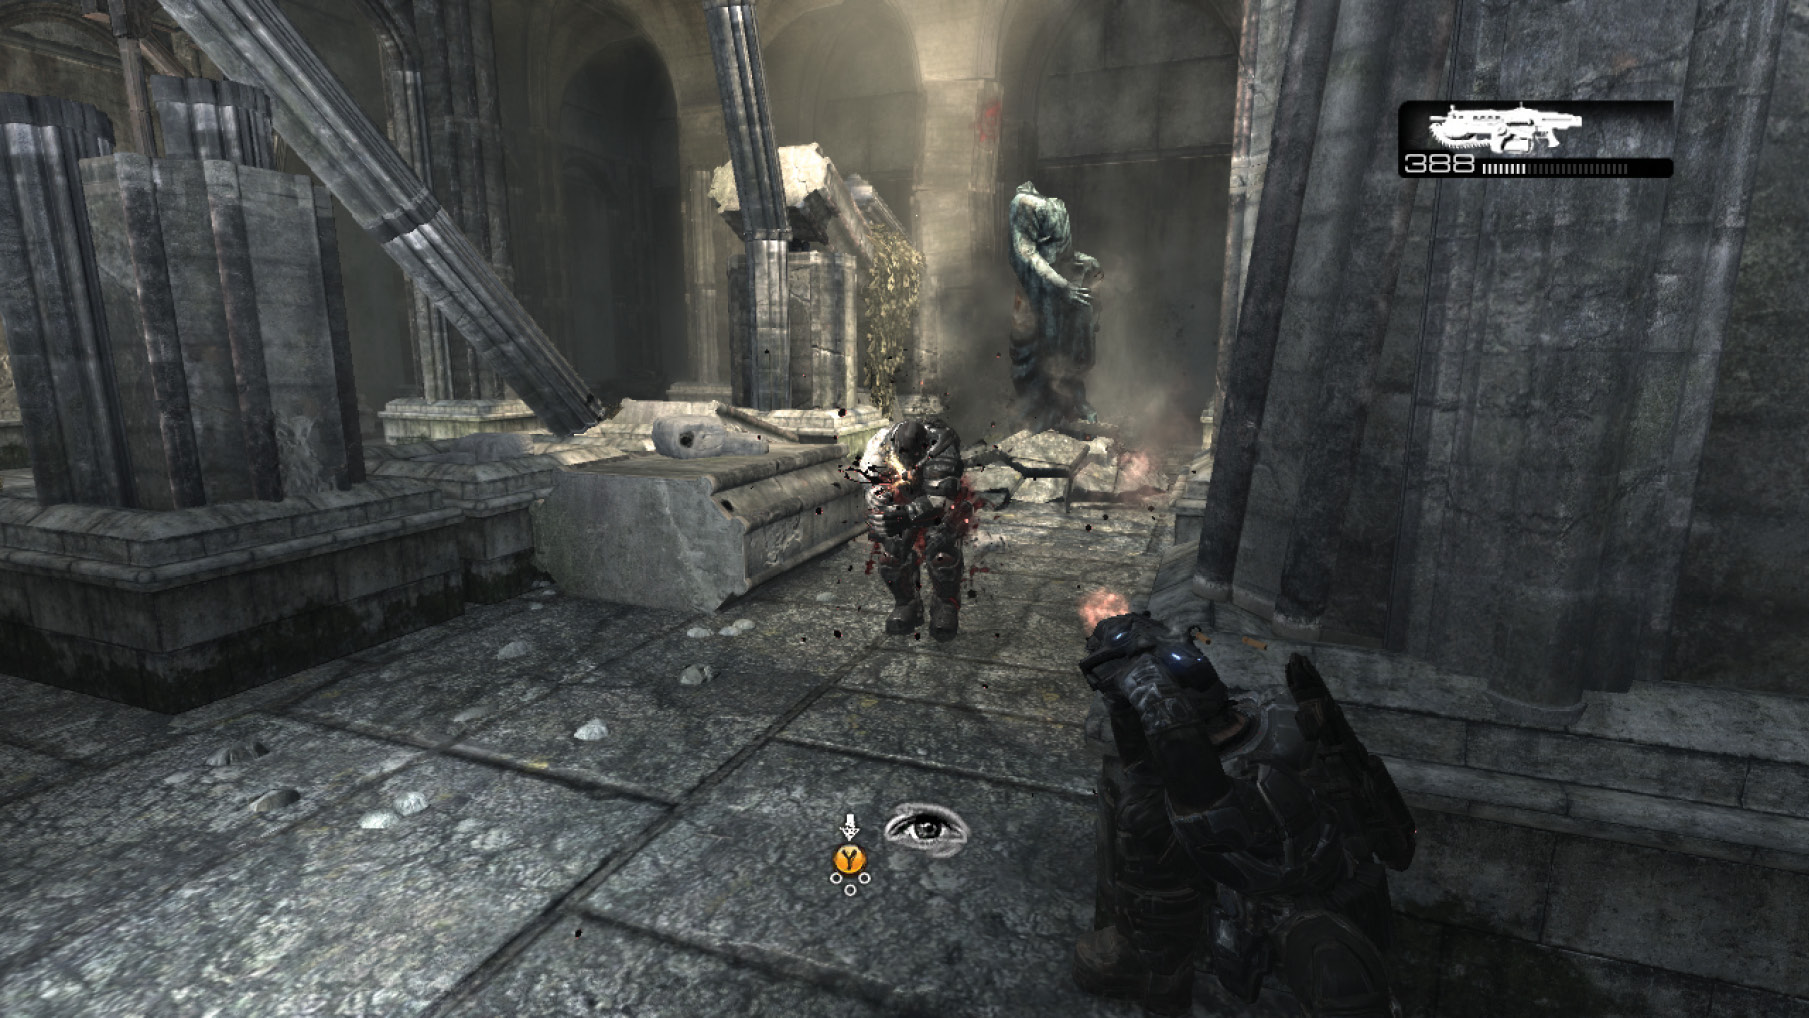
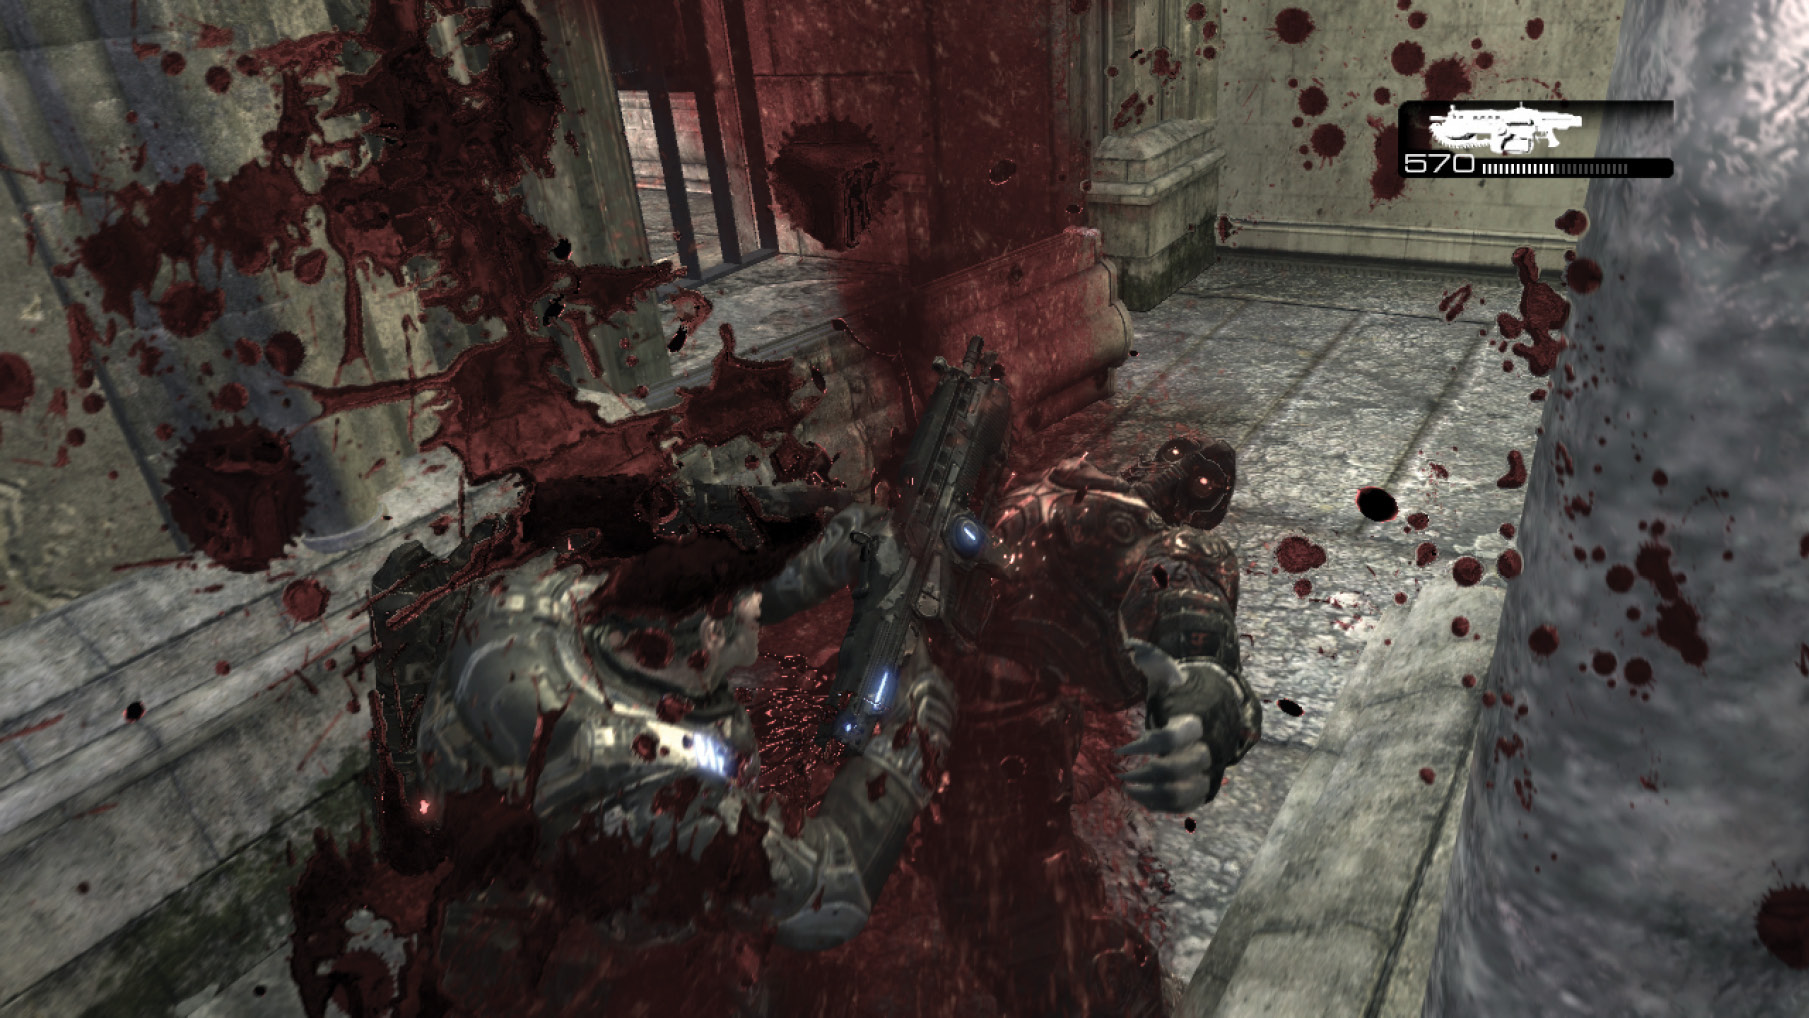
COG TAG #05Eliminate the Locust that emanate from the second Emergence Hole in this inner yard area. Then grab the COG Tag hidden in the weeds beyond it before you descend to the street. 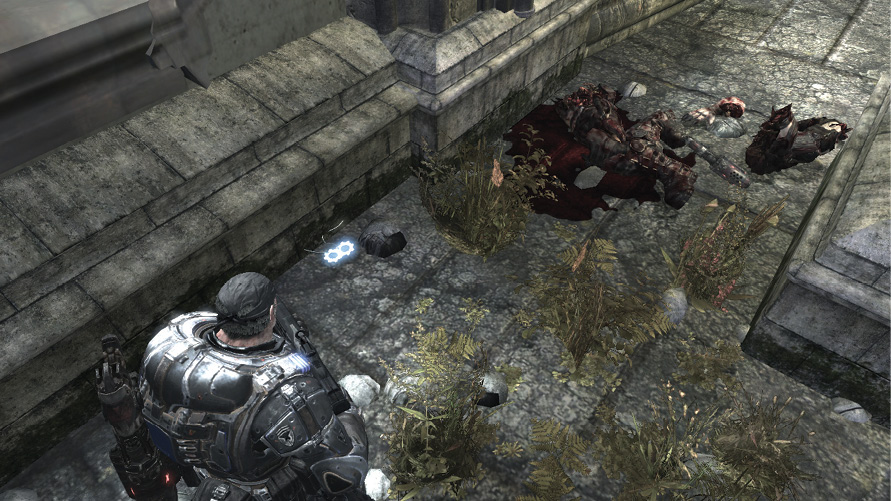
|
Descend the steps to the street. Follow Kim beyond the bridge you crossed earlier to the corpses near the massive Emergence Hole. The COG Tags have been taken from the bodies. There’s no way to tell if they are the remains of Alpha Squad or if they’ve been placed simply as bait. That answer comes soon enough…
Fish in a Barrel
Taking heat in Embry Square.
Take Out the Troika Gun Emplacement
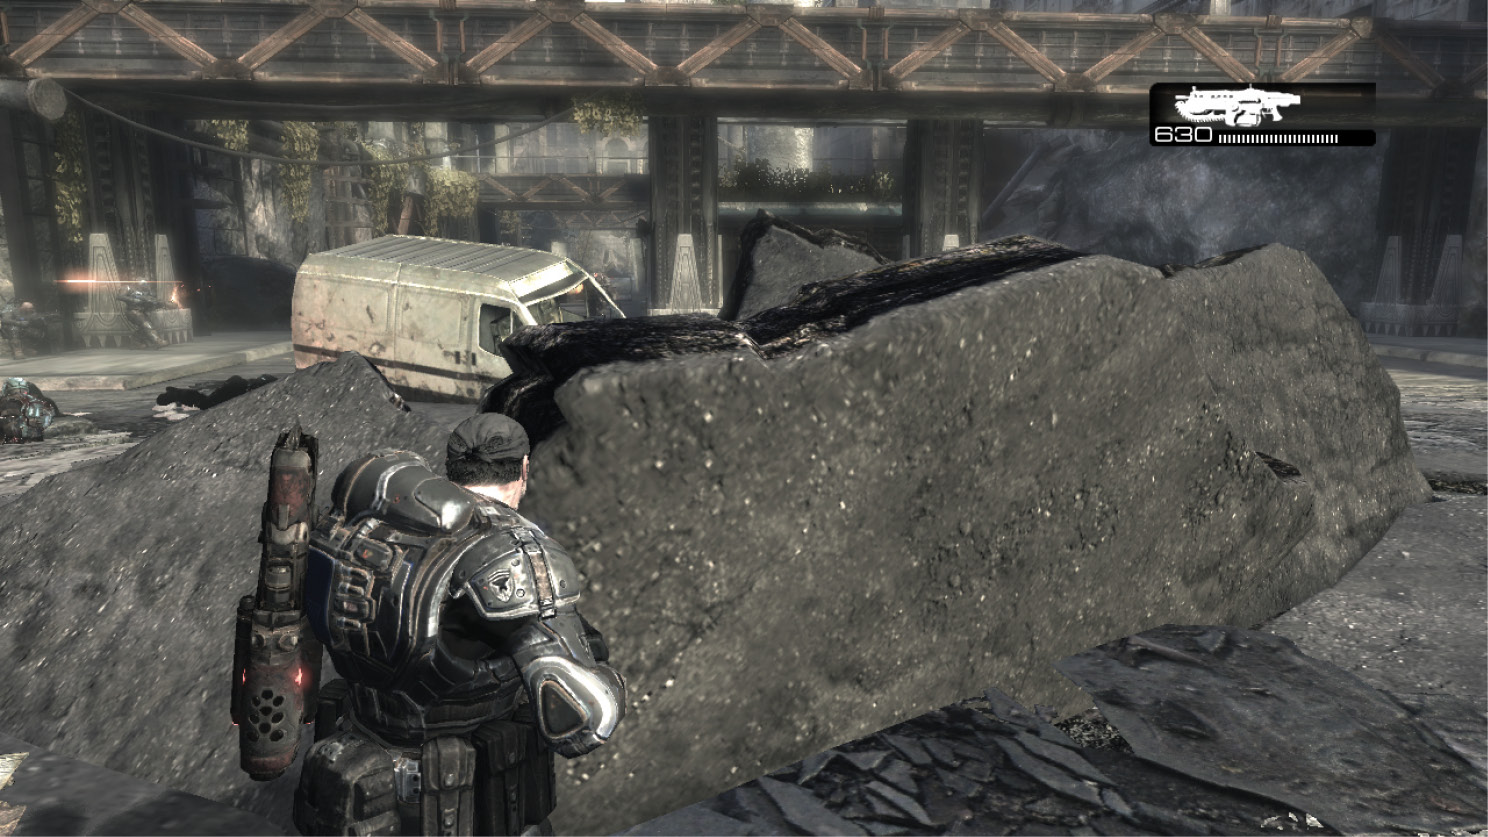
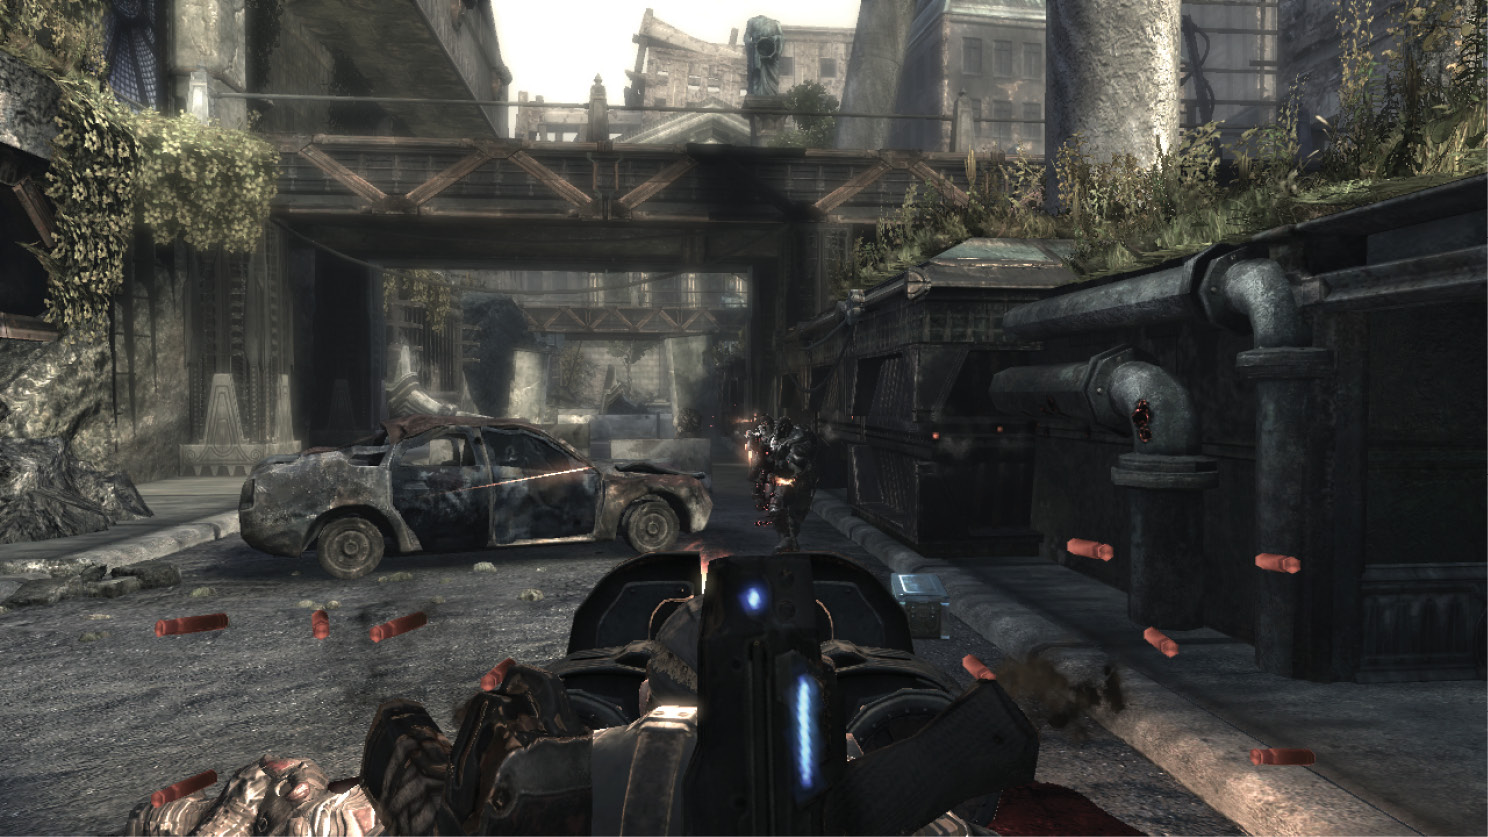
There’s little time to mourn, as a couple of Locust at a Troika mounted gun emplacement open fire on Delta Squad’s position! Leave your allies safely behind cover, and Roadie Run around the uplifted asphalt near the Emergence Hole. This gets you safely to the other side of the pillars. Use the wall in the middle of the road for cover, and flank the two near the Troika. Lob a grenade at them through the opening to make the route safe for the others.
Continue to Search for Alpha Squad
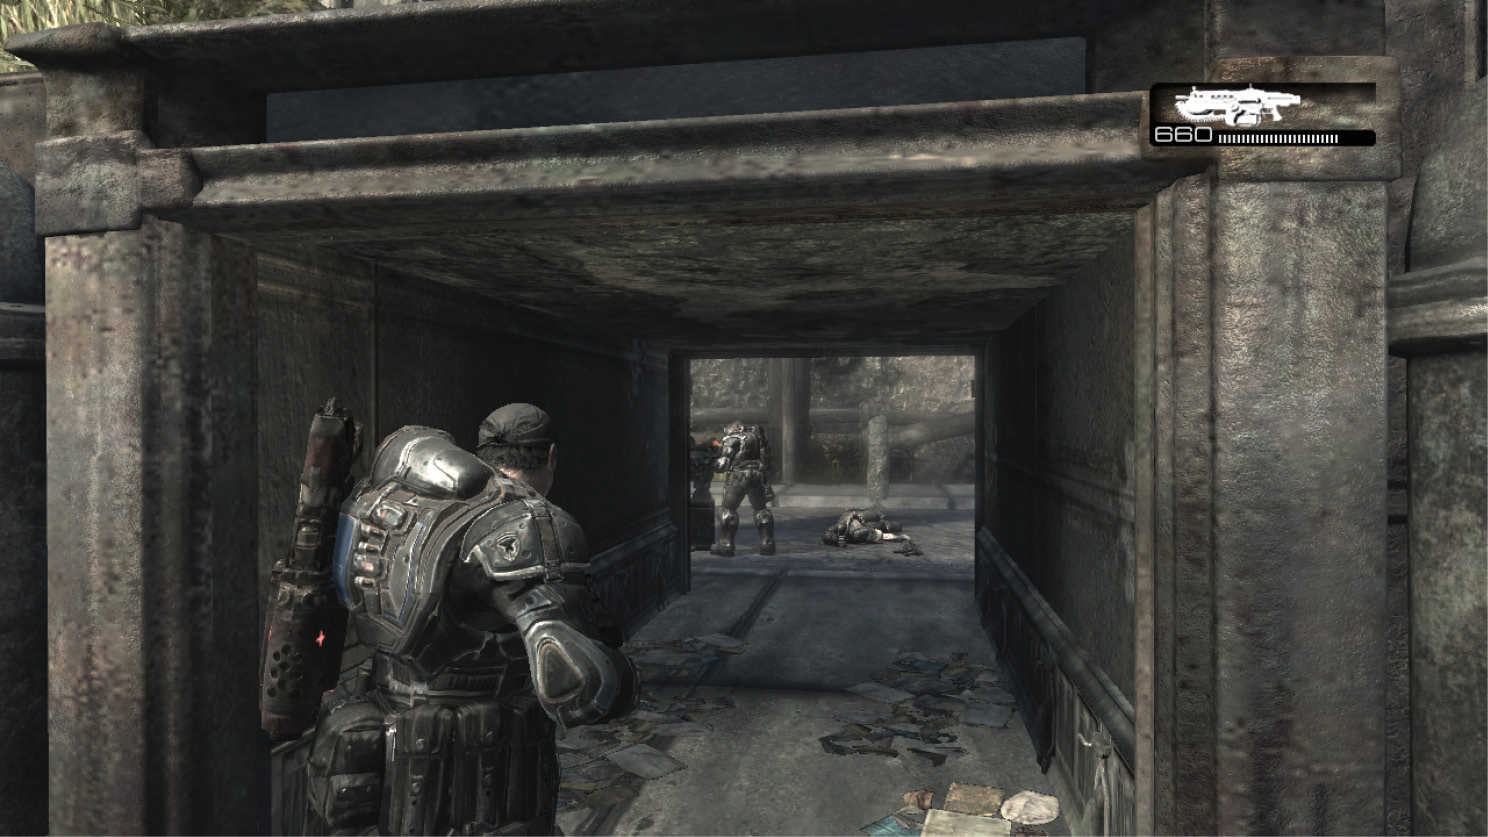
Duck through the passage and mount the Troika by pressing the X Button. Quickly wheel around and open fire on the three Locust advancing toward your position. It takes a moment to rev up to speed, but the Troika can cut any enemy into pieces with just a couple rounds from its high-caliber shells.
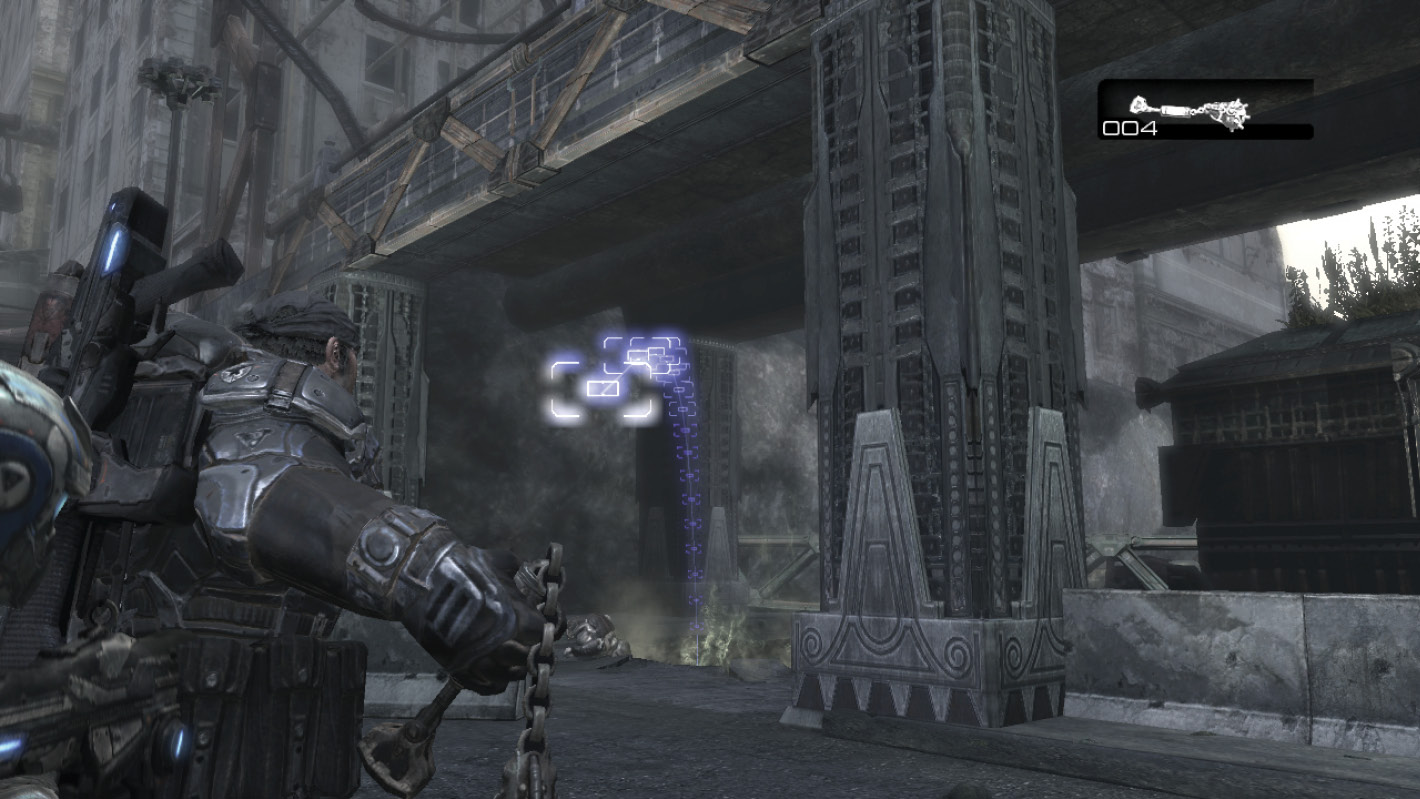
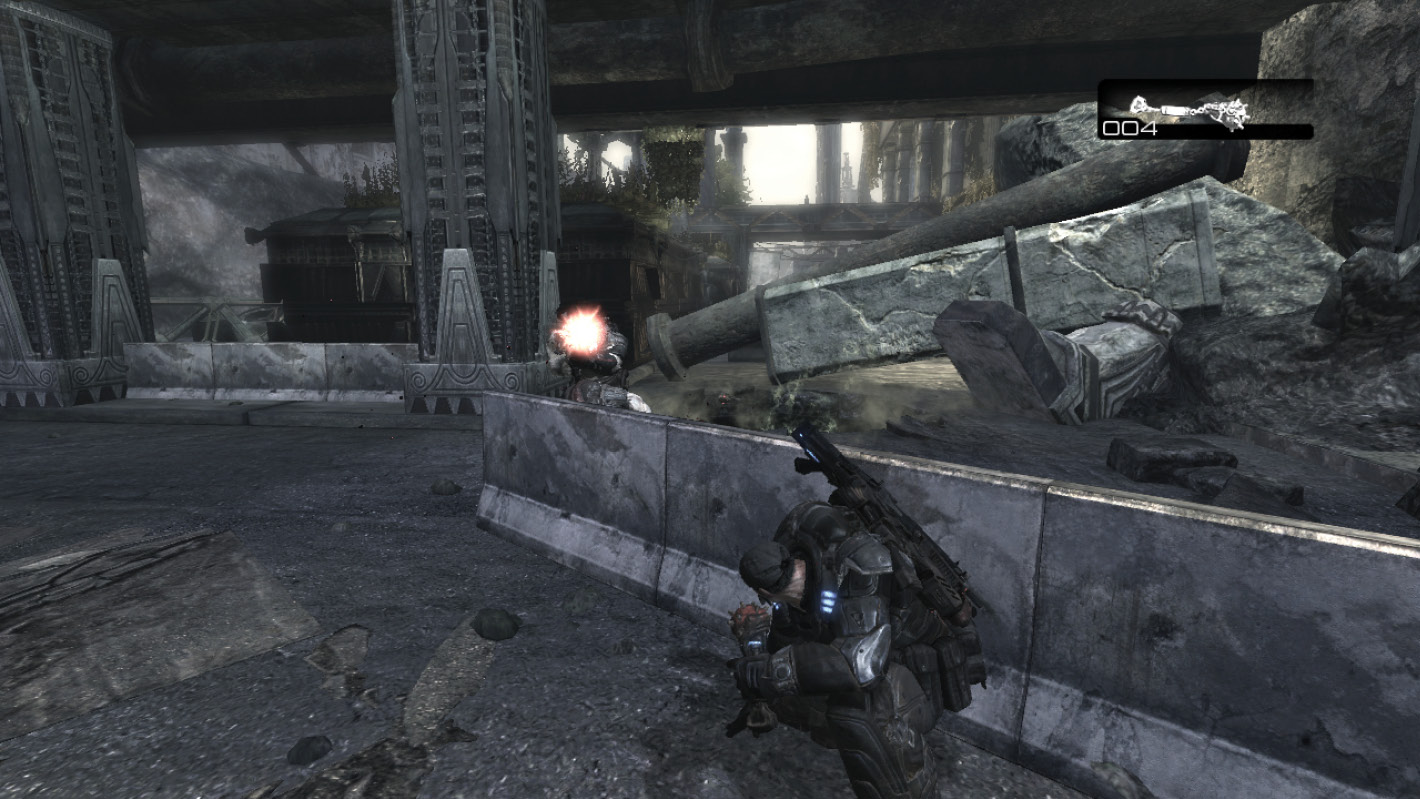
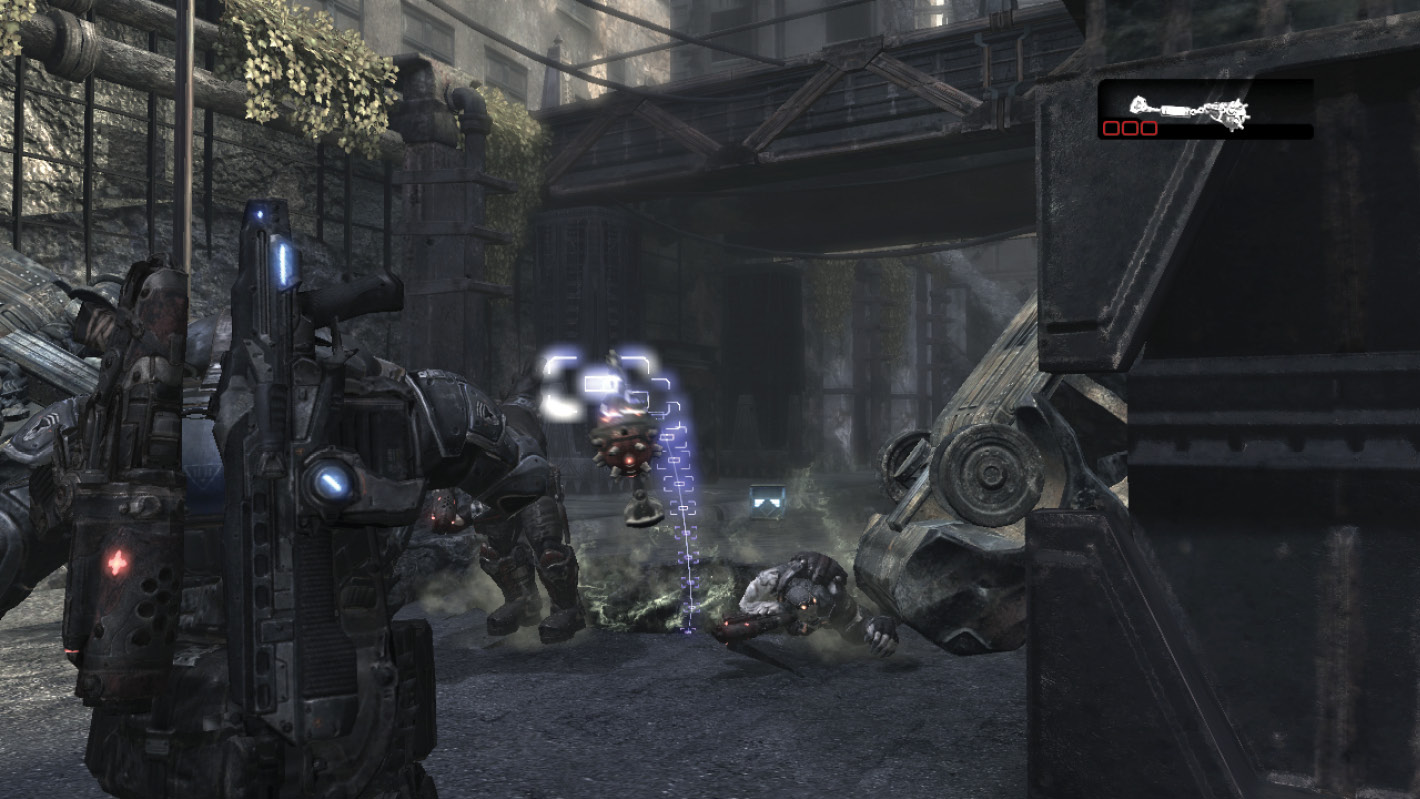
Additional Locust have taken cover further down the road, near the plaza in the distance. Zigzag back to the right, through the second opening in the wall, and kill the Locust there. Then cut back through the third opening to move into a perfect close-range position to eradicate the remaining Grunts.
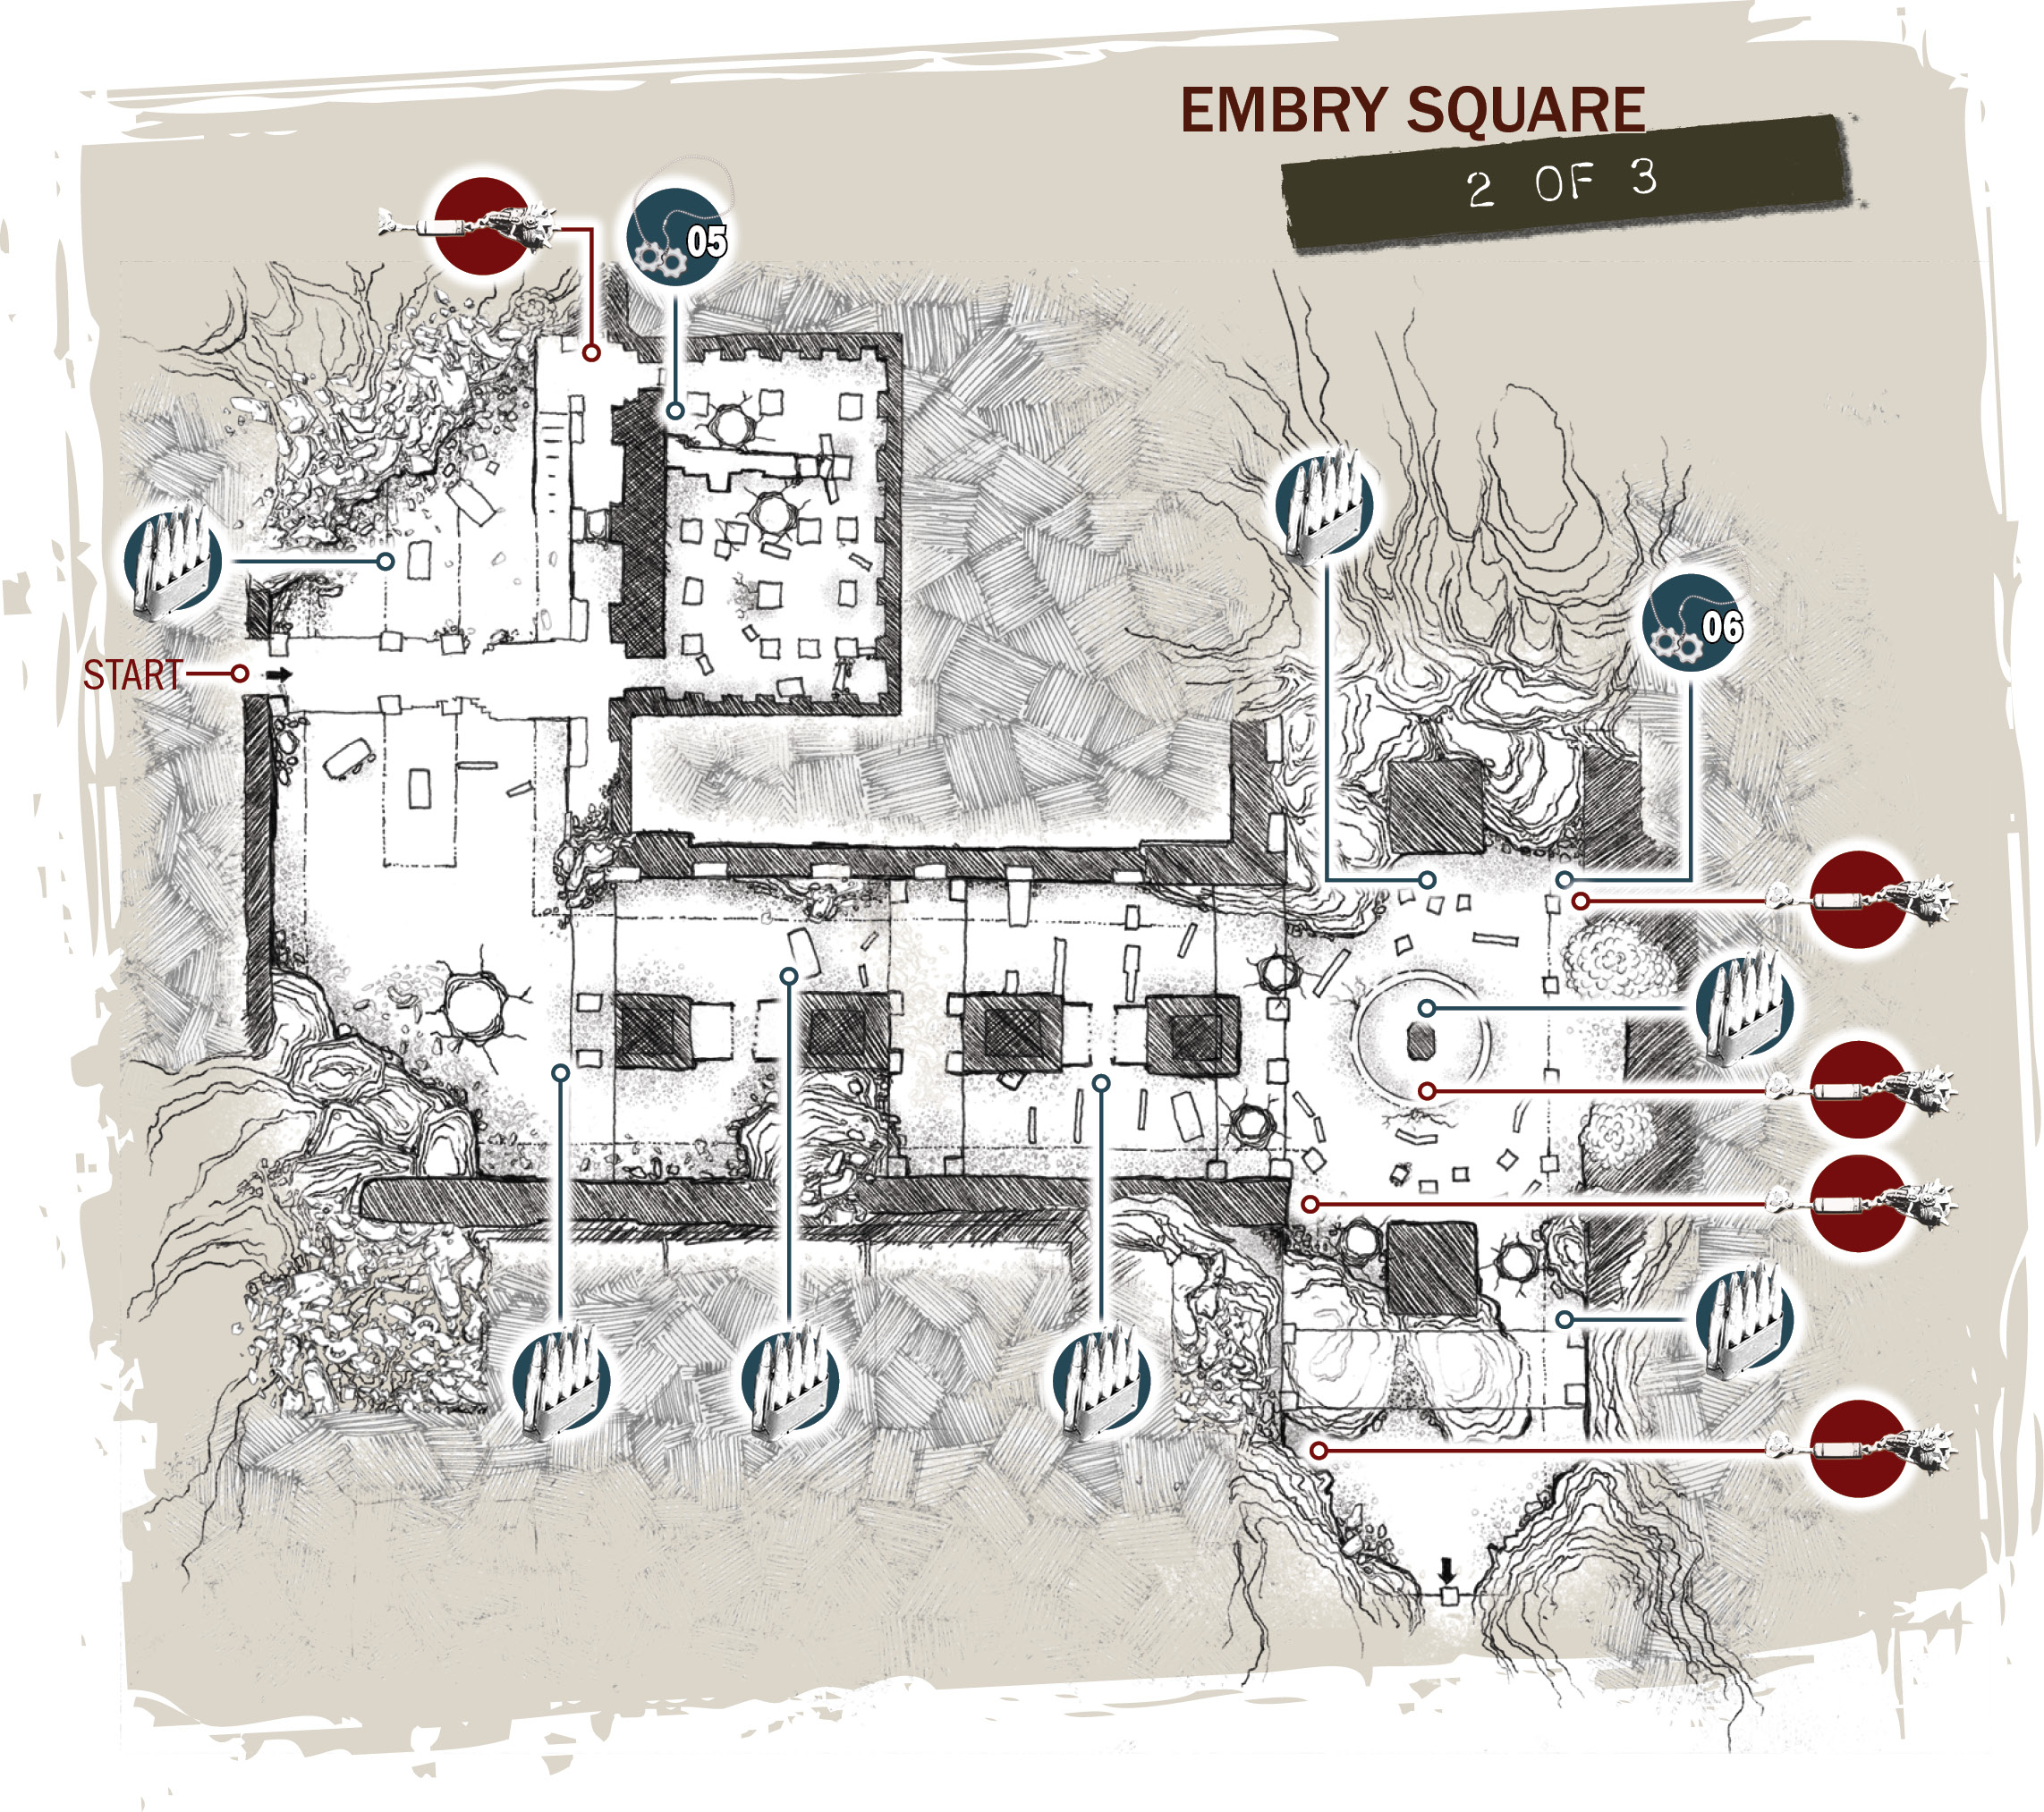
Kim, Dom, and Carmine move into position up ahead, amongst the empty wishes inside the plaza’s waterless fountain. Meanwhile, you should quickly gather up the grenades lying around the area’s periphery. One by one, four Emergence Holes open (see map) and groups of Locust Grunts pour out. Let the rest of the guys handle the Locust while you focus on closing those Emergence Holes! Use the maps and the Y Button to anticipate where the next Emergence Hole opens, and have a grenade ready for when it does. With some practice—and some good timing—you can successfully lob a grenade into the hole the moment it opens (watch for the asphalt to turn ashen), closing it before anything escapes.
COG TAG #06Look to the area’s far left corner, near the batch of grenades and ammunition box. This COG Tag lies on the ground. It’s to the far left, opposite the fourth Emergence Hole. 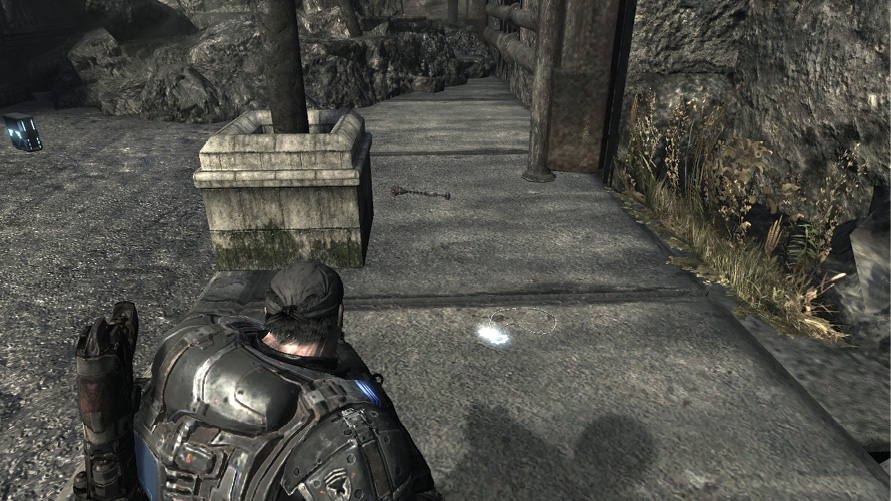
|
Fork in the Road
Delta Squad divides and conquers in Embry.
Right Path
Continue to Search for Alpha Squad
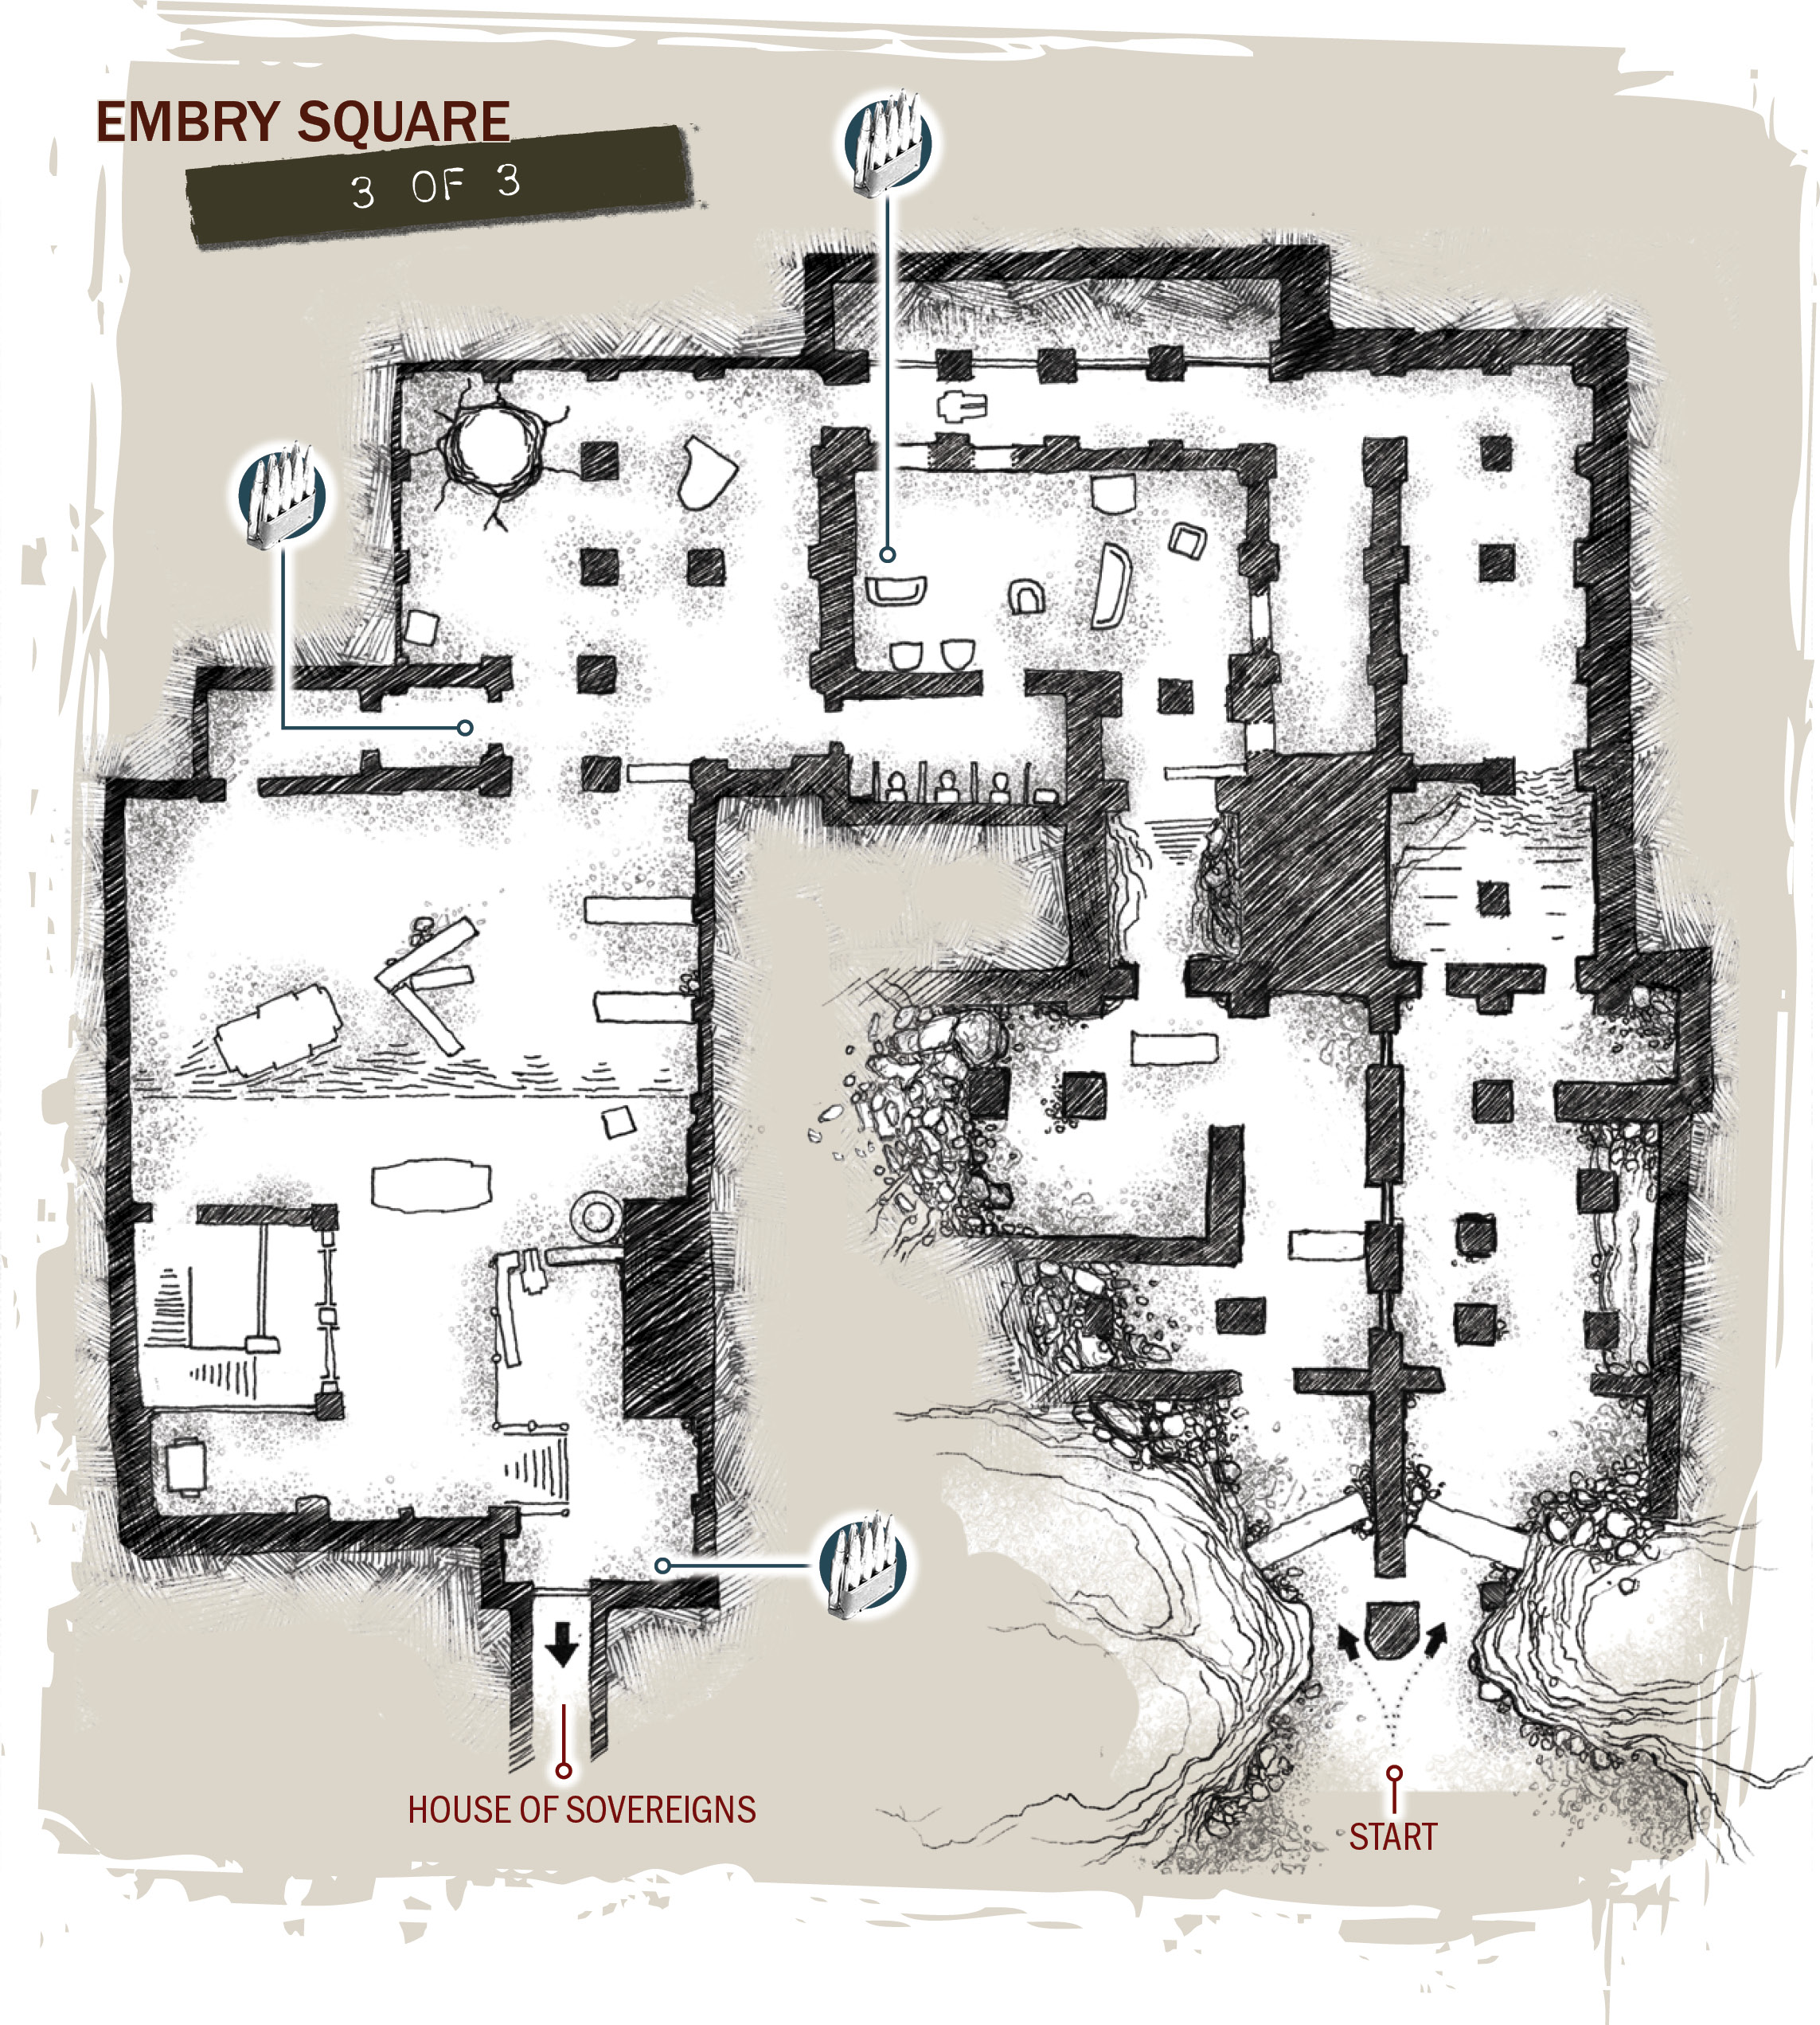
Taking the right-hand path pits Marcus and Carmine in the role of bait, allowing Dom and Kim to get into position to take out the Troika up ahead. Proceed up the ramp and around the corner, and quickly duck into the first hallway on the left to escape the Troika’s line of fire. To help the others, shoot through the wooden boards in the wall to kill the Locust in the adjacent room. This allows Dom and Kim to take out the Locust manning the Troika via the boarded-up windows to the right.
Take control of the Troika, using it to chop down the pair of Locust approaching from the rear. With these last two defeated, Marcus is ready to rejoin Dom and Kim.
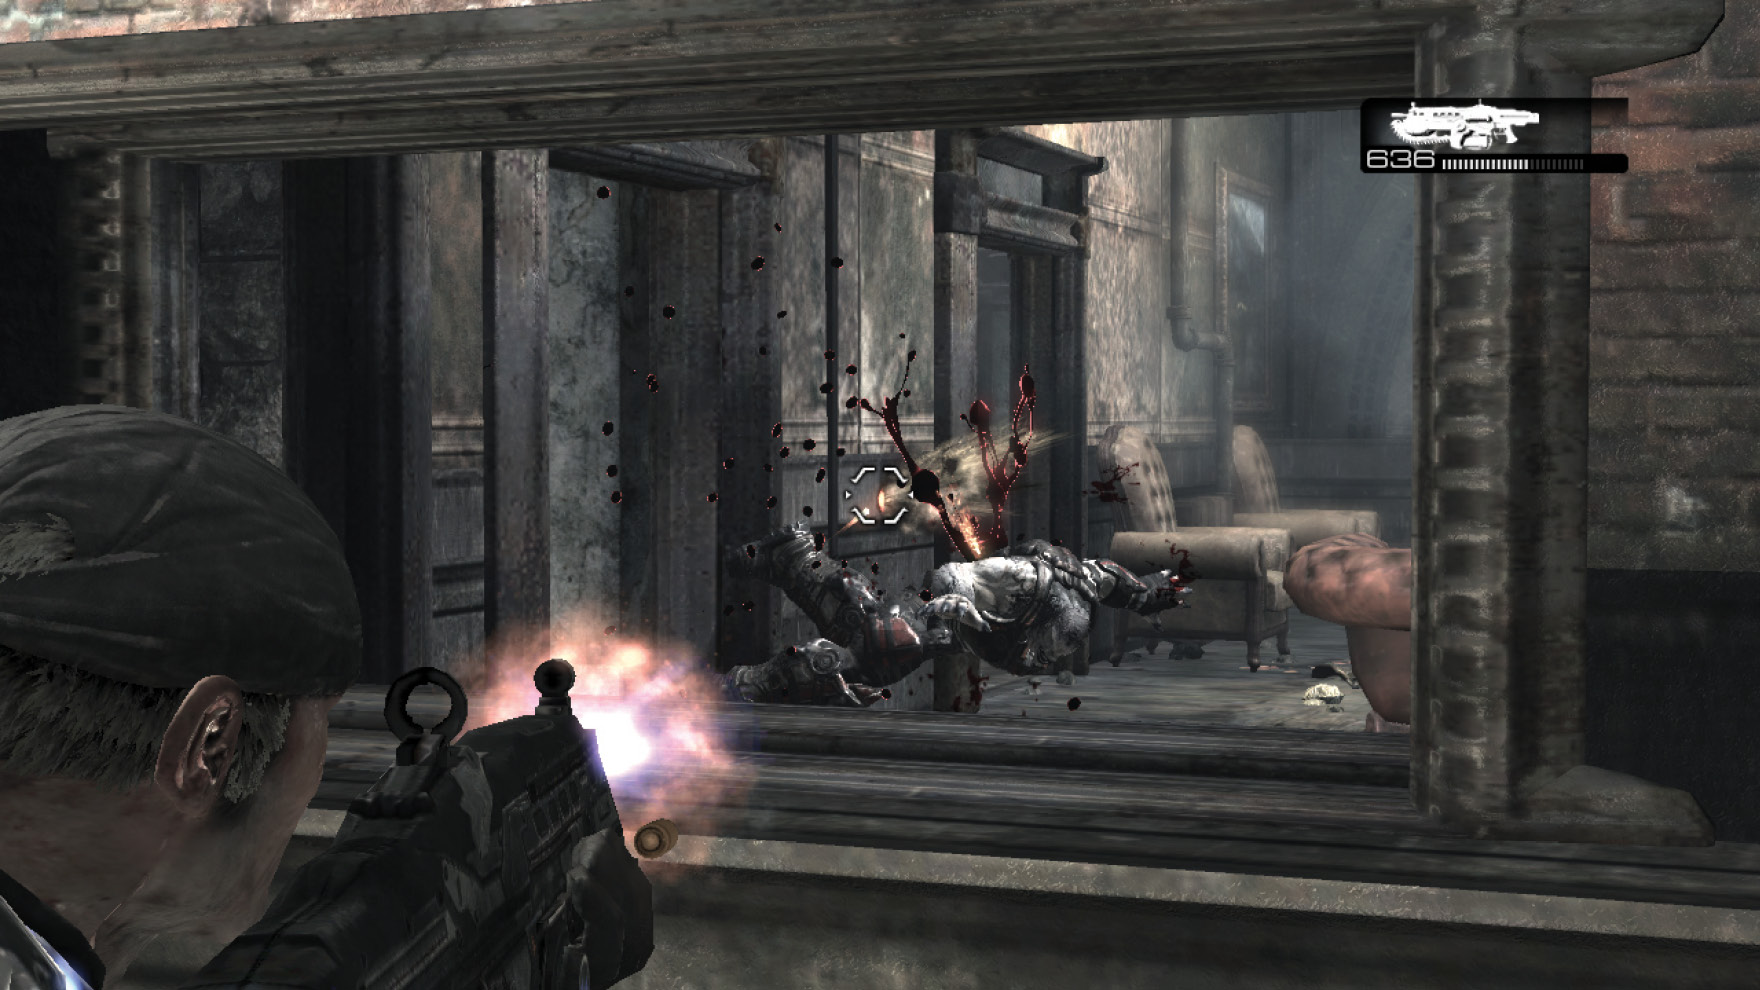
left Path
Continue to Search for Alpha Squad
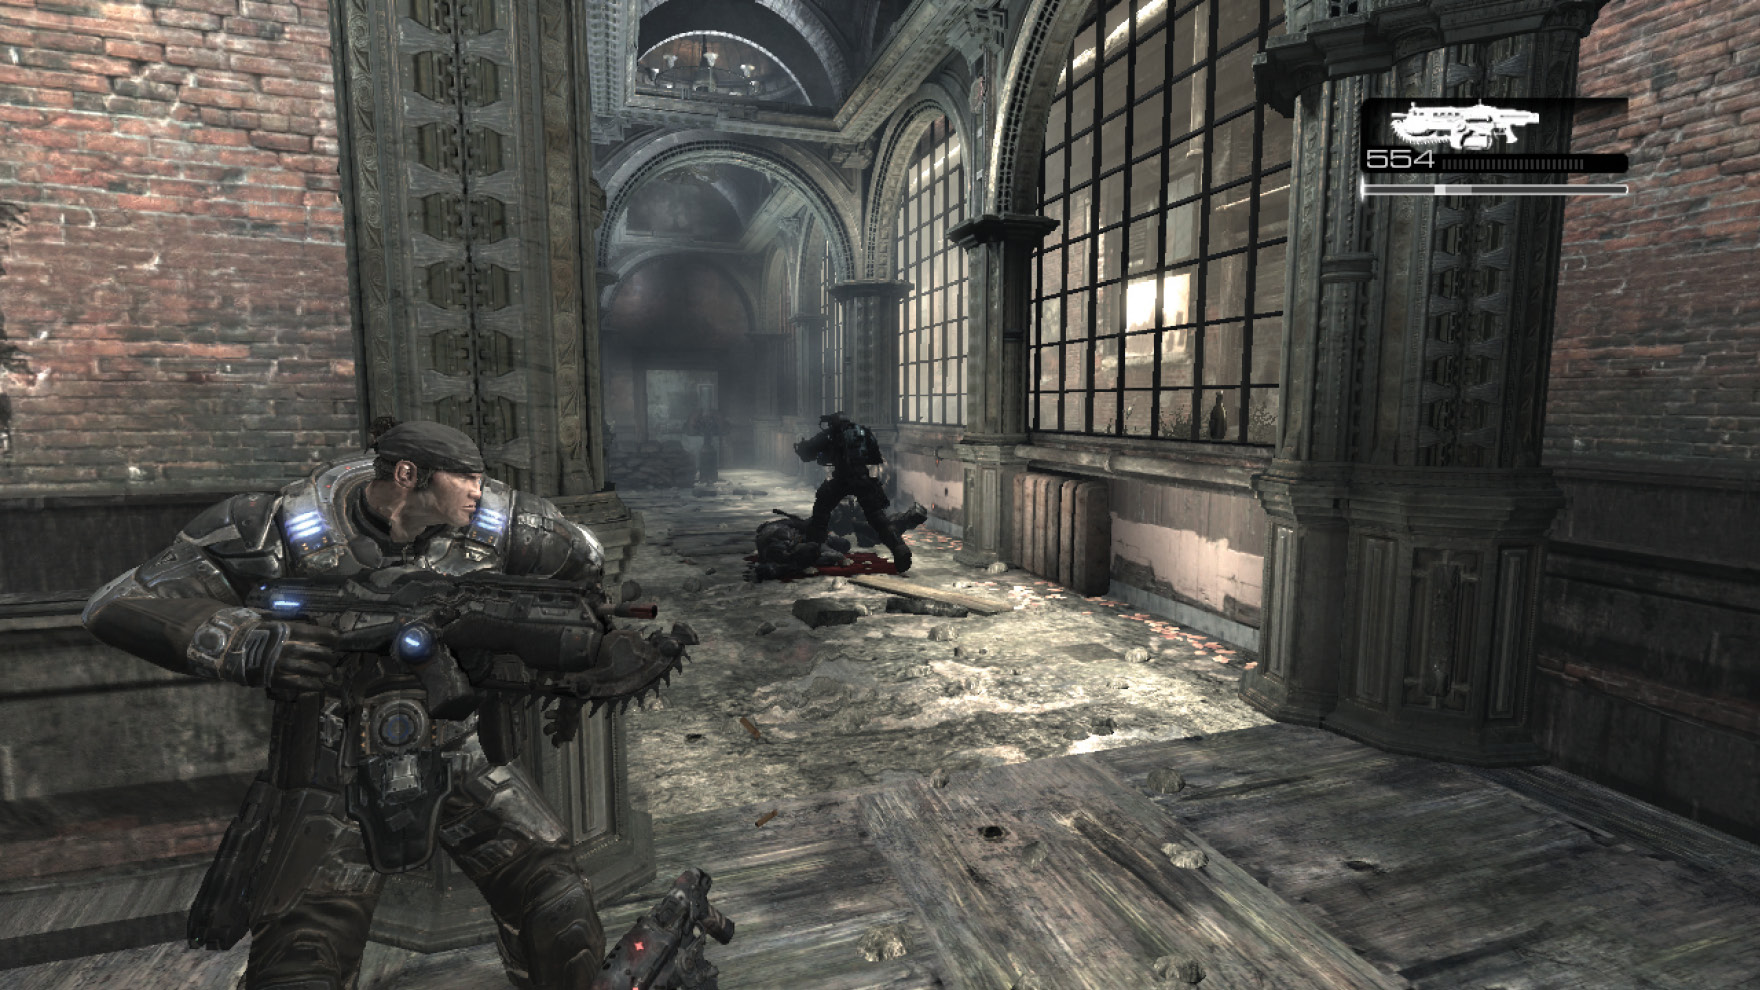
The left path places Marcus and Carmine in slightly more immediate danger, as they have to cut their way through more Locust Drones on their way up the stairs initially. At the top of the stairs, they can enter the room to the left and take out the Gunner and Spotter by shooting them through the wooden boards. This gives Dom and Kim a chance to safely proceed through the hallway without getting shot to pieces. From here, continue through the bathrooms and out the door to regroup.
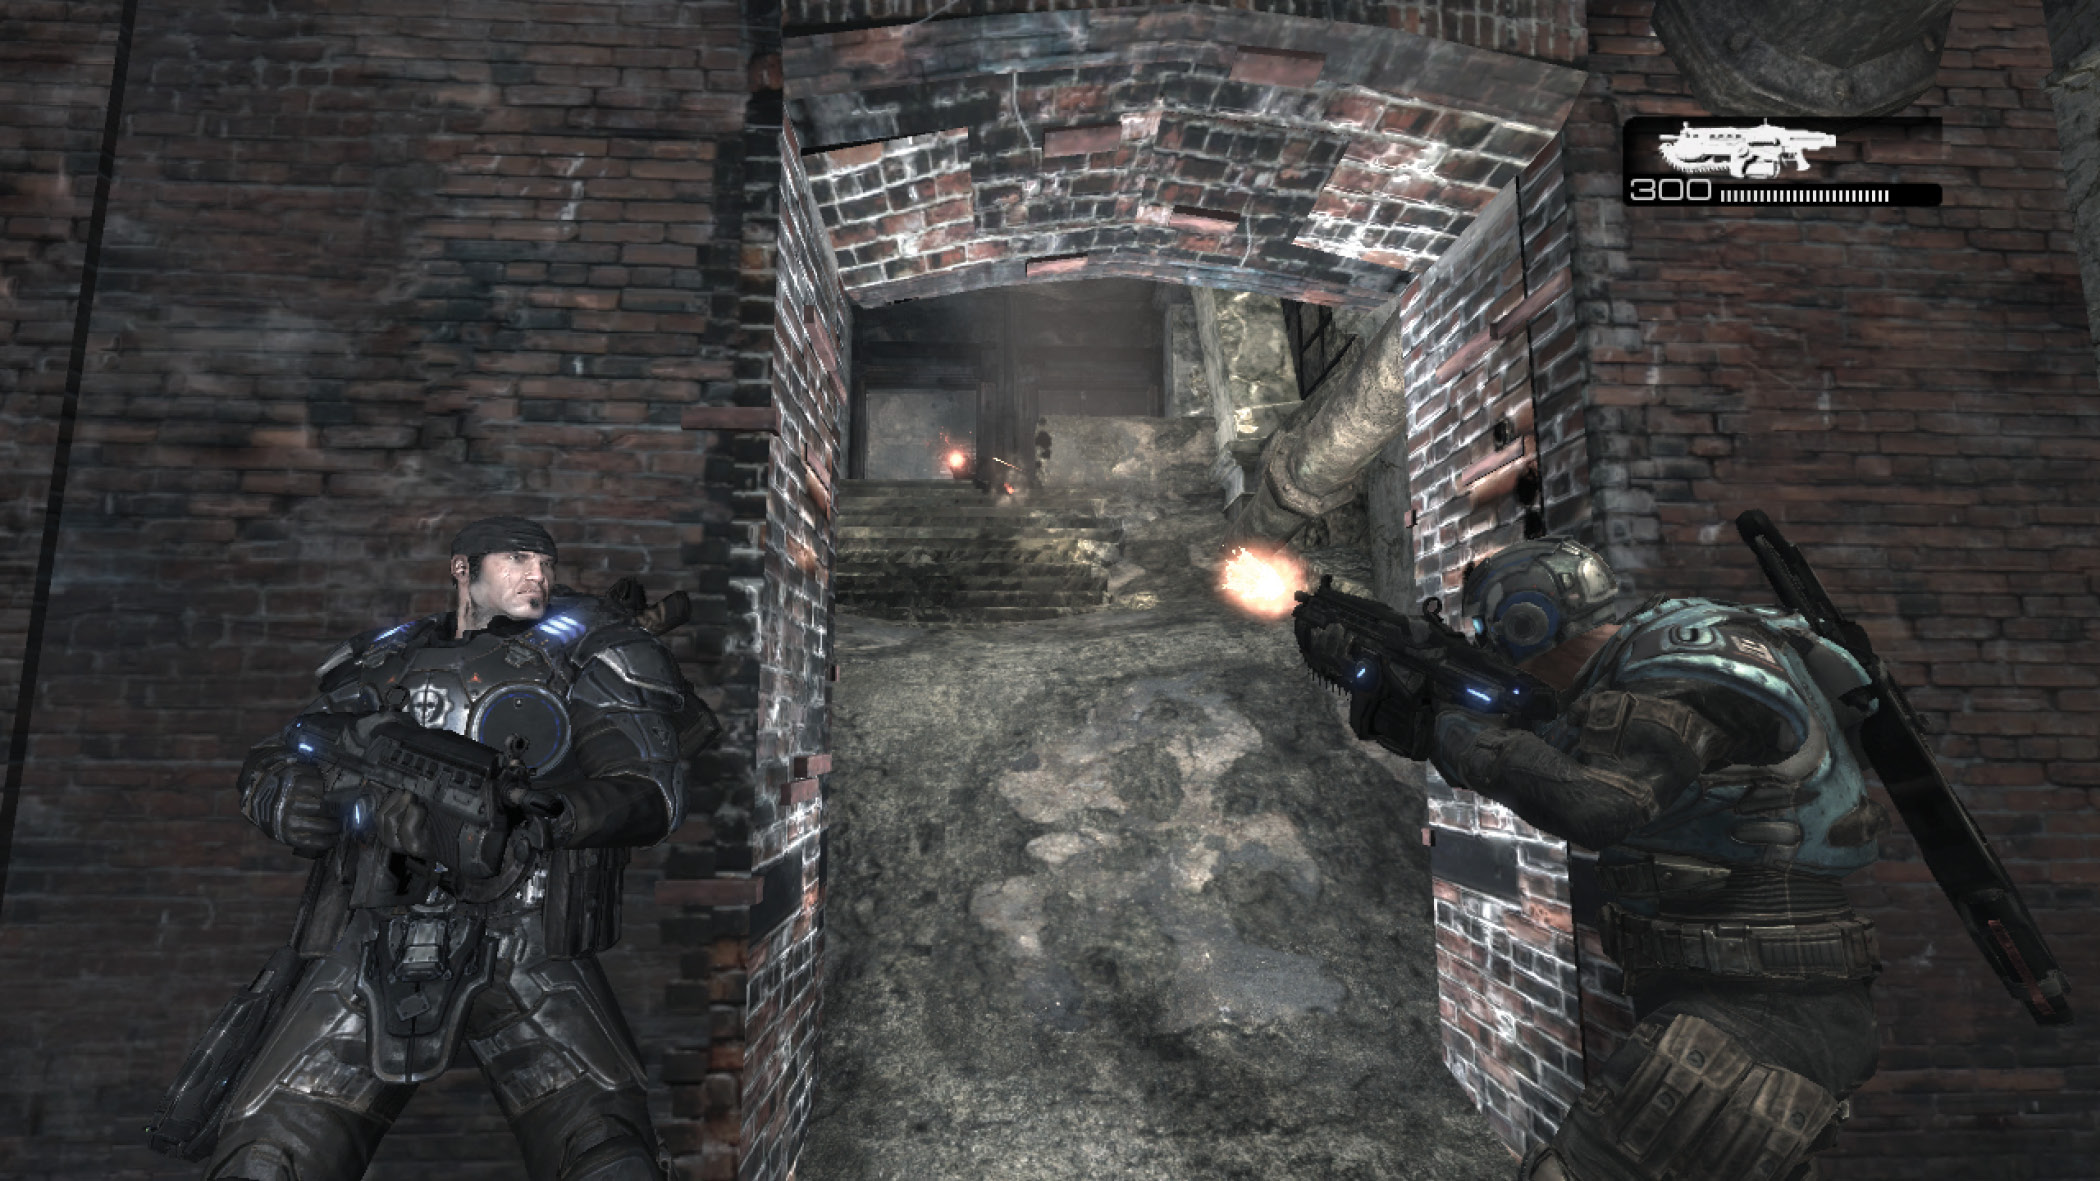
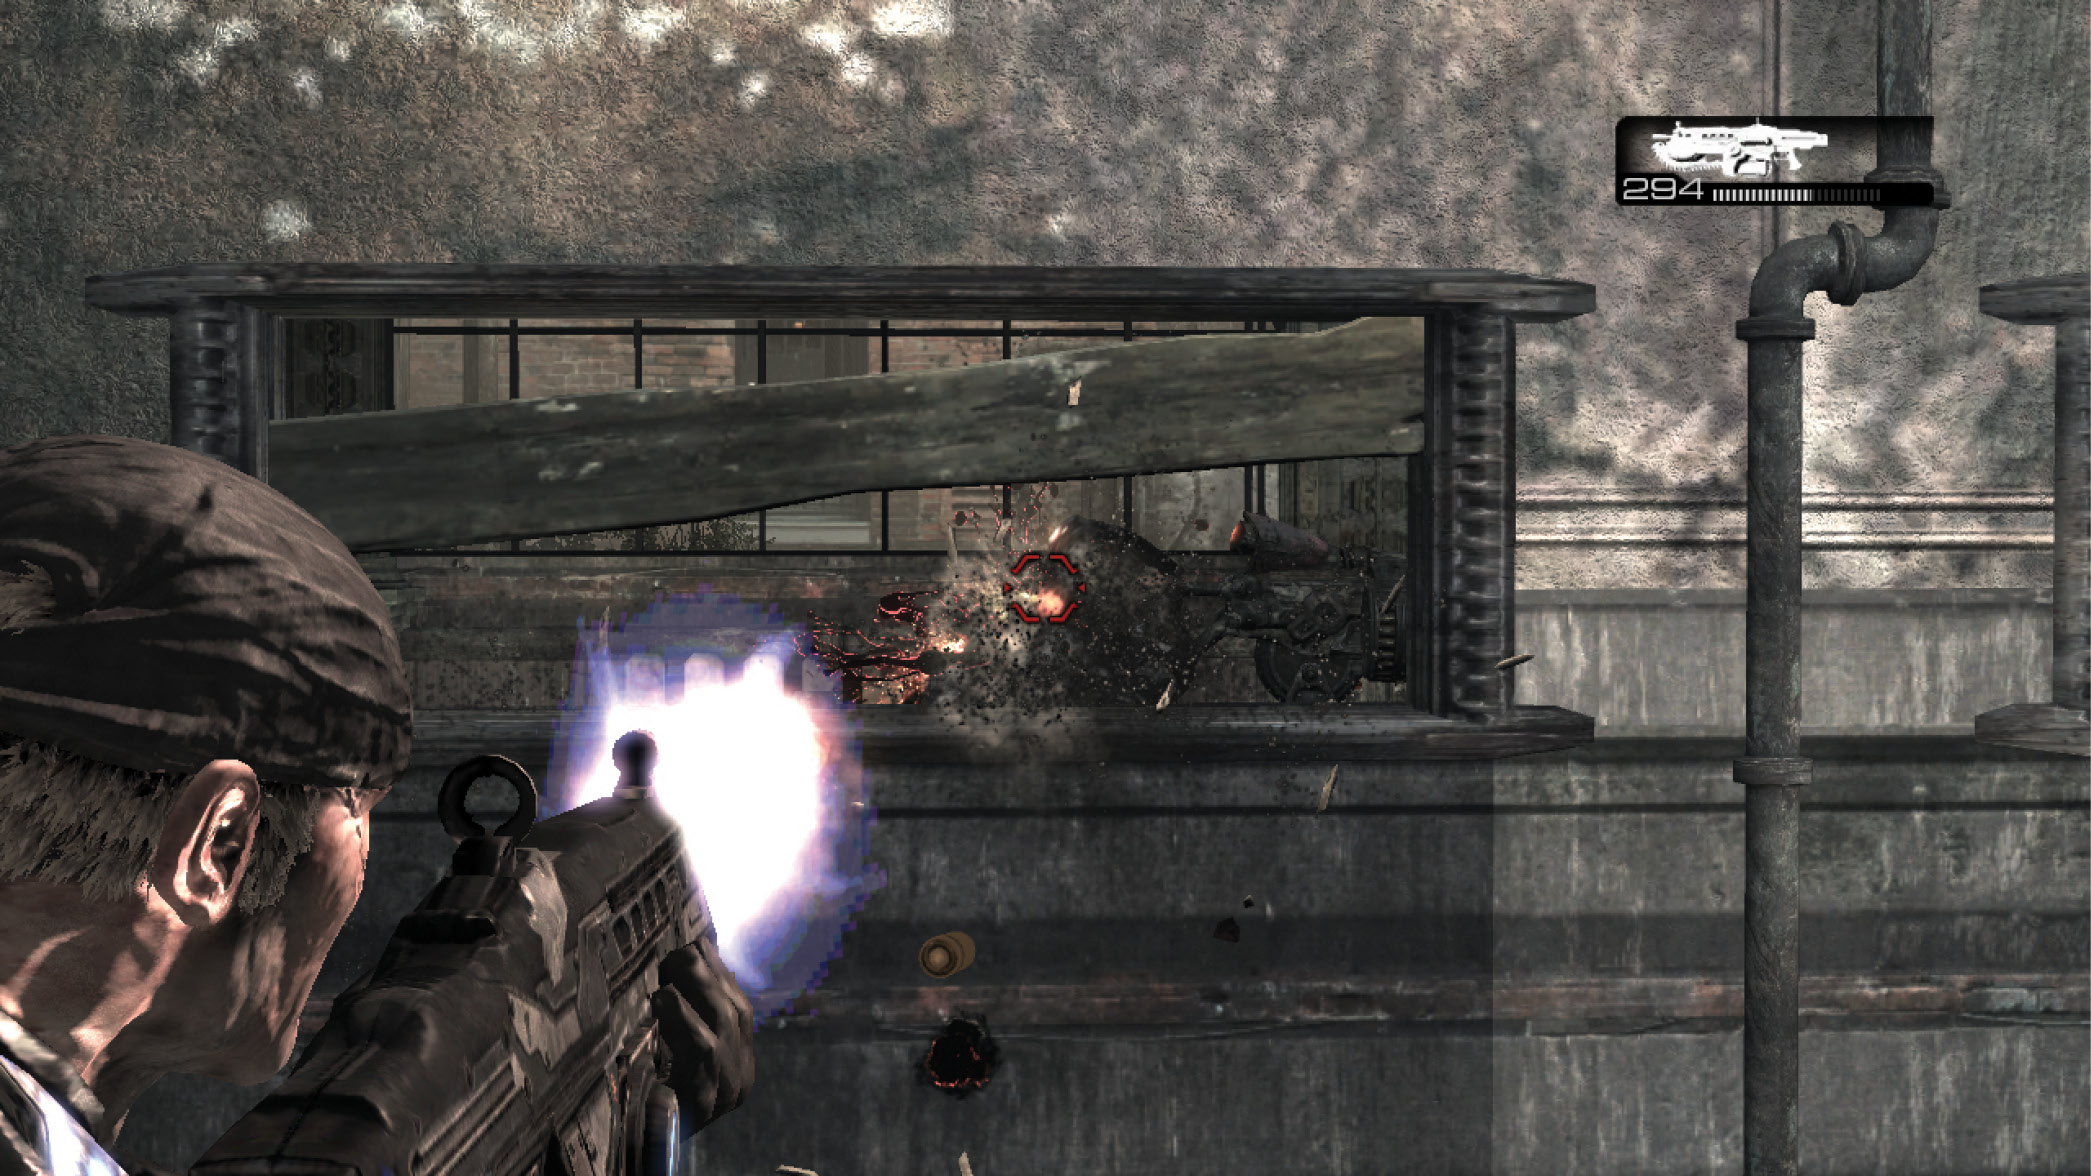
Three more Locust are stationed at the far end of the room ahead: two atop an elevated platform on the left, manning a Troika; and a Spotter in the room across from them to the right. Leave the rest of Delta Squad safely behind cover, and lead Marcus through the two rooms to the right and into cover behind the toppled tank. From there, lean to the right and take out the Spotter in the window above. This allows Marcus to flank those near the Troika. Kick open the door beneath the window, climb the stairs, and lob a Frag Grenade at the Gunner to silence the Troika.
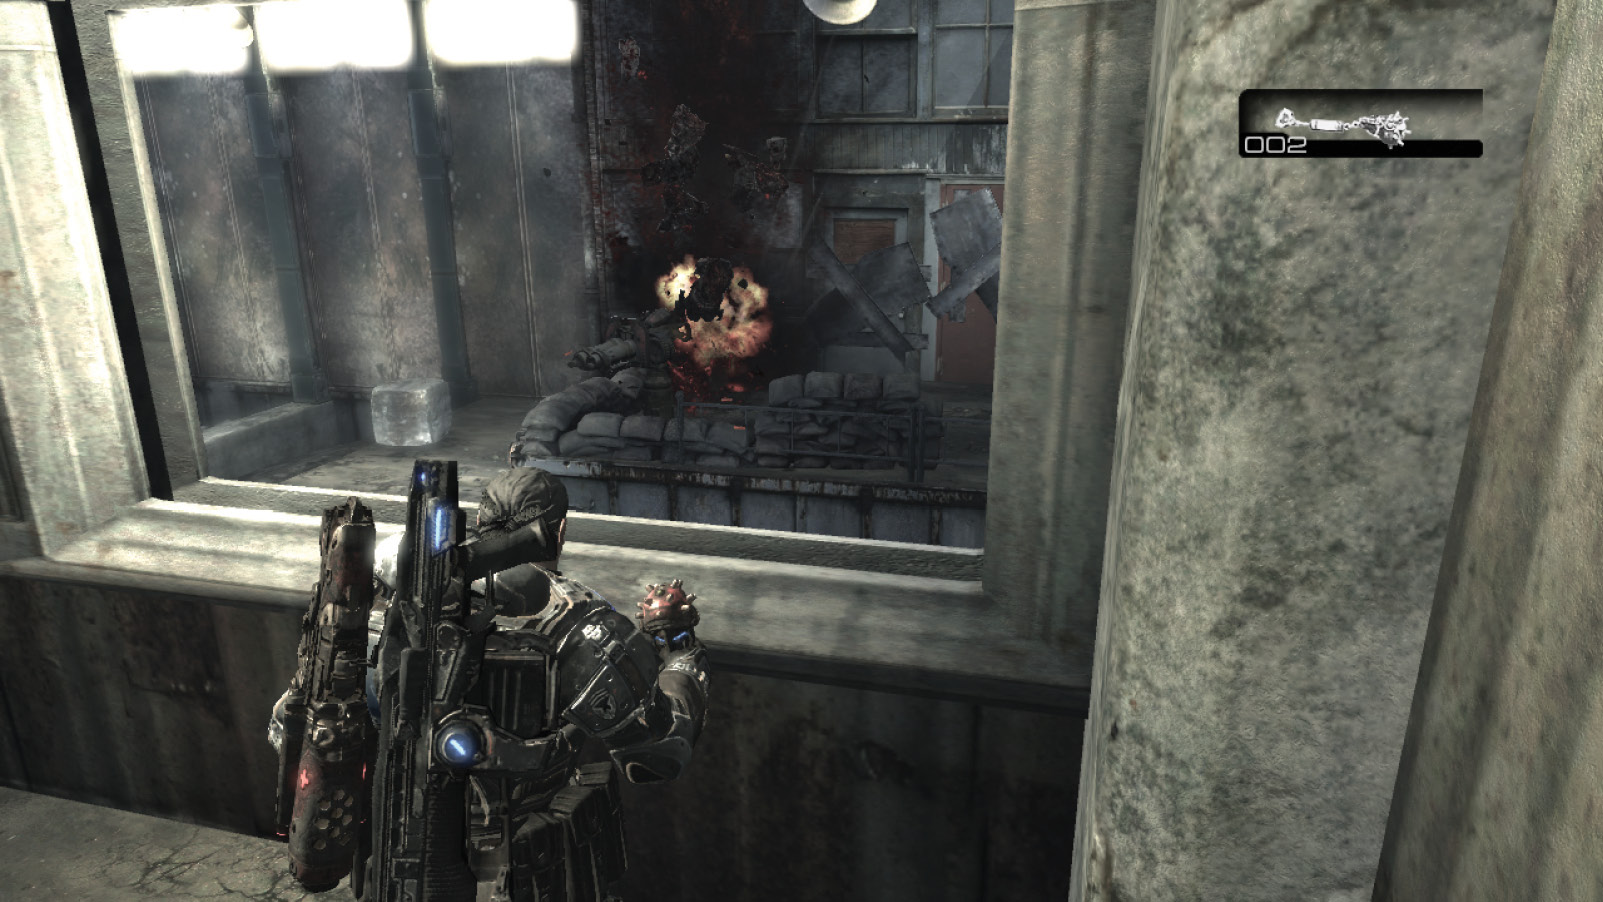
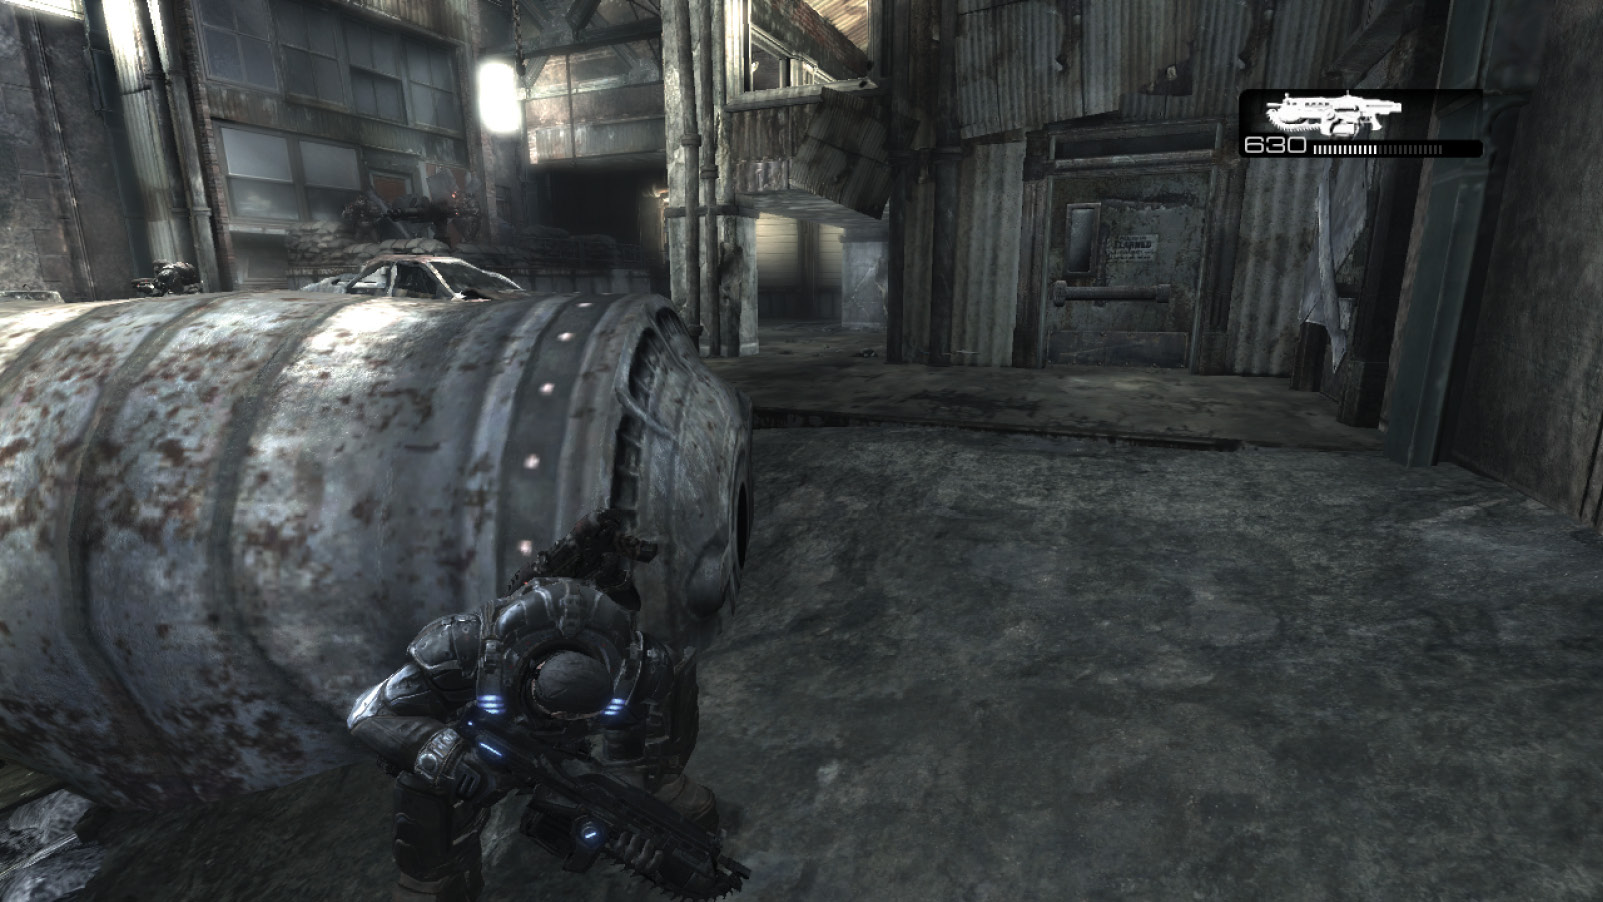
The moment the Troika’s Gunner is eliminated, an Emergence Hole opens up in this area’s back corner. Man the Troika and kill the Locust as they spawn. When the Emergence Hole is sealed, a Drone kicks open the door that allows you to proceed. Exit through the door near the Troika to proceed toward the House of Sovereigns.
Knock Knock
Infiltrate the House of Sovereigns.
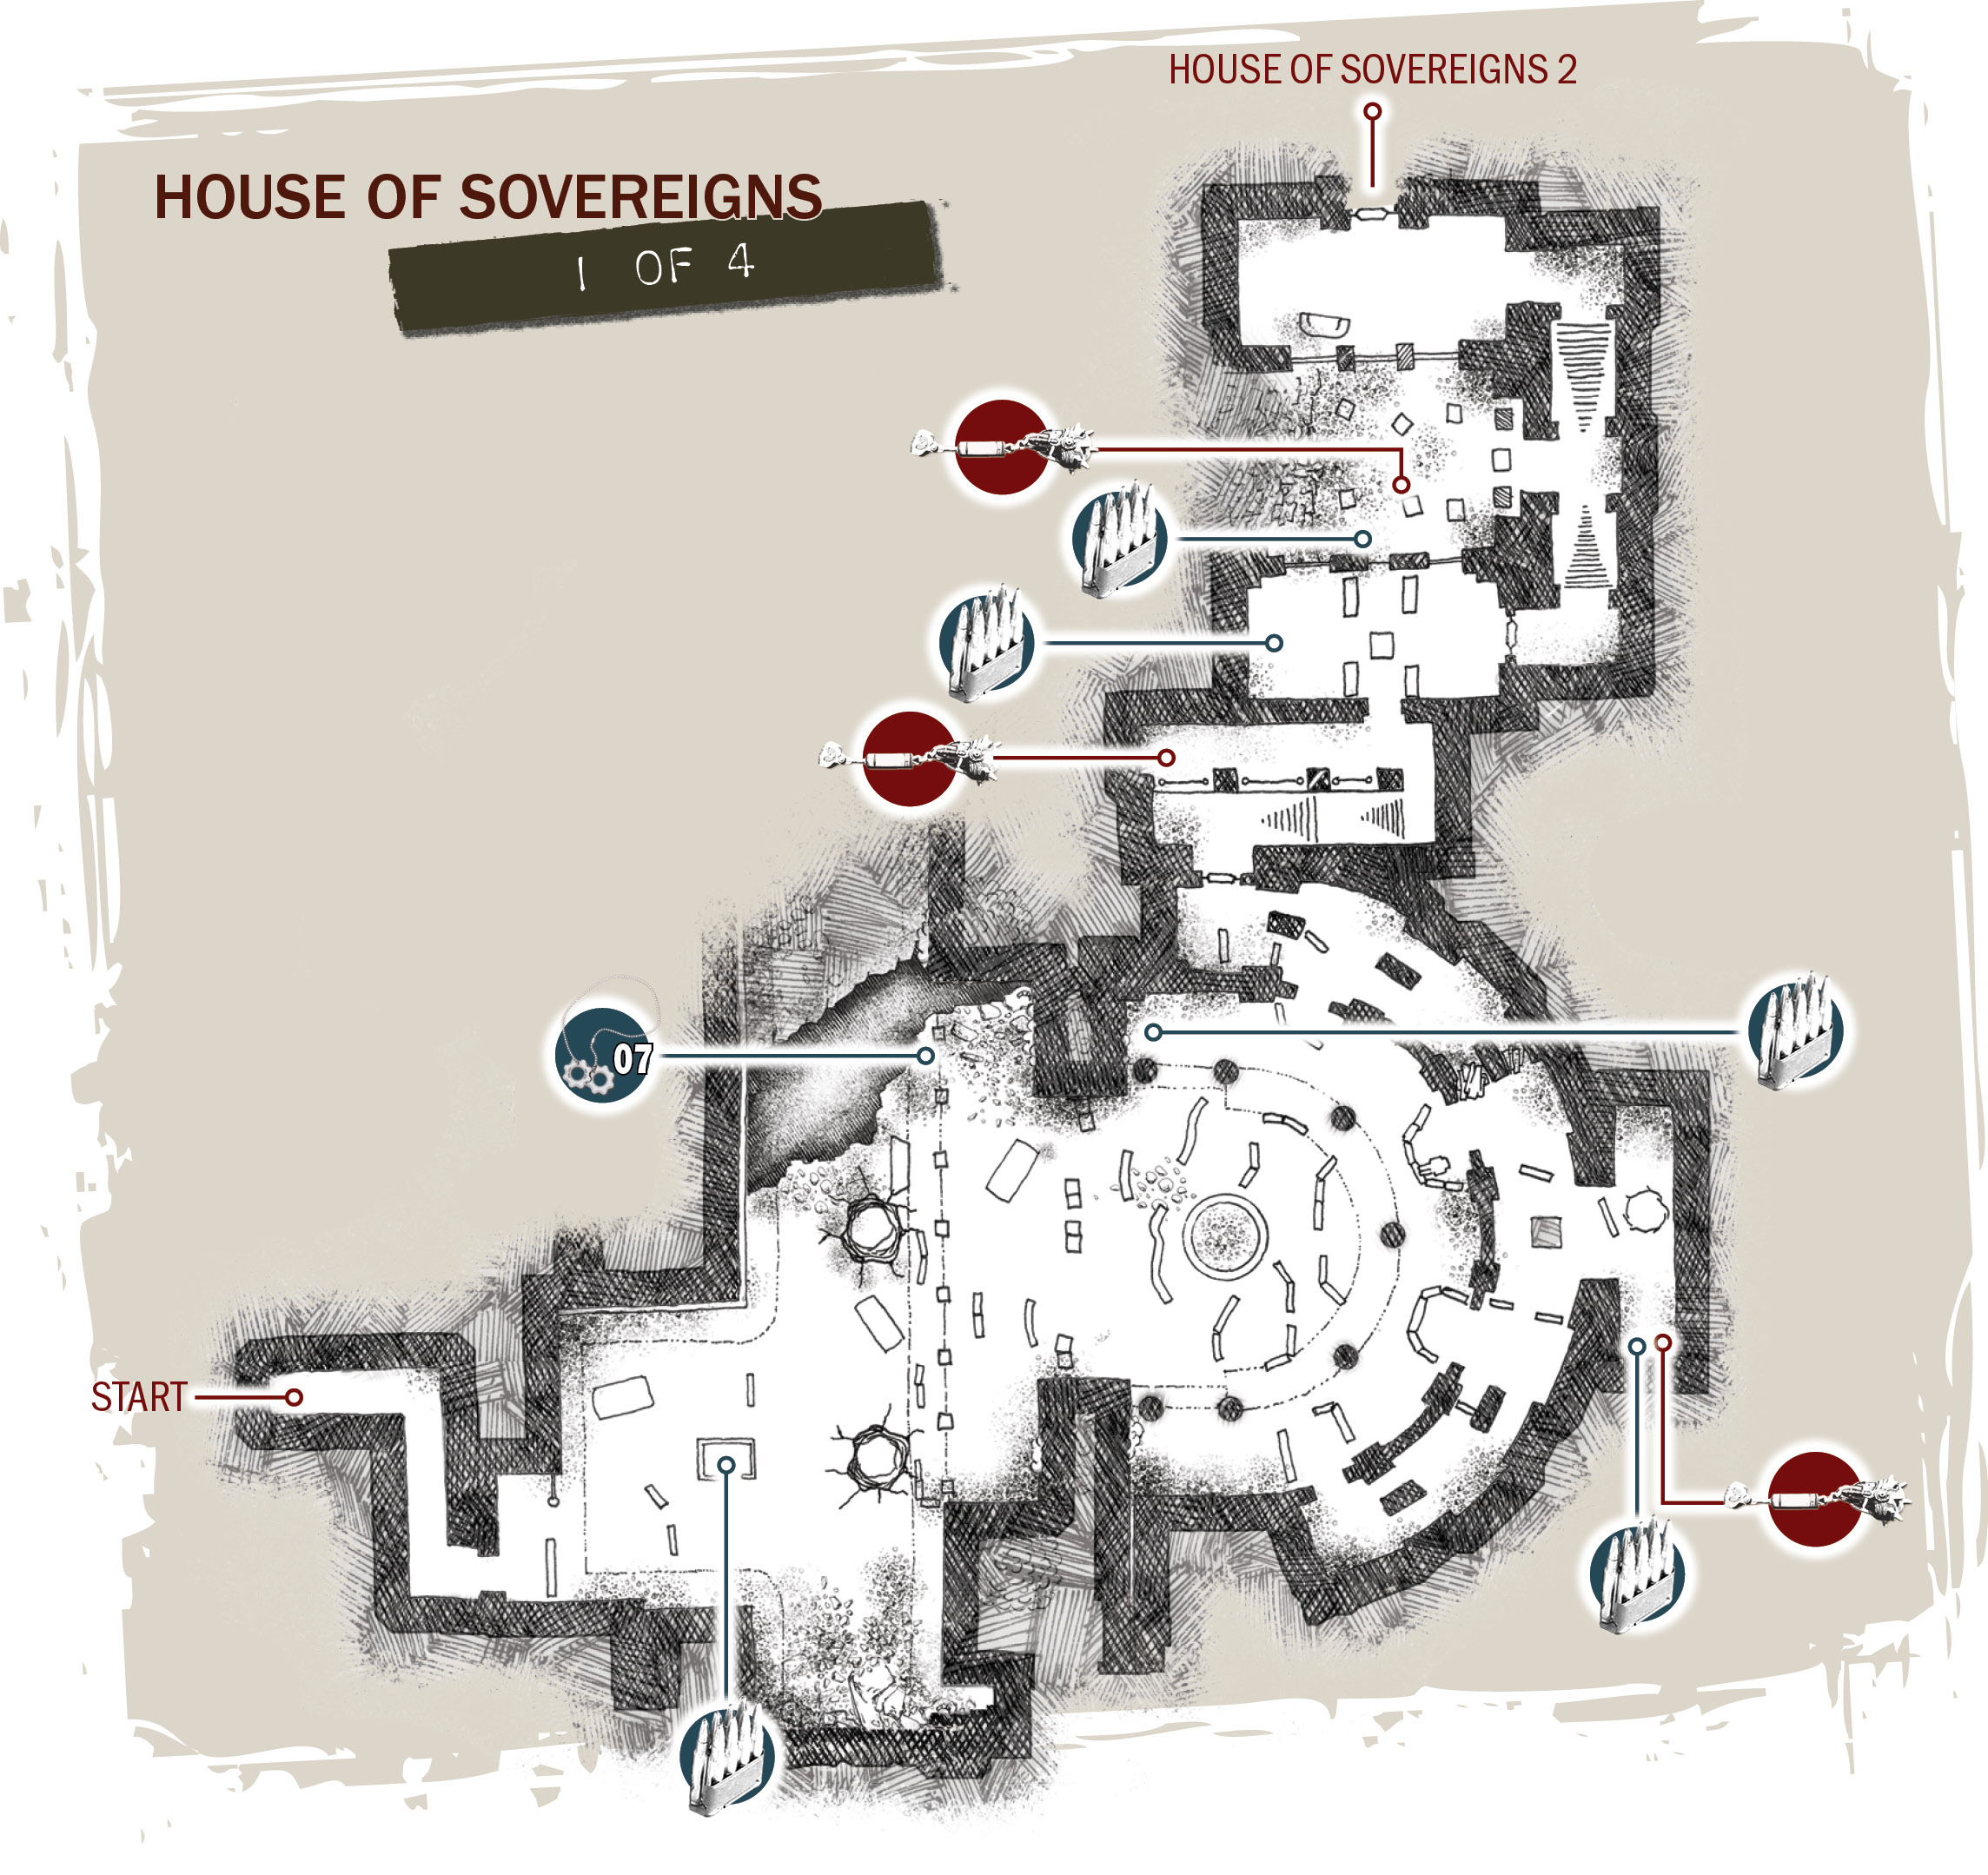
Gain Entrance to the House of Sovereigns
Proceed outside to the main plaza in front of the House of Sovereigns. There is a large number of Locust at the top of the stairs. They guard the semi-circular entrance area, but they don’t appear until Marcus reaches the fountain. For now, take a moment to get your bearings and to collect the COG Tag to the left.
COG TAG #07It’s hard to miss the Crimson Omen on the side of the white van, but the COG Tag is a bit harder to spot. It’s located on the steps to the left of the van, near the enormous crack in the street. 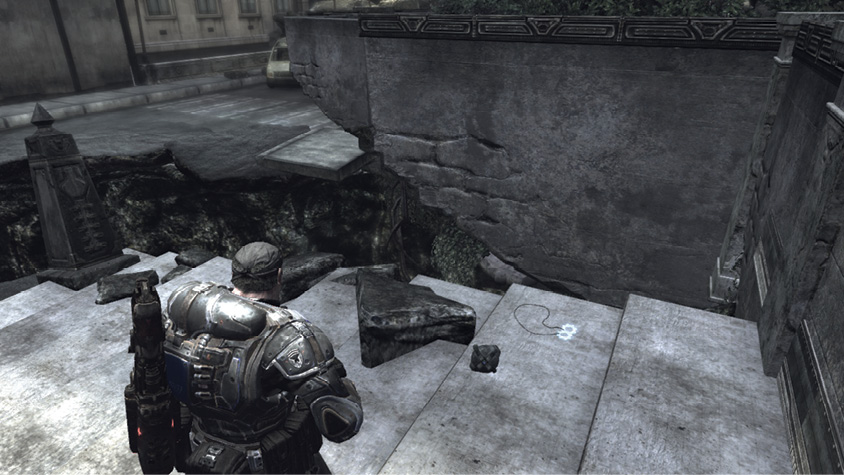
|
When you’re ready to engage the Locust, approach the sandbags to the right of the fountain and take cover. The first wave of Locust Grunts emerges from the doors already opened, near the Troika. But Marcus should fix his sights on the right-hand door that has yet to open. A Grenadier soon bursts through the door, so be ready!
Once you eliminate the Grenadier, move into position near this door on the right and help Dom and the others by shooting a few of the Grunts nearing the fountain. Although the Troika is a concern, the Emergence Hole inside the main hallway is even more pressing. Use the available cover in the curving hall as you fight your
way toward the left to close in on the hallway. Pick up some grenades from the bodies of the Grenadiers that emerge, and seal the hole before more arrive. By the time Marcus accomplishes this, the others likely have eliminated the Locust manning the Troika.
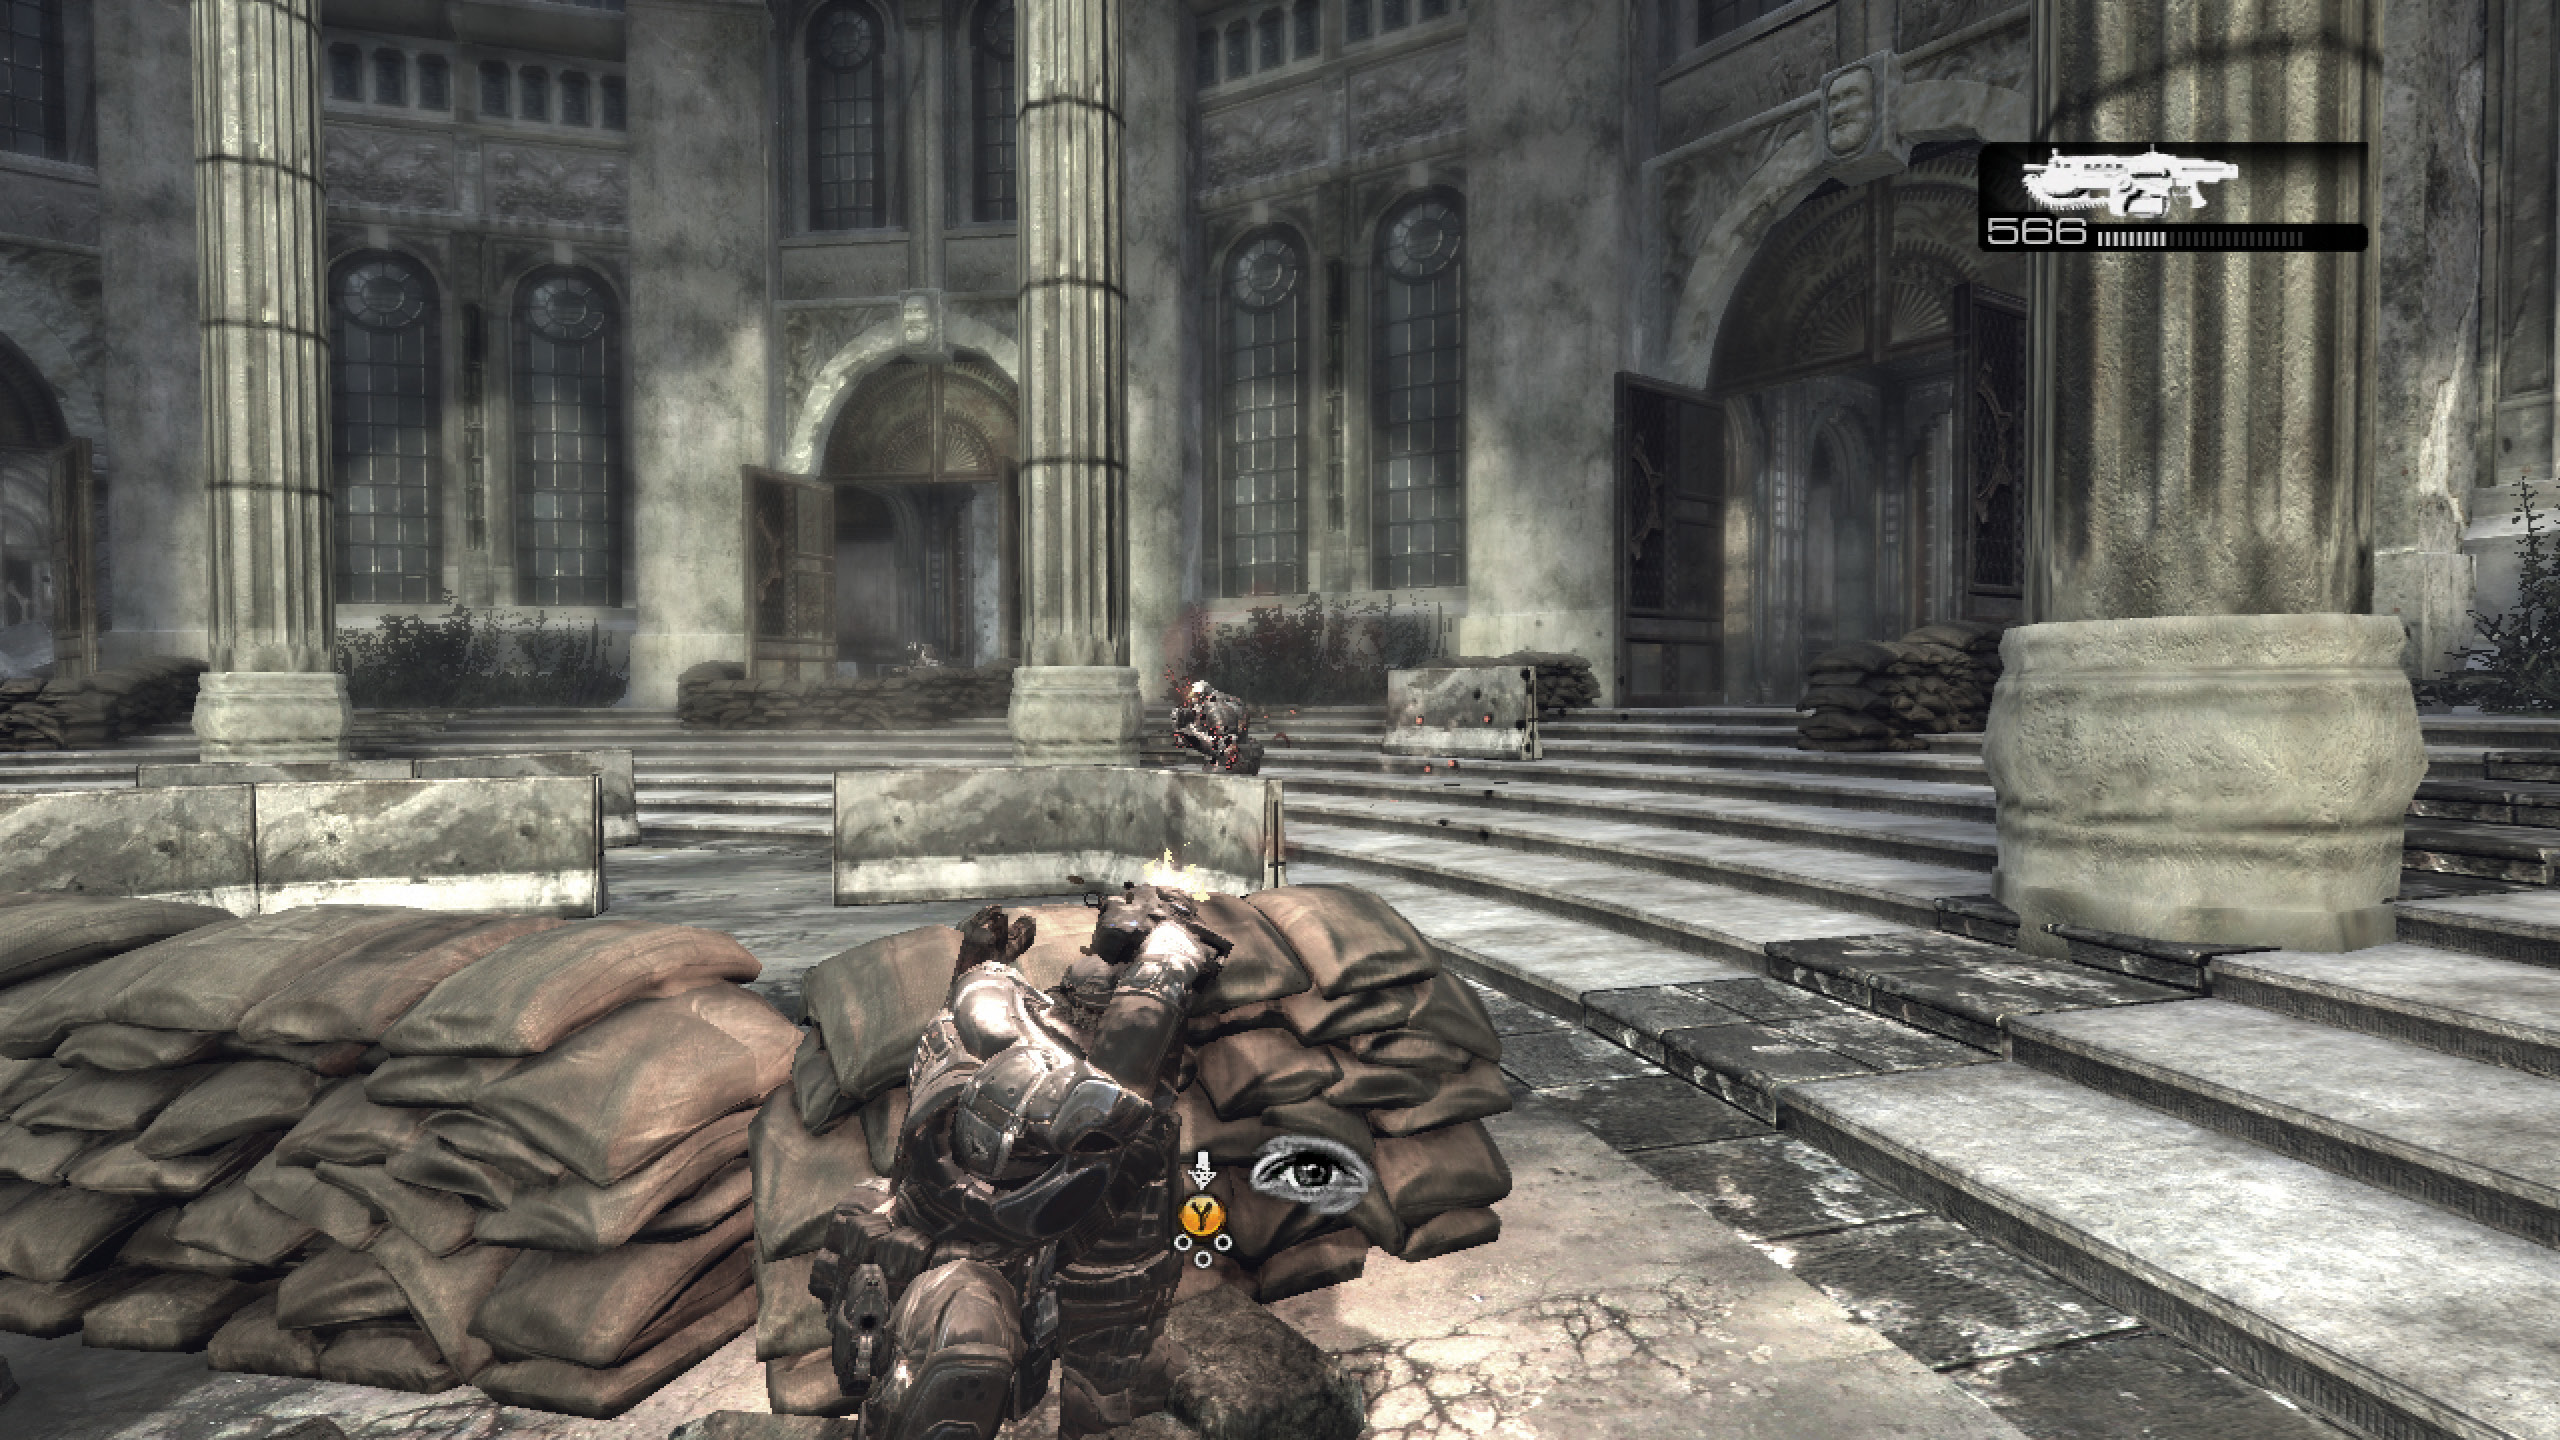
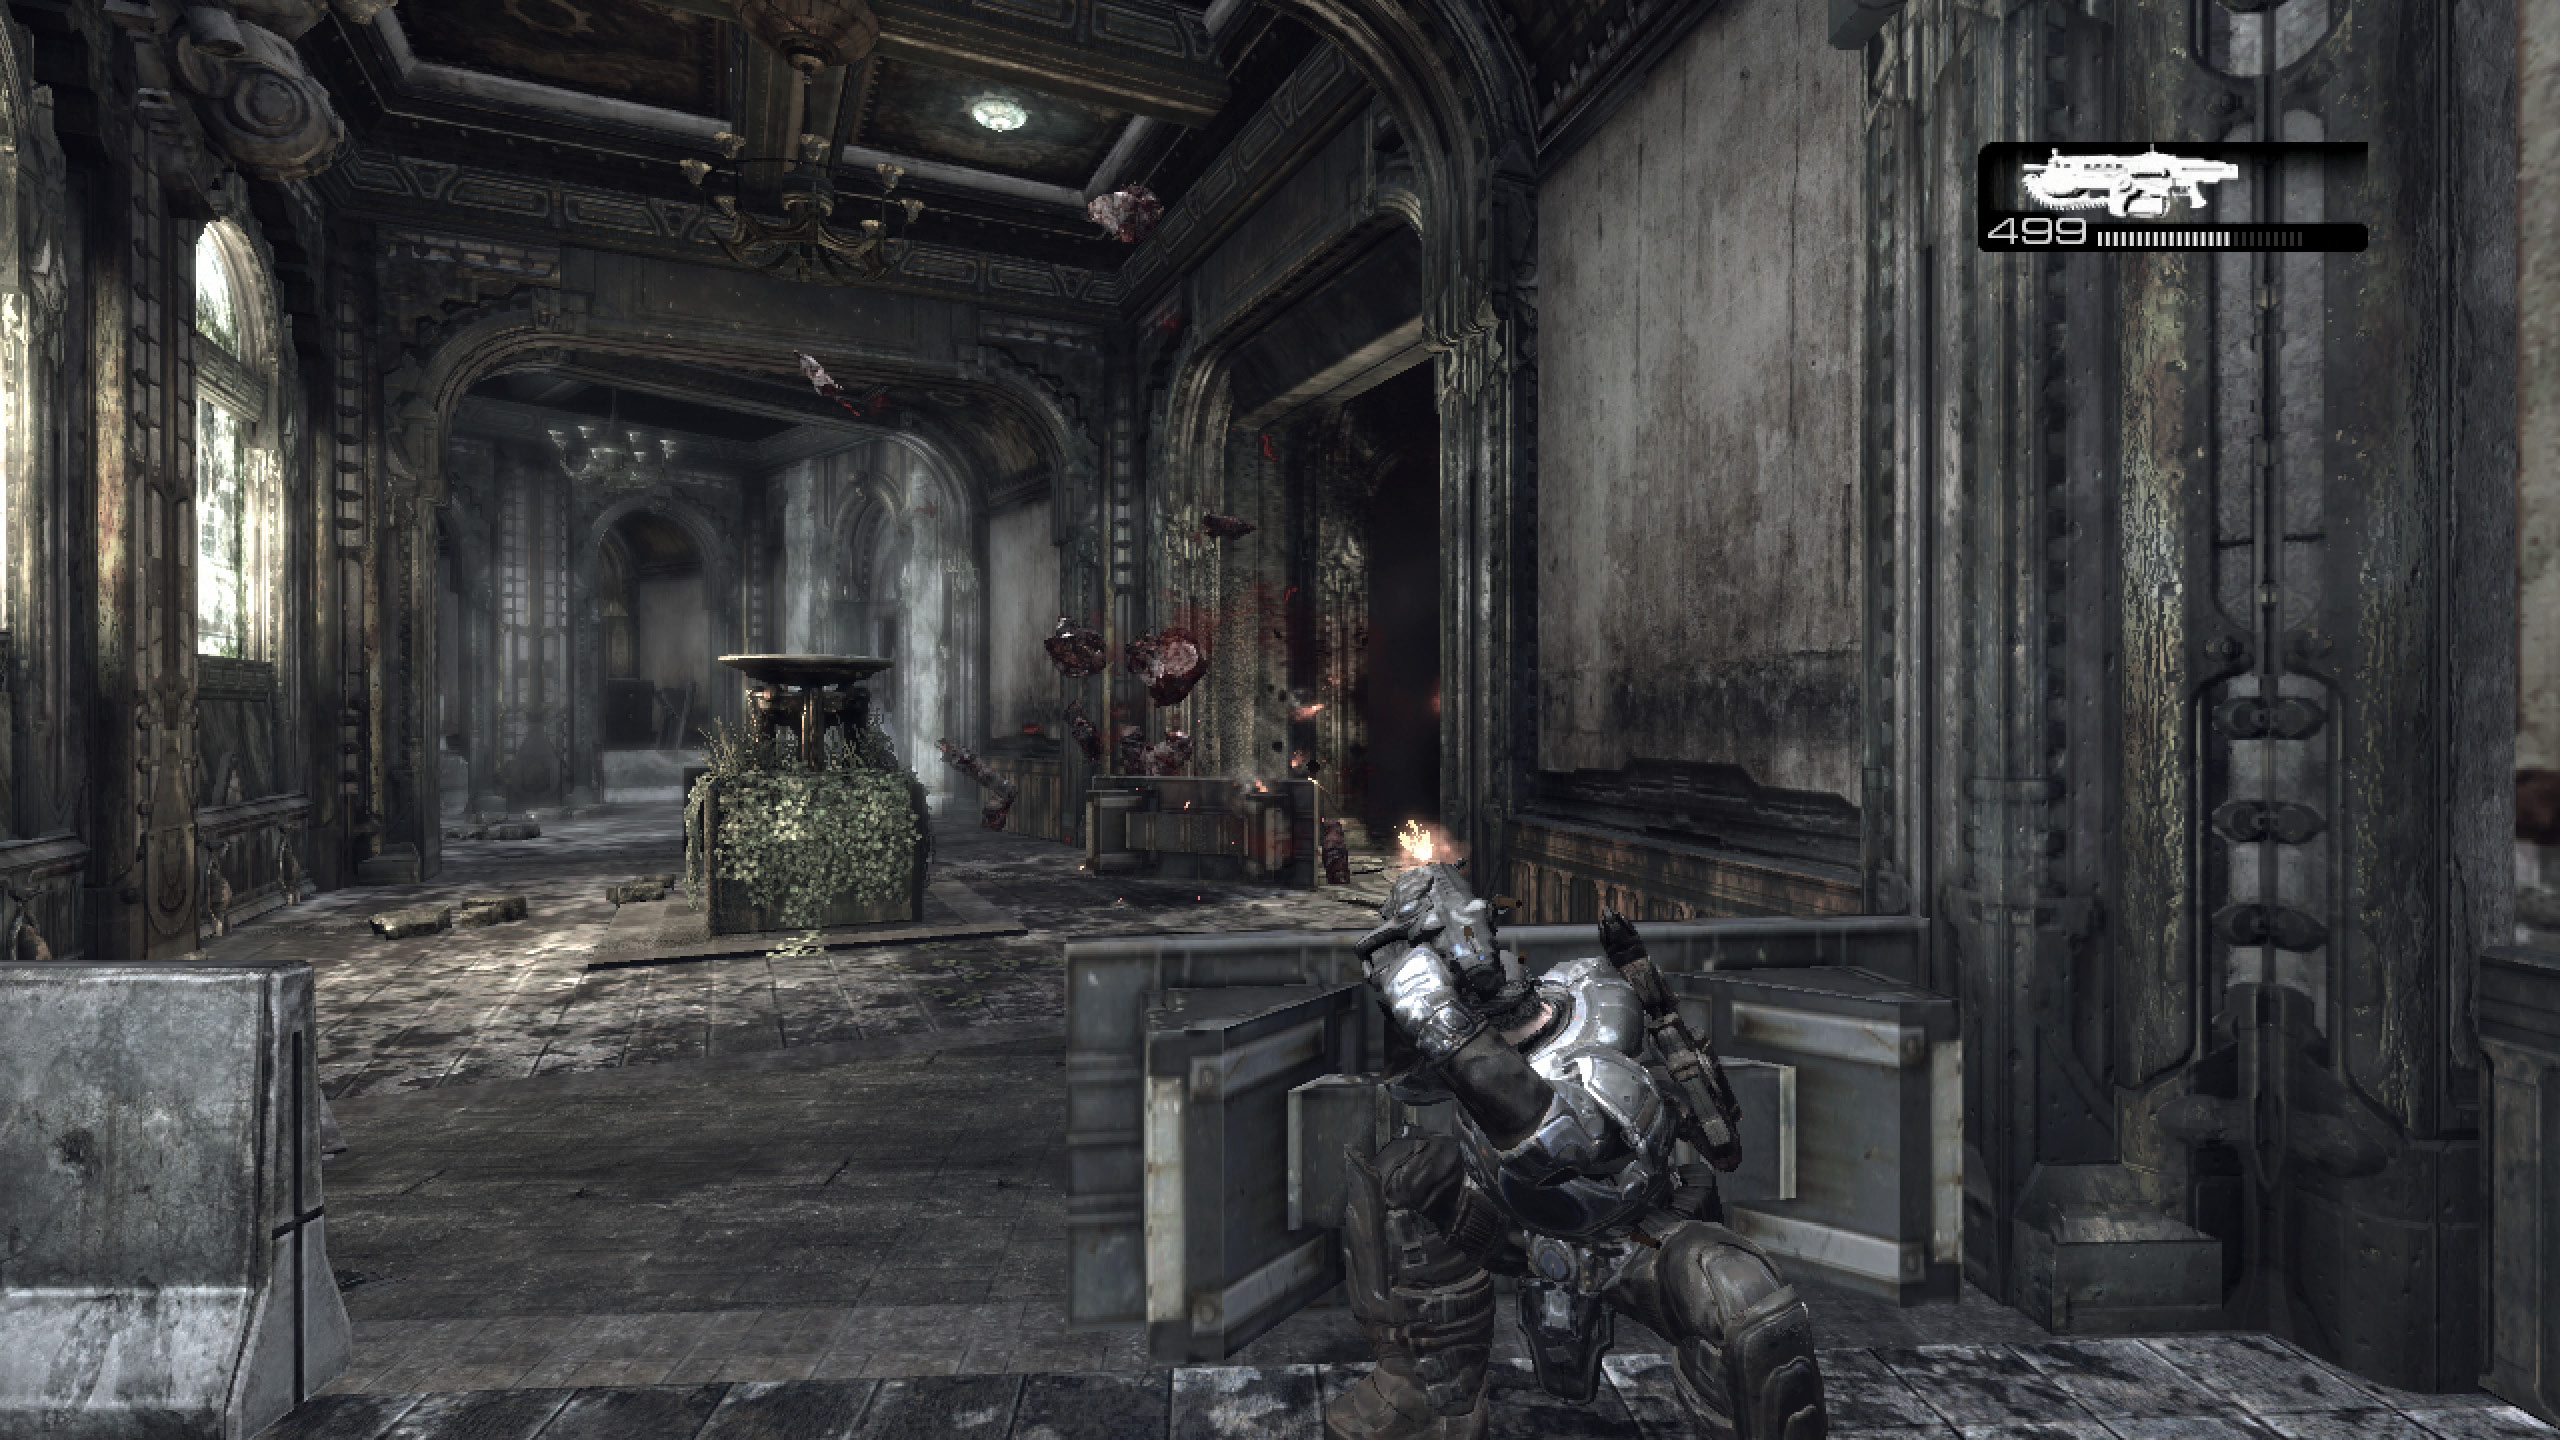
As you step back outside the entrance hall, you see that the battle isn’t over yet. Two Emergence Holes open in the street, and a large army of Grunts and Grenadiers swarm toward Delta Squad’s location. Man the Troika and cut them down as they approach.
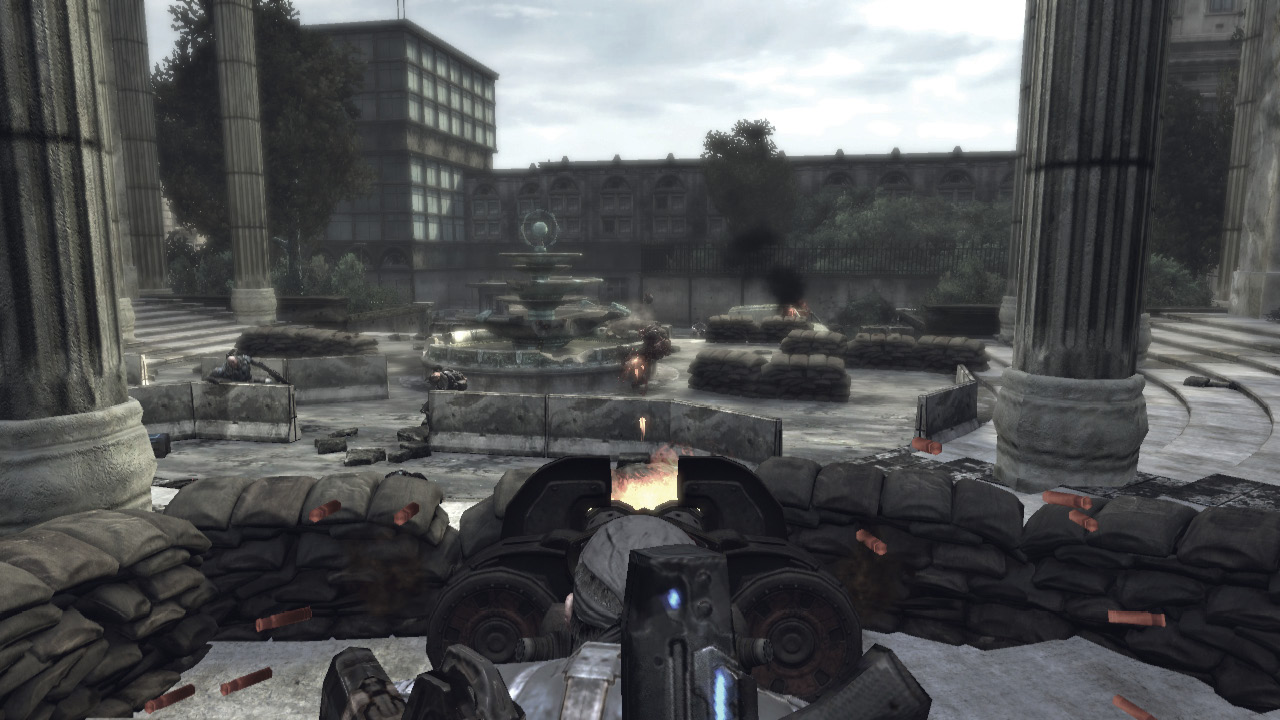
The final few Locust appear from behind the remaining closed door. Turn and fire on them to neutralize the threat. Take a moment to collect the dropped ammunition and Frag Grenades from the corpses, and prepare to head inside the House of Sovereigns—Kim knows the code.
Hammer
Drop the hammer on the House of Sovereigns.
Save the Alpha Squad Soldier
Your team might be down to three for the time being, but it won’t be for long. The first thing you hear upon entering the House of Sovereigns is the unmistakable sound of one bad soldier getting his kill on in a distant room. Ascend the stairs to the balcony above to get a view of the action. From there, Marcus and the others can try to destroy the Grenadier engaged in a firefight with the soldier, but they can’t prevent the deadly Frag Grenade that’s lobbed at the soldier.
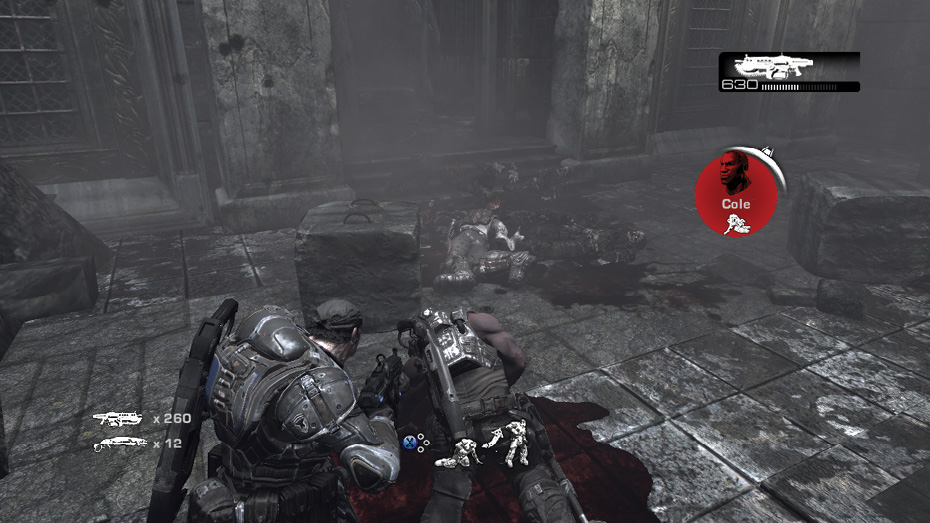
Wait for Lieutenant Kim to unlock the door to the right, and descend the stairs to rescue the soldier. Eliminate any remaining Drones or Grenadiers in the area, and press the X Button near the soldier to revive him. Augustus Cole (a.k.a. Cole Train) of Alpha Squad happily joins Marcus’ group and even helps explain why radios are jammed. In short, it’s because of the Seeders. Climb the stairs to the left and proceed through the doorway into the next hall.
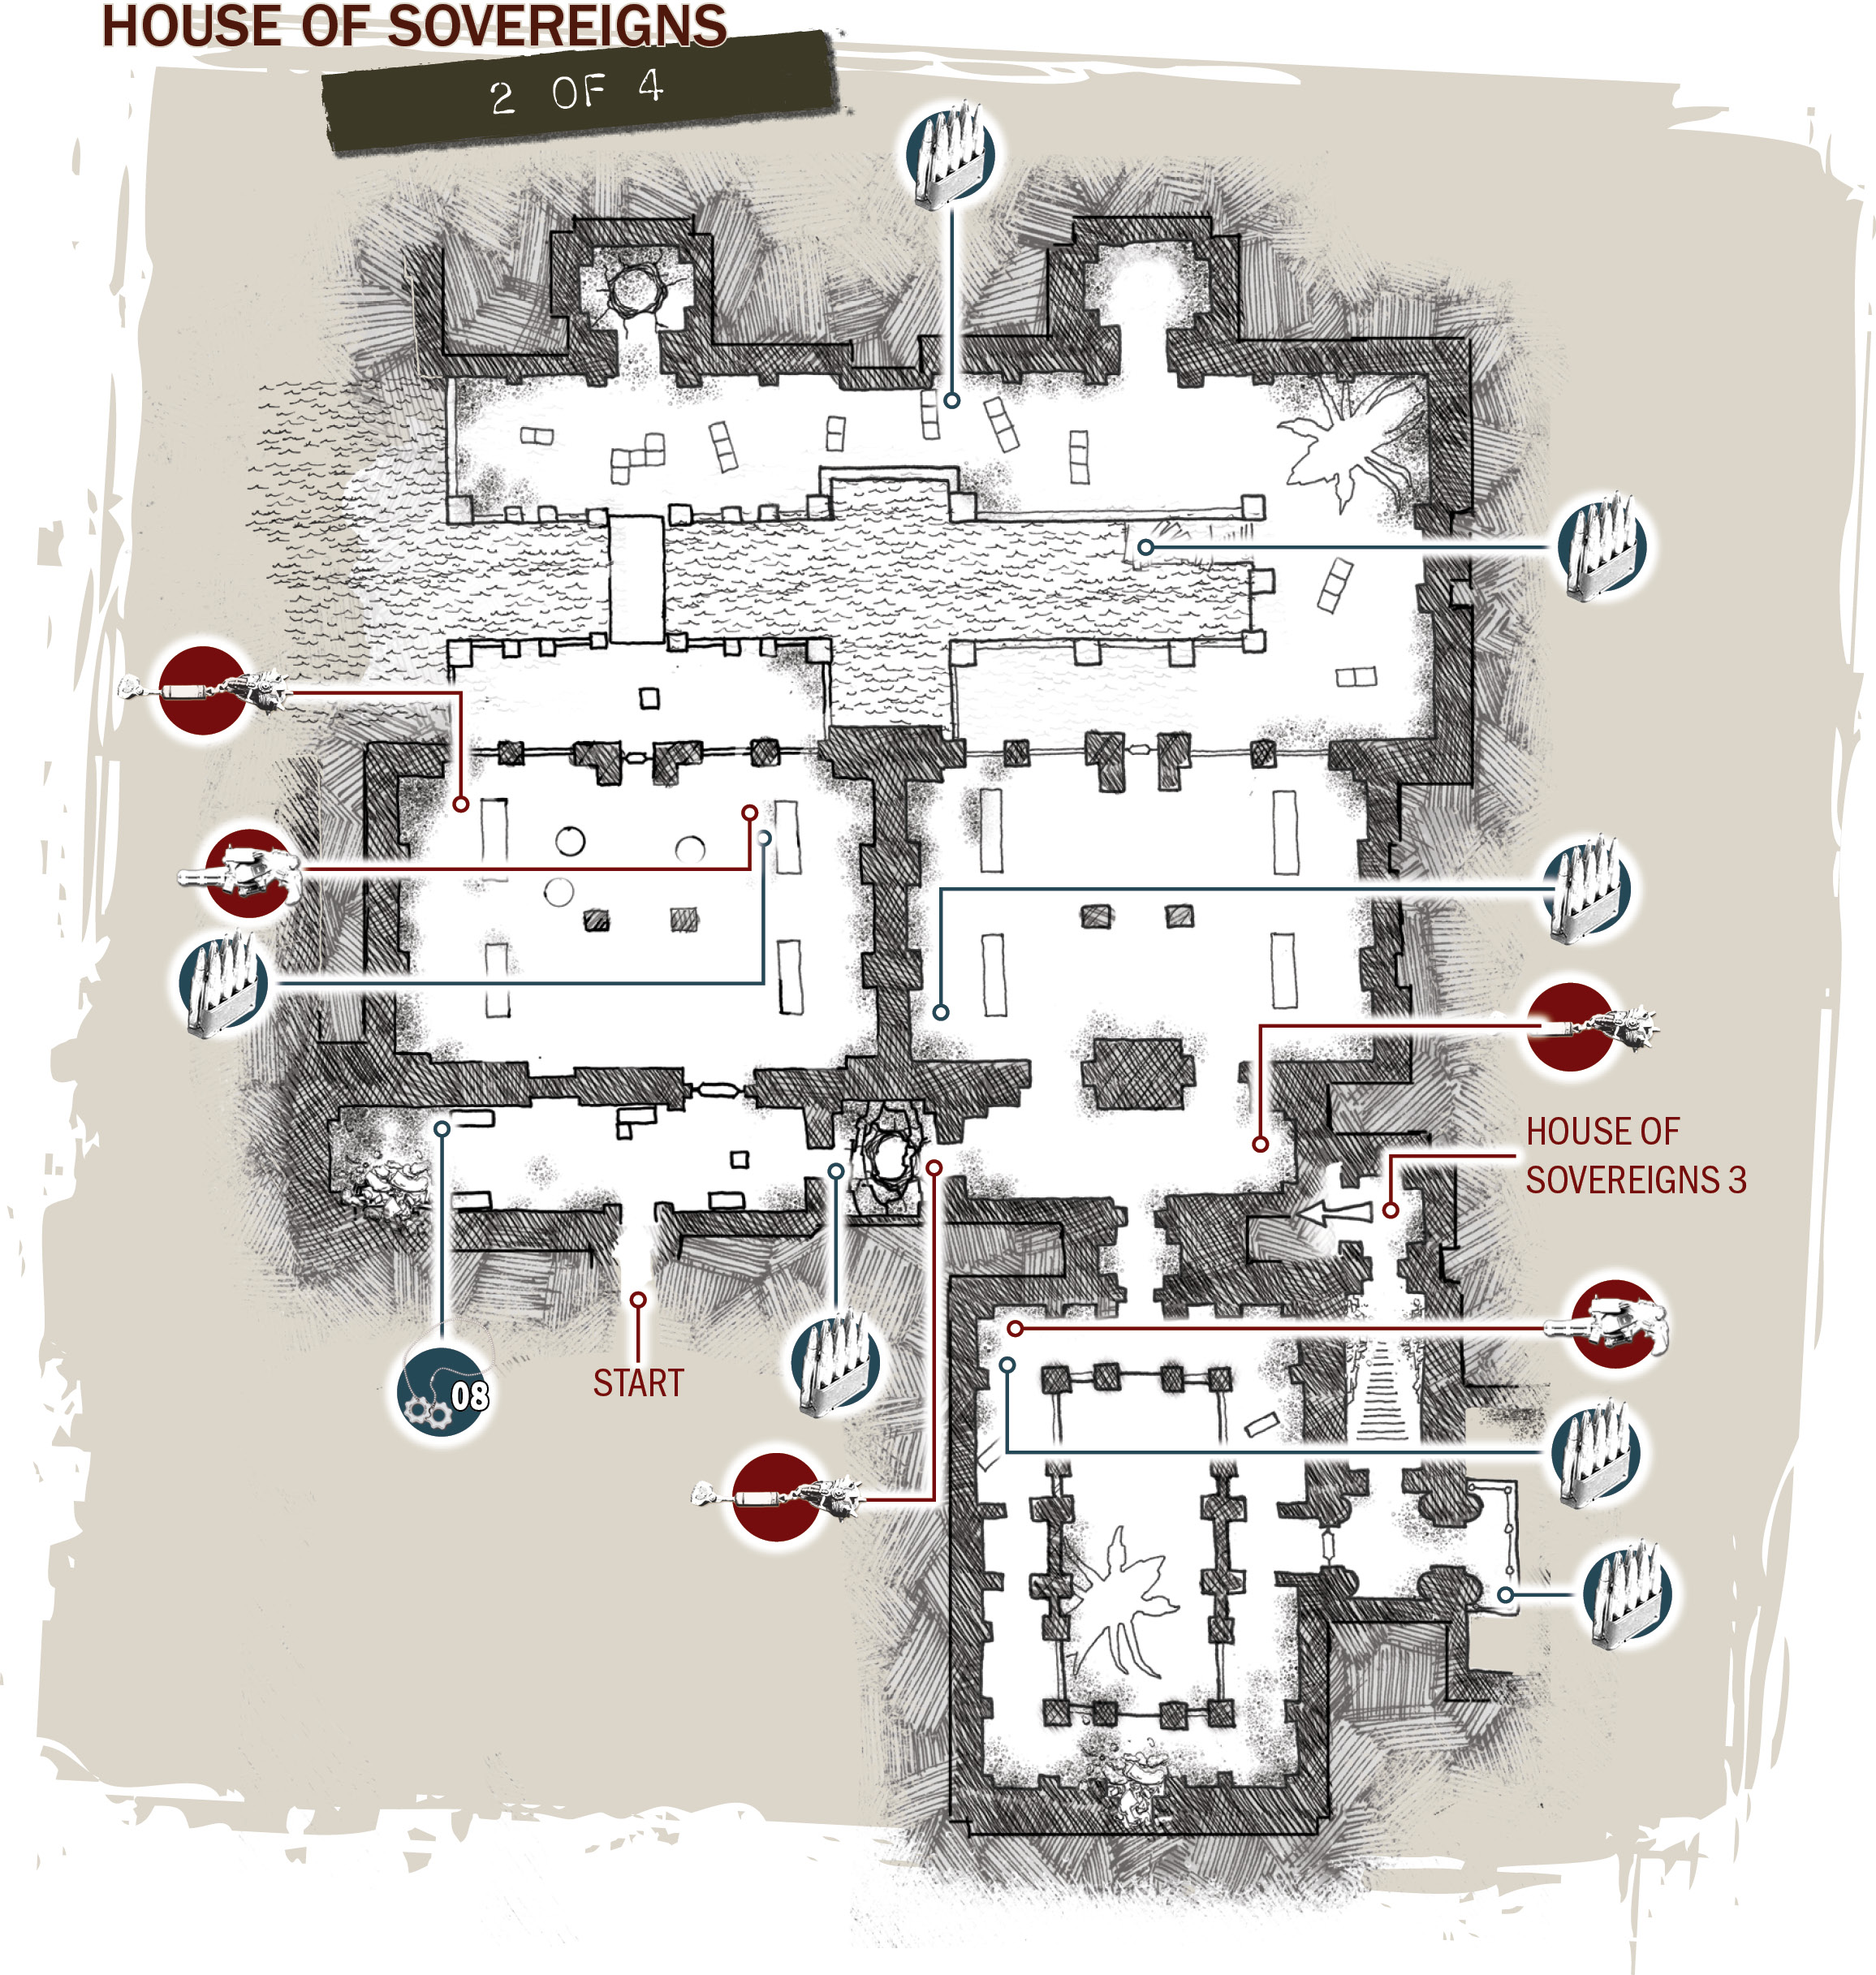
Destroy All Seeders
The door that leads out of the hallway up ahead is welded shut and requires Delta Squad’s trusty robot Jack to burn open. But don’t expect to just sit around waiting for him to do his job. Nearly two dozen Wretches flood the room from both directions, trying to rip Marcus and the others to shreds. Wretches can run across the walls and ceiling, and they’re more nimble than most every other Locust species, but they are very weak. It takes only one or two rounds from the Lancer to put down a Wretch, and a blast from the Gnasher positively blows one into bite-size morsels of gooey flesh.
Use the Lancer to take out the Wretches approaching from the far left end of the corridor. Then switch to the Gnasher to handle those on the right. They continue to crawl out of the massive Emergence Hole to the right of the sealed door until you kill the last of them—anticipate blasting roughly a dozen from the left, followed by an additional eight to ten from the right.
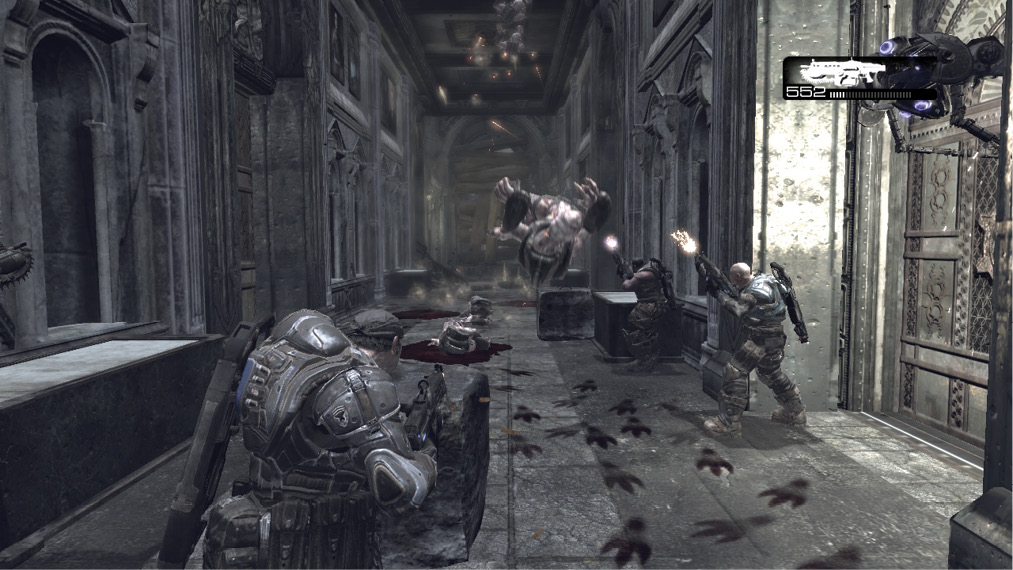
COG TAG #08This COG Tag is on the floor in the hallway with the Wretches—it’s to the far left of the door that Jack has to open. Be sure to grab it after you defeat the Wretches to avoid being in a bad position when they appear. 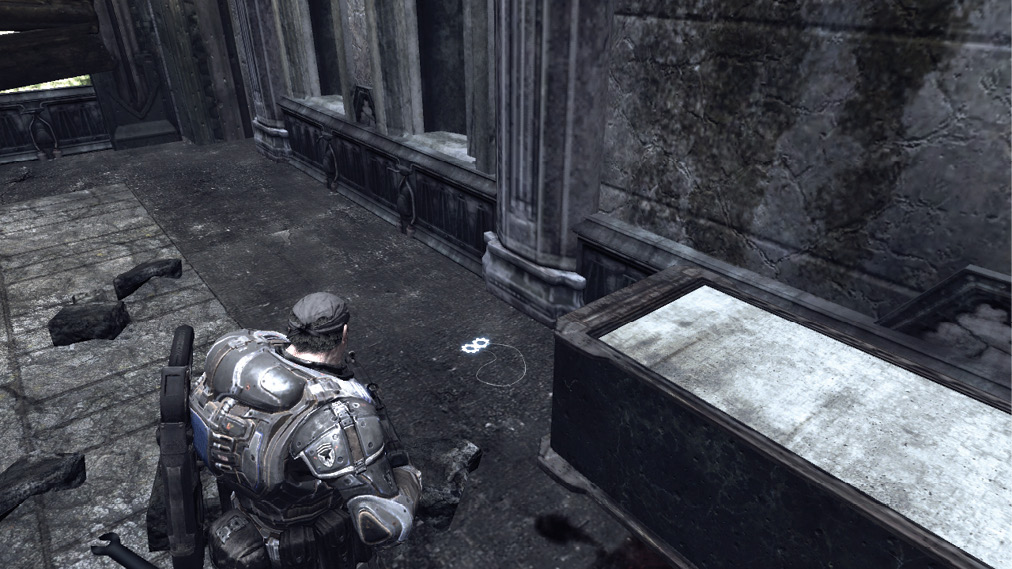
|
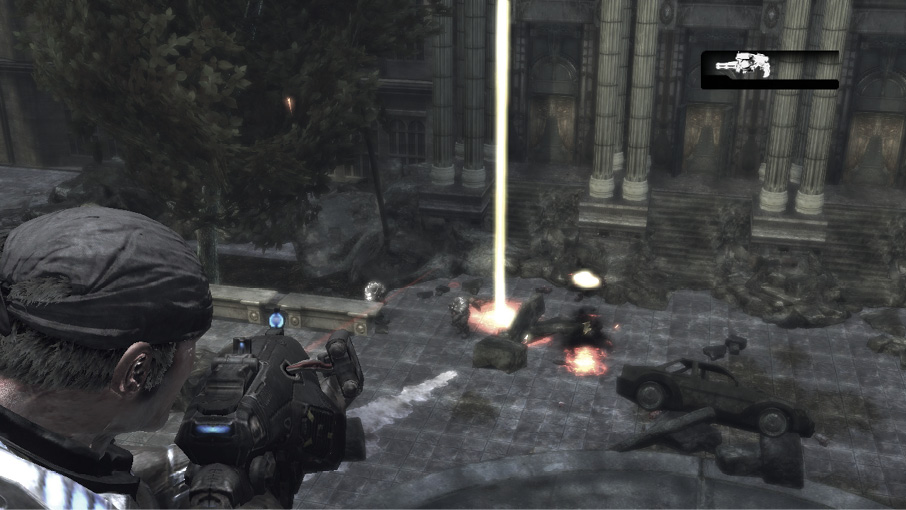
Enter the library and collect the Hammer of Dawn and ammunition from the floor to the right of the door (drop the Gnasher for the time being). The Hammer of Dawn is a special weapon that’s useful for killing those enemies that are immune to traditional weaponry, such as the Seeders.
Step outside toward the canal and press the Y Button to focus in on the Seeder in the distance. Immediately break right before the bridge is lowered and hit the Seeder with the Hammer of Dawn. It’s a lot easier to fight off the Drones if you no longer have to worry about the Nemacysts. One down, two to go! With the bridge lowered, throw a Frag Grenade into the Emergence Hole that’s in the alcove beyond the bridge.
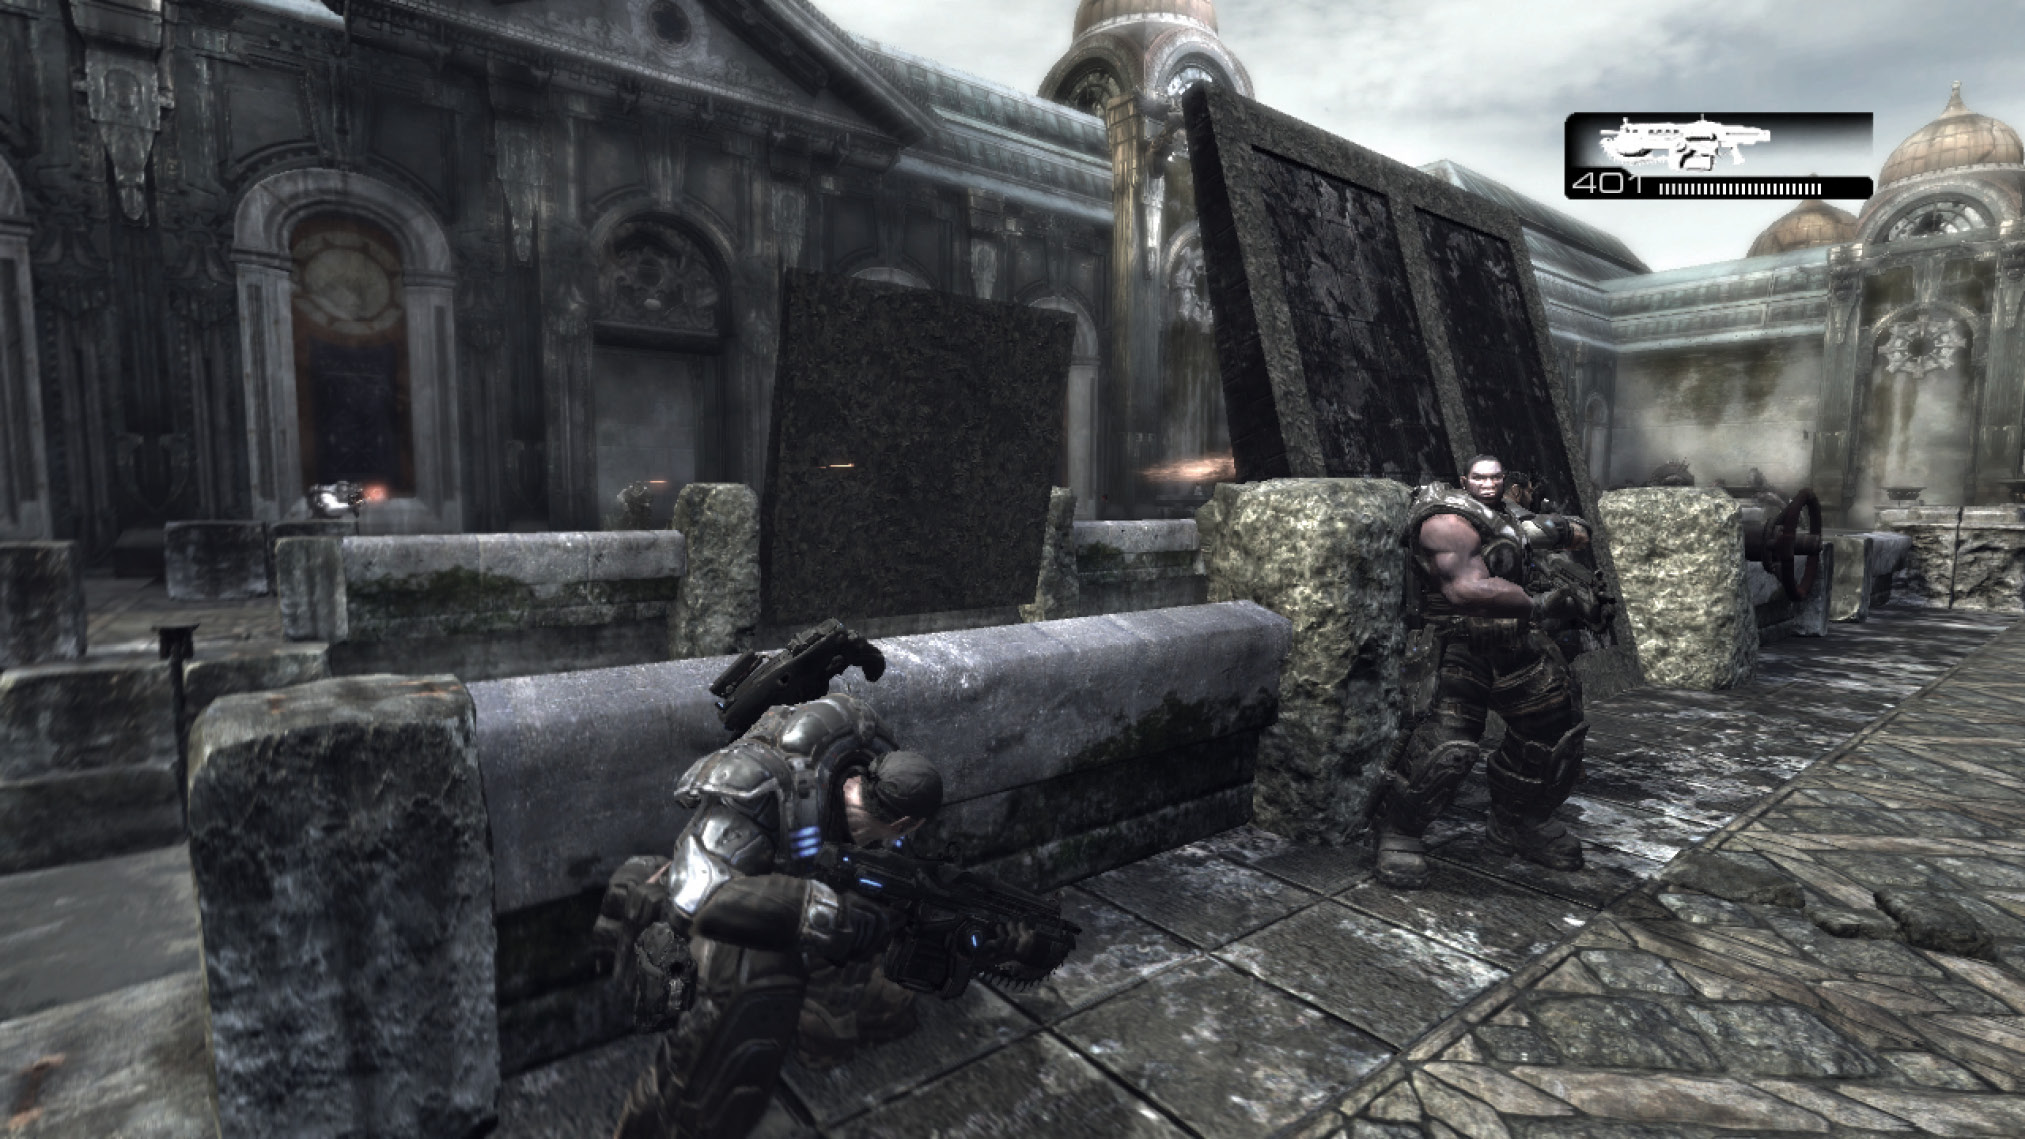
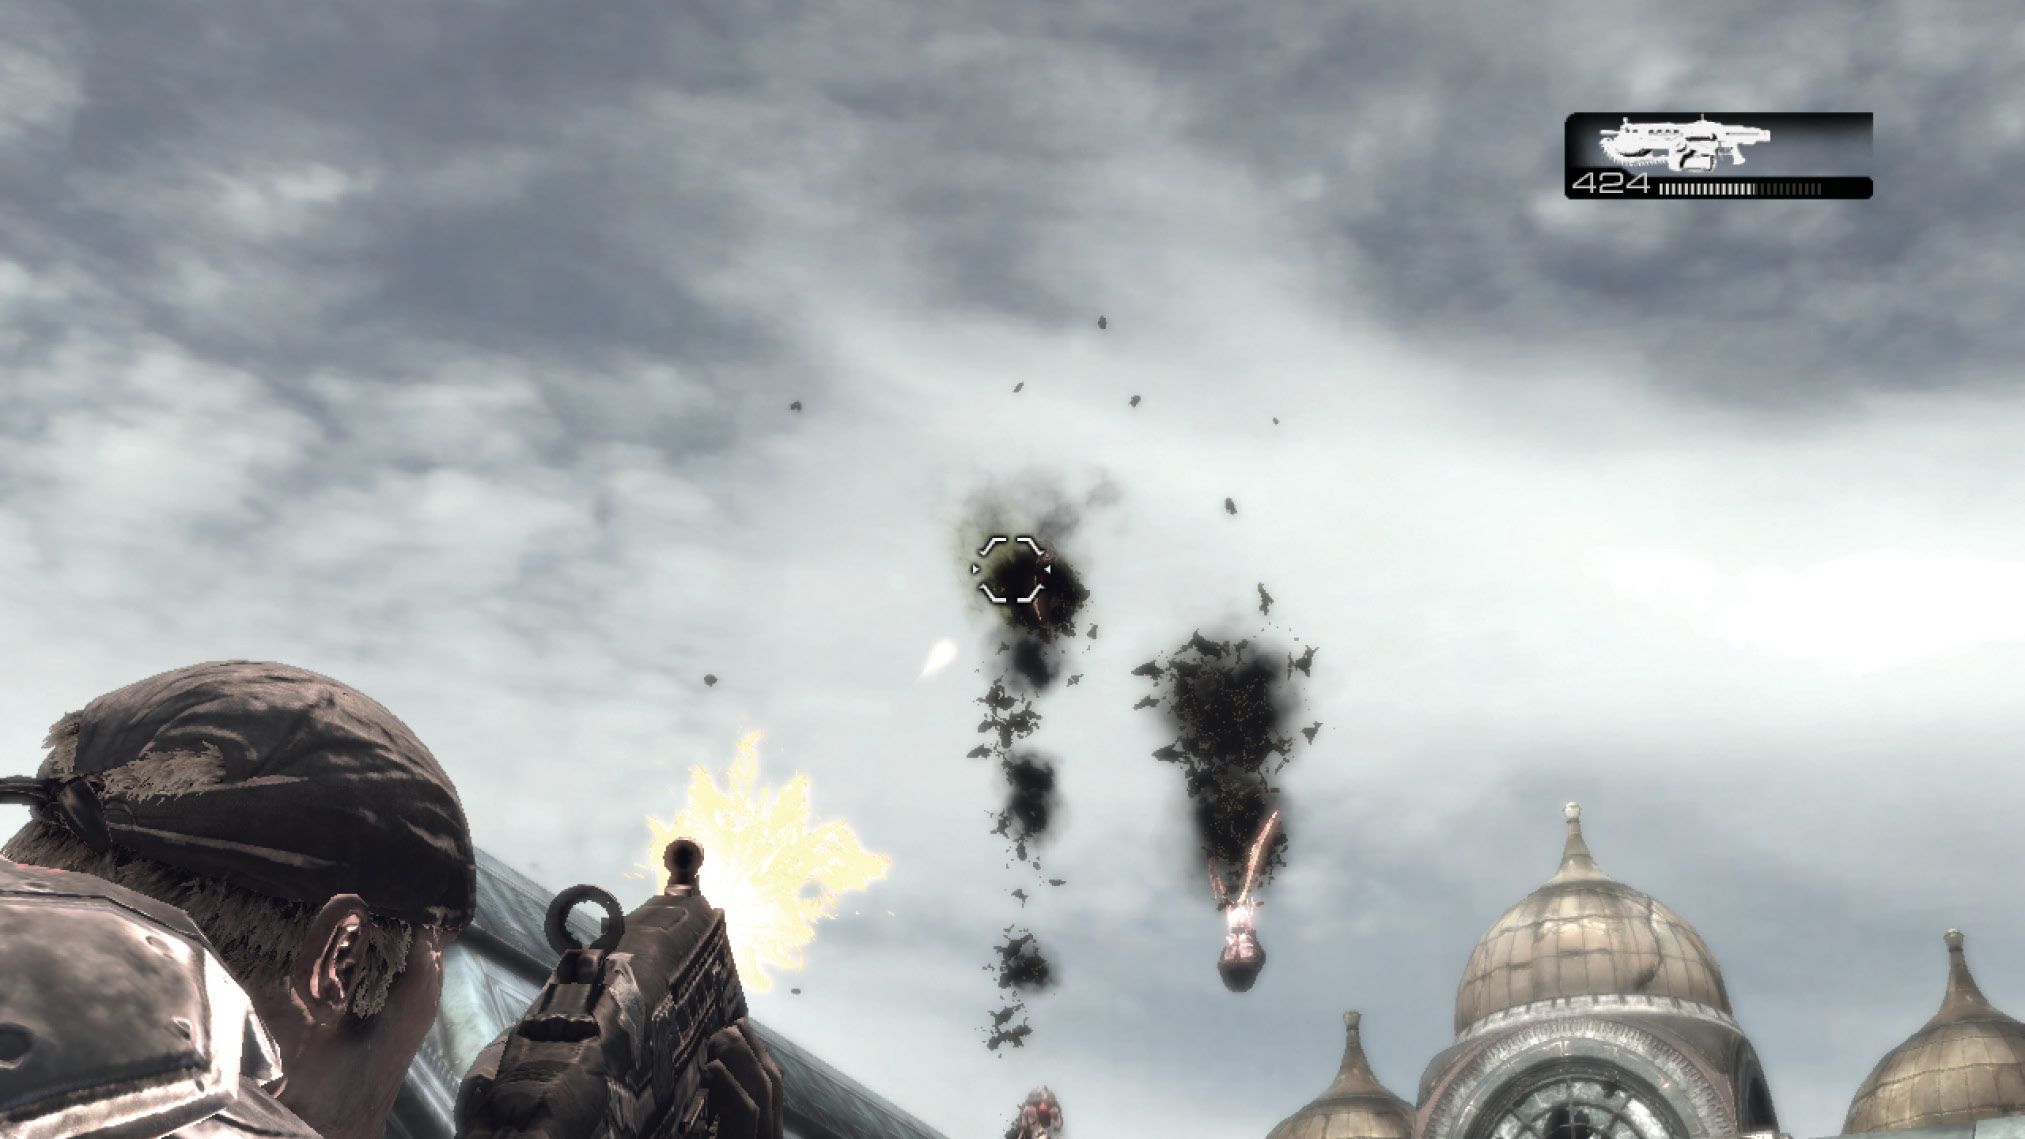
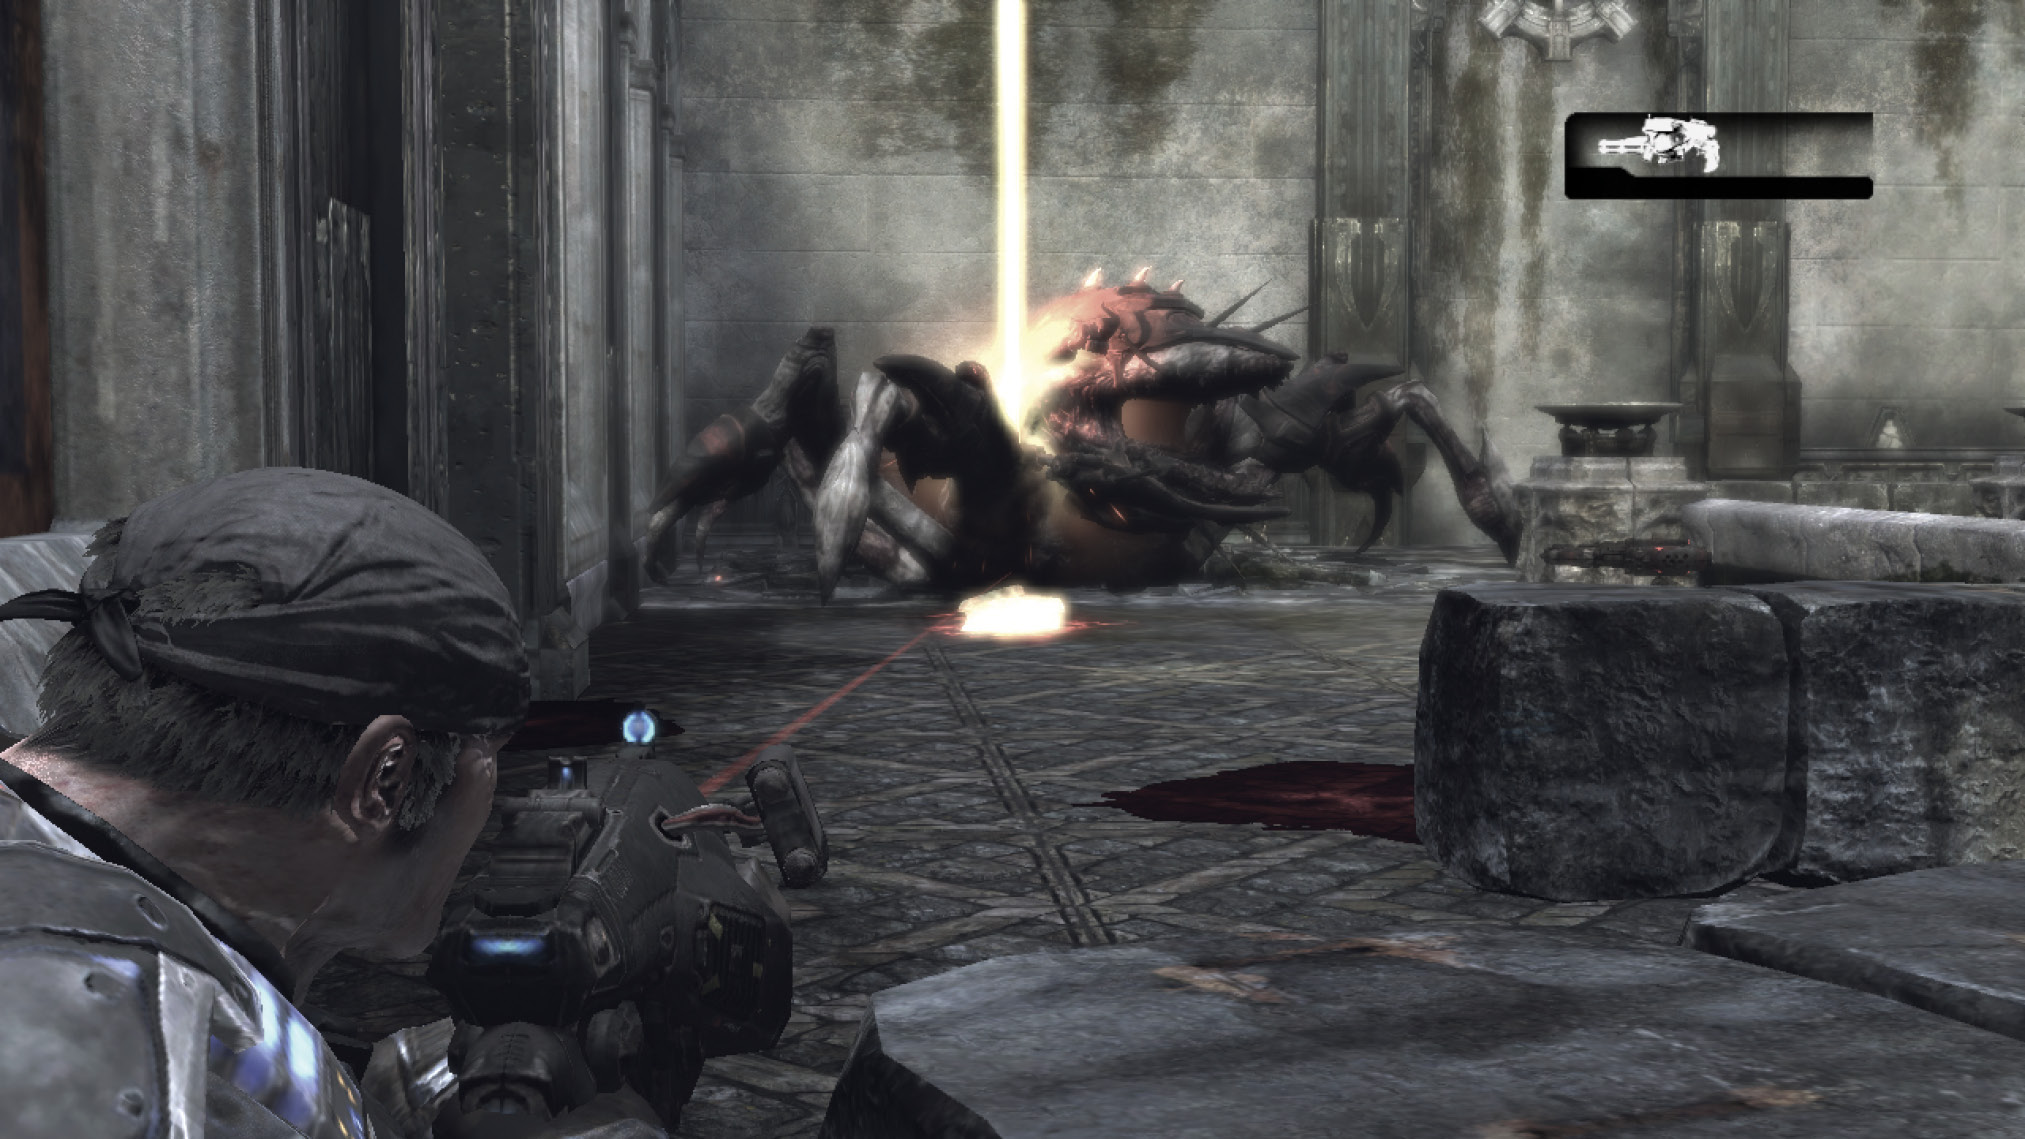
Cross through the second library room to the two-story room ahead. Ignore the Seeder on the lower floor for now and, instead, concentrate on fending off the first wave of Wretches and Nemacysts. When the coast is clear, use the Hammer of Dawn to blast the Seeder.
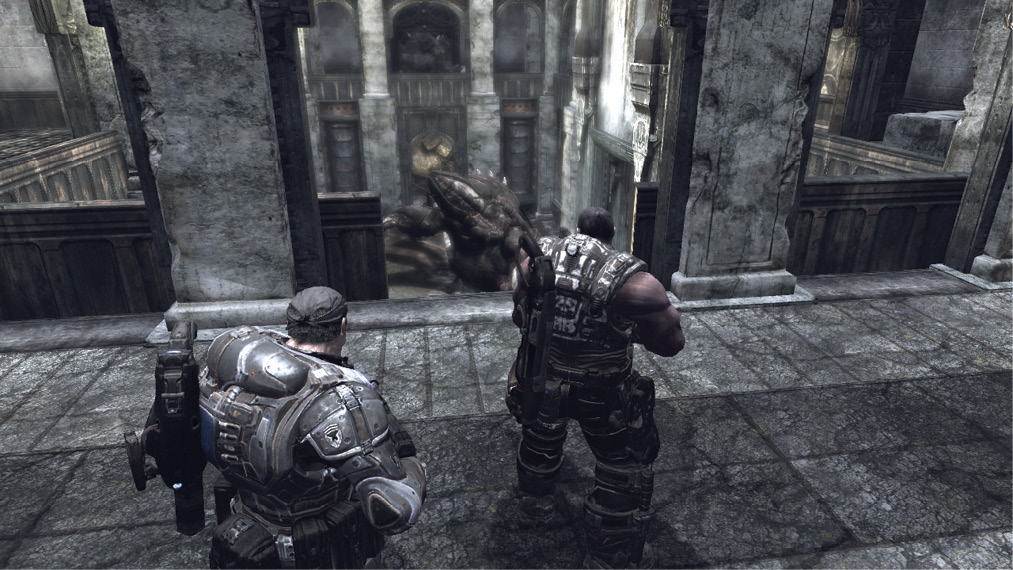
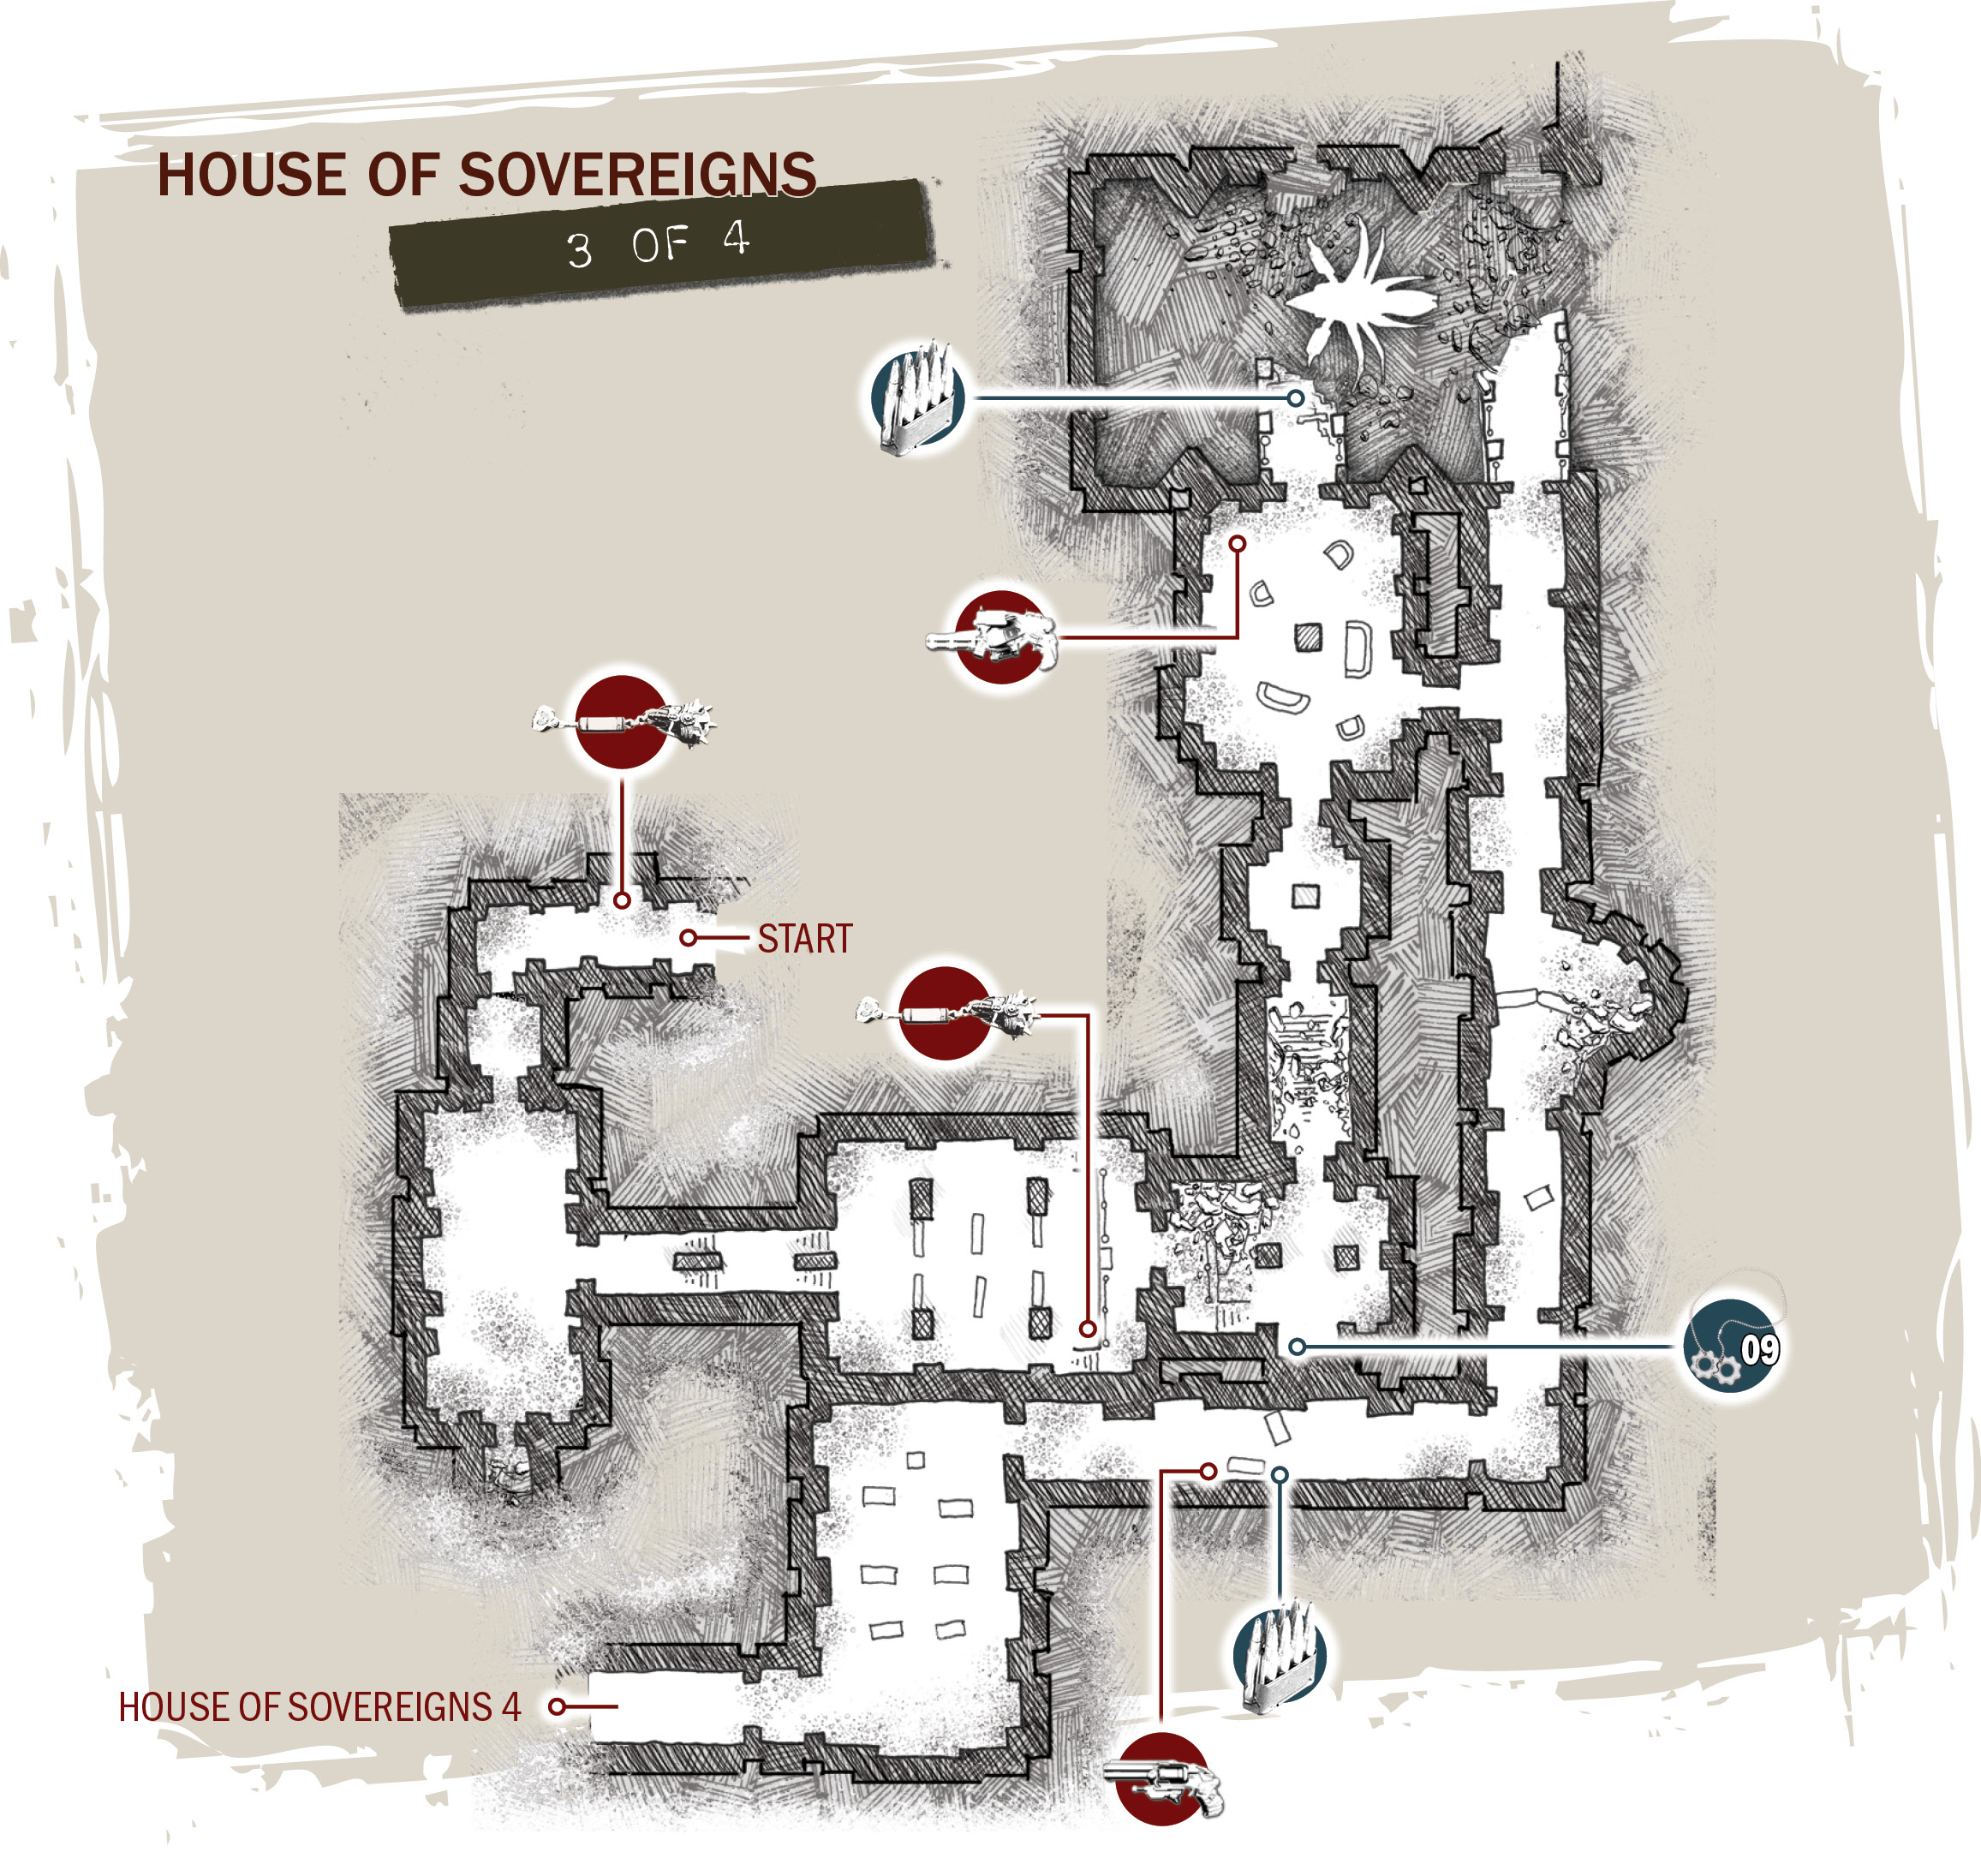
Follow Lieutenant Kim to the door on the left side, and descend the stairs to the first floor. Kill the Wretches and proceed past the Seeder’s corpse, into the sanctuary ahead. Take cover behind the sanctuary’s pews and help the rest of Delta Squad wipeout the incoming Locust.
COG TAG #09Exit the sanctuary, descend the stairs into the next room, and look behind the pillar to the right. It’s hard to see, but the COG Tag is on the floor in the shadowy area on the side. 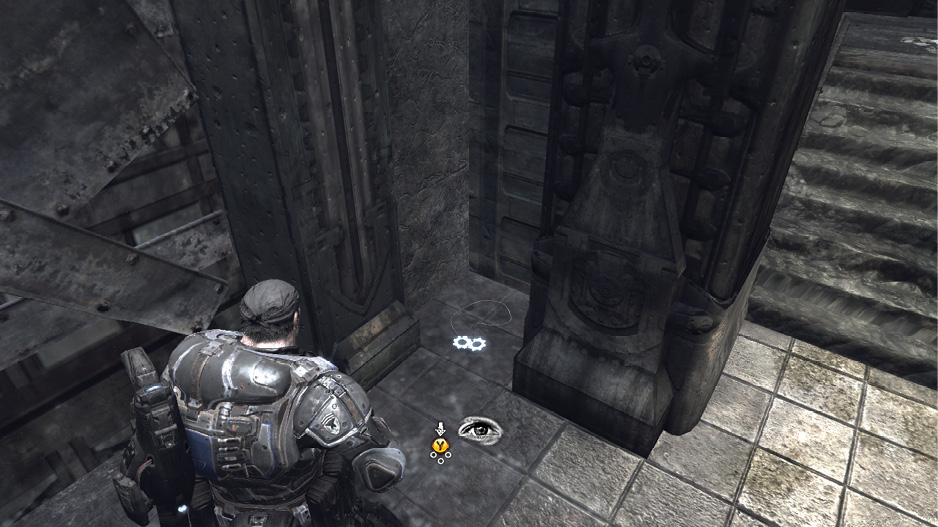
|
Wrath
A bloody reunion with Alpha Squad.
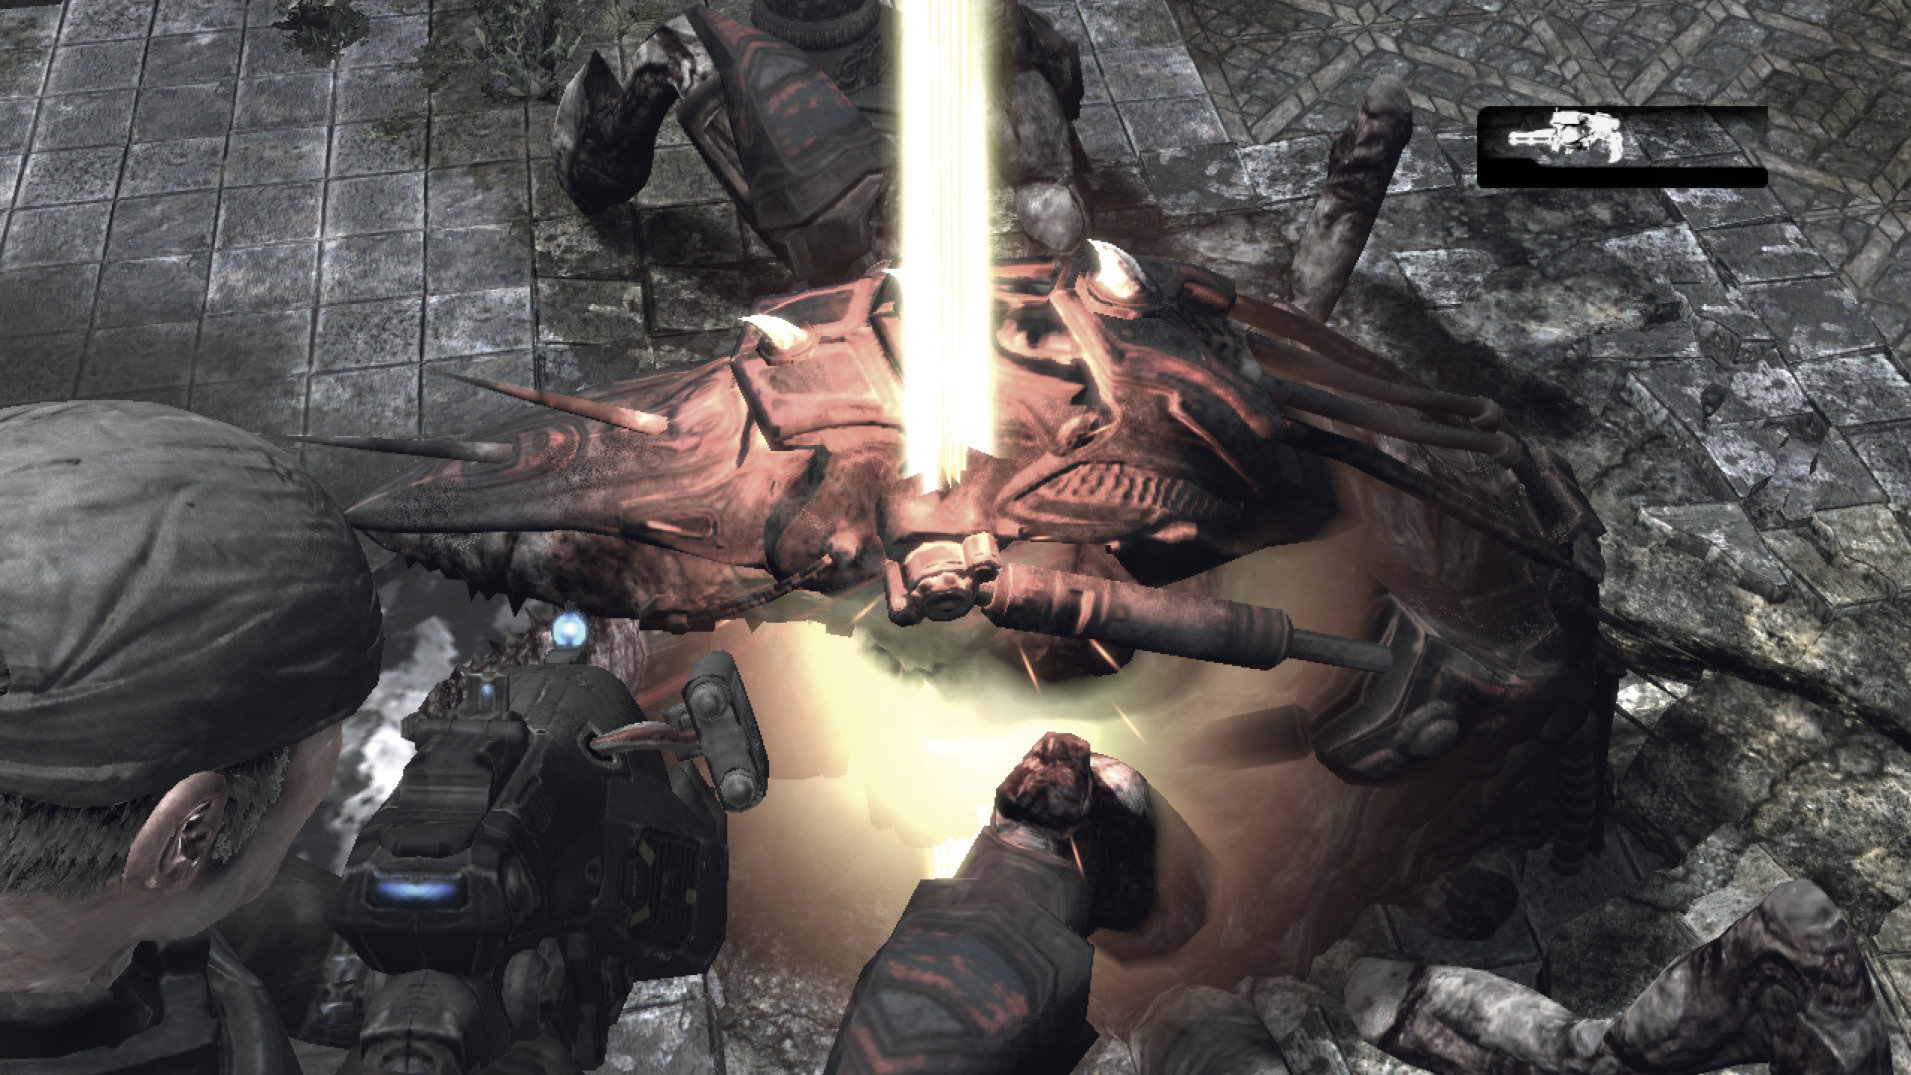
Eliminate the Drones in the room ahead, and step out onto the ruined walkway bridge in the upcoming courtyard. The third and final Seeder is just below. Help Kim and take out the Drones across the yard and on the bridge to the right, not to mention any Nemacysts that appear. Then switch to the Hammer of Dawn to take out the Seeder. As with the previous Seeder, don’t focus on it for too long; alternate between targets, as the Nemacysts will surely end your mission prematurely if you don’t.
Search for Alpha Squad
Lieutenant Kim calls Anya to let her know about the destruction of the Seeders. In the process, communication is made with the rest of Alpha Squad—they’re outside and pinned down. They need your help, pronto!
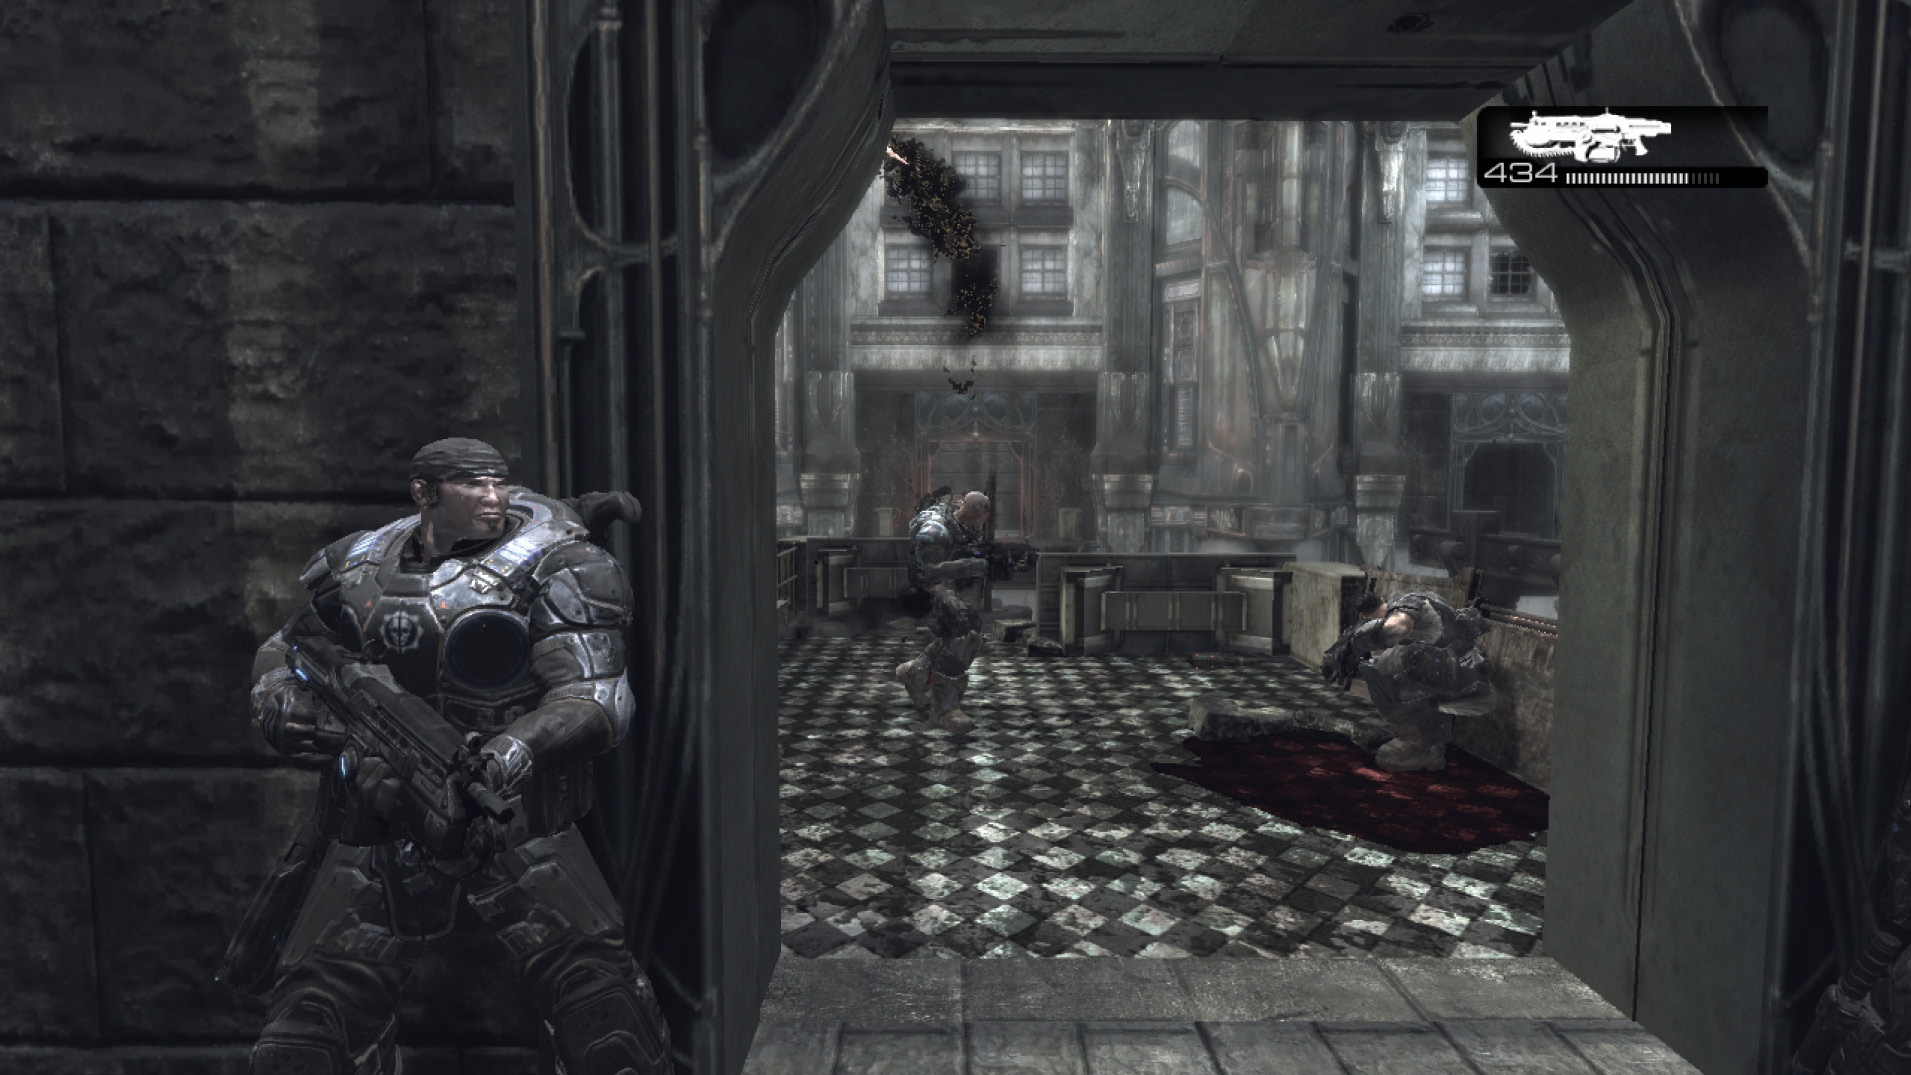
Return to the previous room and use a Frag Grenade on the Locust cutting through the side door. Then head down the hall to the right. There is a Boltok Pistol up ahead, around the corner in the hall. This Locust-brand revolver packs an incredible amount of firepower in its tiny size, so don’t underestimate it.
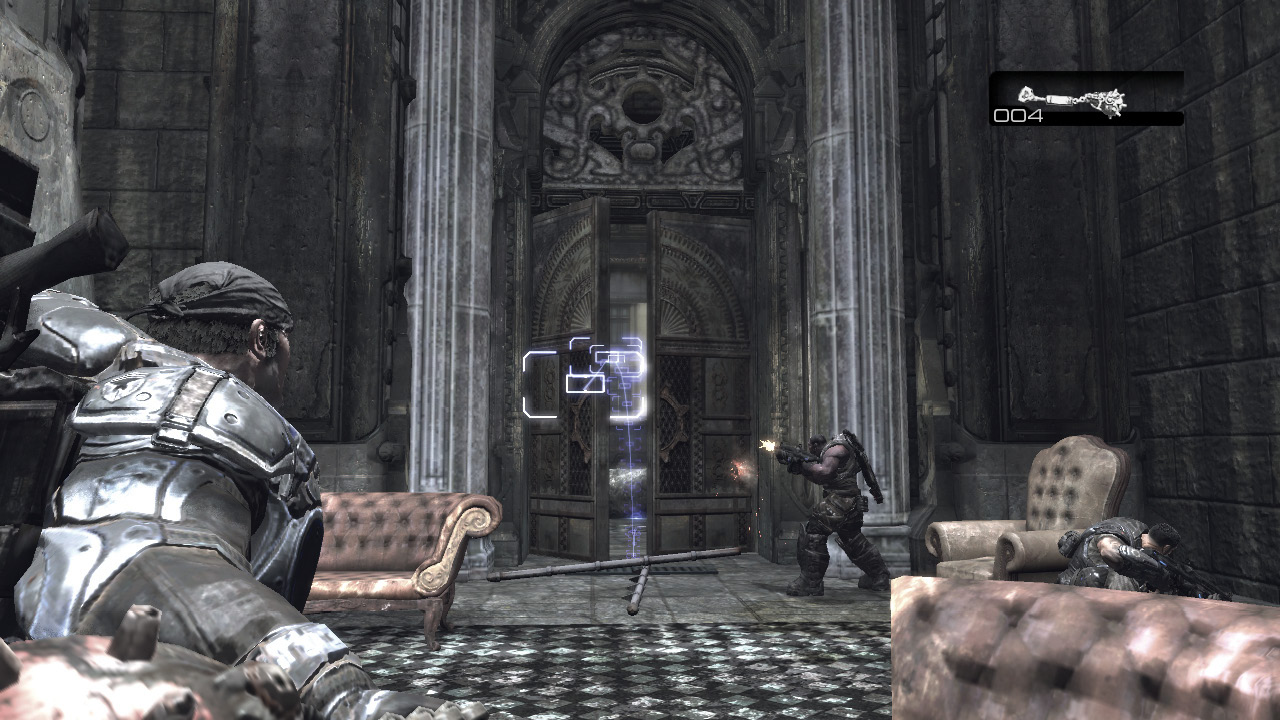
You can try out the Boltok Pistol immediately against the Drones in the room ahead. They take cover behind the desks, so fix your targeting sights just above the desk’s surface and wait for them to pop up. A pair of Grenadiers isn’t too far off, so don’t let down your guard just yet!
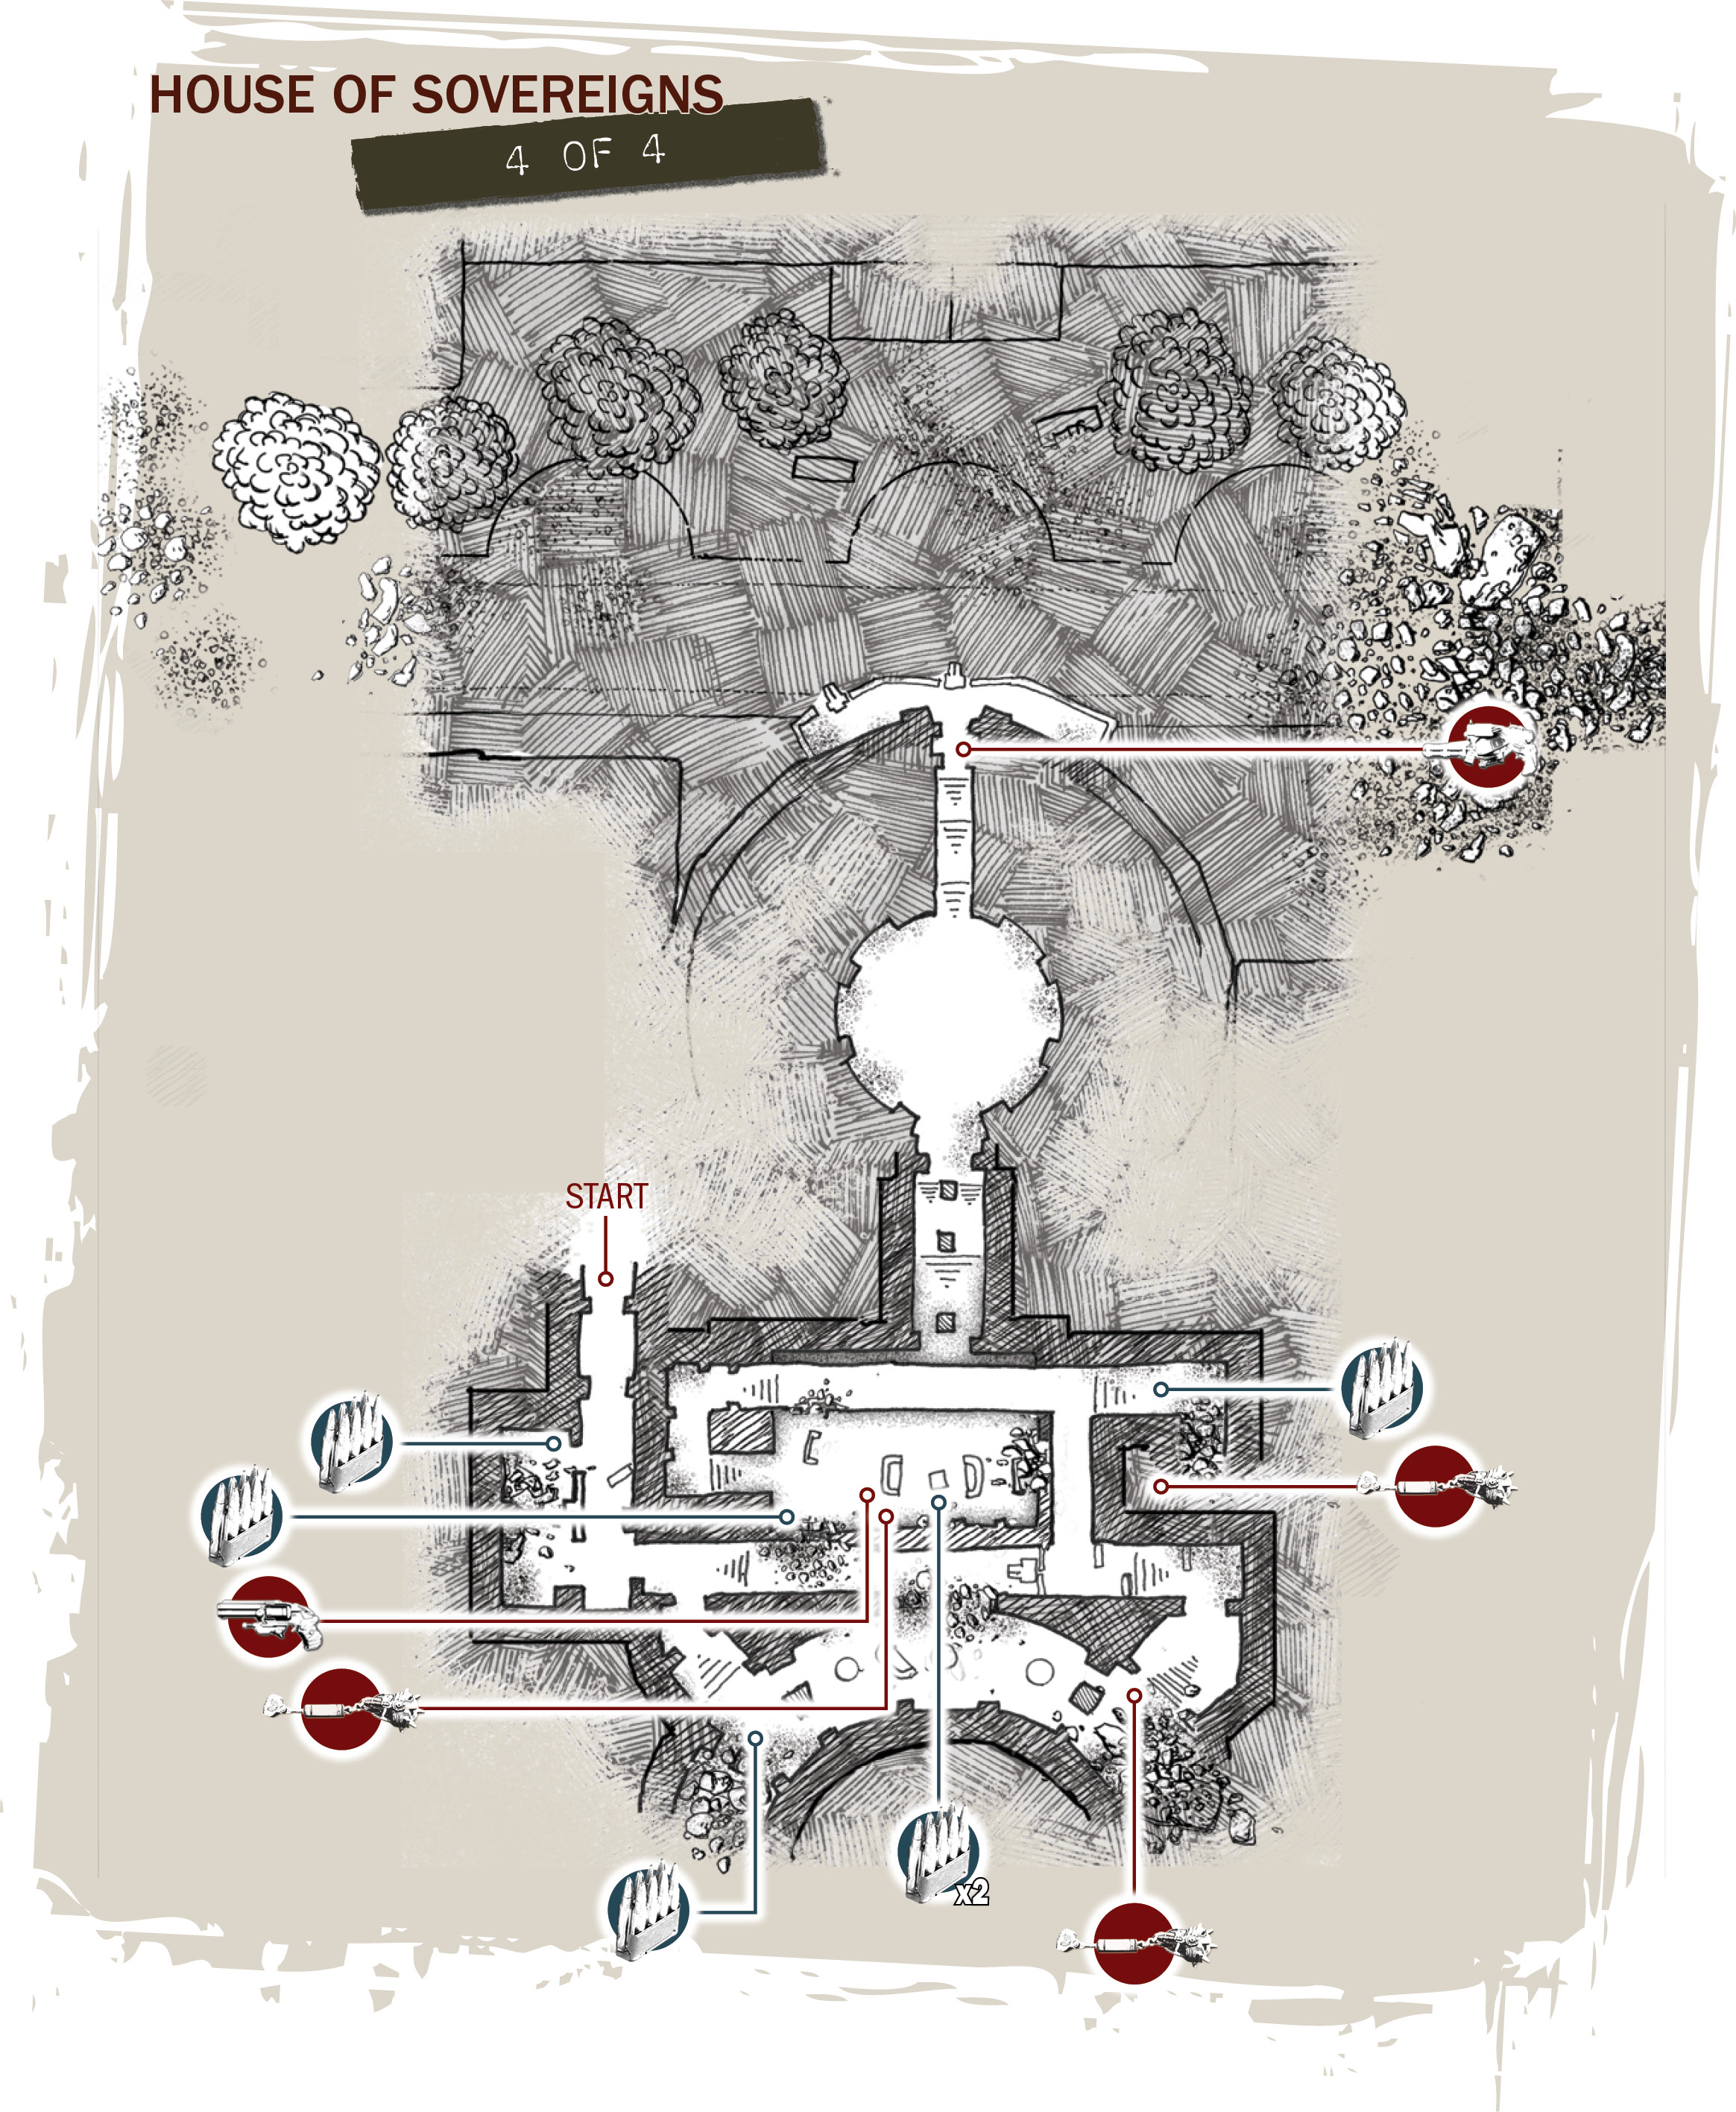
Grab the ammo from the room on the right and slowly approach the corner up ahead. A Drone has a Troika fixed on this end of the hallway and is just itching to lay some hurt on the first thing that peeks around the corner. Roadie Run toward the stairs and dive into the curving room on the right.
Fight past the Locust Drones and a small group of Wretches in this outer walkway to flank the Troika. Sneak up behind the Drone that operates it. There are few things more satisfying that revving up the Lancer’s chainsaw bayonet behind an unsuspecting enemy. Additional Wretches pursue Delta Squad, but keep moving through the corridors and down the stairs.
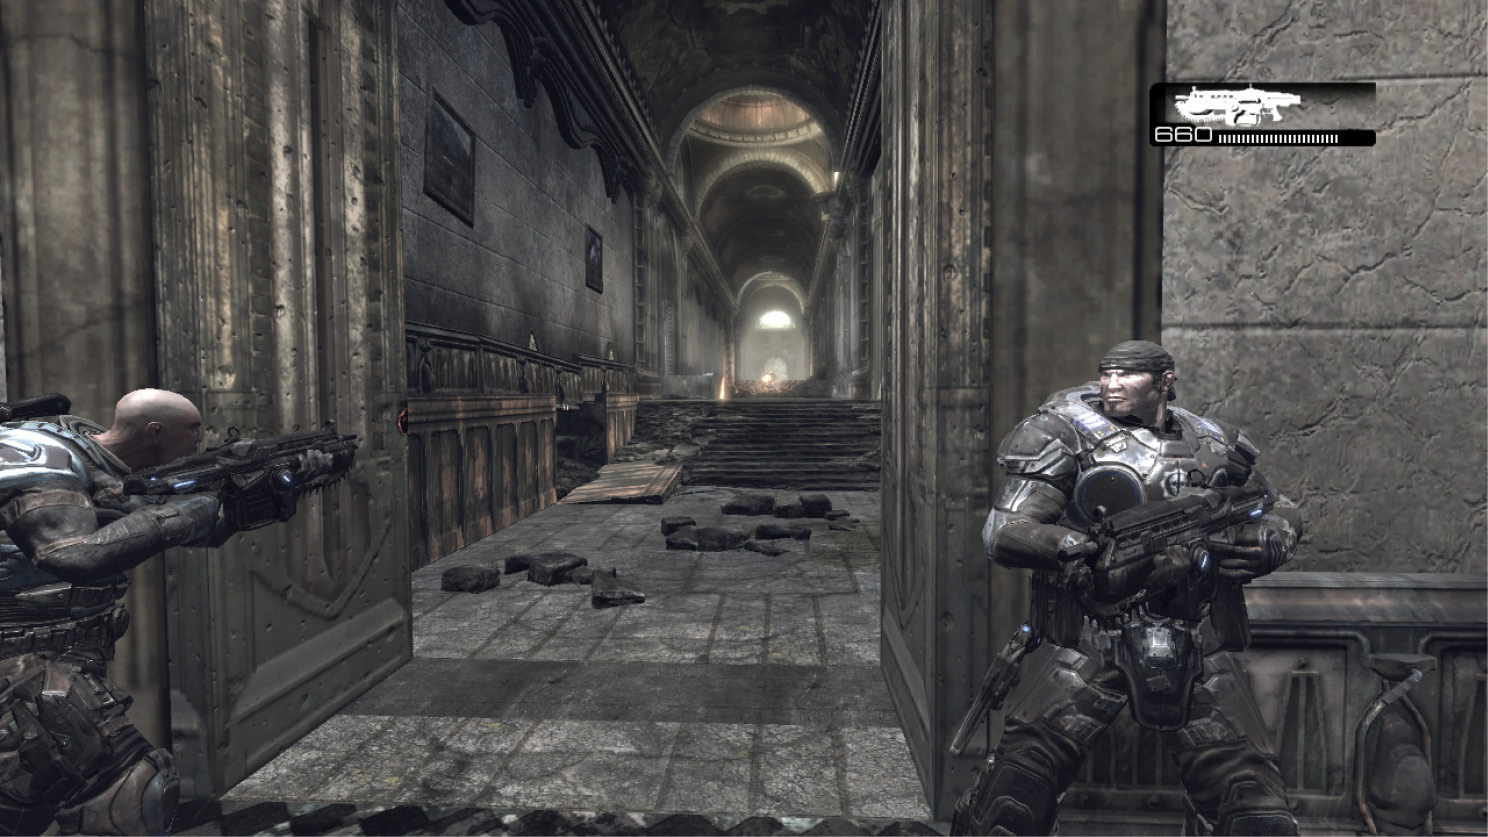
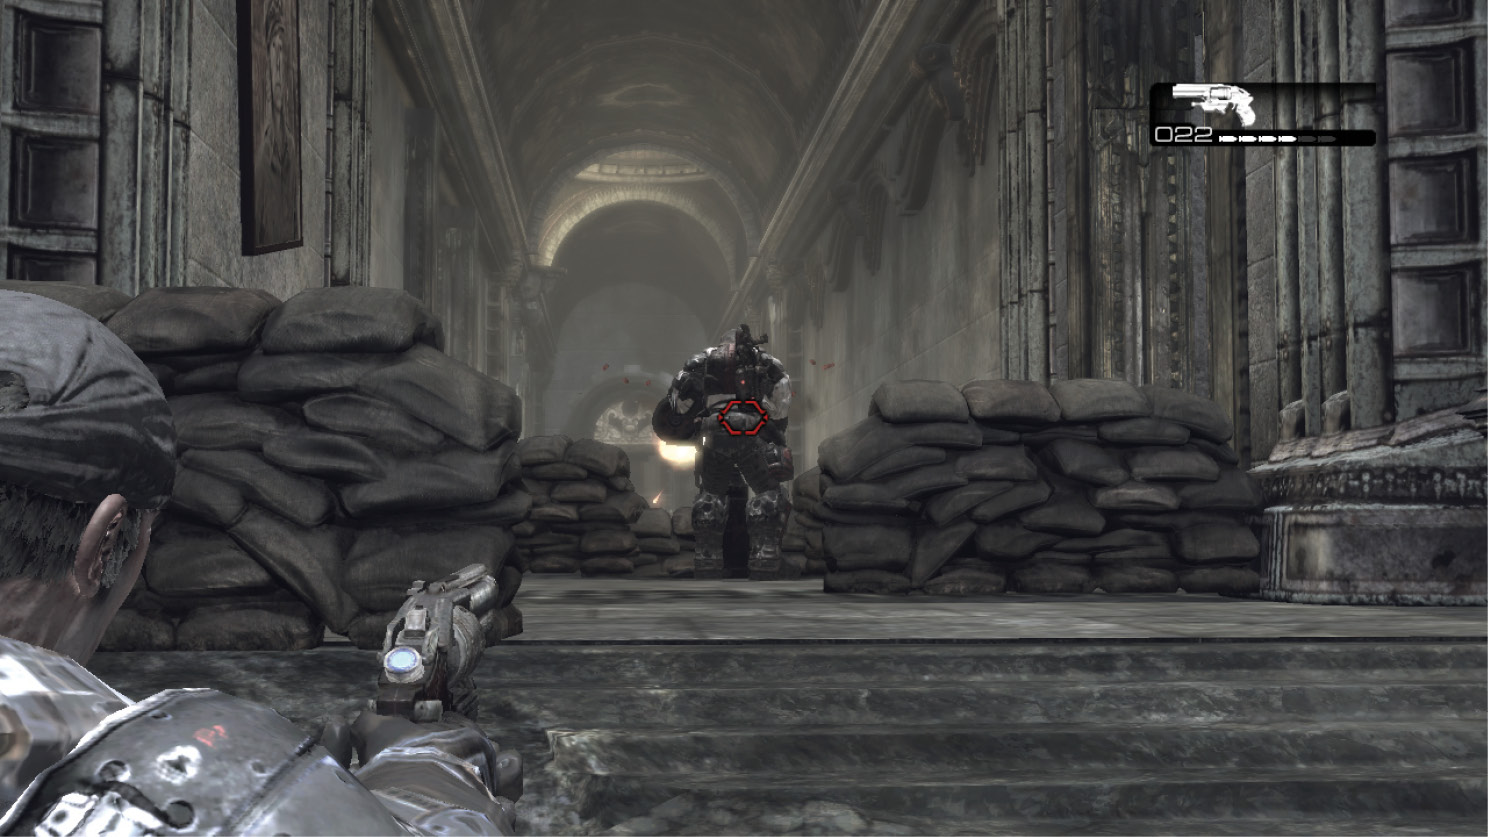
The Locust inside the House of Sovereigns prepare a final ambush to keep Delta Squad from reaching the Troikas mounted on the balcony above the street. Stop on the landing above the final staircase, and ready a Frag Grenade for the Drones and Grenadiers that soon move into view below. Let them have it, then hurry down the stairs and to the left to flank the remaining Drones that usually seek cover behind the statue and furniture.
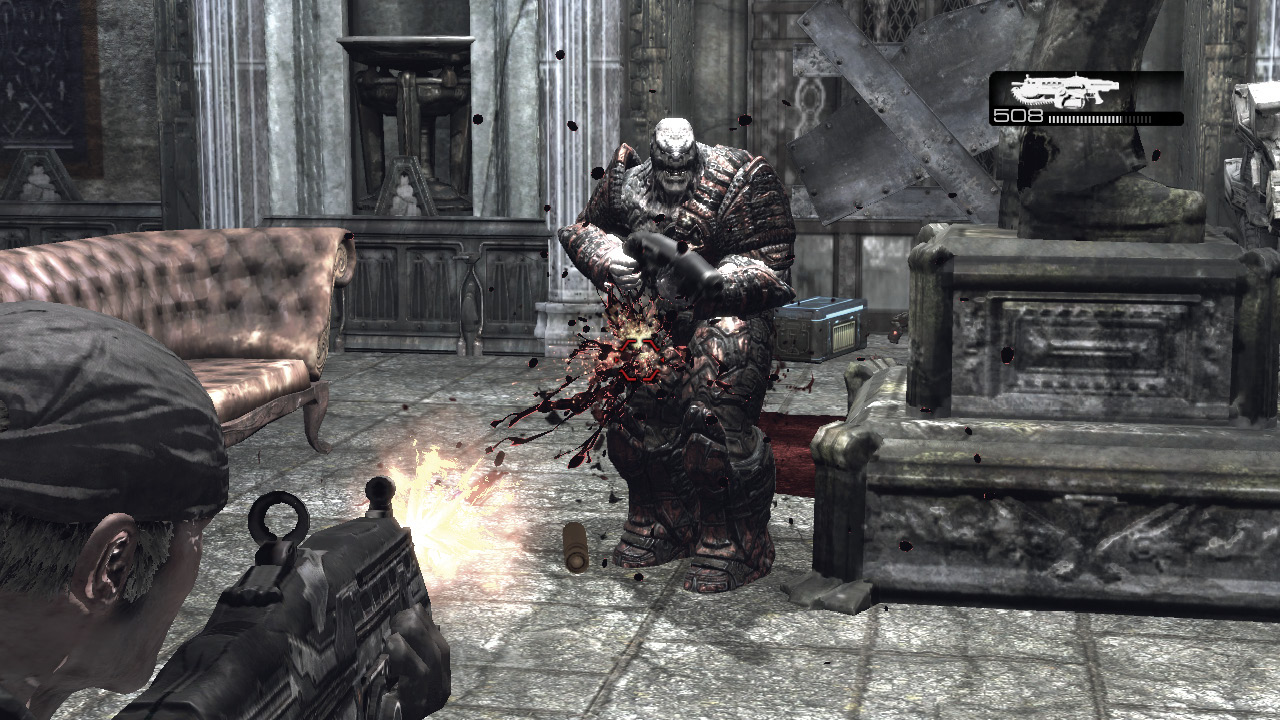
Climb the stairs to the balcony overlooking the street. A final Grenadier stands near the Troika, but the Troika can’t swivel around to be a threat. Take him out!
Secure the Landing Zone for Evacuation
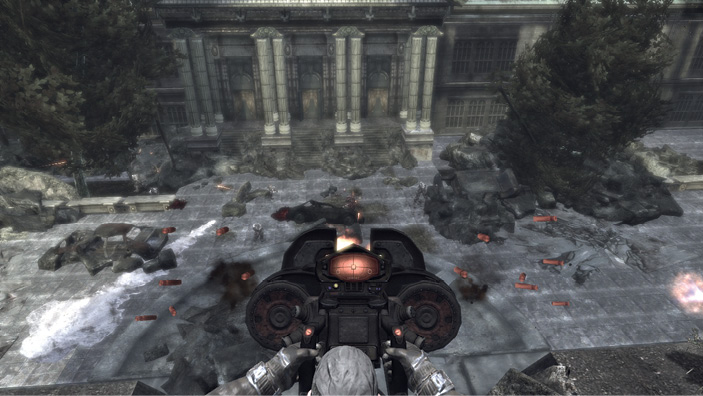
There are two Troikas on the balcony. Marcus can use them to annihilate the remaining Locust forces on the ground below. Additionally, two unreachable Seeders spew forth a seemingly endless stream of Nemacysts in the far-off distance. Use the Troikas and the Lancer to eliminate this threat. Kim, Dom, and Cole certainly help but this is clearly Marcus’ moment to shine behind the Troikas.
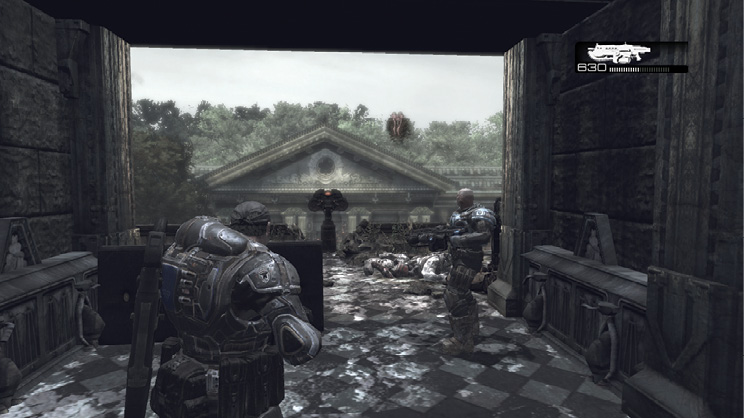
The key to surviving this battle is to avoid concentrating for too long on the Drones in the street below. They’re not the main threat to Delta Squad—the Nemacysts are. Use the Troika to take down a couple Drones and then either back away from the Troika and use the Lancer to take out the Nemacysts or, if you’re using the Troika in front of the stairs, blast the Nemacysts as they level off and enter the gun’s line of fire. Don’t let up until the Nemacysts stop coming and the last Drone is put down.
China Shop
Berserker bait.
Find Another Way Out
The Locust army’s ambush was both unexpected and saddening. Not only are Delta and Alpha Companies unable to go home, but good men also have died. And now the only way out seems to be through the Tomb. On the positive side, at least your squad is still at maximum capacity thanks to the addition of Baird. But this is cold comfort considering the Berserker that’s running loose in the Tomb.
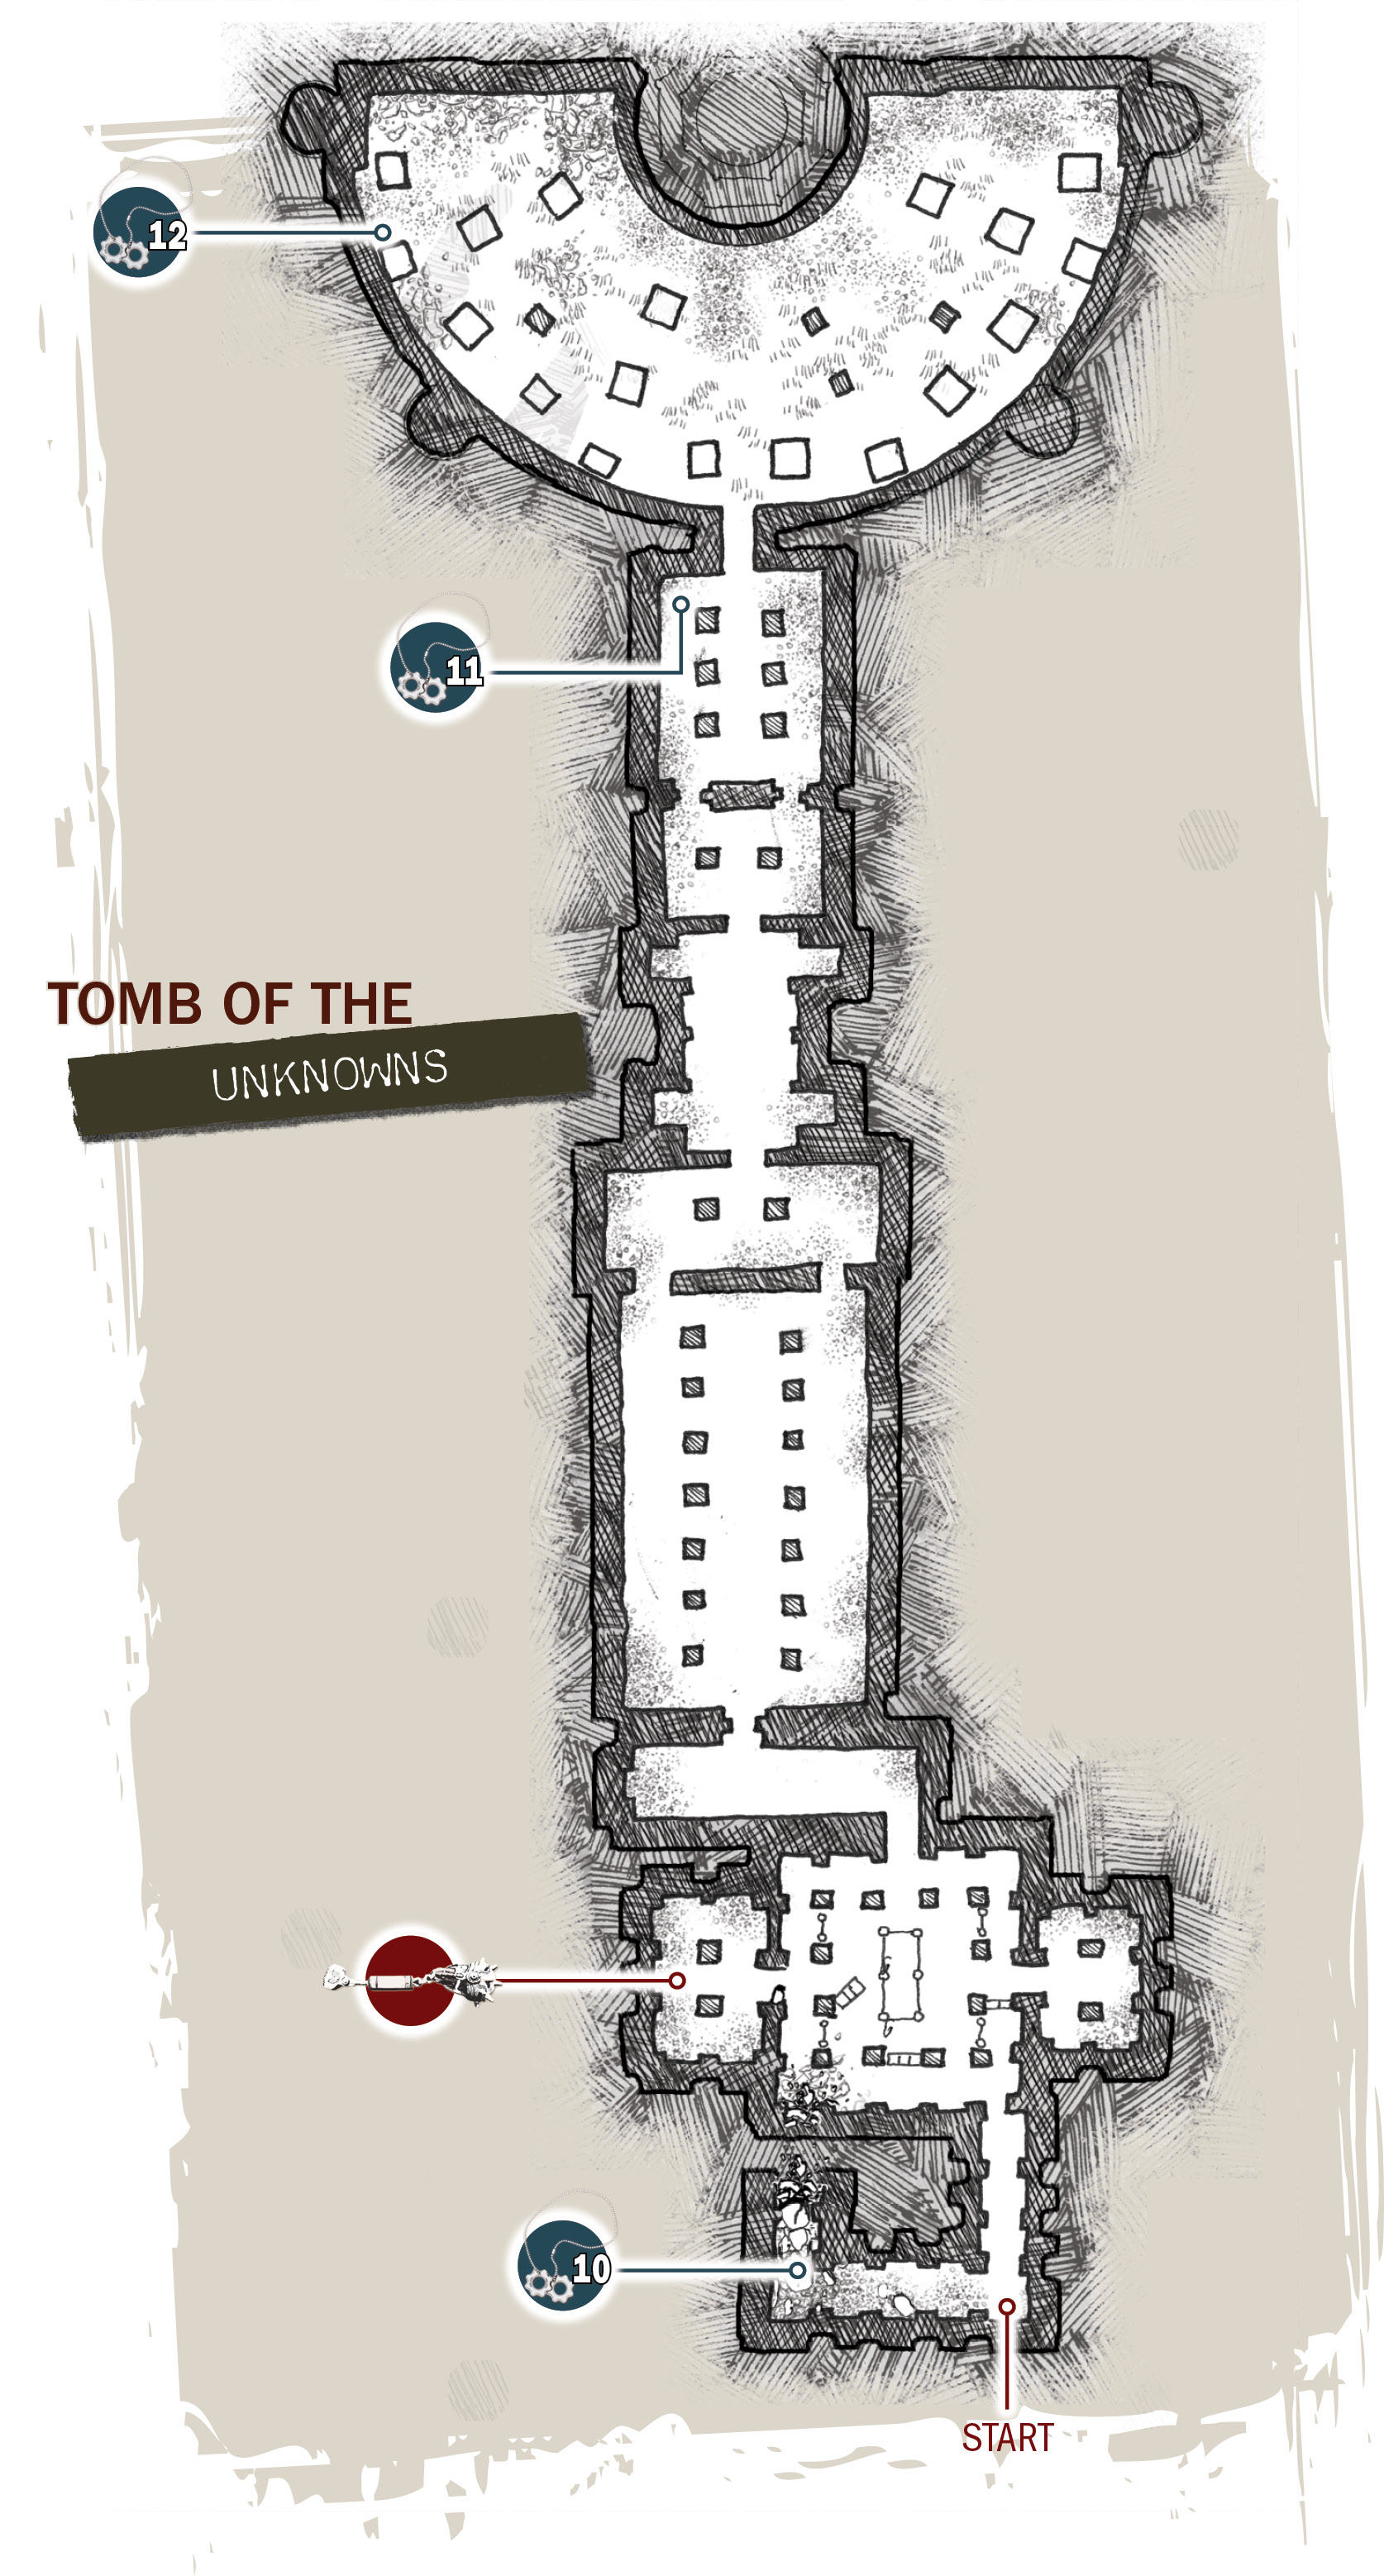
COG TAG #10Here is the one true instance in which you can collect a recently fallen soldier’s COG Tag. Go around the corner, toward the spot where the Berserker killed the soldier at the beginning of the level. Look near the flames on the right. 
|
Lure the Berserker Outside
Your only hope against the Berserker is to lure her outside where the Hammer of Dawn can pound her. Berserkers are blind—which works to your advantage—but they have acute senses of hearing and smell.
Proceed through the Tomb toward the Berserker—Marcus runs into her in the hallway just beyond the first main room. Stand in the center of the hall and wait for her to charge, then dive to the side to avoid her. Use the Lancer to lure her away from Dom, who is at the rear of the hall, and slip through the door to the elongated room to the right. Use sporadic gunfire bursts to lure the Berserker out of the hallway and into the large room.
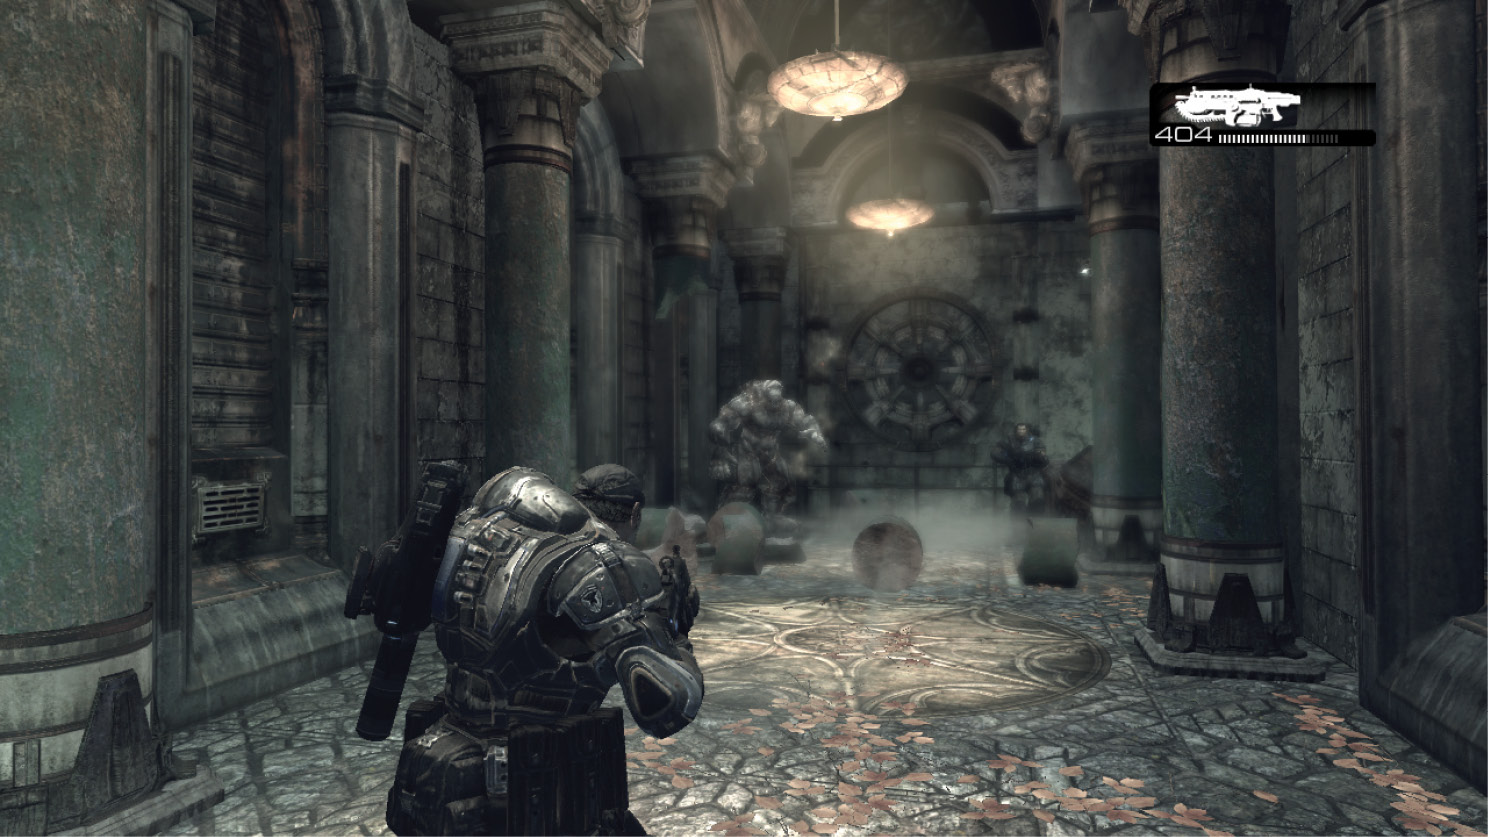
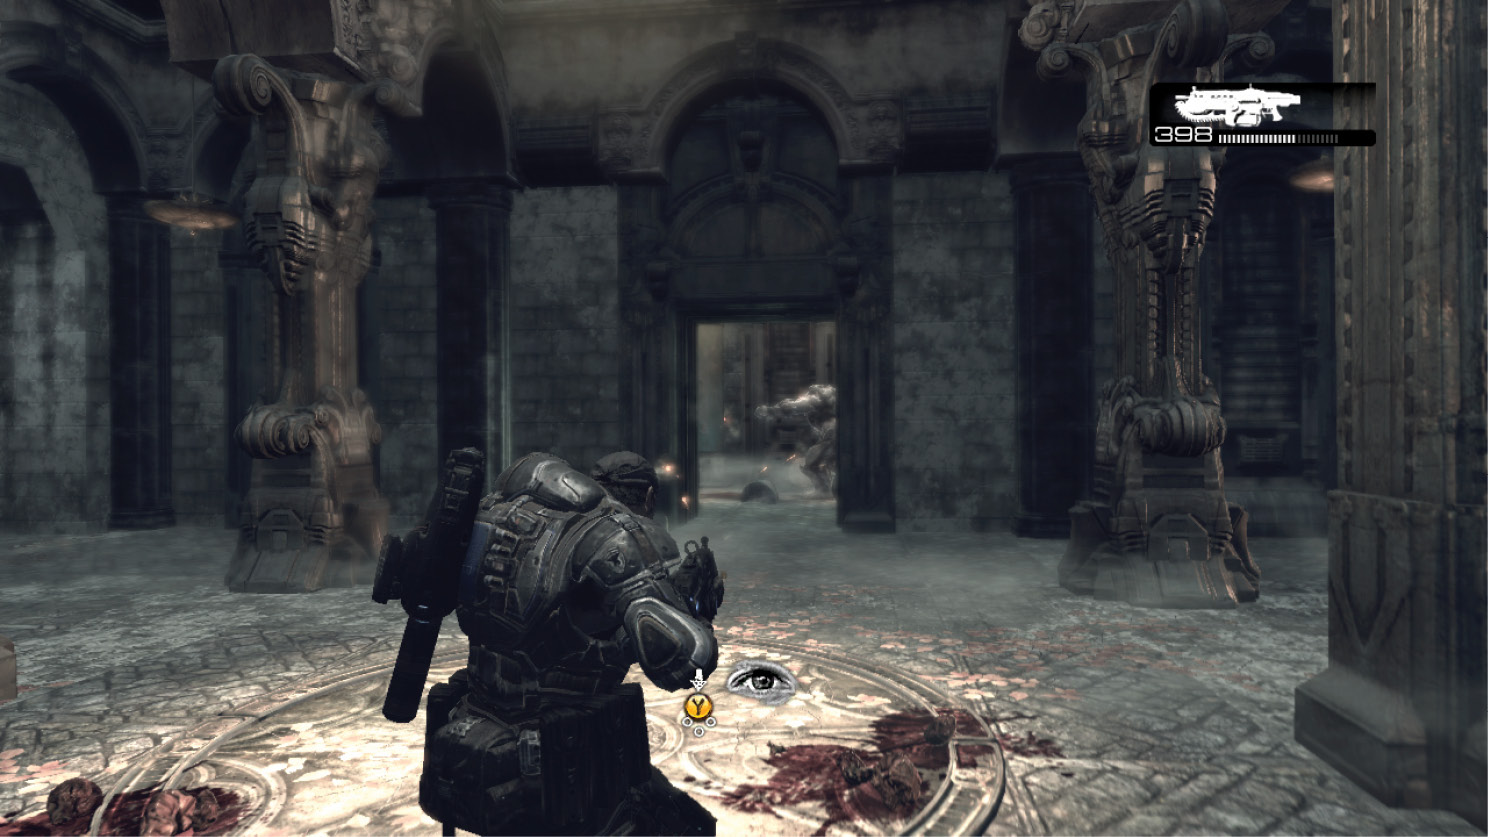
From here, it’s a matter of using the Berserker’s tremendous strength to knock down three heavy steel doors separating a sequence of rooms in the Tomb. Each of these doors are in the center of the far end of the wall. Rush forward to the door, turn around and shoot the Berserker to get her to rampage towards the door. Dive out of the way, lure her back into the room you’re in, then slip through the door to the next room and repeat the process on the next door.
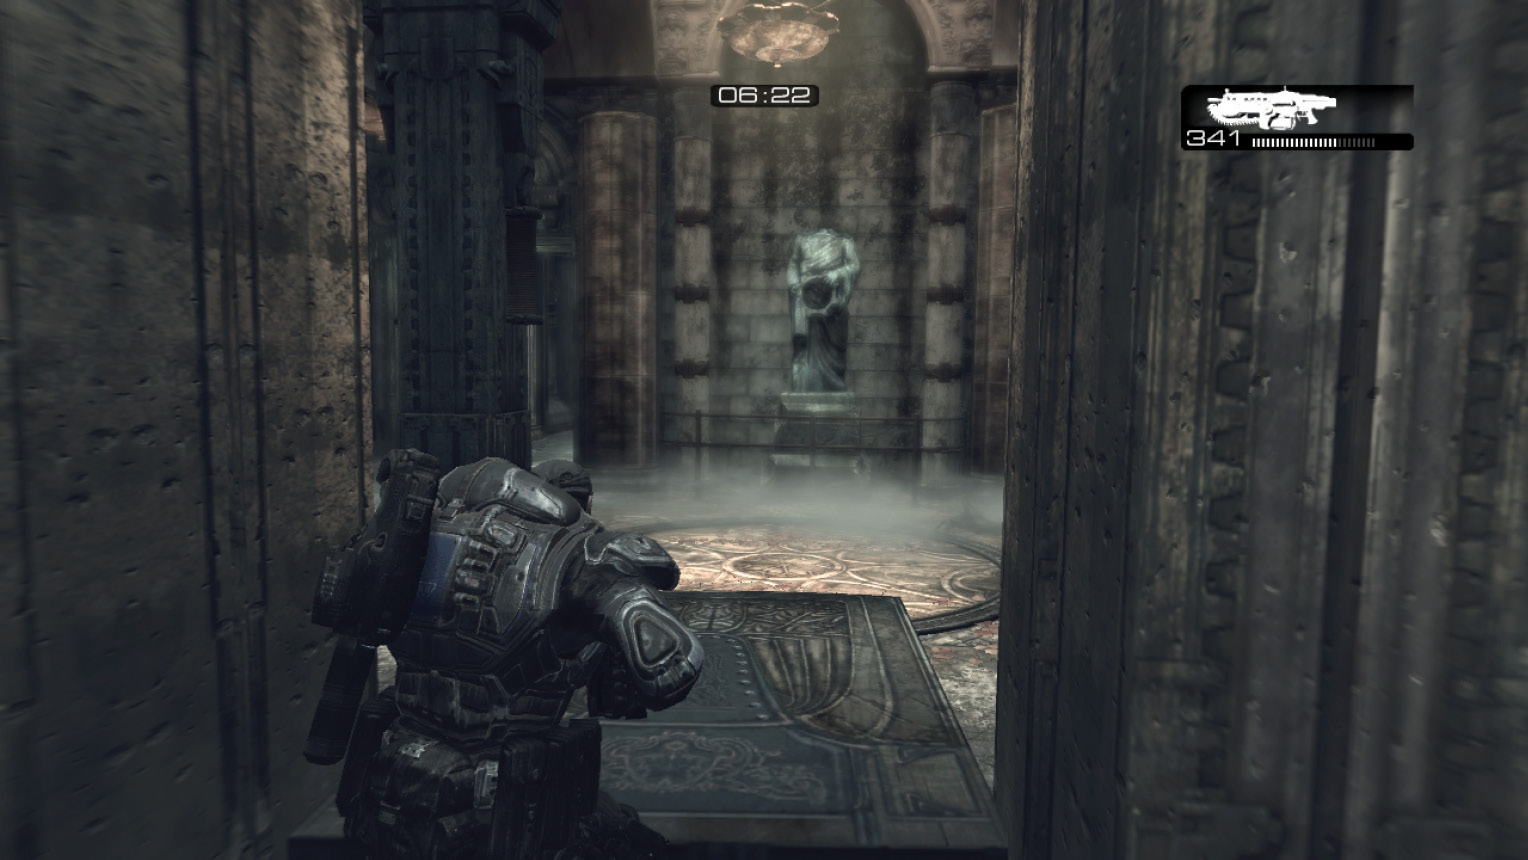
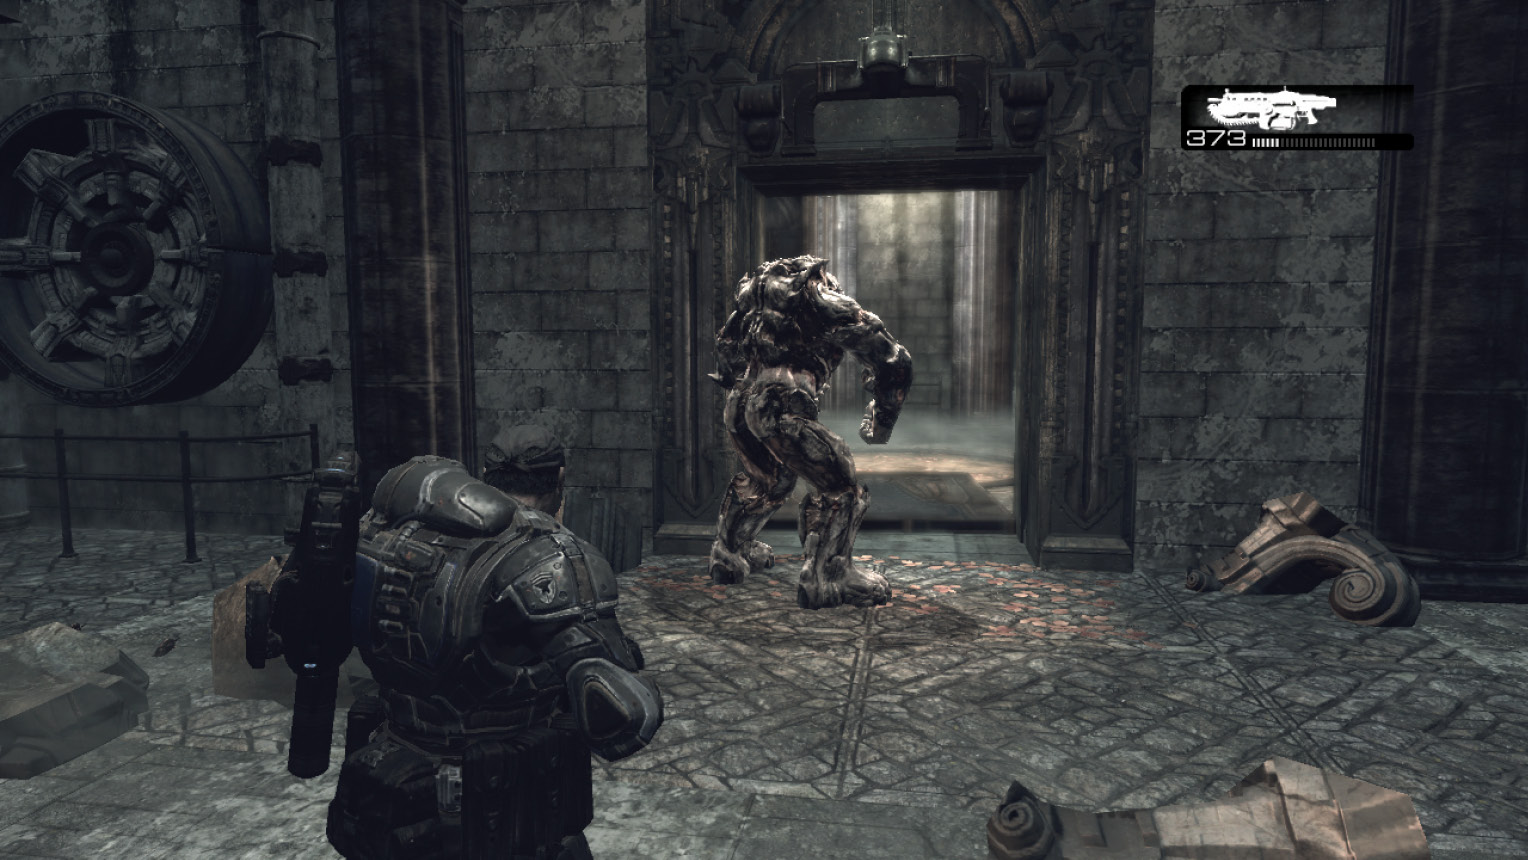
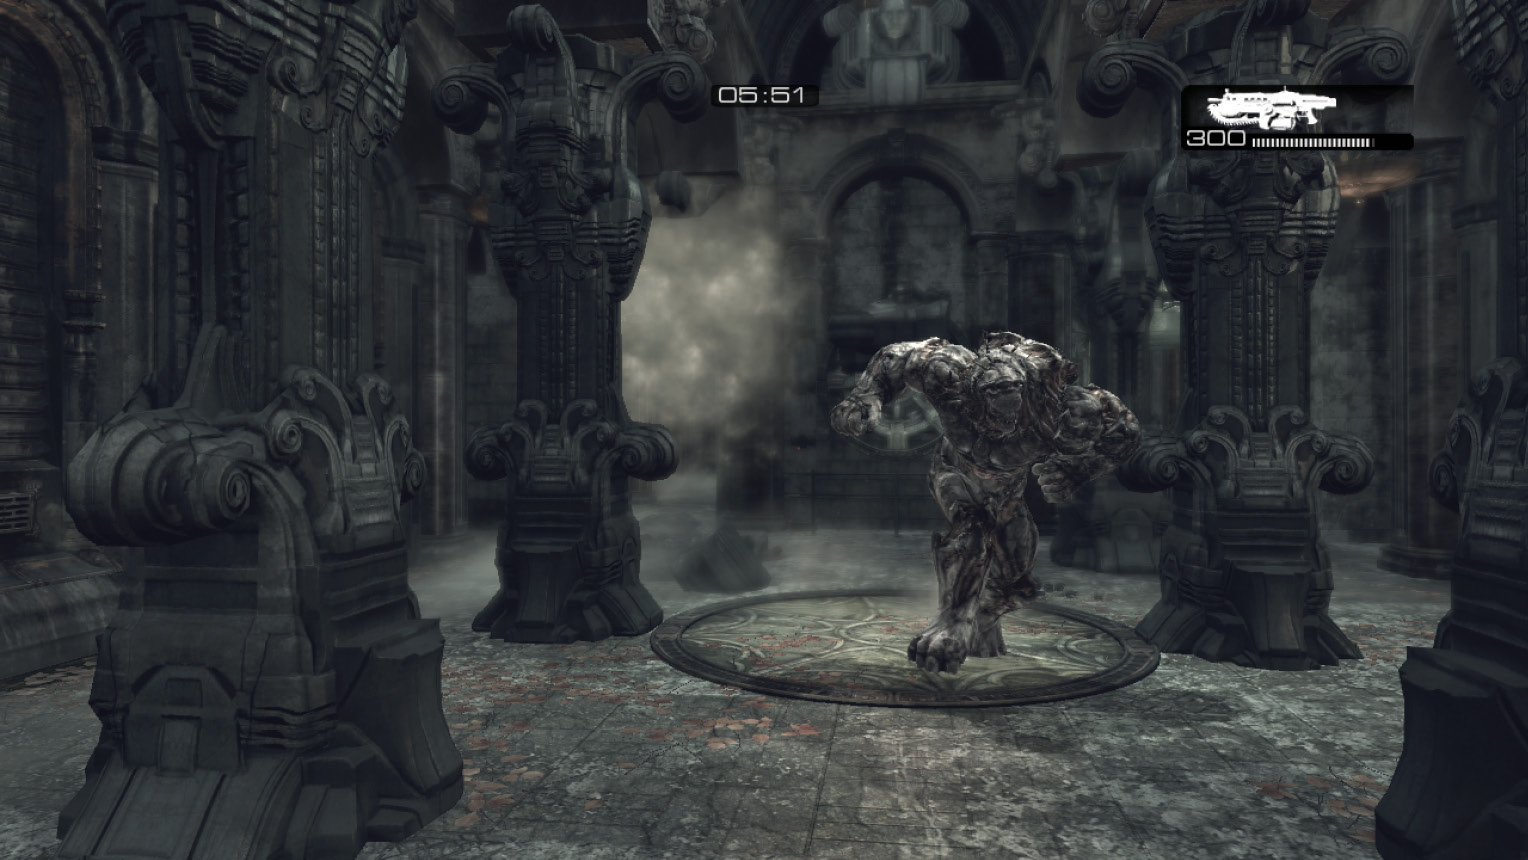
COG TAG #11The COG Tag is to the left of the third smashable door—the Berserker does the smashing. This is the final door before you exit the Tomb to the courtyard. 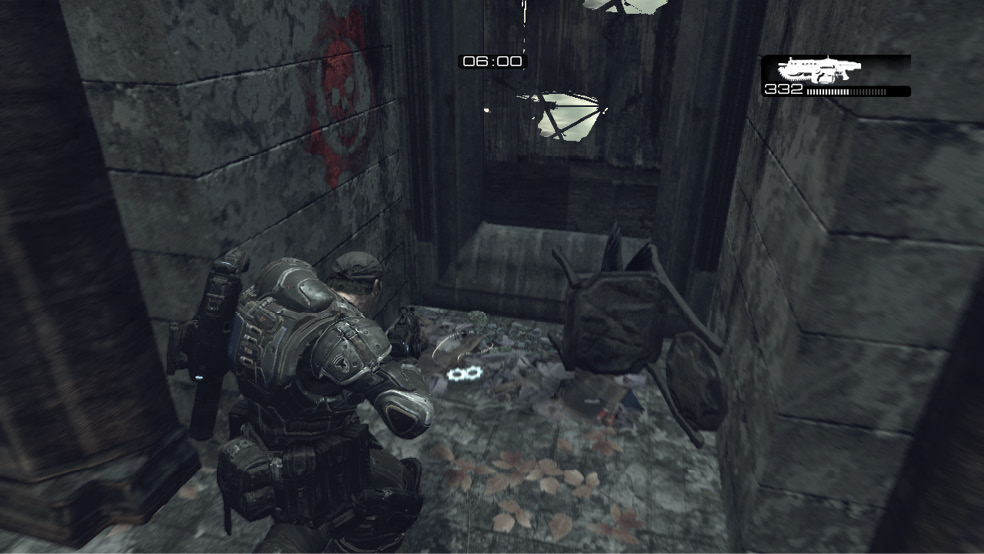
|
Kill the Berserker
COG TAG #12Immediately after you lure the Berserker outside, go to the left along the curved portion of the semi-circular courtyard and look for the Crimson Omen. The COG Tag is on the ground just beyond it, directly against the main wall. 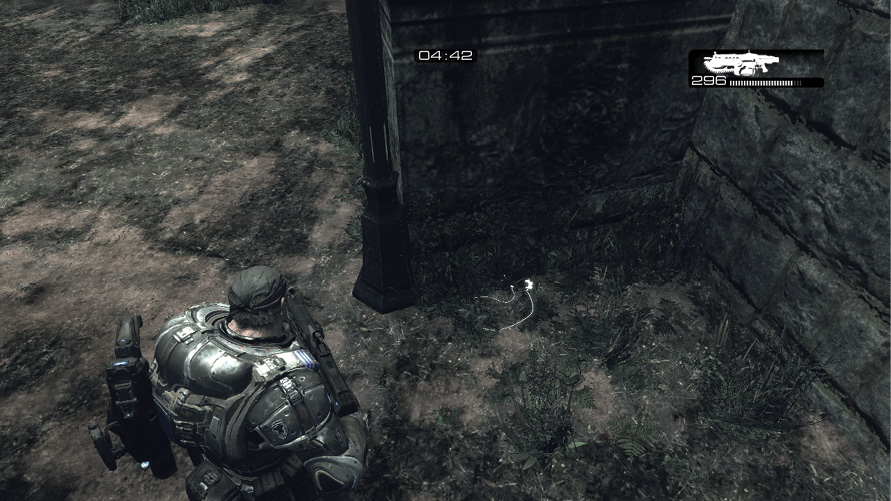
|
With the Berserker in the courtyard, switch to the Hammer of Dawn. Once you hit her with the Hammer of Dawn she glows red, indicating that she’s vulnerable. At this point, any weapon will hurt her. Chances are, you’ll have only about five or so minutes of satellite coverage, so don’t waste much time (other than to get the COG Tag). Lead the Berserker toward an unbreakable wall or ledge so that she stuns herself slamming into it. Then put the Hammer of Dawn to work. It should take only two or three lengthy blasts to finish her off.