
Fundamentals of Gameplay
To survive in Gears of War, you must master several facets of gameplay that may not be familiar to you:
- You must thoroughly and completely understand the importance of cover.
- You must be at one with the Active Reload System.
- You must know how to use the Tac/Com system to effectively control your AI squad mates.
Cover
Taking cover behind objects, walls, and other obstacles is monumentally important in Gears of War. To take cover, press the A Button, which makes your character back up (or crouch) against an object, shielding him from enemies on the other side of the object. You can move while you’re in cover; the Left Thumbstick moves the character alongside the object he’s using for protection. You can use the Left Thumbstick in conjunction with the A Button to relocate behind a different piece of cover, such as across a doorway or to a nearby wall or object.
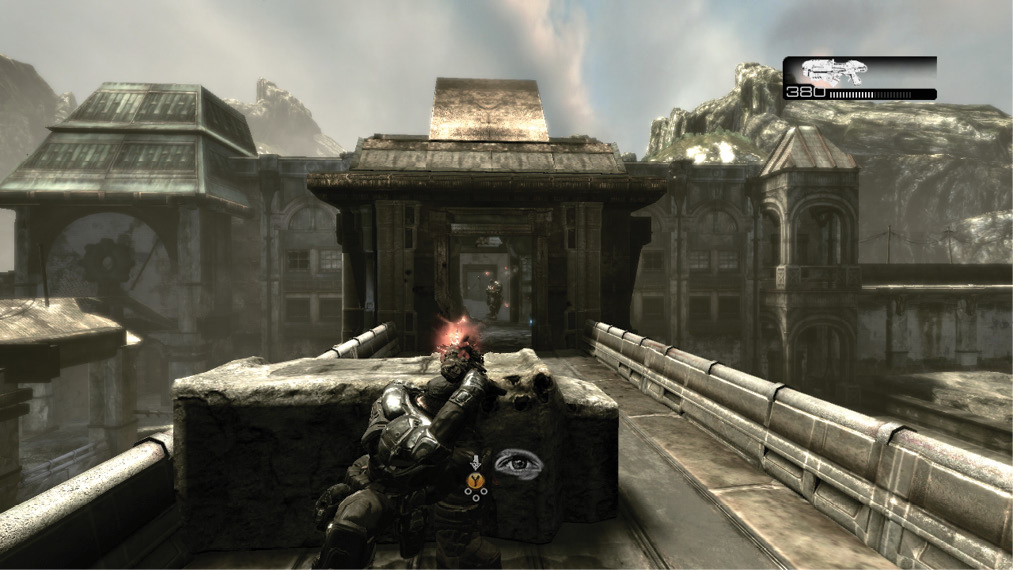
From a cover position, players can press the Right Trigger to blindfire their weapons around or over their cover object. Another option is to press the Left Trigger to lean out.
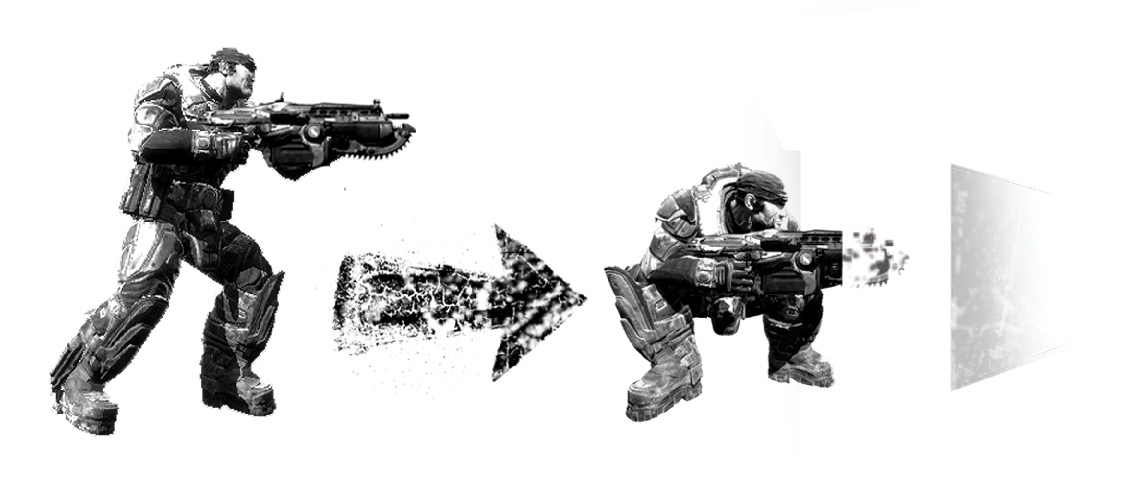
Getting Into Cover:
While you press toward a wall or object with the Left Thumbstick, press the A Button to take cover.
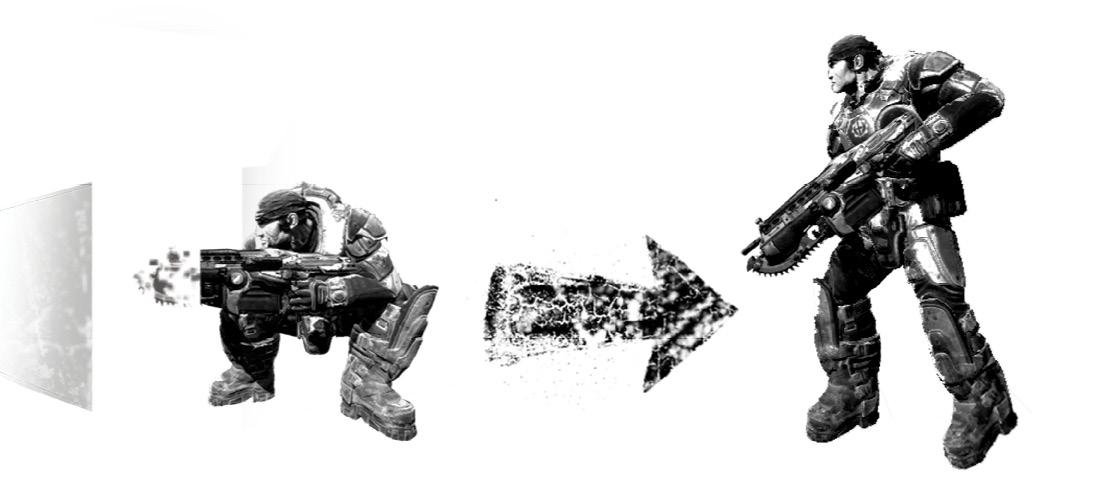
Exiting Cover:
To back out of cover and stand up, press the Left Thumbstick away from the cover object.
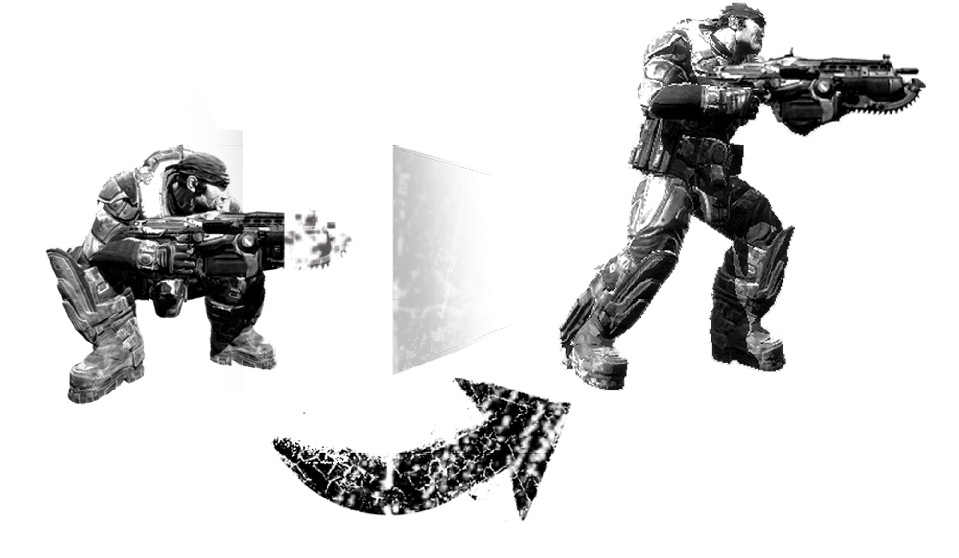
Cover Slip:
From a cover position, press Left or Right on the Left Thumbstick to move along the cover object to its edge. From there, press forward or diagonally, depending on cover height.
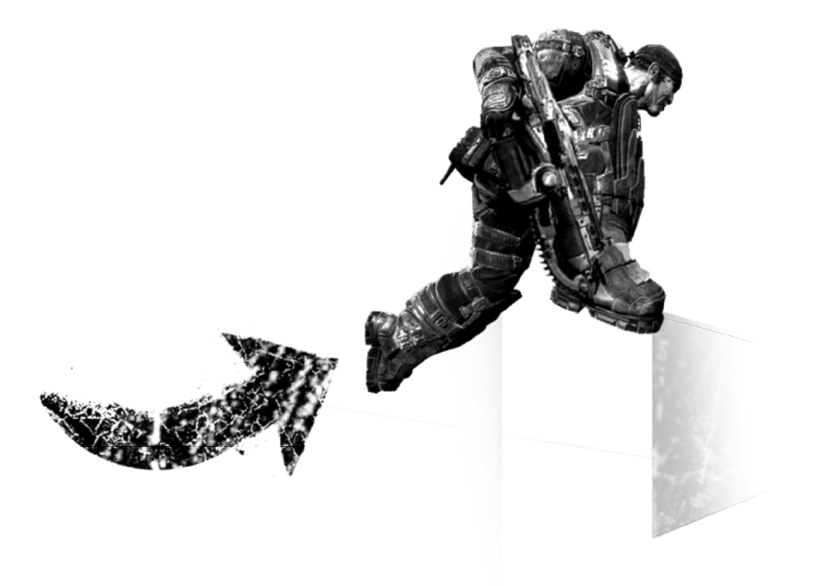
mantling:
To mantle over your cover object (from a cover position), press forward on the Left Thumbstick as you press the A Button.
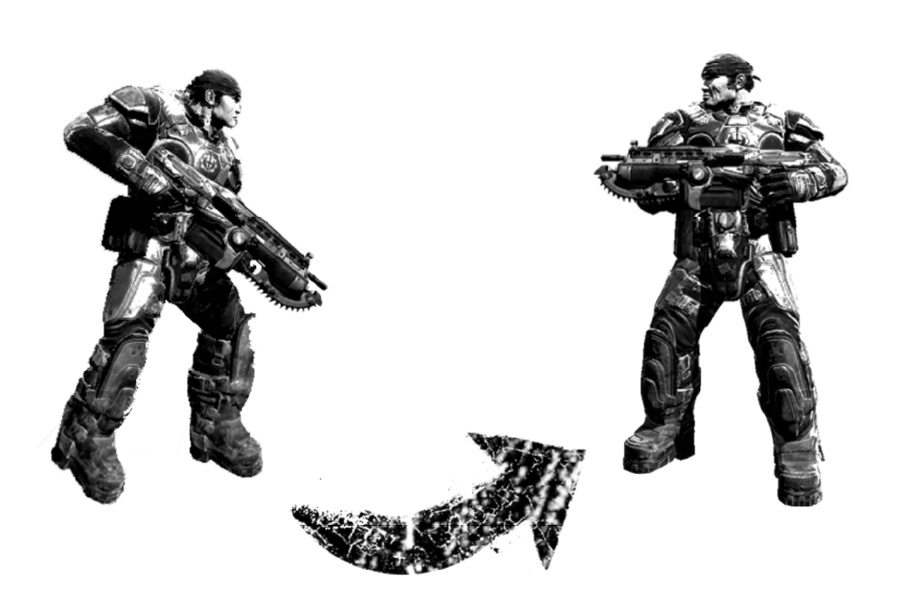
Swat Turn:
Take cover alongside a doorway or at the edge of a wall and hold the Left Thumbstick toward another nearby cover position. Press the A Button to make the character spin across the gap and take cover on the other side.
Active Reload
Unlike other games, you actively participate in reloading your weapon in Gears of War—if you want to. When it’s time to reload, you have several choices: you can empty your gun’s magazine and let your character reload it; you can tap the Right Bumper at any time to initiate a reload on your own; or you can tap the Right Bumper once to start the reload and a second time to perform an Active Reload.
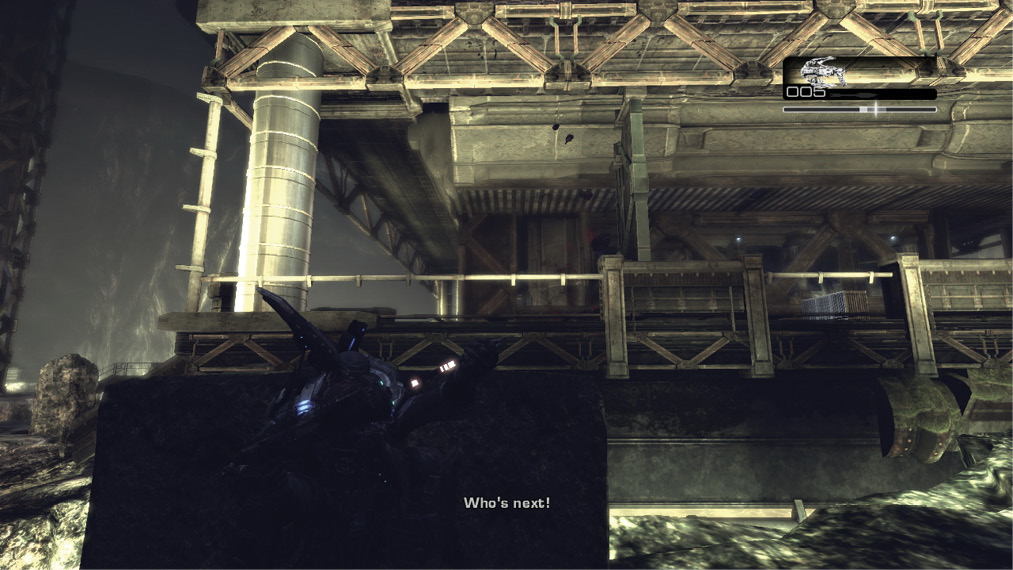
The Active Reload meter in the upper-right corner has three distinct parts. There’s the large portion of empty black space, the small white area, and the somewhat larger gray area. Tapping the Right Bumper begins the reload procedure, sending the white vertical line on its rightward sweep across the meter. The idea is to tap the Right Bumper a second time to stop the meter within white area. This results in a perfect Active Reload, which is nearly instantaneous. Furthermore, the shells added to the magazine flash white for several seconds, indicating an 8% damage increase for those shells. You can chain successful Active Reloads for additional bonuses. If you stop the meter in the gray area, the reload is slightly faster than normal, but you don’t get the damage boost. Finally, stopping the meter in the black space results in a failed Active Reload, which one might equate to a gun jam—the reload procedure takes longer than normal.
Active Reload:
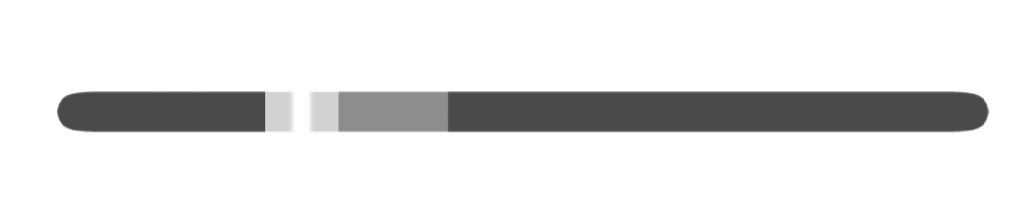
Press the Right Bumper to stop the needle within the white square for a Perfect Active Reload, which allows you to reload faster and grants a damage bonus. Stopping the bar in the gray box results in a Normal Active Reload, which speeds reloading but gives no damage bonus.
Failed Active Reload:
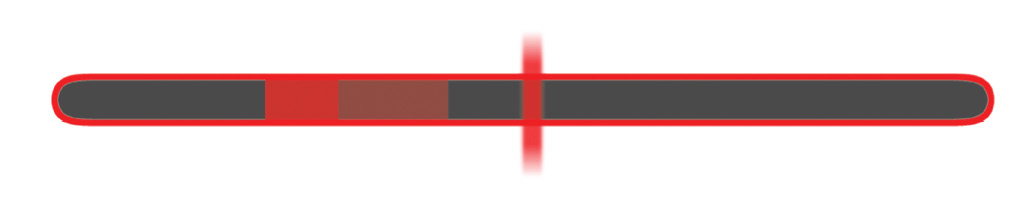
Once the needle passes the Active Reload meter’s gray section, let it go all the way to the end. Stopping it in the black results in lost time.
Tac/Com System
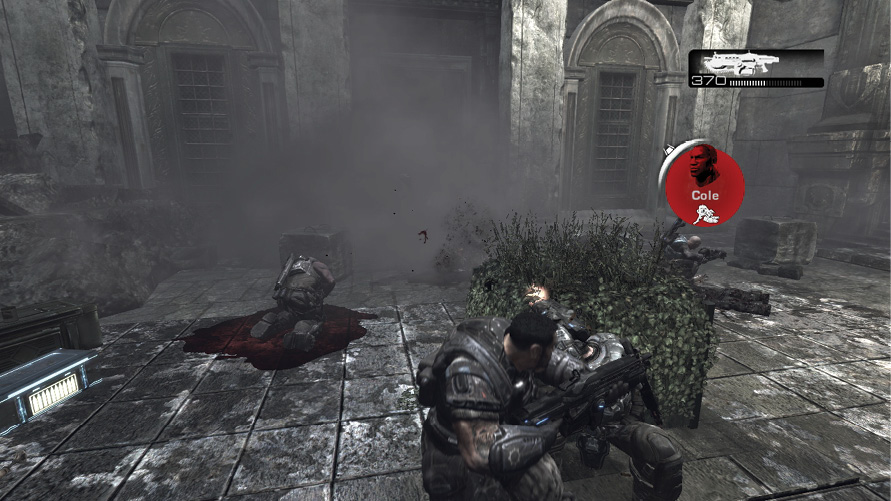
Gears of War does not reward lone gunmen. As Marcus, you always have at least one other COG soldier with you, and often two or three others. Although the artificial intelligence (AI) of these characters is very sophisticated and seldom requires user input, you may wish to give a specific command from time to time. This ability is available only to squad leaders (Marcus won’t have it until he’s a squad leader). To do issue a command, hold the Left Bumper (this also reveals objectives) and then press either the Y Button (Regroup), the B Button (Cease Fire), or the A Button (Attack). Use these commands to make those under Marcus’ command gather around him, take cover and hide, or rush the nearest enemy, respectively.
Tac/Com:
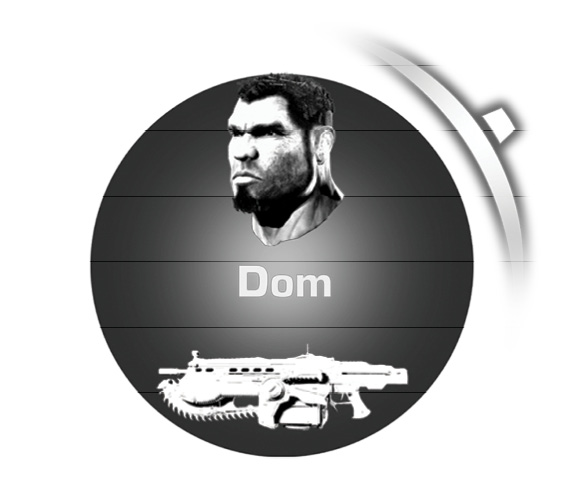
These circular icons show your teammates’ locations relative to your position. If they’re red, it means the corresponding character is currently downed. The TAC/COM circle is more transparent the further away you are from your teammate. This tells you in Multiplayer if it is worth risking a revival, as your teammate could be across the full length of the map.
Health and Damage
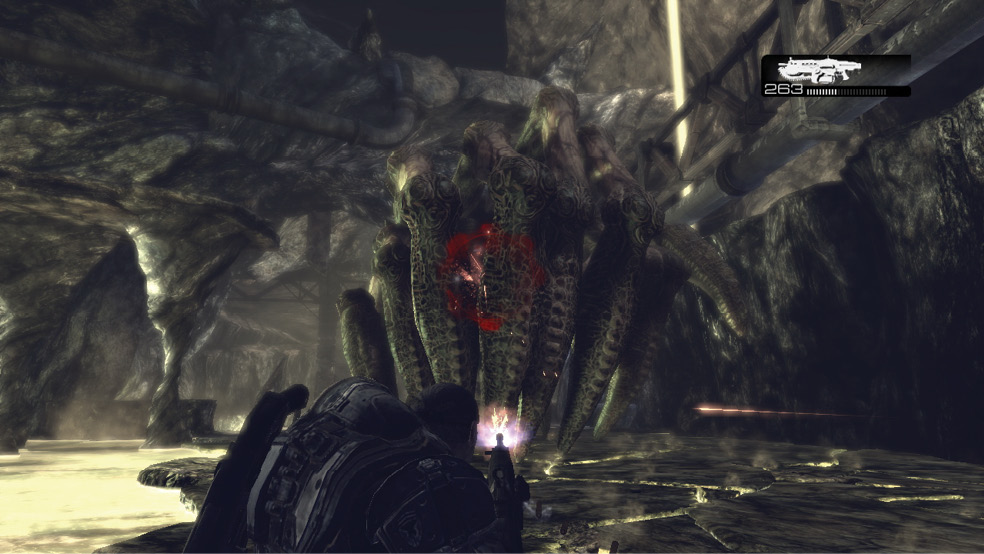
Gears of War does not have a traditional health bar. Nor does it have health packs or first aid kits that you must find in order to heal your player. The red gear that appears in the center of the screen alerts players that their character is suffering damage. The gear’s shading gets more intense as the character continues to take damage until he is finally downed. Taking cover, fleeing the action, or neutralizing the threat are viable ways to limit damage. Once the character stops taking damage, the red gear fades just as gradually as it appears, and the character eventually returns to full health.
If the gear get fully red and the player gets downed in a single-player game, the mission is considered failed and the player has to restart. In a Co-Op game, a player can revive his downed partner.
Damage Indicator:
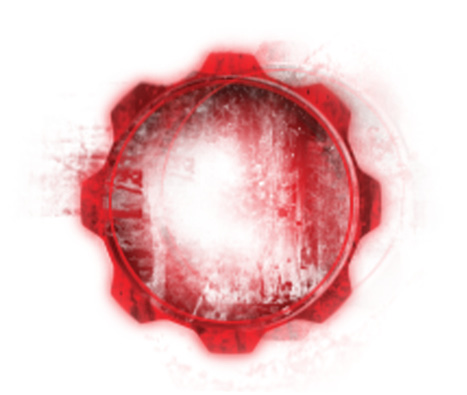
A fully red gear like this means your player is about to get downed. Run away, take cover, or neutralize the threat, then wait for the gear to fade away.
Weaponry
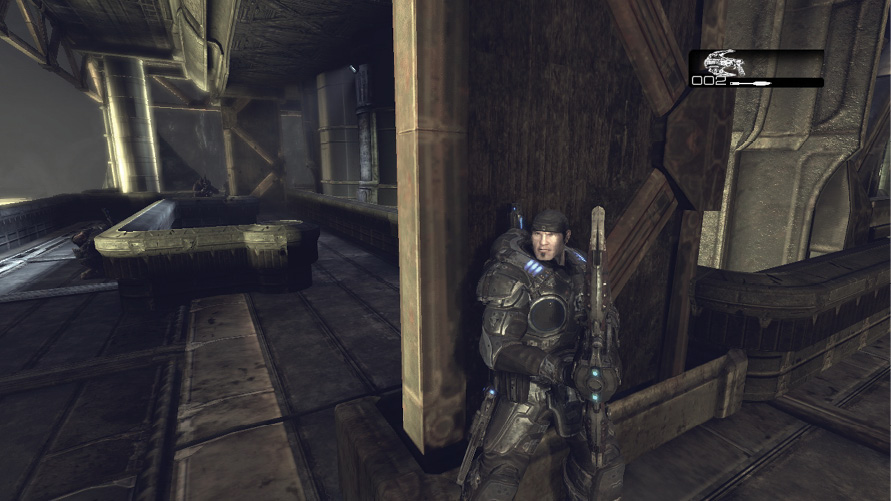
Players can carry up to four different weapon types at any given time, but certain limitations dictate which four can be carried simultaneously. Use the Directional Pad to access the Weapon Switcher—tap either left, right, up, or down to pick from the available weapons.
Weapon Switcher:
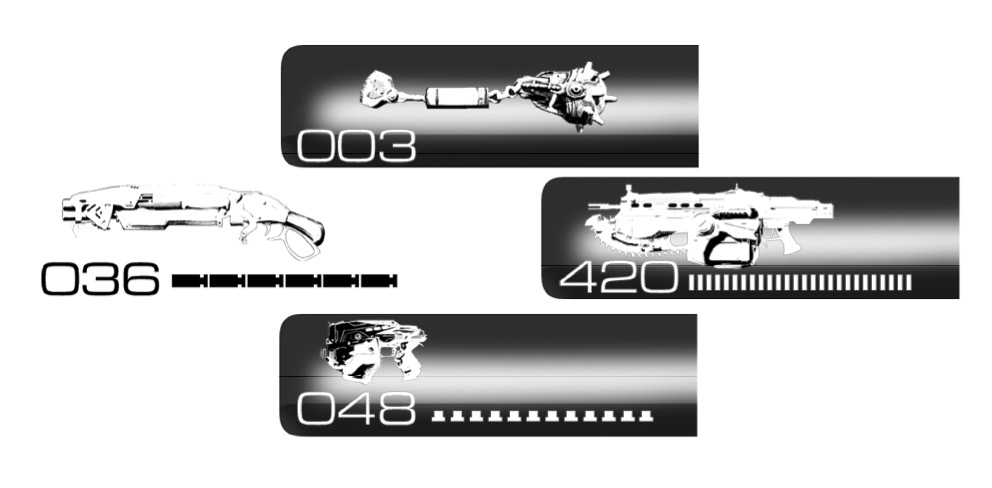
The upper slot is reserved for grenades, the left and right slots are for two-handed weaponry, and the bottom slot stores pistols.
Two-Handed Weapons
Players can carry up to two different two-handed weapons at a time. We recommend keeping the Lancer or Hammerburst in the right slot and using the left slot for other weapons, such as the Gnasher or the Longshot.
Lancer
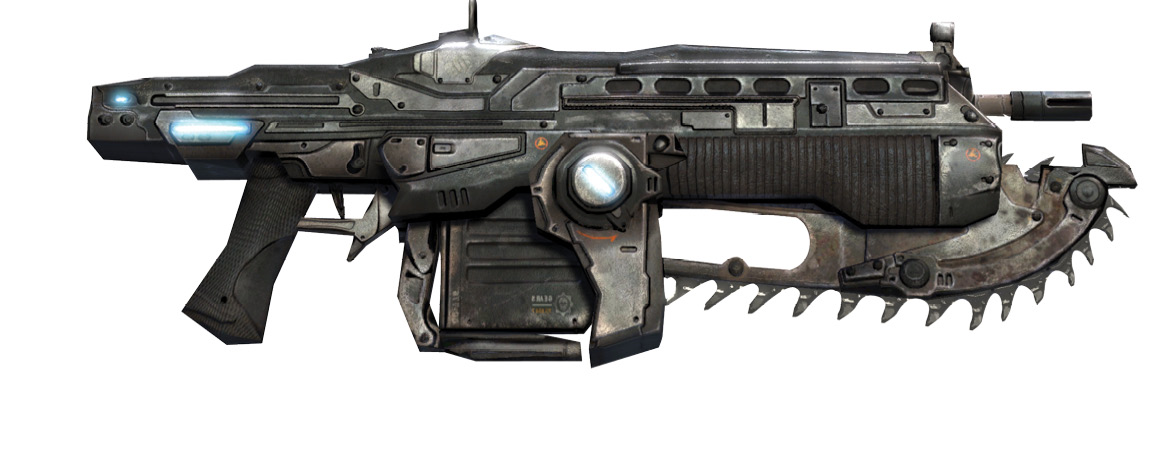
Lancer Statistics
| User | Casual Damage | Casual Melee | Hardcore Damage | Hardcore Melee | Insane Damage | Insane Melee |
|---|---|---|---|---|---|---|
| Player | 20 | N/A | 20 | N/A | 20 | N/A |
| AI | 20 | N/A | 20 | N/A | 20 | N/A |
| Magazine Size | Ammo Capacity | Rate of Fire | Rate of Reload |
|---|---|---|---|
|
60 |
660 |
850 |
2.5 |
The Lancer is the primary assault rifle of COG soldiers everywhere. This fast-firing rifle is effective at all but the longest range, but it packs the weakest punch. The weapon compensates for this shortcoming with its chainsaw bayonet. Rather than simply bashing an enemy with the butt of the rifle, the Lancer lets you saw an enemy in half! Hold the B Button to rev up the chainsaw bayonet as you approach an enemy, and move within striking range. Note that you’re forced to lower the chainsaw bayonet when you get shot.
Hammerburst
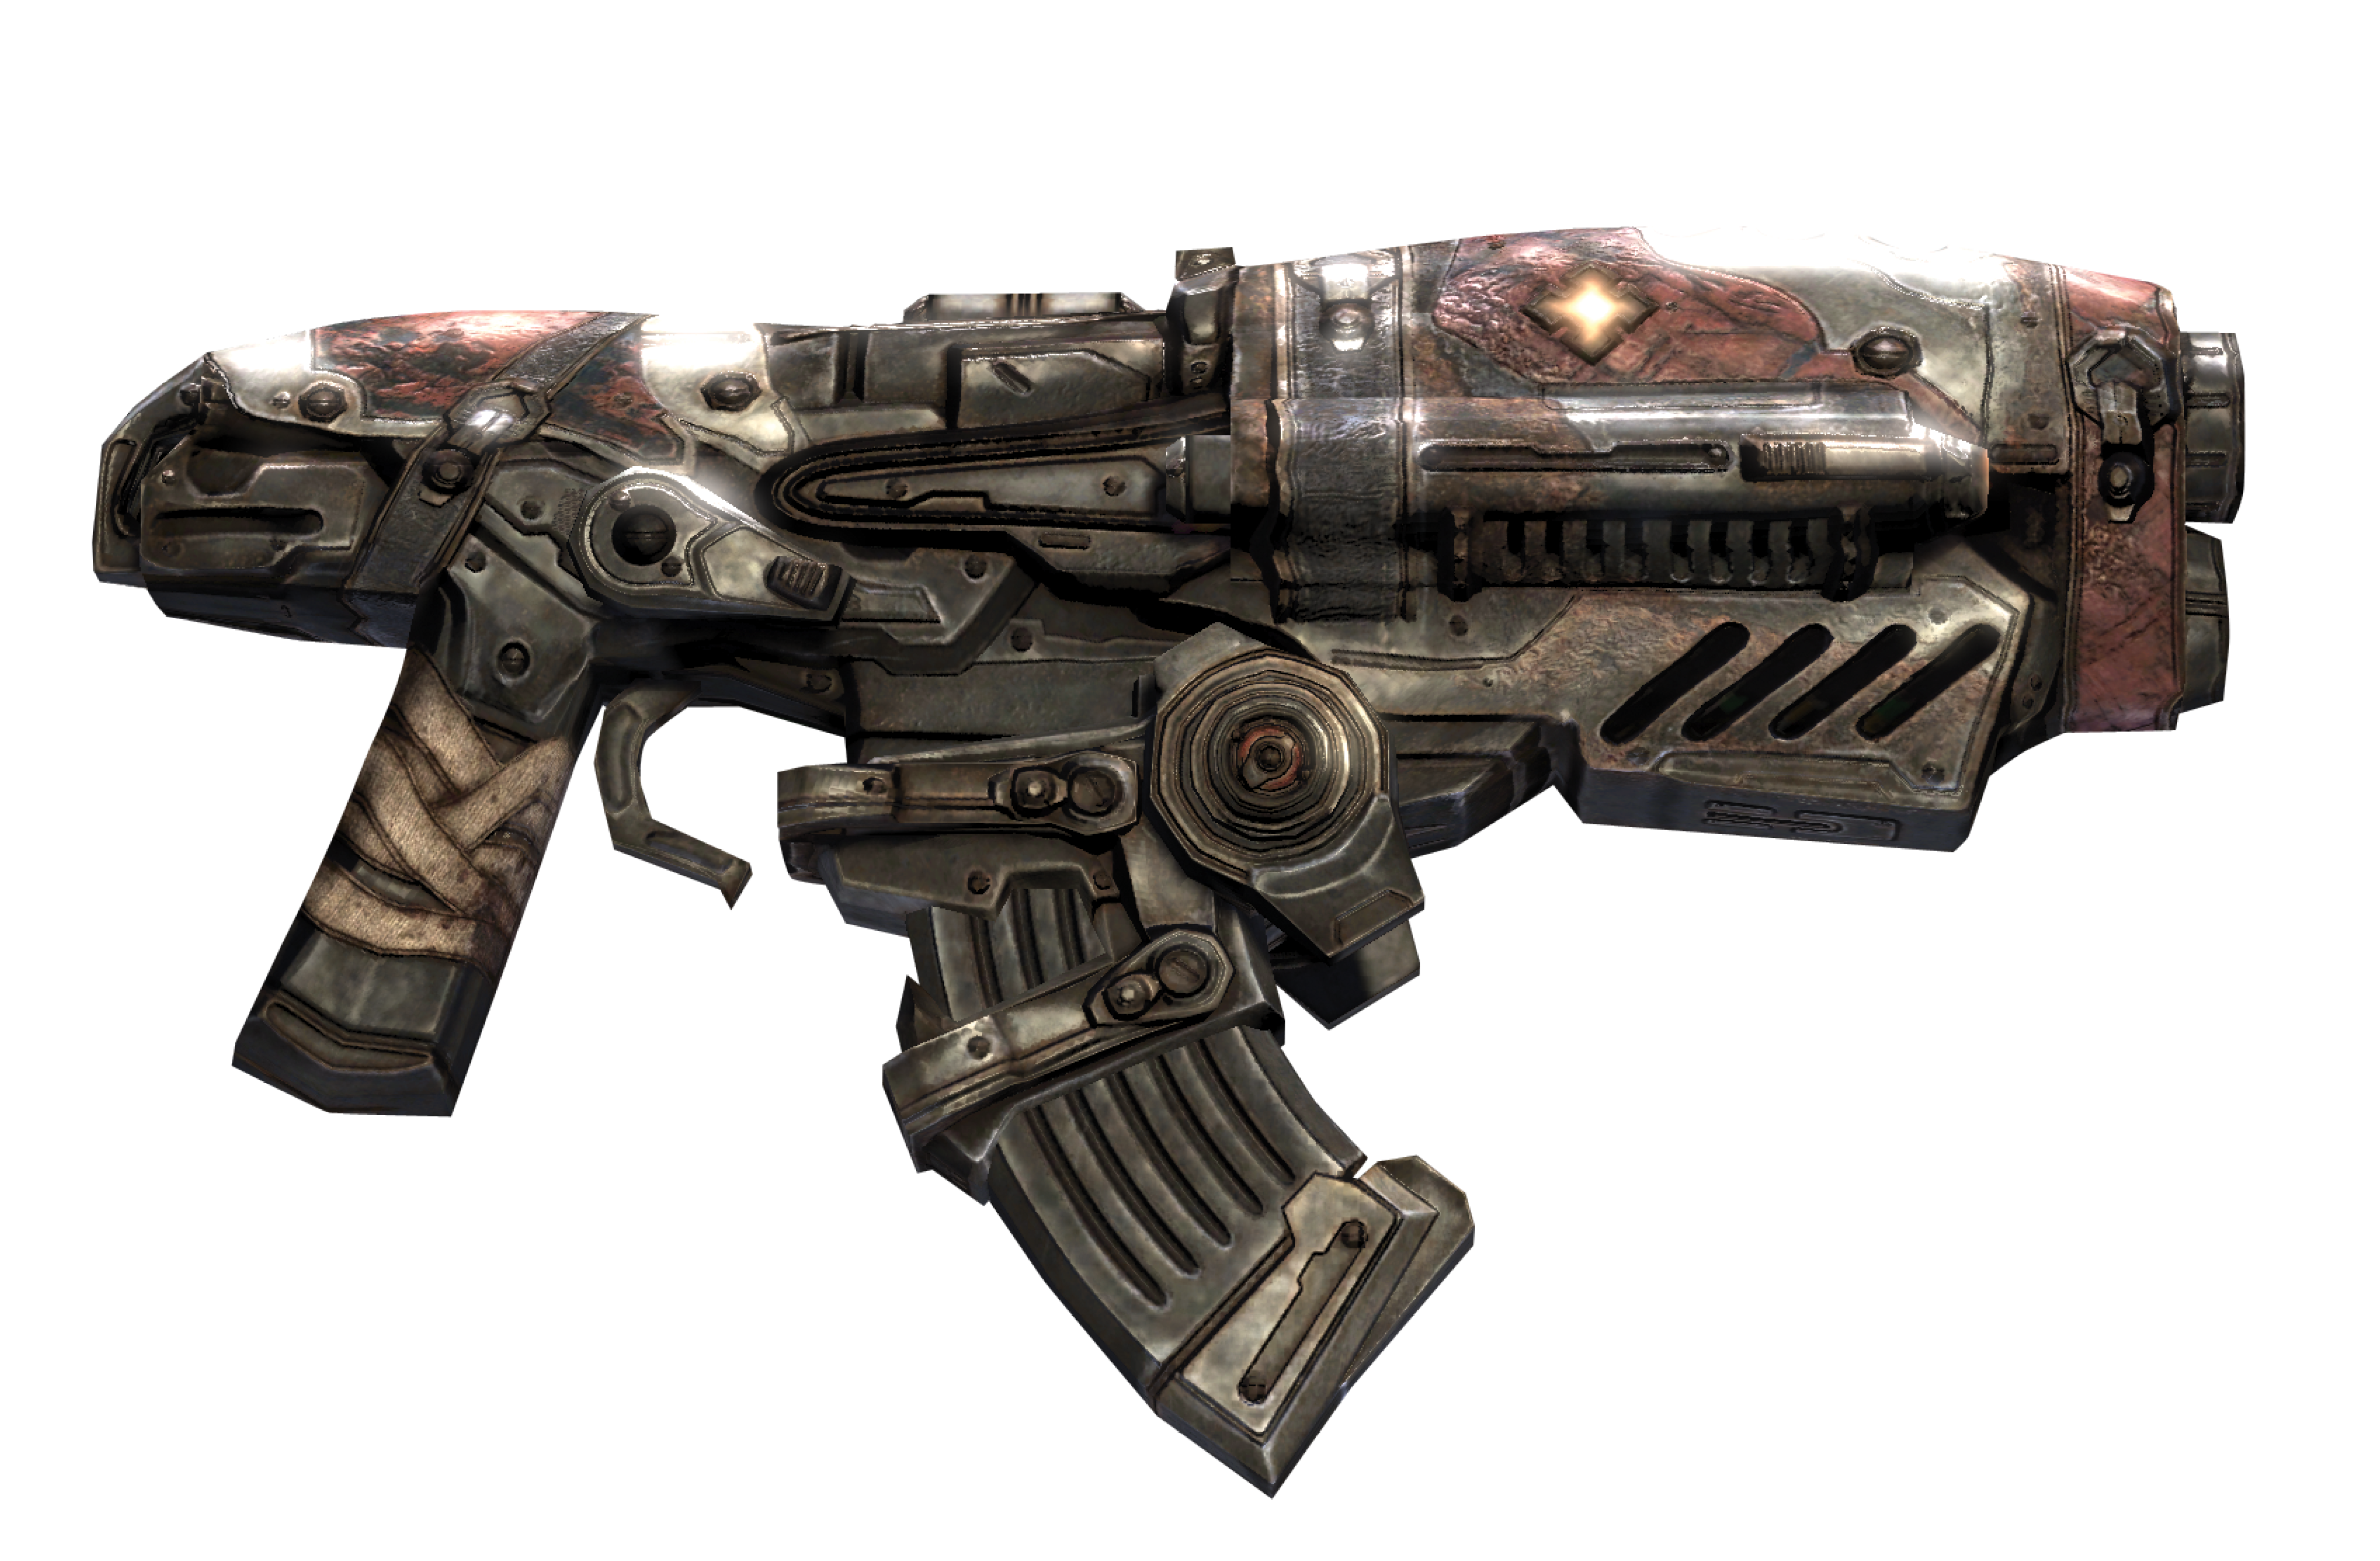
Hammerburst Statistics
| User | Casual Damage | Casual Melee | Hardcore Damage | Hardcore Melee | Insane Damage | Insane Melee |
|---|---|---|---|---|---|---|
| Player | 28 | 34 | 26 | 31 | 26 | 31 |
| AI | 30 | 36 | 30 | 36 | 30 | 36 |
| Magazine Size | Ammo Capacity | Rate of Fire | Rate of Reload |
|---|---|---|---|
|
78 |
780 |
1250 |
2.5 |
The Hammerburst is the primary Locust weapon. This assault rifle lacks the Lancer’s chainsaw bayonet, but makes up for it with greater firepower and a faster firing rate. True to its name, the Hammerburst fires rounds in a burst of six. Holding the R Trigger makes the Hammerburst fire continuously, albeit in a repeating, six-shot “tat-tat-tat, tat-tat-tat” pattern. This helps conserve ammo, as you should rarely hold the trigger for prolonged periods anyway.
Gnasher
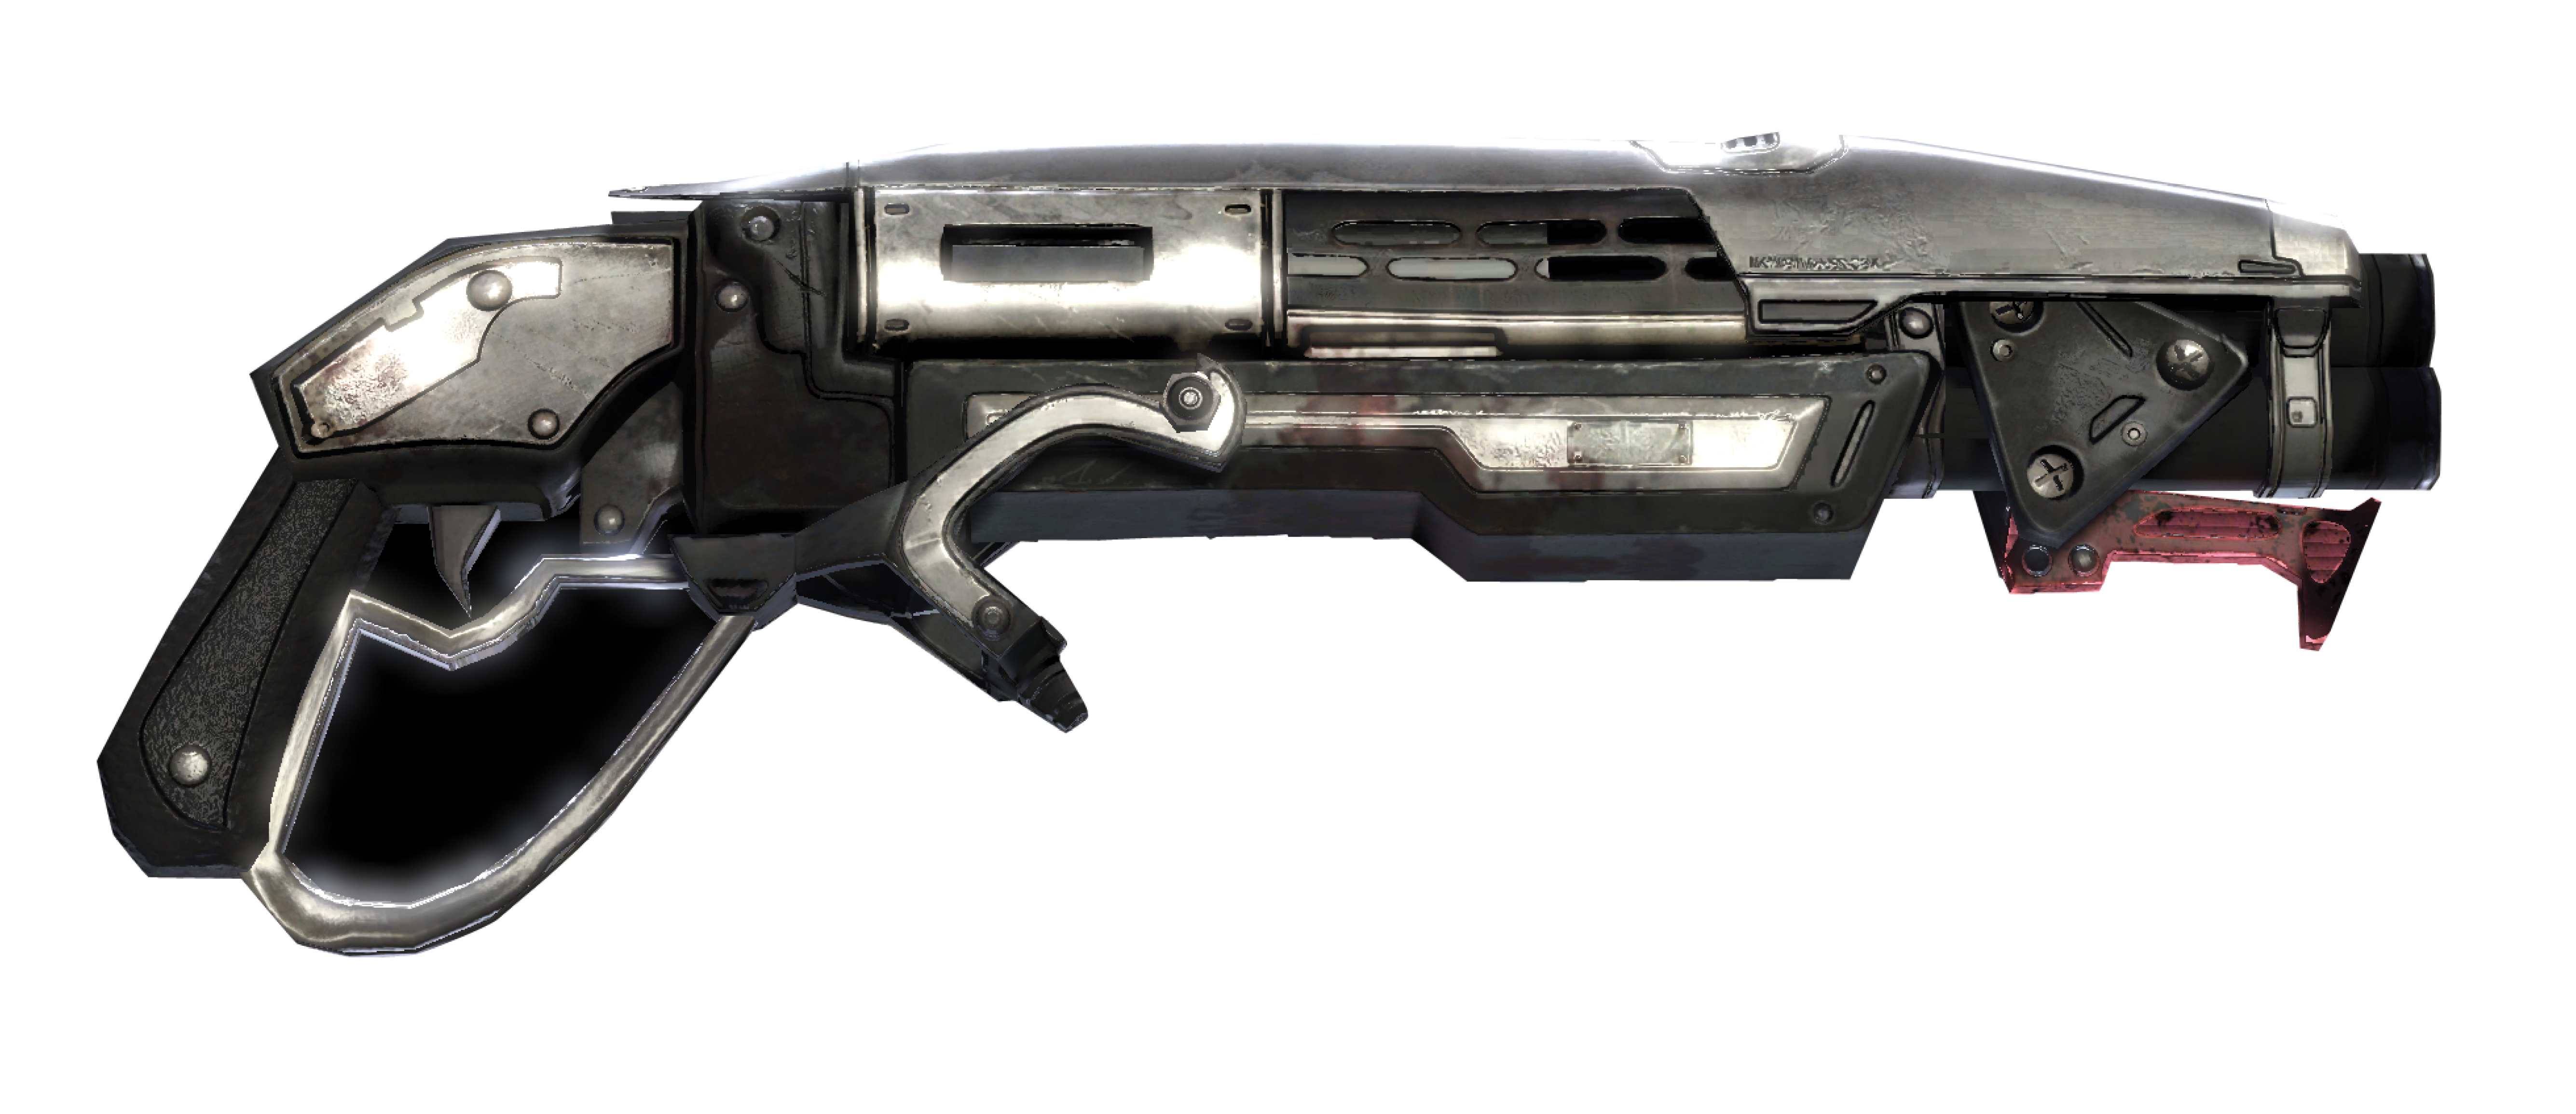
Gnasher Statistics
| User | Casual Damage | Casual Melee | Hardcore Damage | Hardcore Melee | Insane Damage | Insane Melee |
|---|---|---|---|---|---|---|
| Player | 180 | 216 | 180 | 540 | 180 | 540 |
| AI | 72 | 86 | 114 | 342 | 114 | 342 |
| Magazine Size | Ammo Capacity | Rate of Fire | Rate of Reload |
|---|---|---|---|
|
8 |
39 |
60 |
3.0 |
When it comes to close-range firepower, nothing beats the Gnasher! This shotgun-style weapon can blow huge holes in enemies that stray too close. This is a great weapon to use against charging foes with smoking chainsaws. Plus, it’s especially easy to fire from the hip, thanks to its wide spread pattern. Although the Gnasher isn’t effective at long range, it is truly precious in confined spaces, for dealing with Wretches, and when you’re looking to crack skulls in multiplayer mode!
Longshot
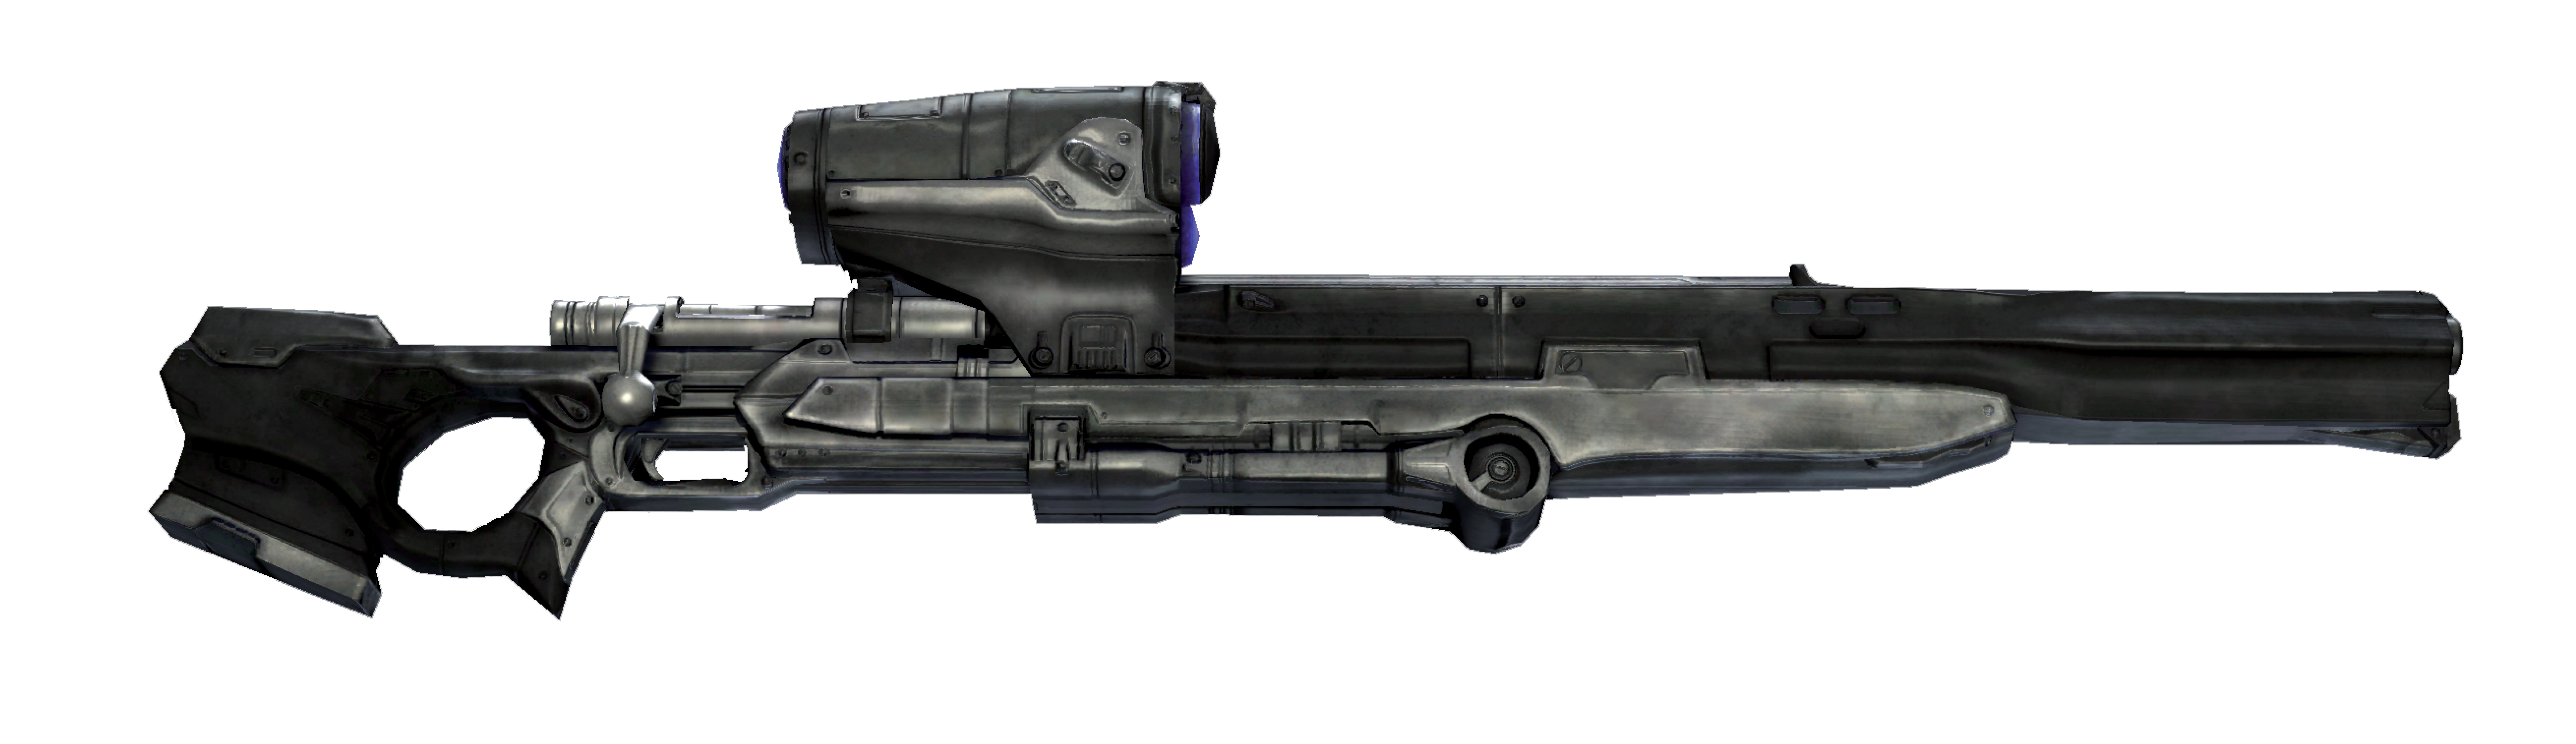
Longshot Statistics
| User | Casual Damage | Casual Melee | Hardcore Damage | Hardcore Melee | Insane Damage | Insane Melee |
|---|---|---|---|---|---|---|
| Player | 350 | 420 | 350 | 420 | 350 | 420 |
| AI | 150 | 180 | 150 | 180 | 150 | 180 |
| Magazine Size | Ammo Capacity | Rate of Fire | Rate of Reload |
|---|---|---|---|
|
1 |
24 |
60 |
3.0 |
The Longshot is the game’s designated long-range sniper rifle. It possesses incredible accuracy, devastating firepower, and an exceptional zoom. With the Longshot, a simple click of the Right Thumbstick lets the player zoom in on distant enemies with such precision that picking off a Drone behind the protection of a Troika is almost routine! However, unlike other weapons, the Longshot has room for just a single bullet in the magazine, and it has a relatively slow reload time. Nevertheless, there are few things more deadly than a bullet fired from the Longshot after a perfect Active Reload.
Boomshot
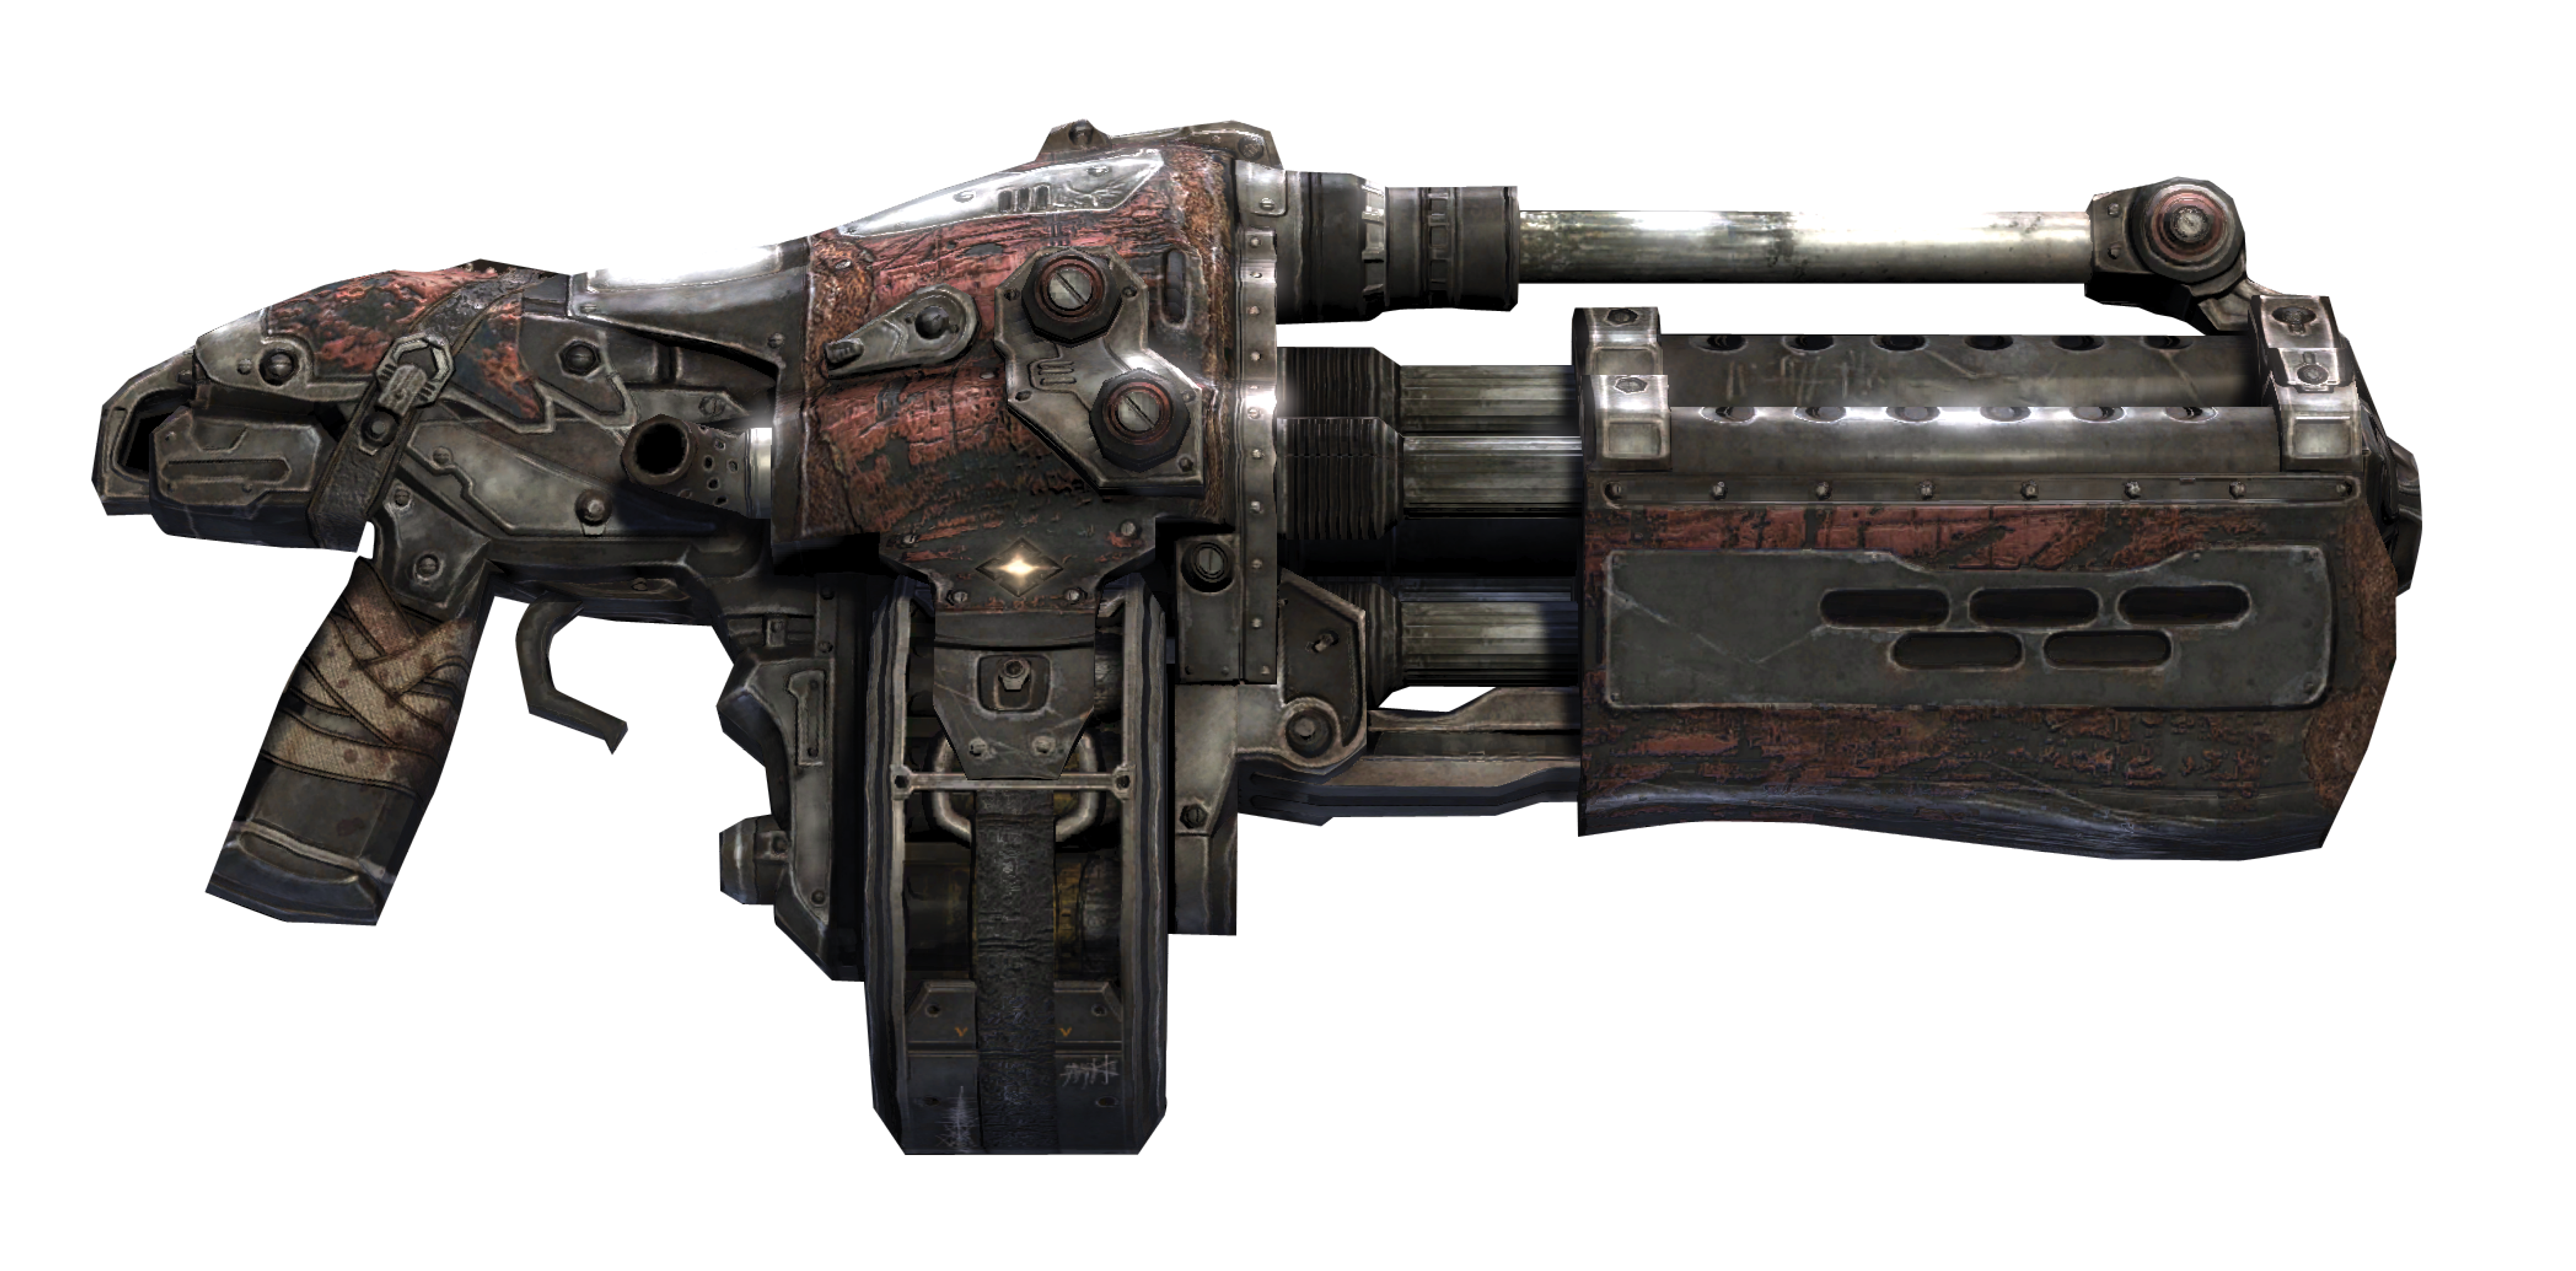
Boomshot Statistics
| User | Casual Damage | Casual Melee | Hardcore Damage | Hardcore Melee | Insane Damage | Insane Melee |
|---|---|---|---|---|---|---|
| Player | 525 | 315 | 525 | 630 | 525 | 630 |
| AI | 300 | 360 | 400 | 480 | 400 | 480 |
| Magazine Size | Ammo Capacity | Rate of Fire | Rate of Reload |
|---|---|---|---|
|
1 |
6 |
60 |
2.5 |
It seems in every war, there’s a weapon that can turn the tide of battle with a single trigger squeeze or button press. In the war against the Locust Horde, one might categorize the Boomshot that way. The Boomshot fires a large projectile, not unlike a rocket-propelled grenade. Upon impact, it explodes into separate, smaller projectiles. Scoring a direct hit with the Boomshot destroys the targeted enemy, rendering its horrendously gutted body unidentifiable. Although the Boomshot carries a low ammo capacity, it’s positively deadly as a melee weapon—don’t be afraid to hold onto it after you’ve run out of ammo.
Torquebow
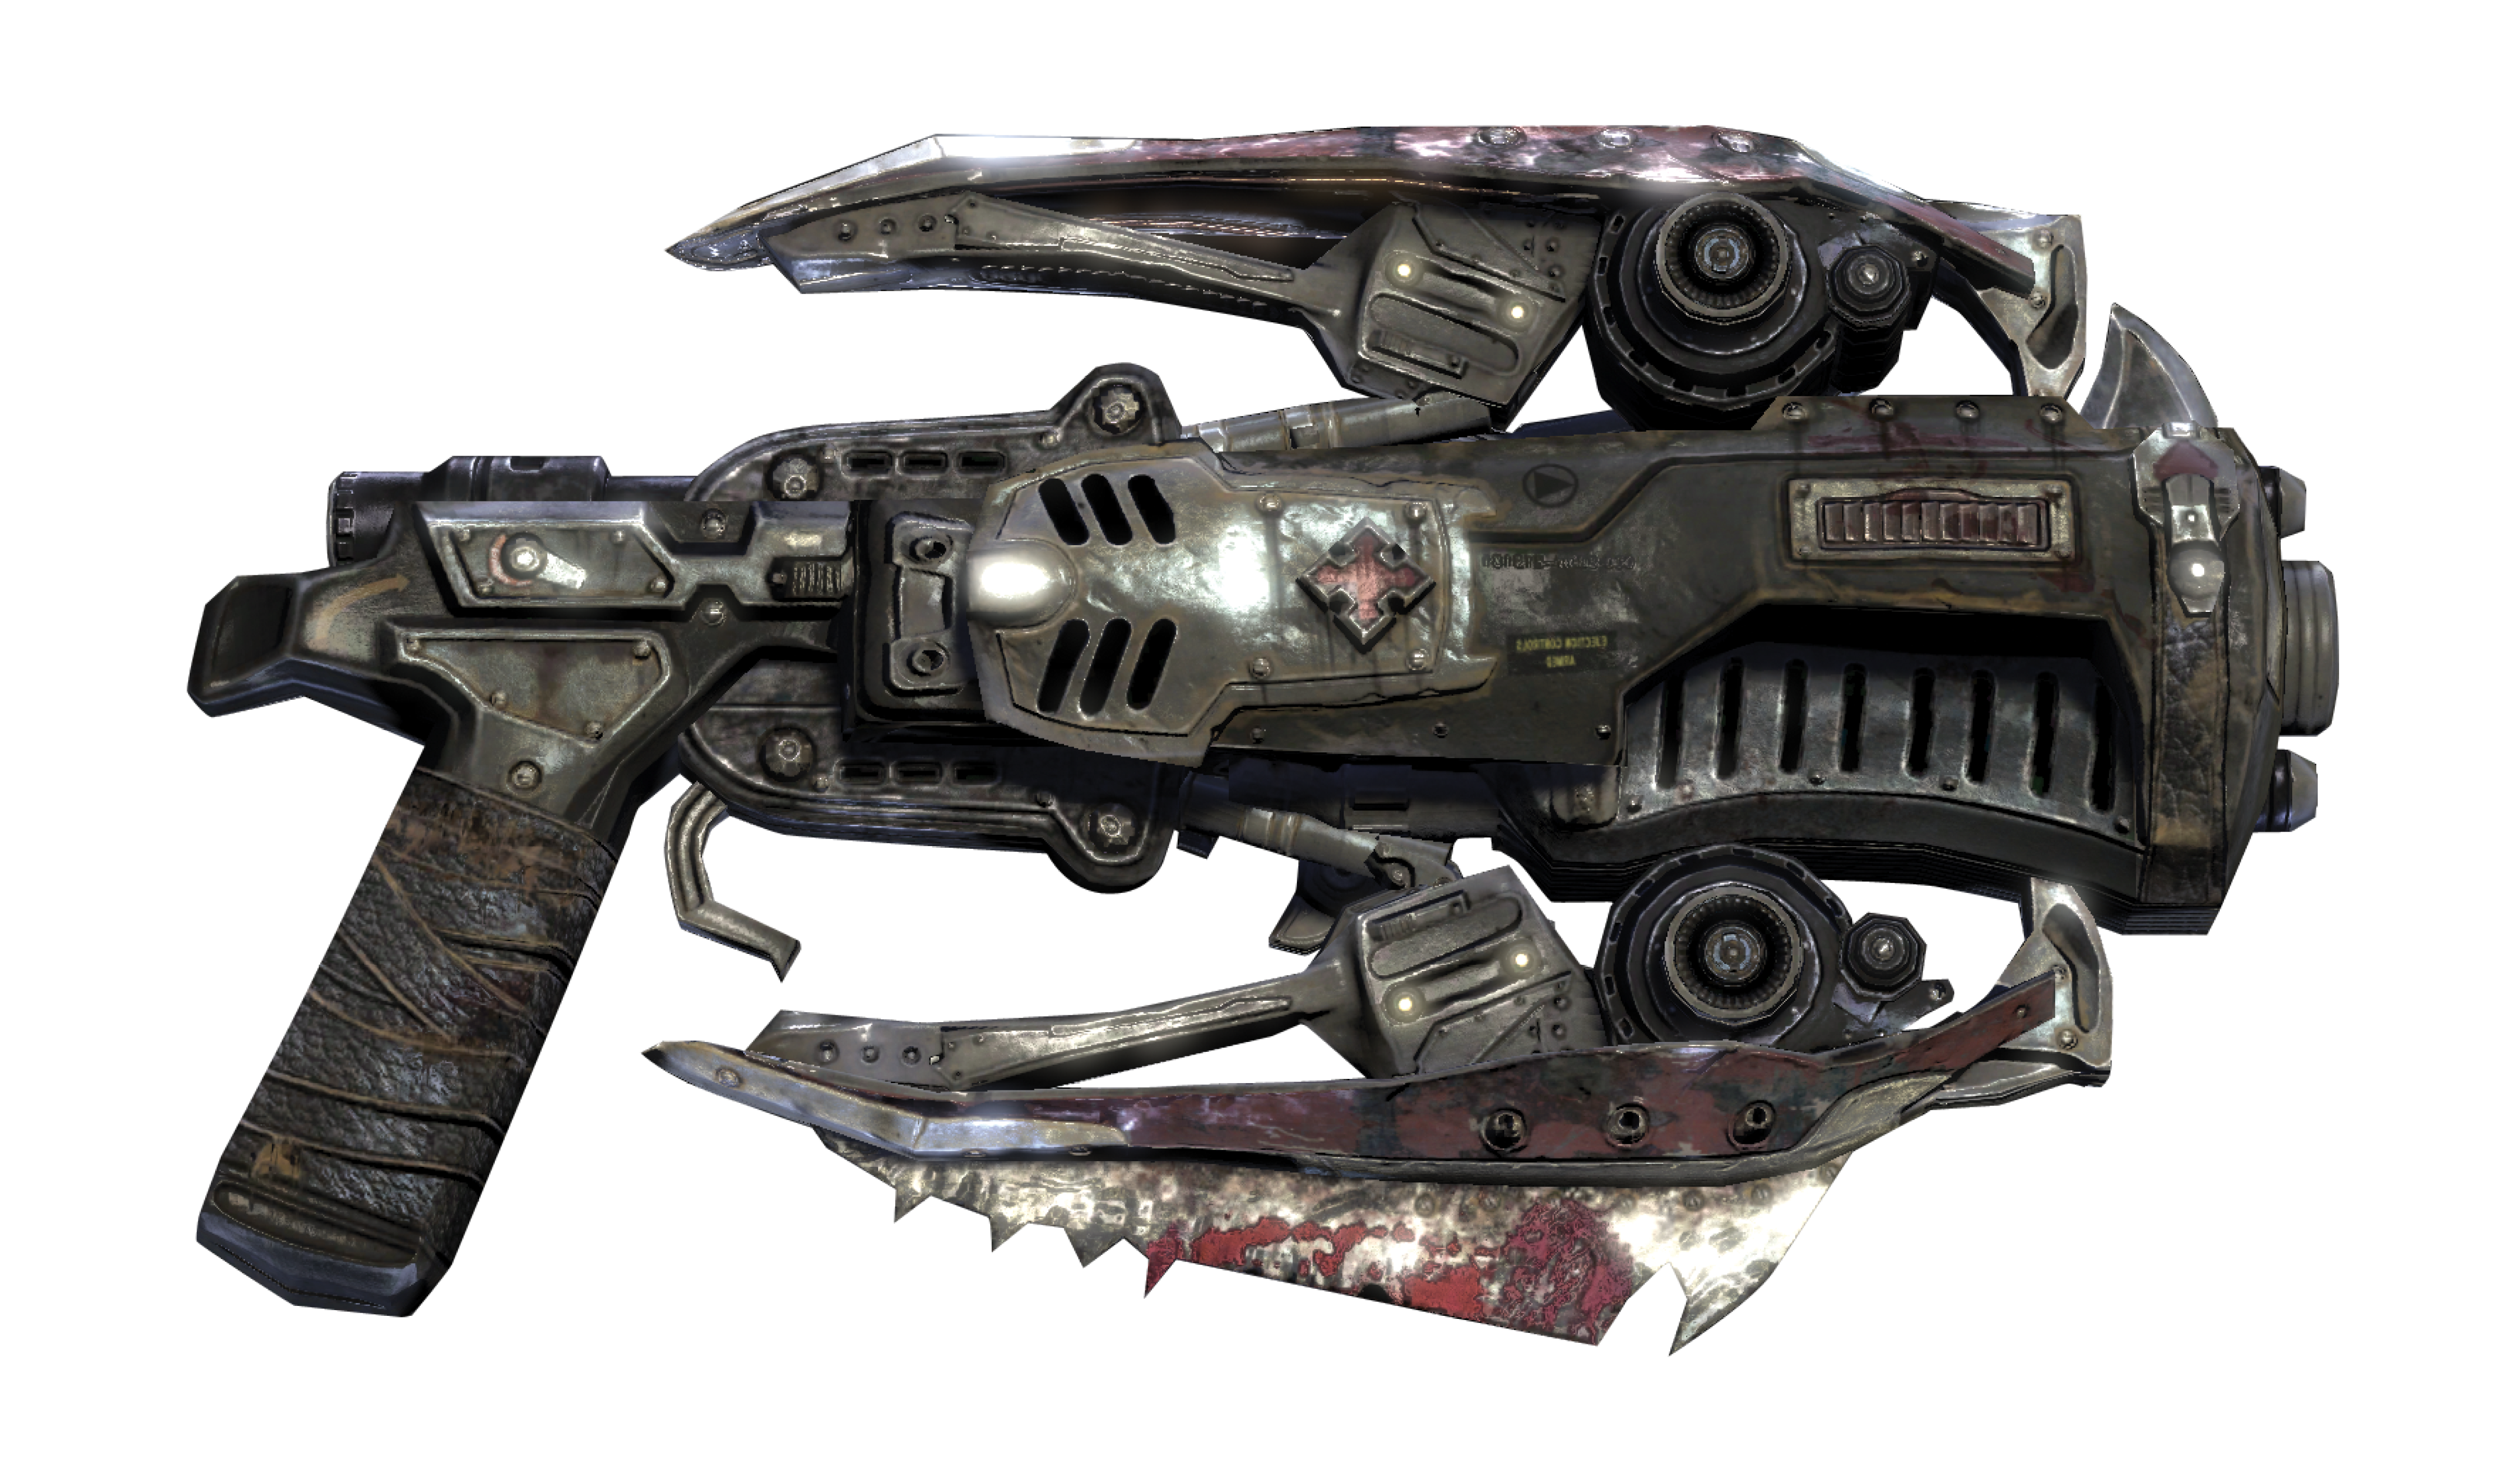
Torquebow Statistics
| User | Casual Damage | Casual Melee | Hardcore Damage | Hardcore Melee | Insane Damage | Insane Melee |
|---|---|---|---|---|---|---|
| Player | 708 | 850 | 708 | 850 | 708 | 850 |
| AI | 275 | 330 | 380 | 456 | 380 | 456 |
| Magazine Size | Ammo Capacity | Rate of Fire | Rate of Reload |
|---|---|---|---|
|
1 |
12 |
60 |
3.0 |
The Torquebow is arguably the most unusual weapon in Gears of War. This bladed bow fires grenade-tipped arrows with tremendous accuracy at considerable range. It’s important to note that the Torquebow does not behave like a firearm, nor should it! To use the Torquebow, use the Left Trigger to Aim (as is normal) and then squeeze and hold the Right Trigger to draw the bowstring, allowing the targeting laser to straighten. You have eight seconds from the time you begin drawing the string until the bow auto-fires. Although tapping the Right Trigger makes an arrow fly a short distance, arrows penetrate their targets only after you hold the bowstring for several seconds.
Hammer of Dawn
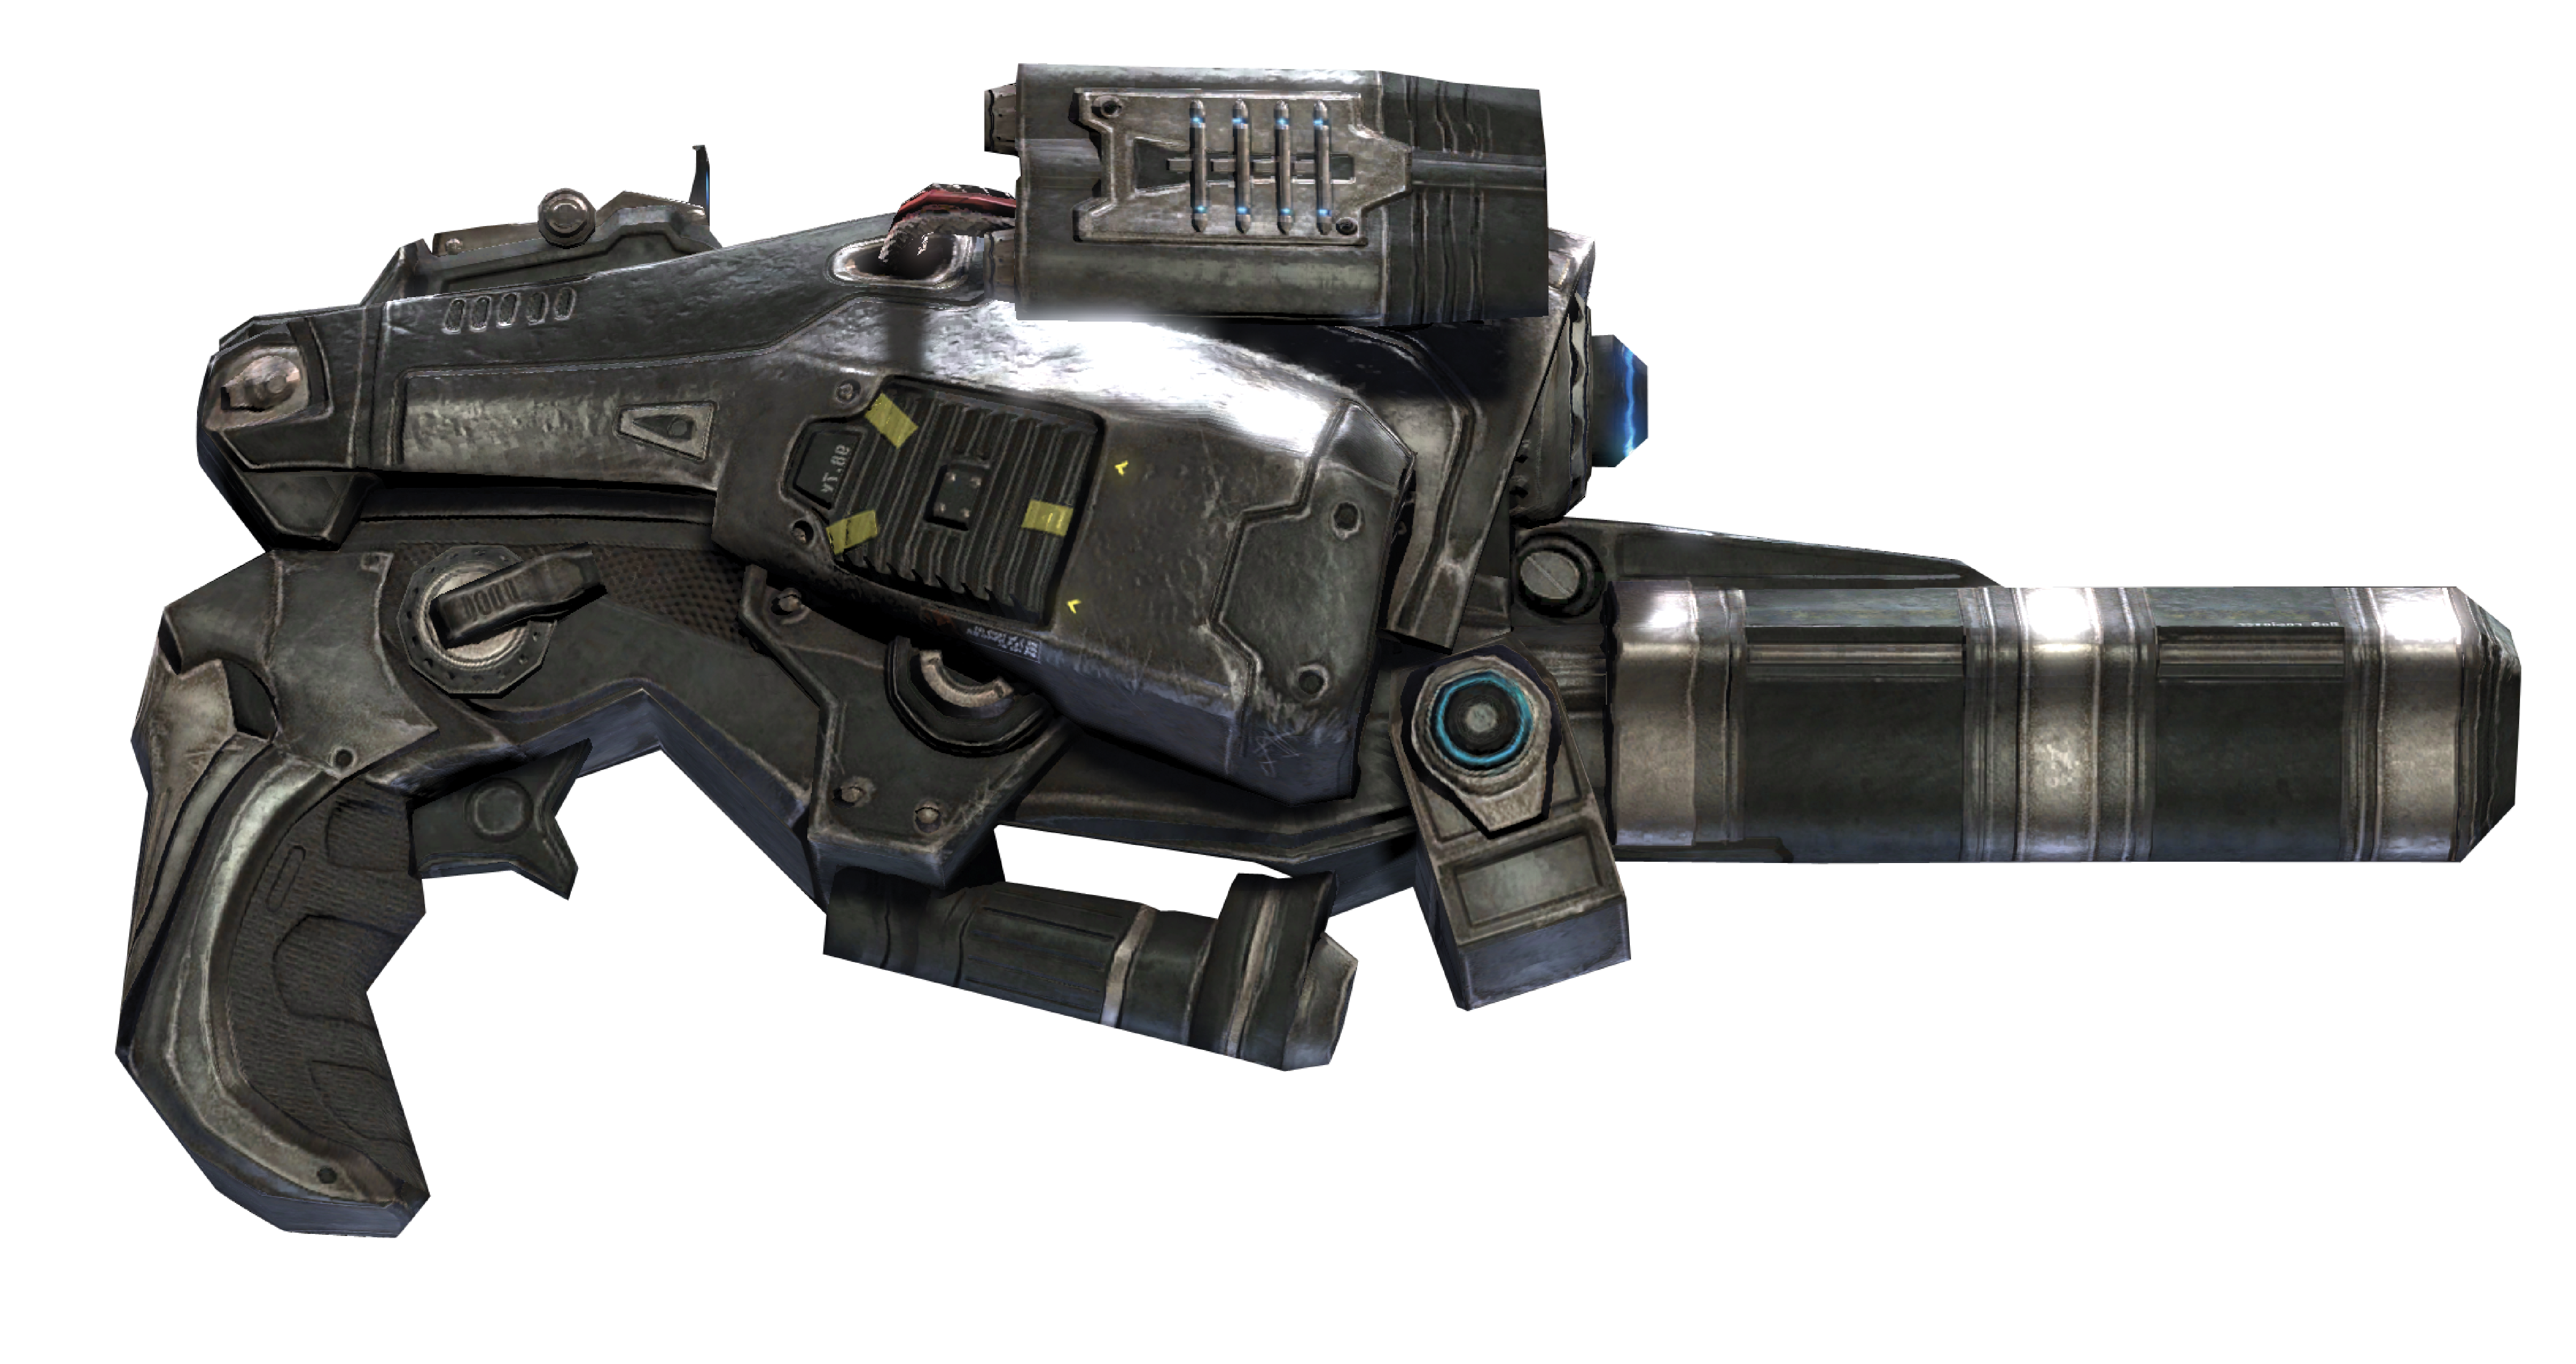
The Hammer of Dawn is a satellite-based weapon that functions only out in the open and, even then, only when Anya reports that there are satellites overhead. The hand-held apparatus is really just a sophisticated targeting system. When you stand still and fix the Hammer of Dawn’s targeting reticule on a solid surface for several seconds, the satellites overhead triangulate the position and open fire with their powerful energy beam. Once the satellites begin firing, you can move the targeting reticule to attack other nearby enemies. The energy beam cuts off after roughly eight seconds, at which time the targeting system must be reset.
Pistol-Type Weapons
Snub Pistol
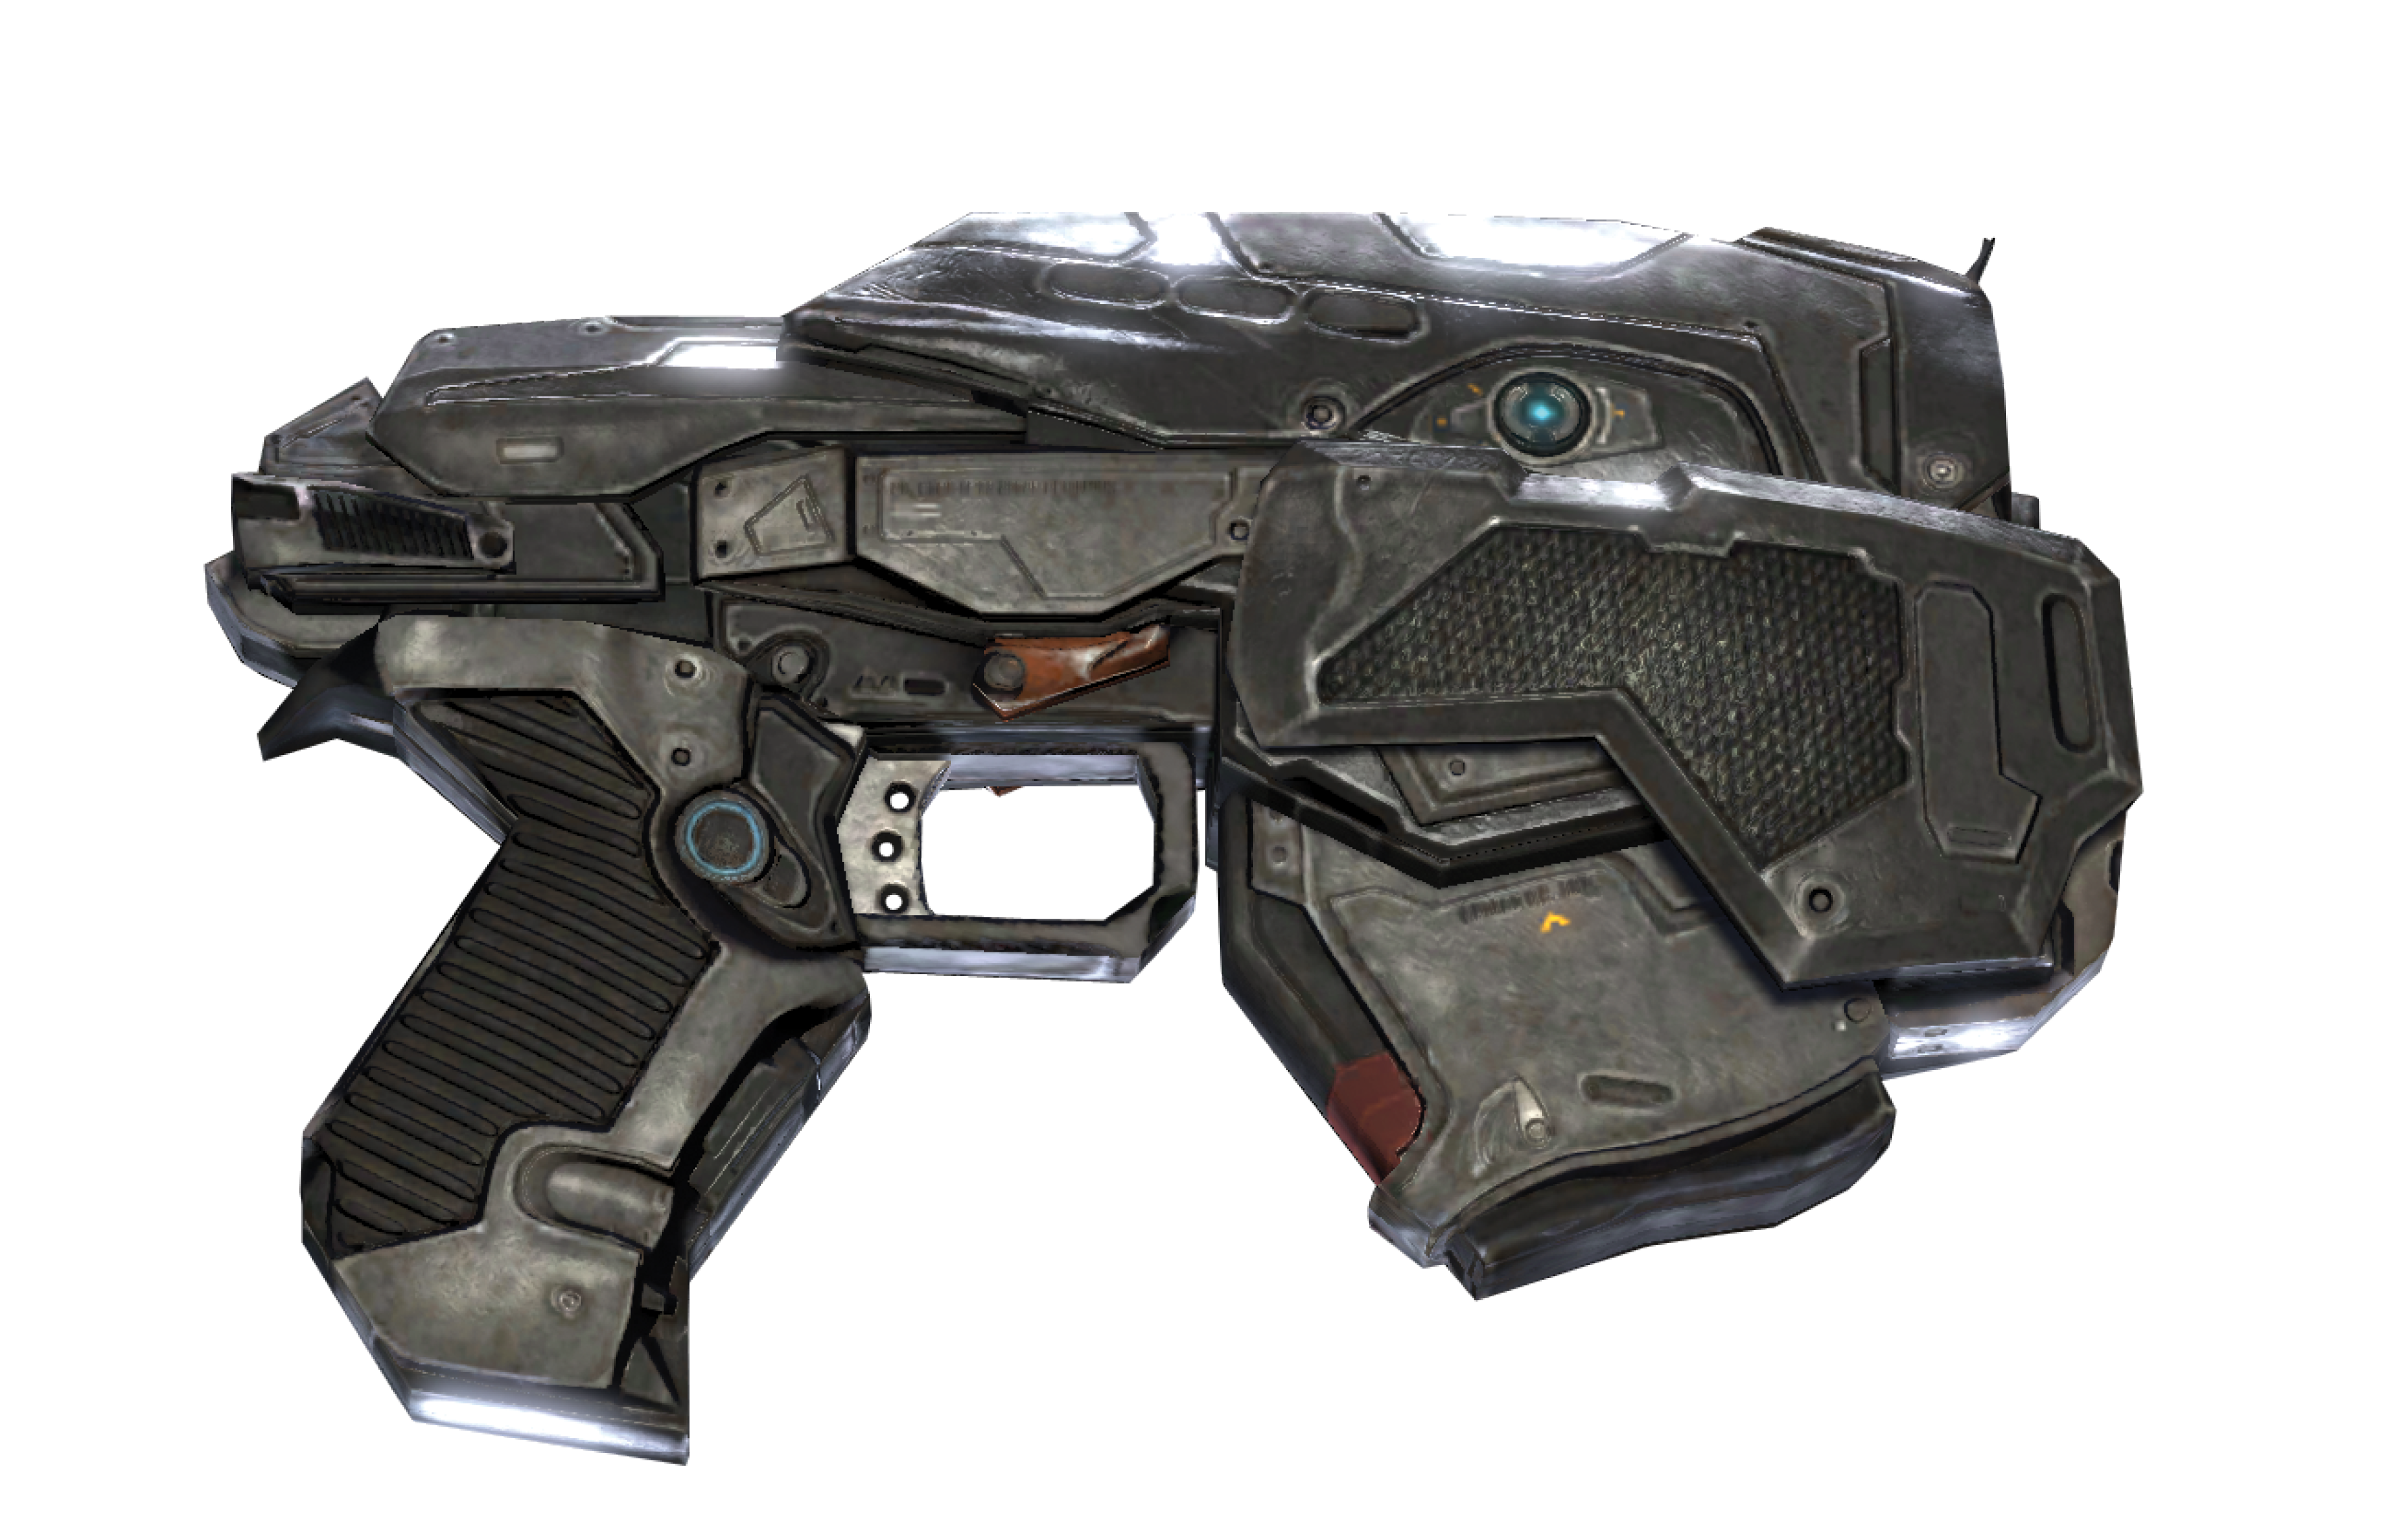
Snub Pistol Statistics
| User | Casual Damage | Casual Melee | Hardcore Damage | Hardcore Melee | Insane Damage | Insane Melee |
|---|---|---|---|---|---|---|
| Player | 50 | 60 | 50 | 60 | 50 | 60 |
| AI | 50 | 60 | 50 | 60 | 50 | 60 |
| Magazine Size | Ammo Capacity | Rate of Fire | Rate of Reload |
|---|---|---|---|
|
12 |
72 |
700 |
2.0 |
The Snub Pistol has a very fast firing rate and adequate power. Its semi-automatic design literally puts the firing speed in your hands—how fast can you pull the R Trigger? The weapon is lightweight, easy to aim, and has a 2x zoom (click the Right Thumbstick) that can definitely ease the task of targeting distant enemies.
Boltok Pistol
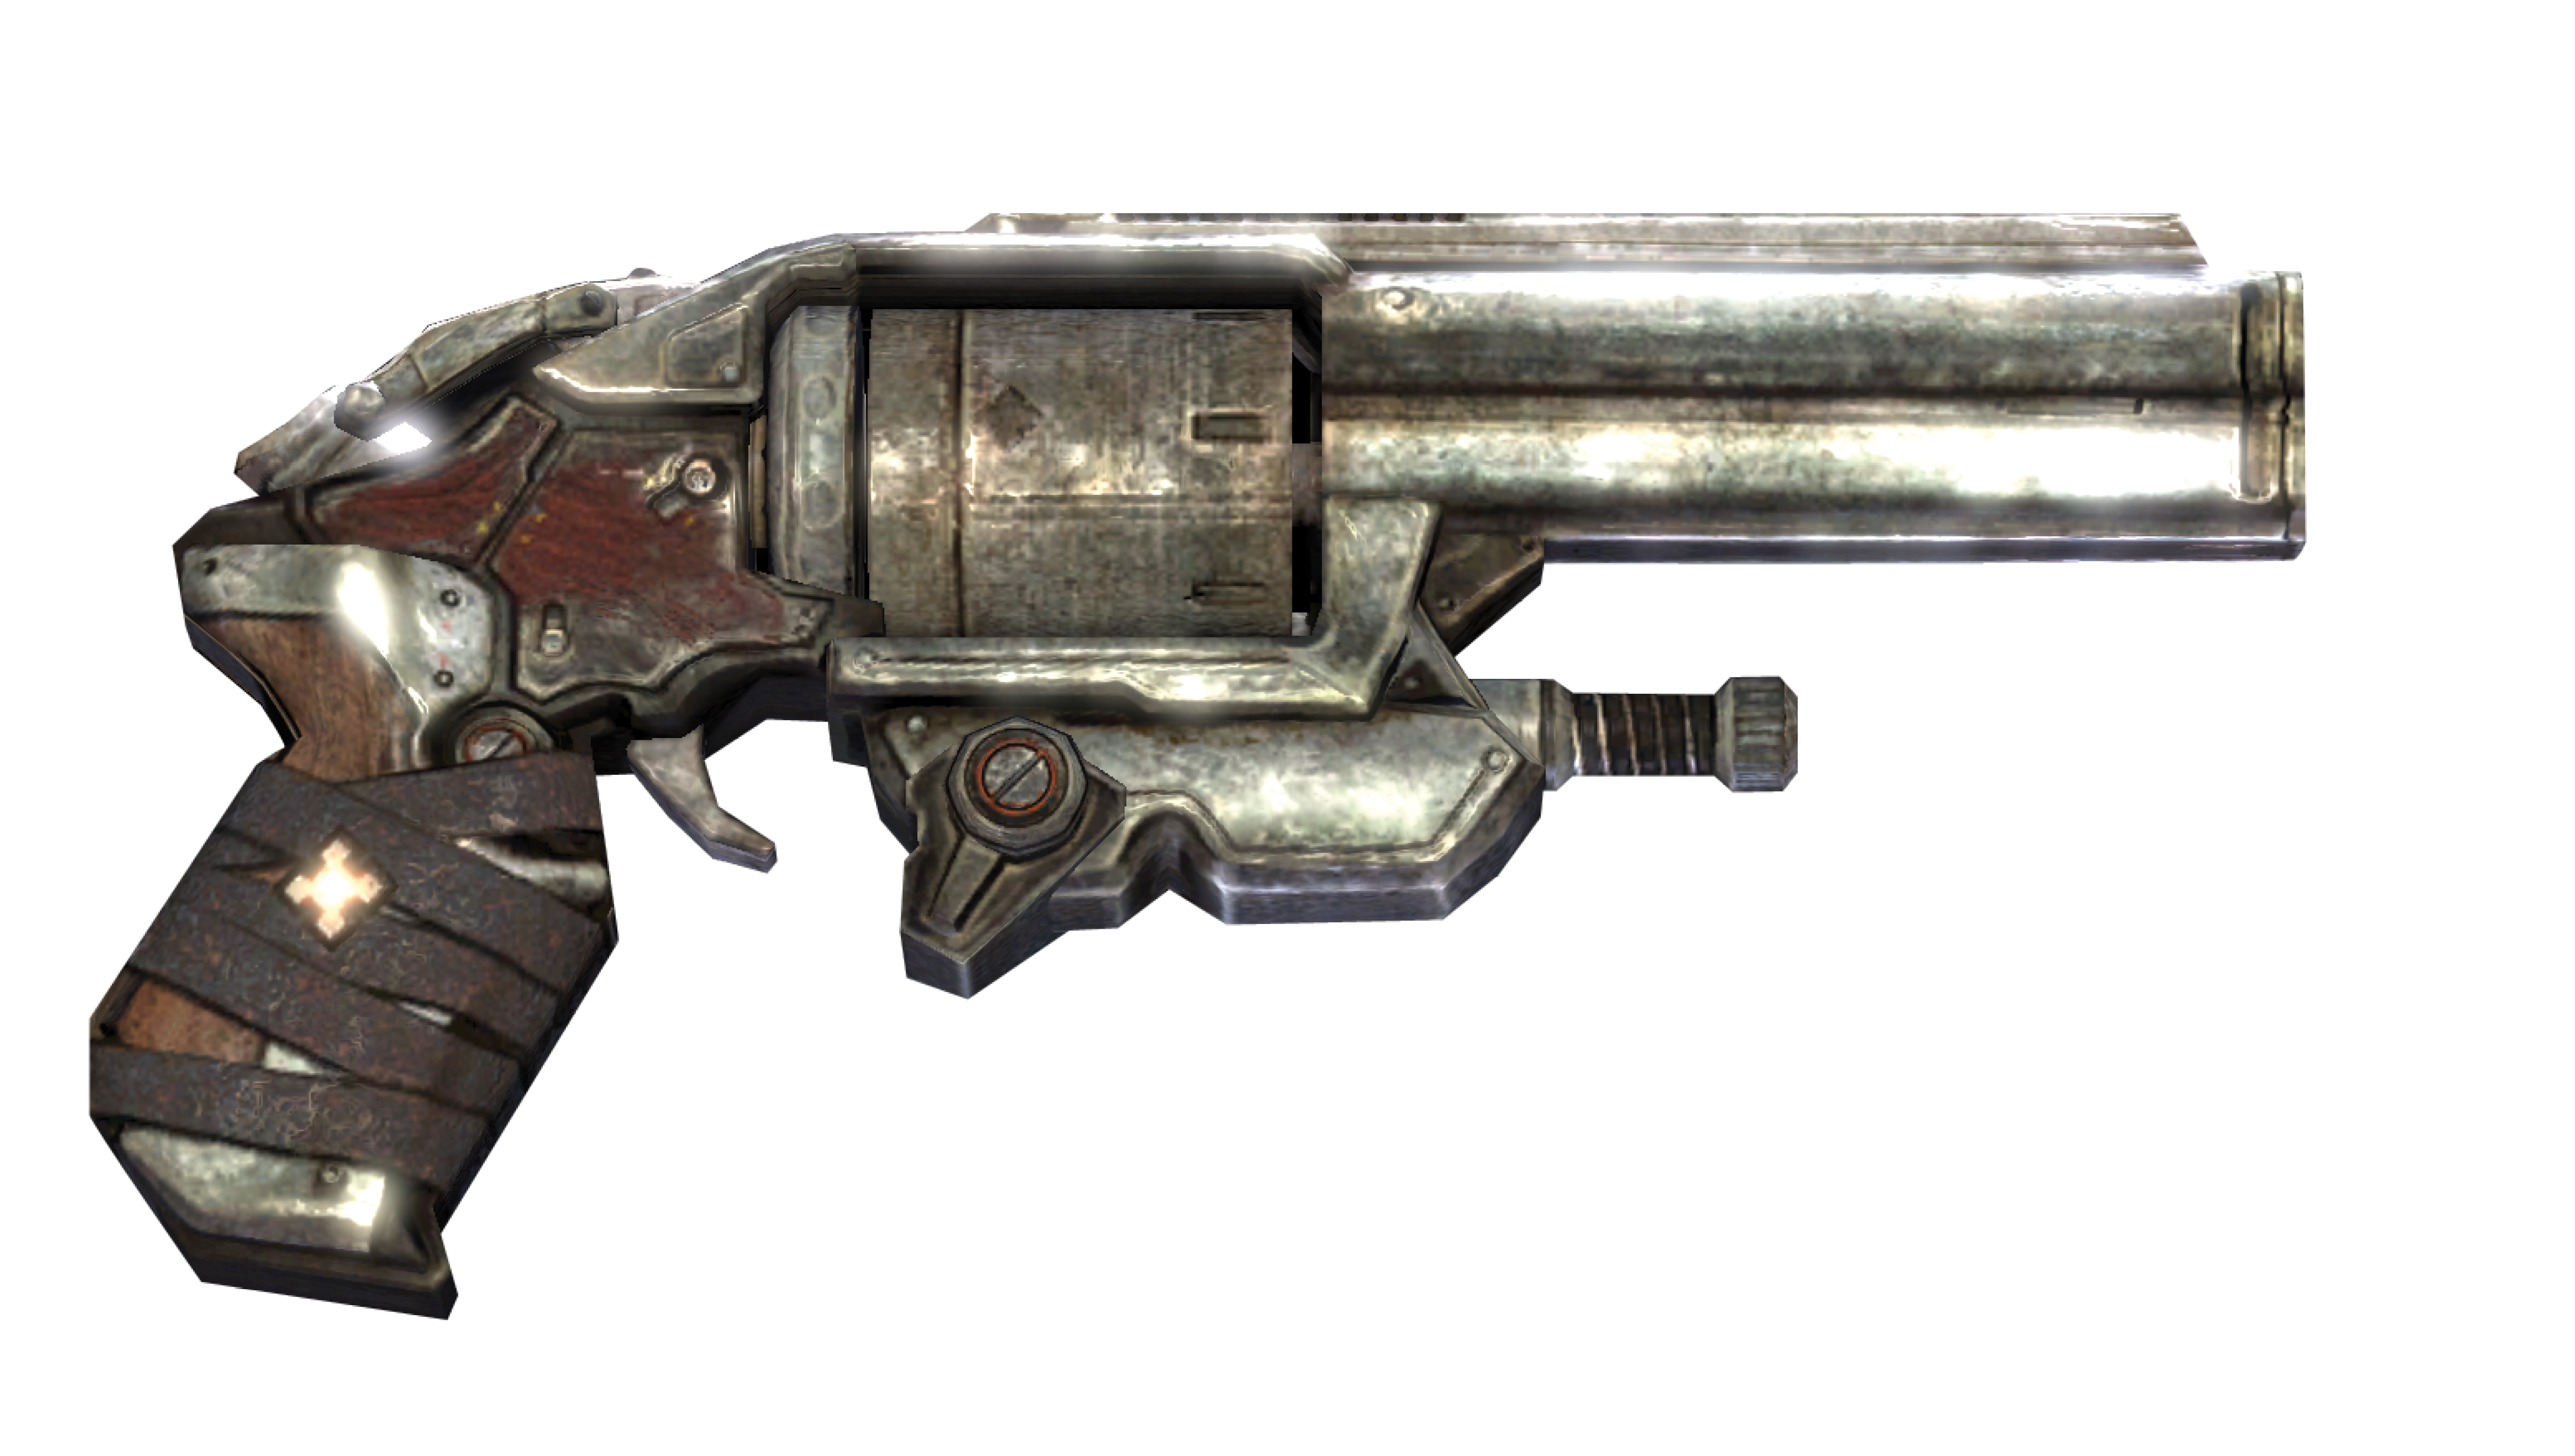
Boltok Pistol Statistics
| User | Casual Damage | Casual Melee | Hardcore Damage | Hardcore Melee | Insane Damage | Insane Melee |
|---|---|---|---|---|---|---|
| Player | 150 | 180 | 150 | 180 | 150 | 180 |
| AI | 175 | 210 | 175 | 210 | 175 | 210 |
| Magazine Size | Ammo Capacity | Rate of Fire | Rate of Reload |
|---|---|---|---|
|
6 |
30 |
60 |
2.0 |
This revolver-type weapon looks a lot more traditional than the Snub Pistol, and its performance is certainly much slower. But it packs a mean punch! The Boltok Pistol features the same 2x zoom of the Snub Pistol, but it possesses enough power to put an enemy down with a single headshot! Equally important, it delivers far more damage than many weapons when one uses it in a melee situation.
Grenades
Frag Grenades
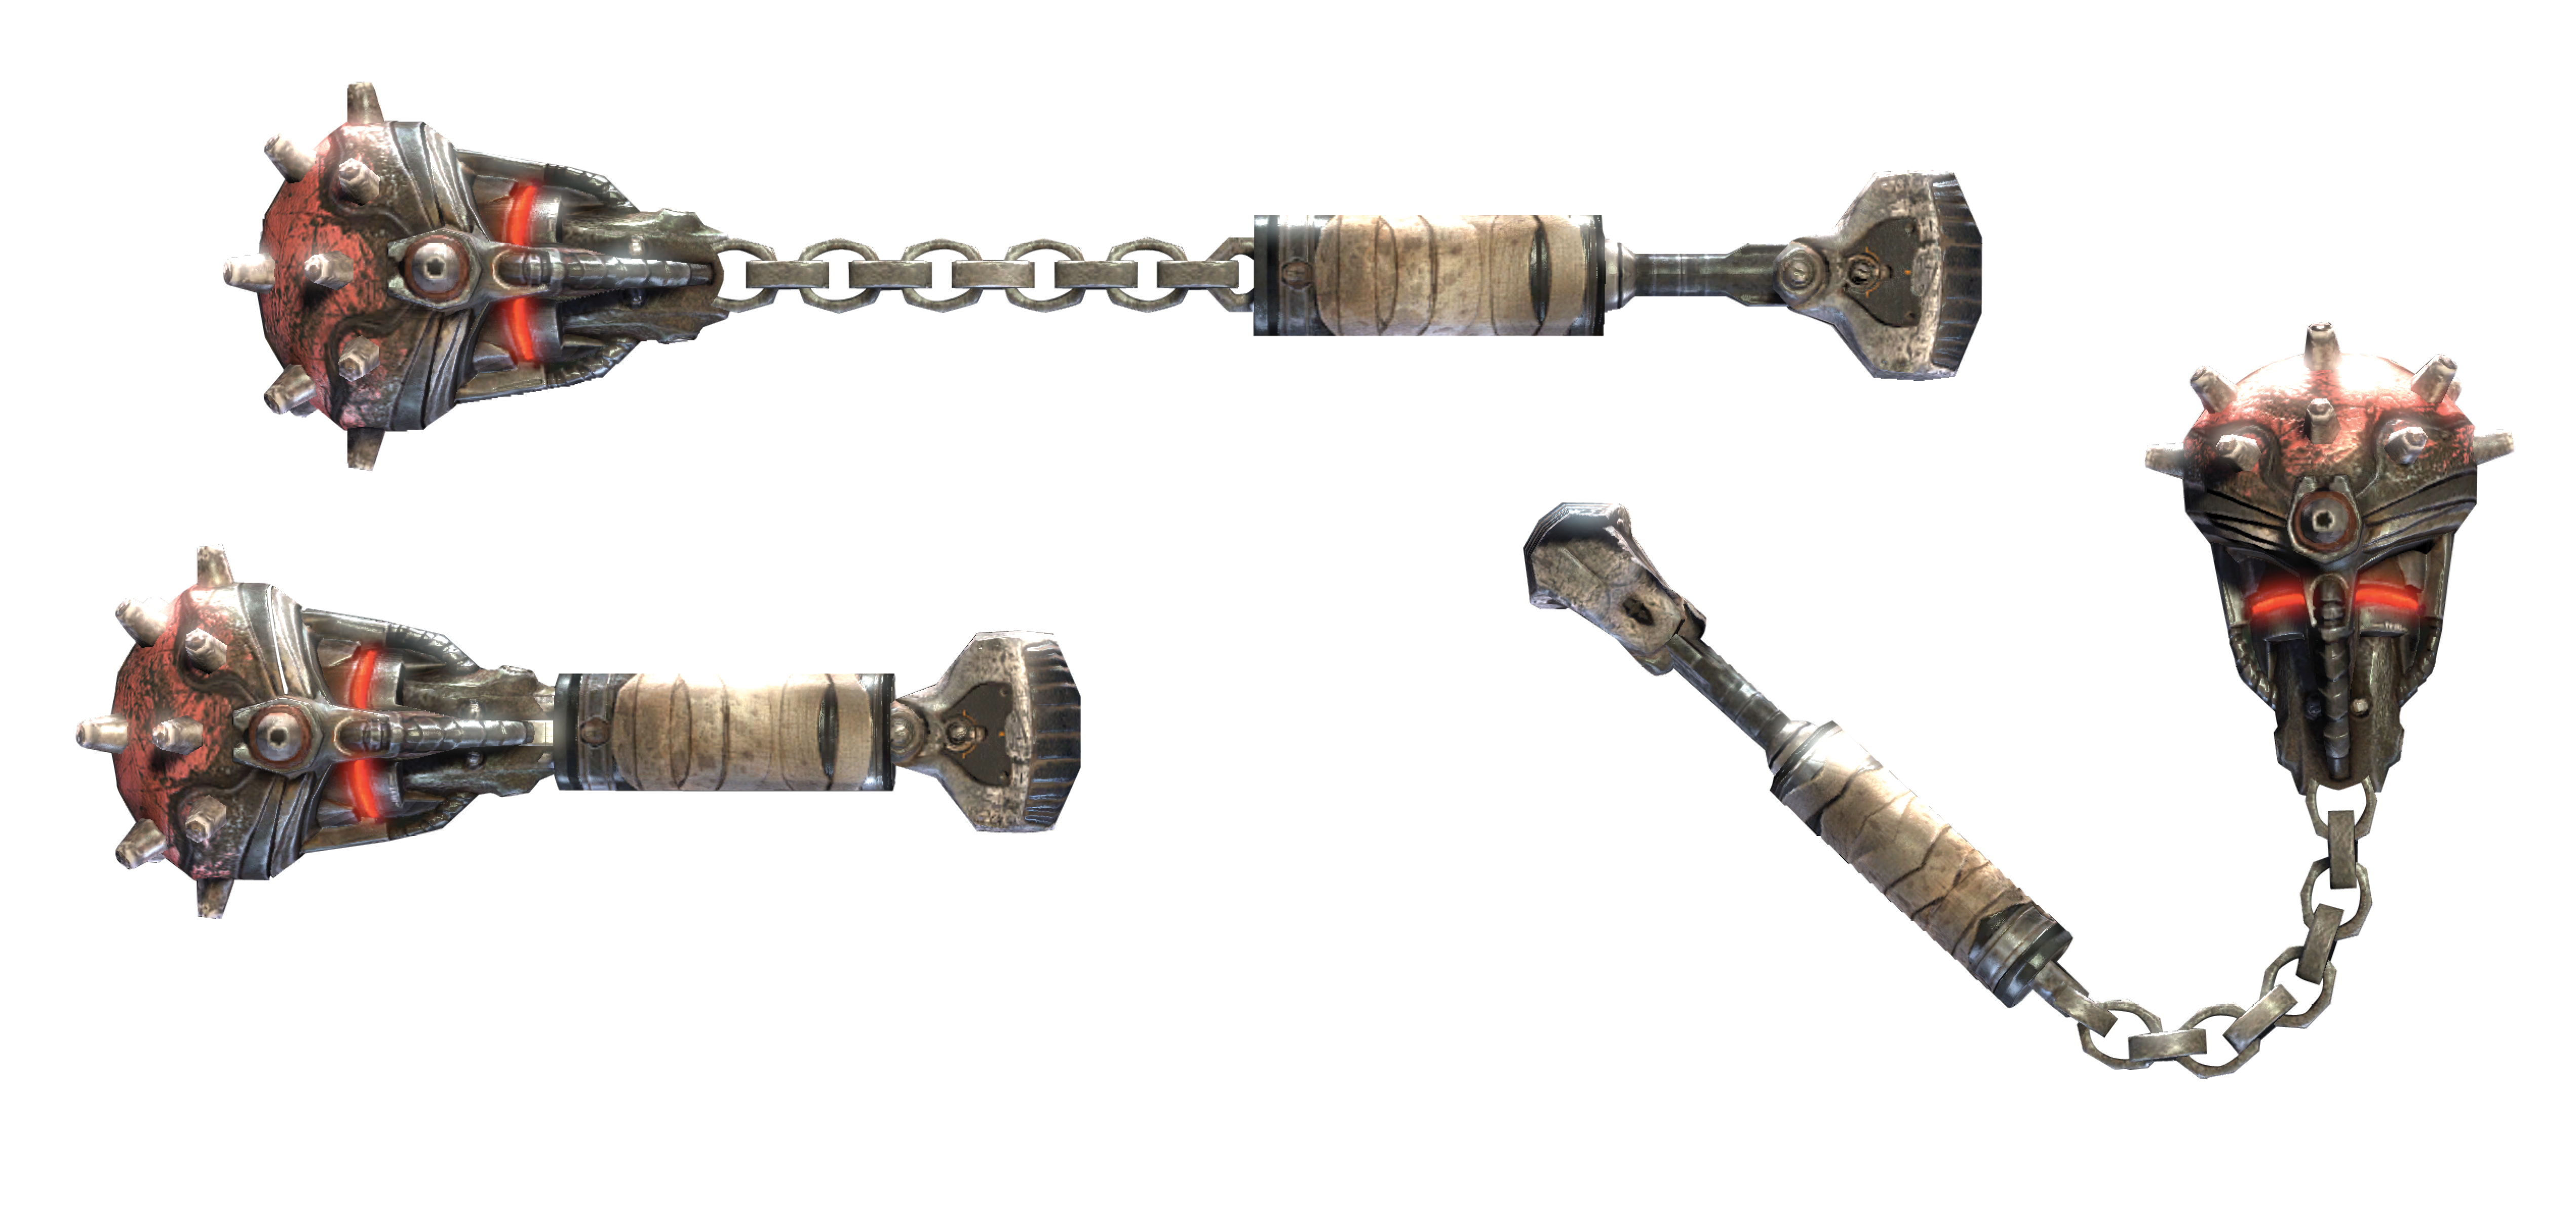
Frag Grenades are the only grenade type you encounter in the main campaign. One can throw them a considerable distance. When you hold the Left Trigger, a tracer line helps you ascertain your throw’s trajectory. A Frag Grenade explodes with enough force to kill several enemies within its blast radius. Frag Grenades detonate roughly two seconds after you throw them—they are not proximity bombs. You can tag an enemy with a Frag Grenade by equipping the weapon and hitting the enemy with a melee attack. Just be sure to run away before your “friend” explodes!
Smoke Grenades
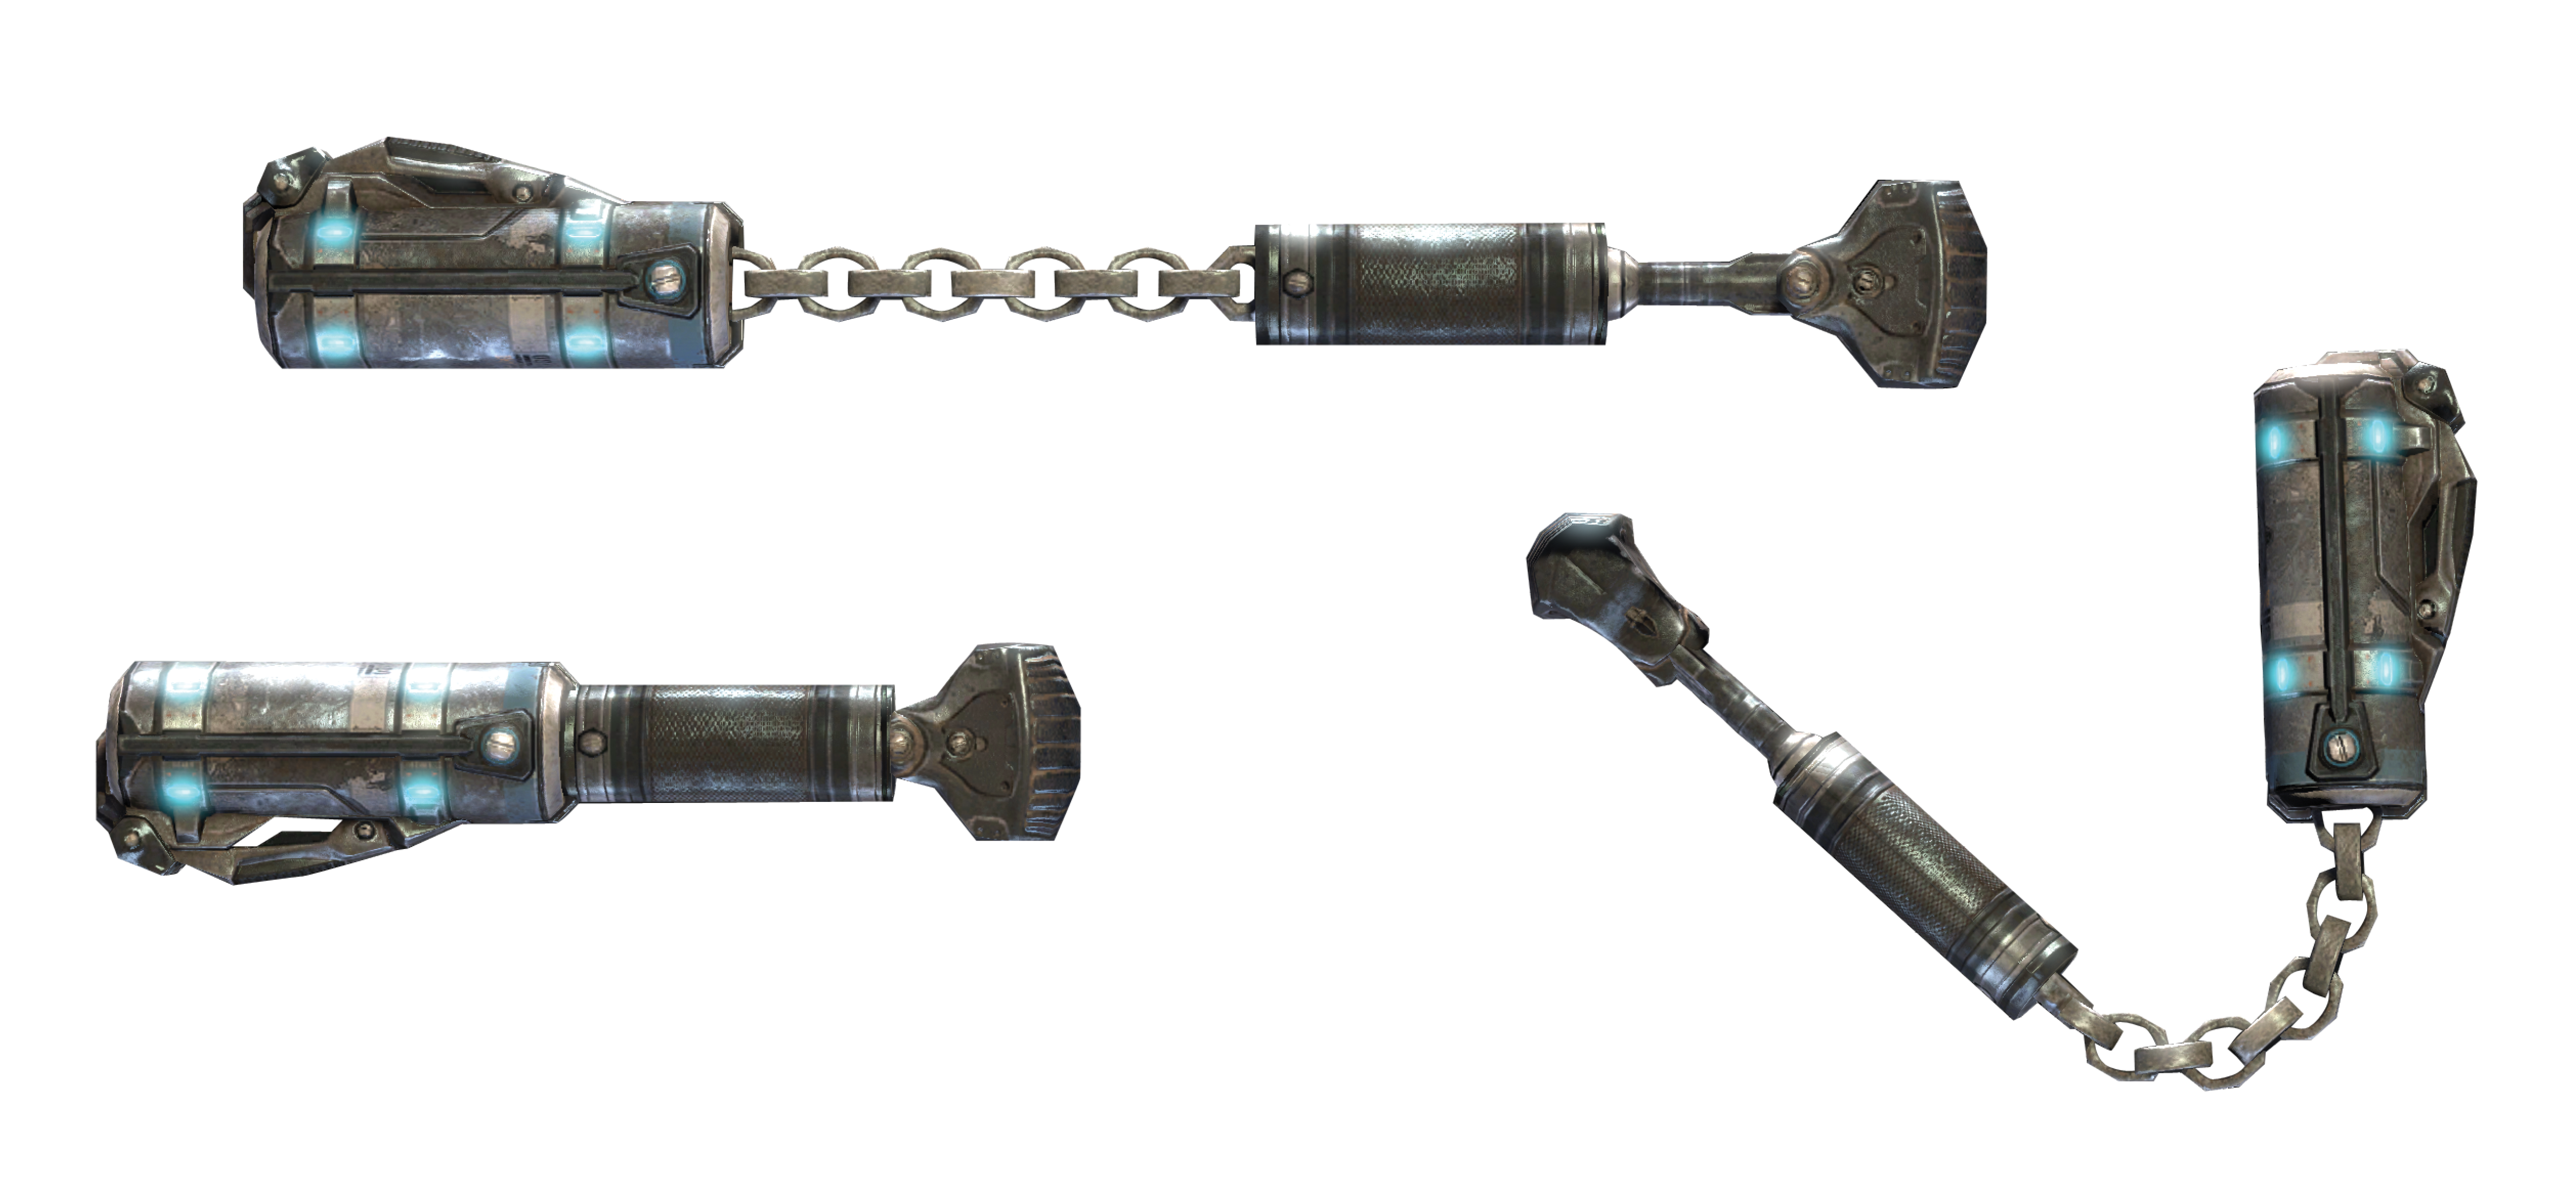
Smoke Grenades appear only in Multiplayer mode as part of each player’s standard issue. Although Smoke Grenades cannot actually harm anyone, they do serve two useful purposes. For starters, players can use them to conceal their movements. If you’re caught in a standoff with an enemy unit, throw a Smoke Grenade and relocate without being seen. Like a Frag Grenade, you can also use a Smoke Grenade to tag an opponent. Although this doesn’t harm your foe, it humiliates him and alerts everyone to his position for the next 15 seconds or so.