Gears of War Guide Campaign Walkthrough
Act 4: The Long Road Home
He had him sent to prison. He left him for dead when the Locust Horde invaded. Hoffman did all these things and more to Marcus, yet never had Marcus hated the sound of Hoffman’s voice more than when he radioed to say the resonator didn’t work. The blast wasn’t powerful enough to map even a fraction of the Locust tunnel network—the crew would need to find another way, and Baird thinks he has the solution. He hacked into a geobot and found an immense amount of data concerning the Locust tunnels. Anya has traced the data back to the residence of Adam Fenix, Marcus’ deceased father. The irony in Hoffman sending Marcus there to look for additional data isn’t lost on the members of Delta Squad.
Campus Grinder
Bullies on the playground.
Secure the Contemporary Combat Center
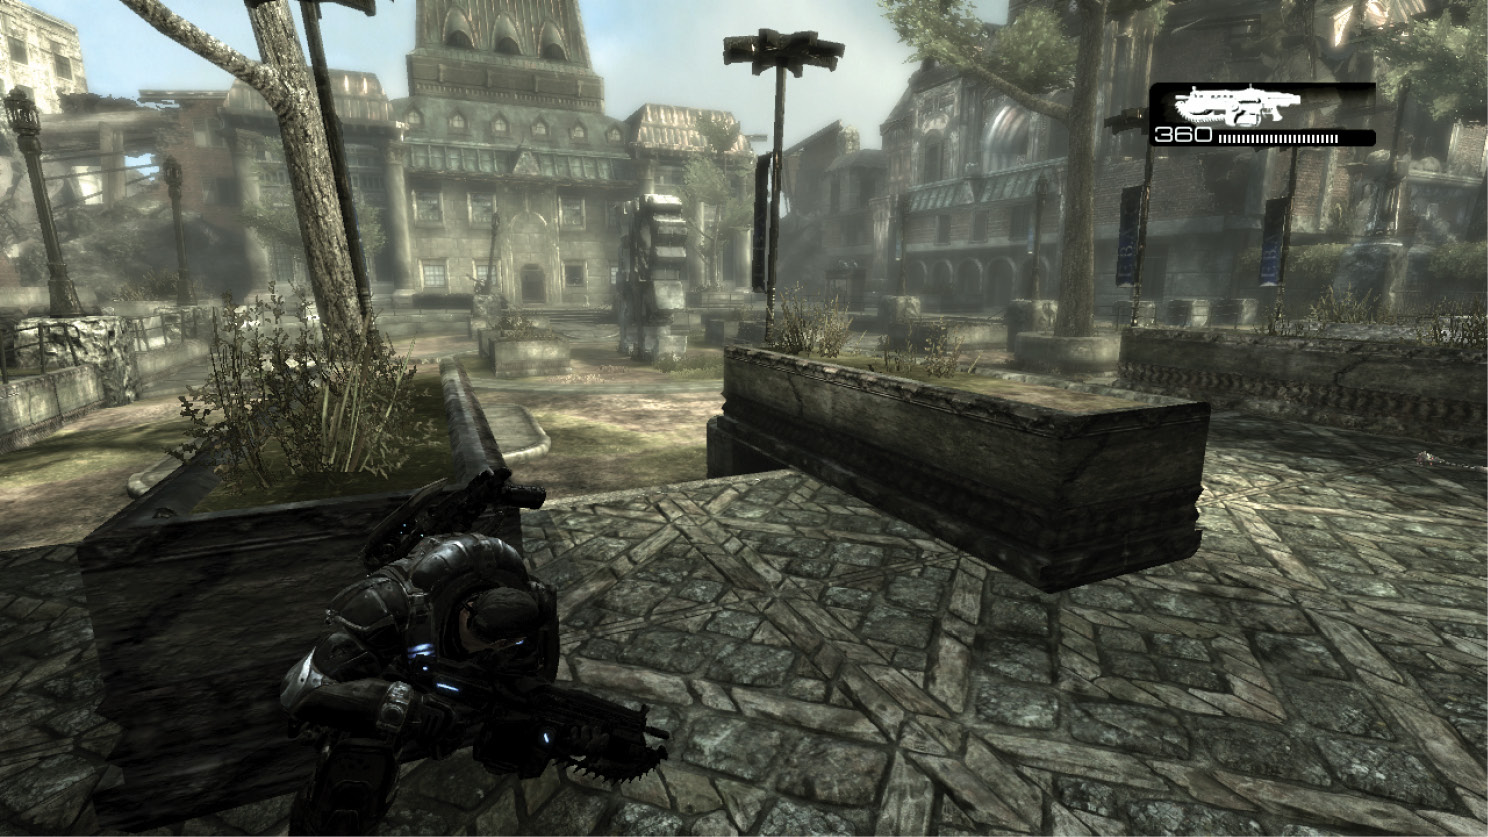
The large campus courtyard just beyond the landing zone is overrun with Locust—they knew Marcus was coming and amassed an impressive counteroffensive. The first wave of Grenadiers and Drones emerges from the building to the far left. This is where Dom, Baird, and Cole go, but this is not where Marcus should go. Instead, flank to the right and take cover near the stairs to the building on the right. From there, use the Torquebow and/or Longshot to assist the other Delta Squad members from long range.
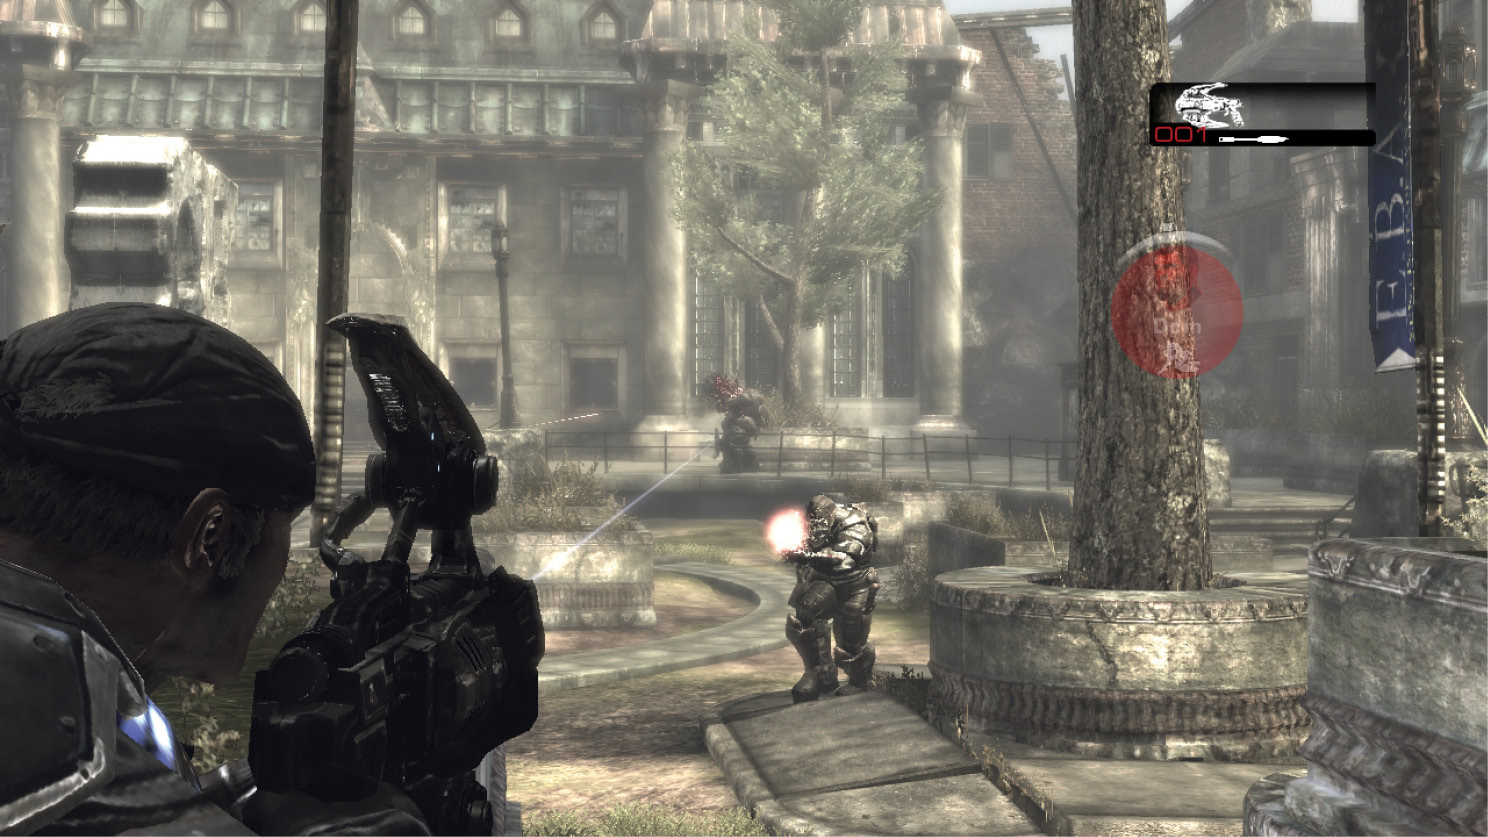
The second Locust wave emerges from the building near Marcus’ position. Have Frag Grenades and the Lancer ready to deal with the Grenadiers and Theron Guard as they emerge from the closed doors near the stairs. Circle around the walls near the steps to maintain adequate cover. Most of all, don’t be afraid to use the chainsaw bayonet against a Theron Guard.
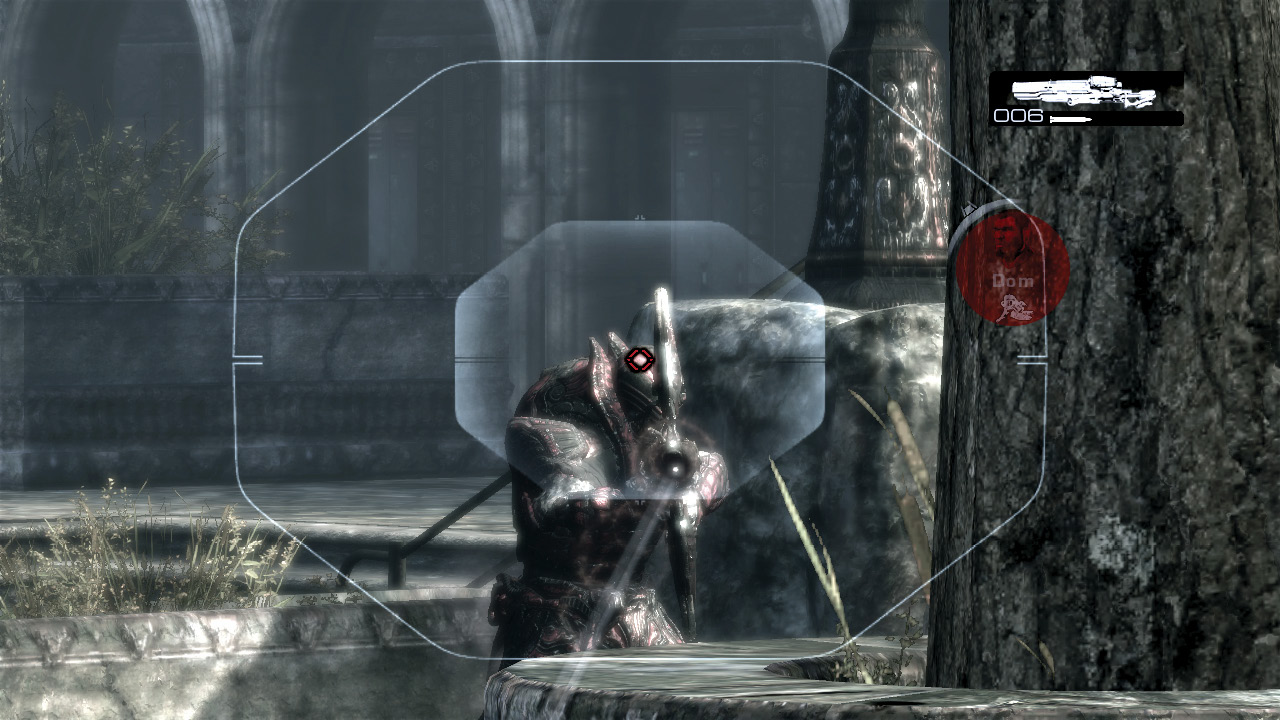
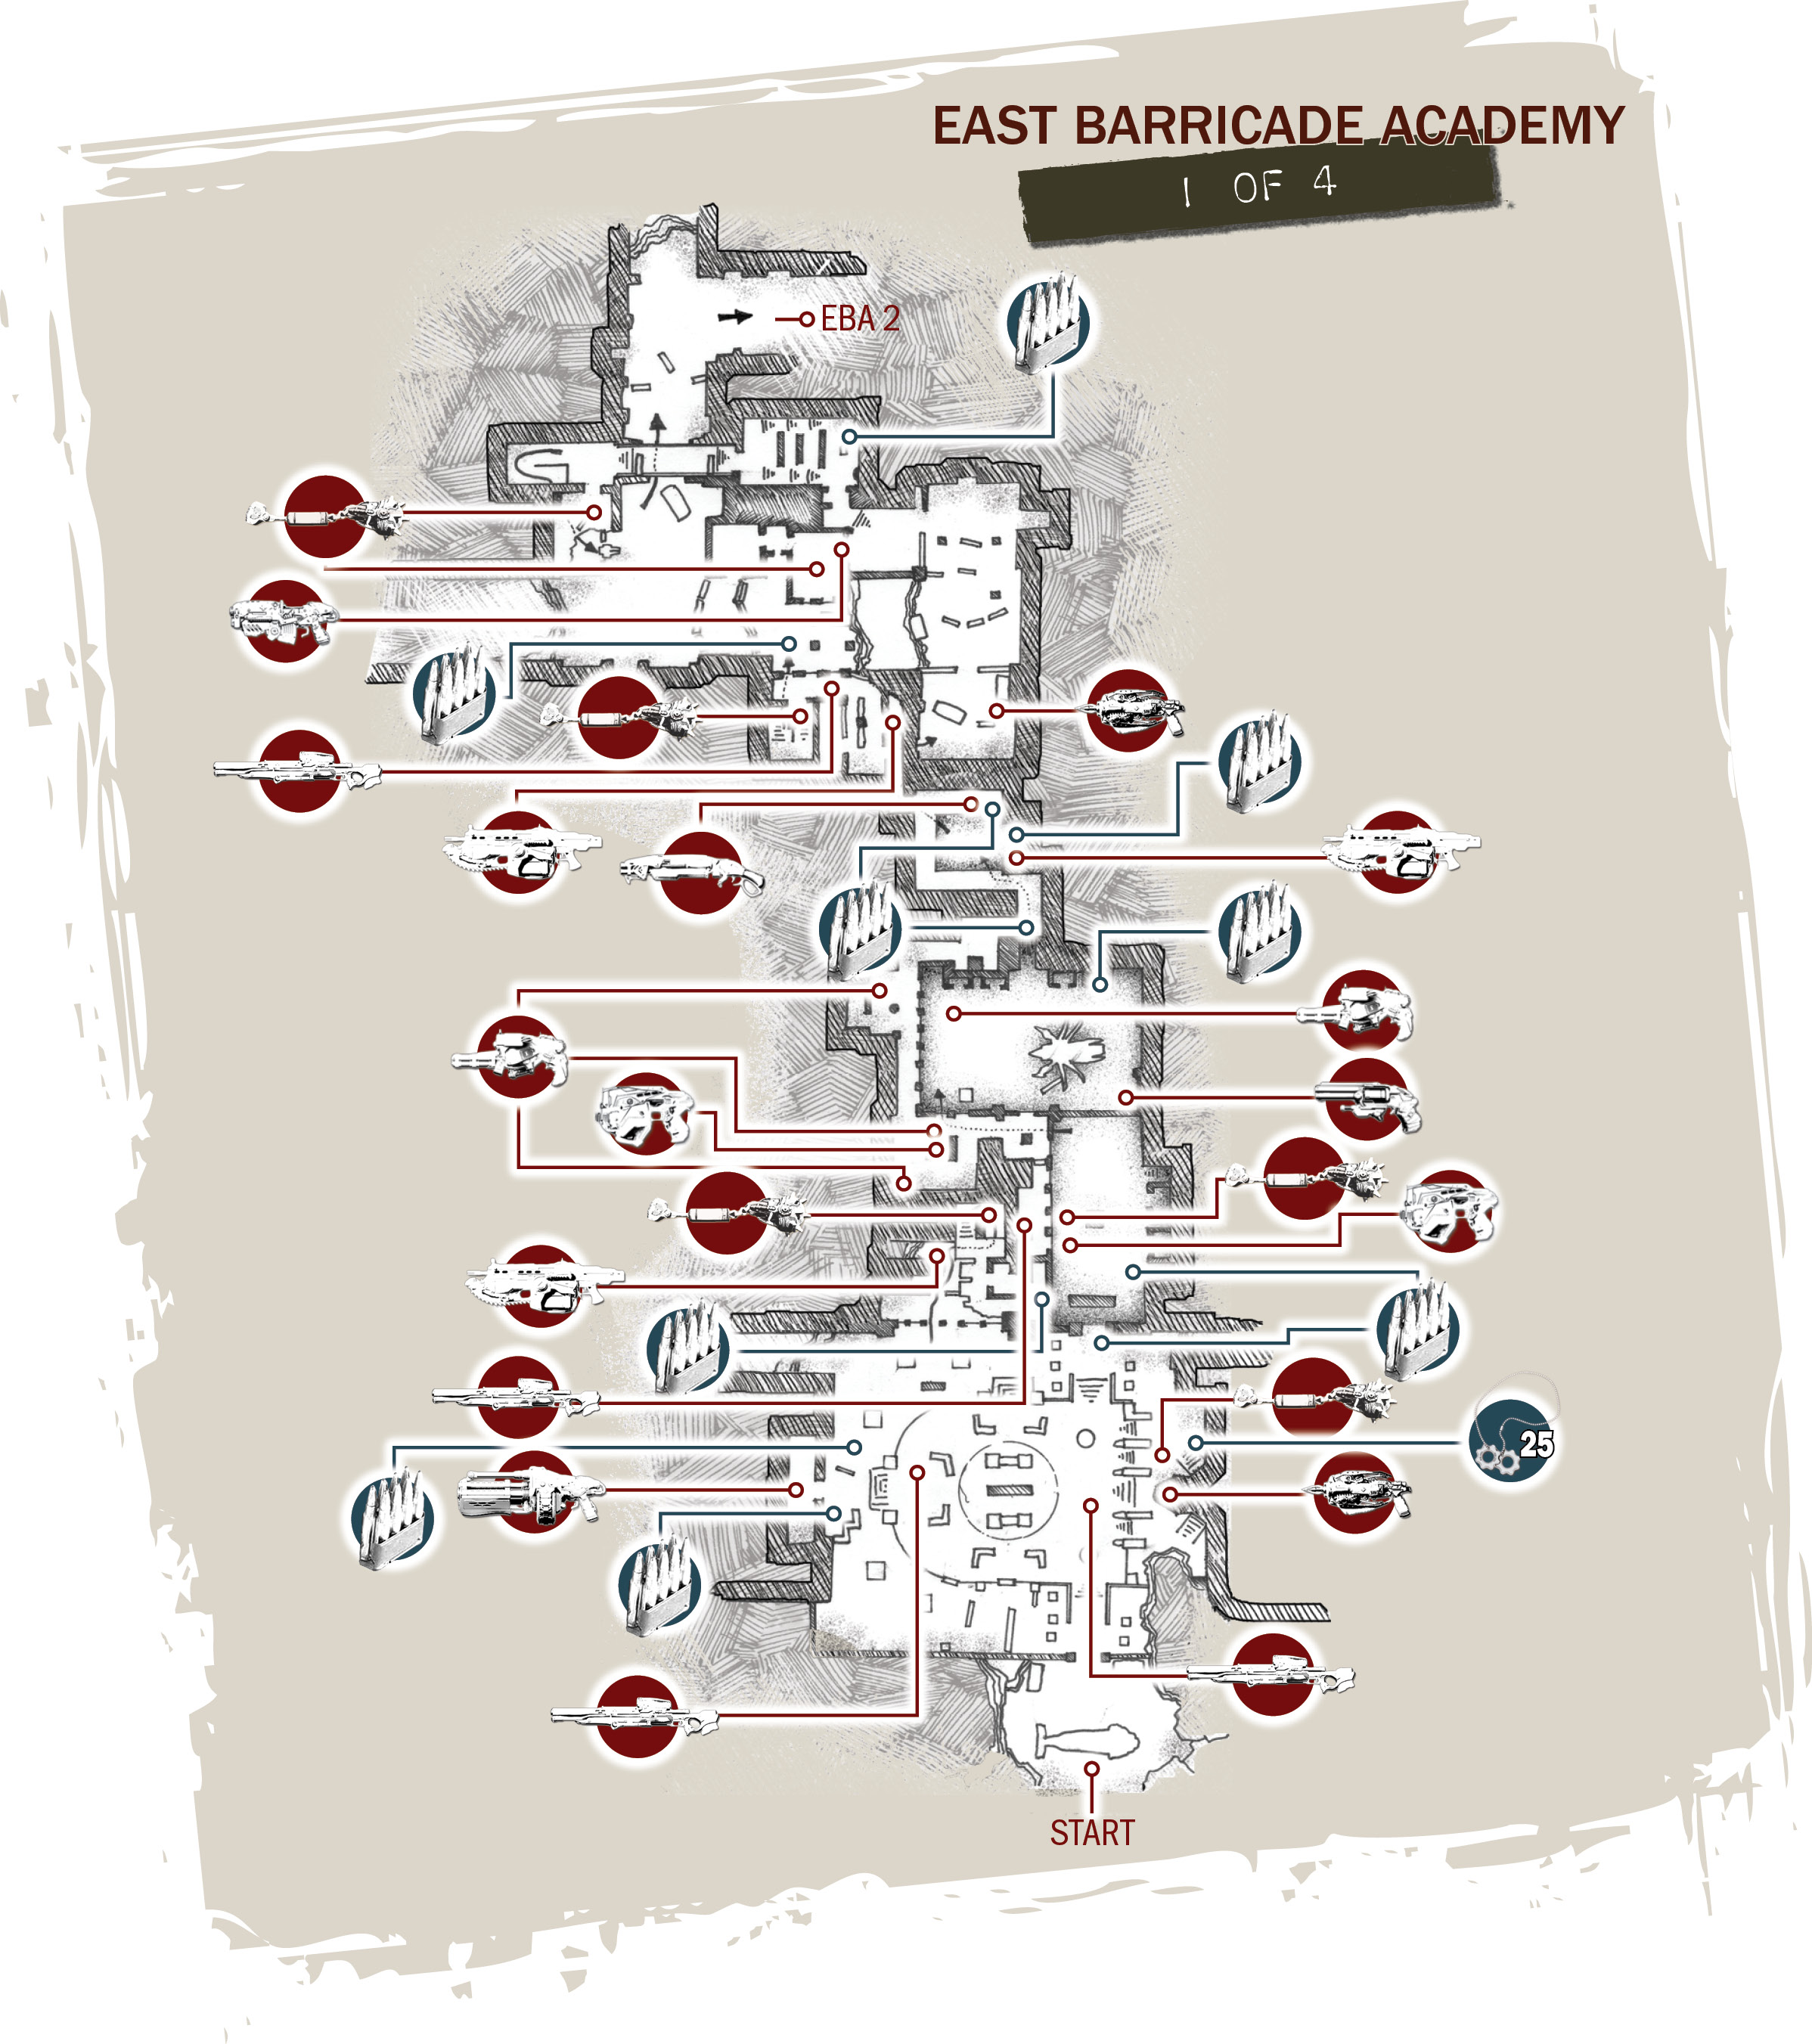
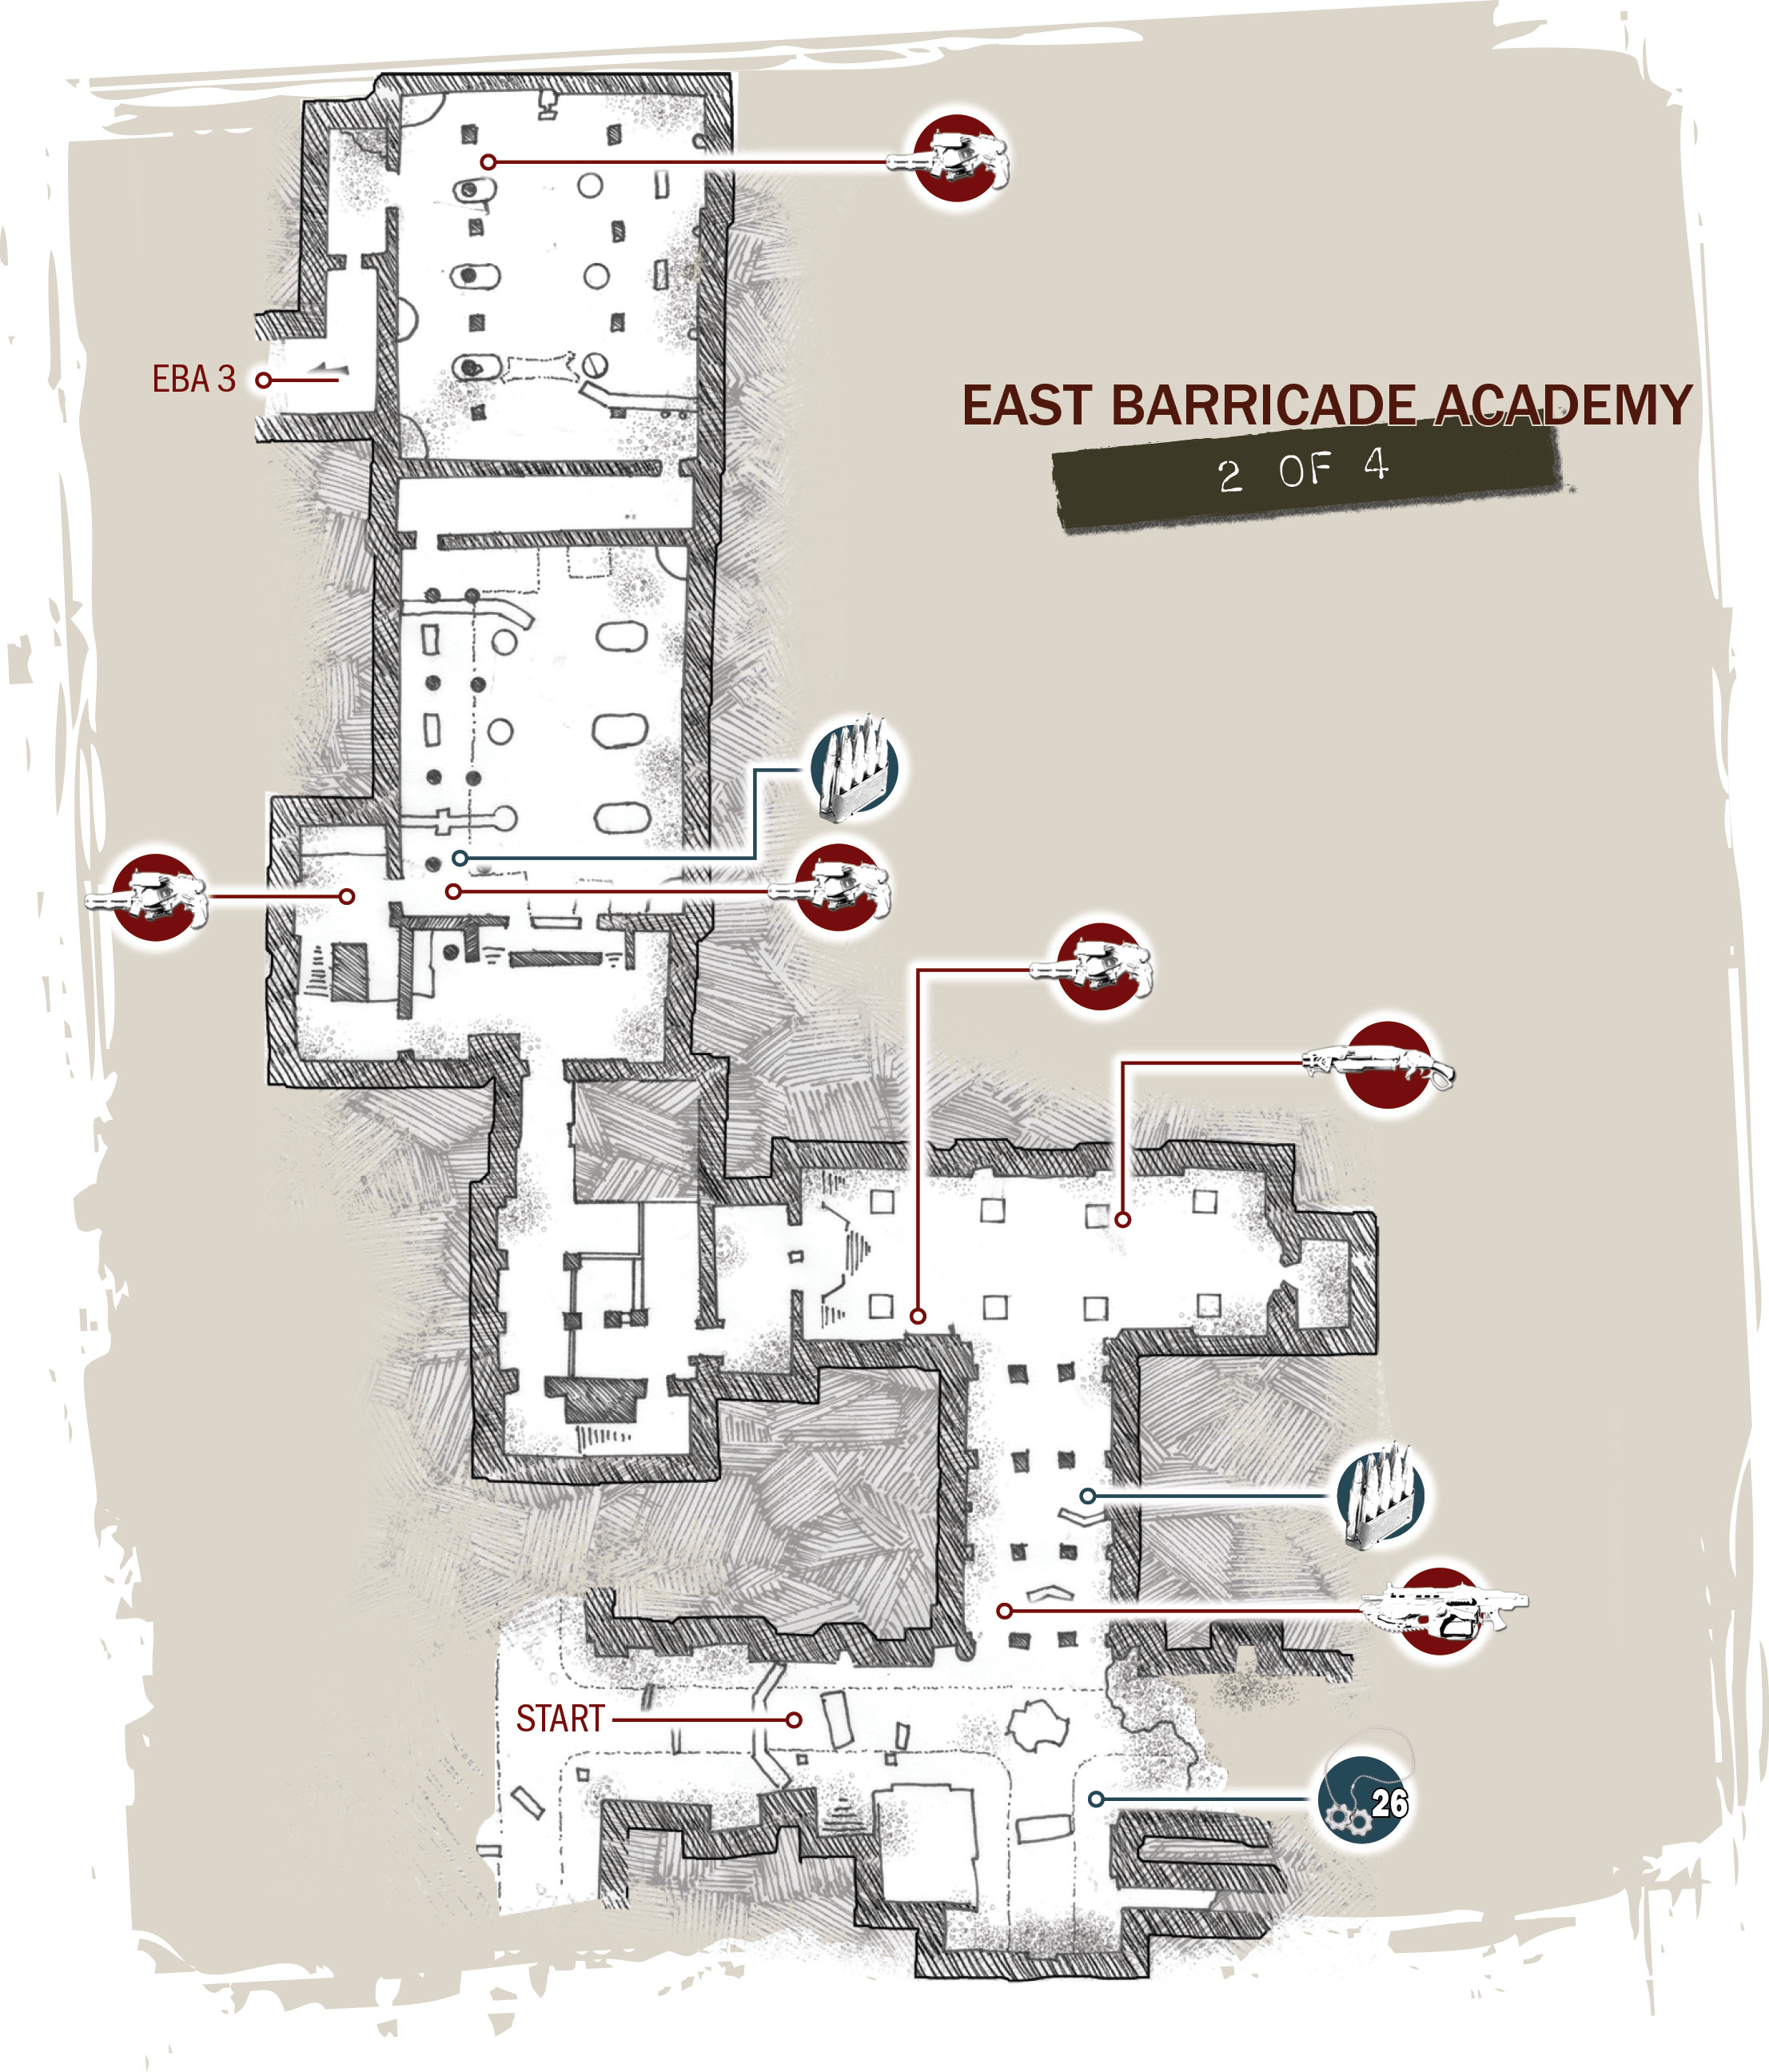
COG TAG #25From the starting point, go to the right and look on the ground near the short staircases that lead to the dormitory on that side of the campus quad. 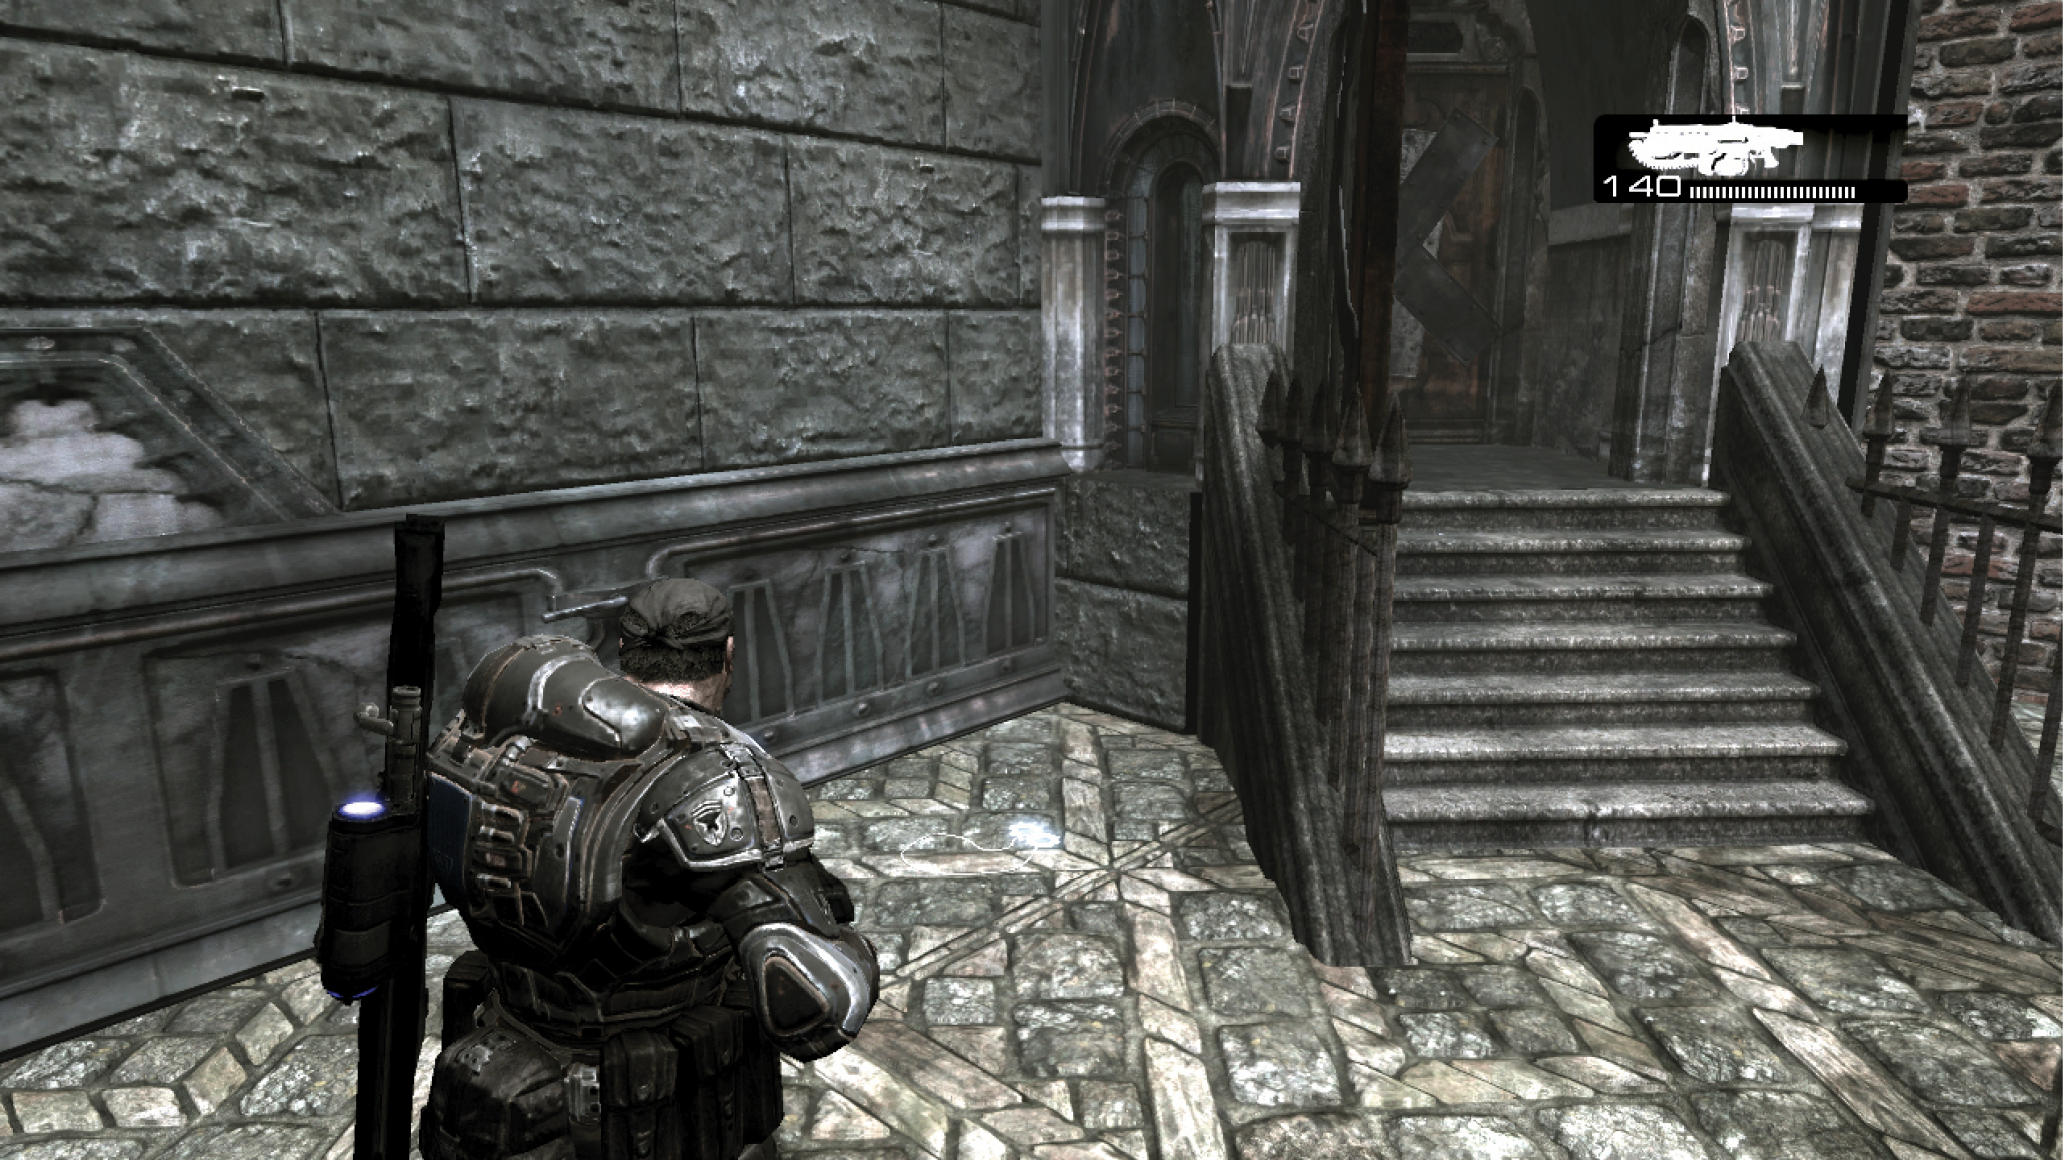
|
Once you eliminate the enemies emerging from the building near Marcus, a third wave attacks. This wave contains several Grenadiers and a pair of Boomers. Use the Torquebow and Lancer to cut down the Boomers; stay near that same location to the right. Use the cover to stay alive, and continue using long-range weapons against the Boomers.
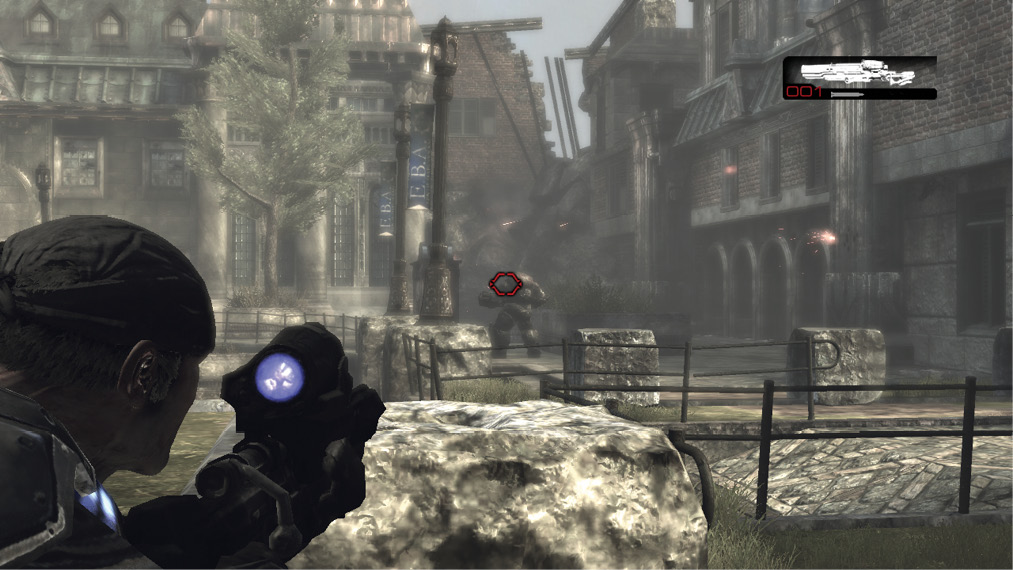
Once you’ve defeated the final Locust, take a moment to collect ammo and weaponry from the battlefield. Anya lets the squad know that there are survivors from the chopper that crashed, and, like any good soldier, Marcus decides at once to help them. This means the crew has to split up.
Right Path: Street Level
Investigate the Downed Chopper
Taking the right path is not an easy option, as it puts Marcus and Baird in direct contact with a sizable portion of the Locust Horde. Fortunately, Cole and Dom have the drop on many of the enemies and provide cover from the second floor of the building interior.
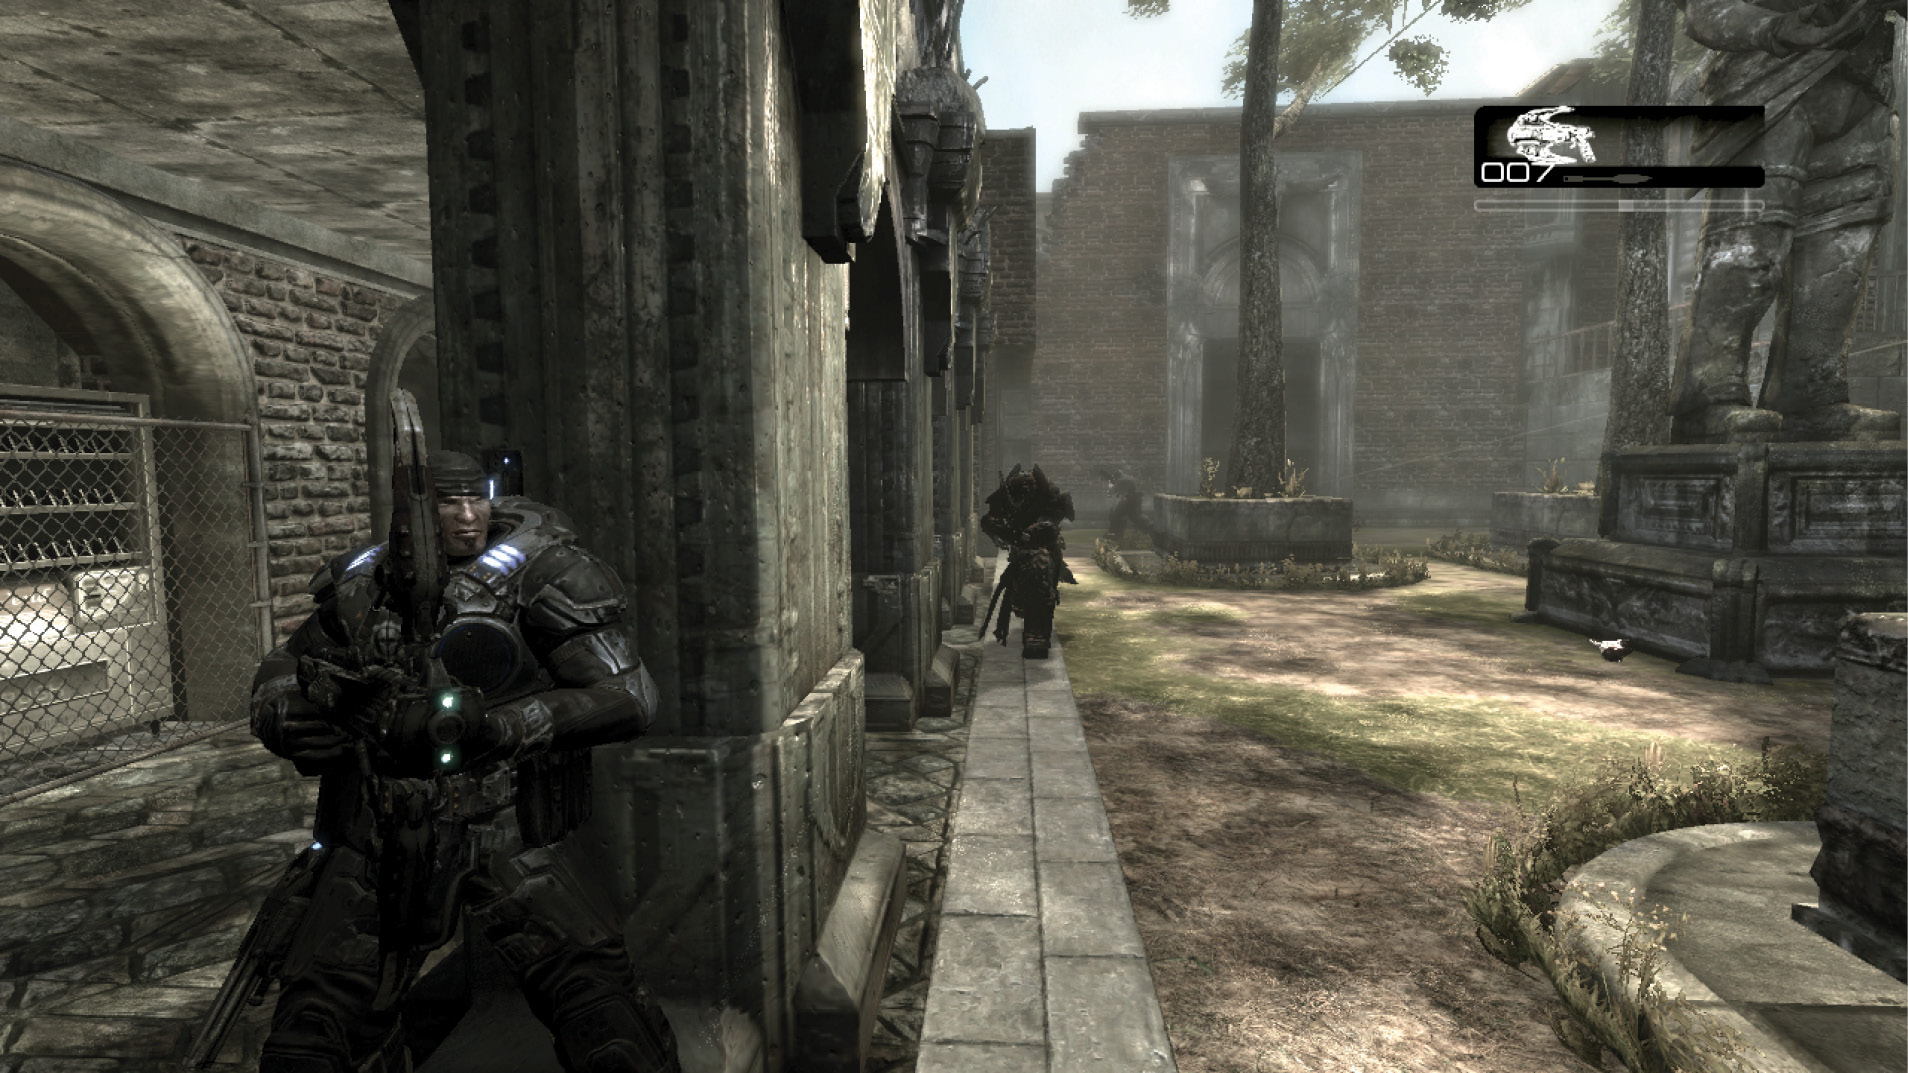
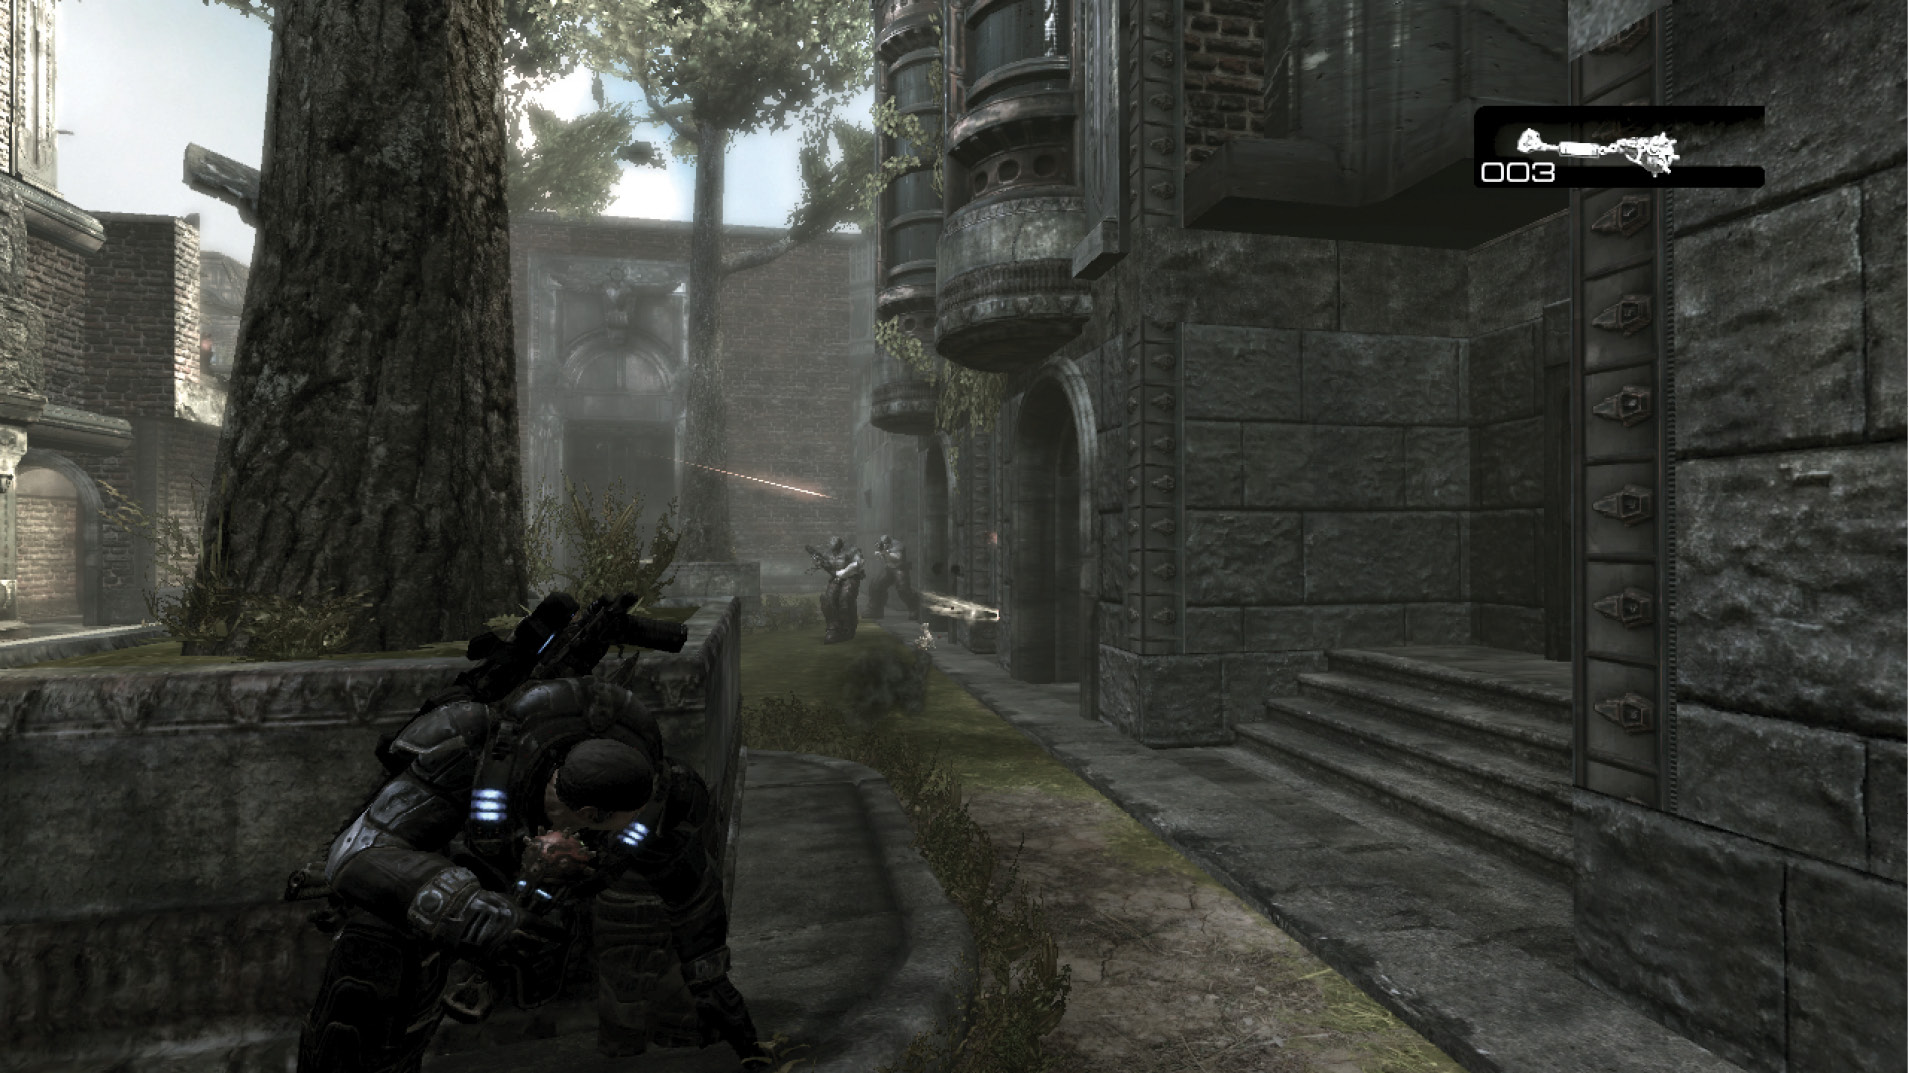
Enter the courtyard near the statue and immediately take cover behind the large pillar. Several Grenadiers emerge from cover to the right. With Dom’s elevated support, use the Torquebow or a Frag Grenade to take them out, and then move to the left. Several Theron Guards move in from that side of the courtyard, so be prepared. Have the Torquebow ready to fire into the area’s left-rear corner. During this battle, the Theron Guards and Grenadiers try to rush Marcus and Baird’s position, so don’t advance. Use the Torquebow to keep them at bay, and switch to the Lancer if they get close. The chainsaw bayonet beats them back quickly.
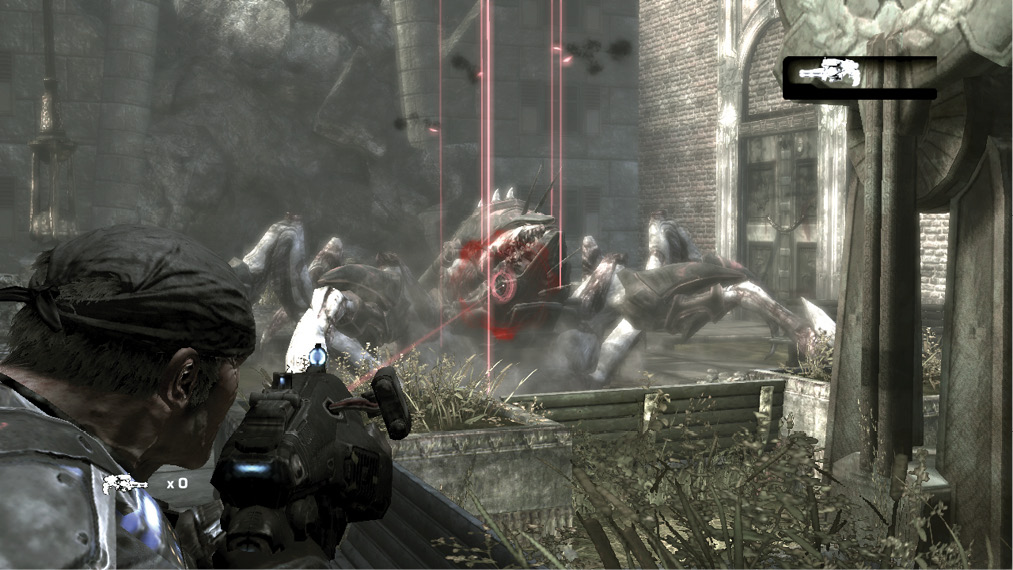
Move through the hallway to the left to enter the next courtyard. There, Marcus and Baird come face-to-face with a Seeder. Anya points out the Hammer of Dawn on the sidewalk to the left, but several Locust guard it. Use the Torquebow to eliminate the Grenadier behind the statue in the back-left corner, and dodge the Nemacysts on the way to gather the Hammer of Dawn. Baird and the others help keep the Nemacysts off Marcus long enough to kill the Seeder.
The moment the Seeder is killed, ready a Frag Grenade to throw into the ankh-shaped statue between the park benches, as an Emergence Hole is set to open. Close the hole, then get into the alcove in the left corner (near the Hammer of Dawn’s original location). Issue the “Attack” command so that Baird, Dom, and Cole help eliminate the Locust that succeed in emerging from the hole.
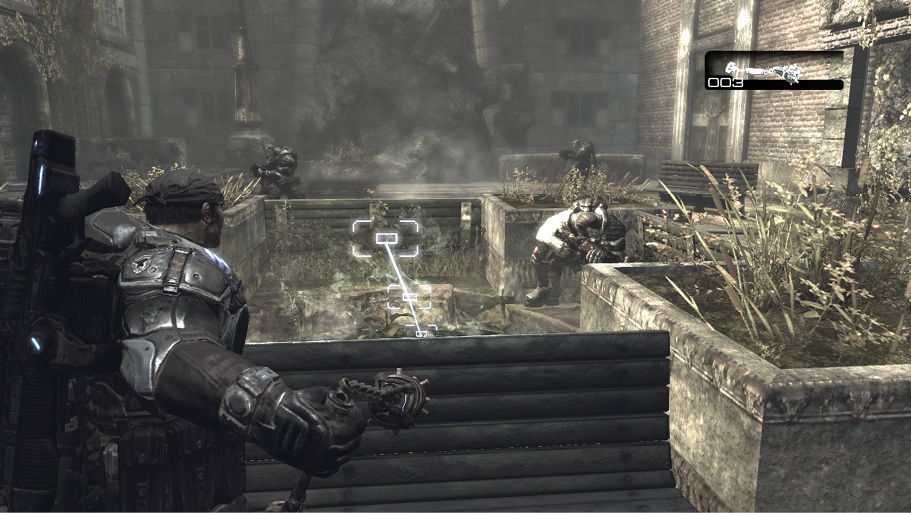
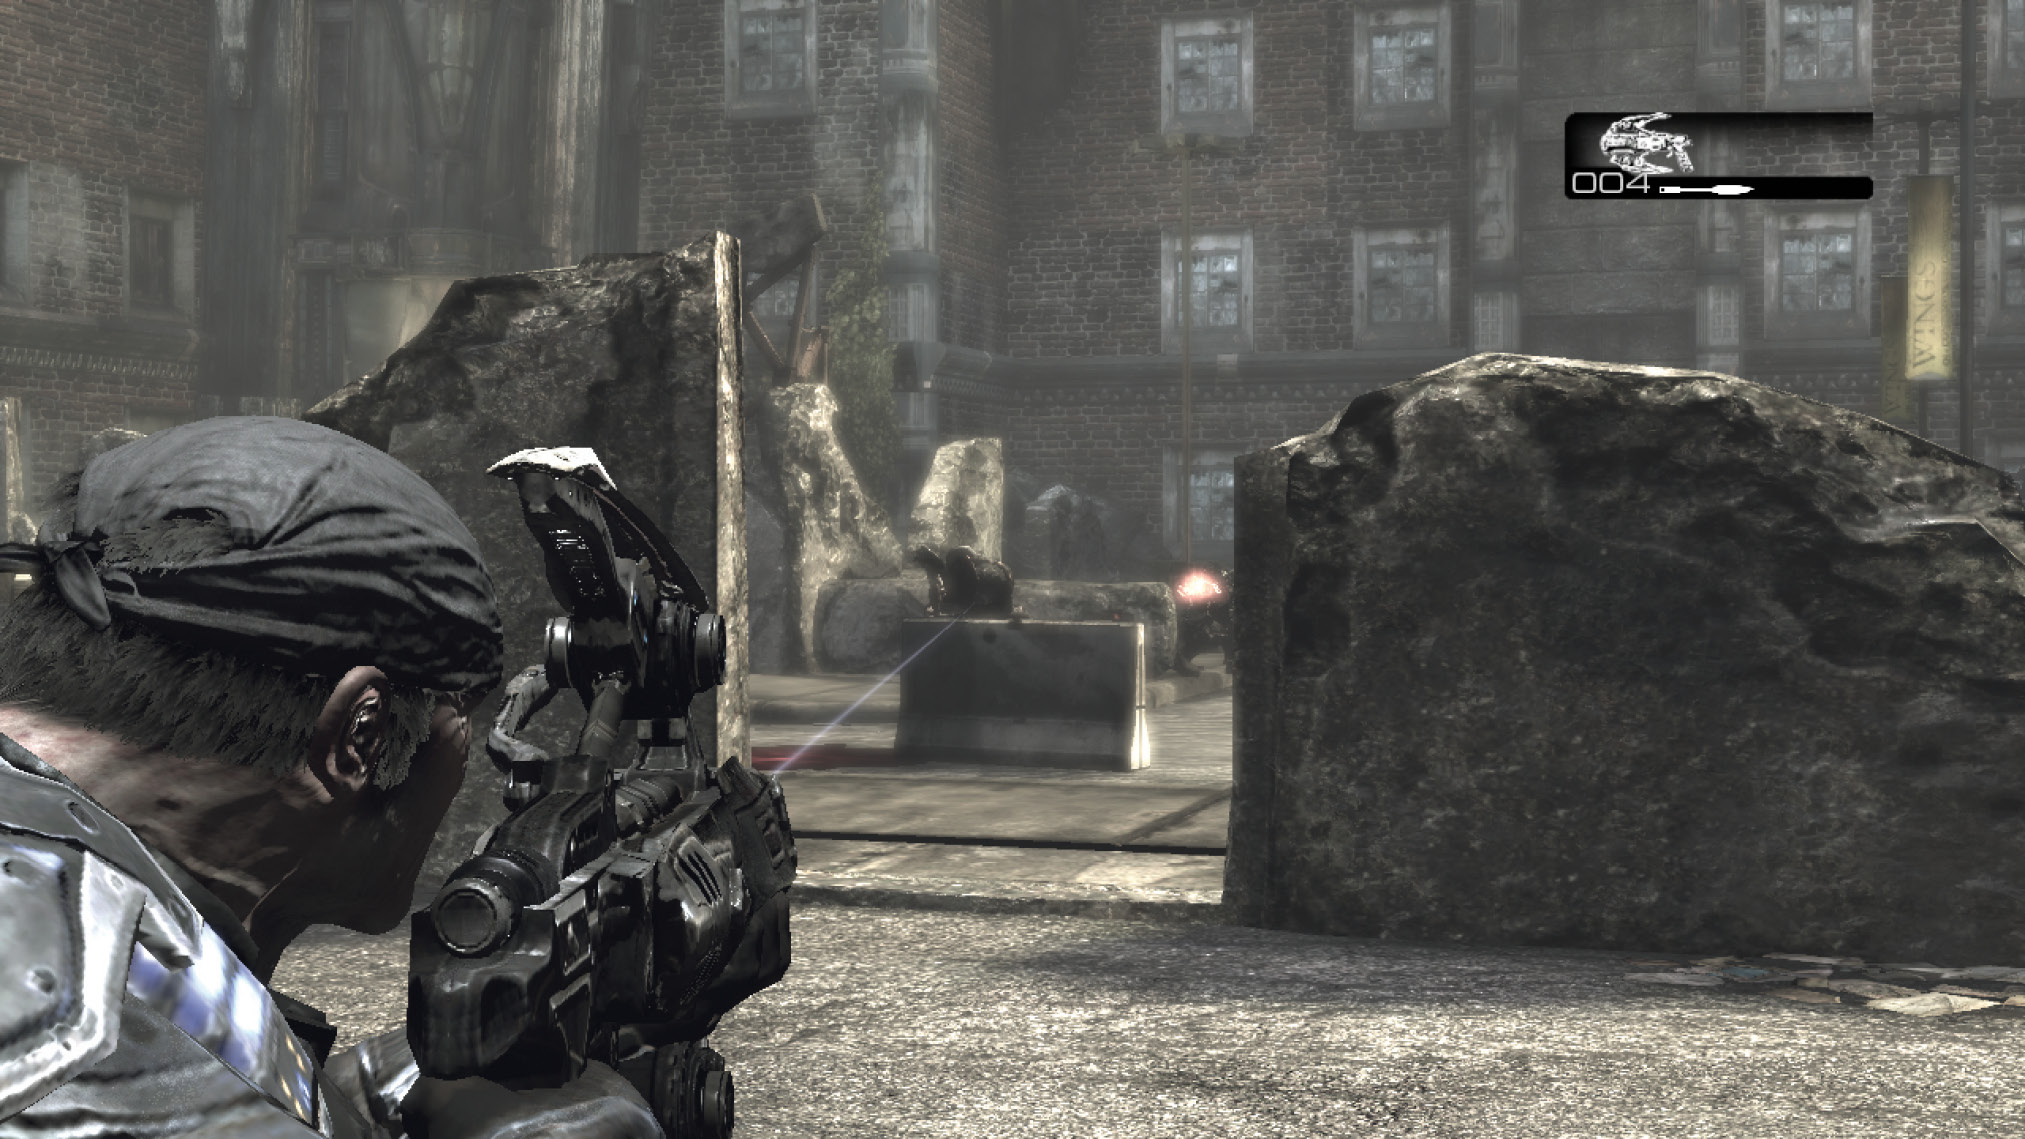
Proceed through the building to the left’s empty hallways and out into the street in the distance. Kill the Wretches that come hopping toward Marcus, and move into cover near the two small barricades. Use the Torquebow to kill the Drones in the street beyond the wall. Many more Wretches attack, but Marcus can put them down using the Torquebow as a melee weapon—after all, there’s a reason that the bow’s limbs are bladed!
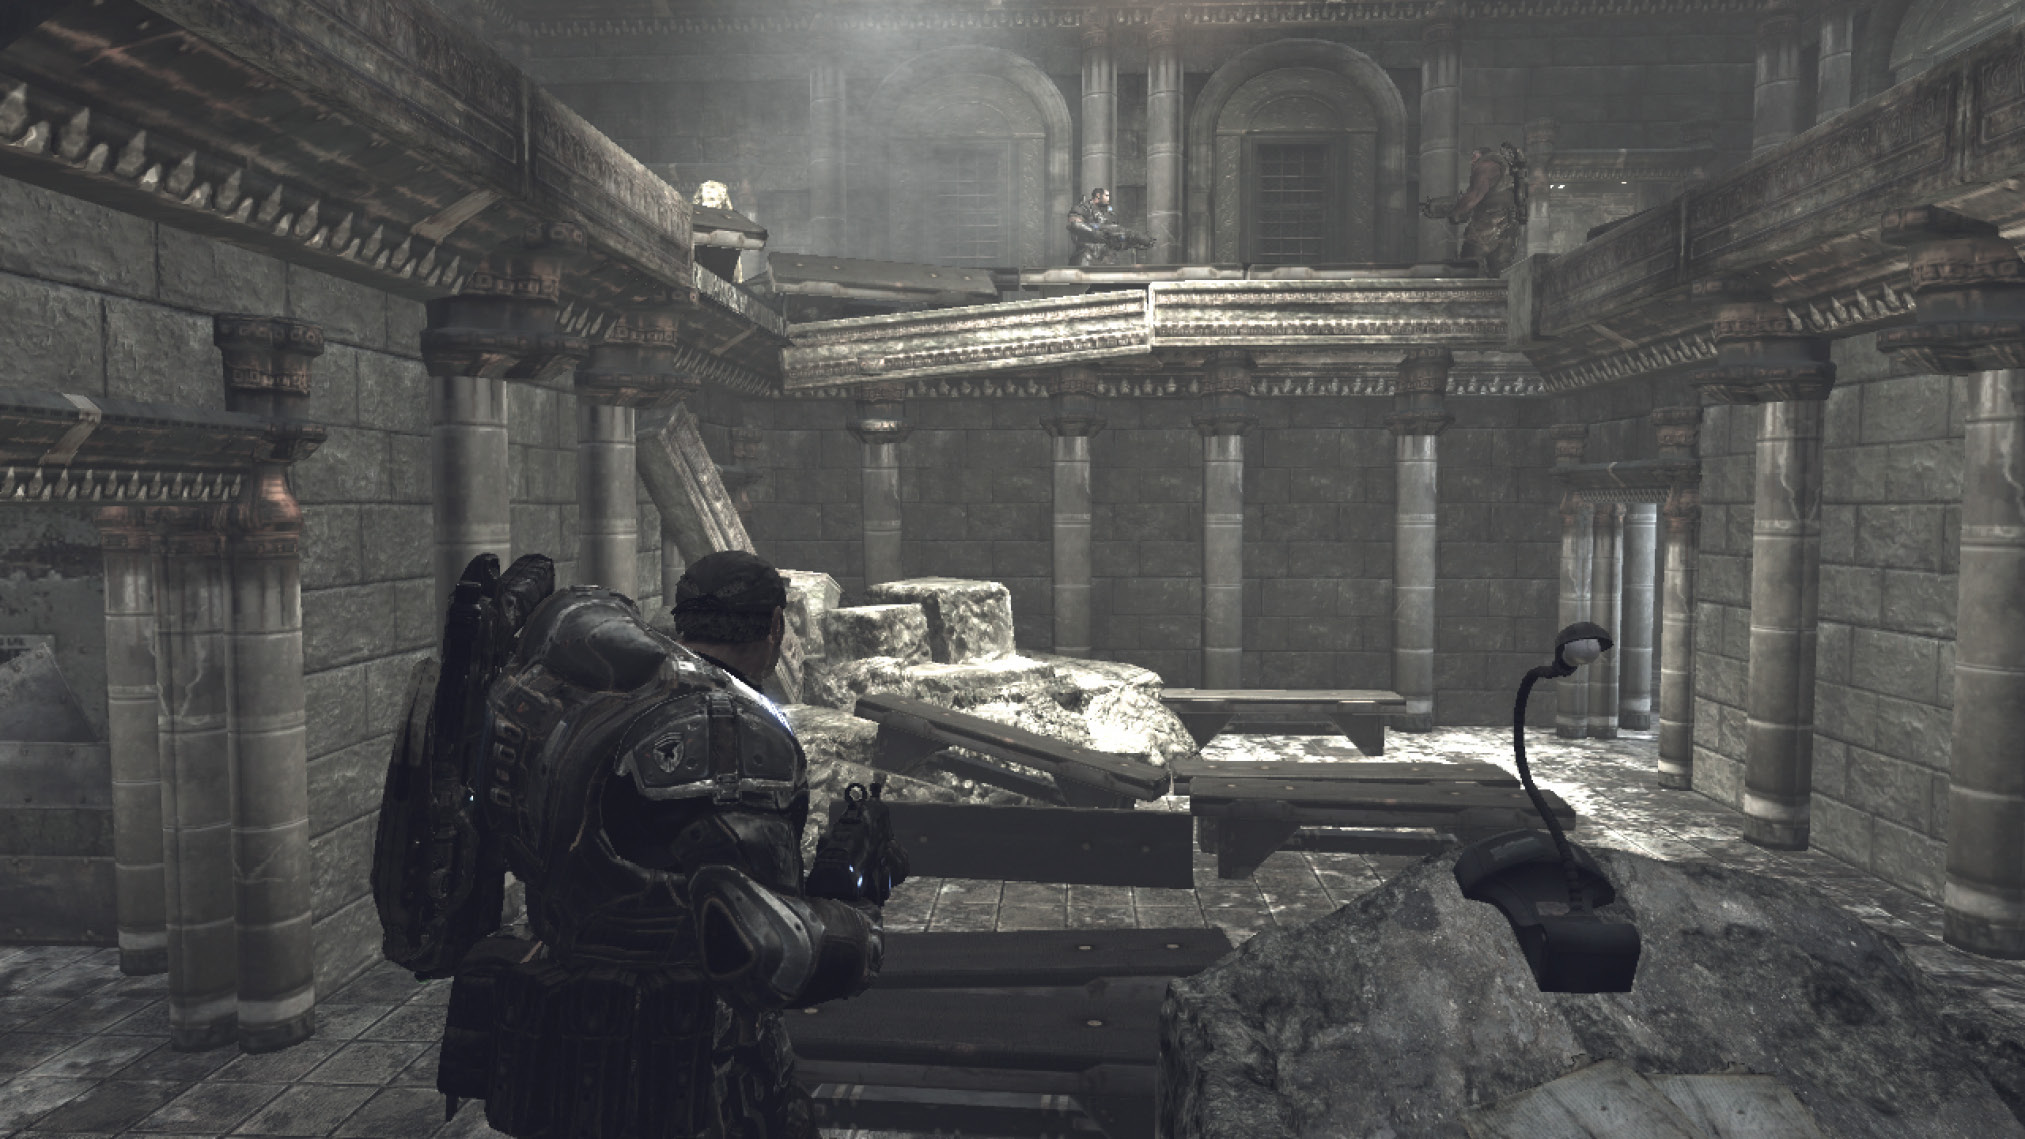
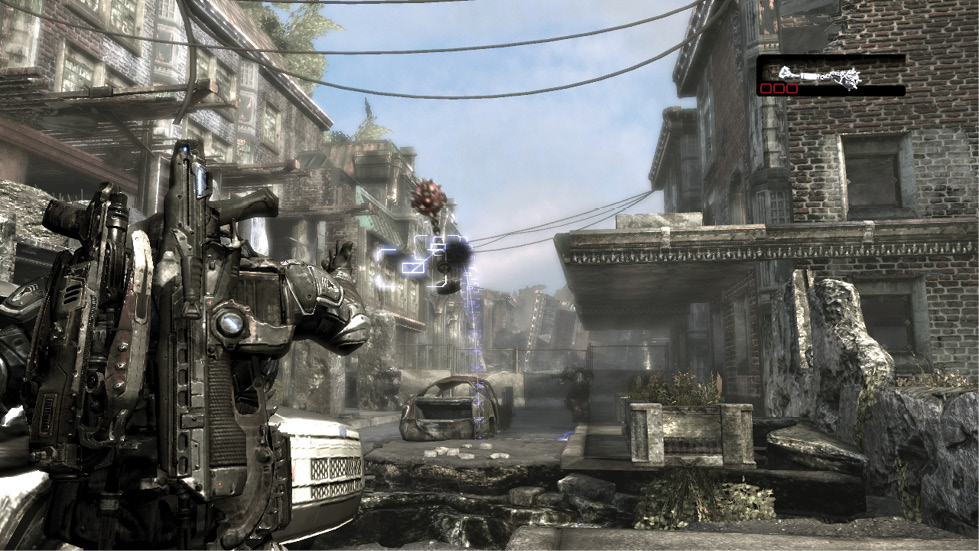
Marcus and Baird may be in the clear for the time being, but it’s time for them to repay the favor to Dom and Cole. There are several Locust across the chasm in the street to the left. They have Cole pinned down pretty good. Take cover behind the bombed-out car and use Frag Grenades and the Torquebow to eliminate them. Additional reinforcements arrive from the building across from Cole and Dom. Move into the small yard up ahead to the left, and throw some Frag Grenades through the windows to further reduce their numbers. Once Marcus and Baird have done all they can, lead them inside the lecture hall and load up on the ammunition near the podium.
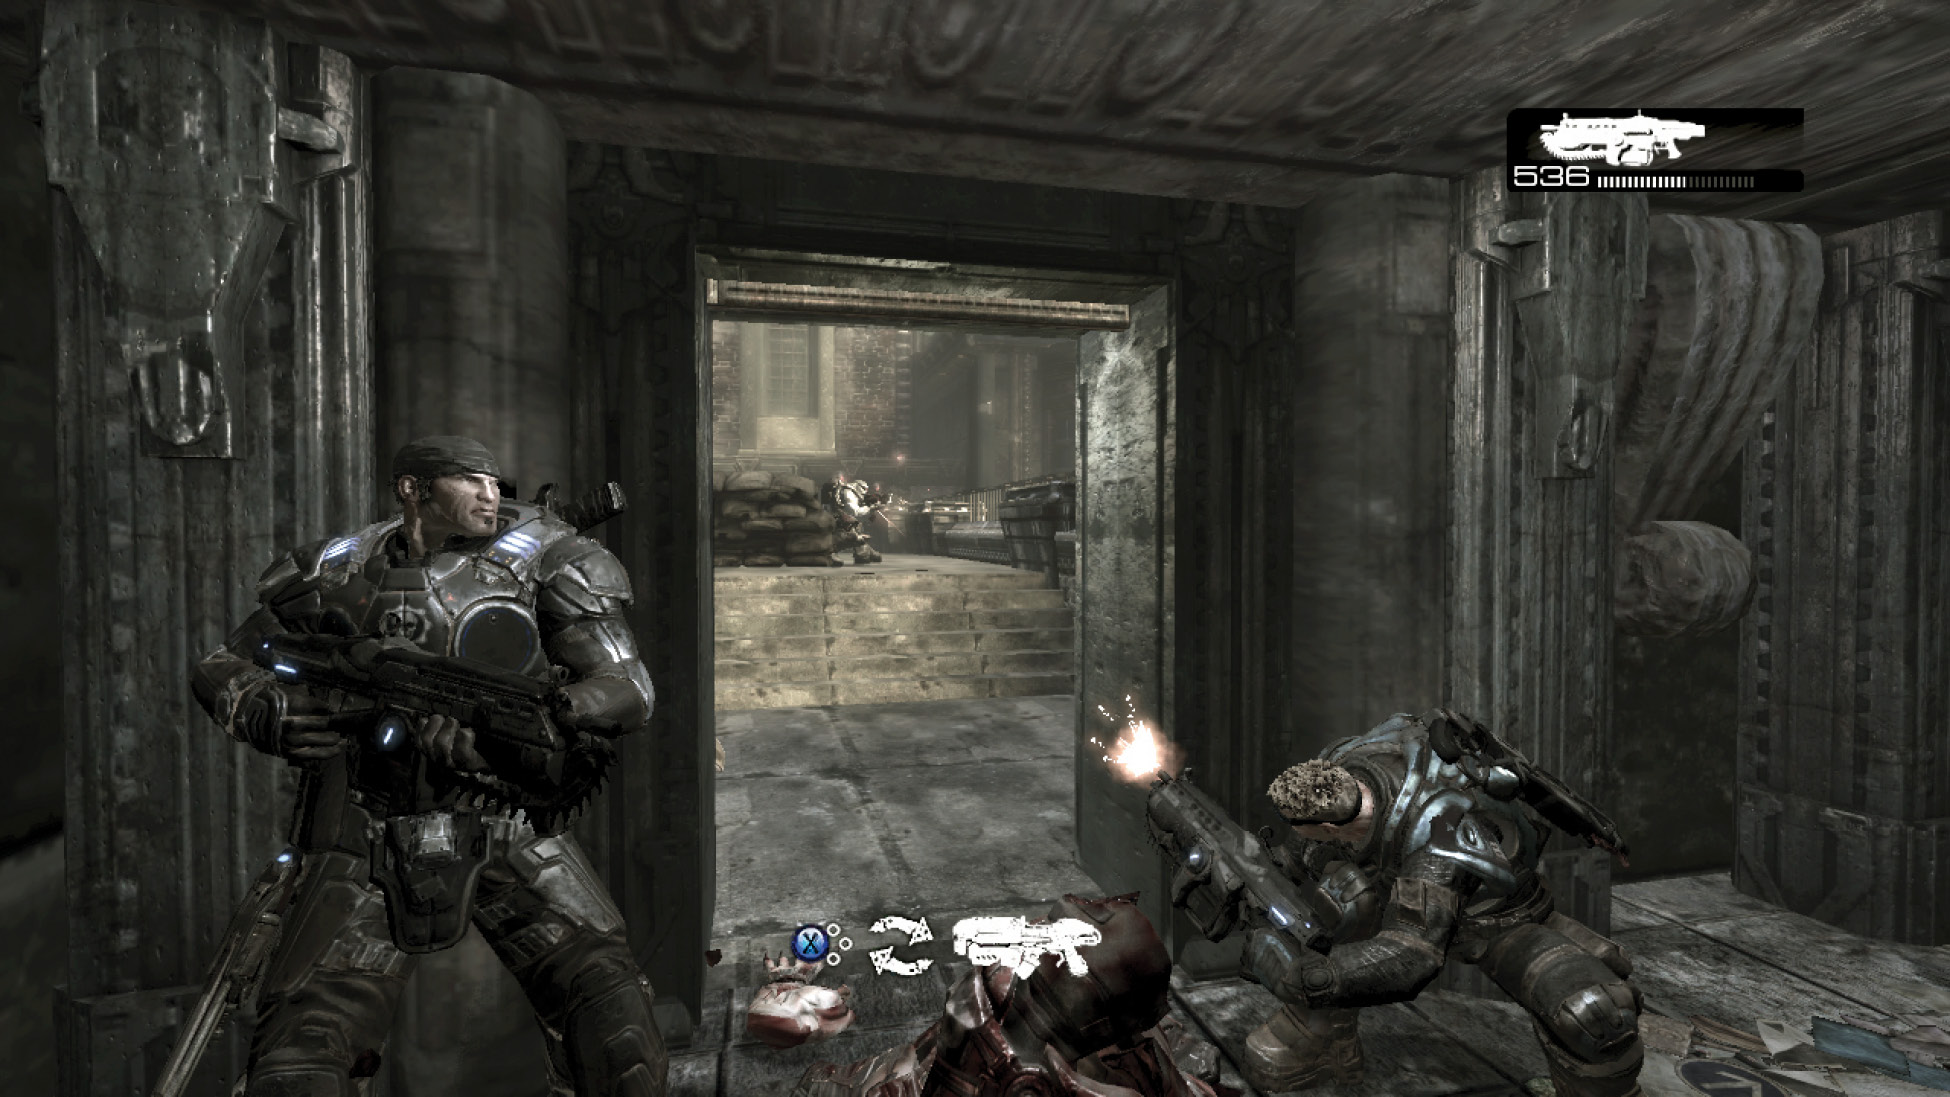
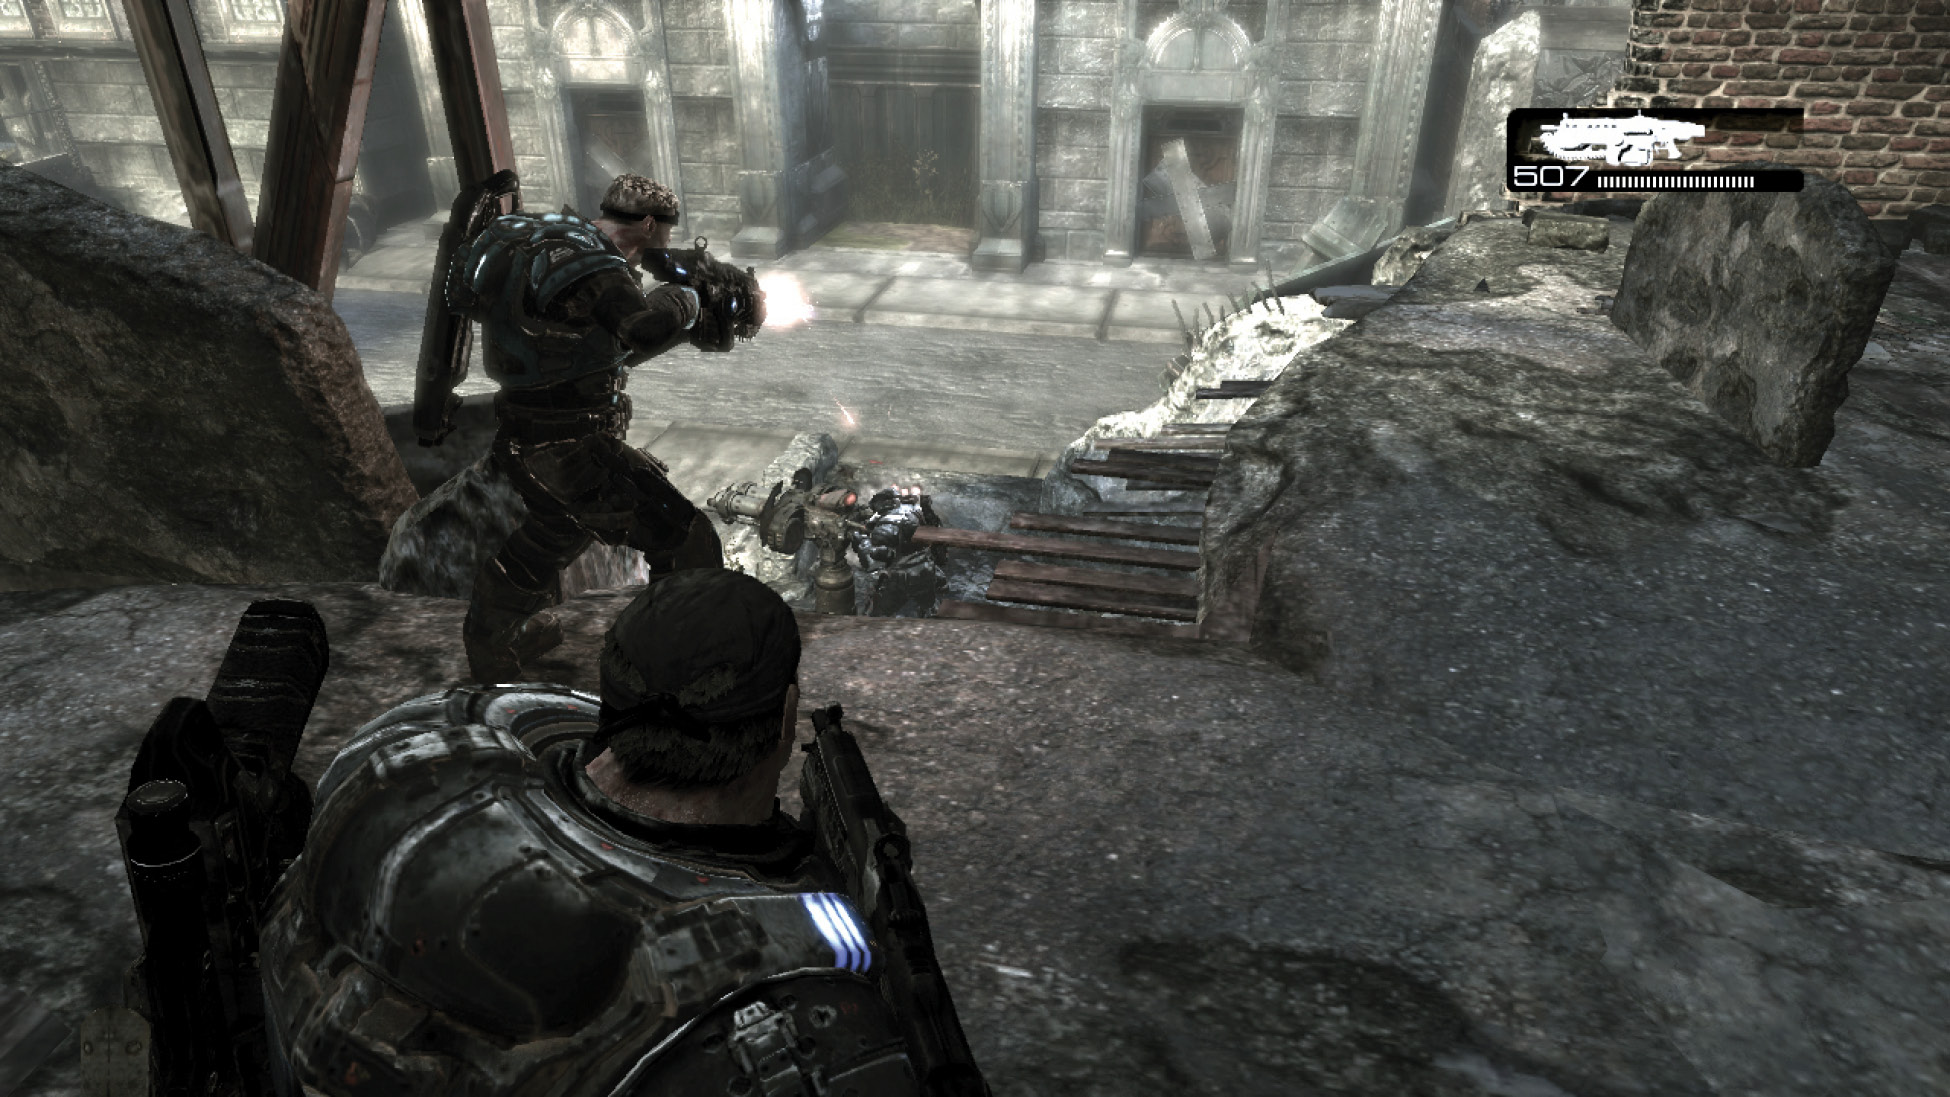
Fight your way outside the top of the lecture hall and across the walkway to the other building. Dom requests assistance with the Gunner who has them pinned down with the Troika on the lower level. Don’t try to take out the Gunner from atop the bridge, as it’s no use. Instead, Roadie Run across the bridge and into the side room on the left. The walls are blown apart and, from within, Marcus and Baird can rain down the pain atop the Gunner without him even knowing they’re there. Descend the stairs and proceed out onto the street to reunite with Cole and Dom.
Left Path: Through the Buildings
The route through the buildings places Marcus and Baird in perfect position to provide sniper support from an elevated perch.
Make your way into the building and take cover near the lockers. A Theron Guard is around the corner up ahead. Theron Guards use their Torquebows in nearly every situation, so rush this one’s position between shots and chainsaw it to death.
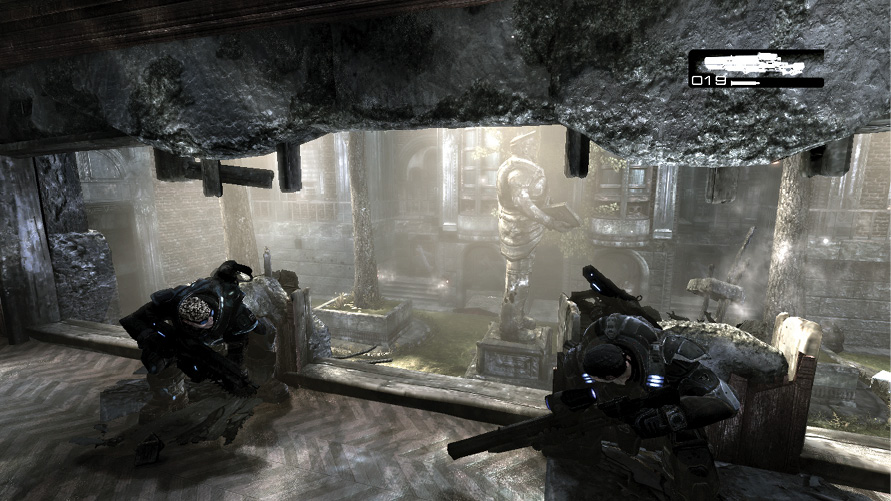
The wall ahead is blown out, providing a perfect view of the small courtyard to the right. This is rather fortunate, as Dom and Cole are under heavy fire. Assist Delta Two by using the Longshot to snipe the Theron Guards and Grenadiers down below.
Continue down the hall to the next room. Use the Lancer to cut down the initial wave of Wretches and the Grenadier that appears near the lockers. Then turn your attention to the Seeder down below. Snipe any Grenadiers and Theron Guards you see, then swap out the Longshot for any of the three Hammers of Dawn scattered around the upstairs area. Use the walls and debris for cover from the Nemacysts while you work to kill the Seeder.
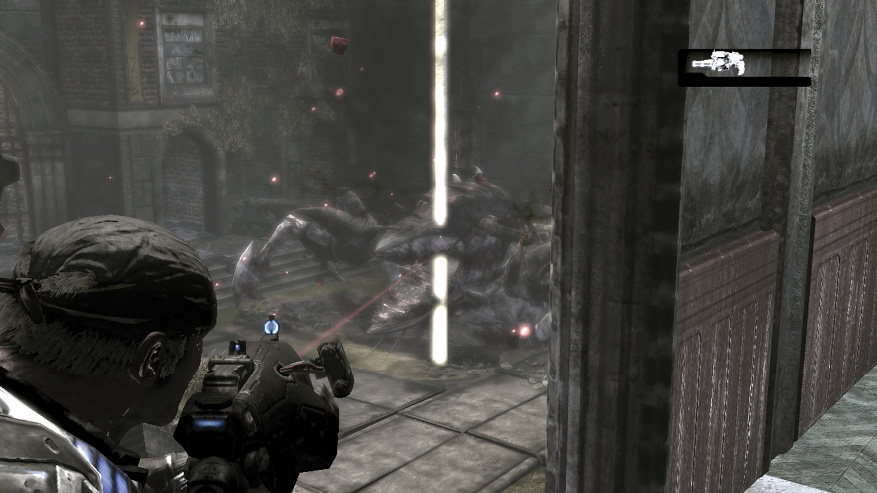
Switch to the Frag Grenades the second the Seeder is destroyed. Look toward the obelisk-like statue in the center of the yard. Toss the Frag Grenade the second the Emergence Hole opens under the statue, then grab the Lancer and beat back the next batch of Wretches that appear near the lockers. Help Baird finish off any Theron Guards lurking in the courtyard below, and then move on.
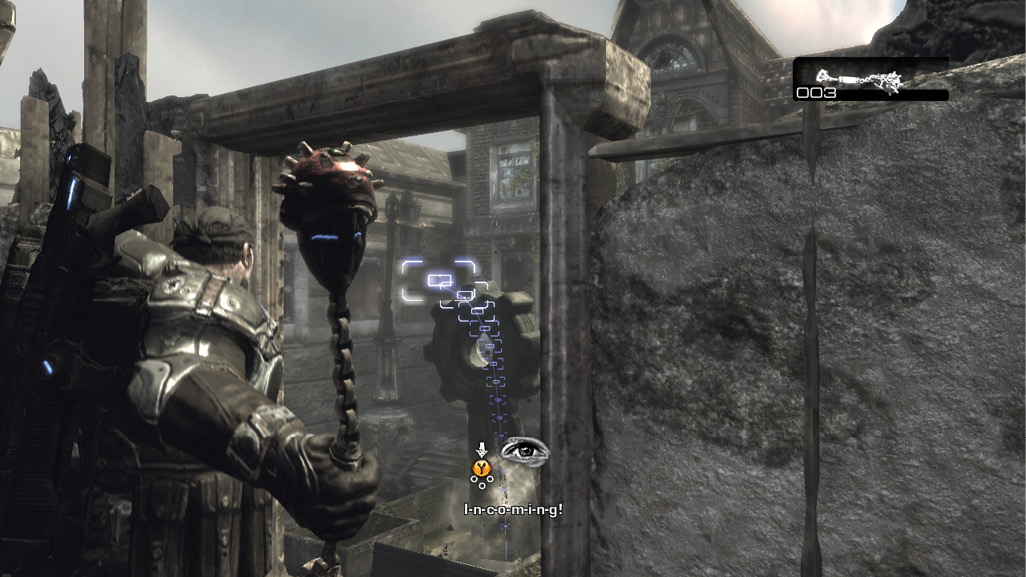
Use the wheel up ahead to raise the gates. This allows Marcus and Baird to continue through the building. Plus, Cole and Dom won’t be locked in the courtyard anymore. Head through the balcony overlooking the small classroom, and proceed onto the ruined second floor near the broken toilet ahead.
Use the Longshot to take out the Sniper in the building cattycorner from the toilet. Then lend your marksman skills to Dom and Cole by shooting the Locust in the street below and to the right.
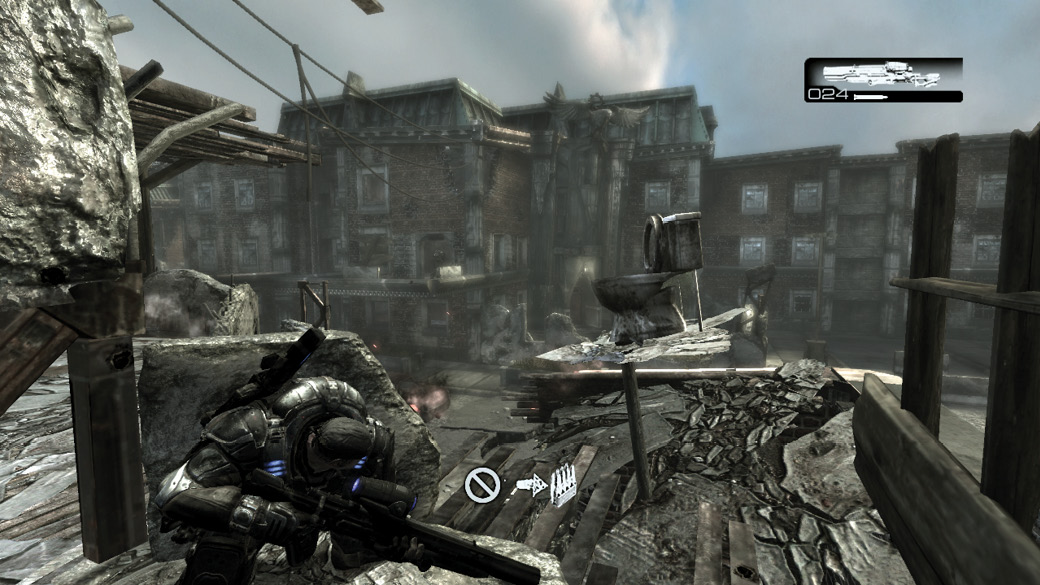
Descend the stairs to street level and snipe the Locust in the building across the street—look for one near the wall to the right and the other in the doorway straight ahead. Cut through the building across the street to reach the cordoned-off area to the left. Take cover from the Troika near the barricade, and use a Frag Grenade to kill the Gunner if Dom and Cole don’t get to him fast enough. Hurdle the barricade and check the stairwell beyond the Troika for any surviving Locust. When the last of them are defeated, Dom and Cole rejoin the team in the street below.
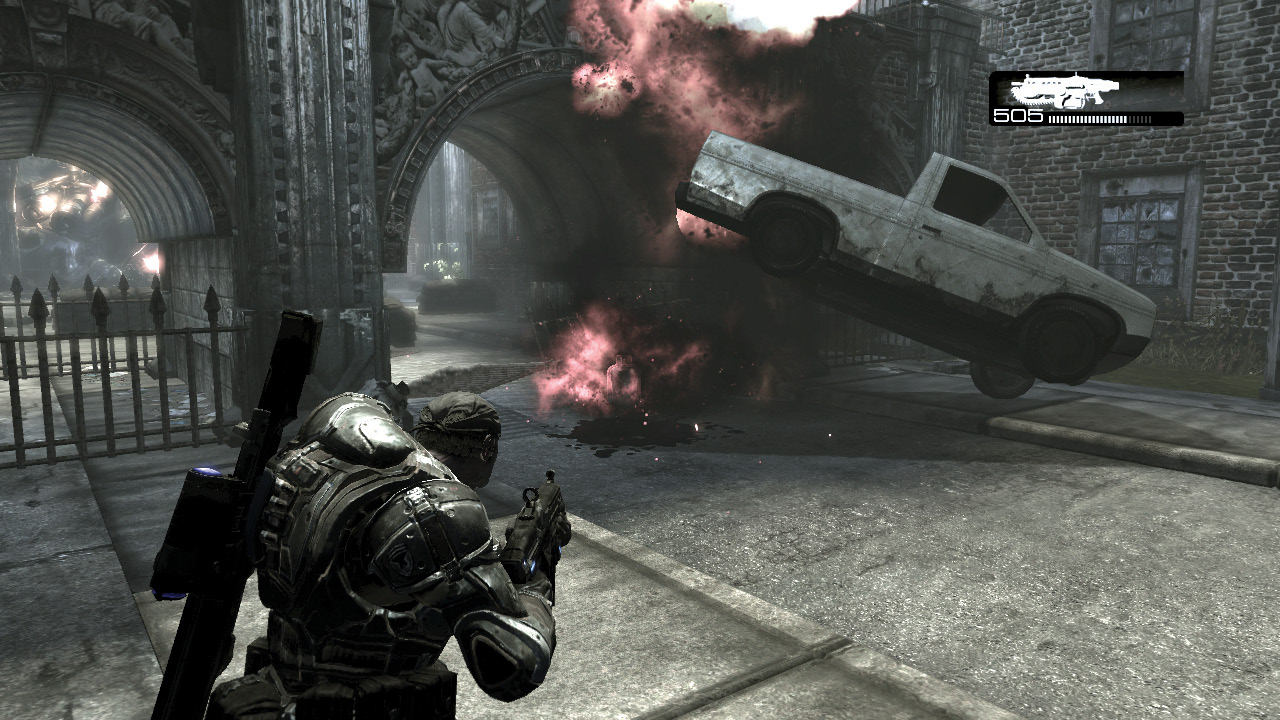
The downed chopper is straight ahead. Shoot the propane tanks near the gate to blow it open. Hurry over to the survivors before the Stranded pick the bodies clean of weaponry.
Bad to Worse
Enjoy the local flora and fauna.
Travel to the Conservatory
COG TAG #26This COG Tag is on the sidewalk, behind the rusted car that’s across from the columned walkway that leads to the conservatory entrance. 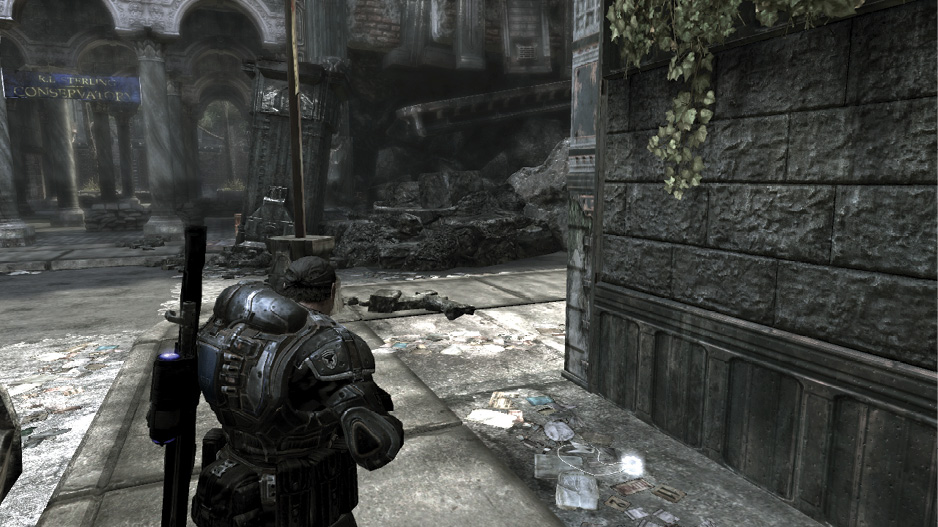
|
The conservatory entrance is ahead to the left. Proceed to the yard ahead along the pathway with the pillars, and grab the Hammer of Dawn lying on the ground to the left. The metal door leading into the conservatory requires Jack’s handiwork to open, and that means only one thing! It’s time to kill some Locust!
Defend Jack Until the Doors Open
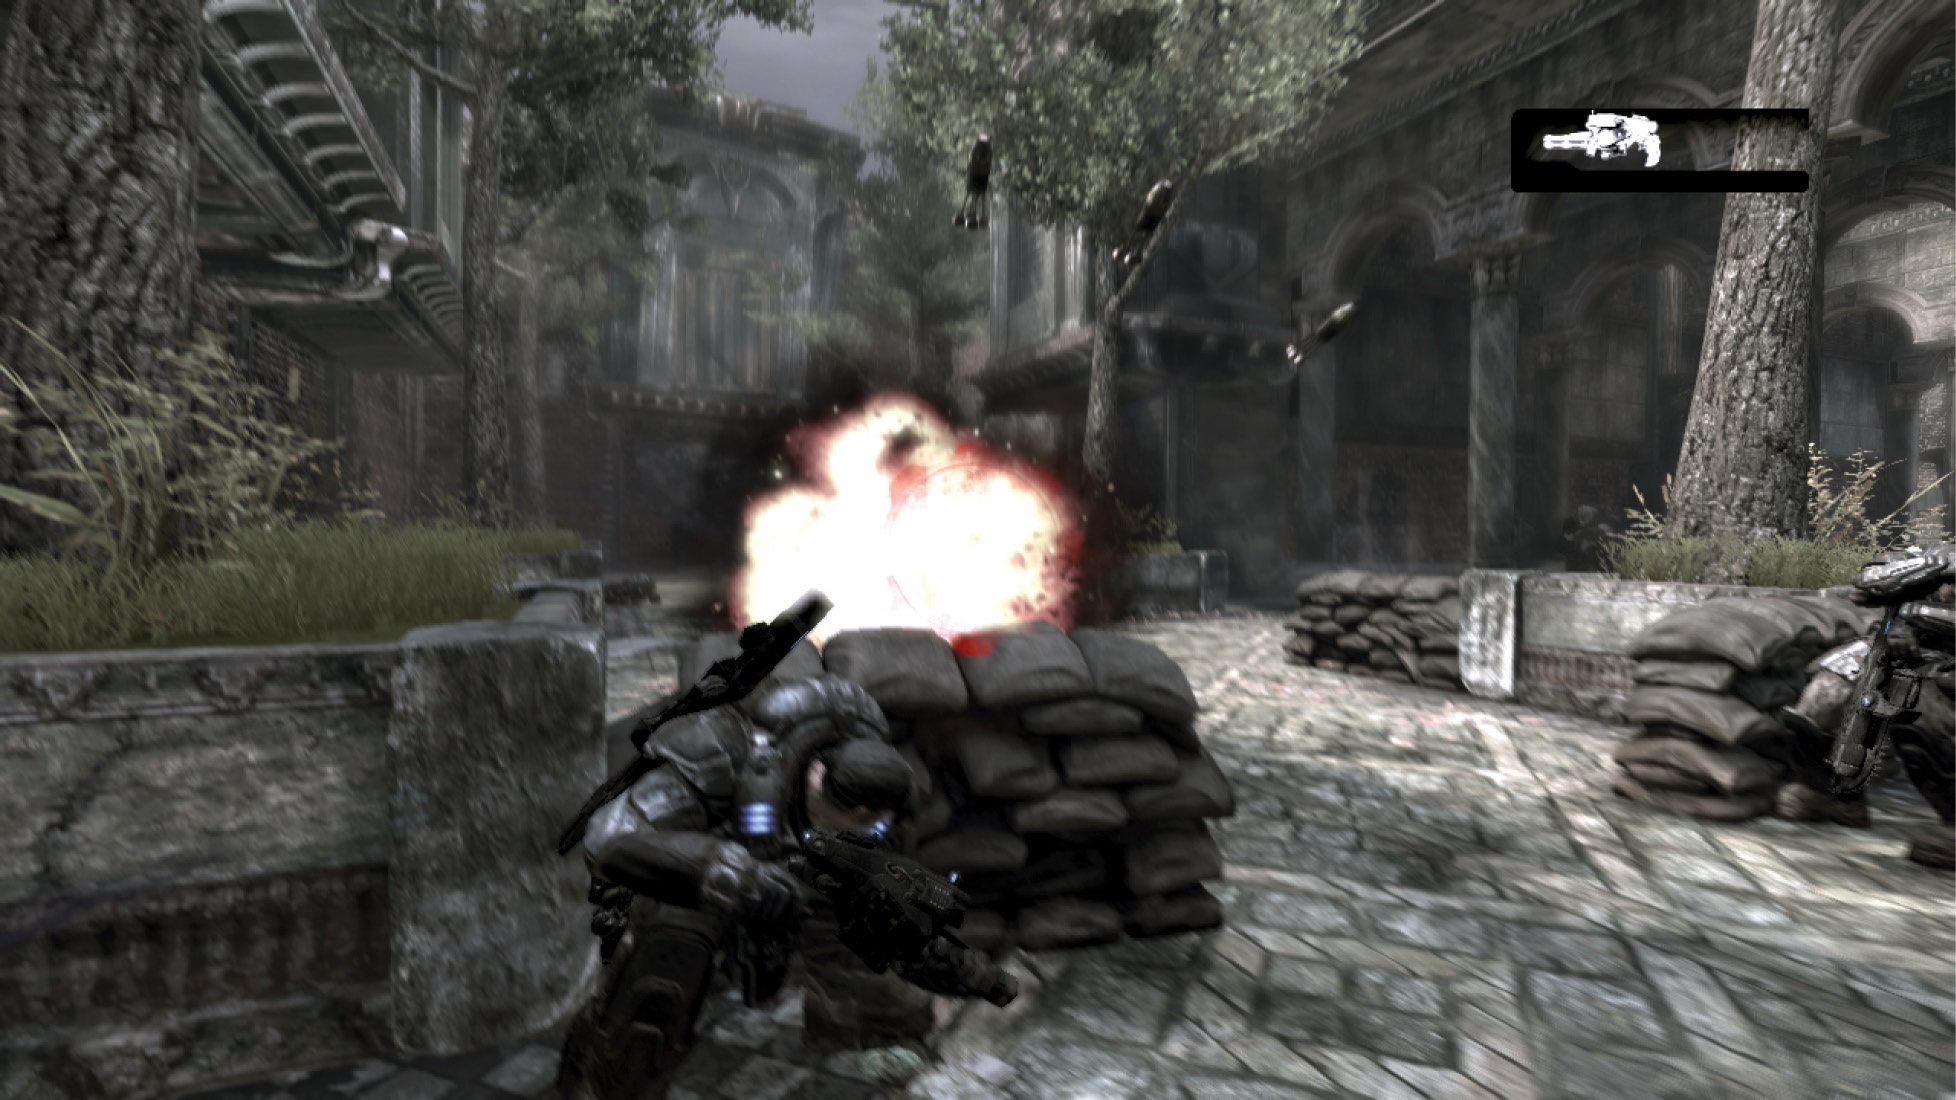
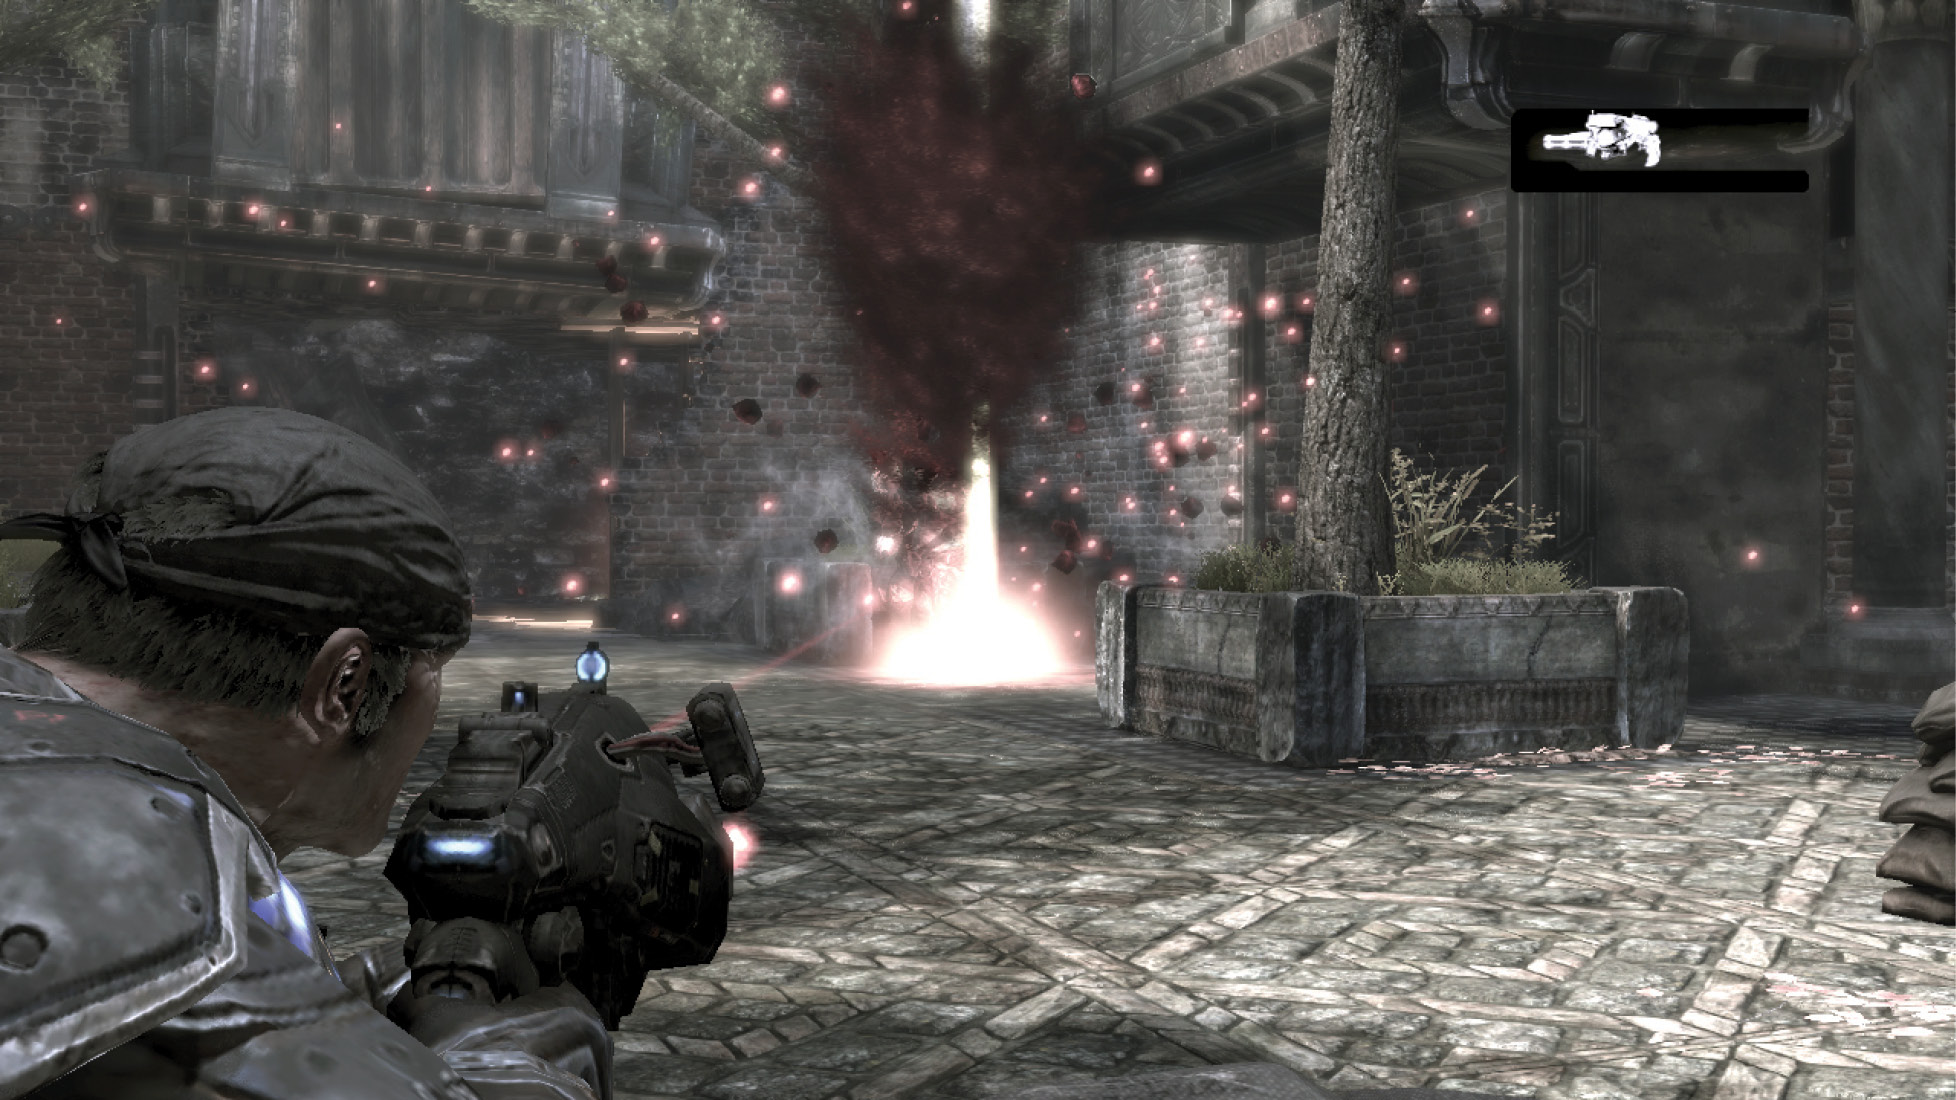
Equip the Frag Grenades and hurry back the way you came to the street outside. If you Roadie Run fast enough, you just might get there before the Emergence Hole opens! Use the Frag Grenade to shut the hole. Then lob another one to reduce the number of enemies that escaped before it closed. A pair of Boomers blows a hole through the brick wall at the end of the yard opposite Jack!
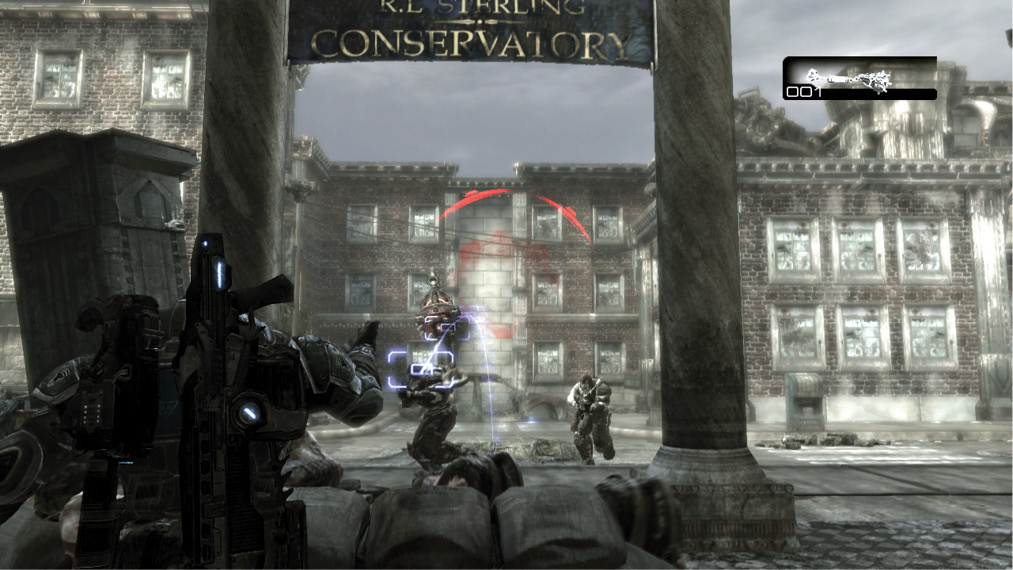
Rush back to Jack’s defense and equip the Hammer of Dawn you picked up moments ago. Use the Hammer of Dawn against the Boomers, making sure to keep track of both Boomers’ positions. The quicker you make it back to them after sealing off the Emergence Hole, the better chance you have of keeping them grouped together. Whatever you do, don’t poke your head out from behind cover when you hear one of them yell, “Boom!”
Proceed Through the Conservatory
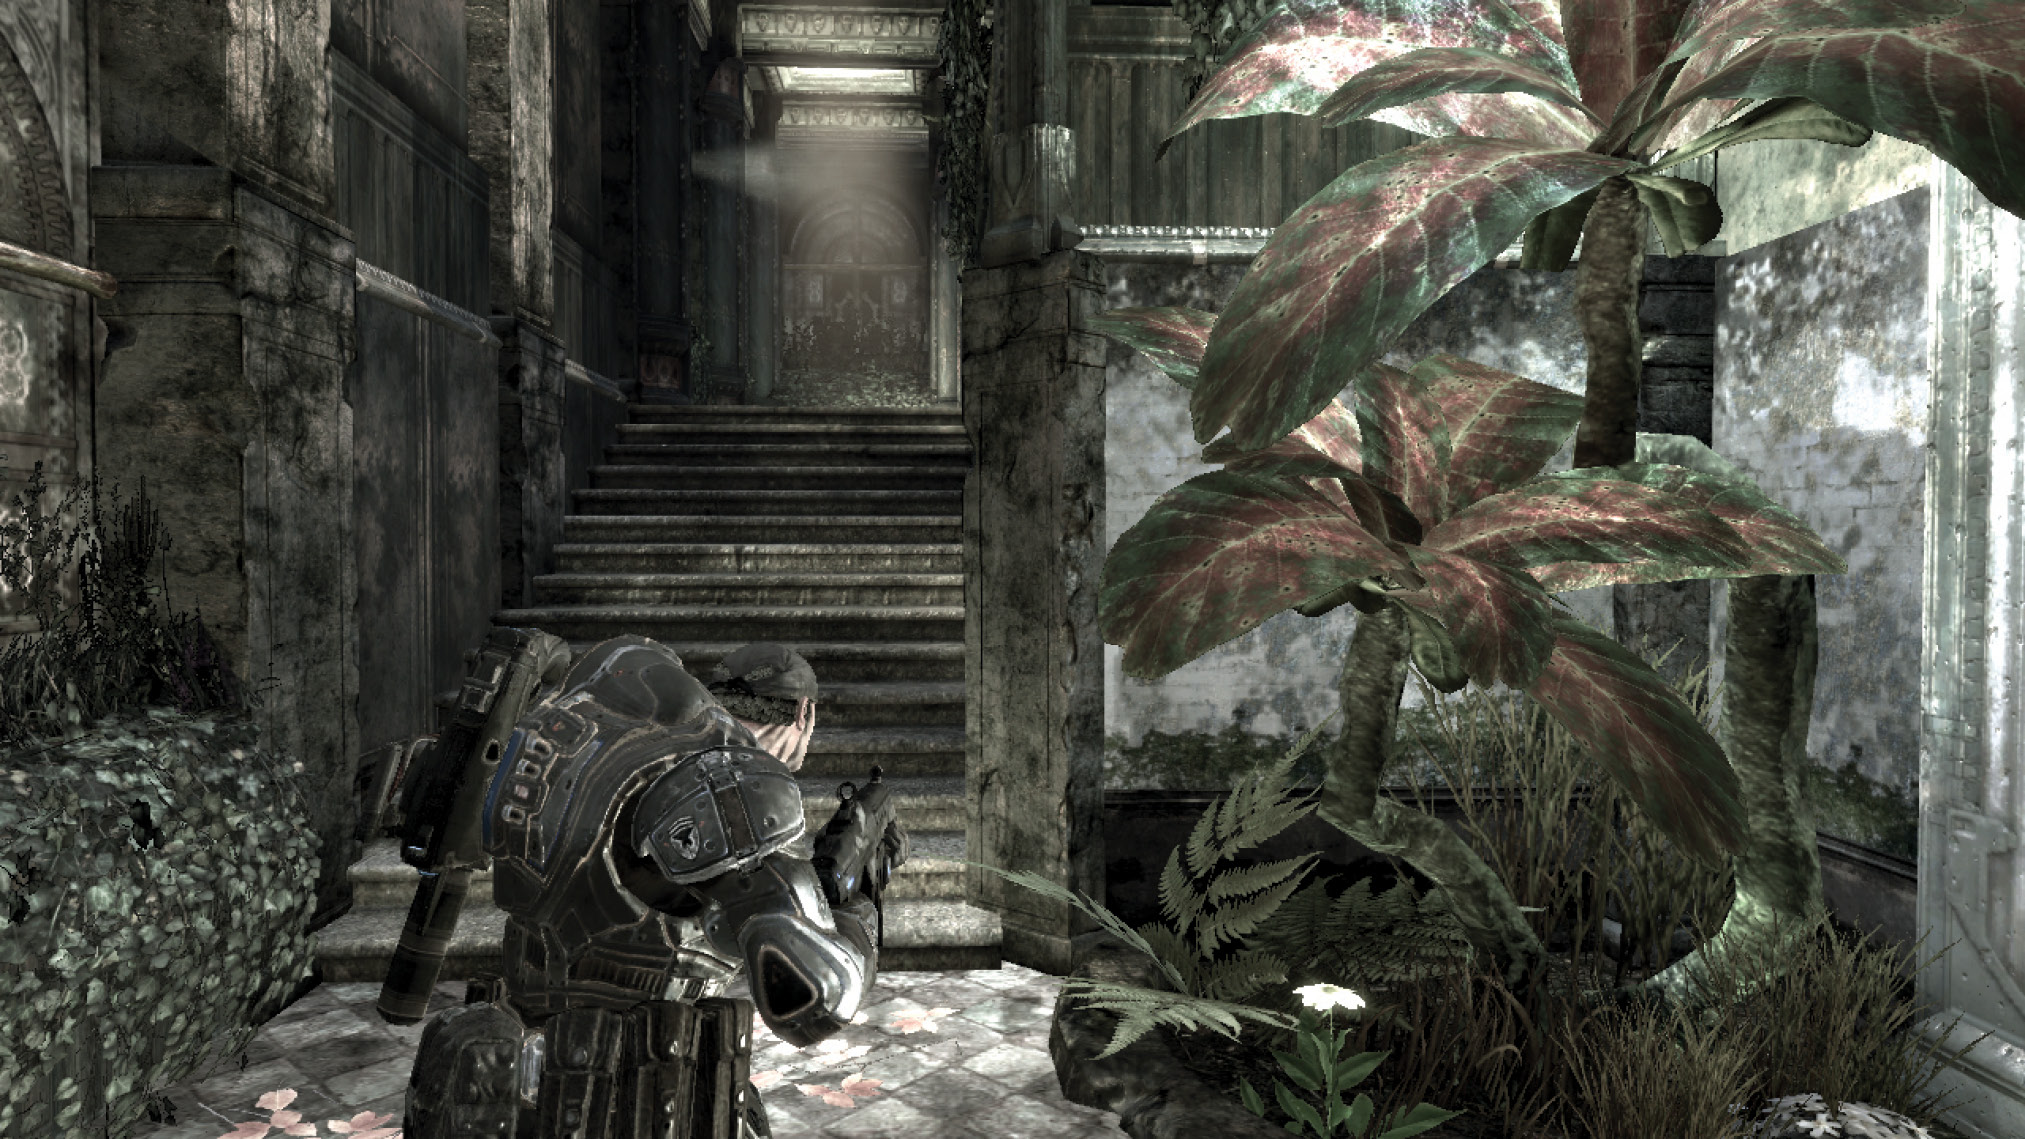
Hold onto the Hammer of Dawn and enter the conservatory. The heavy steel doors on the outside did a good job keeping the Locust from entering, so Marcus can enjoy the serenity of the area and take a relaxed look around.
Climb the stairs to the left, and then step out onto the balconies overlooking the arboretum ahead. Descend the stairs to the left and continue out into the first of the two arboretums.
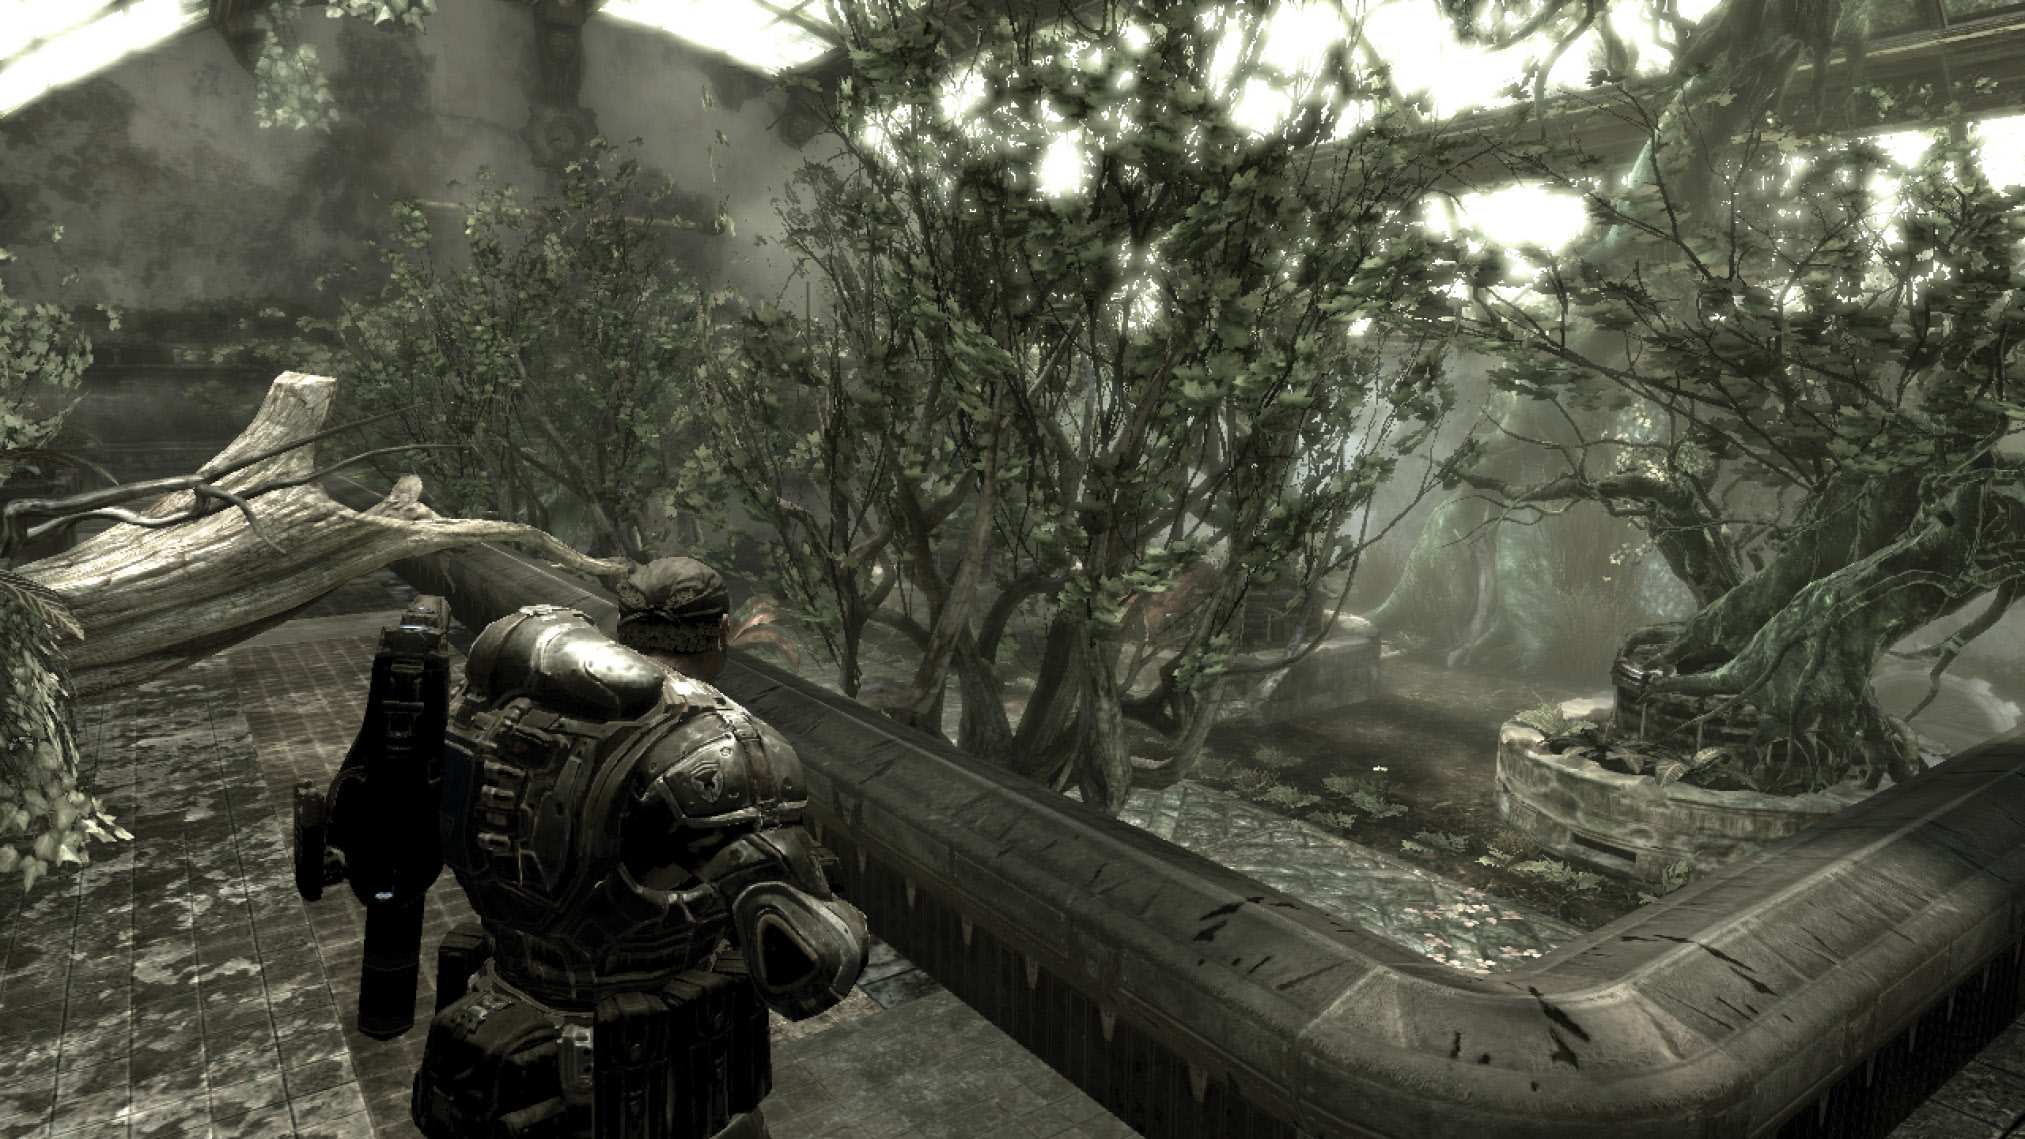
As Marcus and Dom reach the door at the end of this first arboretum, they come face-to-face with another Berserker! Lure the Berserker away from the door and then rush through it. She crashes through the wall into the hallway connecting the two arboretums, but she’s easy to slip past. Continue to the room ahead, where the Berserker again crashes through the wall. The only difference is that there’s no way out of this room just yet! Not only does Marcus have to kill the Berserker, but he also has to use her to bash a way out.
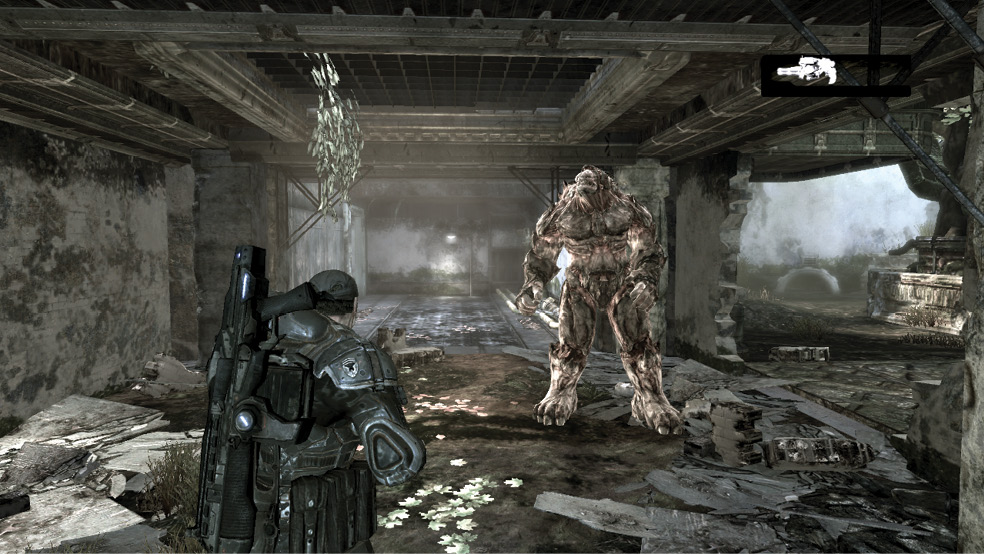
The problem with using the Hammer of Dawn on the Berserker is that you need an open view of the sky to do it. Fortunately, the seven stone pillars located between each of the planters are connected to the glass roof above. By luring the Berserker toward these pillars, Marcus can use the Berserker to destroy the roof, thereby allowing the satellites to get a fix on the Hammer of Dawn’s targeting reticule.
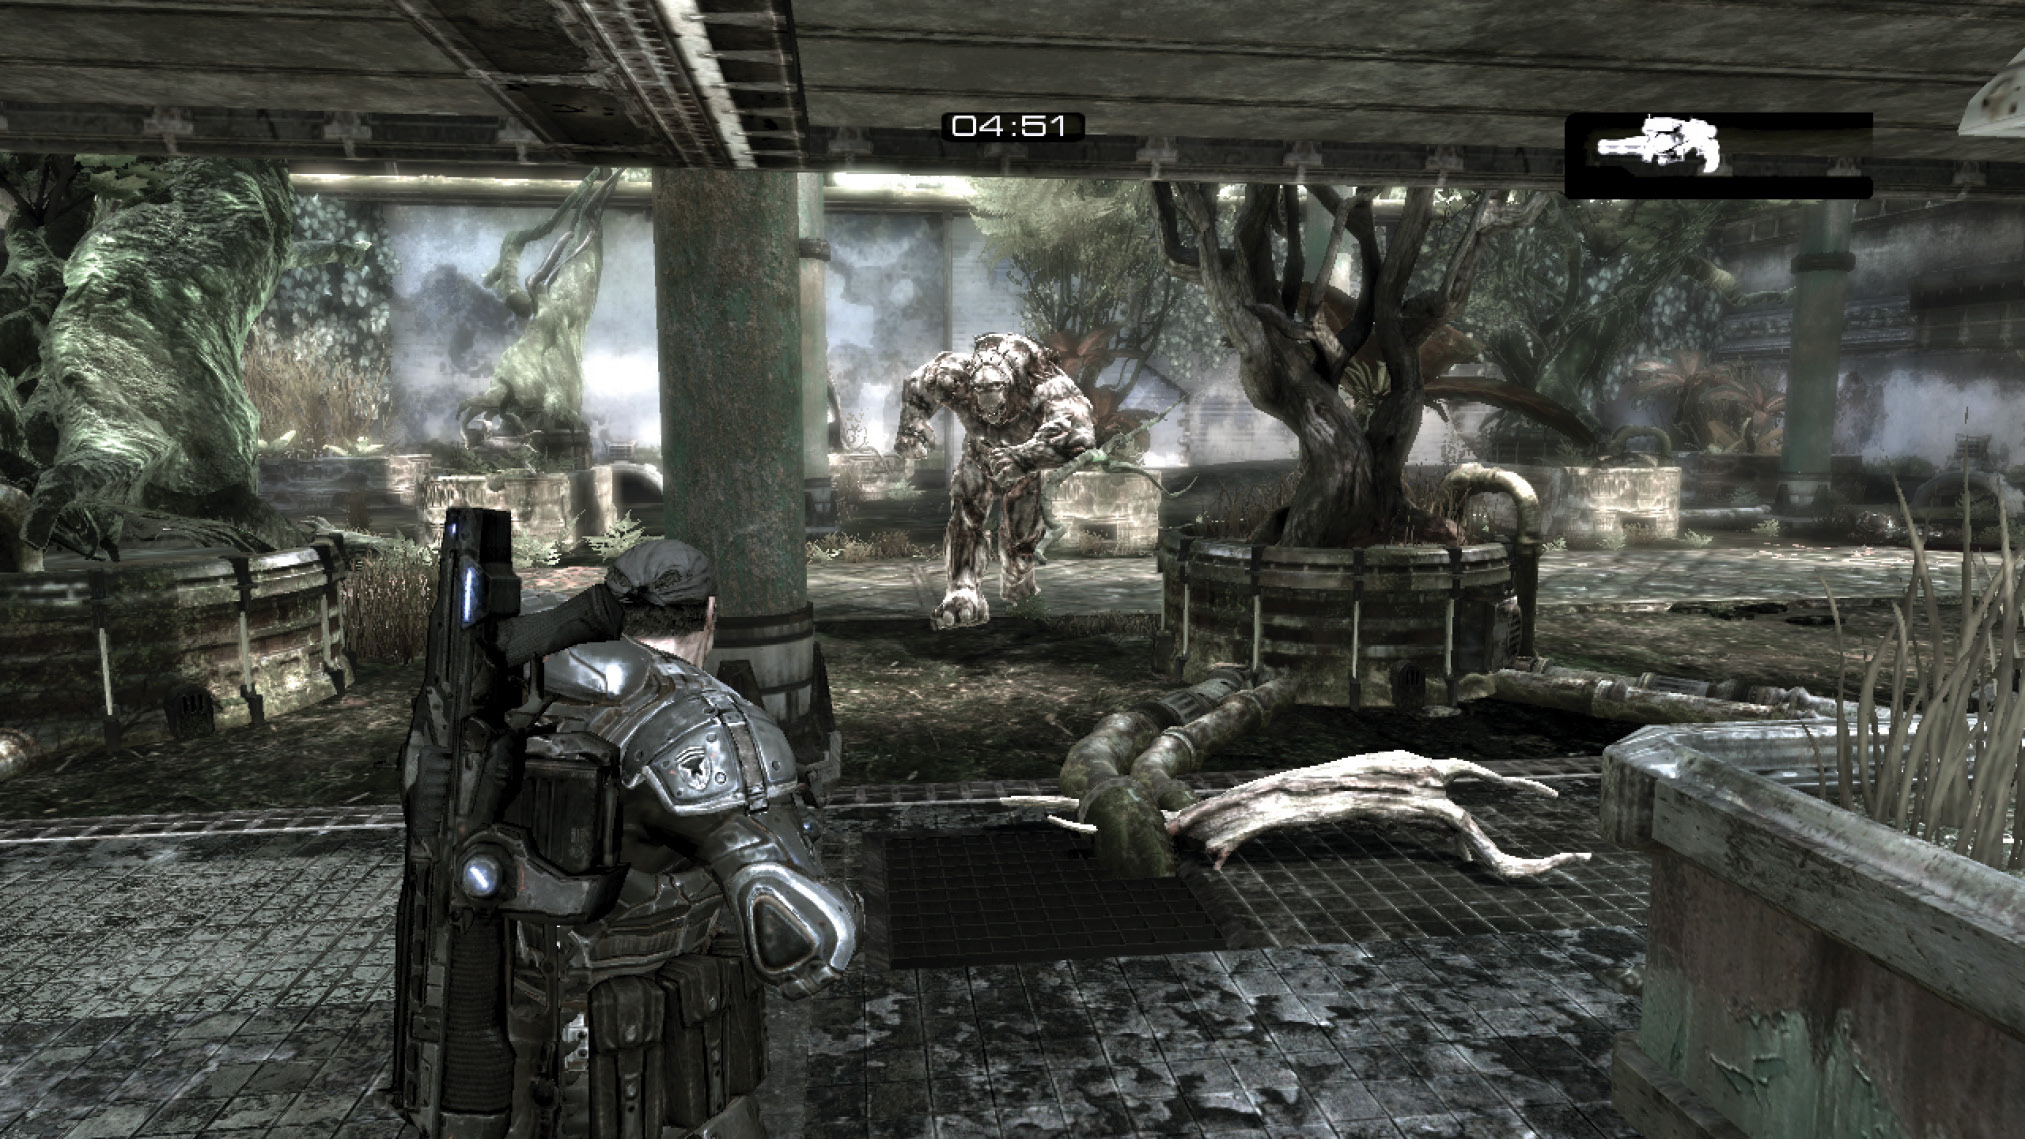
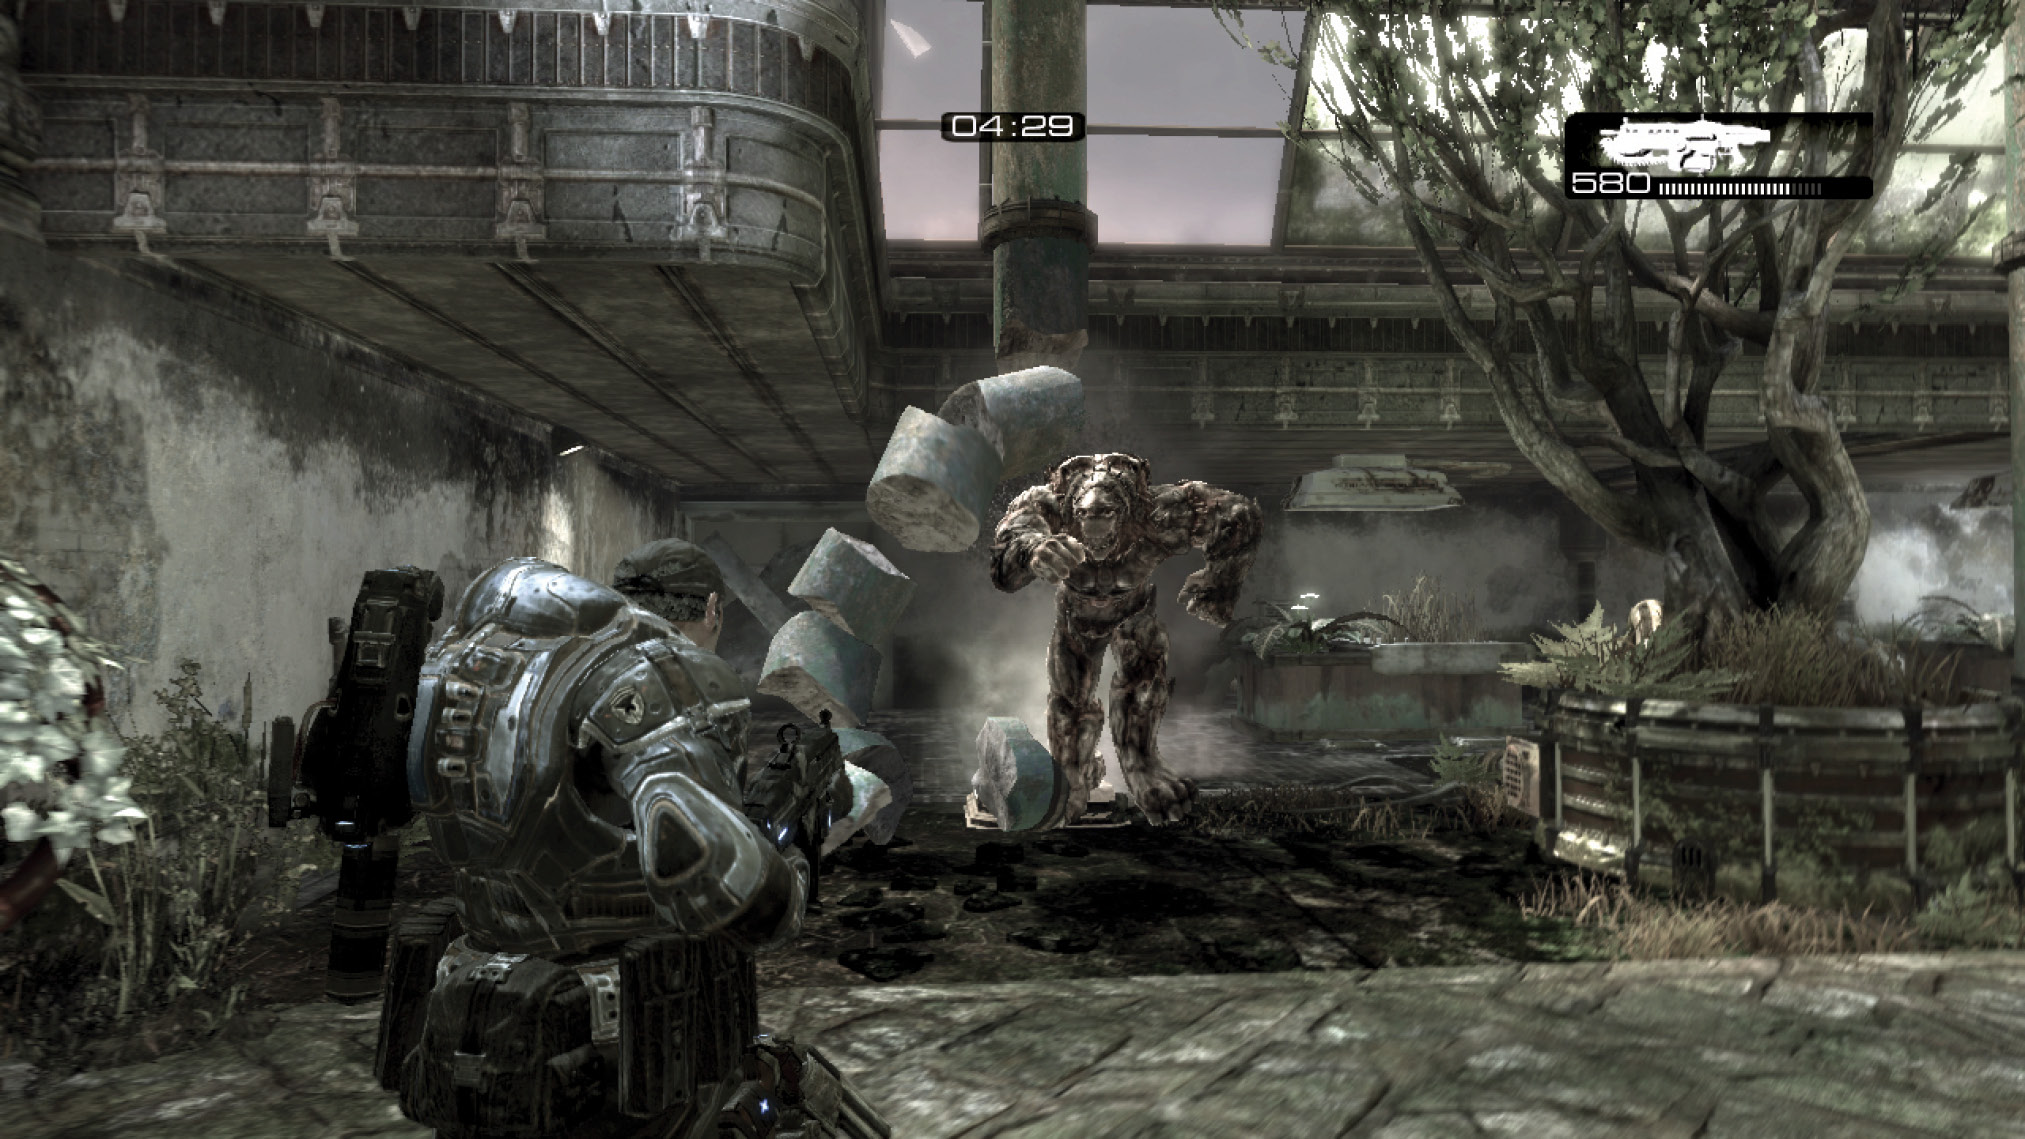
Rev the Lancer’s chainsaw bayonet to attract the Berserker toward each of the stone pillars. Stand on the side of the pillar opposite the Berserker, rev the chainsaw to get her attention, then dive out of the way as she comes crashing through the stone. This destroys the roof’s supports, allowing Marcus to use the Hammer of Dawn. The third pillar on the left (as viewed from entering the room) actually topples over instead of breaking apart—in doing so, it crashes through a wall and starts a small fire.
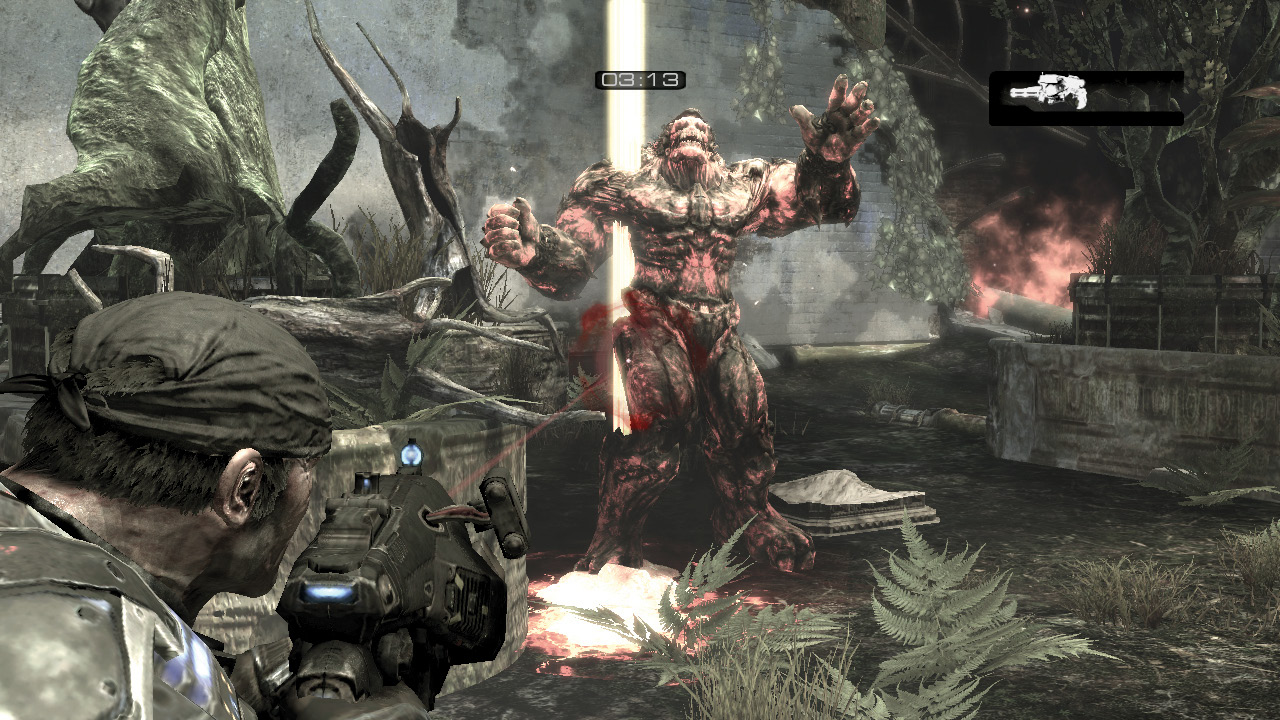
Ignore the fire for now. Continue coaxing the Berserker into breaking the pillars, and then kill her with three lengthy Hammer of Dawn blasts. Once she’s dead, rush to the rear wall and turn the large valve to extinguish the fire. With the fire out, climb through the rubble and kick open the door to exit the conservatory.
Hazing
Surprise encore.
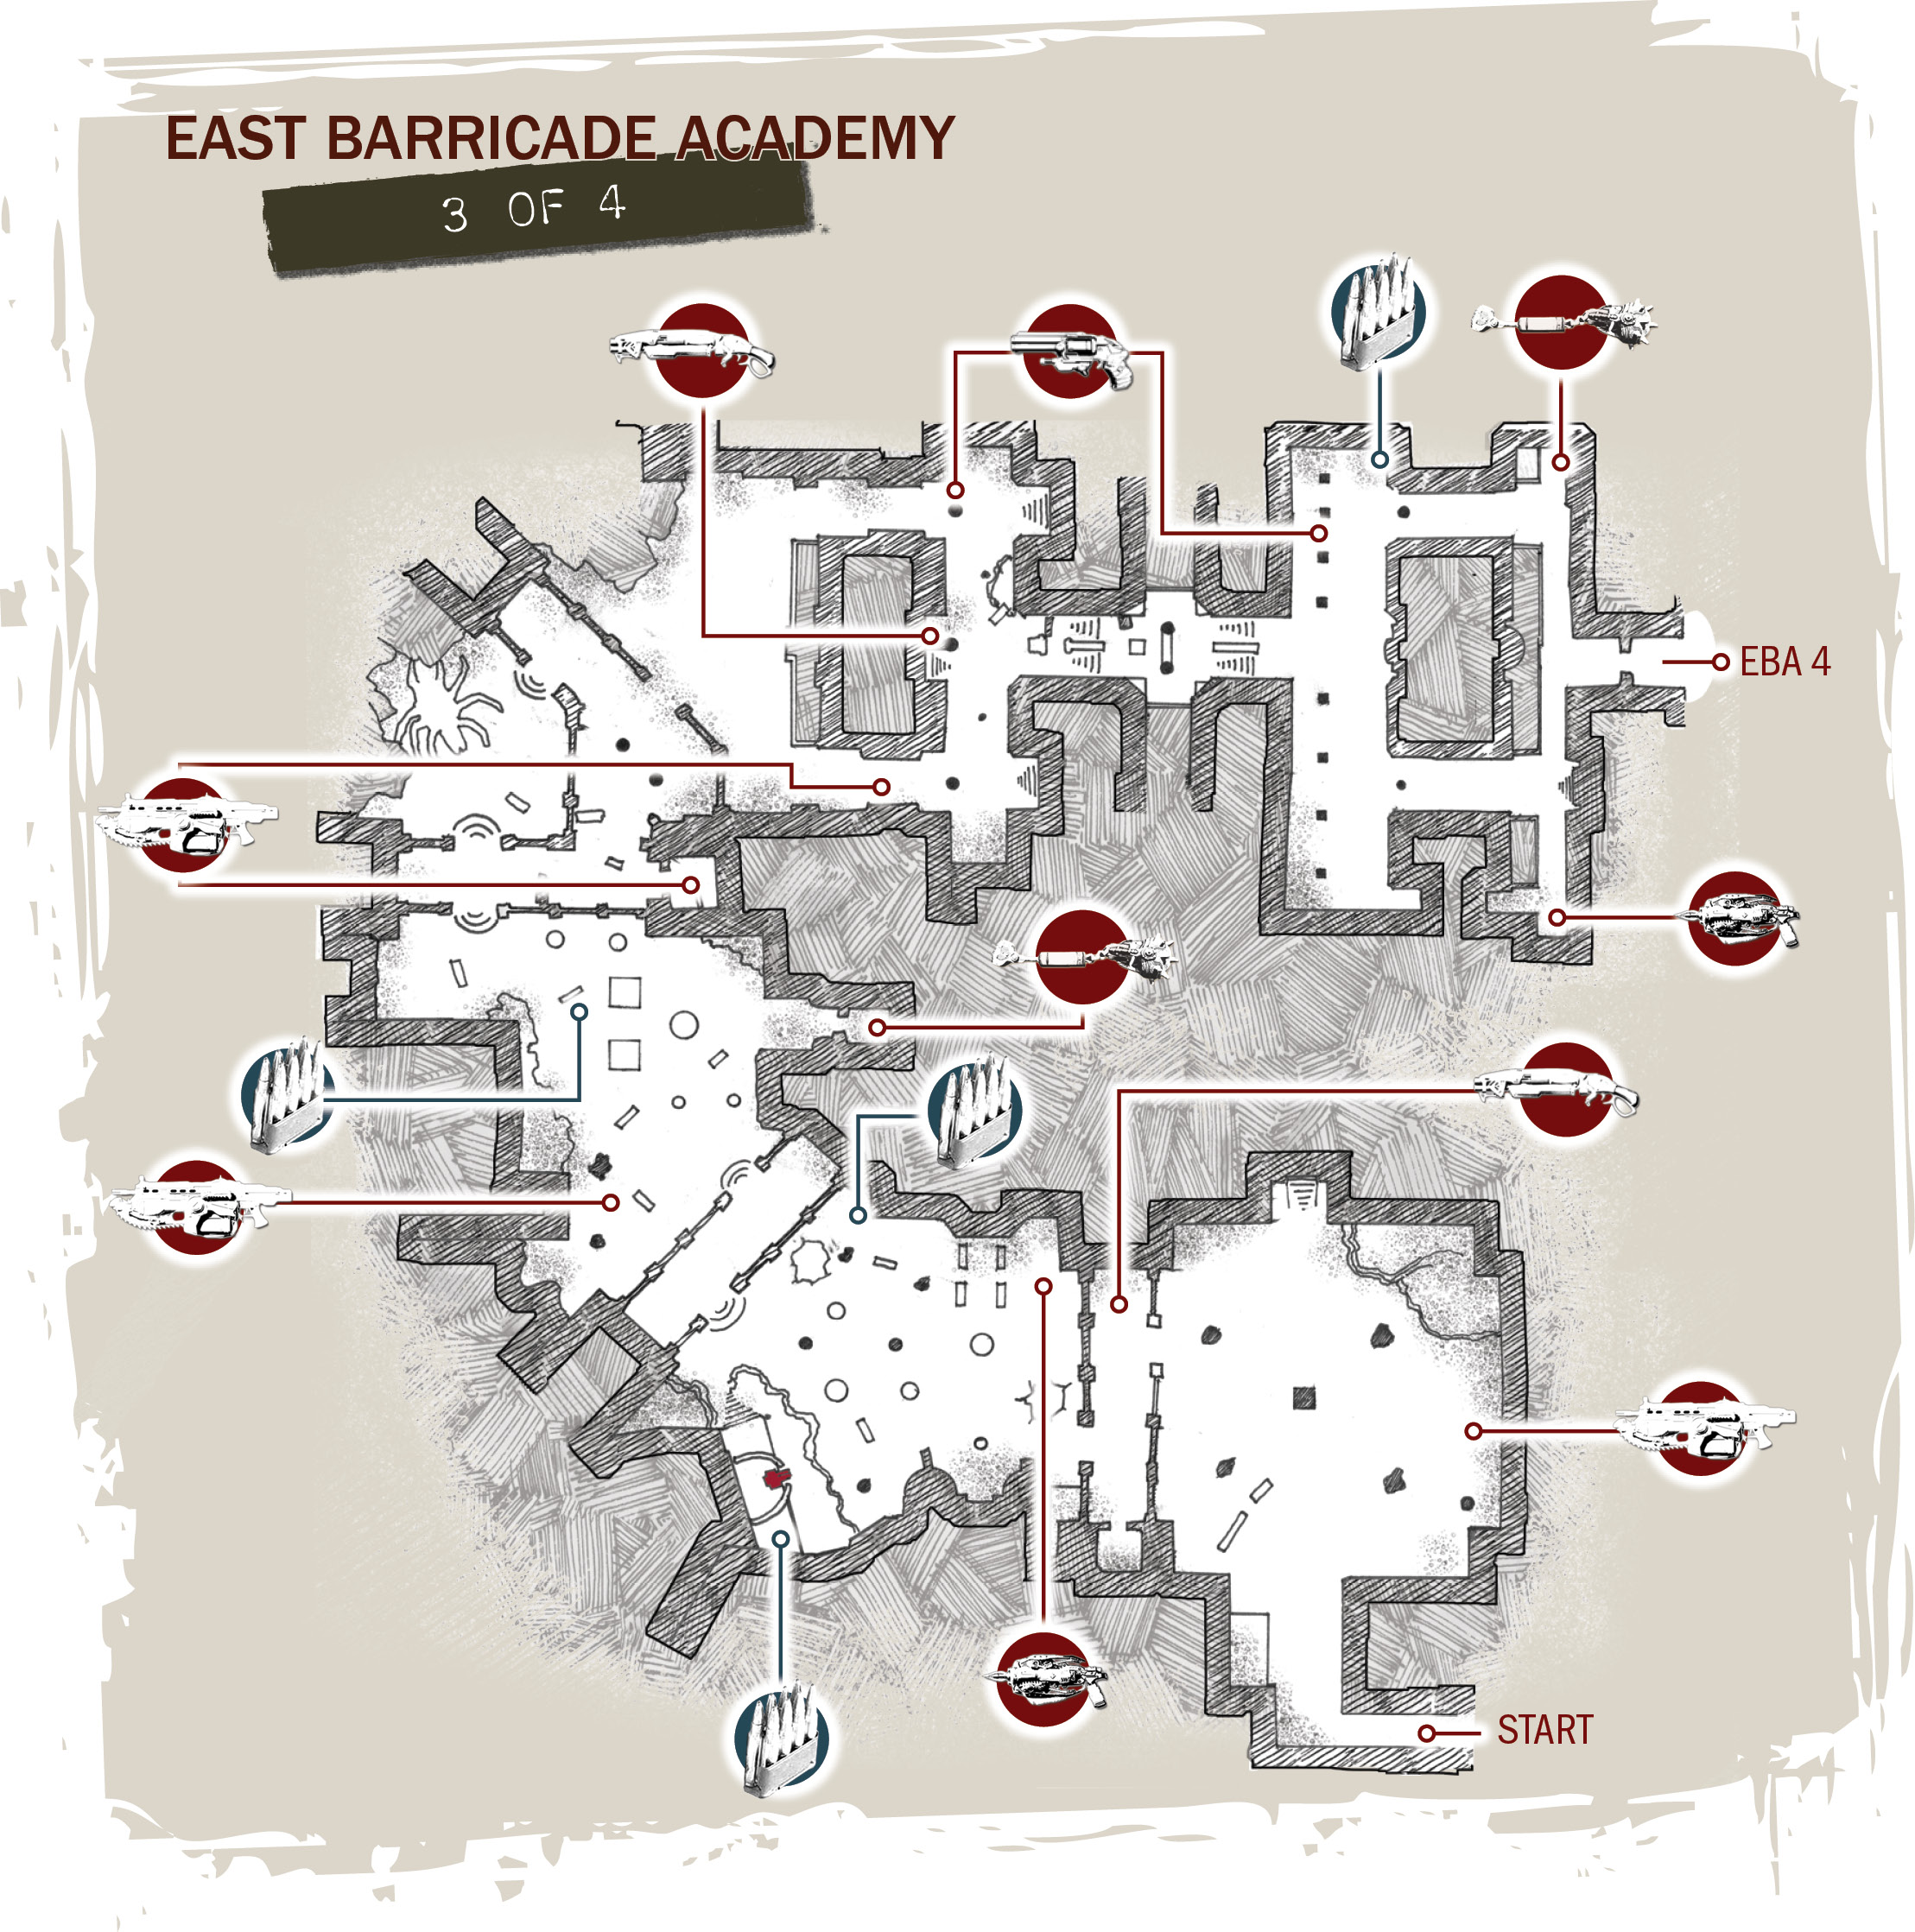
Proceed Toward the Fenix Estate
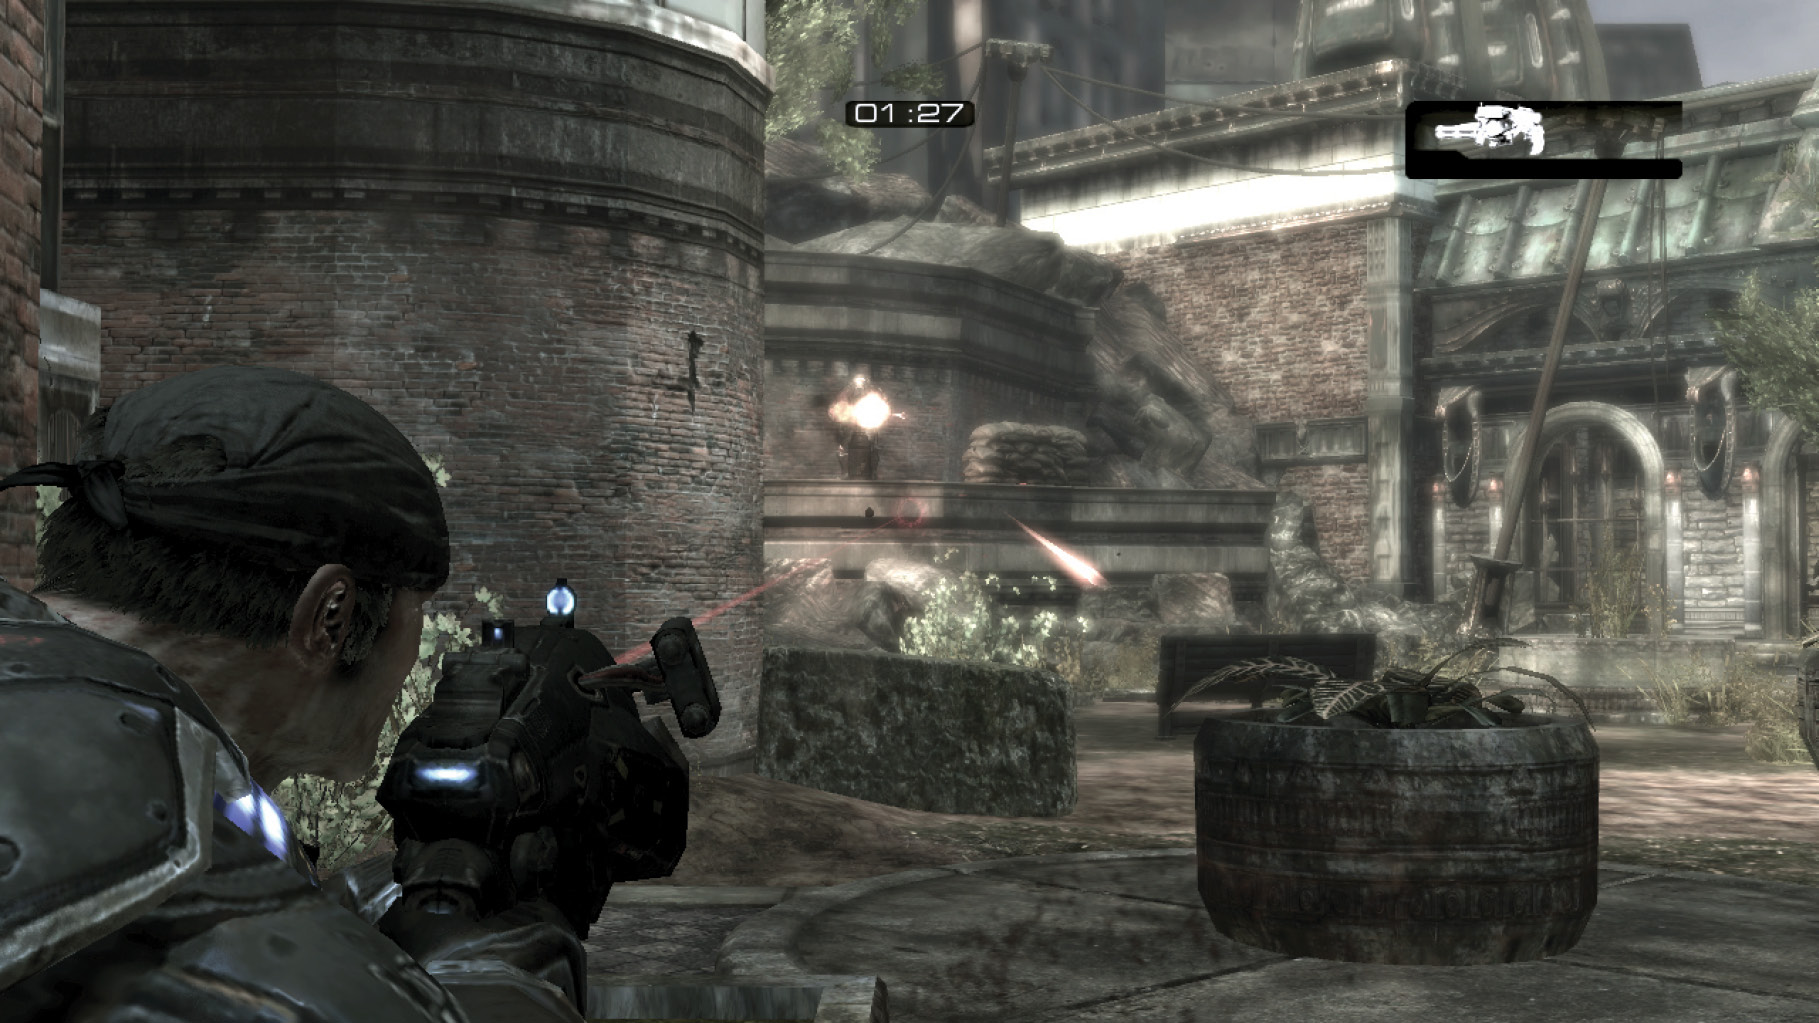
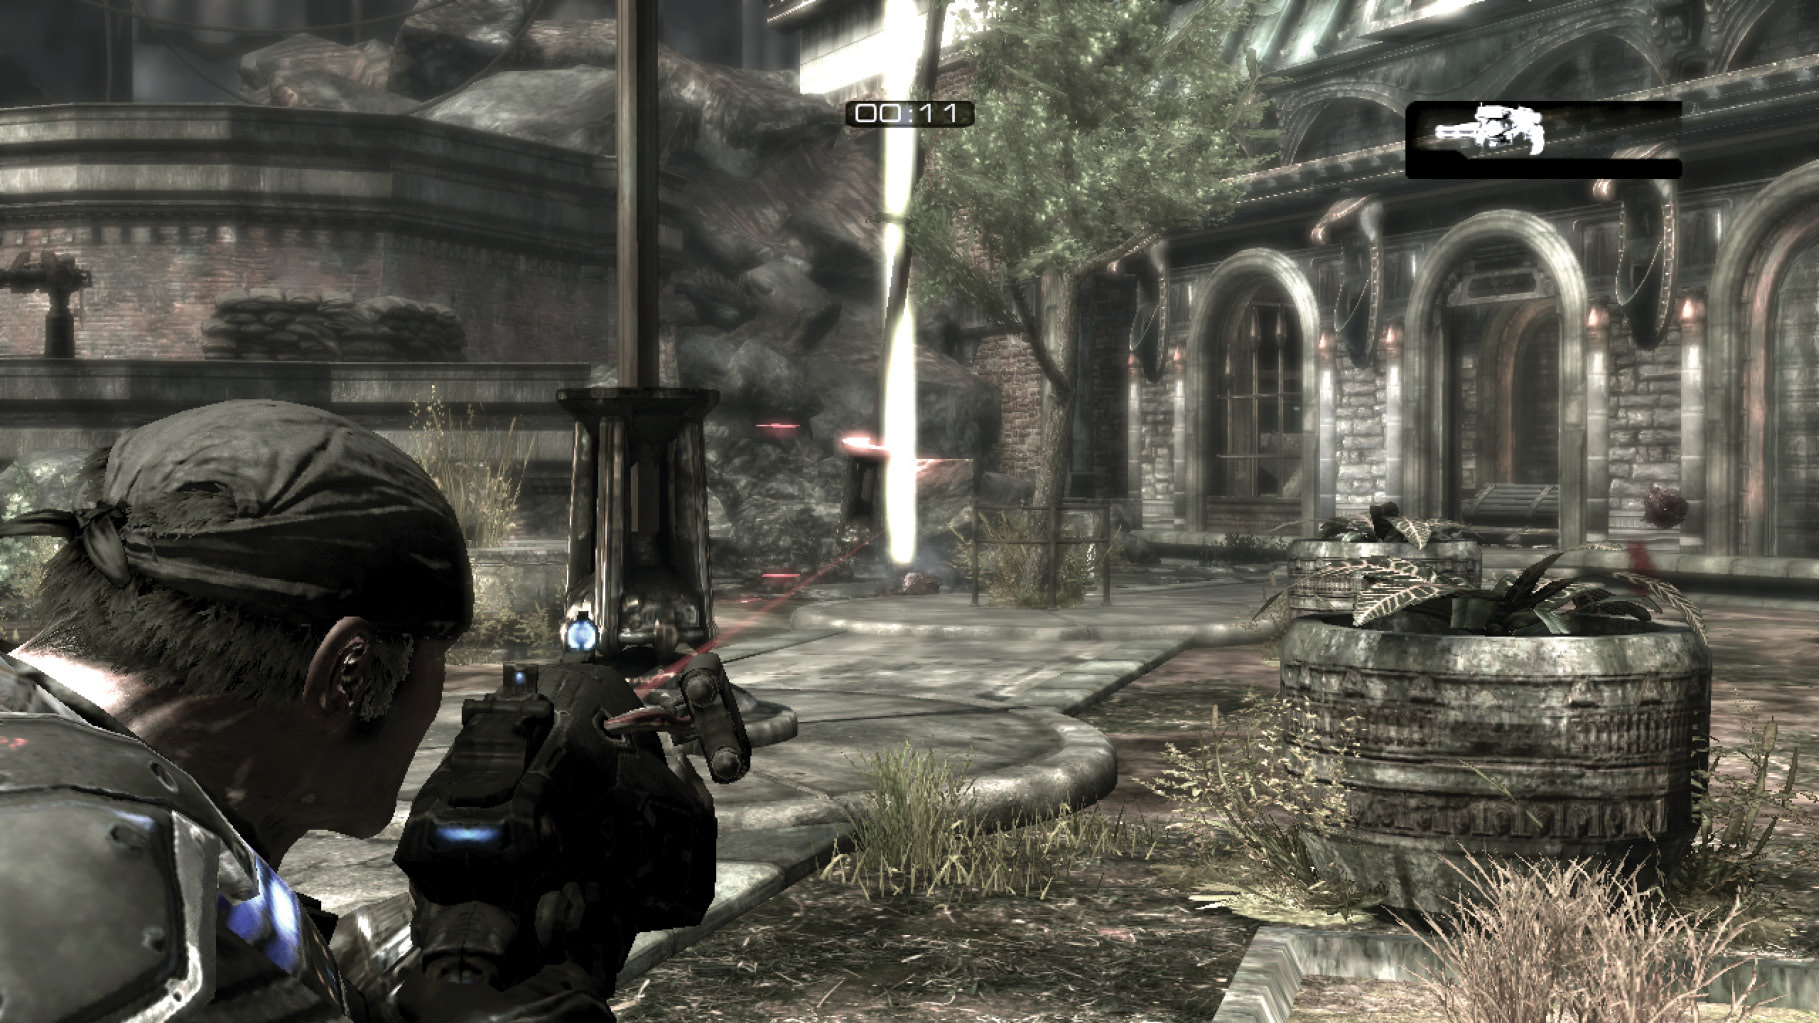
There will be plenty of time to search the courtyard and hallway ahead for weapons and ammo in a minute. But first, take advantage of the satellite coverage and put the Hammer of Dawn to use! Rush through the short hallway to the second courtyard and take cover on the left.
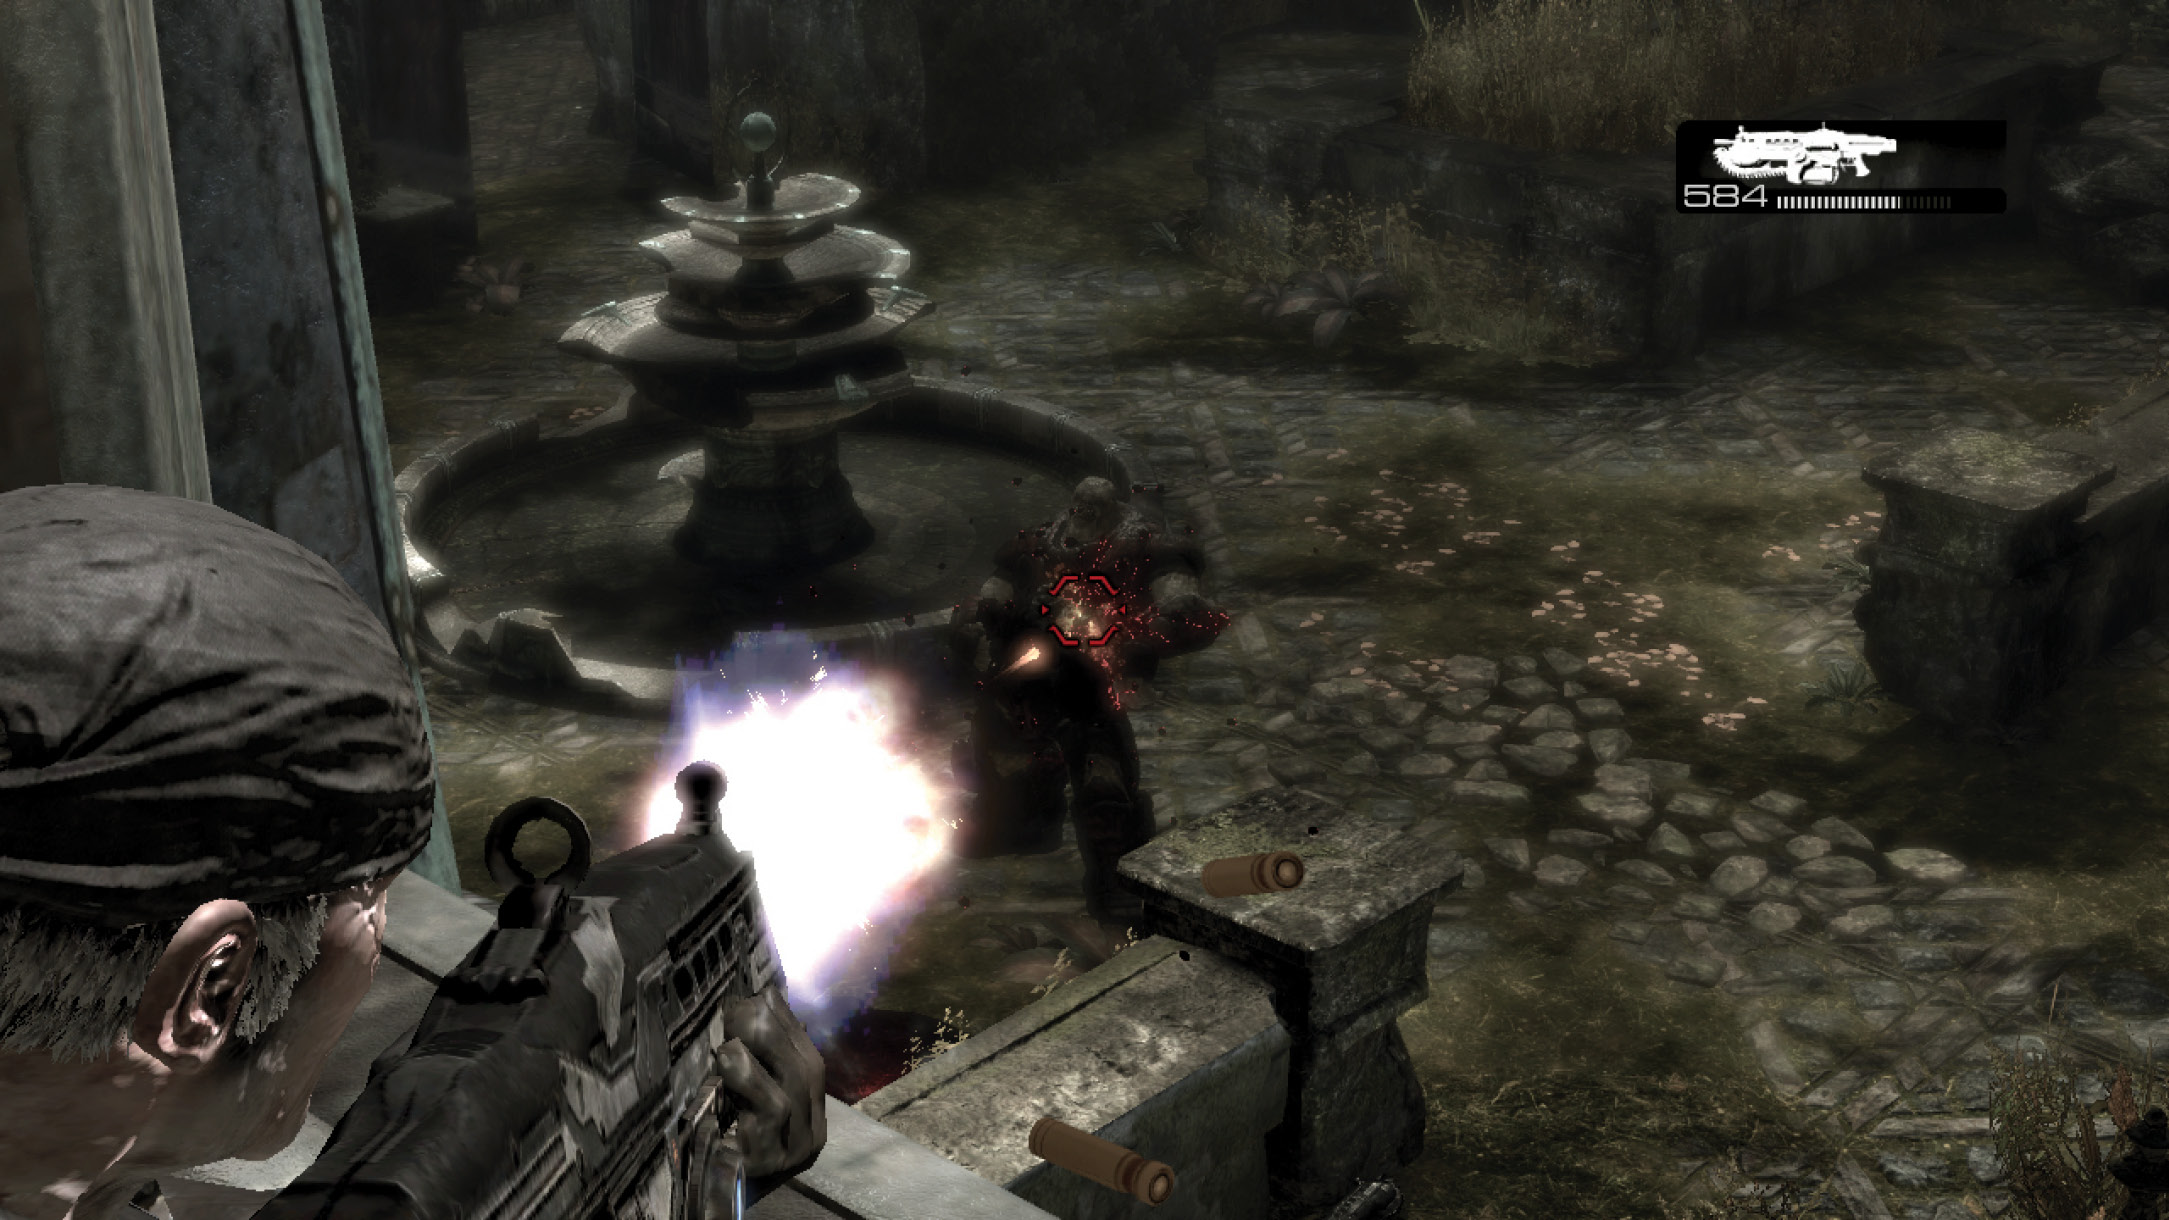
Use the Hammer of Dawn to eliminate the Troika Gunner and Spotter behind the sandbags in the distance. Take out any other Locust in the vicinity, then move to the yard’s center and turn back toward the direction from which you came—an Emergence Hole soon opens. Use the Hammer of Dawn to eviscerate the Locust as they reach the surface. This will likely close the hole as well. A second Emergence Hole opens to the right of the Troika, so be ready. If you managed to defeat the Berserker quickly enough, there should be plenty of time to secure this courtyard with the Hammer of Dawn.
Grab the Torquebow from the courtyard and move through the next hallway to the third yard. There, a Theron Guard appears on the roof amongst several Nemacysts. Don’t worry about trying to kill the Theron, as it can’t be killed. Instead, focus on eliminating the three Nemacysts before they dive-bomb Marcus and Dom.
Once you eliminate the Nemacysts, take cover near the planters in the center of the yard. The first wave of Drones attacks from the left. The second wave drops from the windows above the area to the right. Utilize cover and look for opportunities to score multiple kills with a single Torquebow arrow. Lastly, a Boomer marches its way out of the next corridor. Use the Torquebow and Lancer to cut it down.
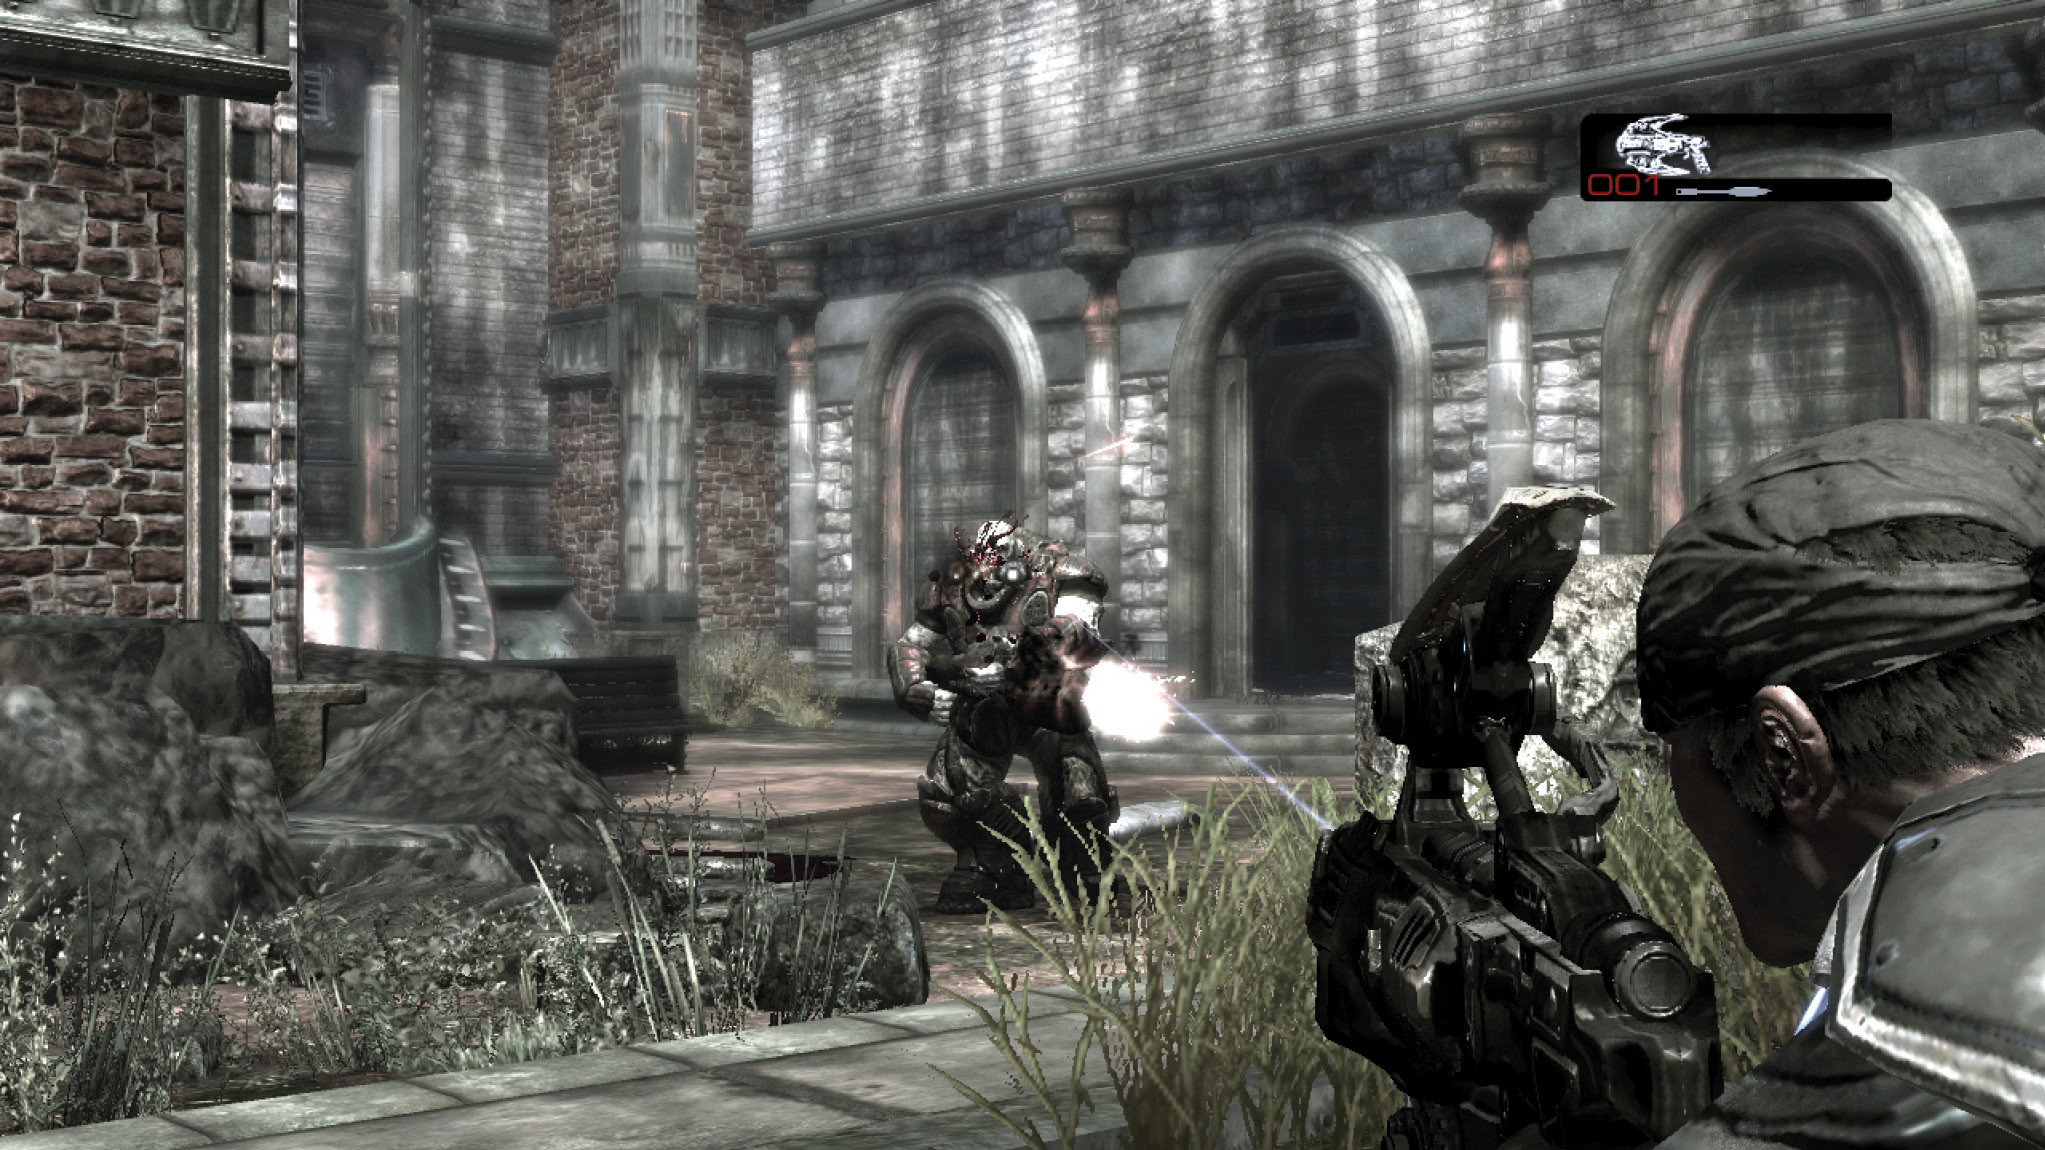
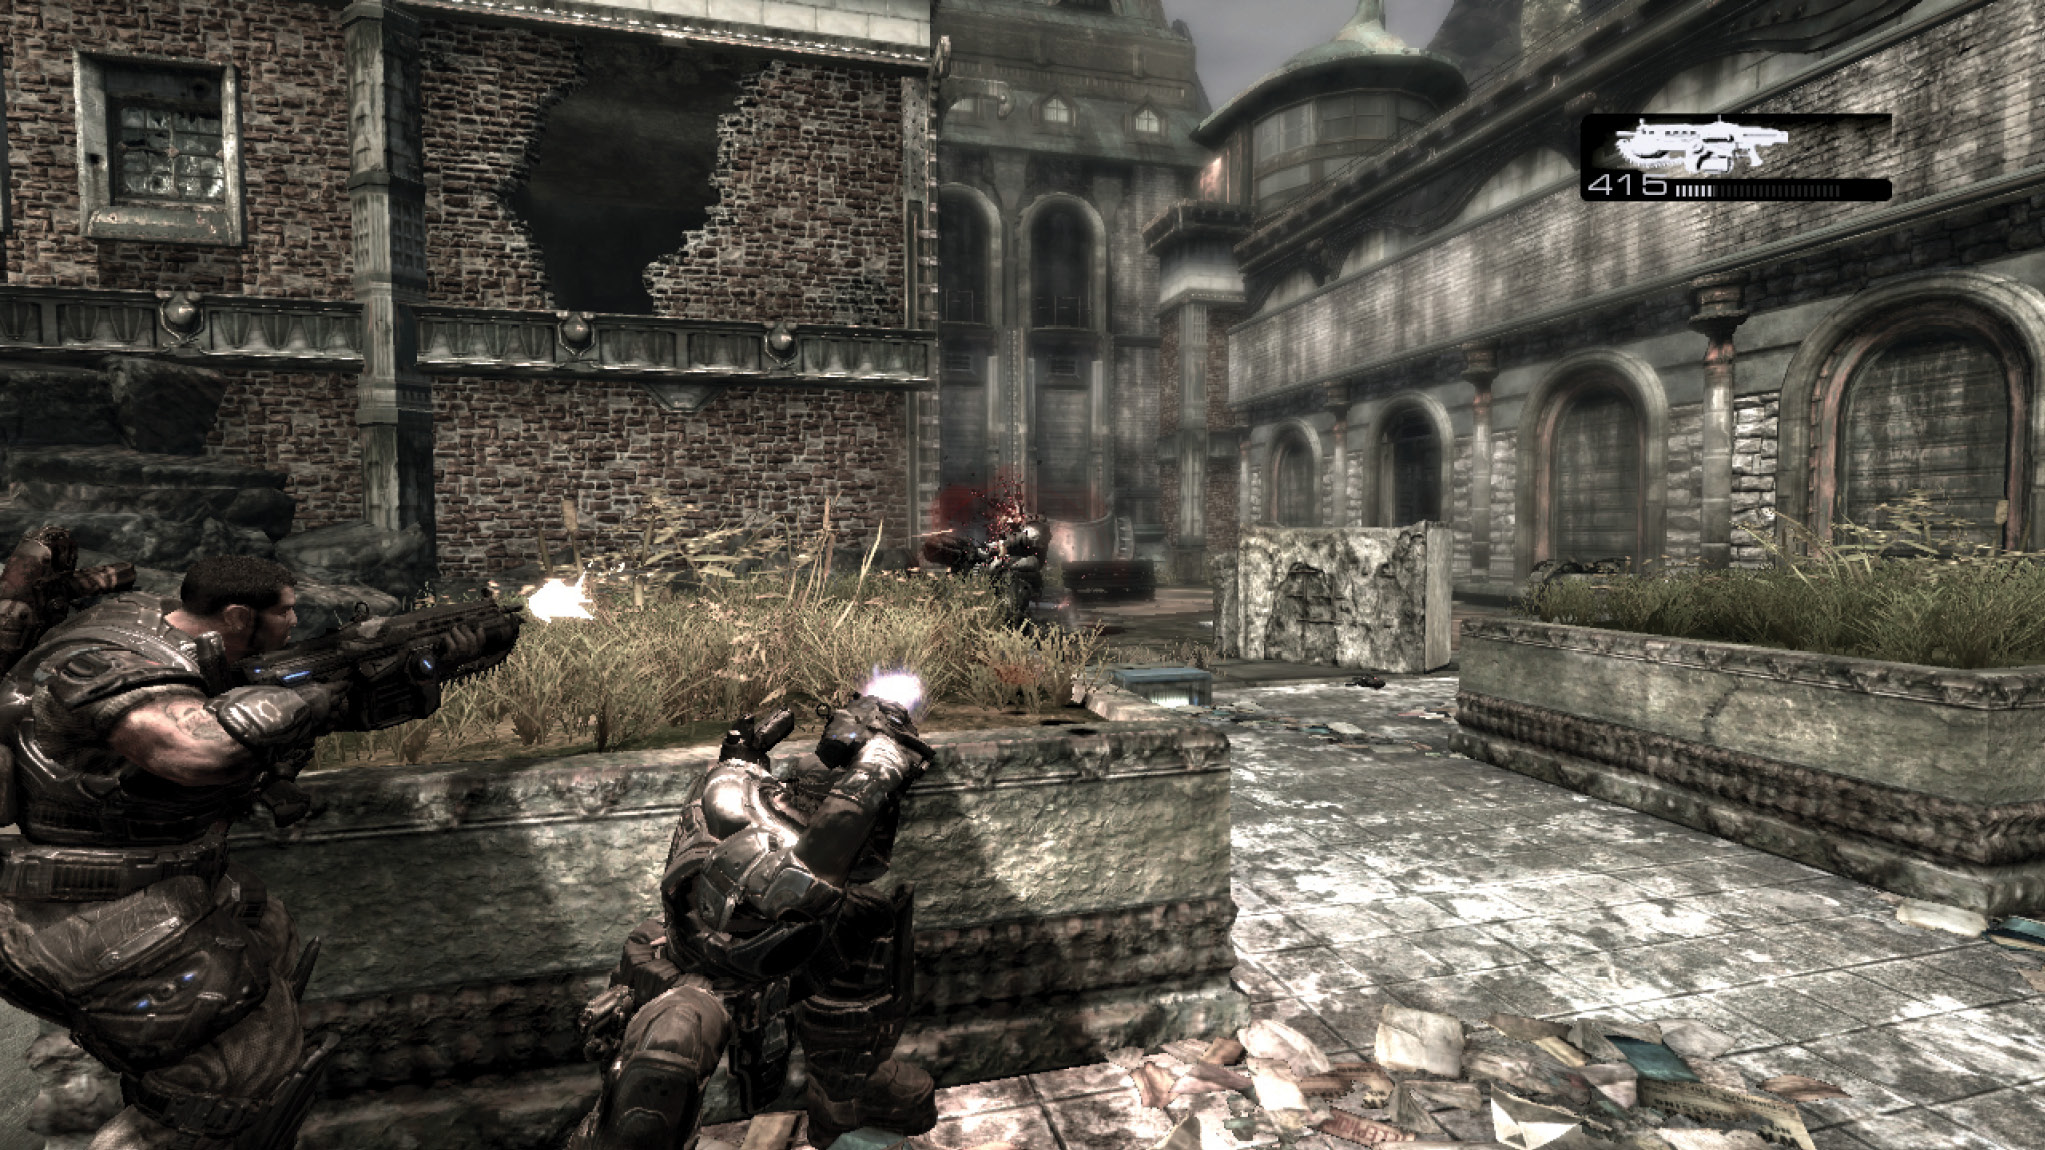
Bypass the corpse of the Seeder and continue through the corridor to the building’s exterior. From here, the path forks to go around the building and rejoins on the other side. Regardless which way Marcus loops around the building, he ends up at the entrance to a narrow alley guarded by Locust.
Take cover near the large, stone blocks and use Frag Grenades to reduce the initial enemy numbers. Several Grenadiers try to rush Marcus and Dom’s position, so keep a watchful eye for signs of movement. Use the Lancer to cut down the Grenadiers before they get close enough to strike with their potent Gnashers. Finally, a Booomer descends the alley steps and attacks at close range. Use the Lancer to weaken him as he approaches, then retreat to the top of the stairs opposite the alley. Grab the Gnasher located there. Move back into position behind the blocks below. Blow a hole in the Boomer’s face with a steady barrage of blindfire. If you don’t want to use the Gnasher, the Boltok Pistol makes a good alternative.
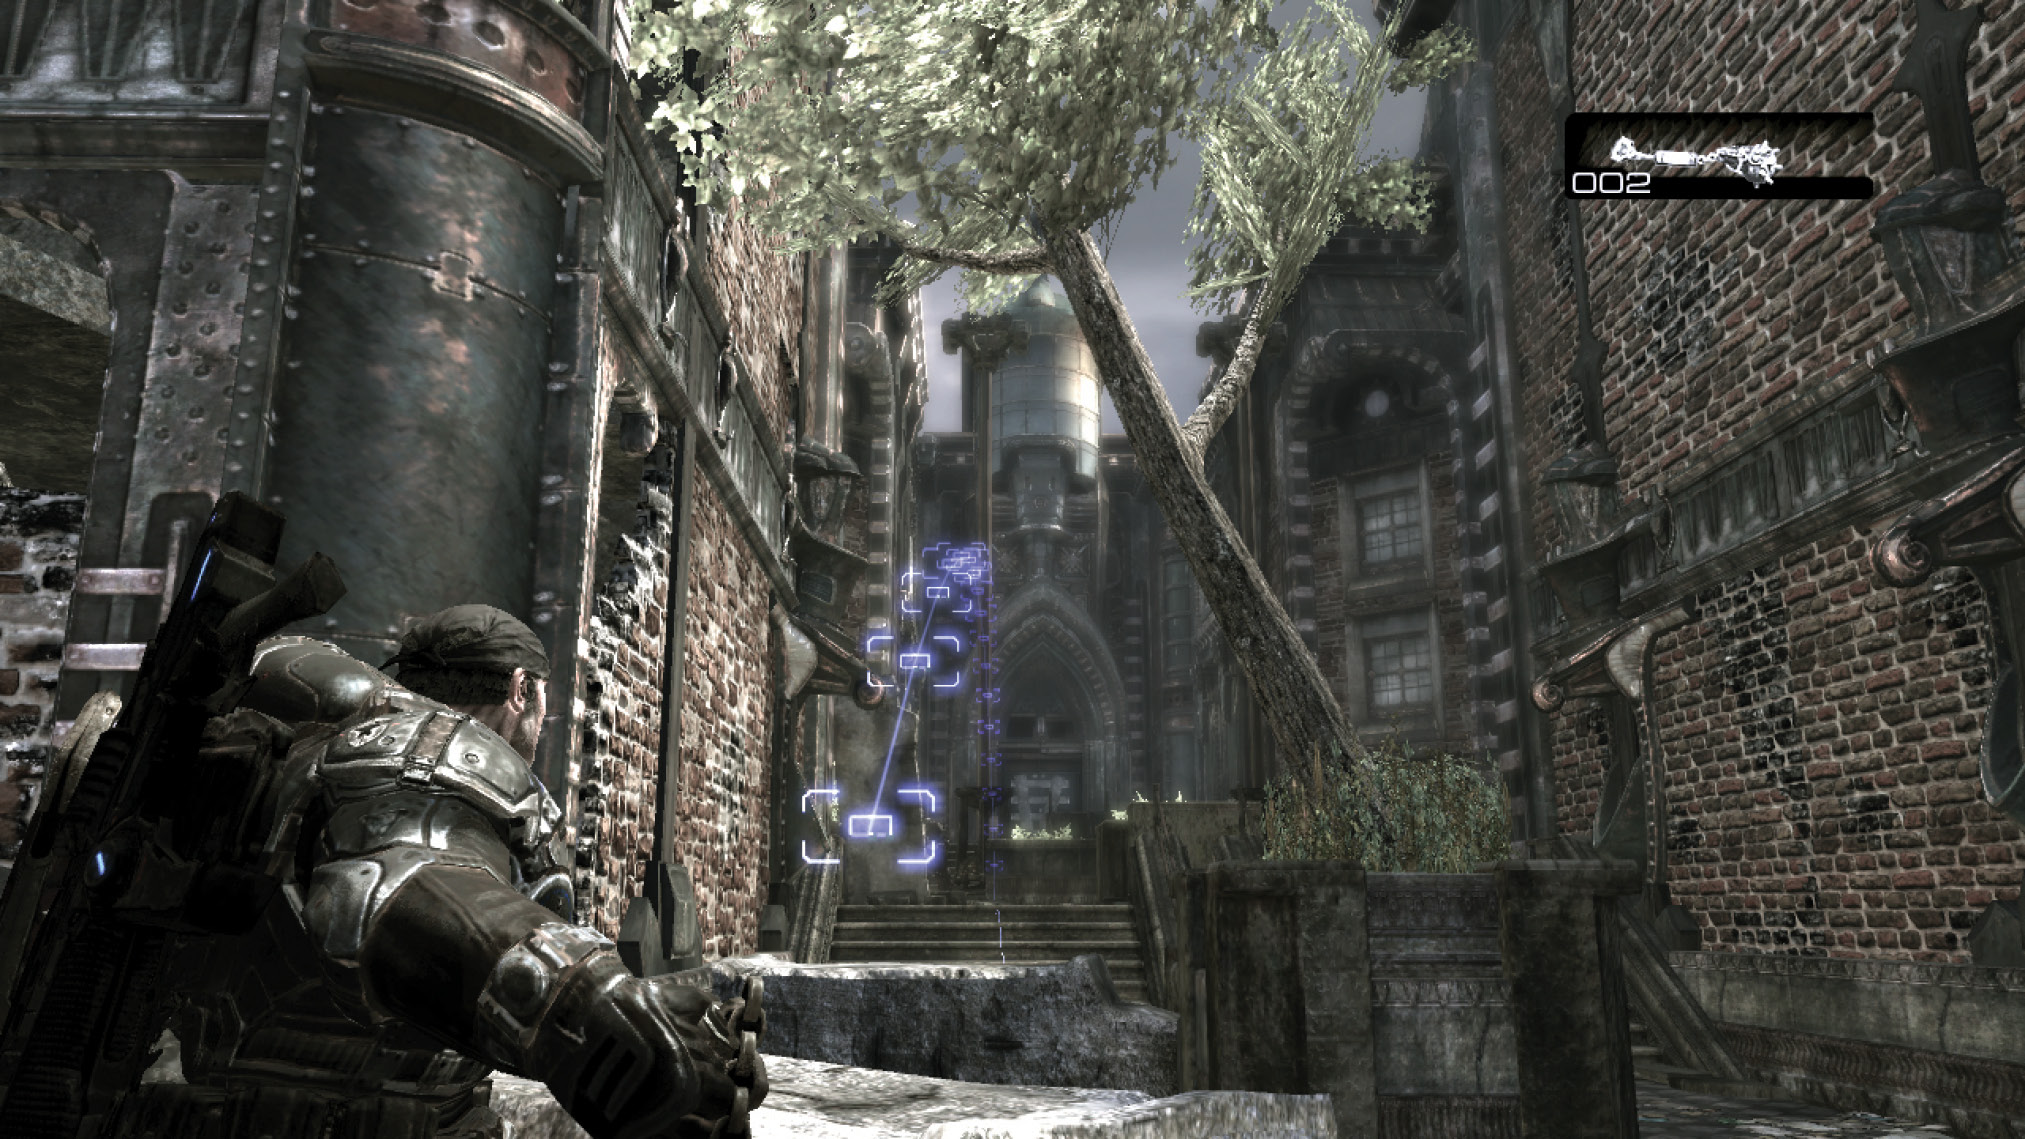
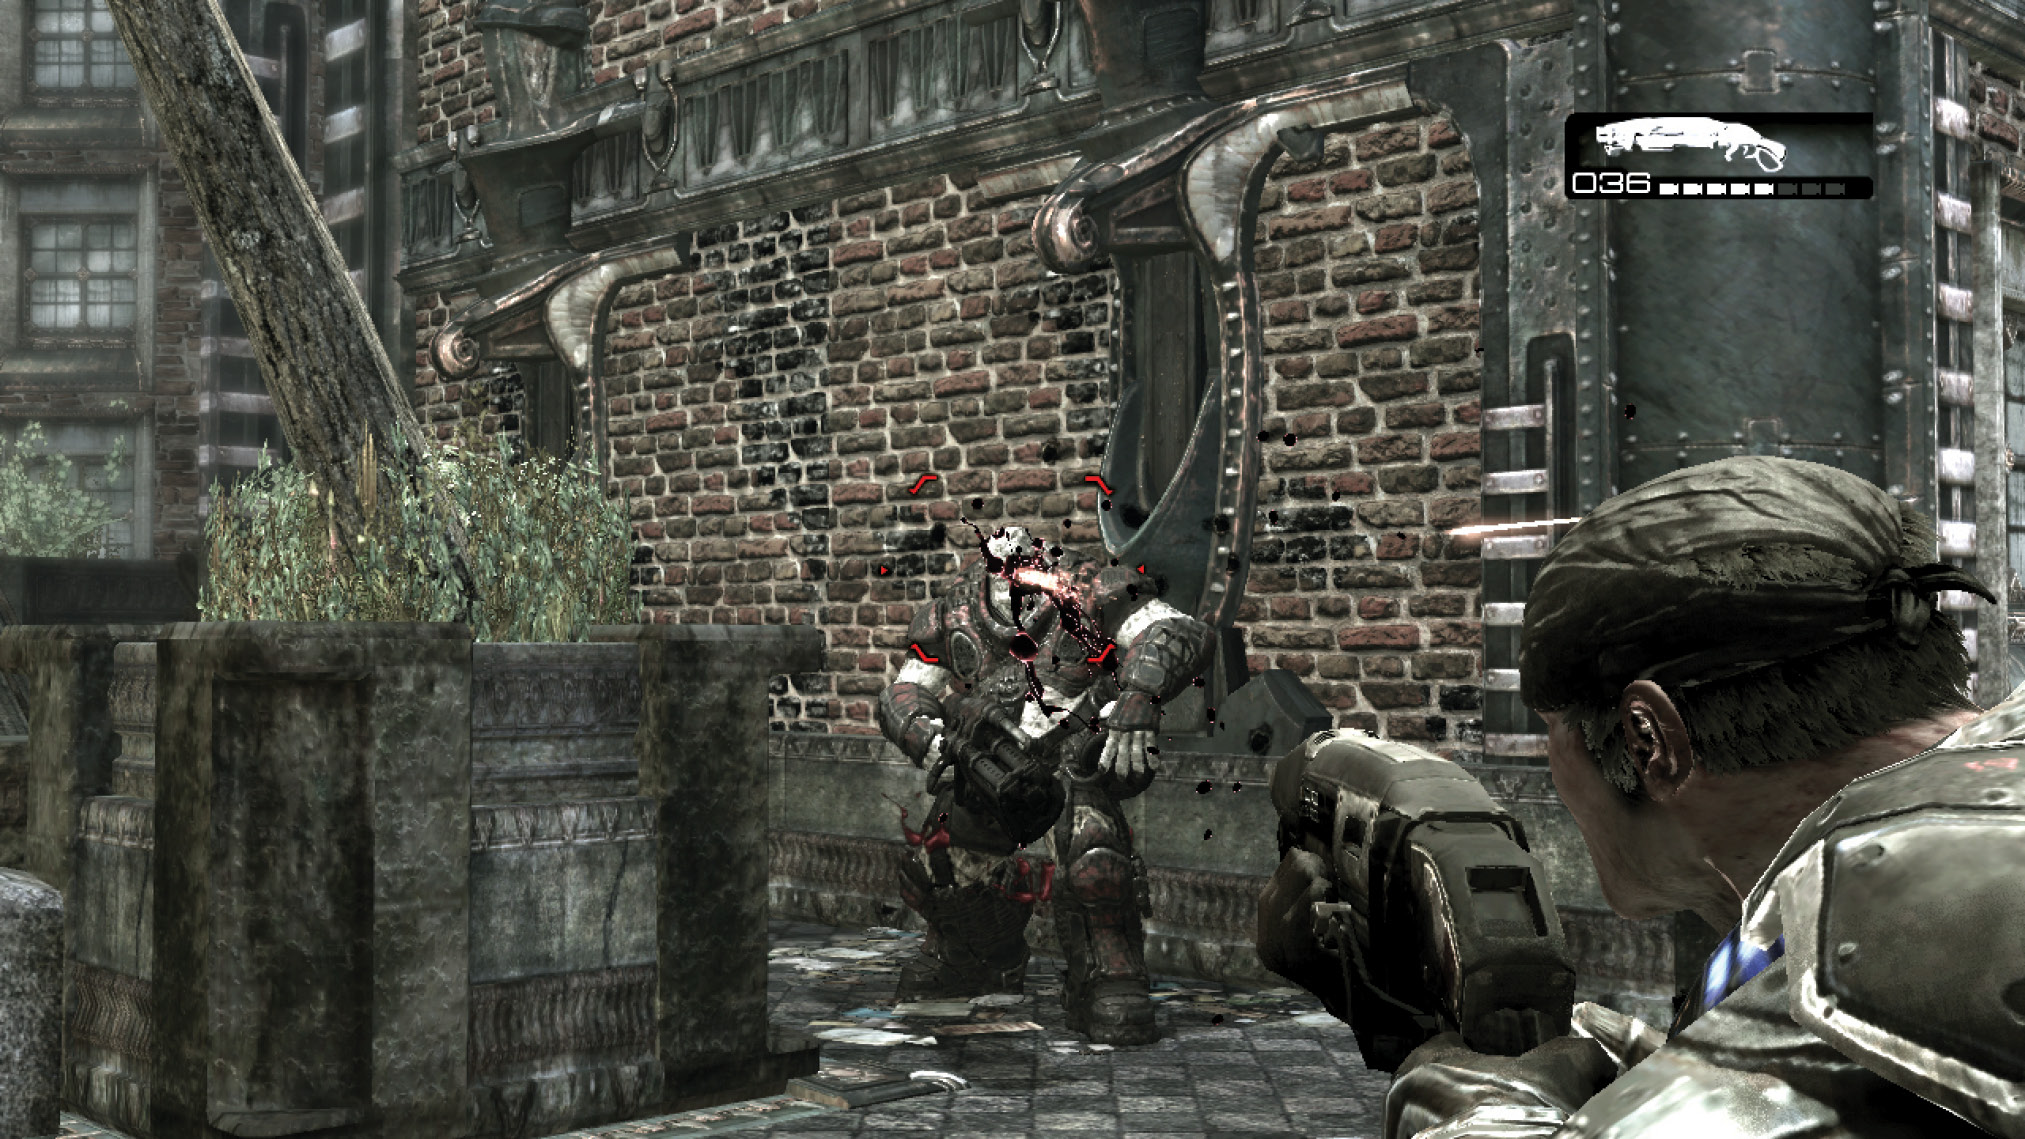
Continue around the next campus building to the sidewalk on the other side, which leads toward the campus’ waterfront section. Grab the Torquebow behind the wooden dresser in the alley before you leave the primary campus area.
Close to Home
Academy campus uprising.
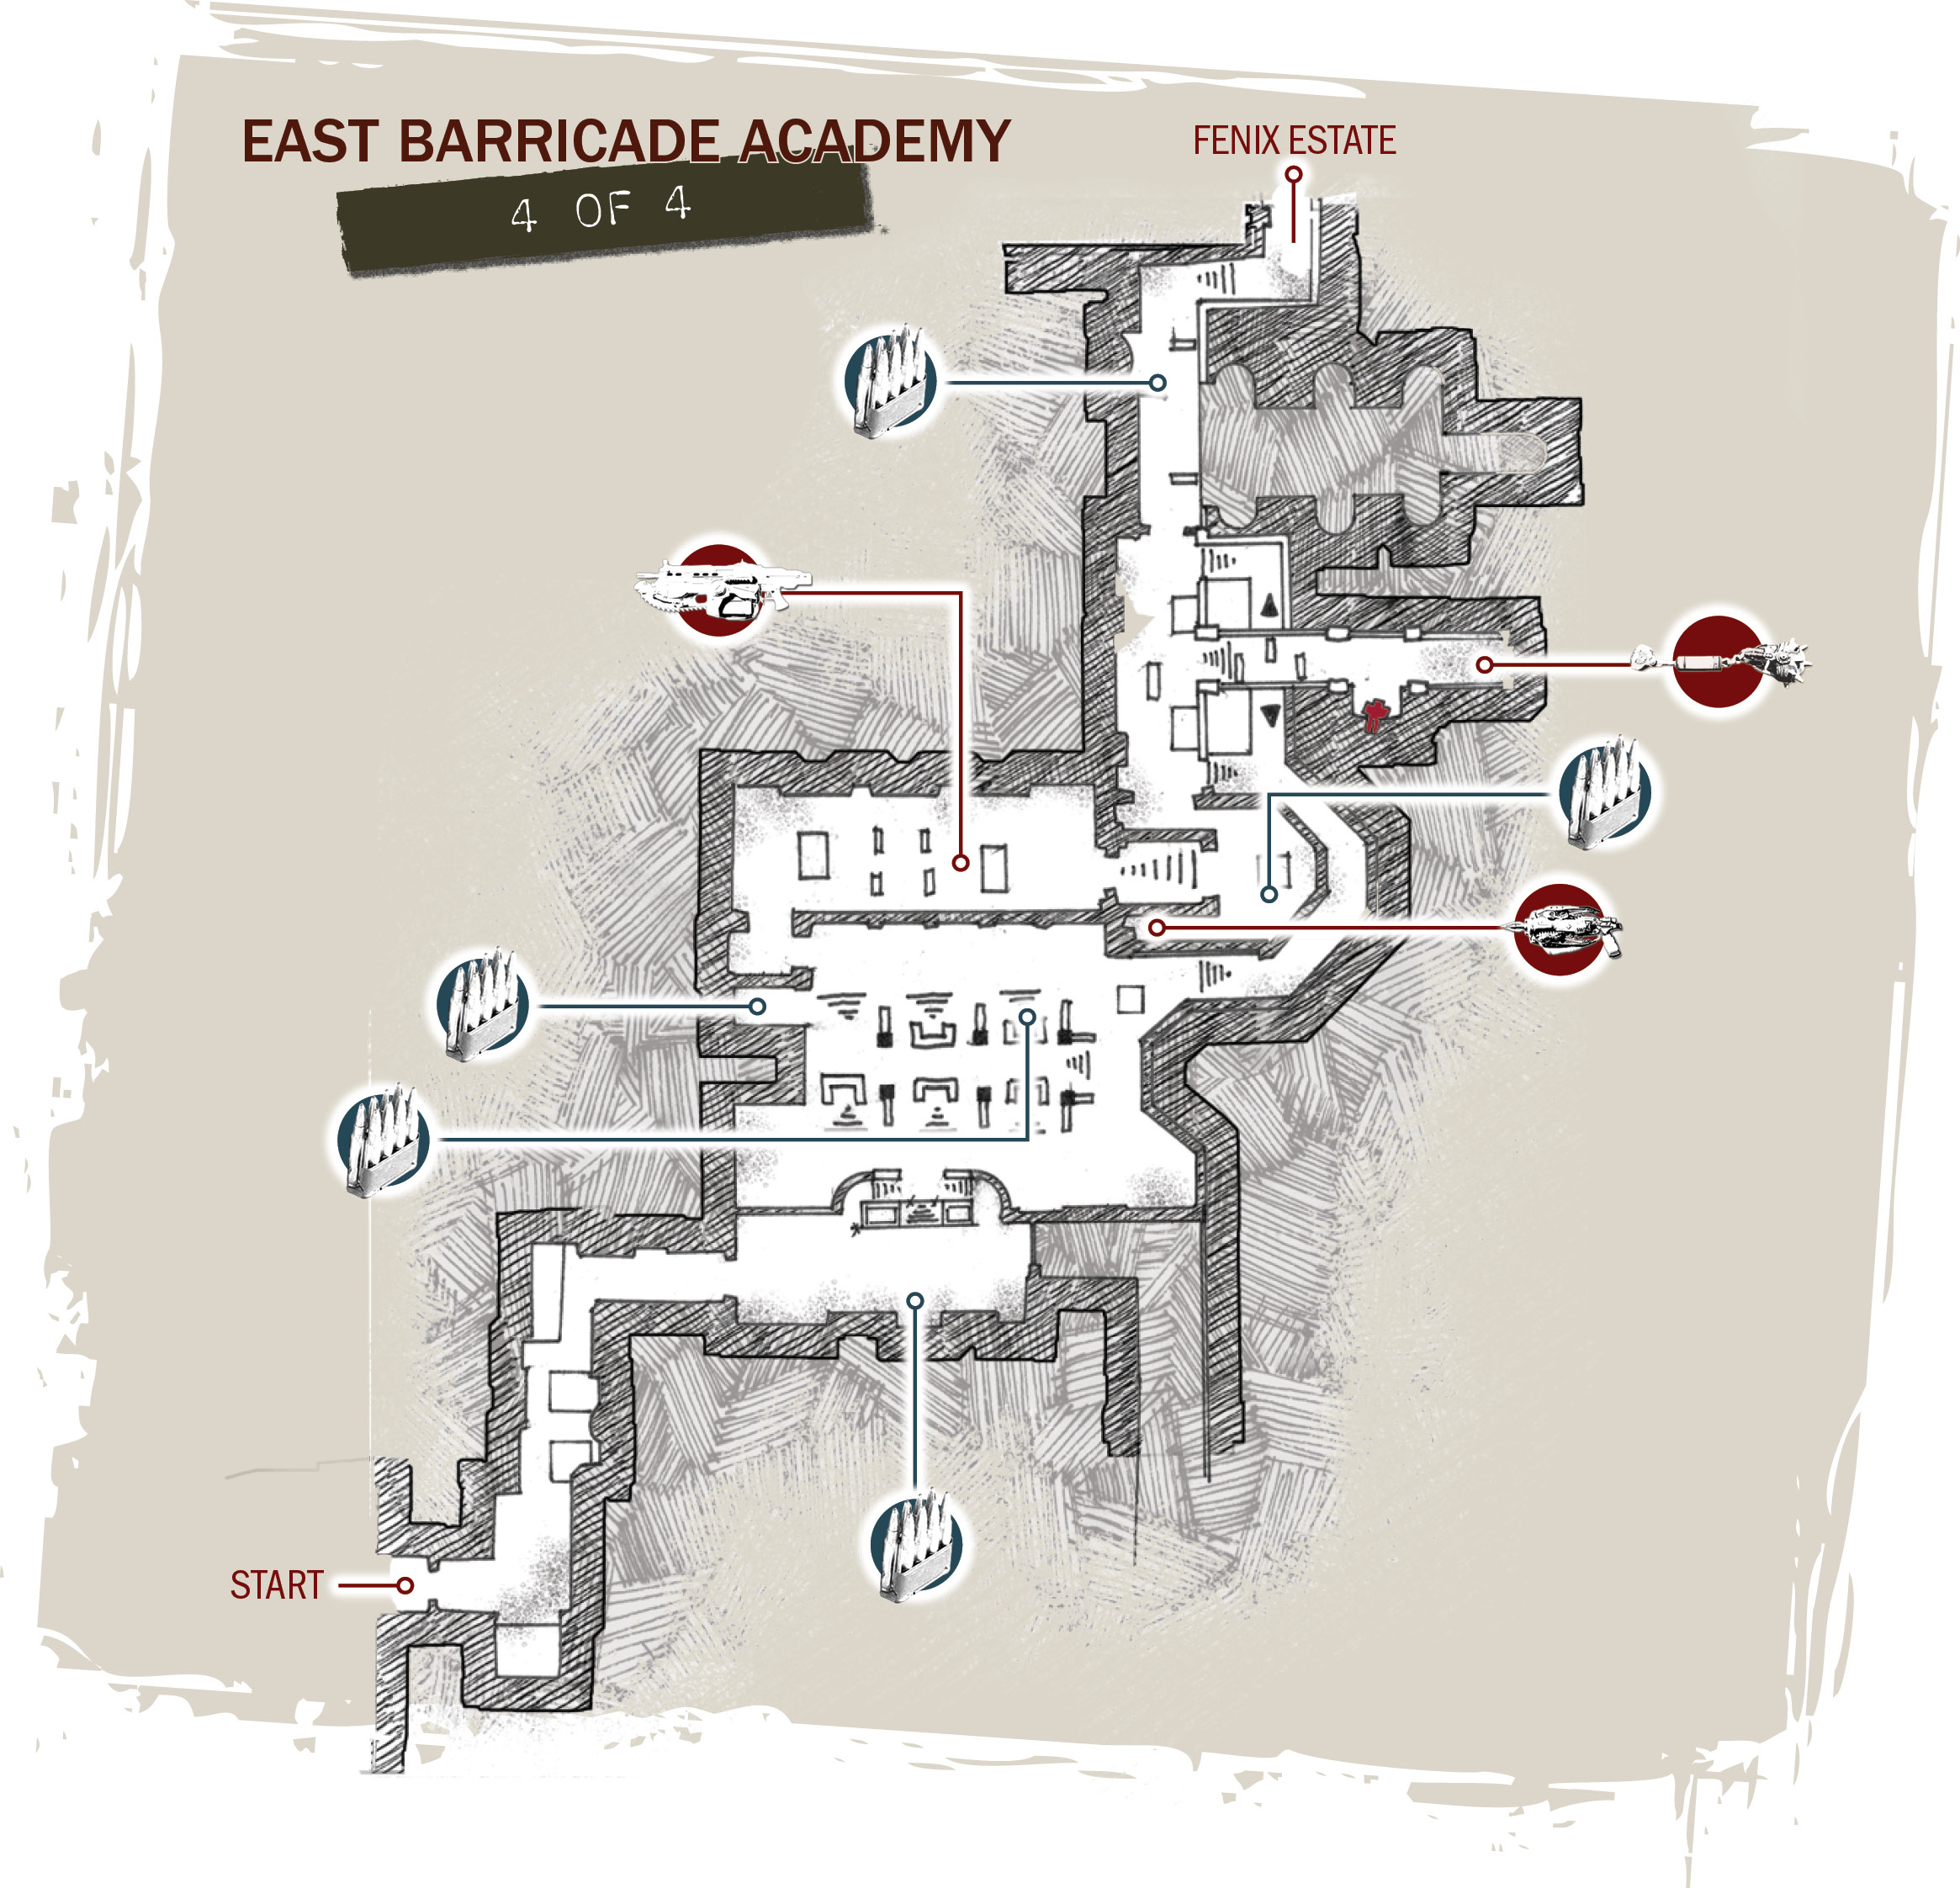
Proceed Toward the Fenix Estate
Equip the Torquebow and slide into cover alongside the wall overlooking the garden. There are roughly eight Drones, Grenadiers, and Theron Guards in this area. Use the Torquebow to kill as many as you can spot from behind the wall above the garden. Then, with support from Dom and his Lancer, descend the steps and finish off the rest at close range. Dom does a good job pinning down the final one or two enemies, thereby giving Marcus an opportunity to sneak up behind them and put the chainsaw bayonet to use.
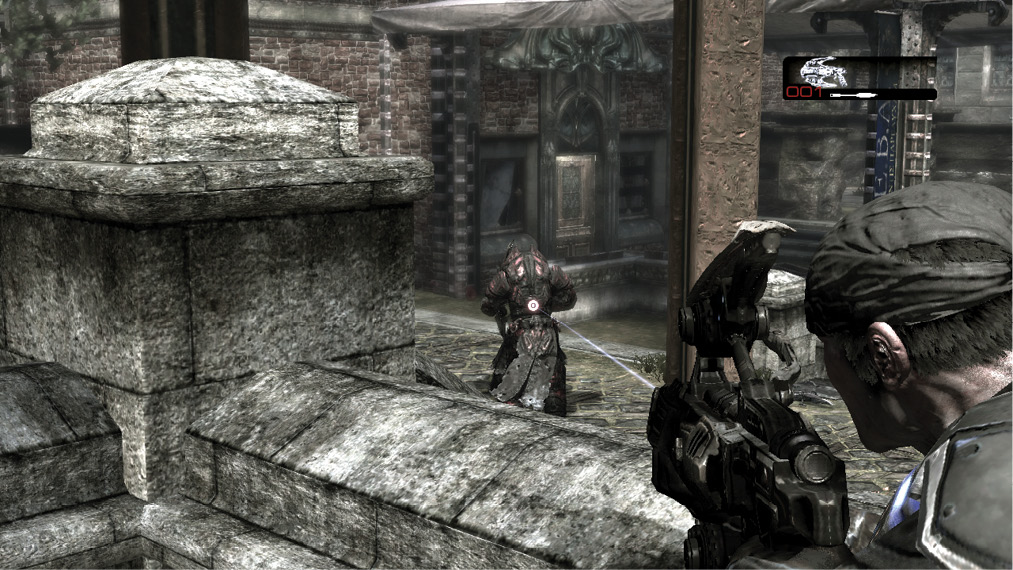
Cross the covered garden area and follow the right path out onto the stone walkway near the water. Stay close to the left wall and ready the Torquebow. Quickly sidestep out into enemy fire and loose a Torquebow arrow at the Troika on the bridge—ignore the Drones behind the sandbags for now. Duck back into cover and ready a second arrow. Use this one to destroy the Gunner manning the Troika located under the bridge. The walkway crumbles if Marcus tries to advance along this route, so double back through the garden and follow the path toward the cemetery to the left.
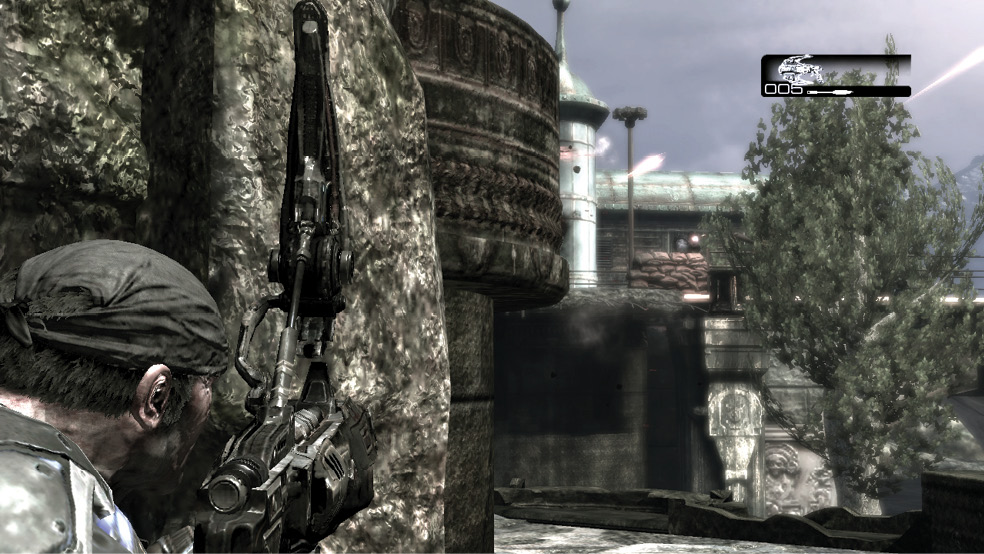
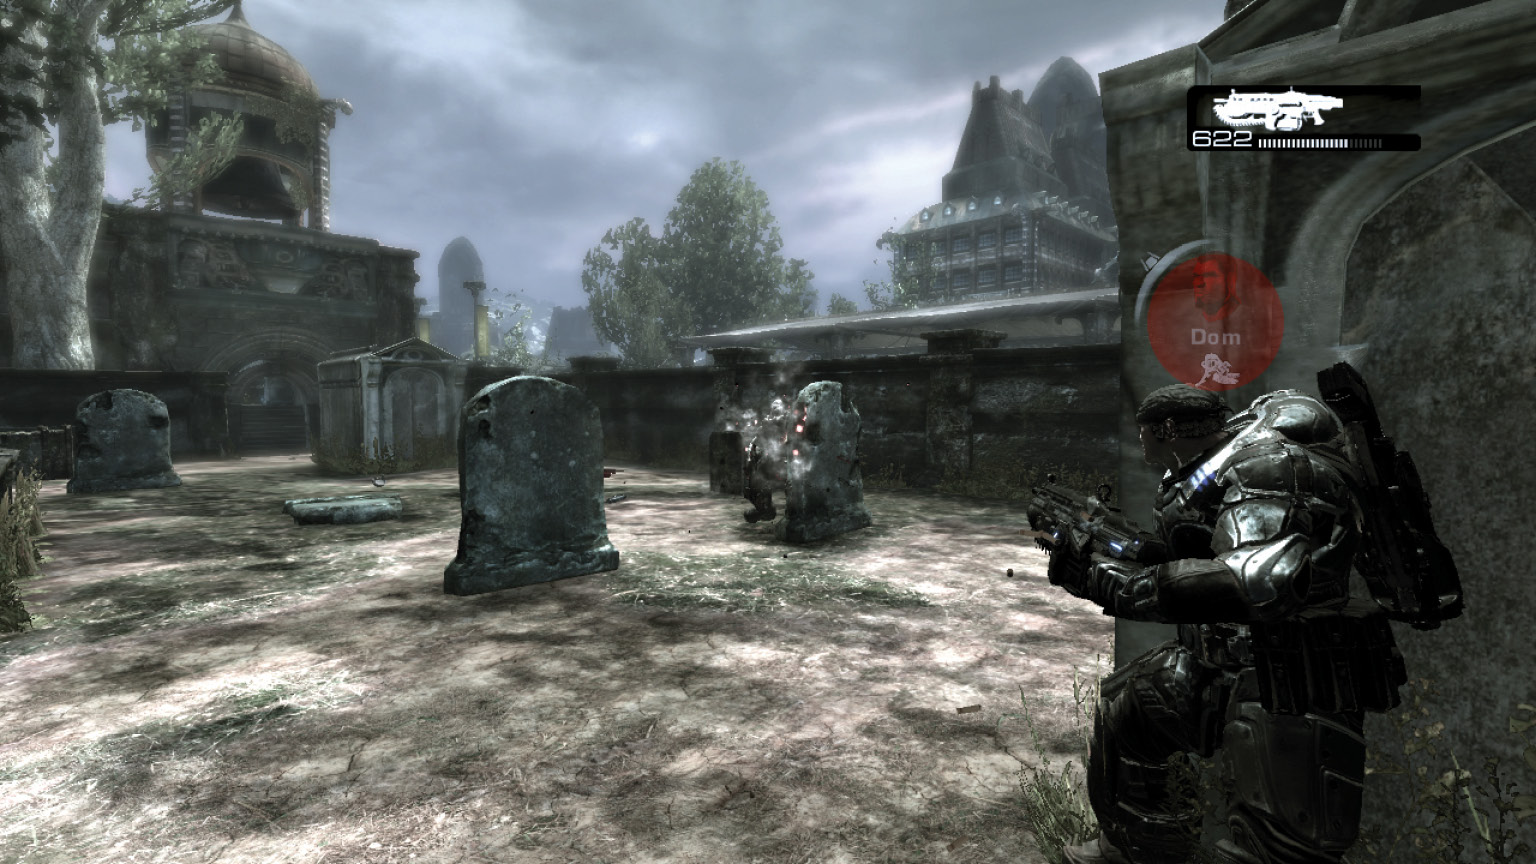
Fight through the gang of Grenadiers and Drones near the headstones, and continue to the walkway ahead. Loop around to the right to take the Torquebow from the COG corpse. Move into position closer to the
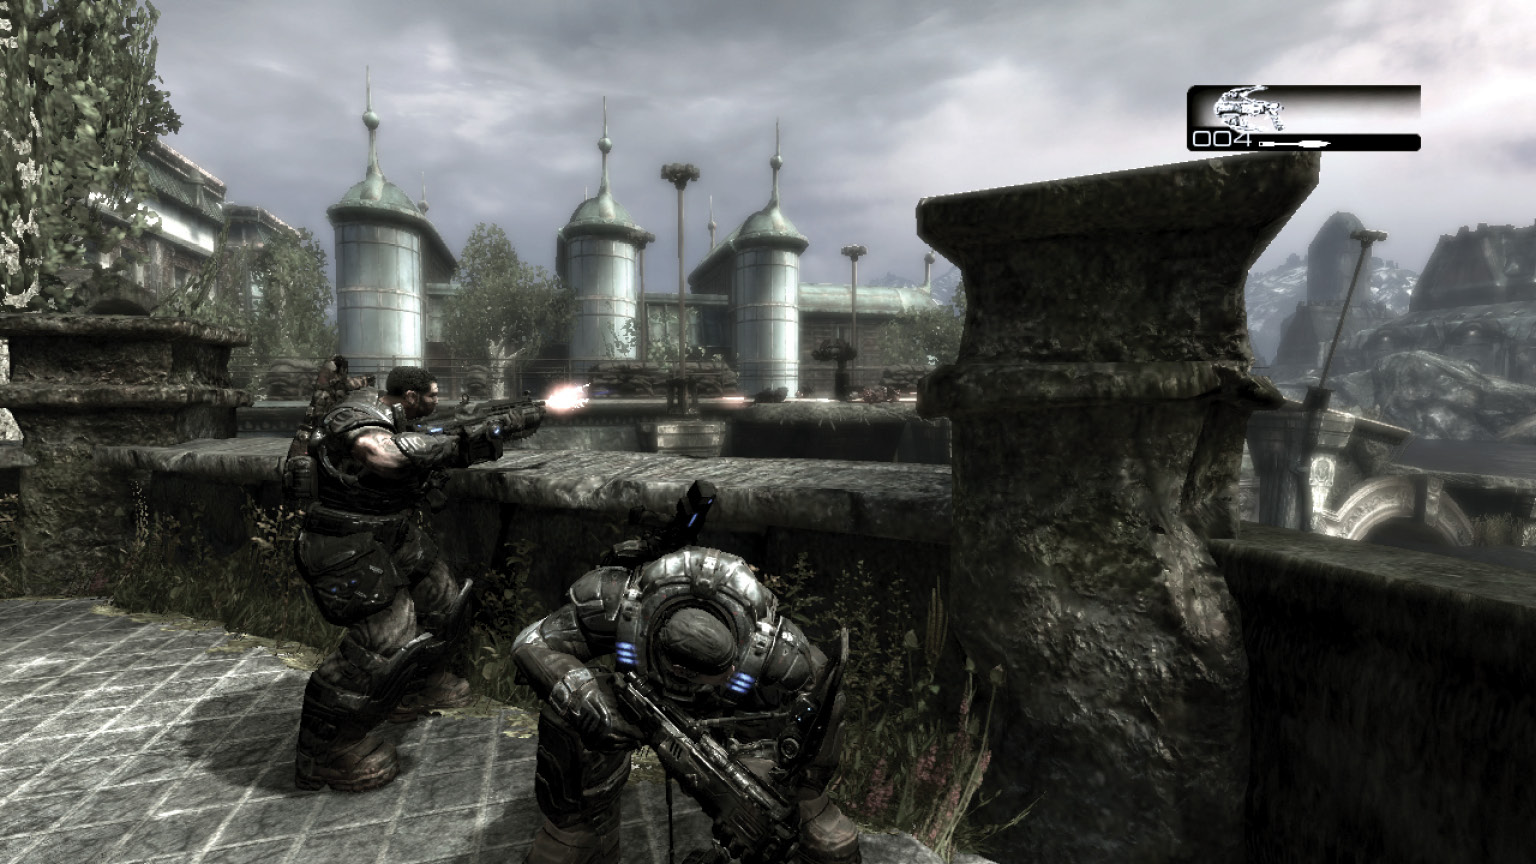
bridge, where you can use it to eliminate the remaining Locust. Use Frag Grenades to flush out the Grenadiers from behind the sandbag barricades on the walkway near the bridge. Finish them off with the Gnasher. Collect the dropped weapons and Frag Grenades from the bridge, and continue toward the Fenix Estate, which is just ahead.
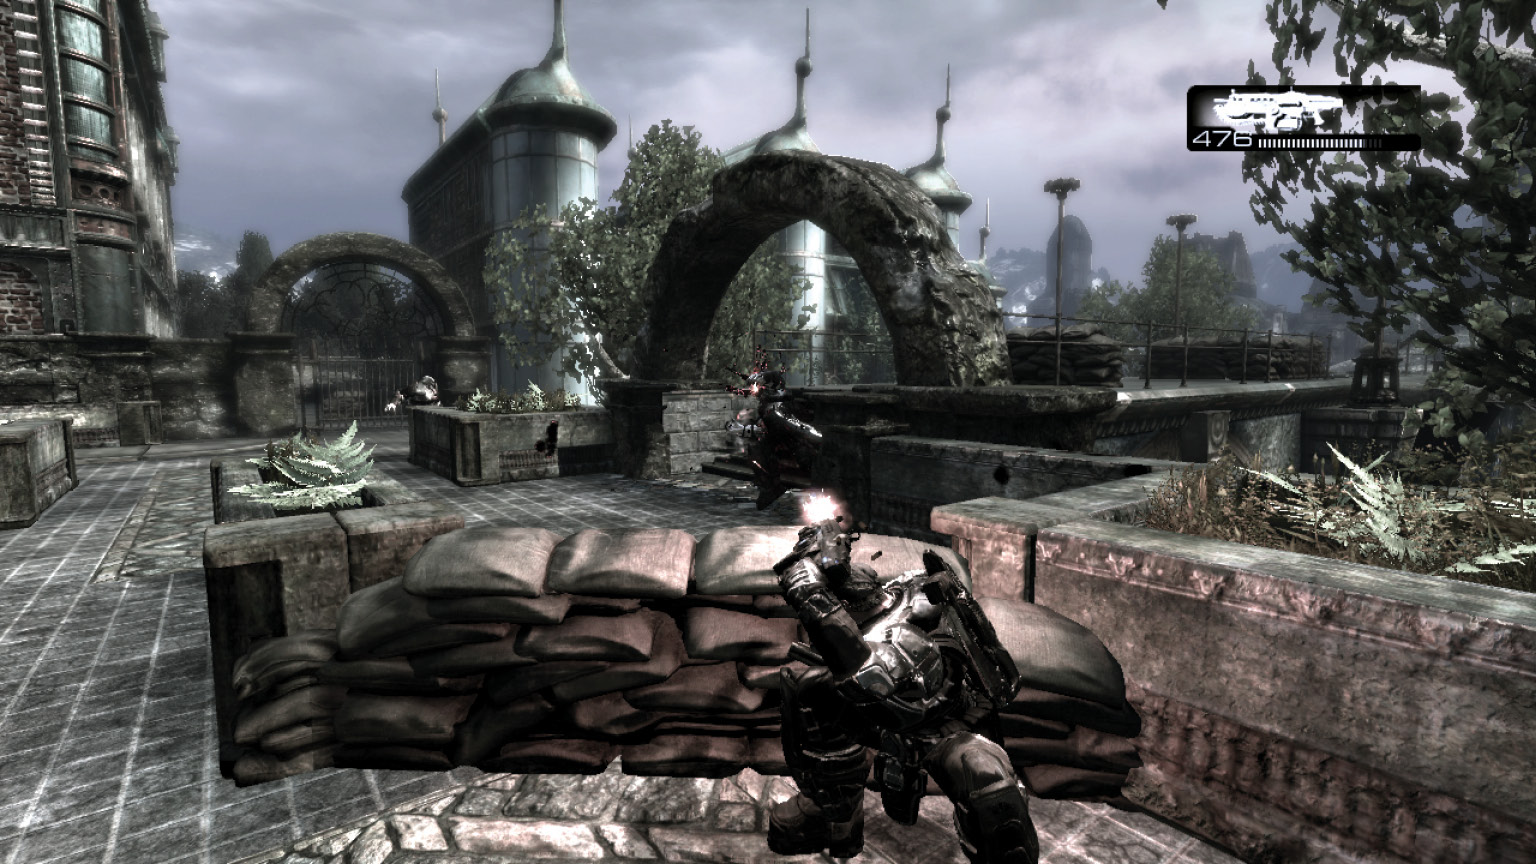
Imaginary Place
Storm the House!
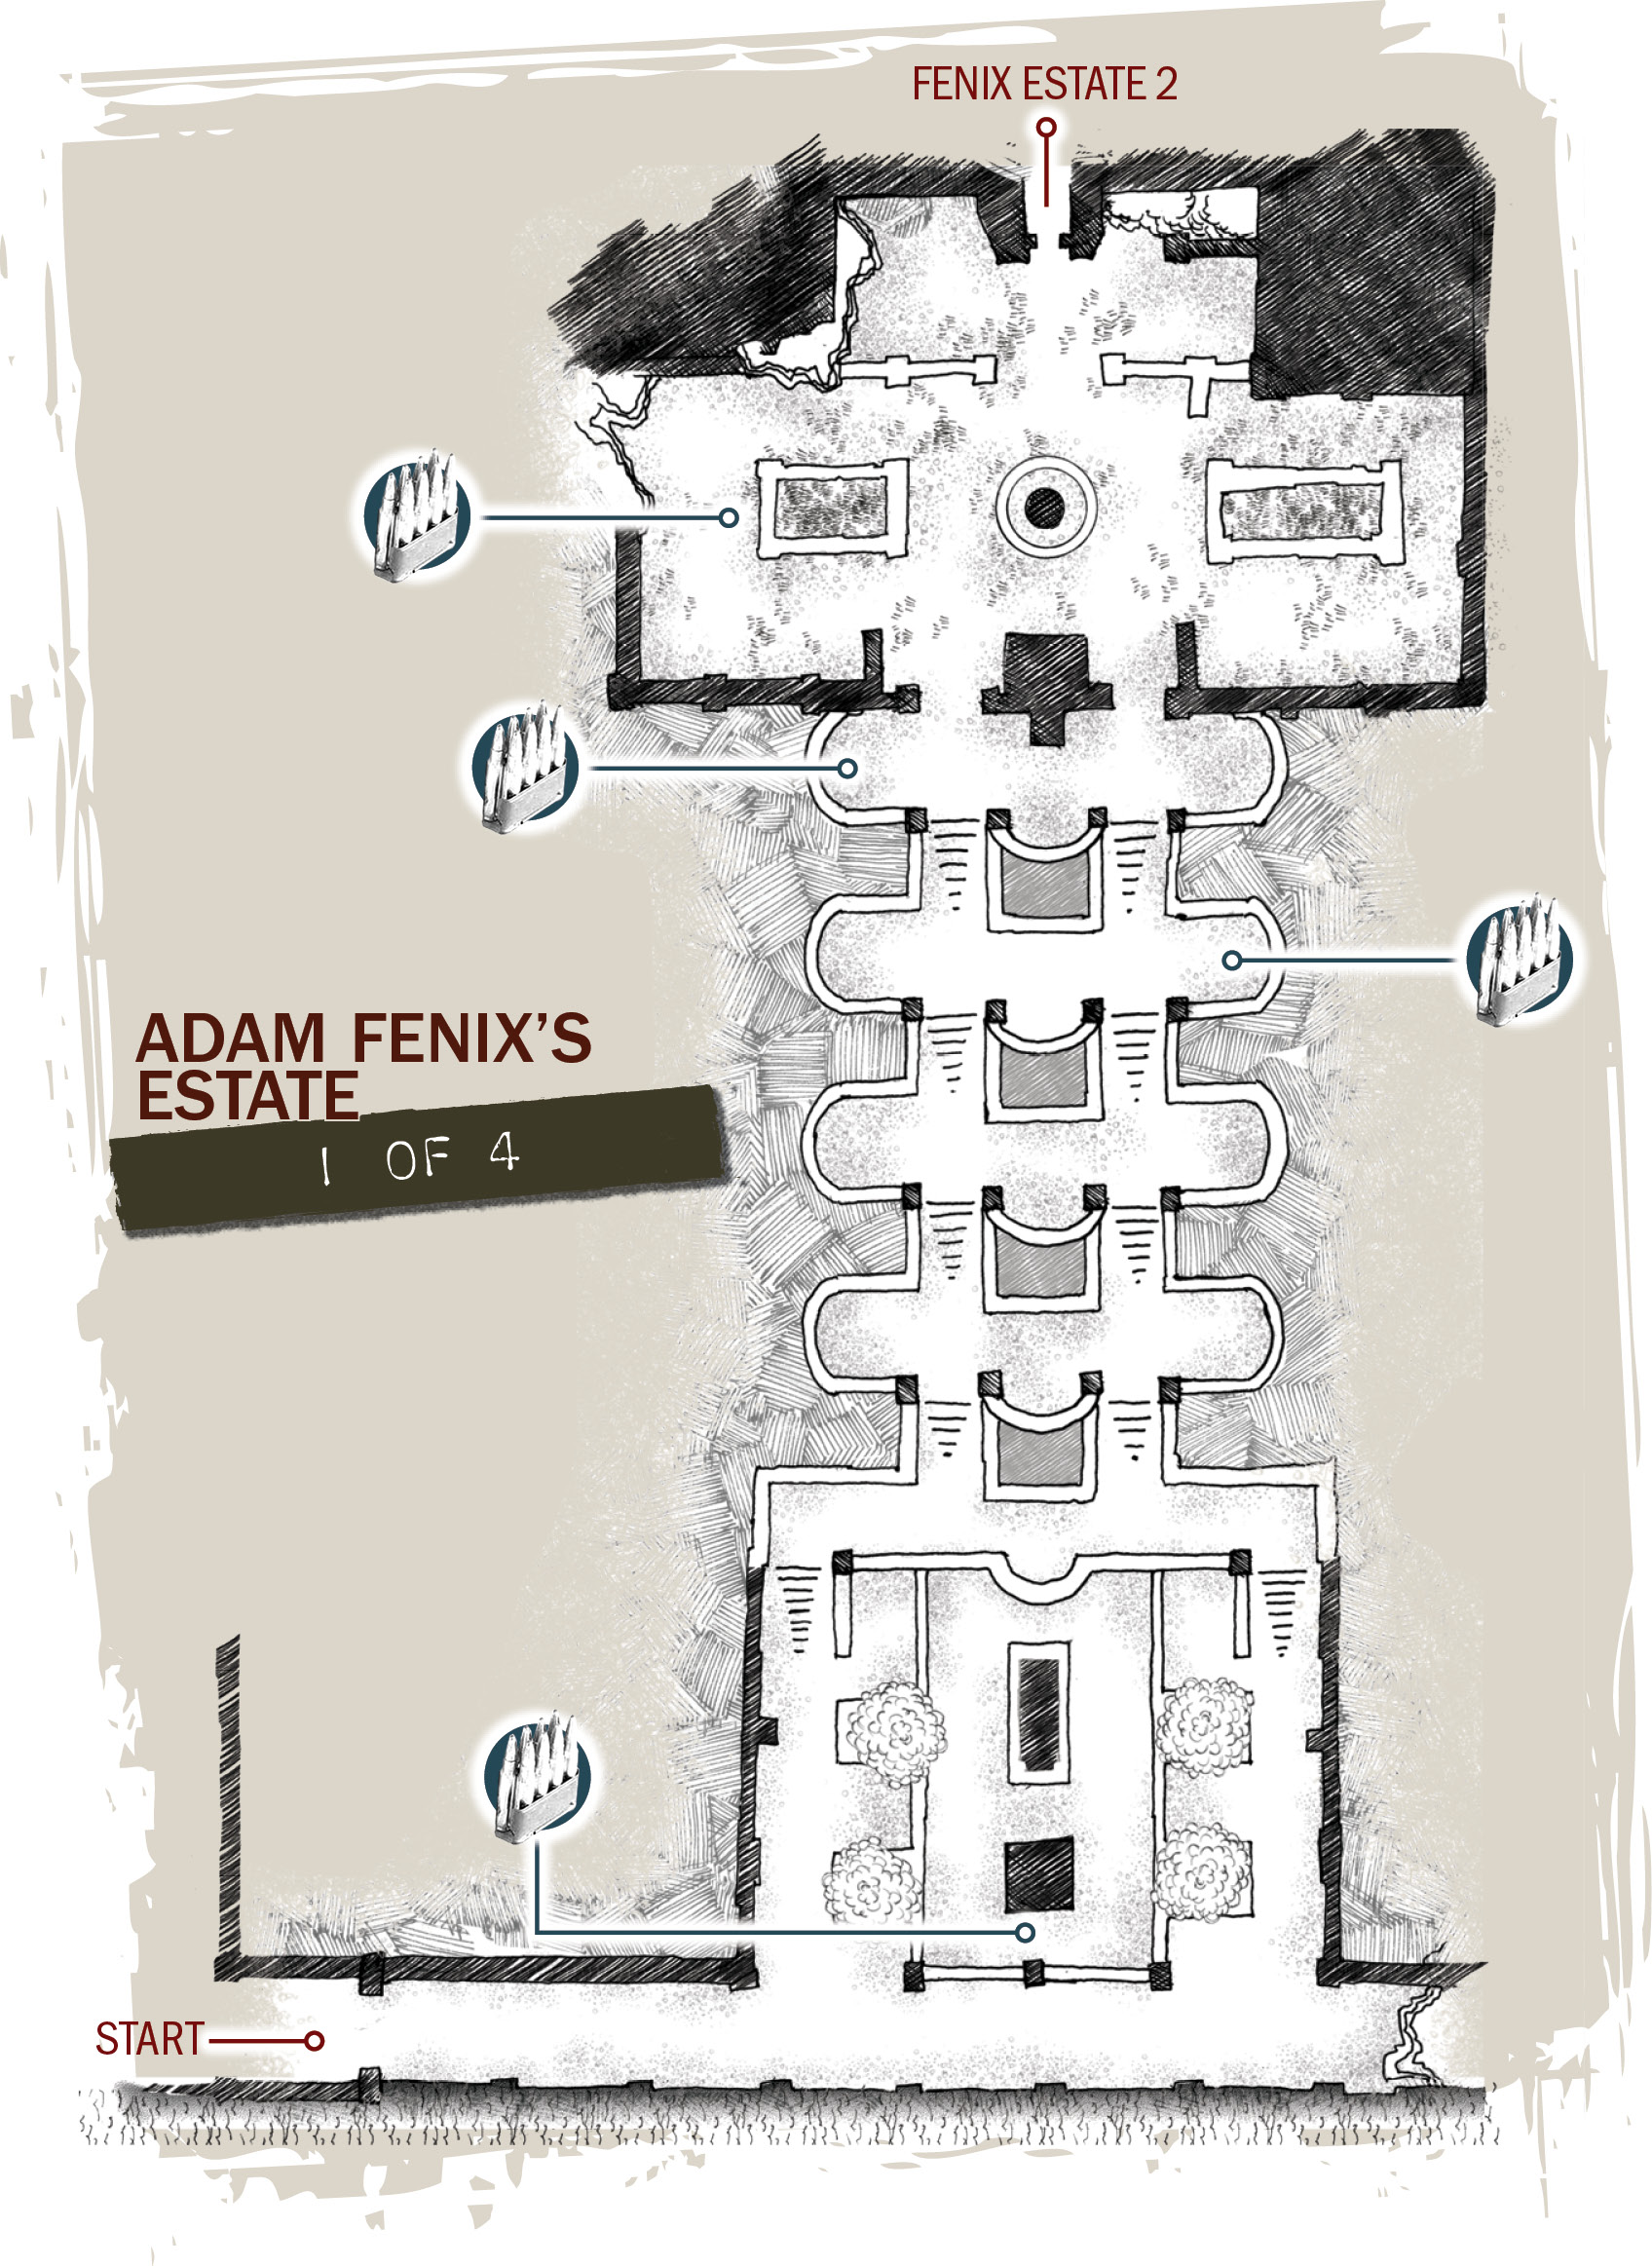
Gain Entrance to the Fenix Estate
The entrance to the Fenix Estate via the East Barricade Academy leads through a sculpture garden and up numerous flights of stairs to a manicured courtyard. As Marcus undoubtedly expected, there are Theron Guards and a Grenadier positioned on the stairs—they have superior numbers and an elevated position.
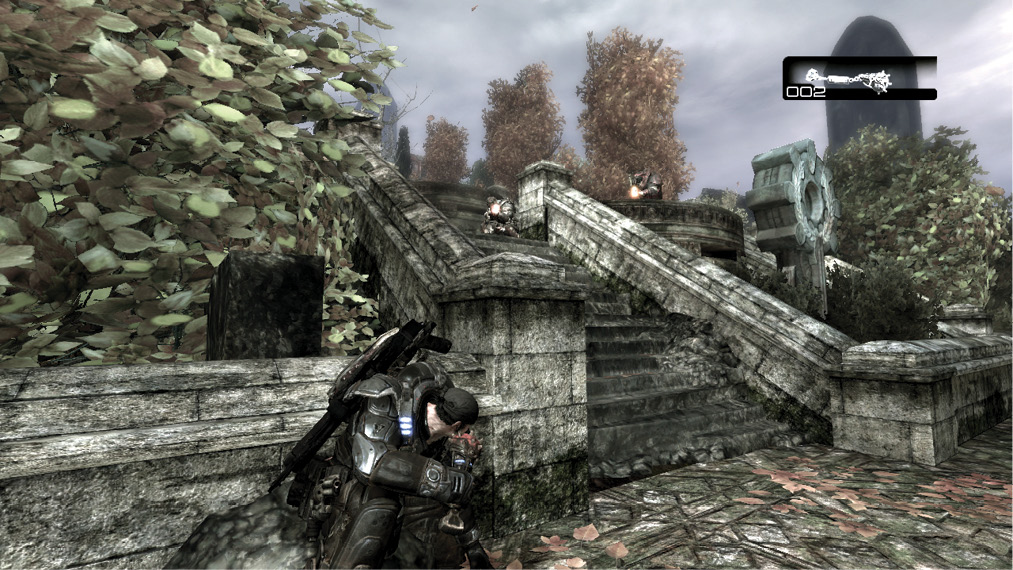
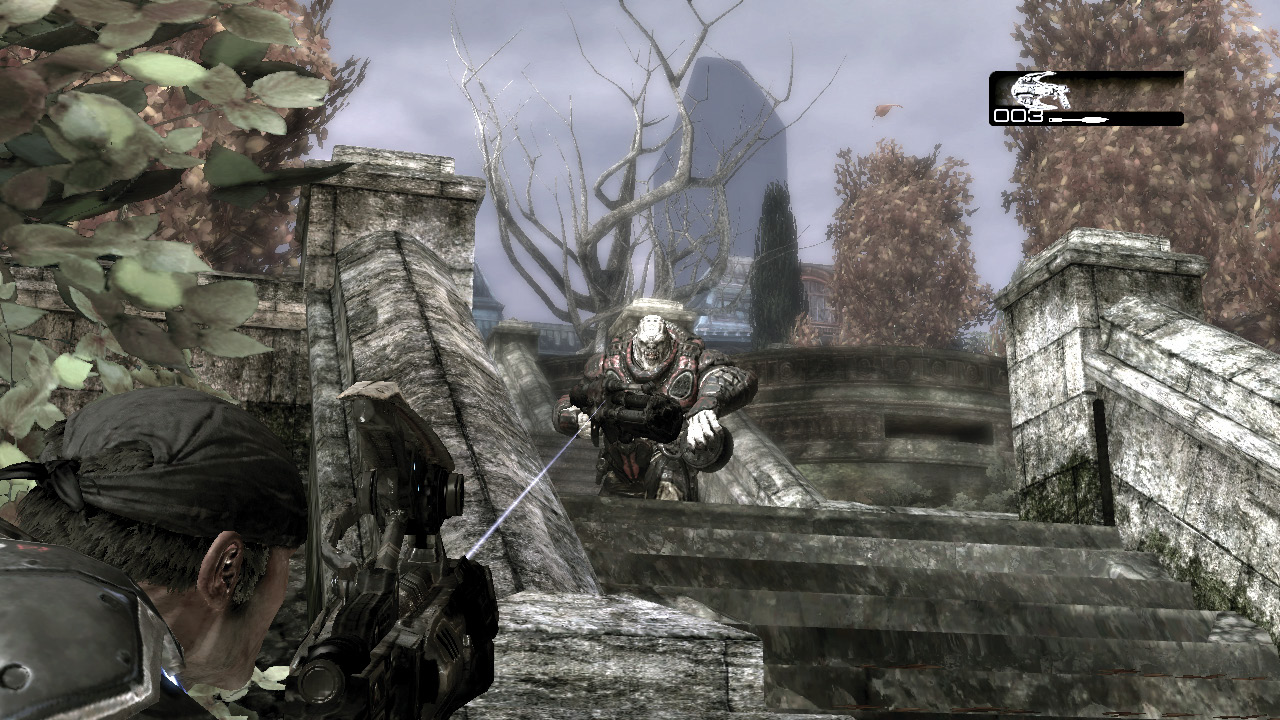
Rush up the left-side stairs to the first landing. Dom follows Marcus’ lead, moving up the right-side stairs to lend fire support. Use the Lancer and Torquebow to finish off the Grenadier on the upper landing, as well as the Theron Guard near the statue above. but listen closely for the throaty bellows of an approaching Boomer. Stay in cover as you ready the Torquebow. Briefly lean out and let the arrow fly. With Dom’s assistance and an accurate shot, it shouldn’t take much to finish off the Boomer.
Gather the ammo and weapons and climb the stairs to the courtyard doors. Baird and Cole meet Marcus inside the left door. Although the foursome is currently pinned down by Drones in the house’s upper floor, Baird has some good news. There’s an APC out back, and he thinks he knows how to fix it. Baird and Cole lure the Drones away when they make a dash for the back of the house. Now it’s time for Marcus and Dom to head inside.
Secure the House
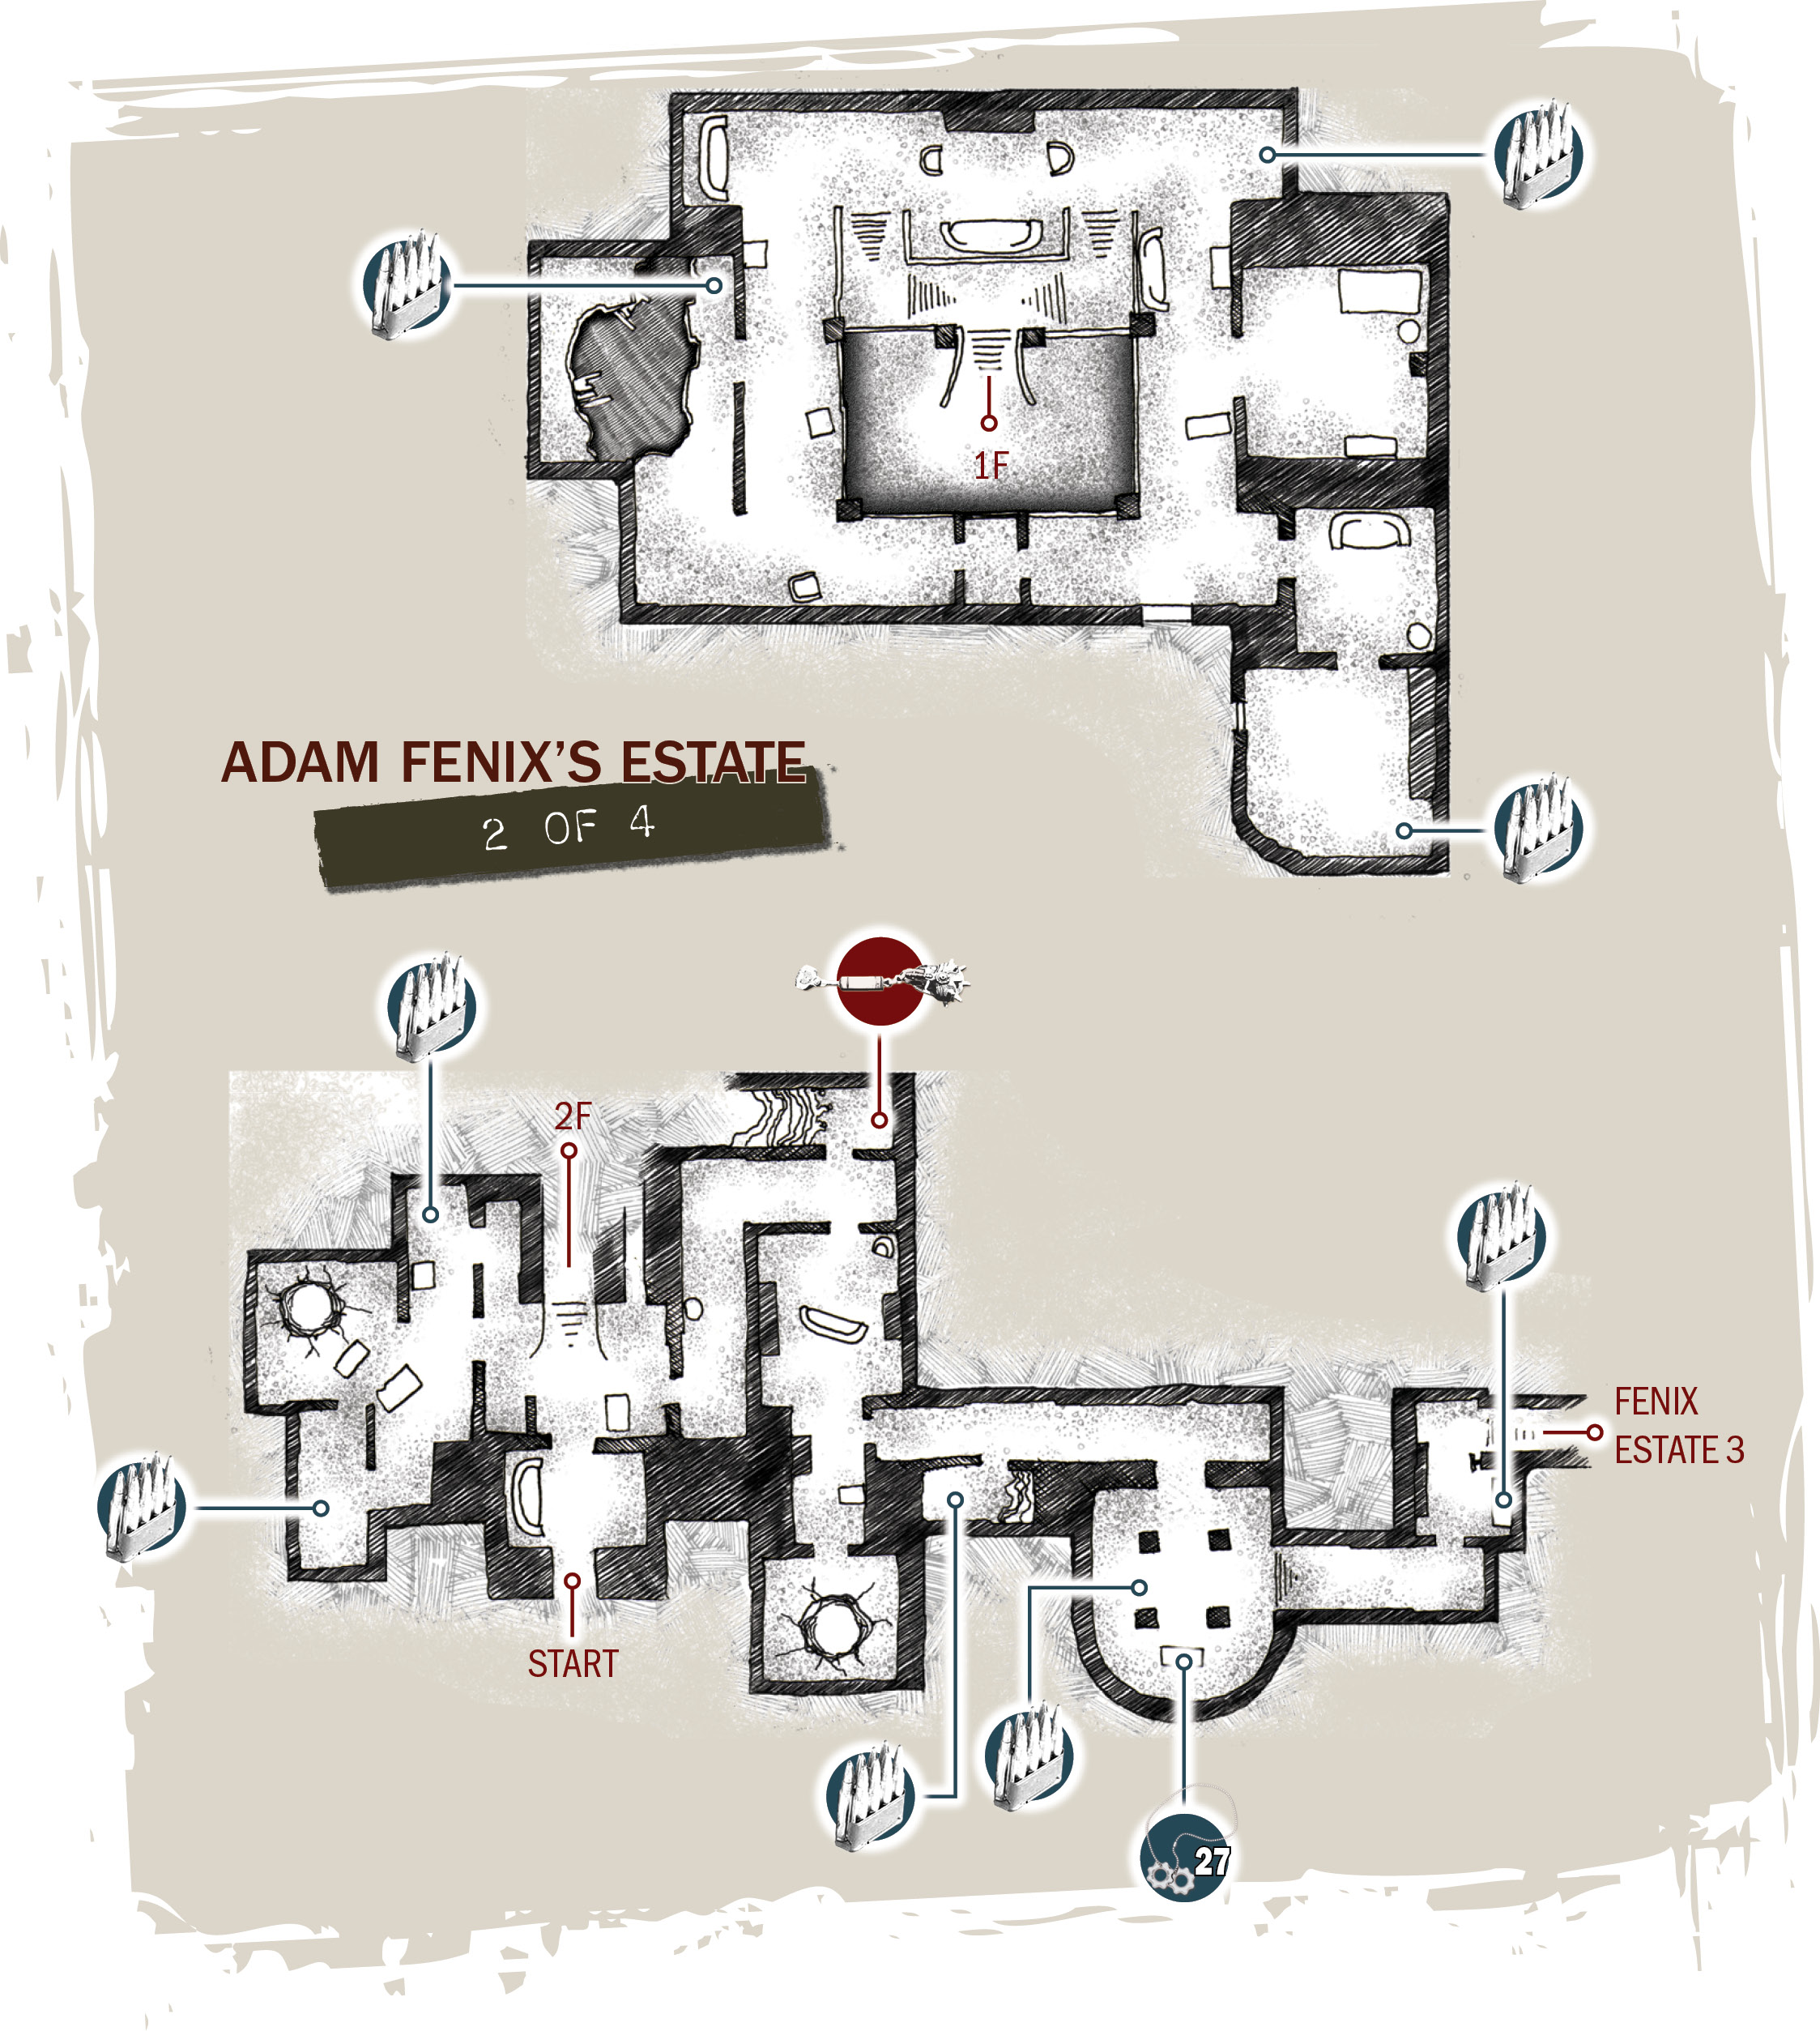
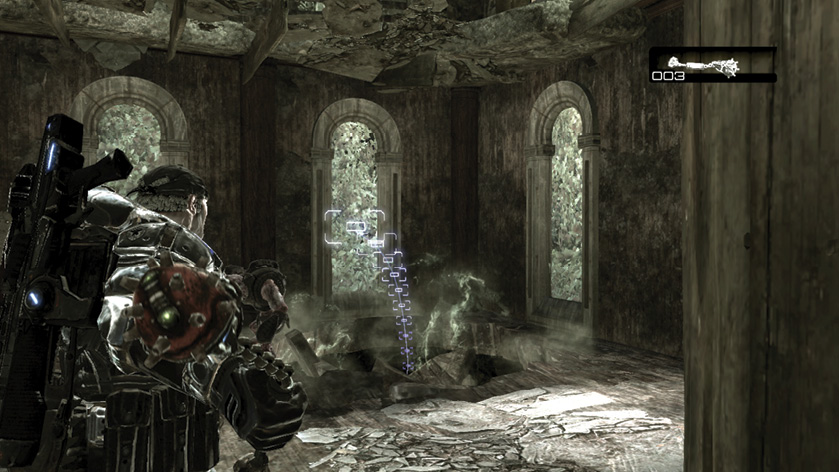
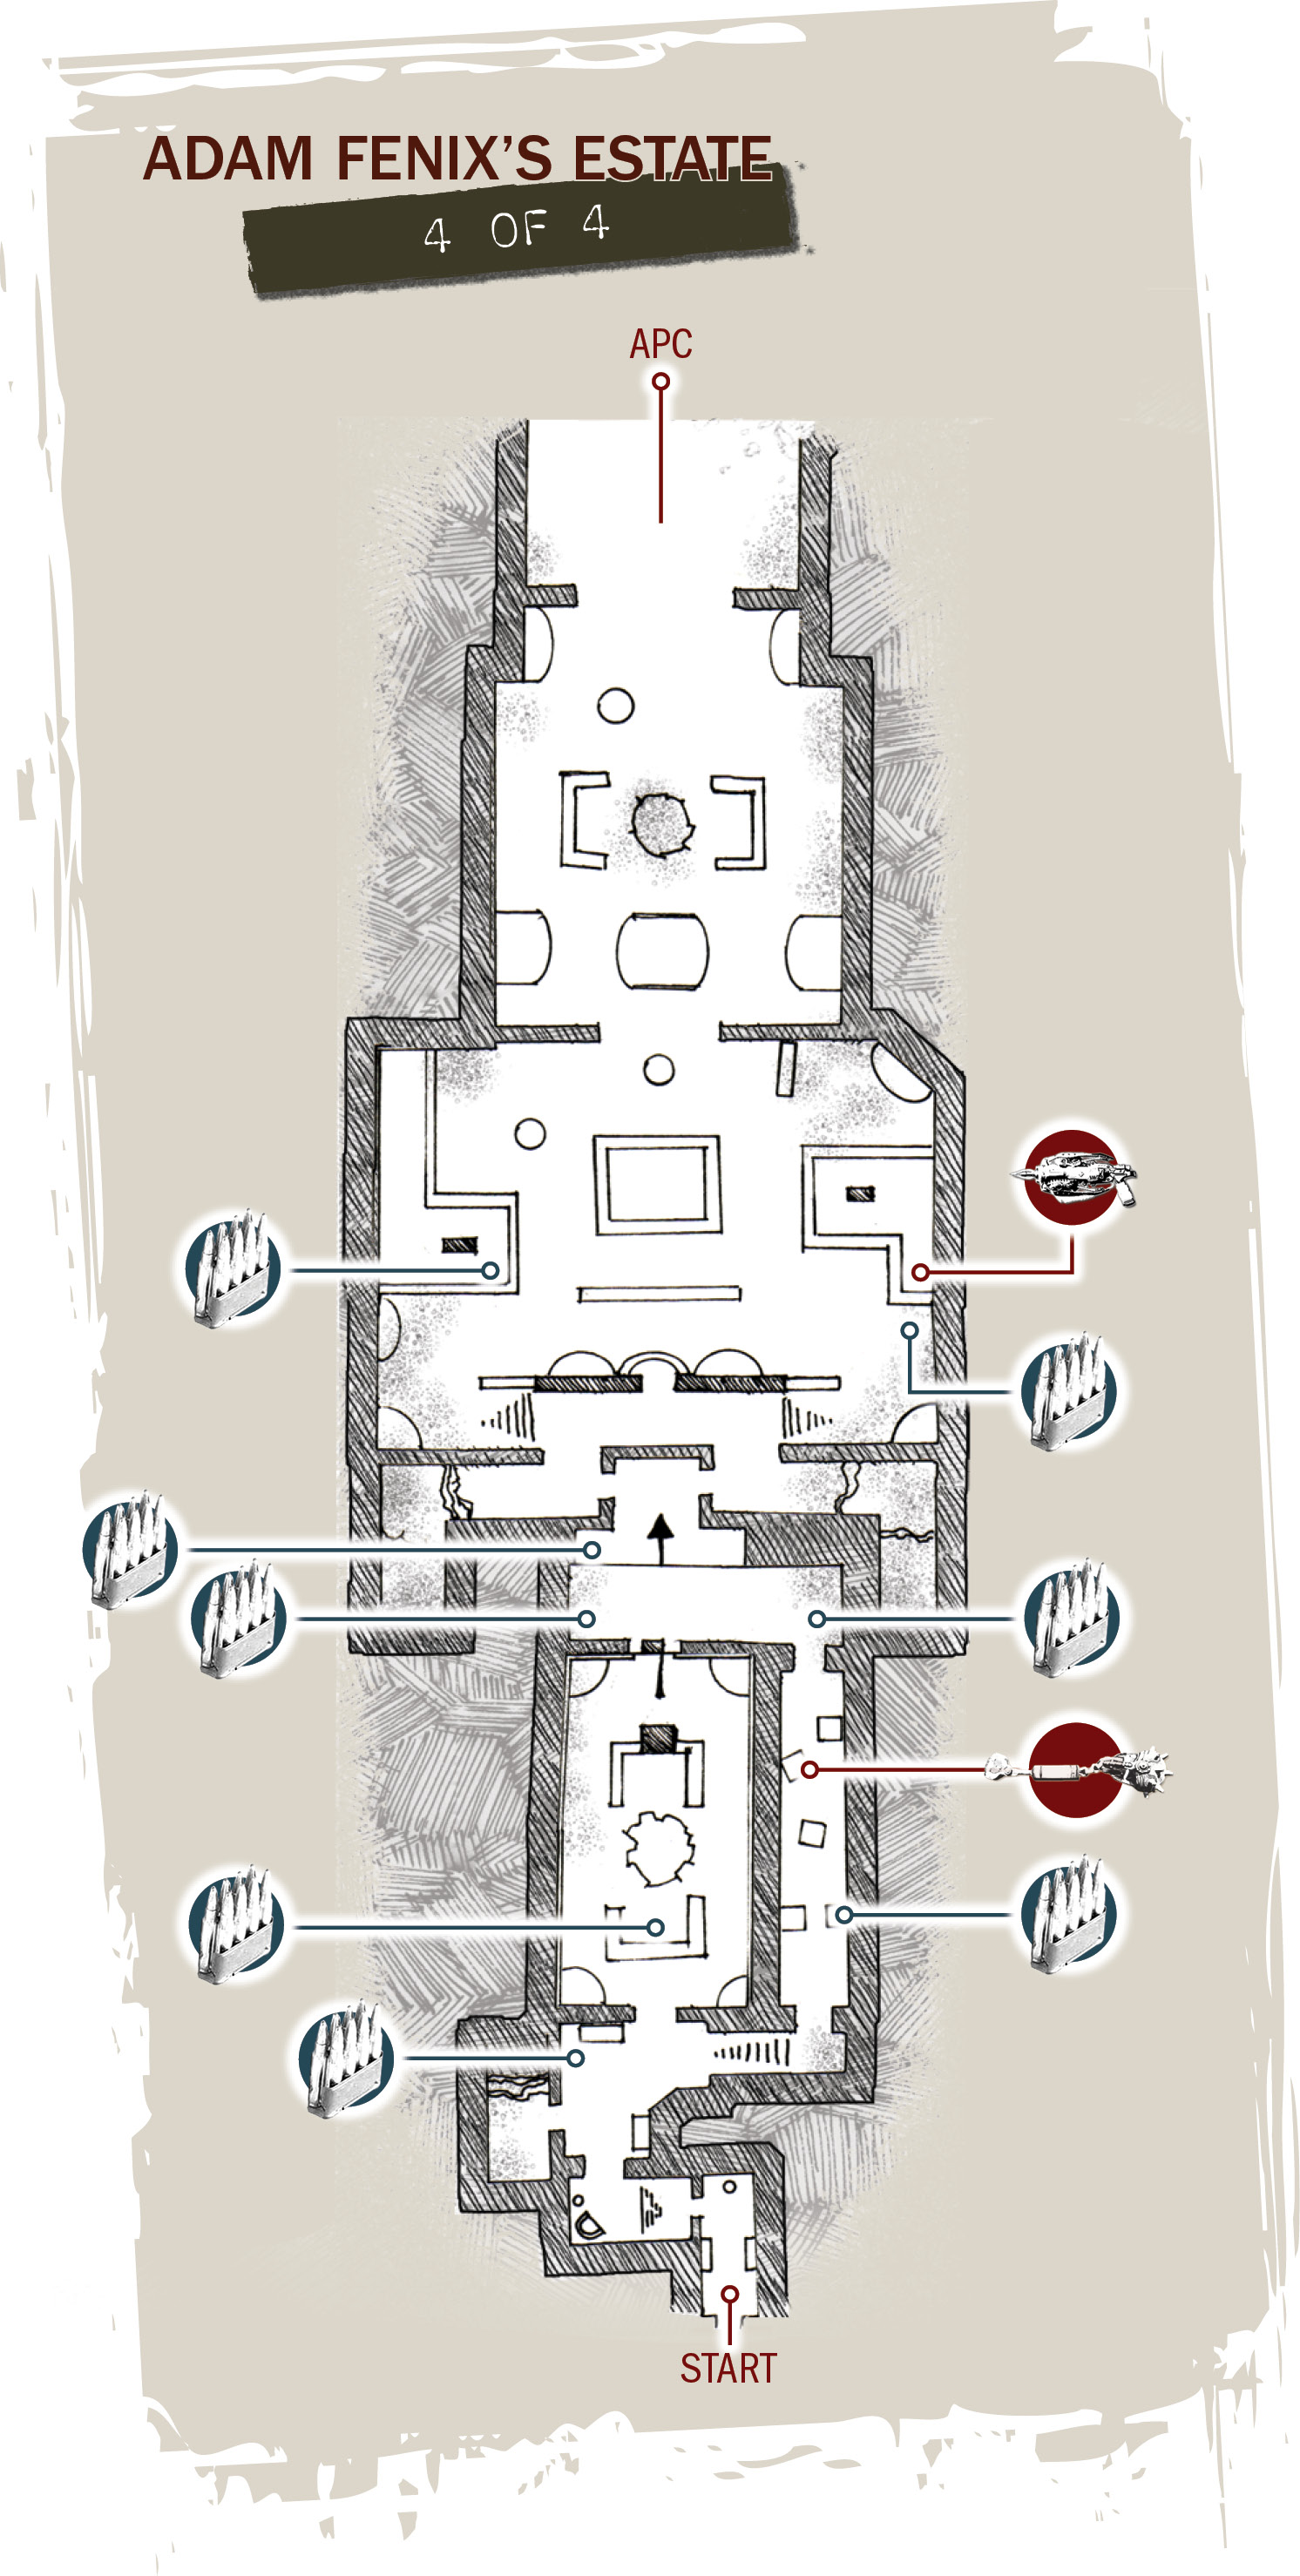
Ready a Frag Grenade and cross the entrance room at an angle to the left. As soon as Marcus passes the stairway, an Emergence Hole opens in the room’s back-left corner, so get ready to close it.
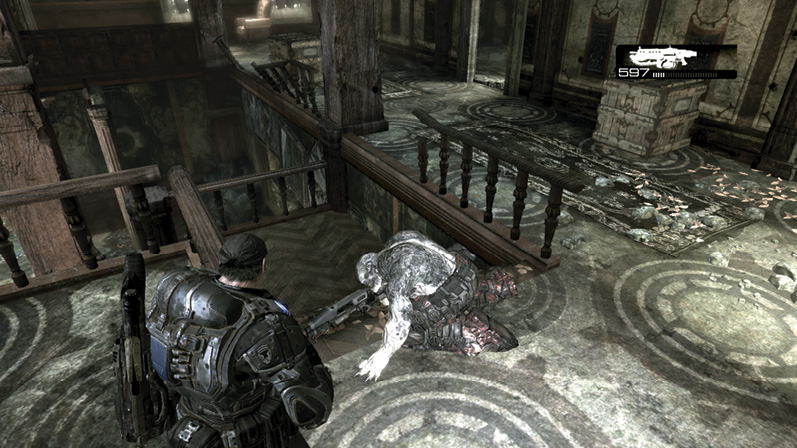
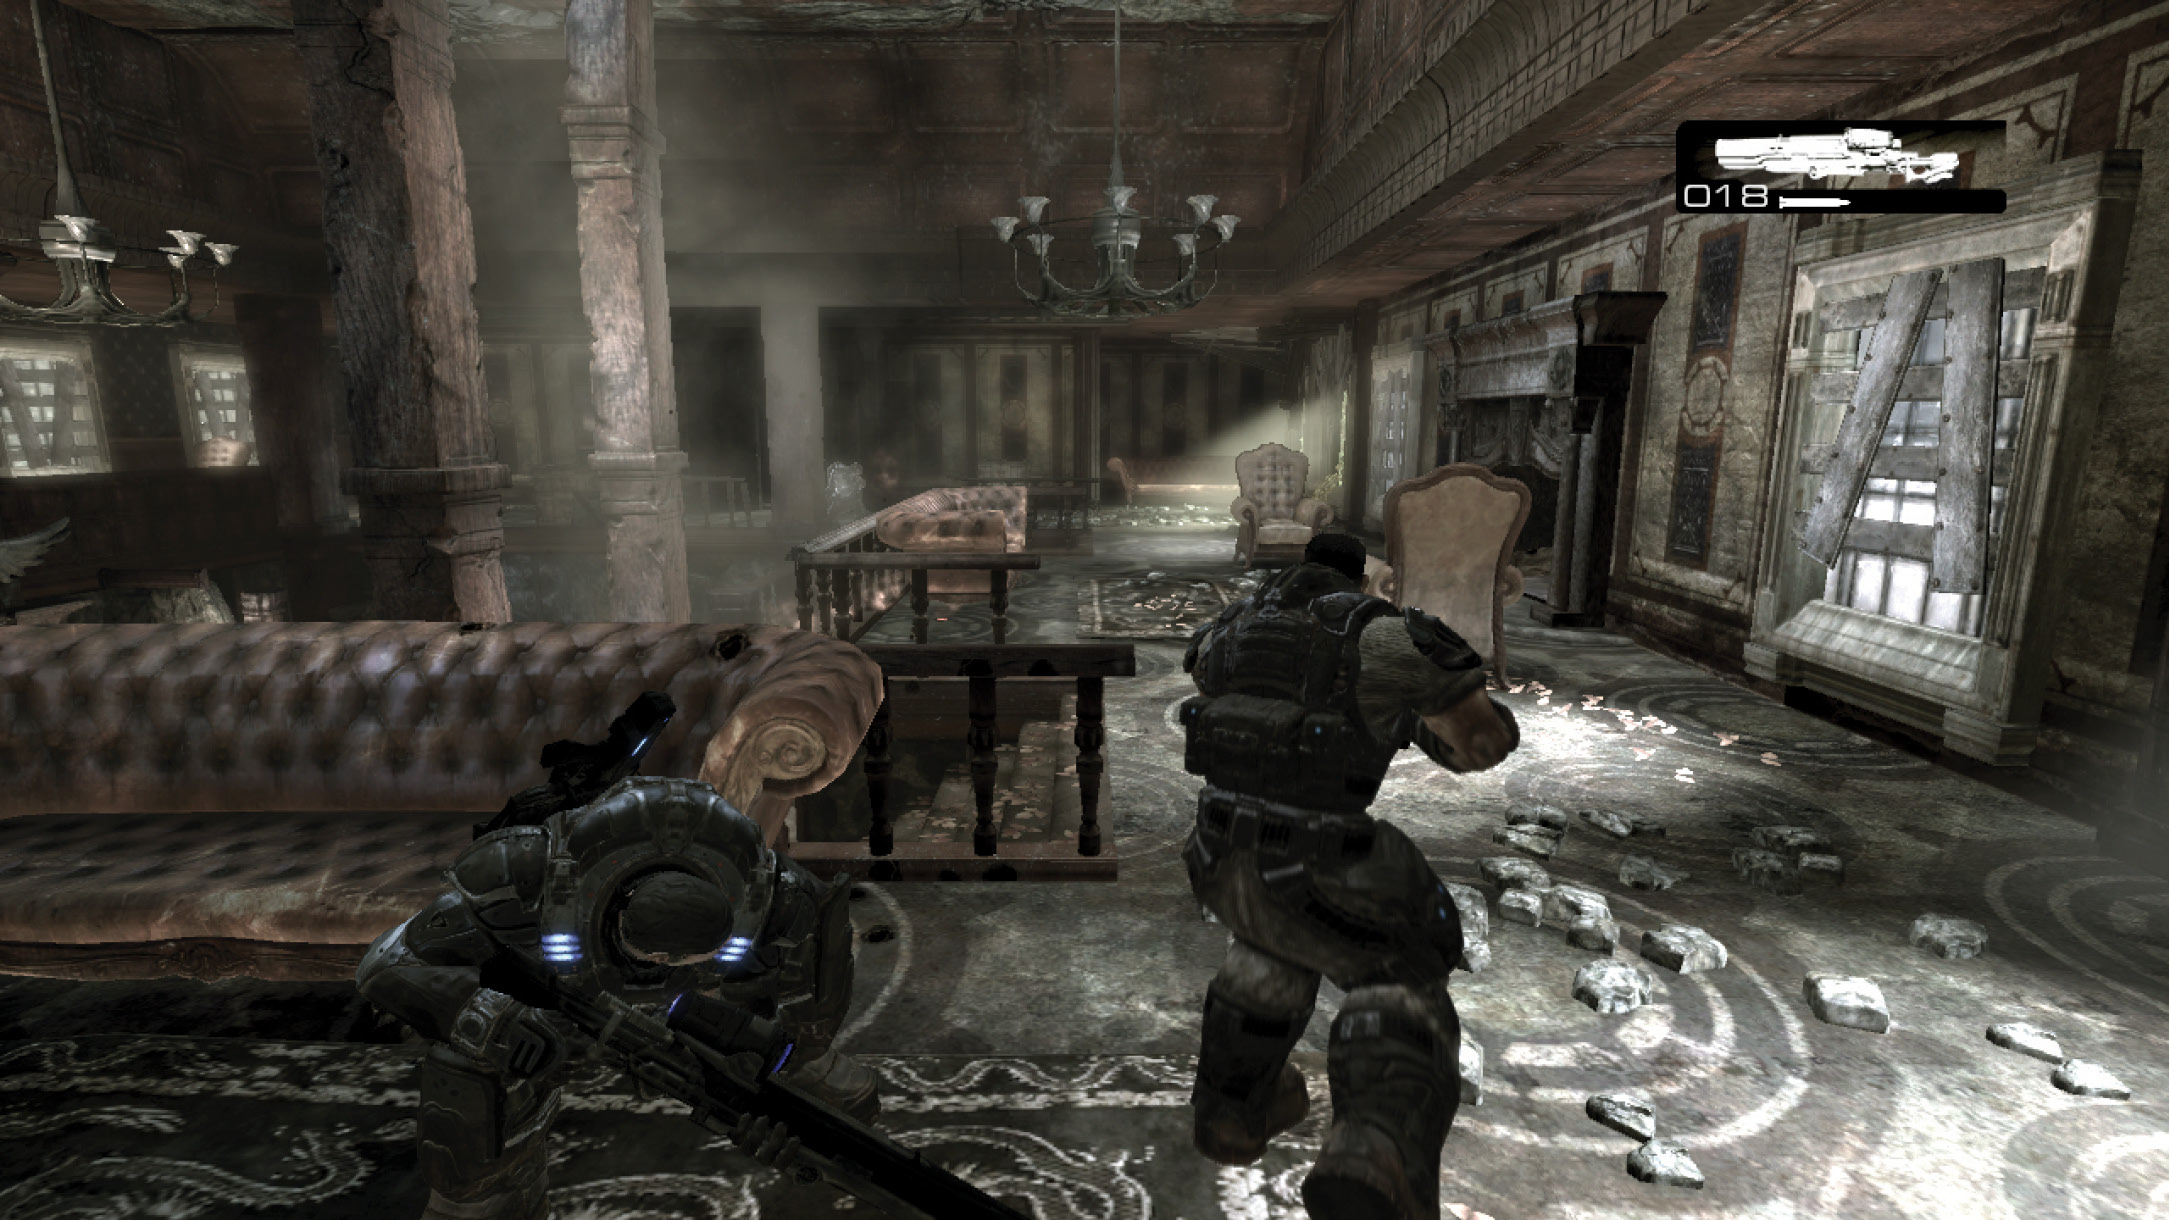
With the Emergence Hole sealed off, ascend the right set of stairs and approach the fireplace in the center with another Frag Grenade in hand. Several Grenadiers emerge from the room to the left (the one above the Emergence Hole’s location). A good Frag Grenade toss should eliminate at least half of the Grenadiers. Use the Lancer to finish off the rest from across the room. But remember that the couches and chairs offer only temporary cover—they are highly destructible!
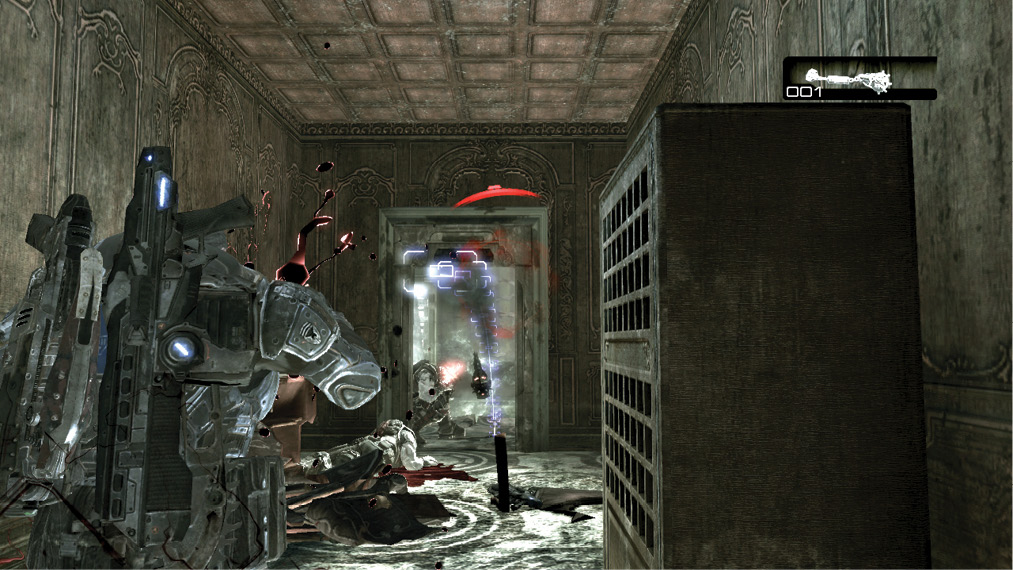
Dom announces when the upstairs is clear of Locust. Take a minute to get the lay of the floor and gather the Frag Grenades that the Grenadiers dropped. It’s time to return downstairs.
Watch for the solitary Grenadier to burst through the door near the entrance. Gun him down and then proceed through the hall beyond that doorway with a Frag Grenade in hand. A rather large Emergence Hole is about to open in the room at the end of the corridor around the corner. Rush forward and take cover near the room’s entrance, and close the hole with a Frag Grenade. Quickly switch to the Torquebow to eliminate any surviving Locust in there. Continue across this level of the house to reach the wine cellar’s entrance. Marcus must crank open the gate via the wheel on the wall to proceed.
COG TAG #27Enter the oval-shaped library on the first floor and use the chainsaw bayonet to destroy the desk. The COG Tag is on the floor under the desk. 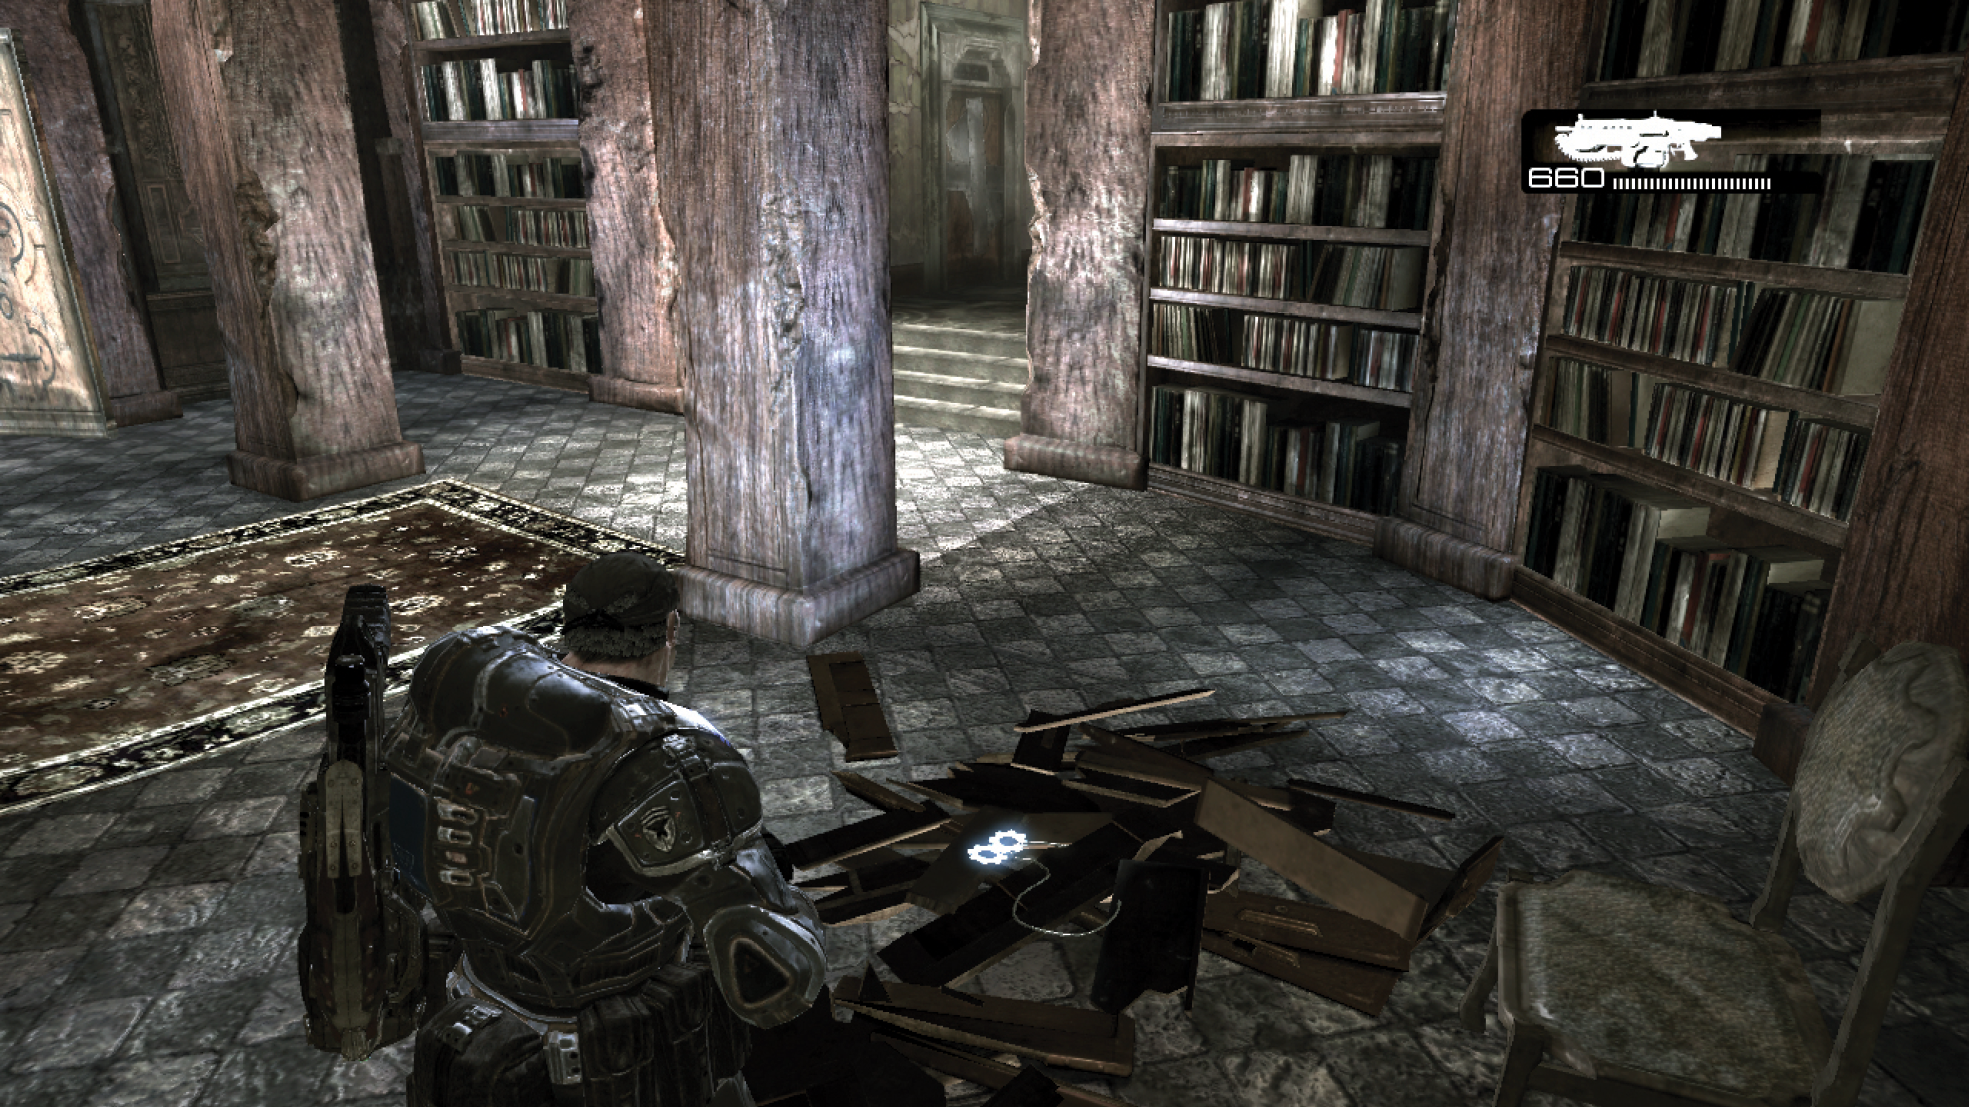
|
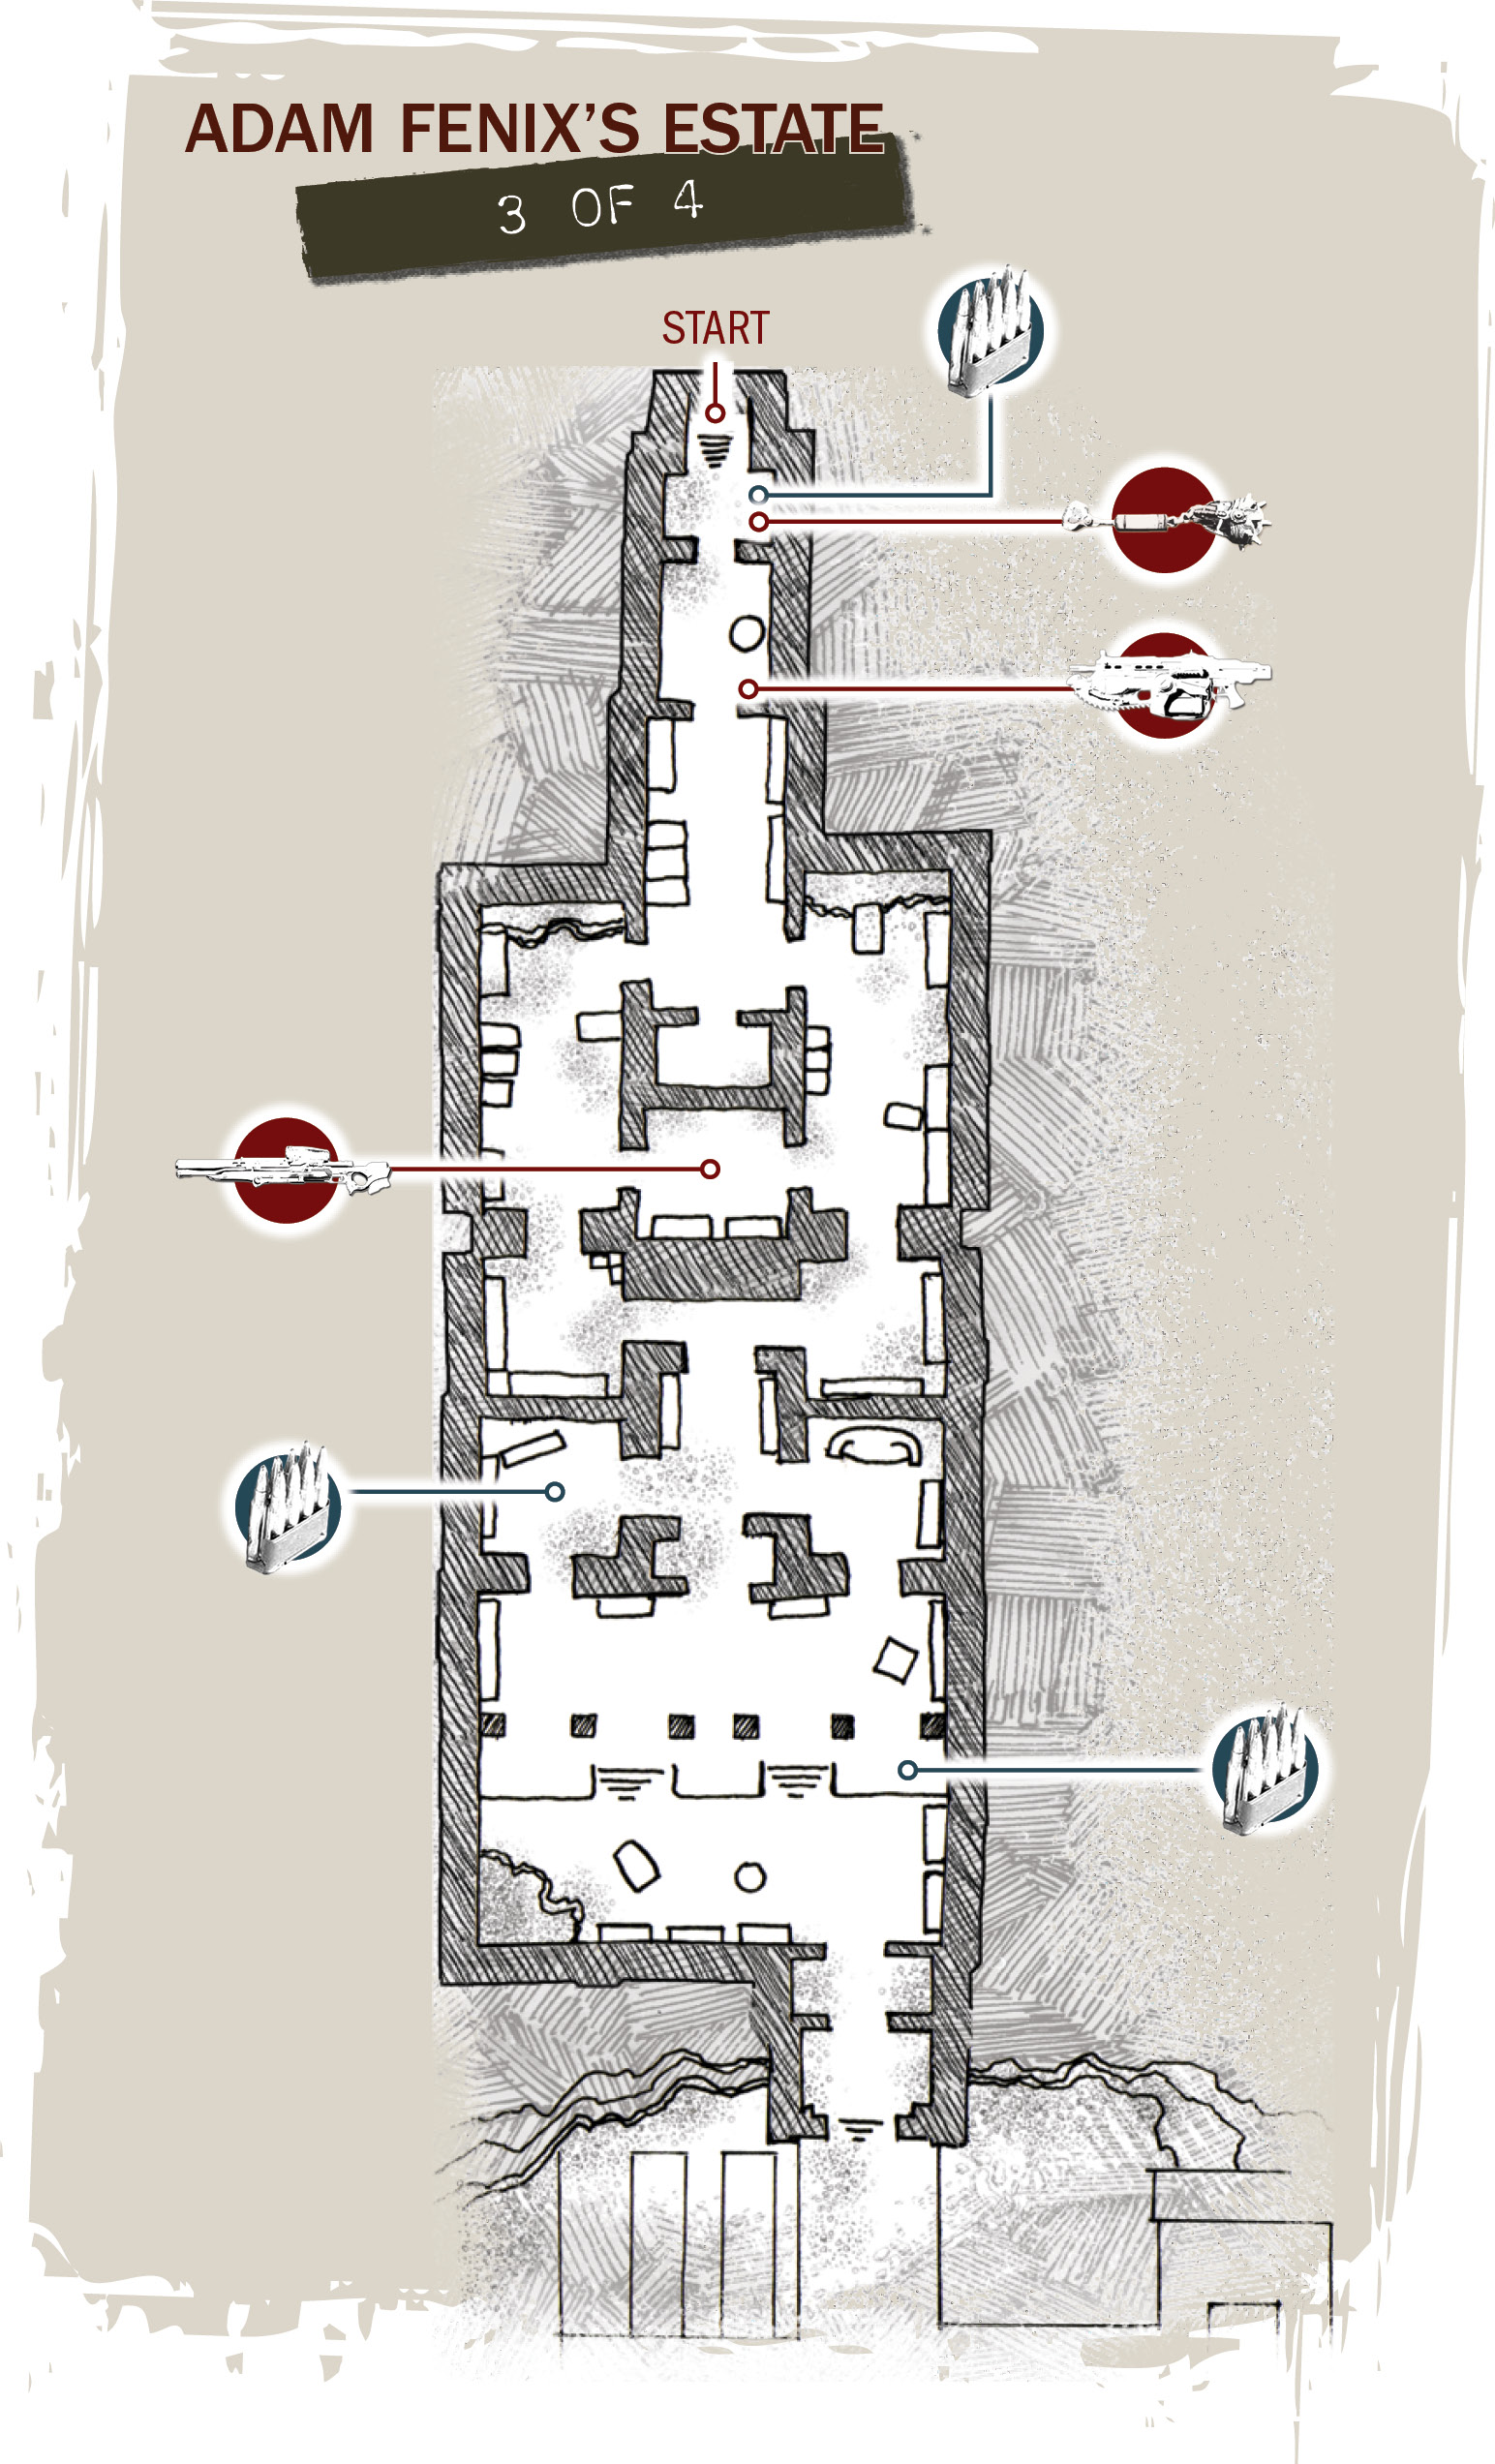
Search the Basement for the Hidden Lab
If the data found in the geobot truly originated from this location, then Marcus’ father must have had a secret laboratory somewhere in the basement. Saw through the wooden boards on the first landing to get the Frag Grenades, and continue down the stairs to the basement.
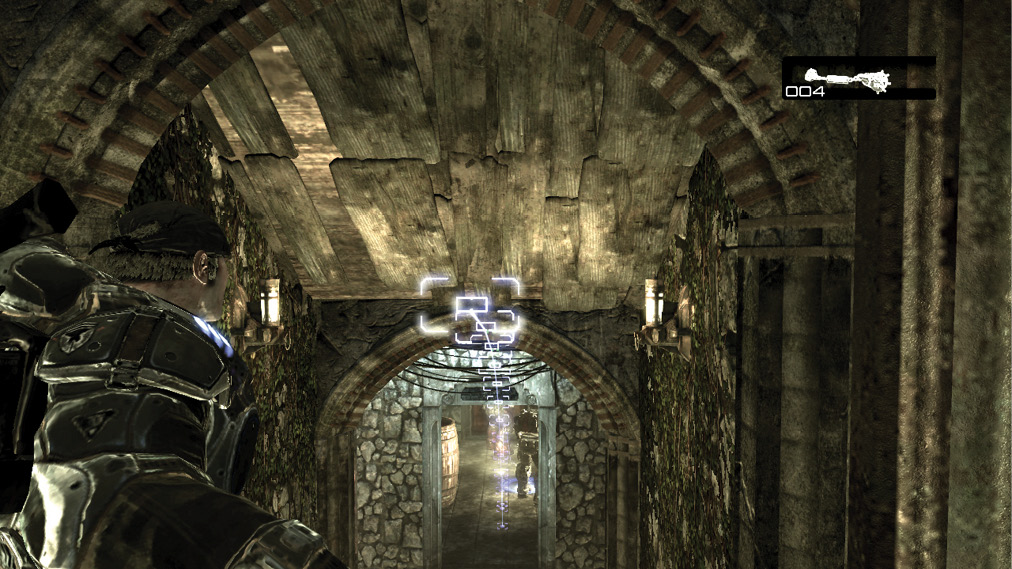
Stop on the last landing before you reach the basement. Lob a Frag Grenade into the room beyond the stairs to eliminate the two Drones located there. Kick open the door to the wine cellar and proceed toward the rear of the area. Refrain from picking up the Longshot in the center area for now, unless Marcus is low on Torquebow arrows. By the time Marcus reaches the rear area, Baird radios to let him know the APC is up and running.
There are numerous wine racks, but the one all the way to the left along the back wall is the only one with a wooden doorframe around it. Approach this wine rack and press the X Button to kick it open. Unfortunately, there is a locked metal door directly behind it that requires Jack’s assistance. That could mean only one thing…
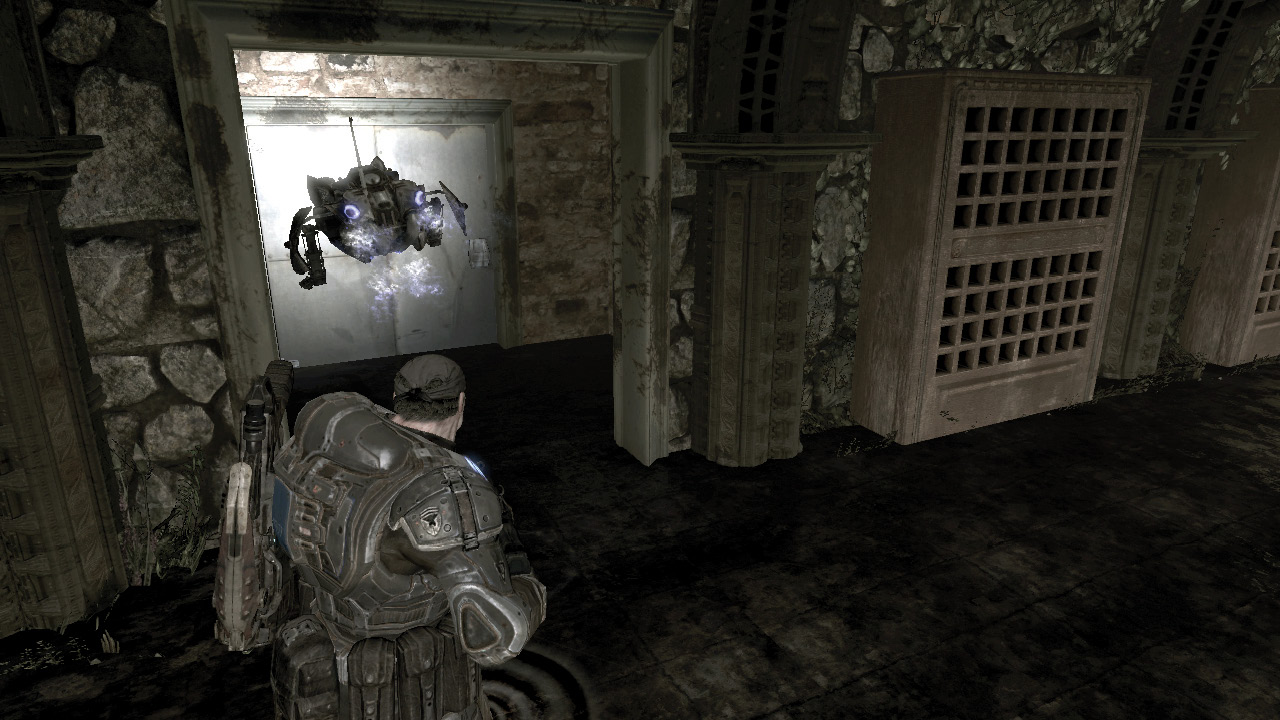
Entrenched
Evict the Locust from Adam’s house.
Protect Jack while He Opens the Lab Door
Take cover behind the nearby wall, facing the gate in the center of the cellar. Ready a Frag Grenade and/or the Torquebow and let the explosives fly as soon as the Drones and Grenadiers appear. There are six of them, and the explosives should wipe out the first three or four. Watch for a Grenadier that tries to flank Marcus from the left. Others try to move in for cover behind the nearby pillars. This is close enough to Marcus’ position that he can cut them down with some well-placed blindfire.
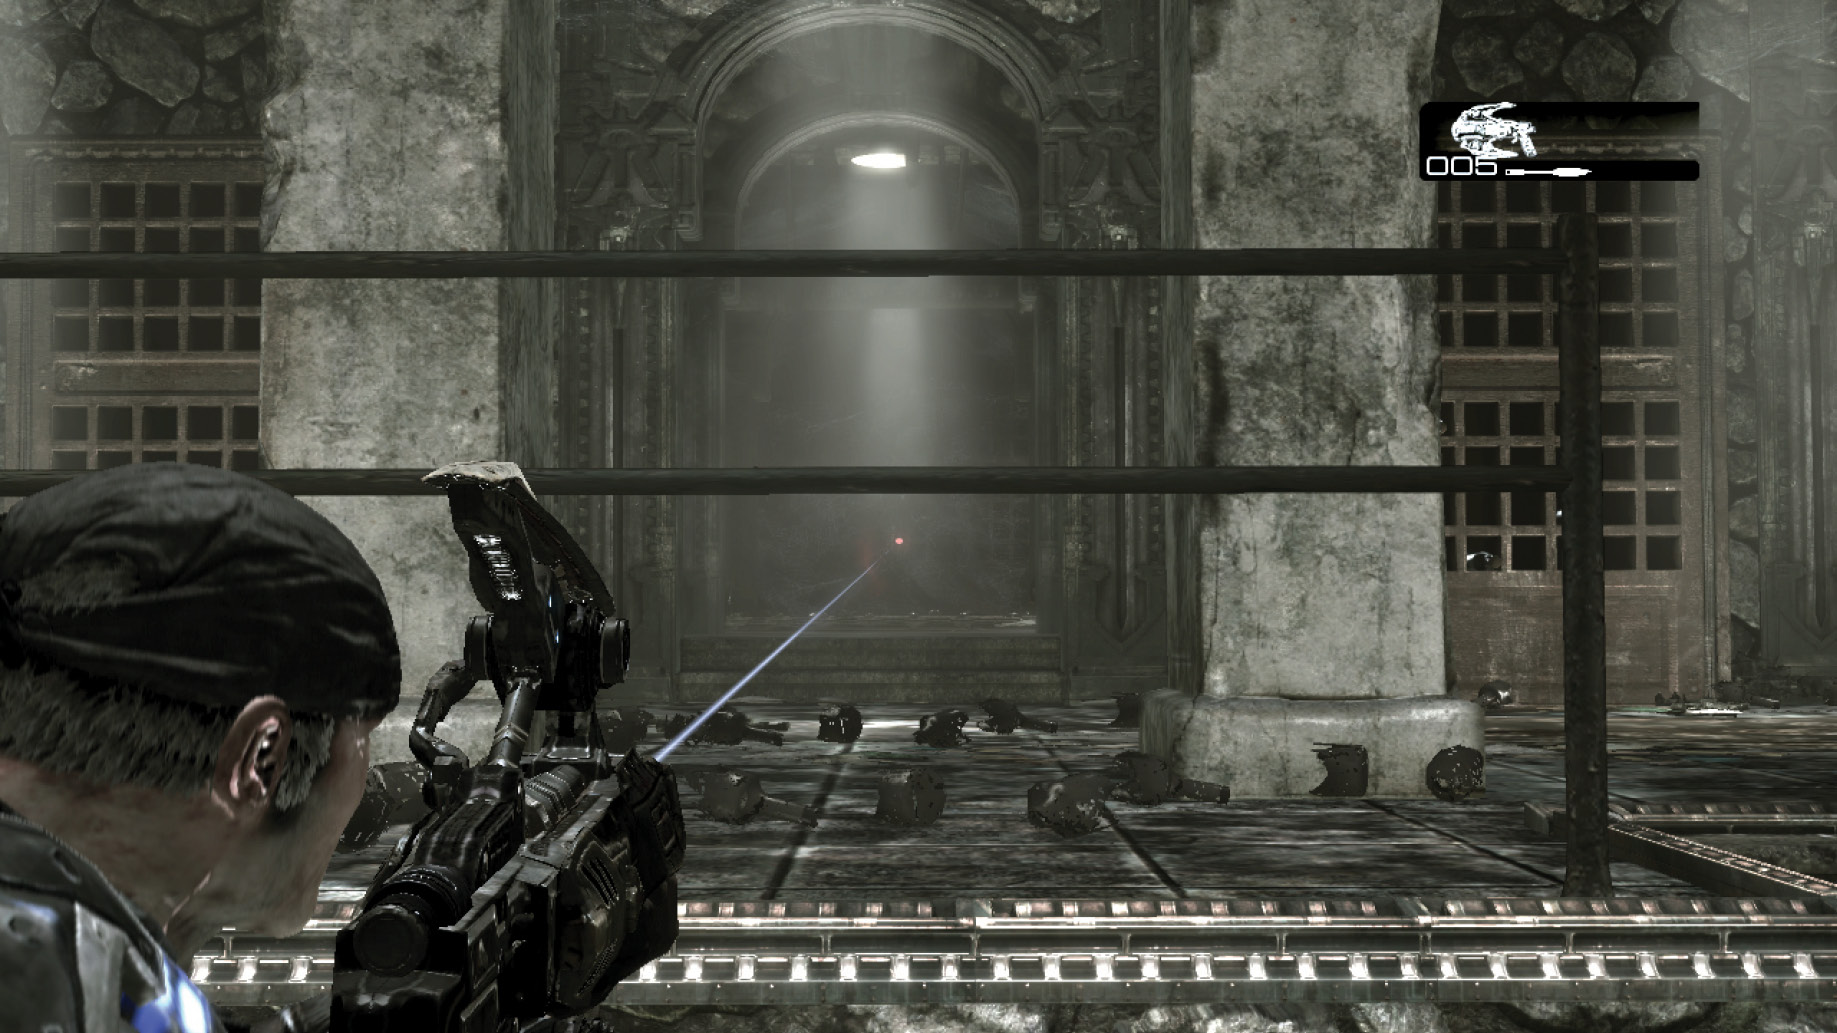
Search the lab
Return to Jack’s location and enter the lab. Inside, Marcus locates the data that Anya was hoping—and fearing—to get. Turns out that the resonator’s data did reveal only a minute fraction of the Locust tunnel network. Unfortunately, the data files are simply too big for Anya to transfer over the network; Jack has to download them. But it’s going to take time, and time is one thing that Delta Squad doesn’t have to waste.
Regroup at the Front of the House
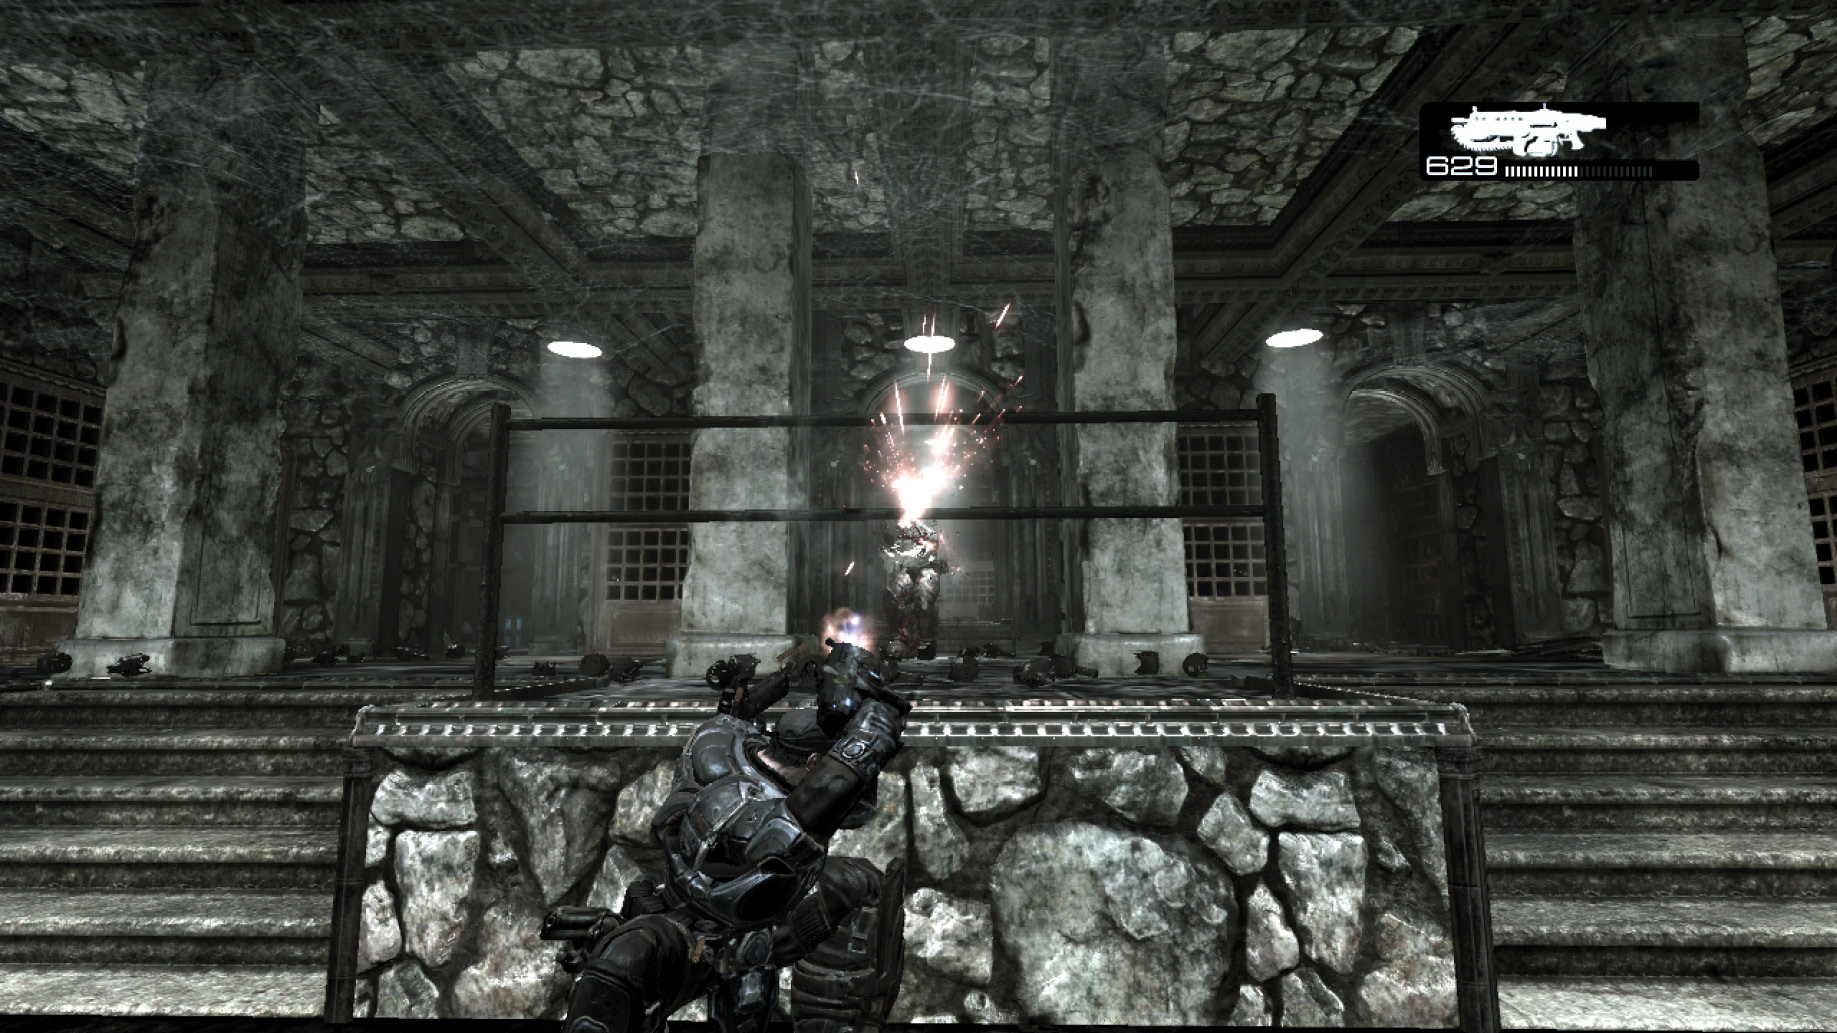
Baird and Cole are in dire need of assistance, as a platoon of Locust advances toward the mansion’s front door. They can’t hold them off much longer without some help. Use the Lancer to cut a path through the Wretches and Grenadier that make their way into the cellar, and return to the house’s main floor. Collect any ammo you see along the way, but don’t waste time.
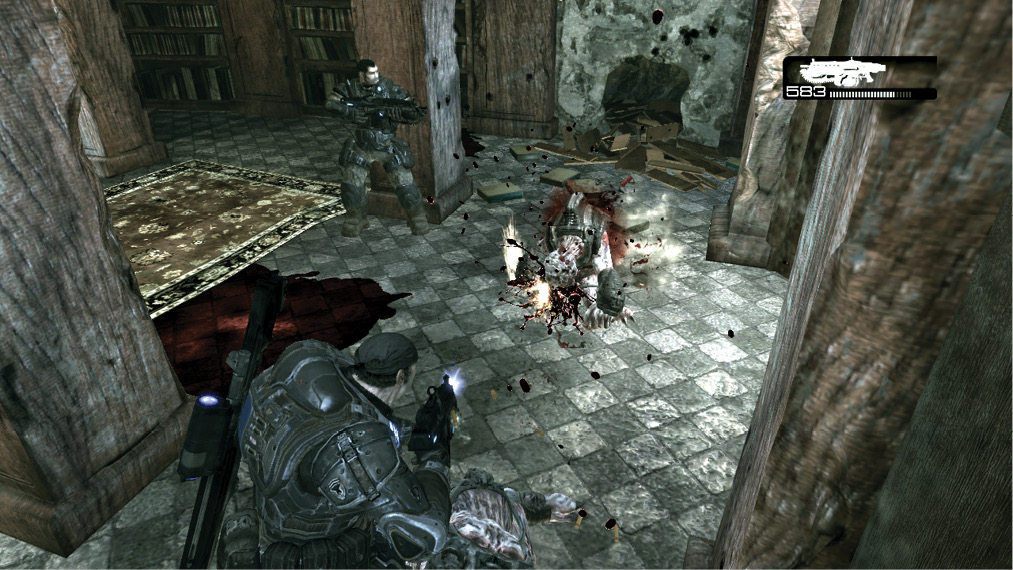
A Drone locks the double doors leading out of the library, thus trapping Dom and Marcus inside with a dozen hungry Wretches. Circle-strafe around the room’s perimeter and use the Lancer to put them away. Once you defeat the last Wretch, the Drone kicks open the door and starts firing. Be there to let loose the chainsaw bayonet when he does.
Rush back through the house to the main entryway, and climb the stairs to the second floor where Baird and Cole are waiting. There are a number of Theron Guards, Drones, and Grenadiers in the courtyard outside—Baird and Cole leave them for Dom and Marcus while they go around back to protect the APC.
Defend the Front of the House
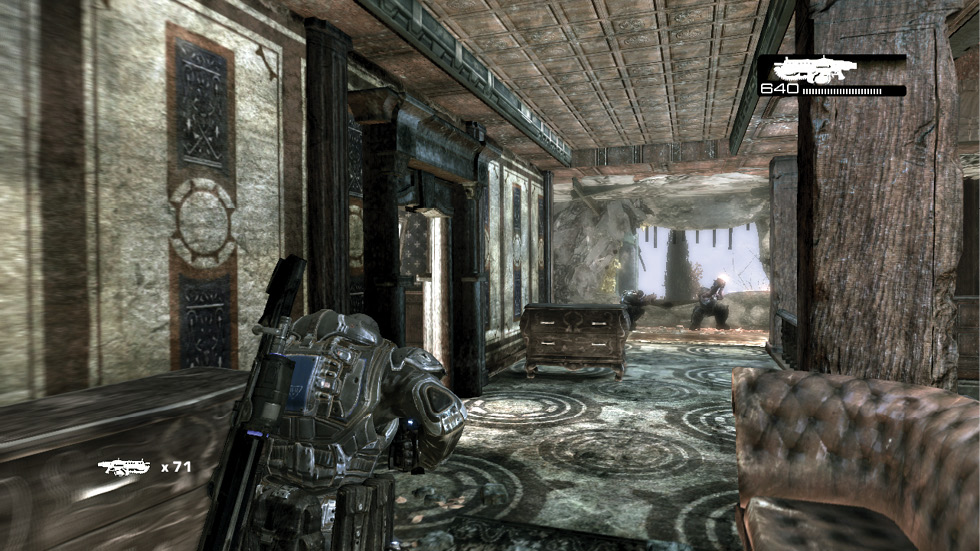
Head toward the room that’s to the left of where Baird was hunkered down. Use the blown-out wall to get the drop on a group of enemies. From this vantage point, a well-aimed Torquebow arrow can detonate four or more Locust all at once. Quickly ready another arrow, as a Boomer charges the front door with a battering ram.
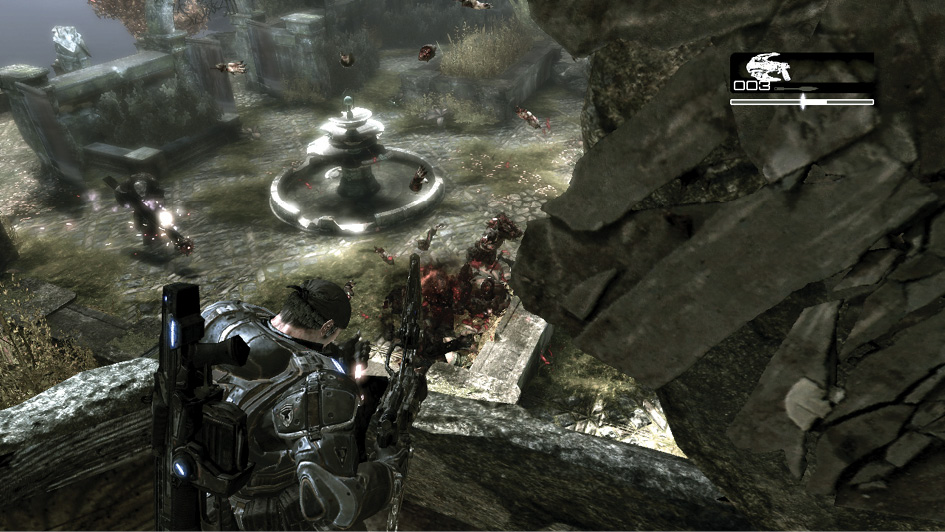
Chances are, the Boomer will reach the door and create an opening for the other Locust. Fear not; they are easy targets as they funnel through the fiery front door area. Take down as many Locust outside as you can, then rush to the stairs in the foyer and use Frag Grenades and the Lancer to cut down the Drones and Grenadiers that make their way inside.
A second Locust wave launches an attack from the courtyard area. Return to the front window and use the Torquebow to take out the Boomer. Then concentrate on finishing off the Drones. By the time Marcus accomplishes this, Jack will be done downloading the data files. It’s time to head for the APC. Go downstairs to the main entryway and pass through the recently opened door to the right of the staircase.
Get to the Back of the House
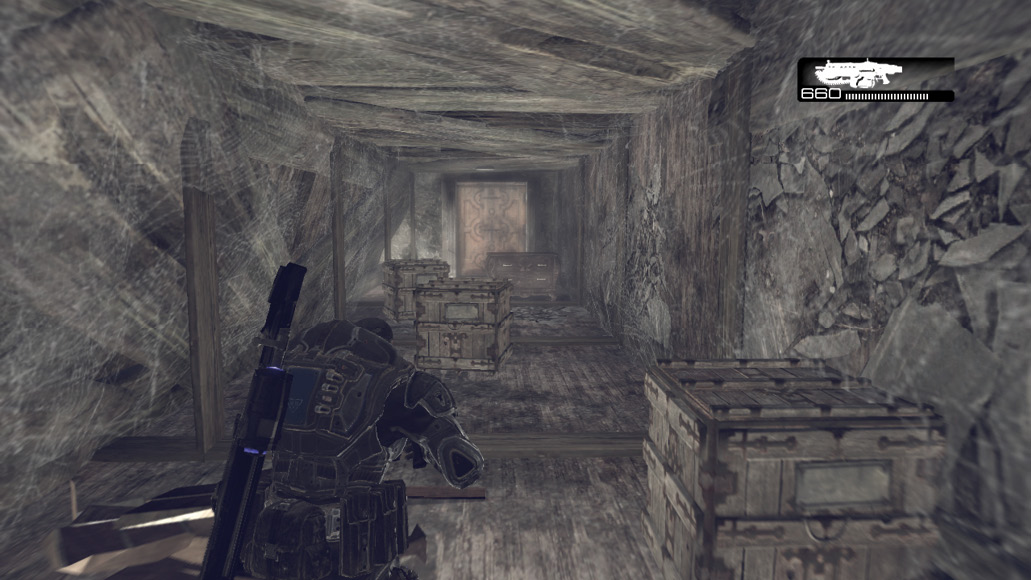
The door that leads to the rear courtyard is barred shut from the outside—Marcus must unblock it if he’s to reach the APC. Ascend the stairs to the right, and proceed through the spider-webbed attic to the hallway overlooking the courtyard.
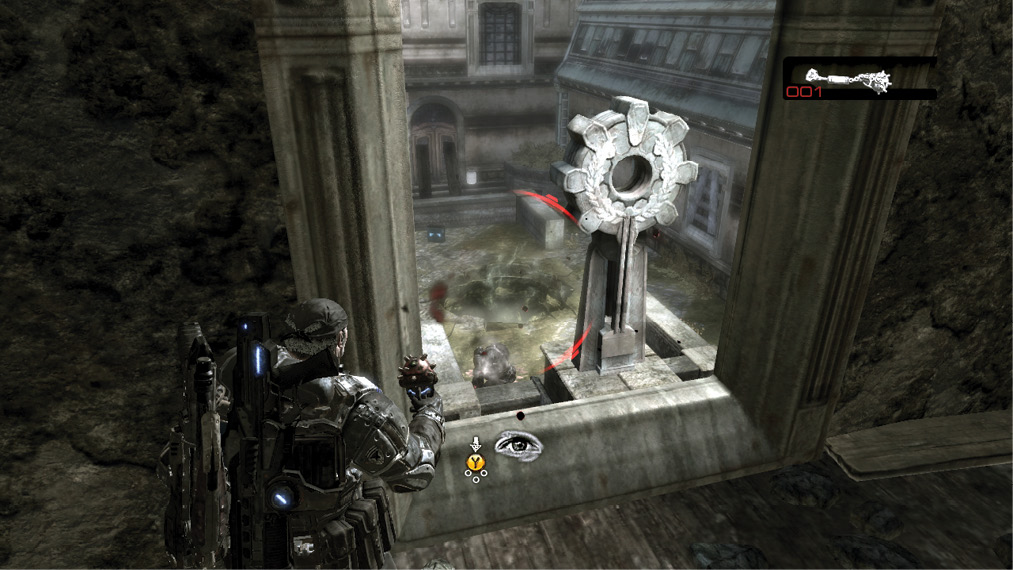
Use a Frag Grenade to close the Emergence Hole in the small courtyard’s center. Then finish off the remaining Locust with the Lancer while you have the drop on them. Now it’s time to unblock the door at the other end of the yard. Use the Lancer to shoot apart the wooden boards propped against the door. You can also blow them apart by shooting the propane tank to the right of the door.
Return to the previously barred door and proceed through the small interior courtyard to the next hallway. The main backyard is just outside. Take either of the exits and be prepared to make a run for it!
Escape Using the APC in the Backyard
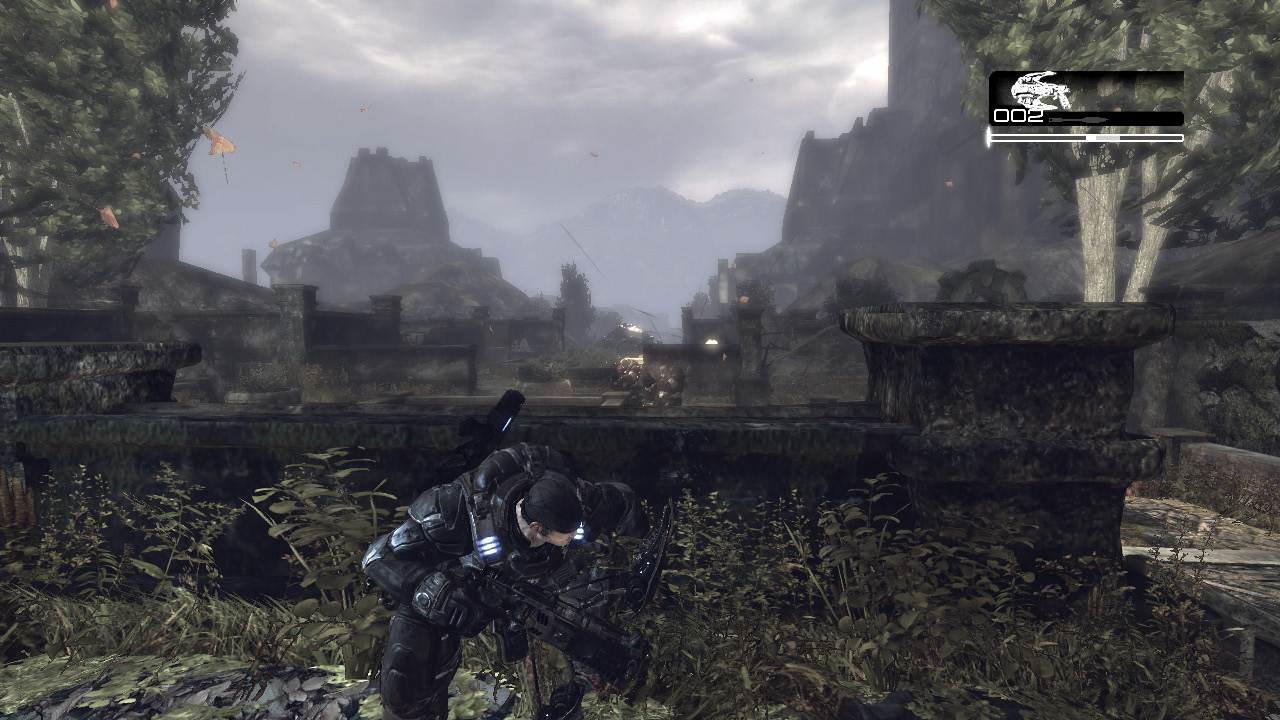
Equip the Torquebow and slide into cover along the center of the front wall. This helps ensure that the two Boomers entering the backyard’s far end congregate together. Immediately fire on them with the Torquebow. Dom’s assistance goes a long way toward drawing some of the Boomshot blasts his way, and it helps kill the Boomers.
Get to the APC Now!
Once the two Boomers are destroyed, a time appears onscreen. Marcus has thirty seconds to cross the remainder of the yard and reach the APC. Don’t look for weapons. Don’t try to close the Emergence Hole that opens. And don’t look for extra ammo. Just run like hell!