
Gears of War Guide Co-Op Strategy
Act 1: Ashes
Jacinto Maximum Security Prison
Recon
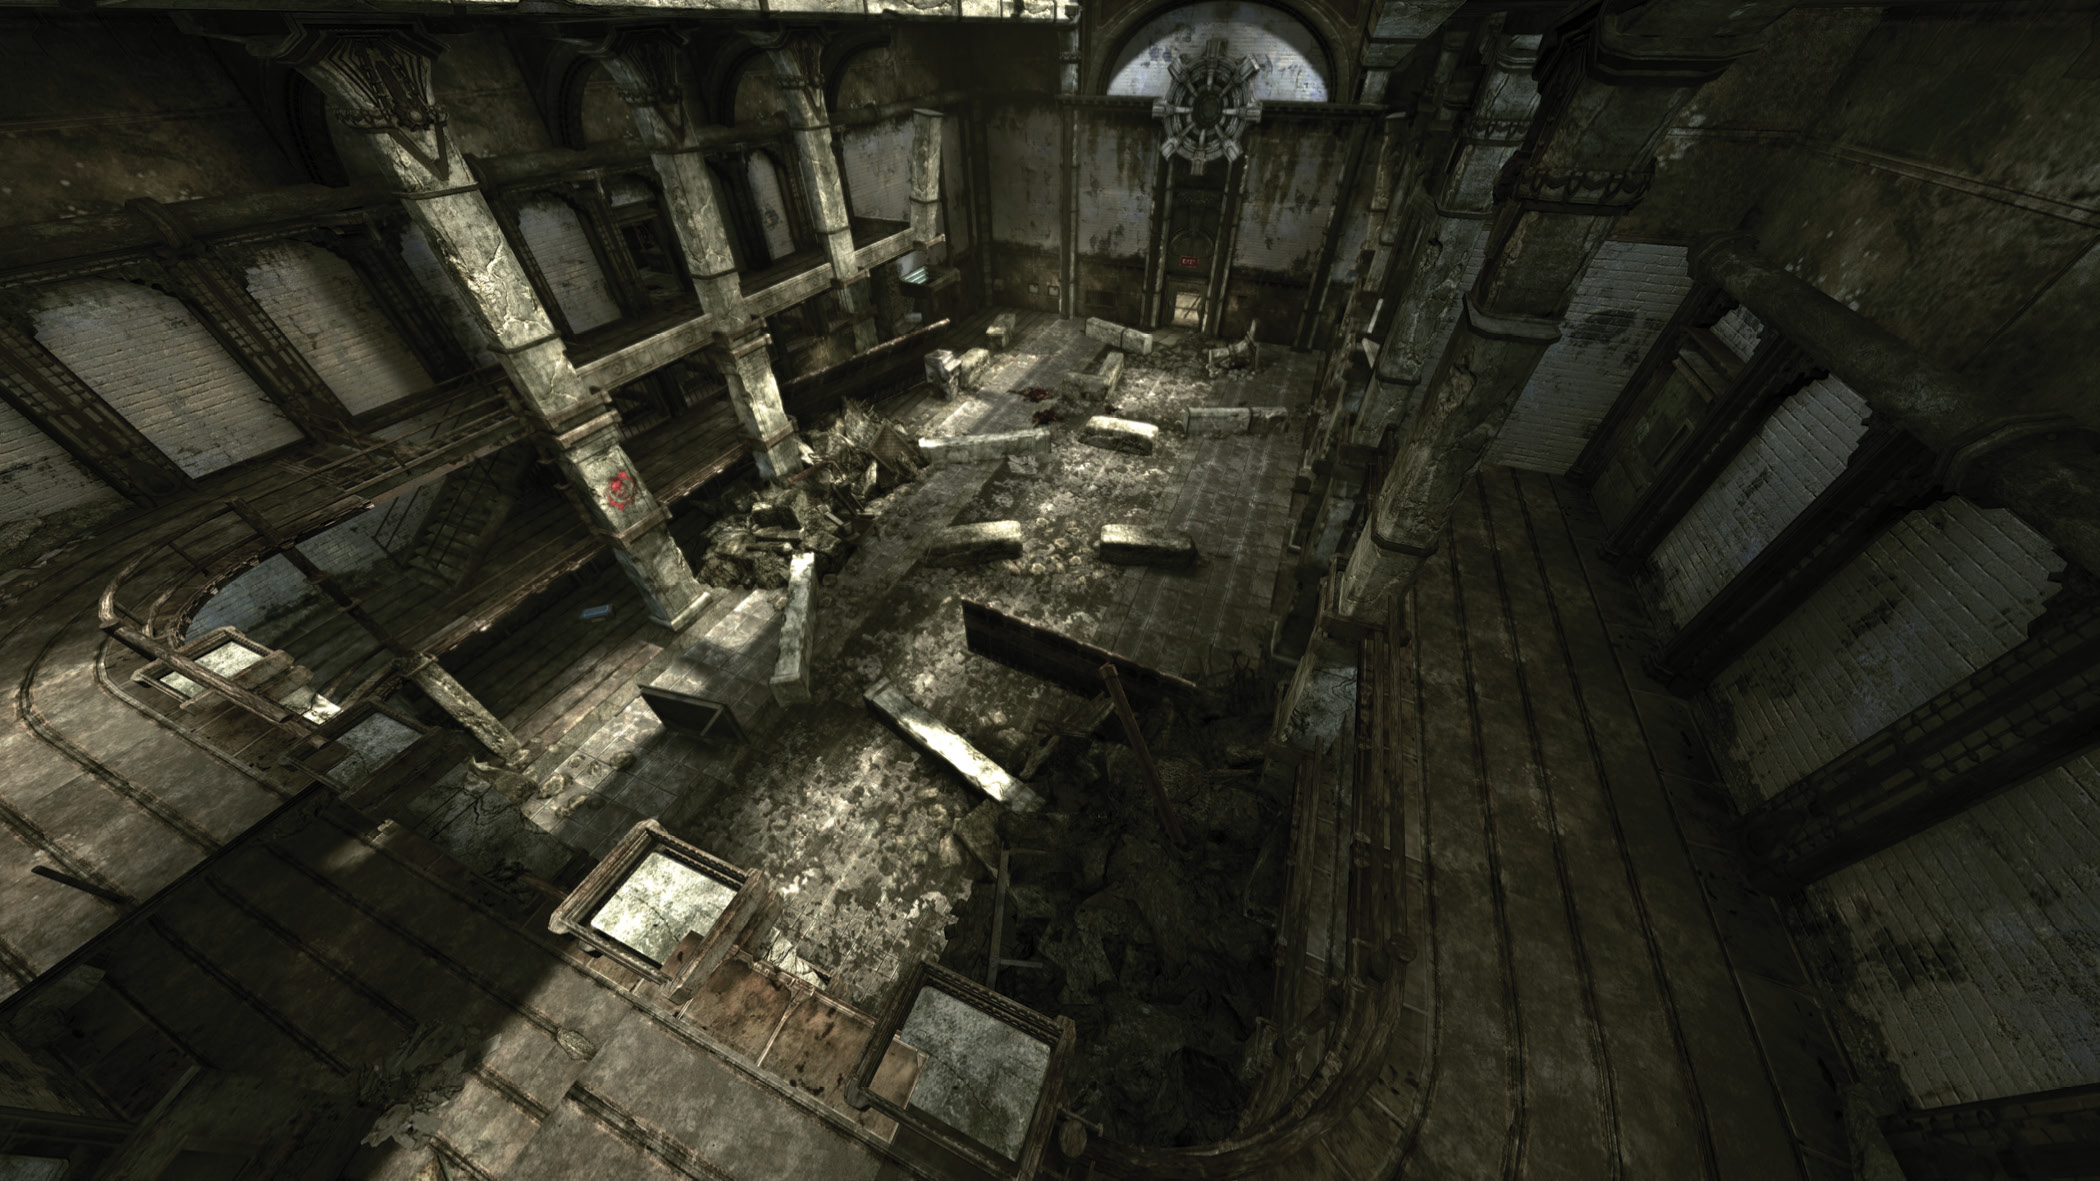
- When you enter the lower level of the prison blocks, one player should take cover just outside the side entrance to provide covering fire as the other player flanks along the short walls to the left, past the sealed door. This allows the flanking player to gain position on the Drone behind the wall in the corner.
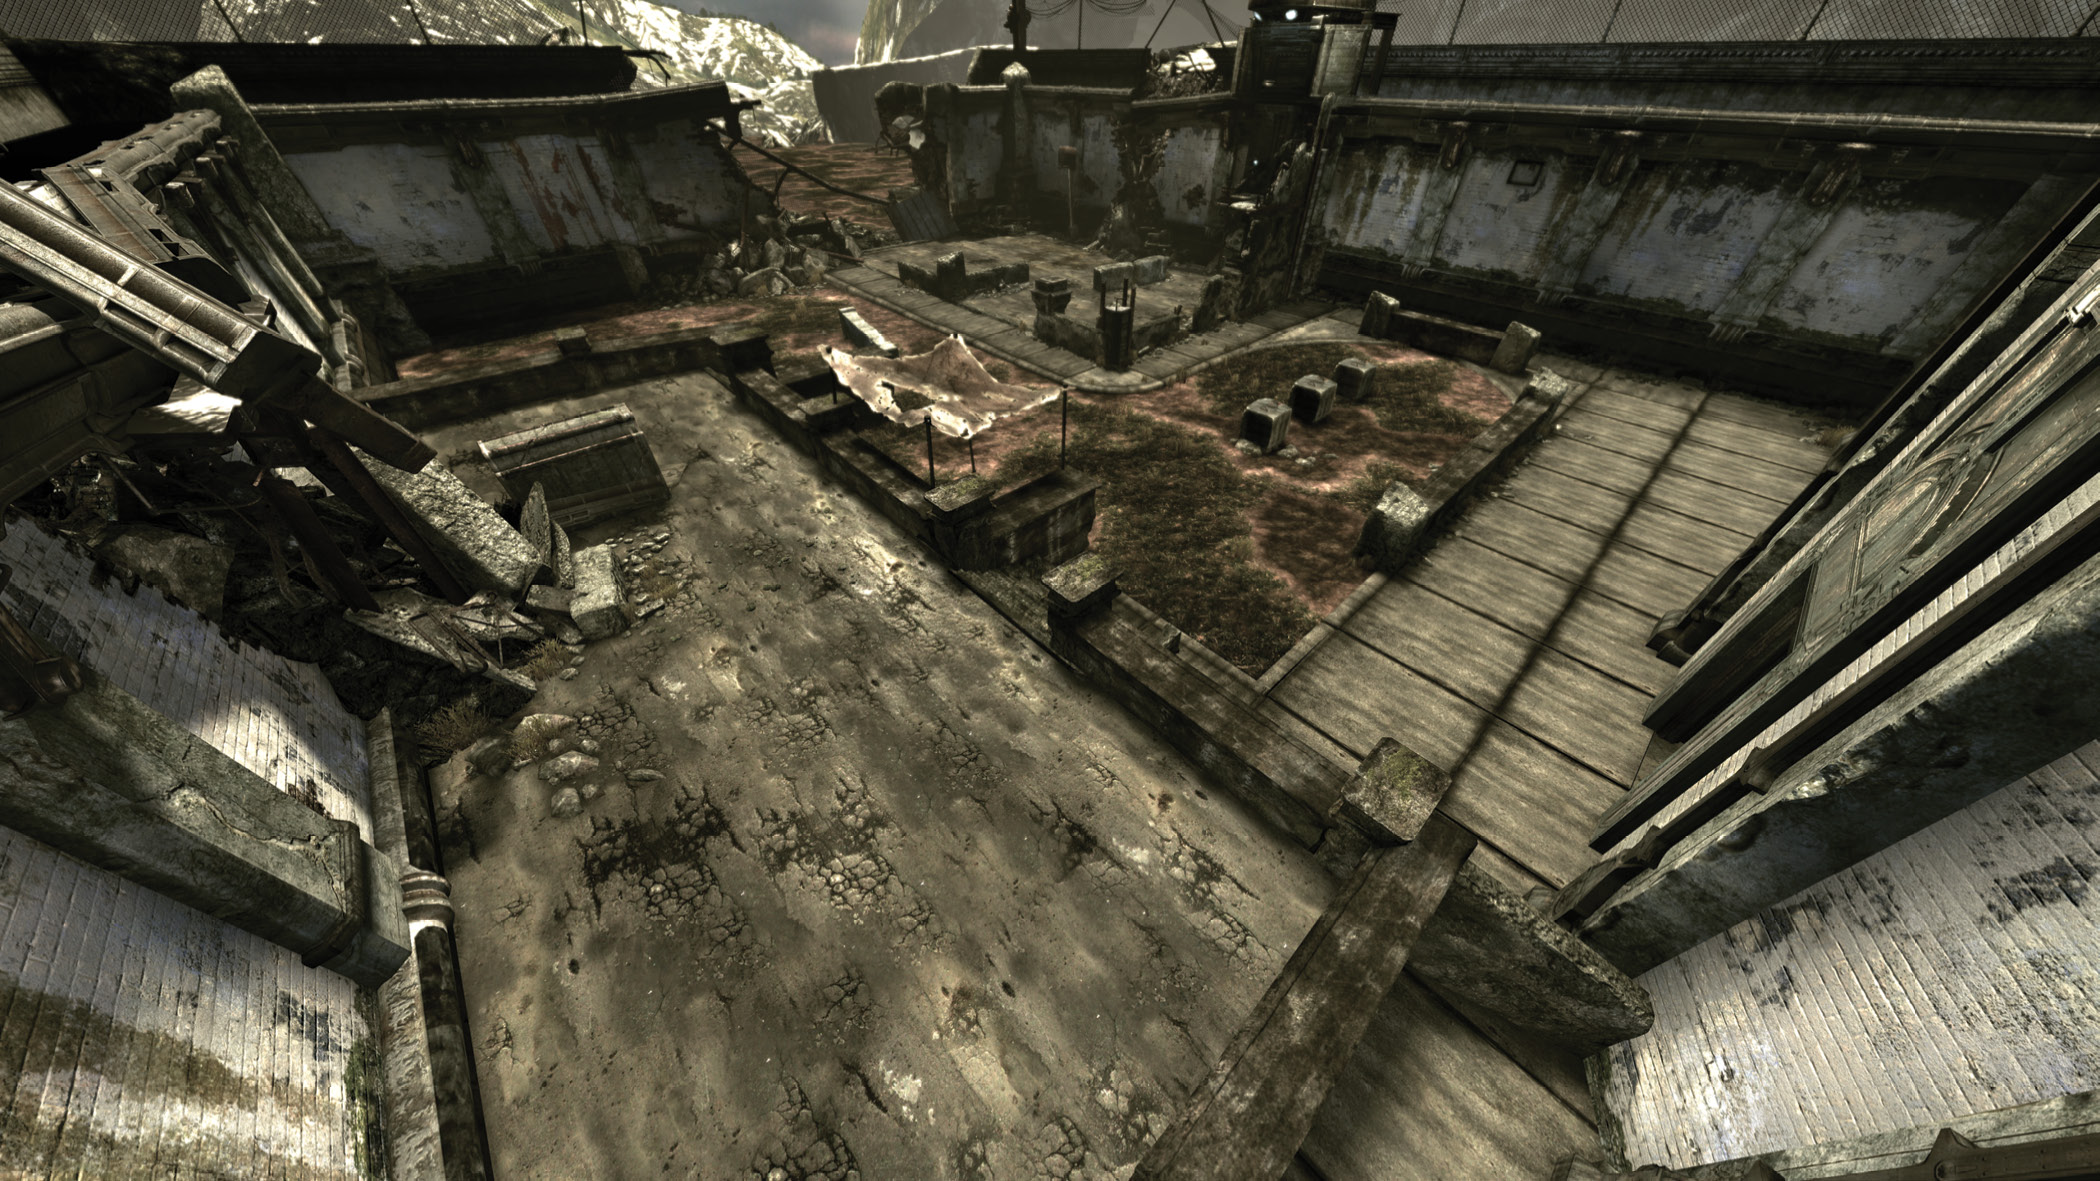
- In the prison yard, direct one player to take cover near the wall outside the door on the right. Meanwhile, the other player moves into position atop the walkway on the left. Once the flanking player gains position on the enemy and draws their attention, the player near the entrance can push forward and flush the enemies out of cover.
Embry Square
Recon
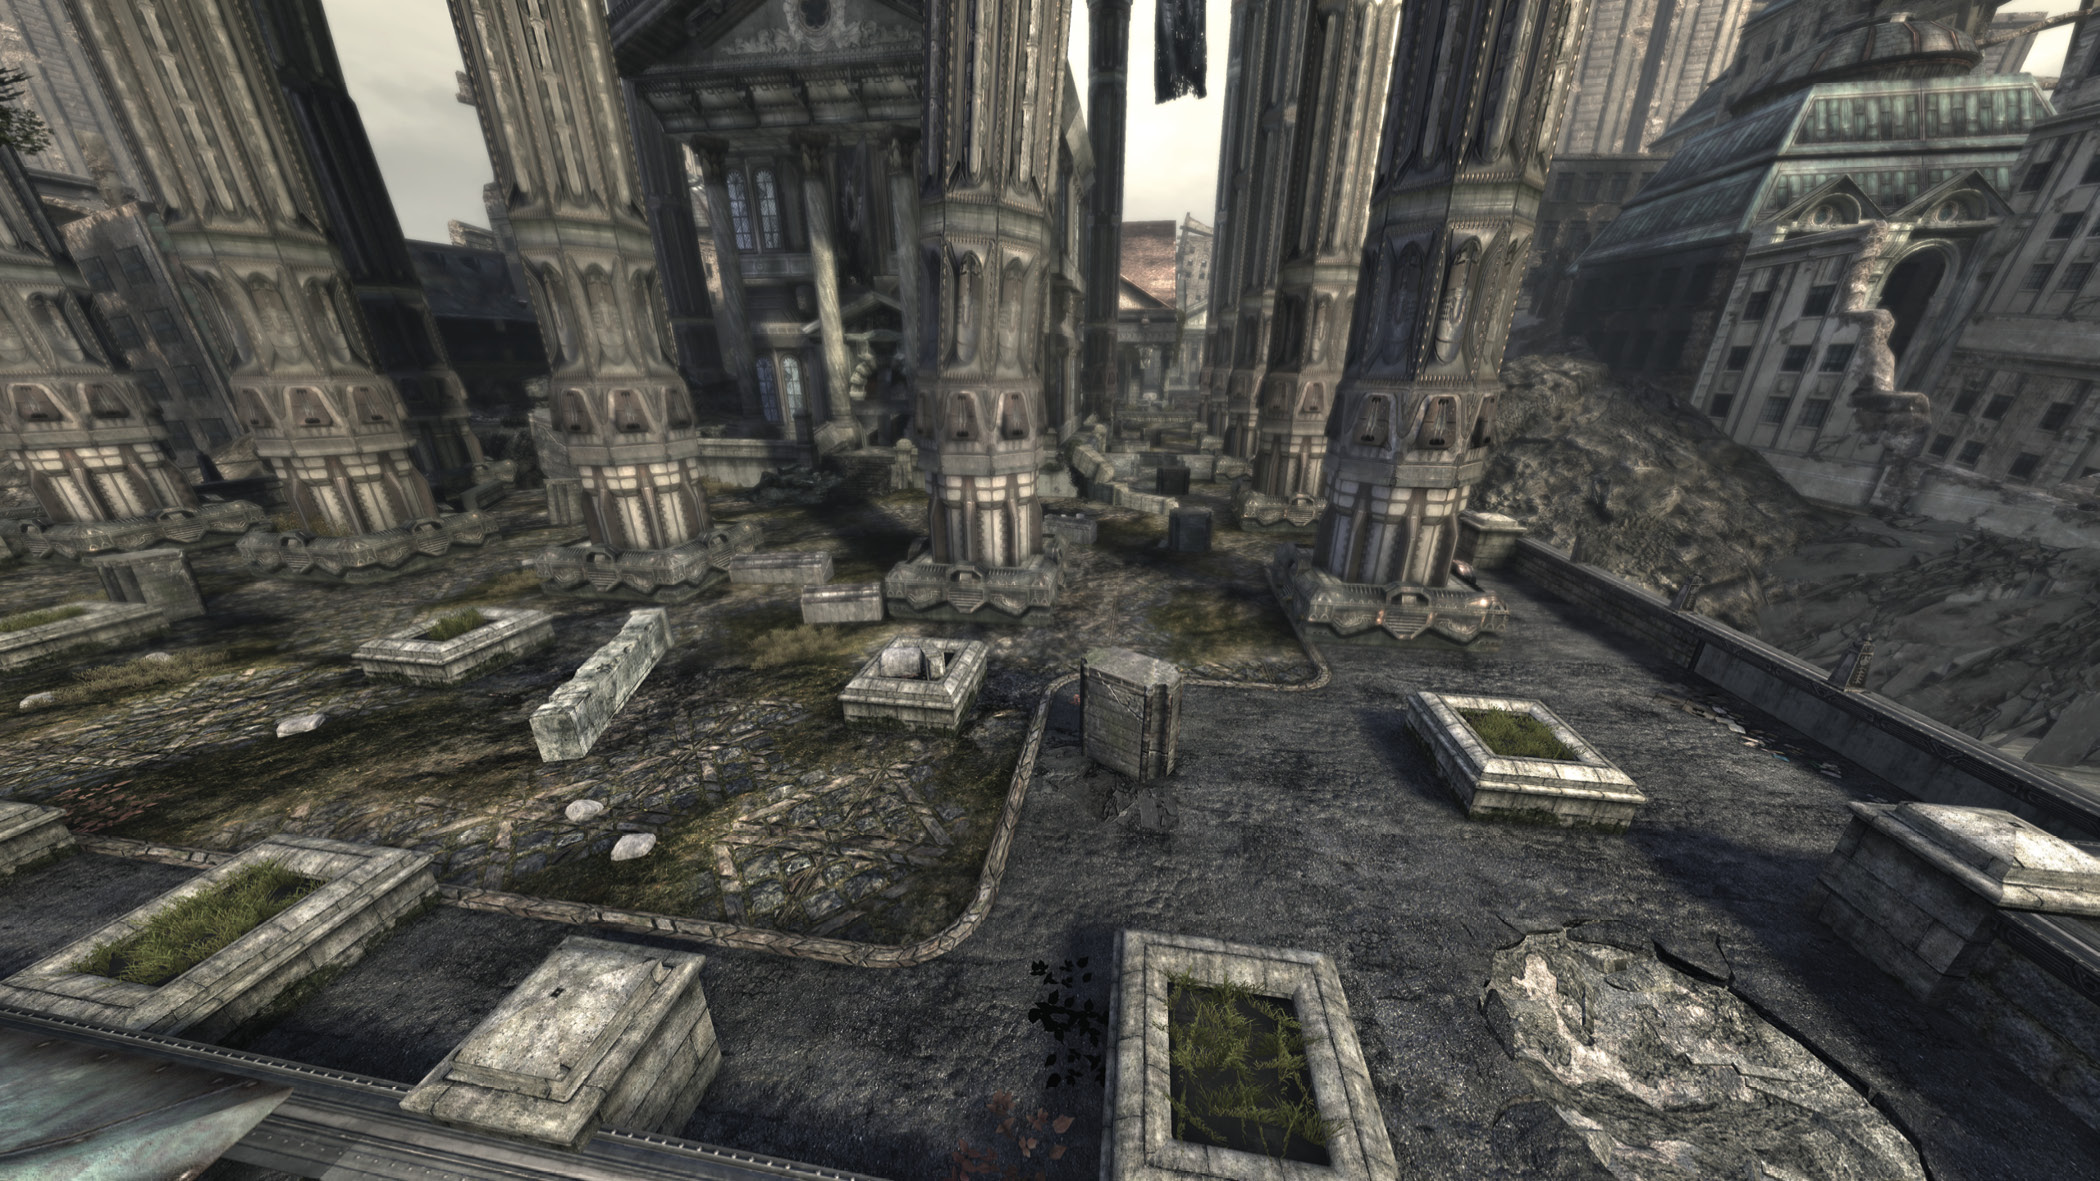
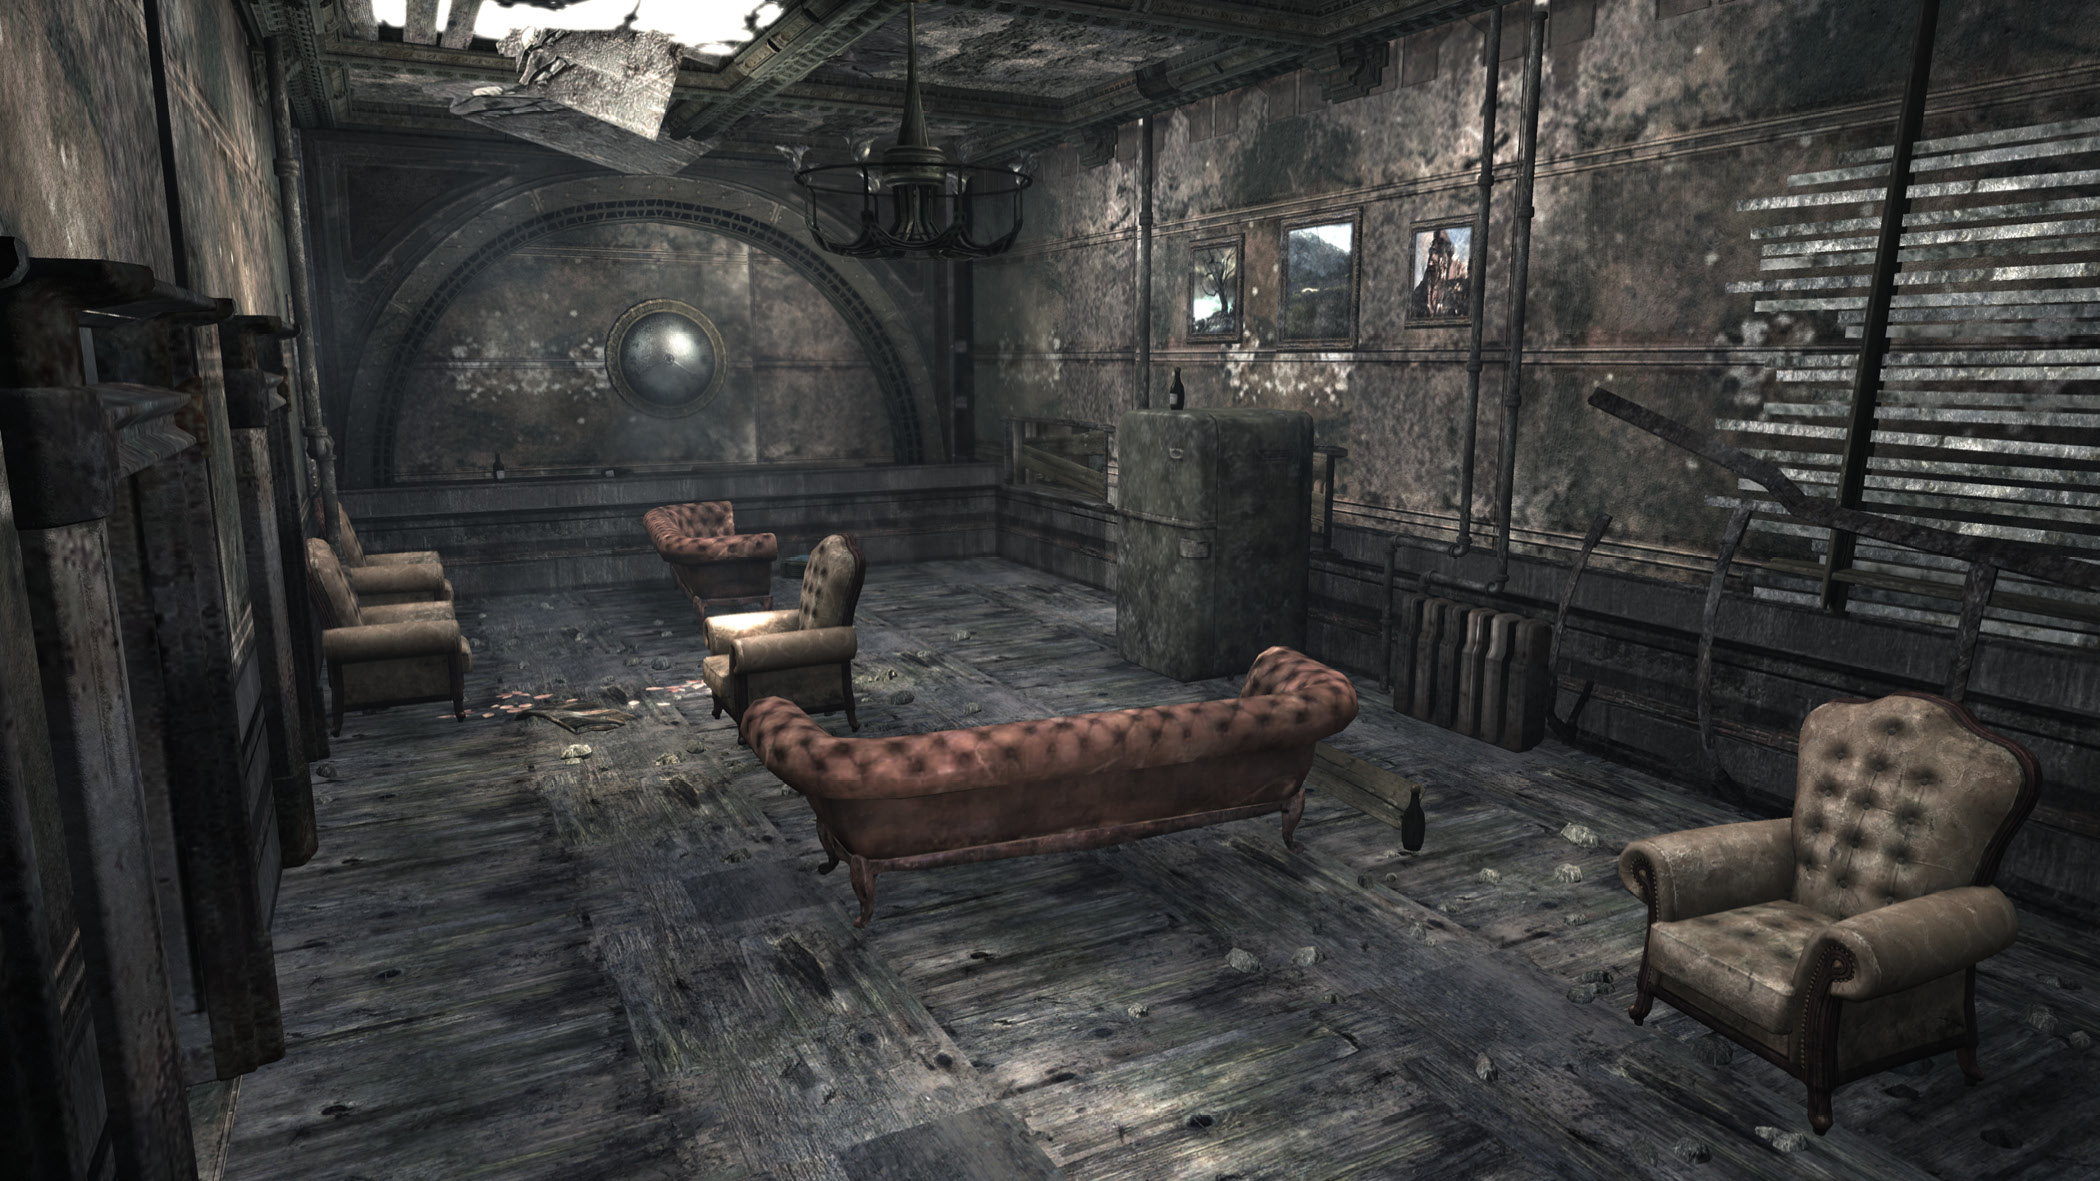
- In the large courtyard near the first Emergence Hole, allow Lieutenant Kim and Carmine draw the Locust fire while both human players flank to the left. This allows one player to provide covering fire for the other while he closes the hole.
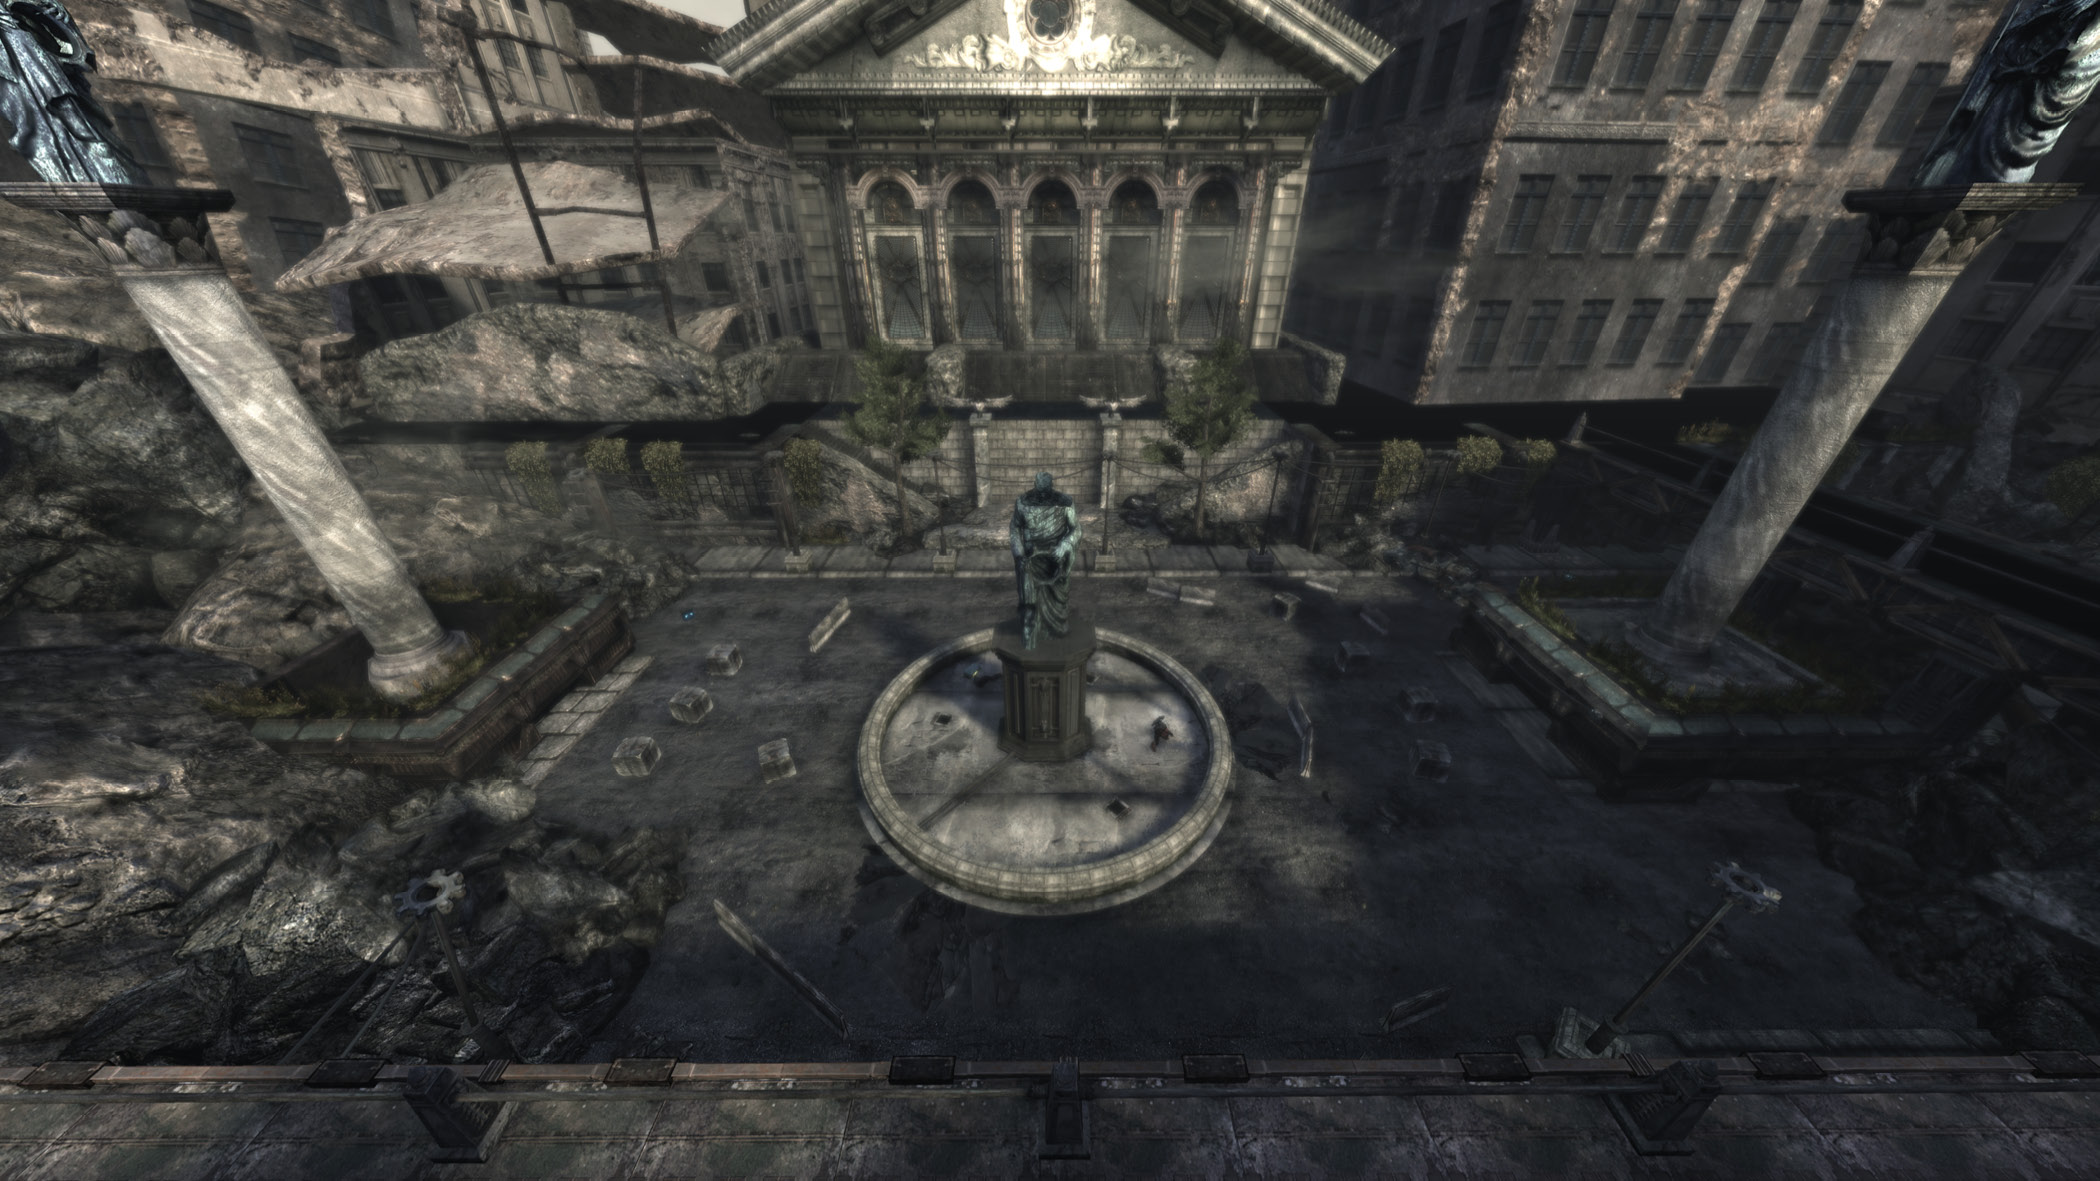
- Your coordinated efforts meet their first challenge near the fountain where the four Emergence Holes open in the street. Load up on Frag Grenades and stick together! Have one player be the designated hole-sealer while the other guards his every move. This way, if one of you get downed—and chances are, one of you will—the other will be right there to lend a helping hand. Refer to the map in the main “Campaign Walkthrough” chapter to see the Emergence Hole locations.
- After rejoining beyond the split path, leave one player in the room with the tile floor while the other flanks to the right, eliminates the Spotter, and takes out the Troika Gunner. By doing so, the player hanging back will already be in perfect position to close the Emergence Hole that opens. However, the other player must quickly get to the Troika and offer support, as several Drones usually reach the surface in time.
House of Sovereigns
Recon
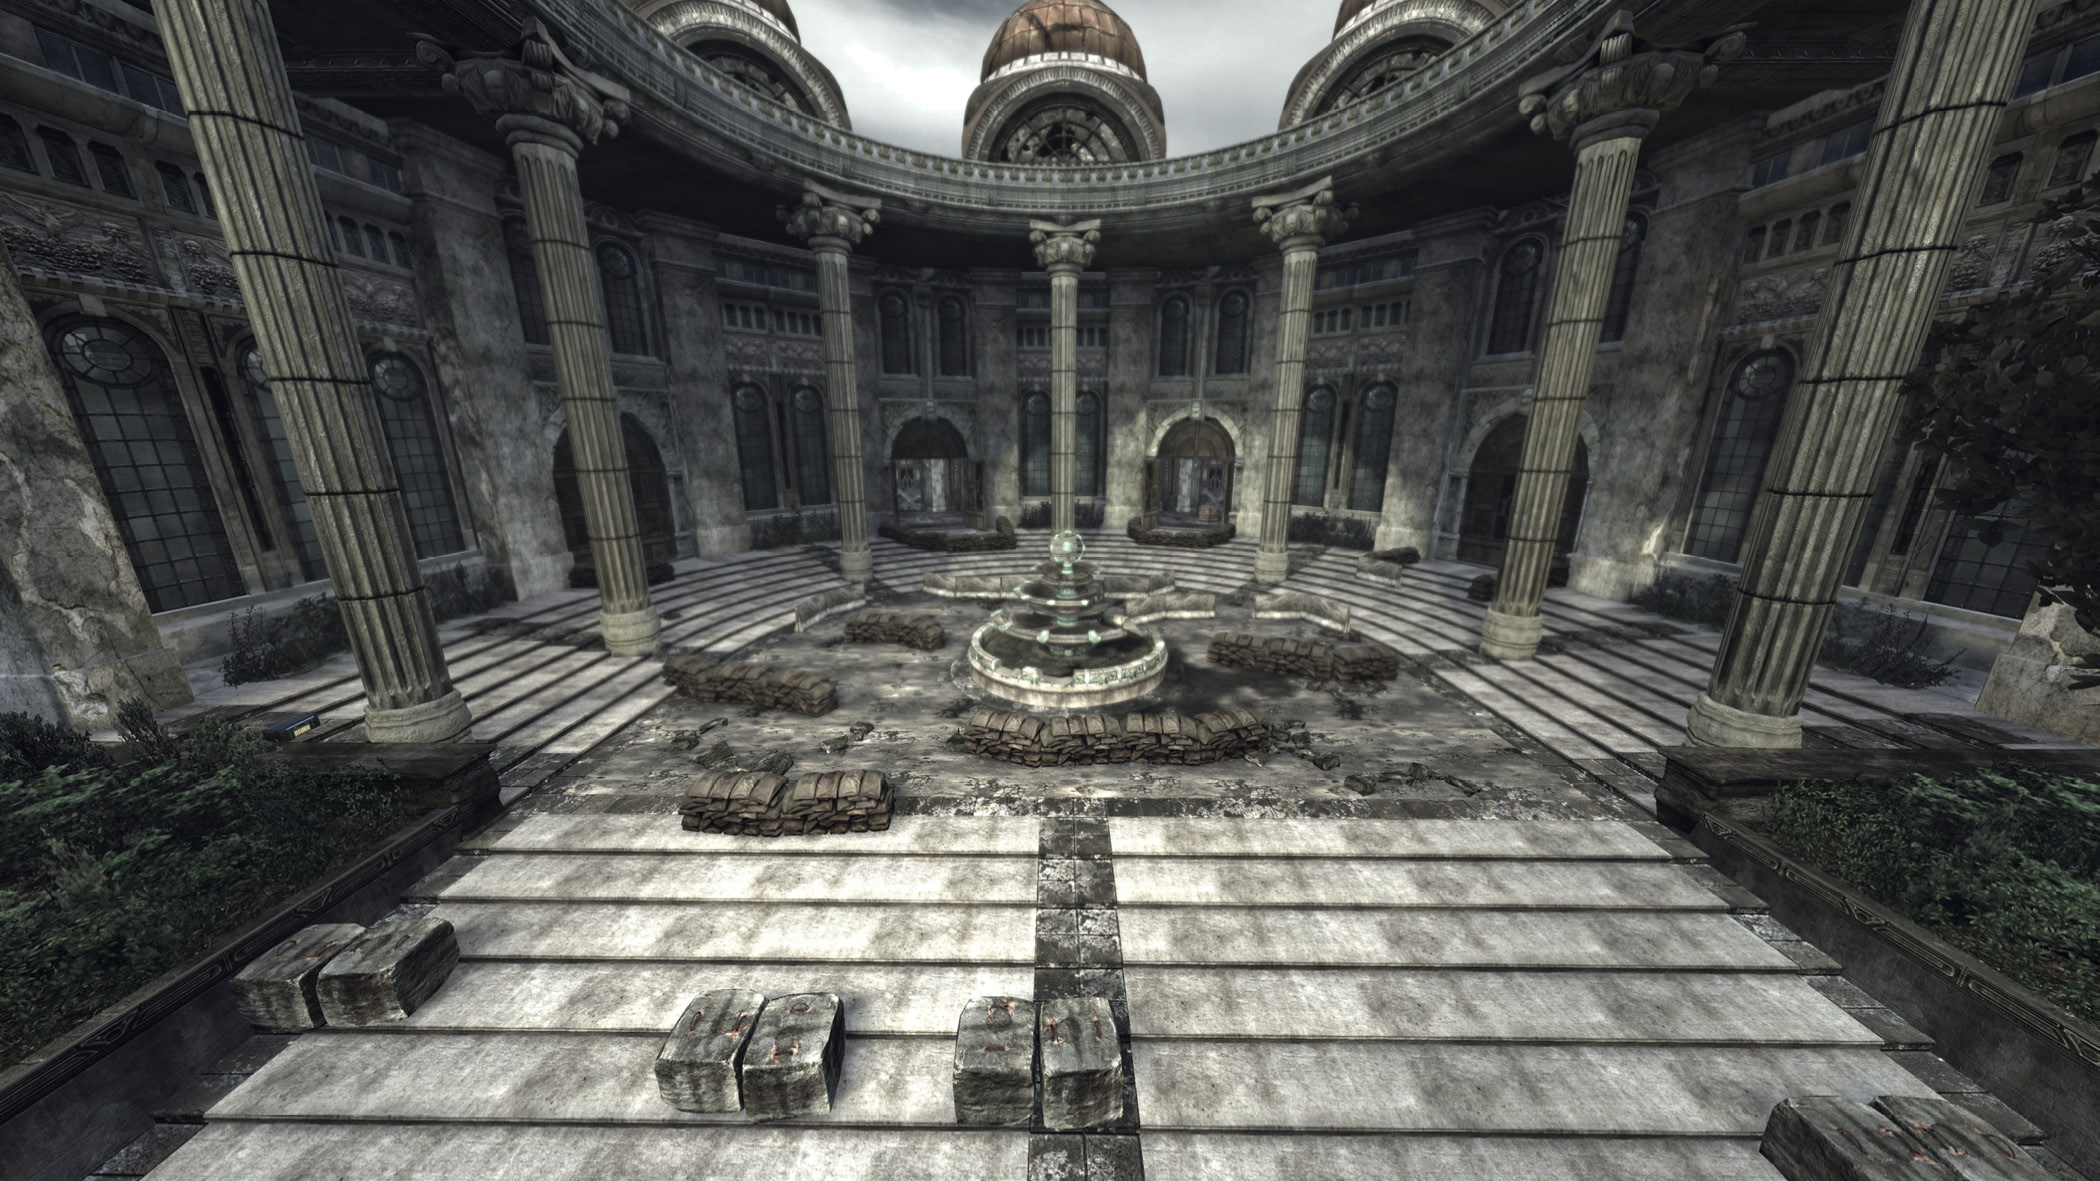
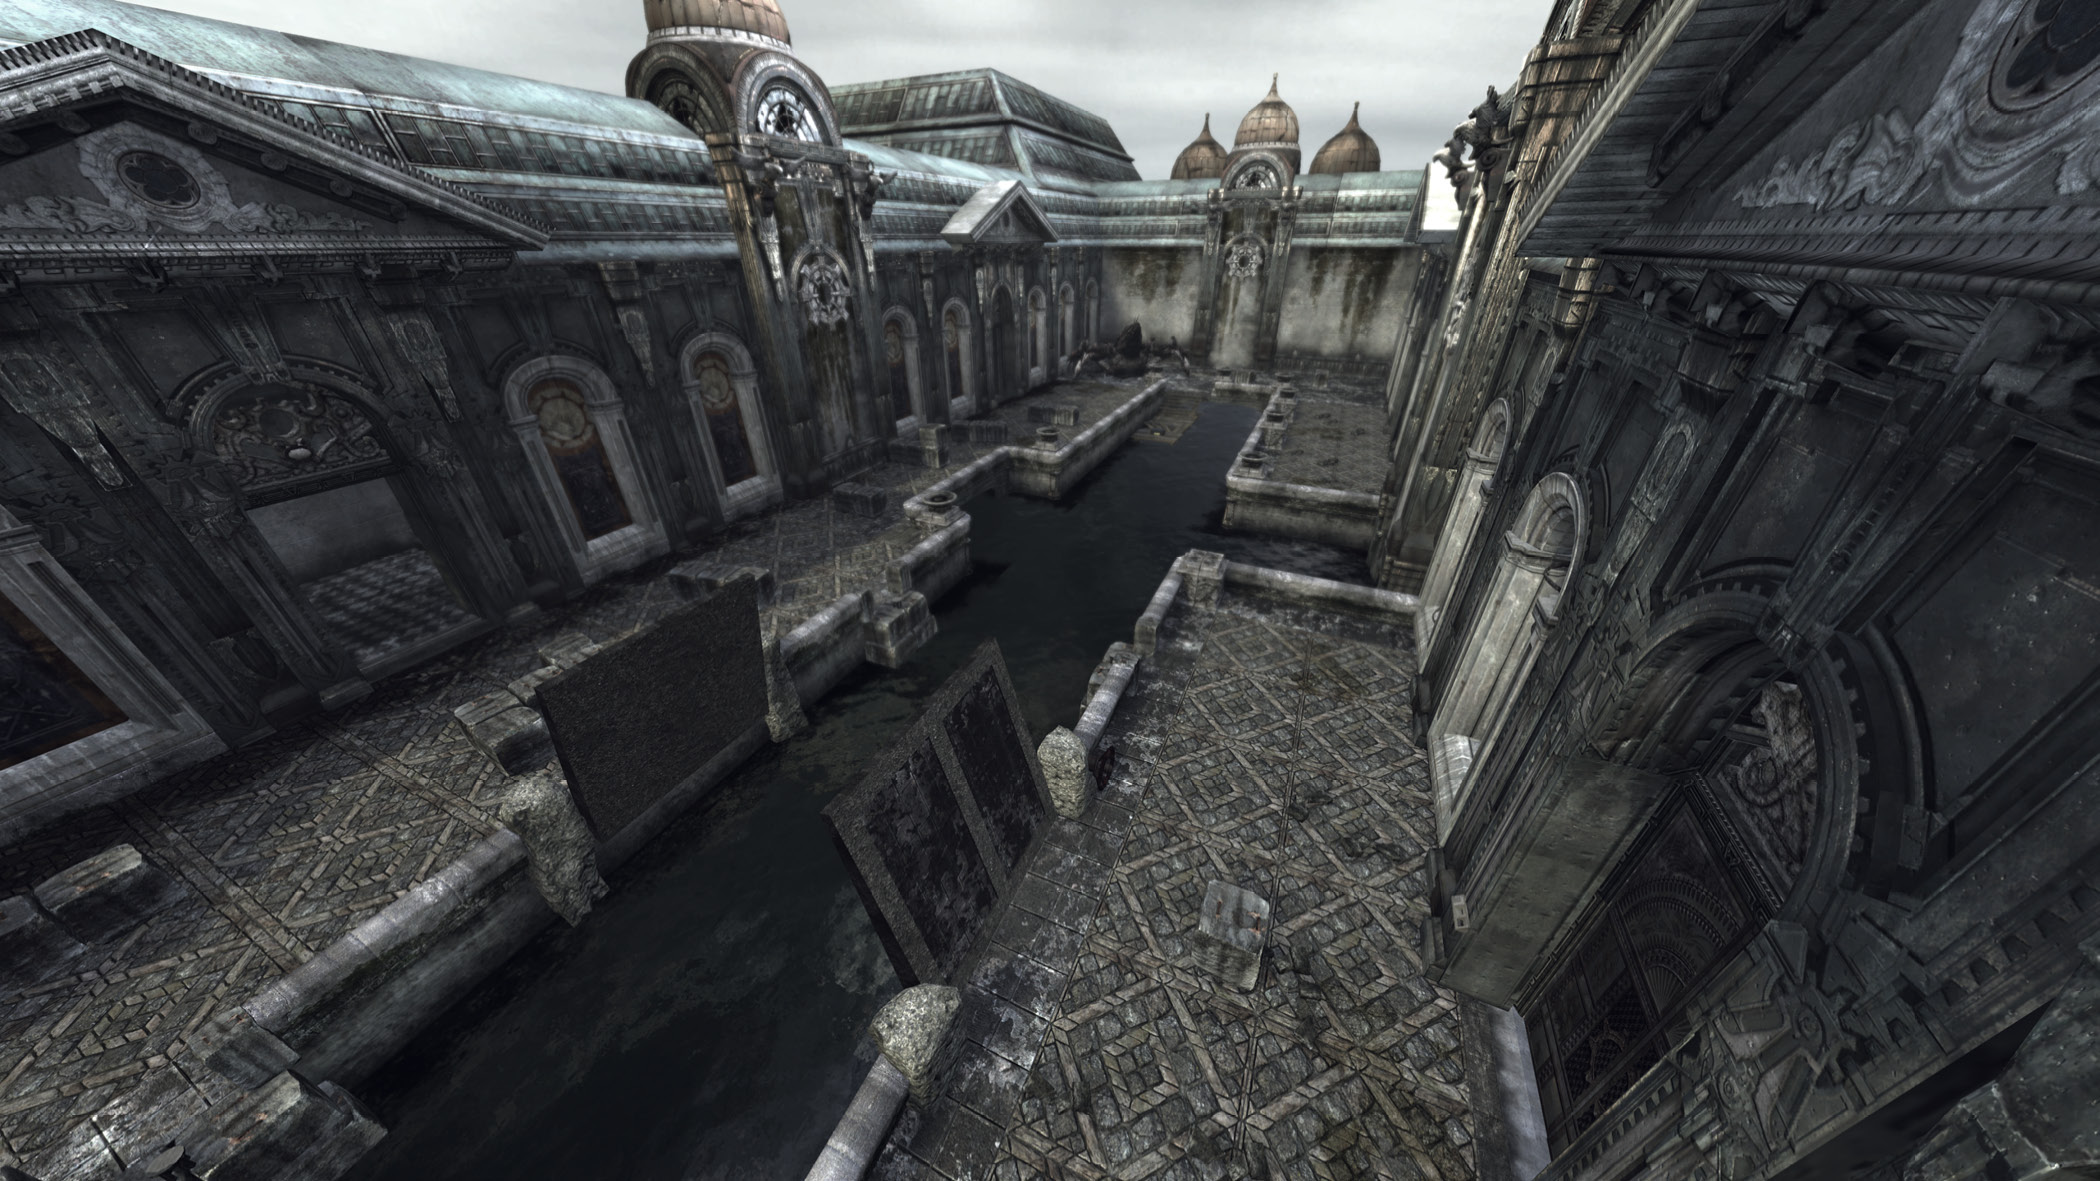
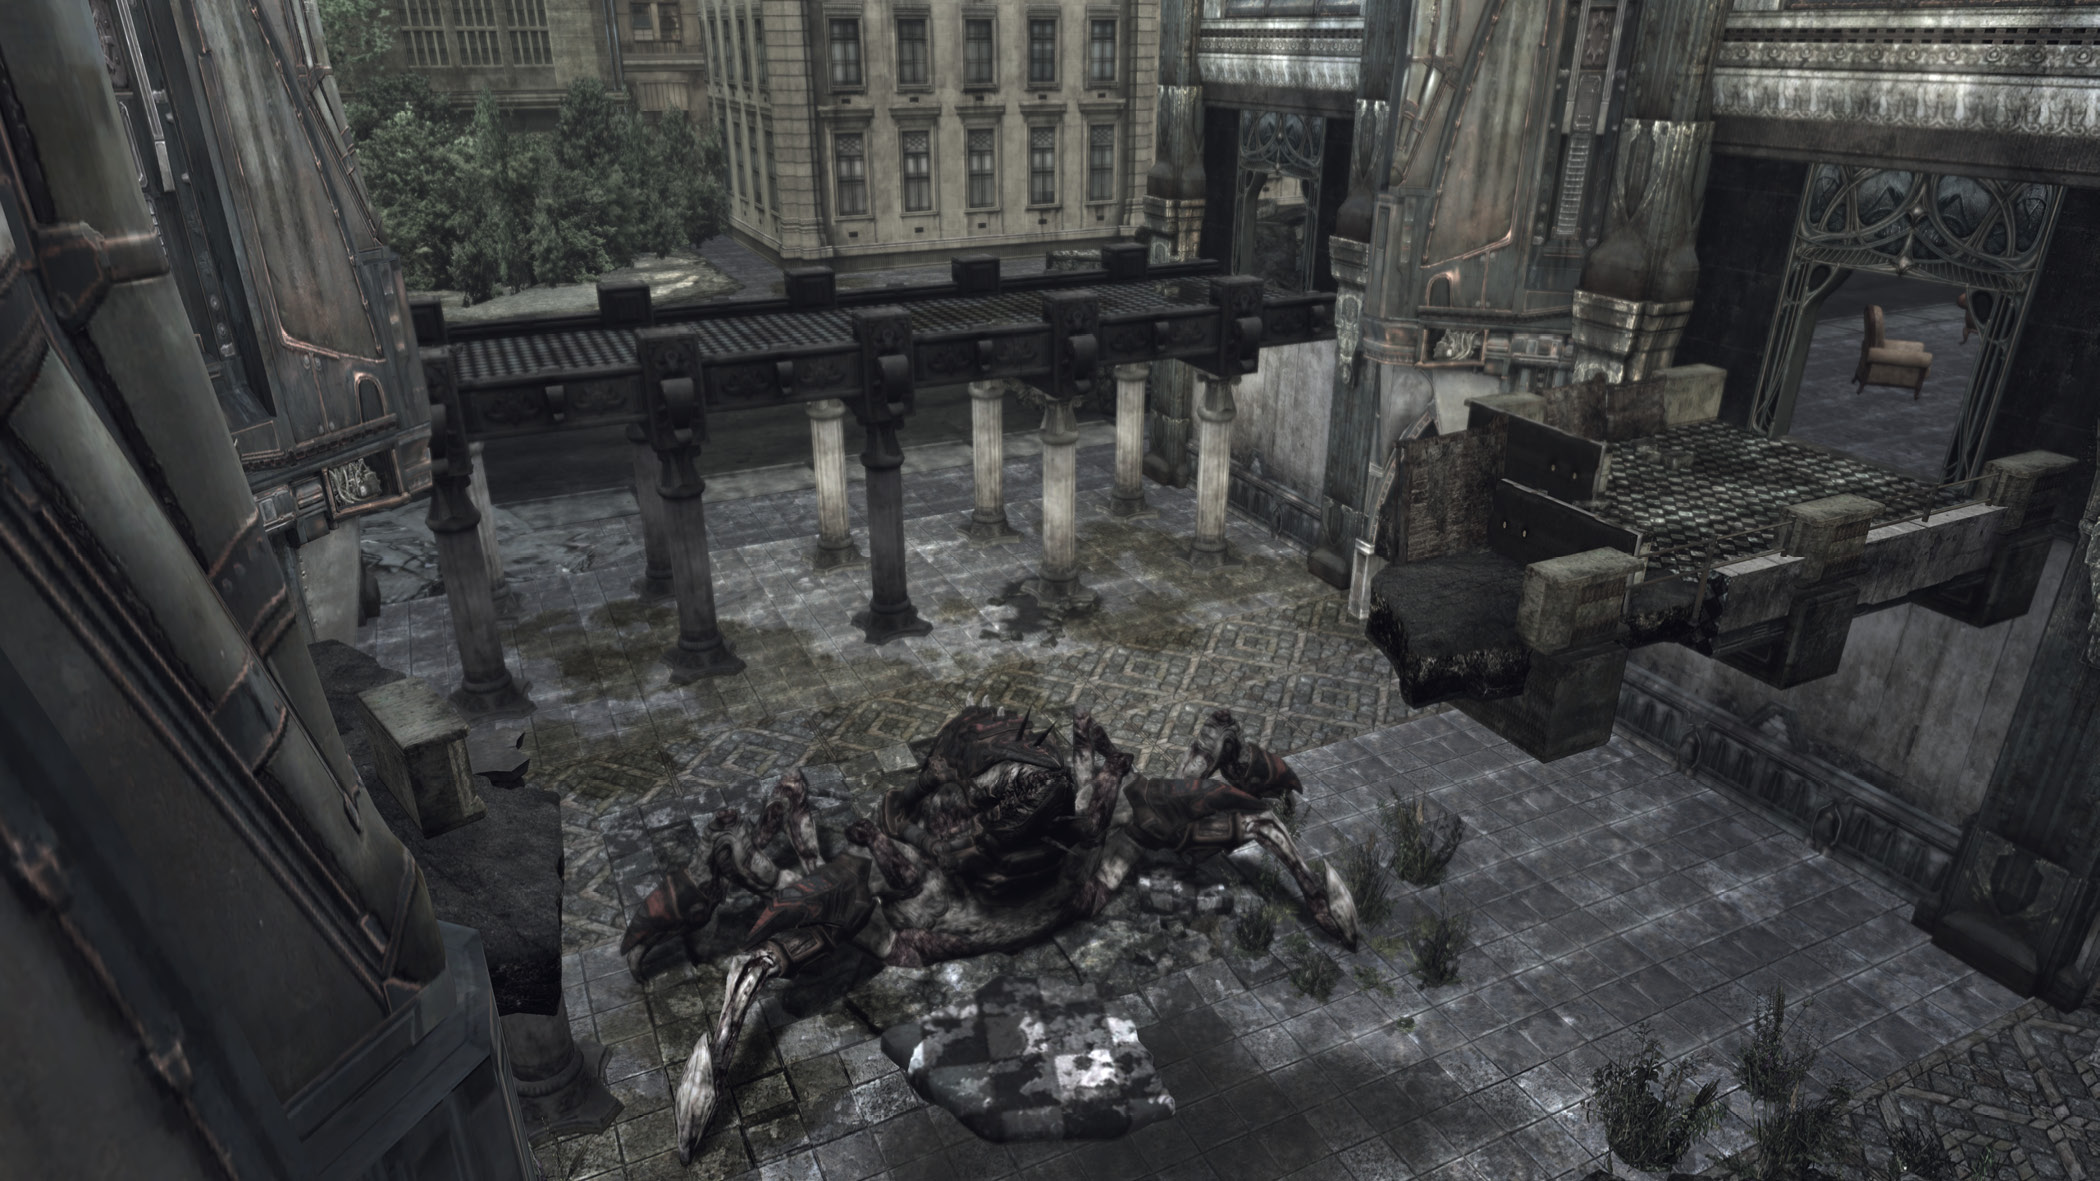
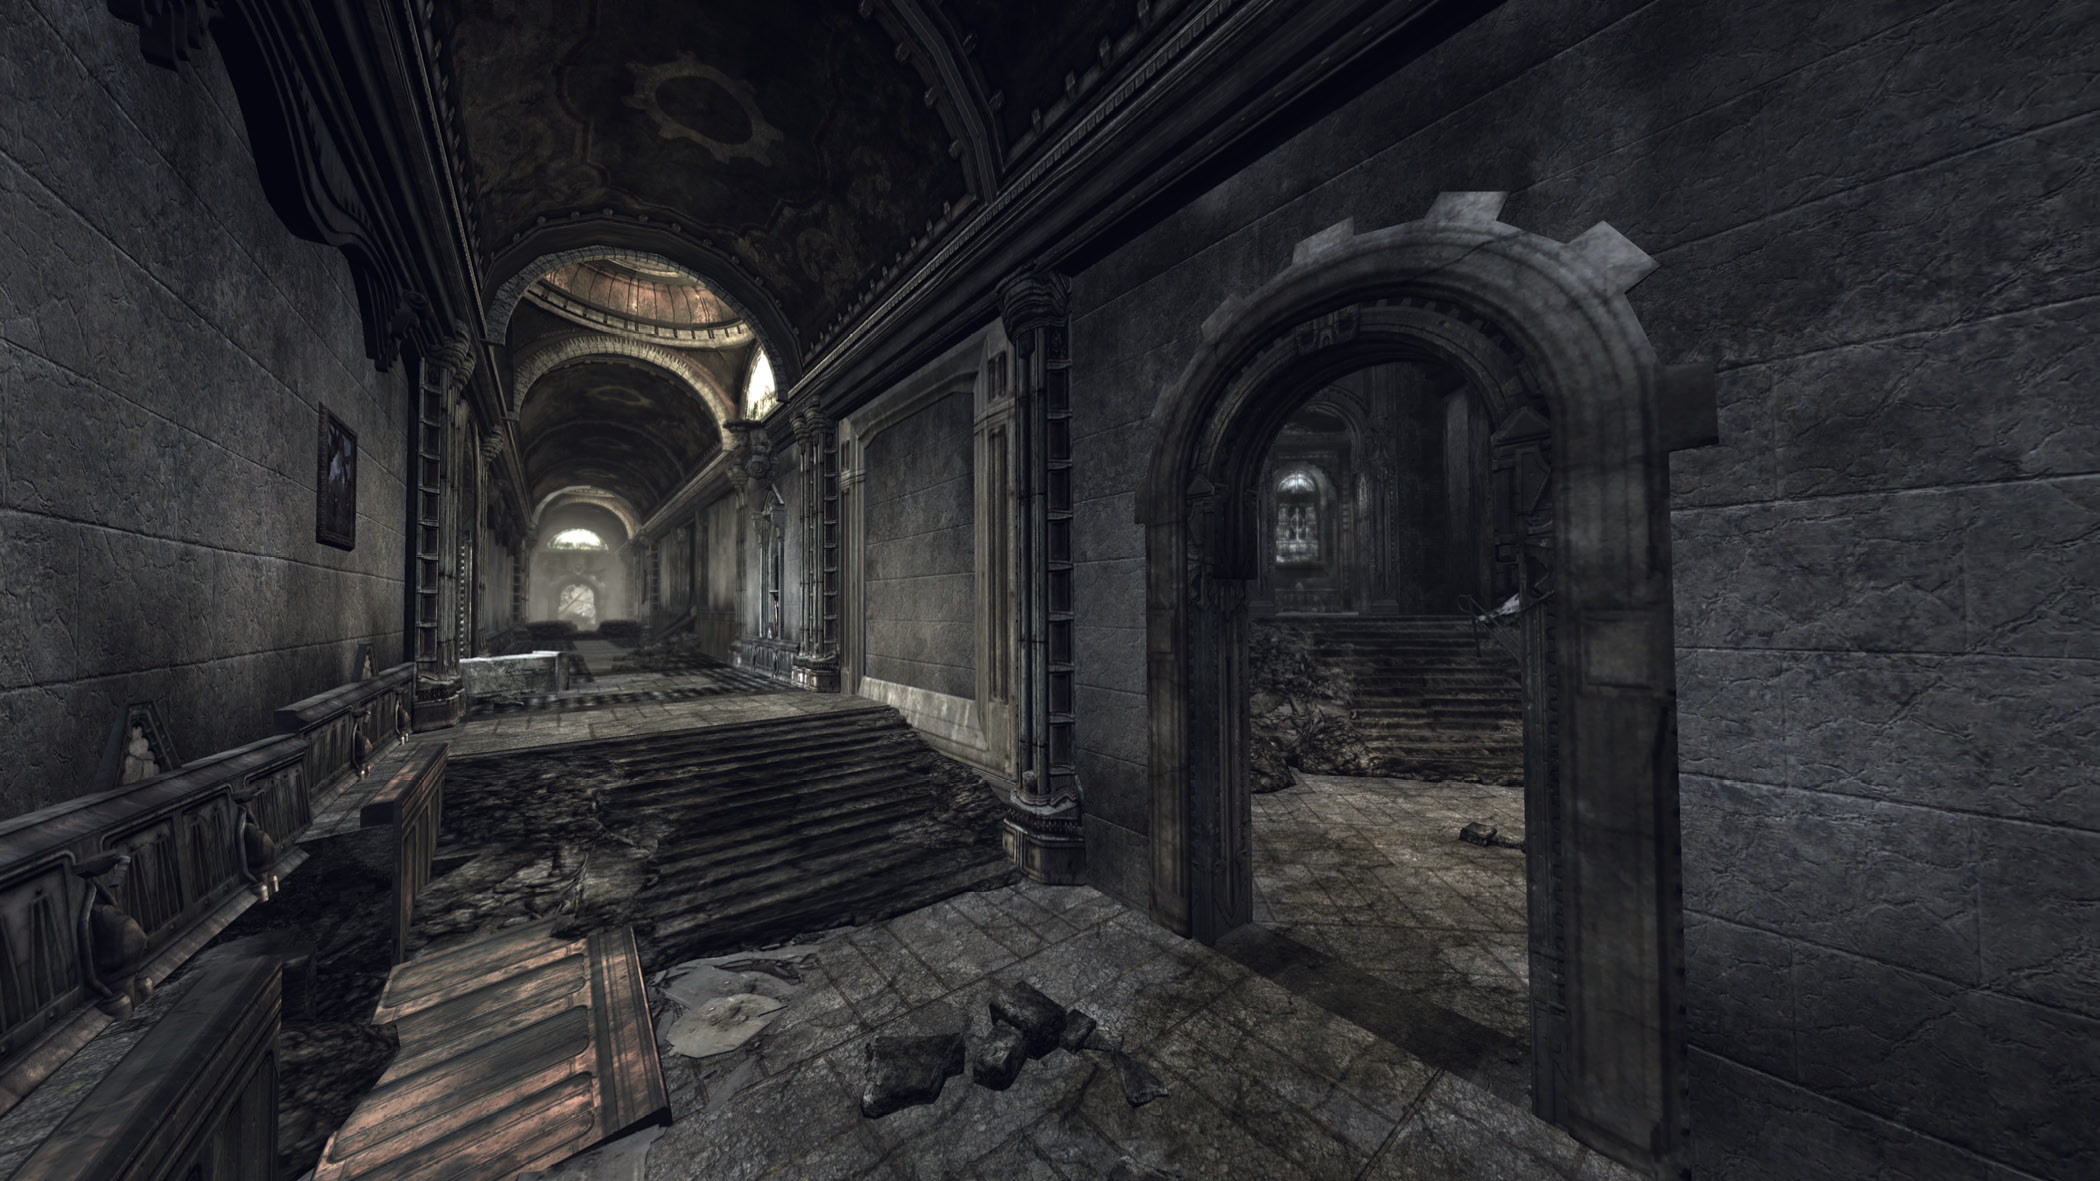
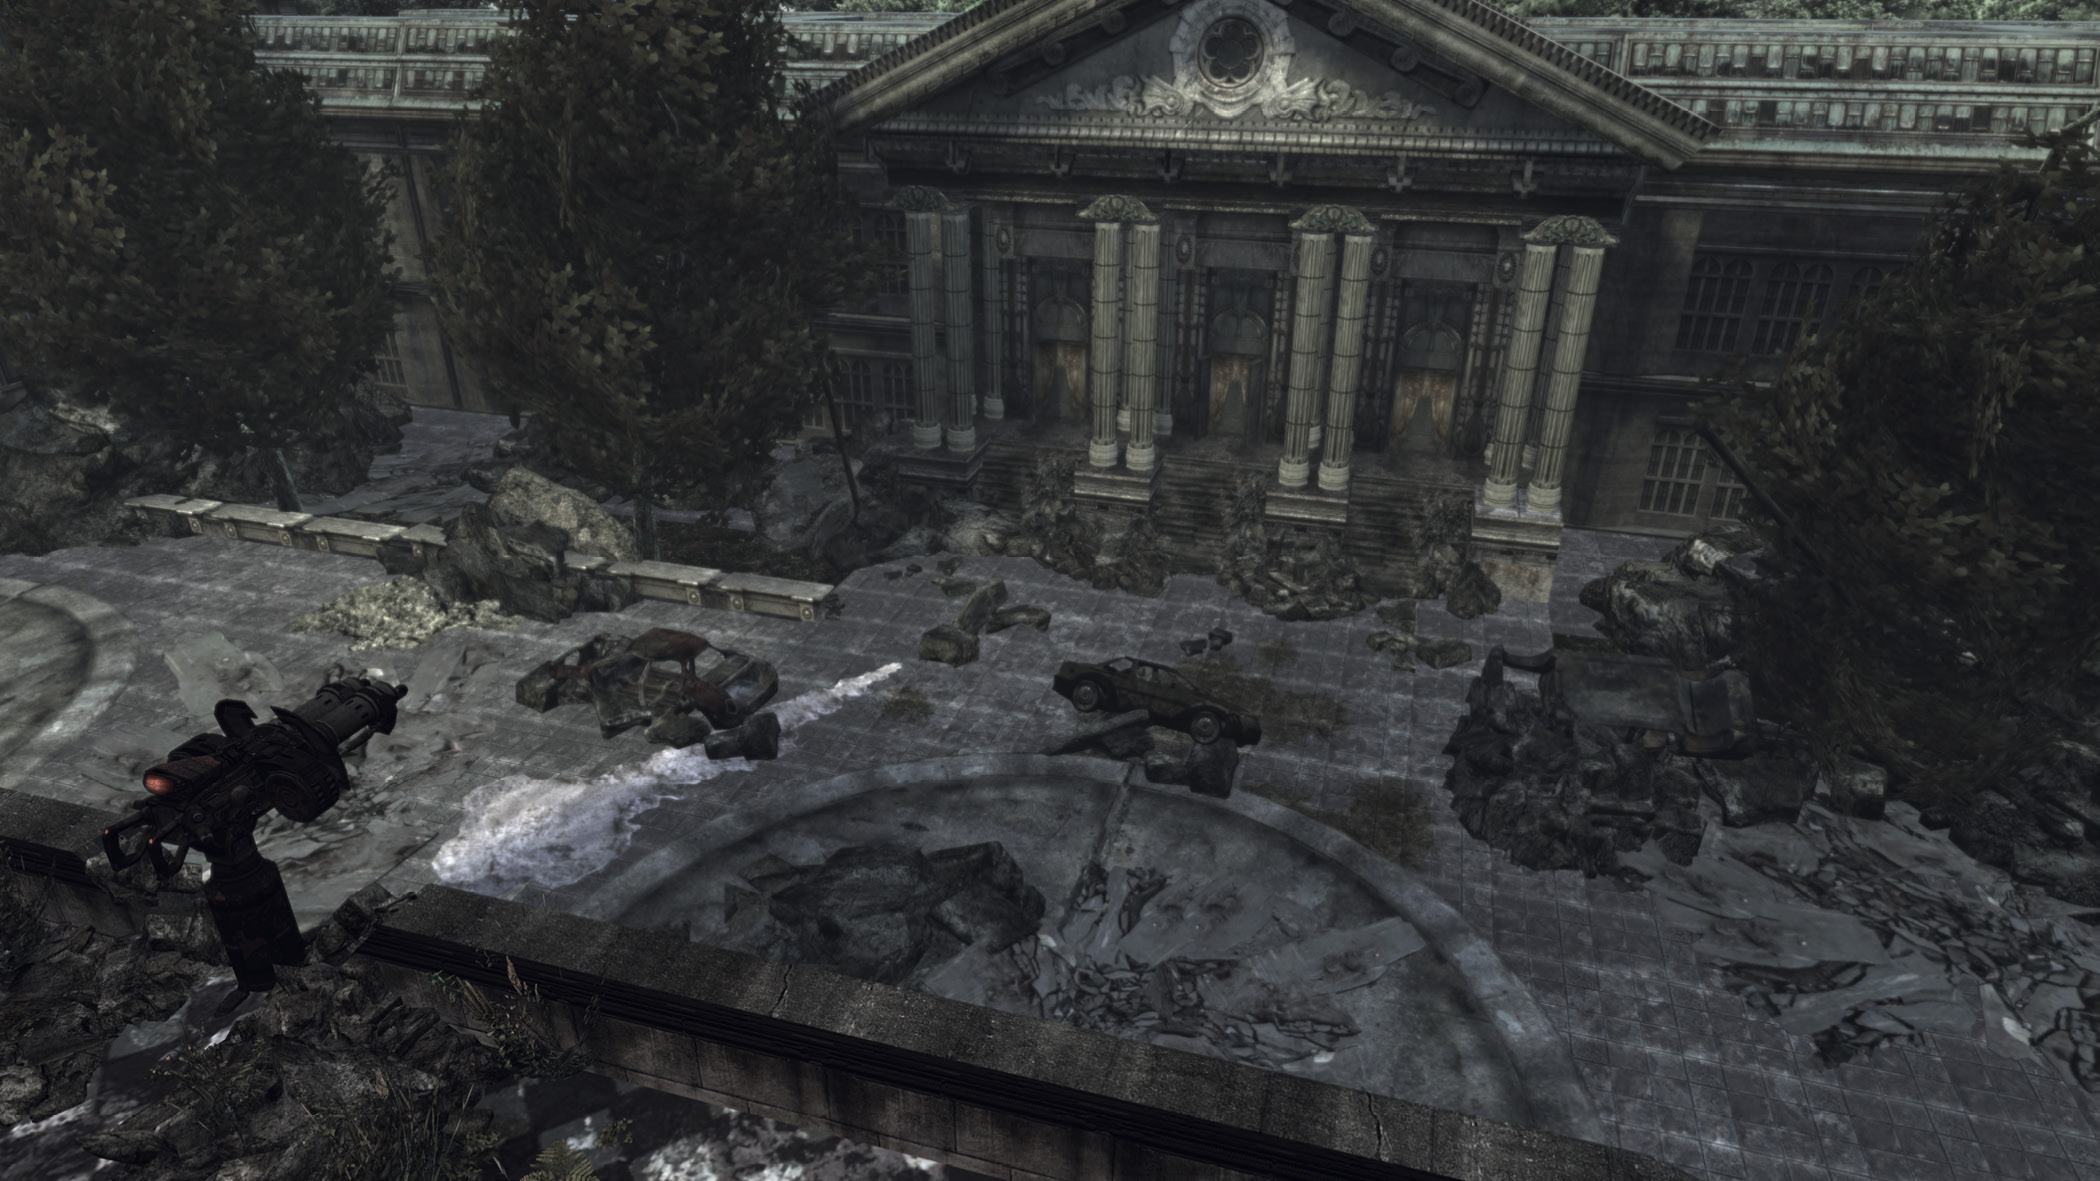
- You can tackle the battle on the front steps of the House of Sovereigns by having both Dom and Marcus move through the interior hallway from right to left toward the Emergence Hole. Take cover alongside one another near the hole, and use blindfire and Frag Grenades to squelch the surfacing Drones and Grenadiers. Once you’re outside, have one player man the Troika while the other takes cover behind the sandbags to the right. That player can provide crossfire on any Drones that reach the steps.
- Your patience and ability to stand back-to-back in the heat of the battle is tested in the hallway where the Wretches appear. Equip the Gnasher and allow the Wretches to advance within a step or two of your position, and then shoot from the hip. Both players should first face the lengthier side of the hallway and then turn around later to deal with the Wretches that climb out of the massive hole.
- Both players can pick up a Hammer of Dawn inside the first library. Go outside the door and quickly kill the first Seeder with the two Hammers of Dawn. Now have the player with the most Lancer ammunition swap out the Hammer of Dawn for the Gnasher he likely dropped in the library. As for the second Seeder, try to kill it as quickly as possible, trusting that the other player can keep both of you safe from the Wretches that attack on the balcony. For the third Seeder, have the player with the Lancer concentrate on killing Nemacysts and serving as a spotter for the one with the Hammer of Dawn.
- After you kill the second Seeder, follow Kim through the door. Have one player step out onto the sanctuary’s balcony straight ahead while the others descend the stairs. This gives him the balcony player a perfect vantage point for killing the Drones and Wretches that enter near the altar.
- When you attempt to provide cover for Alpha Team from atop the House of Sovereigns, have one player use the Hammer of Dawn against the Drones in the street. The player with the most Lancer ammunition should use it and the Troika to keep the sky clear of Nemacysts.
Tomb of the Unknowns
Recon
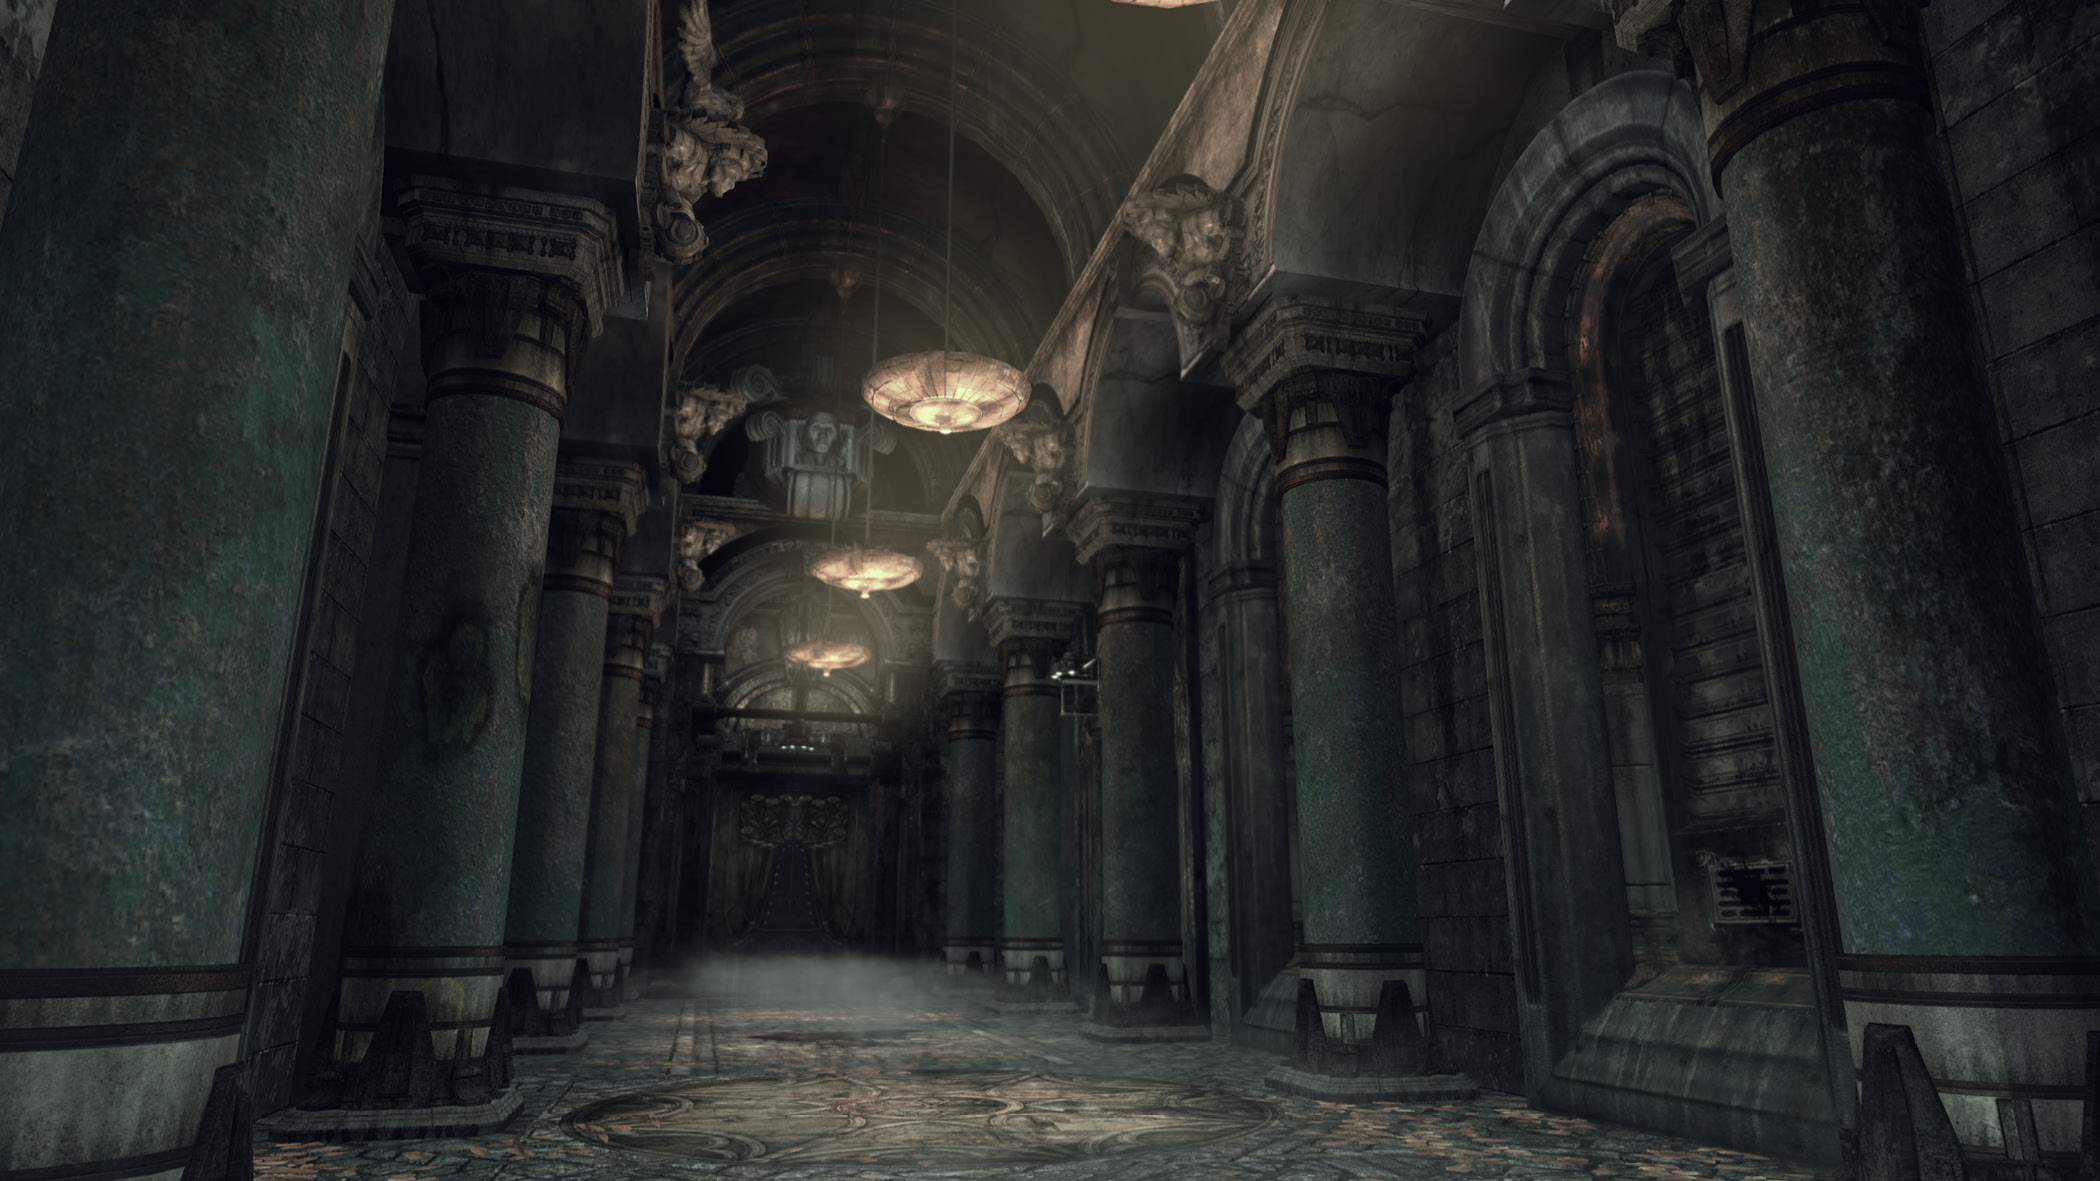
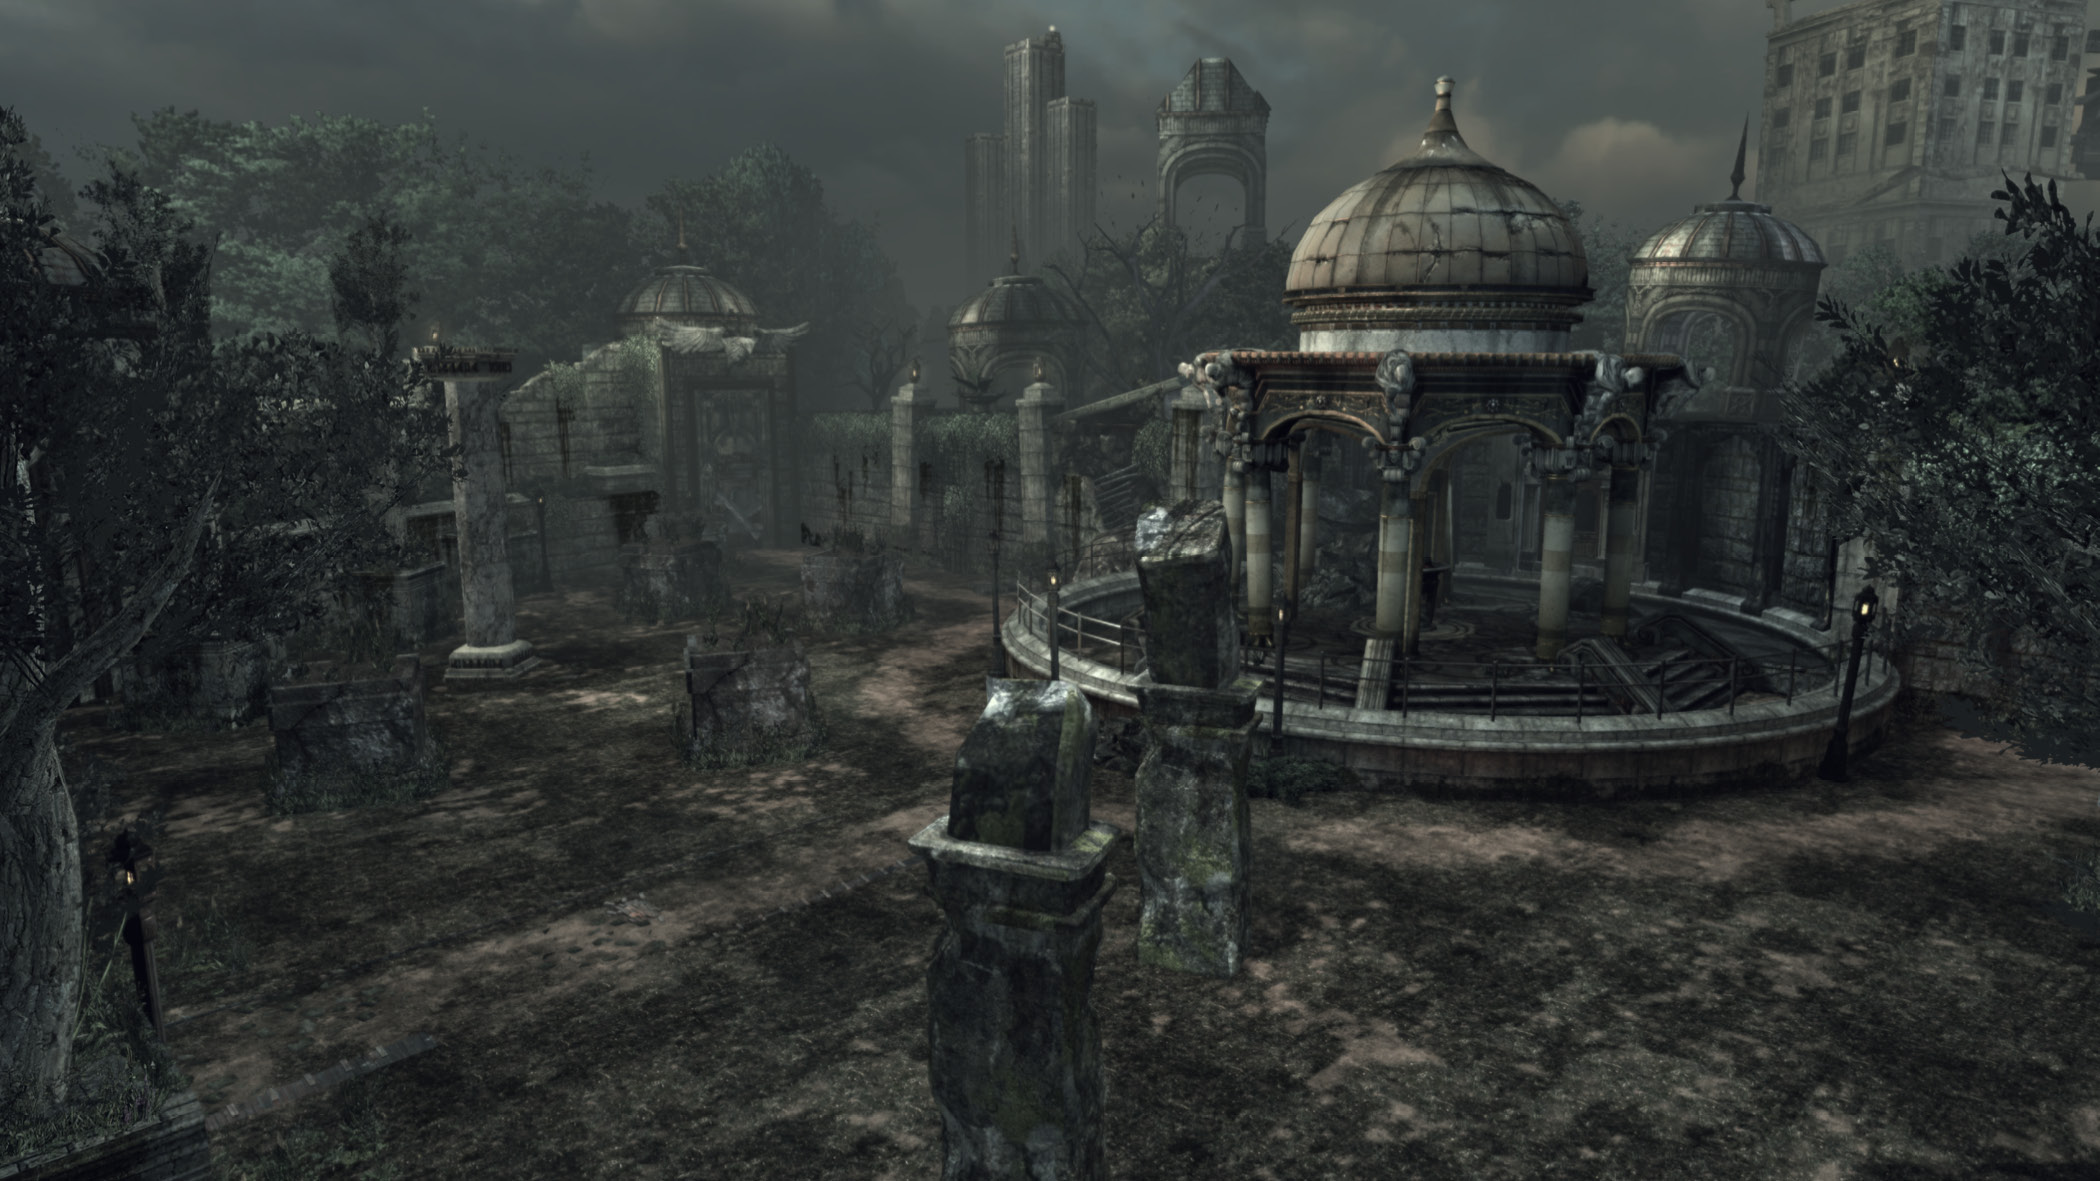
- The best way to exploit two human players against the Berserker is to leap-frog one another in luring her from one door to the next. Have one player set up near a door and attract the Berserker’s attention while the other hangs back in one of the Tomb’s dark recesses. Once the Berserker opens the door—and while she is still stunned—have the other player slip past her into the next room. Quickly turn and fire to lure her away from the player who initially served as bait. Then move to the next door. Repeat these steps until she’s outside, where both of you can use the Hammer of Dawn to kill her quickly.