
Gears of War Guide Campaign Walkthrough
Act 2: Nightfall
Situation Report
If mankind should ever fall, it will likely be the vast extent of our collective hubris that does us in. Thinking Alpha and Delta Squad could repel the Locust Horde long enough to land a chopper at the House of Sovereigns is just the kind of conceit that gets good men killed—may those pilots and Lieutenant Kim rest in peace. And now, with hopes of an evacuation crushed, Marcus and his squad are instructed to take the resonator and hoof it to the distant Lethia Imulsion Factory—a destination they cannot reach before sunset. The team has been fighting the Locust Horde long enough to know that hitting the streets of Ephyra after dusk is certain suicide. If they’re to survive, they’ll have to swallow their pride and rely on the help of the Stranded.
Boomer
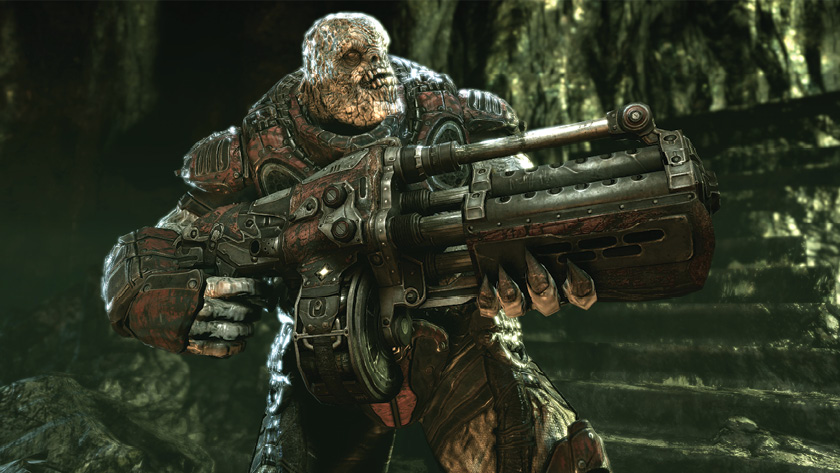
These enormous members of the Locust Horde are outfitted with the Boomshot rocket-launcher weapon. They are very resilient but also very slow. Duck for cover when you hear them yell “Boom!”
Sniper
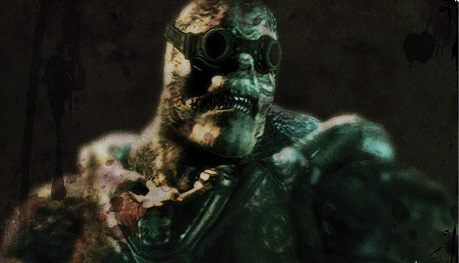
Snipers are very similar to Drones, but they are equipped only with the Longshot rifle and are almost always out of Marcus’ direct reach. Look for them in the windows of nearby buildings or on rooftops.
Kryll
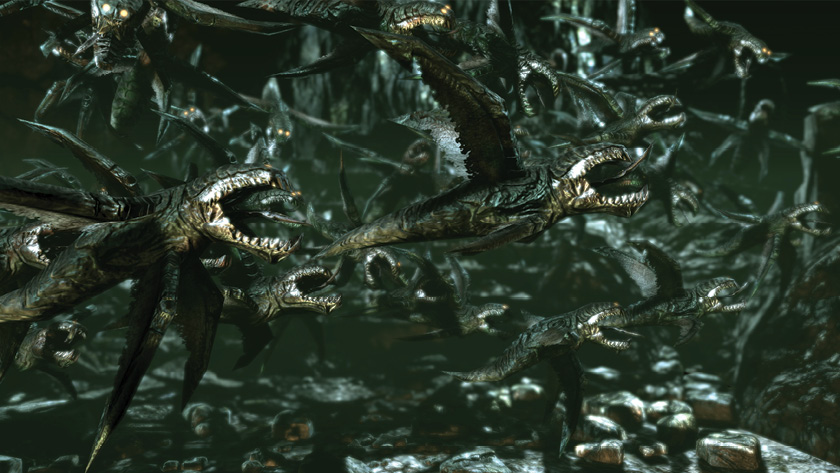
Despite their size, the Kryll are arguably the most fearsome creatures in all of Sera. There is no way to combat them with conventional weaponry, and they are so numerous, it would be a futile cause anyway. Stay out of the dark, or else.
Tick Tick Boom
Locust counterattack.
Right Path: High Route
Find a Mode of Transport
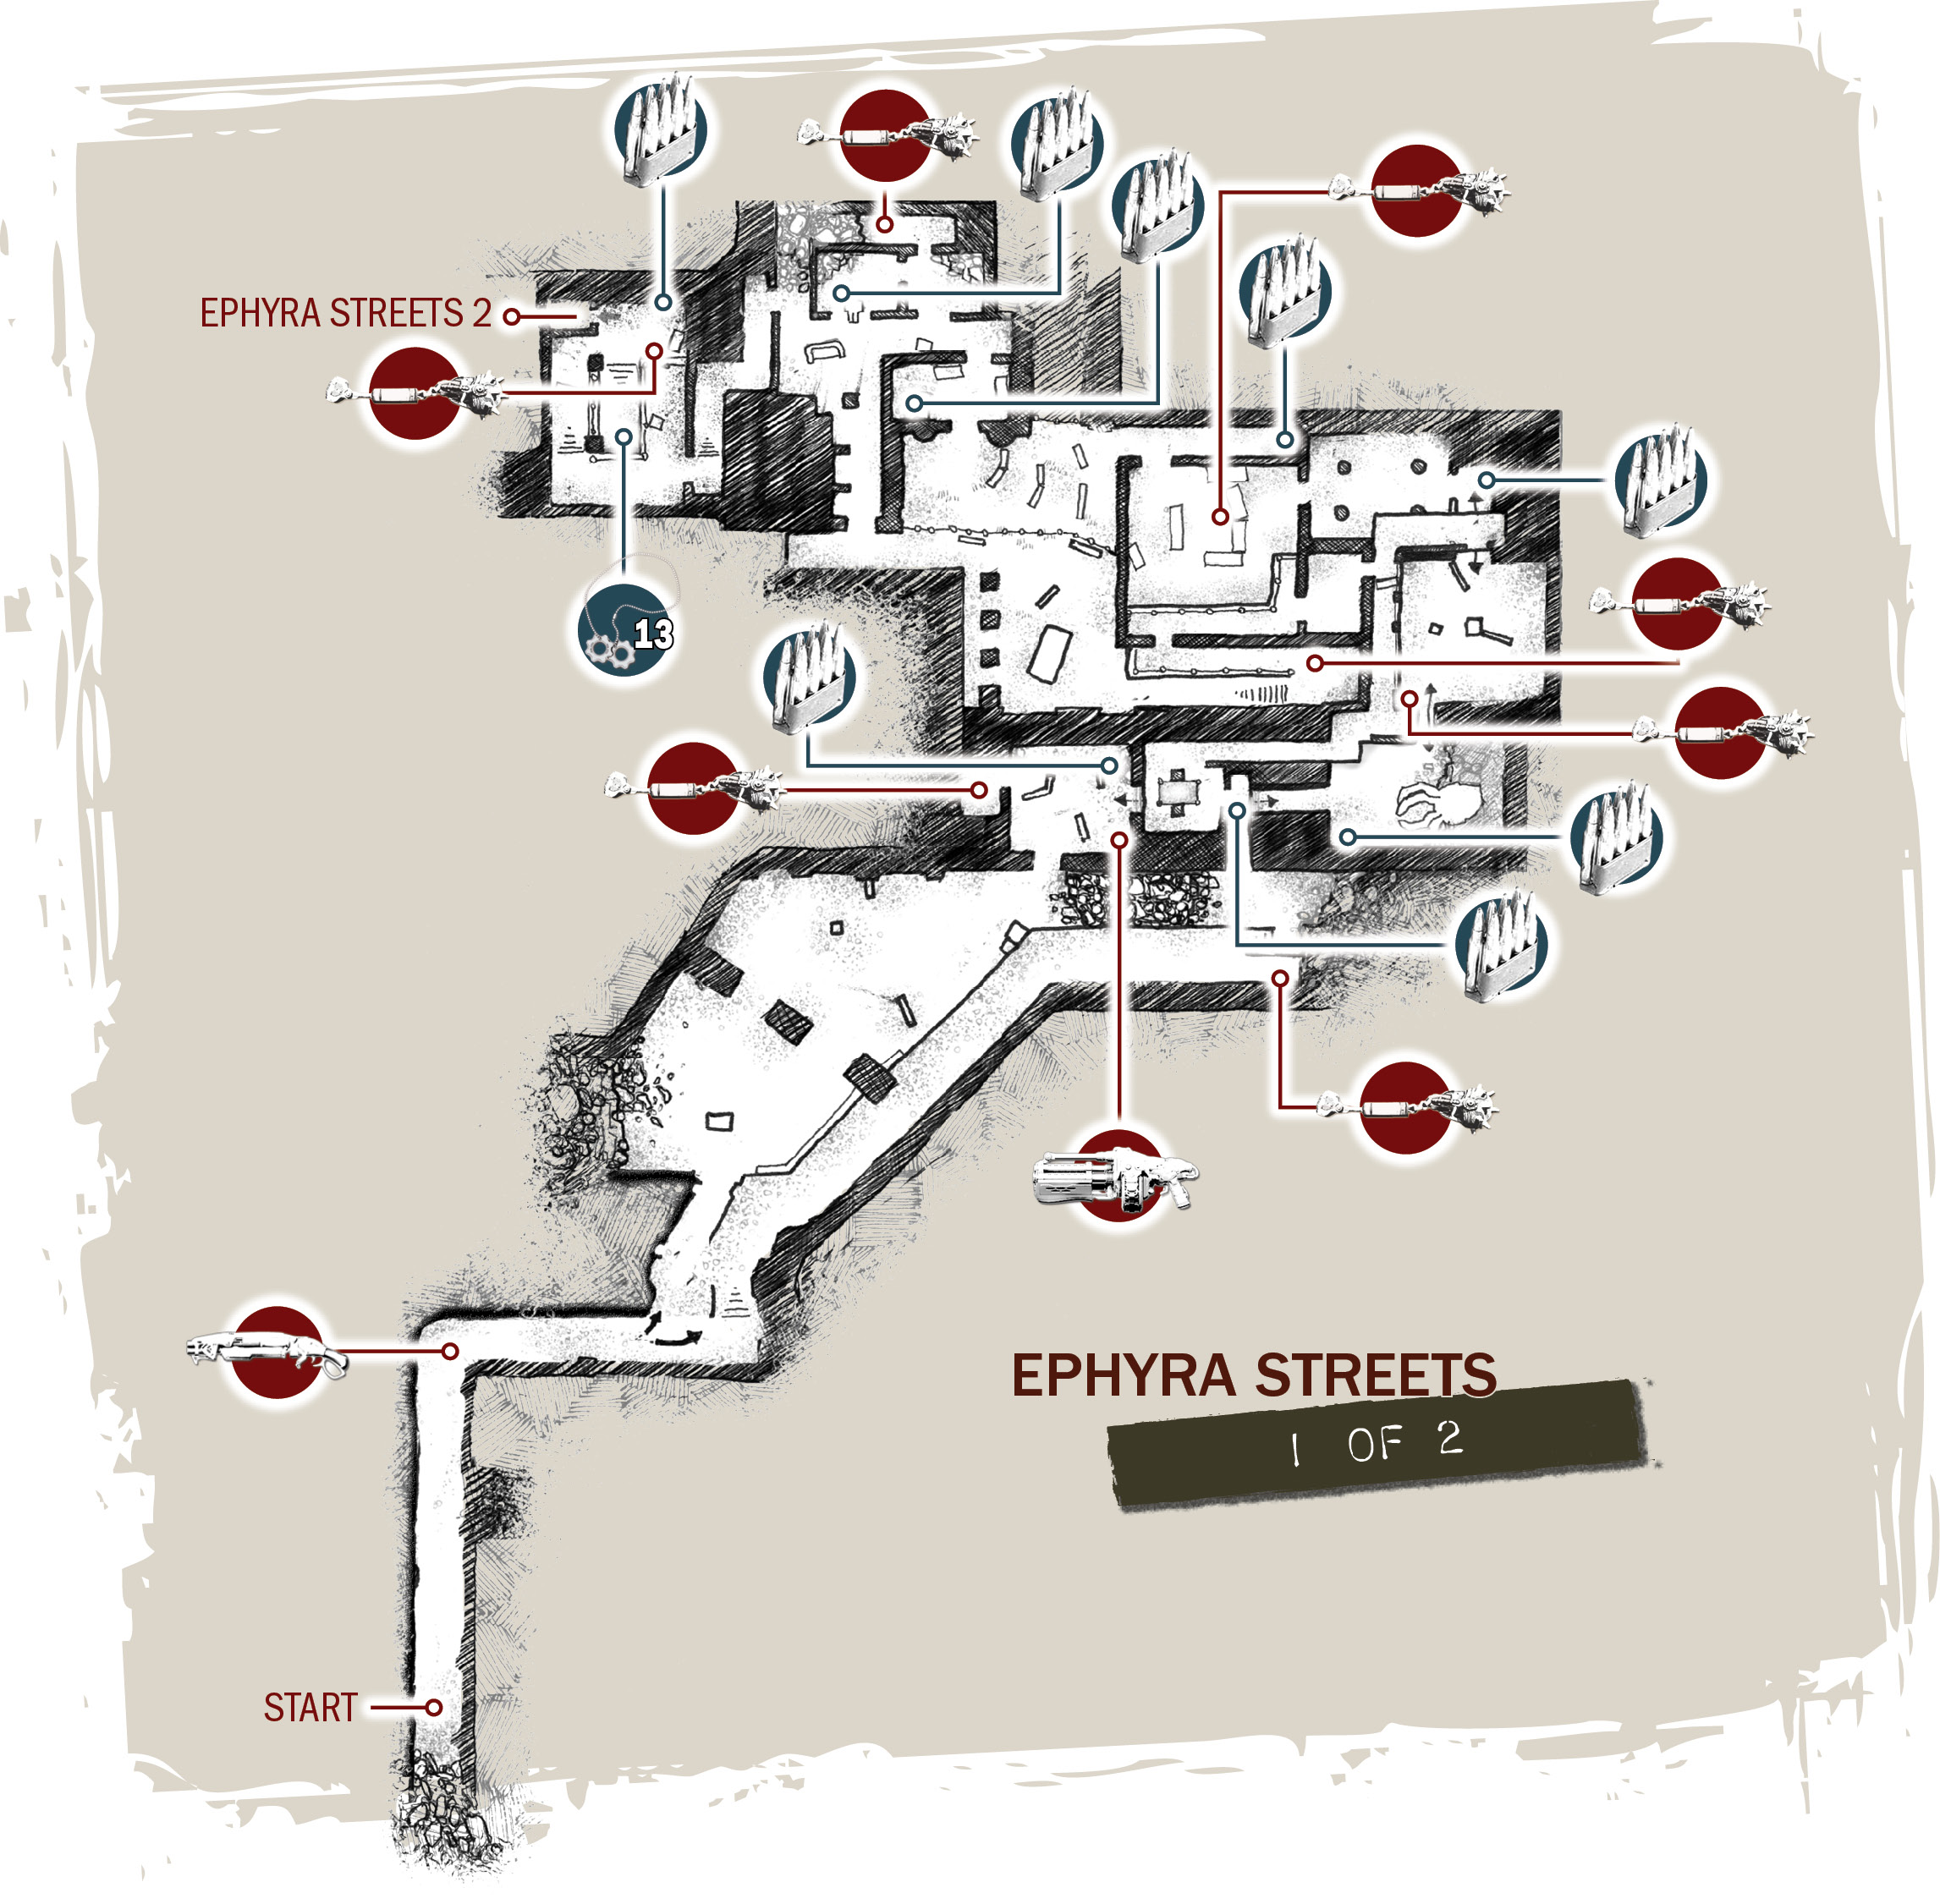
Whether he likes it or not, Marcus is stuck with Baird for the time being. Descend into the trench and follow it to the far end, where some extra Frag Grenades can be found—be sure to grab them! Exit the trench, ascend the stairs inside the building, and turn left.
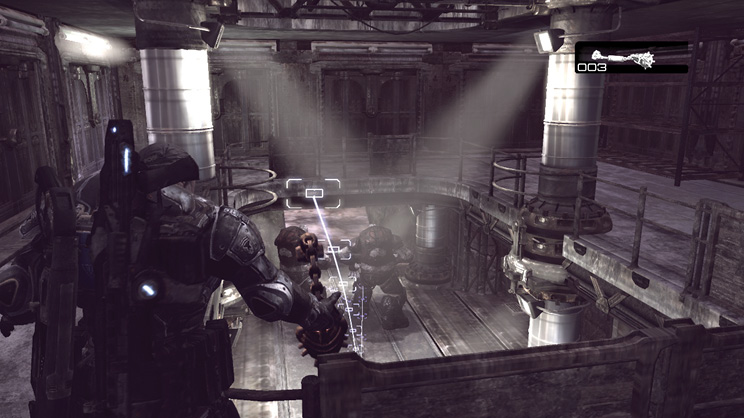
This two-story room contains a pair of Boomers down below. If Marcus and Baird don’t do something fast, those big fellows will unload on Gus and Dom. Switch to the Frag Grenades and take time to aim so that it bounces directly behind the two Boomers, who are unaware of your presence. Get it close enough, and that lone Frag Grenade will clear the path for the other guys.
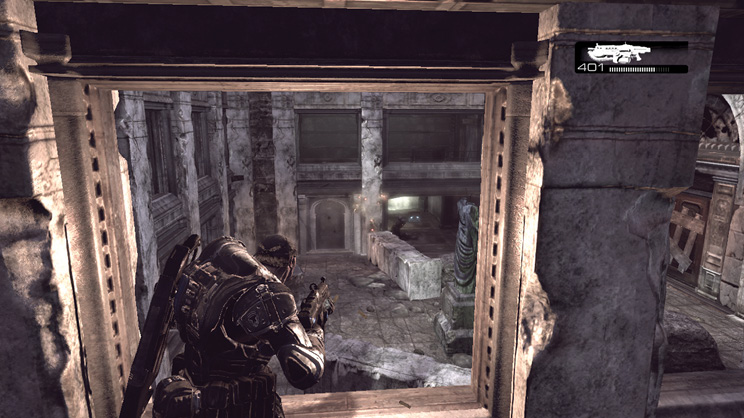
Continue through the hall to the right and advance toward the Drone behind the toppled pillar up ahead. The twosome down below may need some extra firepower, so be sure to give a hand with the Lancer if necessary. Follow the path out onto the fire escape and descend to the street. Make sure to grab the Frag Grenade under the stairs near the couch, and slowly exit the alley with a Frag Grenade in hand.
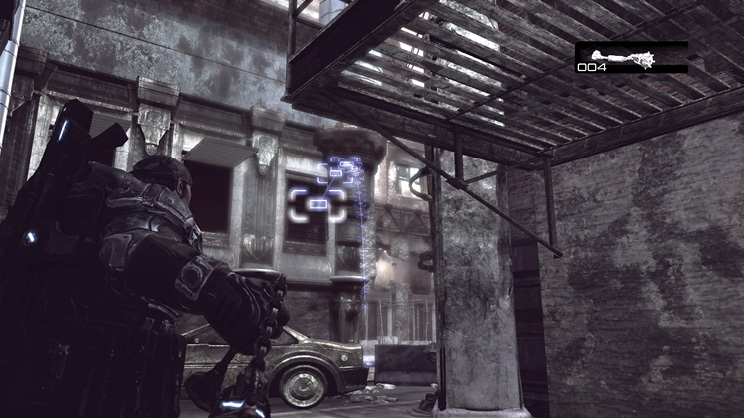
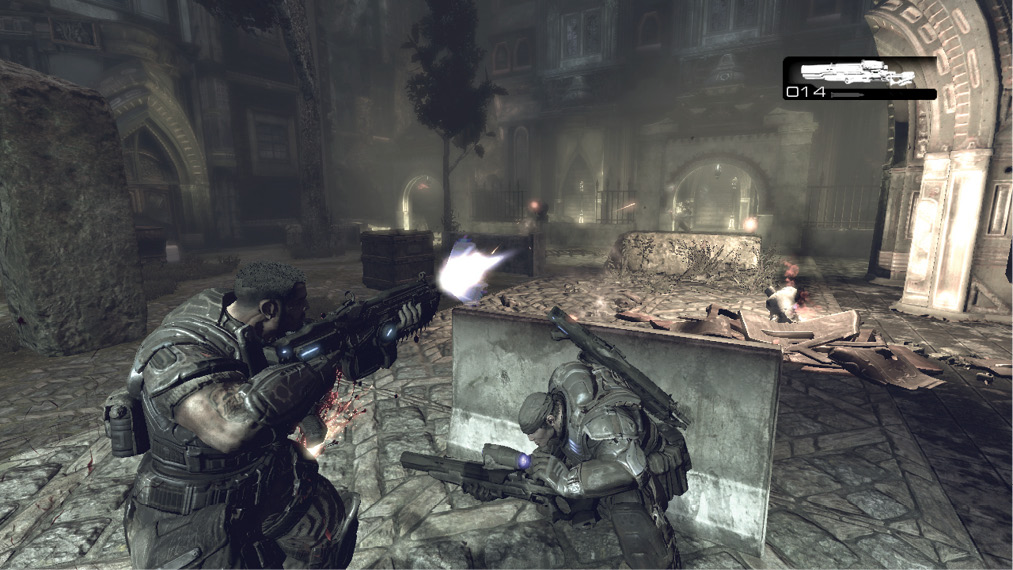
Aim the Frag Grenade at an angle toward the barricade near the building’s corner, and watch for the two Grenadiers to come into view. To drop the Grenadiers as quickly as possible, try to bounce the Frag Grenade up against the barricade (to stop it from sliding). Dom and Gus enter the area on the opposite side of the chainlink fence to the right. Use the Gnasher to take out the Grenadier approaching your position. Then turn to help the others by shooting through the fence with the Lancer.
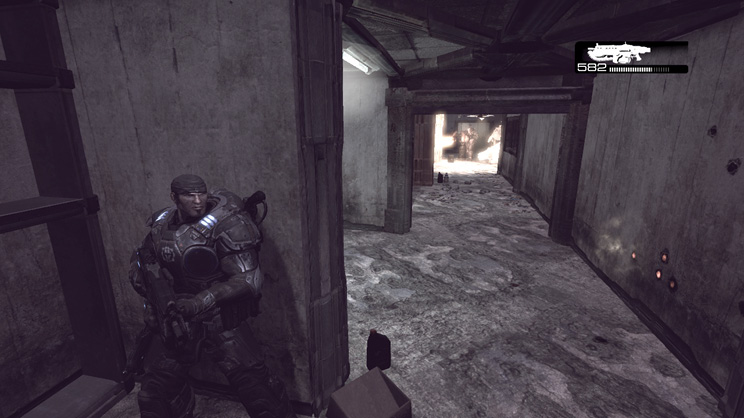
Marcus and Baird are one short hallway away from rejoining the others, but there’s a Troika at the far end. Give the “Cease Fire” command so that everyone takes cover, most notably Baird. This opens up an opportunity for Marcus to lob a Frag Grenade down the hall toward the Gunner—Roadie Run down the hall and duck into cover to get close. Should you be out of Frag Grenades, issue the “Attack” command to coerce Dom and Gus into ambushing the Gunner. Help them out by distracting the Gunner’s attention from afar.
Left Path: Low Route
Find a Mode of Transport
Gus and Dom take the trench and leave Baird and Marcus to look for another route. Cross through the open yard to the left and enter the rubble-strewn building beyond the pillars. Inside, a pair of Boomers emerges from the room to the right. Take cover behind the toppled pieces of concrete, and give the other guys (who are on a balcony above the Boomers) an opportunity to take out one of them. Use Frag Grenades and the Lancer to finish off the surviving Boomer as it comes through the door.
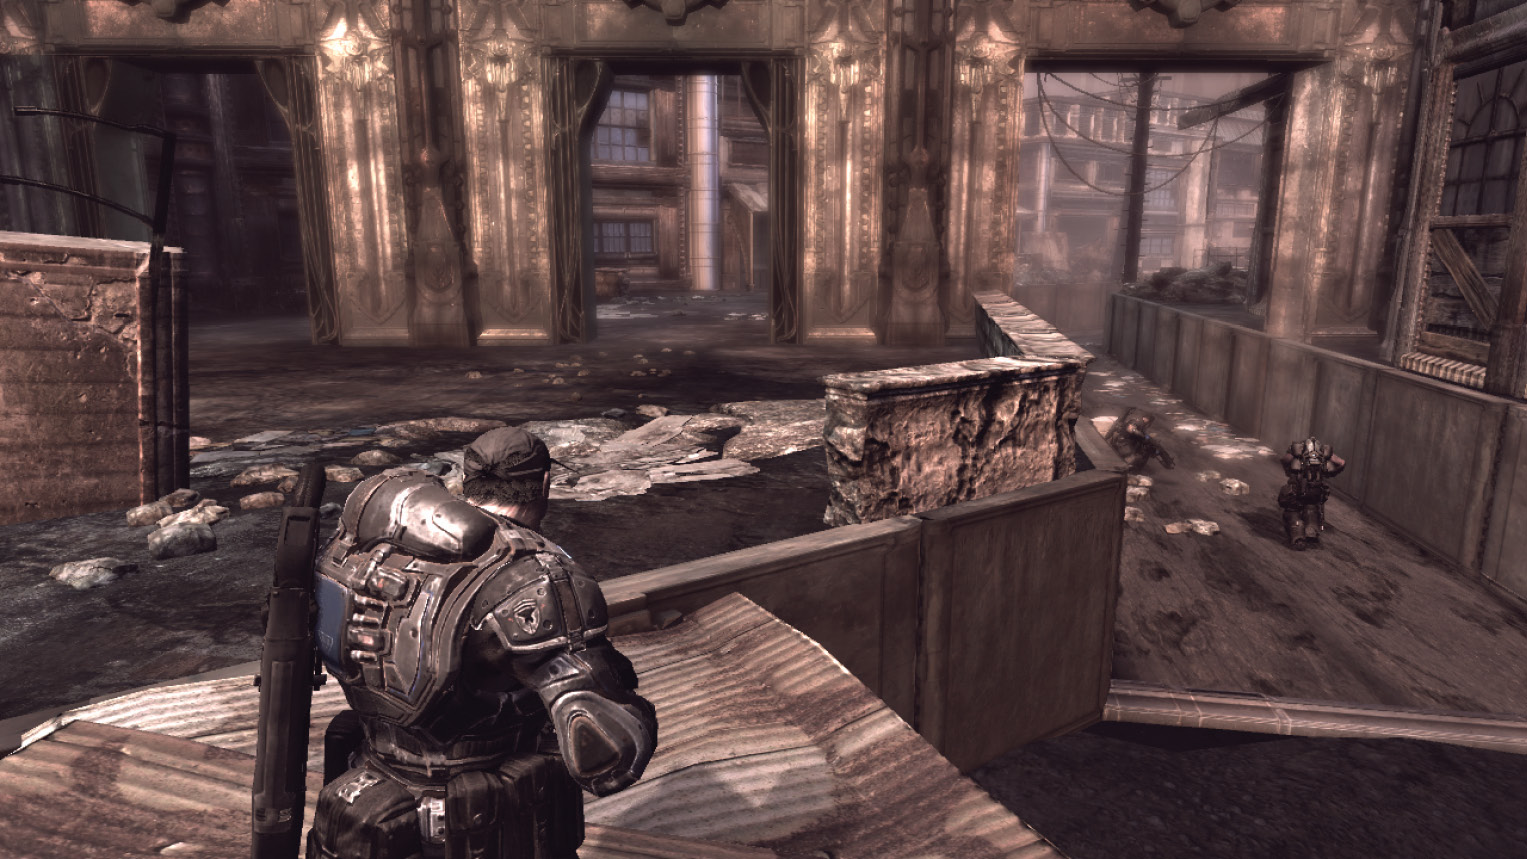
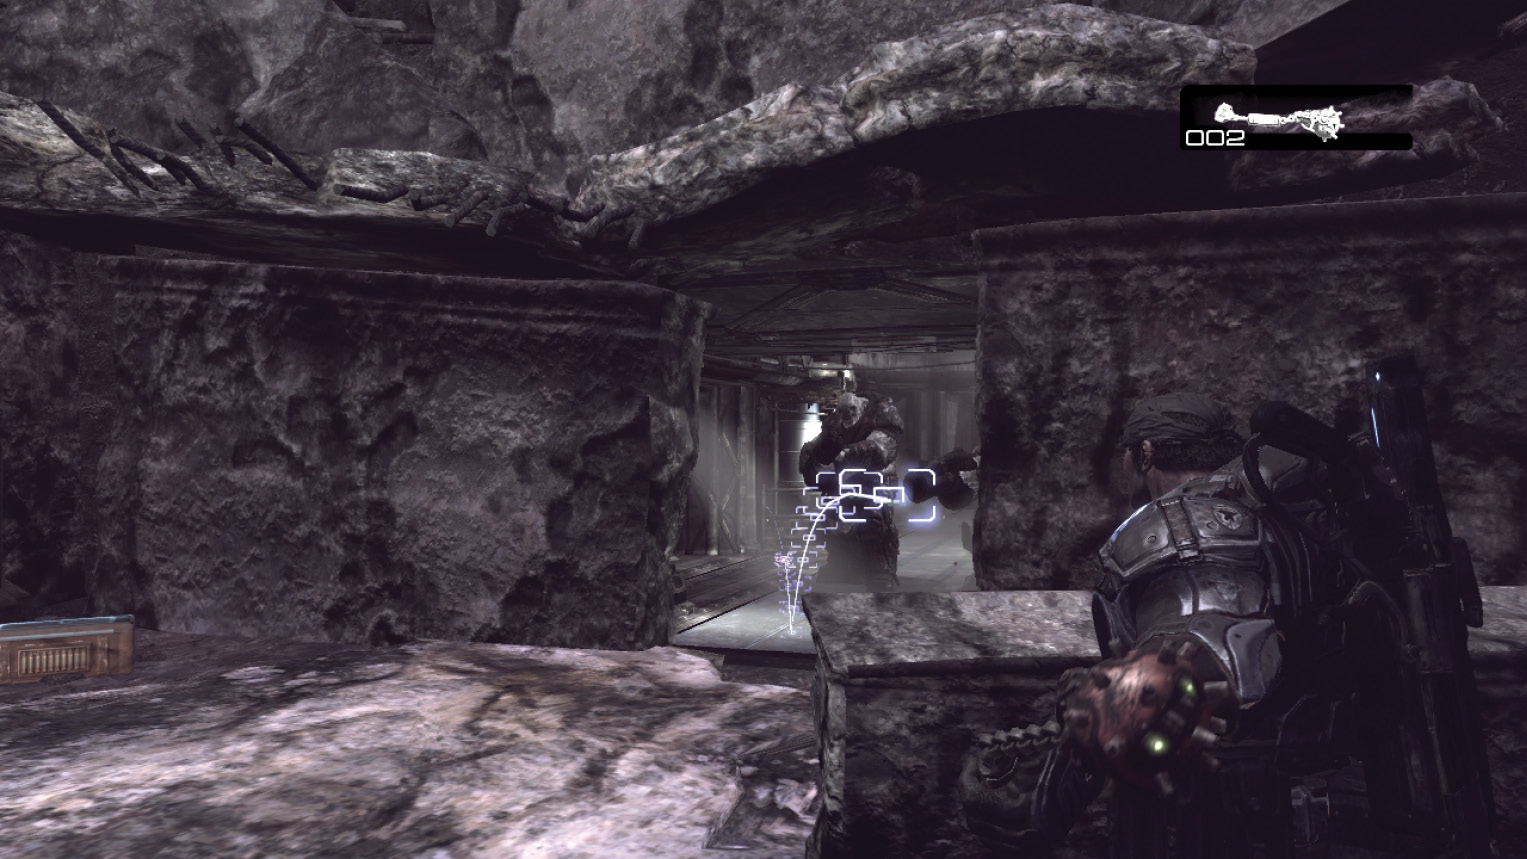
Make your way around the Corpser hole in the distance, and take cover in the courtyard near the statue. Dom and Gus help take out the Drones that appear, but be ready to fight back just in case the Drone makes its way under the balcony and out of the others’ view.
Continue through the room with the empty shelving, and use the button near the door to exit into the alley outside. Throw several Frag Grenades over the chainlink fence on the left to kill the two Grenadiers marching toward Dom and Gus. With the Grenadiers put down, it’s time to worry about Marcus and Dom. Take cover behind the stone blocks and sweep through the yard and into the building on the right, killing each Locust along the way.
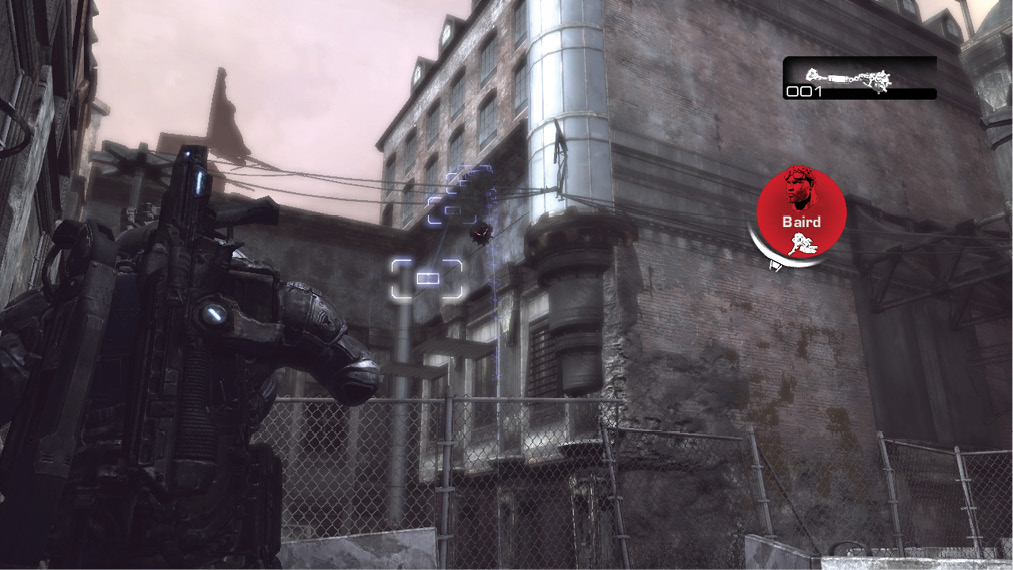
The Gunner in the next room has Dom and Gus pinned down on the other side, but it quickly swivels the Troika in Marcus’ direction if he’s seen. Take cover as close to the Troika as possible, and give the “Attack” command to get Baird to rush the Spotter. This distracts the Gunner, thus giving Marcus a clear shot at him. Dom and Gus soon join up with Baird and Marcus.
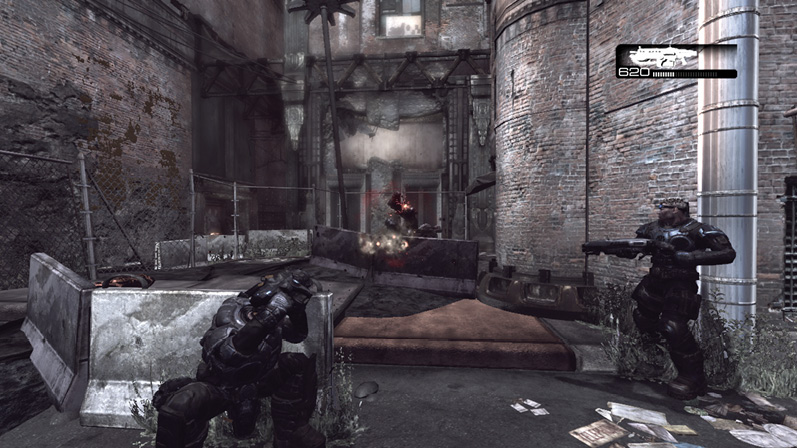
After you clear the area, gather up the ammo and have Jack cut the door to the left of the Troika. Follow the path through the next building and into the next area. Dom knows one of the Stranded and thinks he can borrow a vehicle, so he’ll lead the way to a camp.
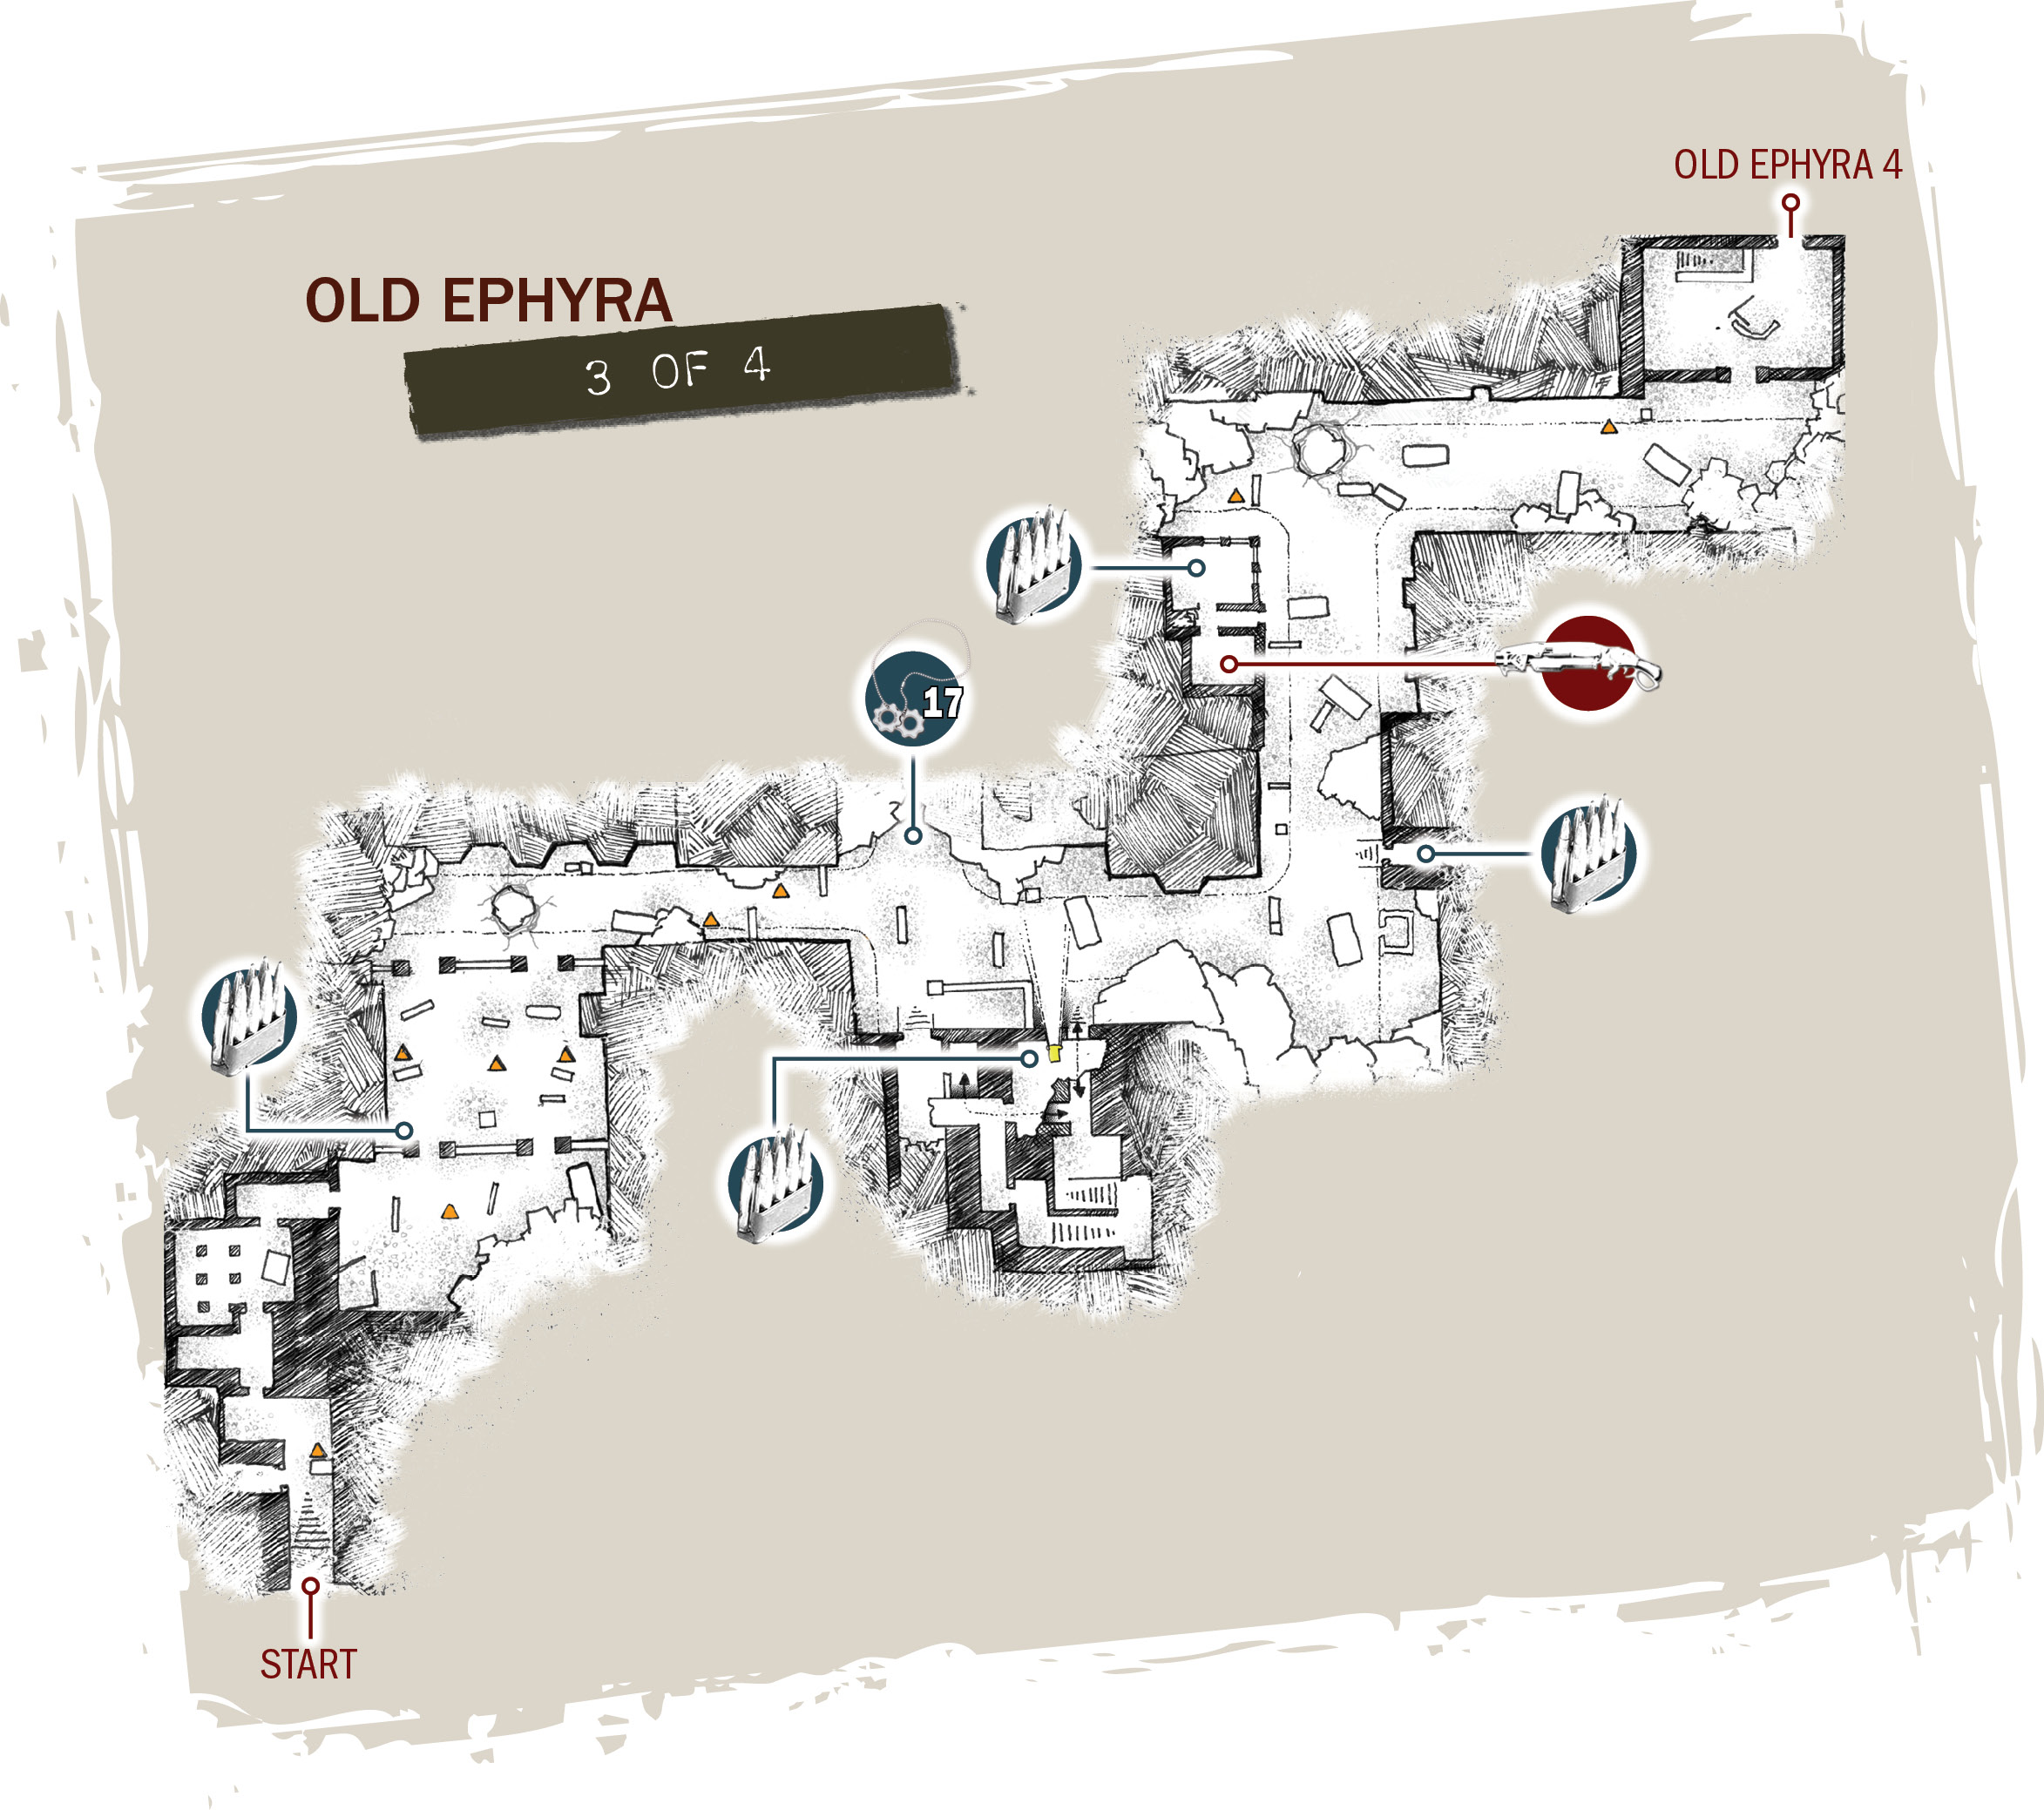
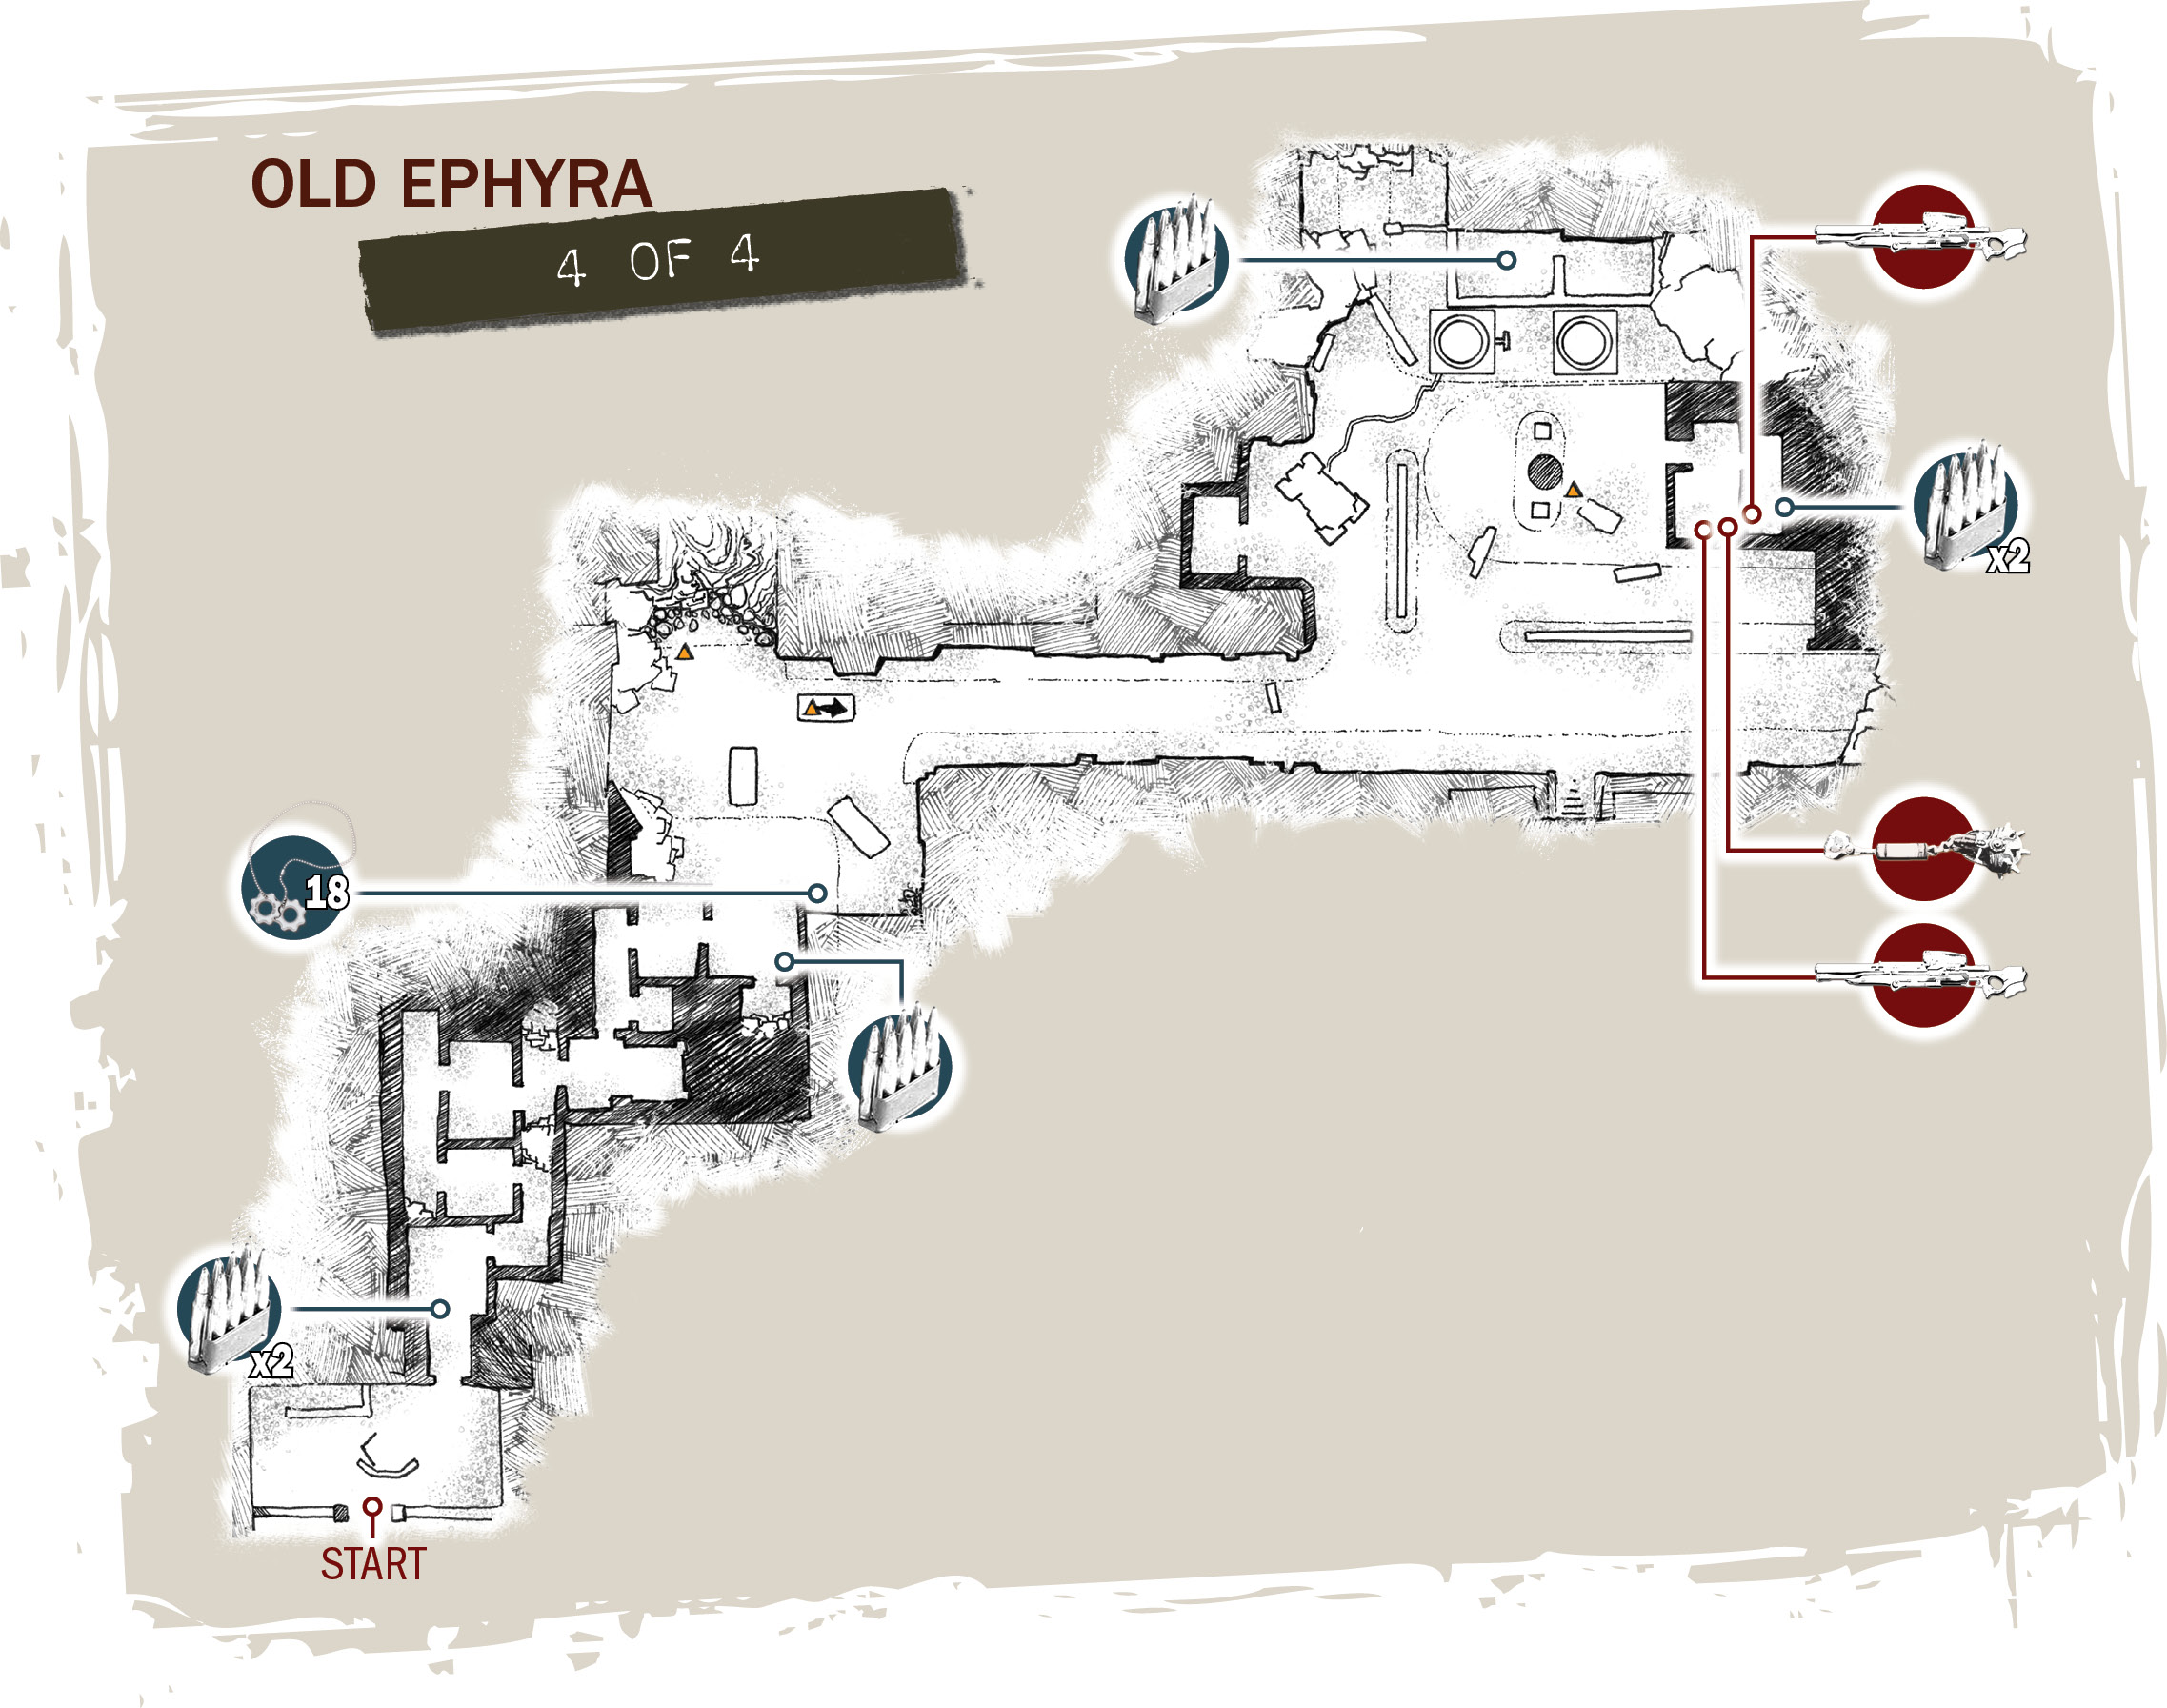
COG TAG #13Descend the stairs into the small alcove where the couch is located. Open fire on it with the Lancer or Gnasher. The COG Tag is hidden underneath the couch. 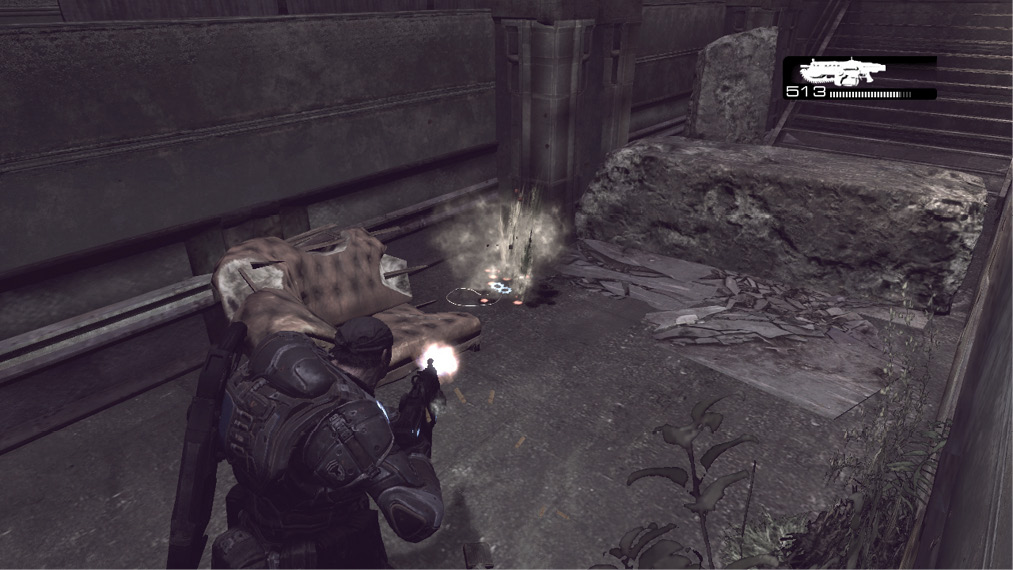
|
Grist
Heavy weapons in close quarters.
Find the Stranded’s Settlement
The fight outside the building comes fast and hard, and it doesn’t let up until Marcus and his team eliminate multiple Drones, a Boomer, and even a pair of Snipers. Use Frag Grenades at the battle’s start to reduce the immediate threat, then give the “Attack” command to the rest of Delta Squad. This is certain to eliminate the Boomer along with any Drones and Grenadiers that are still standing.
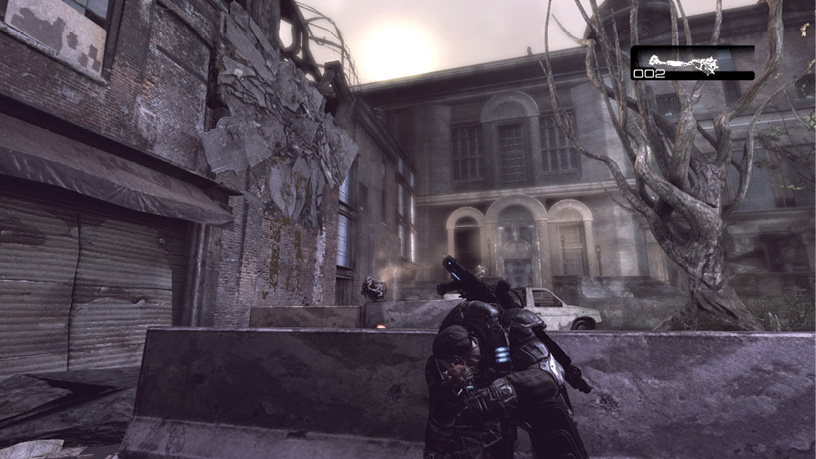
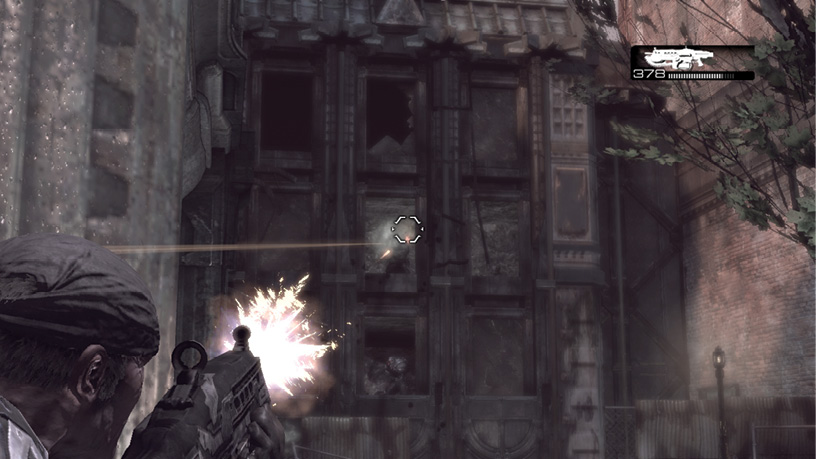
With the Boomer destroyed, give the “Cease Fire” command to have everyone duck for cover—there are two Snipers in the building down the road to the right. Try lobbing a Frag Grenade into the lower window, as the blast may well take out both Snipers. If not, use the Lancer to punish the upstairs Sniper when he looks to take his next shot.
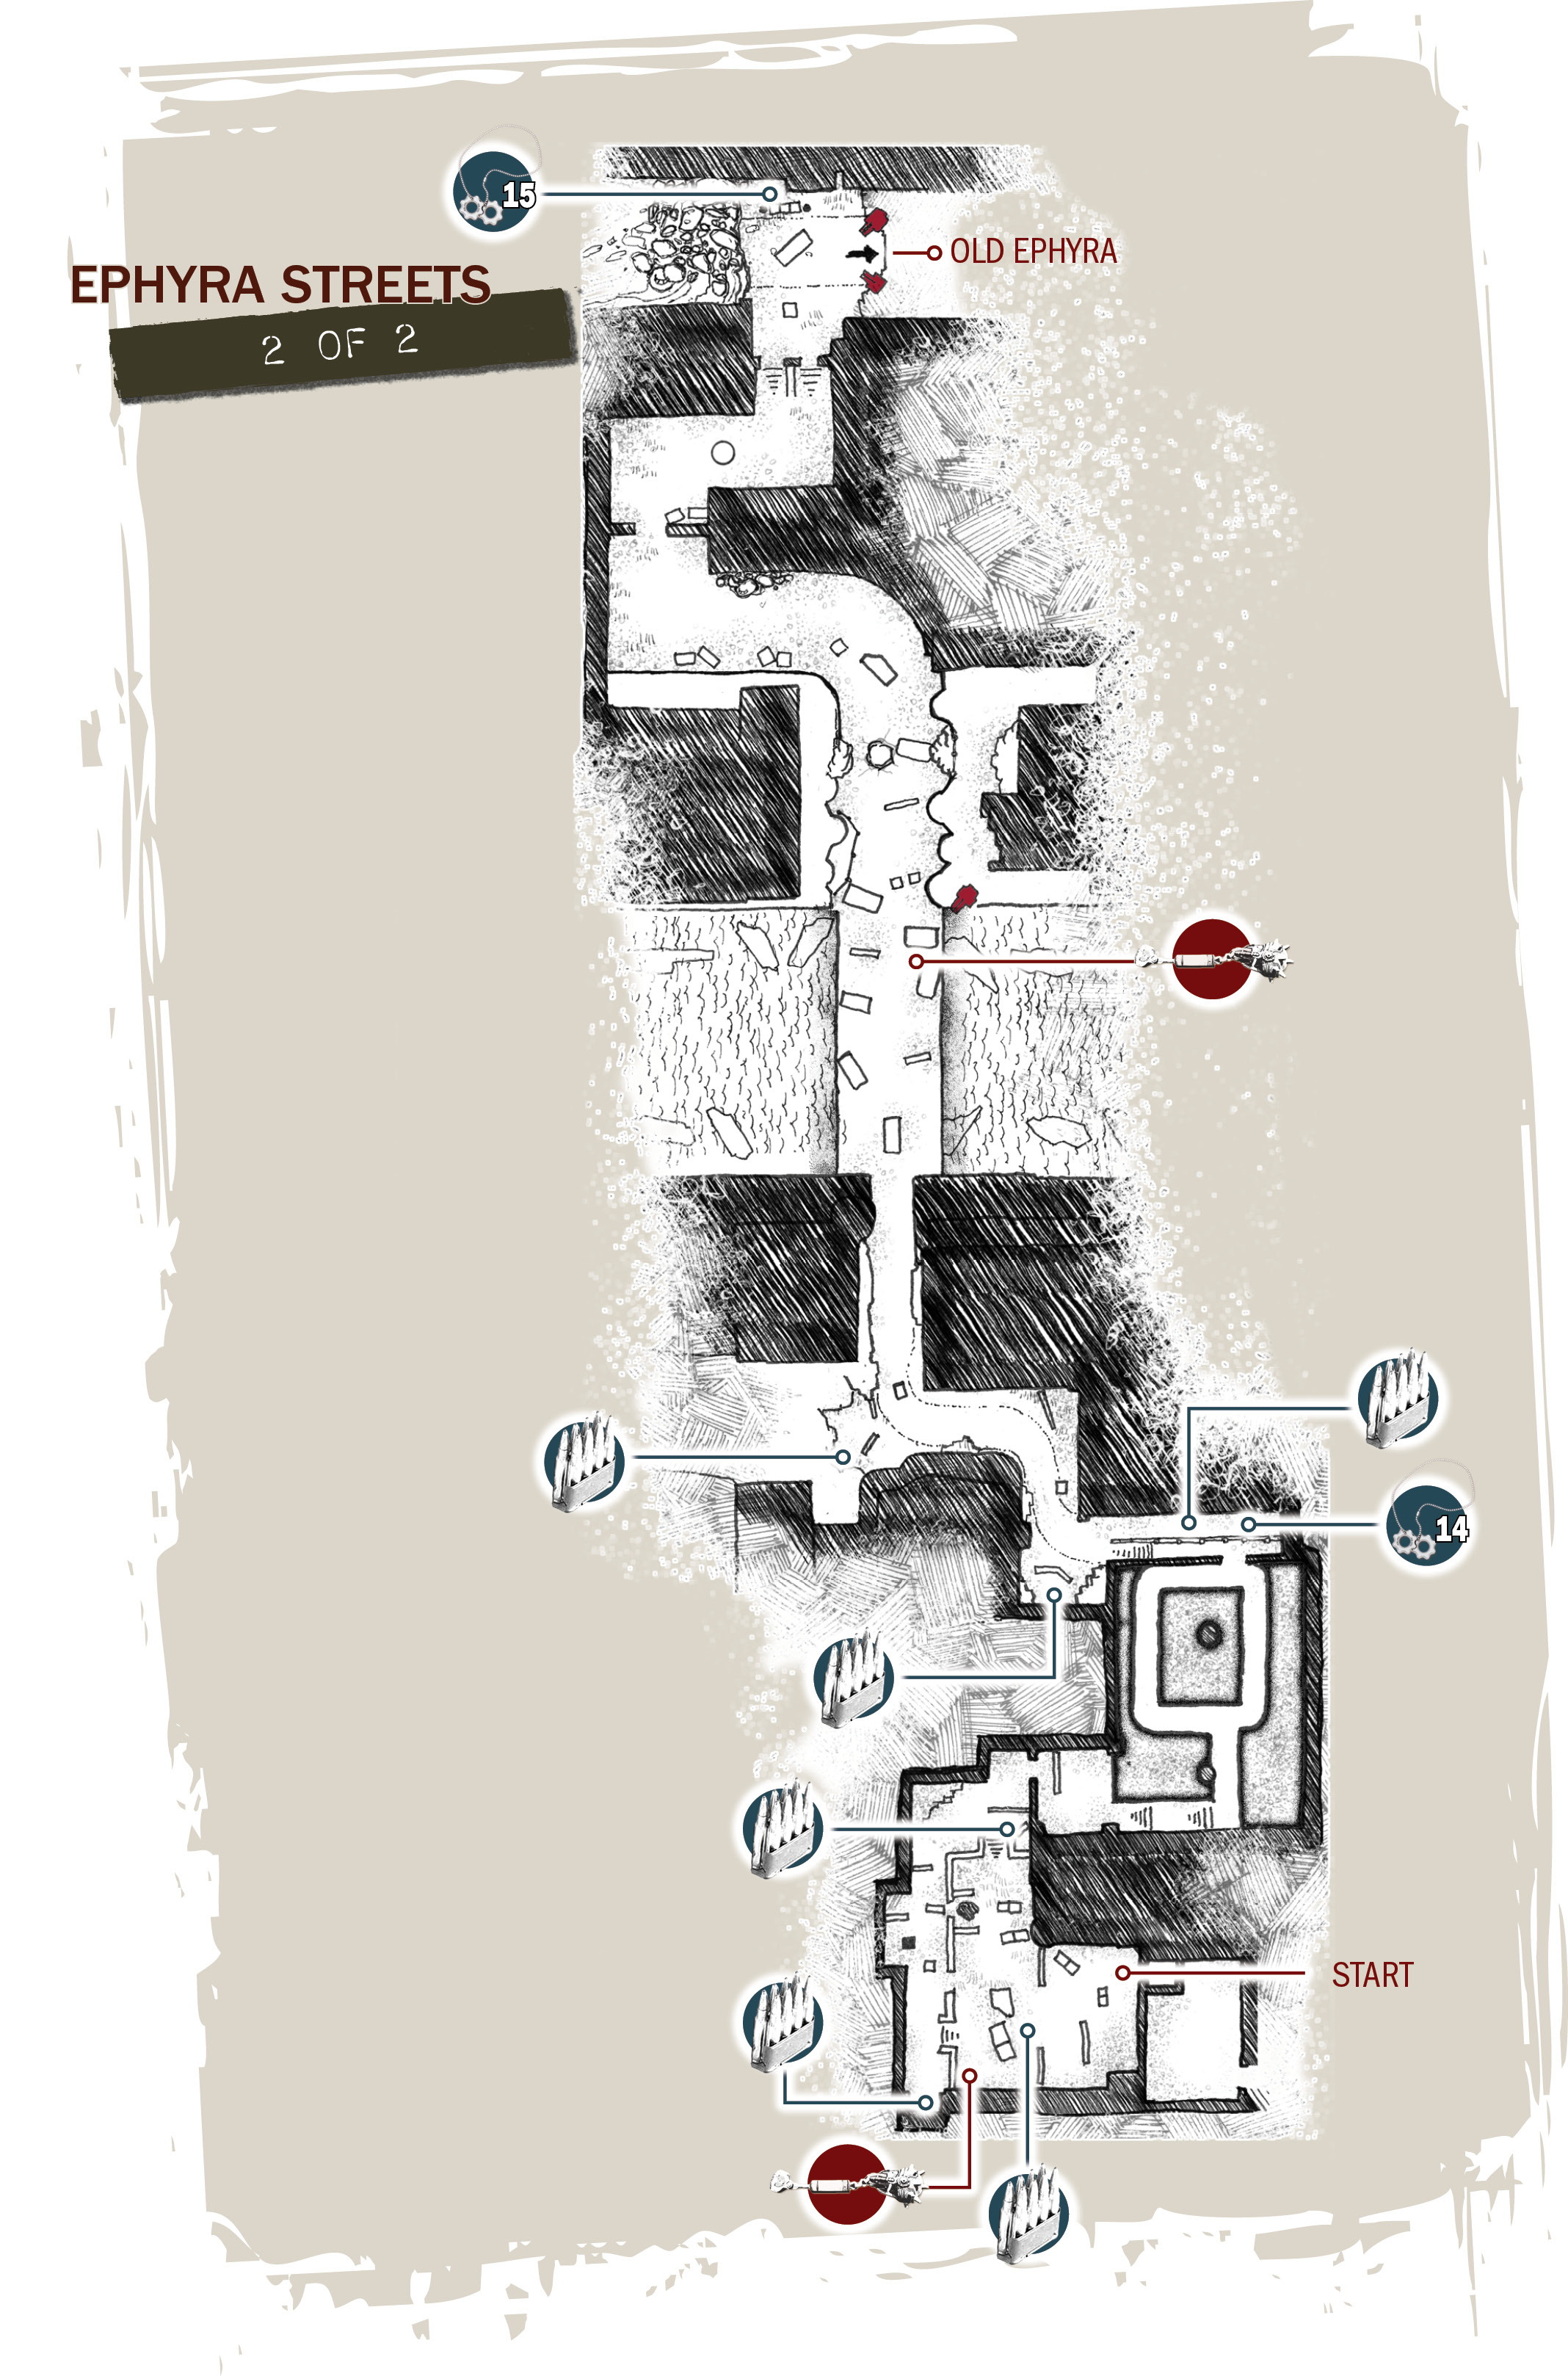
COG TAG #14Descend the stairs outside the room with the circular catwalk, and enter the alley to the right. Look behind the small piece of rubble to find the COG Tag. 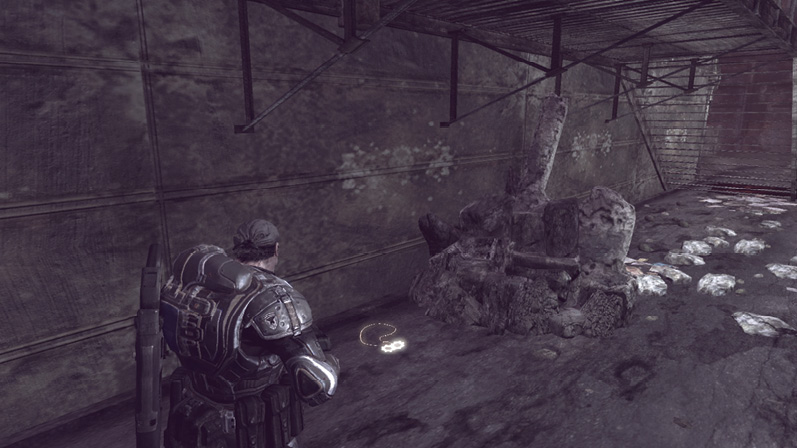
|
Climb the stairs in the factory ahead and follow the catwalk clockwise to the exit. Cut a path through the approaching Wretches to return to the street level outside. Load up on ammunition and fight your way past the next set of enemies to reach the bridge. You may want to pick up the Boomshot from the defeated Boomer along the way.
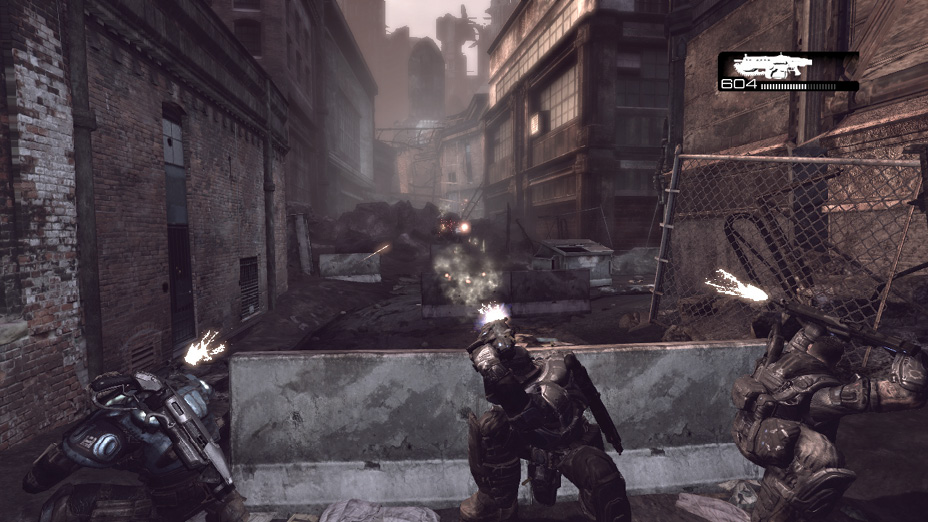
There’s a Troika mounted on the far right side of the bridge, not to mention a seemingly never-ending supply of Drones, Wretches, and Grenadiers exiting an Emergence Hole in the distance. Marcus has to close the hole if his crew is to get any closer to the settlement.
Take cover behind the car in the center of the road, and repeatedly tap the X Button to push it across the bridge toward the Troika. This provides adequate cover while Marcus moves into position near the tipped-over van on the right. From there, he can easily toss a Frag Grenade up toward the Troika and take out the Gunner. With the Troika silenced, give the “Attack” command to the others so they can begin pushing back against the numerous Locust flooding across the bridge.
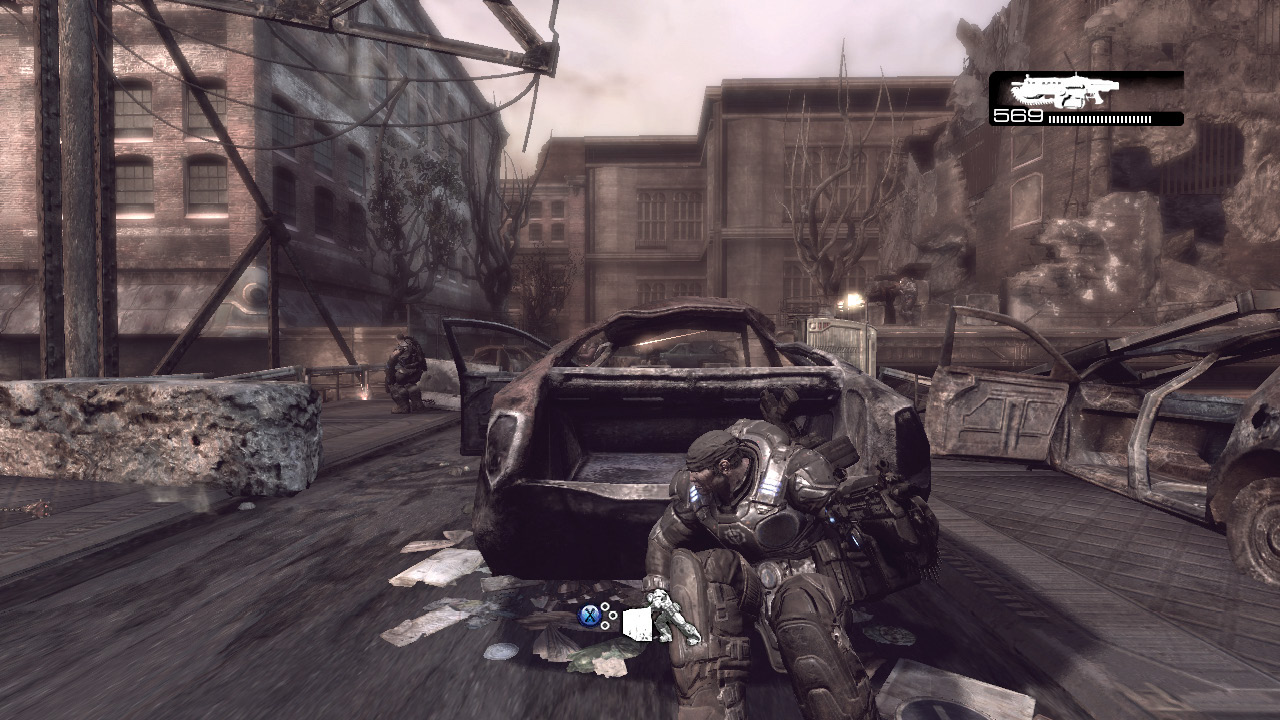
Take your time and slowly make your way from cover to cover toward the Emergence Hole. Don’t try to make a hero run and blow it up without adequate protection from the others, else you’ll never make it back. Pay extra attention to the Wretches in this area, as it’s easy to get sidetracked by the Grenadiers and forget the speedy little guys with the razor-sharp claws. This fight isn’t easy, but the good news is that there’s not a single other Locust between here and the gatekeeper at the Stranded’s settlement.
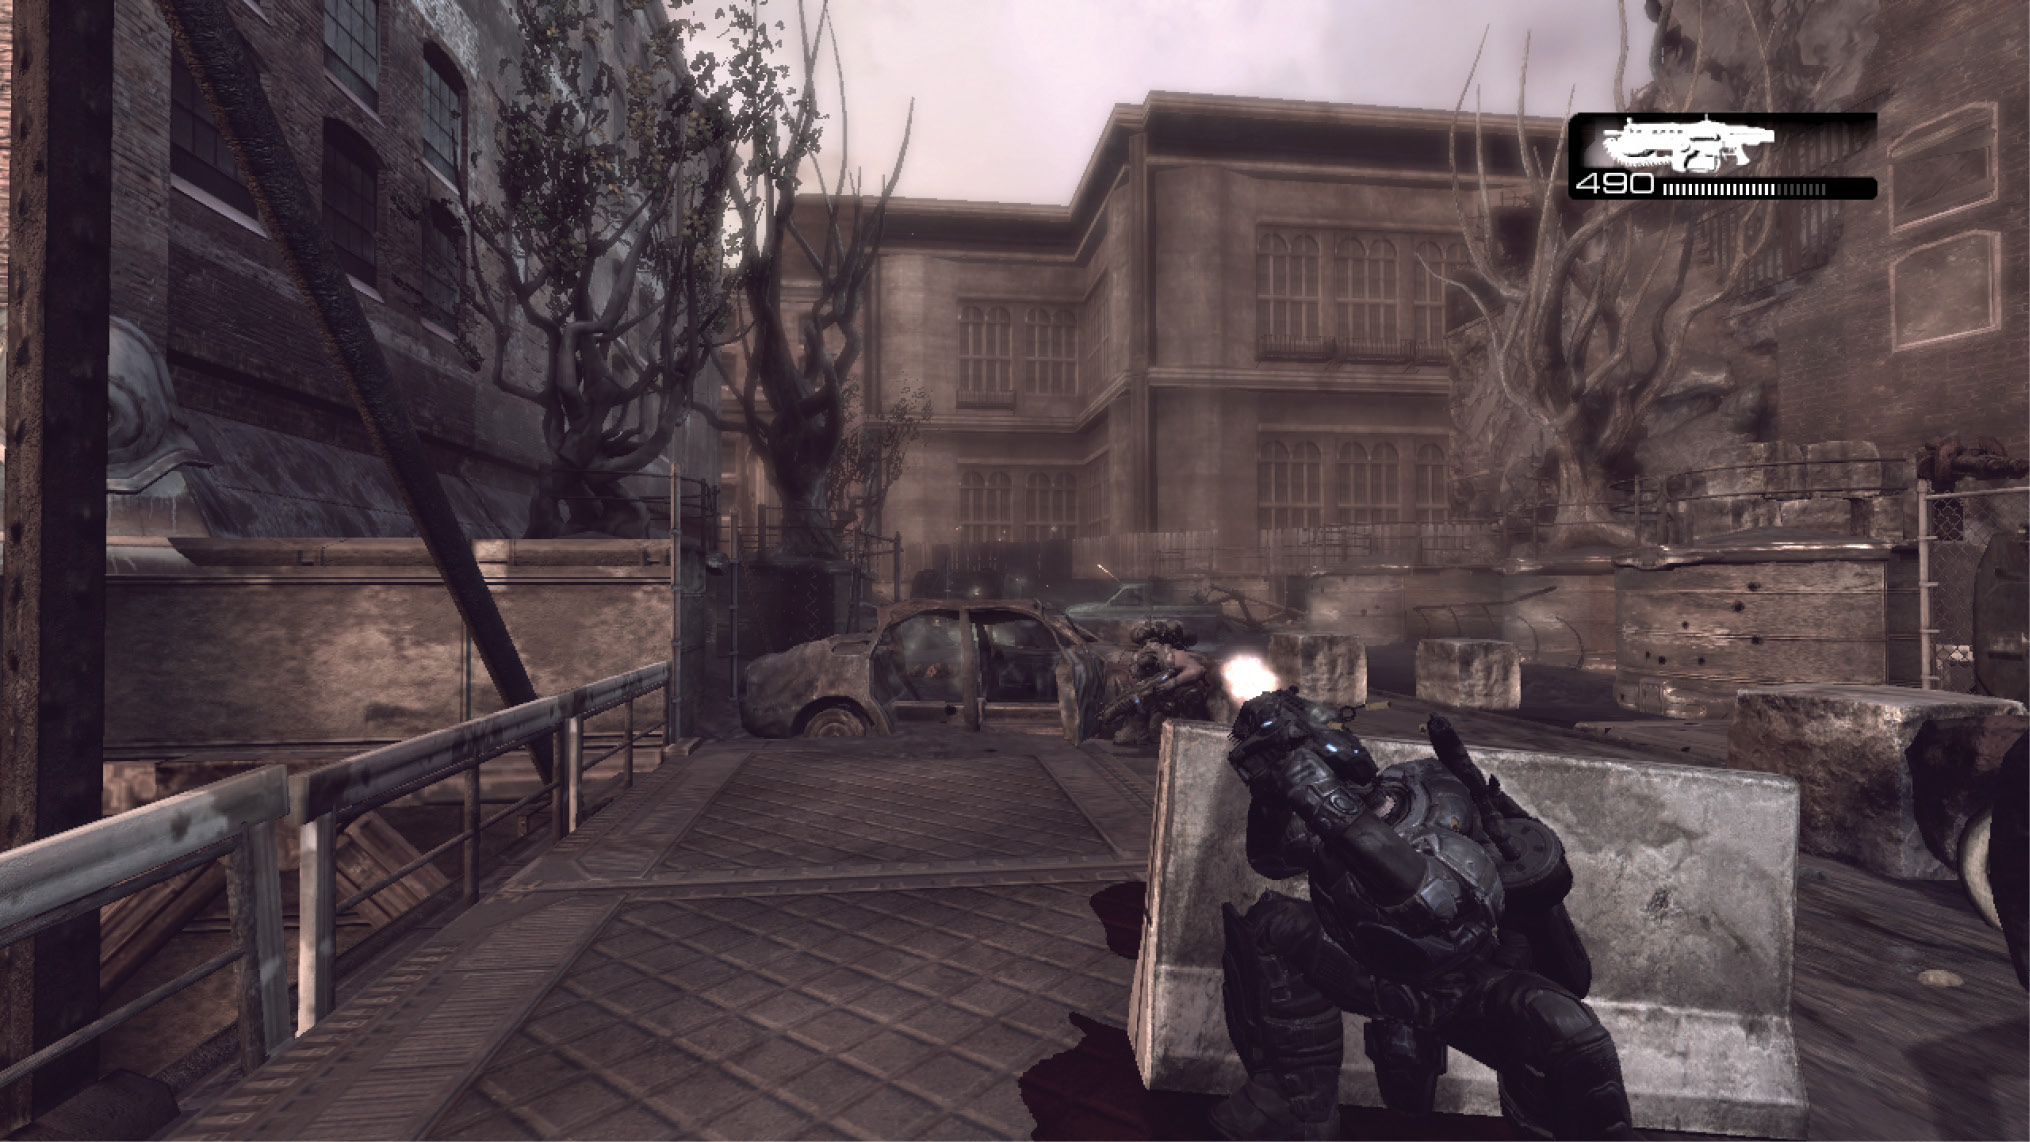
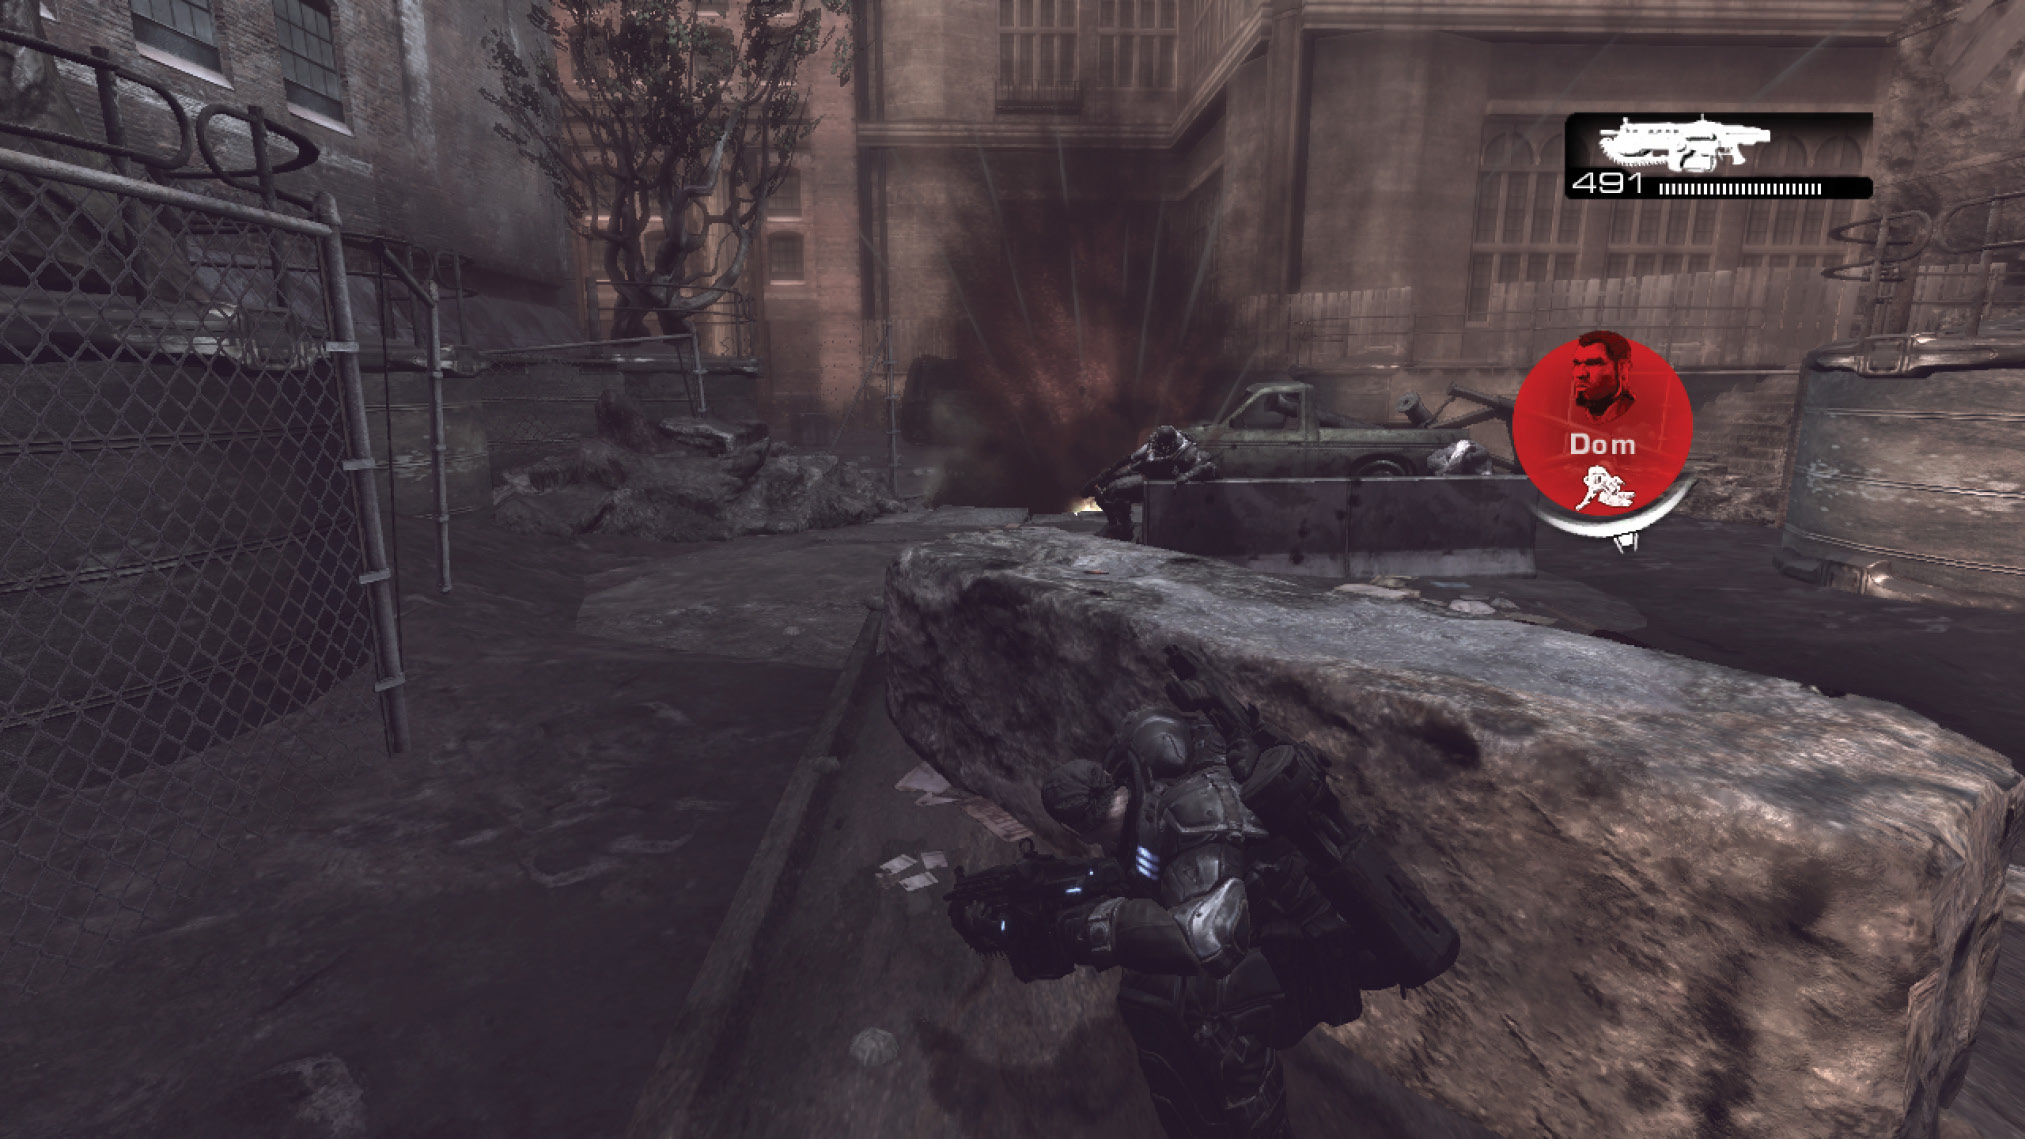
COG TAG #15The COG Tag is behind the mailbox and newspaper dispensers on the sidewalk, to the left of the gate outside the Stranded’s settlement (as viewed while you face the gate). 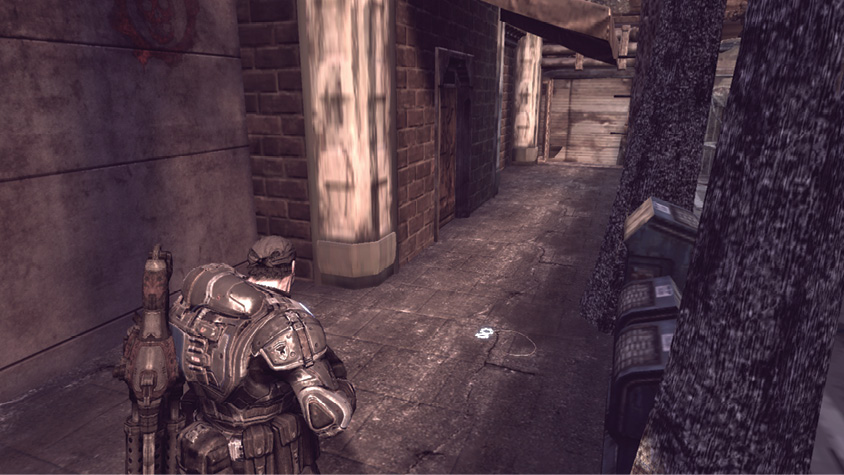
|
Outpost
A “helping” hand from the Stranded.
Dom takes over for Marcus at the settlement; after all, Dom is the one they know in these parts. Most of the Strandeds hurry inside and shutter the windows of their tin-can homes at the sight of the COGs, but not Franklin. Dom finds him in his usual spot, hawking his typical wares, and he begrudgingly agrees to fork over the keys to his ride. But there’s a catch: Baird and Gus have to stay behind as collateral. That, and the fact that the Junker is all the way across town at Aspho Gas Station.
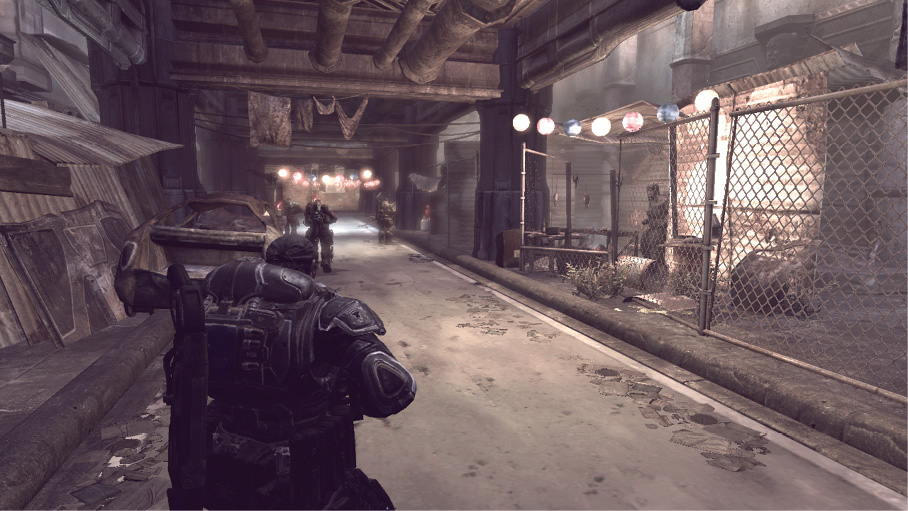
Lethal Dusk
Stay in the light or be consumed.
Cross the River to Checkpoint 1
Exit the settlement through the ruined building to the left of the rubble pile, and have your guns at the ready when you exit the other side. Several Drones and a Sniper defend the ferry near the river, and they mean business. Shoot the propane tank to detonate it. This helps illuminate the area and inflicts severe damage to anybody caught near the explosion. If the propane tank explosion doesn’t eliminate the Sniper in the shack across the street, lob a Frag Grenade into it. Either way, make sure you kill him and grab the Longshot he drops.
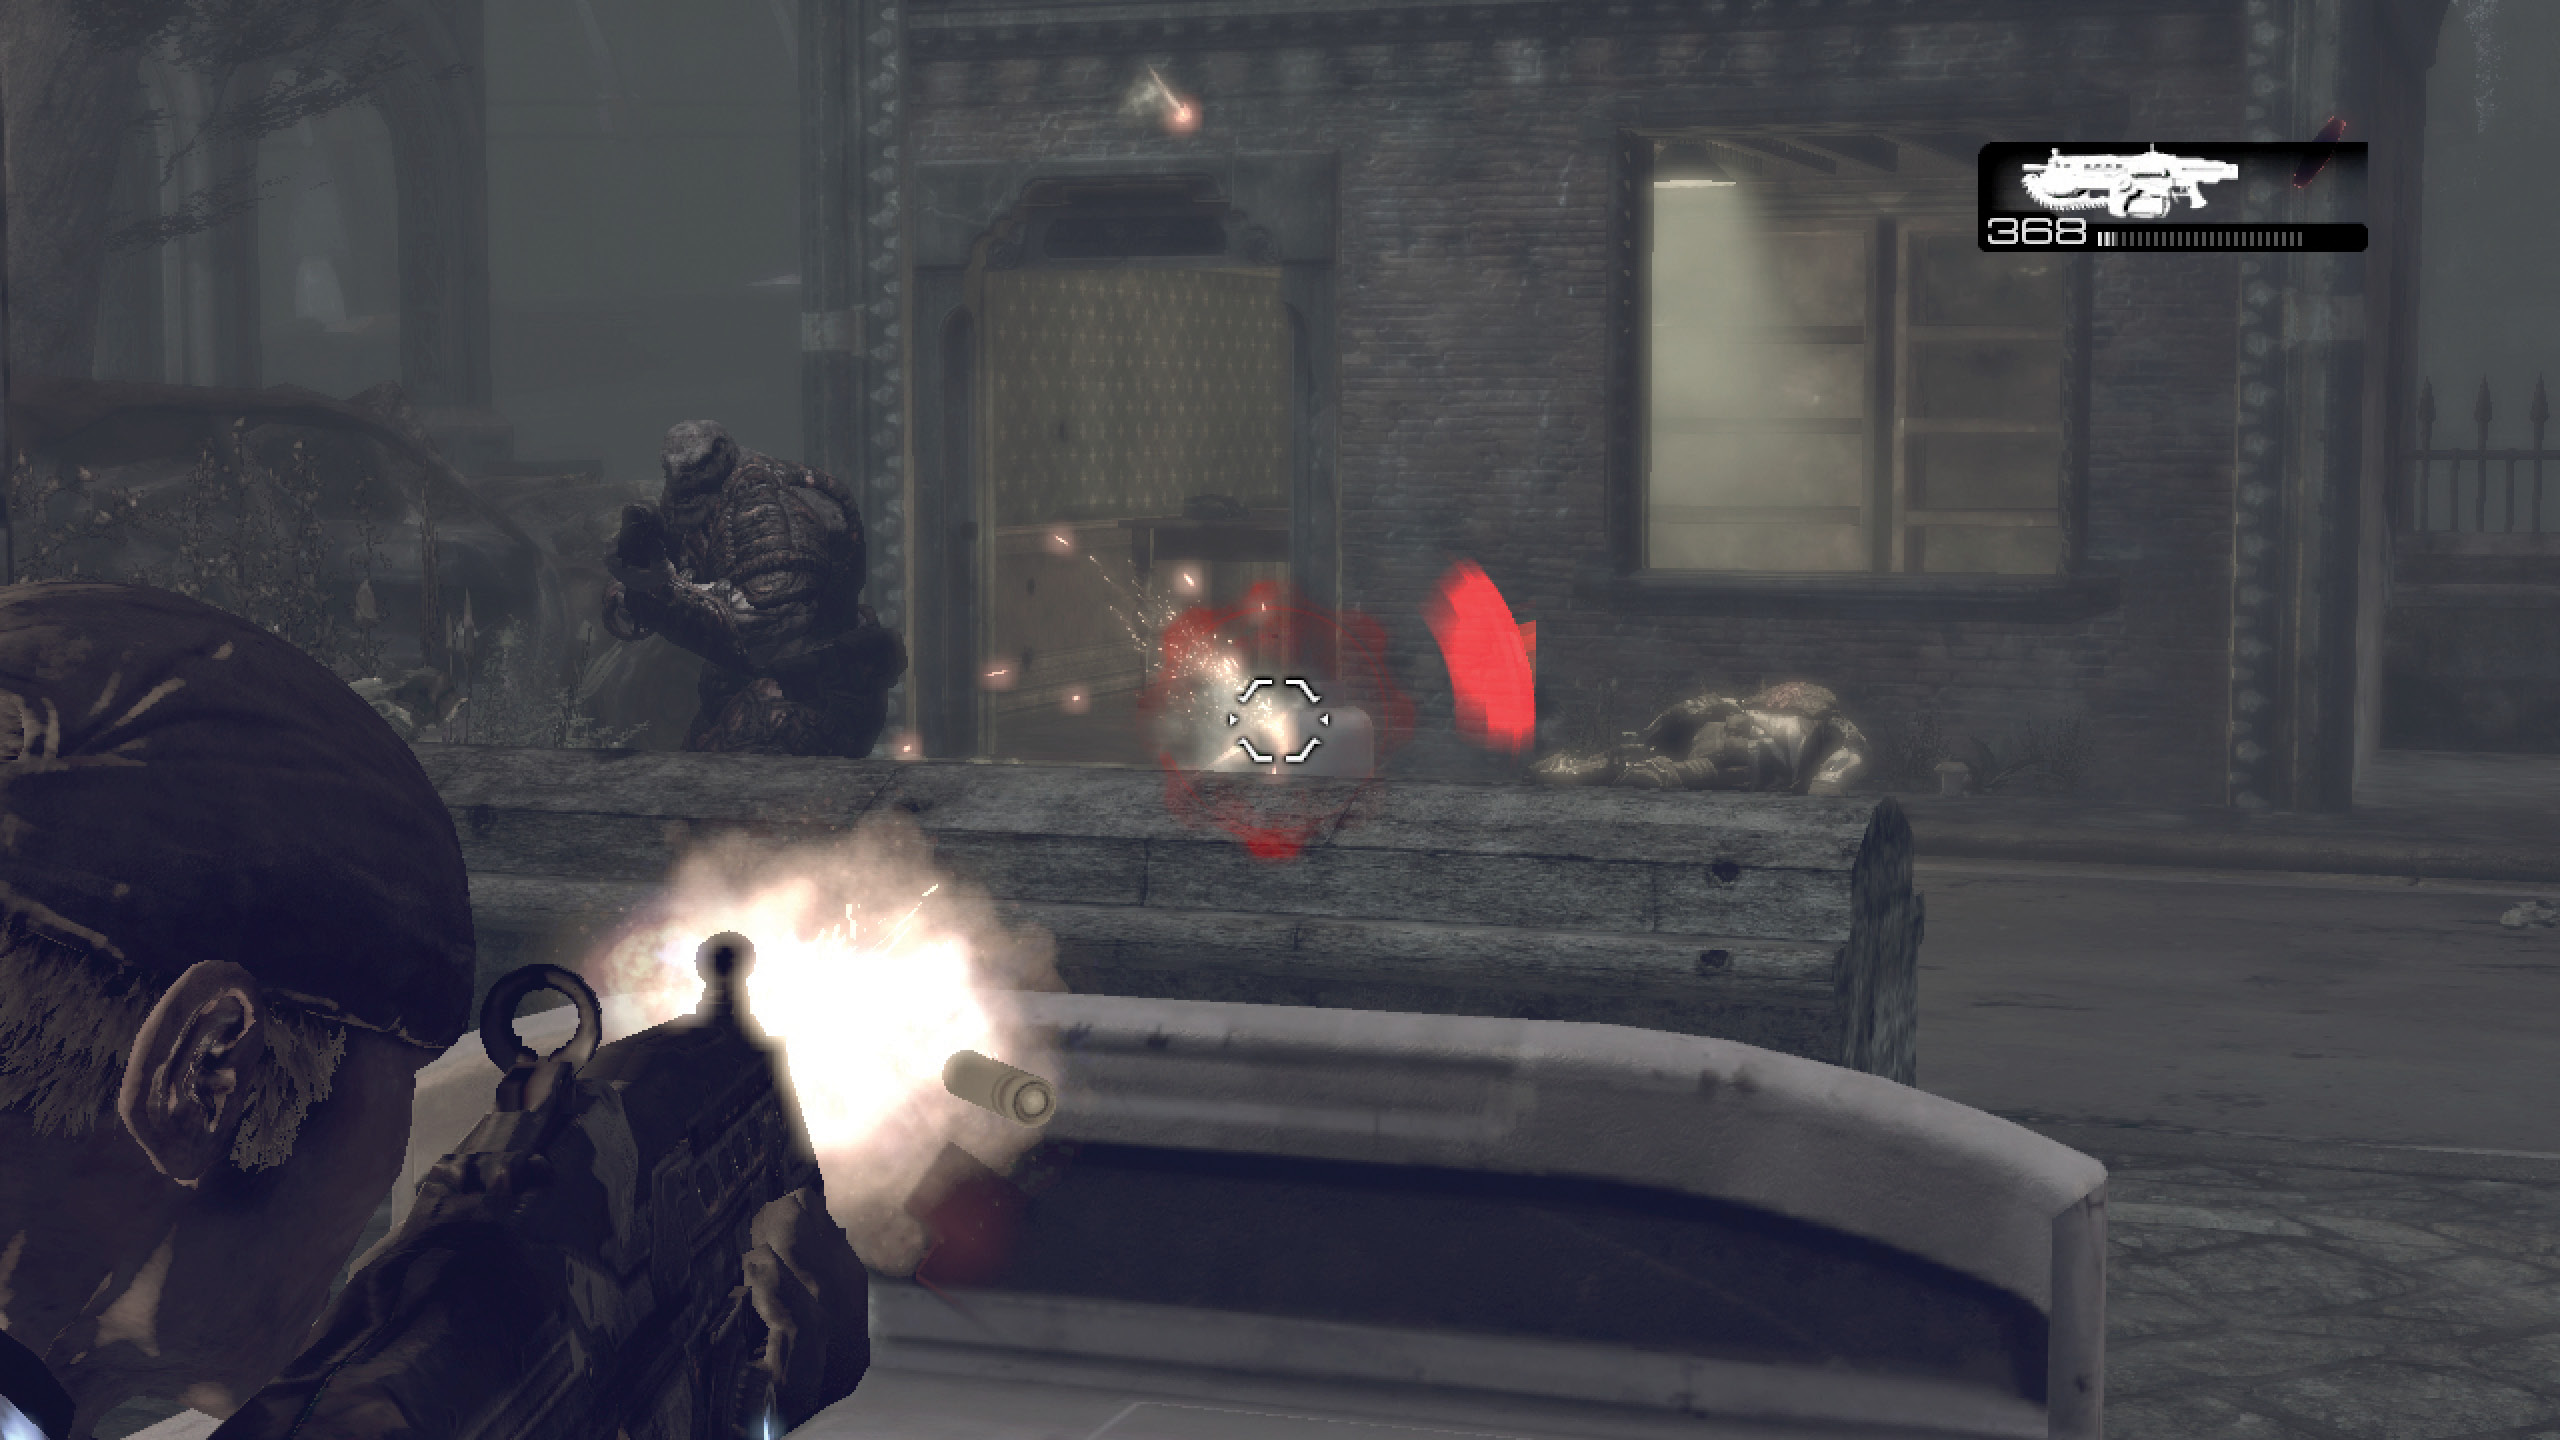
Dom leads the way to the ferry. Board the ferry and get started cranking across the river as soon as Dom is aboard.
The ferry is connected to an overhead cable and is essentially hand-winched along the cable by turning the large wheel in the center of the platform. Dom uses his Gnasher and Lancer to defend the two of you from attacks as best he can, but watch Marcus’ status and give Dom a hand if he starts to take too much damage. For the most part, Marcus can focus on turning the big wheel (press the A Button) until they reach the far bank.
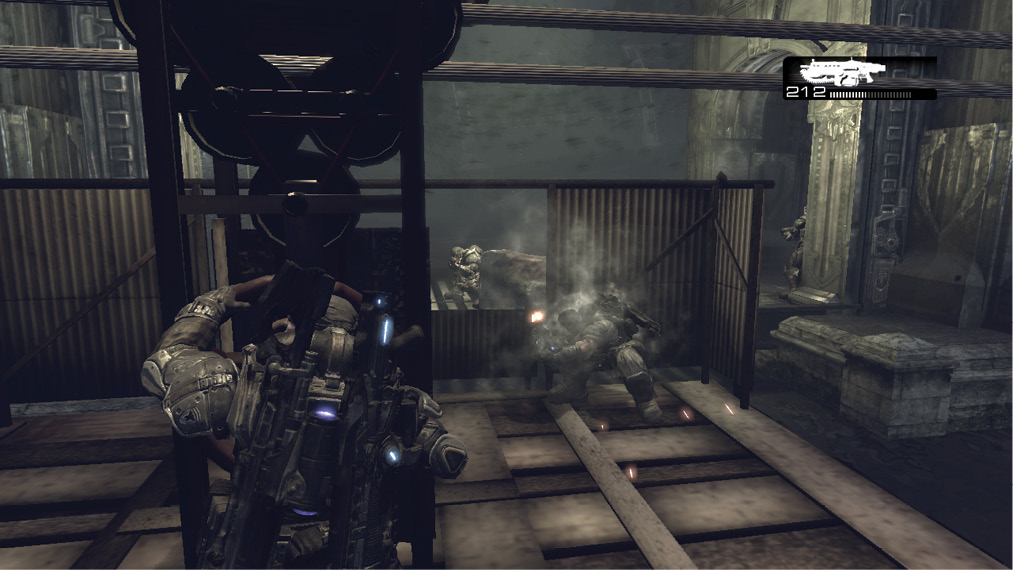
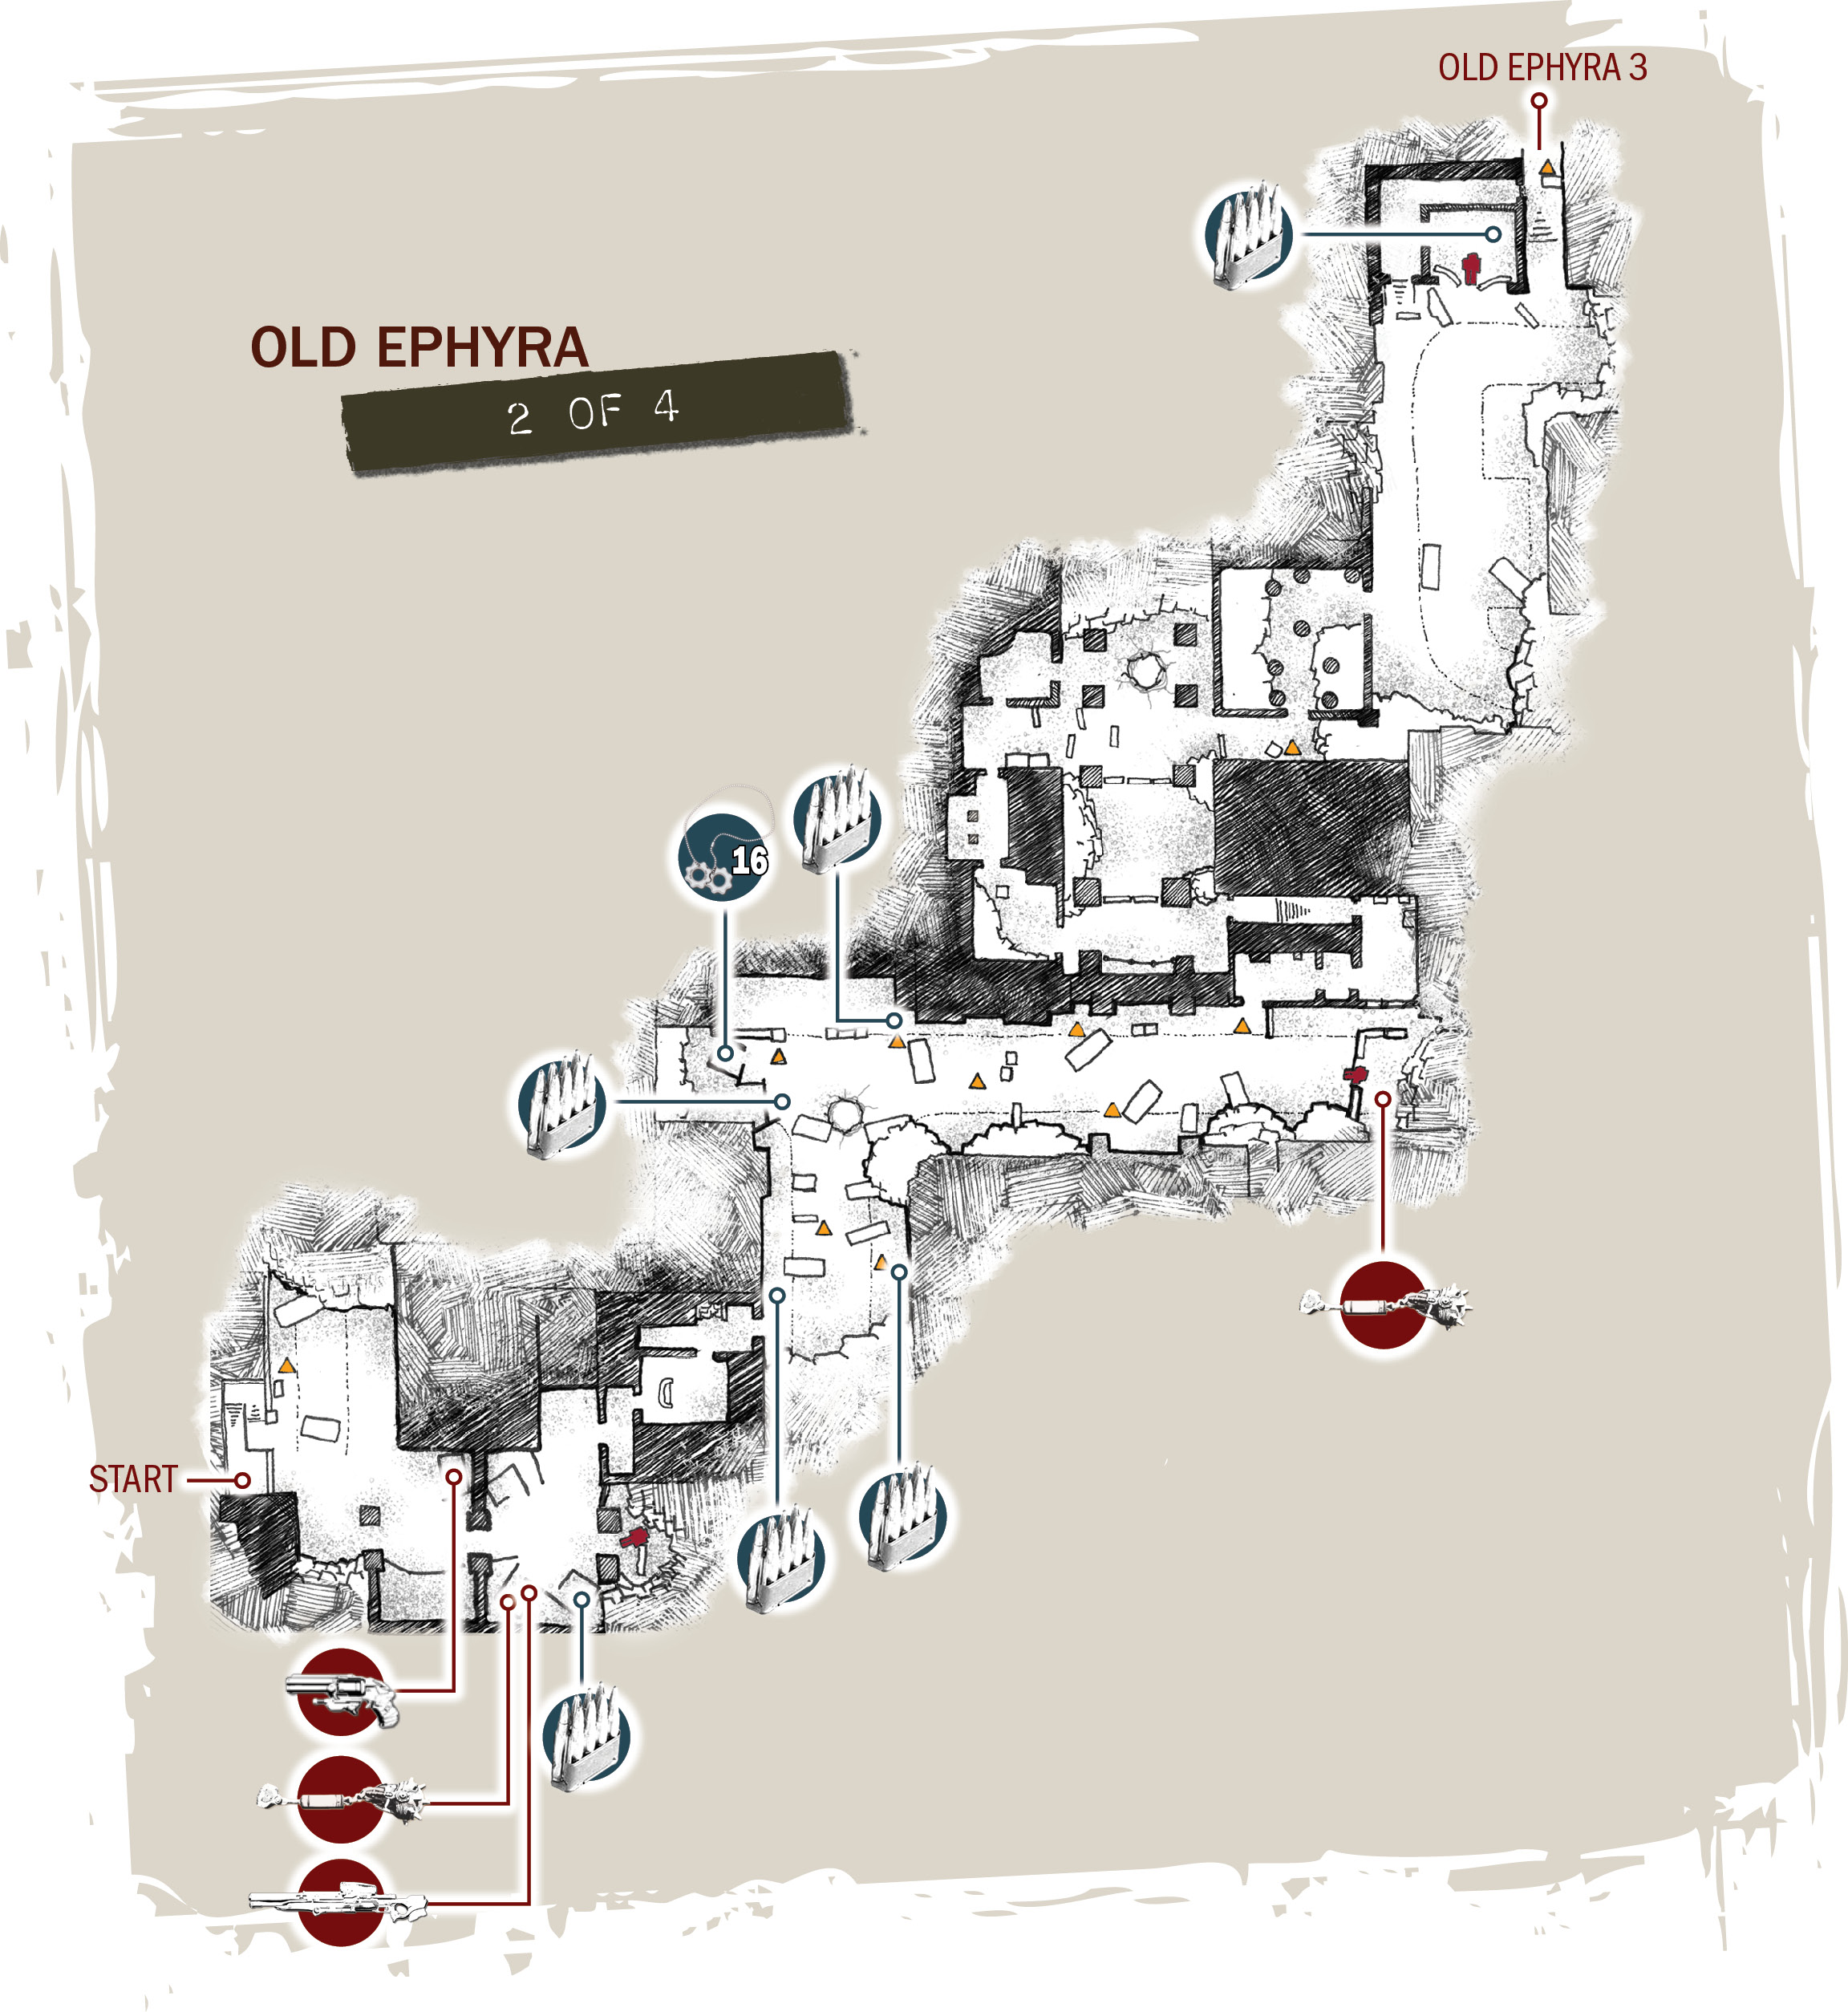
The guys at Checkpoint 1 are just up ahead. Climb the steps to the main road and follow the light to the shacks on the right. They don’t look like much, but they contain a collection of ammo and guns the likes of which Marcus hasn’t seen since his days in the Pendulum Wars. Load up, soldier!
Get to Checkpoint 2
Cut through the well-lit and equally well-appointed house outside the Stranded camp. Rush for cover behind the burned-out cars in the street. An Emergence Hole has opened in the distance, and a crew of Grenadiers is heading your way. Take aim on the propane tank to the right of the car and the one in the middle of the street to give protection from the Kryll. Flank around the cars’ right side and kill the first wave of Grenadiers. Then toss a Frag Grenade into the Emergence Hole. Alternatively, you can shoot out the lights to seal the Emergence Hole with Kryll. A Grenadier bursts out the door before the first pushcar.
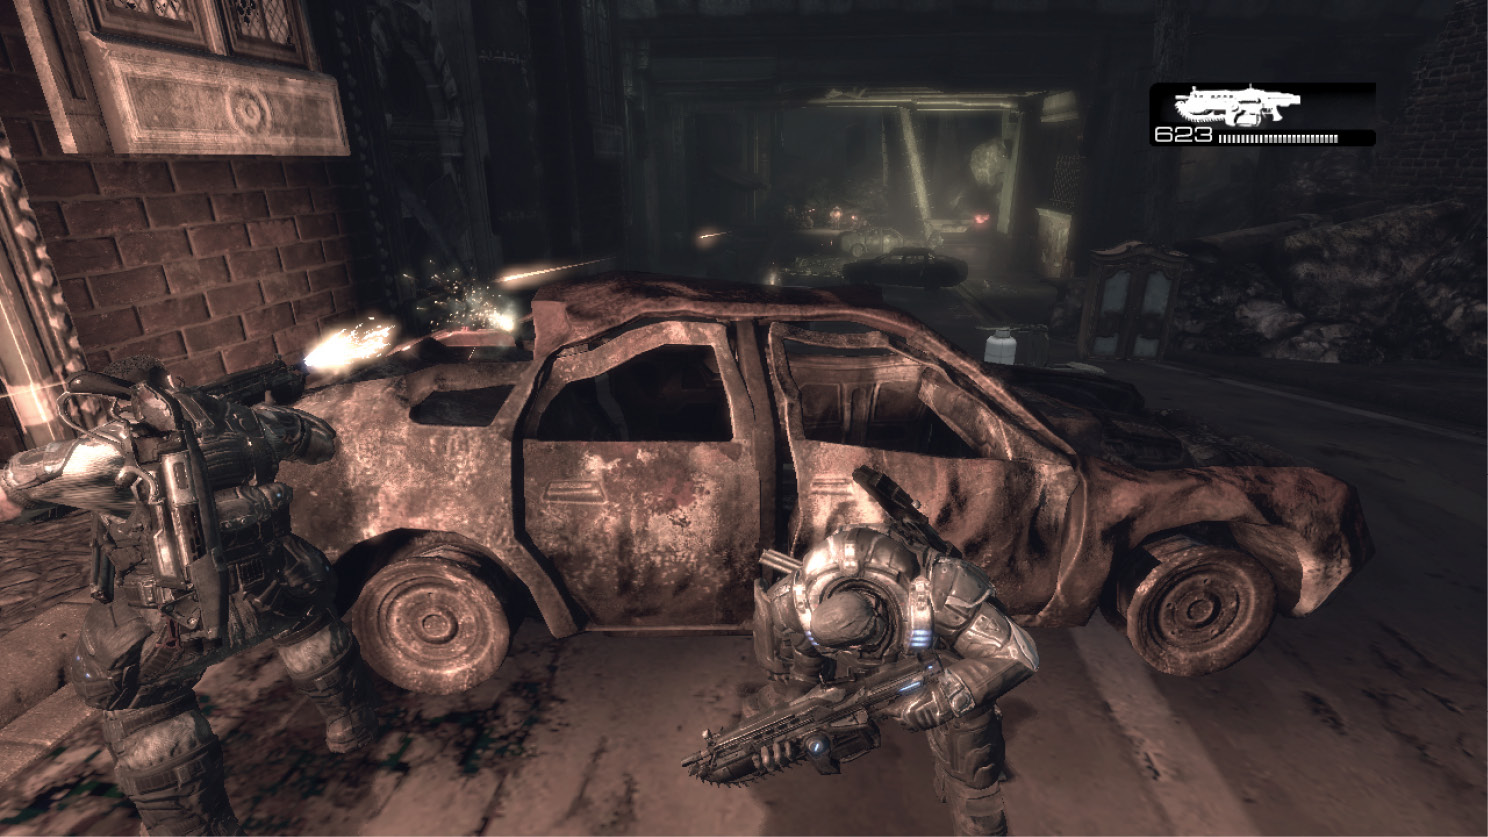
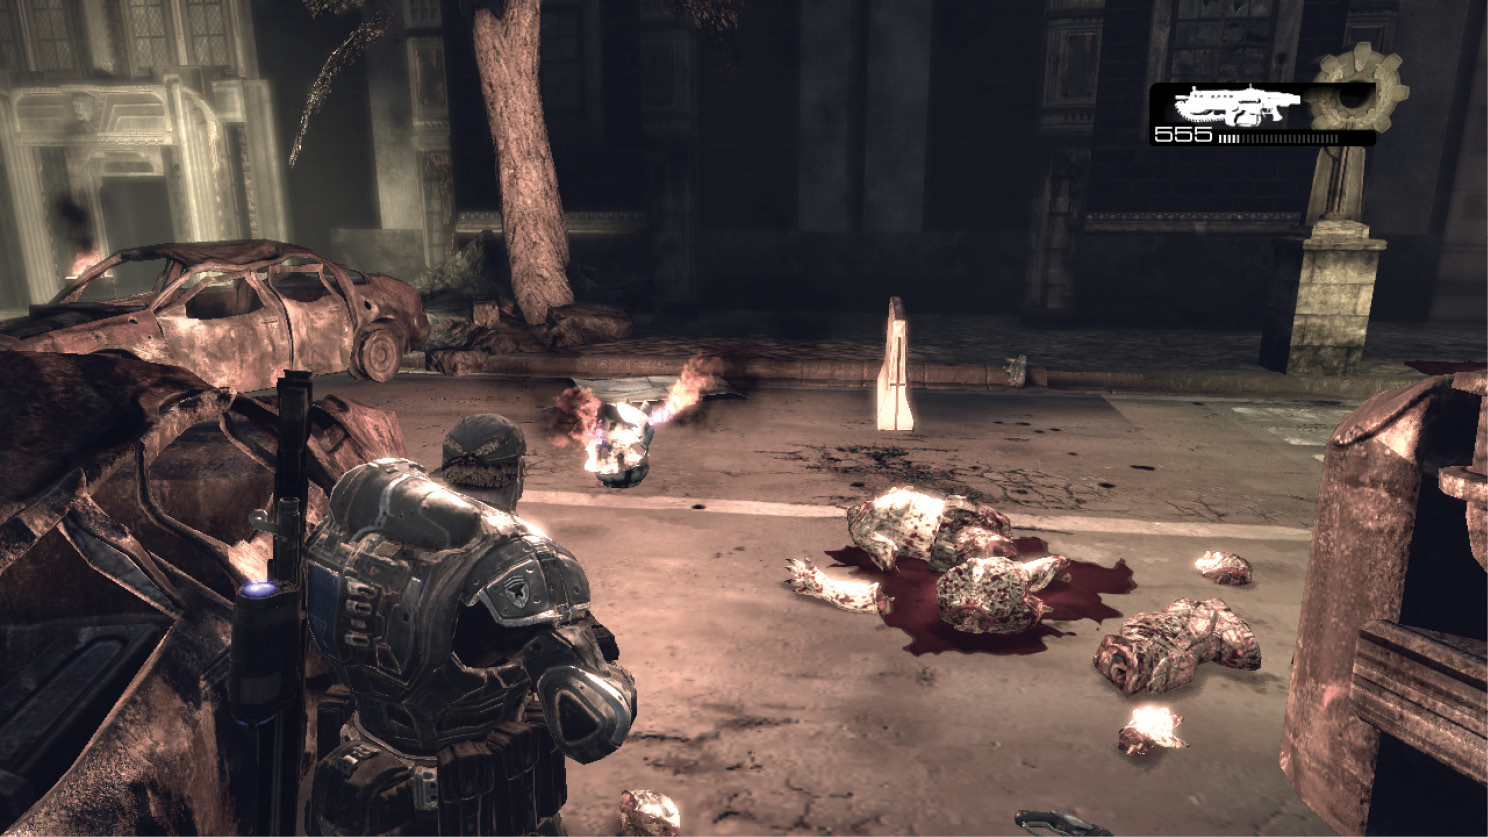
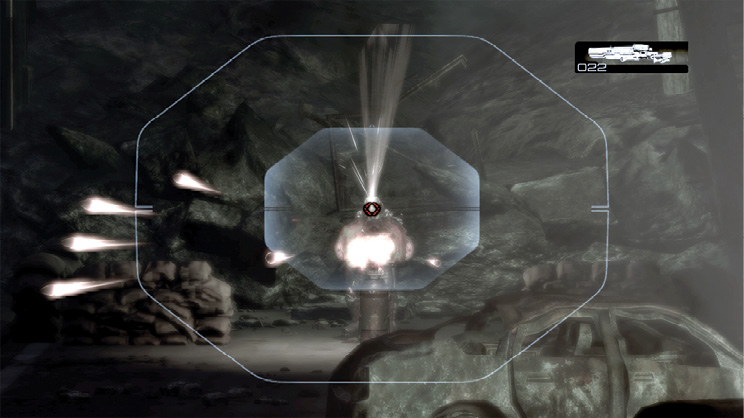
Move into position behind the car in the middle of the road, and use the Longshot to snipe the Gunner and Spotter near the Troika at the street’s far end. Marcus and Dom can then zigzag down the street, from propane tank to propane tank, to reach the entrance to the building on the left.
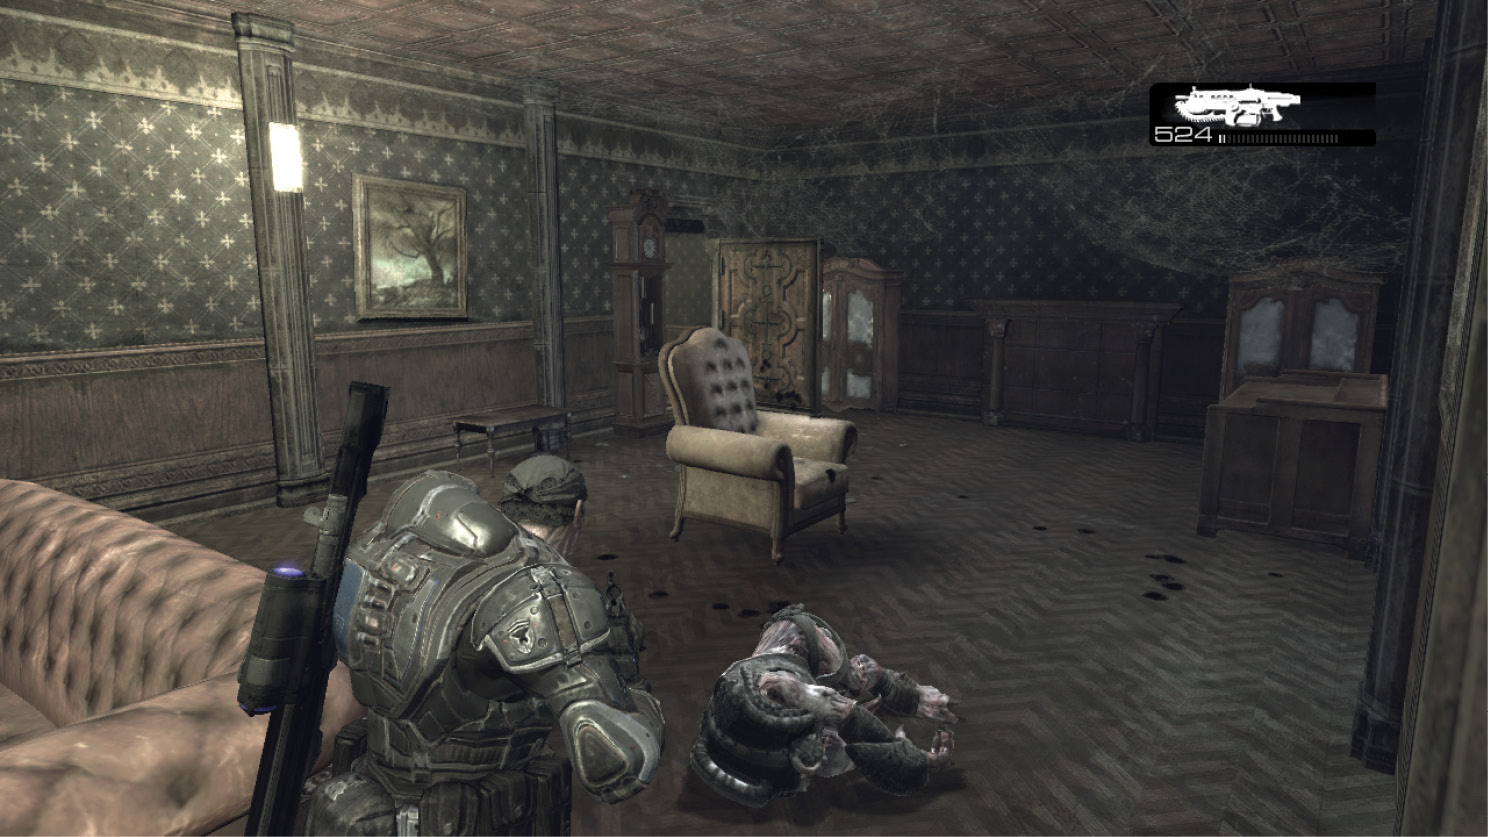
Cut through the building’s lower floor to bypass the darkened area outside, and hop out the window to get the Frag Grenades near the Troika. From there, reenter the building, climb the stairs, and proceed out the other side.
Another Emergence Hole has opened in the distance. This time, Marcus needn’t seal it off head-on. Leave Dom to distract the Grenadiers and Drones from the front while Marcus flanks through the area to the left. Cut through the few Wretches that appear, and move all the way to the far end where there is a clear view of the Emergence Hole. Close the hole and then take out the remaining Locust from behind.
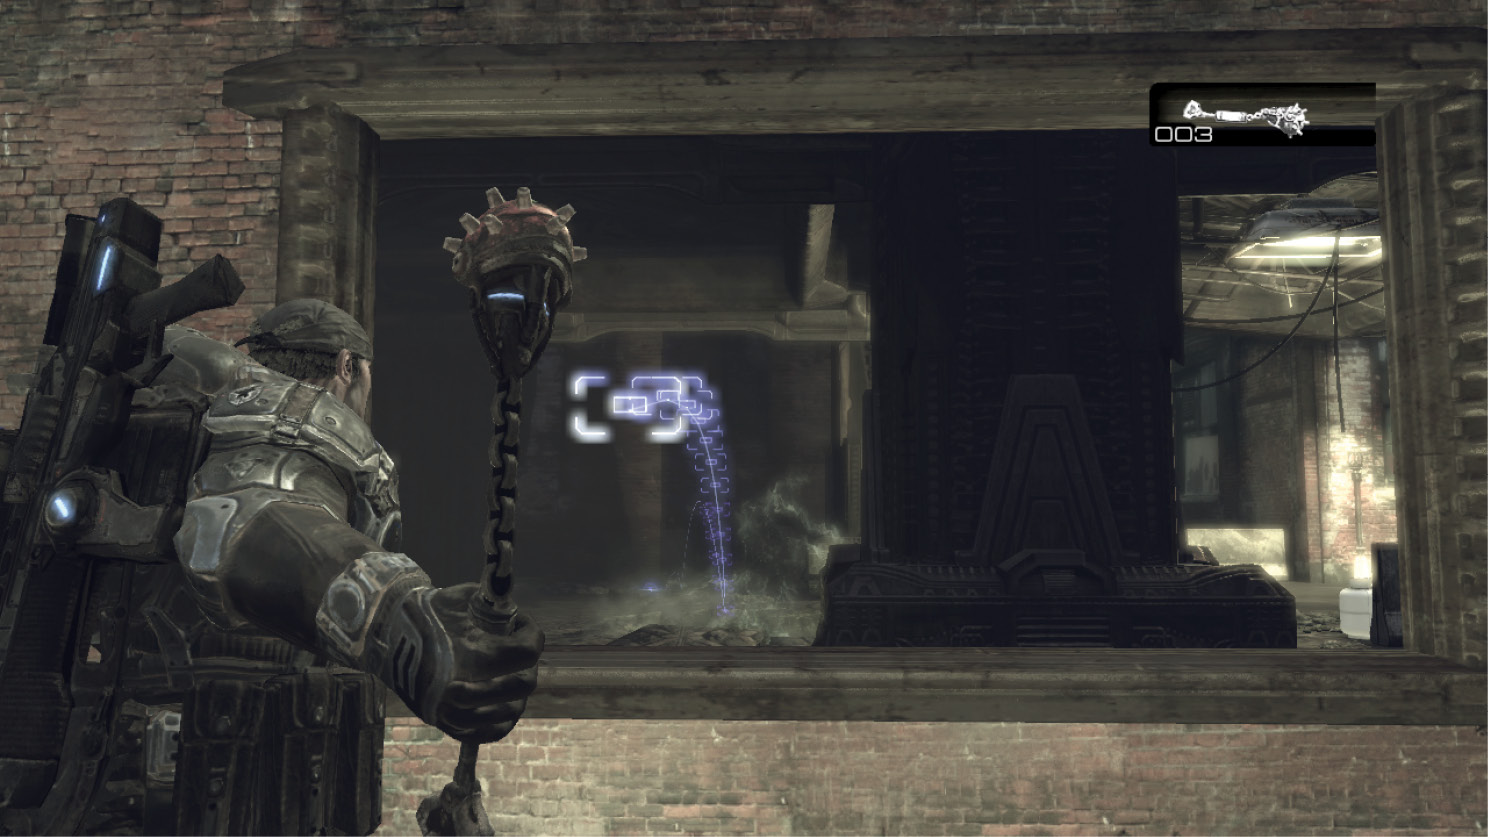
COG TAG #16The road turns to the right, but first shoot the propane tank off to the left, near the corrugated shack. There is a COG Tag located inside this shack, but you have to see the light in order to get it. 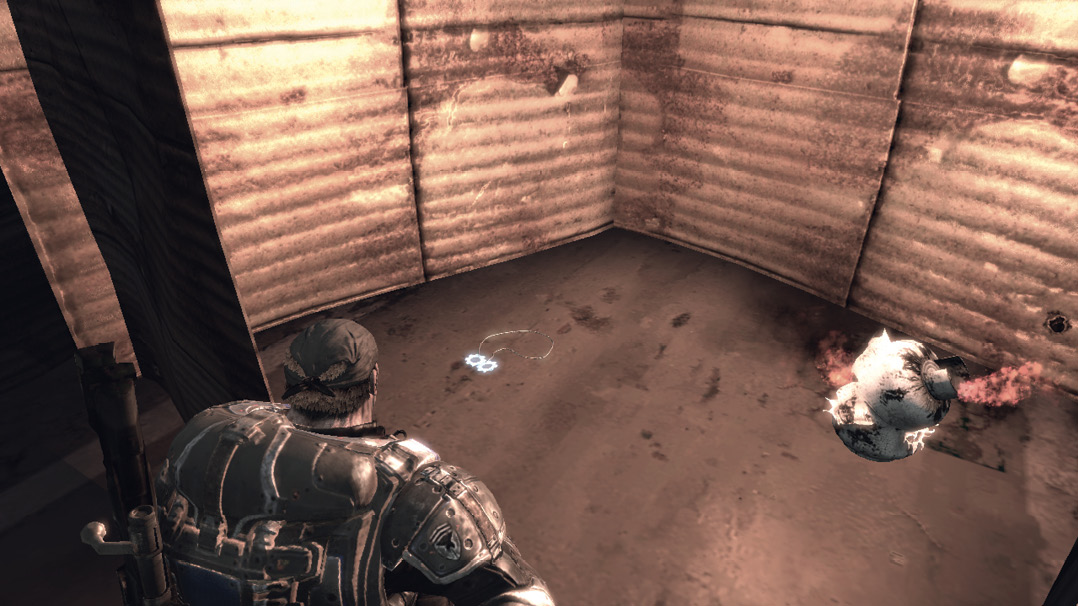
|
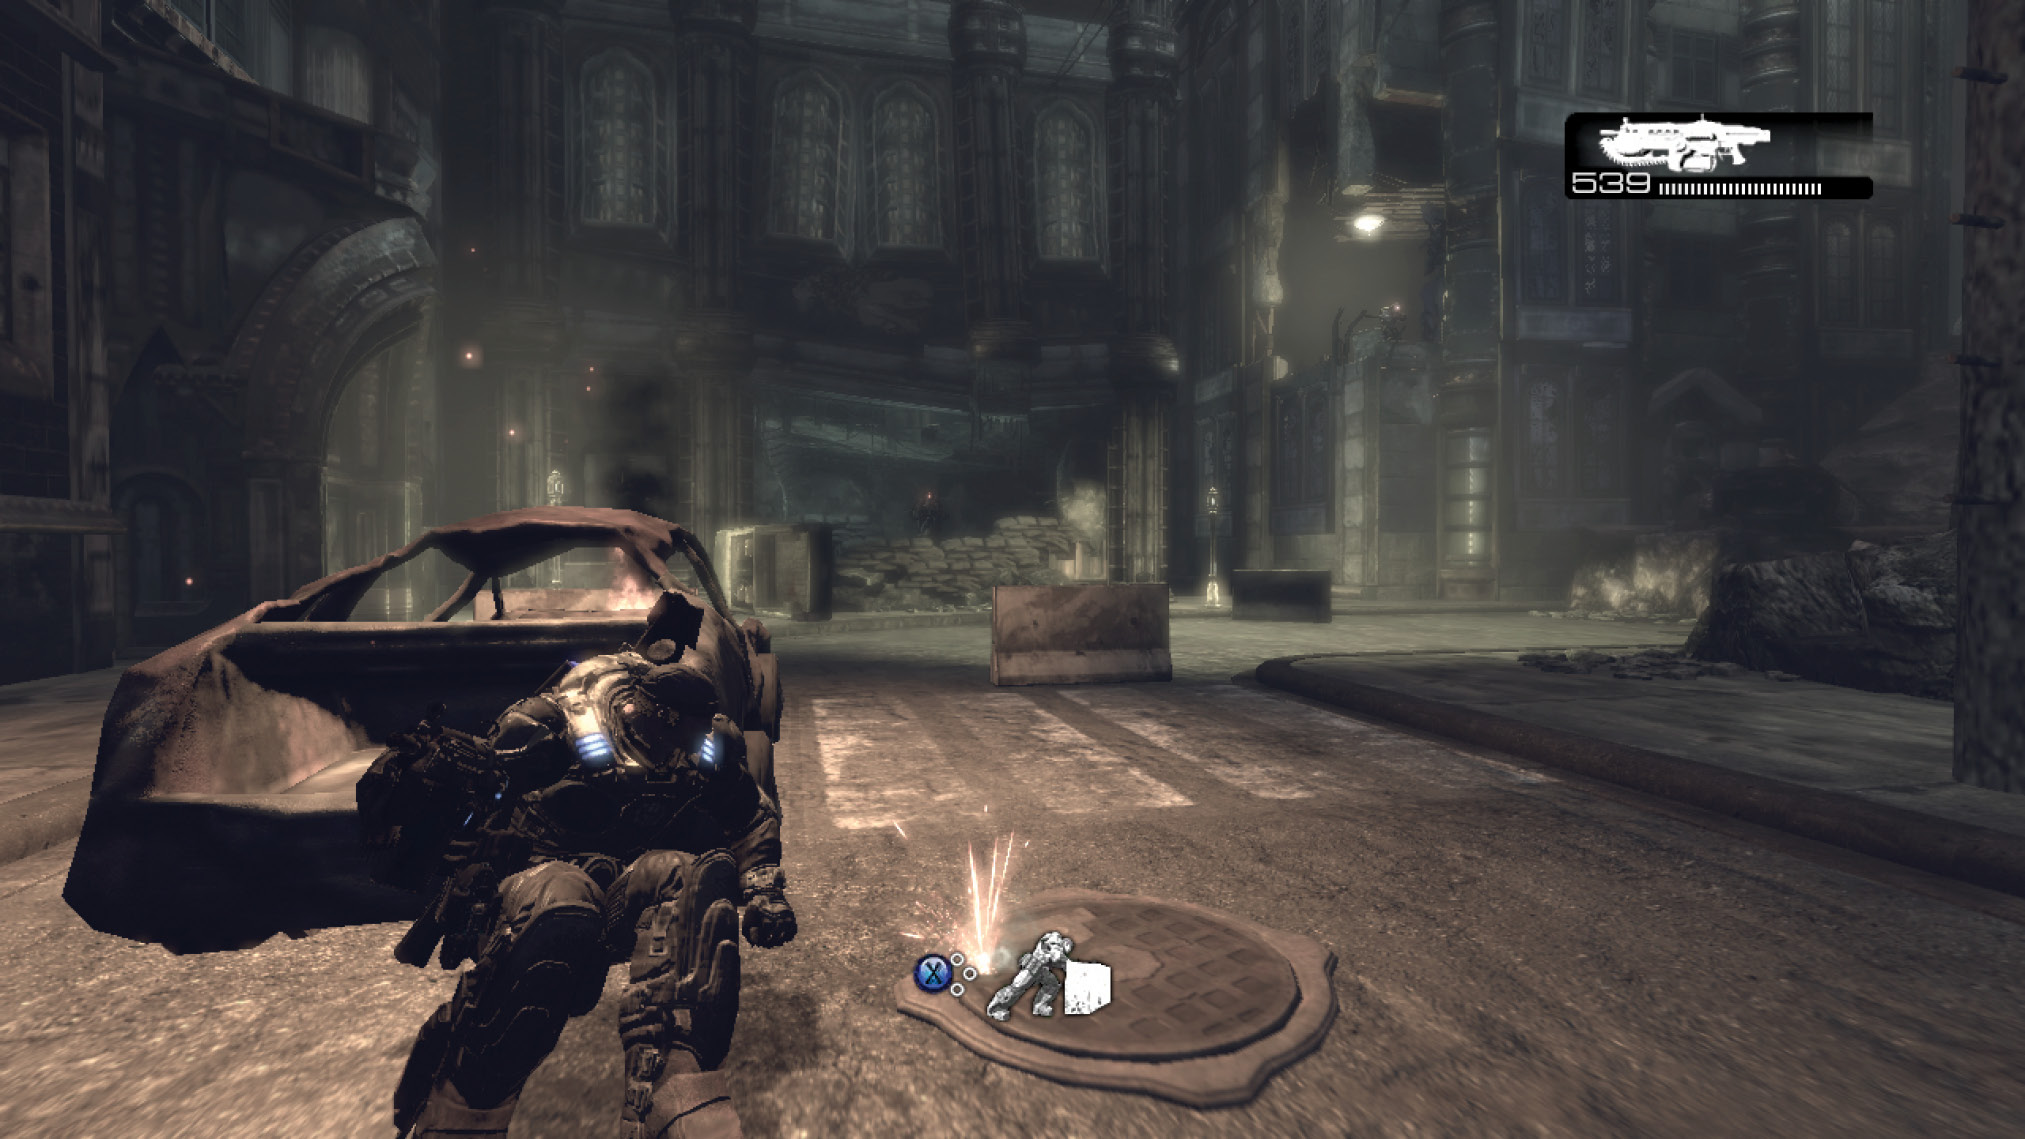
Cut through the ruins to the next street. Slip behind the nearby car remains to take cover from the Troika in the distance. Press the X Button repeatedly to push the car along the street to the barricade. From there, Marcus can snipe the Spotter in the upper right window (or shoot out the lights in that room), as well as the Drone in the building to the left of the Troika. Roll toward the barricade in front of the Troika and lob a Frag Grenade at the Gunner.
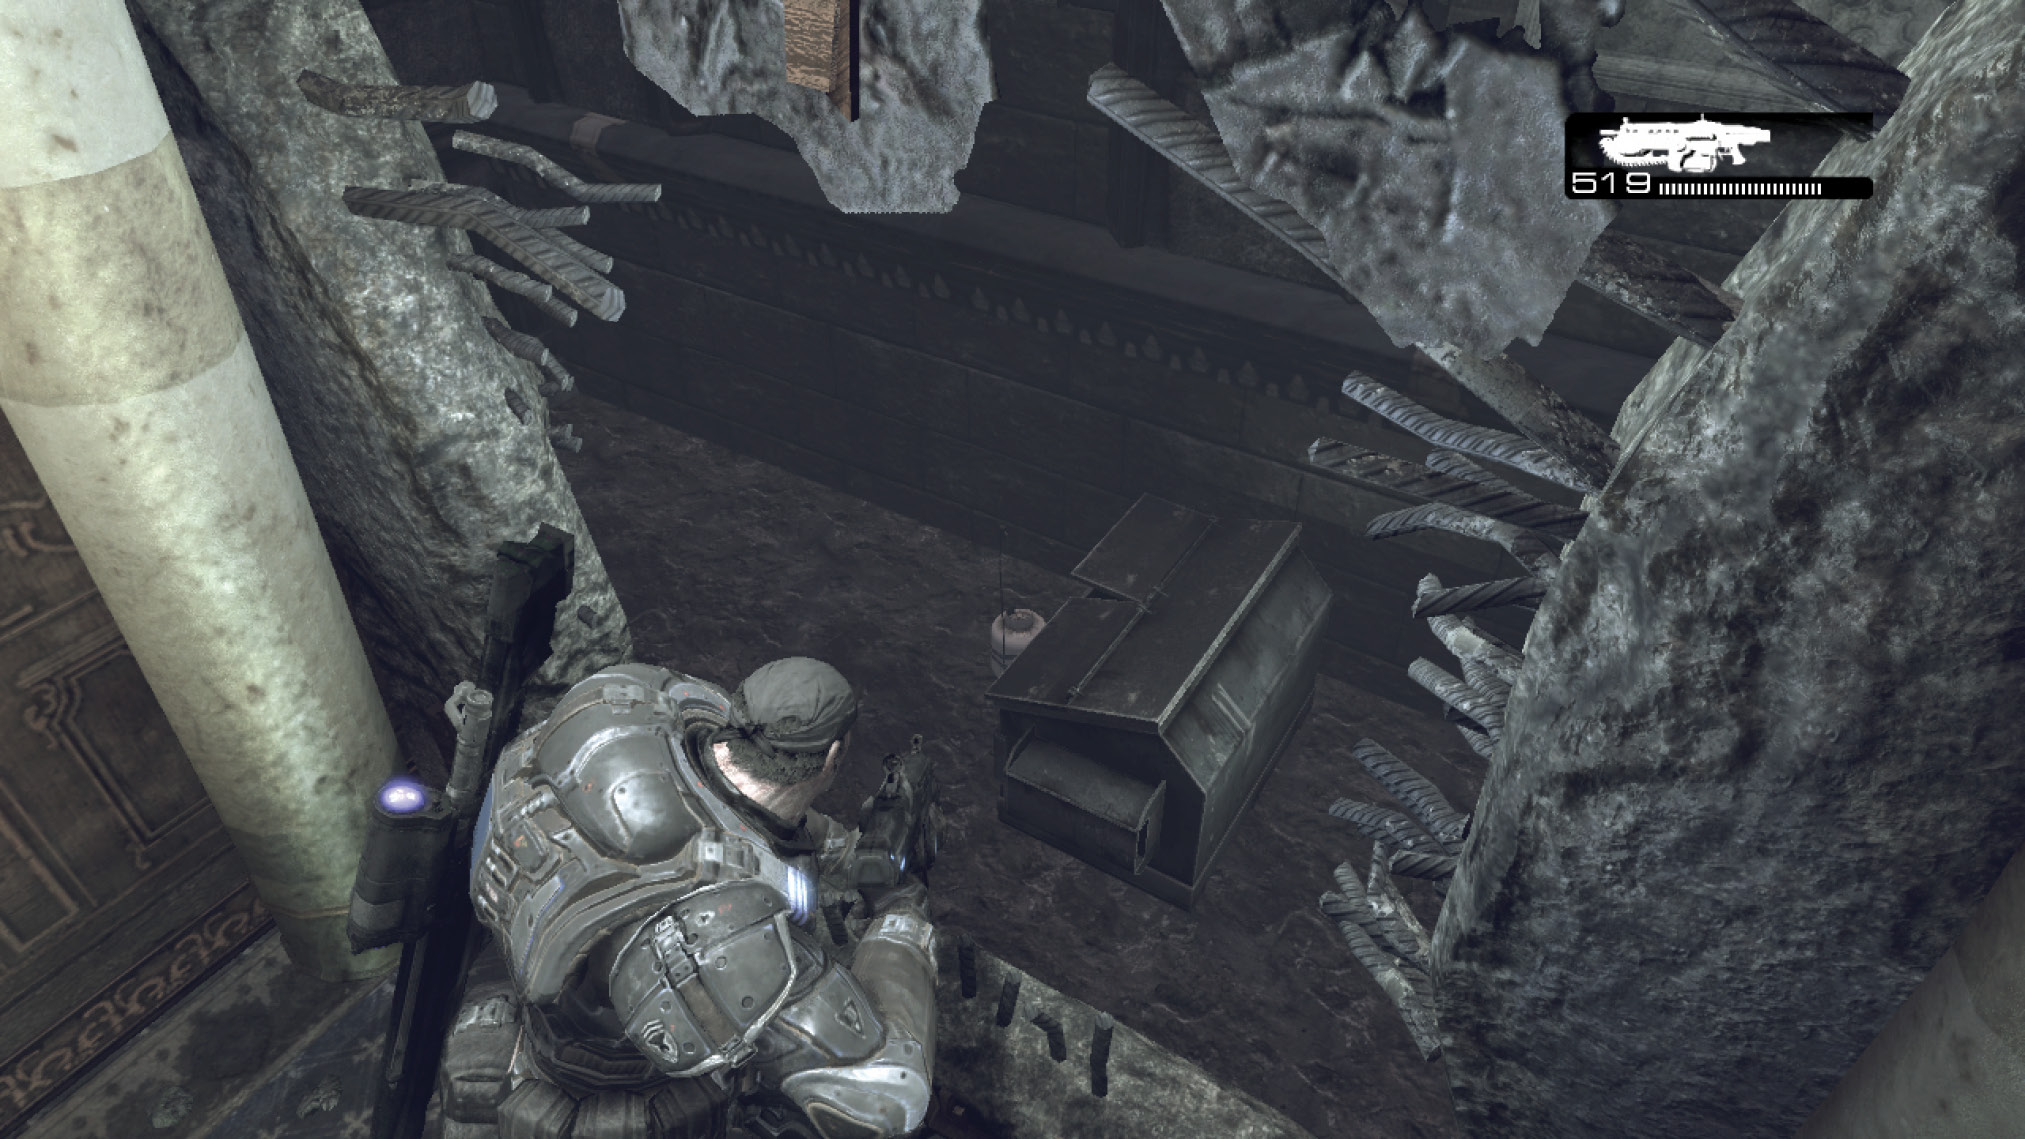
Anya wants Marcus and Dom to take the alley near the Troika, but it’s pitch black. Before taking your chances with the Kryll (the Kryll always win, by the way), run through the hallway in the building near the Troika. You’ll reach a hole in the wall. From there, Marcus can blast the propane tank behind the alley’s dumpster to illuminate the pathway. Double back around the front and proceed according to Anya’s instruction.
Get to Checkpoint 2
Proceed through the building beyond the alley and out into the courtyard on the other side. Slide in behind the barricade in front of the door and, together with Dom, take out the pair of Drones across the yard.
There are plenty of obstacles in the area between Delta One and the Emergence Hole, but there’s also plenty of darkness. Using the Lancer, break apart the furniture to get a clear shot at the propane tanks in the yard’s center before you push toward the Emergence Hole. Cross back to the left to circle in from behind the Emergence Hole, and drop a Frag Grenade into it. Help Dom clear out any surviving Grenadiers and Drones.
Shoot the propane tanks on the sloping road to light the way toward the darkened street up ahead. In this area, Marcus must leave Dom behind and man the spotlight to help Dom safely work his way down the street. Issue the “Cease Fire” command to make Dom take cover and stay behind.
Enter the building on the right and follow the route to the platform on the third floor; that’s where the spotlight is.
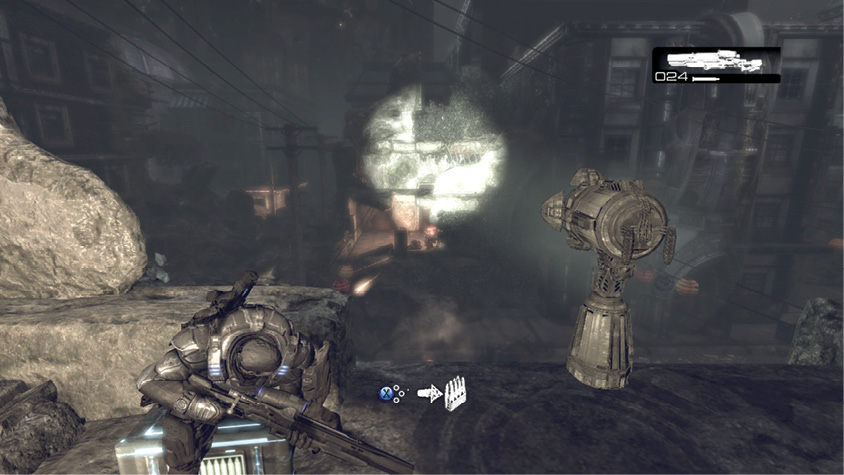
Grab hold of the spotlight and shine it on Dom. While he fights his way down the street, follow his movements with the spotlight to keep him safe from the Kryll. Once he reaches the other end of the road, he runs inside and powers up the lanterns strung across the street between the buildings.
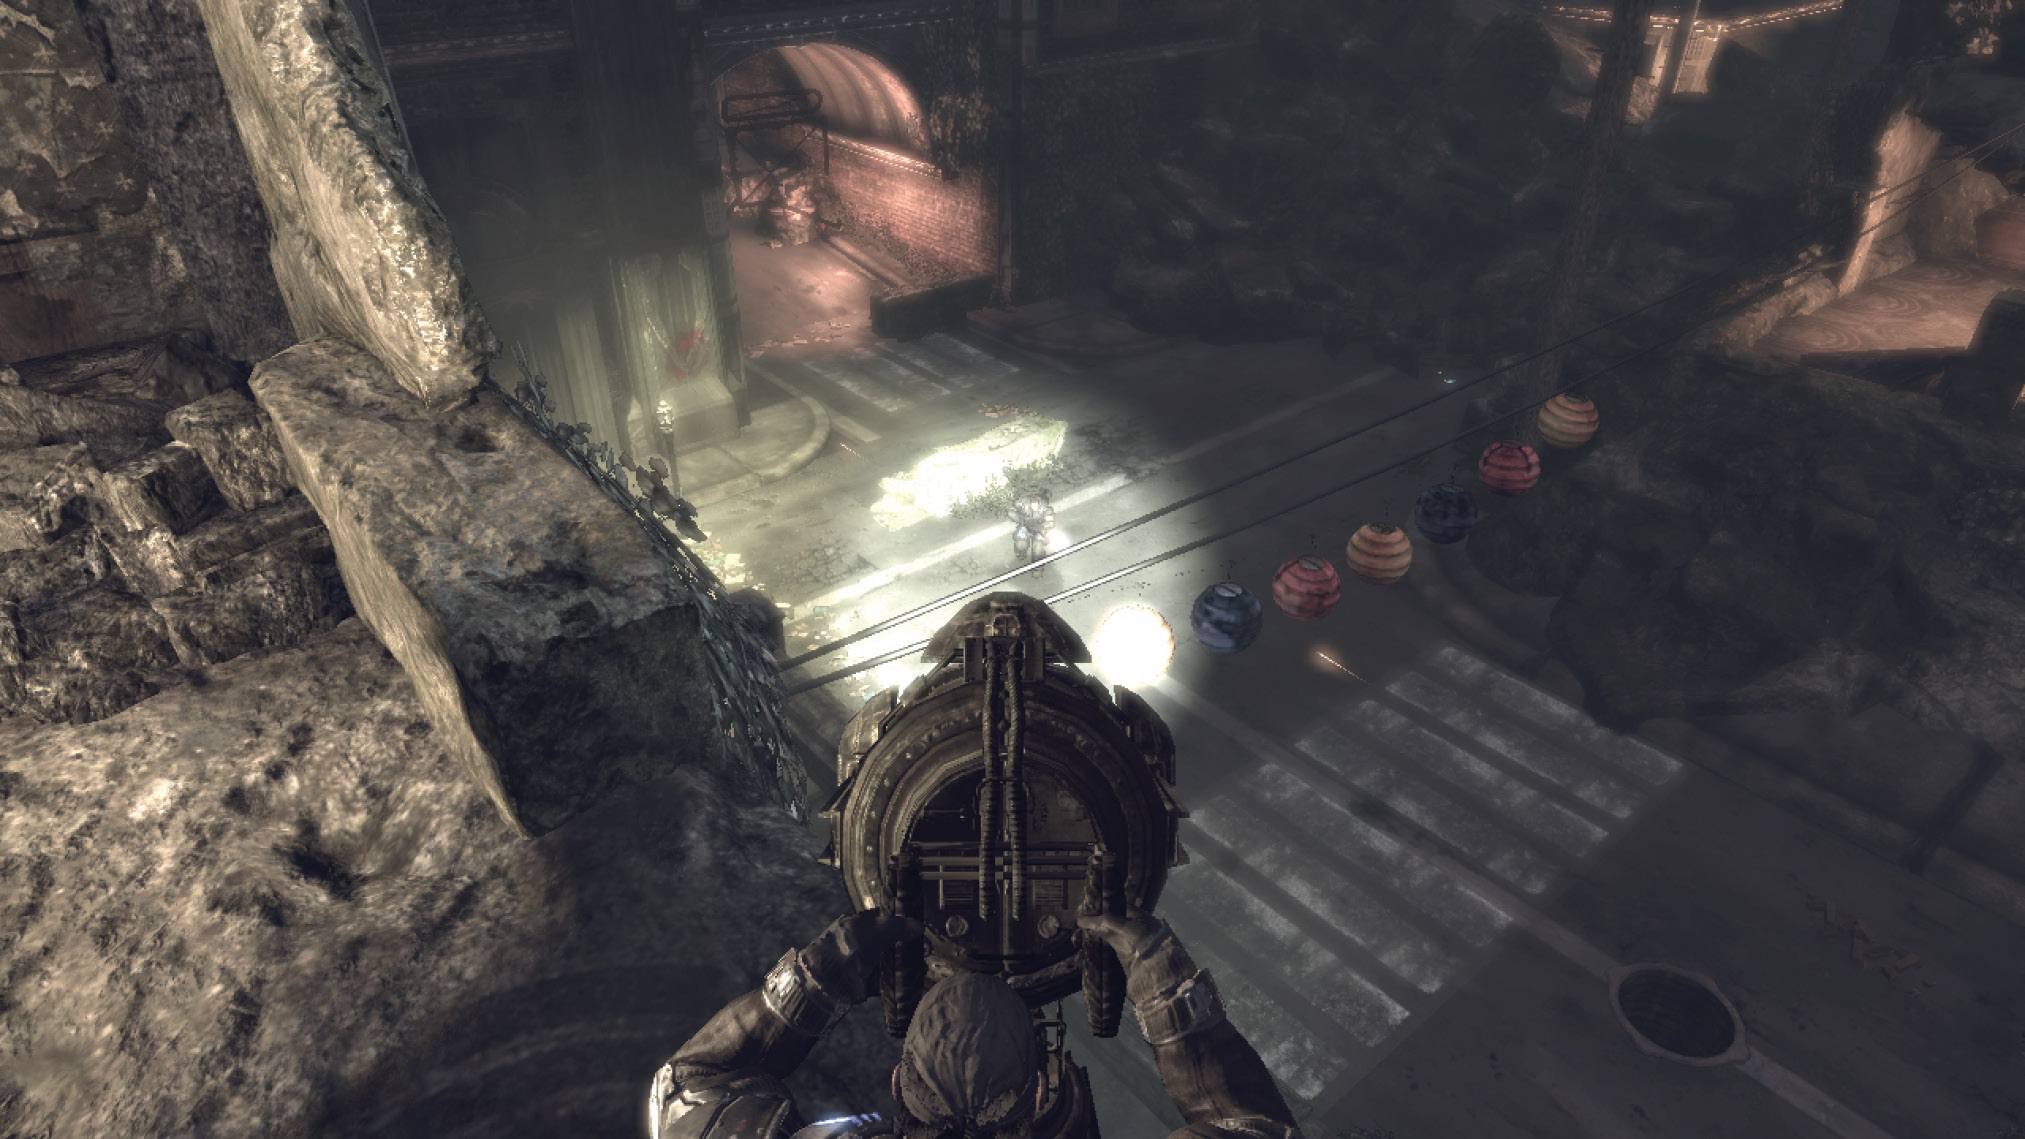
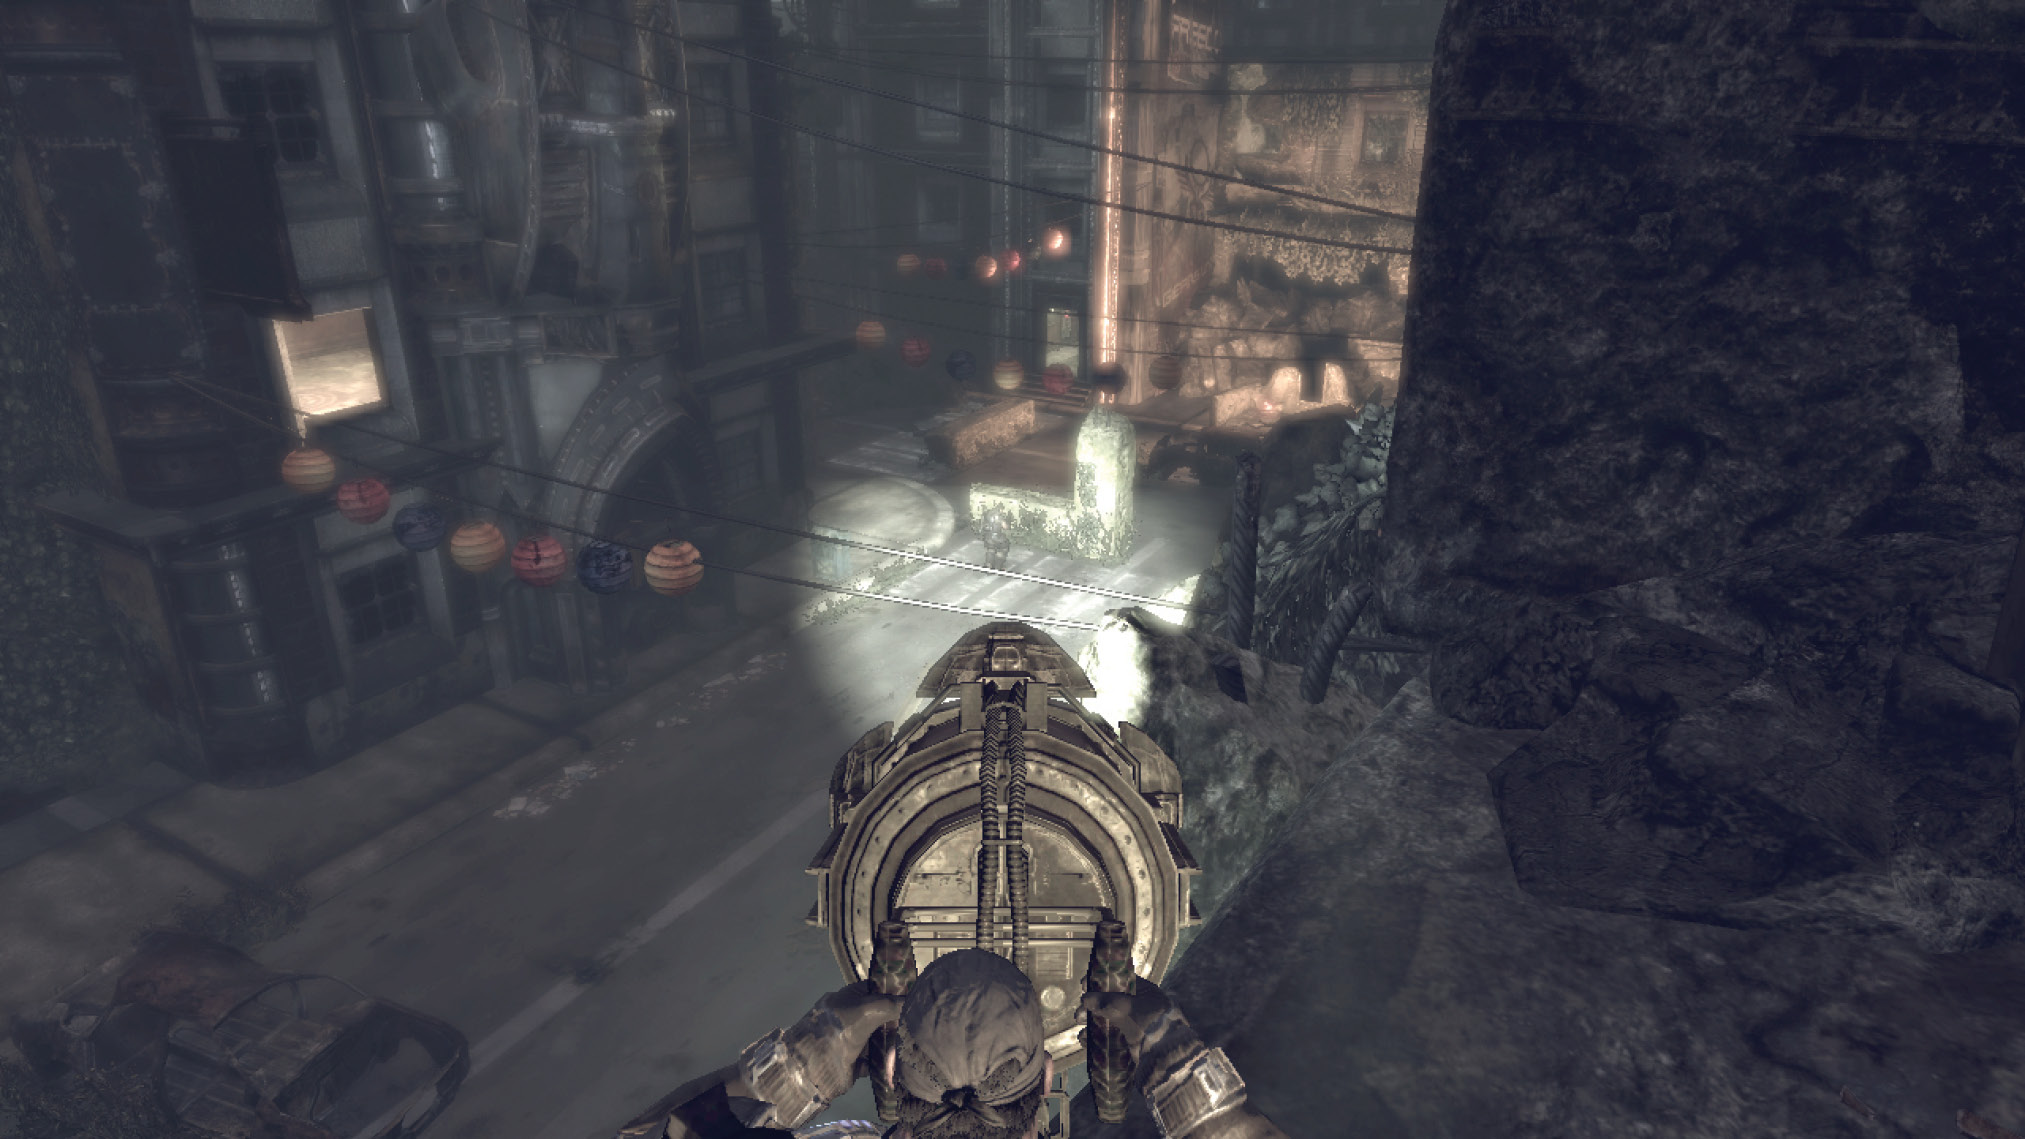
COG TAG #17Use the spotlight to illuminate the COG Tag in the darkened area to the far left, near the rusted car. Leave the spotlight positioned there and return to the street to collect it. Do this after you guide Dom to the power switch to avoid making a second trip up to the spotlight. 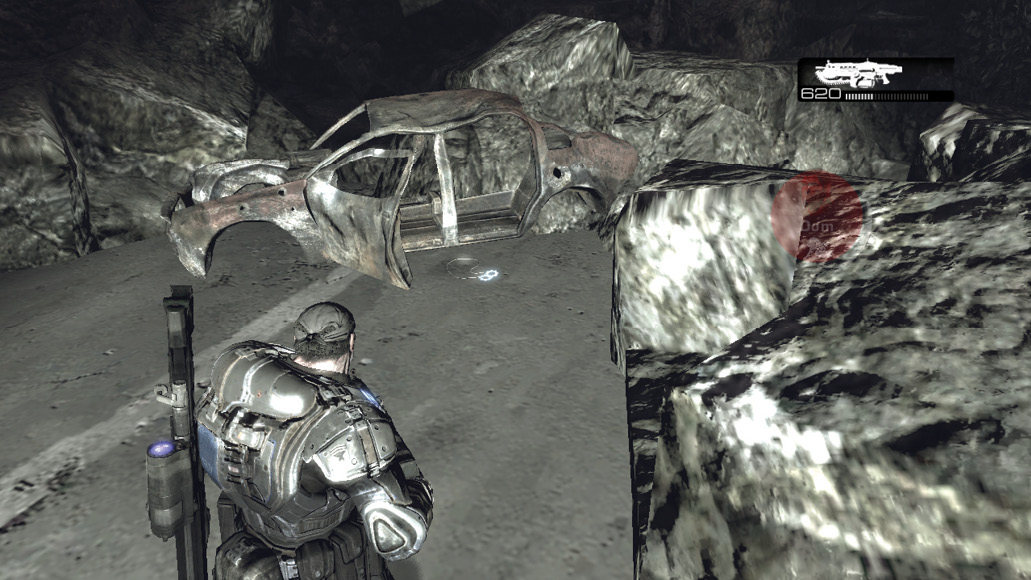
|
Meet up with Dom at the far end of the street and proceed together around the corner to the left. Leave Dom to distract the Locust coming out of the Emergence Hole in the distance while you flank them through the buildings on the left. Detonate the propane tank just outside the window in the far building, and leap out onto the street to seal the hole (or to kill the last Locust). Checkpoint 2 is just up ahead.
Dark Labyrinth
Light your way to salvation.
Get Through the Ruined House
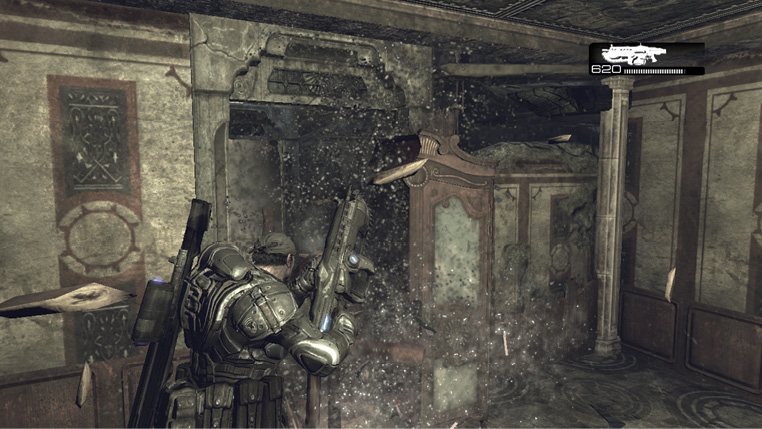
The house is dark and contains a dozen or so Wretches, but it’s primarily an easy jaunt from one side to the other. Keep to the lit areas, avoid the darkened hallways, and snake your way through the house to reach the street on the other side. Marcus has to destroy some furniture to get through it, but there’s nothing that the Lancer’s chainsaw bayonet can’t handle. Chap’s Gas Station isn’t much further.
Get to the Gas Station
The area outside the ruined house is incredibly dark. Fortunately, there’s a propane tank in the back seat of the distant burned-out car. Shoot the tank and rush toward the car before the Kryll come.
COG TAG #18This COG Tag is located near the car with the propane tank in it, to the right of the doorway you exit. Shoot the tank to spread some light on the area, and quickly pick up the COG Tag before running down the street. 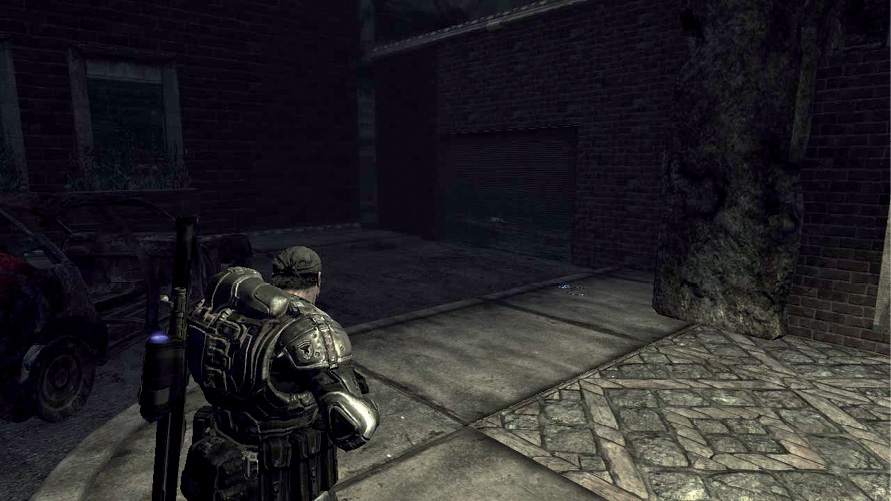
|
There’s no light between this end of the road and the gas station down the hill, but that doesn’t mean you can’t proceed. The explosion from the propane tank sets the car rolling down the hill toward Chap’s Gas Station. Hold the A Button to Roadie Run after it—keep close to it, else the Kryll will be sure to get you!
Powder Keg
Shootout at Aspho Gas Station.
Fuel the Junker and Escape.
Chap knew you were coming but figured that if Dom and Marcus want to borrow the Junker so bad, then they should be the ones to refuel it. Head over to the tanks on the side of the gas station and crank the valve to refuel it. Then enter gas station to collect the ammo and weaponry Chap has so graciously offered.
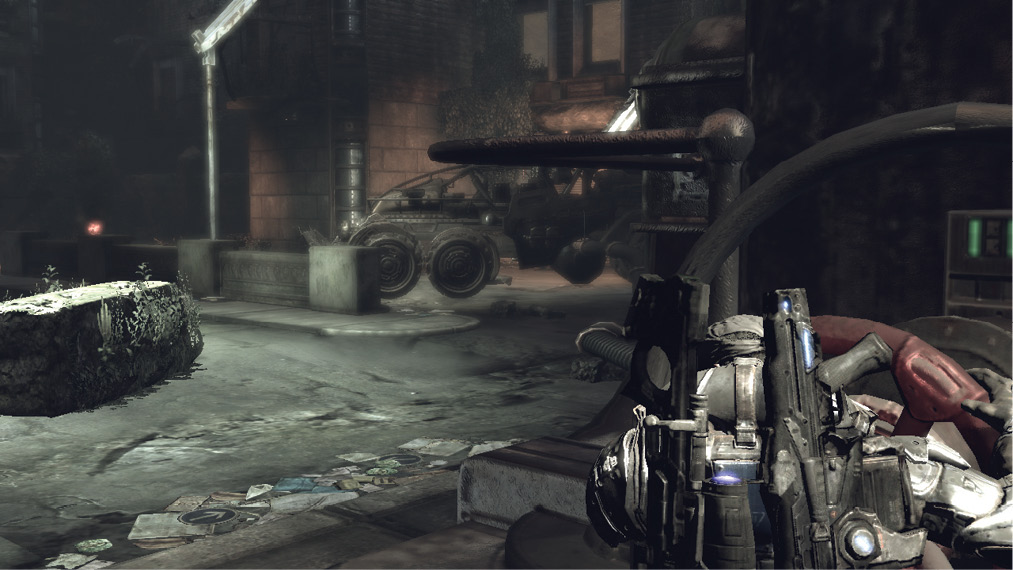
While you’re inside the gas station, the Locust Horde descends en masse on your location, and a large-scale battle breaks out. Dom and Chap exit the gas station to take on the first wave descending from the staircase across the street. As Marcus, you should stay inside the gas station and use the Longshot to snipe this first wave of enemies. Several Wretches attack after a minute or so, so be ready to cave in their skulls with the butt of the rifle.
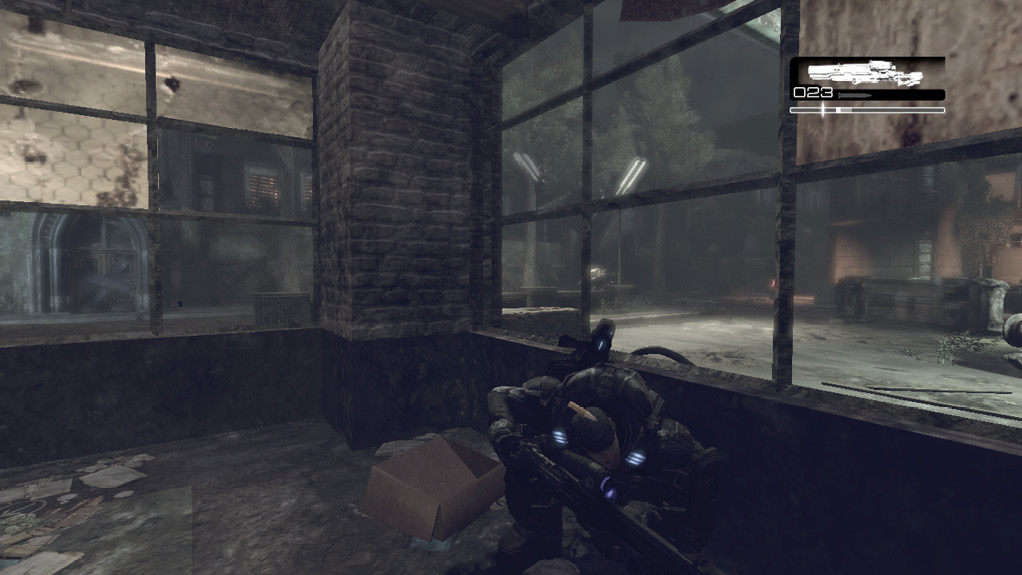
Dom announces the presence of a Boomer. This big fellow lumbers out of the garage behind the Junker. Stay within the gas station office and continue to use the Longshot until the Boomer is dropped. If left to his own devices, he gradually makes his way toward Marcus’ position, but it’s best to kill him quickly. Besides, the last thing ol’ man Chap wants is a Boomshot going off near his fuel tanks!
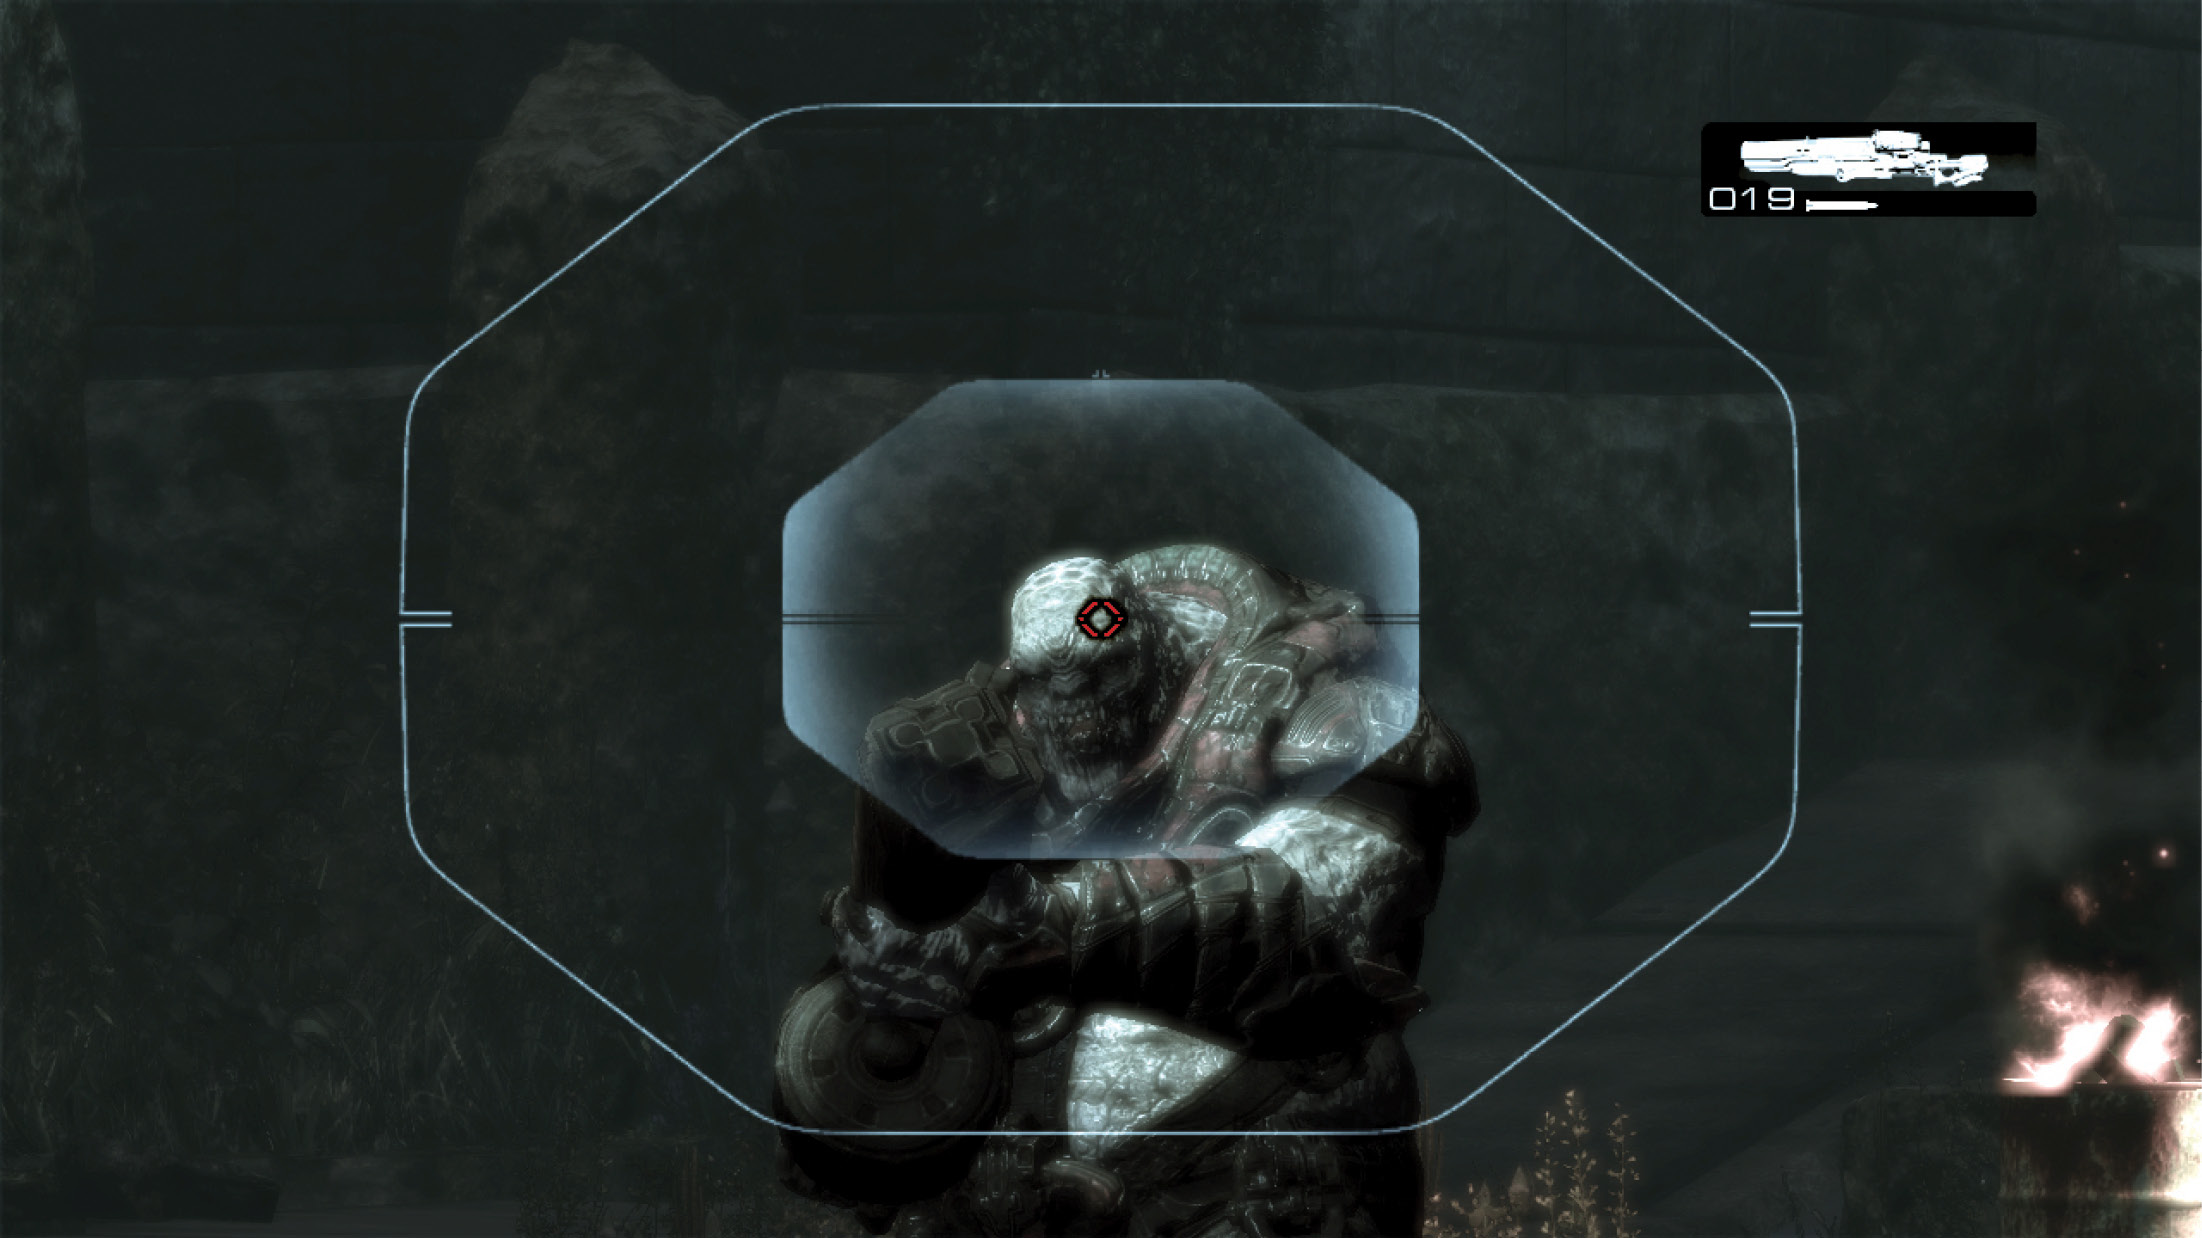
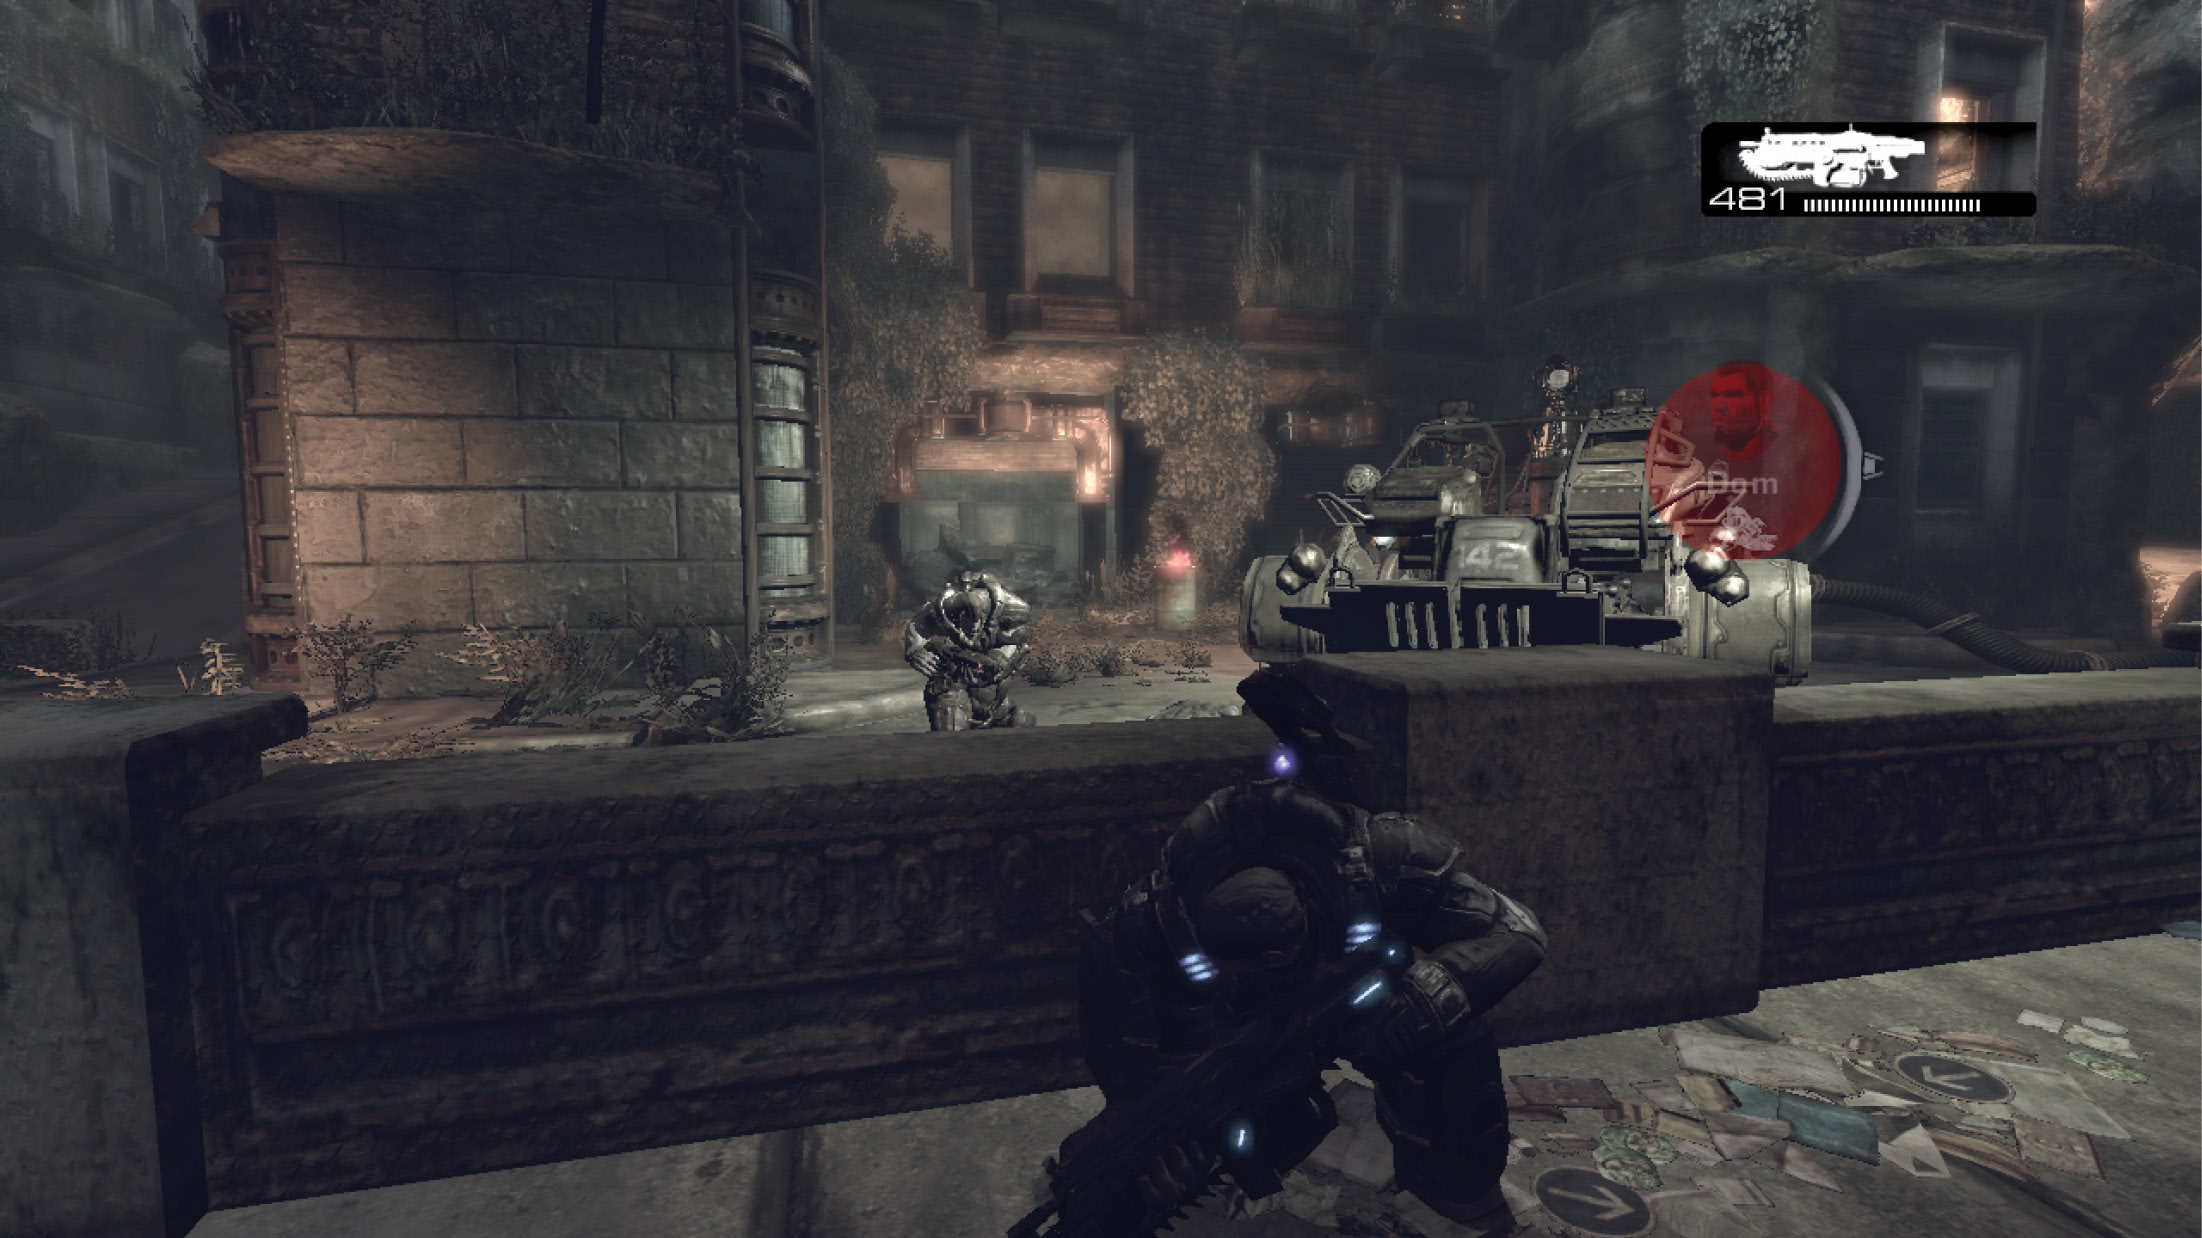
Once the Boomer is eliminated, exit the office and take cover near the wall in the center of the street—just be sure to stay in the light. From there, Marcus can snipe the few remaining Drones. Afterward, Dom disconnects the fueling hose and the three men make their escape in the Junker.
Burnt Rubber
Burn Kryll…while burning rubber.
Fuel the Junker and Escape
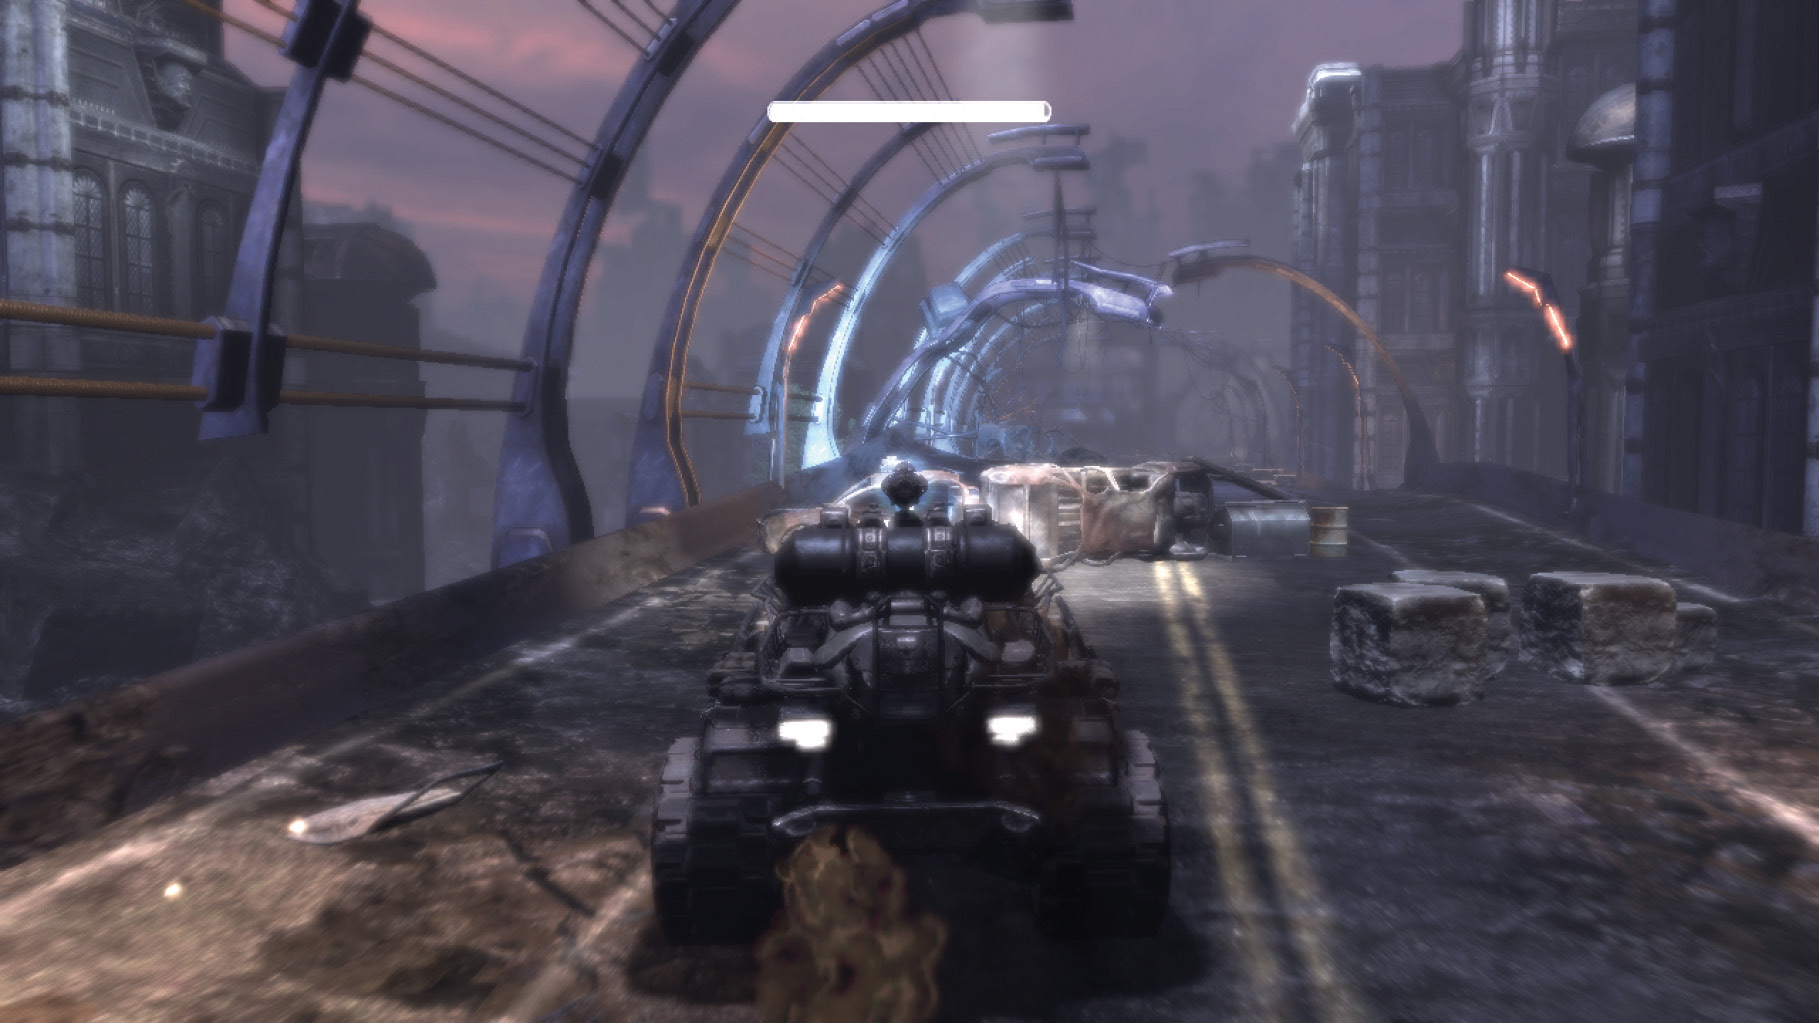
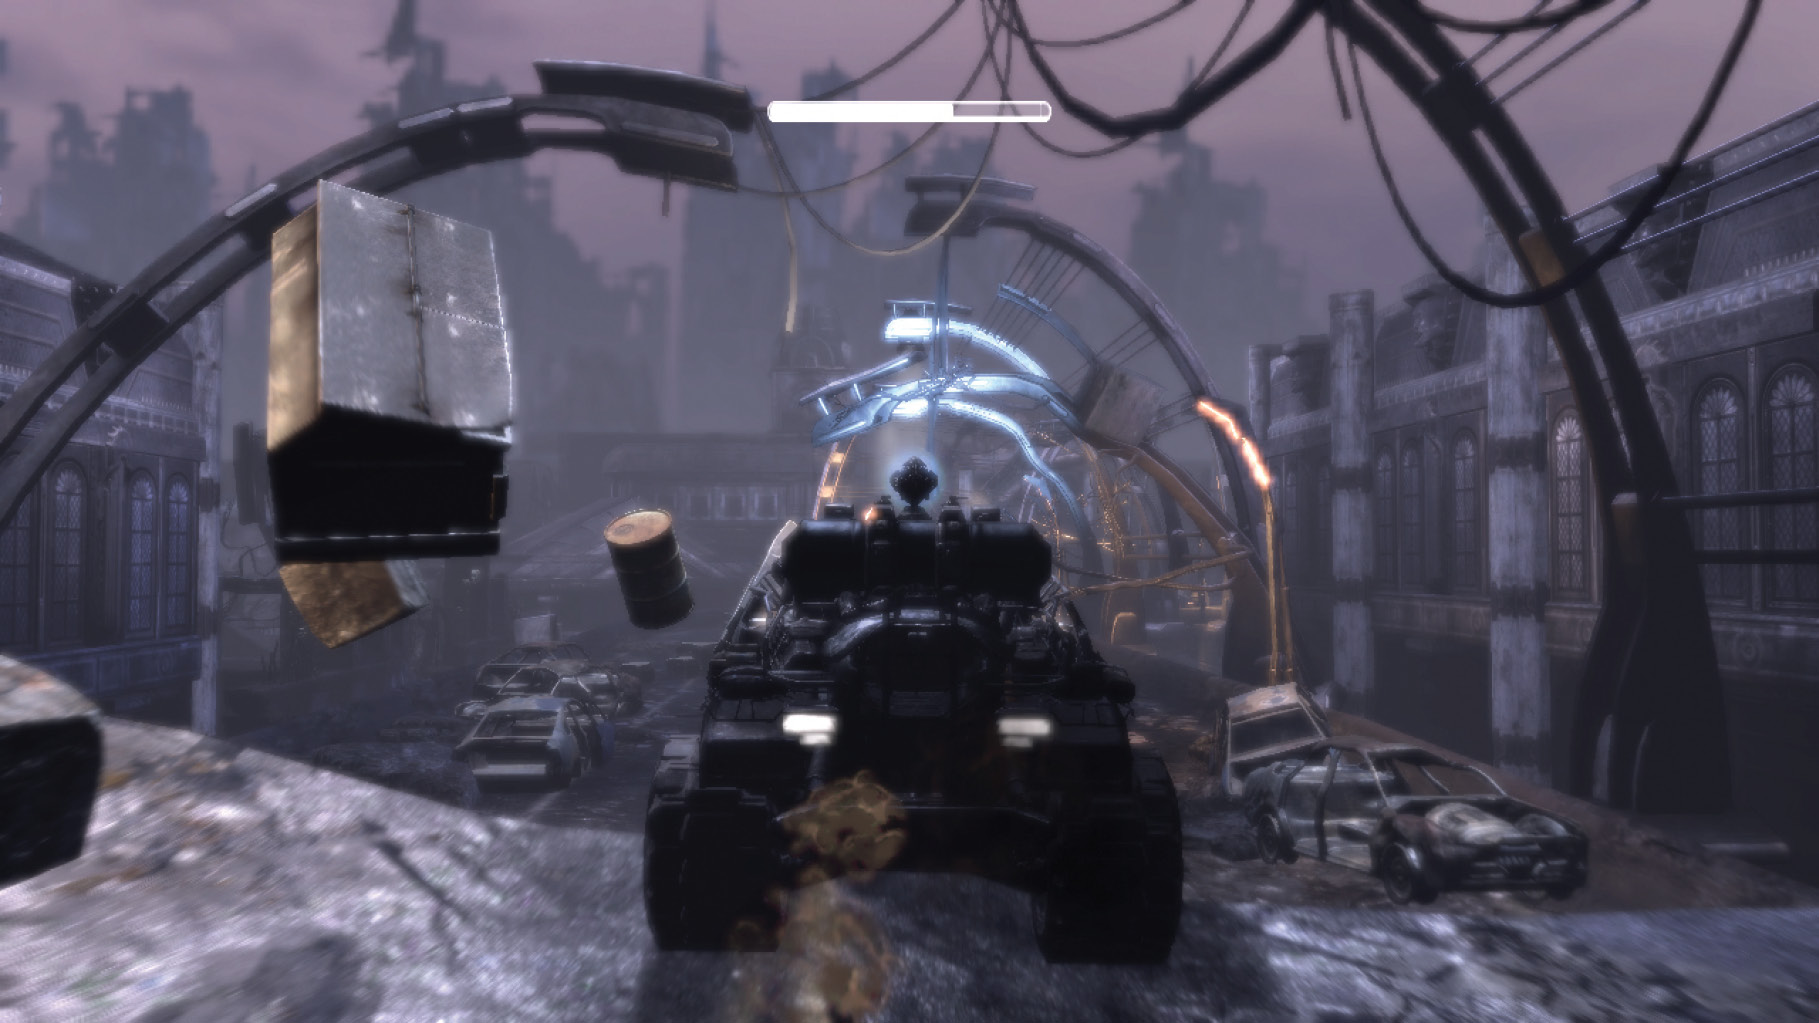
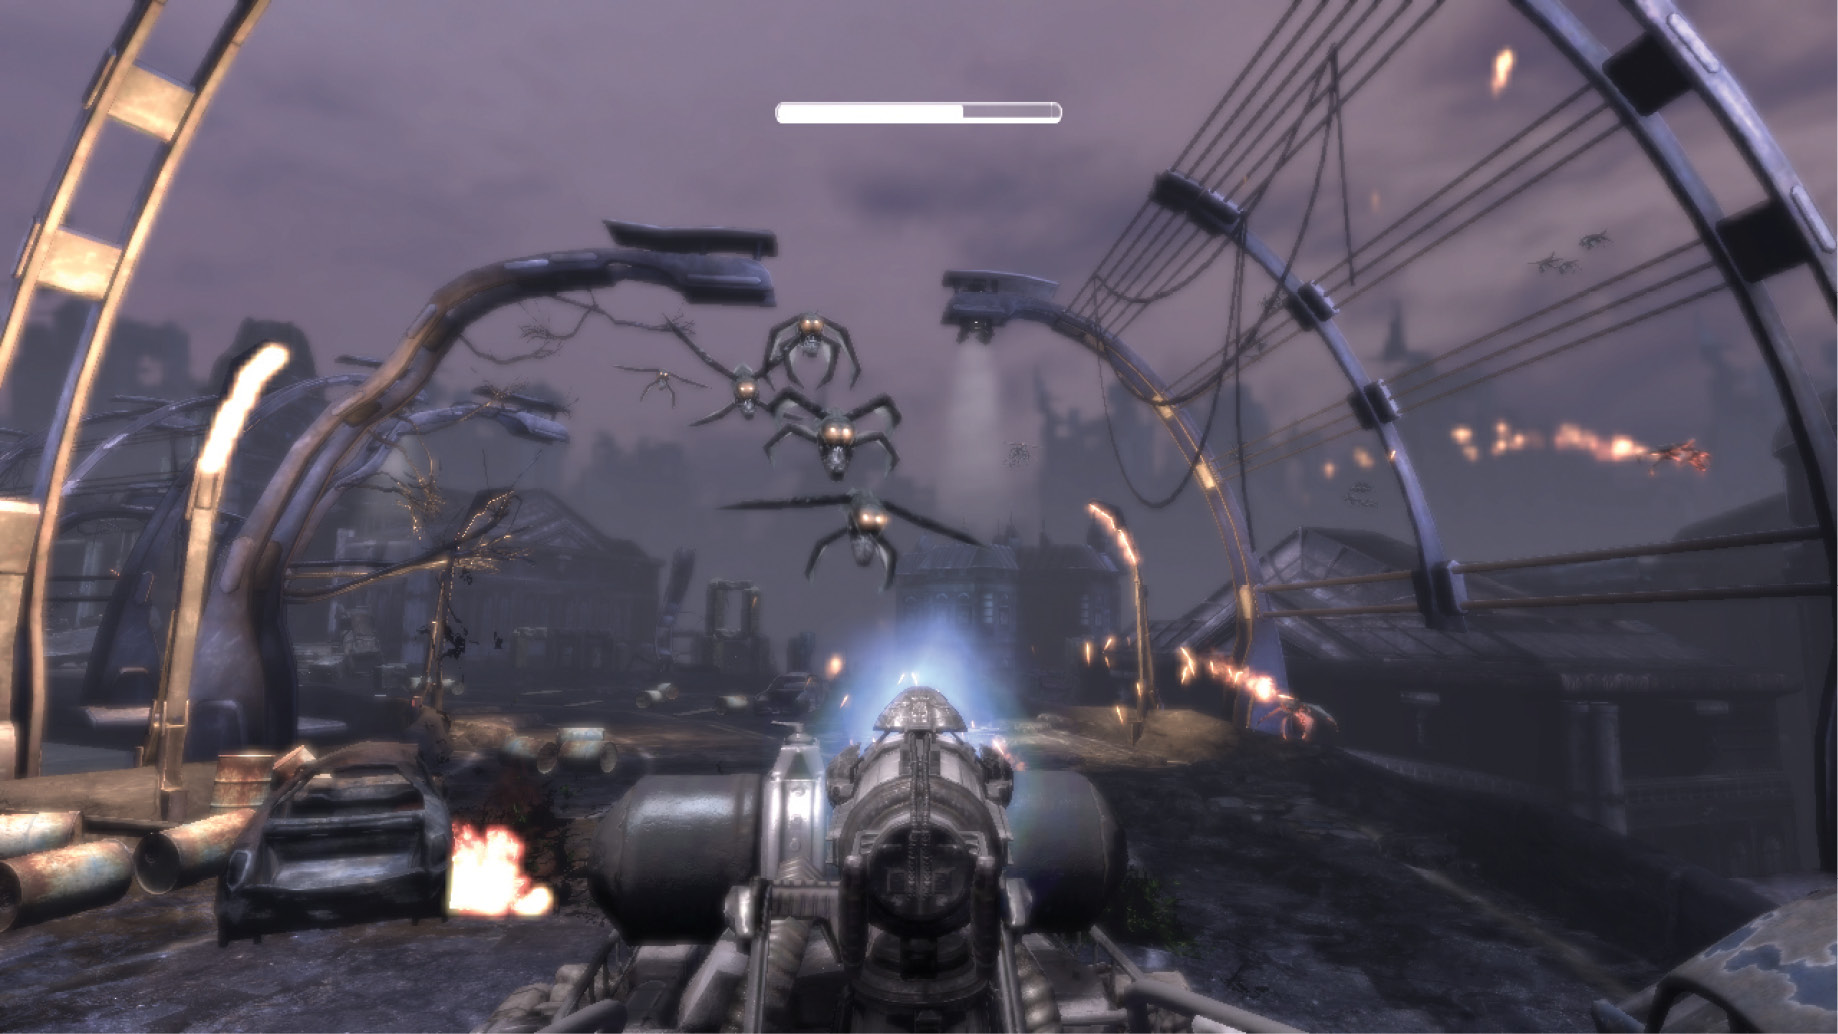
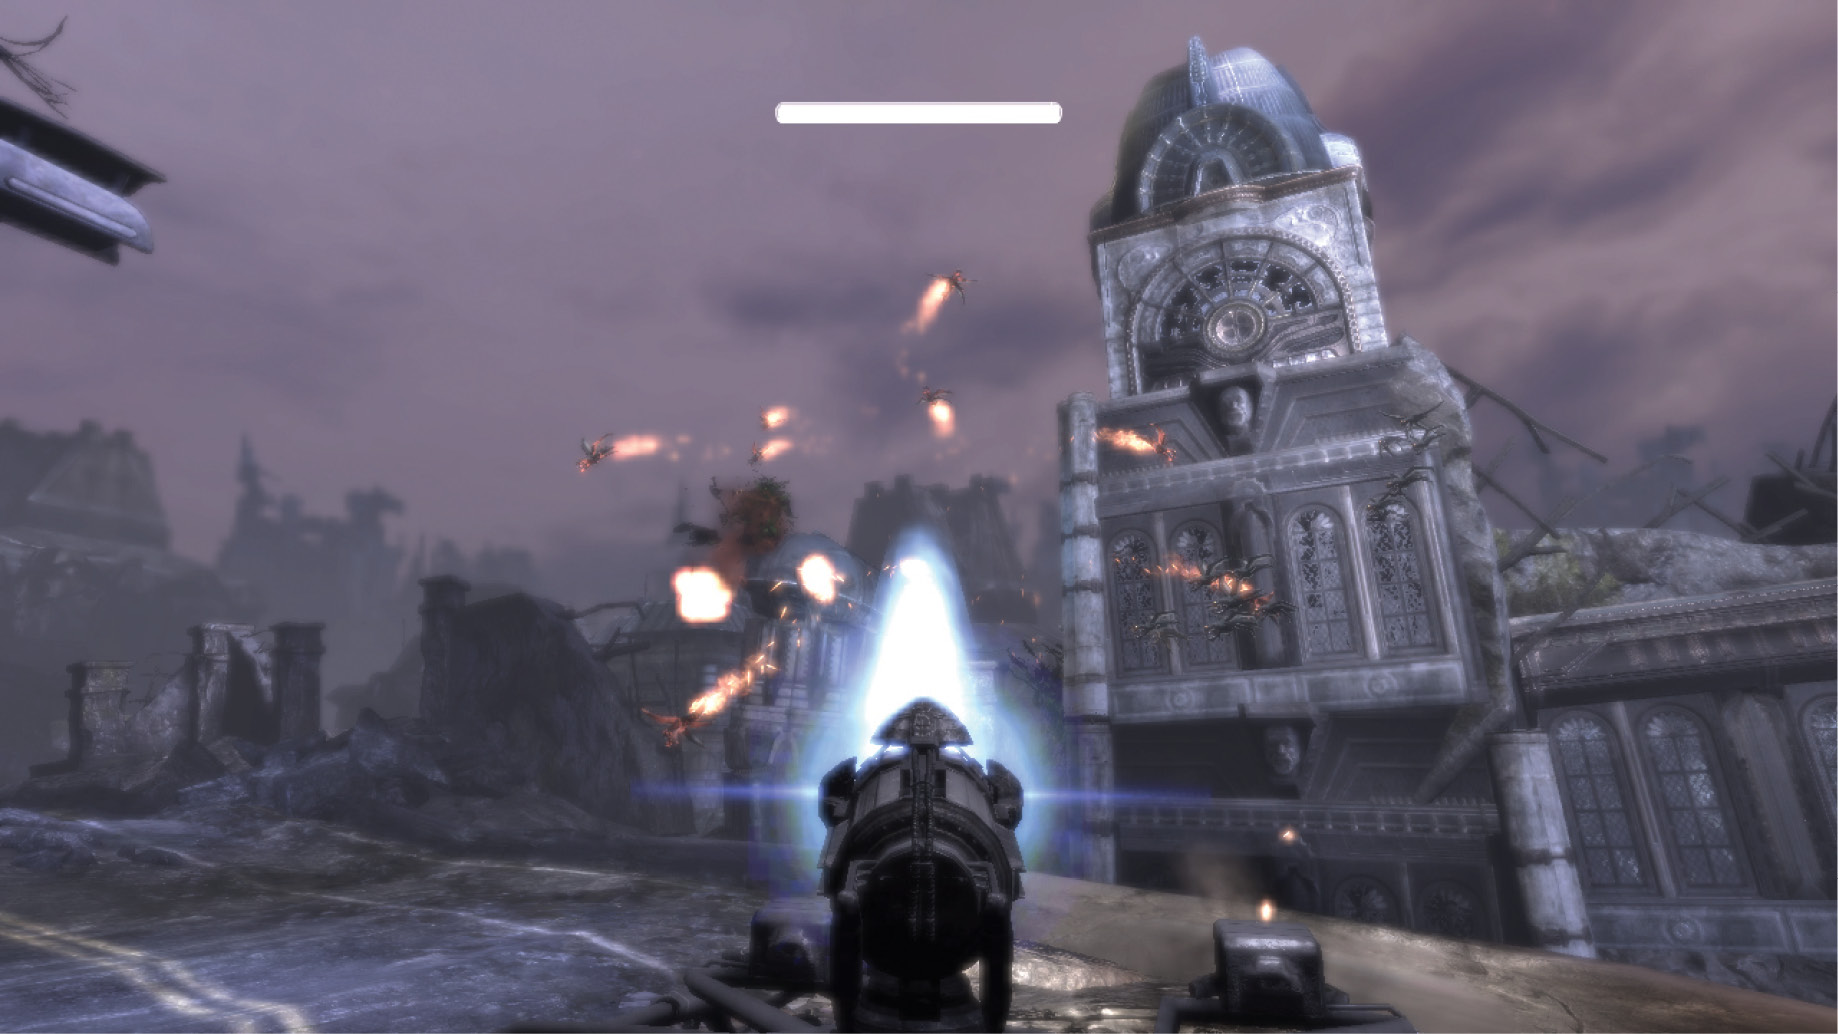
The Junker may look tough, but it offers little protection from the Kryll. The one hope Marcus and the others have of surviving the trip back to the encampment is to use the Junker’s UV Turret to fend off the attacking Kryll swarms. The UV Turret instantly burns straight through the Kryll on contact, making it a formidable weapon against them.
Drive the Junker along the elevated highway toward the bend to the left. As you approach the curve, Chap spots the first two swarms of Kryll. Each time he spots Kryll, he lets out a warning and tries to announce their location relative to the direction the Junker is facing (e.g., 12 o’clock, 6 o’clock, etc.). Quickly switch to the UV Turret and blast the Kryll before they get too close. The UV Turret can be fired only for about two seconds at a time, so aim carefully!
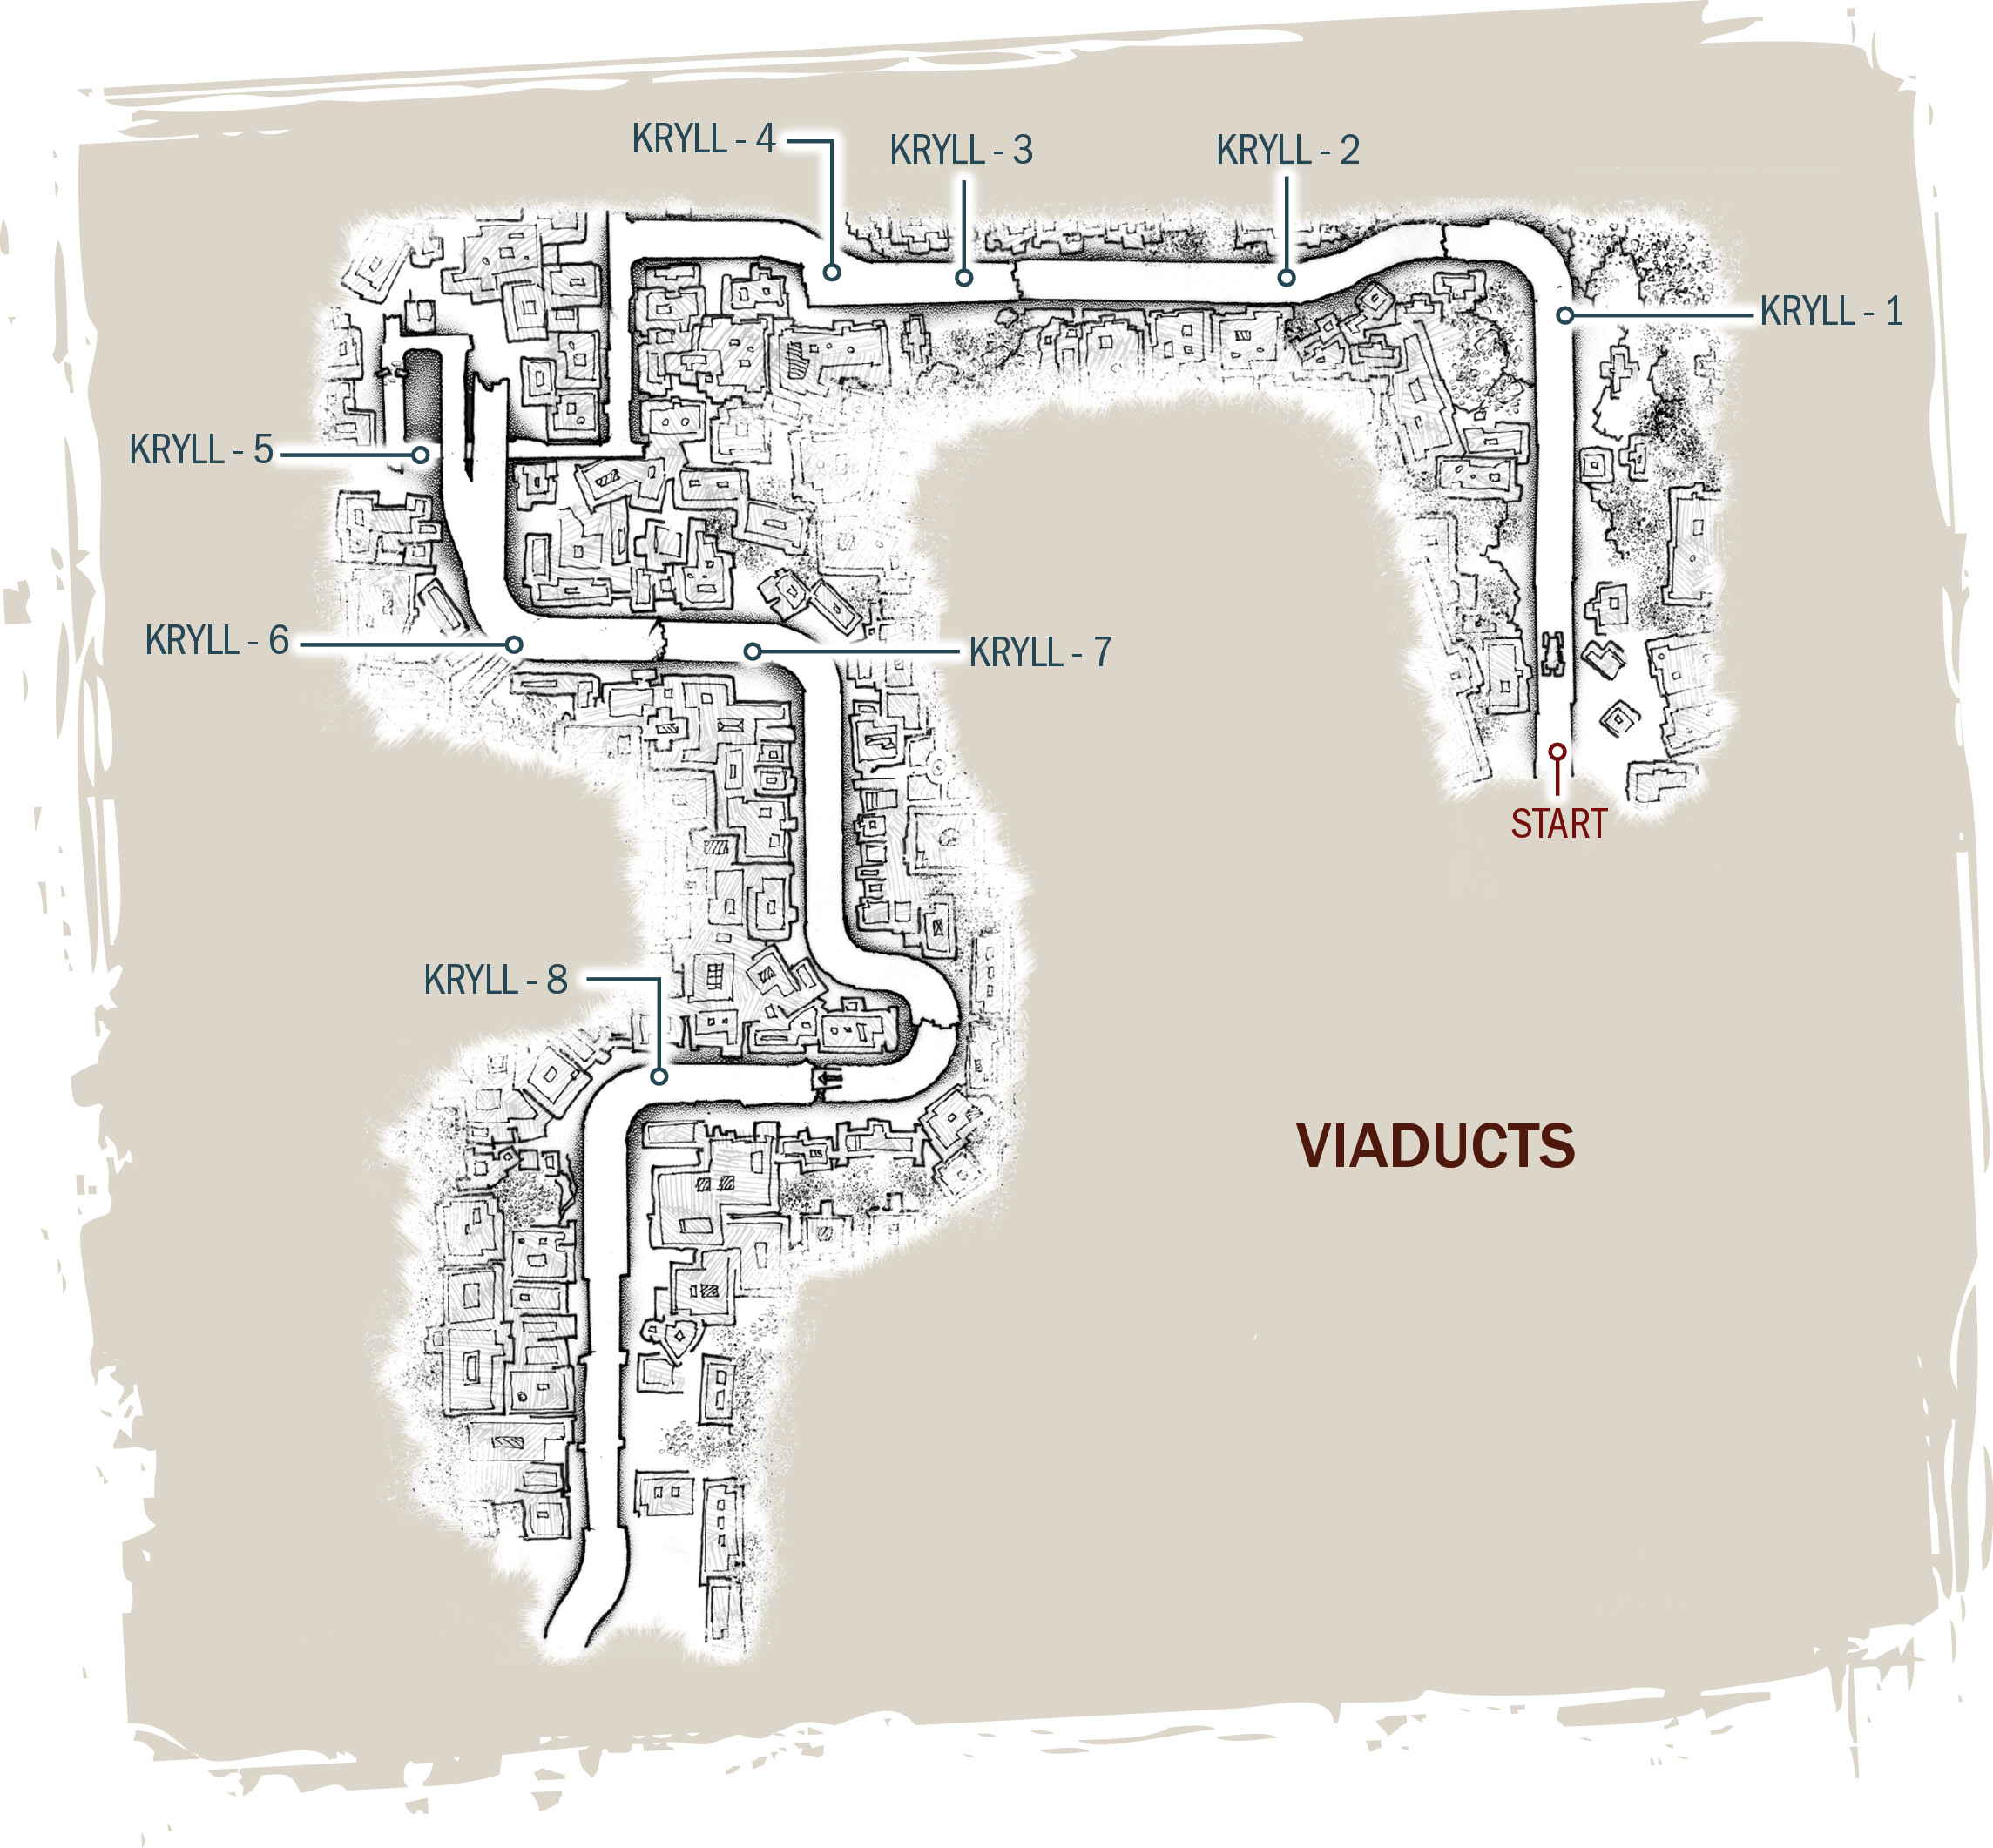
The highway running between the gas station and the Stranded camp has definitely seen better days. The Viaducts are falling to pieces and there are burned-out cars and debris everywhere. Fortunately, the Junker’s huge tires and battering ram front end make it the perfect vehicle for jumping off the highway’s uplifted sections and for plowing through the debris. The route to the camp is straightforward, with the only sudden direction change coming when Chap instructs Marcus to exit the highway, loop through a few city blocks, and return to the elevated roadway a short distance ahead.
Despite the straightforward navigation, this is still a challenging mission, as the Kryll are as unrelenting at feeding time as any species known to man. Each of the swarm locations are marked on the accompanying map. Use the map in conjunction with the following table to better anticipate the direction and quantity of Kryll you’ll encounter.
| Location | No. of Swarms | Direction Relative to Junker |
|---|---|---|
| 1 | 2 | Both swarms at 12 o’clock |
| 2 | 3 | 12 o’clock, 9 o’clock, then 6 o’clock |
| 3 | 4 | 12 o’clock, 10 o’clock, then two swarms at 6 o’clock |
| 4 | 1 | 11 o’clock |
| 5 | 1 | 9 o’clock |
| 6 | 4 | Two swarms at 11 o’clock, then two swarms at 6 o’clock |
| 7 | 2 | Two swarms at 7 o’clock |
| 8 | 3 | Three swarms at 2 o’clock |
Last Stand
Fight alongside the Stranded.
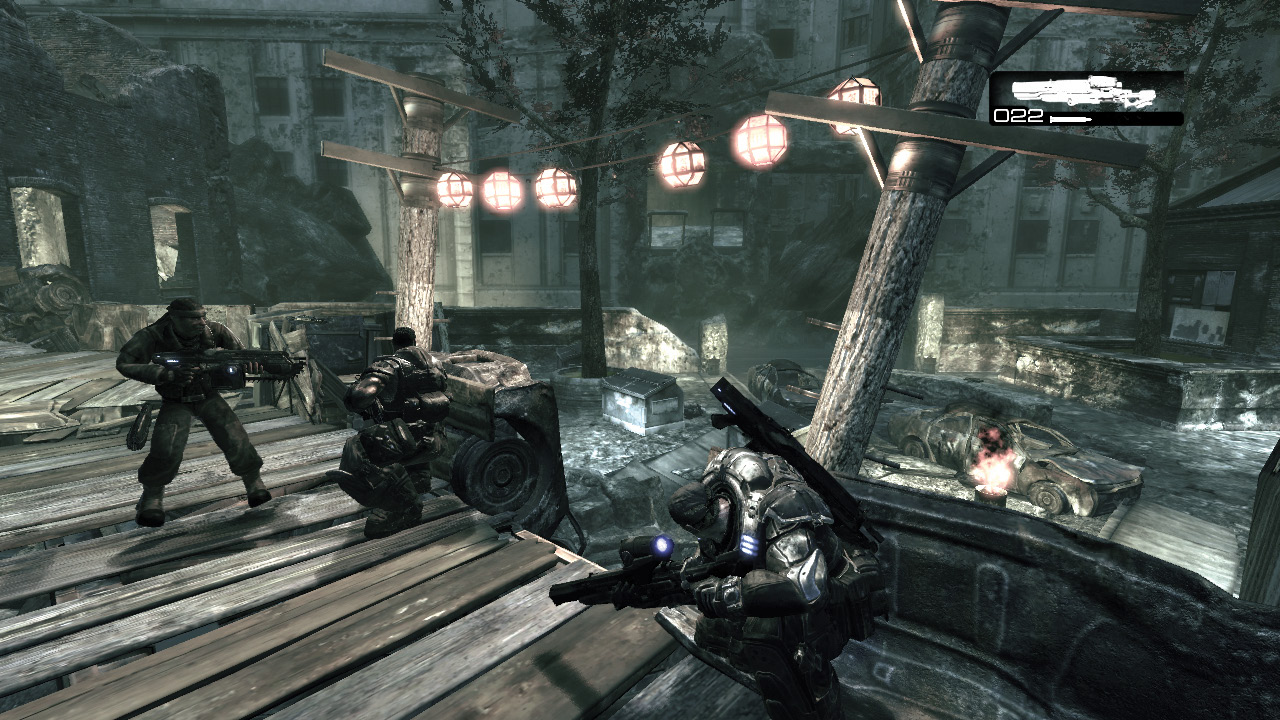
Repel the Locust Attack
Marcus and Dom get to the camp just in time to help Baird and thrashball all-star Gus “Cole” Train. Cross the wooden bridge on the left, leap through the window, and make your way toward Baird’s position near the flaming toilet. This is a great place from which to close the Emergence Hole that opens. Use the Longshot to finish off any Drones still on the ground, and then get ready for the Snipers that come!
Head out onto the walkway near Dom and the Stranded, and take aim on the loose slab of concrete above the Snipers in the building to the left. Use the Lancer to loosen the concrete slab so it falls and crushes the Snipers below.
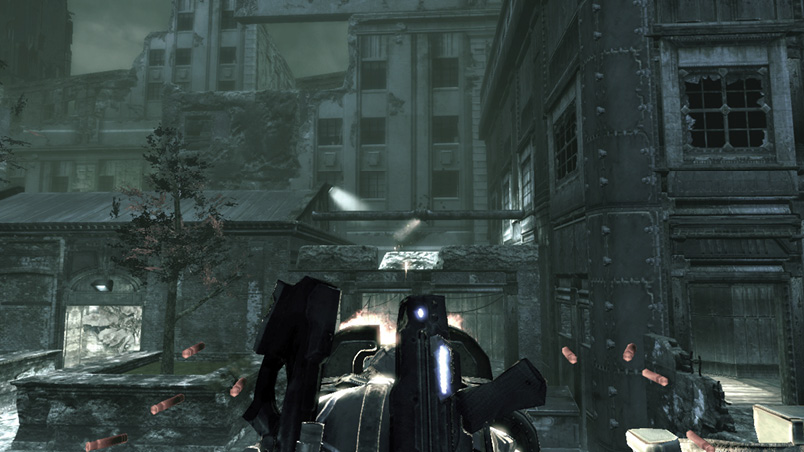
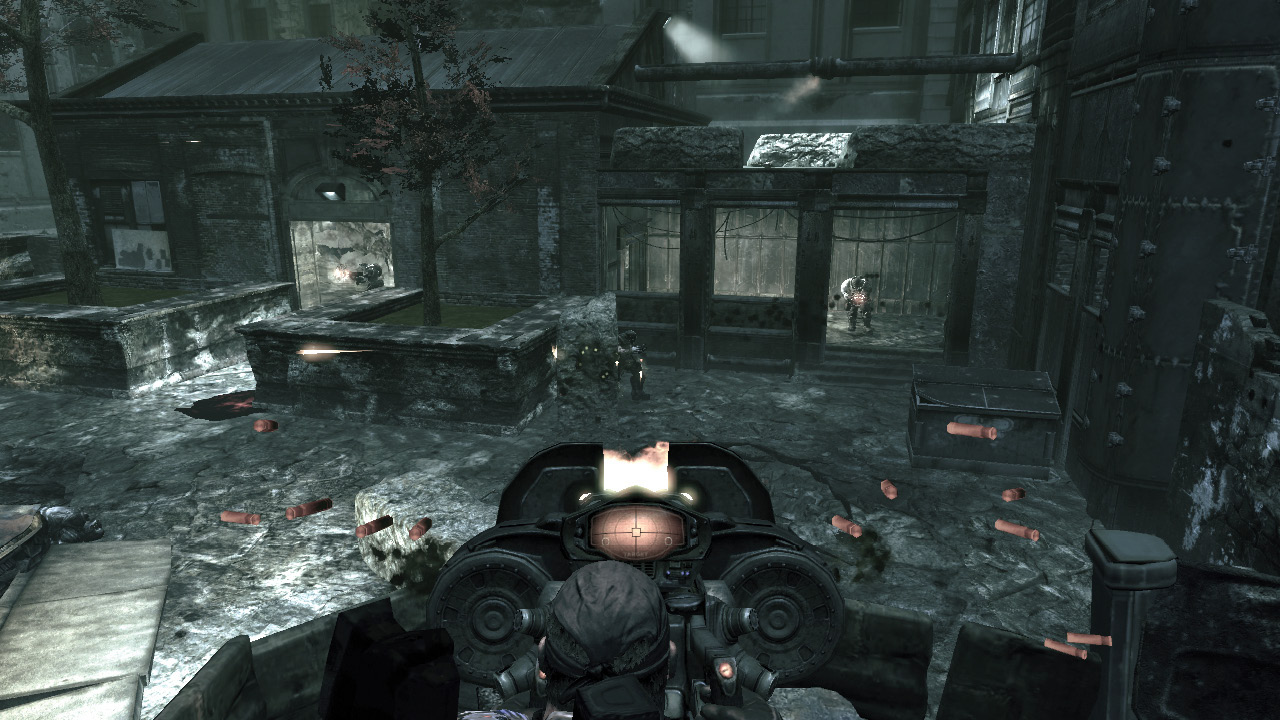
A second Emergence Hole opens in the distance. Exit the building onto the wooden walkway, and rush over to close the hole. While you’re on that side of the platform, aim the Troika at the metal pipe above the enemies on the nearby building’s second floor. Shoot the pipe to create a gas leak, and then continue shooting the pipe to spark an explosion. Rush back to the left to close the third Emergence Hole that opens, and quickly return to the Troika.
The Locust are set to kick the battle into overdrive when you close the third Emergence Hole, and a Boomer leads the charge. Use the Troika to gun down the Boomer, and then spray the Troika’s high-caliber bullets across the building façade to the right. Continue firing at the many Drones and Grenadiers hiding inside the building’s ground floor. Some may be difficult to hit with the Troika, so consider switching to Frag Grenades or the Lancer.
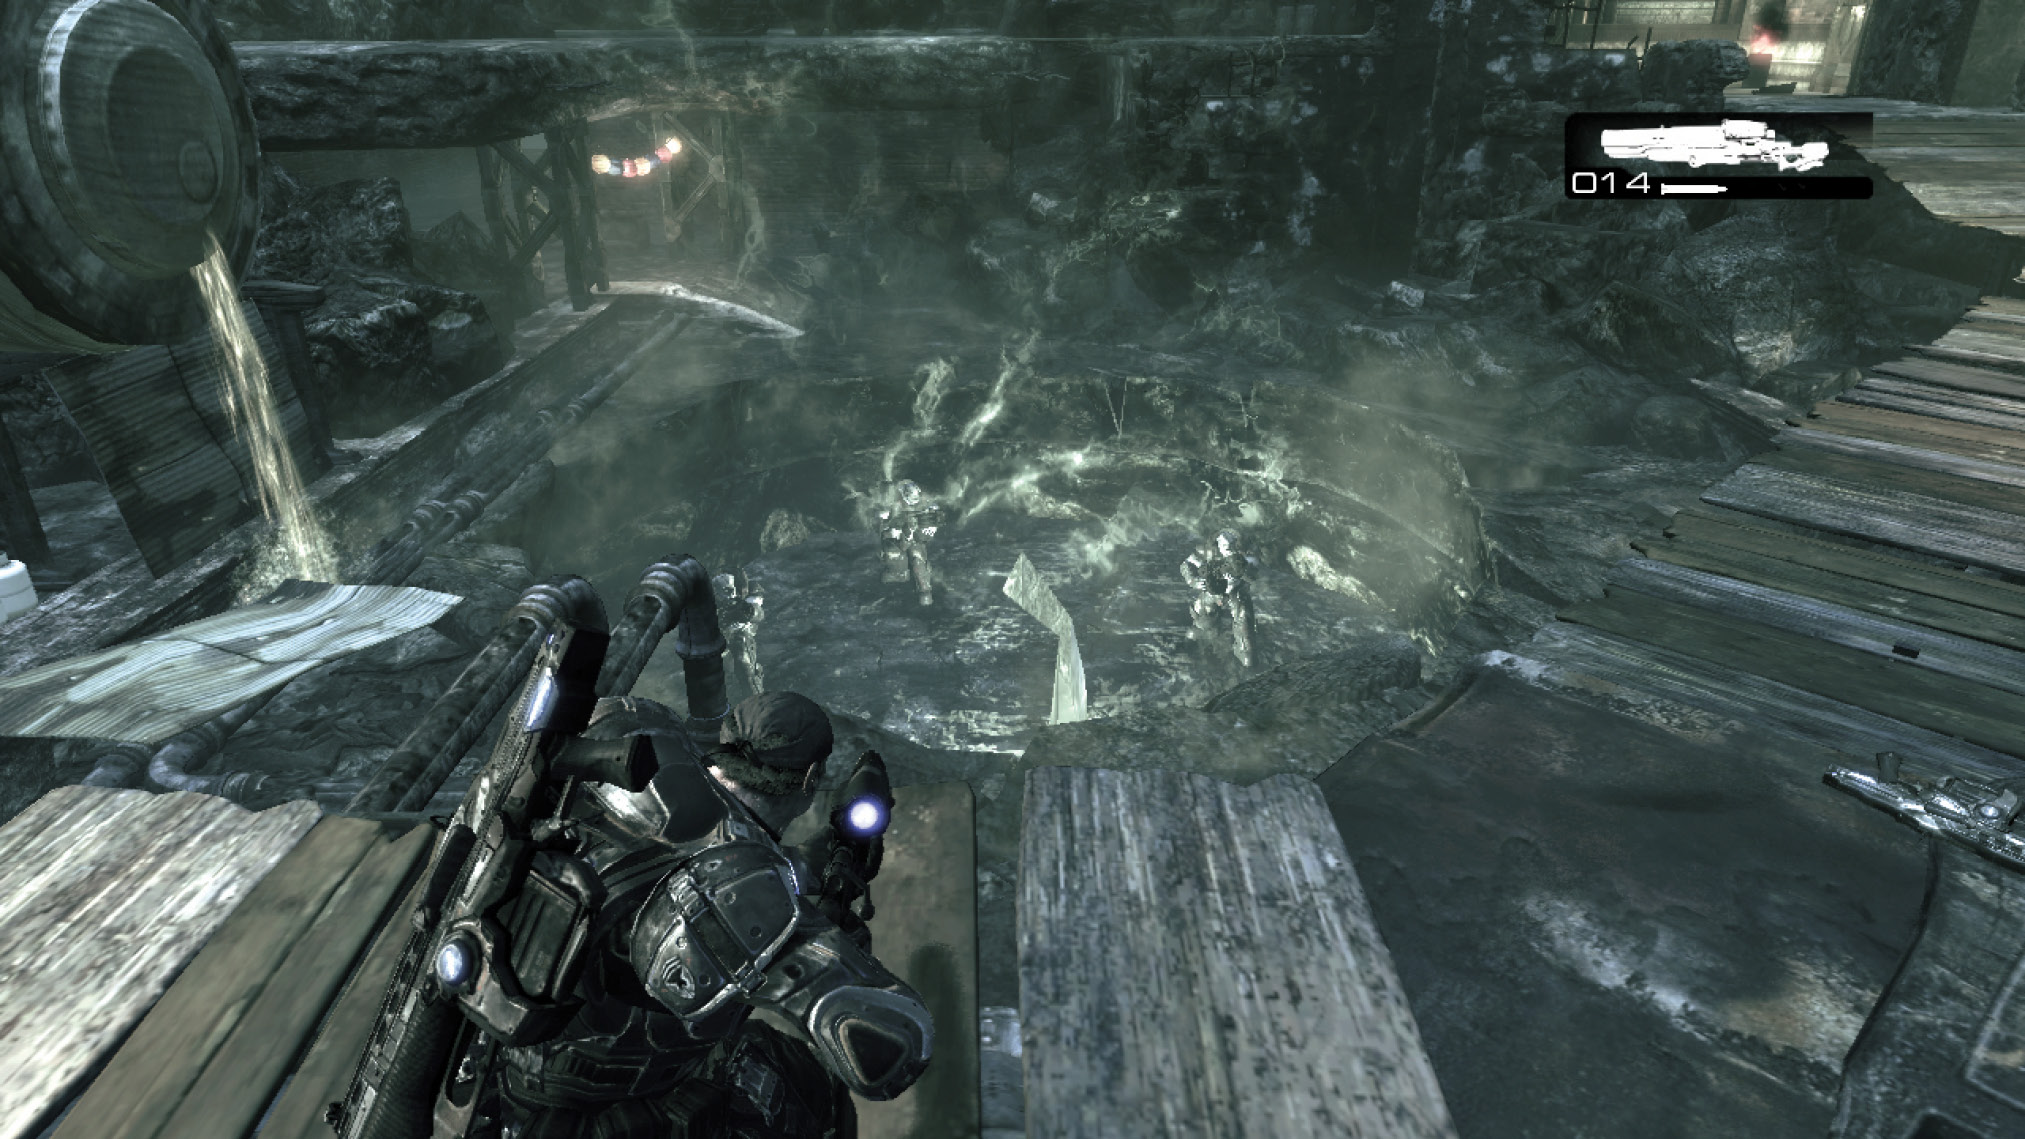
Surprisingly, the Locust have one final ambush left in them. A fourth and utterly massive Emergence Hole opens between the walkway and the Junker. Unlike other Emergence Holes, this one is so big that the four Boomers that appear within it can’t even climb out. Instead, they stay within the sinkhole-like depression and open fire with their Boomshots.
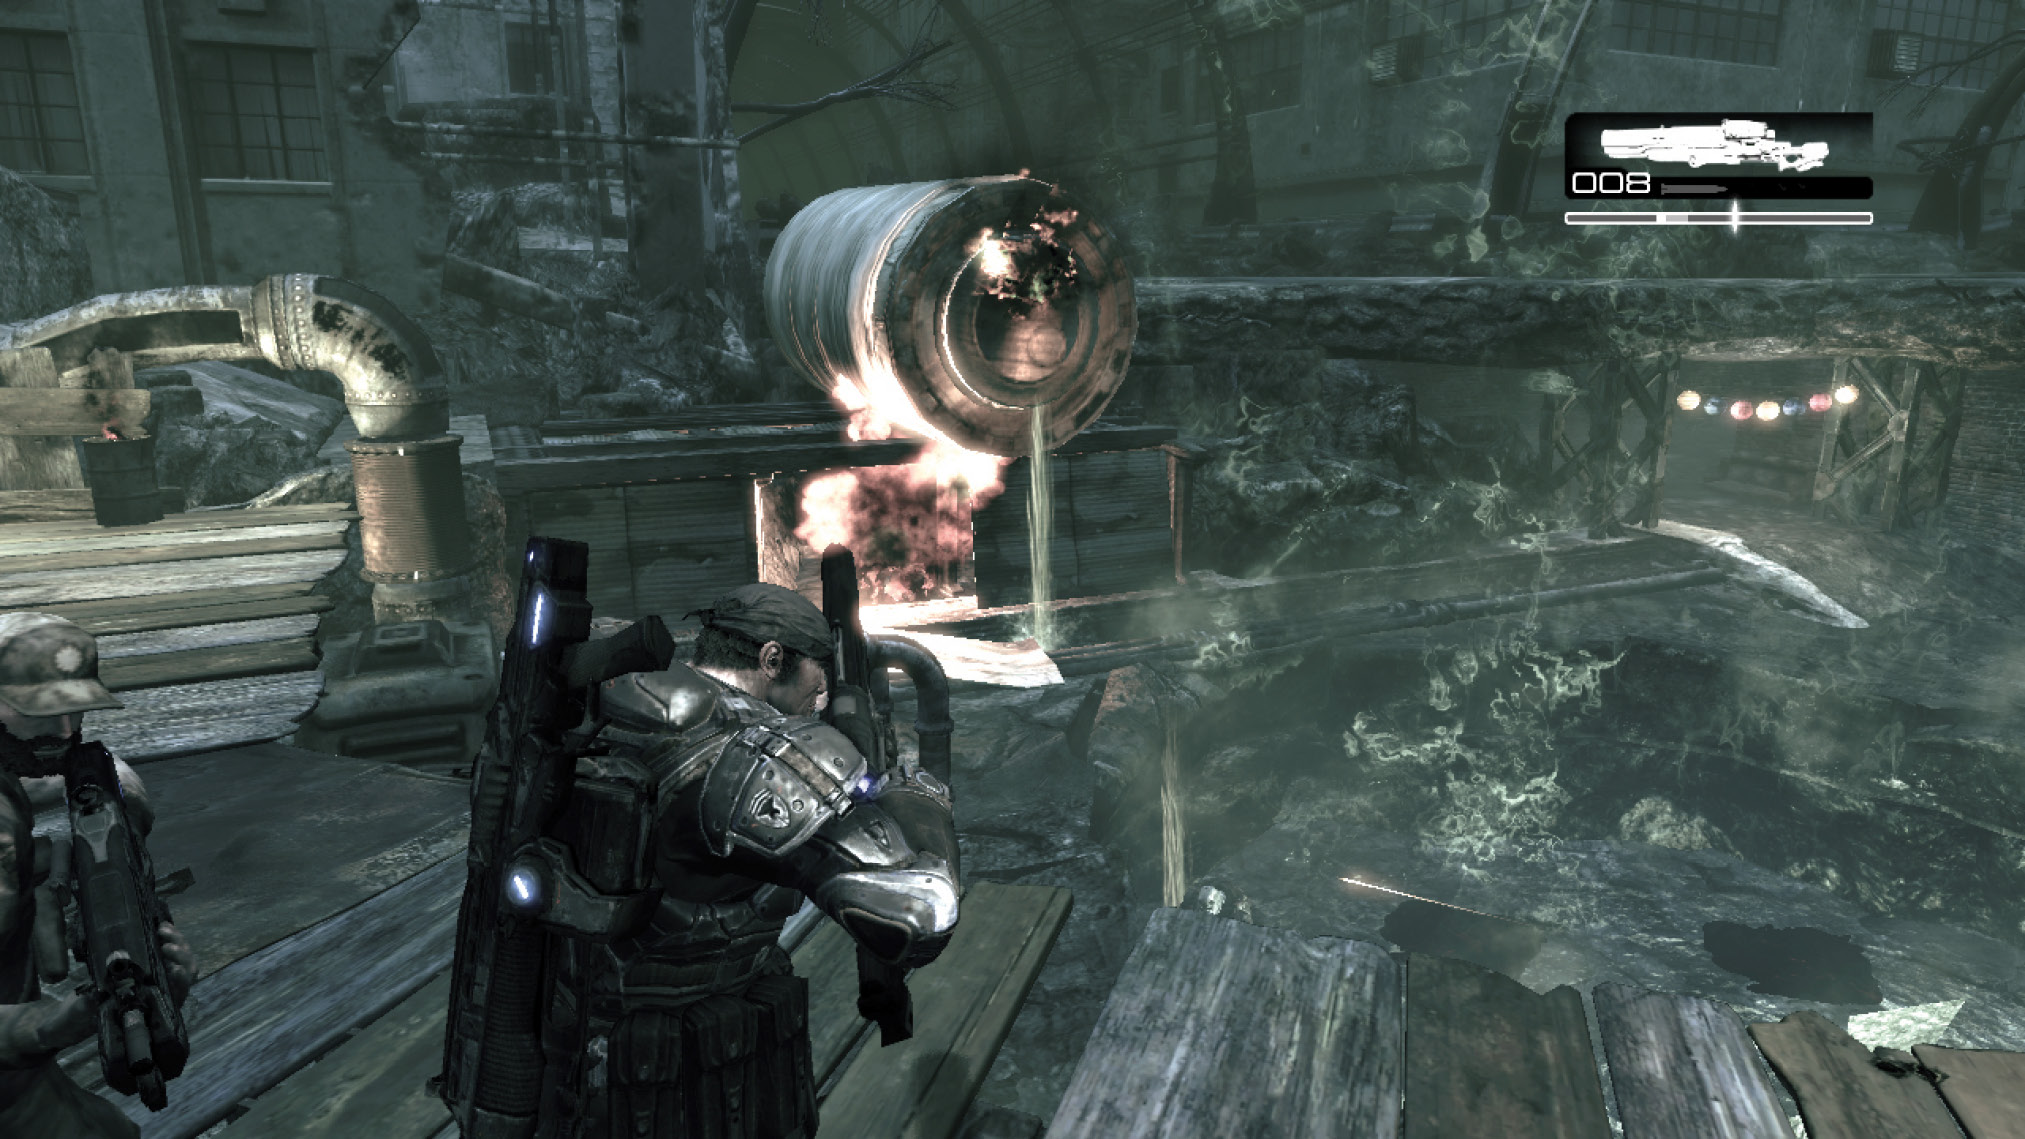
The gigantic tremor resulting from this fourth Emergence Hole rattles one of the large fuel tanks off its rack. You can probably guess what comes next…
Although it’s entirely possible to eliminate the four Boomers with the Lancer, Longshot, and Frag Grenades, it’s much more fun to shoot the large fuel tank until it starts to leak fuel. Once you get the fuel flowing, shoot the small collection of propane tanks on the ground beneath the larger tank. This sets off an explosion of such magnitude that you might actually feel sorry for the Boomers caught in the blast.
The Locust invasion has been defeated, and Marcus and the others have more than earned the use of the Junker. It’s time to head to the Imulsion factory.