
Donkey Kong Country Returns 3D Guide Level Walkthroughs World 9
Crushin' Columns

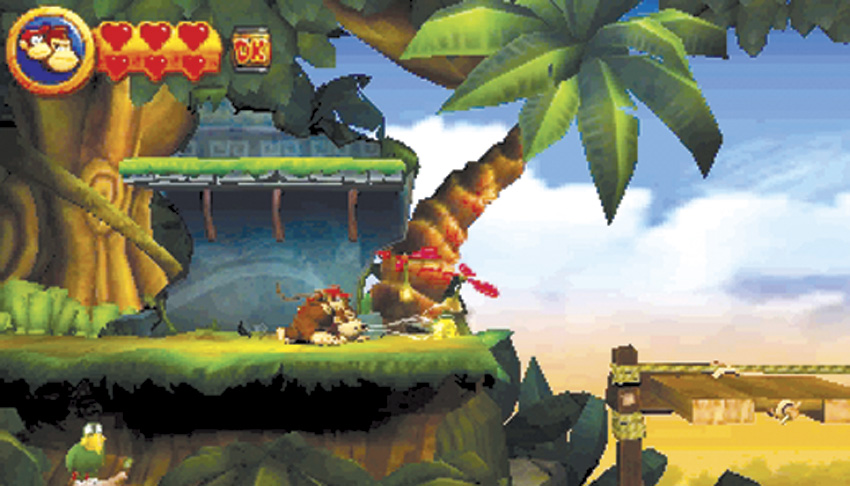
 Based on the Jungle world, this level should give you a small taste of what the ninth world is all about. From the start, you’ll need to navigate past a large pit, either using a roll-jump combined with Diddy’s Barrel Jet, or by using the small wooden platform by standing on its edge to get it moving forward. You’ll eventually reach a Barrel Cannon that will blast you down towards the next section.
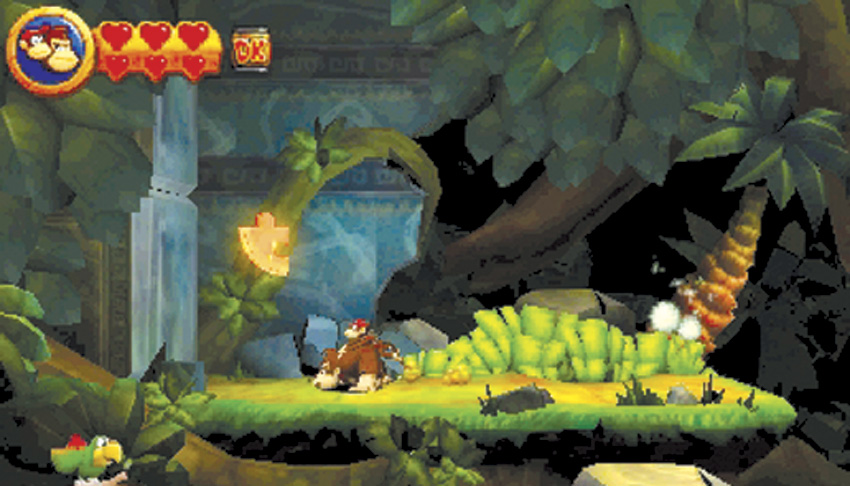

 After landing from the Barrel Cannon sequence, you’ll want to roll-jump off the ledge to the left, crossing the gap in order to reach the first Puzzle Piece on the far side of the chasm.
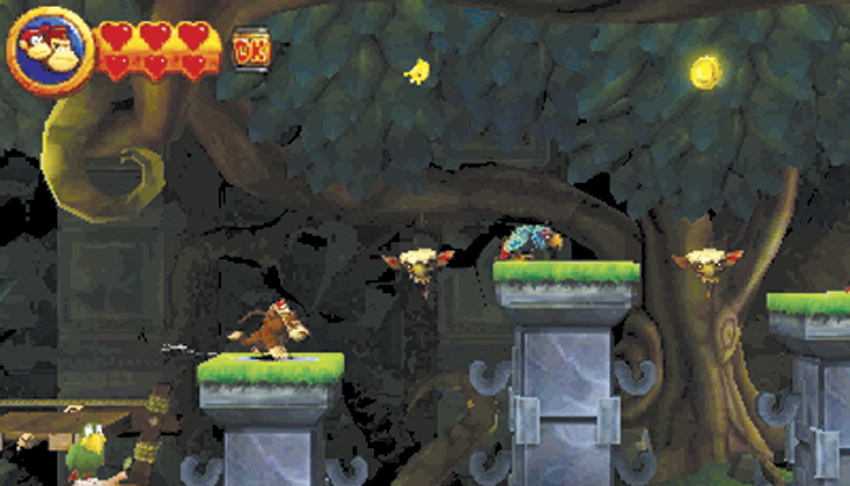
 Take care while crossing these pillars. The Tiki Buzzes can interfere with you quite easily. Make sure you get good bounces off of their heads if you land on them.
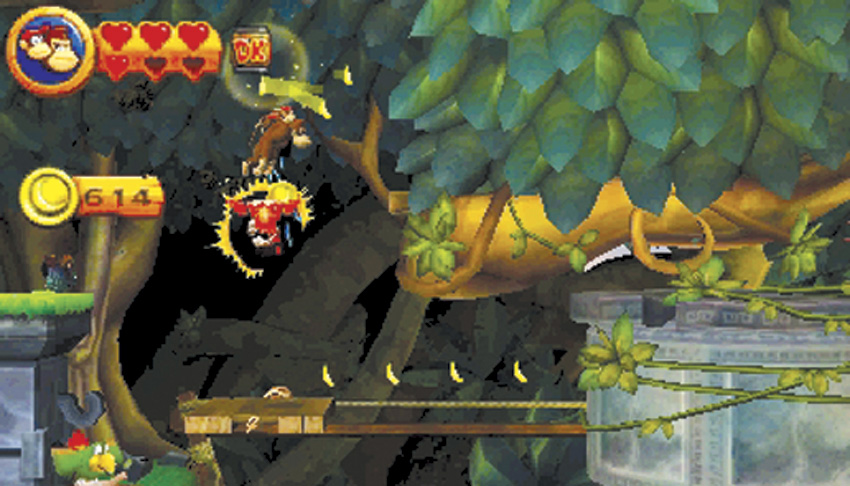
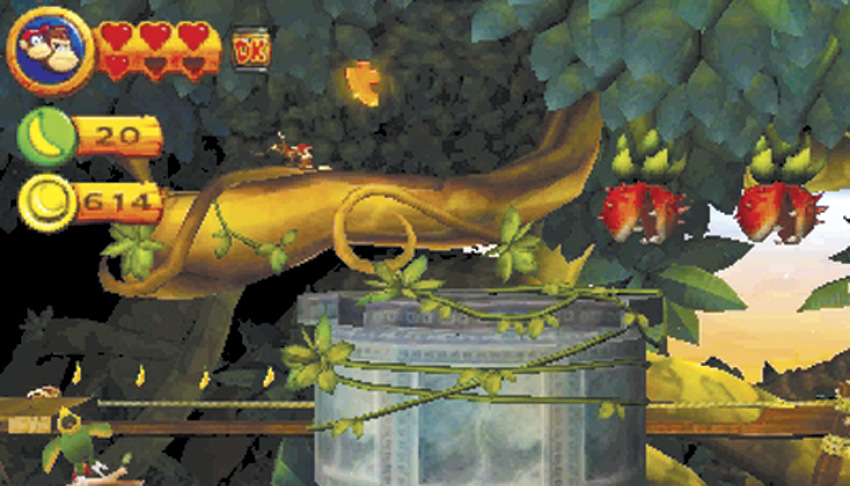
 The second Puzzle Piece can be found hidden by the trees just past the pillars. You’ll have to get a good bounce off of a Tiki Buzz in order to reach it. Be careful about missing this jump. A small wooden platform just beyond the pillars is all the landing zone you’ll have between you and restarting the level. The first checkpoint isn’t very far from this location.
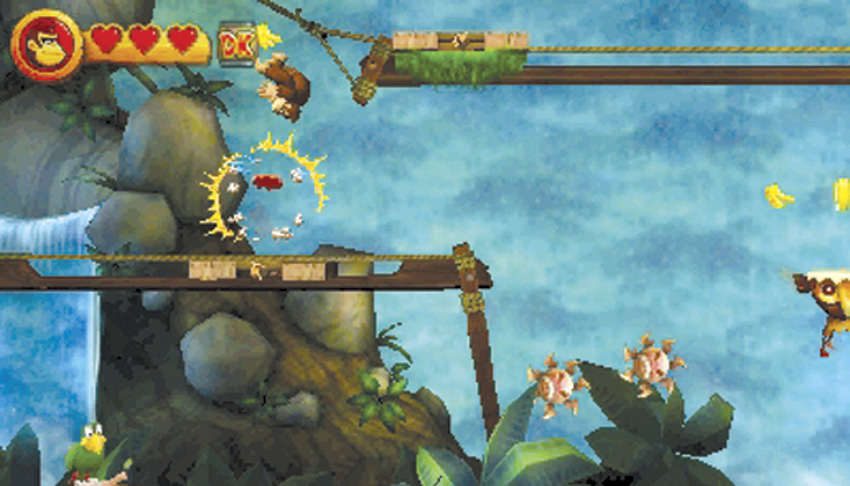
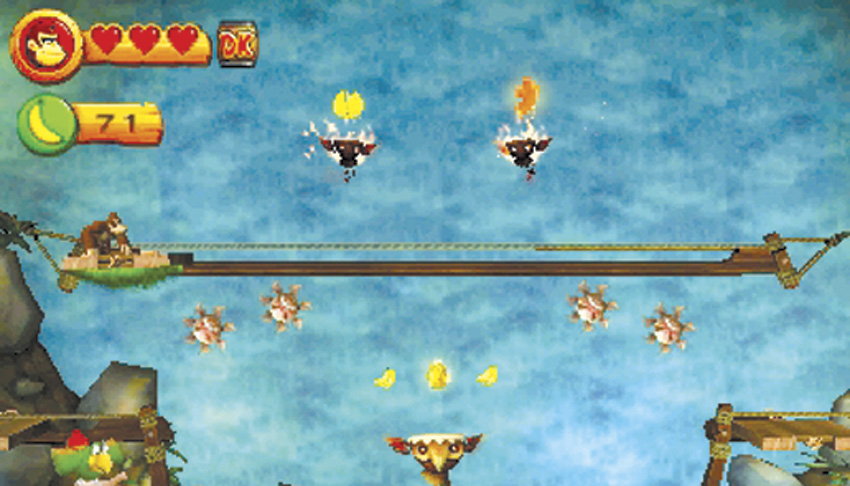
 The third Puzzle Piece can be downright dastardly to reach if you’ve lost Diddy Kong. This large chasm is bridged by a platform you can hang from. To get to the Puzzle Piece, you’ll have to bounce off a Tiki Buzz to land on top of the platform, then position yourself on it to get it moving forward just enough for you to safely jump up and reach the Puzzle Piece. Be mindful of the two Flaming Tiki Buzzes patrolling near the Puzzle Piece!
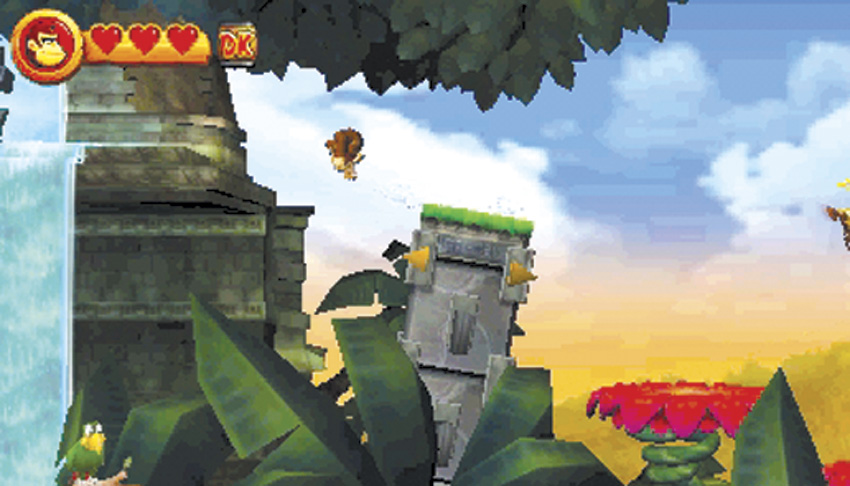
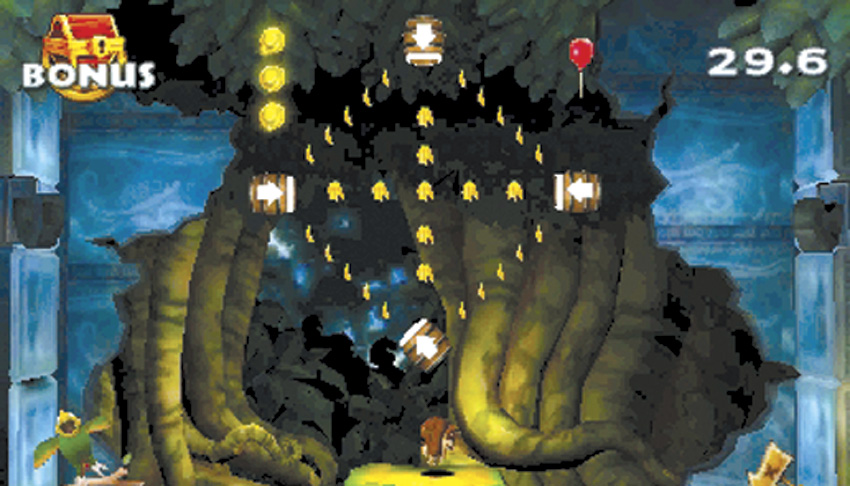
 Puzzle Piece number four can be found in a hidden bonus chamber just past the DK button. Pound the button to trigger a sequence that causes Barrel Cannons to appear. Next, as soon as you land from the first set of cannon shots, roll-jump to the left to reach a ledge and the bonus chamber. After retrieving the Puzzle Piece, another trip across a large chasm will eventually lead to the second checkpoint.
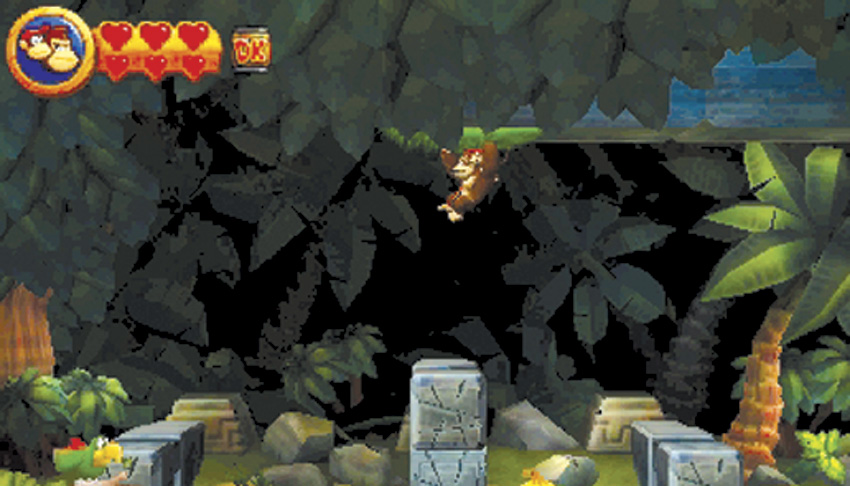
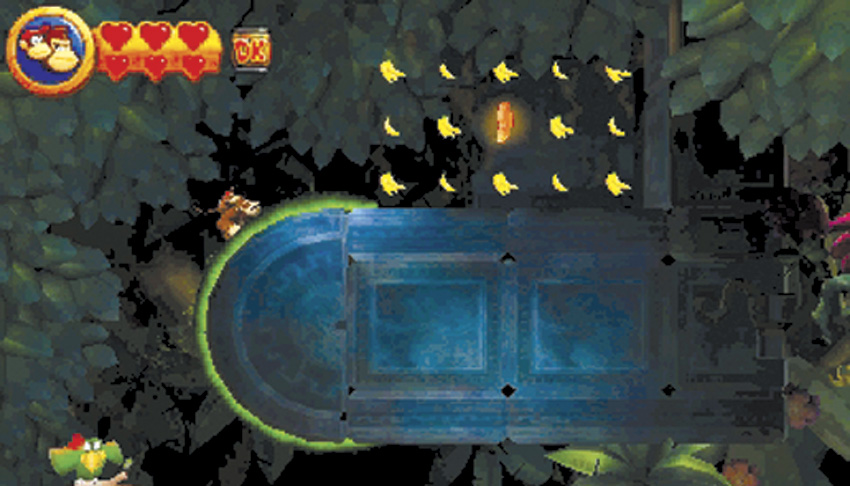
 Just after reaching the second checkpoint, you’ll encounter a series of Screaming Pillars that crash onto your path from the background. Don’t destroy the central stack of Screaming Pillars! Use it to instead leap up towards some hanging grass that you can climb up onto a hidden ledge where the fifth Puzzle Piece resides.
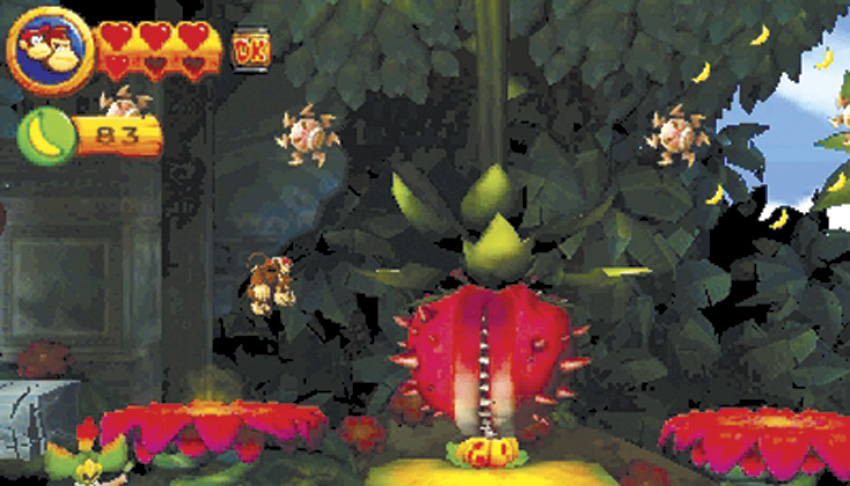
 You’ll eventually encounter a trio of platforms. The one in the center is watched over by a large red Chomp. The platforms on either side of the Chomp have two Tiki Zings orbiting over them, with bananas orbiting between them. Collect all the bananas on the right-side platform to make the sixth Puzzle Piece appear.
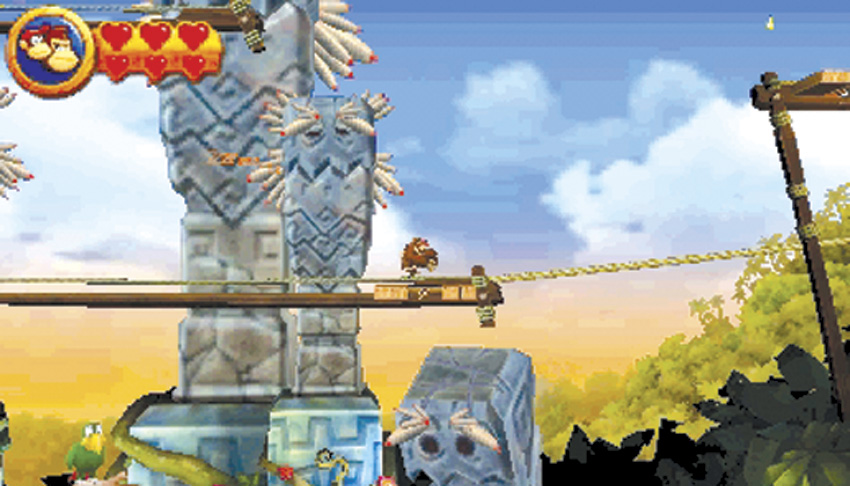
 This tricky sequence requires you to get your way past a series of falling pillars while using those flimsy balance boards to cross the chasm. The pillars will scream as they fall, giving you ample warning. As soon as you get to the barrel at the end of each balance board, do not hesitate in firing yourself to safety; the pillars can still get you even when you’re in the barrel!
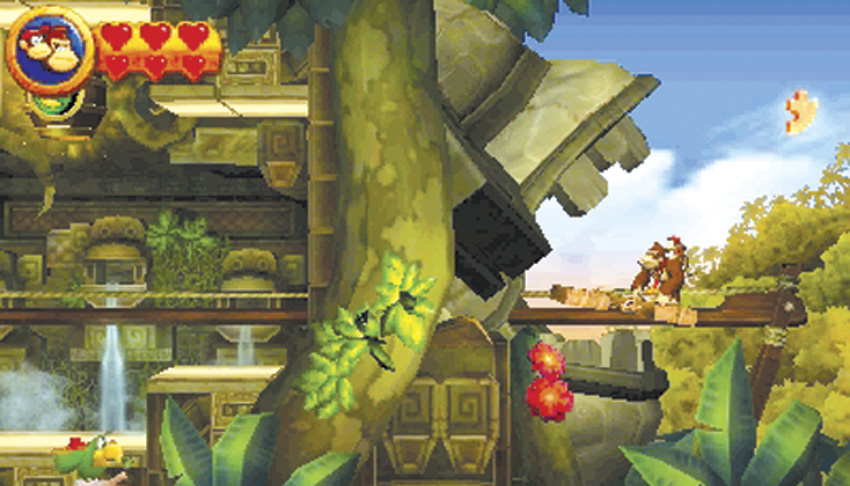
 Don’t be too hasty about leaping into the Slot-Machine Barrel! Move the balance board you’re on past it, through the wall on the right to reveal the final Puzzle Piece. NOW you can go back and exit this level!