
Donkey Kong Country Returns 3D Guide Level Walkthroughs World 1
Jungle Hijinxs

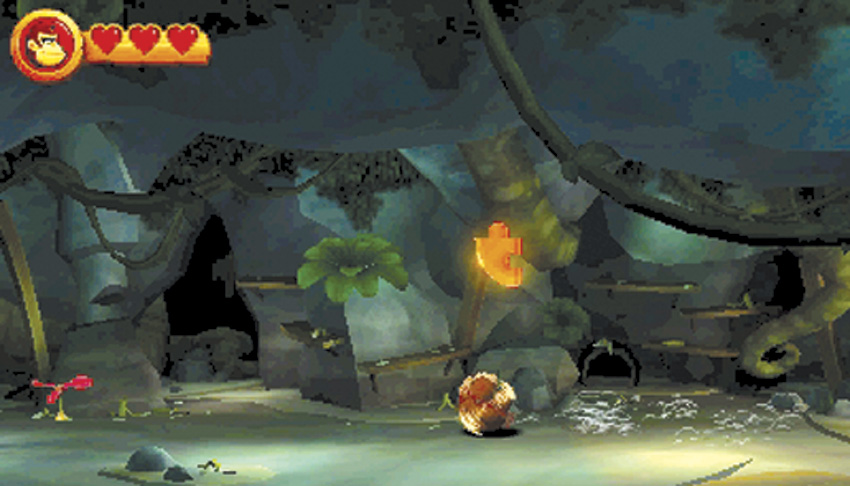

 You can quickly get your first Puzzle Piece right at the start of the game. After jumping down from the hut, move left into the cave to find a secret room. There you will discover a Puzzle Piece. Continue to the room’s far side. Crouch down and blow at the fan flower. As it spins and rises into the air, it will pull a Banana Coin out of the ground. Grab it.
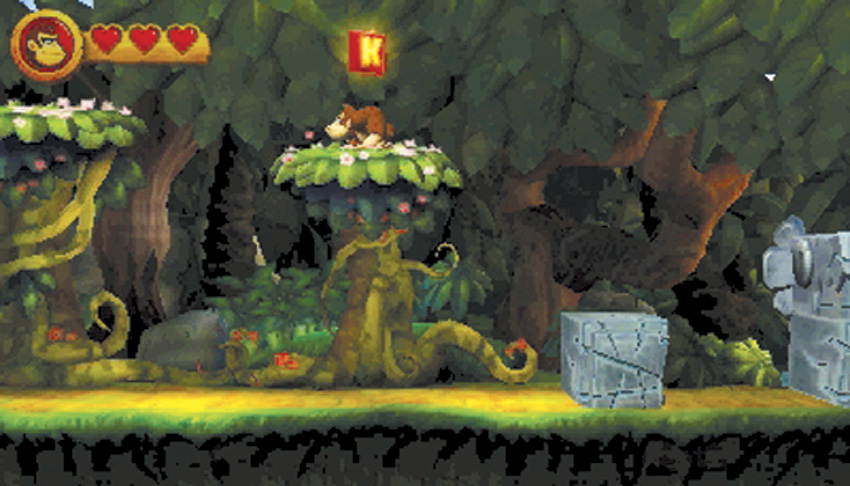

 As you move to the right past a row of trees, you can see the K KONG letter above the last tree. To reach it, jump onto the stone block to the right and then jump left onto the tree to get your first KONG letter. Only three more to go.
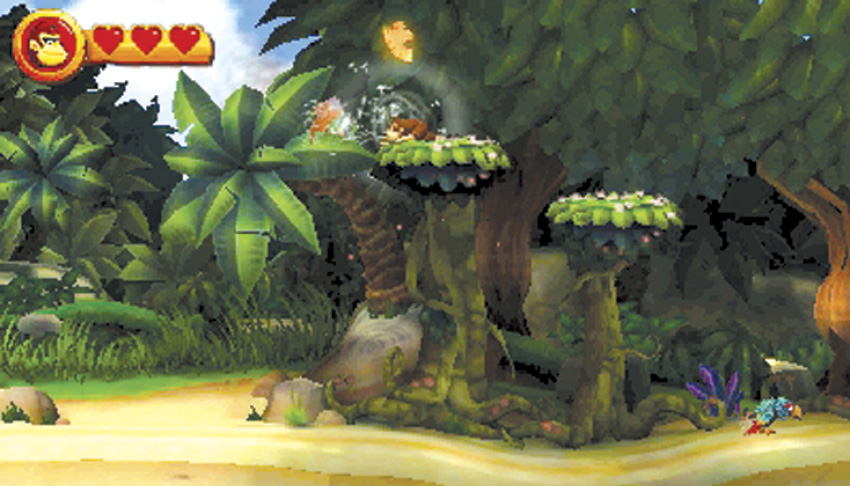
 After getting the K KONG letter, head left and jump from treetop to treetop. When you come to a wide gap between trees, you must run and jump to clear it. Pick up a coin and then blow the dandelion on the last treetop to reveal another Puzzle Piece. Collect it and then head back to the right to continue.
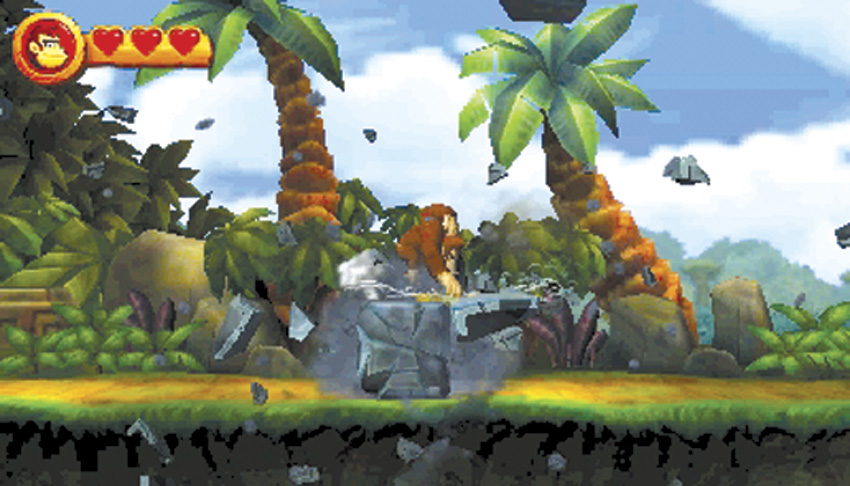
 Soon you come across some Screaming Pillars; keep out of their way as they fall down. Jump over the first two. The third leaves two stone blocks after it falls. Jump on top and Ground Pound them to dust and you will find another Puzzle Piece.
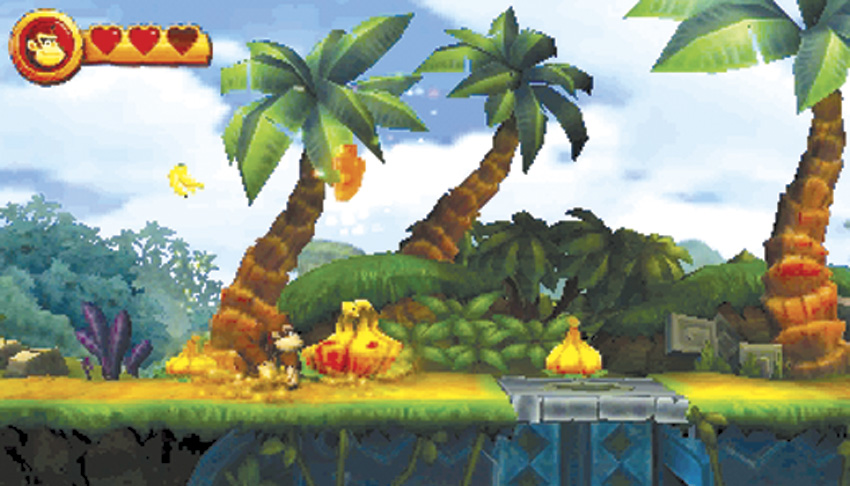
 Keep moving to the right. When you find a trio of yellow gourds, pound the ground in front of them. The middle one will reveal a Puzzle Piece. If you pound on the stone in front of the third gourd, you not only get a coin but you also drop into an underground chamber where you can find another coin and a heart.
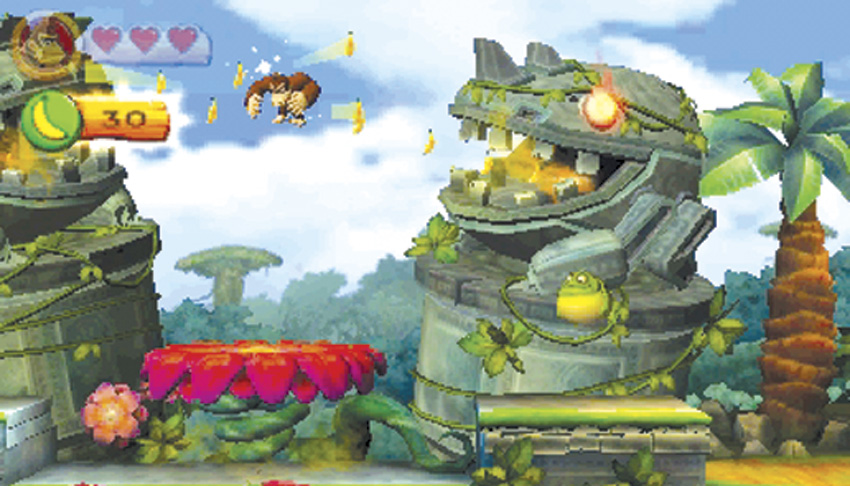
 At this location, there are some jumping Frogoons blocking your way. Time your jumps so you land on top of them and knock them out of your path. Now jump onto a large flower platform. The two Mugly statues will open their mouths, and bananas will begin flying through the air. Use the springiness of the flower platform to propel into the air to grab the bananas. It is easy to get them in the beginning, but as only a few remain, you will have to time your jumps. Get all of the bananas before the Mugly statues close their mouths. A lot of butterflies will appear and then fly away, leaving behind a Puzzle Piece for you to collect.
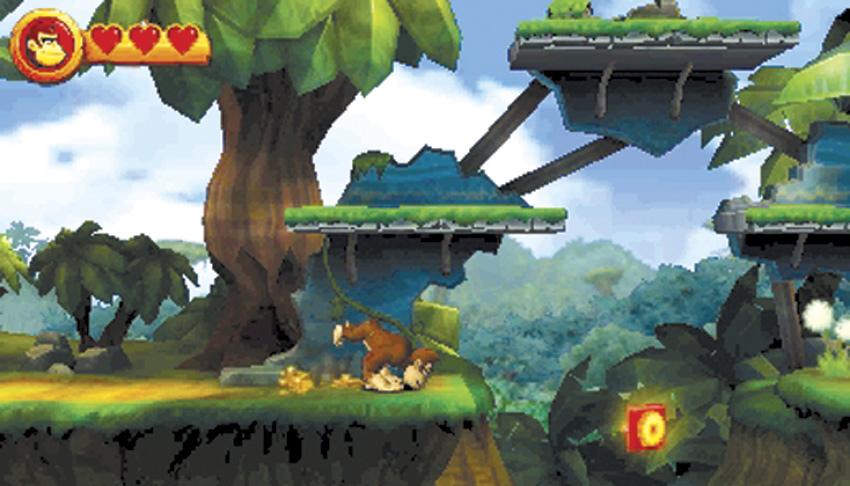

 Jump onto a series of three platforms to get over a gap. The O KONG letter is hovering over the gap. Continue past the nearby checkpoint and pick up the DK Barrel. Throw it to get Diddy Kong. Now that you have the little guy, you can hover-jump using Diddy Kong’s Barrel Jet. This allows you to cross wider gaps and stay up in the air longer. It also lets you perform a roll continuously. Time to go for the O KONG letter. Roll right off the edge and into the gap, then jump while you are in midair to grab the letter and get to the gap’s other side.
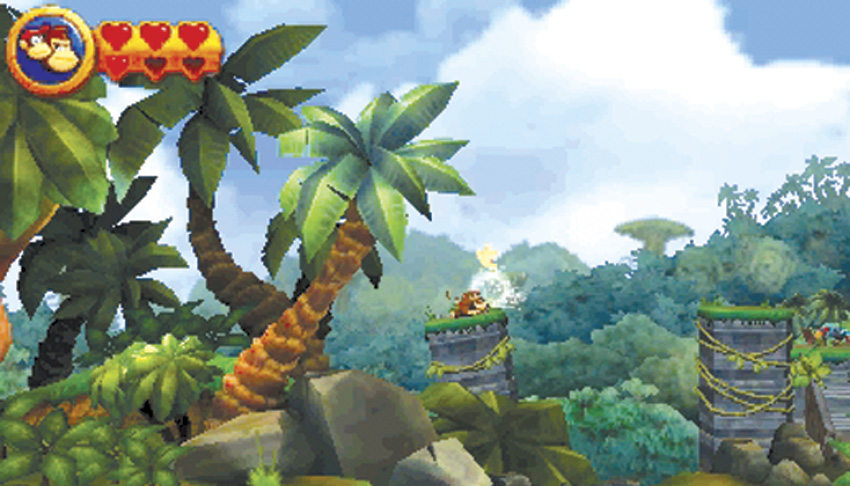
 When you arrive at a large DK button, pound on it to cause some ruins to appear in the background. Jump into the barrel that also appears, and it will shoot you across to the ruins. Run to the left and hover-jump to a lone platform with a dandelion on it. Blow on the dandelion to reveal a Puzzle Piece. Hover-jump back to the right.
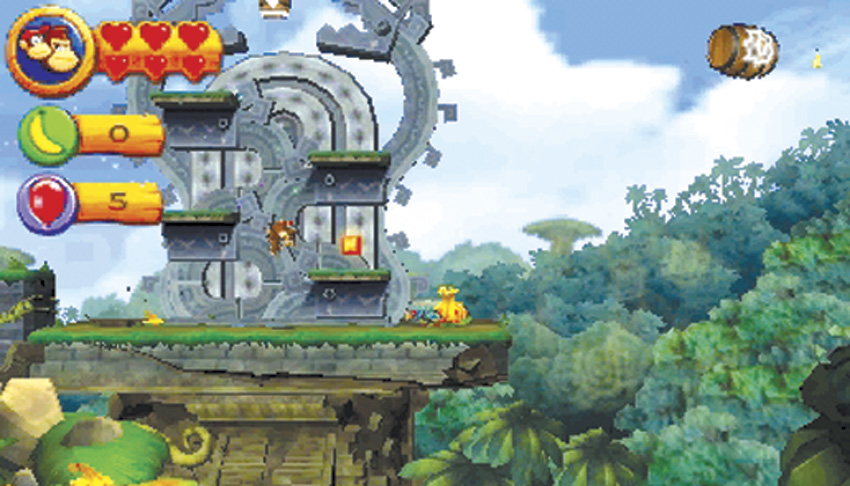

 The N KONG letter is located on one of the platforms protruding from the main ruin structure. Pound the ground by the gourds for some goodies, and grab the N KONG letter. Then jump into the barrel near the structure’s top to return to the main part of the level.
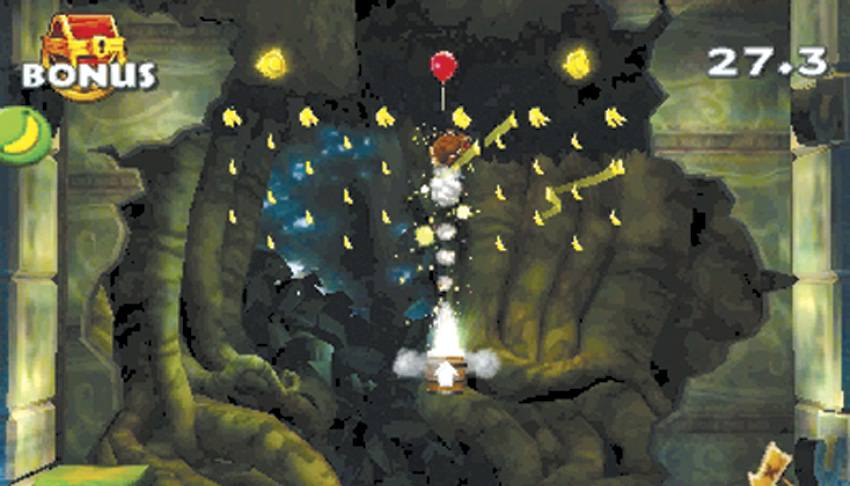
 Once back on the main level, continue to the right. There are some Tiki Goons up on a platform. Clear them off and then pound the stone trapdoor in the platform’s center to enter a bonus chamber. Jump into the barrel, which will move back and forth from left to right. Shoot yourself out of the barrel and up into the air to collect bananas, two coins, and a balloon before the timer runs out. Once you have collected all of these items, a Puzzle Piece will appear. Shoot yourself out of the barrel to get the piece and exit the chamber.
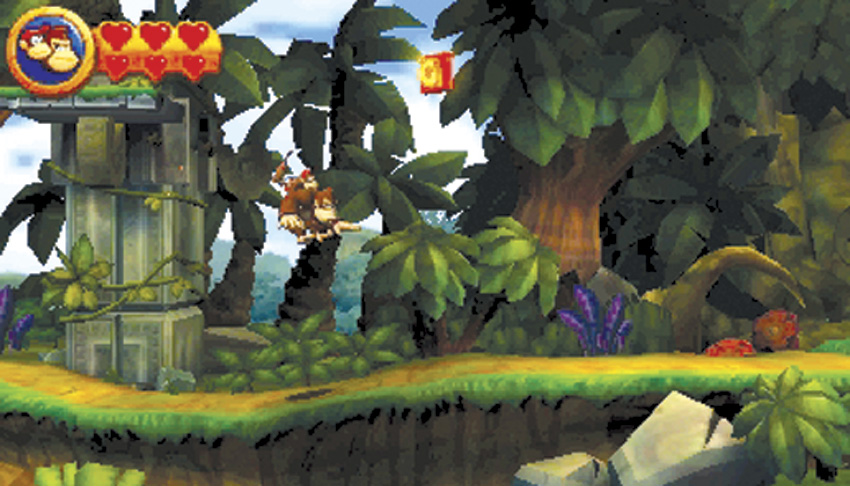

 Cross over a bridge and continue to the right until you see some stone Screaming Pillars with platforms attached. Jump onto the crooked platform, and from there, jump over to the right. Jump off this platform to collect the G KONG letter and spell out K-O-N-G.
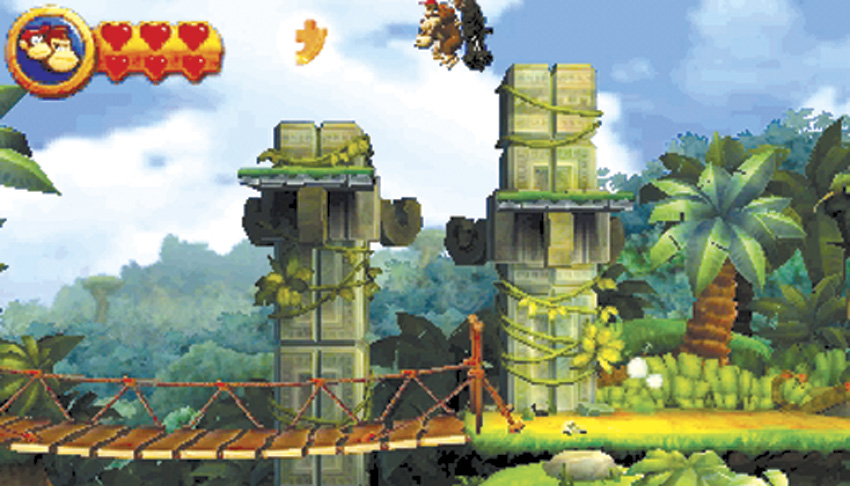
 Jump back onto the crooked platform. This time jump from platform to platform until you reach the one on the far left, where you will find another Puzzle Piece. If you still have Diddy Kong, his Barrel Jet will let you hover-jump making this task quite easy.
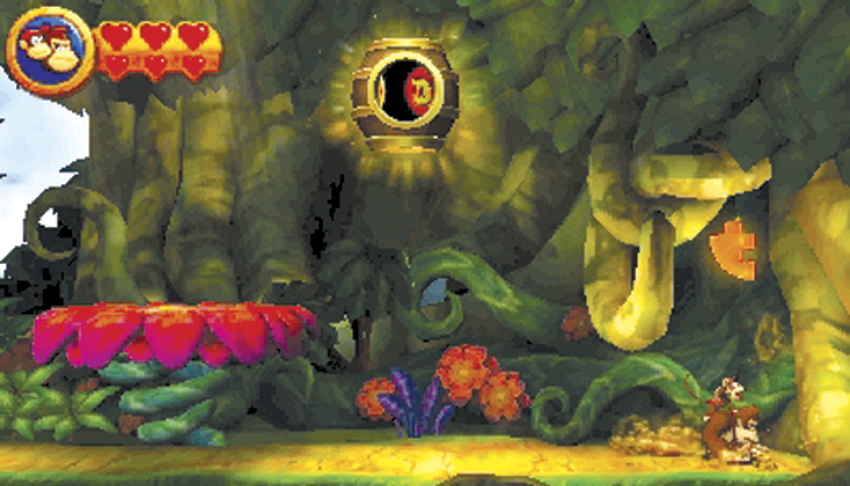
 The end of the level is in sight. As you reach two flower platforms, drop to the ground rather than jumping on them. Move all the way to the right and through some stone rubble to find the last Puzzle Piece. Once it is yours, jump up onto a flower platform and jump to the Slot-Machine Barrel to claim a prize for finishing the level.