Donkey Kong Country Returns 3D Guide Donkey Kong Island
Donkey Kong Island
Donkey Kong Island was a peaceful place where a banana-loving ape could enjoy himself. However, the Tikis have come and taken away all of Donkey Kong’s bananas. In order to defeat the Tikis and get back his bananas, Donkey Kong, with the help of Diddy Kong, will have to traverse nine different worlds and drive the Tikis from the island. Donkey Kong Island is full of items, hidden collectibles, and lots of adventure. There are places to jump, things to climb, and areas to explore. Of course, there are also lots of enemies that will try to prevent Donkey Kong from saving his bananas. It is important to learn about the island and what it contains, or the Tikis will take over and Donkey Kong Island will no longer be a home to its namesake.
The Island Map
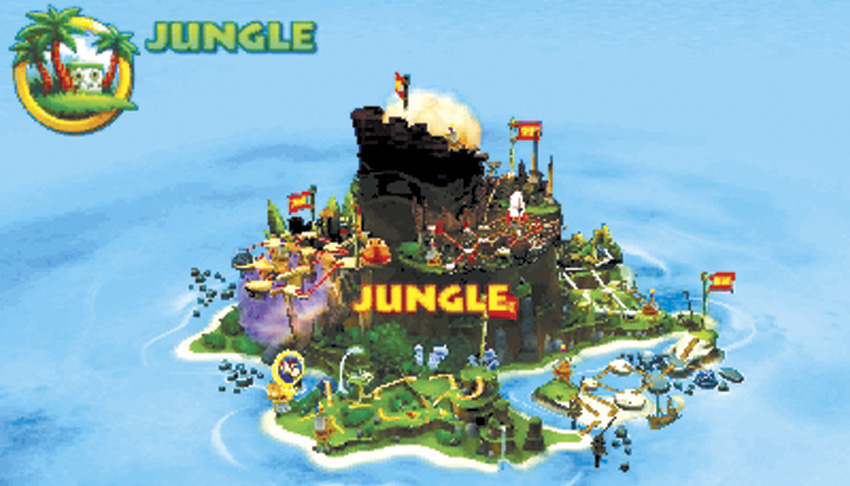
This is the Island Map. From here, you can select which of the nine worlds you want to enter. Simply cycle left and right across the island to rotate it and select a world. While you can view all worlds from this screen, you can enter a world only if you have defeated the boss in the previous world. For example, until you defeat Mugly in the Jungle World, you can’t enter any of the other worlds. Once you’ve defeated Mugly, then you can enter the Beach World.
Each of the nine worlds has its own theme. The terrain in each of the levels within a world is similar. You will also face the same types of enemies in these levels.
The Overview Maps
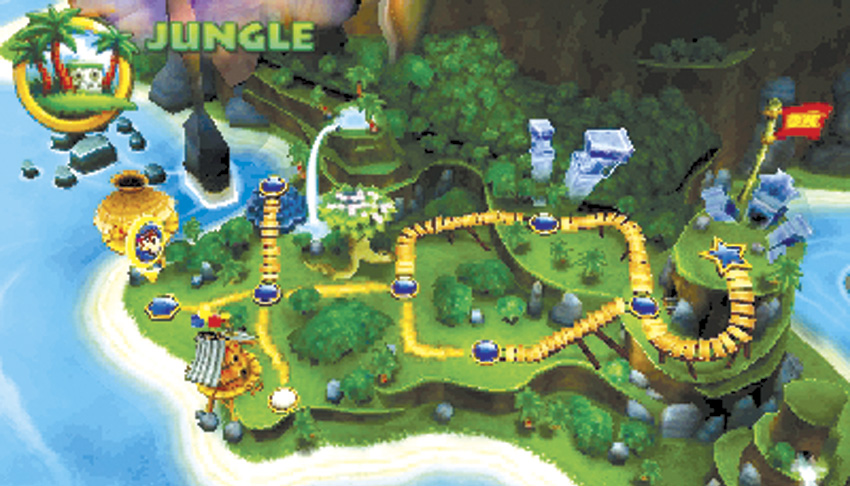
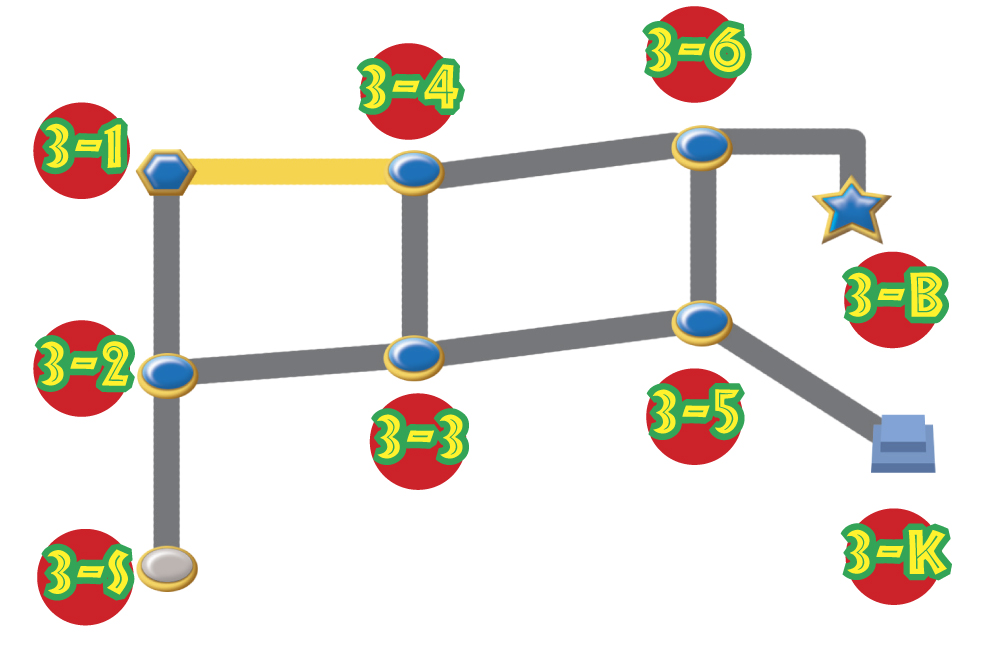
Each world is comprised of several different levels. You must complete the first level in a world before you can move on to the next one. As you can see from the overview map of the Ruins, the paths leading between levels diverge at some points. Therefore, you do not have to complete all of a world’s levels in order to reach the boss. The overview maps for the worlds contain some important information. Let’s take a look at what each map includes.
First Level
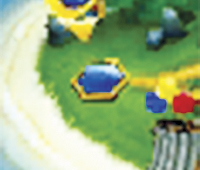
This hexagon represents the first level of a world. You must always complete this level before you can advance anywhere else in the world. Often these are the easiest levels in the world and provide an introduction to the types of terrain and enemies you will face throughout the levels.
Normal Level
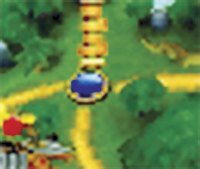
These round symbols represent the regular levels in a world. Once you have completed a level, you can then advance to other levels, which are connected by the paths.
Boss Level
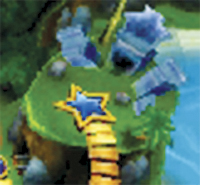
The last level of every world is the boss level and is represented by a star on the map. Unlike the other levels, the boss level is essentially a duel—Donkey Kong and Diddy Kong against a large creature that is controlled by one of the Tikis. To win the battle, get in hits on the creature while avoiding taking damage. In order to unlock the next world, you must complete the boss level in the current world.
Cranky Kong’s Shop
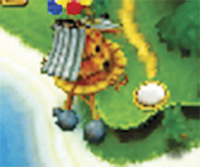
Donkey Kong’s grandfather, Cranky Kong, owns a shop in each of the worlds. In most cases, you must complete a couple levels before you can access the shop. In the levels, you collect coins, which you can then spend at the shop on items that will help you play through the game. The items Cranky offers are top-notch and very useful. Be sure to look for lots of coins so you can go on a spending spree at this shop.
New to Donkey Kong Country Returns 3D is a special game setting called New Mode. This adds more inventory slots that you can fill with useful items before you enter a level. Additionally, Cranky Kong’s Shop enjoys an expanded inventory that can really help players through tight spots, provided you’re willing to spend the Banana Coins. Better yet, everything at the store is being sold at discounted prices, so a diligent player should have no trouble staying stocked with useful items throughout New Mode.
Locked Path
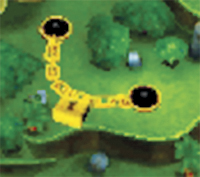
Each world has a locked path. In order to fully complete each of the first eight worlds, not only must you find every KONG letter in every world, you need to unlock these paths to gain access to a blocked off level. Of course, a lock requires a key, and the place where you can purchase a key is Cranky Kong’s Shop. Just be sure you have enough coins—these keys aren’t cheap.
Temple Level
Each world has a temple level. These are represented by blue temples on the map without a path leading up to them, and they appear in the first eight worlds. In order to access them, you must find all of the KONG letters in every level of a world. Then a path will appear. These temple levels are very challenging, but in order to access the ninth world, you must complete the eight temple level levels.
World 1: Jungle

The Jungle is the first world. This is Donkey Kong’s natural environment. There are lots of trees whose tops serve as platforms. Awks are one of the main enemies you face here, along with the tricky Frogoons. Of course, expect some of the Tikis, such as Tiki Goons and Tiki Dooms. This world is the least dangerous of the eight, so it is a great place for learning how to control Donkey Kong and experimenting with his various moves.
World 2: Beach

While a day at a beach can be pleasant and relaxing, the Beach World here is anything but relaxing. The ocean is always nearby, and you will have to navigate past lots of Snippys and Pinchlies. Pound on every piling you see, since this will cause other pilings to pop out of the sand. They may have useful items or give you a higher spot from which to jump. Finally, you can expect to have Squidlies and exploding cannonballs fired at you throughout this world.
World 3: Ruins
The Ruins is the island’s third world. These levels take place in the ruins of ancient civilizations that have been hidden away in a jungle. While you face several of the same enemies as you did in the previous worlds, you also face Stilts, Toothberries, and Acks. As you travel through these ruins, look for hidden areas and pound on containers to get items. If you see a vine hanging from a statue head, jump up and grab it to pull on it. This will always cause something interesting to happen.
World 4: Cave

This fourth world takes you deep inside Donkey Kong Island. The Cave features lots of levels in which you ride around in mine carts. You must jump at just the right time and duck down so you don’t get hurt in areas with low clearance. Your main enemies here are Mole Miners and Squeeklies. Just remember, those mine carts don’t have any brakes.
World 5: Forest

The Forest is the island’s fifth world and takes place high in the trees. Be careful when jumping, because if you miss a platform, it is a long way down to the ground. In many of the levels, you will need to use vines to get across areas without platforms. In addition to Tikis and Squeeklies, watch out for the ape-eating Chomp plants. In the forest, the flora can be just as dangerous as the fauna.
World 6: Cliff

The Cliff is the island’s sixth world and offers a variety of challenges as you progress through it. Watch out for Skellirexes and Hothead Jeds as you avoid the tar pits. You will do a lot of jumping onto small platforms, leaping across wide gaps, and dodging spiky boulders. Be careful on the rickety platforms, since some will fall down shortly after you touch them.
World 7: Factory

The seventh world on the island is the Factory. It is a dangerous place. Some areas are so smoggy you can hardly see. In addition to the mechanical enemies such as BuckBots, Pyrobots, and Pogobots, the machinery in the factory is also a threat to your health. Watch out for mechanical hands and pistons that can flatten you if you are not careful. Since the factory has tall ceilings, always look up high for items and collectibles.
World 8: Volcano

The Volcano is the eighth world and one of the most dangerous on the island. Hot lava bubbles below the platforms while fireballs and Char-Chars fly through the air threatening to singe your fur. Expect lots of flaming Tikis as you jump across narrow platforms that sink down into the lava. When you step into the Volcano, you definitely know that the heat is on. Keep a cool head as you progress through these levels, ultimately reaching the final boss, Tiki Tong.
World 9: Cloud

Should you manage to not only surpass the original eight worlds while spelling KONG in every single level, and also managing to reach the end of the eight temple level levels found in the first eight worlds, you unlock the Golden Temple. The Cloud acts as a gate to the final world, with nine more levels standing between you and complete mastery of Donkey Kong Country Returns 3D! Bring all the red balloons you can spare— these bonus levels represent the game at its most challenging. The first eight levels of this world are designed to resemble locations found within the first eight worlds, while the ninth level takes place in a unique landscape. Though, we suppose calling it a landscape might be stretching the truth a bit.
New Mode or Original Mode?
One of the new additions to Donkey Kong Country Returns 3D is a choice of difficulty settings available at the start of a brand new save file. Veteran gamers, and returning players of the original Wii release, might feel more at home with the Original Mode, which provides the challenge the original release. However, for the uninitiated or those who want a slightly reduced challenge (and believe us when we say there is no shame in desiring that from this game), the New Mode is a perfect leap-off point toward eventual mastery of the game. The following lists illustrate the primary differences between both settings.
Original Mode
- Donkey Kong and Diddy Kong start with two hearts.
- Cranky Kong’s Shop items are at their original prices. Expect to spend a lot of coins to maintain your inventory!
- You can only equip one item before starting each level.
New Mode
- Donkey Kong and Diddy Kong now start with three hearts, giving you some extra leeway during intense moments.
- Prices of items at Cranky Kong’s Shop are greatly reduced.
- Cranky’s Shop has three items exclusive to New Mode.
- You now have three item slots to equip with your Shop purchases before starting each level.
Collectibles and Items
There are several different items in the game. Some you find as you progress through the levels, while others you can purchase at Cranky Kong’s Shop. Read on to find out why you need these items and how they can help you.
Collectibles
K-O-N-G Letters

Every level in a world, with the exception of the boss levels and the final world, contains four KONG letters. They are always easy to find as you progress through a level: however, they are not always easy to get. Touch these KONG letters to collect them; if you collect all four KONG letters during a level, the letter circle in the overview map is filled in when you select that level. Get all of the letters for all of the levels in a world and you can unlock that world’s temple level. Be careful as you navigate a level: should you lose a life, you are sent back to the last checkpoint you reached, and any KONG letters recovered before you reached the first level checkpoint or after a checkpoint are taken away!
Puzzle Pieces
Every level, with the exception of the boss levels, has five, seven, or nine Puzzle Pieces. Some of these are easy to see and collect. However, many of the Puzzle Pieces are difficult to reach or find. They can be in hidden areas or released by pounding on objects. Some Puzzle Pieces can be found by blowing on flowers or similar objects. If you collect all of the Puzzle Pieces in a level, the puzzle circle in the overview map will be filled in when you select that level. Collecting Puzzle Pieces unlocks extras in the game.
Every level has at least one bonus area. Access these by moving into caves or shooting out of barrels. These bonus areas have a time limit of about 30 seconds. Within that time, you must collect all of the items. There will always be bananas and Coins, and some bonus areas even have a balloon or two. If you can clear out the area before the time runs out, you will be rewarded with a Puzzle Piece. Therefore, if you are having trouble finding that last Puzzle Piece, try completing the bonus areas for the level.
Items
Bananas
Every level is filled with bananas. You can find them floating in the air, hidden under plants on which you blow, or in objects that you can pound on and smash. bananas come individually and in bunches of five. Why should you collect them? Because bananas add up. Whenever your banana count reaches 100, you get another balloon. Read on to find out why this is important!
Banana Coins
Banana Coins are the currency of Donkey Kong Island. They can be found in many places just like bananas. Also, if you knock out three enemies in a row without touching the ground, you get a coin for your effort. If there is a long line of enemies, you get coins for the third enemy and each enemy after that up to the seventh enemy. For subsequent enemies in a row, starting with the eighth, you get a red balloon! Bonus areas all have coins as well.
Hearts
As you take damage from enemies, you lose one of your hearts, and when all of your hearts are gone, you die. Look for hearts throughout the levels to replace those that you lose. Picking up a heart will only restore lost hearts. If your health is full, the heart does nothing for you. Hearts can’t be stored for later—they are instant-use items. Look for them in the same places as bananas and coins.
Balloons
Balloons provide extra lives. When Donkey Kong loses all of his hearts in a level, a balloon will carry him back to the level’s start or the last checkpoint you reached. Balloons are located within the levels and in some but not all bonus areas. Balloons within levels often float into the air shortly after they appear, so if you see one, run forward and get it before it floats out of reach. You can also earn balloons whenever your banana count reaches 100.
Barrels
There are several types of barrels in the game. Some you can jump into and shoot out of, and others you can pick up. Press the grab button to pick up a barrel and hold the button down to carry it. When you release the button, your character will throw the barrel. Thrown barrels can knock out most enemies with a single hit. They can also be used to break open some walls to access hidden areas. If you see a bag with rings on it hanging from the top of the screen, throw a barrel at it and you will get an item.
DK Barrels
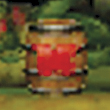
During single-player games, picking up and throwing a DK Barrel will release Diddy Kong and put him on your back. Diddy Kong increases your number of hearts. If you lose two hearts (three on New Mode), you also lose Diddy Kong. If you already have Diddy Kong on your back, throwing a DK Barrel will restore any missing hearts. Since Diddy Kong can make getting through levels easier, always pick up and throw these DK Barrels.
Rambi
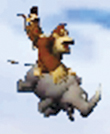
In some of the levels, you will see wooden crates with a Rambi on them. Jump onto these crates and pound them to release a Rambi. You can ride a Rambi around a level. They are great for busting through blocks, clearing out spikes, and bulldozing through enemies. You can climb off and then back onto a Rambi if you need to dismount for a while. Since you can’t blow while on a Rambi, dismount if you need to deal with some flowers or other such objects. While Rambi is tough, stay away from flames and flaming enemies. Hitting these will cause the Rambi to throw you off. Rambi will start to walk away, so get back on or you will lose the rhino.
Cranky Kong’s Shop
While you can find items in the levels, stop by Cranky Kong’s Shop to spend all those coins you find. Some of the items he sells can really come in handy.
Red Balloons
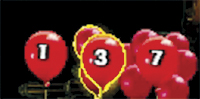
While you can find red balloons or earn them by collecting bananas, Cranky Kong is happy to sell them to you. You can purchase one balloon for 3 coins, three balloons for seven coins, or seven balloons for 15 coins. If you are going into a tough level, stock up on balloons.
On New Mode, the prices for the Red balloons are as follows: One balloon for 2 coins, three balloons for 5 coins, and 7 balloons for 10 coins.
Map Key
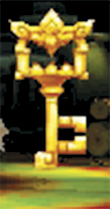
Every world has a locked path. The only way to unlock the path is with a Map Key. These can only be purchased for the world in which Cranky Kong’s Shop is located. It immediately unlocks the path as you exit the shop. This means you can’t buy a key in one world and use it in another. Map Keys sell for 20 coins. If it lets you skip a level or two, they can be worth the cost.
On New Mode, Keys costs only 10 Banana Coins. Practically a steal!
Squawks
Are you having trouble finding all of the Puzzle Pieces in a level? Then purchase Squawks for 15 coins. Before you begin a level, choose Squawks from your inventory. He will sit in the screen’s bottom-left corner as you play through the level. When you get close to a Puzzle Piece, even if it is hidden or in a bonus area, Squawks will start, well, squawking. The closer you get, the more he will squawk. While this will not tell you the exact location of the Puzzle Piece, it will let you know that you are close and where you should be looking. Squawks is good for only one use. He will stay with you in the level even if you die, but as soon as you exit or complete the level, he is gone. But don’t worry, you can purchase him again at Cranky Kong’s Shop. In fact, you can purchase Squawks several times if you have enough coins and keep several in your inventory.
On New Mode, Squawks costs a mere 5 Banana Coins.
Heart Boost

For only 10 coins, you can add an extra heart to your heart count. This can help you get through some of those tough levels where you need just one more heart. As with other inventory items, the heart boost is a one-time use item. However, you can purchase more than one at a time and store them in your inventory.
The heart boost is significantly discounted on New Mode, costing a paltry 3 Banana Coins.
Banana Juice
Banana Juice costs 10 coins per bottle. Once you select it within your inventory, the juice is automatically used at the start of the level. On Original Mode, the Banana Juice allows you to take 10 additional hits before succumbing to the enemy, while on New Mode you can take 15 extra hits! Of course, instant death traps remain just as lethal. Bottomless pits, lava, or crashing into derailing obstacles in mine cart or rocket barrel levels will still take you out immediately, wasting the juice.
The effectiveness of Banana Juice in New Mode means its discount is not quite as extensive as other items enjoy, with the price only going down to 7 coins.
Green Balloons

Players familiar with Donkey Kong Country Returns 3D on the Wii console, or series veterans in general, already know that a a Donkey Kong game will have you falling to your doom often. Your first run through some of the later levels can absorb a great many of your extra red balloon before you finally nail down a difficult platforming sequence.
One of the New Mode exclusive items, the green balloon allows you to recover ONCE from a fatal plummet, pulling the Kongs back onto the screen and even giving you a chance to steer yourself towards safety before the balloon gives out. Costing 3 Banana Coins, the green balloon is a good way to give players a chance to right a wrong jump. Unfortunately, the green balloon can’t rescue you from falls into lava. Something about searing hot temperatures and the thin skin of a balloon.
Crash Guard

At 10 Banana Coins, the Crash Guard oil gives you a chance to survive two otherwise instantly fatal crashes during any mine cart or rocket barrel sequence; it’s another great New Mode exclusive item. As the Crash Guard has such specific uses, the game will not let you take it into any non-mine cart/non-rocket barrel level. If you feel that one of these races is putting you at your wits’ end, the Crash Guard can help alleviate some of the stress. Mind you, certain things the Crash Guard can’t help you with, like falls into bottomless pits.
DK Barrel
Arguably one of the most useful of the New Mode items available just for the sheer convenience it provides, players can take up to three DK Barrels from Cranky’s Shop into a level. At 5 coins a DK Barrel, you can provide yourself quick and easy access to health recovery and the chance to bring Diddy into levels that don’t normally provide him.
Enemies
Donkey Kong Island is infested with all types of enemies. To complete each of the levels, you must either knock these threats out of your way or avoid them altogether. Each enemy has its own attack and way to be defeated. Read up on each one so you know what to do when they cross your path.
Awk and Rawk
The blue Awks and red Rawks are birds that walk along the ground and try to run into you to cause damage. They are similar, except the Rawks walk faster and are therefore a bit tougher to get. To defeat these birds, either barrel roll into them or hop on top of them.
Frogoon and Hopgoon

These amphibians will either hop up and down in one spot or hop across a platform. You must jump on top of them to defeat them. Try to time your jumps so you land on them, as they are on the ground rather than in the air. If they are positioned up high on a Screaming Pillar or block that you have to get over, watch their jumps. Sometimes they jump high followed by a low jump. The best way past them is to go underneath them while they are jumping high.
Tiki Goon
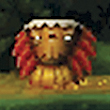
The Tiki Goon is the grunt of the Tikis. It moves along the ground and will try to run into you. Jump on top of them to get rid of them. Barrel rolls also work well when you need to take out a row of these guys.
Tiki Doom
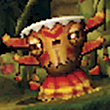
This large version of the Tiki Goon is tougher to take down. You must jump high to make sure you land on it and then get in three hits before it goes down. The plus side is that they usually give up a coin when defeated.
Tiki Buzz and Tiki Tork
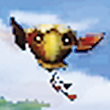
These are two Tikis that can hover in the air. To take down the Tiki Buzz, hit it once on its top. The Tiki Tork requires a couple hits. While they can be obstacles, they can also come in handy for getting across gaps or accessing higher platforms. Jump across on top of these enemies; press the jump button just as you hit them to get extra height. Flaming Tiki Buzzes are on fire, so don’t try to jump on them. Just jump over or duck under them or you will get hurt. It is possible to extinguish Flaming Tiki Buzzes by blowing on them.
Tiki Boing
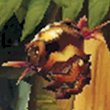
This Tiki can jump a bit and will come after you. Because of its jumping, it is tougher to jump onto to knock out. Be sure to jump high and then move right or left to make sure you land right on top of it.
Tiki Torch and Tiki Bomber
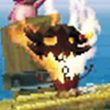
These two Tikis are hot and flaming. Don’t try to jump on top of them or you will take some damage. Instead, blow on them to extinguish their flames. Before they reignite, jump on them to get them out of the way. The Tiki Bomber can be tougher, since it shoots out blue fireballs. It will usually shoot two in a row, then pause before shooting two more. So wait for the second shot, then move in for the blow.
Tiki Tank
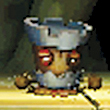
Tiki Tanks are tough. You can jump on them and nothing happens. In fact, they can be useful for getting across hazardous areas or to get extra height. Just jump as soon as you hit the top of them. If you need to defeat a Tiki Tank, pound the ground next to it to stun it and knock off its top. Then jump onto it and it is history.
Tiki Zing
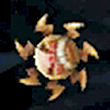
These floating Tikis are surrounded by spinning blades. If you touch them, you take damage. The best strategy is to stay away from them. Either duck under or jump over them if necessary. If you have a barrel, throw it at Tiki Zings to knock them out of your way.
Mimic
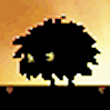
Mimics look like harmless bushes. However, as you approach, they will stand up and rush you, trying to cause harm by running into you. Jump over or onto them to get rid of them.
Snippys and Pinchly
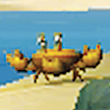
These two creatures can often be found near the sea. The yellow Snippys are easily defeated by jumping on top of them. Pinchlies are a bit tougher. You must jump on top of them to get them to raise their claws, then pound the ground to flip them upside down. Now you can jump on their unprotected underside to knock them out.
Squiddles and Electrasquid
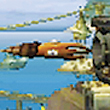
Round, turretlike structures called Squid Shots fire both of these enemies. They fly through the air in a straight line. Jump over or duck under them to avoid being hit. While you can defeat a Squiddles by jumping up and landing on top of it, don’t try it with an Electrasquid. Its electric charge will damage you. The challenging thing about these enemies is that they are often fired in groups from multiple Squid Shots, so you have to move quickly to avoid being hit. Since you can jump off a Squiddles, try using this enemy to reach higher platforms or items.
Jellybob and Nibbles
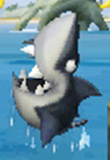
Both of these creatures live in the water and jump into the air to try hurting you. You can throw barrels at them to knock them away. However, usually it is just best to time your jumps to avoid them altogether.
Stilts
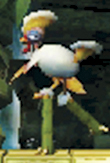
Stilts are birds that try to run into you. Some of these birds actually walk on stilts, making them tougher to defeat since you have to jump high to land on them. Stilts move faster than Awks, so you must move faster to defeat them.
Toothberry and Cageberry
Toothberries are little blue balls with teeth that bounce around and try to hit you. Take them down by jumping on top of them. Some of these creatures have been placed into cages. You can’t defeat a Cageberry, but you can use it. Pound the ground next to it to flip it over so the sharp side is facing down. Now jump on top of the flat bottom and pound the Cageberry into the ground. Stand atop the cage, and when it pops out of the ground, it will propel you into the air, allowing you to reach high platforms or items.
Ack and AckStack
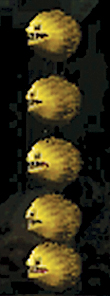
Acks are large Toothberries. You must hit them on top a couple times to defeat them. They can appear on top of one another in AckStacks. Since they are too tall to jump over, you need to make them fall over. To do this, get in close to an AckStack. It will rear back. As soon as it starts leaning in your direction to attack, run away. As it is flattened on the ground, you can then jump on the individual Acks to clear them away.
Squeekly
These flying creatures come in different sizes; they can be small or large. They fly toward you in a straight line. Either duck underneath them or jump on top of them. You can use them to reach higher positions with a carefully timed jump.
Moles
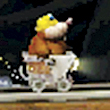
When you are down in the caves, Mole Miners and Mole Guards will attack you. They either ride in mine carts or float around suspended by balloons. Hit them on top to defeat them.
Chomps

Chomps include all varieties of carnivorous plants. They come in different shapes and sizes. Some will reach up and try to bite you while others shoot projectiles that damage you if they hit. You can jump on top of the shooting Chomps to dispose of them. The biting Chomps can only be defeated by using barrels.
Buzzbite

Buzzbites are fast little creatures that move along the outside of blocks and platforms. You can’t defeat them. Just jump over them, since they will cause harm if they touch you.
Wiggle
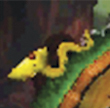
Wiggles usually move around objects in the forests—especially those with a grassy layer. Climb away from these creatures, or if you are on top of an object, jump and land on these enemies to knock them off and out of your way.
Skittler
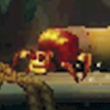
Skittlers can either crawl after you on platforms or drop down from their webs to attack. Jump on top of them to defeat them. You can also use those hanging from webs to jump off of and reach higher spots.
Skellirex and Skullyrex
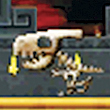
Found in the Cliff World, come after you to attack. Jump on top of them, and the body will fall away, leaving just a Skullyrex. Another hit and the Skullyrex is history. Skullyrexes can bounce around on their own in some places without having a body to begin with.
Hothead Jed
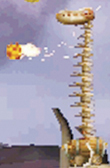
Another skelatal creature, Hothead Jed rolls around and extends its neck while shooting fireballs. Jump on top of its head to stun it, and then jump on it again to finish it off. Use these creatures with their necks extended to jump to higher positions.
Pogobot
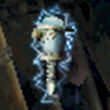
You encounter these enemies in the Factory. Pogobots bounce up and down. You can defeat them by throwing a barrel at them. However, since they are surrounded by electricity, don’t jump on them. Just jump over or roll under them while they are in the air.
Pyrobots
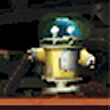
Pyrobots come in two models. Both shoot out jets of flame and try to roast you. The Mk I is the older model. Jump on it to stun it and get away from it. You can’t defeat it. The Mk II is the newer-looking model. Jump onto it and hit it a few times to destroy it.
BuckBot and BuckBomb
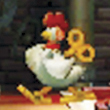
These robot birds will come after you. Jump on top of them to defeat them. The brown BuckBomb will blow up a few seconds after you jump on it. You can use this to your advantage, since it will destroy nearby enemies, including Pyrobots.
Electroid

These creatures are electric and are best avoided. Either jump over them or duck under them to avoid taking damage. Some will stay in one place while others move back and forth.
Char-Char
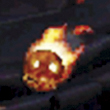
These hot little creatures will burn and damage you if they hit you. It is best to dodge them in order to stay safe. You can blow on them to defeat them; however, this is risky since they move quickly and you have to crouch down to blow.
Tiki Seeker
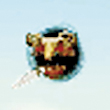
Tiki Seekers appear only in the Golden Temple level. They will emerge from a dark hole in the sky and will shoot projectiles at you. As soon as you see a dark hole appear, get ready to move or jump to avoid the projectile.