
Tears of the Kingdom – How to Get the Frostbite Armor Set in TOTK
Become one with the wind and sky.

One of the most exciting parts of The Legend of Zelda: Tears of the Kingdom isn’t even the adventure you get to partake in, but the clothing and accessories that you find along the way. As you explore the land of Hyrule and begin speaking to different characters that you encounter, you’ll come to find that there are so many different pieces of armor spread out throughout the world that you may not have even known about. Finding the Frostbite Armor will make you more powerful than ever before, especially when you are exploring the colder areas of the world before you. Here’s how to get the Frostbite Armor Set in Tears of the Kingdom.
What Do You Need To Find Frostbite Armor Set in TOTK?
You’ll need a few things before you hit the ground running to find this set, including 2 Skyview Towers and the Vow of Tulin. To unlock the Vow, you’ll need to access the Rito village and clear the first Temple that awaits you. After this, access these two Skyview Towers to ensure you’re ready to fly:
- Rospo Pass Skyview Tower coordinates (-3686, 2342, 0233)
- Pikida Stonegrove Skyview Tower coordinates (-2318, 3066, 0443)
- Two Cold-Resistant Clothing or Cold Resistance Food
We also strongly suggest getting the Glide Armor, as it will help you when trying to cover longer distances from the Skyview Towers.
Where To Get Frostbite Pants In Tears of the Kingdom
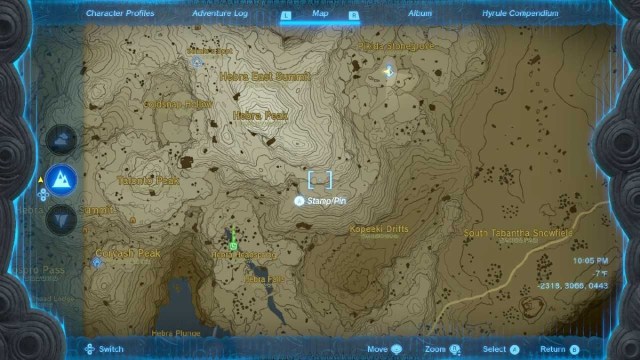
Start at Pikida Stonegrove Skyview Tower, coordinates (-2318, 3066, 0443), and place a pin on your map near Hebra Headsprings, coordinates (-2803, 2515, 0393). Launch yourself out and start heading toward the location on your map, alternating between diving and gliding, using the Vow of Tulin to propel yourself further forward. Once you have landed in or near the river leading up to Hebra Headsprings, avoid going inside of it, as it will be unbearably cold, no matter what you are wearing.
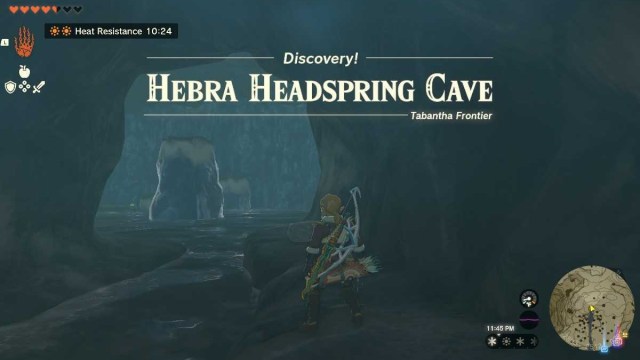
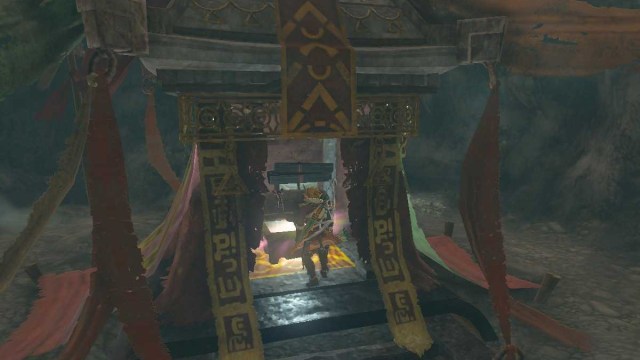
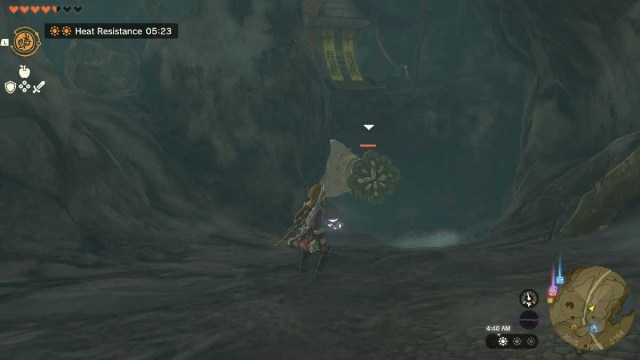
You’ll know you’ve arrived at the proper spot once you see the following text above. You’ll also see a large pillar in front of you. Jump over the small river, and head toward the backside of these pillars. While they may have ice on them, if you jump onto them and then immediately jump up the side to grab the top, you won’t need to worry about slipping.

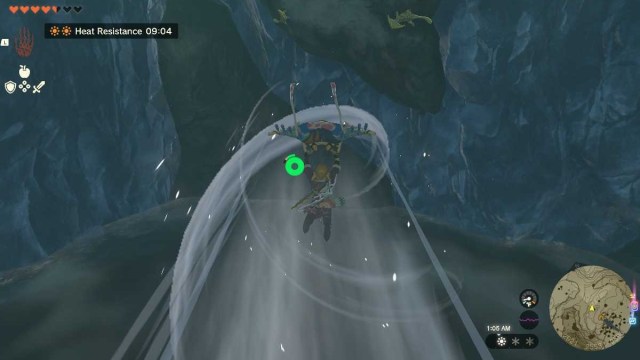
You may also notice that two Ice Keese are floating around in this cave, which you can easily dispatch with your bow and arrows. Take care of the flying pests, and look straight on to spot a small crack in the wall. This is where you will need to go next, and you can either jump and use the Vow of Tulin to hit the spot, or climb up from the bottom of the wall and utilize that Jump to the top practice you did with the Pillars before.
Related: How to Climb Ice Walls in Tears of the Kingdom
Once you have entered this room, you’ll just need to approach the treasure chest before you and open it up to reveal the Frostbite Trousers inside. Exit this cave and get ready to find the Frostbite Shirt next.
Where To Get Frostbite Shirt In Tears of the Kingdom


Start at Rospo Pass Skyview Tower, coordinates (-3686, 2342, 0233), and place a pin on the Brightcap Caves, coordinates (-2999, 1649, 0201), and launch yourself into the air. Along the way, we’ll also discover a Shrine that we can use to upgrade our Health or Stamina, so a small detour is in order.
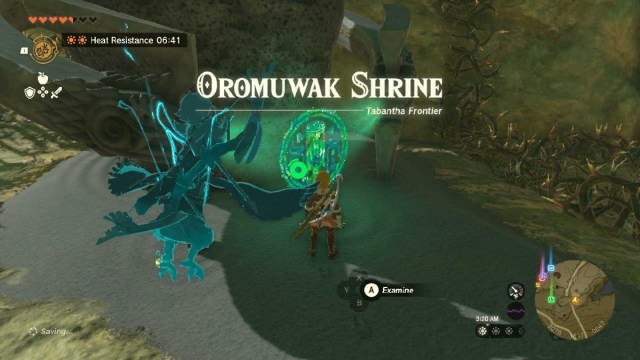
On our descent, we’re going to take a quick pitstop at Oromuwak Shrine, coordinates (-3076, 1617, 0243) and activate it so we can return at a later time. As you can see on the Mini Map above, it’s located very close to our destination, so we can get there rather quickly. This shrine is surrounded by Barbs, however, so make sure that you have something to set them ablaze.
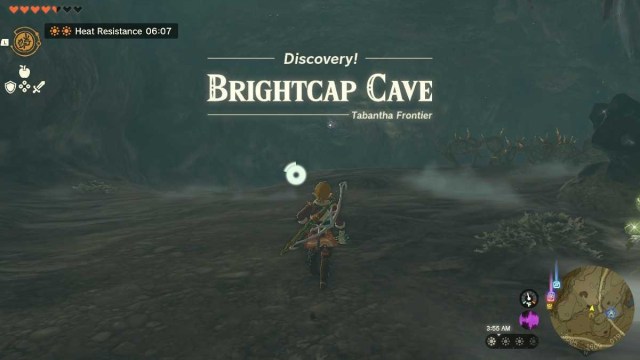
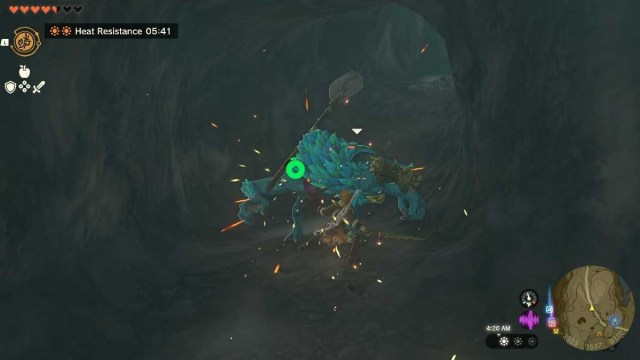
As you enter Brightcap Cave, be cautious of your surroundings. While the path to the Treasure Chest containing this shirt is easy to follow, you may find yourself getting almost instantly ambushed by a Horriblin, the lanky, wall-crawling creatures that are baring Spears. Dispatch it quickly, and continue working up the path.
As you near the end of the path, a Like-Like will pop out of the wall and begin attacking you. Either using Fire Fruit or Bomb Flowers, wait until this creature opens its mouth and either toss one in or shoot it by Fusing the material to an arrow. Or, if you’re like me, you can just run past it and deal with it later.
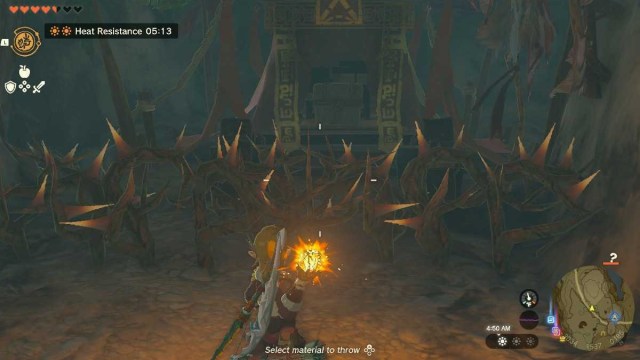
Once you reach the top of this path, you’ll find the Treasure Chest surrounded by Barbs. Ready a Fire Fruit by pressing the R Button, and then Up on your D-Pad. Toss this flaming fruit onto the prickly plants in front of you, and wait for the first to go out before approaching and opening the Frostbite Shirt that waits for you. Now, we’re onto the final piece of the set.
Related: How to Throw Materials and Weapons in Tears of The Kingdom
Where To Find The Frostbite Helmet In Tears Of The Kingdom

Using the Rospo Pass Skyview Tower, coordinates (-3686, 2342, 0233), set a pin on your map for the entrance of Lake Kilsie Cave, coordinates (-3930, 2849, -0015). You will need to reach the bottom of this mountain before you can find the cave entrance, so keep heading down further than you would normally expect.


Once entering Lake Kilsie Cave, you will once again be attacked by a Horriblin, so dispatch them quickly. After they have been defeated, jump into the Updrafts and look for the large Icicles that are in front of a breakable wall. You’ll need to bring out your Bow and connect a Bomb Flower to an arrow, shooting it into the cave and destroying the wall. If you would like, you can also land in the area and blow it up the old-fashioned way.
Related: Is Gleeok in The Legend of Zelda: Tears of the Kingdom? – Answered

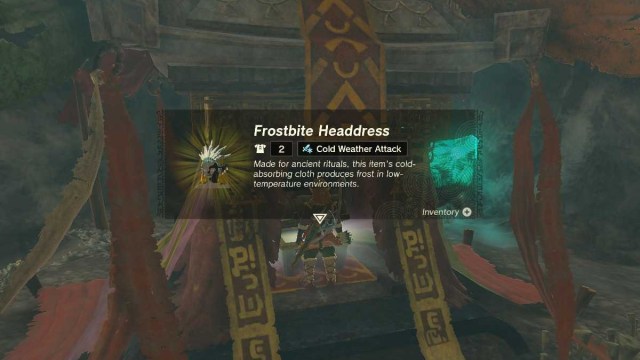
Once inside, you’ll spot the Treasure Chest containing the Frostbite Headdress, completing your set. As you continue upgrading this, you’ll be the most powerful swordsman in the land, as the Starred Upgrades increase your power by a fairly large amount. Now, set off on your adventures in The Depths to claim the Miner Set with your new favorite outfit!
Materials Needed To Upgrade Frostbite Armor in Tears Of The Kingdom
If you’ve fallen in love with the style of this armor and want to unleash its full potential, you’ll need to meet up with the Great Fairies and upgrade your gear. While the process to make this happen can be a little costly, it’s worth it if you’re planning on exploring the coldest parts of Hyrule, thanks to its Cold Weather Attack Up bonus that is unlocked when wearing it. If you want to upgrade your armor, you’ll need to gather the following items for each piece to make it the best it can be:
- 1 Star Upgrade – x3 Ice Fruit, x10 Rupees
- 2 Star Upgrade – x5 Ice-Breath Lizalfos Horn, x5 Winterwing Butterfly, x50 Rupees
- 3 Star Upgrade – x5 Large Zonai Charge, x5 Ice Like-Like Stones, x5 Cold Darner, x200 Rupees
- 4 Star Upgrade – x5 Gleeok Frost Horn, x10 Large Zonai Charges, x10 Chillfin Trout, x500 Rupees
Now that you’re ready to go, make sure that you check out our Tears of the Kingdom section below to get your hands on plenty of helpful tips and tricks that can make Hyrule your favorite place to visit. No matter if you just need to find Hateno Village or want to take down a Gleeok to claim their horns for this armor, we’ve got you covered on every step of the journey.