
How to Get to Rito Village in Tears of the Kingdom
Get access to the Rito Village with ease.
After landing on the lands of Hyrule, your quest is just beginning in The Legend of Zelda: Tears of the Kingdom. Due to some insane forces of nature, you’ll need to visit a few familiar towns once again, but you may not recognize their new makeovers, due to the way that the world around you has begun to change since the Upheaval. The first Village you are recommended to visit is the Rito Village, which is now coated in a thick layer of snow, but a few obstacles may make the journey more intense than ever. Let’s find the easiest way to get back into this village once again.
How To Enter Rito Village In Tears Of The Kingdom
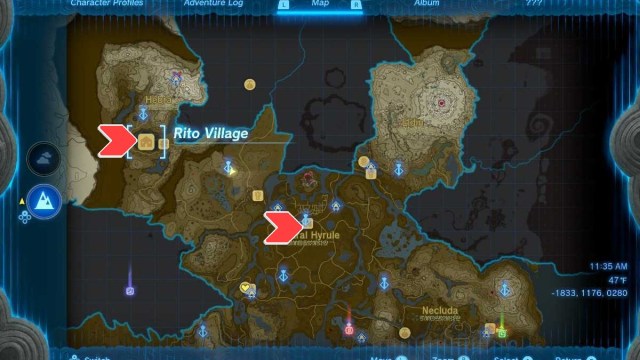
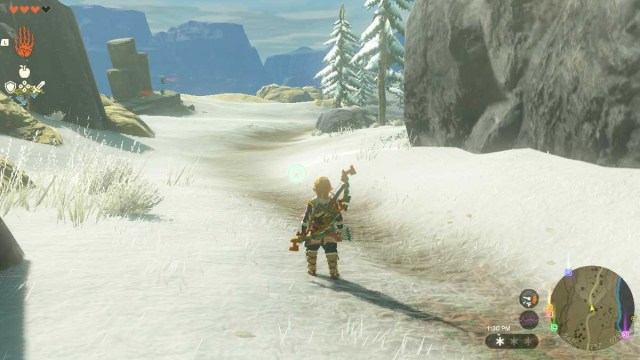
If you are starting from Lookout Landing, you’ll want to make your way Northwest to find the Rito Village. With four locations marked on your map, this first stop on your adventure is easily the most recommended. On your way, you’ll want to ping and unlock Lindor’s Brow Skyview Tower, as it will make the journey much easier than ever expected. While this Skyview Tower may be surrounded by water, there are plenty of planks that can be used to create a massive bridge to access it.
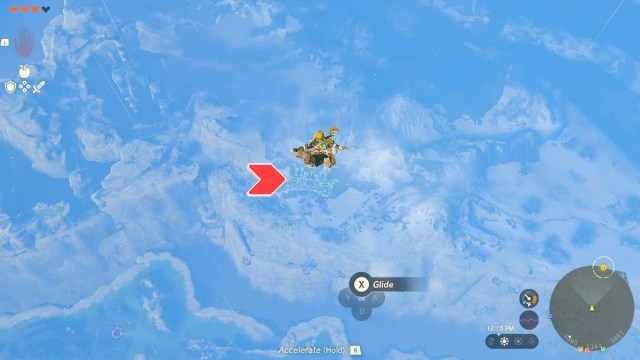
Once you have been rocketed into the air, you’ll want to try and spot this glowing painting that means you are in the right direction. After falling from the sky, eventually, you’ll want to pop open your glider and start making your way over toward it more. Make sure that you keep enough stamina that you can pop it open one last time before you hit the ground and splat into a Link pancake.
Related: How To Import Your Horses From Breath of the Wild To Tears Of The Kingdom

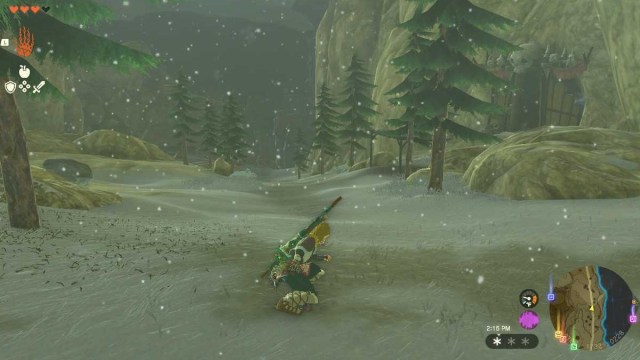
Once you have landed, you’ll want to stick to this trail, as it will get you the closest to your next destination as possible. You’re looking for a spot called The Lucky Clover Gazette, which is an important building to find if you’re hoping to unlock the Great Fairy Fountains. If you’re feeling risky, or just want to shred some gnar, you can always shield surf and get to the bottom of this hill quickly.
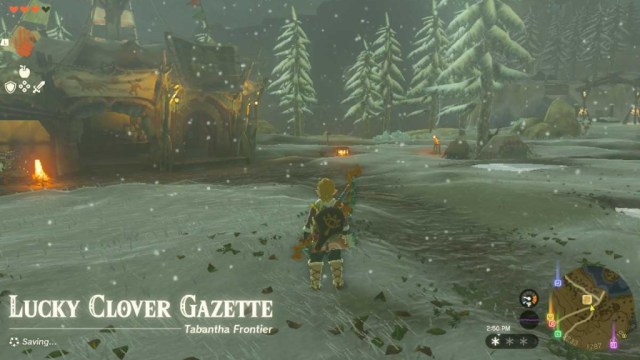
Once you have reached your destination, you’ll want to look for the NPC that is standing near a fire to keep warm. You also should stop in this building and speak to the reporters inside to unlock a few extra side quests that you can do in the future. Once you have approached the NPC, they’ll mention that the bridge is broken and there is no way across. Thankfully, we have a secret weapon up our sleeves.
Related: How To Earn Rupees Quickly In Tears Of The Kingdom
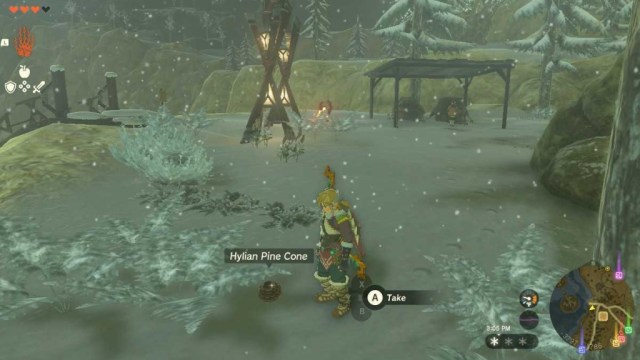
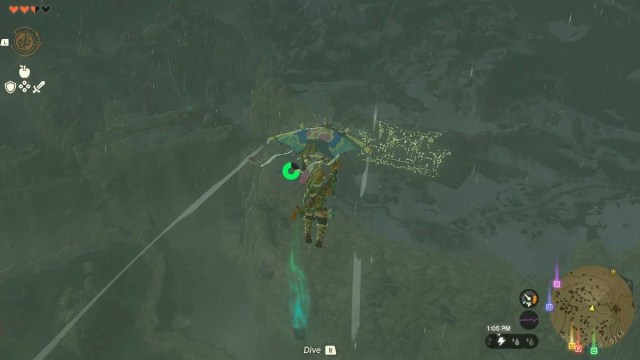
Slightly to the side of the bonfire, you can spot an item called the Hylian Pine Cone. If you drop this particular item into a fire, it will cause an updraft of wind that you can use to glide across the cavern and get across the bridge into the Rito Village. You can find a few more in this area, and it wouldn’t be a bad idea to stock up on a few of them in case you mess up a time or two. Or, you can save your game and reload if you don’t want to search for more of them.

Approach the fire, then press and hold Up on the D-Pad. This will bring up your quick menu, which will allow you to grab an item quickly and drop it. Highlight the Hylian Pine Cone and drop it into the fire before you. You’ll watch it erupt, and a huge gust of wind will envelop the bonfire. Jump using the X Button, and press X again to activate your glider.
Related: How to Start a Fire in Tears of the Kingdom

Once you have reached the top of the gust, you’ll just want to head over the broken bridge, landing in the snow-covered Rito Village. Make your way up the bridges in front of you, and you’ll be greeted with the full village before you, with a Statue of the Goddess waiting to give you its blessing for extra help along the way.
Now that you’re ready to continue your journey to find Princess Zelda, make sure that you’re checking out our Tears of the Kingdom guides below. You’ll find plenty of helpful information to get you started on your journey, and plenty to help you out along the way.