
Tears of the Kingdom – How To Get the Glide Armor Set In TotK
Fly through the skies with this armor set.

With Link’s new adventure taking place on both land and air this time, you’ll need any advantage you can get in The Legend of Zelda: Tears of the Kingdom. With various armor at your disposal, you’ll find that you can enhance your performance in various ways, but there is hardly a better starter armor than the Glide Armor set. While getting your hands on it may be a little tricky, it’s worth the boosted maneuverability while you’re plummeting from the skies above. Let’s find out where you can find each individual piece and the easiest ways to get there.
What To Prepare Before Getting The Glide Armor In Tears Of The Kingdom
Before you set out on this noble quest to gather one of the best armor sets for the early game, you’ll want to ensure that you have gotten your hands on a fair number of Zonai Charges, as they are required to partake in the trails on these Sky Islands. You can get Zonai Charges by defeating Zonai Soldiers, found in the Sky Islands tutorial area, or Temples found throughout Hyrule, such as the Rito Temple of Wind.
I find myself using the Glide Armor on an almost daily basis at this point, as I’ve kind of disregarded the main story and have just been exploring the vast lands of Hyrule and The Sky Islands. This armor makes gliding a breeze, so you’ll never have to worry about running out of Stamina again.
Related: How to Get to Rito Village in Tears of the Kingdom
How To Get The Glide Shirt In TotK
If you’re looking to get your hands on the Glide Shirt, we have an excellent write-up on how to get that early on in the game. To get started, you’ll need to head toward Courage Island, at the coordinates (-3385, 2528, 0318) in the Sky map. Use the Lindor’s Brow Skyview Tower at coordinates (-3385, 2528, 0318) and head toward Courage Island. Once you have arrived, you’ll need to partake in a small trial to show that you have the Courage needed to wear this part of the suit.
How To Get The Glide Tights In TotK
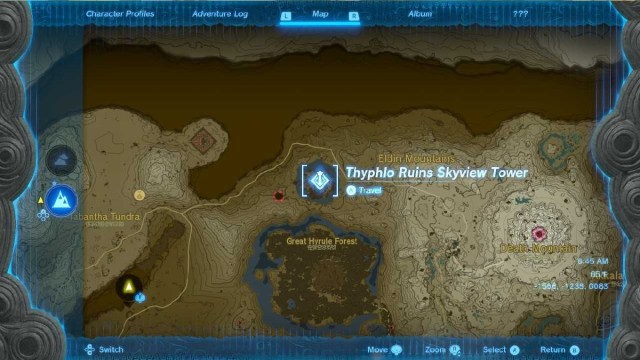
Up next are the Glide Tights, so head to the Thyphlo Ruins Skyview Tower at coordinates (0343, 3133, 0180 ) and launch into the air once again, heading toward the North Hyrule Sky Archipelago, found at coordinates (0342, 2805, 1821 ). You’ll spot a large cross-shaped island in the sky, with a Shrine on the right side arm. You can activate this so you can pop back up here without a hassle very shortly.
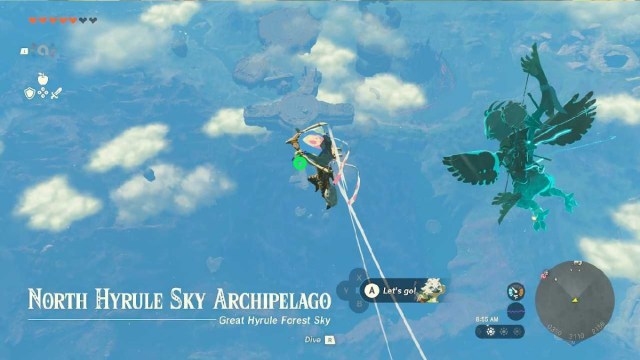

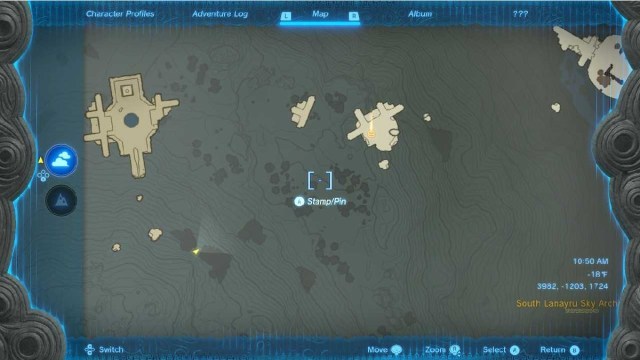
You’ll want to jump off of the edge, and start heading toward Bravery Islands, found at coordinates (0227, 2014, 0753) It will be underneath the large section of broken pieces that you can see in the second photo above, and try to land directly into the water to avoid taking any damage. If you’ve already equipped the Glide Tunic, this will give you the mobility you need to make it there easily, but make sure you utilize your glider, as well. If you have the Vow of Tulin in your inventory, you’ll make it there with no issues.
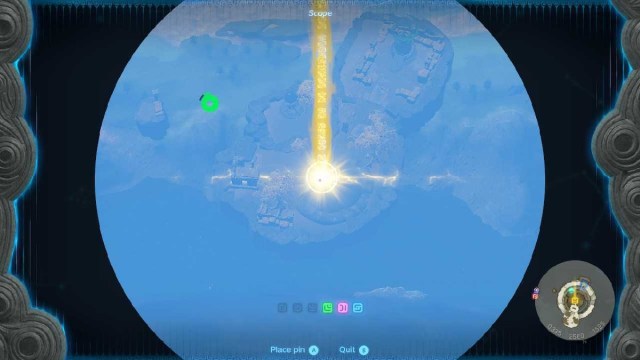
If you look to the South, you should be able to spot Bravery Island without much of a problem. While you are gliding, if you bring out the Purah Pad by clicking on the Right Stick, you can pause time and spot it, as we did in the photo below.
Related: How to Fast Travel in Tears of the Kingdom
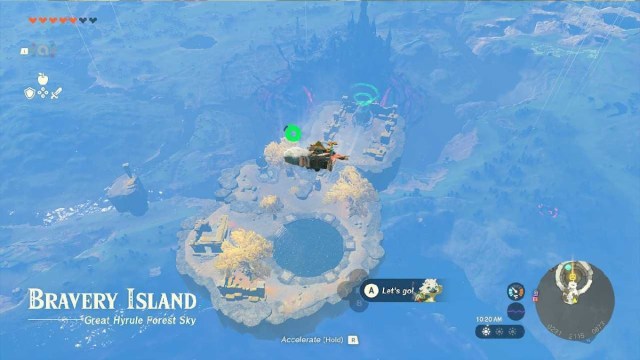
Once you have landed on Bravery Island, activate the challenge and speak to the Zonai on the island to start the second trial. This one is going to be a bit more difficult than the first, so you’ll need to keep your wits about you as you plummet toward the earth. You can keep your Glide Tunic equipped to make this easier than expected, thankfully.
How To Get The Glide Mask In Tears of the Kingdom
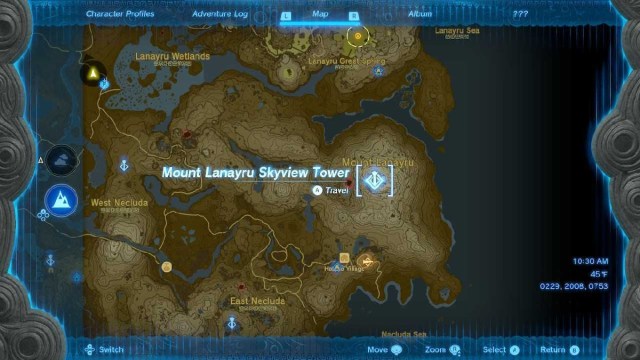
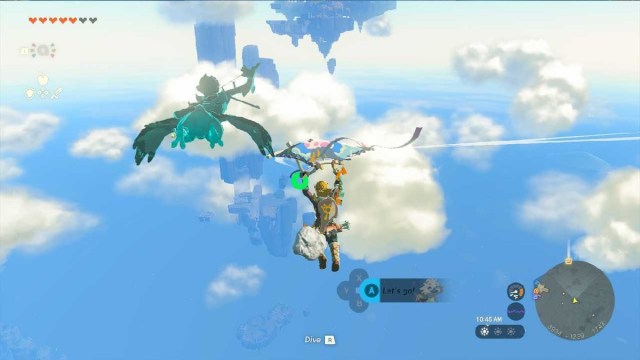
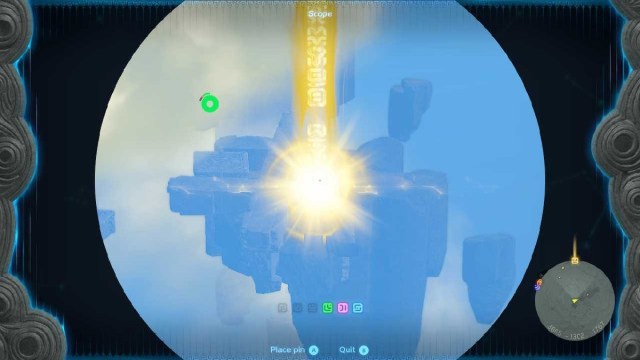
The Glide Mask is the most difficult to get, so start at the Mount Lanaryu Skyview Tower at coordinates ( 3846, -1306, 0539) and shoot up into the air once more. You’ll want to turn your camera immediately about 180 degrees, pop your glider, and bring out the Purah Pad to spot the location in the photo below. This is your next destination and the first part of arriving at Valor Island.
Related: How To Change Your Glider Fabric In Tears Of The Kingdom
Before launching, however, either eat some food with Cold Resistance or put on something a bit warmer, as you will be in the Unbearable Cold for a fair bit of this trip. If you have enough hearts, you may disregard this message.
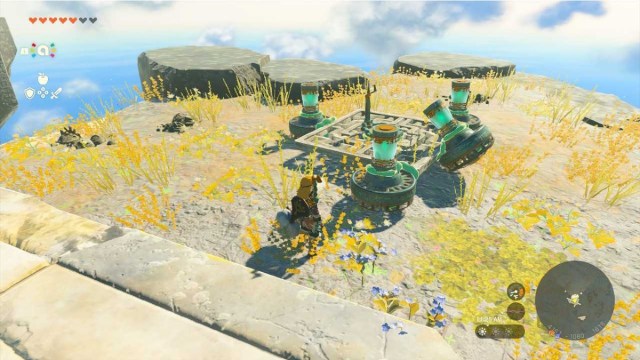
Once you have arrived on this first island at coordinates (4161, -1080, 1618), you’ll be immediately attacked by a Zonia on a pillar to the left. Dispatch them quickly, and then make your way to the small Zonai aircraft that has been created on this island and take control of the Steering Stick. You’ll want to head immediately forward for a while, and then jump off of this flying contraption.
Related: Tears of the Kingdom: How To Negate Fall Damage In TotK
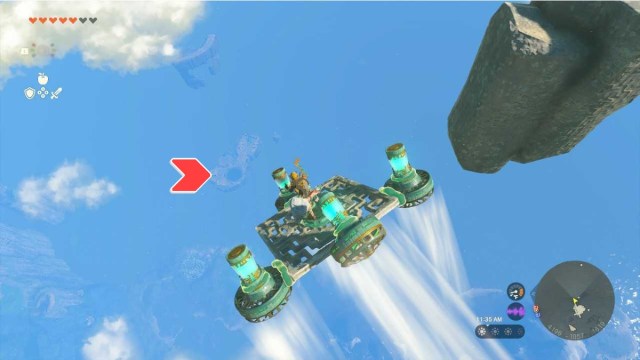
Once you have this island in your sights, you’ll be good to jump off and dive, making sure you land in the pond of Valor Island at the coordinates (4456, -0825, 1115). Once again, you’ll want to speak to the Zonai guardian and activate the trail, plummeting toward the lake at the bottom while hoping you beat the time allowed. After you have accomplished this, you’ll have the Glide Mask and the full set of Glide Armor.
The main thing that makes the Glide Armor worth your time and effort is the ability to cycle between gliding and diving to keep your stamina at respectable levels. As you aim for some of the more advanced armor sets, such as the Tingle Armor Set, this armor will become much more valuable than it already is.
How To Redo The Trails And What Do You Get In Tears Of The Kingdom
If you’re looking to try your luck and skill again, you can always revisit any of the islands by opening the Shrines on them. Each island has a Record Time that you can try and beat, and you’ll earn either Large or Extra Large Zonai Charges by beating the times of each island. You’ll also earn a special spot in the mechanical heart of each Zonai on the island, and your name in their record books.
How To Upgrade Glide Armor in TotK
There are a variety of reasons to upgrade any of your Armor sets that you find, but the Glide Armor has something rather special. By completing two upgrades on each piece of equipment, you’ll be able to completely negate fall damage, making it so Link can drop from the sky without even using his Glider to catch him.
Here are all of the materials you’ll need to upgrade your Glide Armor, and you’ll need these materials for each piece of the set:
- 1 Star Upgrade – x3 Keese Wing, x10 Rupees
- 2 Star Upgrade – x5 Aerocuda Wing, x6 Aerocuda Eyeball, x50 Rupees
- 3 Star Upgrade – x6 Aerocuda Wing, x8 Aerocuda Eyeball, x200 Rupees
- 4 Star Upgrade – x10 Aerocuda Wing, x12 Gleeok Wing, x8 Gibdo Wing, x500 Rupees
Now that you’re ready to hit the skies in style, make sure that you’re checking into our Tears of the Kingdom guide section below, as you’ll need help to make this journey more accessible. The world of Hyrule is massive, in the air, on land, and underneath the surface.