
Paper Mario: Sticker Star Guide Walkthrough Worlds
World Two
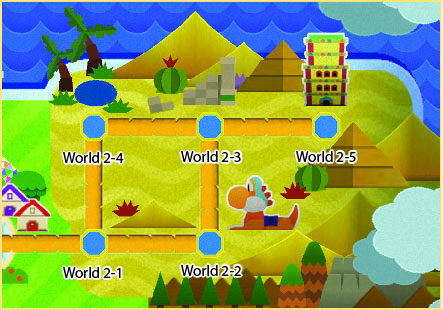
World Courses
| Number | Name |
|---|---|
| World 2-1 | Drybake Desert |
| World 2-2 | Yoshi Sphinx |
| World 2-3 | Sandshifter Ruins |
| World 2-4 | Damp Oasis |
| World 2-5 | Drybake Stadium |
World Two is filled with arid deserts, flowing quicksand, and crumbling ruins. As you explore each Course, you’ll find a few new foes peppered among familiar enemies. These new creatures are fairly durable, so adjust your tactics accordingly. Take advantage of the Battle Spinner, and look for the increasingly common shiny stickers scattered throughout most Courses.
There’s a Royal Sticker waiting in the ancient Drybake Stadium, but you’ll have to defeat the Tower Power Pokey before you can claim it!
World 2-1: Drybake Desert
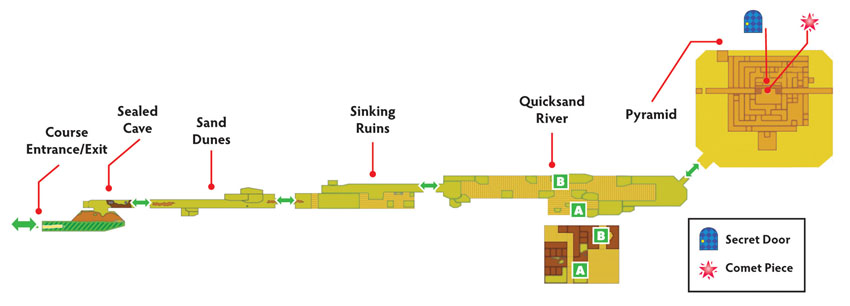
Overview
Prerequisites
This Course is available as soon as you leave Decalburg. Make sure your Album contains the stickers needed to open the sealed cave: Jump, Hammer, Mushroom, Poison Mushroom, Spike Helmet, and Fire Flower (or Ice Flower).
Once again, you must revisit this Course after you acquire a Secret Door.
Objectives
This Course contains several objectives, most of which can be completed during your first visit:
- Open the sealed cave.
- Rescue the bullied Toad.
- Collect the Big 1UP sticker.
- Collect the first Tablet Piece.
- Collect the Soda.
- Collect the HP-Up Heart.
- Collect the Comet Piece to unlock World 2-2.
- Collect the Car Battery from the Secret Door.
Important Items and Locations
| Description | Notes |
|---|---|
| Secret Door | The marked location is at the top of the pyramid. |
| HP-Up Heart | The HP-Up Heart is on a platform near the pyramid. |
| Toad Rescue | The bullied Toad is on a platform among the sand dunes. |
| Luigi Location | None |
| Wiggler Diary Entry | None |
| Things | The Soda is near the end of the quicksand river. The Car Battery is through the Secret Door. |
Recommended Tactics
This Course contains some new enemies, but the most dangerous addition is the Sombrero Guy. This devious enemy uses music to heal his allies or increase their attack power. A Sombrero Guy will jump into any and all nearby battles, so it’s best to deal with these enemies as soon as you spot them.
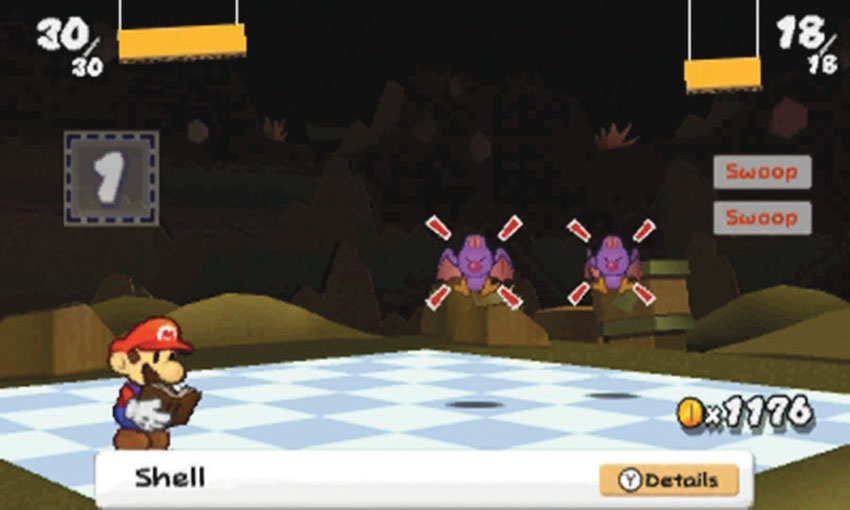
Swoops are airborne enemies, making them immune to many stickers. Use Jump-based stickers to deal with these fast-moving enemies, or select a Spike Helmet and take care of them while you defend yourself from their attacks.
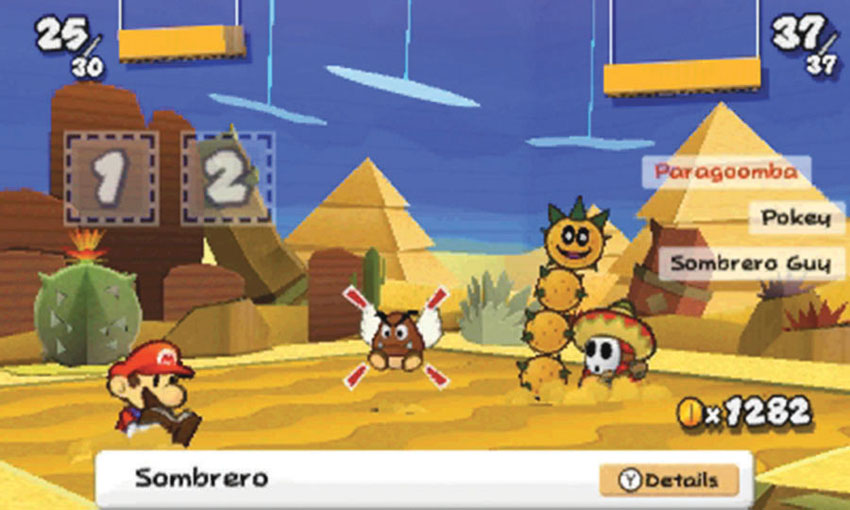
You’re bound to face some diverse groups of enemies, so you’ll want to keep a variety of stickers in your Album. Jumps and Hammers can be combined to overcome most groups—especially if you take advantage of the Battle Spinner—but you’ll want to bring a few Hopslippers, Slaphammers, and Spike Helmets.
Sealed Cave
.jpg)
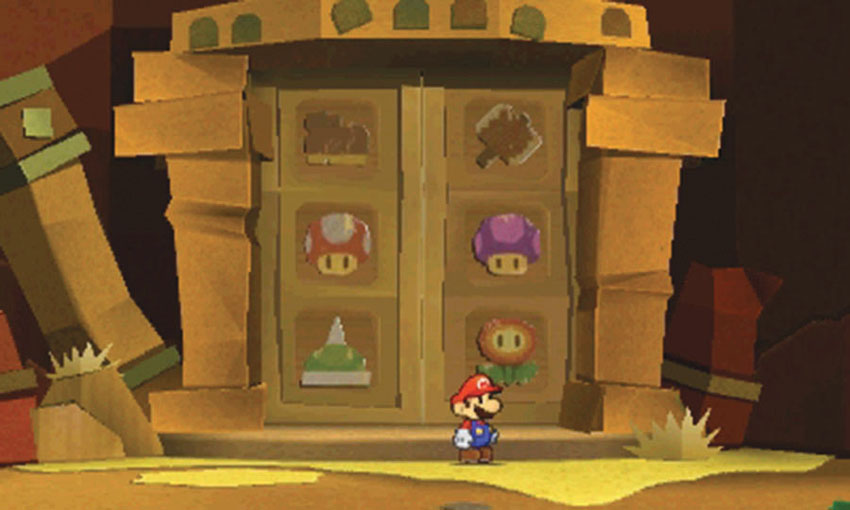
To open the doors to the sealed cave, you must apply the six stickers indicated by the markings. The left door requires a Jump sticker, a Mushroom, and a Spike Helmet. The right door requires a Hammer sticker, a Poison Mushroom, and a Fire Flower (or Ice Flower).
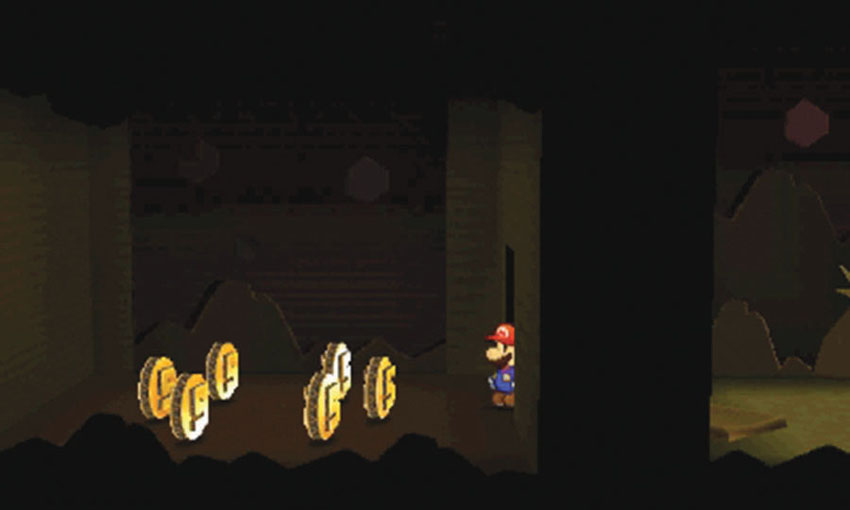
When you enter the cave, look for the hidden area to the left. Head through the small opening in the wall to find a stash of coins.
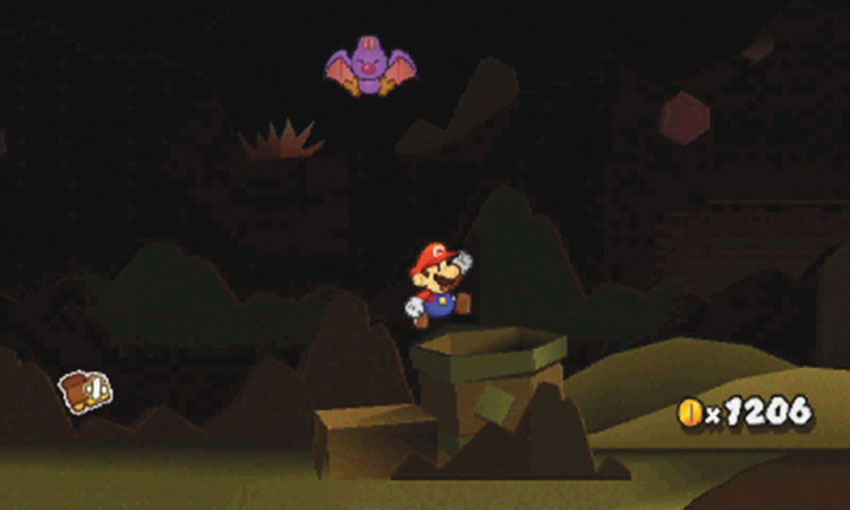
One of the ? Blocks in the cave is floating just out of reach. Jump into the tube at Point 3 to discover a secret passage. Follow the coins up the ramp, then jump through the panel above you.
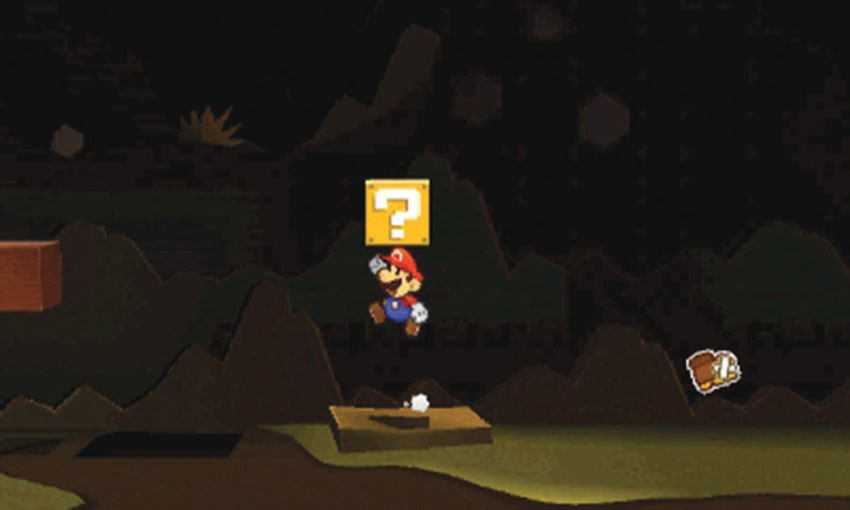
When the panel lands, hop on and use it to reach the ? Block.
Sand Dunes
.jpg)
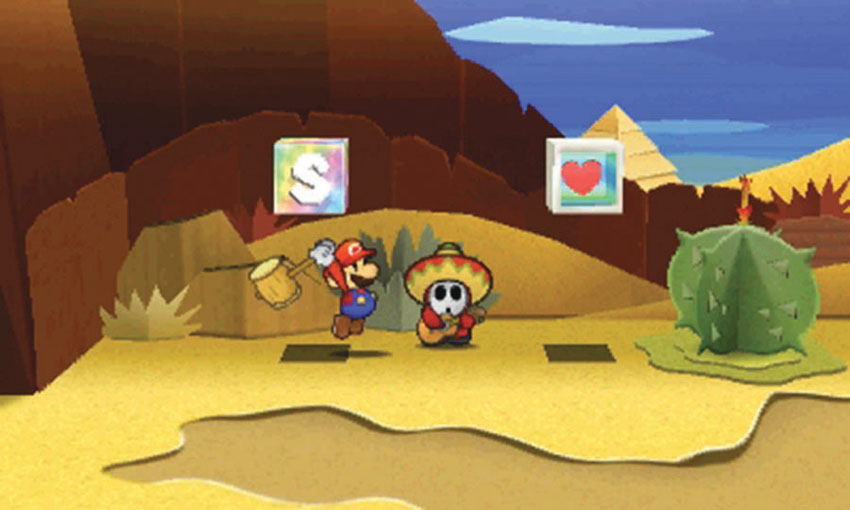
Sombrero Guys don’t attack on their own, but they’ll join in any battle that takes place near them. These enemies not only make combat considerably more difficult, they often flee from battle before you finish them off. When you spot a Sombrero Guy, it’s almost always best to deal with him then and there.
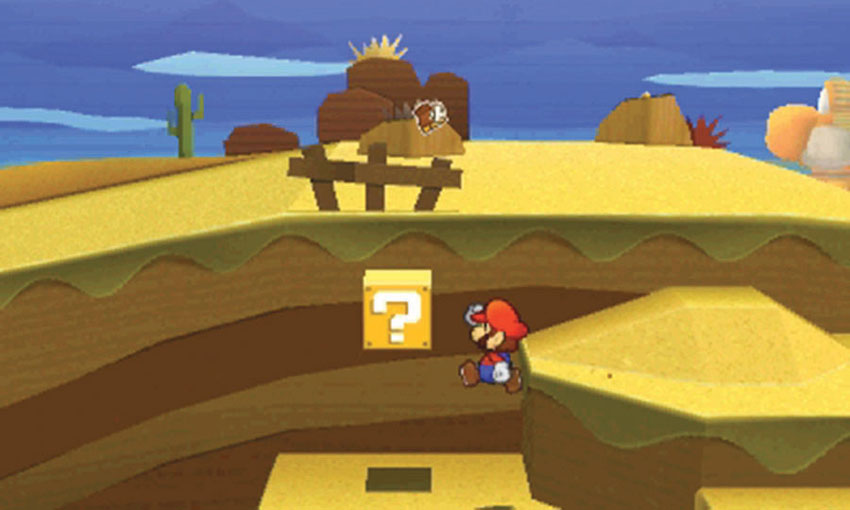
There’s a cluster of hidden platforms at Point 2. Look for the fences along the edge of the main path, then drop down to find a ? Block.
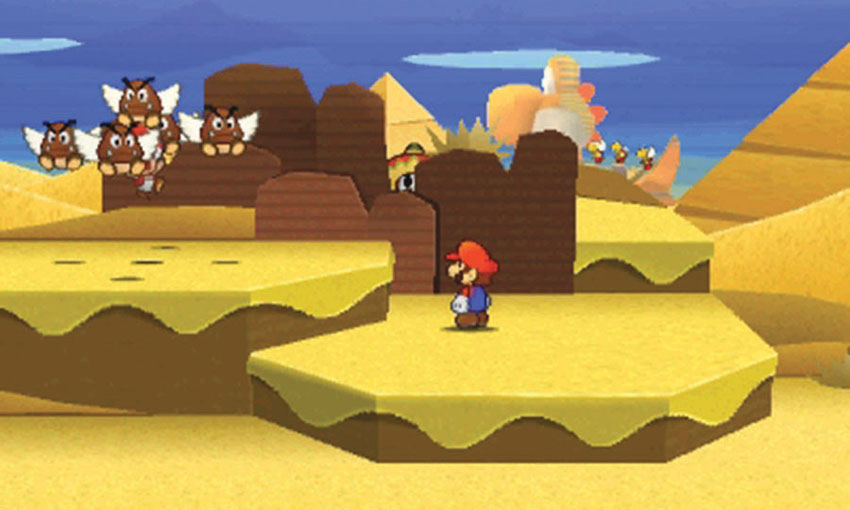
Before you initiate the Toad rescue, look for the Sombrero Guy hiding behind the rocks at Point 3. Make sure you eliminate this lurking enemy before you pick another fight.
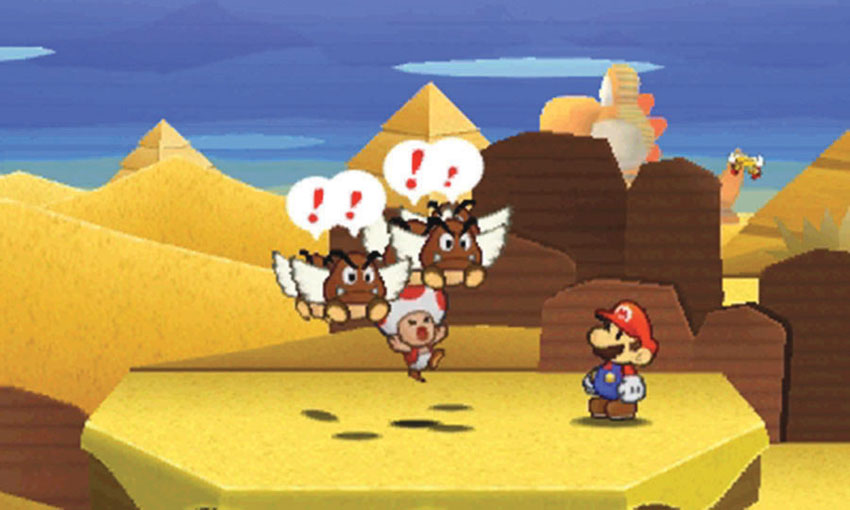
If you completed the Toad rescue in World 1-2, you’ll find some Paragoombas bullying a Toad at Point 4. You can either defeat them in battle or pay them 25 coins to walk away. Make your choice and complete the rescue. The grateful Toad rewards you with a Shiny Mushroom sticker before heading off for his next adventure.
Toad Rescue: Drybake Desert
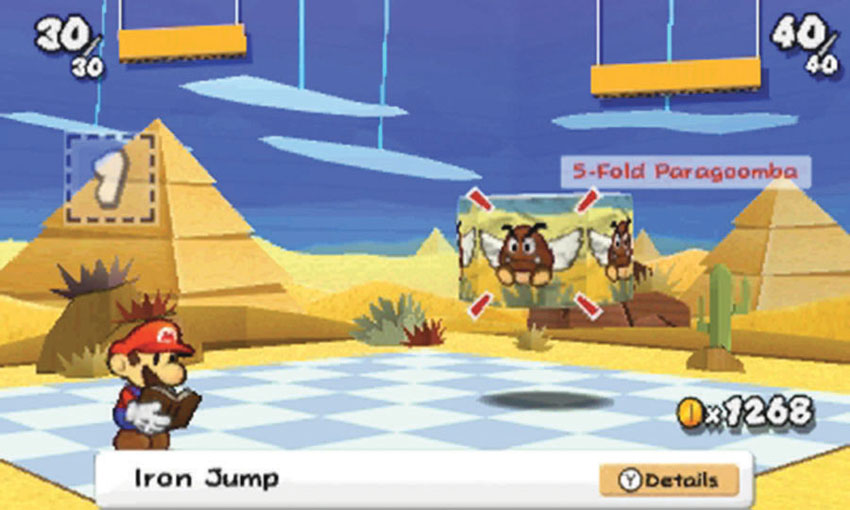
The second available Toad rescue takes place on a platform among the sand dunes of World 2-1. Pay the Paragoombas 25 coins to stop bullying the Toad, or engage them in battle. If you choose to fight, the enemies combine into a 5-Fold Paragoomba. This enemy has a fairly large HP Bar, but a couple of Hopslippers should end the battle without issue.
Sinking Ruins
.jpg)
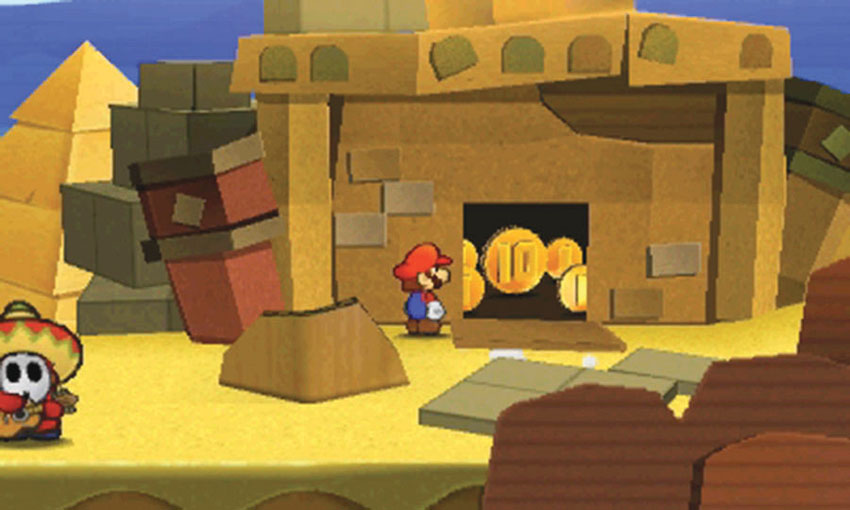
There’s a hidden stash of coins at Point 1! Peel the Bowser tape from the structure to clear the panel from the opening.
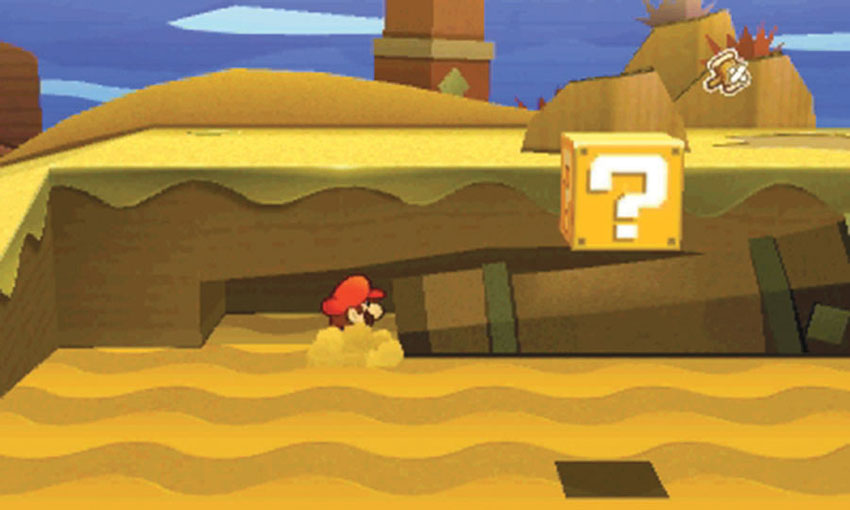
In addition to the ? Block and Hidden Block at Point 2, there’s a shiny sticker behind the toppled column. To collect it, stand near the column and allow yourself to sink into quicksand. When you’re low enough, slip into the alcove and peel the sticker from the back wall. Once you have the sticker, resume jumping to climb back out of the quicksand as you exit the alcove.
Quicksand River
.jpg)
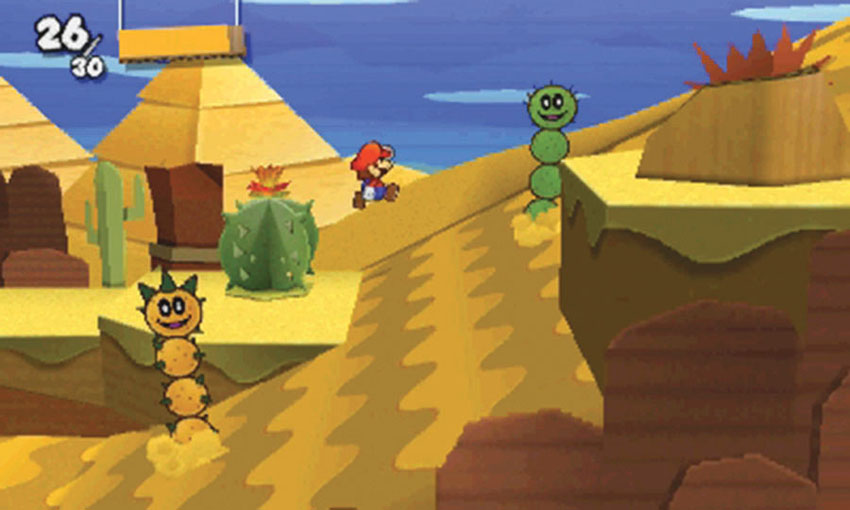
As you fight the current of the quicksand river, try to avoid the Pokeys flowing toward you—a Sombrero Guy is likely to join any battle you initiate. The platforms along the path offer relatively safe spots to catch your breath, but continue to dodge incoming Pokeys.
.jpg)
When you reach the top of the hill, slip through the small gap at the center of the rock formation to find a hidden area.
.jpg)
Collect the coins on the ground, then search the ? Block to find the Big 1UP sticker.
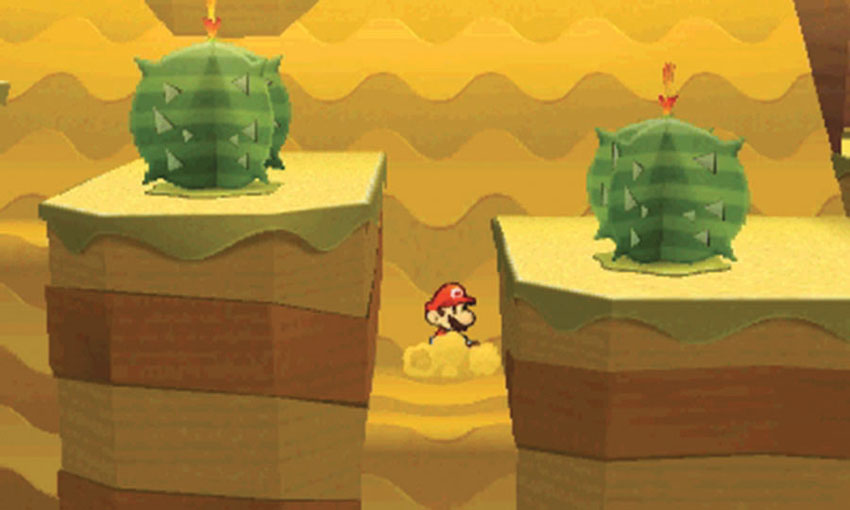
After you leave the hidden area, move toward the foreground to find a hidden series of platforms. As you explore the area, look for the two platforms holding striped cacti. Jump into the stream of quicksand between the cacti, move into the foreground, and allow yourself to sink into the quicksand to find a hidden chamber.
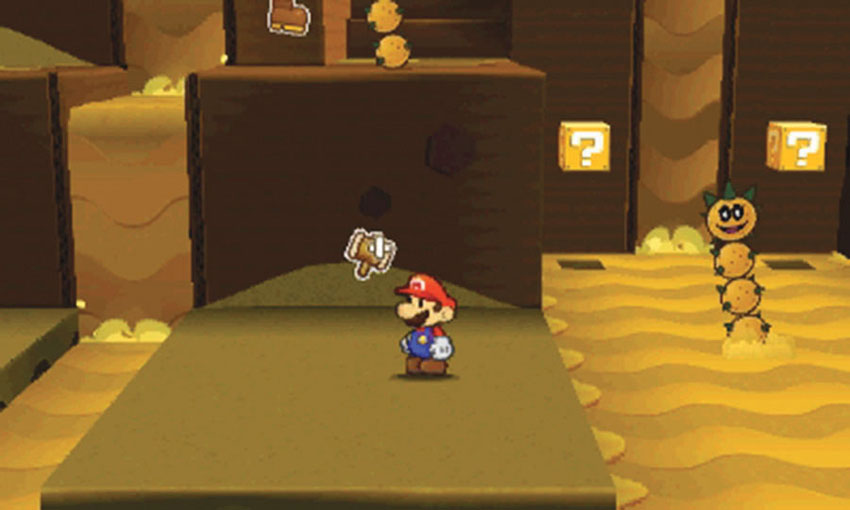
When you land, search the ? Blocks to the right, then head up the stairs to the left. There are several useful items in the chamber, so take the time to fully search the area. You find a few Pokeys in your path. Try to initiate each battle with a Hammer strike.
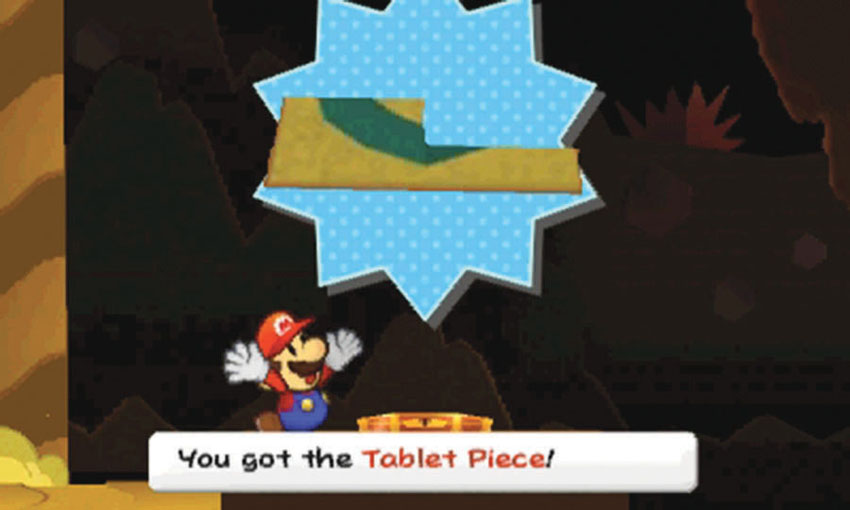
Follow the path up to the top of the area and locate the chest at Point 5. Open the chest to find the first Tablet Piece scrap, then move across to the chamber’s right wall.
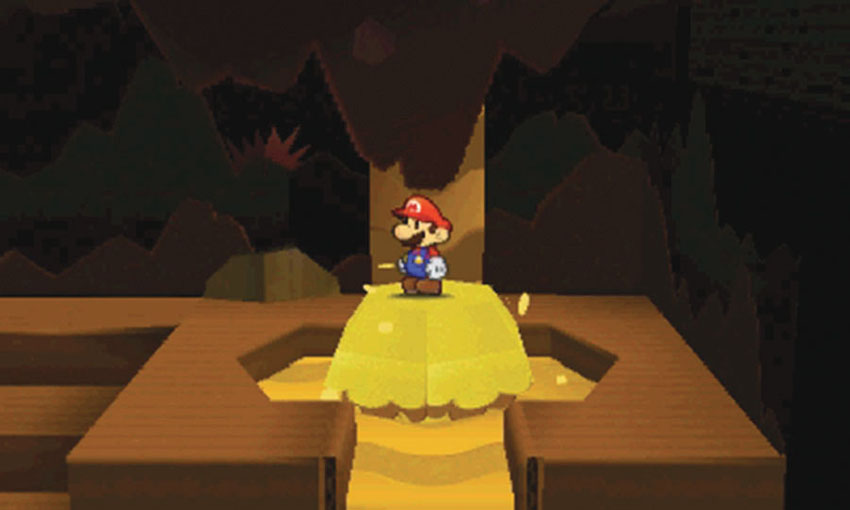
When you’re ready, hop onto the sand geyser to return to the main path.
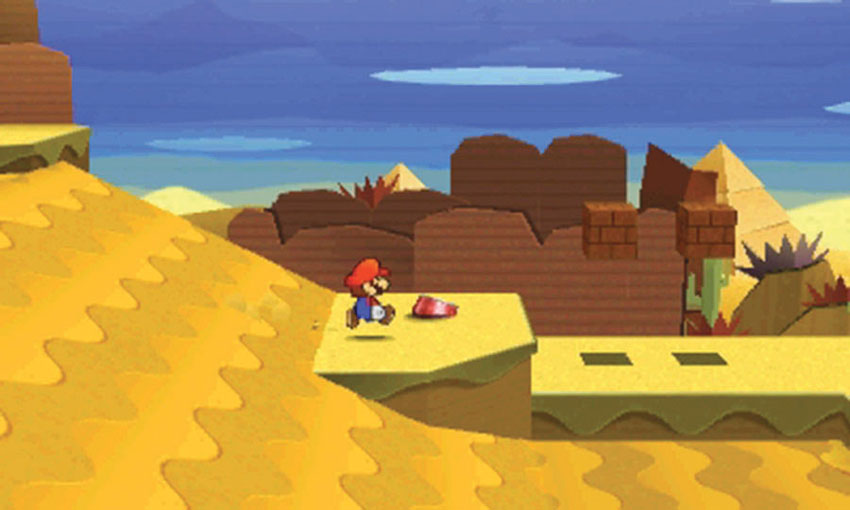
As you continue along the quicksand river, move toward the background. Collect the Soda from the platform near the bottom of the slope, search the area for any remaining stickers, and continue to the pyramid.
Pyramid
.jpg)
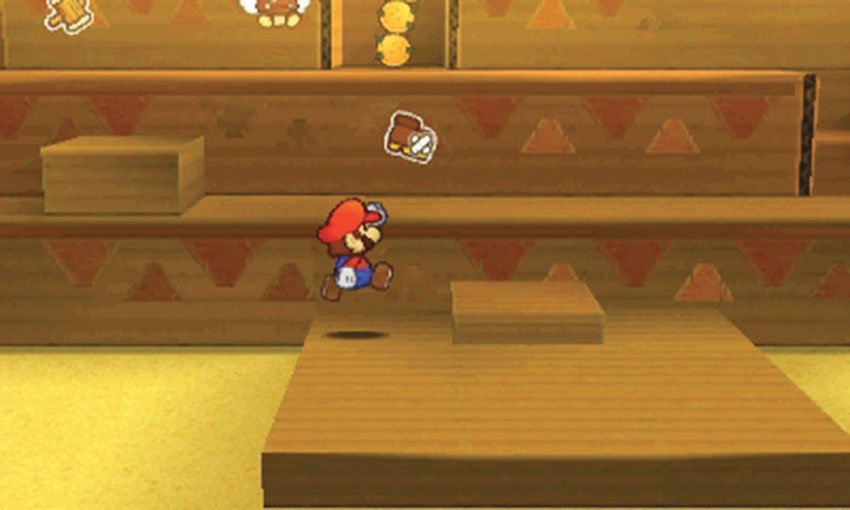
Before you begin climbing the pyramid, search the surrounding area for stickers. When you’re ready, use the platforms at Point 1 to begin your ascent.
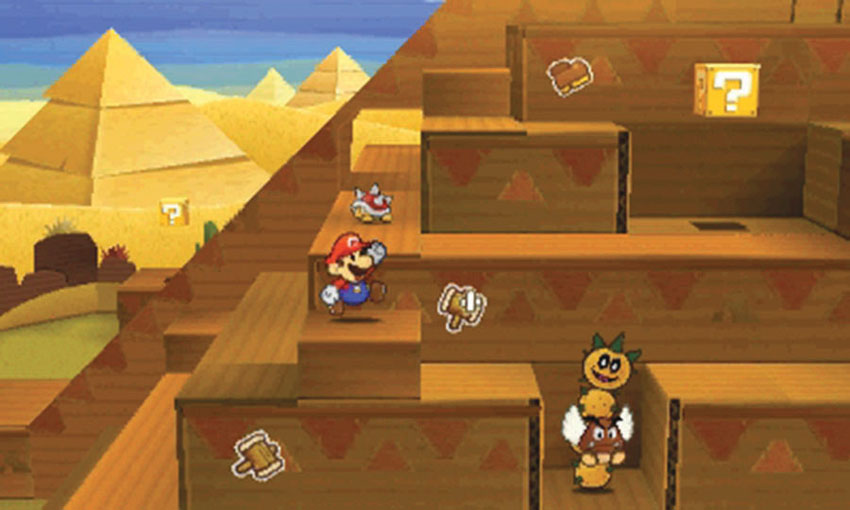
The pyramid is essentially a series of ledges and platforms, many of which are too tall for you to reach. To climb the pyramid, you must find the shorter platforms scattered around the structure. When there aren’t any accessible platforms in sight, move to the other half of the pyramid.
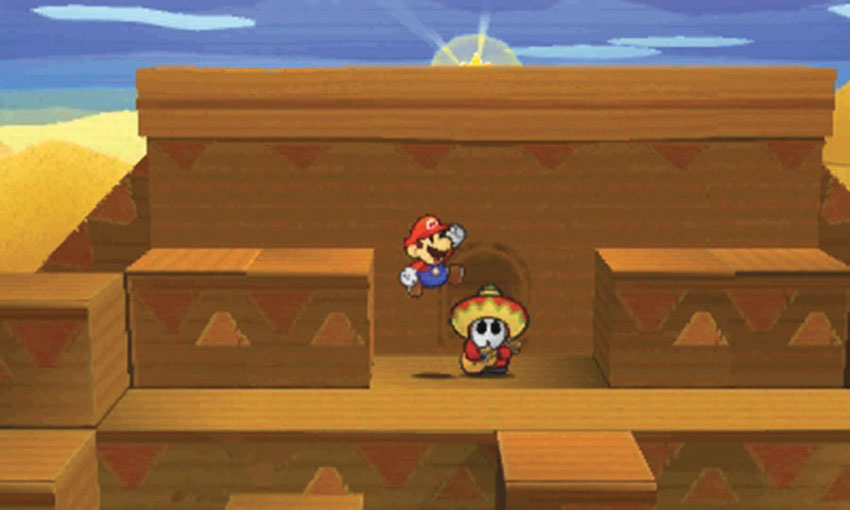
As you move along the north side of the pyramid, look for the Secret Door location behind the Sombrero Guy near the top of the structure. After you acquire a Secret Door sticker, return to the area and apply it to the marked location.
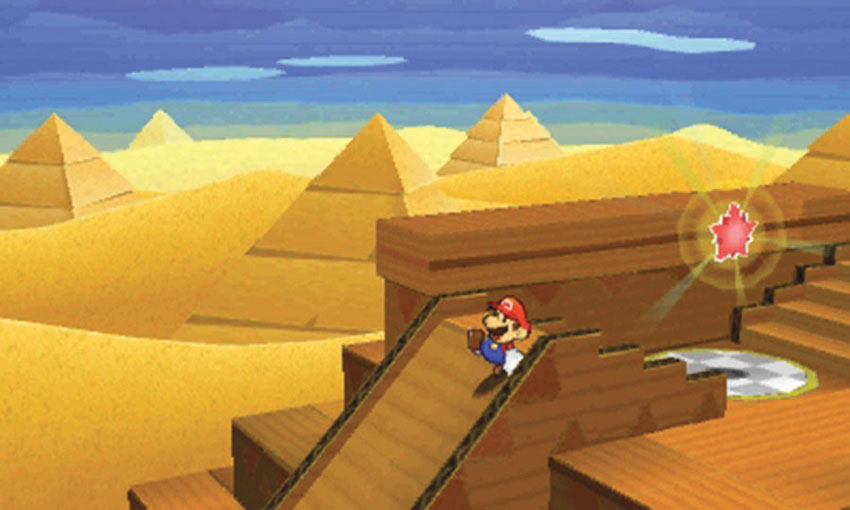
The Comet Piece is at the top of the pyramid, but don’t collect it just yet. Hop on the ramp to the left and slide down the side of the structure.
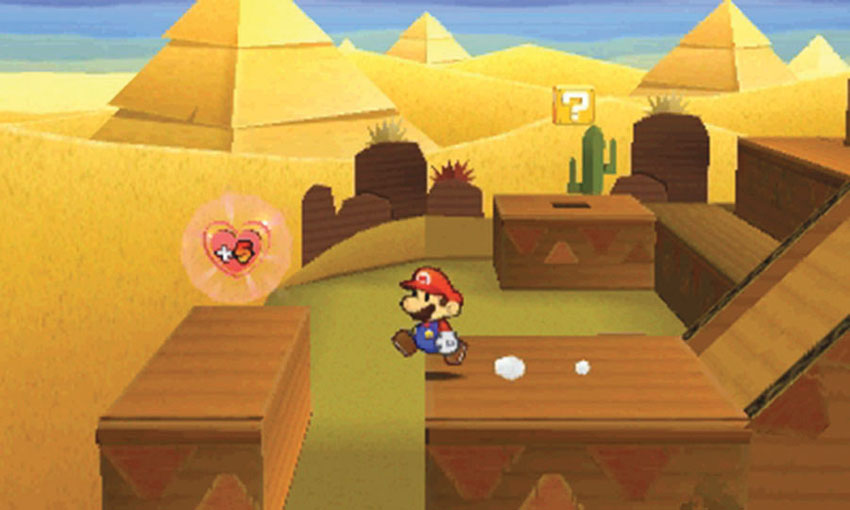
When you land, look for the HP-Up Heart on the platform to the left.
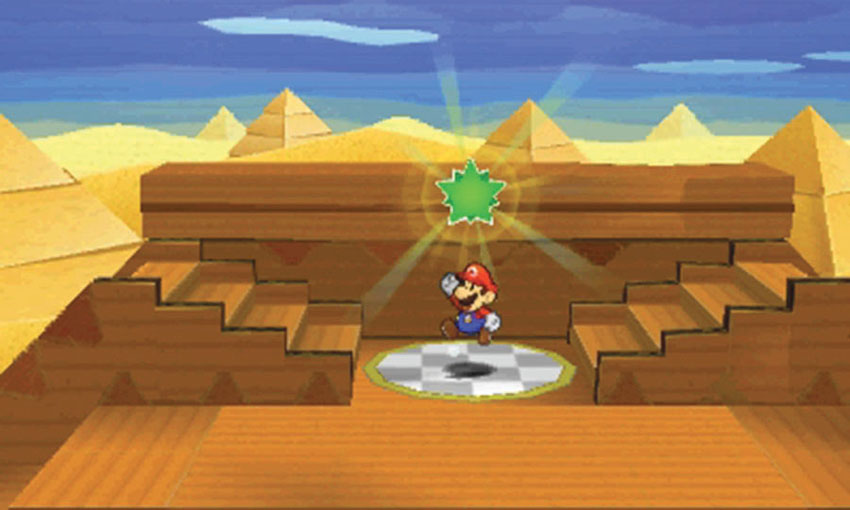
When you’re finished exploring the area, return to the top of the pyramid and collect the Comet Piece.
Sticker Comet Piece: Unlocking World 2-2
This Course contains only one piece of the Sticker Comet. To unlock World 2-2, simply collect the Comet Piece at the end of World 2-1.
Recommended Visit #2
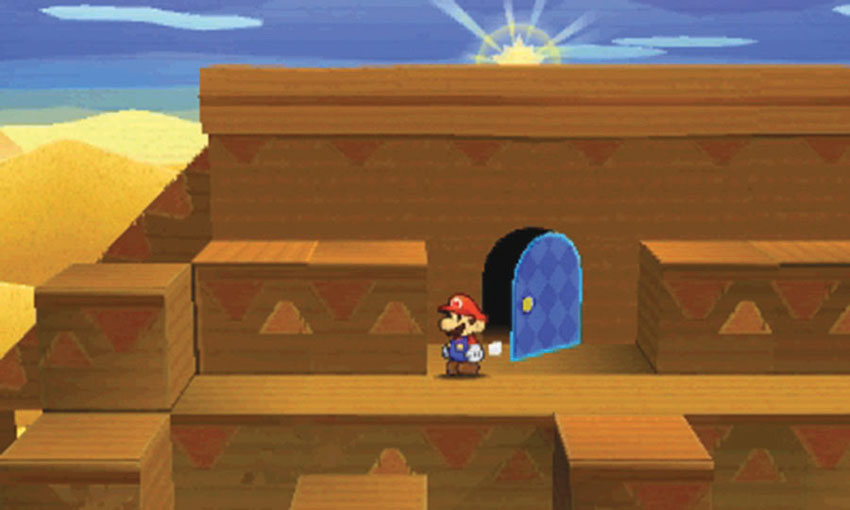
After you gain access to the World 3-6 Sticker Shop, purchase a Secret Door sticker and return to the pyramid. Climb to the Sombrero Guy near the top of the structure. Clear the enemy out of your way, then apply the sticker to the marked location. Pass through the door and collect the Car Battery.
World 2-2: Yoshi Sphinx
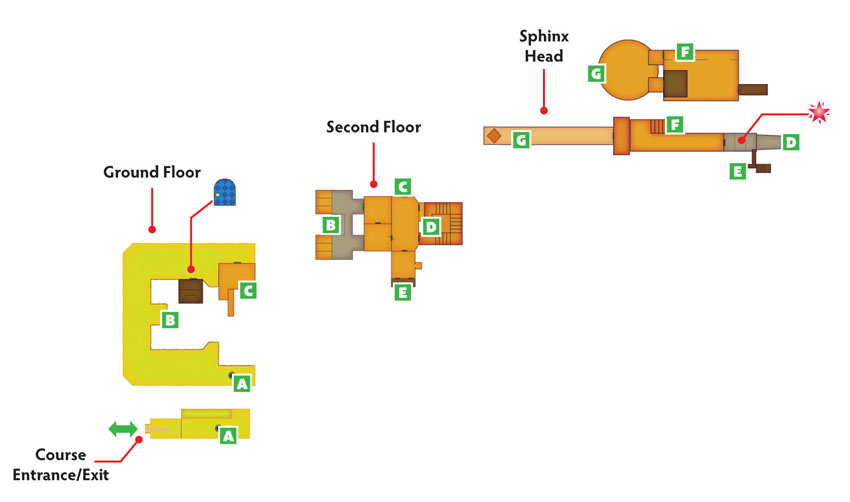
Overview
Prerequisites
This Course becomes available when you collect the Comet Piece from World 2-1. Aside from the Secret Door sticker, everything you need to complete the available objectives can be found in the Course.
Objectives
This Course contains several objectives, most of which can be completed during your first visit:
- Collect the Megaflash Hammer sticker.
- Gain Access to the sphinx’s head.
- Collect the HP-Up Heart.
- Collect the Lightbulb.
- Collect the Tablet Piece scrap.
- Collect the Comet Piece to unlock World 2-3.
- Collect the Paper Fan from the Secret Door.
Important Items and Locations
| Description | Notes |
|---|---|
| Secret Door | The marked location is on the ground floor, on the north edge of the sphinx. |
| HP-Up Heart | The HP-Up Heart is on the sphinx’s north side, on the right rear foot. |
| Toad Rescue | None |
| Luigi Location | None |
| Wiggler Diary Entry | None |
| Things | The Lightbulb is mounted on a wall inside of the sphinx’s head. The Paper Fan is through the Secret Door. |
Recommended Tactics
This Course contains plenty of familiar enemies, but you’ll find some particularly tough newcomers as well. Keep an eye out for troublesome Sombrero Guys, and try to clear them out of the area before you pick any fights.
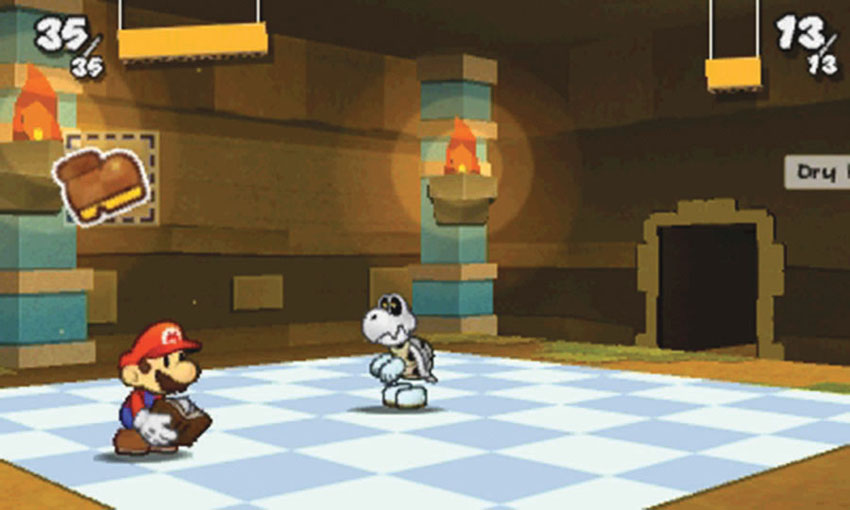
Dry Bones are immune to fire damage, so don’t bother attacking with Fire Flowers or Burnhammers. If you stomp a Dry Bones before the battle begins, a Shiny Jump should be enough to end the fight. It won’t take long for a defeated Dry Bones to recover, however, so it’s often best to avoid direct combat.
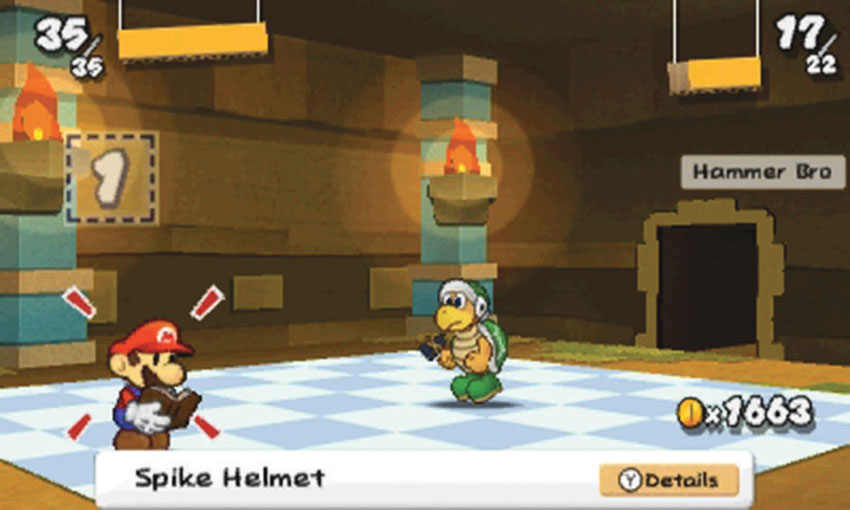
You also find a few Hammer Bros in this Course. A Hammer Bro can absorb a good amount of damage, so it’s very helpful to land a Hammer strike before the battle begins. This allows you to finish a Hammer Bro with a single Hopslipper. If a Hammer Bro has a full HP Bar when the battle starts, consider using the Battle Spinner to earn at least one extra attack.
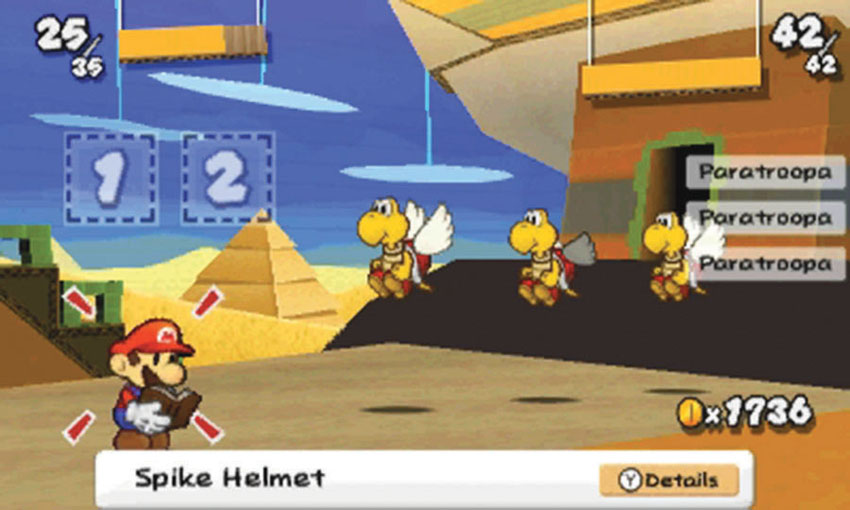
Paratroopas can be troublesome in battle, particularly when you’re facing more than one. These airborne enemies are not only immune to ground attacks, they attack head on, rendering the Spike Helmet useless. Use the Battle Spinner to combine multiple Jump-based stickers or Hurlhammers.
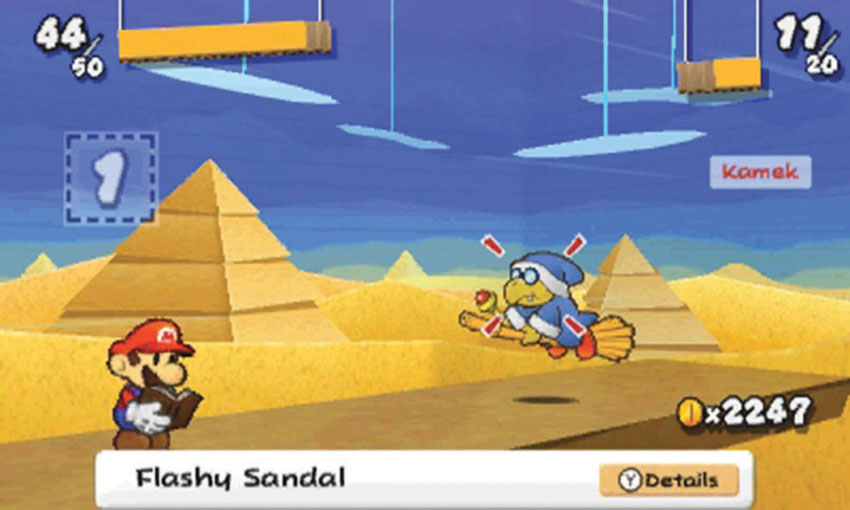
Kamek also makes an appearance in this Course. Thanks to one of his tricks, however, your sticker selection isn’t particularly important. Just make sure your Album stays relatively full.
Ground Floor—Part 1
.jpg)
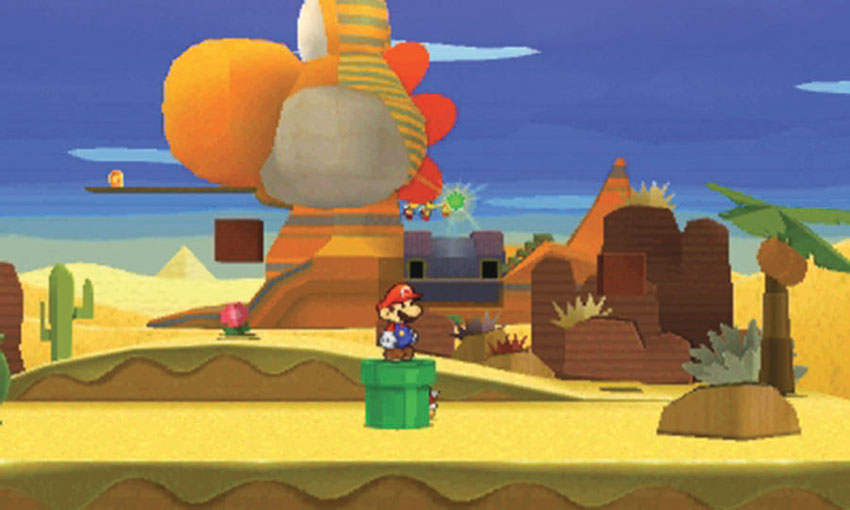
The starting area contains some stickers and a Paperization Block. When you’re done searching the area, enter the warp pipe at Point 1 to reach the sphinx in the background.
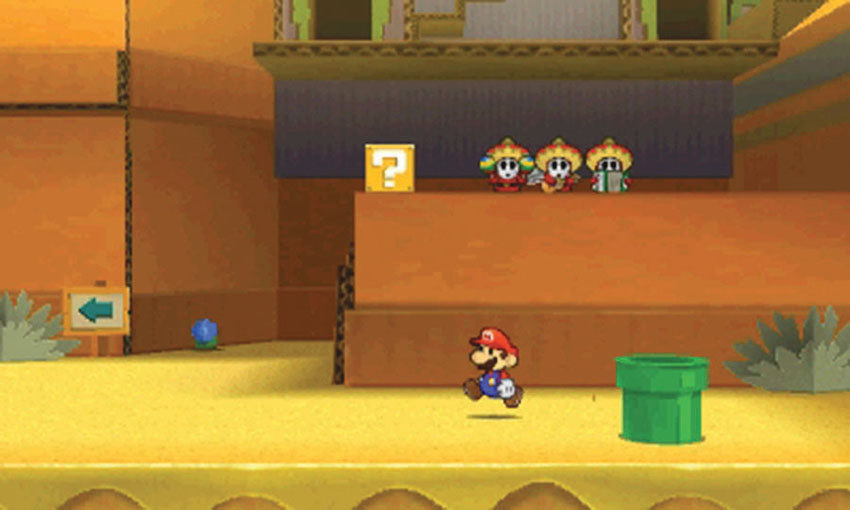
After you emerge from the warp pipe, locate the Hidden Block floating above the nearby blue flower. There are plenty of stickers scattered around the area, but there are several enemies as well. As you search for useful items, keep an eye out for incoming Spinies.
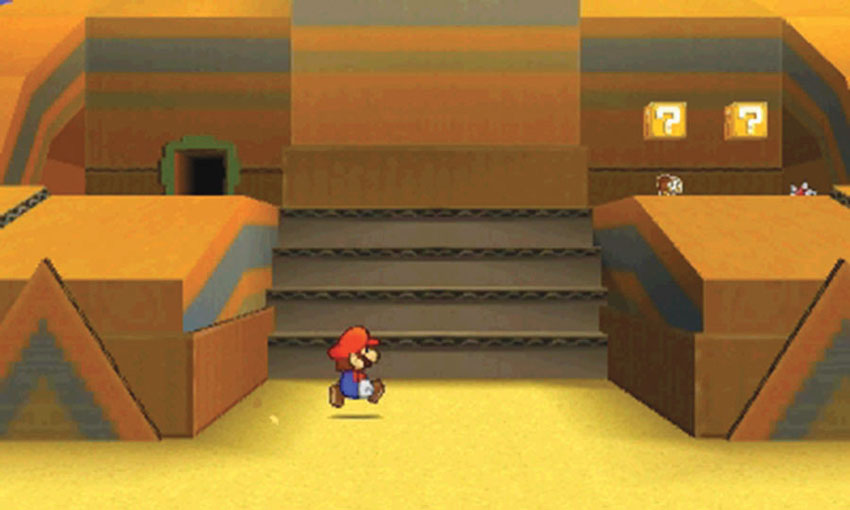
Before you explore the rest of the ground floor, you’d do well to take care of a couple of particularly sneaky Sombrero Guys. When you reach the front of the sphinx, climb the stairs to the second floor.
Second Floor—Part 1
.jpg)
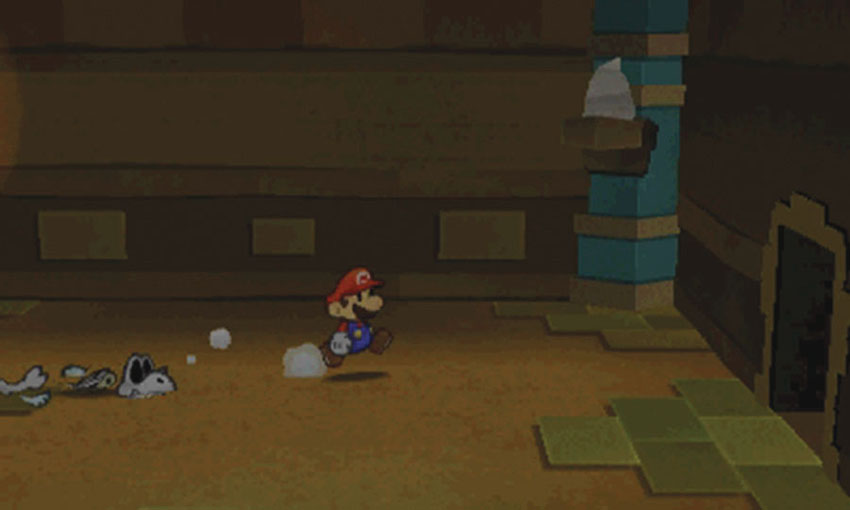
Search the ? Blocks past the steps, then enter the sphinx through the door to the left. The first room is fairly dark. You can activate the unlit torch by hitting it from below, but the Dry Bones on the floor will attack if you linger. Head through the door to the right.
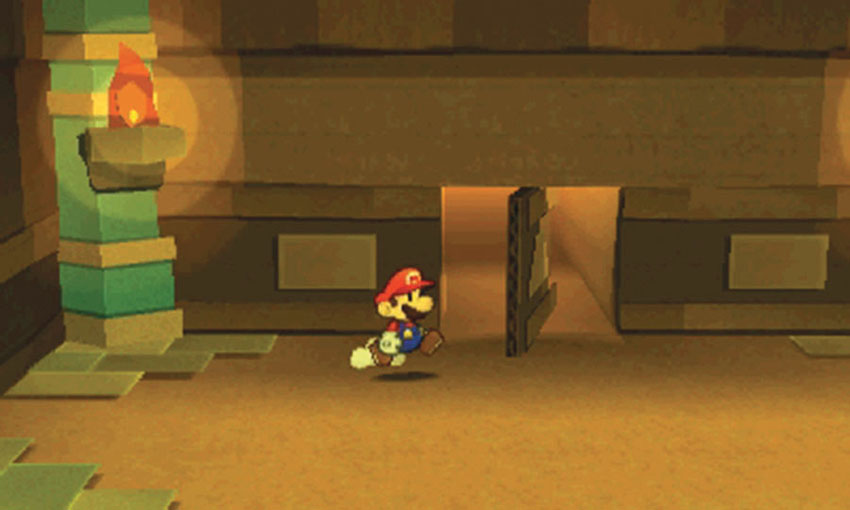
The back wall contains a rotating panel. Move to Point 2, then strike the wall with your Hammer to reveal the path to the central room.
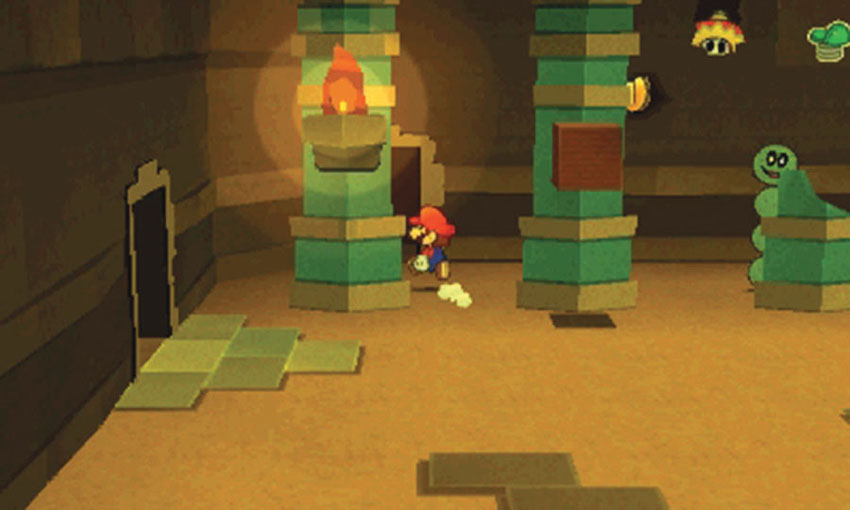
The central room contains a Spiny and a Pokey, but you’ll also see a Sombrero Guy peeking out from a hole in the back wall. Before you take on either of the patrolling enemies, make sure you deal with the Sombrero Guy! Run through the door at Point 3, then follow the ramp up to initiate the battle.
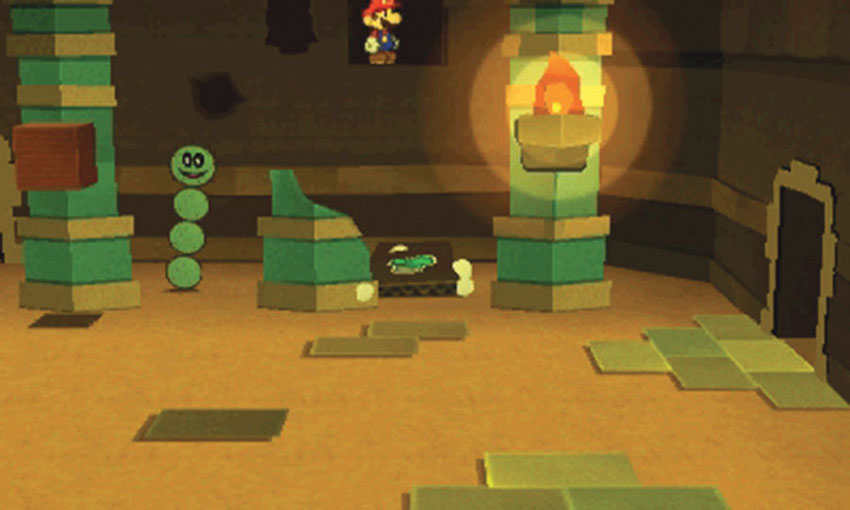
After you defeat the Sombrero Guy, continue to the right, then use your Hammer to strike the back of the wall. A panel falls to the ground, making it possible to collect the previously unreachable sticker.
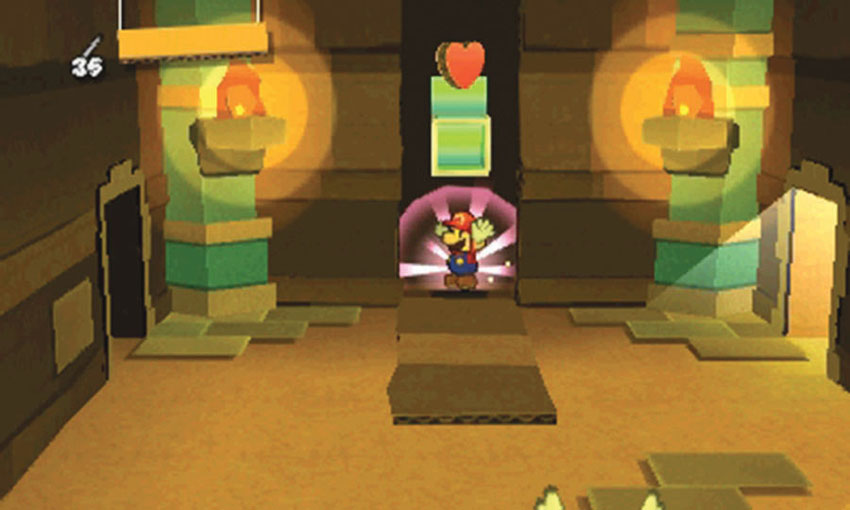
If you’re running low on HP, look for the hidden Heart Block at Point 4. Enter the room to the right, then peel the Bowser tape from the back wall. After the panel falls away from the wall, use the Heart Block to top off your HP Bar. The two doors to the right lead to some steps, but you have some work to do before they can be used.
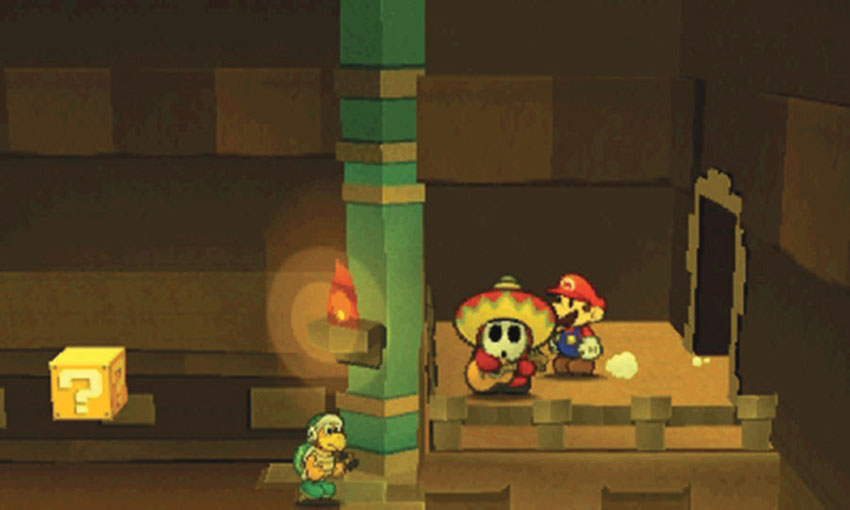
When you’re ready, move back across the central room, then pass through the doorway on the left wall to find another Sombrero Guy on a small balcony. Defeat the Sombrero guy, then hop over the railing to drop back down to the ground floor.
Ground Floor—Part 2
.jpg)
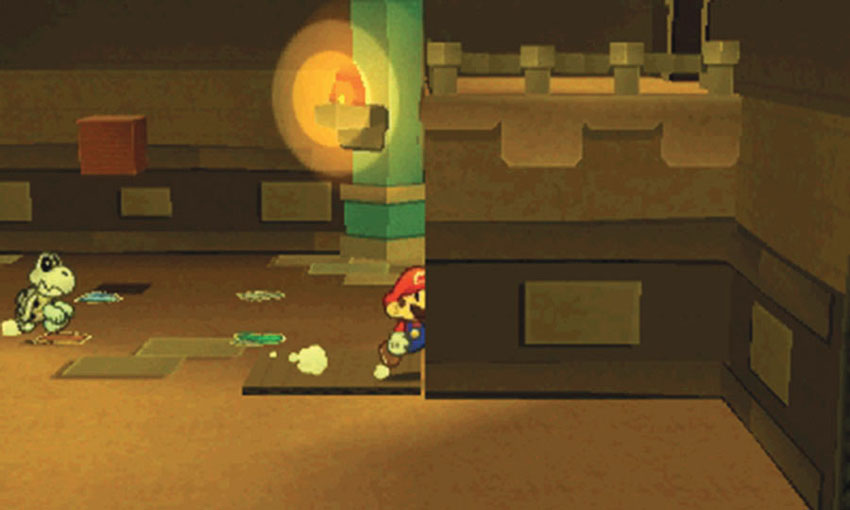
After you jump down from the balcony, you must deal with the Hammer Bros and the Dry Bones on the ground floor. Clear out your attackers, then search the room for useful stickers. Use your Hammer to strike the wall at Point 1. After it falls, head into the secret area below the balcony.
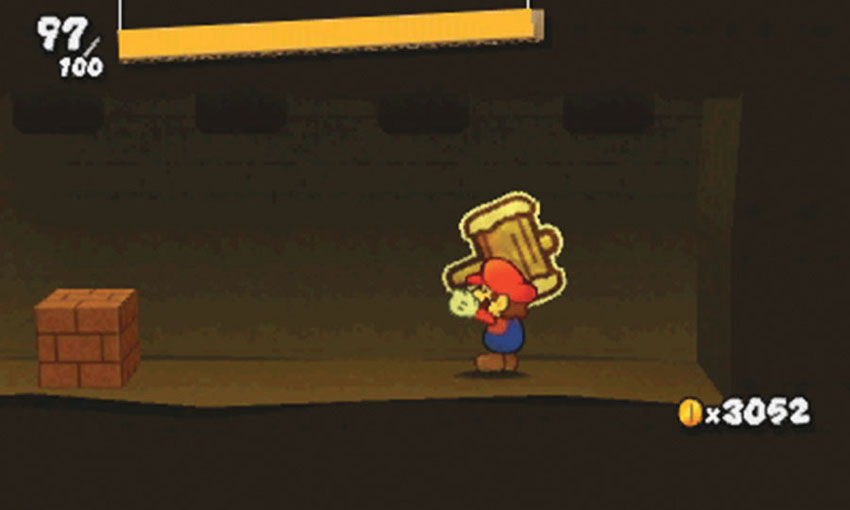
A Hammer Bro lurks in the hidden area, so try to close in before he attacks. After you deal with the enemy, peel the Megaflash Hammer sticker from the wall. This powerful sticker is very rare, so make sure you add it to your Album.
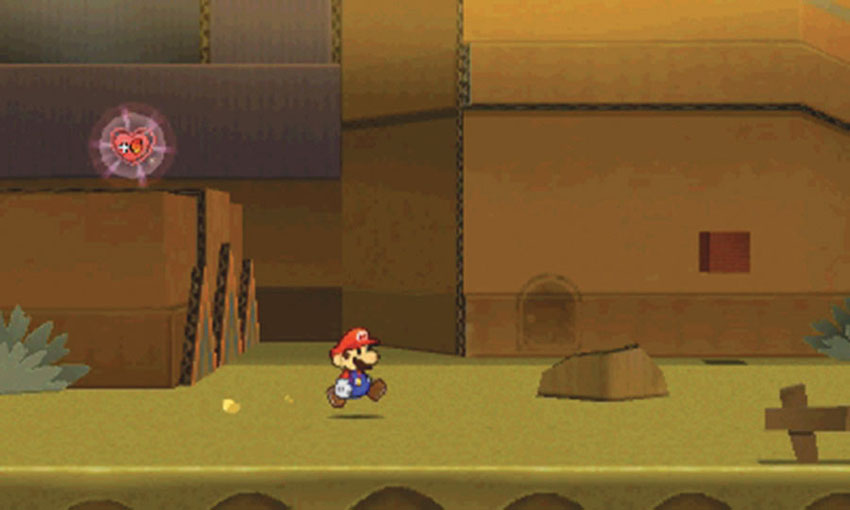
When you’re ready, exit the room and head back toward the front of the sphinx to find the Secret Door location. After you acquire a Secret Door sticker, return to this area and apply it to the marked location.
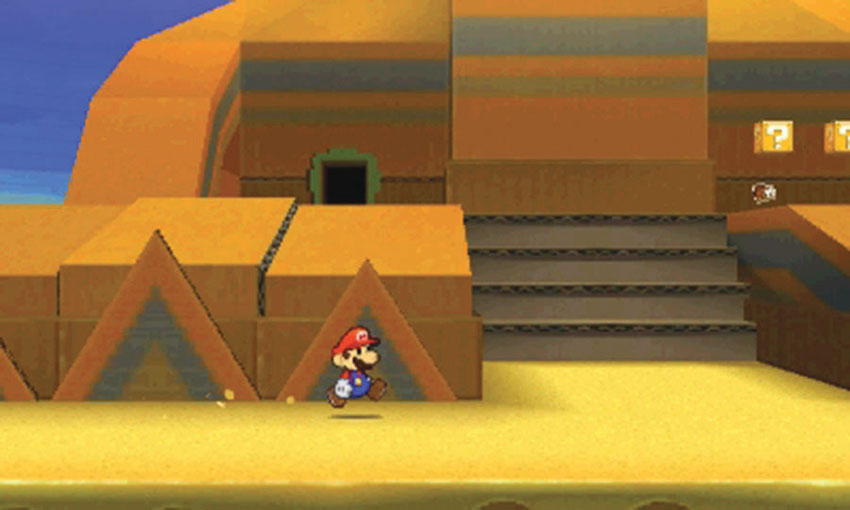
When you’re finished exploring the area, return to the front of the sphinx and head back up to the second floor.
Second Floor—Part 2
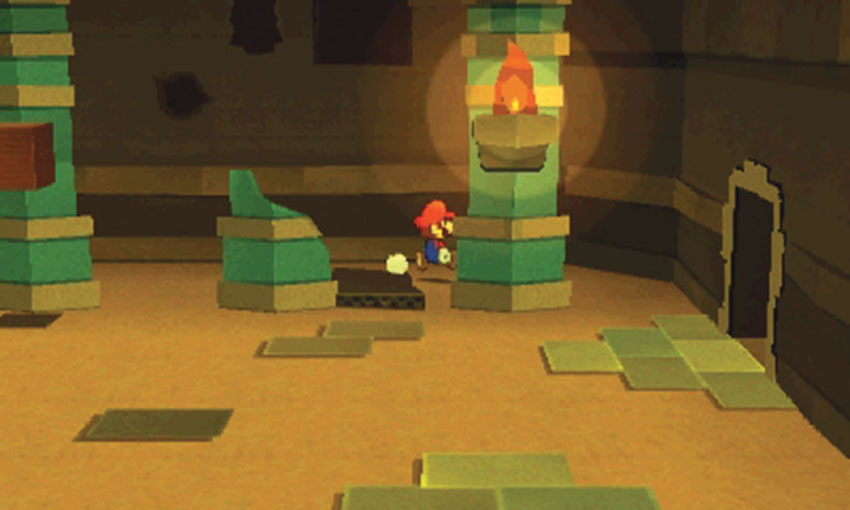
Enter the sphinx and return to the central room. Move behind the column on the room’s right side to find a hidden doorway, then follow the path to find a darkened staircase.
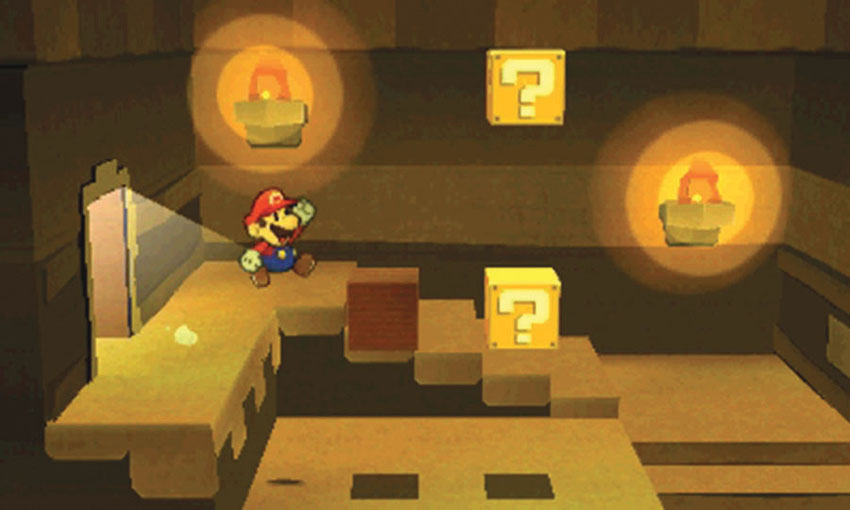
When you reach the top of the stairs, activate the torches on the back wall. There’s a ? Block floating at the top of the room. To reach it, you must reveal the Paperization Block and the Hidden Block floating just above the central platform. When you’re ready, head through the door to the left.
Sphinx Head
.jpg)
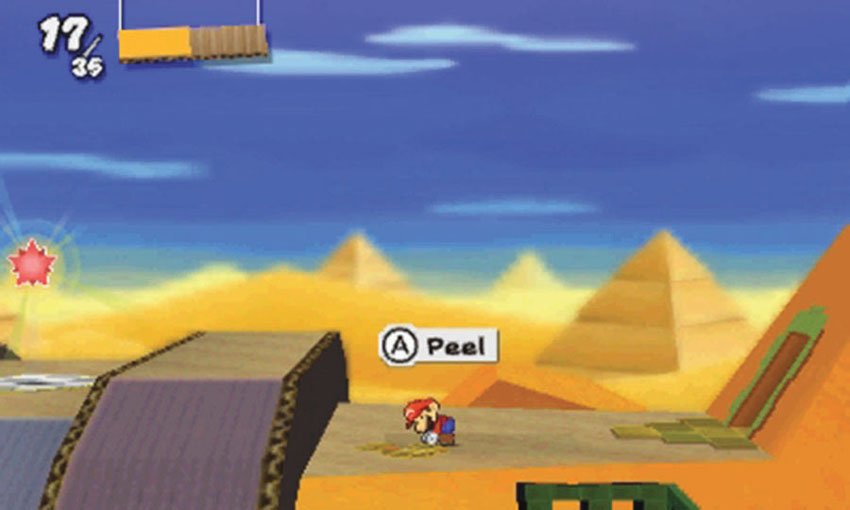
When you leave the staircase, three Paratroopas swoop in and attack. Use the Battle Spinner to earn some extra attacks, then select high-damage Jump stickers to clear out the enemies. After the battle, peel the Bowser tape at Point 1 to reveal a set of stairs. The ledge to the left is too high to hop over, so you must find an alternative route to the Comet Piece and the sphinx’s head.
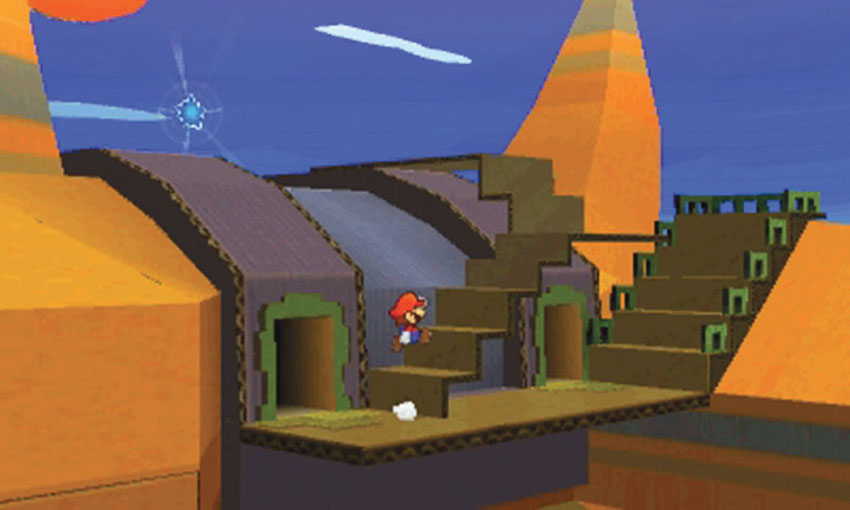
Head back into the staircase and return to the second floor. When you reach the central room, follow the path to the right until you reach the balcony running along the south side of the sphinx. Climb up the stairs, but don’t collect the Comet Piece just yet.
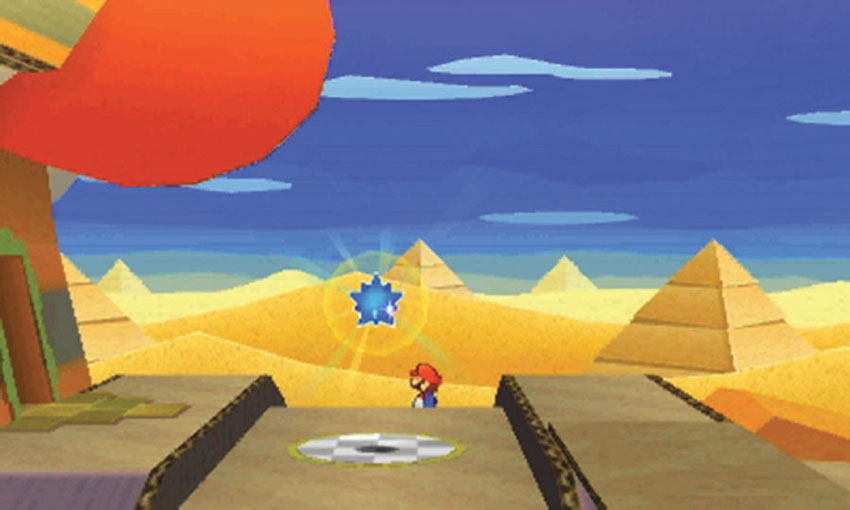
Walk past the Comet Piece and continue toward the background. Drop down from the edge of the sphinx to find the HP-Up Heart on one of the sphinx’s legs.
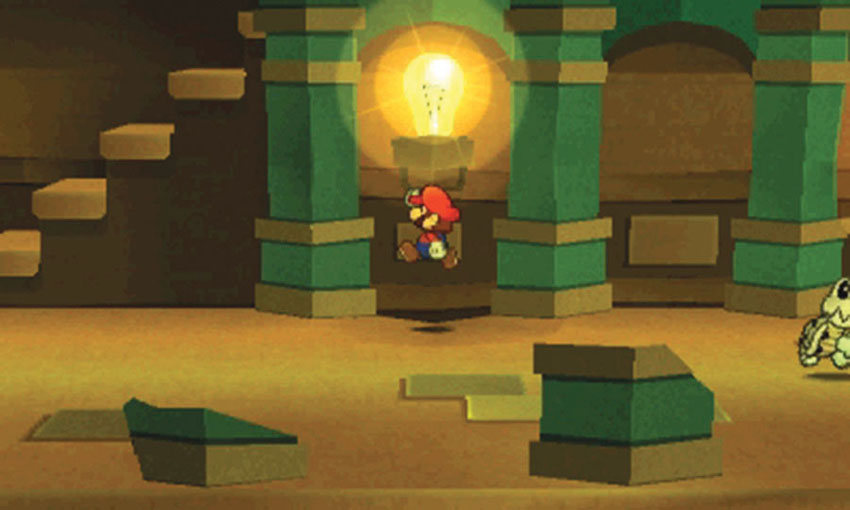
Climb back up to the Comet Piece, then follow the path to the left and enter the sphinx’s head. Defeat or avoid the Swoops and Dry Bones on your way through the area. When you reach Point 3, look for the Lightbulb mounted on the wall.
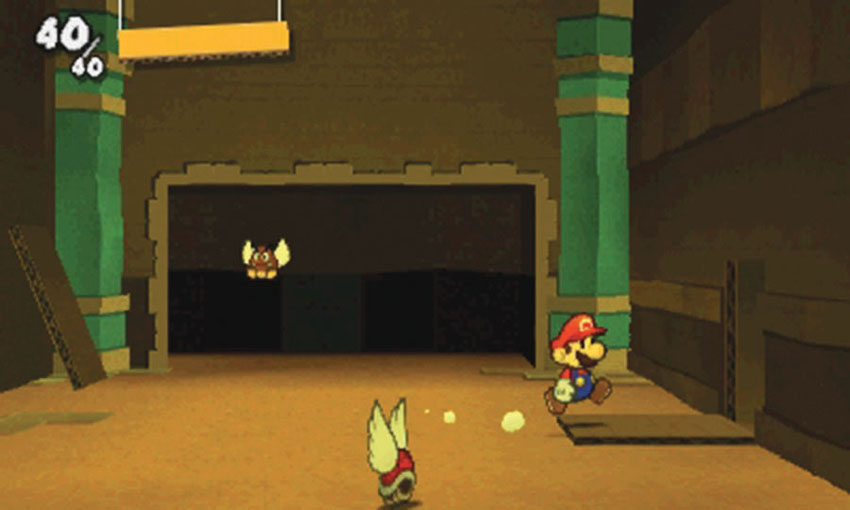
Climb the stairs to the next floor, then continue moving right to find a few enemies patrolling what seems to be an empty room. Use your Hammer to strike the loose panel on the wall to the right, then enter the hidden area to find some ? Blocks.
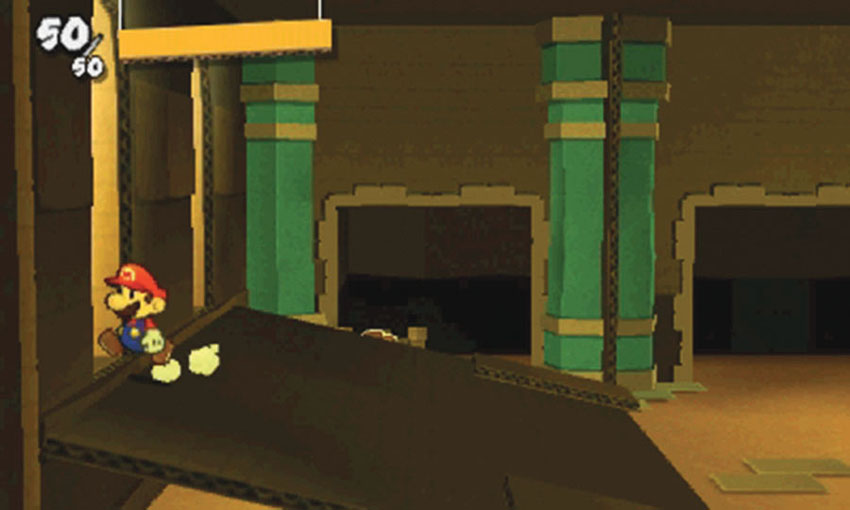
Cross to the room’s left side, then strike the wall with your Hammer to knock it over.
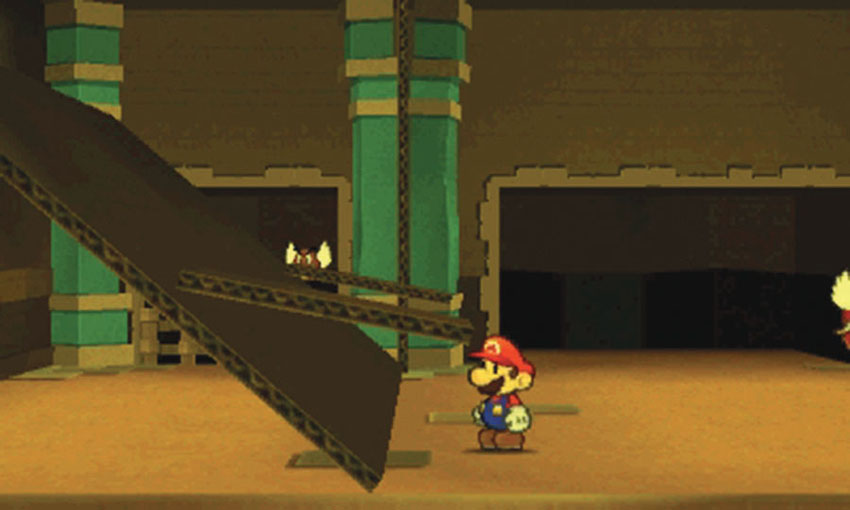
Using the toppled wall as a ramp, approach the arches to the left. These panels are actually the sphinx’s eyes! Use your Hammer to knock them loose, then step through the openings and onto the sphinx’s nose.
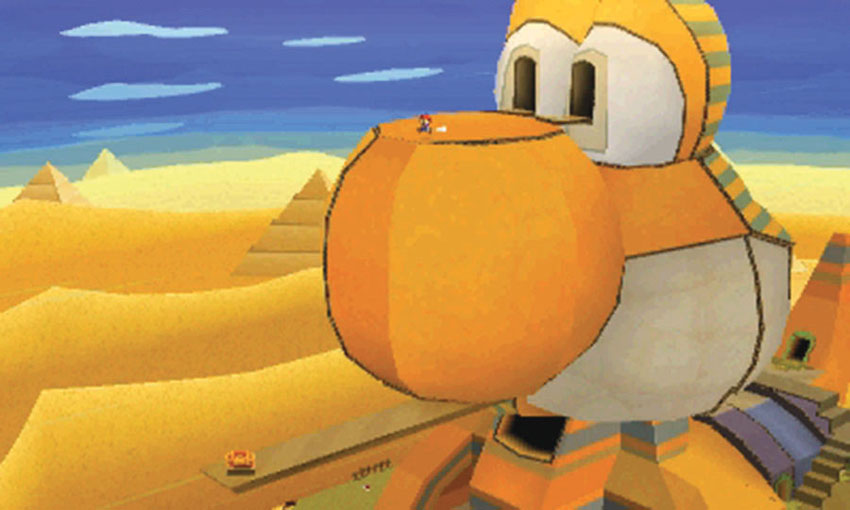
Now it’s time to take a leap of faith. Walk to the edge of the sphinx’s nose, then drop down to land on the tongue below you. After you land, take a moment to sort your Album, and try to remember the stickers on your current page. When you’re ready, approach the nearby treasure chest to initiate a battle with Kamek.
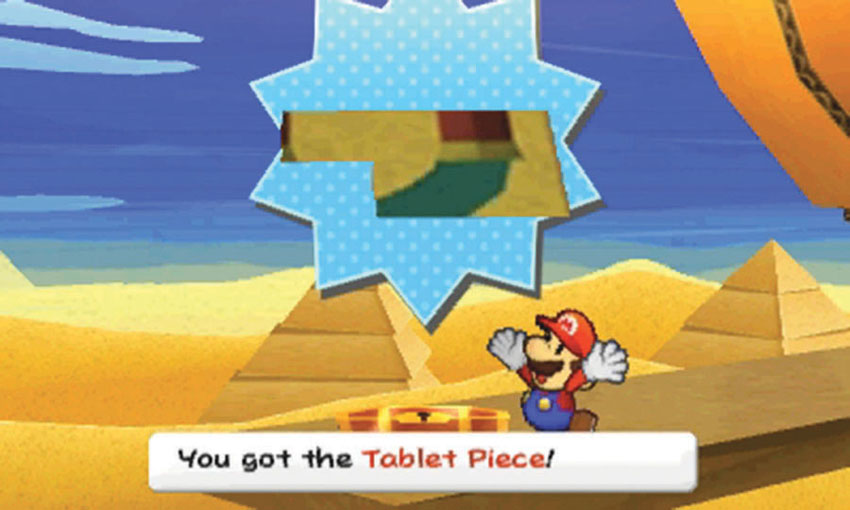
After you defeat Kamek, open the chest to claim the second Tablet Piece scrap. Once the scrap is in your Album, the tongue retracts into the sphinx.
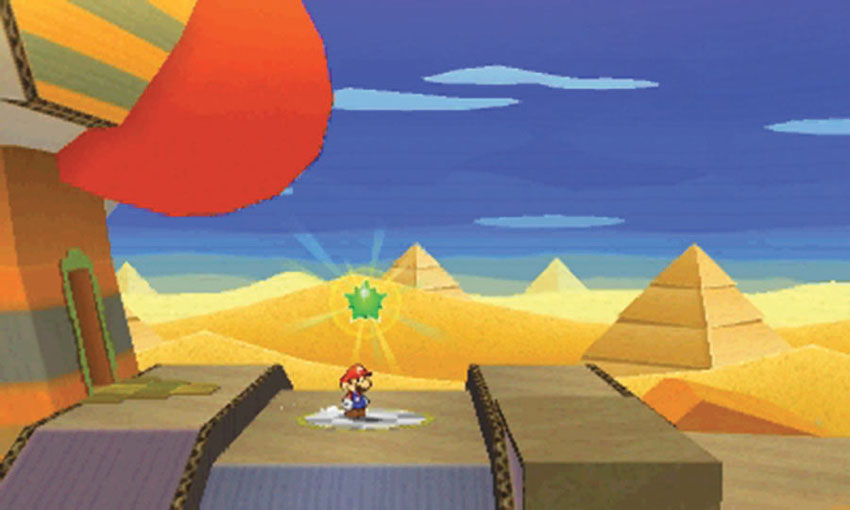
Ride the tongue back into the sphinx’s head. Search the ? Block on the ledge, then drop and follow the path to the right to return to the Comet Piece. When you’re ready, collect the Comet Piece to exit the Course.
Sticker Comet Piece: Unlocking World 2-3
This Course contains only one piece of the Sticker Comet. To unlock World 2-3, simply collect the Comet Piece at the end of World 2-2.
Recommended Visit #2
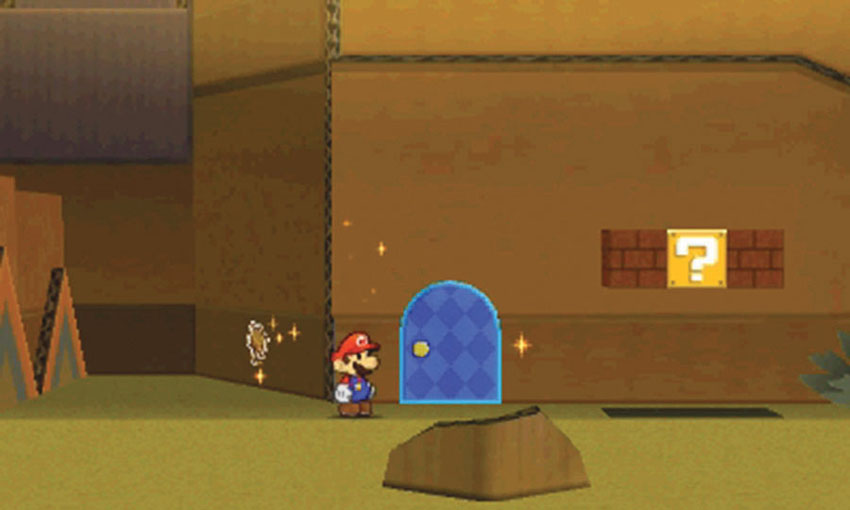
After you gain access to the World 3-6 Sticker Shop, purchase a Secret Door sticker and apply it to the marked location on the ground floor, along the north edge of the sphinx. Head through the door to find the Paper Fan.
World 2-3: Sandshifter Ruins
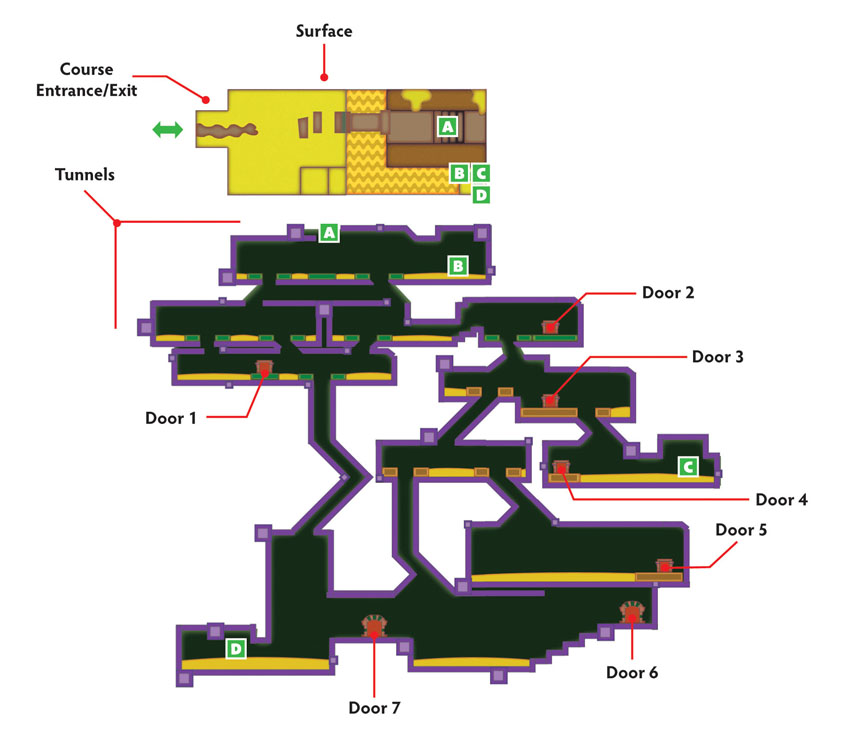
Overview
Prerequisites
This Course becomes available when you collect the Comet Piece from World 2-2. Aside from the Secret Door sticker, everything you need to complete the available objectives can be found in the Course.
Objectives
This Course contains several objectives, a few of which require additional visits to complete:
- Collect the Jackhammer.
- Collect the Magnifying Glass.
- Collect the HP-Up Heart.
- Collect the Bat.
- Collect the Comet Piece to unlock World 2-5.
- Collect the Comet Piece to unlock World 2-4.
- Collect the Lighter from the Secret Door.
Important Items and Locations
| Description | Notes |
|---|---|
| Secret Door | The marked location is through Door 4 (or Door 5). |
| HP-Up Heart | The HP-Up Heart is in a sarcophagus through Door 3. |
| Toad Rescue | None |
| Luigi Location | None |
| Wiggler Diary Entry | None |
| Things | The Jackhammer is near the geyser to the left of Door 7. The Magnifying Glass is in a sarcophagus through Door 2. The Bat is through Door 6. The Lighter is through the Secret Door. |
Tunnel Doors Cheat Sheet
This Course can be confusing! Keep your objective in mind as you plot a route through the tunnels. Aside from containing a variety of stickers, each door contains at least one noteworthy item or feature:
- Door 1: One-way passage to Door 3
- Door 2: Magnifying Glass
- Door 3: HP-Up Heart
- Door 4: Secret Door; Lighter; connected to Door 5
- Door 5: Connected to Door 4 (Secret Door; Lighter)
- Door 6: Bat; Comet Piece to unlock World 2-5
- Door 7: Comet Piece to unlock World 2-4
Recommended Tactics
The Course is packed with enemies, and the narrow tunnels make it very difficult to avoid most battles. Luckily, you’ll find plenty of stickers scattered around each area.
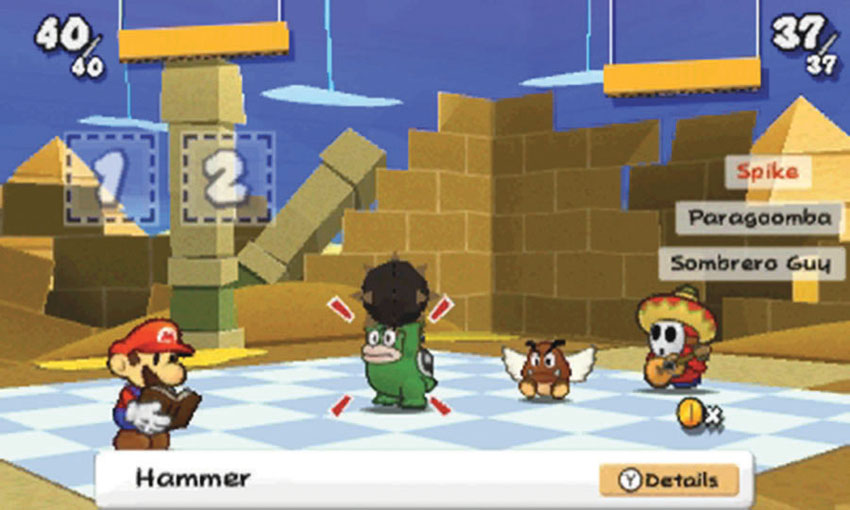
In addition to familiar foes like Paragoombas, Paratroopas, Swoops, and Sombrero Guys, you’ll find plenty of Spikes in this Course. Spikes are burly Koopa-like critters that use Spike Balls to attack from a distance. Dodge these attacks, or use your Hammer to knock them out of the air. During the battle, the Spike’s behavior determines which stickers you should use. When a Spike is holding its weapon, attack with projectiles or Hammer-based stickers. When a Spike is unarmed, however, Jump-based stickers can also be used.
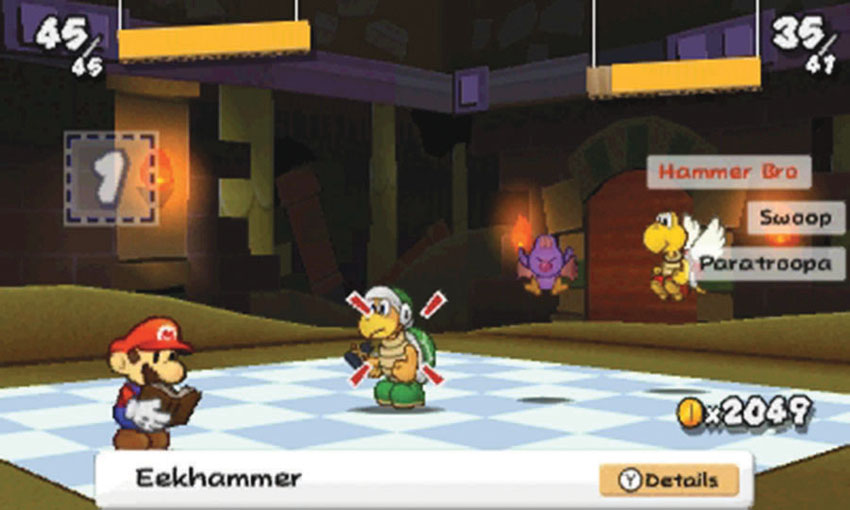
Most battles involve at least one airborne enemy, so you’ll want a reasonable supply of stickers that can reach them. Jump-based stickers and Hurlhammers are very effective, particularly if you take advantage of the Battle Spinner.
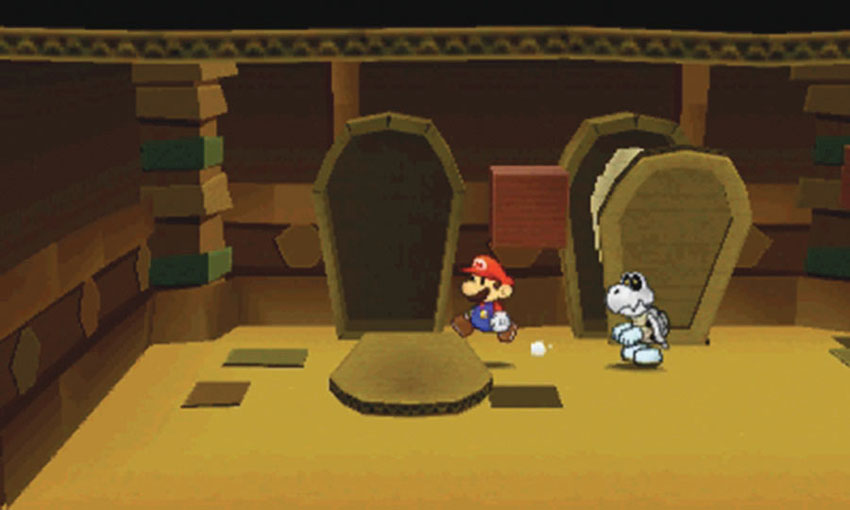
The sarcophagi in this Course can actually help you avoid battles! If you lure a Dry Bones in front of a sarcophagus just as you pry the lid off, the impact will prevent the Dry Bones from recovering. Unfortunately, sarcophagi can also contain enemies. Before you open a sarcophagus, make sure you’re prepared to defend yourself.
Surface
.jpg)
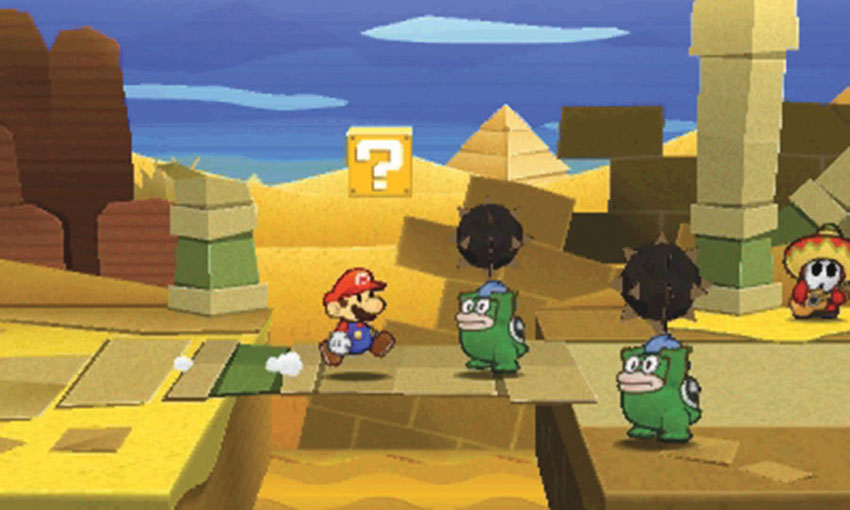
Two Spikes guard the bridge at Point 1. They may start attacking before they’re in sight, so watch out for incoming Spike Balls. The nearby Sombrero Guy makes early battles more difficult, so don’t hold back!
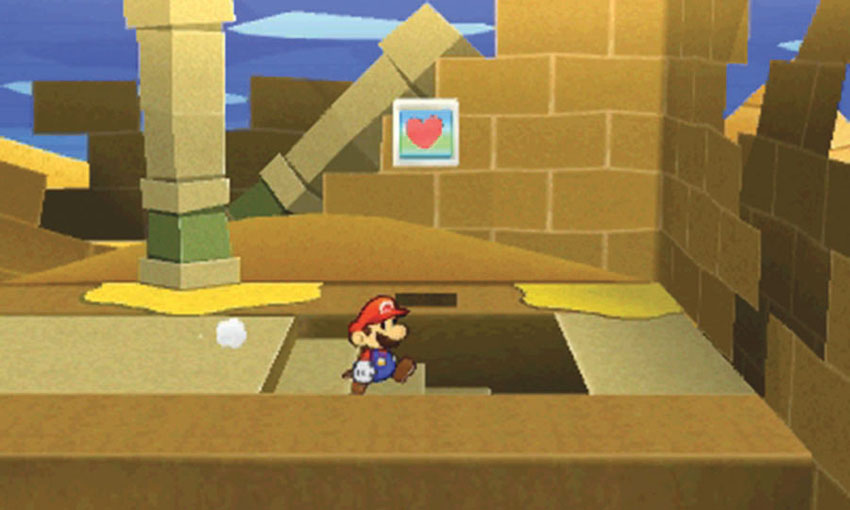
When you’re done searching the area for stickers, use the Heart Block to top off your HP Bar and then follow the stairs down to the tunnels.
Tunnels
Door 1
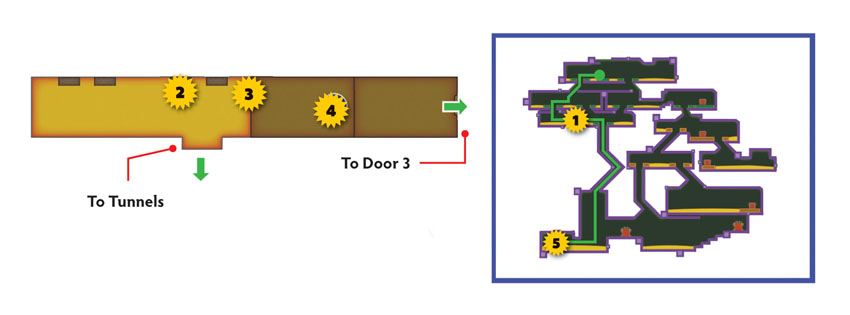
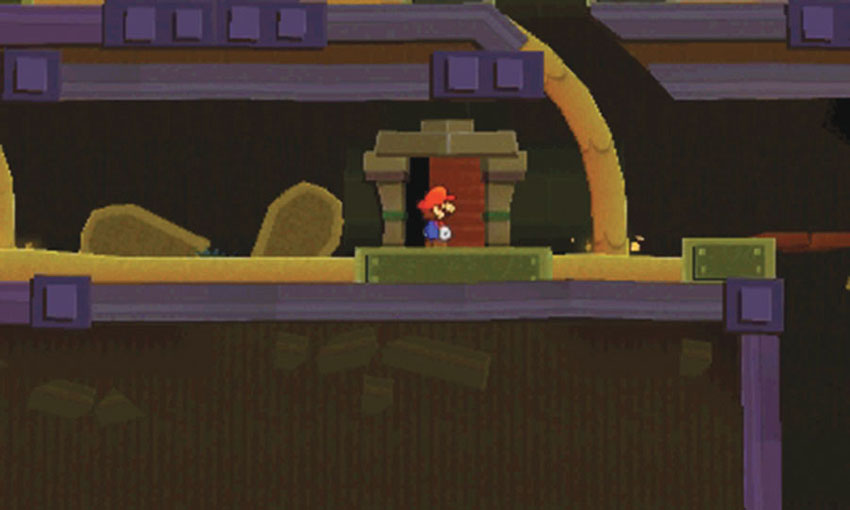
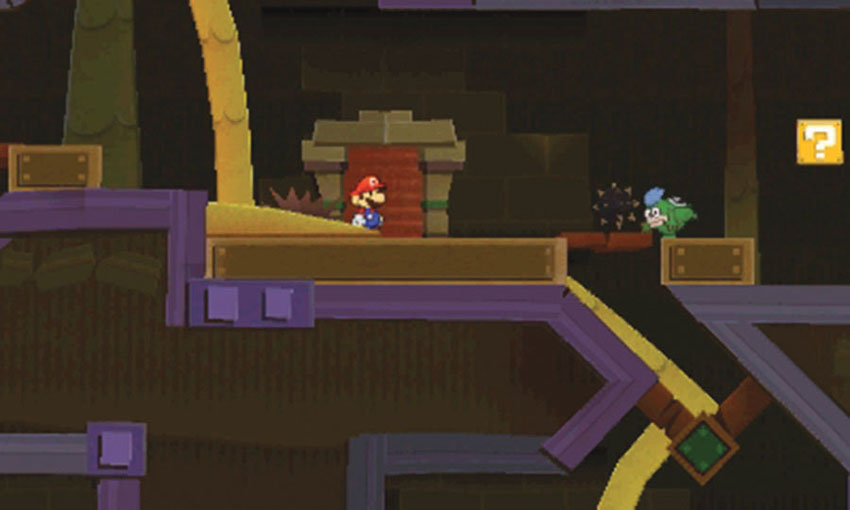
Door 1 is the only door on the left half of the tunnels. It leads to a room that contains a few stickers, a couple of enemies, and a one-way passage leading to Door 3.
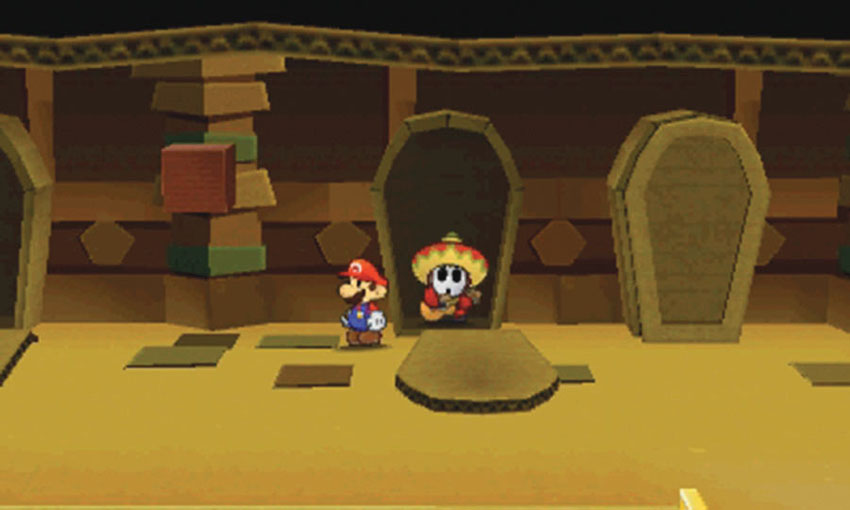
The sarcophagus at Point 2 contains a Sombrero Guy, and the Dry Bones heaped on the floor reassembles itself soon after you enter the room. Try to draw the Dry Bones over to Point 2, then open the sarcophagus. As the lid falls to reveal the Sombrero Guy, it also pins the Dry Bones to the ground.
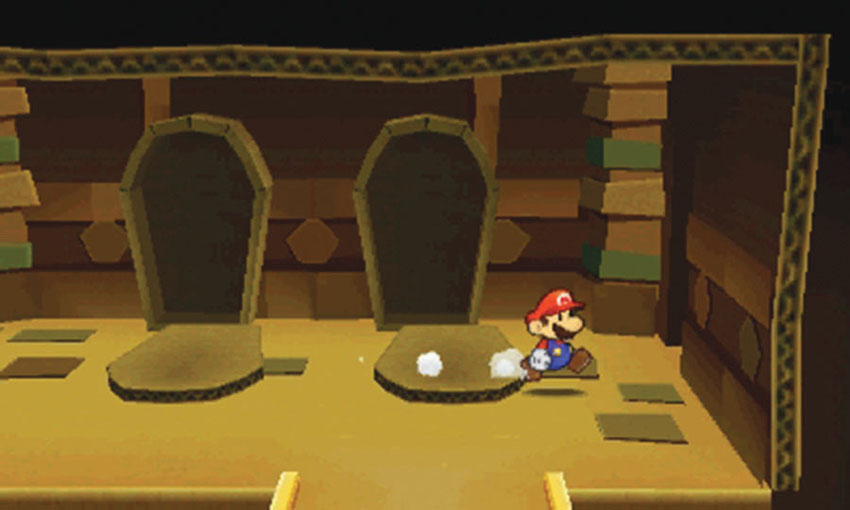
After you search the room for useful items, head through the opening on the right wall.
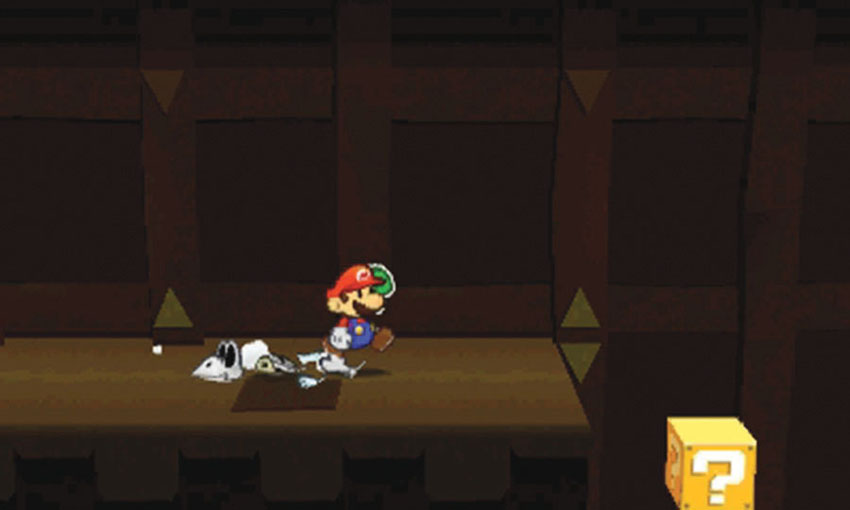
If you drop down from the ledge at Point 4, you must return to the tunnels through Door 3. During your first visit, however, consider sticking to the left half of the tunnels. Collect the stickers on the wall, then return to Door 1.
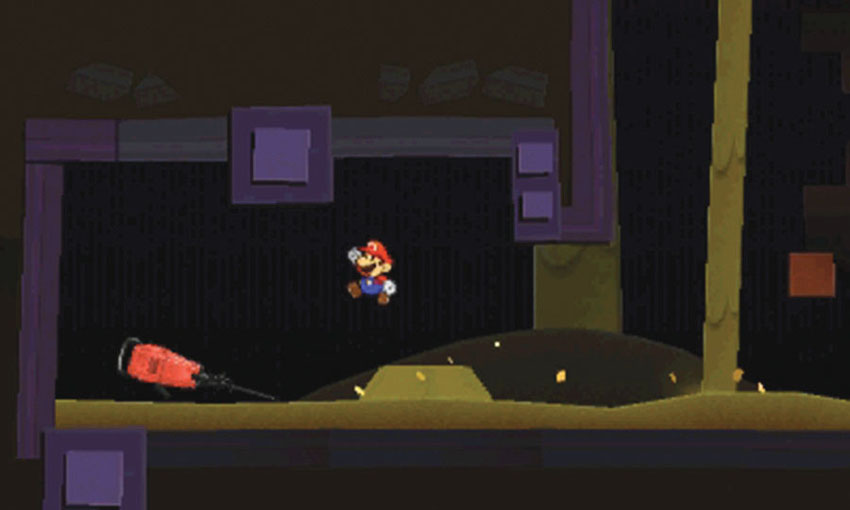
After you exit through Door 1, follow the path to the right and drop down through the gap. You land near one of the geysers that return you to the surface. Wait for the geyser to die down, then jump over it to collect the Jackhammer near the wall.
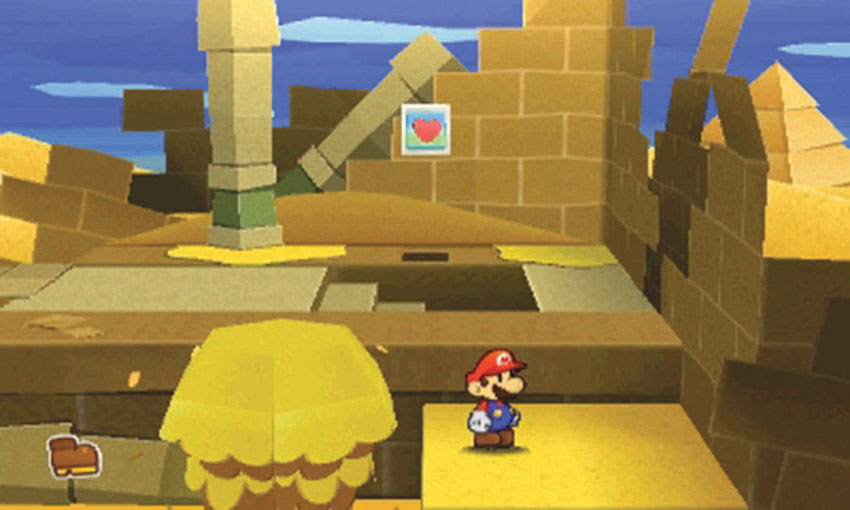
After you collect the Jackhammer, hop onto the geyser and let it carry you to the surface. After you land, use the Heart Block to recover any lost HP, then head back down the stairs.
Door 2
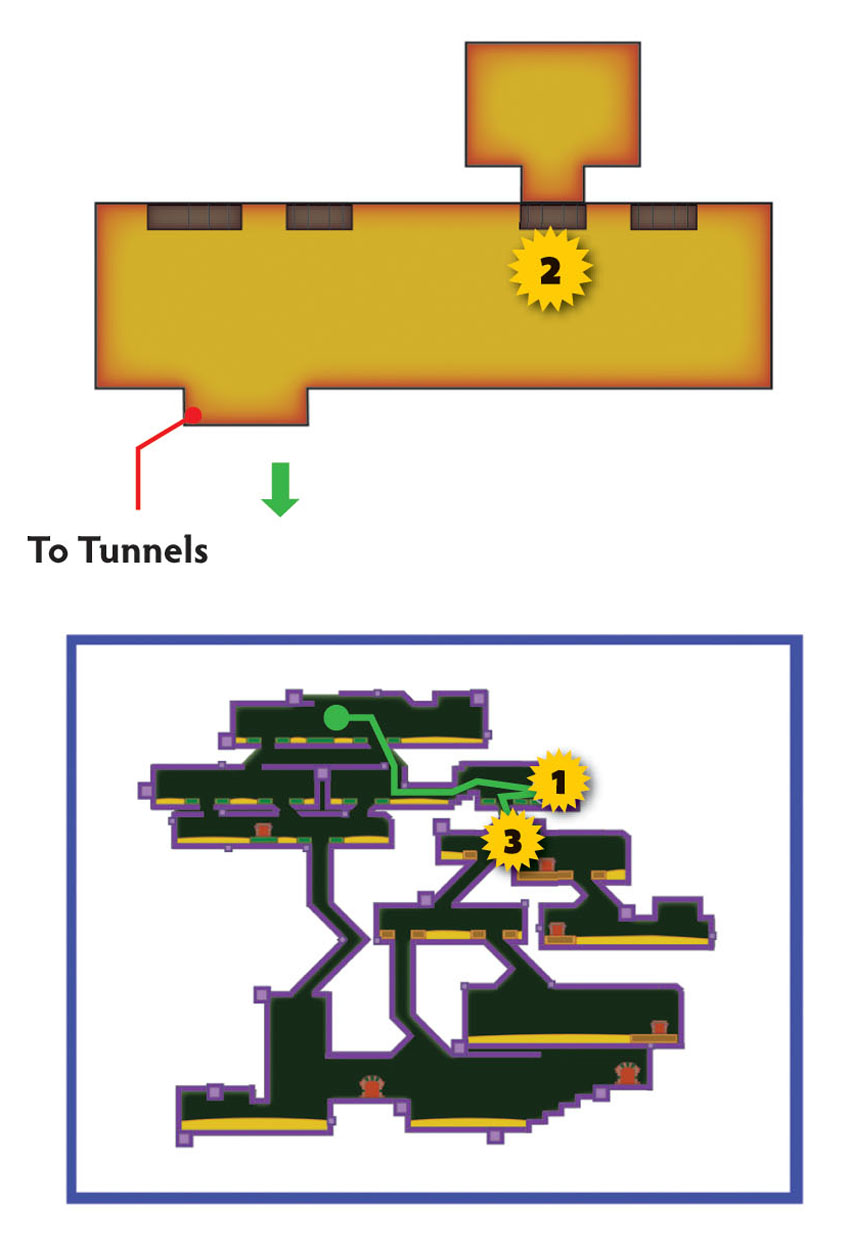
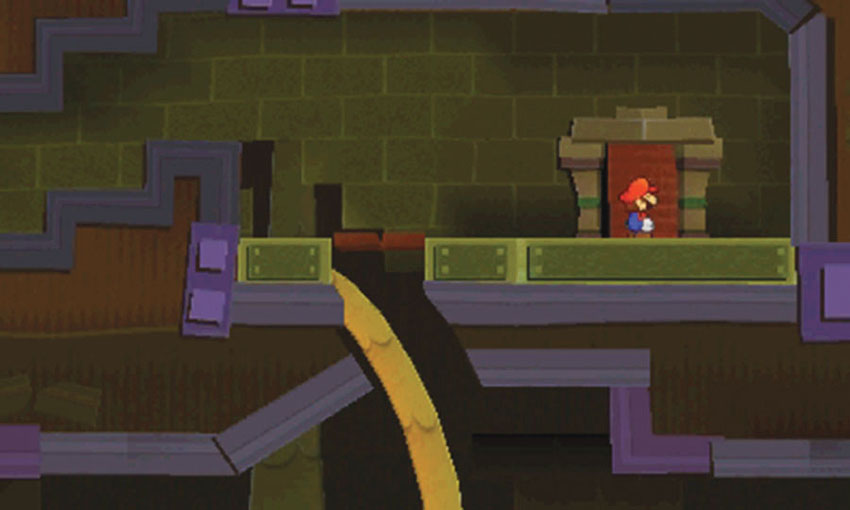
Like most of the tunnel doors, Door 2 is in the right half of the tunnels. This makes it very easy to explore several doors without returning to the surface. Door 2 leads to a room that contains a few stickers, a hidden enemy, and the Magnifying Glass.
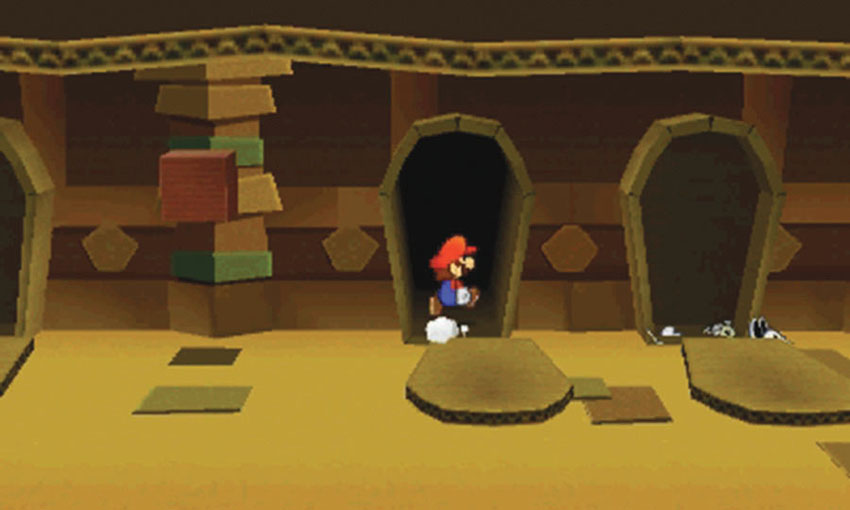
The room contains three sealed sarcophagi. The sarcophagus on the left contains a sticker. The sarcophagus on the right contains a Dry Bones. The sarcophagus in the middle, however, contains a hidden area! After you unravel the bandages, step into the sarcophagus to find the Magnifying Glass.
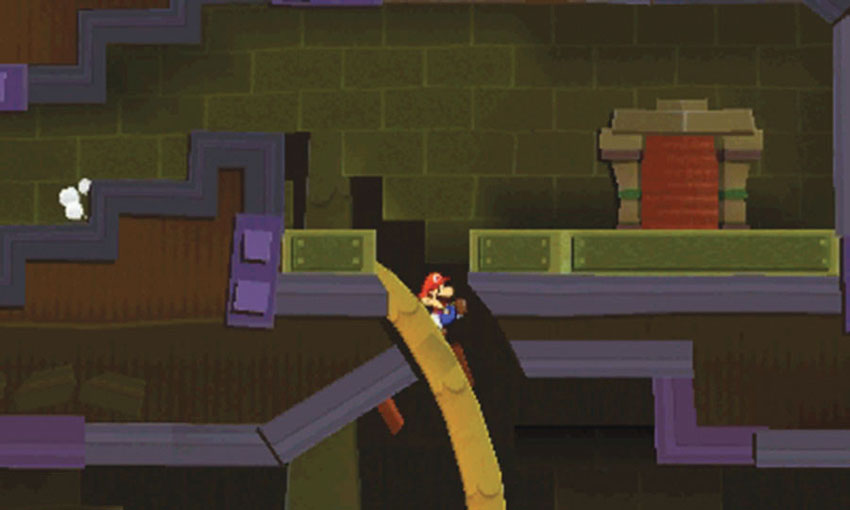
When you’re ready, leave the room and return to the tunnels. Drop through the gap to your left to land near Door 3.
Door 3
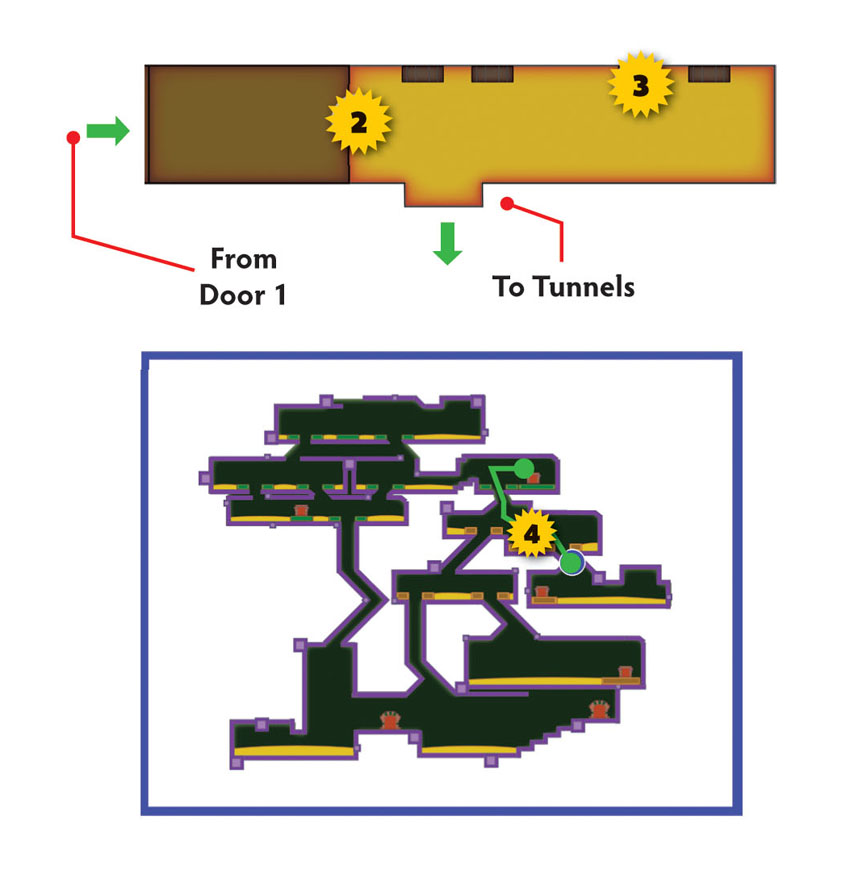
Door 3 is in the right half of the tunnels, just below Door 2. This room contains, among other things, an HP-Up Heart and a one-way passage from Door 1.
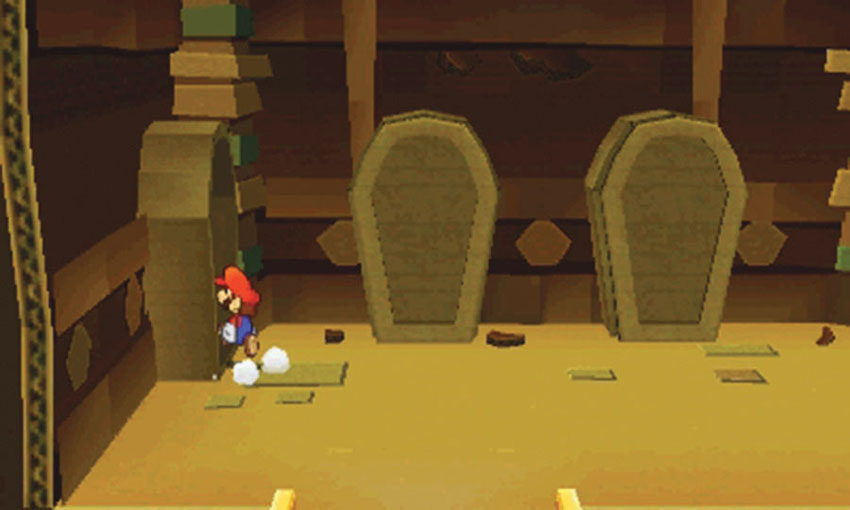
Step through the open sarcophagus on the left wall to find the hidden passage from Door 1. The area contains several stickers, so make sure you search it before moving on.
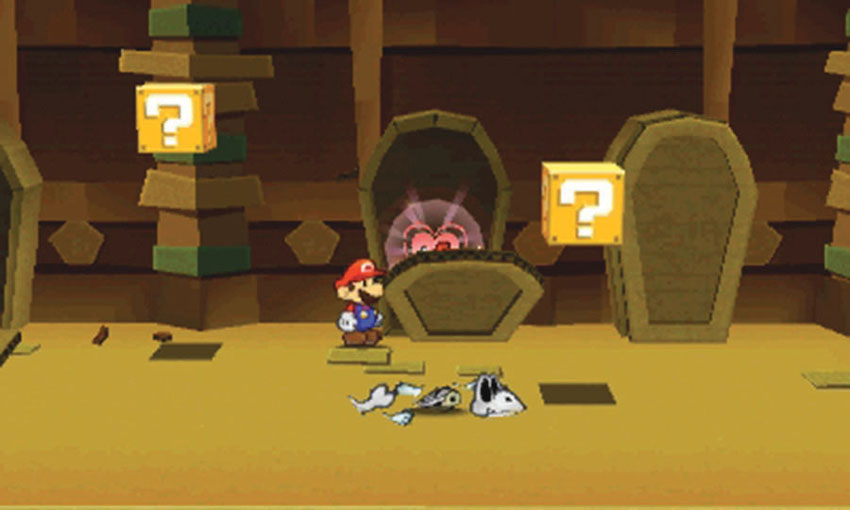
The sarcophagus at Point 3 contains an HP-Up Heart. There are plenty of other items in this room, though, so make sure you search it all.
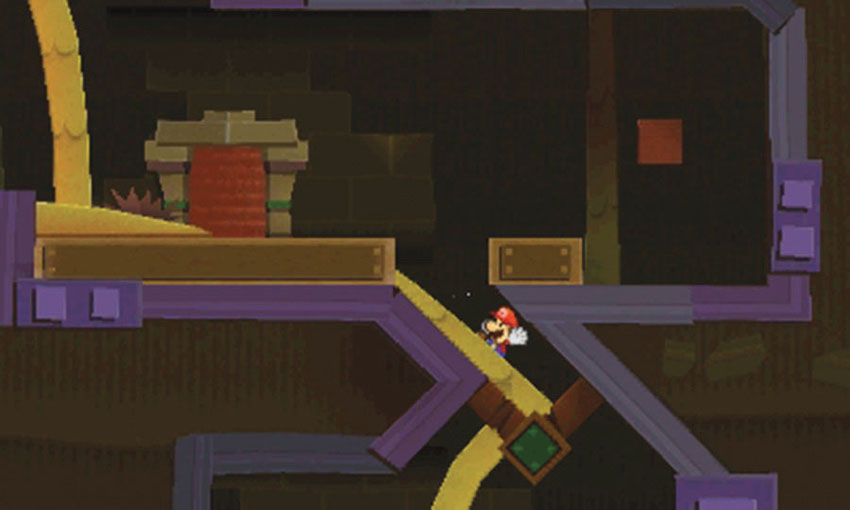
When you’re ready, leave the room and search the area to the right. Clear out the Spike and search the ? Block to the right, then drop down the nearby gap to land near Door 4.
Doors 4 and 5
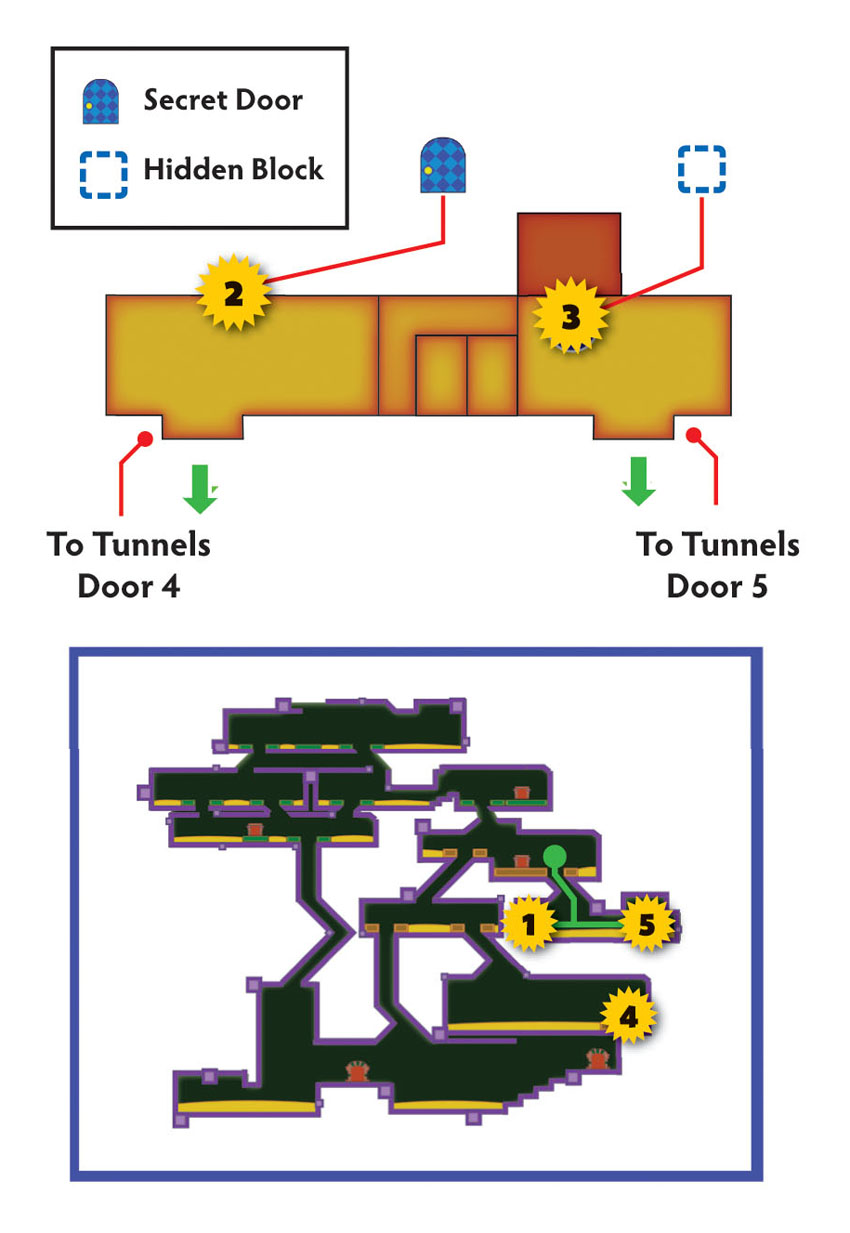
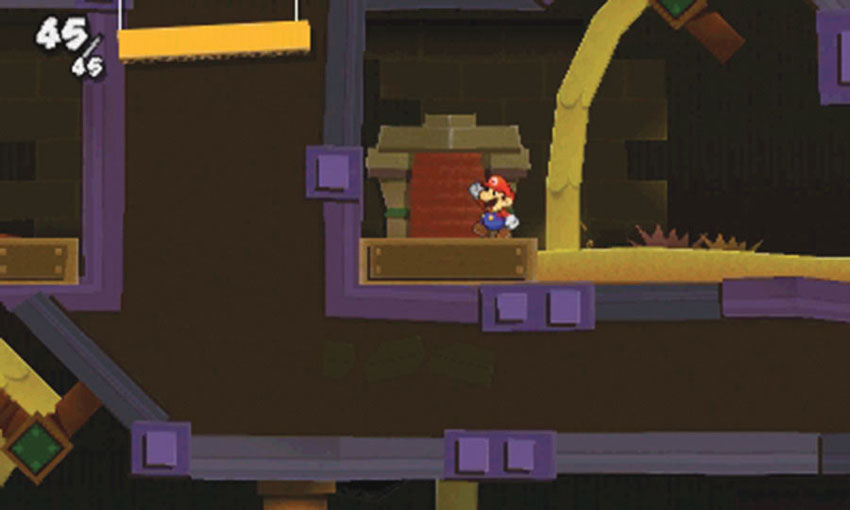
Door 4 is just under Door 3. This room contains the Secret Door location and hidden stash of stickers. Since Door 5 also leads to this room, this area serves as a passage of sorts. The room contains a few enemies, so be prepared to defend yourself!
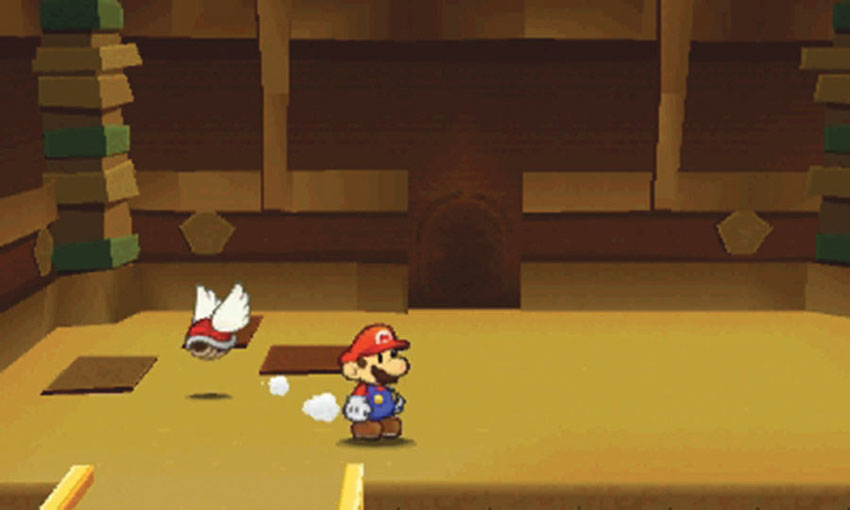
When you step through Door 4, look for the Secret Door location on the back wall. After you acquire a Secret Door sticker, return to this area and apply it to the marked location.
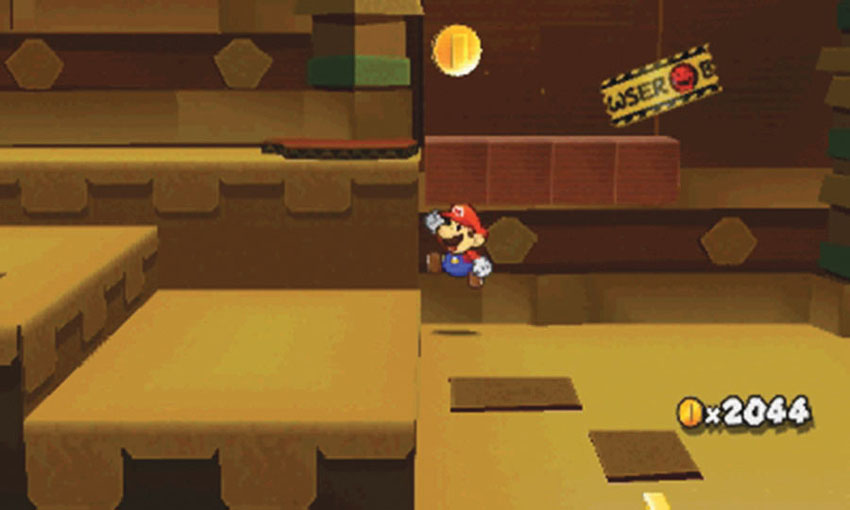
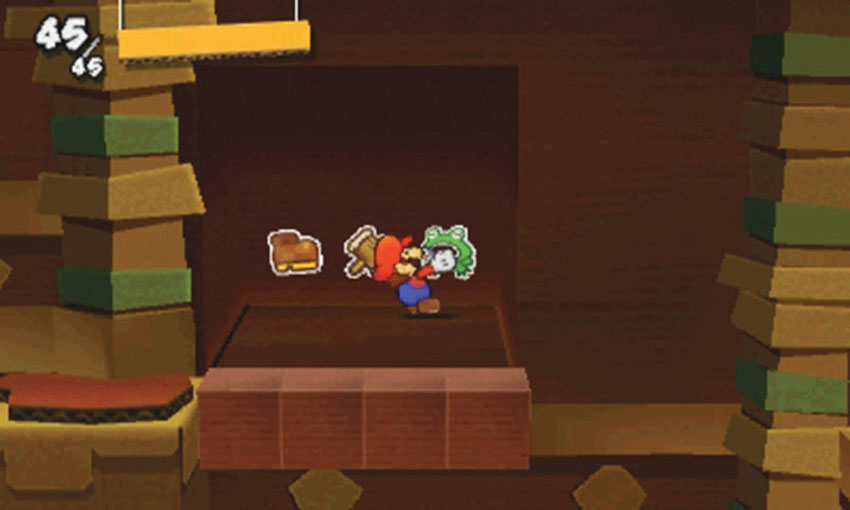
There’s a row of Hidden Blocks on the room’s right side. After you find them, climb up the steps and peel the Bowser tape on the rear wall. The loose panel falls away to reveal a stash of stickers.
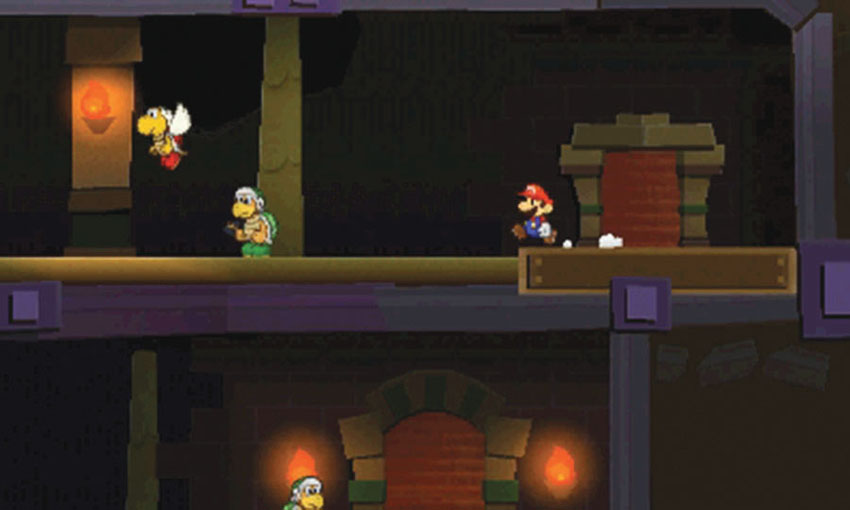
If you pass through the exit on the room’s right side, you emerge from Door 5. A few enemies lurk in the area, but the path leads to a dead end.
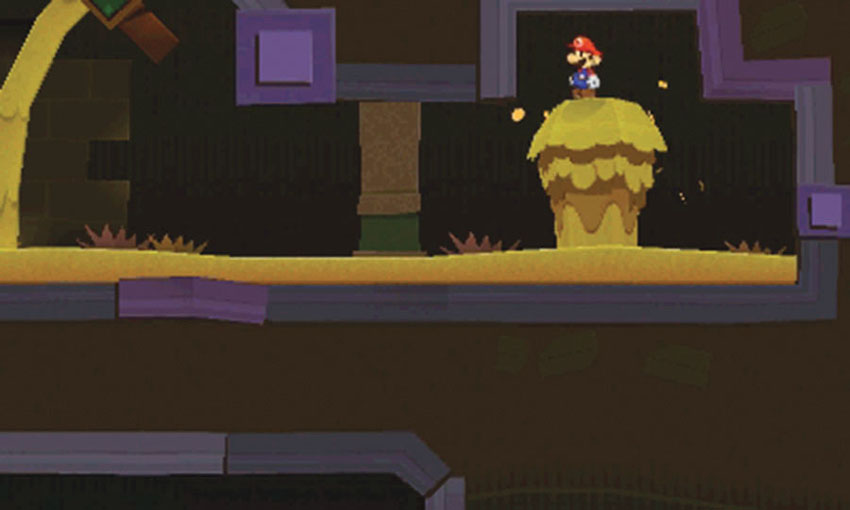
After you collect the Course’s first Comet Piece, revisit the level and make your way down to Door 7.
Door 6
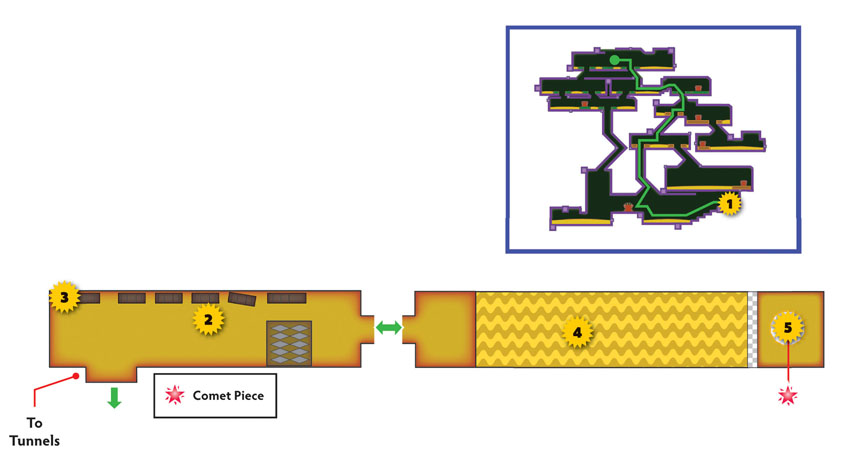
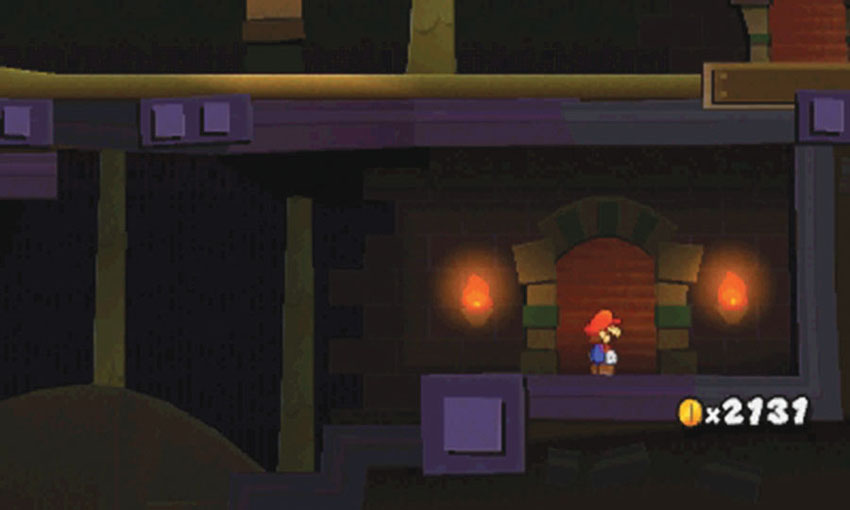
After you explore the room connecting Door 4 and Door 5, it’s time to collect the Course’s first Comet Piece. Enter the tunnels and make your way down to Door 6. This room contains a few stickers, the Bat, and one of the Course’s Comet Pieces.
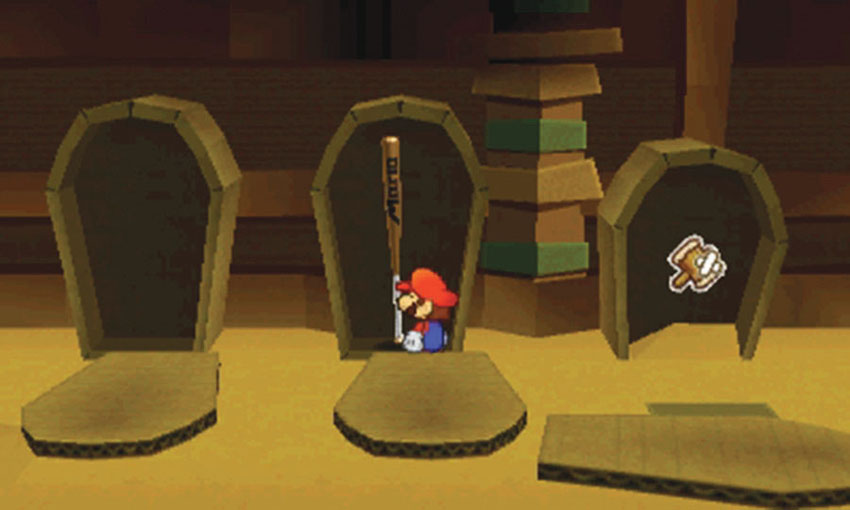
Head through the door and search the sealed sarcophagi along the back wall. The sarcophagus on the right contains a suspiciously thin object. Unravel the bandages to find the Bat.
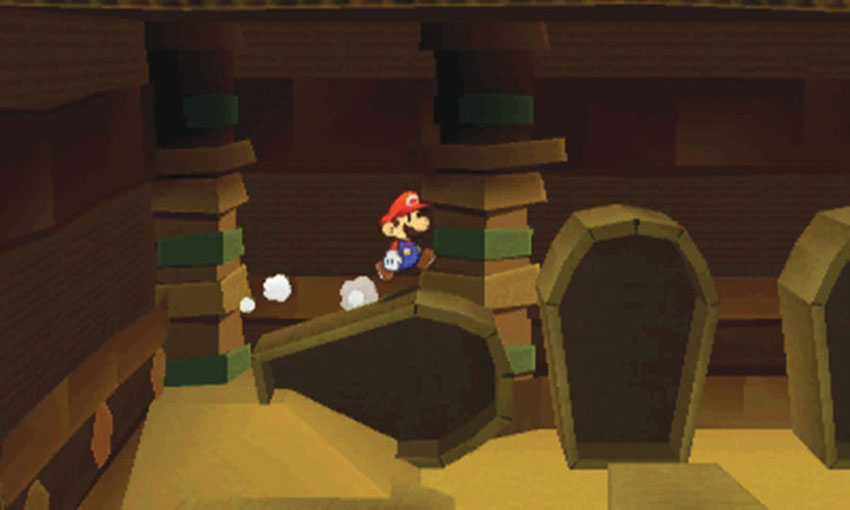
To get past the spikes, jump onto the toppled sarcophagus near the left wall. Hop along the tops of the sarcophagi until you’re safely past the spikes, then continue to the next room.
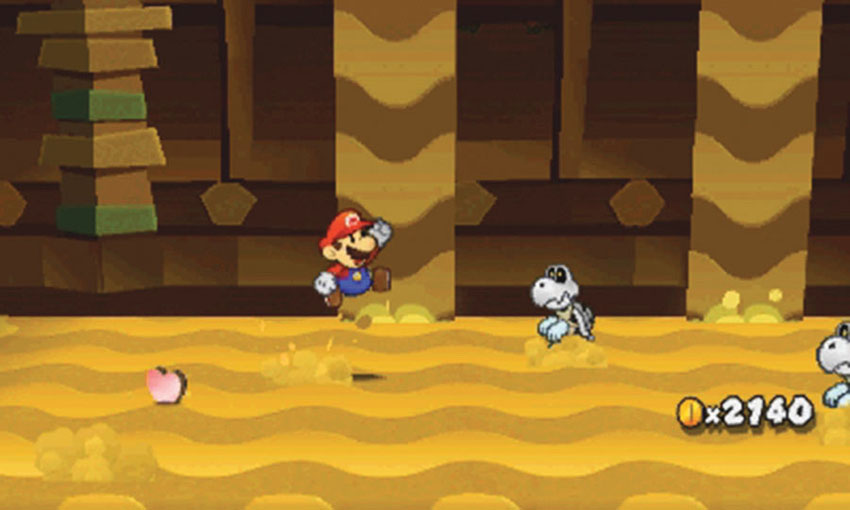
As you traverse the quicksand, try to avoid the Dry Bones that drop into your path.
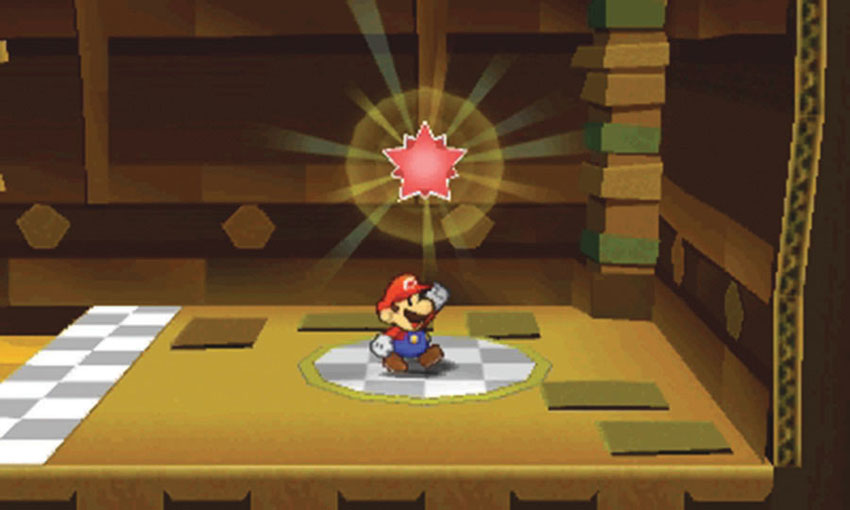
When you reach the end of the path, collect the Comet Piece to end your first visit.
Sticker Comet Piece: Unlocking World 2-5
This Course contains two pieces of the Sticker Comet. To unlock World 2-5, collect the Comet Piece located through Door 6.
Additional Visits
Recommended Visit #2
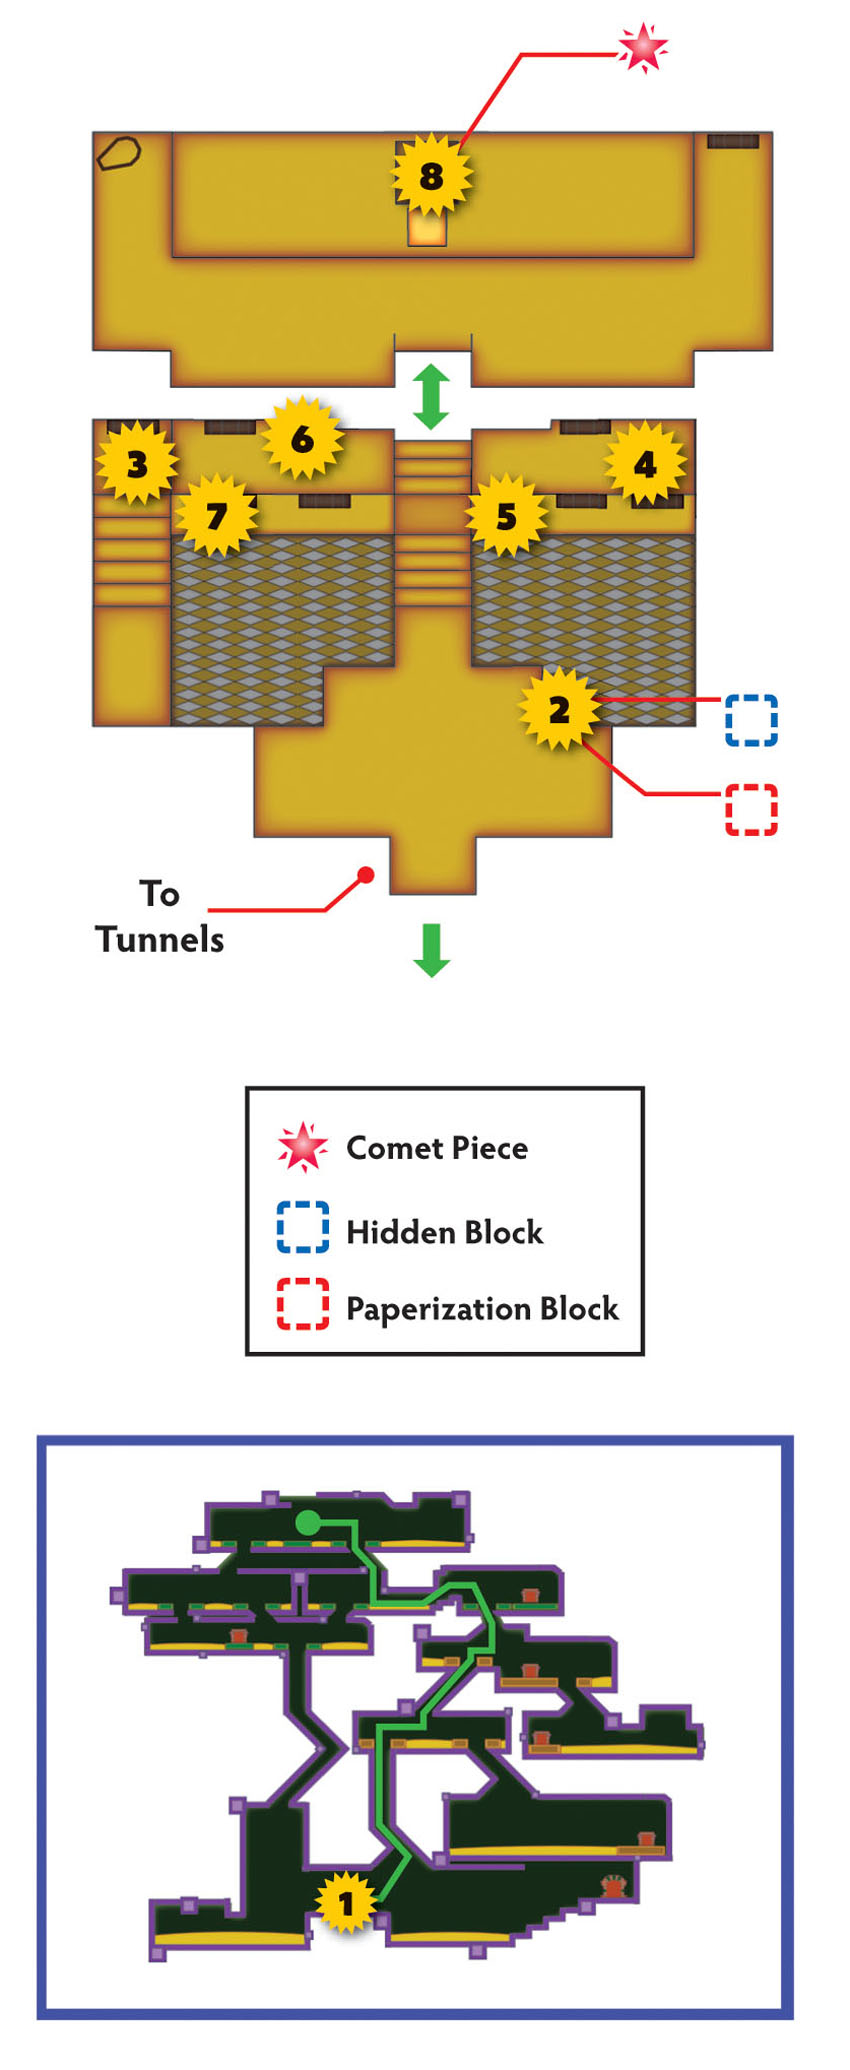
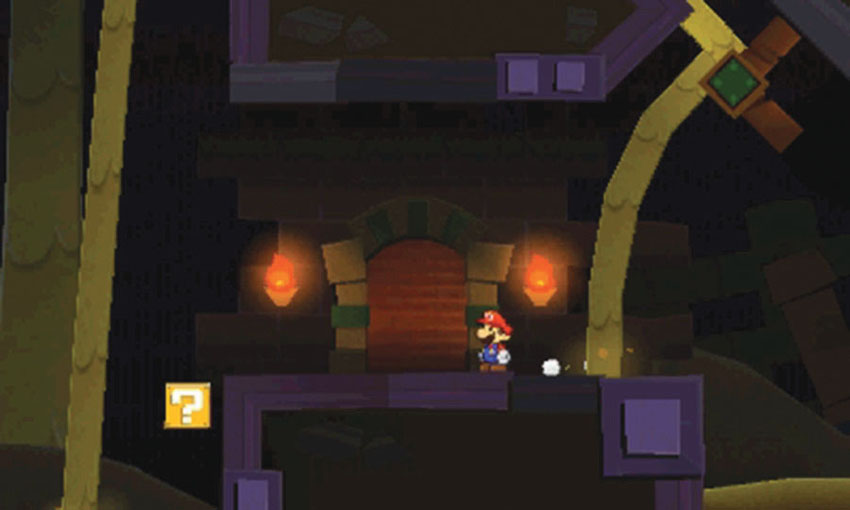
Drop back to the tunnels and make your way down to Door 7. This room contains one of the Course’s two Comet Pieces.
When you first enter the room, there’s a ? Block floating above the spikes to the right. Activate the Paperize ability and use a sticker to reveal the nearby Paperization Block. Carefully hop over to the floating ? Block, then jump up to find a flashy sticker inside a Hidden Block.
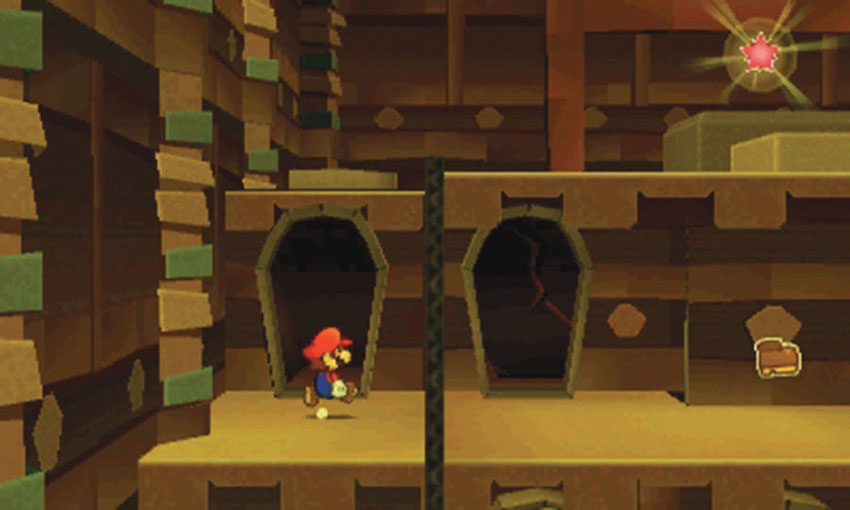
The Comet Piece is floating above a platform at the top of the chamber. Before you can collect it, you must find a way to move the platform into reach. To do that, you must navigate the hidden passages between the room’s sarcophagi. Climb to the top of the stairs, then move to the left wall. Move toward the foreground and drop from the ledge. Step into the sarcophagus, then follow the hidden path to the right.
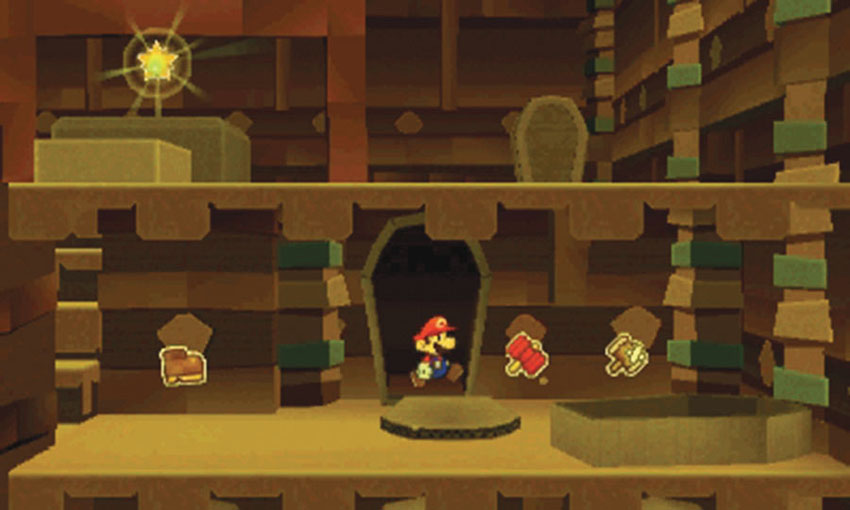
The hidden path leads to a sarcophagus to the right of the stairs. Move the lid out of your way and search the area for stickers. When you’re ready, hop into the toppled sarcophagus to the right.
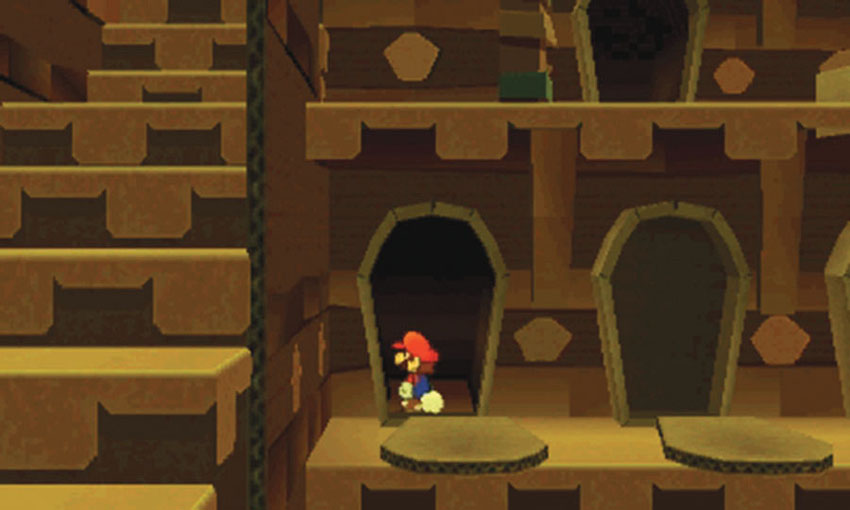
A hole in the sarcophagus allows you to drop down to the three sarcophagi on the next floor. The sarcophagus to the right contains a Dry Bones, the sarcophagus in the center contains a sticker, and the sarcophagus on the left holds a hidden passage.
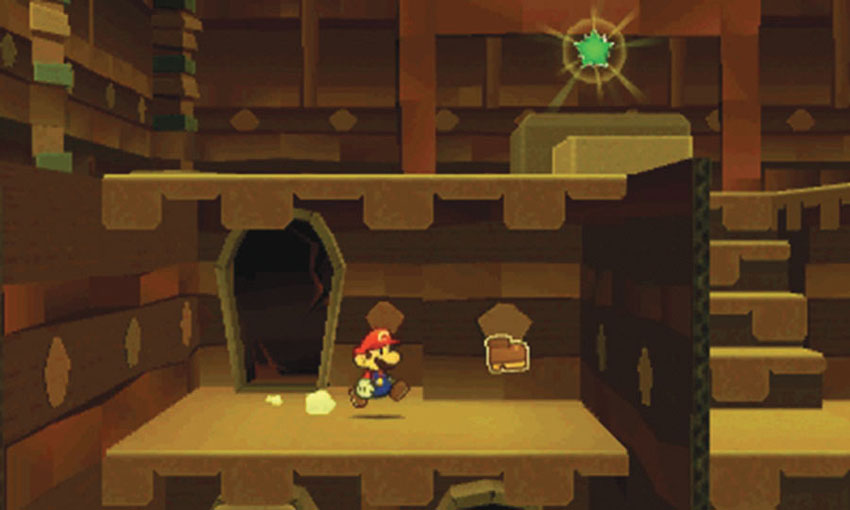
Follow the passage to emerge from a sarcophagus on the left side of the stairs. There’s a panel to the right. Peel the sticker on the front of the panel, then slip behind the panel to drop to the next floor.
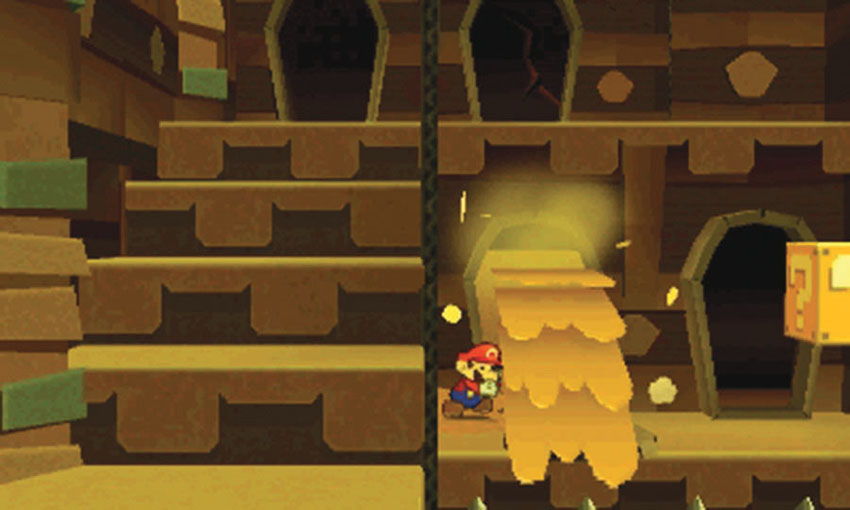
After you land, move left and open the sarcophagus to flood half of the room with sand. This not only covers the spikes to the left of the stairs, it lowers the platform at the top of the chamber.
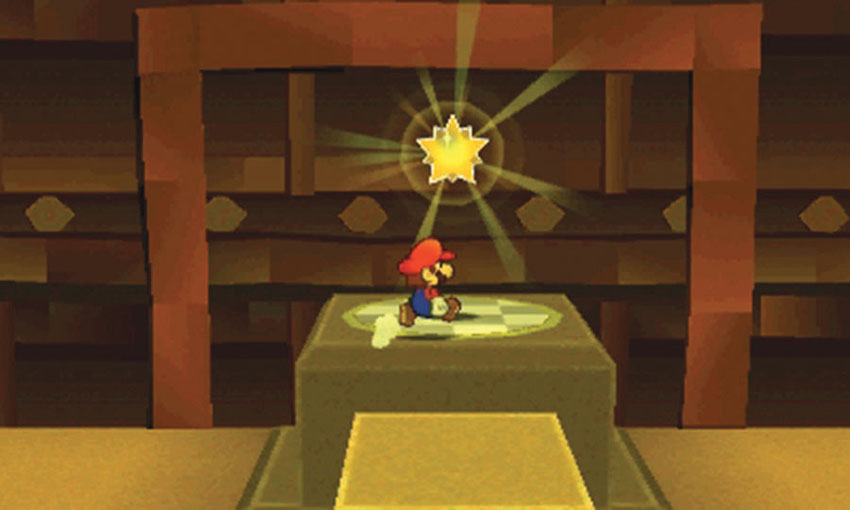
When you’re finished exploring the chamber, climb back up the stairs. Hop onto the platform and collect the Comet Piece to exit the Course.
Sticker Comet Piece: Unlocking World 2-4
This Course contains two pieces of the Sticker Comet. To unlock World 2-4, collect the Comet Piece located through Door 7.
Recommended Visit #3
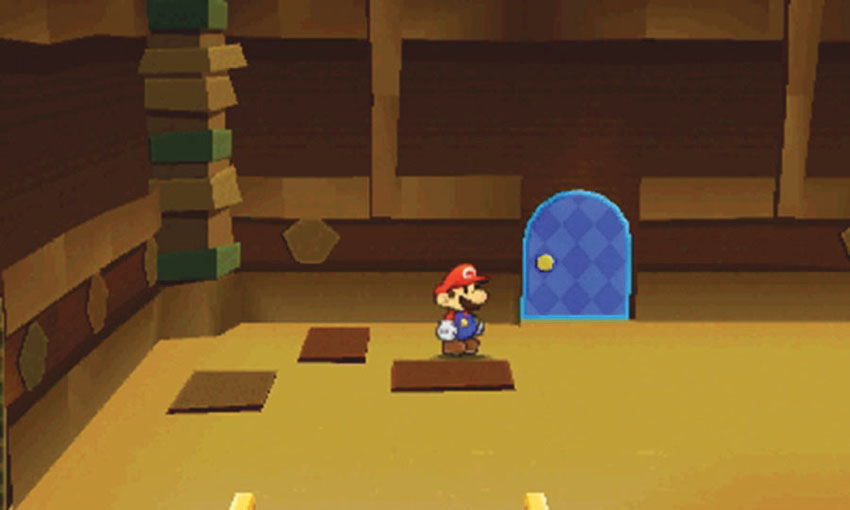
After you gain access to the World 3-6 Sticker Shop, purchase a Secret Door sticker, return to the tunnels, and enter Door 4. Apply the Secret Door to the marked location, then head inside to find the Lighter.
World 2-4: Damp Oasis
Overview
Prerequisites
To unlock this Course, you must collect the corresponding Comet Piece from Door 7 in World 2-3. You’ll need to bring a Vacuum sticker and a Faucet sticker to make the most of your first visit. As usual, you must also revisit this Course after you acquire a Secret Door sticker.
Essential Thing Stic kers
| Name | Thing Location | Notes |
|---|---|---|
| Vacuum | Surfshine Harbor | Required to settle the sandstorm. |
| Faucet | World 1-3 | Required to refill the oasis. |
Objectives
This Course contains several objectives, most of which can be completed during your first visit:
- Settle the sandstorm.
- Refill the oasis.
- Collect the Tablet Piece scrap.
- Collect the Shaved Ice.
- Collect the Comet Piece to open a path to World 2-1.
- Collect the Hair Shears from the Secret Door.
Important Items and Locations
| Description | Notes |
|---|---|
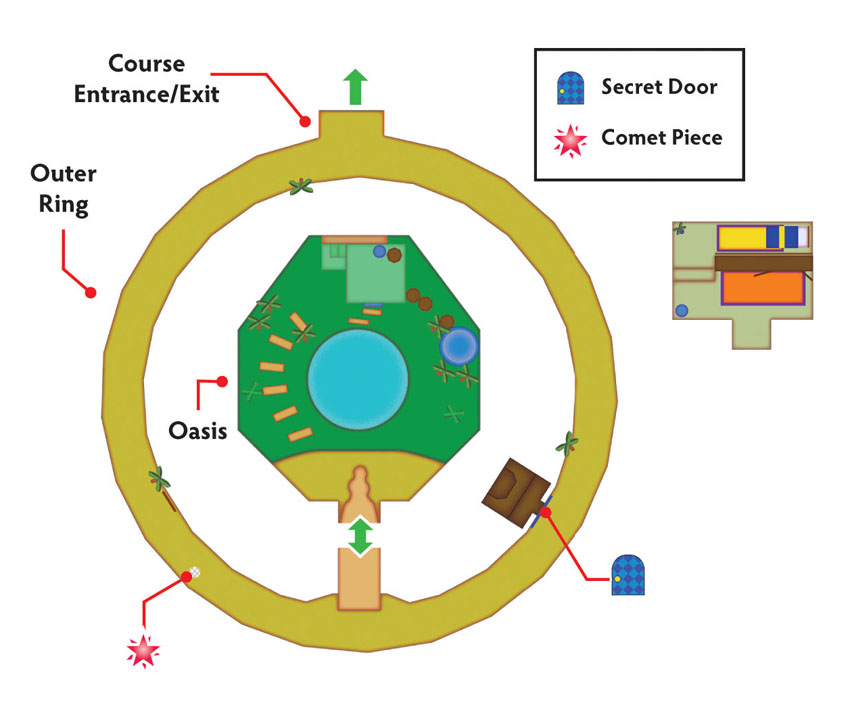
| Secret Door | The marked location is on the outer ring, near the path to the oasis. |
| HP-Up Heart | None |
| Toad Rescue | None |
| Luigi Location | None |
| Wiggler Diary Entry | None |
| Things | The Shaved Ice is on the house near the oasis. The Hair Shears are located through the Secret Door. |
Recommended Tactics
This compact Course doesn’t contain many hostile creatures, but you will find a few Pokeys patrolling the outer ring.
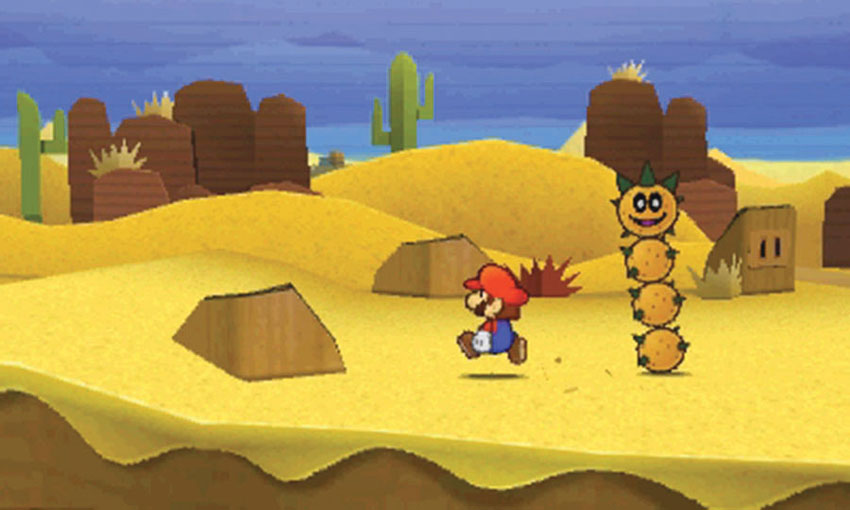
You have plenty of room to maneuver past the wandering Pokeys, and since this Course doesn’t contain any stickers, it’s usually best to do so. Still, make sure you bring a few Hammers or Iron Jump stickers in case you stumble into a battle.
Recommended Visit #1
.jpg)
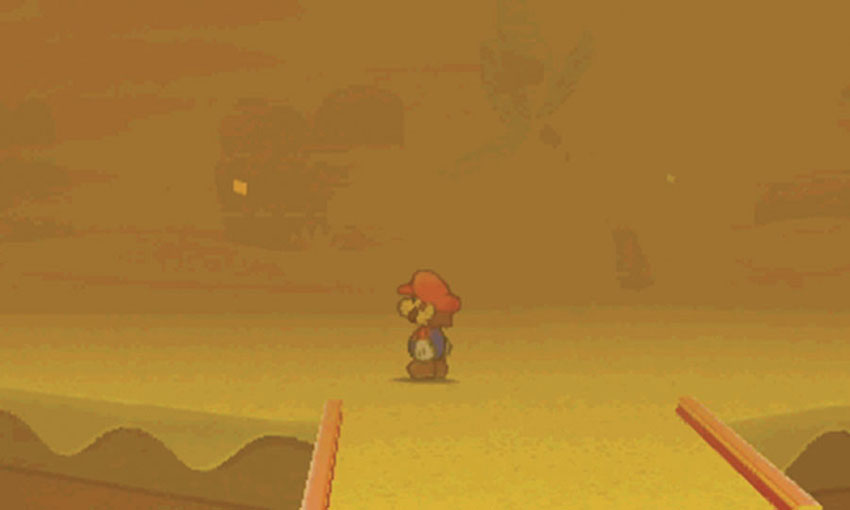
When you first enter the Course, a whirlwind is causing a violent sandstorm. Move left and follow the outer ring until you find the source of the storm.
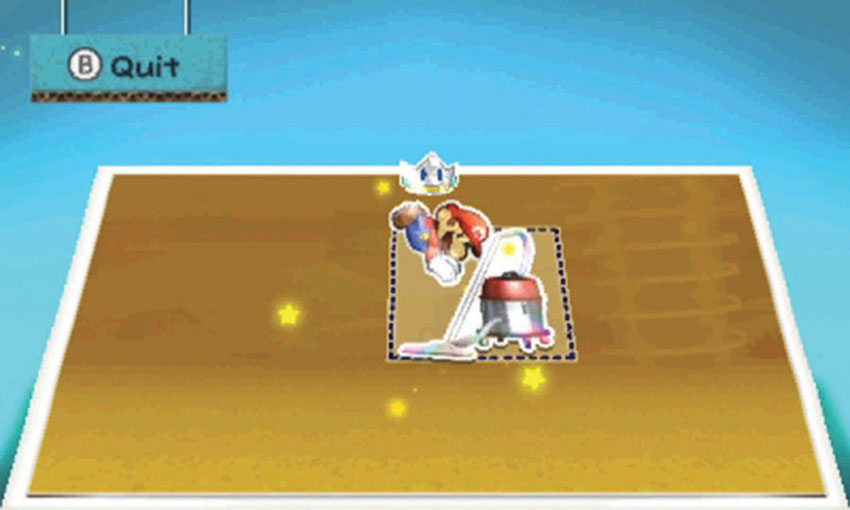
When you reach the whirlwind, locate the large outlet to the left. Activate the Paperize ability ability and apply the Vacuum sticker to the indicated spot.
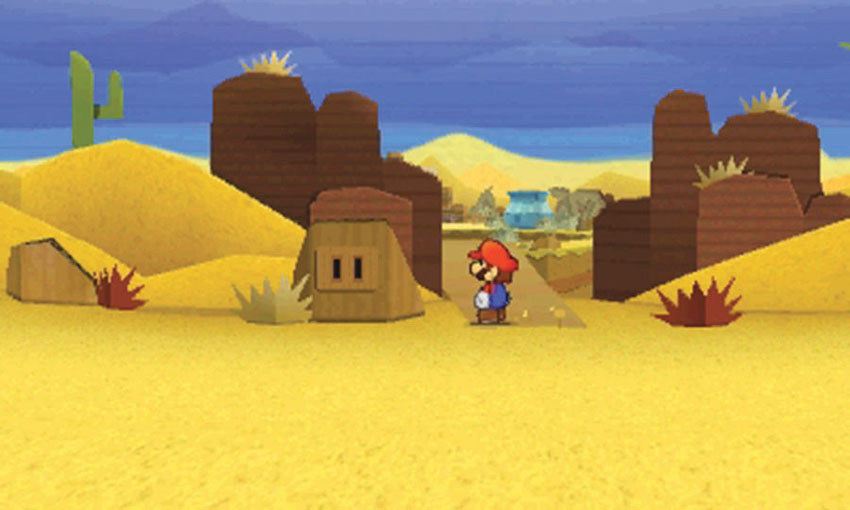
After the Vacuum settles the sandstorm, the whirlwind falls over and becomes a path to the oasis. Before you head into the oasis, however, locate the Secret Door’s marked location along the outer ring. You’ll find the Comet Piece just to the left of the outlet, but avoid collecting it until you’re ready to leave the Course.
The Secret Door location is on a cluster of rocks at Point 3. After you acquire a Secret Door sticker, return to this area and apply it to the marked location.
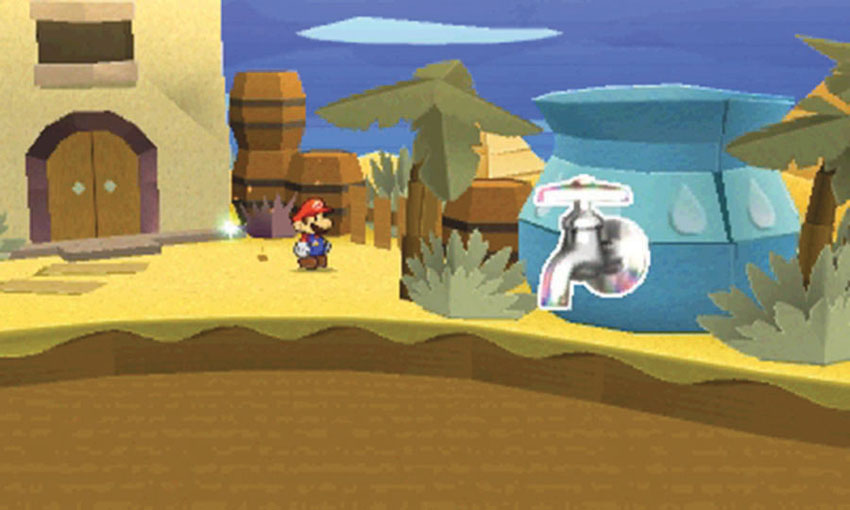
The area is in pretty bad shape during your first visit. Approach the large blue jug and activate the paperization ability. Apply the Faucet sticker to the indicated spot. Once the oasis has been restored, enter the nearby house.
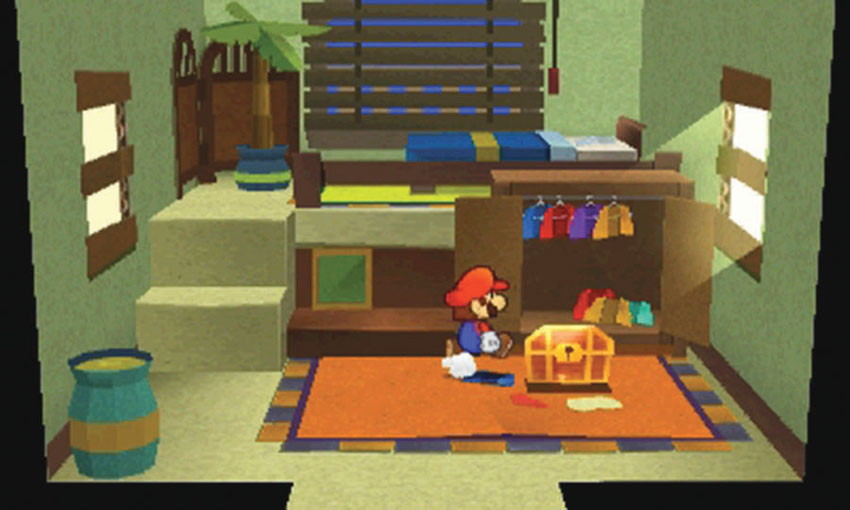
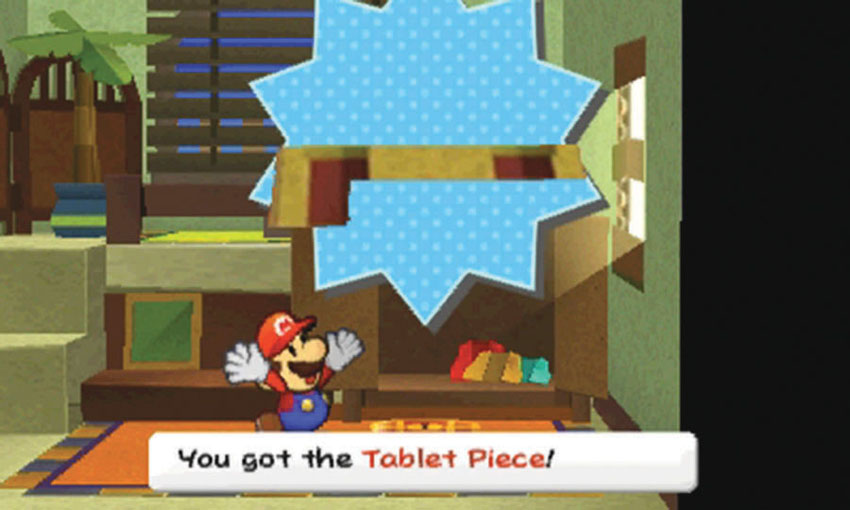
Search the cabinets in the house to find a treasure chest, then open the chest to collect the last Tablet Piece scrap. When you’re ready, open the blinds on the back wall and hop out the window.
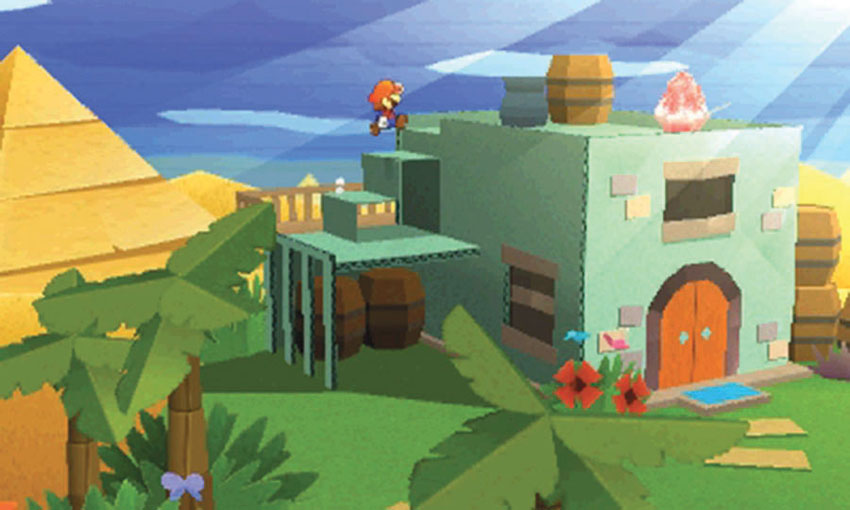
Follow the walkway to the side of the house, then climb the steps to the roof to find the Shaved Ice. Before you hop down, look for the Hidden Block above the nearby barrel.
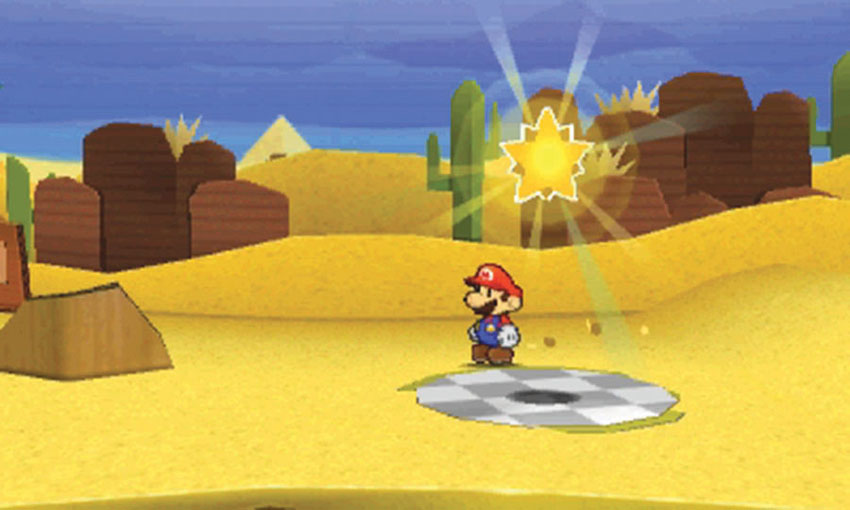
When you’re ready, return to the outer ring and follow the path to the left. Collect the Comet Piece to end your first visit.
Sticker Comet Piece: Unlocking the Path to World 2-1
Rather than unlocking a new Course, this Course’s Comet Piece unlocks a new path to World 2-1. After you settle the sandstorm, collect the Comet Piece to the left of the outlet.
Recommended Visit #2
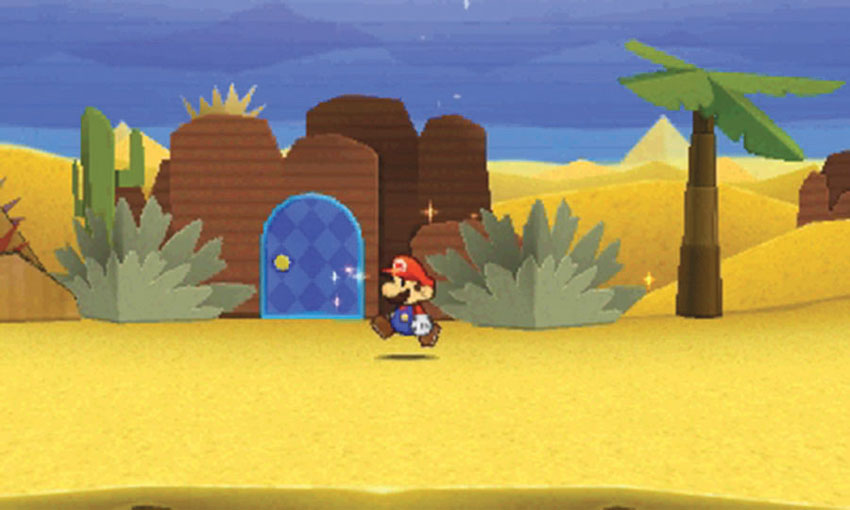
After you gain access to the World 3-6 Sticker Shop, purchase a Secret Door sticker and apply it to the marked location along the outer ring. Head through the door to find the Hair Shears.
World 2-5: Drybake Stadium
Overview
Prerequisites
To unlock this Course, you must collect the corresponding Comet Piece from Door 6 in World 2-3. Before you can accomplish much within the Course, however, you must collect the Tablet Piece scraps from World 2-1, World 2-2, and World 2-4. This Course also contains several sticker puzzles and a boss battle, so make sure you stock up on essential stickers.
Essential Thing Stic kers
| Name | Thing Location | Notes |
|---|---|---|
| Bat | World 2-3 | Needed for boss battle. |
Objectives
This Course contains several objectives, most of which can be completed during your first visit:
- Assemble the Tablet Piece scraps.
- Solve the first sticker puzzle.
- Recover and replace the Stone Entry scrap.
- Solve the second sticker puzzle.
- Find Luigi.
- Clear the path to the warp pipe shortcut.
- Reposition the Tower Outer Wall scrap.
- Solve the third sticker puzzle.
- Defeat the Tower Power Pokey.
- Collect the Royal Sticker.
- Collect the flashy stickers from the Secret Door.
Important Items and Locations
| Description | Notes |
|---|---|
| Secret Door | The marked location is at the Course entrance. |
| HP-Up Heart | None |
| Toad Rescue | None |
| Luigi Location | Luigi is on the tower’s fourth floor, along the outer walkway. |
| Wiggler Diary Entry | None |
| Things | None |
Recommended Tactics
This Course is packed with enemies, so you’ll want to initiate each battle on your own terms. In addition to familiar critters, you’ll find some unique enemies like the Mural Goomba, Mural Koopa, and the Royal Sticker–wielding Tower Power Pokey.
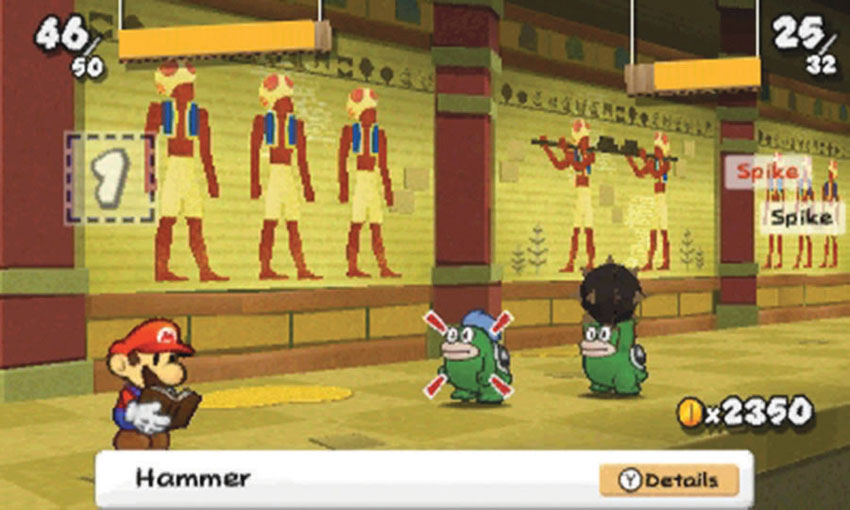
The Spikes in this Course tend to appear in groups, so keep plenty of Hammers on hand.
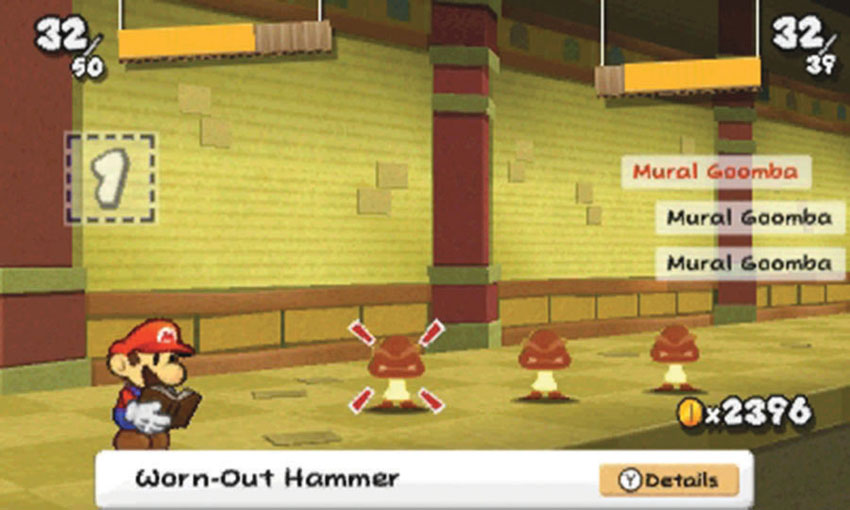
Mural Goombas and Mural Koopas are tougher than their standard counterparts. You’ll find the same basic tactics just as effective, as long as you use higher-quality stickers and/or the Battle Spinner.
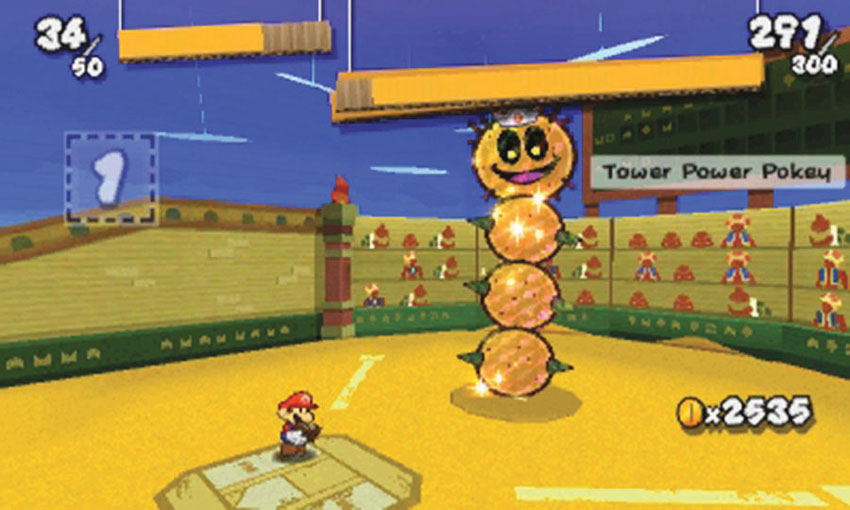
The Tower Power Pokey uses its spiked segments to counter your Hammer stickers, and its massive HP Bar allows it to absorb a lot of damage. Jump-based stickers, POW Block stickers, and Mushrooms should all prove very useful, but the Bat sticker is the key to an early victory—just make sure you don’t use it too early!
Ground Floor
.jpg)
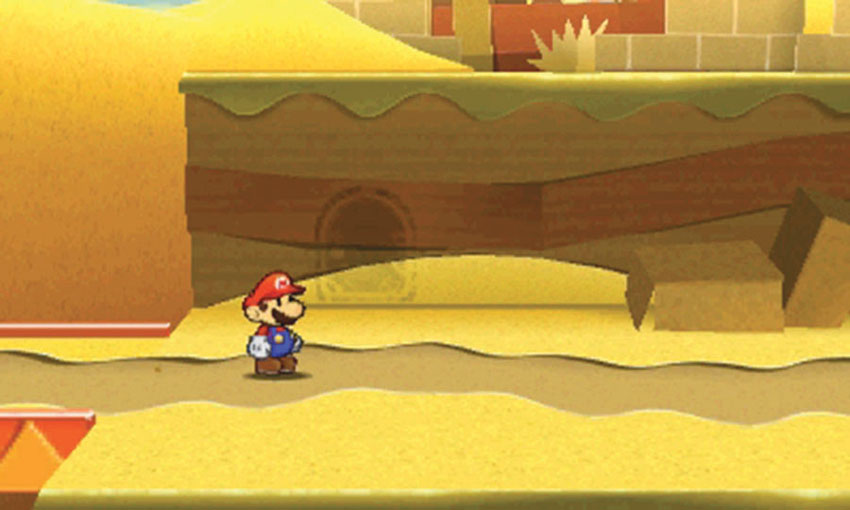
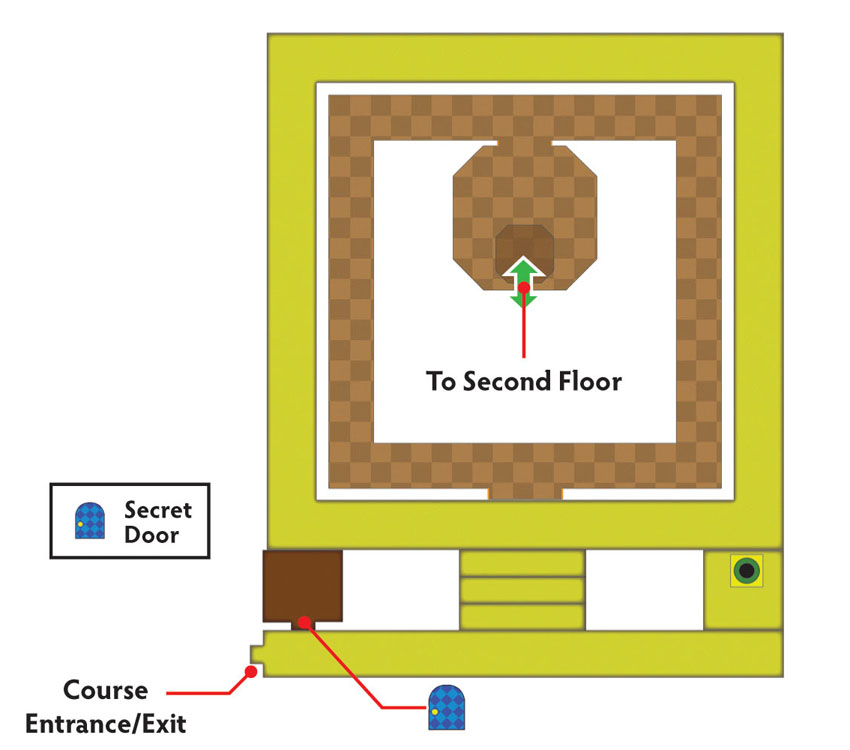
The Secret Door location is just next to the Course entrance/exit. Return to this location after you acquire a Secret Door sticker.
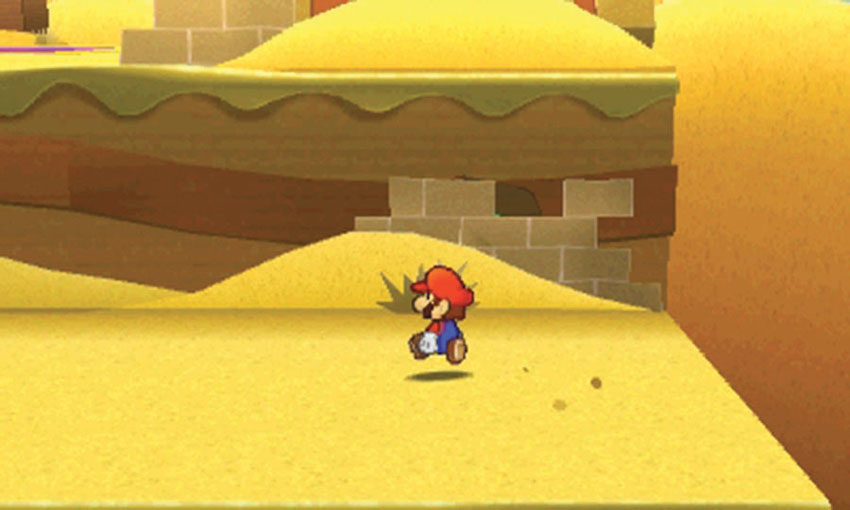
There’s a warp pipe hidden behind a panel at Point 2. Before you can access this shortcut, you must enter the warp pipe on the tower’s fourth floor and knock the panel loose from the other side.
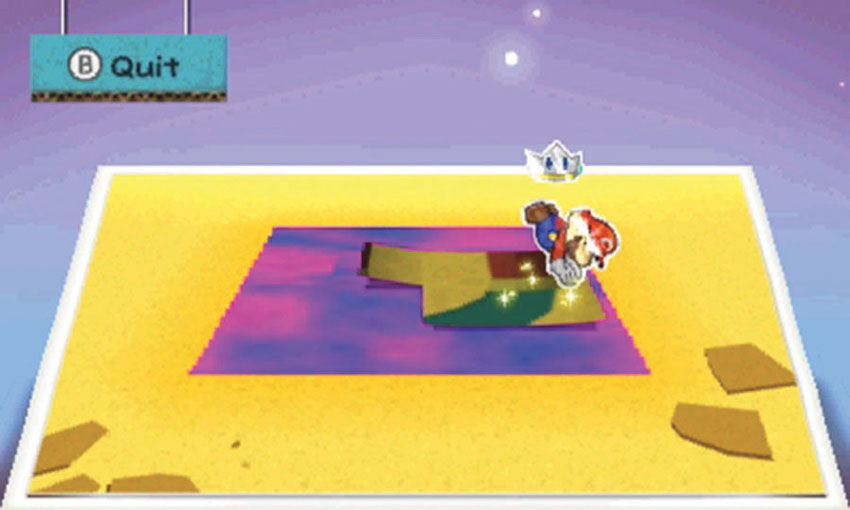
When you first visit this area, the tower is missing. Approach the marked location at the top of the steps and activate the Paperize ability. Apply the Tablet Piece scraps from World 2-1, World 2-2, and World 2-4 to the indicated areas.
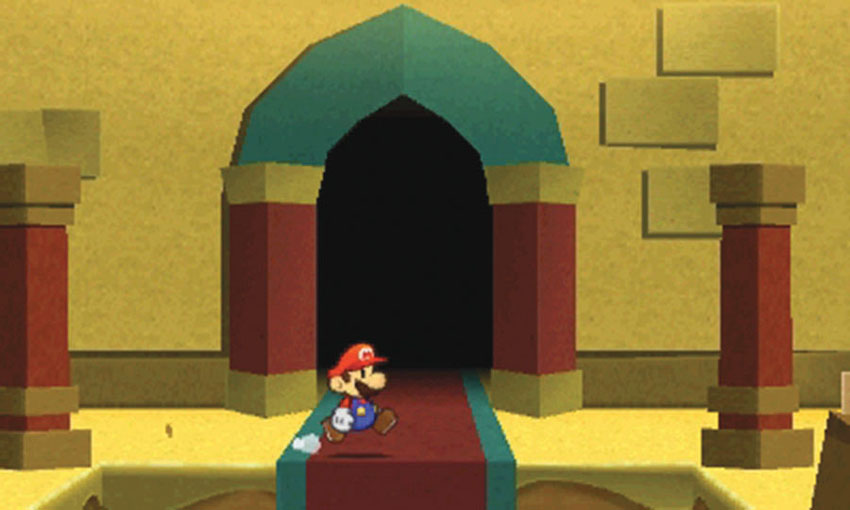
When the cinematic ends, enter the tower and begin your ascent.
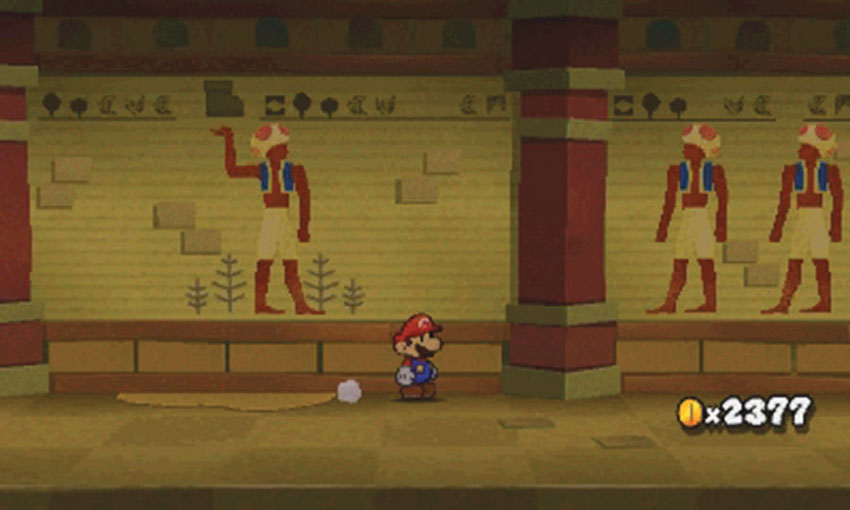
The tower’s first sticker puzzle is on the ground floor. To solve this puzzle, you must decipher the nearby clues. After you clear the enemies from the corridor, examine the murals on the walls. The figure at Point 4 has one arm extended and is holding what looks like a Jump sticker. A figure on the other side of the area is using the opposite arm to hold a Hammer.
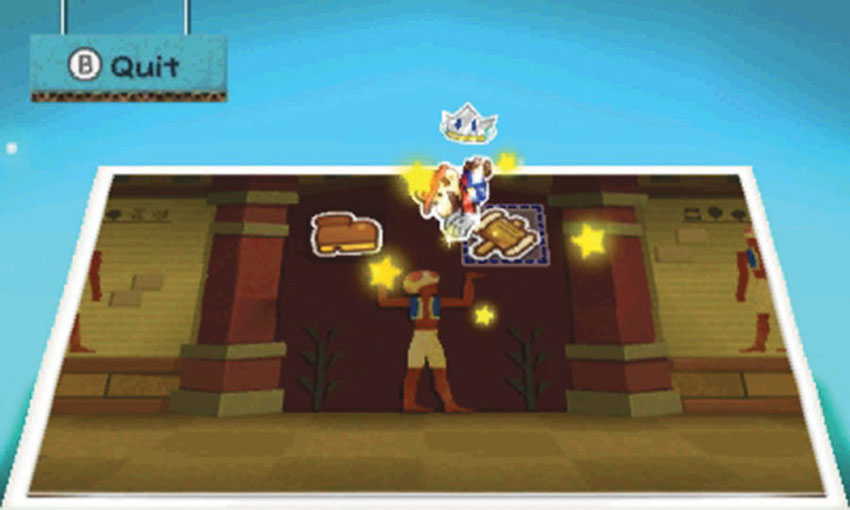
Move to the sealed door at Point 5 and activate the Paperize ability. Apply a Jump sticker to the slot on the left, and place a Hammer sticker in the slot on the right. When both stickers are in place, the door rises to reveal a small chamber.
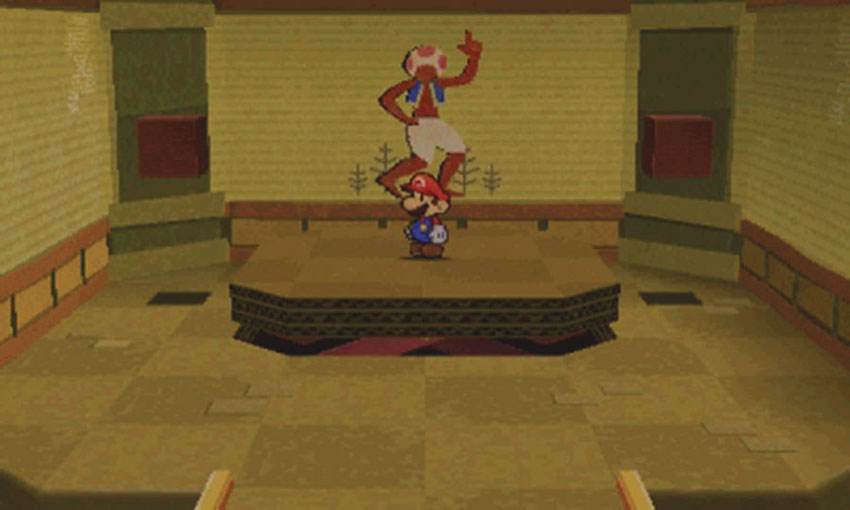
Search the ? Blocks near the rear wall, then hop onto the platform and ride up to the second floor.
Second Floor
.jpg)
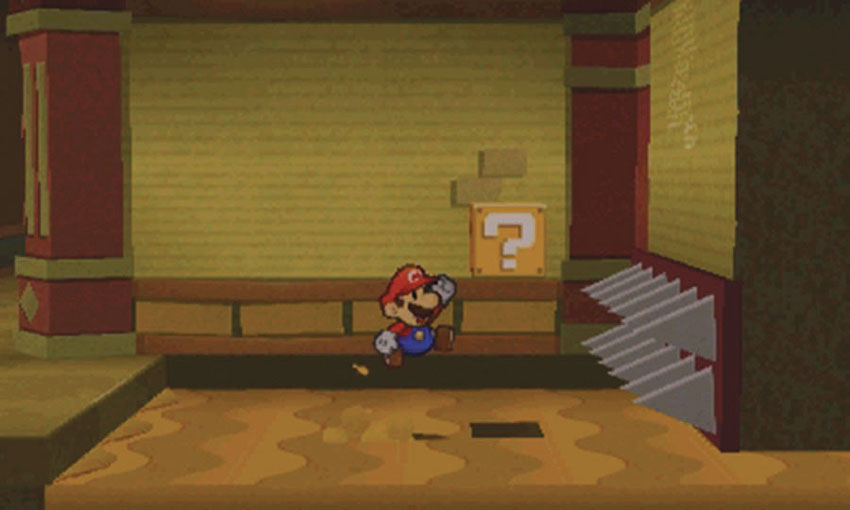
Step out of the chamber, then move to the right. Follow the corridor around the corner to find one of this floor’s quicksand pits. After you search the ? Block at Point 1, move toward the spiked wall and allow yourself to sink into the quicksand. Once you’ve sunk low enough, slip under the wall and jump back up to the surface.
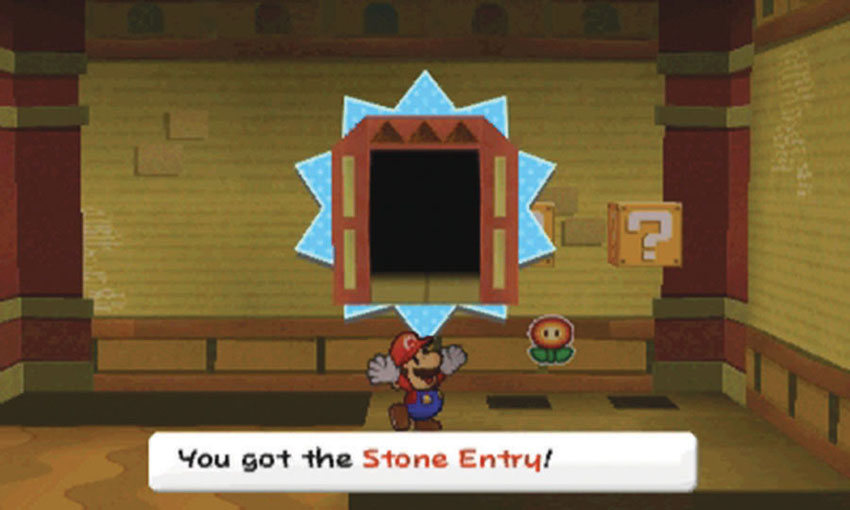
Continue across the quicksand to find the Stone Entry scrap near two ? Blocks. Collect the scrap and any stickers you find useful, then slip back under the spiked wall and follow the corridor to the other side of the area.
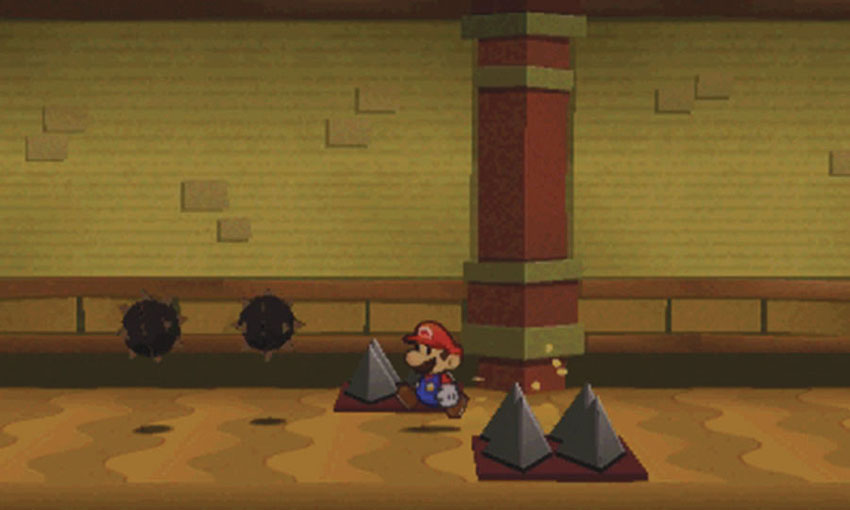
As you approach Point 3, watch out for incoming Spike Balls. As you continue across the quicksand, use your Hammer to knock away the projectiles in your path.
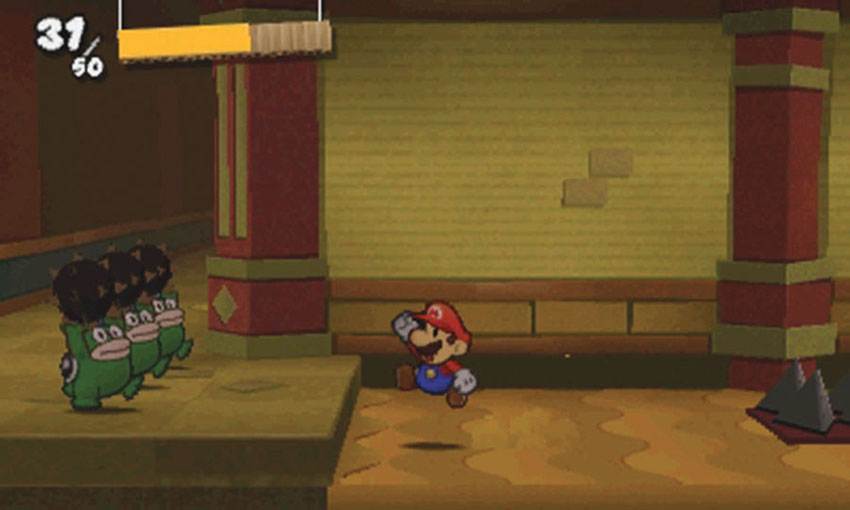
There are three Spikes at the edge of the quicksand, so approach with caution. Deal with these enemies, then continue along the corridor.
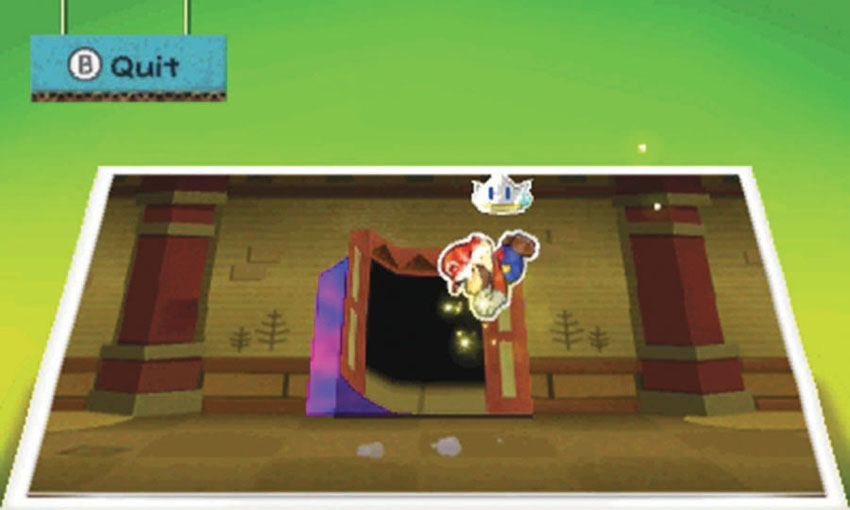
When you reach Point 4, activate the Paperize ability. Place the Stone Entry scrap in the indicated spot to reveal a new chamber. When you’re ready, enter the chamber and continue to the third floor.
Third Floor
.jpg)
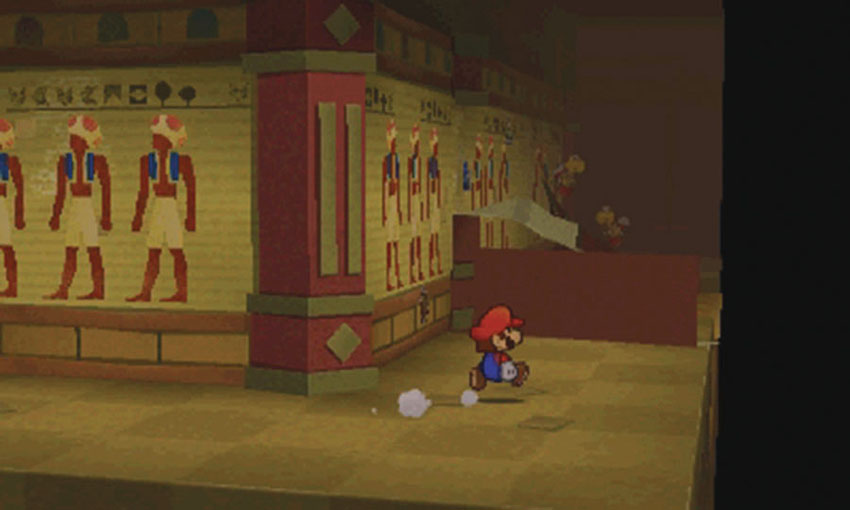
Step out of the chamber and search the area to the right. A small barricade prevents you from continuing along the corridor, but there are some stickers posted on the walls. When you’re done, turn back and follow the corridor to the left.
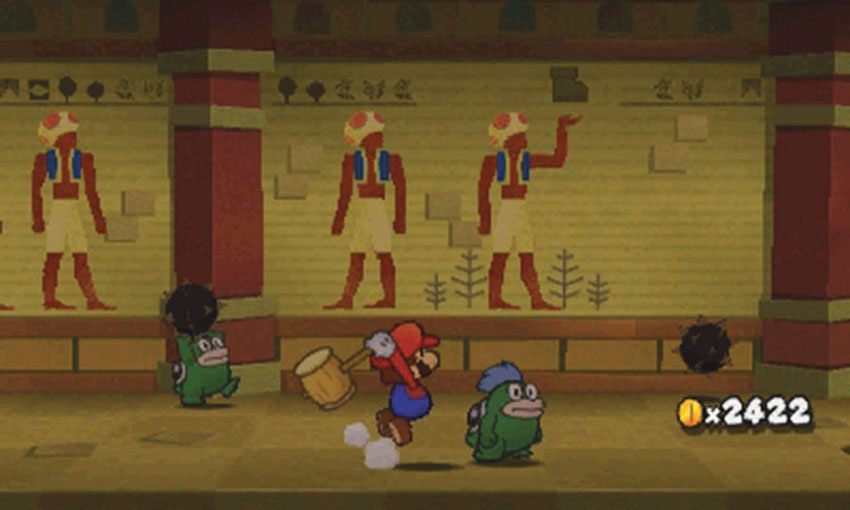
This floor contains another sticker puzzle. As you deal with enemies and explore the area, remember to check the murals for clues.
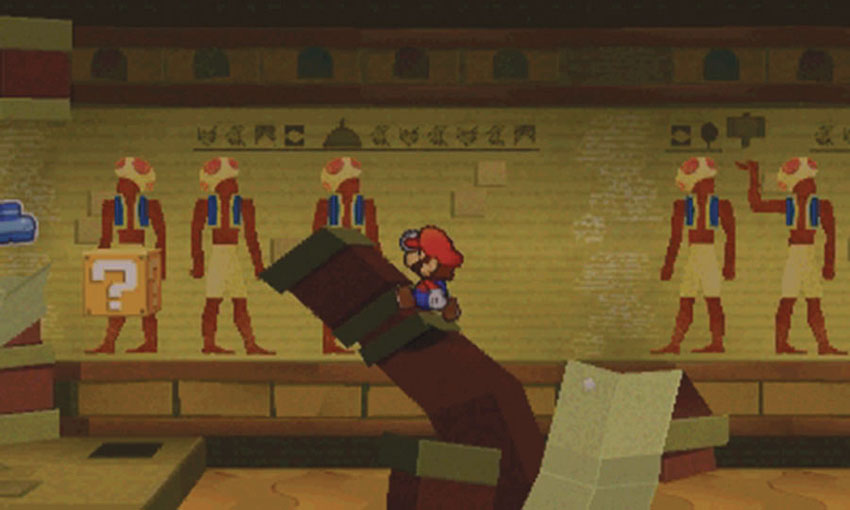
Make sure you locate the Paperization Block at Point 3. It not only provides the typical rewards, but also it serves as a platform between the damaged pillars.
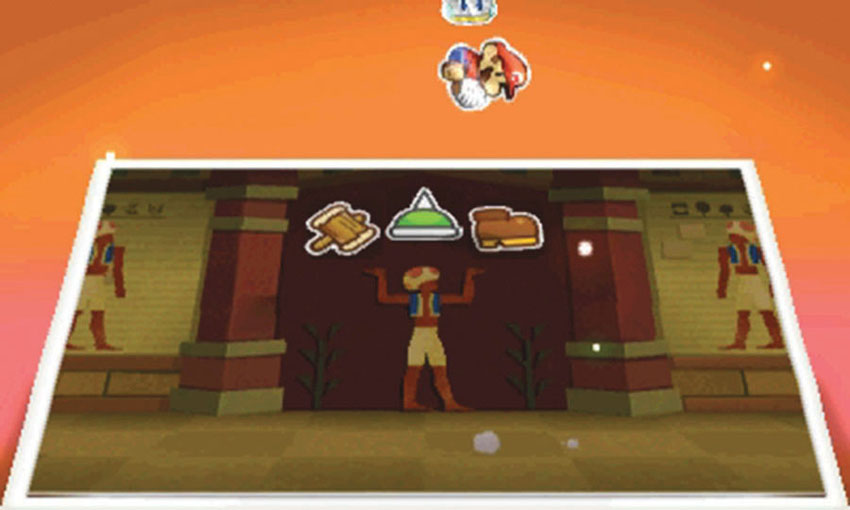
After you decipher the clues, use them to solve the sticker puzzle at Point 4. Activate the paperization ability, then place a Hammer in the left slot, a Spike Helmet in the middle slot, and a Jump sticker in the right slot. When you’re ready, enter the chamber and ride up to the fourth floor.
Fourth Floor
.jpg)
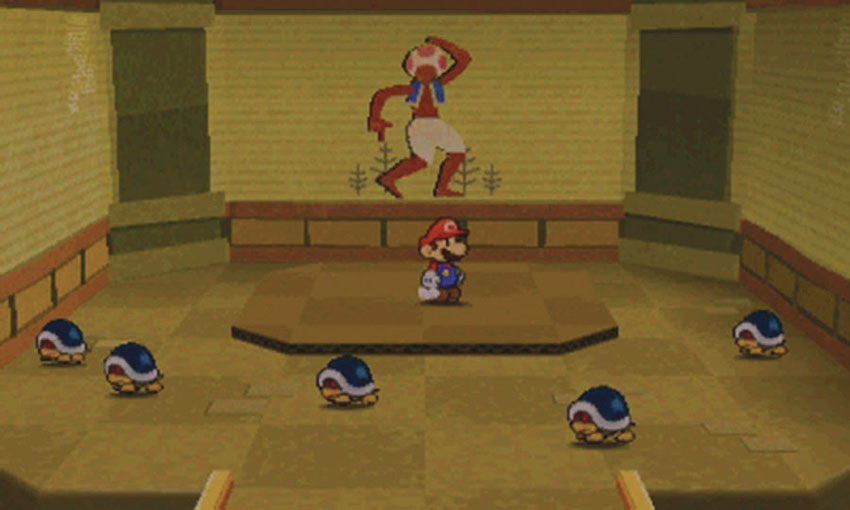
When you reach fourth floor, the chamber is filled with Buzzy Beetles. If you choose to engage one, you’ll face all five enemies in a single battle. Stomp one before the battle and kick its shell through its allies, or combine a POW Block with a Line Jump to deal heavy damage to the overturned Buzzy Beetles.
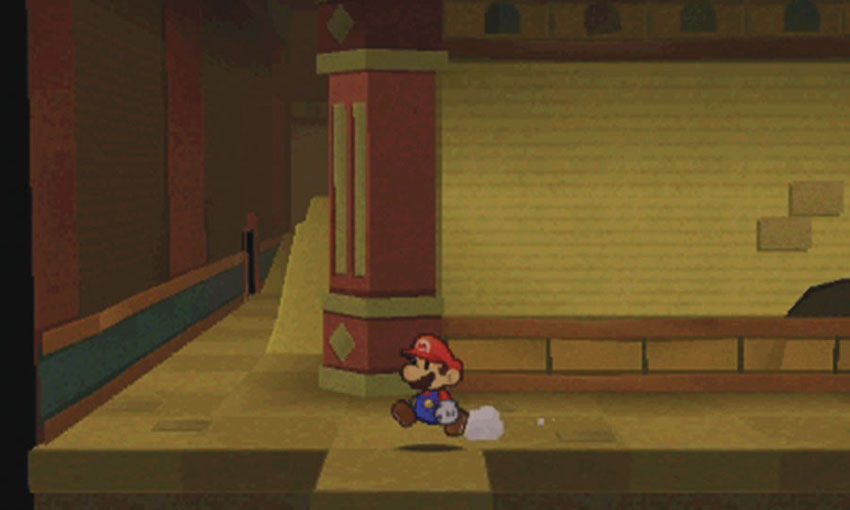
On this floor, most of the important elements are located on the three walkways running along the outside of the tower. As you search the fourth-floor corridor, watch the narrow passages that appear in the foreground. Pass through the opening at Point 2 to find a Parakoopa and a ? Block on the first walkway.
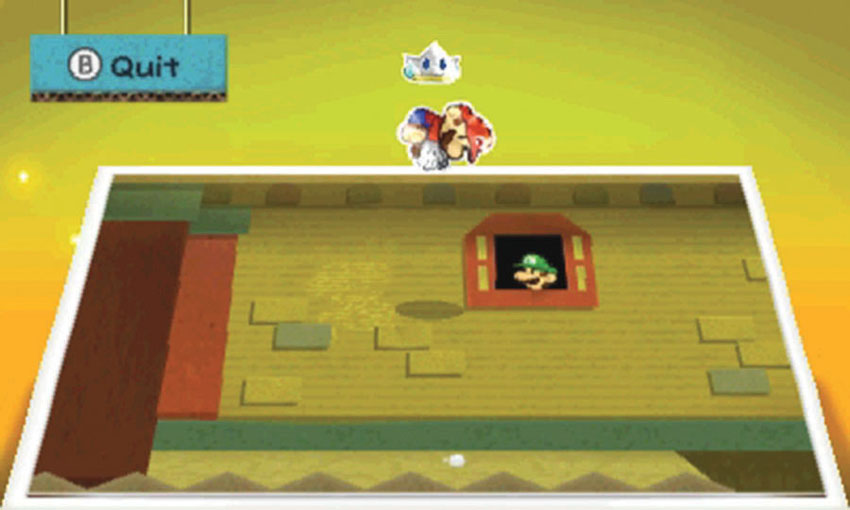
Follow the corridor to the next opening, then search the walkway for stickers. Before you head back inside, move to Point 3. Activate the Paperize ability and pull Luigi out of the window.
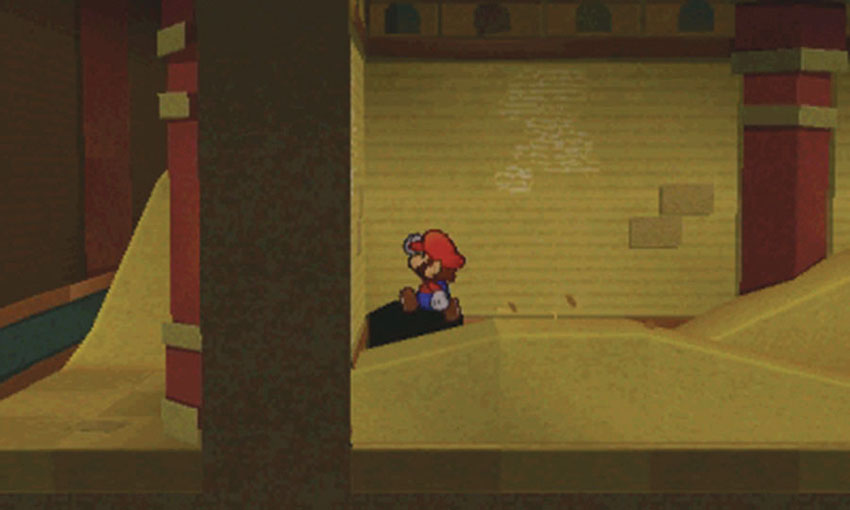
When you reach the wall at Point 4, look for the small opening hidden behind the piled sand. Slip through the tiny passage to emerge in the second half of the corridor.
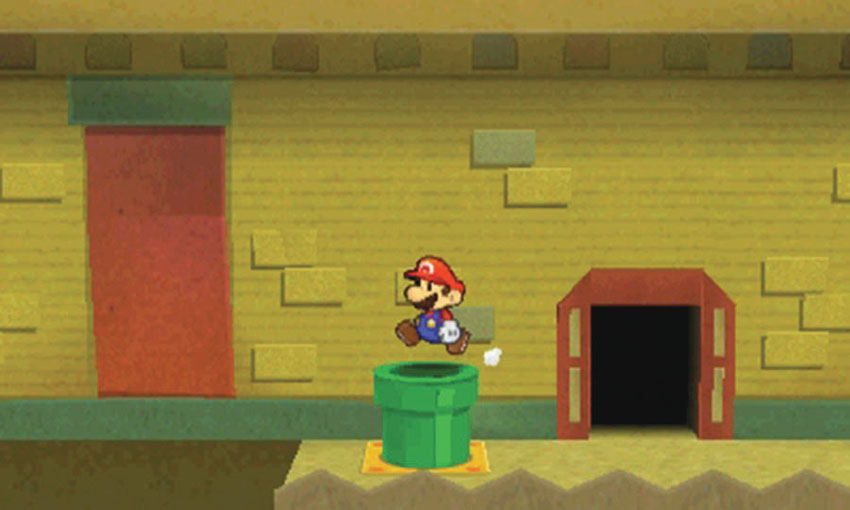
When you reach the third walkway, hop into the warp pipe to the left.
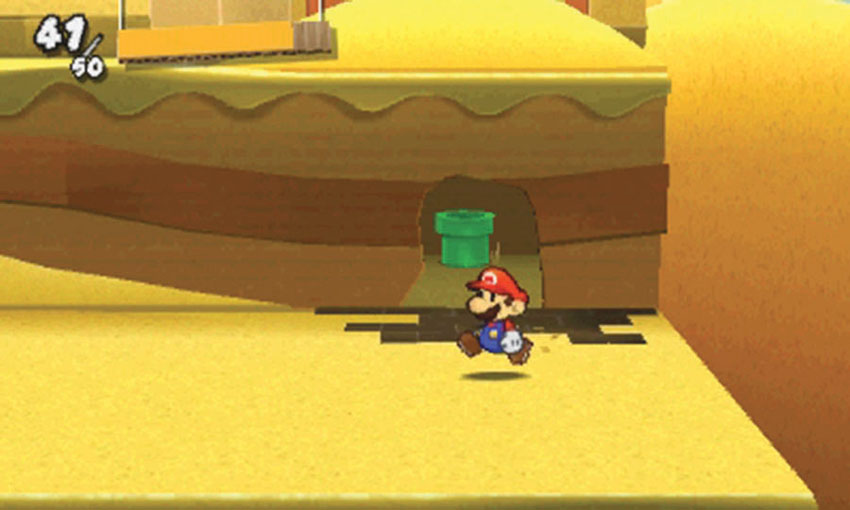
After you emerge on the ground floor, use your Hammer to create a path through the enclosure. Once the shortcut is fully functional, use it to return to the fourth floor.
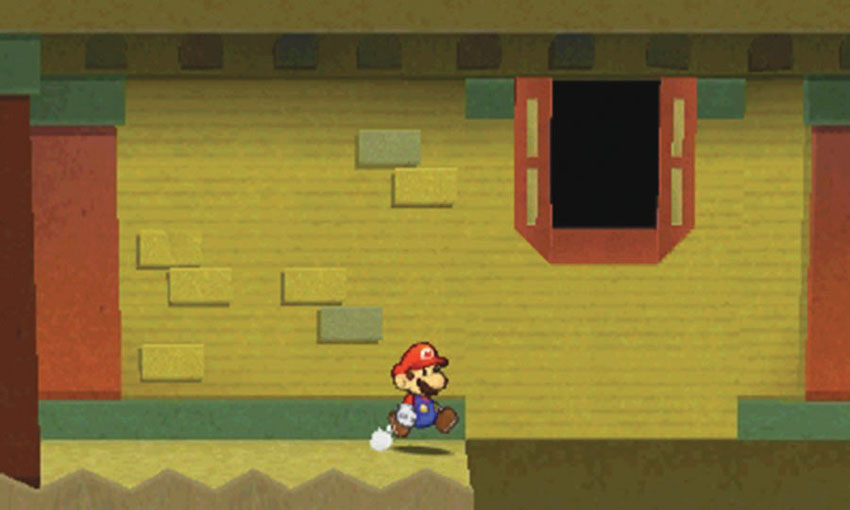
Search the rest of the walkway for stickers, then investigate the wall at Point 6. Activate the Paperize ability and peel the Tower Outer Wall scrap off of the wall.
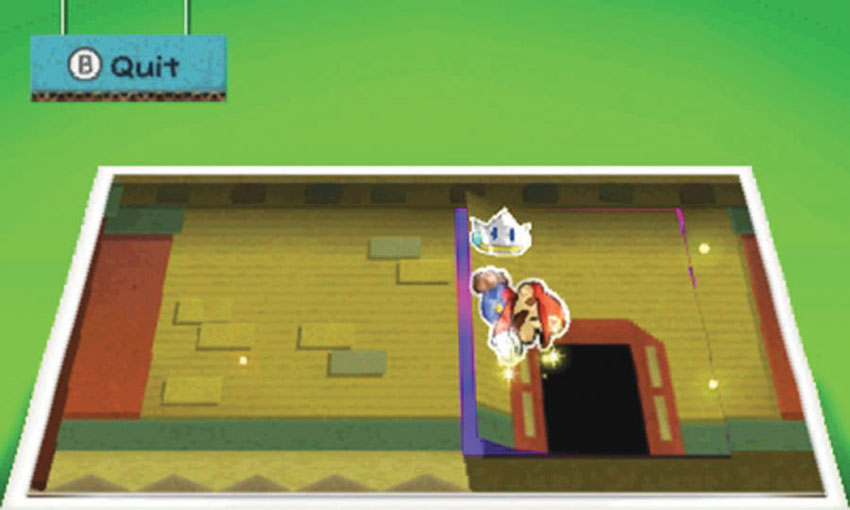
Reactivate the paperization ability and realign the scrap to drain some of the sand out of the corridor.
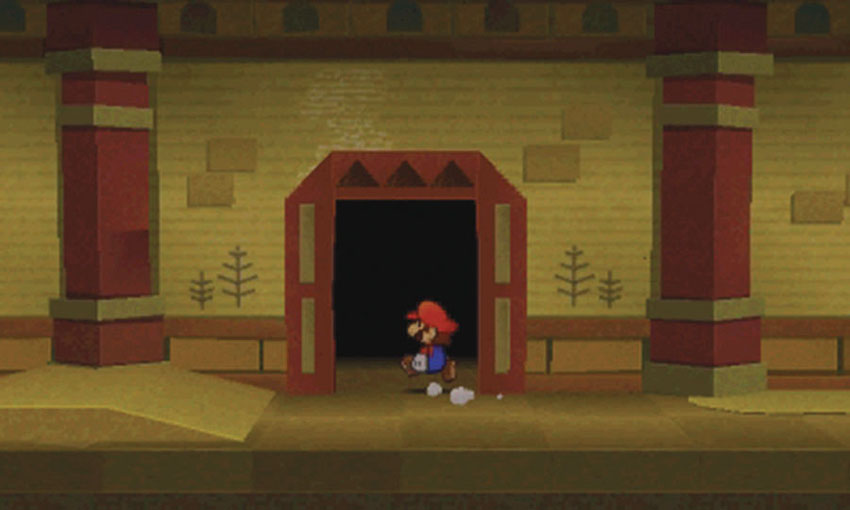
Head back into the corridor to find the newly revealed chamber at Point 7. When you’re ready, head inside and ride up to the fifth floor.
Fifth Floor
.jpg)
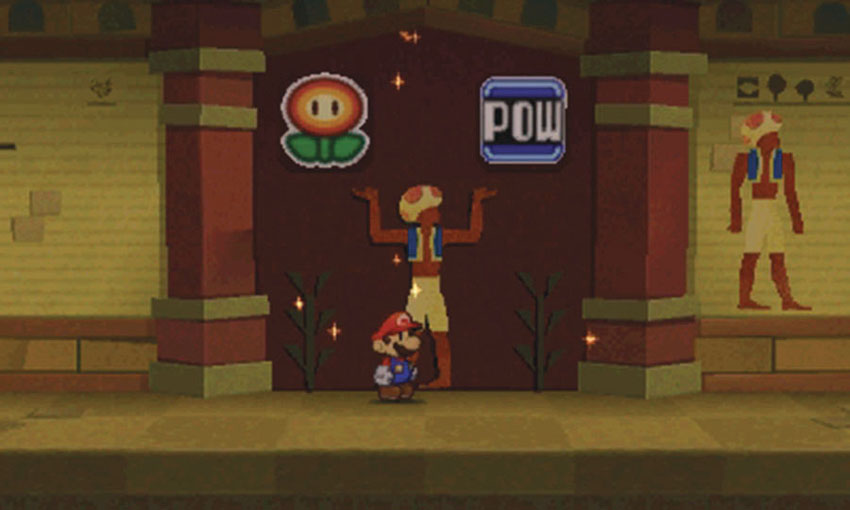
The fifth floor holds the third sticker puzzle. Unfortunately, the surrounding murals contain conflicting clues. Rather than trying sticker combinations until you find the correct one, activate the Paperize ability and place a Fire Flower (or Ice Flower) in the left slot, then place a POW Block sticker in the slot on the right.
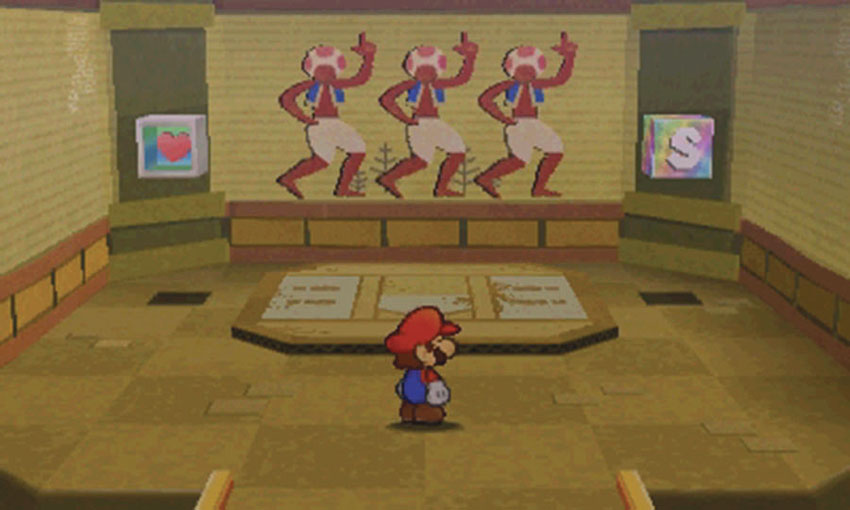
After you solve the third sticker puzzle, step into the open chamber. Take care to avoid stepping on the platform until you’ve used the Heart Block and the Save Block. When you’re ready, ride up to the stadium.
Stadium
.jpg)
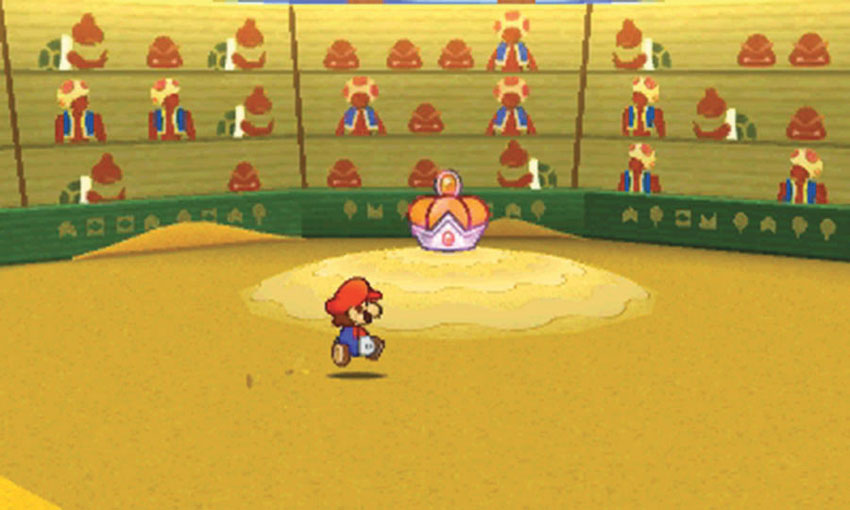
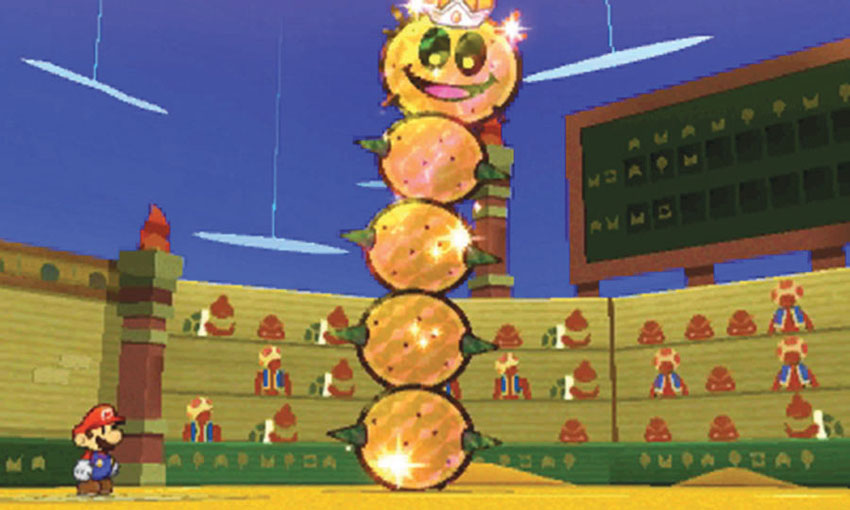
When the platform stops, approach the Royal Sticker in the center of the stadium. As you do, the Tower Power Pokey springs out of the ground. If you intend to recover the Royal Sticker, you must defeat this massive enemy.
Tower Power Pokey
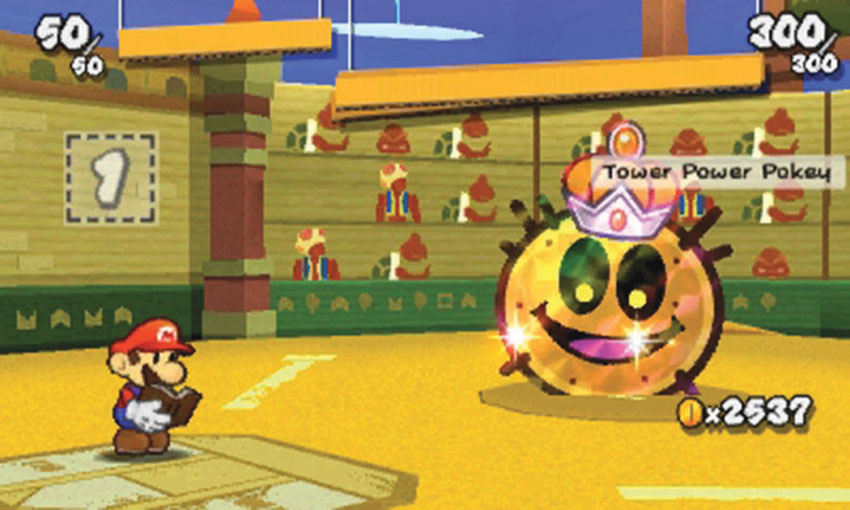
When the battle starts, the Tower Power Pokey sinks back into the ground. Use your more powerful Jump-based stickers—such as Flashy Jumps or Hopslippers—and defend yourself from incoming attacks.
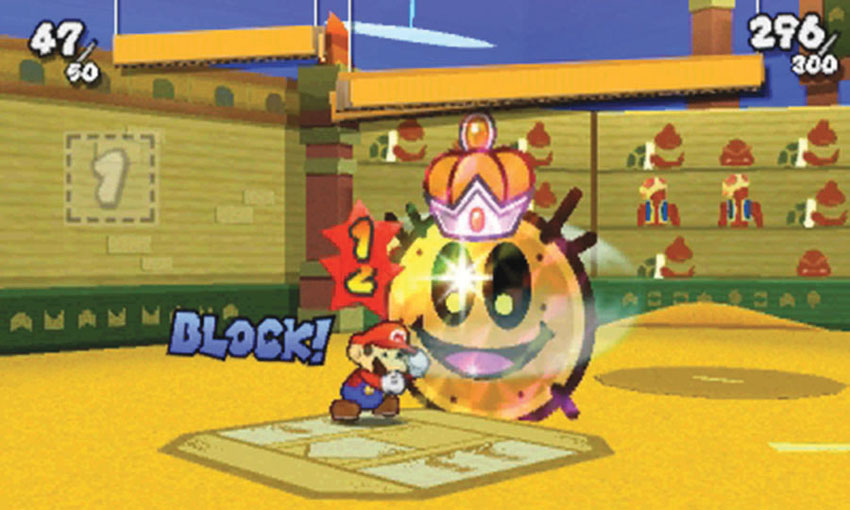
The Tower Power Pokey can dish out significant damage, even if you properly defend yourself. Keep an eye on your HP Bar, and use a Mushroom if it drops too low.
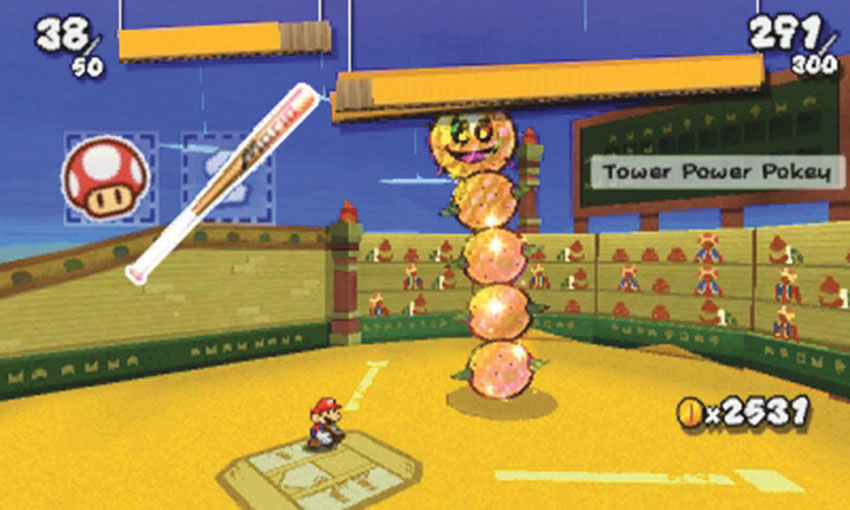
As the battle continues, more and more of the Tower Power Pokey’s body segments emerge from the ground. The spikes on each of the four body segments protect the creature from Hammer stickers, so just keep using your Jump attacks. When the entire Tower Power Pokey is exposed, use the Bat sticker to knock all four body segments out of the park.
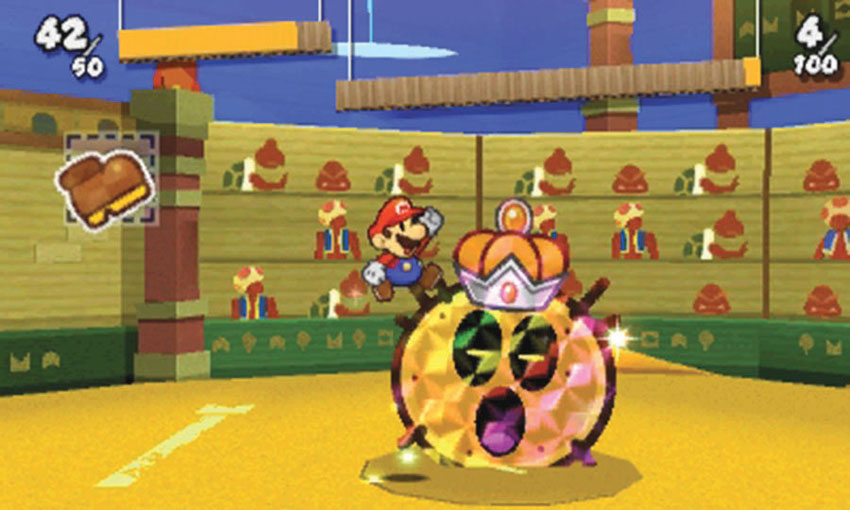
The creature’s head has plenty of fight left, but its HP Bar is now much smaller. TTake advantage of the Battle Spinner to combine POW Blocks with any high-damage stickers in your Album. The Tower Power Pokey can summon allies and recover HP, so make the most of each turn!
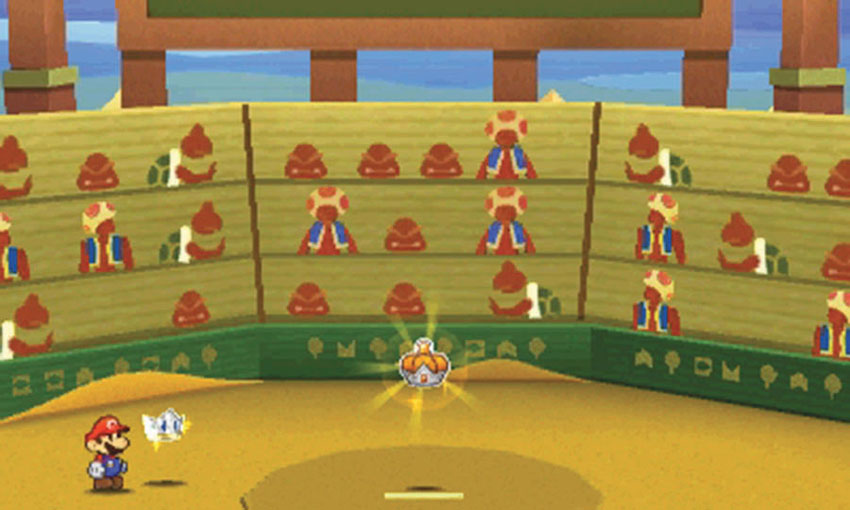
After you defeat the Tower Power Pokey, collect the Royal Sticker to complete your first visit.
Recommended Visit #2
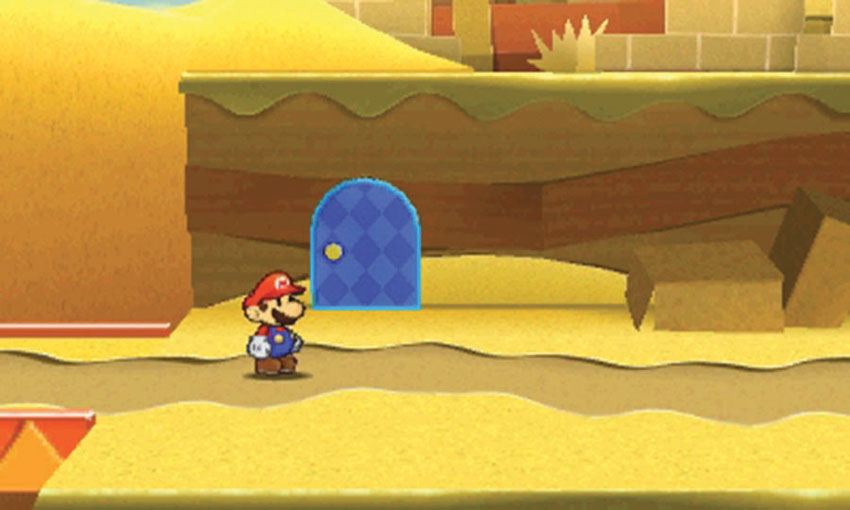
After you gain access to the World 3-6 Sticker Shop, purchase a Secret Door sticker and revisit this Course. Apply the sticker to the marked location near the Course entrance/exit.
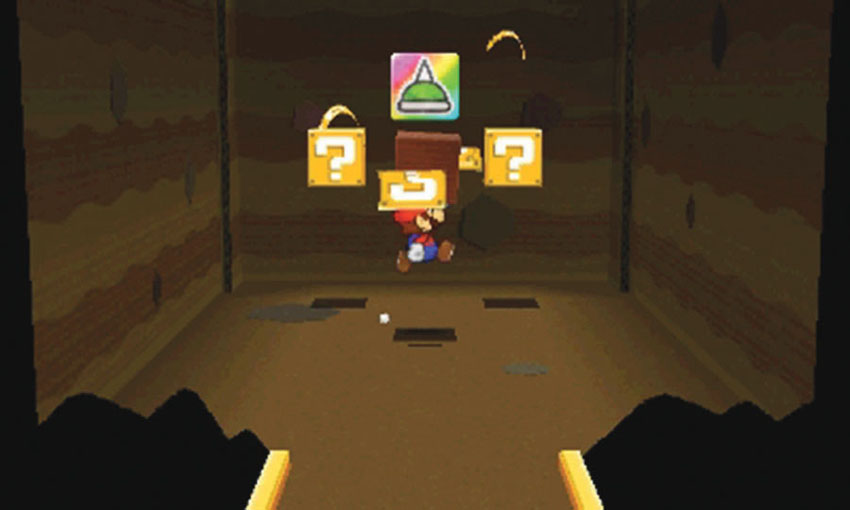
Once the door is in place, head inside to find some ? Blocks. The first time you search them, the ? Blocks contain flashy stickers!