
Paper Mario: Sticker Star Guide Walkthrough Worlds
World One
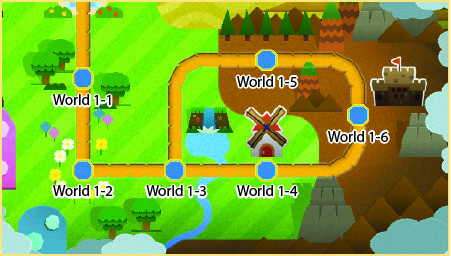
| Number | Name |
|---|---|
| World 1-1 | Warm Fuzzy Plains |
| World 1-2 | Bouquet Gardens |
| World 1-3 | Water’s Edge Way |
| World 1-4 | Hither Thither Hill |
| World 1-5 | Whammino Mountain |
| World 1-6 | Goomba Fortress |
World One is filled with rolling hills, lovely gardens, and grassy plains. Unfortunately, it’s also home to a fair number of nasty critters. Goombas and Koopa Troopas are both common sights, but you find some Spinies and Bob-ombs along the way. Of course, these battles pale in comparison to what awaits in the Goomba Fortress. If you want to claim the first Royal Sticker, you’ll have to take it from the power-mad Megasparkle Goomba!
World 1-1: Warm Fuzzy Plains
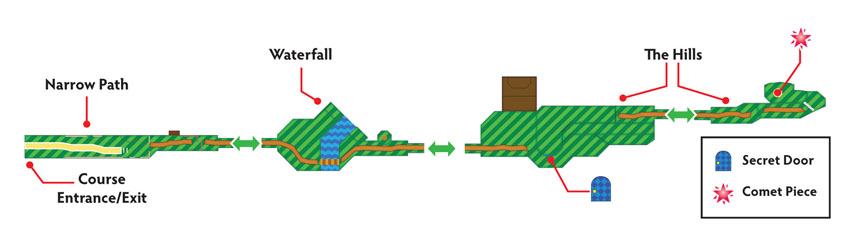
Overview
Prerequisites
World 1-1 is available from the moment you leave Decalburg. Aside from the Secret Door sticker that can be purchased in World 3-6, this Course contains everything needed to complete the available objectives.
Objectives
This Course contains several objectives, most of which can be completed during your first visit:
- Acquire the Scissors sticker.
- Defeat Bowser Jr.
- Replace the Wooden Bridge scrap.
- Collect the Scissors.
- Collect the Comet Piece to unlock World 1-2.
- Collect the Thumbtack from the Secret Door.
Important Items and Locations
| Description | Notes |
|---|---|
| Secret Door | The marked location is on one of the hills beyond the waterfall. |
| HP-Up Heart | None |
| Toad Rescue | None |
| Luigi Location | None |
| Wiggler Diary Entry | None |
| Things | Peel the Bowser tape within the hills to find the Scissors. Enter the Secret Door to find the Thumbtack. |
Recommended Tactics
Most of this Course’s battles are fairly simple, but you’ll also face Bowser Jr. and a group of particularly nasty Goombas. Luckily, the Course provides all of the stickers you’re likely to need!
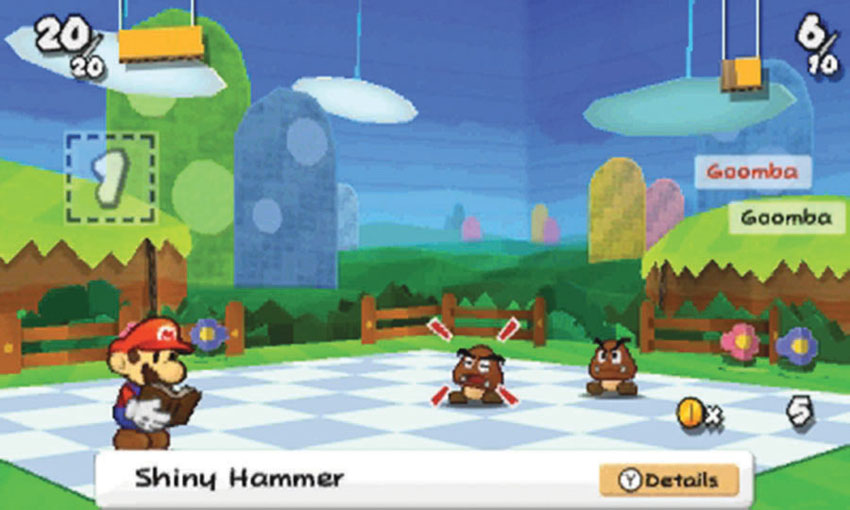
During most battles, you’ll face off against one or two Goombas. You don’t have access to the Battle Spinner during your first visit, so efficiency is important. You shouldn’t have any trouble facing a single Goomba—virtually any Battle Sticker can be used—but multiple Goombas are another matter. Use Hammer stickers to damage both opponents with one hit. A properly timed Hammer attack can defeat two Goombas in a single turn. This not only preserves Mario’s HP, it allows you to earn a Perfect Bonus!
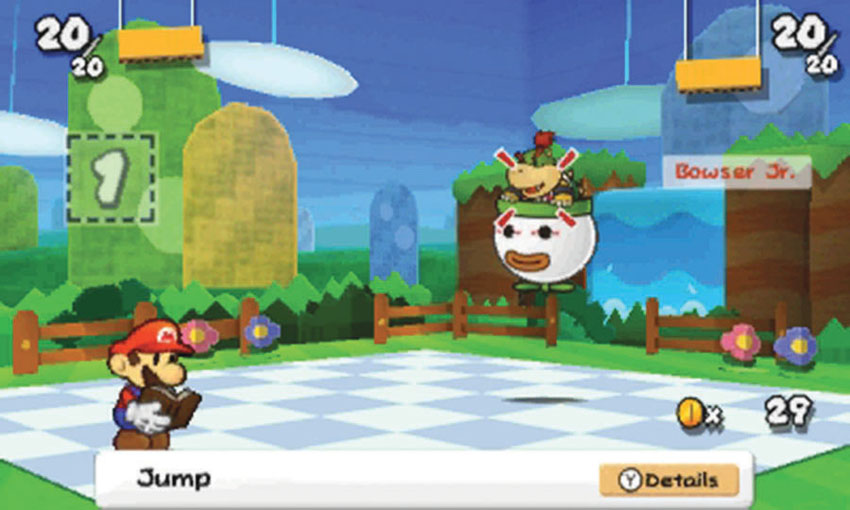
During your first encounter with Bowser Jr., your Battle Stickers aren’t enough to defeat him. Use the Scissors sticker dropped by the fleeing Toad to end the battle in a single attack.
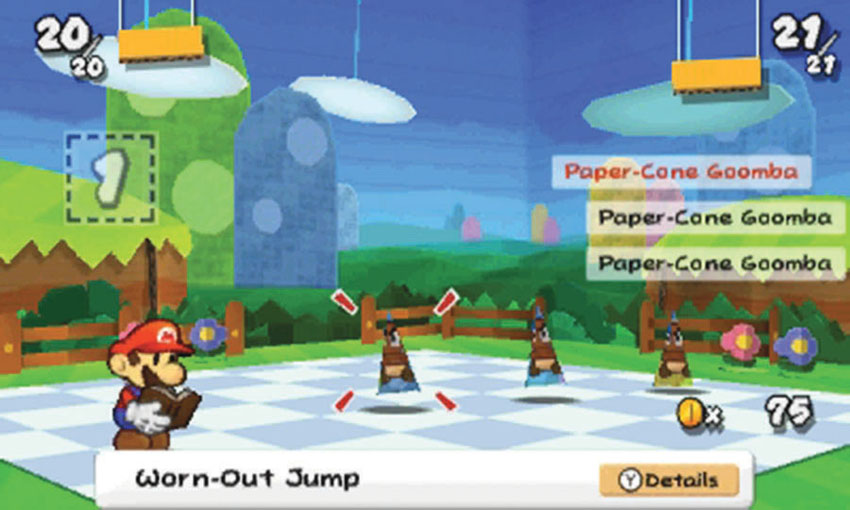
At the end of the Course, you must face three Paper-Cone Goombas. These nasty characters are immune to most Jump-based attacks, so make sure you save a few Hammer stickers for this battle.
Narrow Path
.jpg)
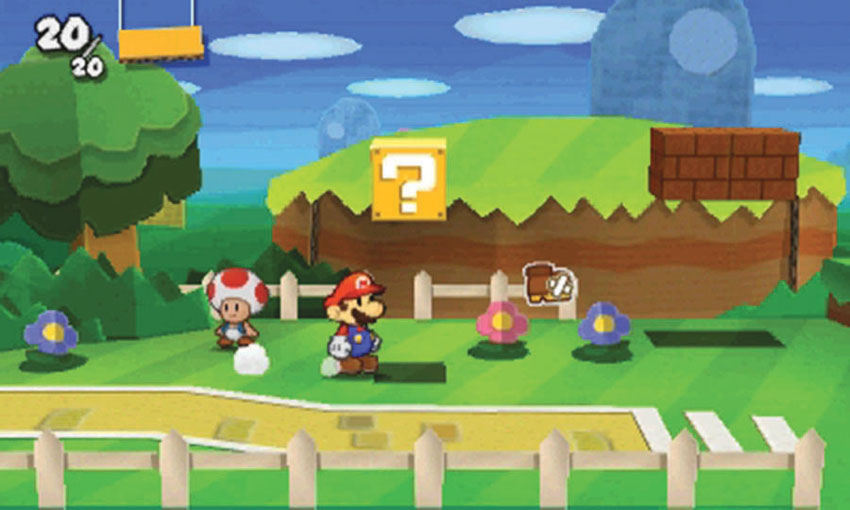
This Course contains several common stickers, so make sure you stock up. Search every ? Block along the path, and keep an eye out for stickers posted throughout each area. You’ll also find helpful signs and talkative Toads on your way through the Course.
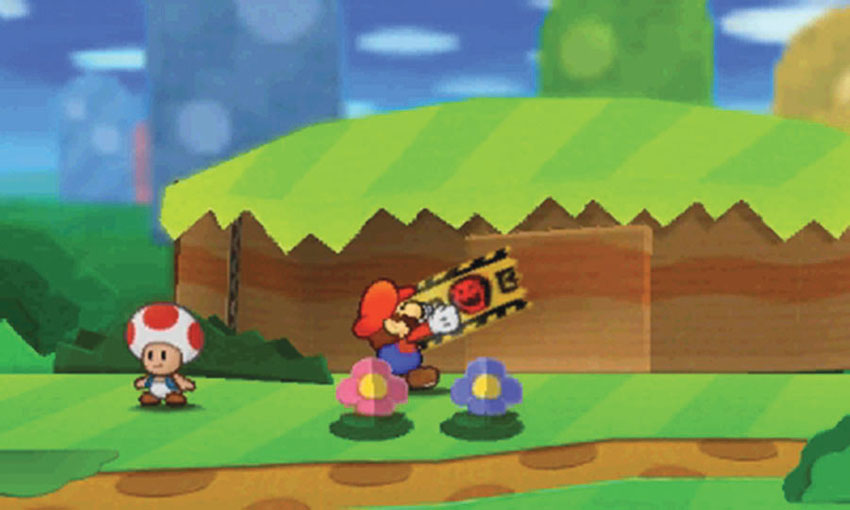
There’s a hidden coin stash at Point 2! Peel the Bowser tape on the background to reveal a secret area.
Waterfall
.jpg)
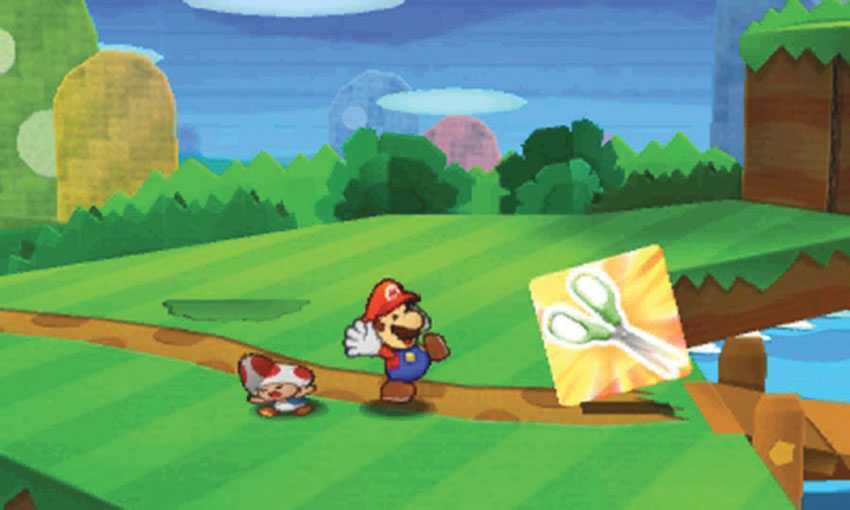
As you approach the waterfall, a panicked Toad crashes into you, dropping a Scissors sticker in the process. When you recover, collect this powerful sticker.
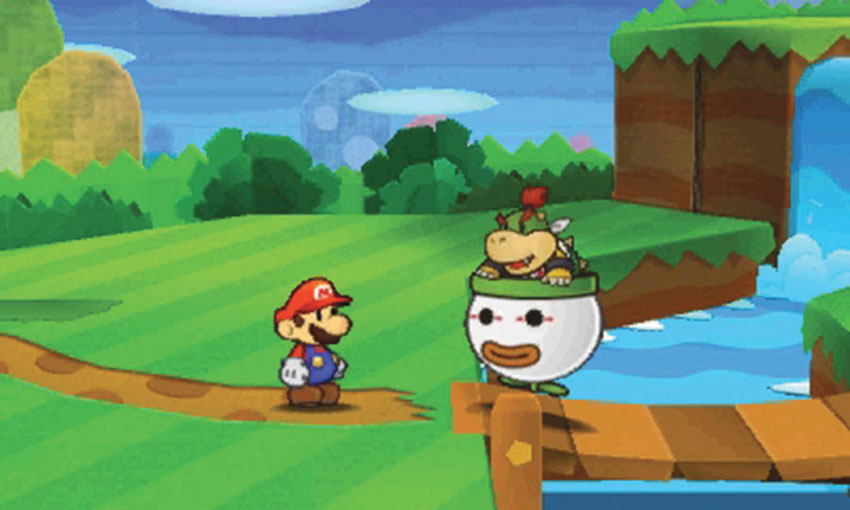
Soon after the Scissors sticker is safely in your Album, Bowser Jr. arrives. After a brief speech, he attacks. Use your newly acquired sticker to bring the battle to an early end.
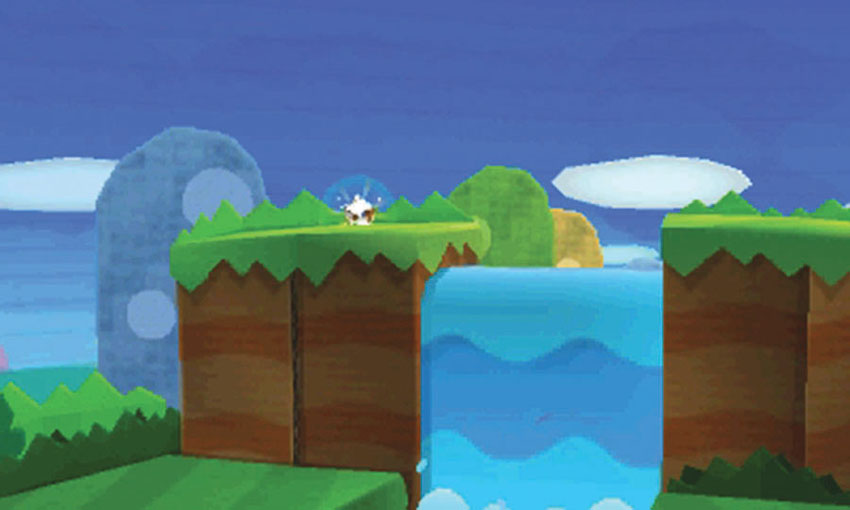
Outraged at his defeat, Bowser Jr. uses the power of paperization to rip the Wooden Bridge scrap out of the environment. After crumpling the scrap into a ball, he tosses it up to the ledge at Point 2.
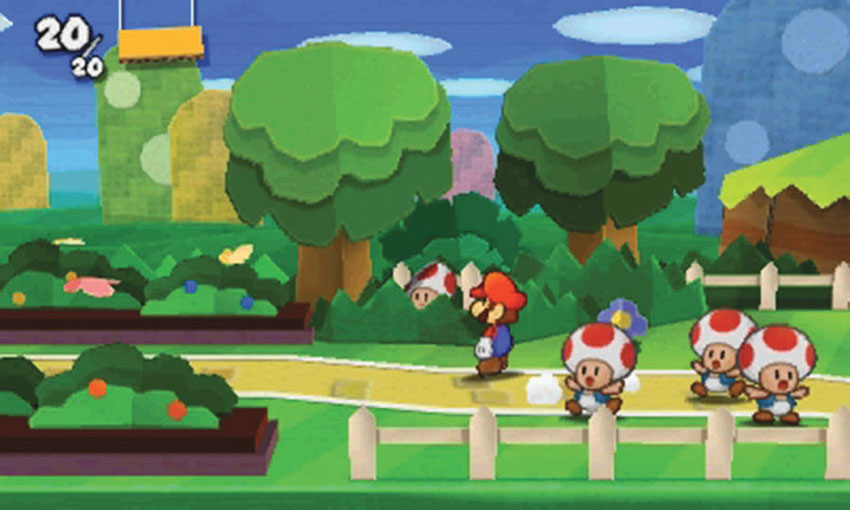
The ledge is much too high for Mario to reach on his own. Luckily there are plenty of friends hiding nearby. Follow the path back to the left to find a group of Toads along the narrow path at the start of the Course. Speak to the Toad hiding in the bushes to recruit the group, then return to the waterfall.
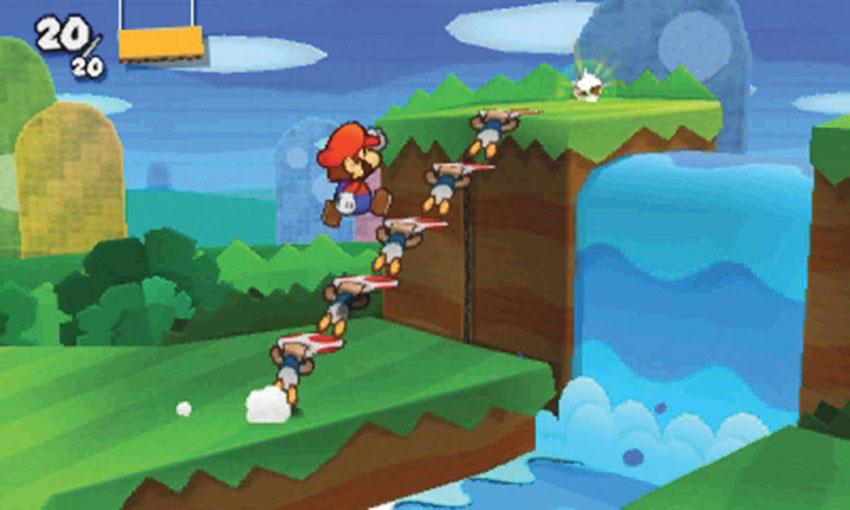
When you approach the ledge, the Toads join together to create a set of stairs. After they do, climb up and collect the Wooden Bridge scrap.
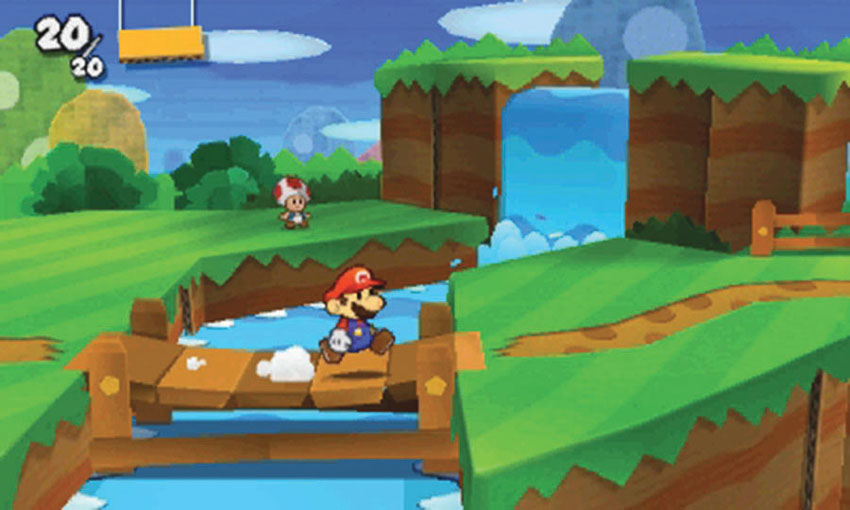
After you collect the scrap, return to the hole Bowser Jr. created when he tore it from the environment. Follow Kersti’s instructions to learn the Paperize ability. Drop the Wooden Bridge into place, then smooth it down to complete the repair. Follow the path across the bridge and continue exploring the area.
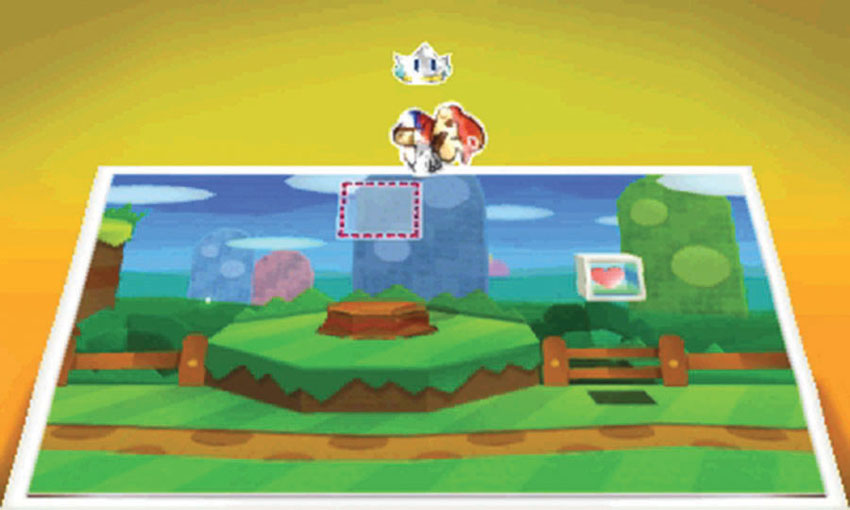
When you reach the HP Block at Point 4, activate the Paperize ability to discover a Paperization Block location above the nearby tree stump. To take advantage of this location, simply place a sticker from your Album in the indicated spot.
The Hills
.jpg)
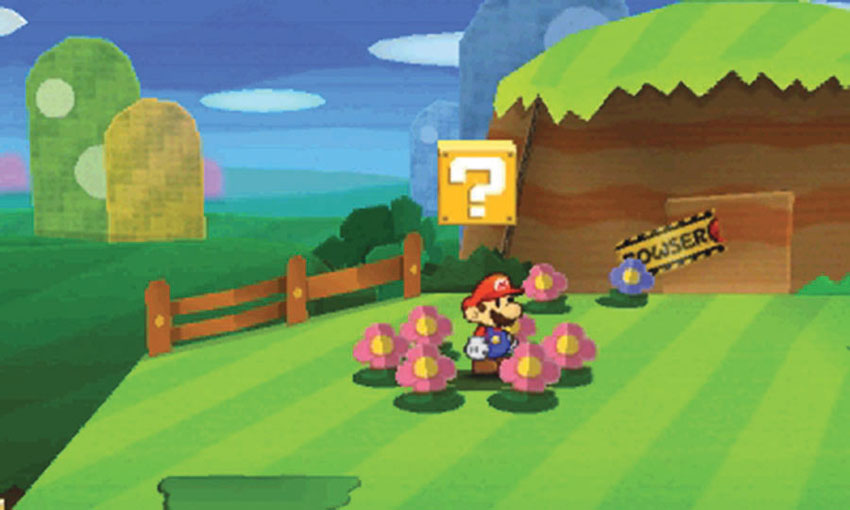
When you reach the hills past the waterfall, look for the ring of green circles at Point 1. Use the Hammer to flip each of the circles and reveal a ring of pink flowers. This flower arrangement usually indicates a Paperization Block location. Activate the Paperize ability to find it.
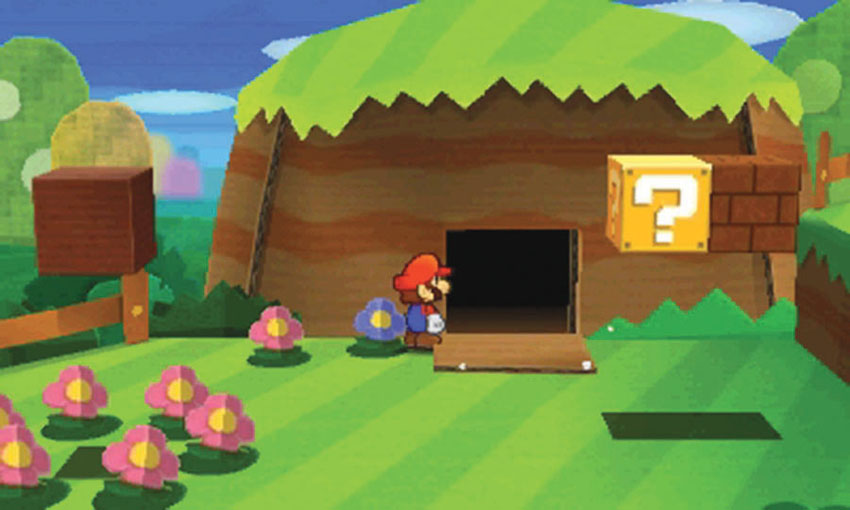
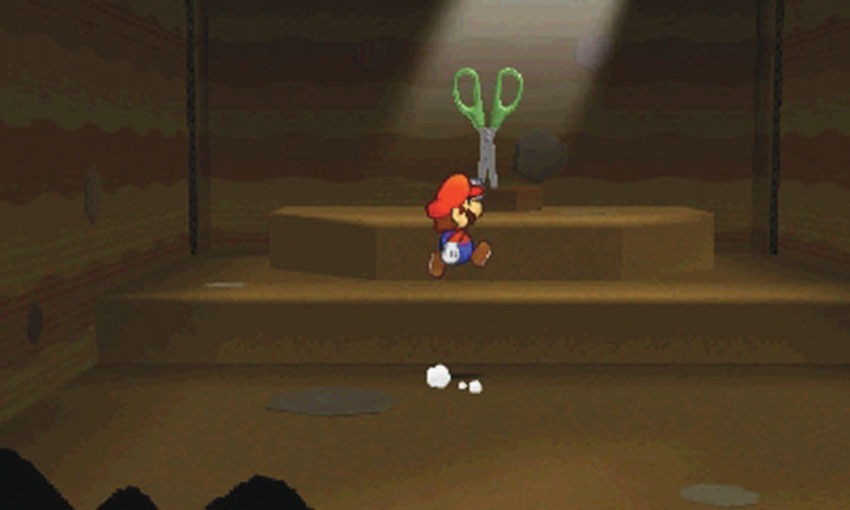
There’s a Thing behind a loose panel at Point 2. Peel the Bowser tape to reveal a hidden area, then head inside to find the Scissors.
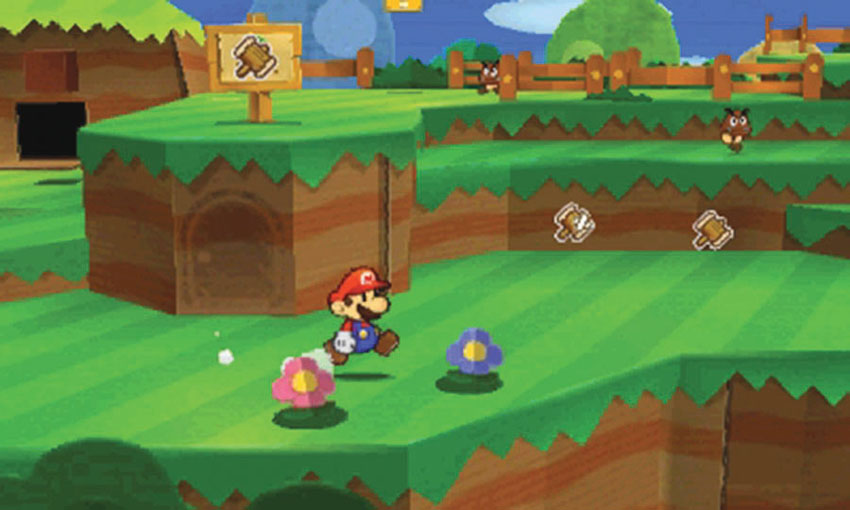
As you follow the path through the hills, look for the Secret Door location at Point 3. You cannot use the Secret Door at this time. After you reach World 3-6, however, you can purchase a Secret Door sticker and return to this location.
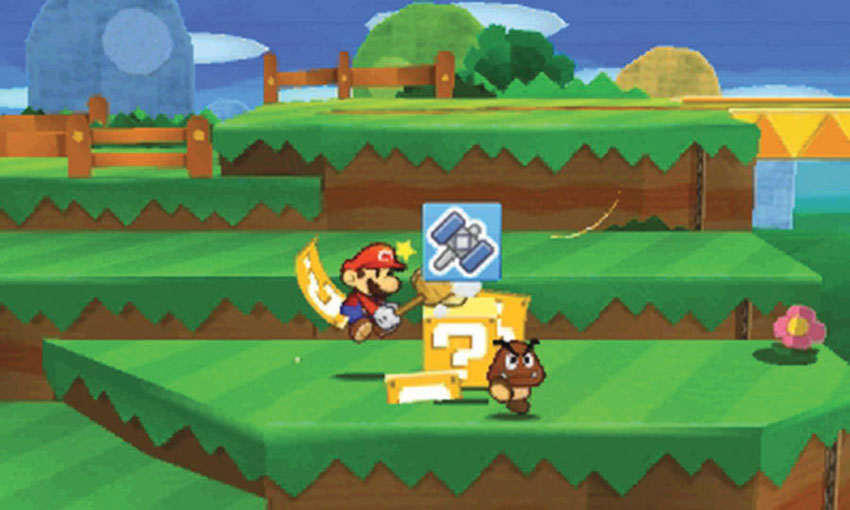
There are several ? Blocks within the area, and it’s well worth searching them all. When it isn’t possible to hit a Block from below, use the Hammer to strike it from above.
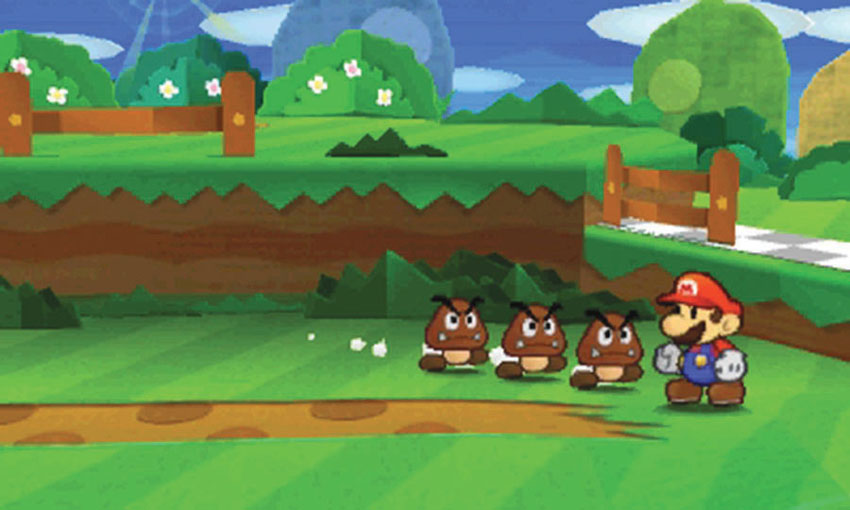
As you approach the Comet Piece at the end of the Course, you’re accosted by the three Goombas you encountered in Decalburg. After demanding a rematch, these poor sports transform into Paper-Cone Goombas.
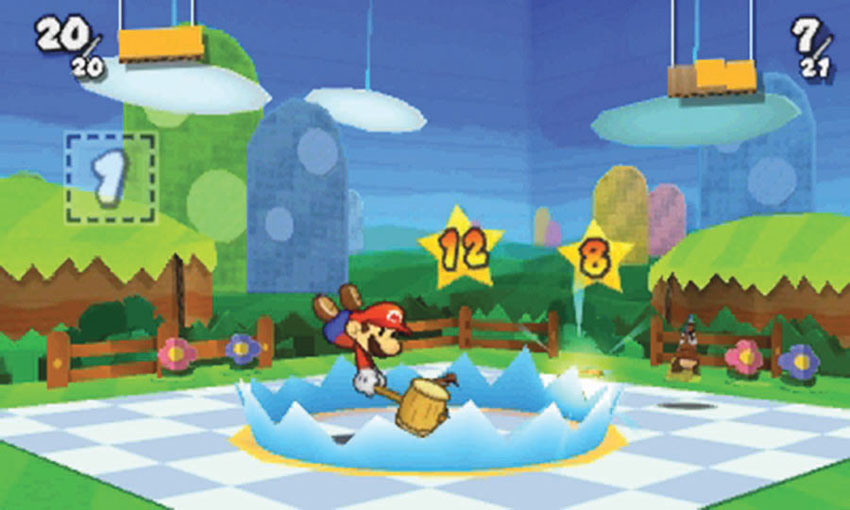
Paper-Cone Goombas can counter most Jump-based attacks, so it’s best to use Hammer-based stickers. If you have a Baahammer handy, you can use it to put them to sleep during your first turn. If your HP Bar is relatively full, however, it’s simpler to attack with a standard Hammer sticker. An “Excellent” attack will take care of the first two enemies. Defend yourself from any remaining enemies, then use another Hammer or two to finish the fight.
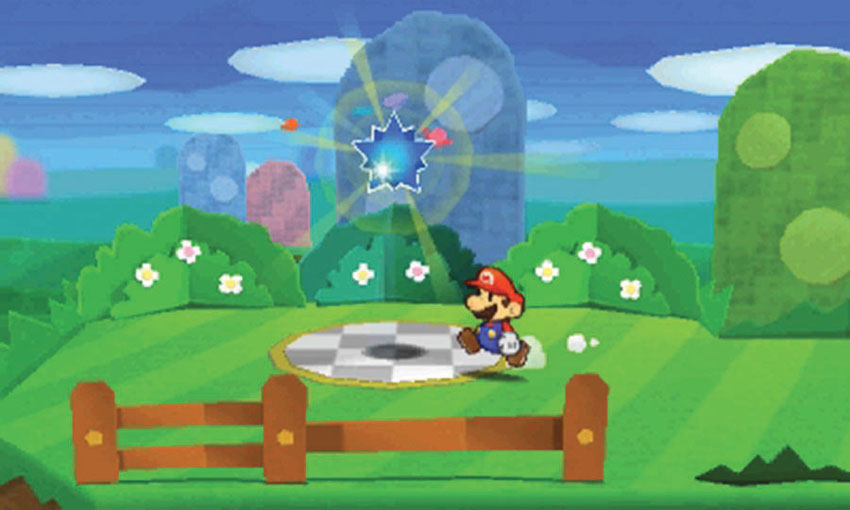
After you defeat the Paper-Cone Goombas, grab the Comet Piece at the top of the hill to complete the Course.
Sticker Comet Piece: Unlocking World 1-2
This Course contains only one piece of the Sticker Comet. To unlock World 1-2, simply collect the Comet Piece at the end of World 1-1.
Recommended Visit #2
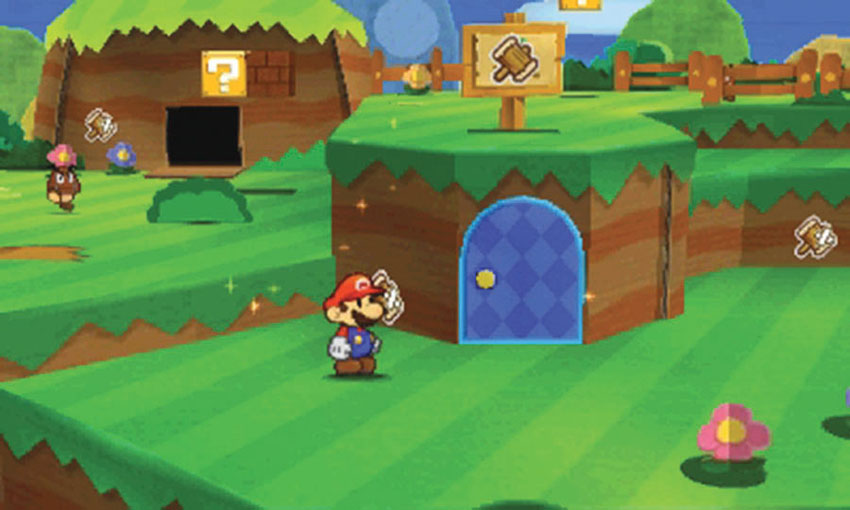
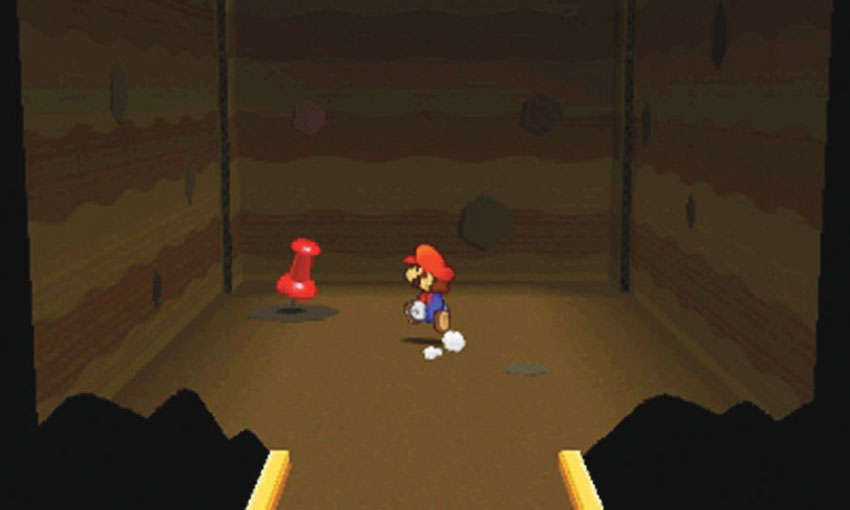
After you gain access to the World 3-6 Sticker Shop, purchase a Secret Door sticker and revisit this Course. Apply the Secret Door to the marked location in the hills, then head through the door to find the Thumbtack.
World 1-2: Bouquet Gardens
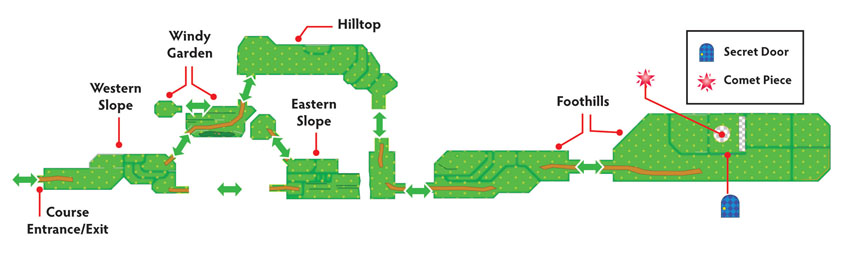
Overview
Prerequisites
This Course becomes available when you collect the Comet Piece from World 1-1. Aside from the Secret Door sticker, everything you need to complete the available objectives can be found in the Course.
Objectives
This Course contains several objectives, most of which can be completed on your first visit:
- Collect the Fan.
- Earn the HP-Up Heart. Rescue the bullied Toad.
- Collect the Cat-o-Luck.
- Collect the Comet Piece to unlock World 1-3.
- Collect the flashy stickers from the Secret Door.
Important Items and Locations
| Description | Notes |
|---|---|
| Secret Door | The marked location is in the foothills toward the end of the Course. |
| HP-Up Heart | Replace the ruined flowers in the windy garden. |
| Toad Rescue | Two Goombas are bullying a Toad on the hilltop. |
| Luigi Location | None |
| Wiggler Diary Entry | None |
| Things | Enter the windy garden by way of the eastern slope to find the Fan. Complete the Toad rescue on the hilltop to find the Cat-o-Luck. |
Recommended Tactics
In addition to plenty of Goombas and Koopa Troopas, this Course contains a few special encounters. You’ll find a nice variety of stickers in the environment, and it probably won’t take long to fill your Album to capacity. Try to maintain a good balance of Jump-based stickers and Hammer-based stickers, and save a total of three Flower-based stickers (Fire Flowers or Ice Flowers) to use outside of combat.
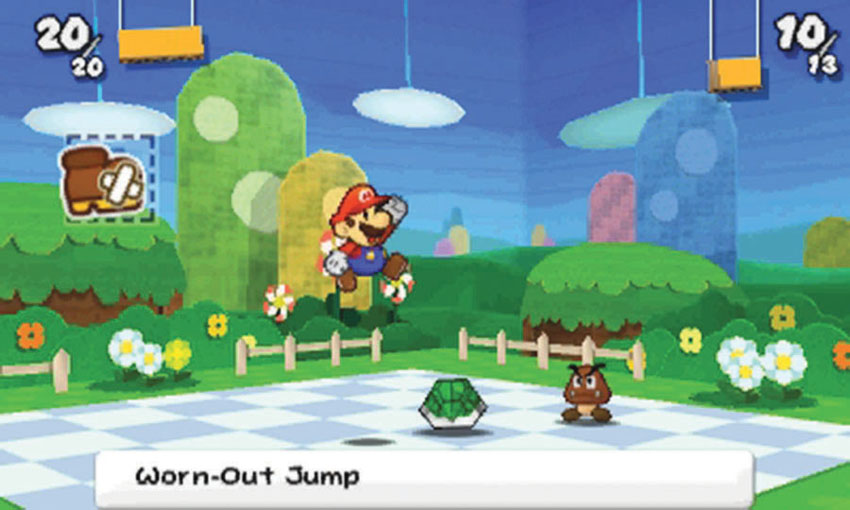
When it comes to Koopa Troopas, it’s important to take the initiative. If you stomp a Koopa Troopa outside of combat, it starts the battle tucked inside of its shell. Use a Jump sticker to kick the Koopa Troopa off of the screen. This tactic also damages any foes caught in the shell’s path!
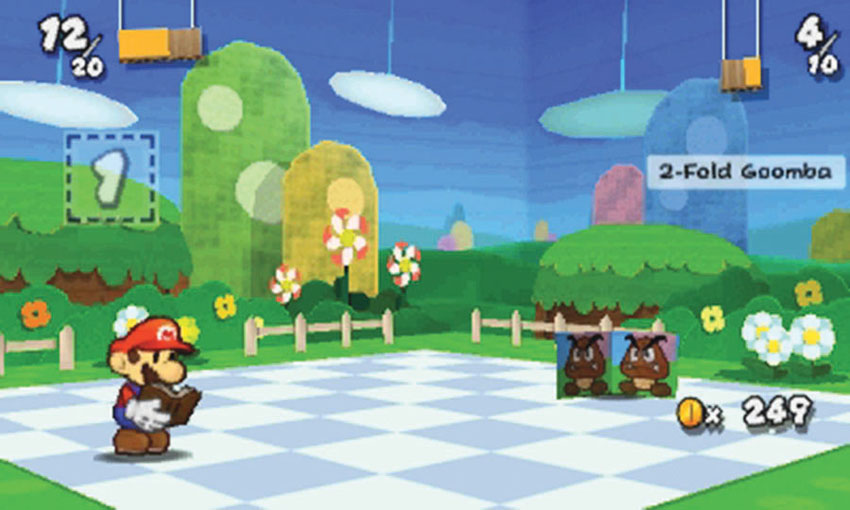
The Goombas in this Course use a variety of tactics, so it’s important to keep a balanced selection of stickers. Use Hammers when you’re outnumbered, or when you’re facing Paper-Cone Goombas. When you’re up against enemies like the 2-Fold Goomba, however, use Jump-based stickers to deliver maximum damage to a single opponent.
Western Slope
.jpg)
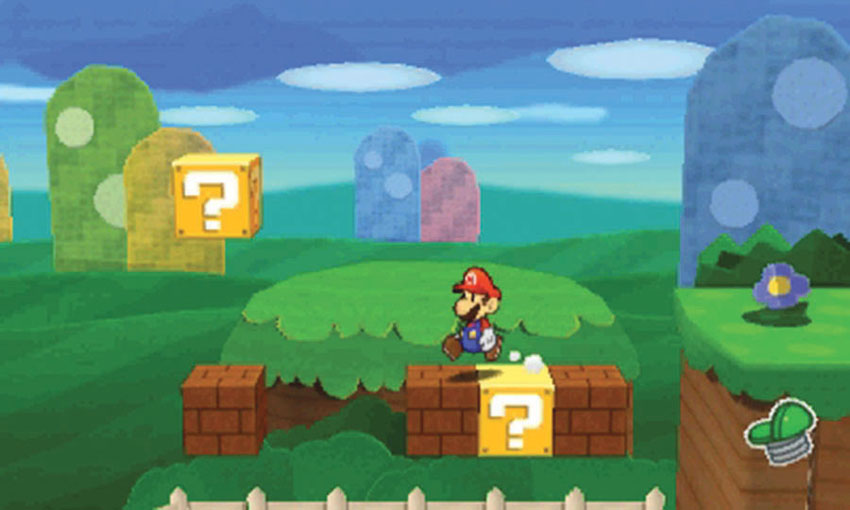
There’s an extra ? Block floating high above Point 1. Before you smash the lower Blocks, use them to reach the higher ? Block.
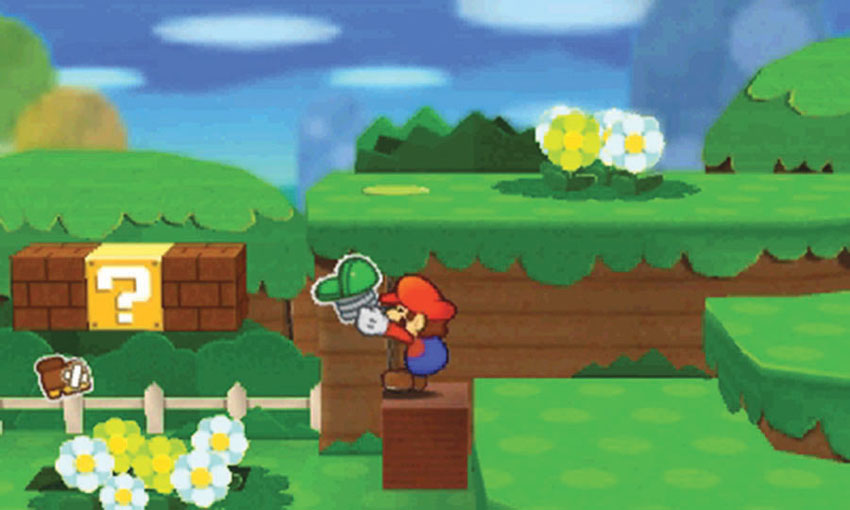
To collect the Hopslipper at Point 2, you must first locate the nearby Hidden Block. Use the Hammer to smack the ground just to the right, then climb up and peel the sticker.
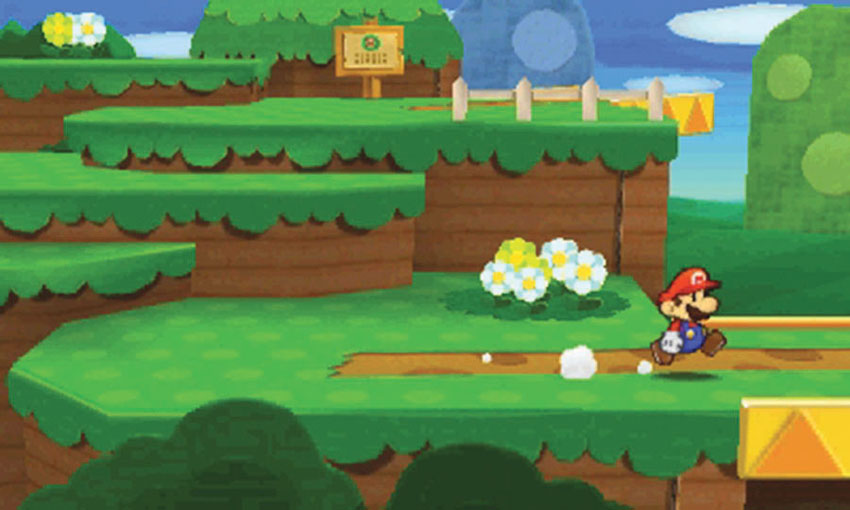
The main path leads up the hill, but you need to take care of some business before you can pass through the windy garden. When you’re finished exploring the western slope, follow the path to the eastern slope.
Eastern Slope
There’s a large gap in the middle of the eastern slope. To cross this gap, you must follow the main path as it winds up the hill and back through the area.
.jpg)
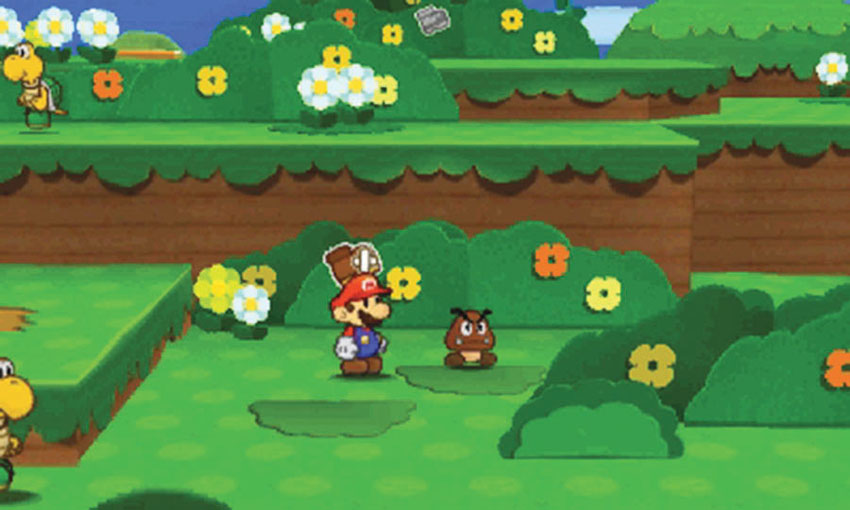
The eastern slope is packed with enemies, and it’s not always easy to spot them before they attack. Watch out for the patrolling Koopa Troopas, and use the Hammer to expose any enemies that might be hiding behind the bushes. You’ll find a Goomba hiding at Point 1 and a Koopa Troopa hiding behind a bush to the right.
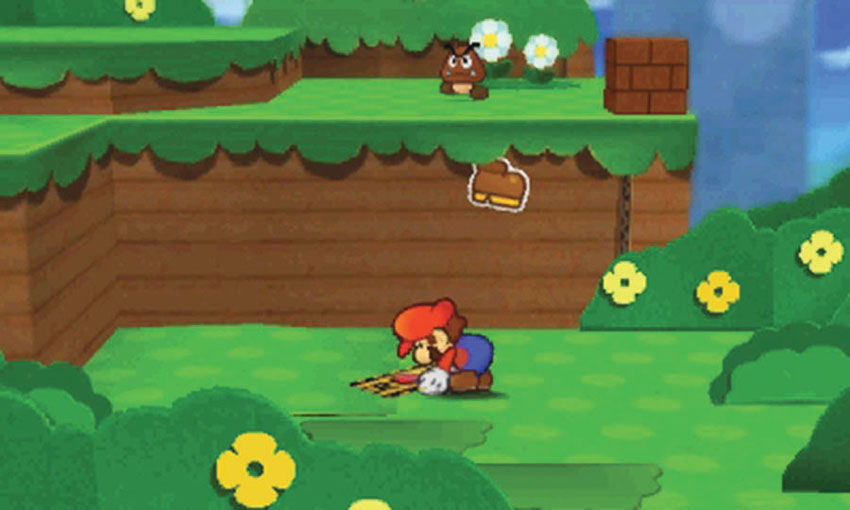
When you first enter the area, the ledge in the background is too high to reach. Use your Hammer to topple the bush at Point 2, then peel the Bowser tape to reveal some steps.
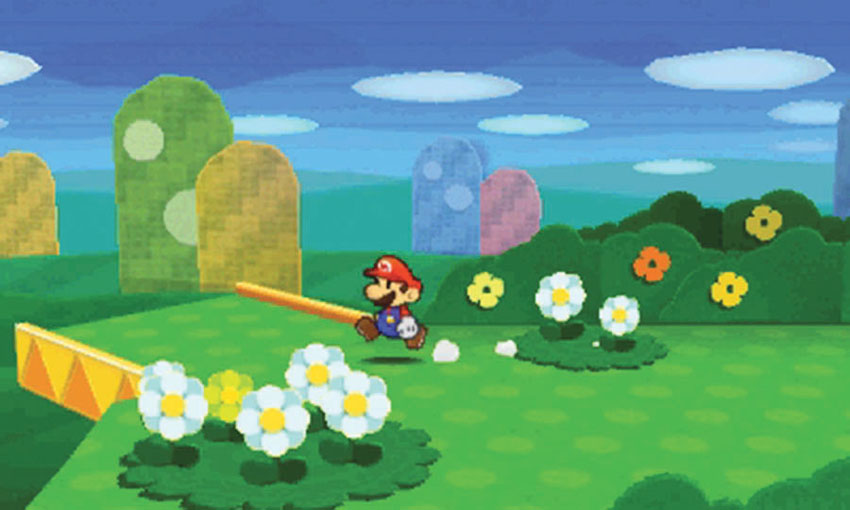
When you’re finished exploring the area, take the alternative path to the windy garden.
Windy Garden
.jpg)
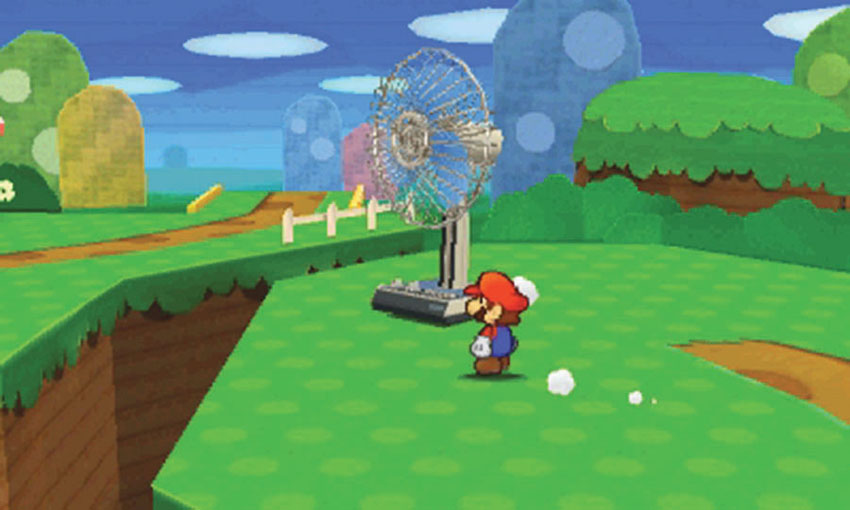
When you enter the windy garden from the western slope, the wind pushes you off of the path. When you enter the area from the eastern slope, however, you appear near the source of the wind. Approach the Fan without stepping in front of the blades to avoid being blown away, then add it to your Album and calm the air.
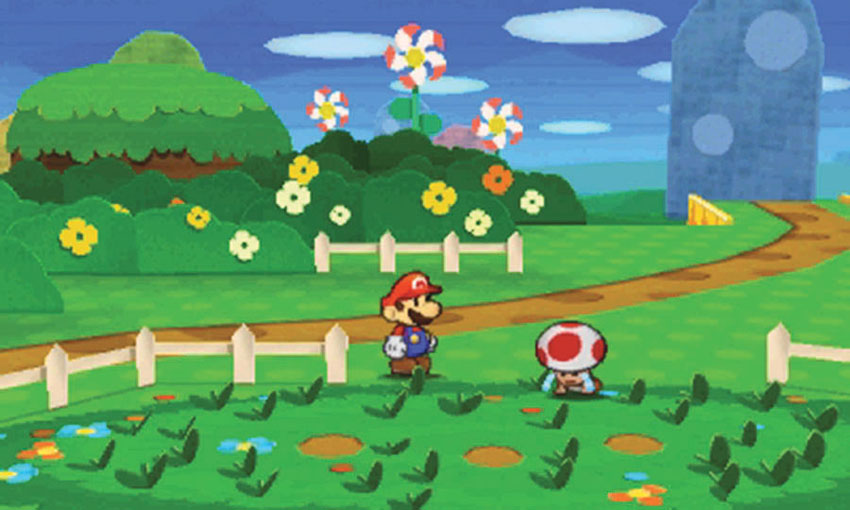
After you collect the Fan, return to the western slope and follow the main path back into the windy garden. The Toad at Point 2 is weeping over the loss of his flowers. After you collect a few of the Ice Flowers and Fire Flowers scattered throughout this Course, return to this area and use them to replant the Toad’s garden.
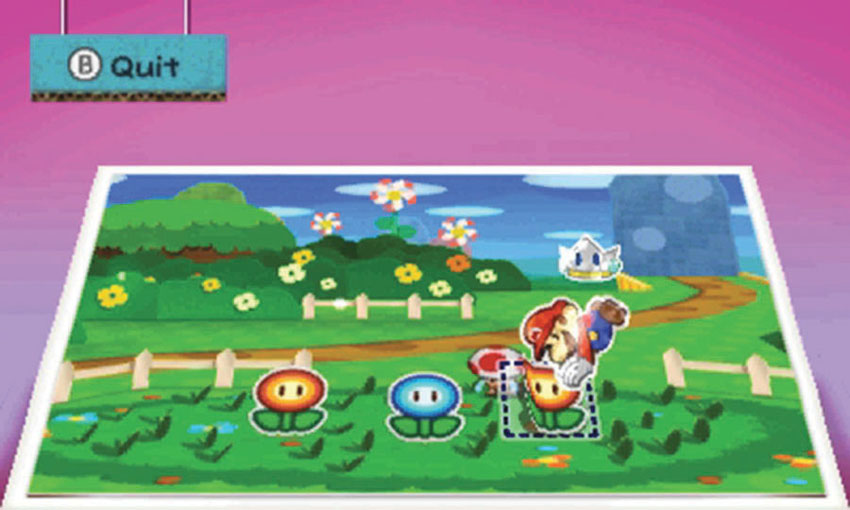
Paperize the flower patch, then place either a Fire Flower or Ice Flower in each of the three indicated spots. When you finish, each flower you planted produces two copies of the original sticker. Additionally, the relieved Toad rewards you with an HP-Up Heart.
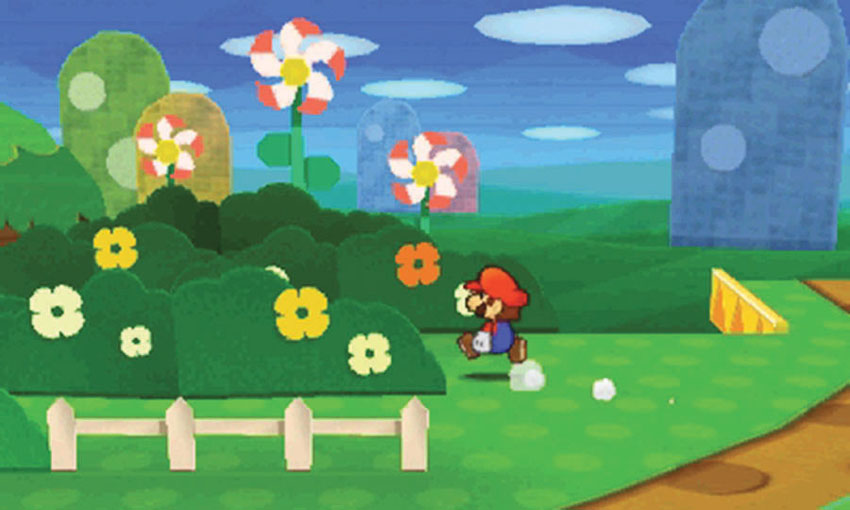
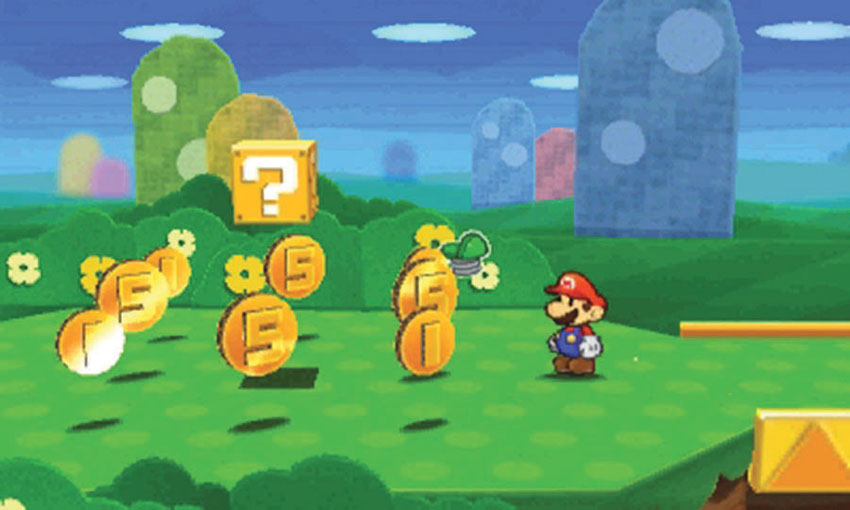
Before you move on, move toward the background, then step into the gap between the hedges. Follow the path to the left to find a secret area with a ? Block and a stack of coins.
When you’re ready, follow the path to the hilltop.
Hilltop
.jpg)
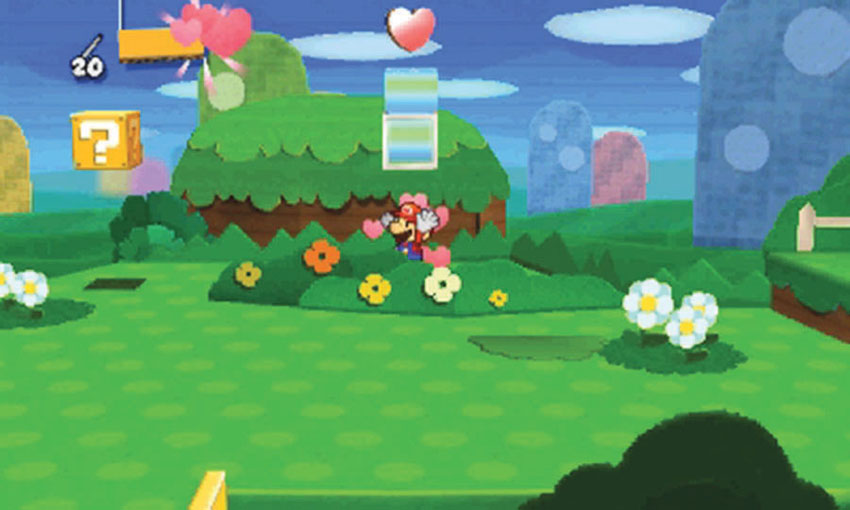
As you explore the hilltop for stickers and enemies, use the HP Block at Point 1 to top off your HP Bar. There are plenty of enemies left on the path to the Comet Piece, so make sure you’re prepared.
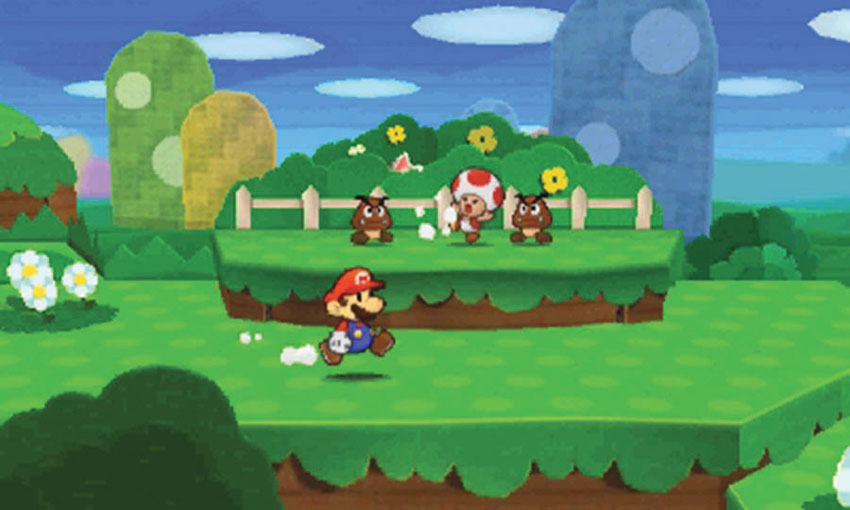
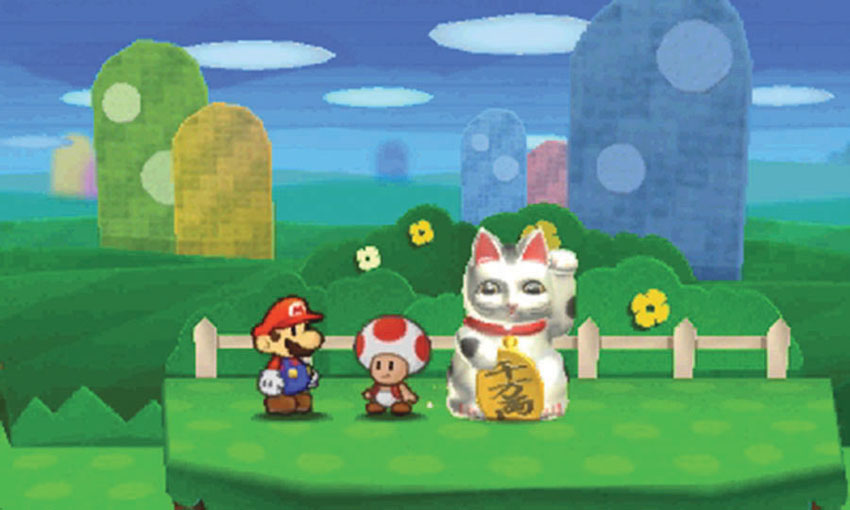
Two Goombas are bullying a Toad at Point 2. When you investigate the situation, the Goombas give you a choice. To rescue the Toad, you must either pay the Goombas 20 coins or defeat them in battle. Choose an option and complete the Toad rescue to earn the Cat-o-Luck for your trouble. After revealing the reward, the Toad runs off to continue his travels.
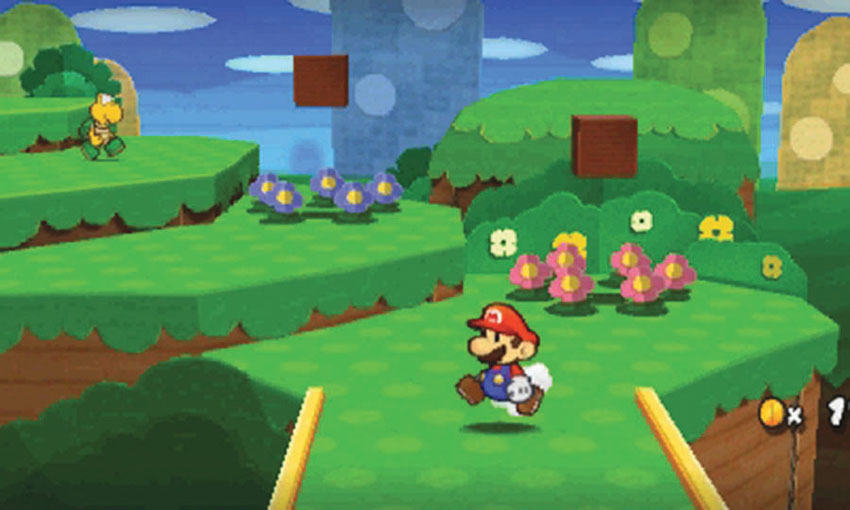
As you follow the path back down from the hilltop, look for the blue and pink flowers that mark the Hidden Block and the Paperization Block near the end of the area. When you’re ready, follow the path down through the right half of the eastern slope and into the foothills.
Foothills
.jpg)
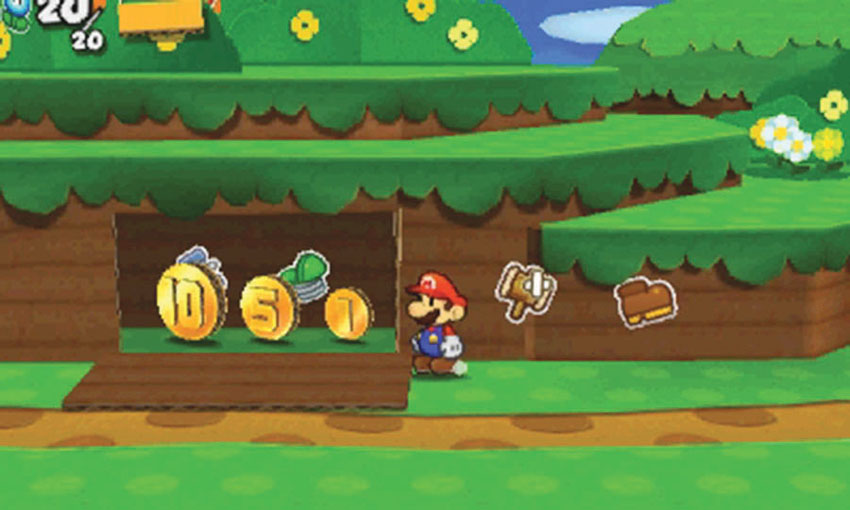
When you reach Point 1, peel the strips of Bowser tape on the hill in the background. When you do, a panel falls open to reveal a stash of coins and stickers.
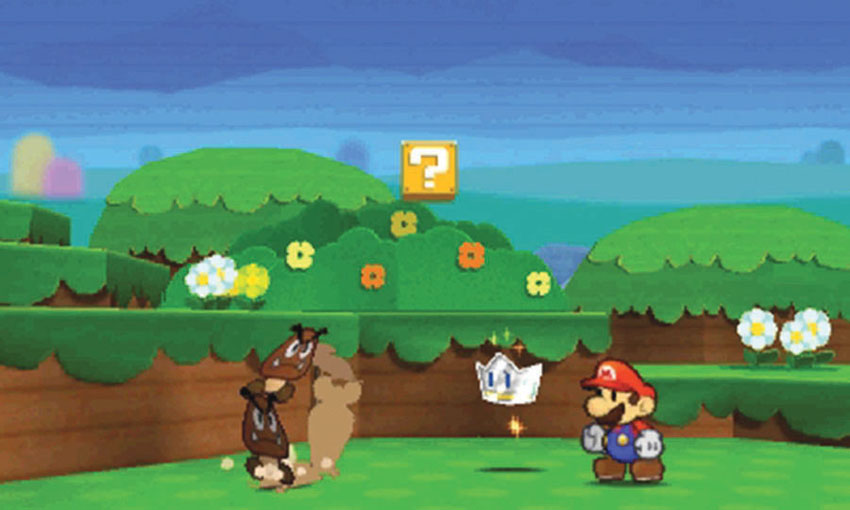
As you approach Point 2, five Goombas spring an ambush. Kersti decides to even the odds by introducing the Battle Spinner. Follow Kersti’s instructions to complete the tutorial, then turn your attention to the battle. Kersti ensures that you can use three stickers on your first turn.
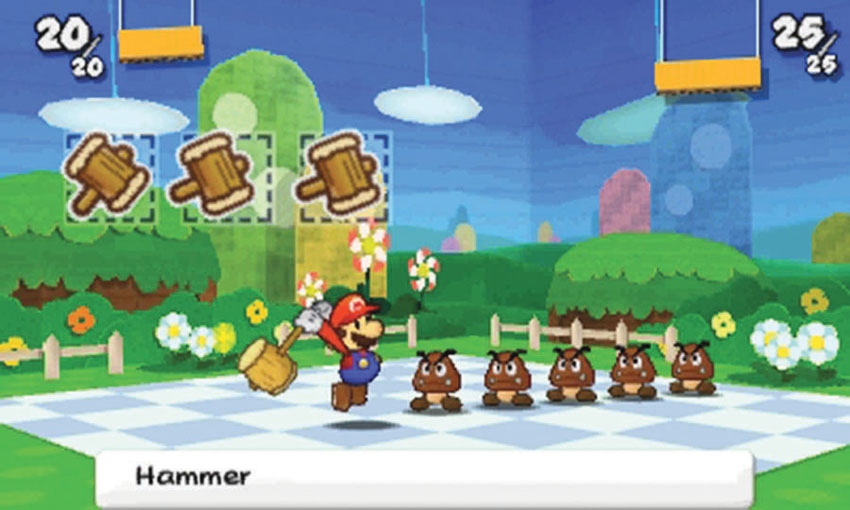
Any number of sticker combinations can lead to victory, but consider selecting three Hammer stickers. The collateral damage resulting from a properly timed attack will clear most of your enemies on the first hit, and the remaining Hammers should be more than enough to finish off any stragglers.
Search the area for stickers, then follow the path to the right.
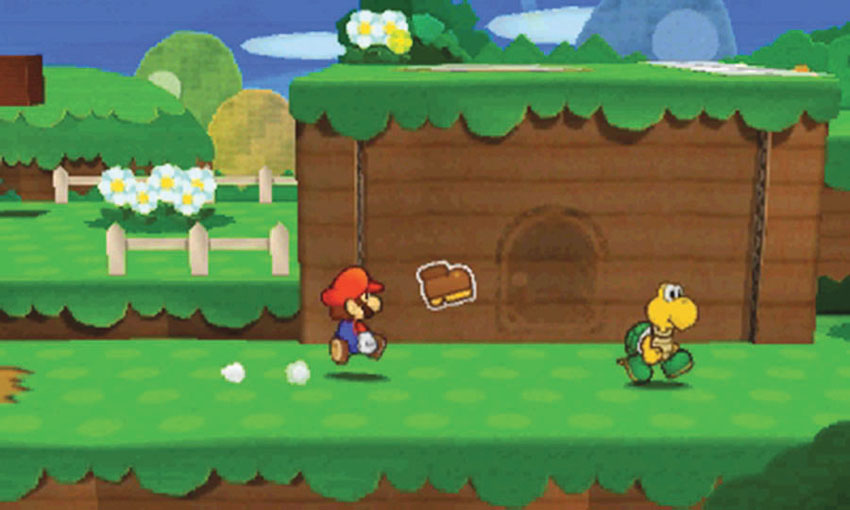
As you pass by Point 4, look for the Secret Door location on the small hill in the background. After you acquire a Secret Door sticker, return to this area and apply it to the marked location.
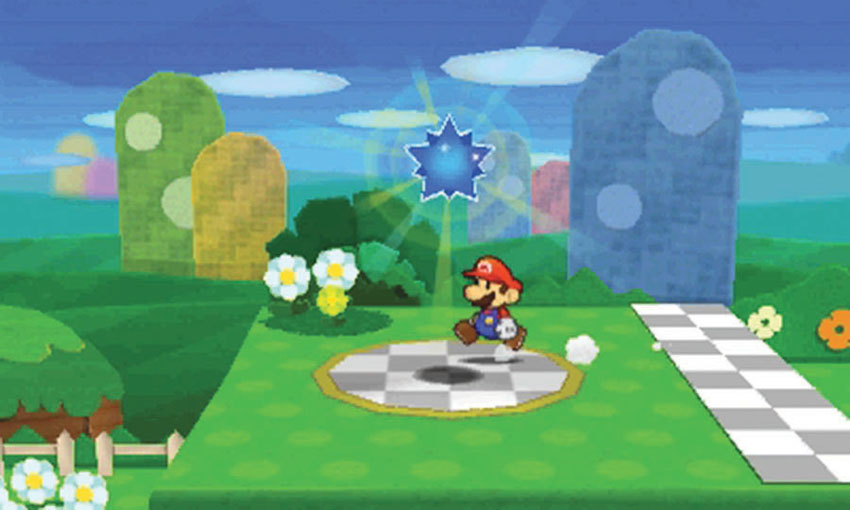
Follow the path as it curves around the edge of the area, and collect the Comet Piece to complete the Course.
Sticker Comet Piece: Unlocking World 1-3
This Course contains only one piece of the Sticker Comet. To unlock World 1-3, collect the Comet Piece at the end of World 1-2.
Recommended Visit #2
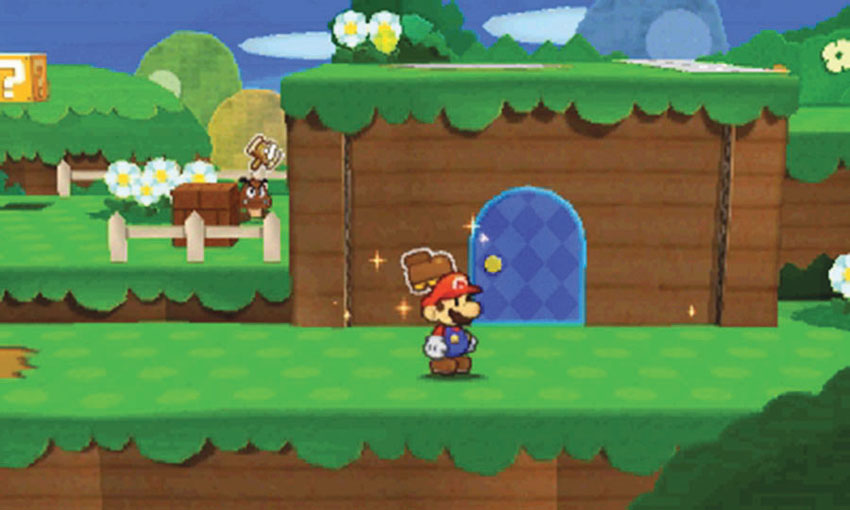
After you gain access to the World 3-6 Sticker Shop, purchase a Secret Door sticker and revisit this Course. Apply the Secret Door to the marked location in the foothills, then head inside.
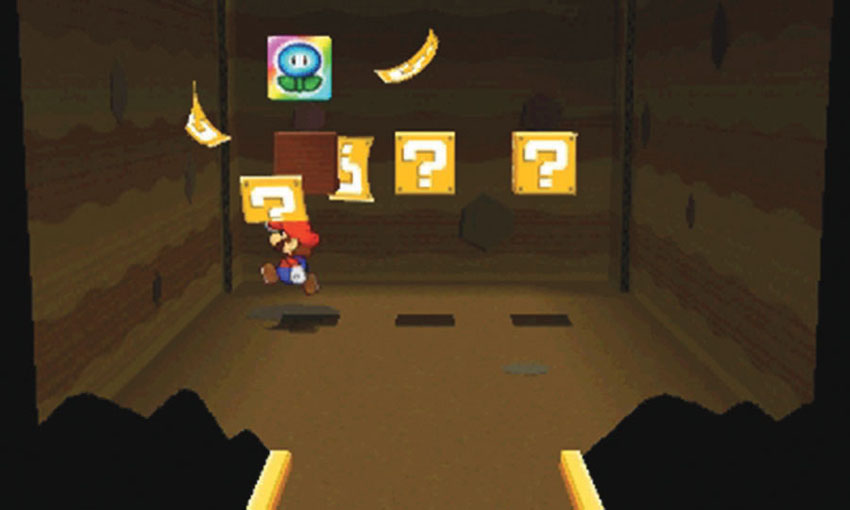
There are three ? Blocks behind the Secret Door. The first time you search them, they contain flashy stickers!
World 1-3: Water’s Edge Way
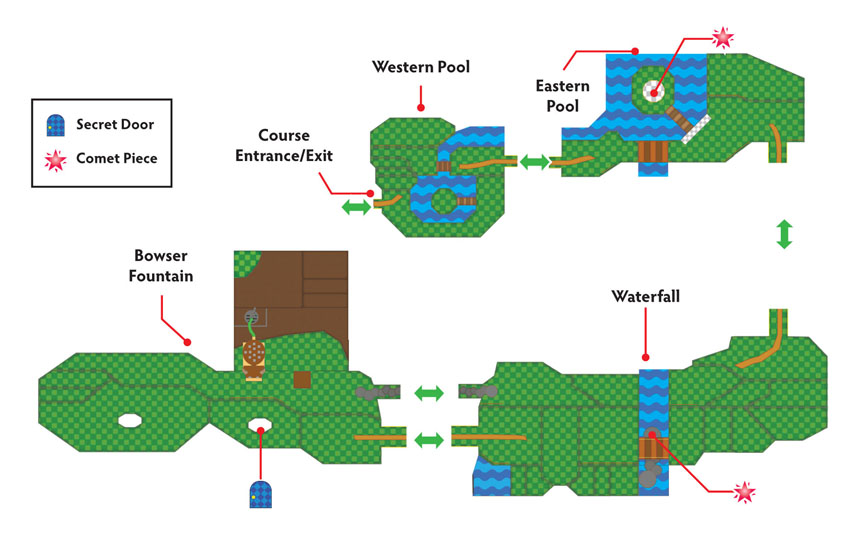
Overview
Prerequisites
This Course becomes available when you collect the Comet Piece from World 1-2. Aside from the Secret Door sticker, everything you need to complete the available objectives can be found in the Course.
Objectives
This Course contains several objectives, some of which require additional visits:
- Defeat Kamek.
- Collect the hidden Comet Piece to unlock World 1-5.
- Shut off the Bowser fountain.
- Collect the Faucet.
- Recover the Comet Piece scrap.
- Collect the Comet Piece to unlock World 1-4.
- Collect the Bed from the Secret Door.
Important Items and Locations
| Description | Notes |
|---|---|
| Secret Door | The marked location is in the drain below the Bowser fountain. |
| HP-Up Heart | None |
| Toad Rescue | None |
| Luigi Location | None |
| Wiggler Diary Entry | None |
| Things | The Faucet is in the room behind the Bowser fountain. Enter the Secret Door below the Bowser fountain to find the Bed. |
Recommended Tactics
Most of the battles in this Course involve familiar enemies, but you will have to face a particularly nasty character. You should find all the stickers you need within the Course, but consider bringing a Hopslipper or two with you.
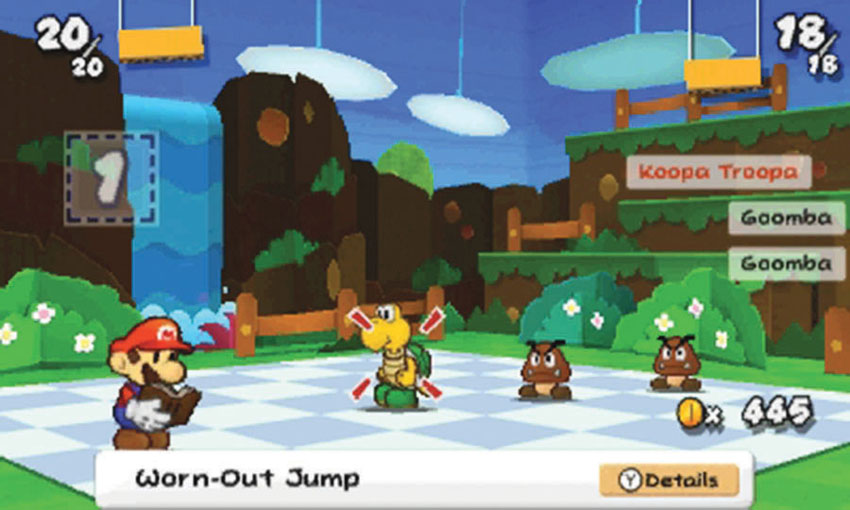
By this point, you should be fairly comfortable battling Koopa Troopas and Goombas. These enemies attack in a wide variety of formations, but a decent supply of Hammers, Jumps, and Shell stickers will allow you overcome any combination of these common enemies—particularly if you opt to use the Battle Spinner at the beginning of each round.
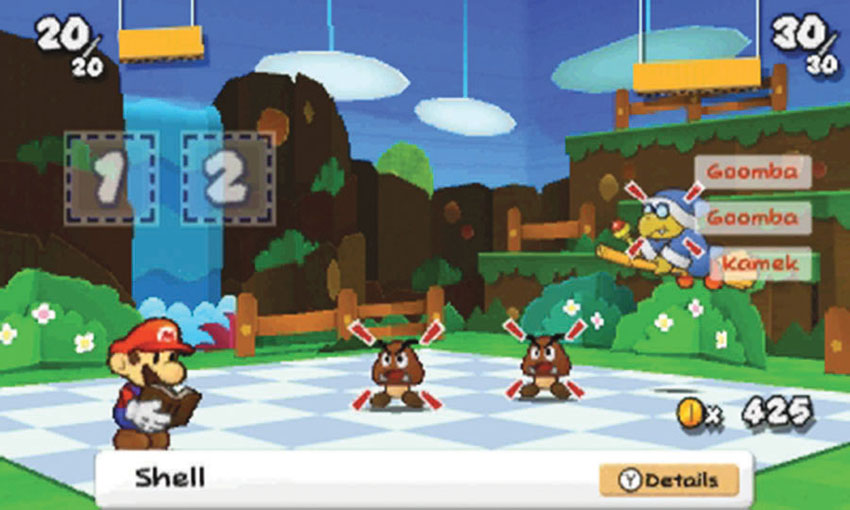
During your first visit, you must defeat the troublesome Kamek. This broom-riding Magikoopa is most vulnerable to Jump-based stickers, and a properly utilized Hopslipper will finish him off in one shot. Kamek won’t be facing you on his own, however, so make sure you bring at least one multi-target sticker to take care his allies.
Western Pool
.jpg)
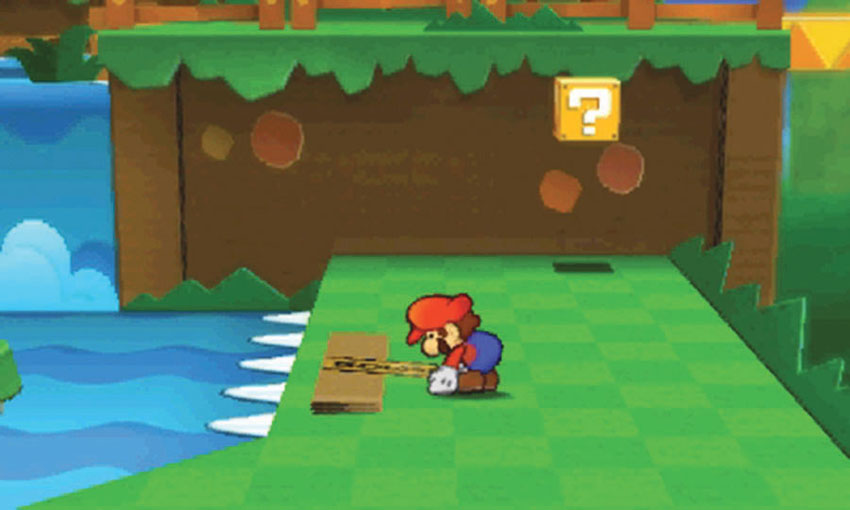
Peel the Bowser tape at Point 1 to create a bridge. Walk across to the island, then jump up to find the Hidden Block directly above each of the blue flowers.
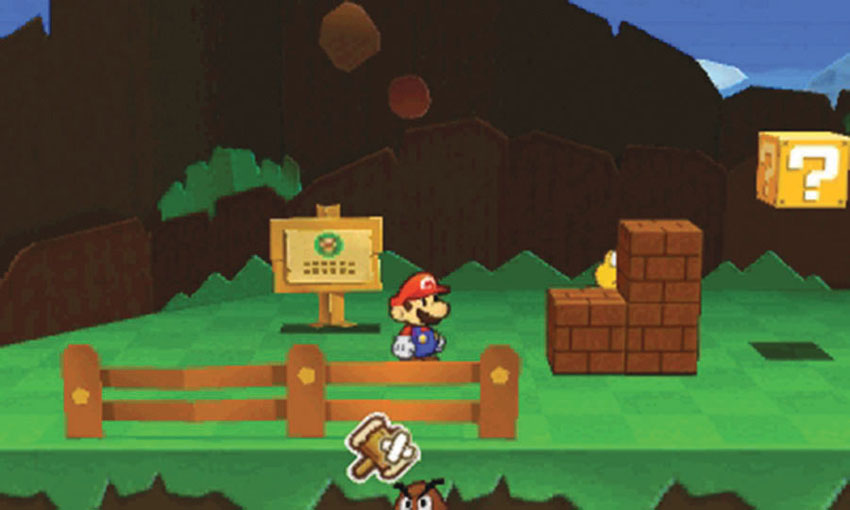
There’s a Koopa Troopa hiding behind the Blocks at Point 2. Try to stomp it before it leaps out to attack. When you’re finished collecting stickers, follow the path to the eastern pool.
Eastern Pool
.jpg)
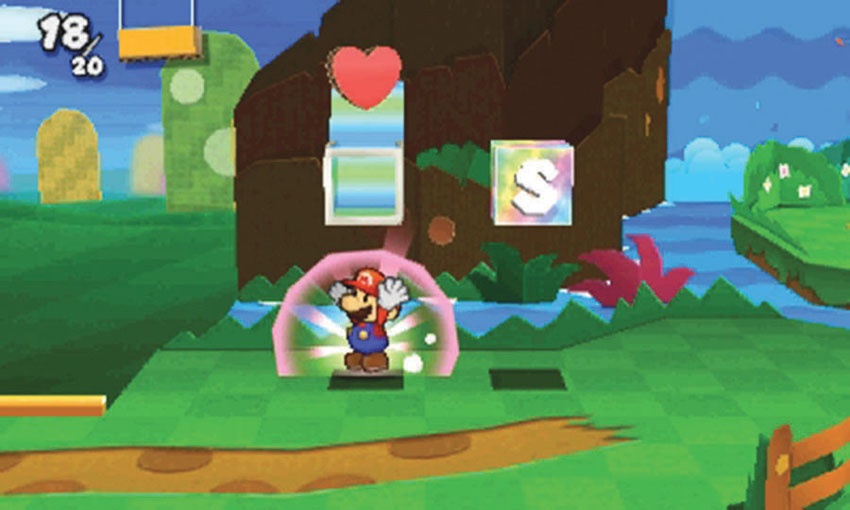
Before you move past Point 1, take advantage of the HP Block and Save Block. Kamek is about to make his first appearance, so make sure you’re prepared.
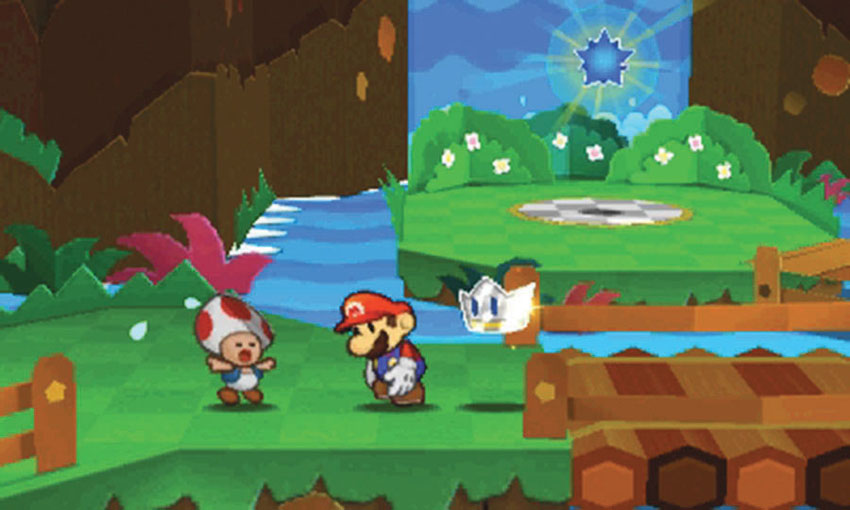
As you approach Point 2, a Toad comes charging across the nearby bridge. After you finish the conversation, continue across the bridge to face Kamek and two Goombas.
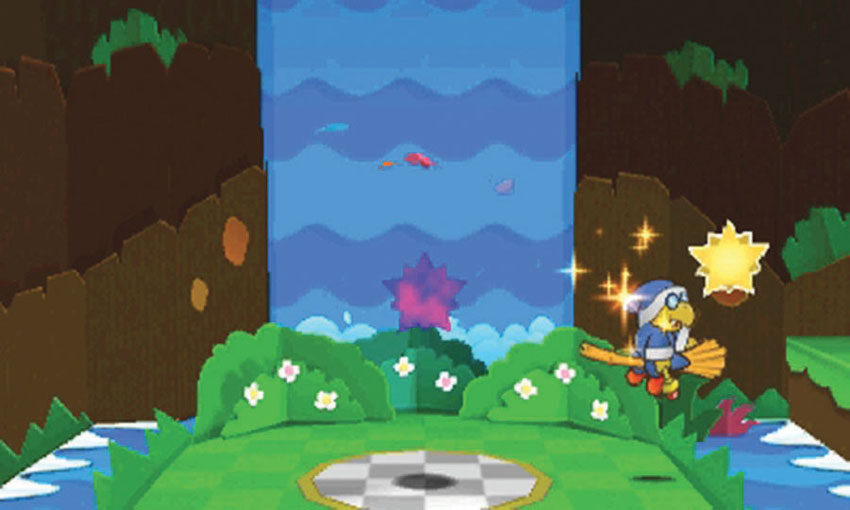
Kamek doesn’t handle his defeat particularly well. After the battle, he paperizes the Comet Piece and tosses the scrap to the other end of the Course. To unlock World 1-4, you must recover the scrap and return it to Point 3.
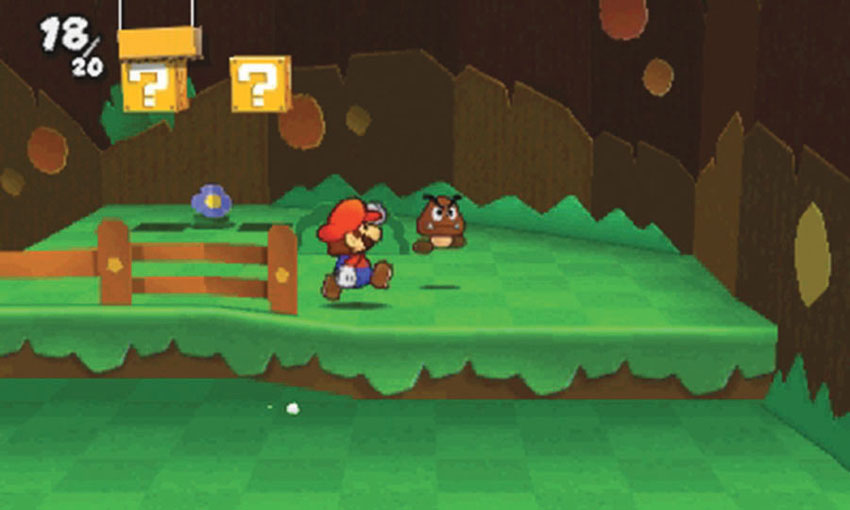
There’s a Hidden Block between the two ? Blocks at Point 4. As you approach the area, however, watch out for the Goomba that springs out from behind the bush. If you react quickly, you can foil the attempted ambush with a stomp or a Hammer strike.
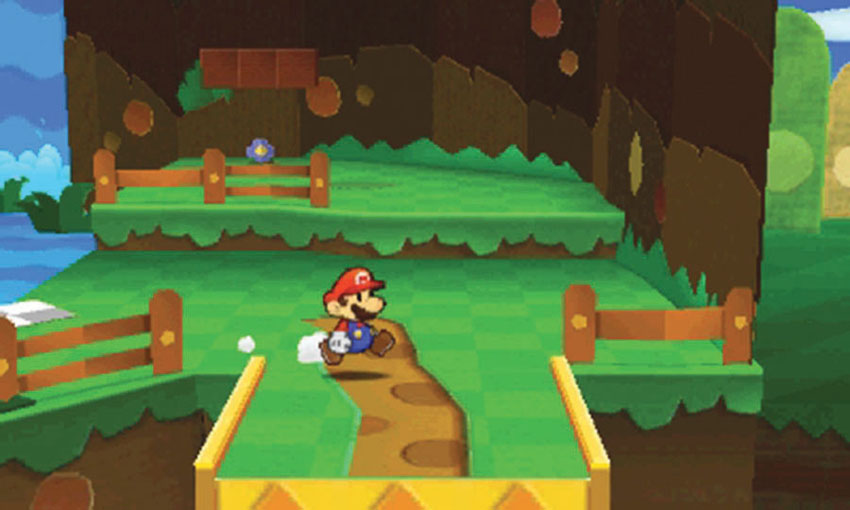
When you’re ready to move on, follow the path down to the waterfall.
Waterfall
.jpg)
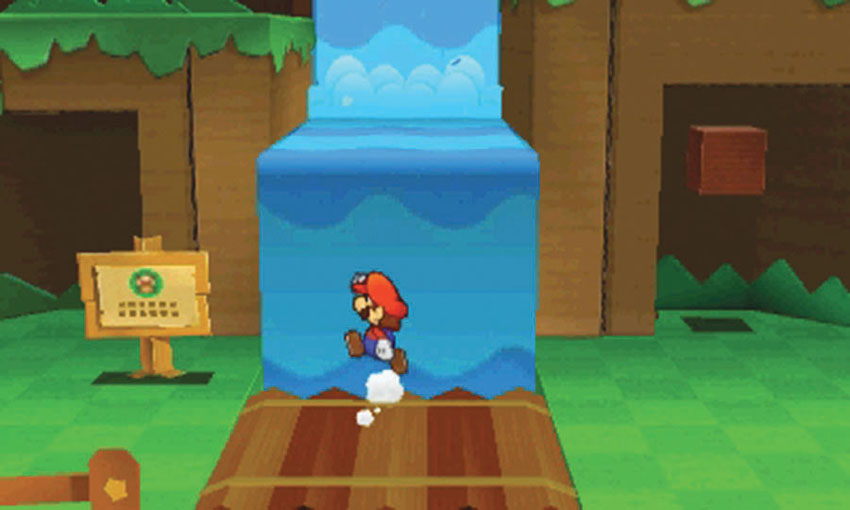
You’ll find a number of ? Blocks, stickers, and enemies scattered around the waterfall. When you reach the bridge at Point 1, move toward the waterfall to drop into a secret area.
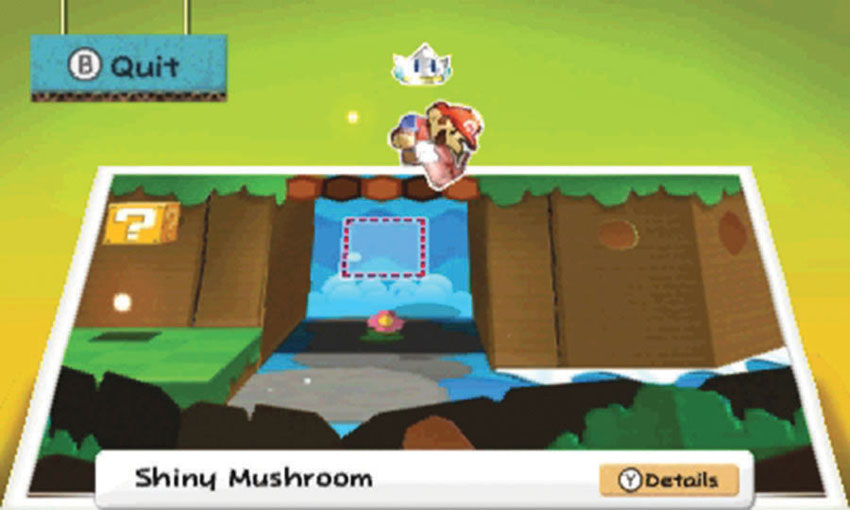
The secret area contains one of the Course’s two Comet Pieces. You can grab it now to end your first visit, but consider dealing with the Comet Piece scrap first. Leave the secret area to emerge at the base of the waterfall, then paperize the area to find a Paperization Block location.
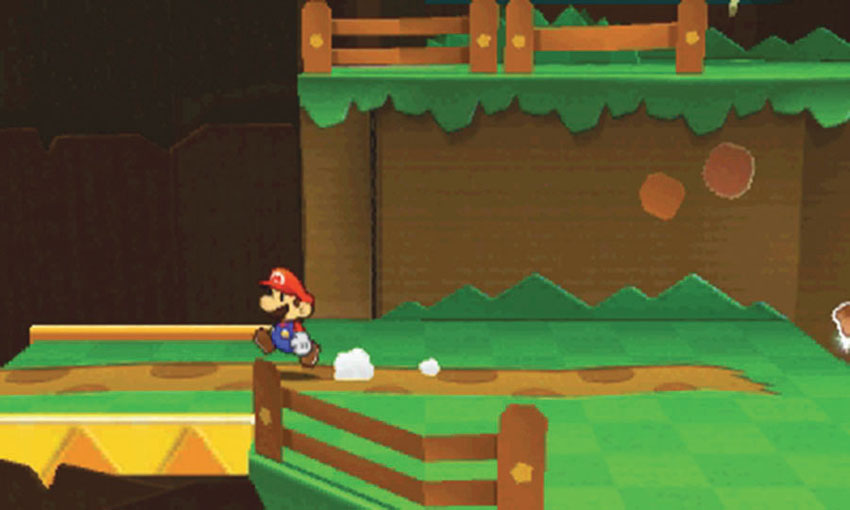
When you’re finished searching the area for stickers, follow the path to the Bowser fountain.
Bowser Fountain
.jpg)
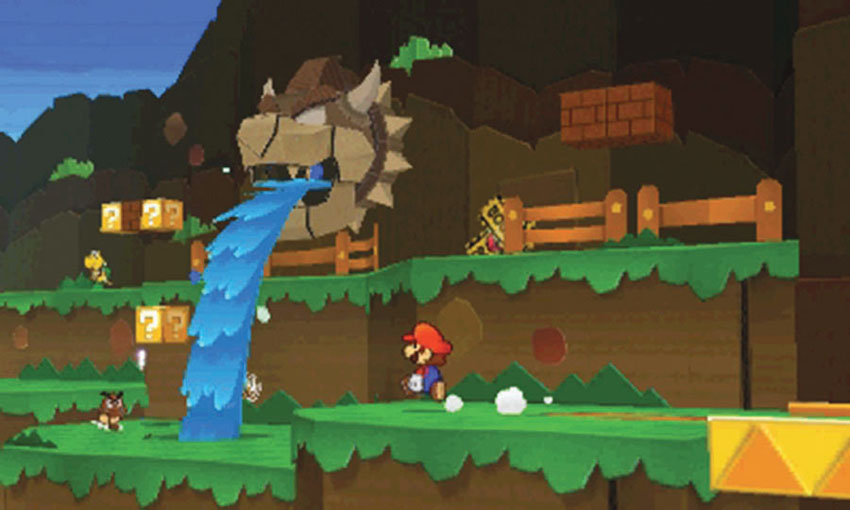
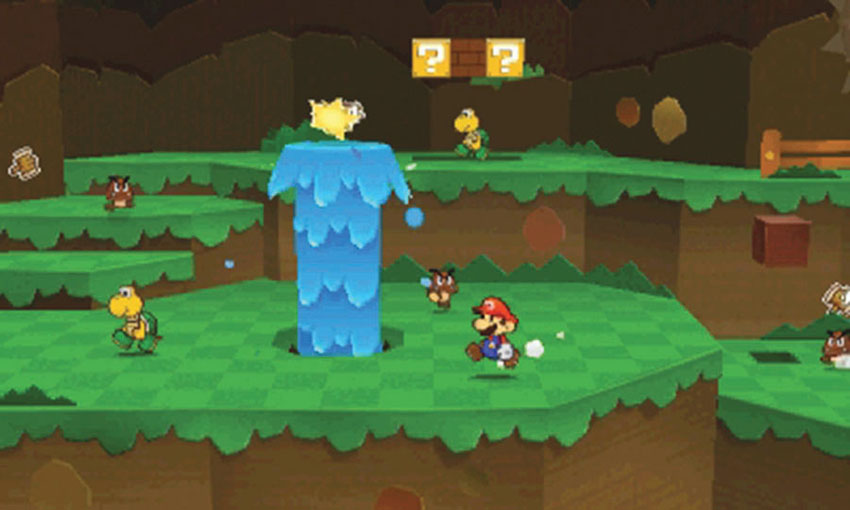
The water spilling out of the Bowser fountain is causing the nearby geyser. Before you can collect the Comet Piece scrap, you must find a way to shut off the water.
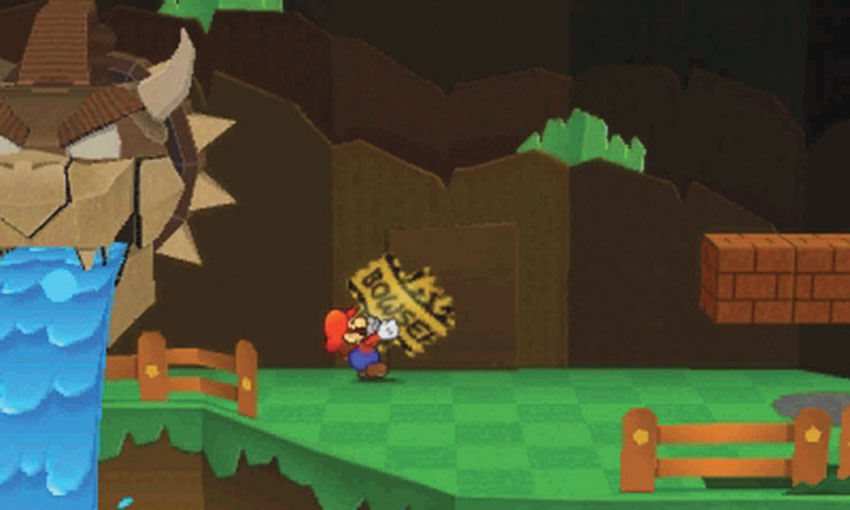
Follow the path around the left edge of the area and climb up to the ledge that runs along the back wall. After you pass under the fountain, peel the Bowser tape to reveal a hidden room.
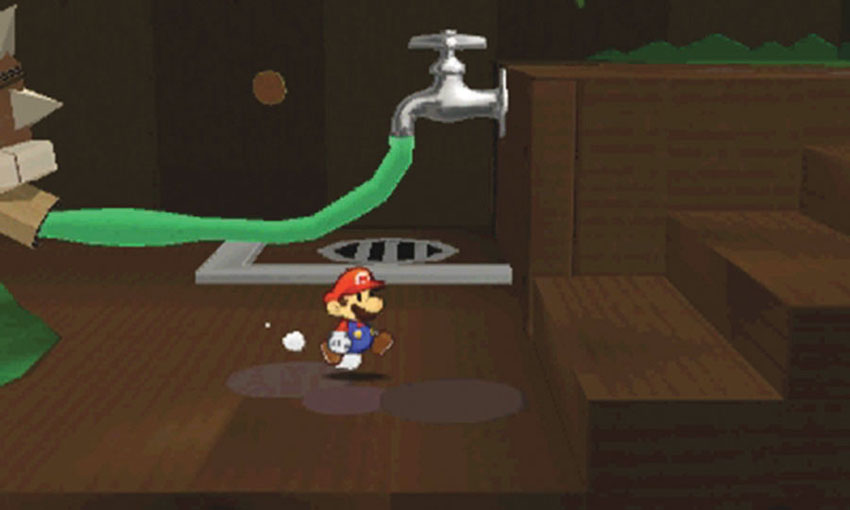
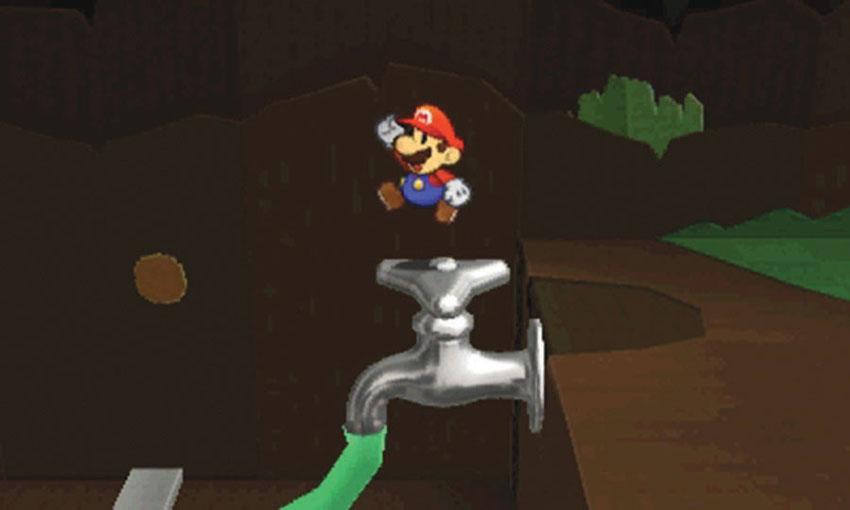
After you pass through the opening, cross the room and climb to the top of the steps. Hop onto the Faucet and jump up and down until the water shuts off and the Faucet breaks loose. Grab the Faucet, then head back outside.
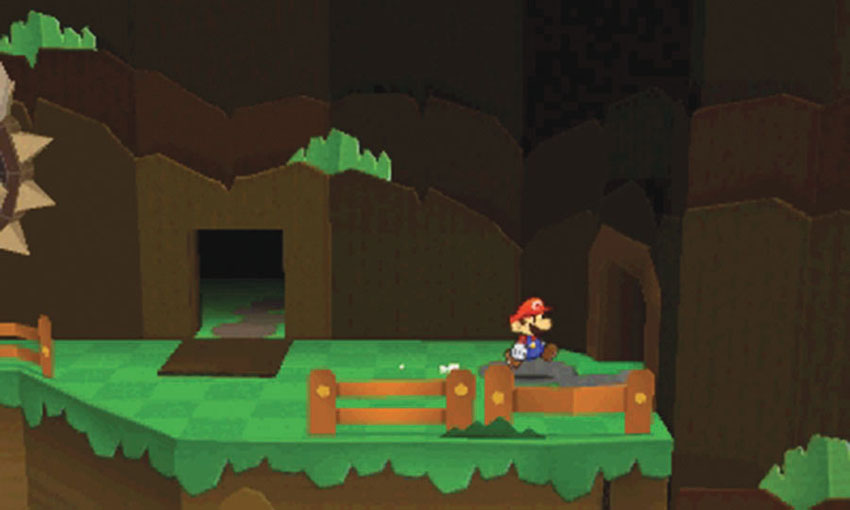
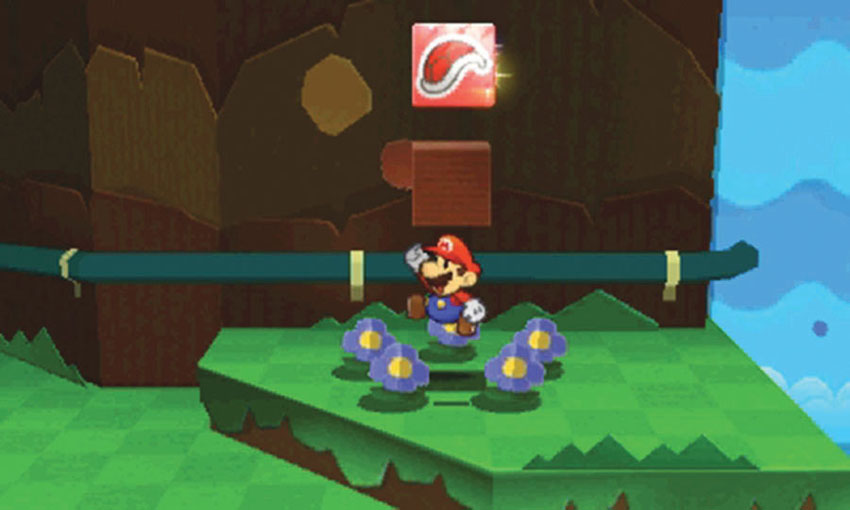
Before you head down to collect the Comet Piece scrap, follow the upper path back toward the waterfall. Aside from the ? Blocks and posted stickers, this ledge contains a Hidden Block. When you’re finished, move back to the Bowser fountain.
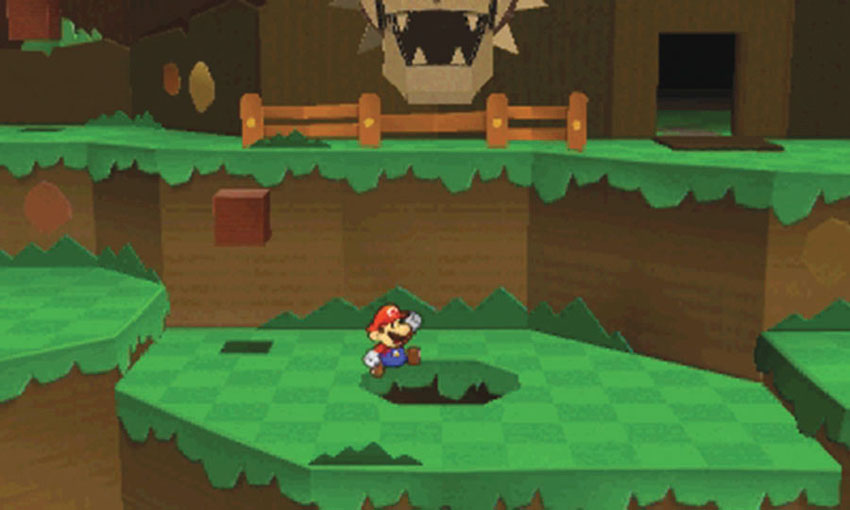
When you’re ready, drop through one of the holes below the Bowser fountain and explore the underground area.
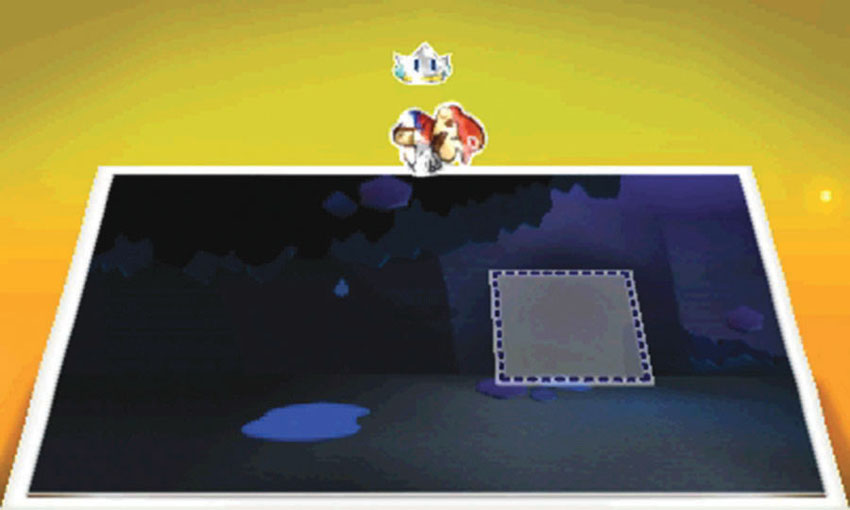
The underground area contains a marked location for a Secret Door. The area is fairly dark, but the paperization ability makes it much easier to find the exact spot. After you acquire a Secret Door sticker, return to this location to apply it.
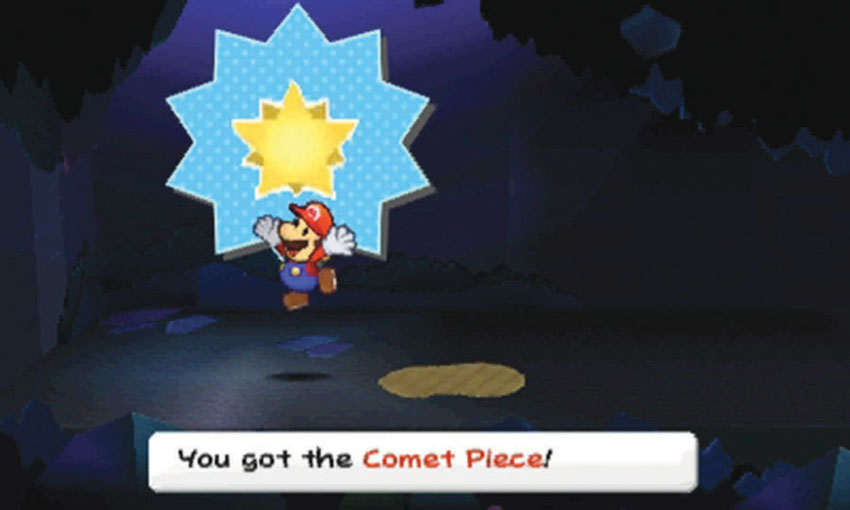
Move to the left edge of the underground area to collect the Comet Piece scrap, then follow the path to the right. After you shut down the Bowser fountain, this passage leads back to the waterfall.
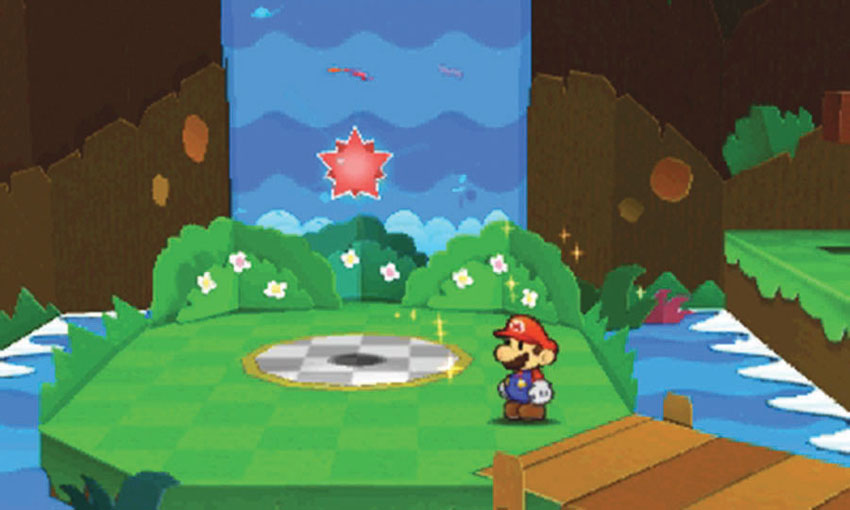
Make your way back up to the eastern pool and put the Comet Piece scrap back in its proper place. After you finish the repair, collect the Comet Piece to complete your first visit.
Sticker Comet Piece: Unlocking World 1-4
This Course contains two Comet Pieces. To unlock World 1-4, recover the Comet Piece scrap and return it to the eastern pool.
Recommended Visit #2
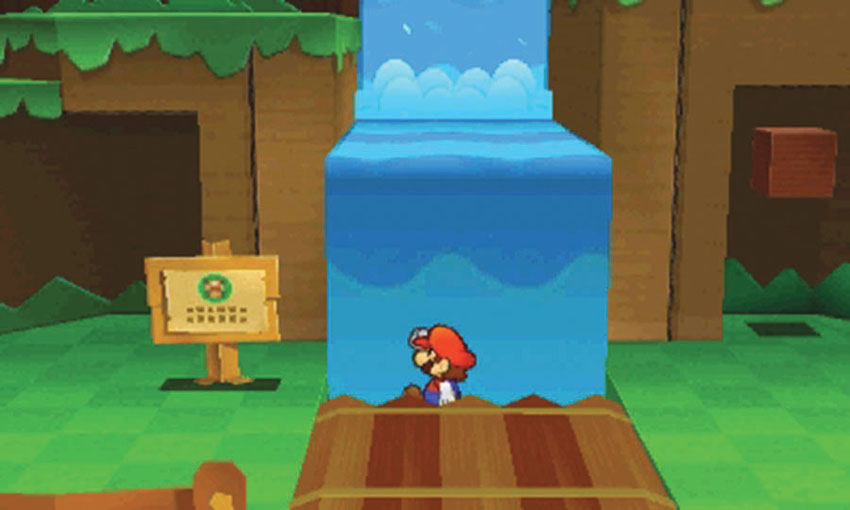
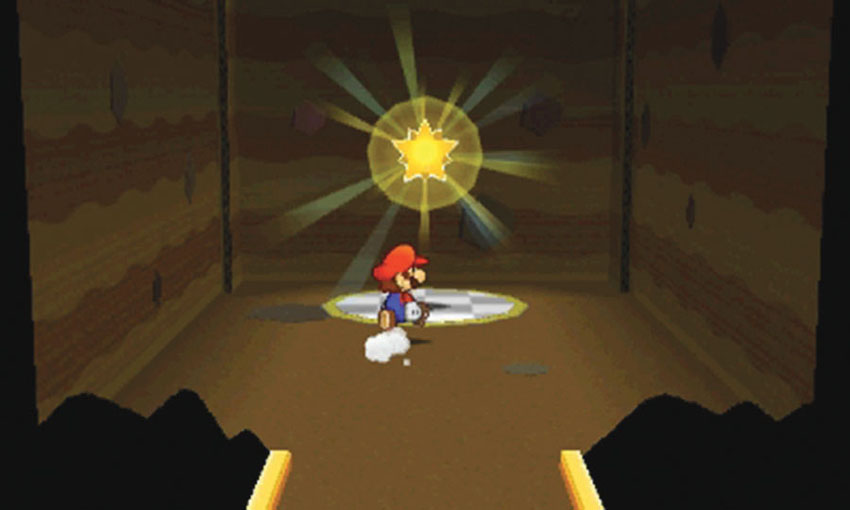
After you complete your first visit, you must still collect the Course’s remaining Comet Piece. Return to the bridge halfway down the waterfall, then walk toward the background to fall into the secret area. After you land, collect the Comet Piece and complete the Course.
Sticker Comet Piece: Unlocking World 1-5
The Course’s second Comet Piece is located in a secret area. Revisit the bridge in the waterfall area and move toward the background until you drop into the water. To unlock World 1-5, collect the Comet Piece near your landing spot.
Recommended Visit #3
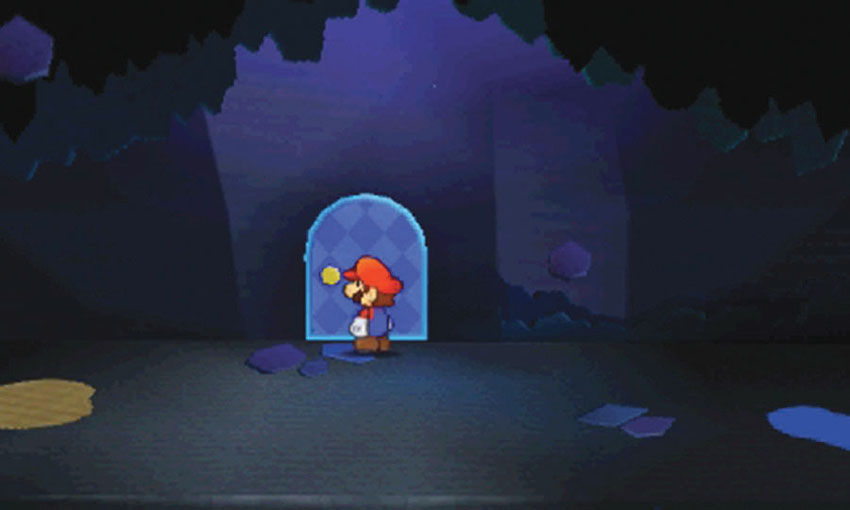
After you gain access to the World 3-6 Sticker Shop, purchase a Secret Door sticker and return to the Bowser fountain. Shut off the water, then drop down through one of the drainage holes. Place the Secret Door sticker in the marked spot, then head inside to find the Bed and a stash of coins.
World 1-4: Hither Thither Hill
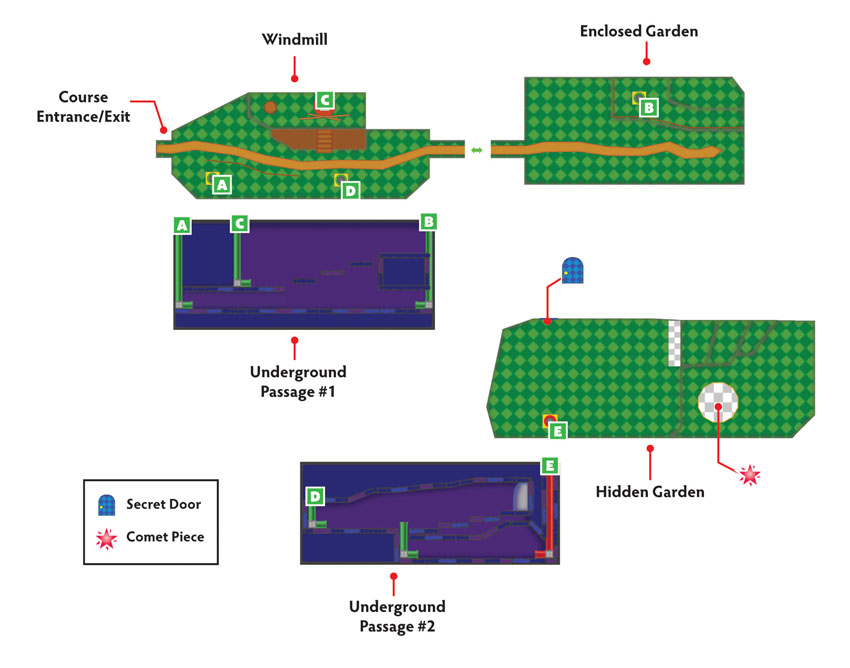
Overview
Prerequisites
To unlock this Course, you must collect the corresponding Comet Piece from World 1-3. Recover the scrap created by Kamek, then return it to its proper location. Collect the resulting Comet Piece to reveal the path to World 1-4.
This Course also requires a number of stickers, a supply of coins, and an extra visit once you’ve purchased a Secret Door sticker from the World 3-6 Sticker Shop.
Essential Thing Stickers
| Name | Thing Location | Notes |
|---|---|---|
| Fan | World 1-2 | Needed to adjust the windmill blades. |
Objectives
This Course contains several objectives, some of which require additional visits to complete:
- Lead the stranded Toad back to Decalburg.
- Decipher the windmill code.
- Use the Fan sticker to gain access to the windmill.
- Enter the windmill code.
- Recover and replace the Green Warp Pipe scrap.
- Defeat the Big Buzzy Beetle.
- Collect the Comet Piece to unlock a path to World 1-6.
- Collect the Matches from the Secret Door.
Important Items and Locations
| Description | Notes |
|---|---|
| Secret Door | The marked location is in the hidden garden at the end of the Course. |
| HP-Up Heart | Defeat the Big Buzzy Beetle to earn an HP-Up Heart. |
| Toad Rescue | None |
| Luigi Location | None |
| Wiggler Diary Entry | None |
| Things | The Matches are located through the Secret Door. |
Recommended Tactics
In addition to Goombas and Koopa Troopas, this Course also contains several Buzzy Beetles. These shelled critters are considerably tougher than Koopa Troopas, but most of the same tactics apply. You’ll find plenty of useful stickers around the environment, but you’ll want to bring some specific stickers for the mini-boss encounter.
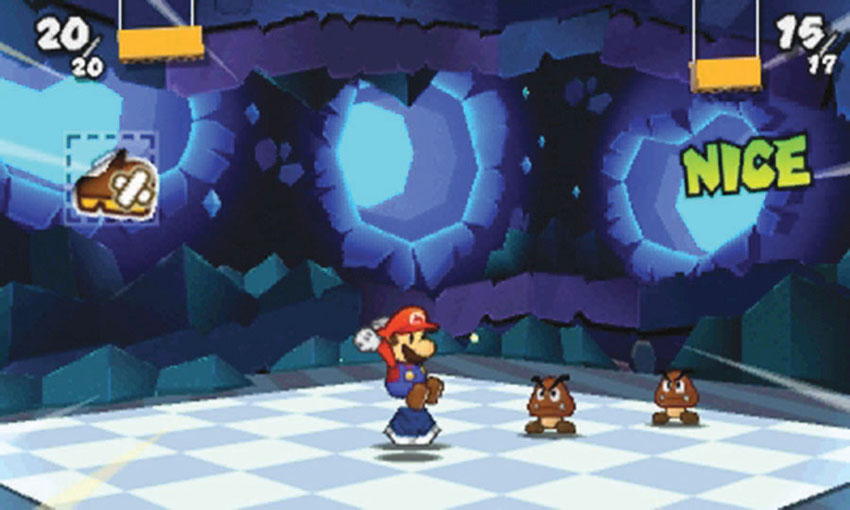
Buzzy Beetles are immune to fire attacks, so it’s best to stick to the basics. Stomp a Buzzy Beetle before the battle starts, then use a Jump sticker to kick it into its allies.
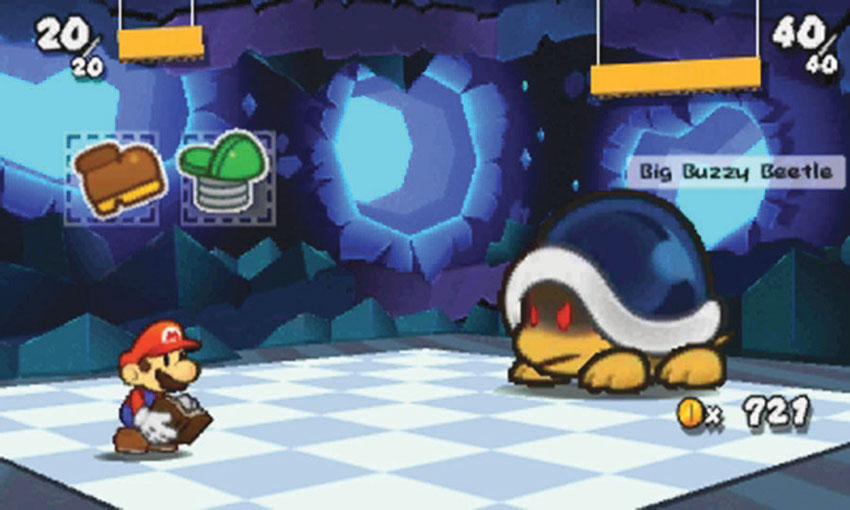
Unless the Big Buzzy Beetle is on its back, it’s immune to all damage. A properly timed Jump sticker is enough to flip this mini-boss over, but it always recovers on its next turn. To damage the Big Buzzy Beetle, use the Battle Spinner to earn (or purchase) at least one extra attack on each turn. Use a Jump sticker to flip the oversized enemy, then follow up with a Hopslipper to deal heavy damage.
Recommended Visit #1
Windmill
.jpg)
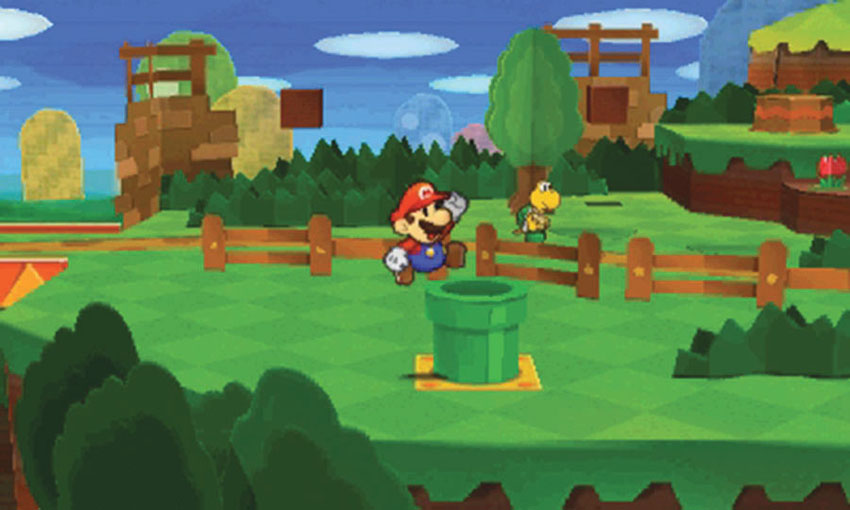
As you search the area for stickers, investigate the tree at Point 1. Strike the tree with your Hammer to collect some hidden coins.
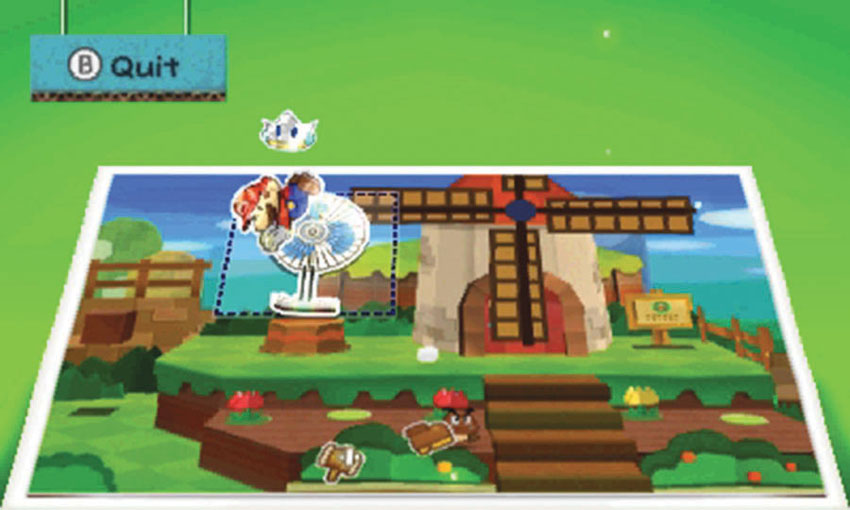
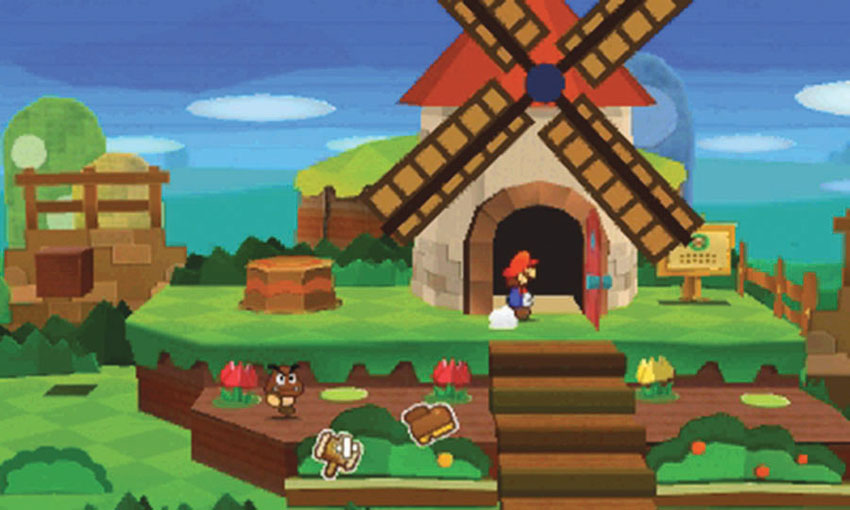
When you first visit the Course, one of the windmill’s blades is blocking the door. Use paperization to place the Fan on the nearby stump. After the blade moves out of the way, head into the windmill.
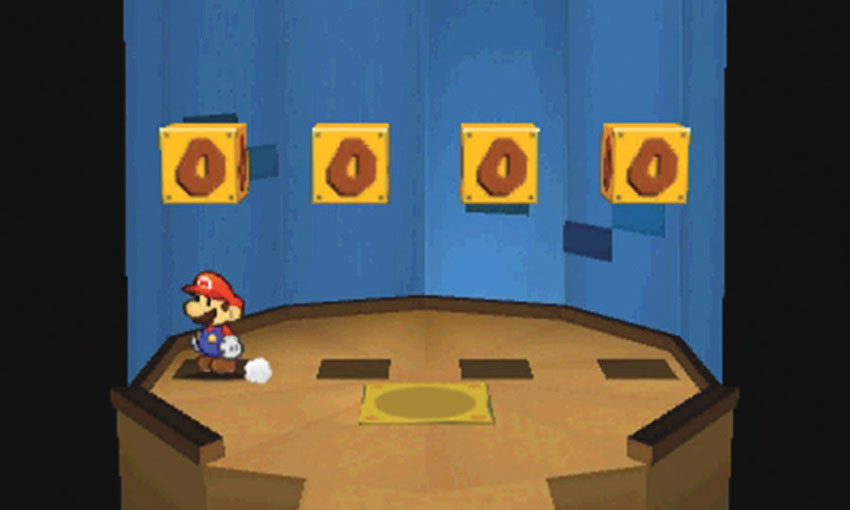
The first time you enter the windmill, there are four strange Blocks inside. Each Block displays a number, and each time you hit a Block, the number changes. To reveal the hidden warp pipe, you must enter the correct sequence of numbers. Return to this location after you learn the code.
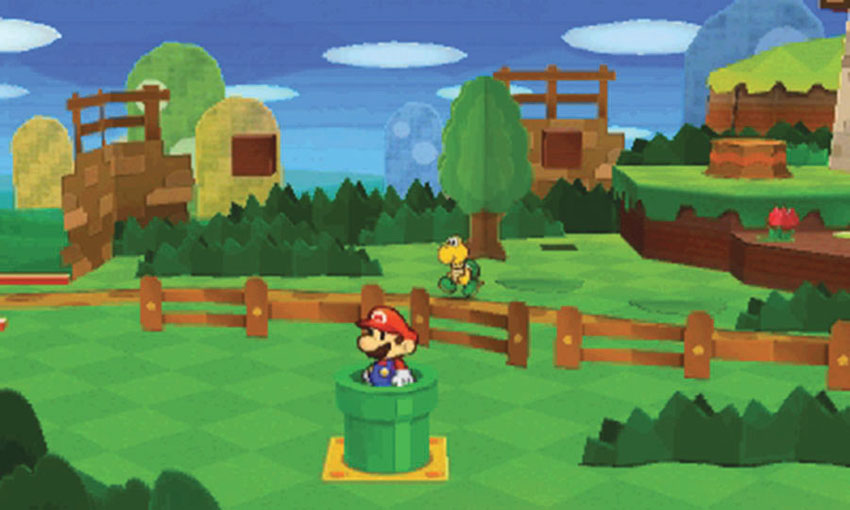
When you’re ready, enter the warp pipe at Point 4 to emerge in the first underground passage.
First Underground Passage
.jpg)
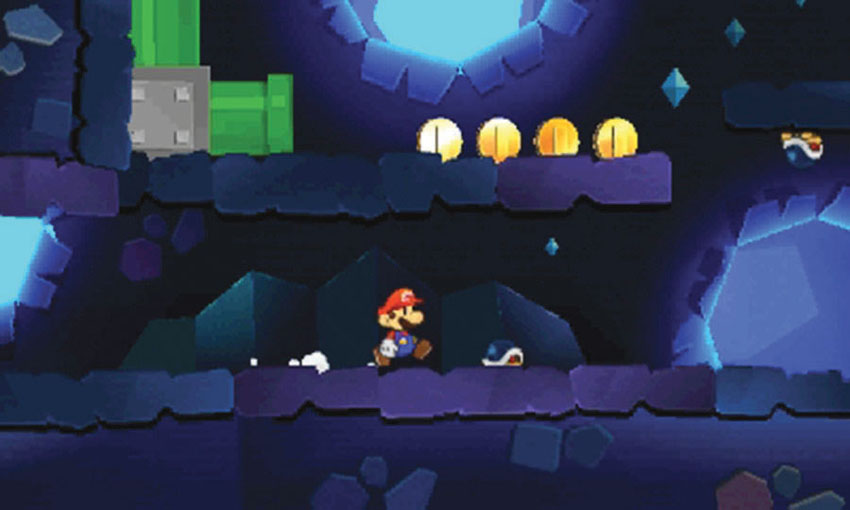
After you exit the pipe, follow the path to the right. There are a few Buzzy Beetles along the way; stomp them or avoid them as you see fit. When you reach Point 1, look for the warp pipe on the ledge. After you input the windmill code, you can use this pipe to explore the platforms above you. For now, enter the pipe to the right to find the enclosed garden.
Enclosed Garden
.jpg)
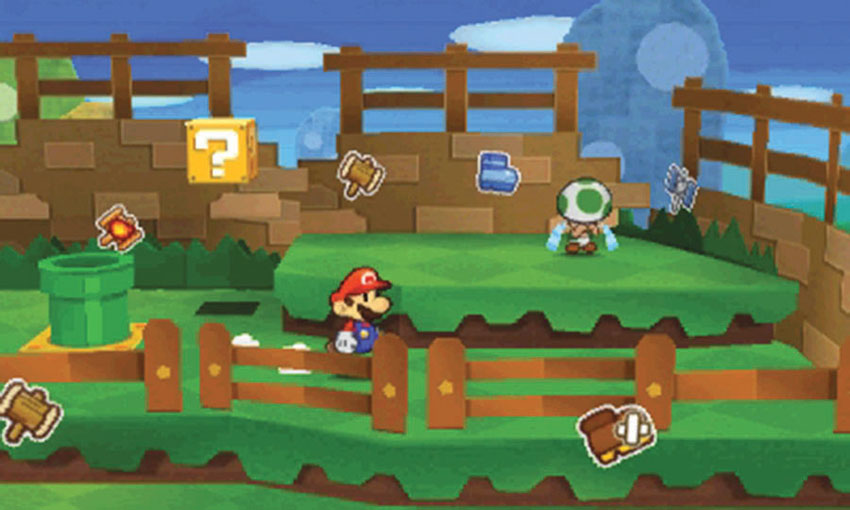
After you reach the enclosed garden, move right to find a weeping Toad. Collect any nearby stickers you might like to add to your Album, then lead the Toad back into the pipe. Escort the Toad back to Decalburg to learn the windmill code.
Timid Toad Escort
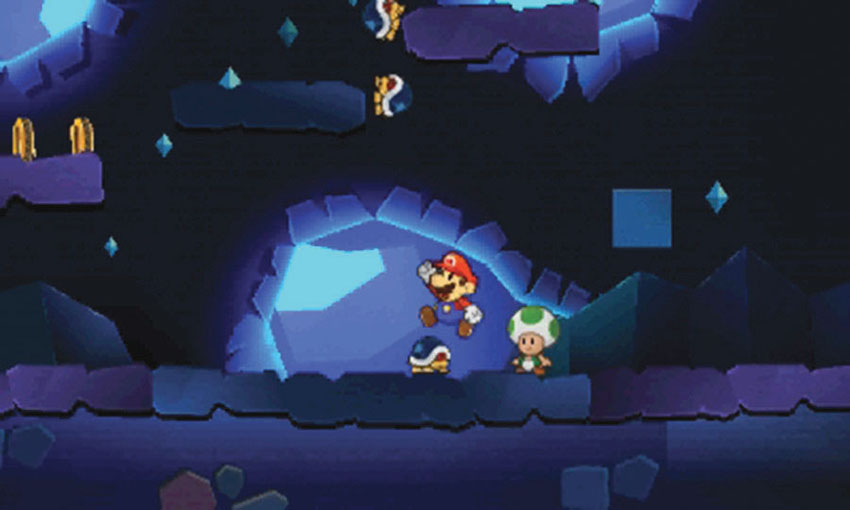
As you lead the Toad back to the World-Map, take the time to defeat each enemy along the way. If you allow an enemy to get too close, the panicky Toad runs back to the enclosed garden.
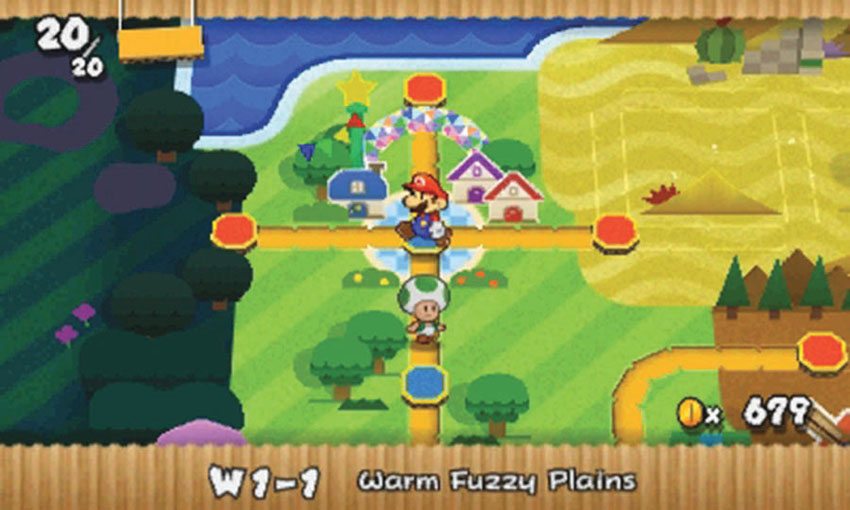
Lead the Toad through the first underground passage, up to the windmill, and through the Course entrance/exit. After you return to the World-Map, allow the Toad to follow you back to Decalburg. When you enter the towm, the Toad asks you to visit him in his home.
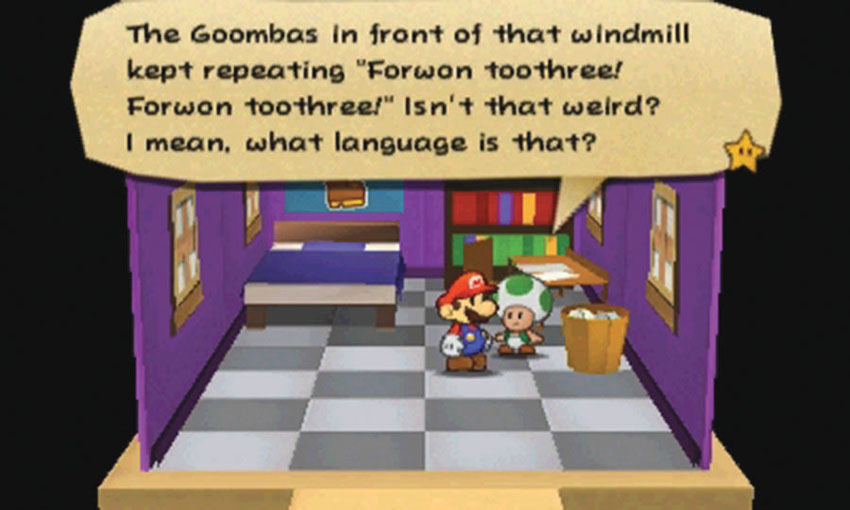
Return to the residential area and enter the house in the middle. The Toad rewards you with a Mushroom sticker and describes something he overheard near the windmill. Use the story to determine the windmill code, then head back to World 1-4.
Recommended Visit #2
Windmill
.jpg)
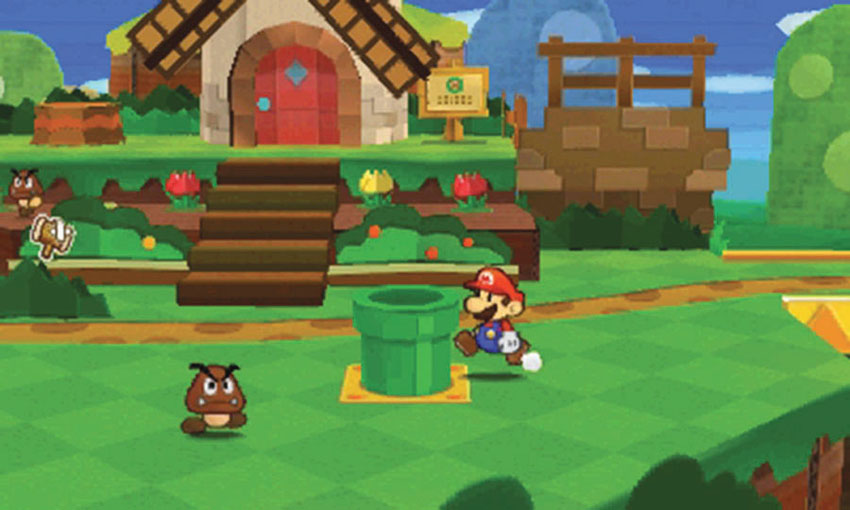
The pipe at Point 1 leads to the second underground passage. You have some business to take care of before you head down, but you’ll be returning to this location shortly.
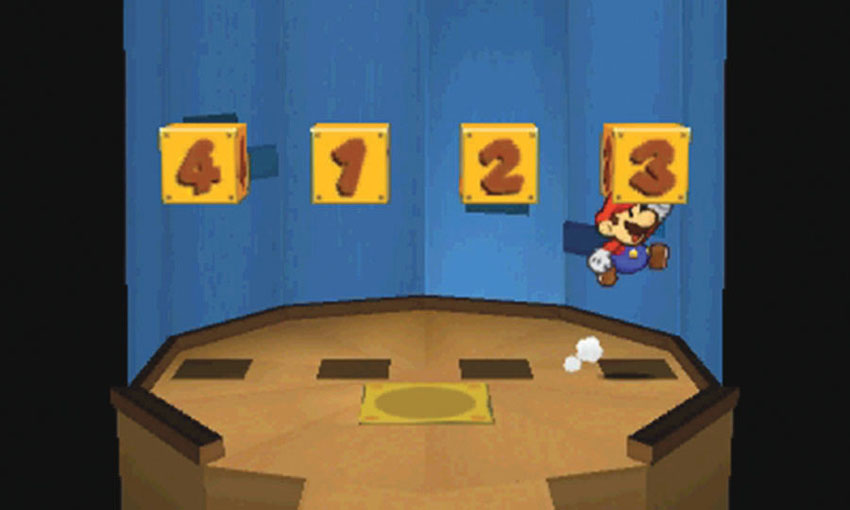
Enter the windmill and hit the Blocks until they display the code you learned from the timid Toad (4123). When you input the proper code, the Blocks vanish and a warp pipe emerges from the floor. Enter the pipe to emerge on the upper platforms in the first underground passage.
First Underground Passage
.jpg)
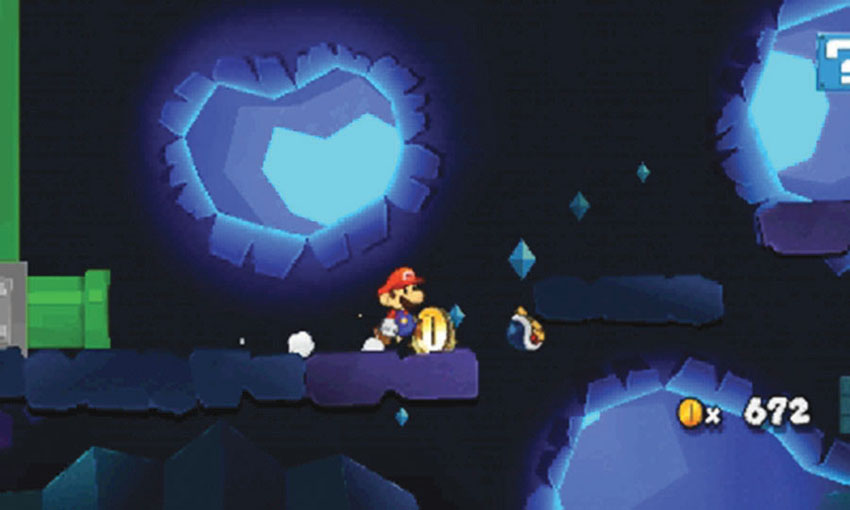
After you emerge from the pipe, hop along the platforms to the right. Watch out for the Buzzy Beetles along the path! Time your jumps to avoid each enemy or to initiate a battle with a well-aimed stomp.
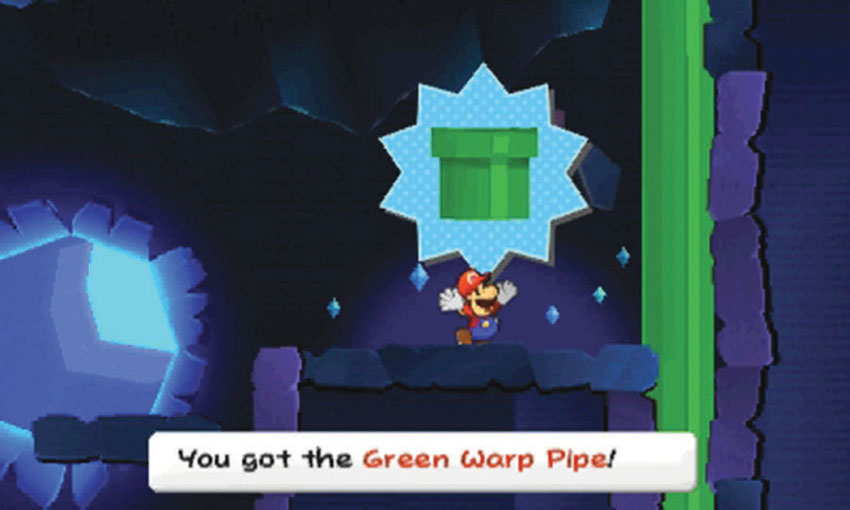
When you reach the last ledge, collect the Green Warp Pipe scrap. Once the scrap is in your Album, head back to the windmill and enter the warp pipe that connects to the second underground passage.
Second Underground Passage
.jpg)
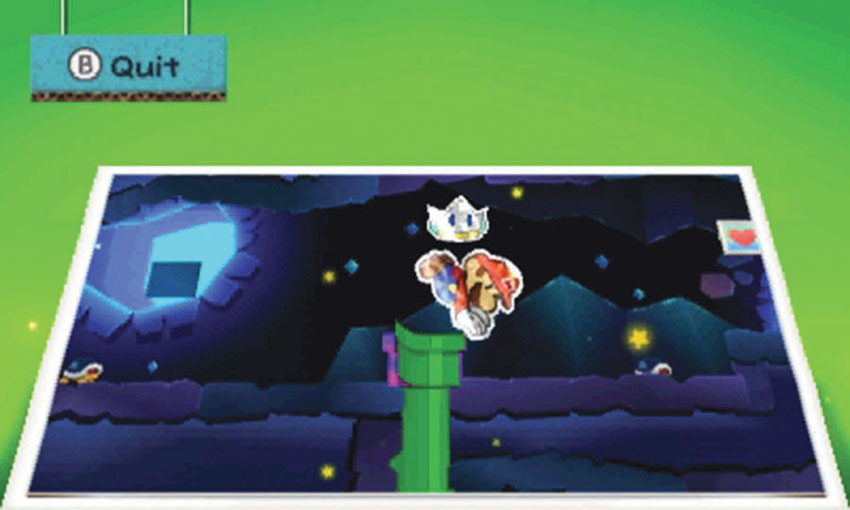
After you emerge from the pipe, move to the incomplete warp pipe to the right. Use the paperization ability to place the Green Warp Pipe scrap in the indicated spot. Before you enter the repaired pipe, search the area to the right.
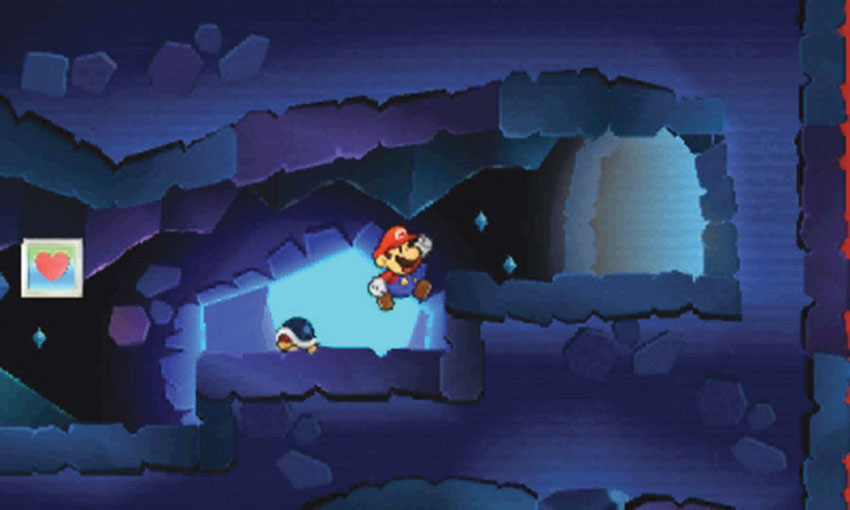
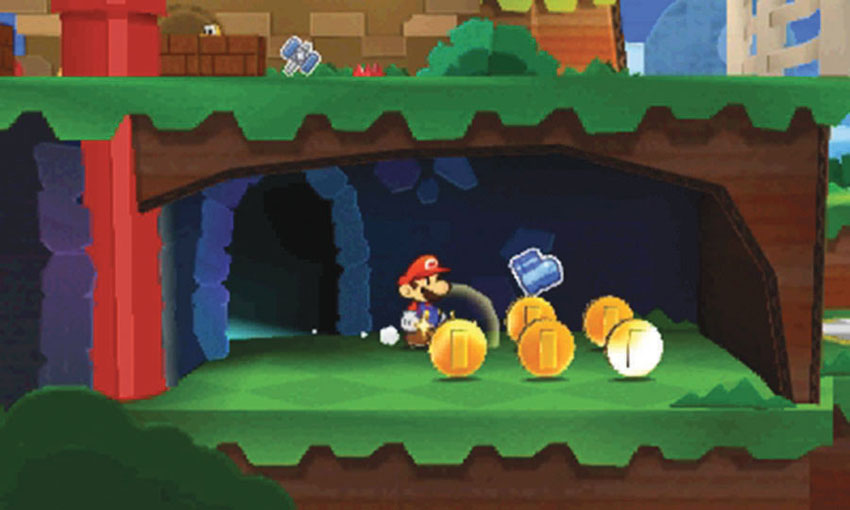
Use the HP Block to top off your HP Bar, then head through the arch to the right to find a small nook below the hidden garden. After you collect the coins and stickers return to the repaired pipe.
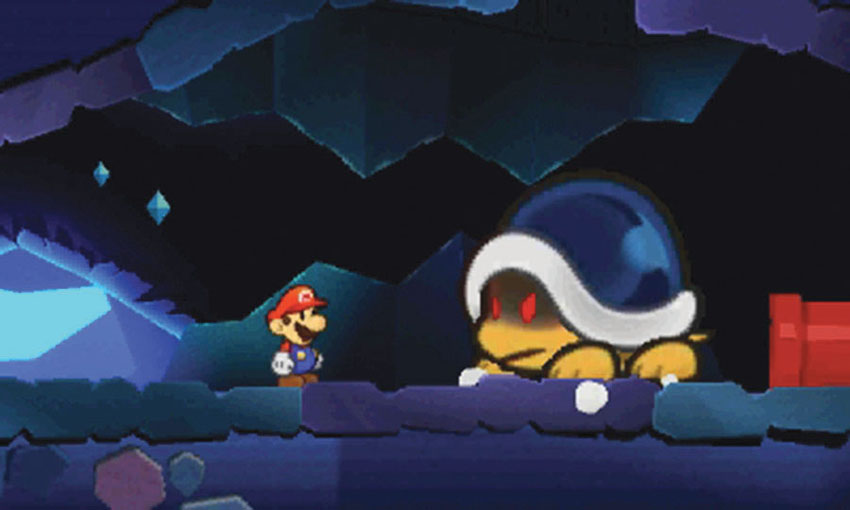
Pass through the repaired pipe to enter the cavern below you, then move right until a Big Buzzy Beetle drops into your path. Defeat this mini-boss, collect the HP-Up Heart you receive as an award, and enter the red warp pipe to the right.
Hidden Garden
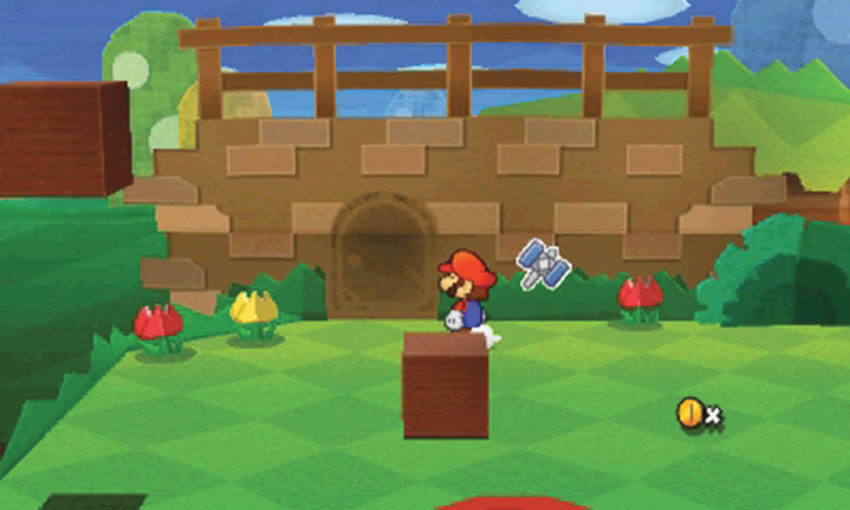
After you exit the red warp pipe, move toward the background to find the marked Secret Door location. Revisit this area when you acquire a Secret Door sticker.
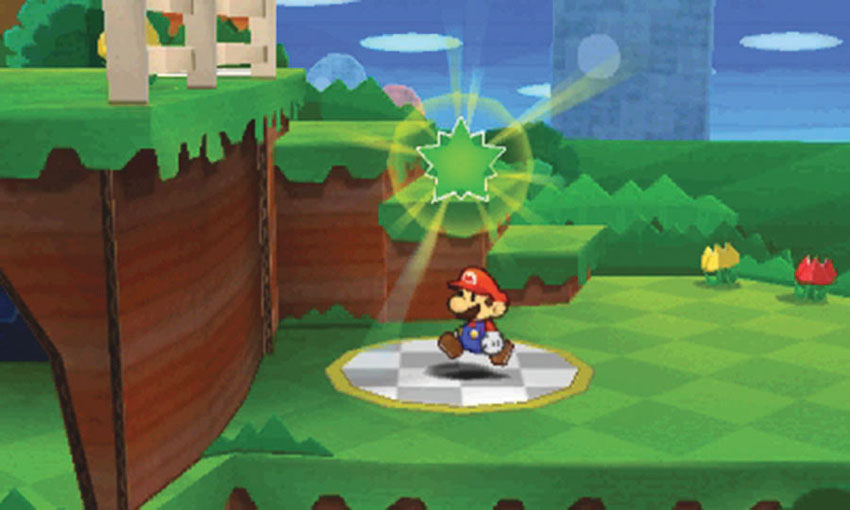
Search the hidden garden for stickers, then follow the steps down to the right. Collect the Comet Piece to end the Course.
Sticker Comet Piece: Unlocking World 1-6
The game contains two Comet Pieces that unlock separate paths to World 1-6. Collect the Comet Piece at the end of World 1-4 to unlock the first available path to World 1-6.
Recommended Visit #3
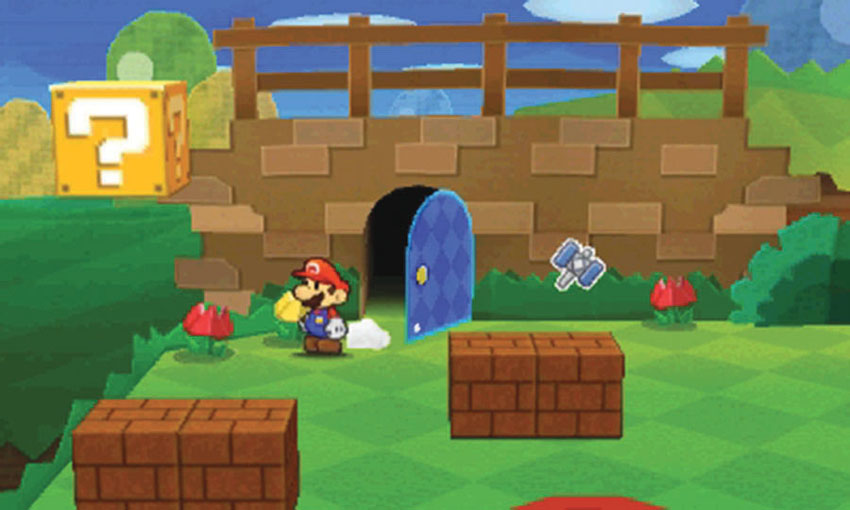
After you gain access to the World 3-6 Sticker Shop, purchase a Secret Door sticker and return to the hidden garden at the end of World 1-4. Apply the sticker to the marked location, then head through the secret door to find the Matches.
World 1-5: Whammino Mountain
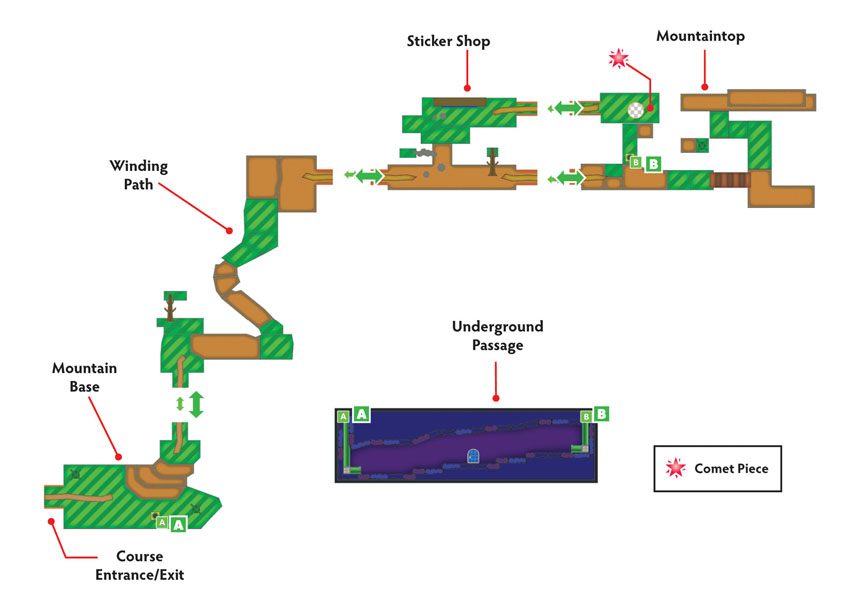
Overview
Prerequisites
To unlock this Course, you must collect the Comet Piece hidden behind the waterfall in World 1-3. Other than the Secret Door sticker, this Course contains everything you need to meet the available objectives.
Objectives
This Course contains several objectives, most of which can be completed during your first visit:
- Roll the boulder off of the mountaintop.
- Open the path through the underground passage.
- Recover and replace the White Gate scrap.
- Gain access to the Sticker Shop.
- Collect the Comet Piece.
- Enter the Secret Door and collect the Bellows.
Important Items and Locations
| Description | Notes |
|---|---|
| Secret Door | The marked location is in the underground passage. |
| HP-Up Heart | None |
| Toad Rescue | None |
| Luigi Location | None |
| Wiggler Diary Entry | None |
| Things | The Bellows are through the Secret Door. |
Recommended Tactics
This Course is filled with Spinies, and a troublesome Lakitu makes sure it stays that way. You’ll also find a few Goombas and Koopa Troopas, so use your preferred tactics to defeat them.
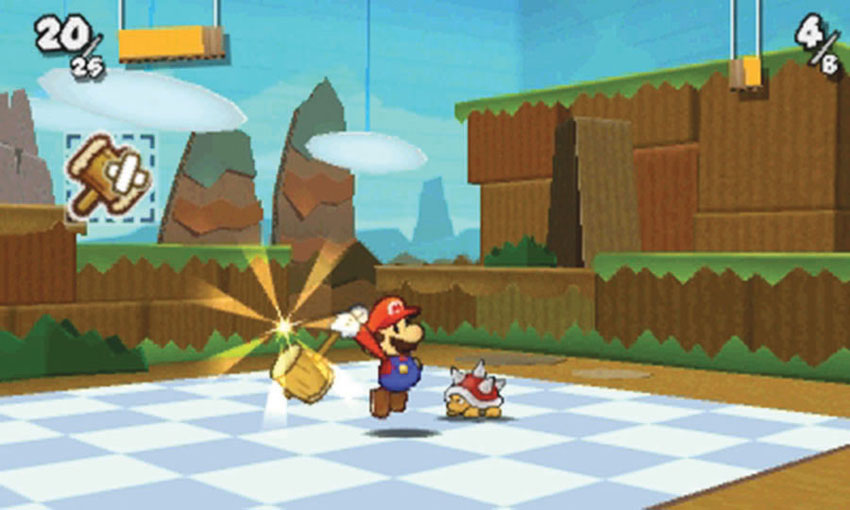
Since Spinies can counter virtually all Jump attacks, it’s important to maintain a supply of Hammer stickers. These little guys are fairly tough, so try to soften them up with a Hammer strike just before the battle begins.
The Iron Jump stickers scattered around the Course are also effective, but you might find it simpler to avoid most enemies. Your sticker supply won’t last long if you battle every Spiny the Lakitu drops in your path!
Mountain Base
.jpg)
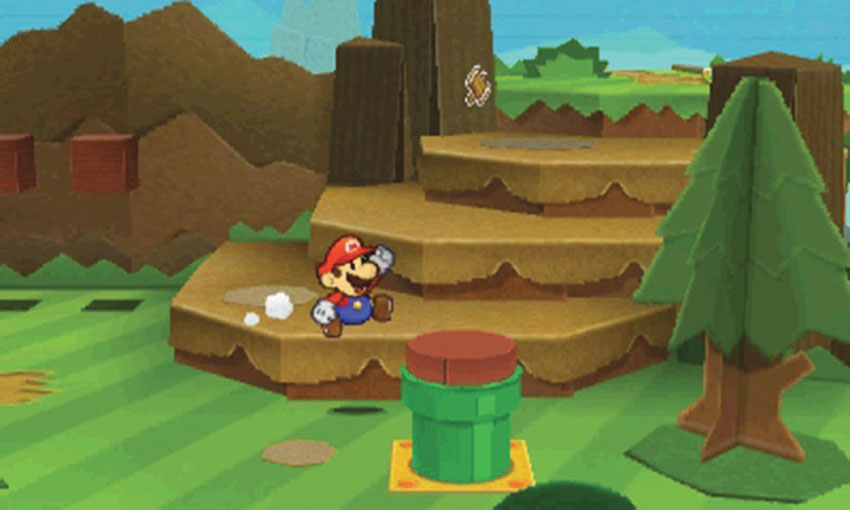
On your first visit, there’s a big plug in the warp pipe at the beginning of the Course. To open this route, you must enter the underground passage by way of the mountaintop. Once you do, you can clear the plug from this warp pipe to create a shortcut between the mountain base and the mountaintop! For now, however, search the area for stickers and continue to the winding path.
Winding Path
.jpg)
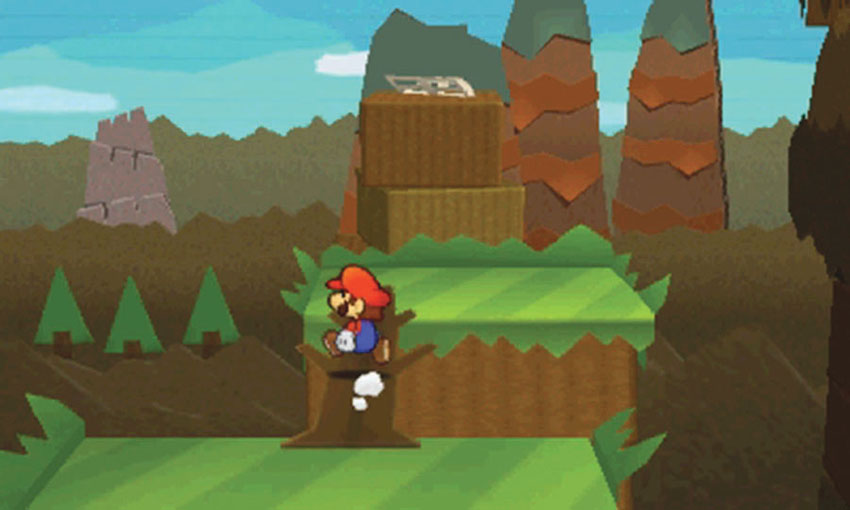
The dead trees scattered around the Course can be knocked down to form bridges. To do so, simply strike a dead tree with a Hammer until it topples over. Knock down the tree at Point 1 to bridge the gap to a small platform. The nearby White Gate scrap is sitting just out of reach, but that will change soon enough. For now, just note the location and continue along the winding path.
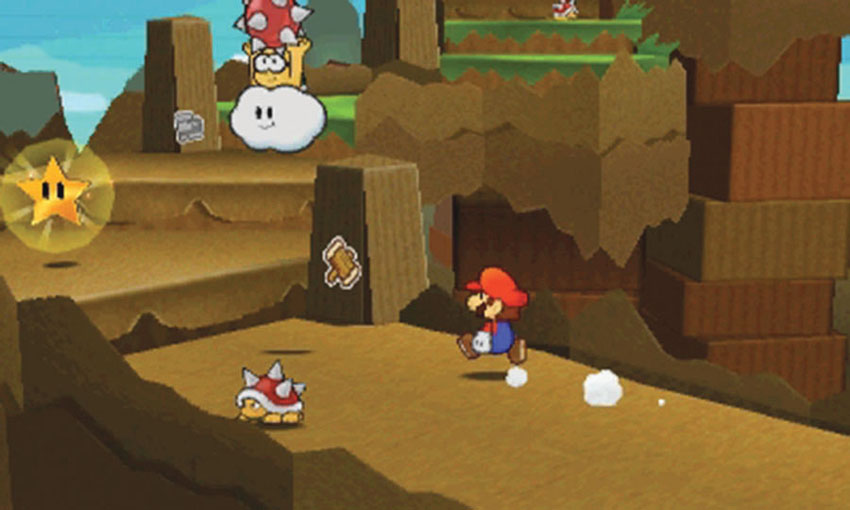
As you continue along the path, a Lakitu drops an endless supply of Spinies in front of you. Try to avoid the enemies on your way to Point 2, then grab the Super Star to gain temporary invincibility. Collect any nearby stickers you’d like to add to your Album, then continue to the end of the path before the power-up wears off.
Sticker Shop
.jpg)
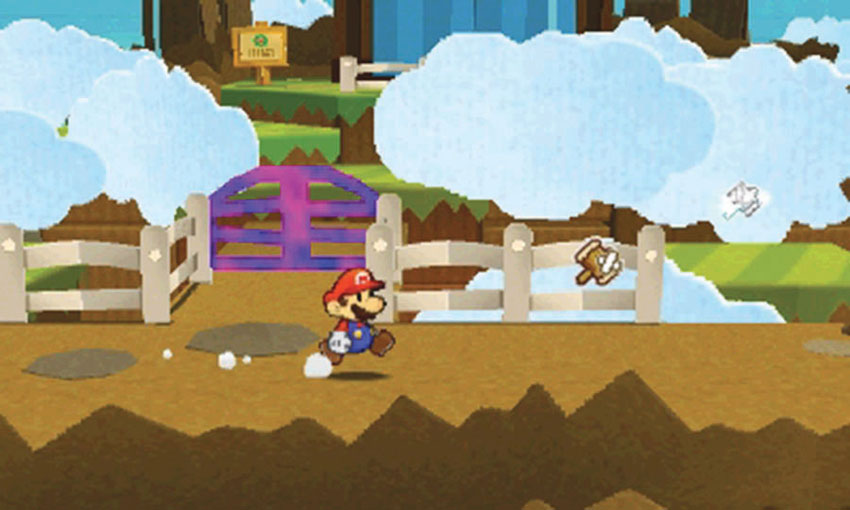
Before you can take advantage of this Course’s Sticker Shop, you must return the White Gate scrap to its proper place. The path beyond the gate also leads to this Course’s Comet Piece, so it’s essential that you recover the scrap, whether or not you intend to purchase stickers.
Mountaintop
.jpg)
There’s a warp pipe under the platform at Point 1. The platform flips over when you trigger the environmental change.
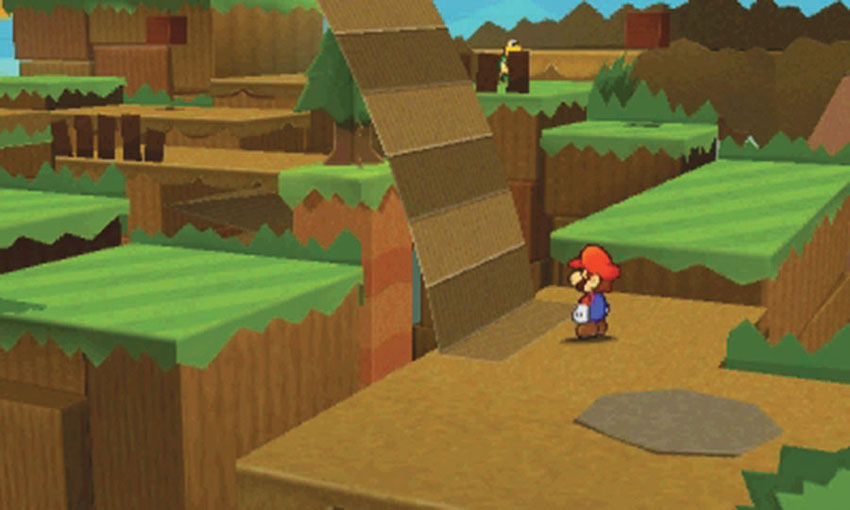
Follow the path as it curves around the area. Peel the Bowser tape at Point 2 to create a bridge across the nearby gap.
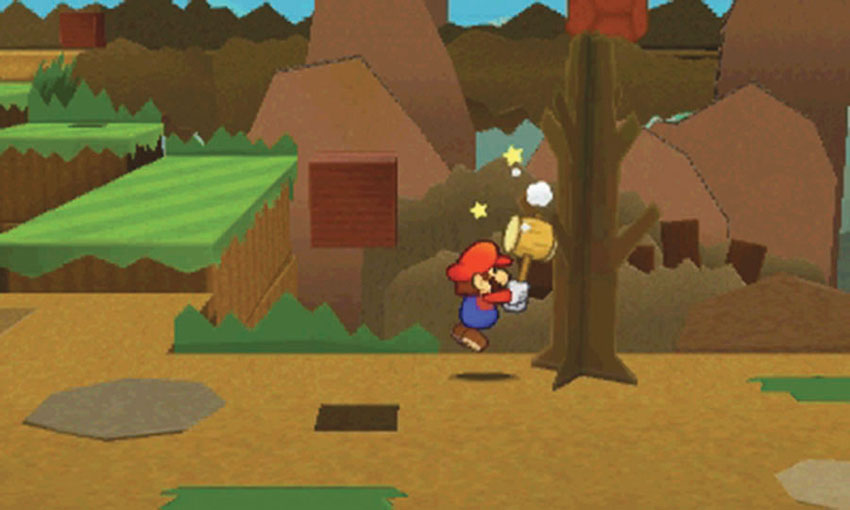
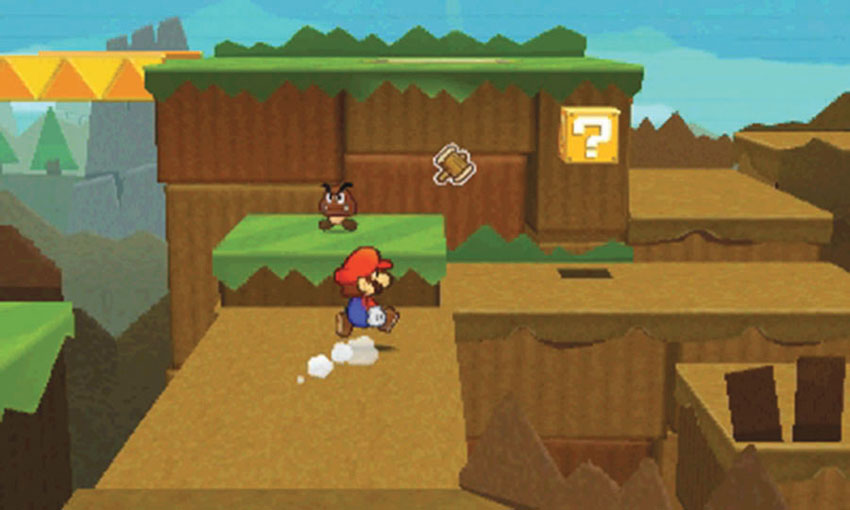
When you’re ready, use your Hammer to knock down the dead tree at Point 3. When the tree falls, it causes a chain reaction of disappearing platforms and toppled scenery. After the cinematic ends, the mountaintop warp pipe has flipped into position, a Toad appears near the Sticker Shop, and the White Gate scrap drops into a more accessible location.
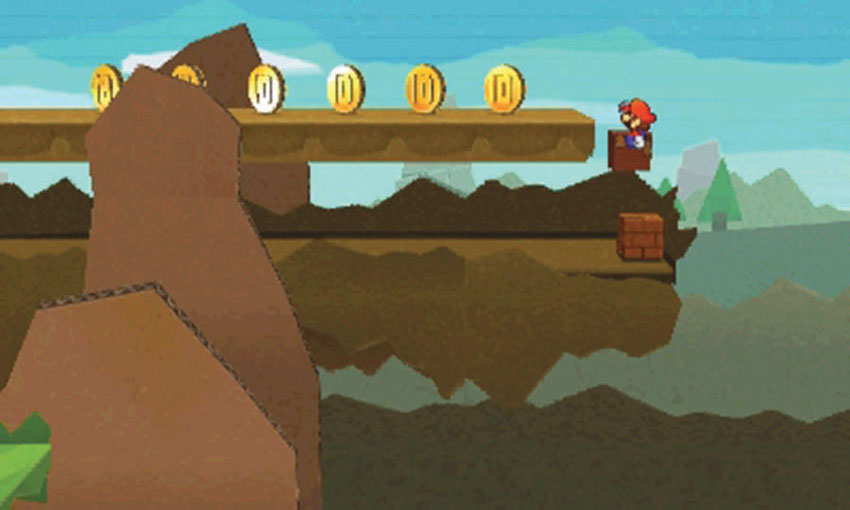
Before you leave the mountaintop, explore the area around Point 4. After you find the Hidden Block, use it to reach the coins on the upper platform.
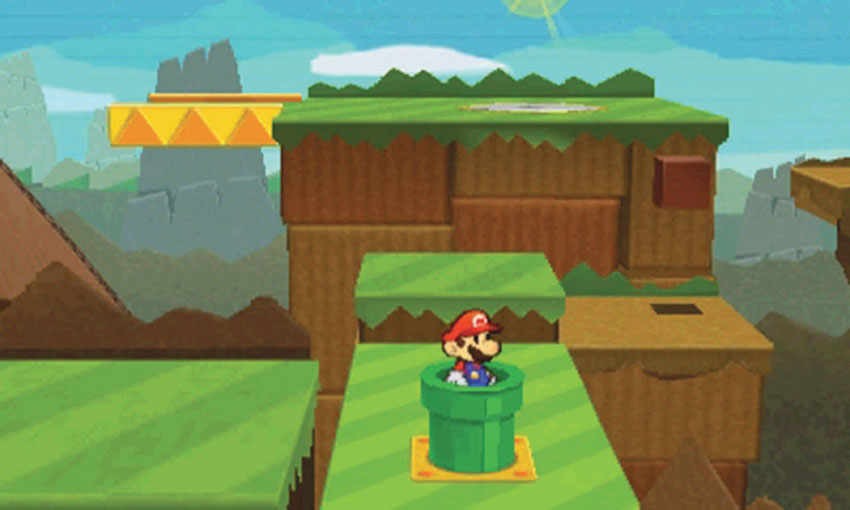
When you’re ready, return to Point 1 and enter the newly available mountaintop warp pipe.
Underground Passage
.jpg)
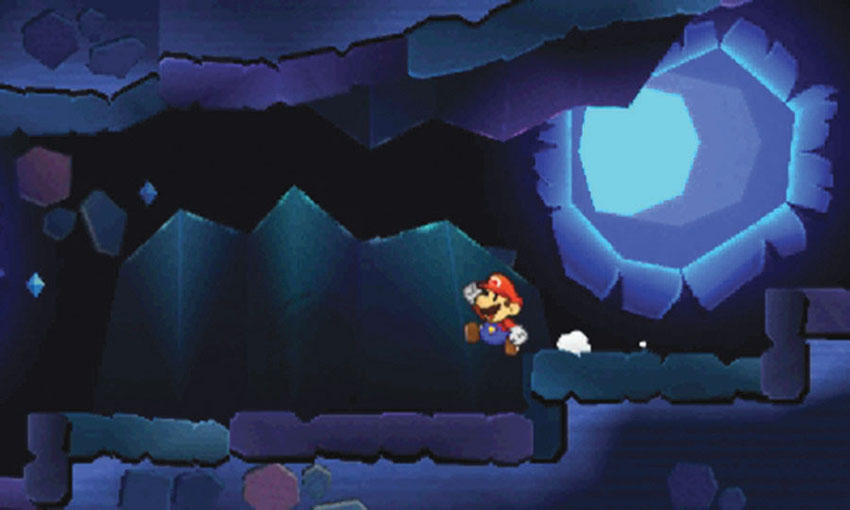
The underground passage serves as a convenient shortcut through the Course, but it also contains the Secret Door location. As you follow the path to the left, look for the marked location on the rock cluster at Point 1.
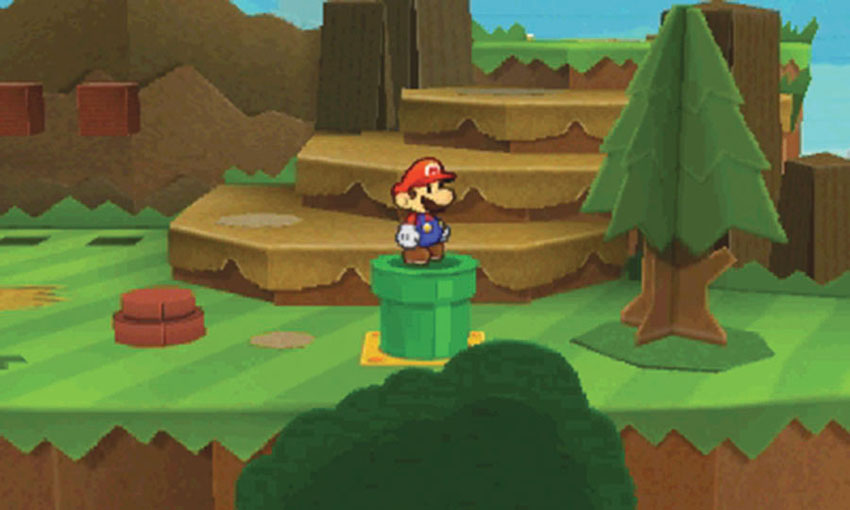
Enter the pipe on the left end of the underground passage to emerge at the mountain base. Now that the plug has popped loose, you can use this shortcut whenever you like.
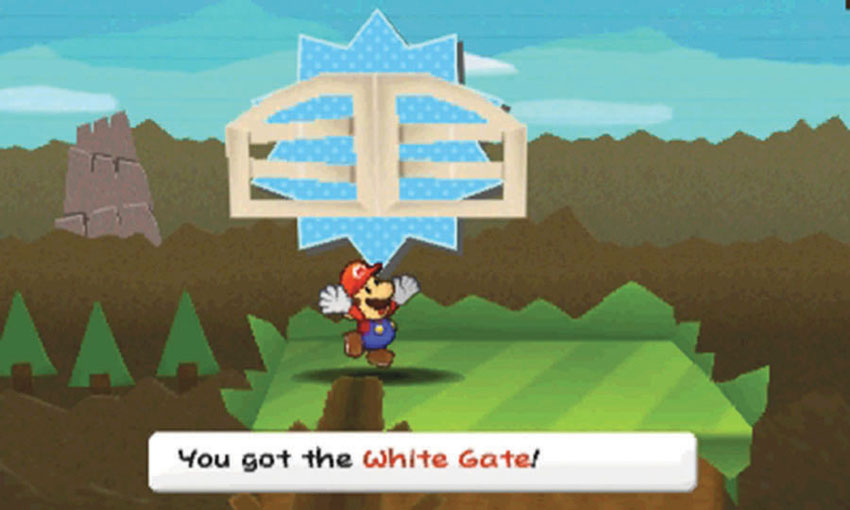
Continue into the winding path and collect the White Gate scrap beyond the toppled tree. Unless you’re itching for a fight, head back through the underground passage and return to the Sticker Shop by way of the mountaintop.
Opening the Sticker Shop
.jpg)
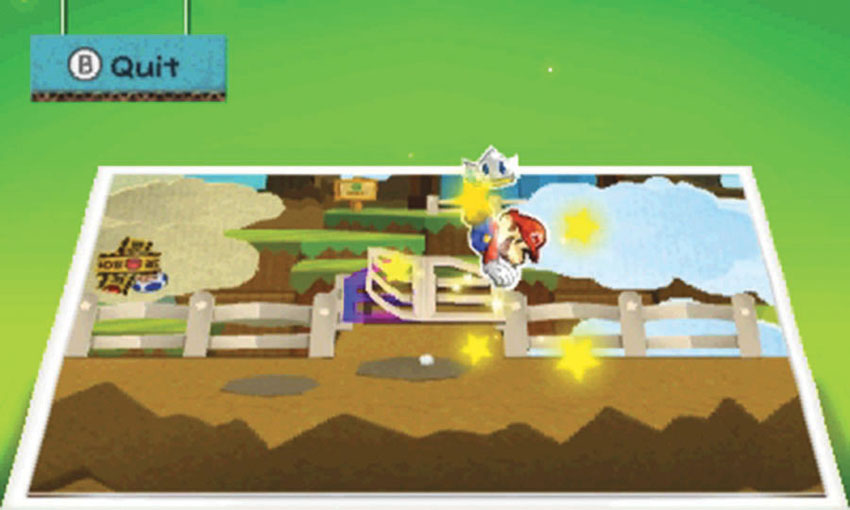
After you collect the White Gate scrap, return to the Sticker Shop. Apply the scrap to the indicated spot and wait for the gate to swing open.
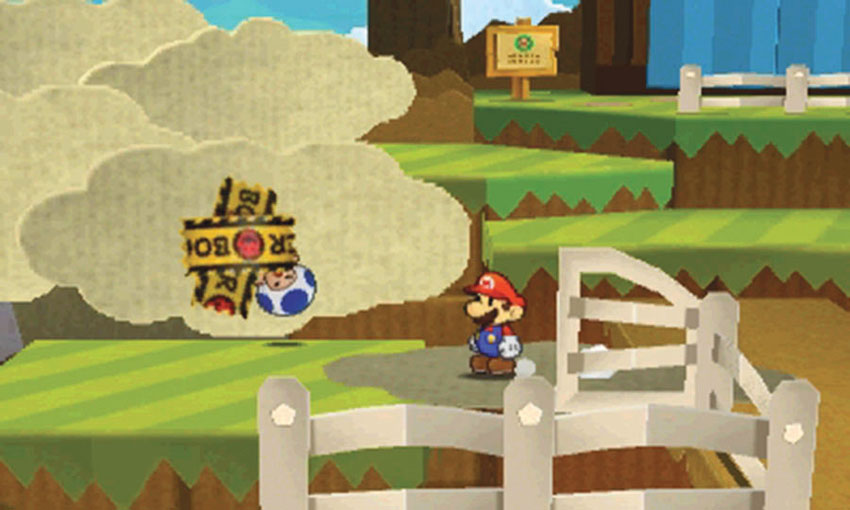
Pass through the open gate and approach the Toad to the left. Peel the Bowser Tape to free the Toad, then follow him up to the Sticker Shop board.
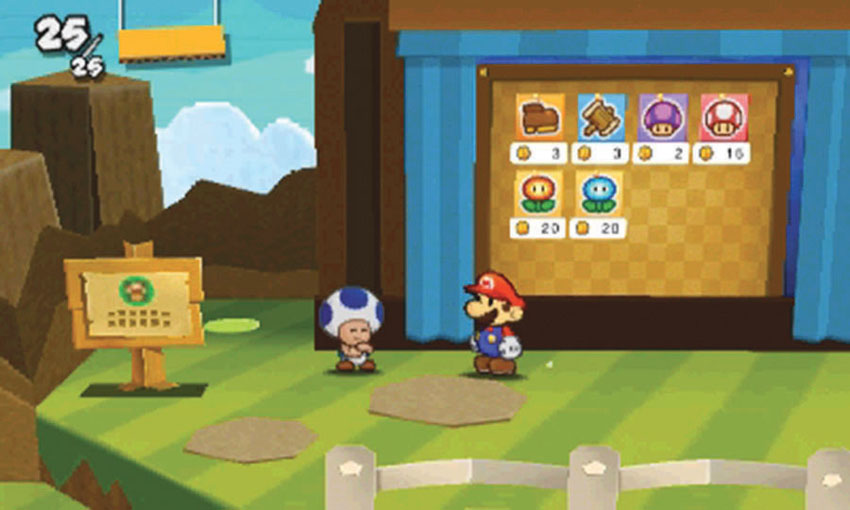
Once the Toad is in position, the World 1-5 Sticker Shop is open for business. The shop stocks additional stickers as you progress through the game, so you may want to check back every so often.
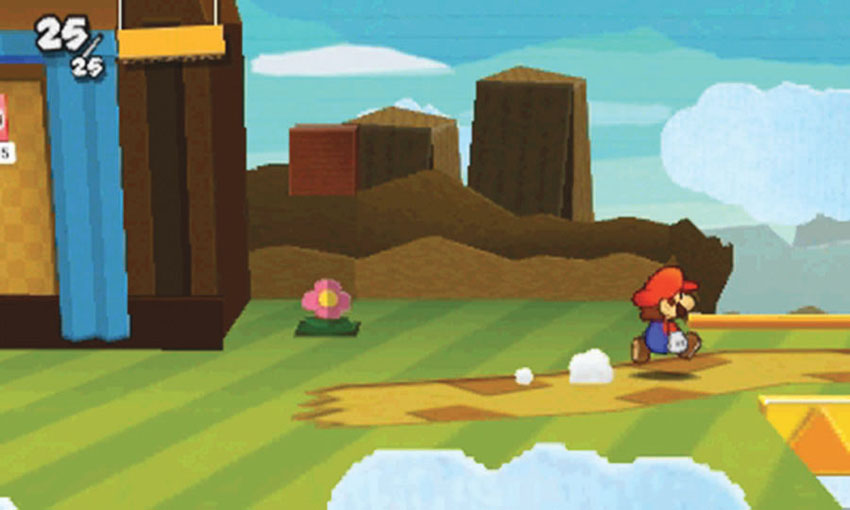
When you finish exploring the area around the shop, move to the background and follow the path to the mountaintop.
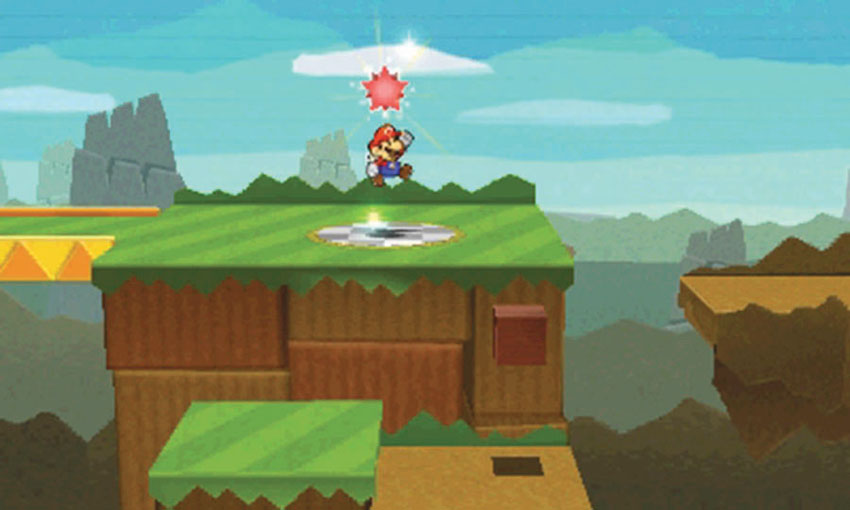
When you’re ready, collect the Comet Piece at Point 5 to end the Course.
Sticker Comet Piece: Unlocking World 1-6
The game contains two Comet Pieces that unlock separate paths to World 1-6. Collect the Comet Piece at the end of World 1-5 to unlock one of the available paths.
Recommended Visit #2
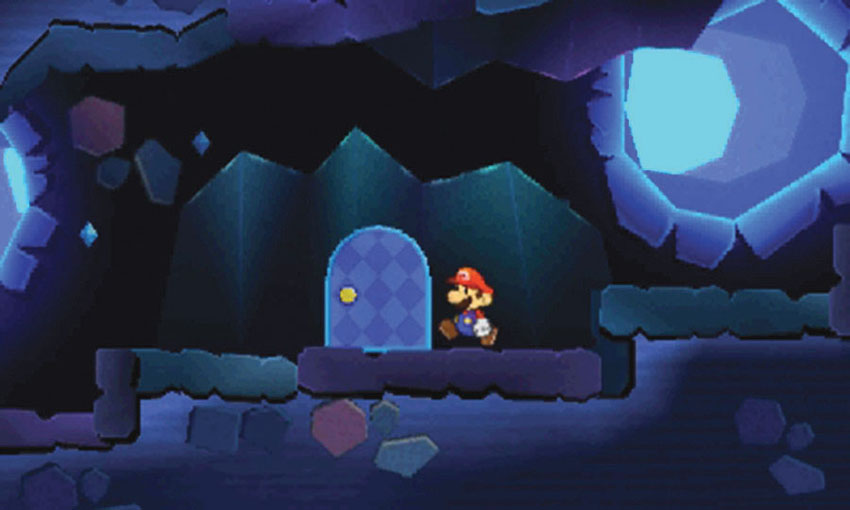
After you gain access to the World 3-6 Sticker Shop, purchase a Secret Door sticker and revisit the underground passage. Place the sticker on the marked rock cluster, then head though the Secret Door to find the Bellows.
World 1-6: Goomba Fortress
Overview
Prerequisites
To unlock this Course, you must collect either the Comet Piece at the end of World 1-4 or the Comet Piece at the end of World 1-5. There’s a boss battle at the end of the Course, so plan ahead! A supply of powerful stickers can make the battle much easier. Once again, you must revisit this area after you acquire a Secret Door sticker.
Essential Thing Stic kers
| Name | Thing Location | Notes |
|---|---|---|
| Scissors | World 1-2 | Recommended for the boss battle. |
| Cat-o-Luck | World 1-2 | Recommended for the boss battle. |
Objectives
This Course contains several objectives, most of which can be completed during your first visit:
- Cover the spikes on the western wall.
- Find Luigi.
- Climb the central tower.
- Collect the Trumpet.
- Defeat the Megasparkle Goomba.
- Collect the Royal Sticker.
- Collect the Squirt Gun from the Secret Door.
Important Items and Locations
| Description | Notes |
|---|---|
| Secret Door | The marked location is near the middle of the eastern wall. |
| HP-Up Heart | None |
| Toad Rescue | None |
| Luigi Location | As you approach the central tower, look for Luigi in the background. |
| Wiggler Diary Entry | None |
| Things | The Trumpet is at the top of the central tower. |
| The Squirt Gun is beyond the Secret Door. |
Recommended Tactics
During your first visit to this Course, you’ll find most areas are packed with enemies. After you collect the Royal Sticker, however, very few foes remain to guard the fortress.
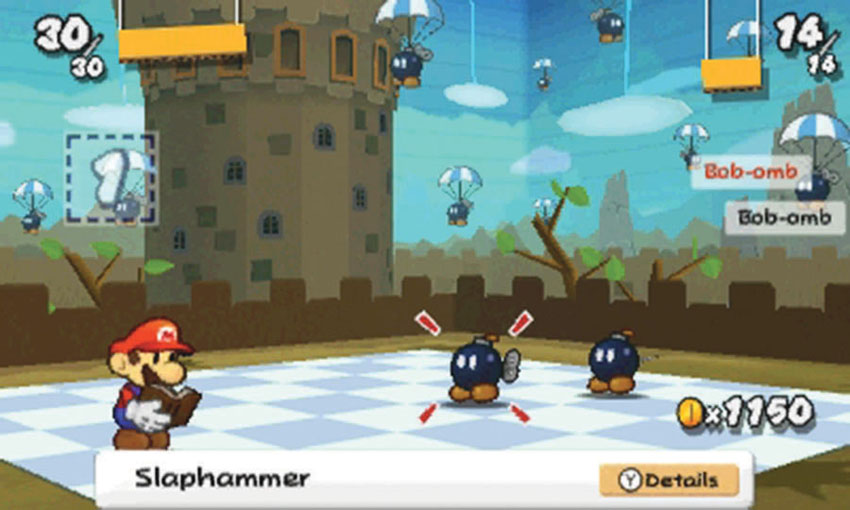
Bob-ombs play a large role in the fortress’s defenses, and they’ll swarm you at every opportunity. It’s often best to simply avoid these explosive enemies, but when you’re drawn into a fight, Shells and Fire Flowers are very useful.
Make sure you bring a few Jump-type stickers in case you run into a Paragoomba along the way. Paragoombas are low-altitude enemies, so they tend to dodge targeted Hammer attacks.
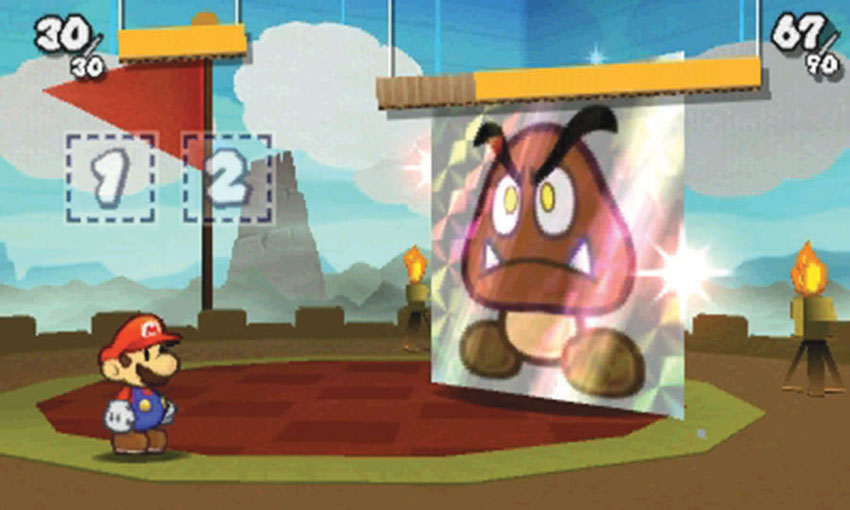
The Megasparkle Goomba is actually a group of several Goombas united through the power of a Royal Sticker. This boss is one tough customer, so it’s important to bring some powerful stickers. The Cat-o-Luck and Scissors are very effective when used at the appropriate times, but you’ll need some Battle Stickers to deal reliable damage throughout the fight. Bring a supply of Hopslippers, Iron Jumps, and POW Block stickers.
As always, you should keep a Mushroom or two in your Album.
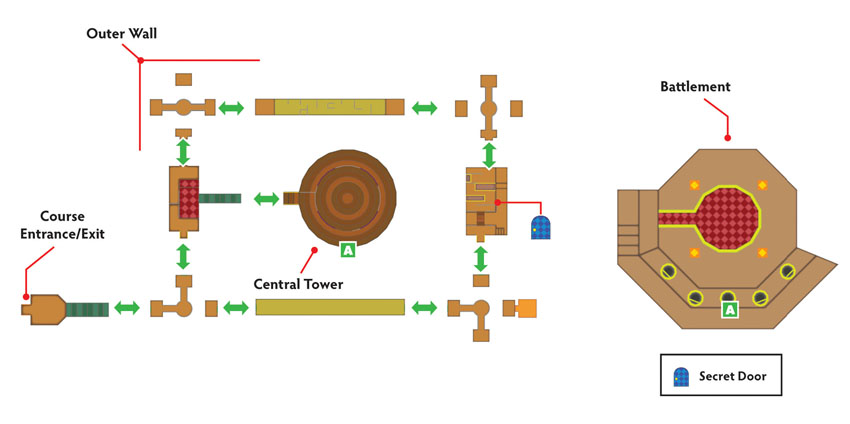
Outer Wall
The fortress’s outer wall is composed of four wall segments connected by small towers. To reach the large tower in the center of the Course, you must follow the outer wall all the way around the perimeter.
Western Wall—Part 1
.jpg)
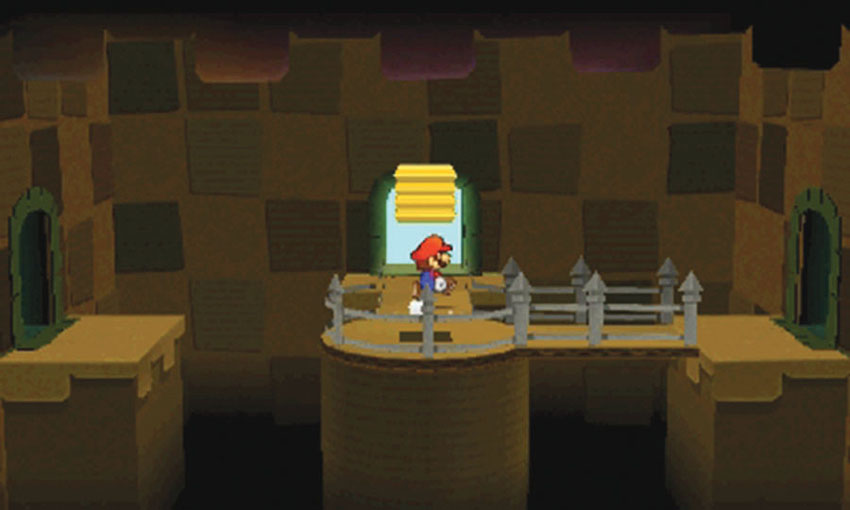
Defeat or avoid the Goombas guarding the main gate, then head into the first tower. Hit the Block Switch in the middle of the room to rotate the walkway, then head through the doorway on the back wall to find the western wall.
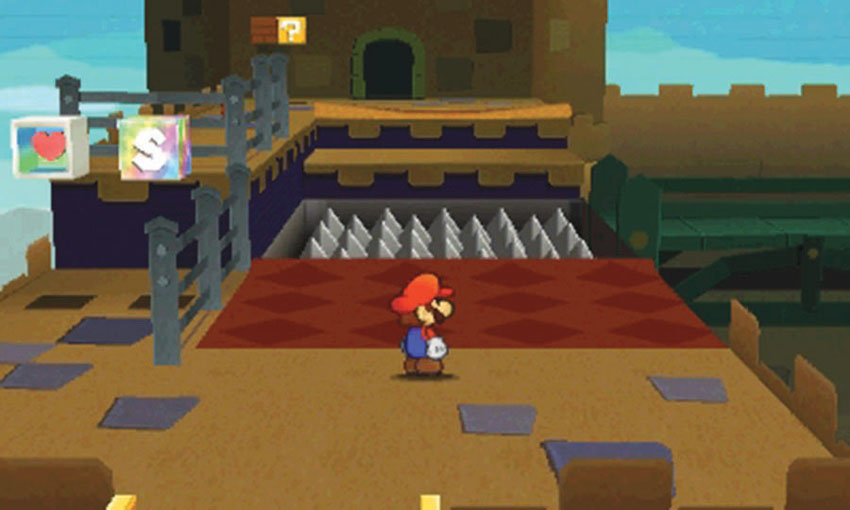
On your first visit, the path to the central tower is blocked by deadly spikes. Pull the Bowser tape at Point 2 to cover half of the spikes with a red carpet. Use the nearby HP Block if needed, then head back into the first tower. Follow the walkway to the southern wall.
Southern Wall
.jpg)
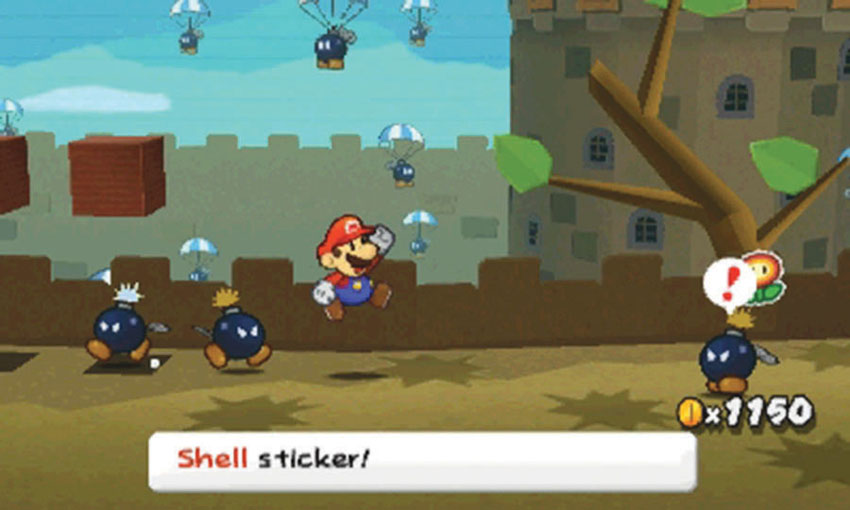
When you step onto the southern wall, a Goomba raises the alarm. As you search the area for useful stickers, be prepared to defend yourself from attacking Bob-ombs.
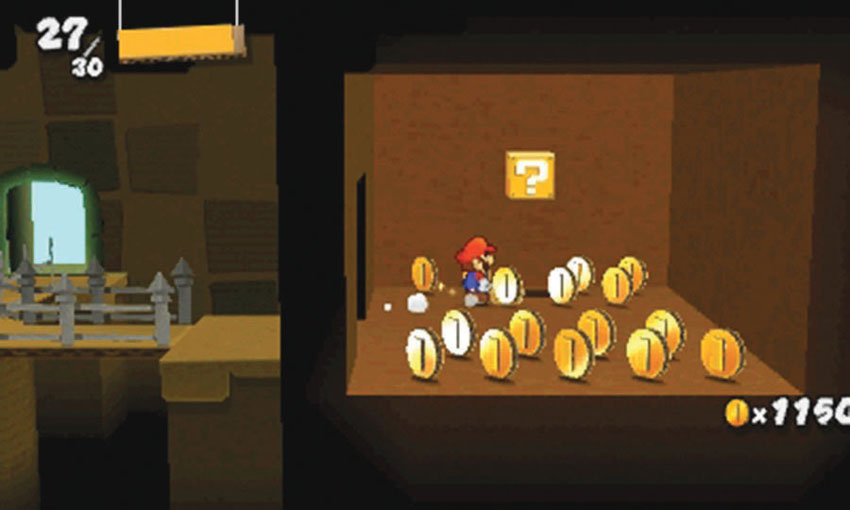
When you reach the second tower, strike the wall to the right with your Hammer. When the loose panel falls away, it reveals a secret area with a ? Block and a stash of coins. When you’re ready, leave the secret area and continue to the eastern wall.
Eastern Wall
.jpg)
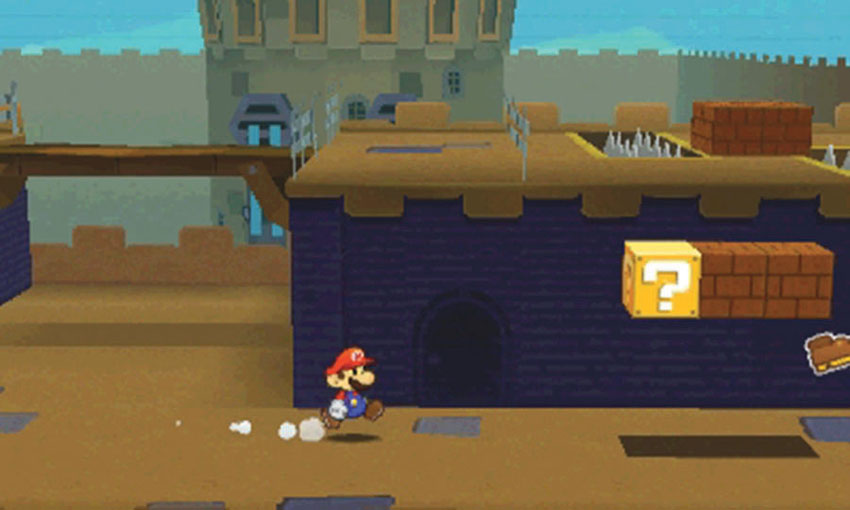
When you reach the eastern wall, move to the right and drop down from the walkway. As you search the area for stickers, look for the Secret Door location at Point 1. Return to this area after you acquire a Secret Door sticker.
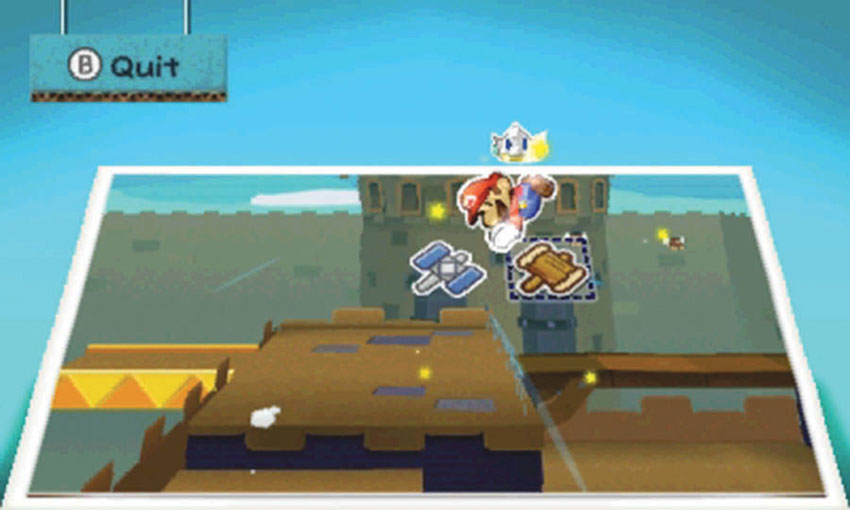
When you’re finished searching the area, climb the steps back up to the walkway. When you move across the nearby bridge, a hidden switch activates the two large vents in the background. The resulting gusts are powerful enough to knock you right off the walkway!
After this happens, activate the Paperize ability, then place a sticker from your Album in each of the two indicated spots. The stickers only stop the exhaust for a short time, so move quickly! Navigate around the spikes and head into the next tower.
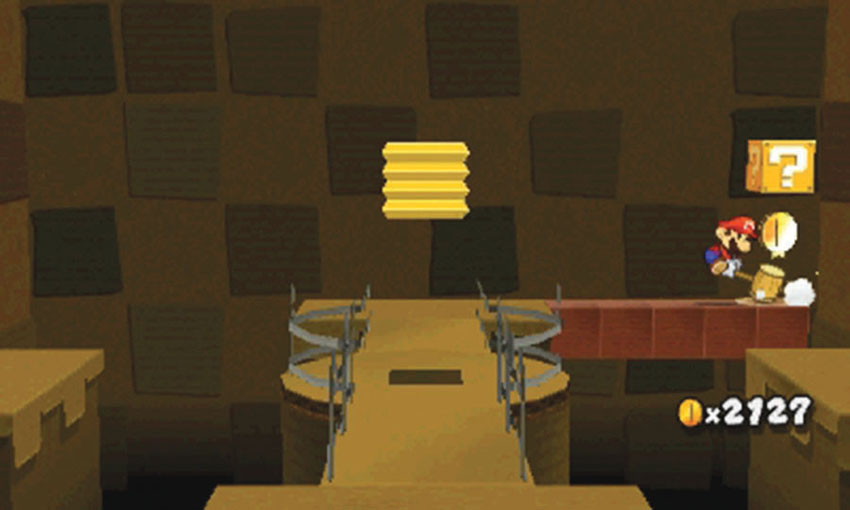
To reach the ? Block at Point 3, use your Hammer to reveal the row of Hidden Blocks along the back wall. When you’re ready, continue to the northern wall.
Northern Wall
.jpg)
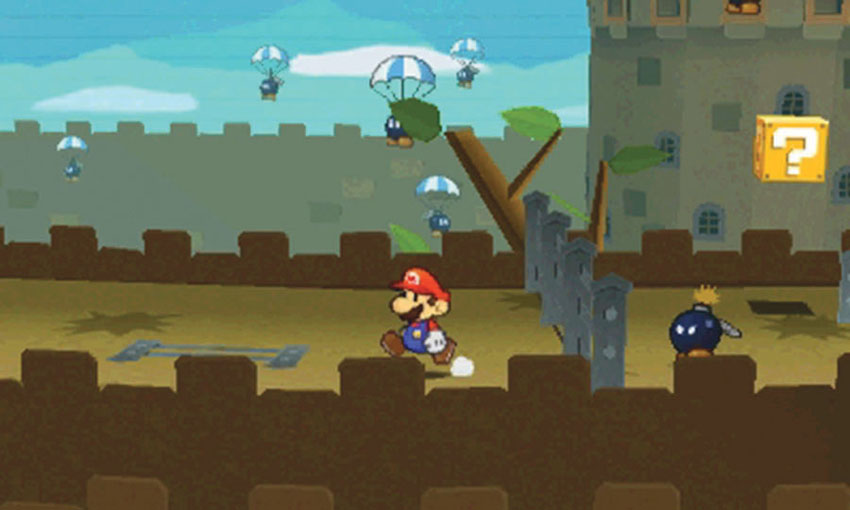
The northern wall contains a series of fences, making it very difficult to move through the area. When a fence blocks your path, bait a nearby Bob-omb into attacking and lead it to the barricade. When the Bob-omb detonates, it clears a path for you—just make sure to get clear of the explosion!
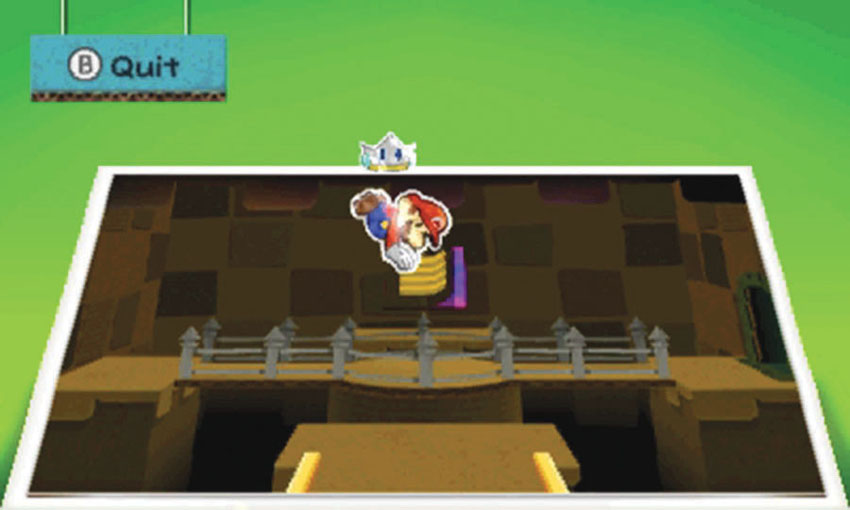
The Block Switch in the next tower is turned on its side. Activate the Paperize ability, then peel the scrap and realign the Block Switch. Move the walkway into position, then head back out to the western wall.
Western Wall—Part 2
.jpg)
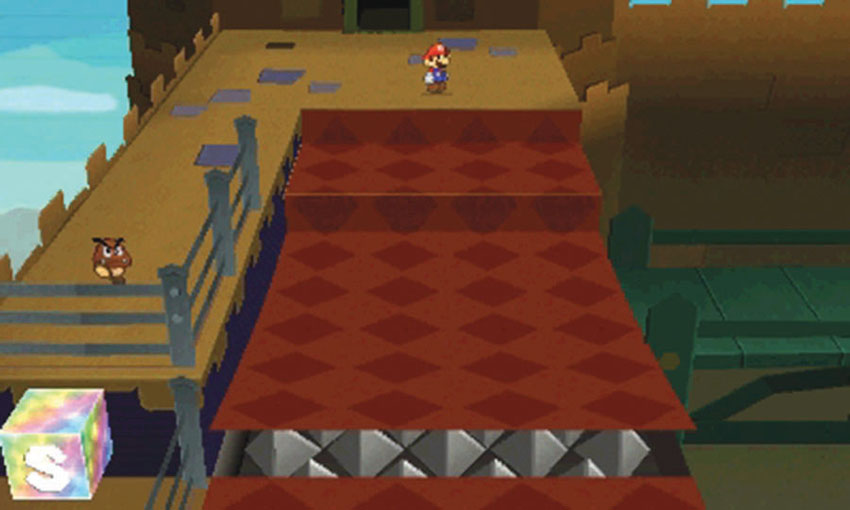
When you return to the western wall, peel the Bowser tape near the spikes to unroll the second half of the red carpet. Now that the spikes are completely covered, you can reach the central tower. Search the area for stickers, take advantage of the nearby HP Block and Save Block, and then follow the walkway to the right.
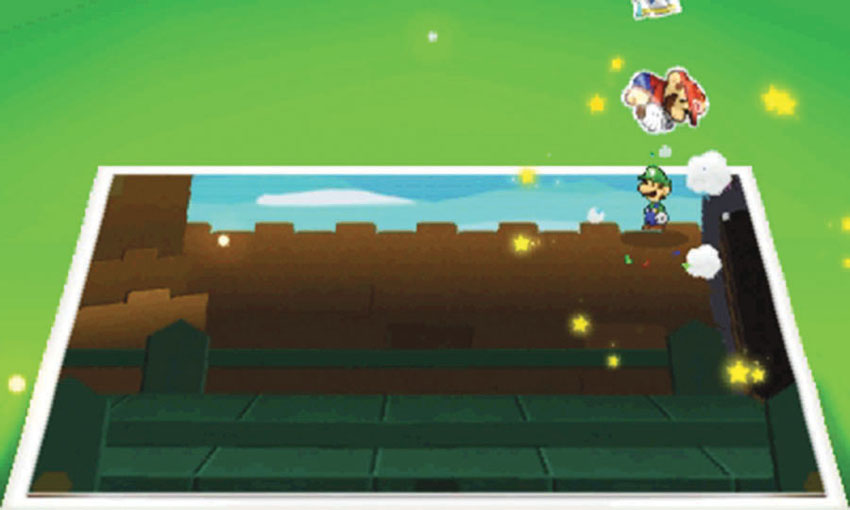
As you approach the central tower, watch the background for Luigi. When you spot him, activate the paperization ability and pull him off of the wall. When you’re ready, follow the walkway into the central tower.
Luigi Location: Goomba Fortress
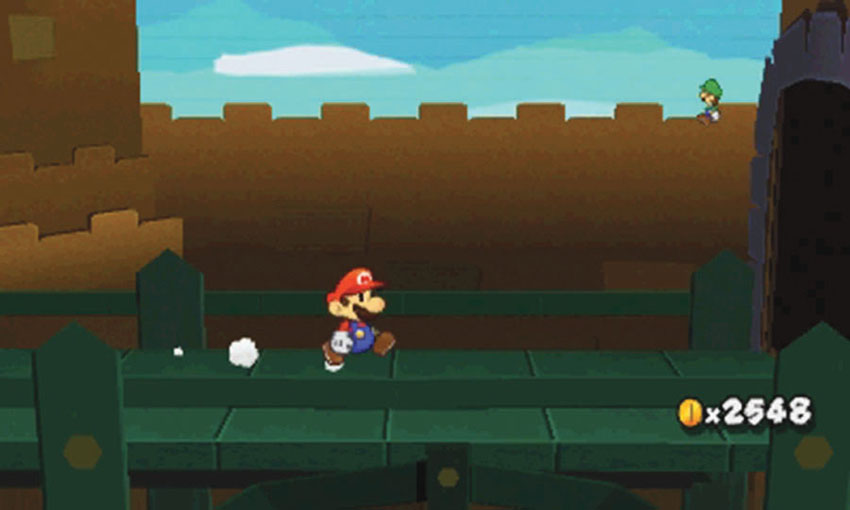
As you approach the central tower, Luigi can be seen on the wall in the background.
Central Tower
.jpg)
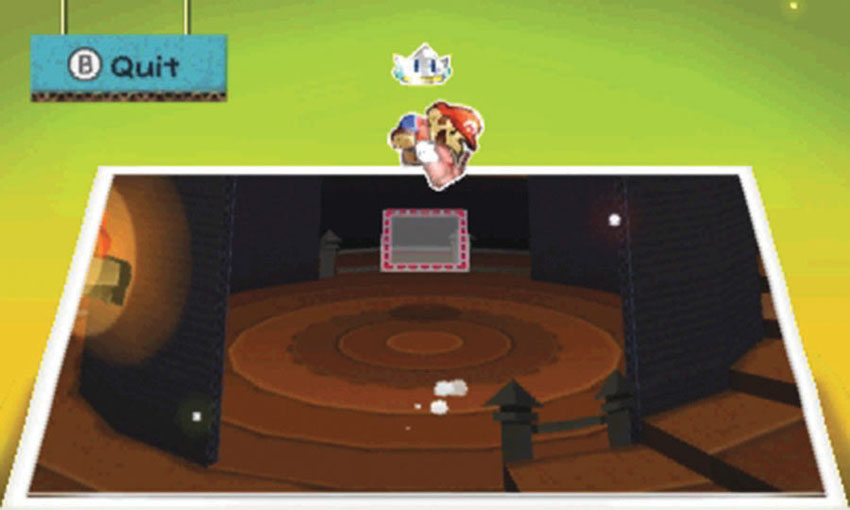
There’s a Paperization Block hidden on the ground floor of the central tower. Before you head up the stairs, move to the center of the area and activate the Paperize ability.
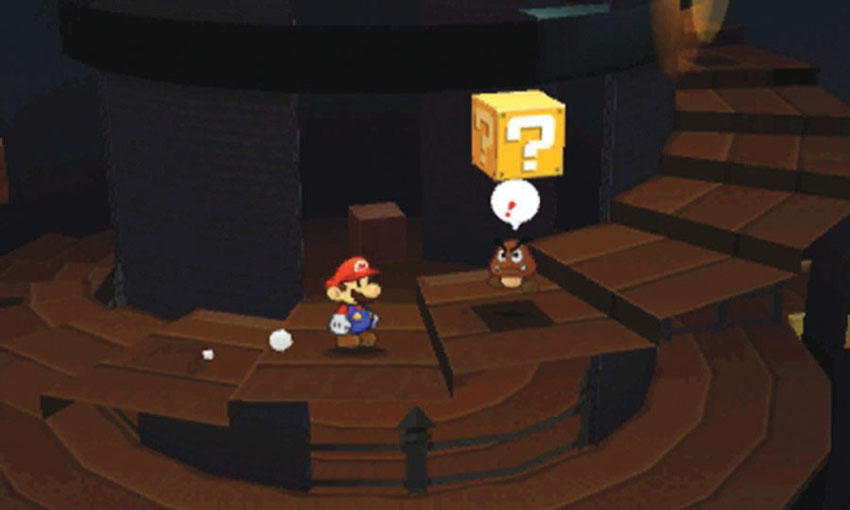
As you climb up to the battlement, you’ll find a few enemies and ? Blocks within the tower. You’re not far from the boss battle, so make sure you’re satisfied with your sticker selection.
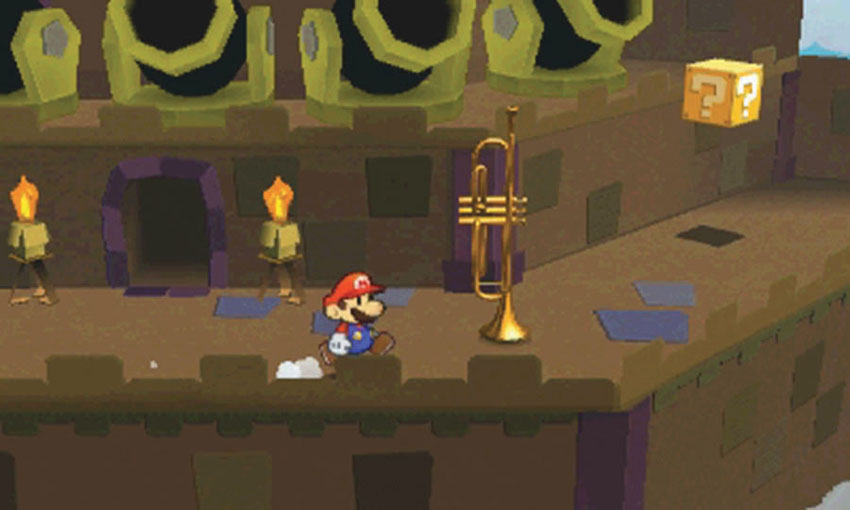
When you reach the battlement, follow the path to the right to collect the Trumpet and to search one last ? Block before the big battle.
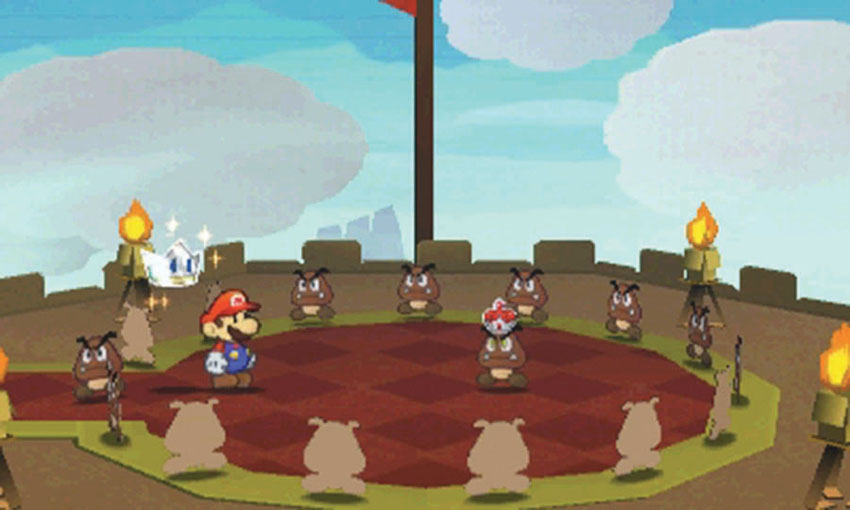
When you’re ready, move to the center of the battlement to confront the Megasparkle Goomba.
Megasparkle Goomba
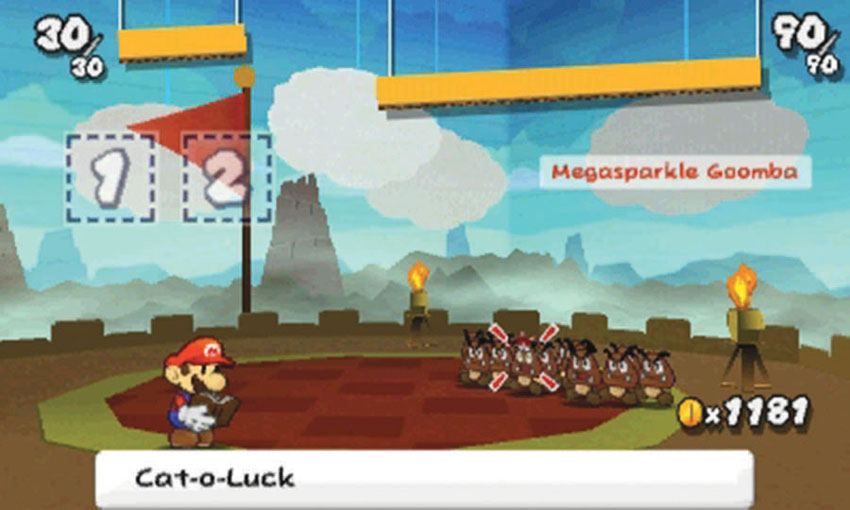
When the battle starts, the Megasparkle Goomba is actually a group of Goombas. These enemies act as one, however, and they’ll stay in this form for two turns, or until they’ve suffered significant damage. If you brought a Cat-o-Luck sticker, consider using it now. Doing so is almost guaranteed to trigger the first transformation.
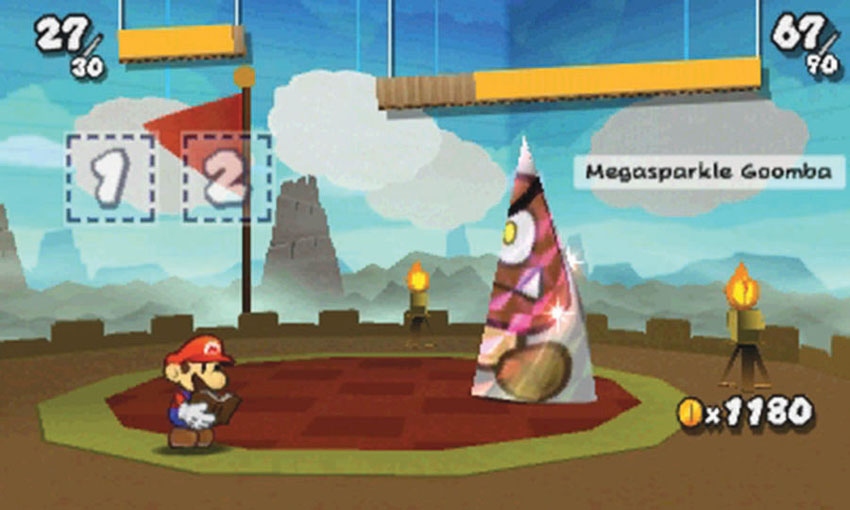
Once the Megasparkle Goomba reveals its true form, it gains several new abilities. When it rolls into a cone, make sure you adjust your tactics accordingly. Use the Battle Spinner to earn at least one extra attack, and consider using a POW Block sticker to crumple your opponent, followed by the Scissors sticker for heavy damage. If you’re limited to a single attack, use an Iron Jump and try to earn an extra attack on your next turn.
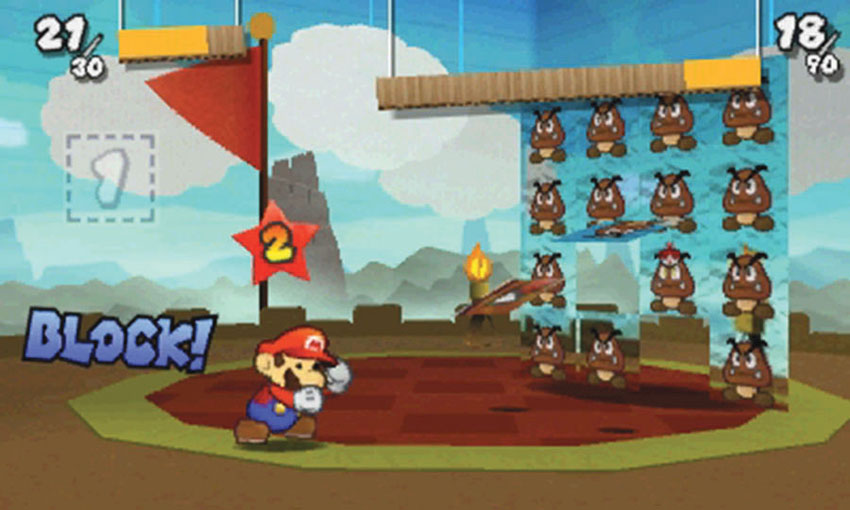
The Megasparkle Goomba has several attacks, and all of them deal significant damage. It might stomp you, roll over you, or throw multiple Goombas at you. Try to defend against each attack at the moment of impact, but keep an eye on your HP Bar. Remember to use a Mushroom sticker if you take too much damage.
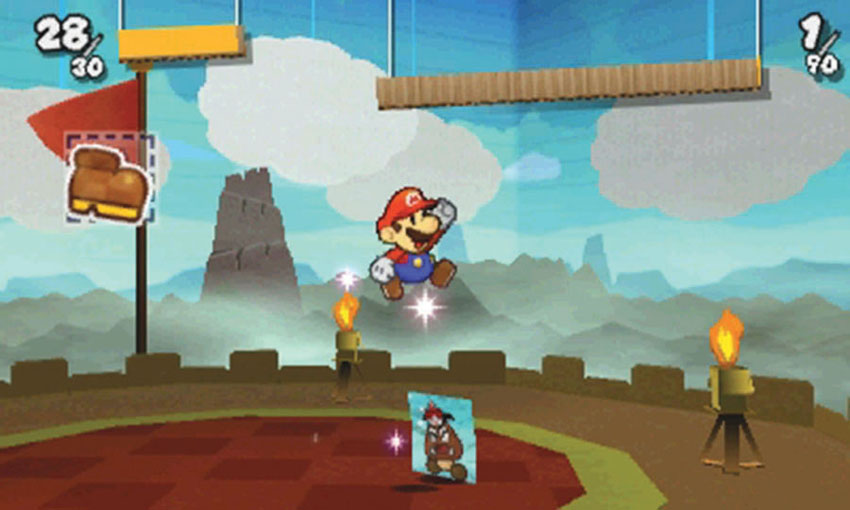
As the battle continues, use Hopslippers to deal reliable damage to your wilting opponent. When the Megasparkle Goomba’s HP Bar is completely empty, a single Goomba summons up the strength for one more round. Use a Jump sticker to defeat the Megasparkle Goomba once and for all.
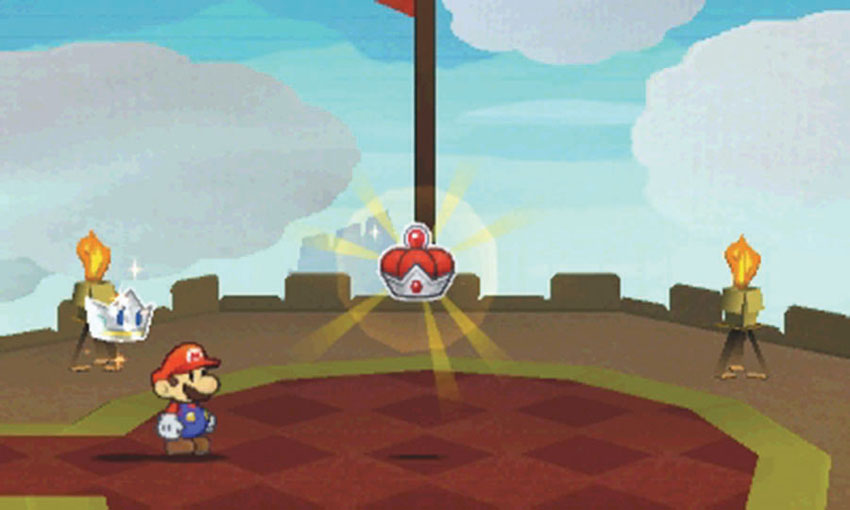
After you defeat the Megasparkle Goomba, collect the Royal Sticker to exit the Course.
Recommended Visit #2
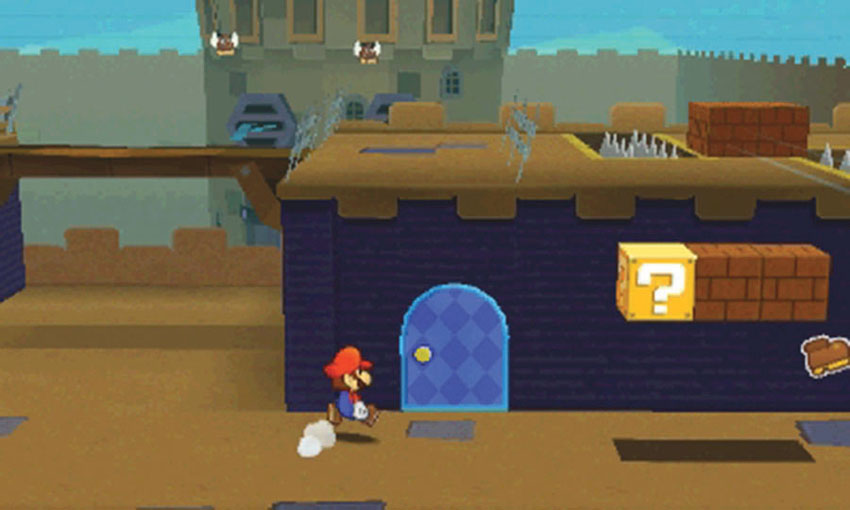
After you gain access to the World 3-6 Sticker Shop, purchase a Secret Door sticker and return to the eastern wall. Apply the sticker to the marked location, then head through the door to find the Squirt Gun.