
Paper Mario: Sticker Star Guide Walkthrough Worlds
World Five
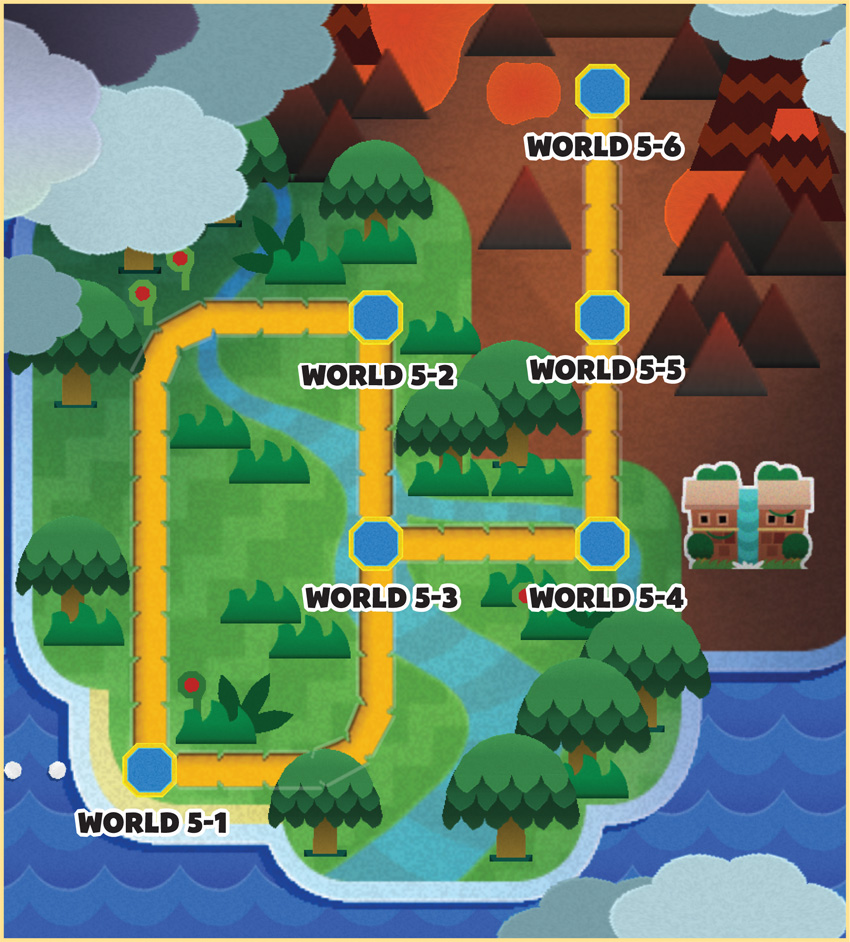
World Five Courses
| Number | Name |
|---|---|
| World 5-1 | Shy Guy Jungle |
| World 5-2 | Jungle Rapids |
| World 5-3 | Long Fall Falls |
| World 5-4 | Chomp Ruins |
| World 5-5 | Rugged Road |
| World 5-6 | Rumble Volcano |
World Five contains dense jungles, wild rivers, and plenty of lava. These areas are filled with some very tough enemies, so plan on spending your hard-earned coins in the game’s many Sticker Shops. Battle your way to Petey Piranha and claim the last Royal Sticker needed to unlock the gate in World 6-1.
World 5-1: Shy Guy Jungle
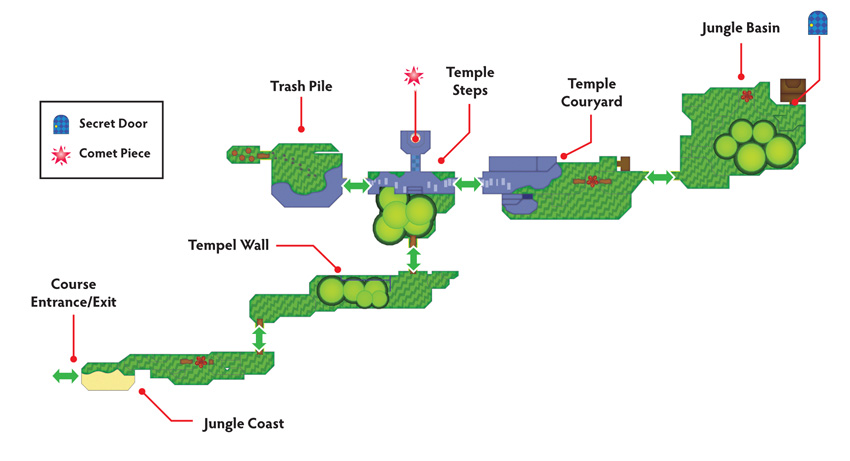
Overview
Prerequisites
This Course becomes available as soon as you defeat the Big Cheep Cheep in Surfshine Harbor. Before you enter the Course, make sure your Album contains a Secret Door sticker and a Goat sticker.
Essential Thing Stickers
| Name | Thing Location | Notes |
|---|---|---|
| Goat | World 4-1 | Needed to clear the trash pile. |
Objectives
This Course contains several objectives, all of which can be completed during a single visit:
- Collect the Toy Bat.
- Use the Goat to clear the trash pile.
- Collect the Megaflash Hurlhammer.
- Collect the HP-Up Heart.
- Collect the Powder Puff.
- Collect the Tailor Shears.
- Collect and assemble all three Bridge Part scraps.
- Collect the Comet Piece to unlock World 5-2.
Important Items and Locations
| Description | Notes |
|---|---|
| Secret Door | The marked location is near the jungle basin’s right wall. |
| HP-Up Heart | The HP-Up Heart is in a hidden area near the temple courtyard. |
| Toad Rescue | None |
| Luigi Location | None |
| Wiggler Diary Entry | None |
| Things | The Toy Bat is behind the temple wall. The Powder Puff is hidden in the jungle basin. The Tailor Shears are through the Secret Door. |
Recommended Tactics
This Course contains some Hammer Bros, Boomerang Bros, and Piranha Plants, but most encounters will involve the Spear Guys scattered throughout each area.
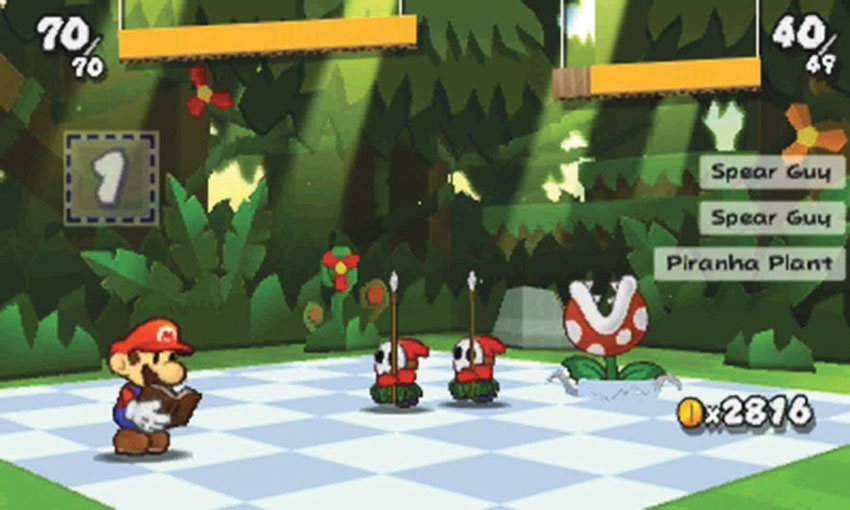
Before you attack a Spear Guy, check the position of his weapon. When one of these enemies points his spear toward you, he can counter most Hammer-based attacks. When the spear is pointing upward, the Spear Guy can counter most Jump-based attacks. Take care to select the right sticker for the job, and keep plenty of powerful multi-target stickers on hand.
Jungle Coast
.jpg)
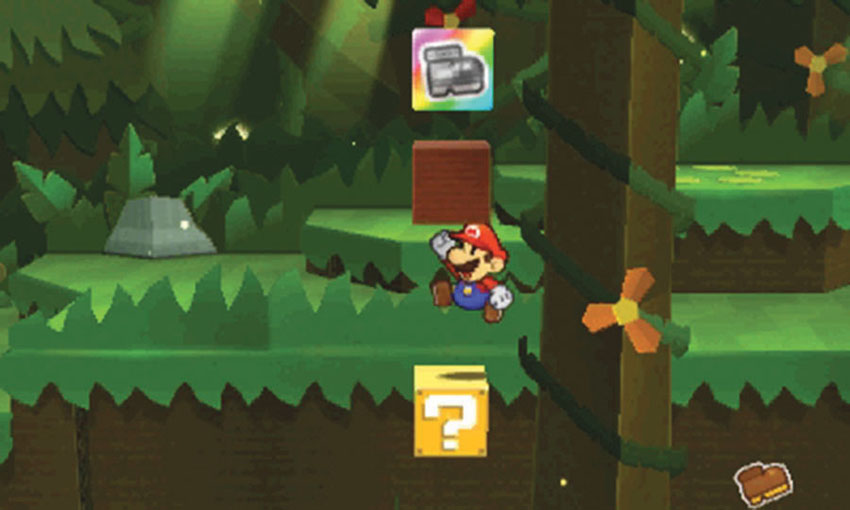
To reveal the Hidden Block at Point 1, jump onto the ? Block floating near the ledge and jump straight up.
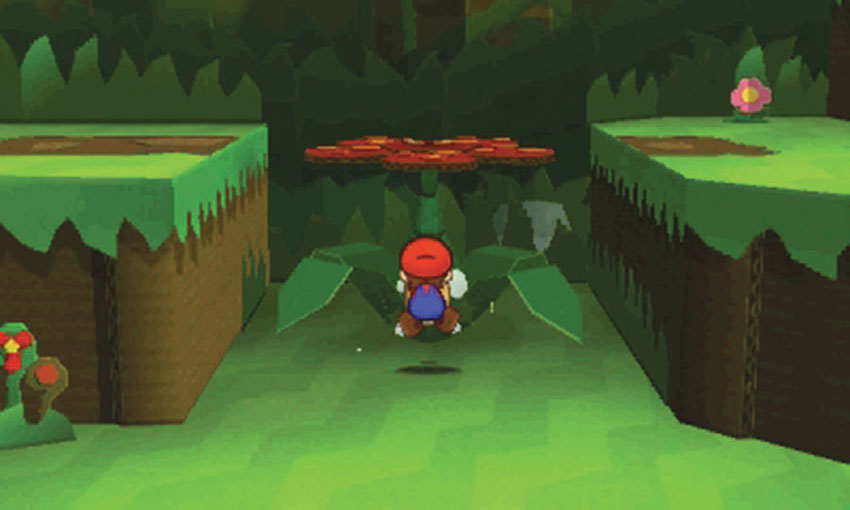
The giant red flower at Point 2 is carnivorous, so don’t step on its petals without taking the proper precautions. Drop down from the main path and search the area for stickers. When you’re ready to move on, strike the carnivorous flower with your Hammer to temporarily stun it. Hurry back up to the main path and move across the flower before it recovers.
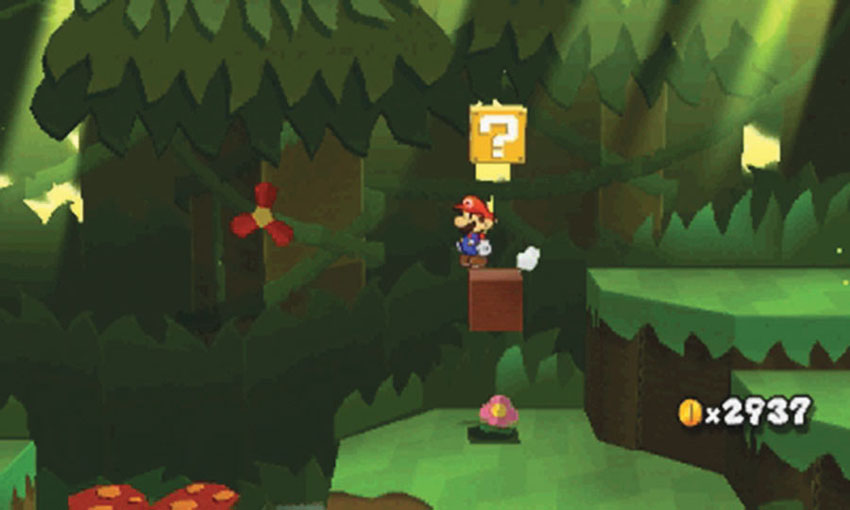
After you reveal the Paperization Block at Point 3, use it as a platform to reach the ? Block just above it. When you’re finished searching the area, follow the path to the temple wall.
Temple Wall
.jpg)
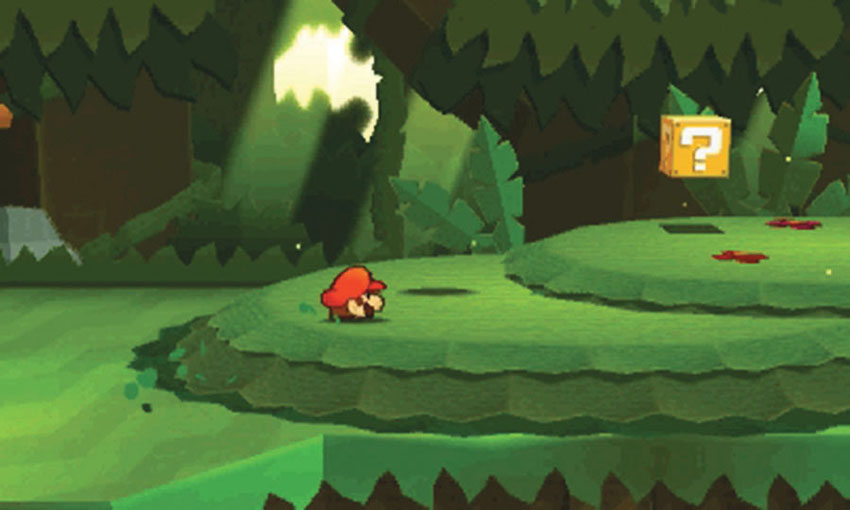
The foliage around the temple wall is particularly high, making it difficult to spot lurking enemies. As you move through the area, watch for any shadows and spear tips that might betray an enemy’s location.
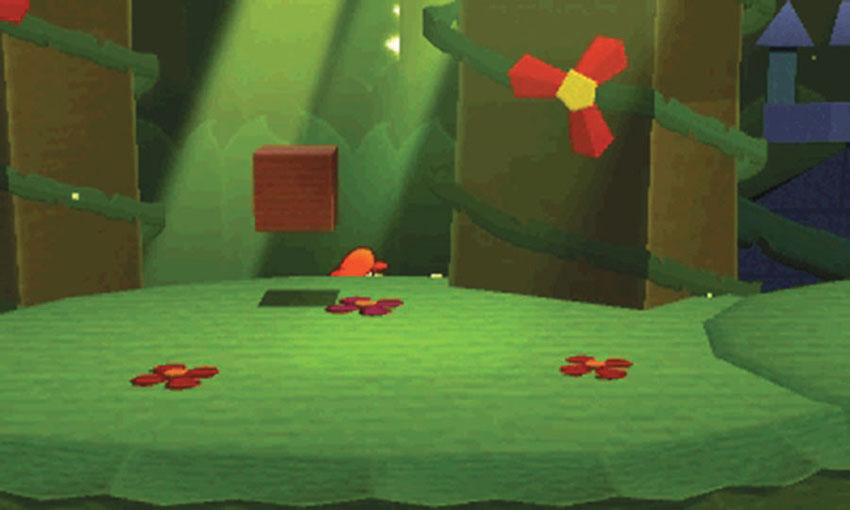
There’s a hidden passage between the vine-covered trees at Point 2. Move into the background, then duck behind the tree to the right to find the hidden area behind the temple wall. Continue to the far end of the area to find the Toy Bat.
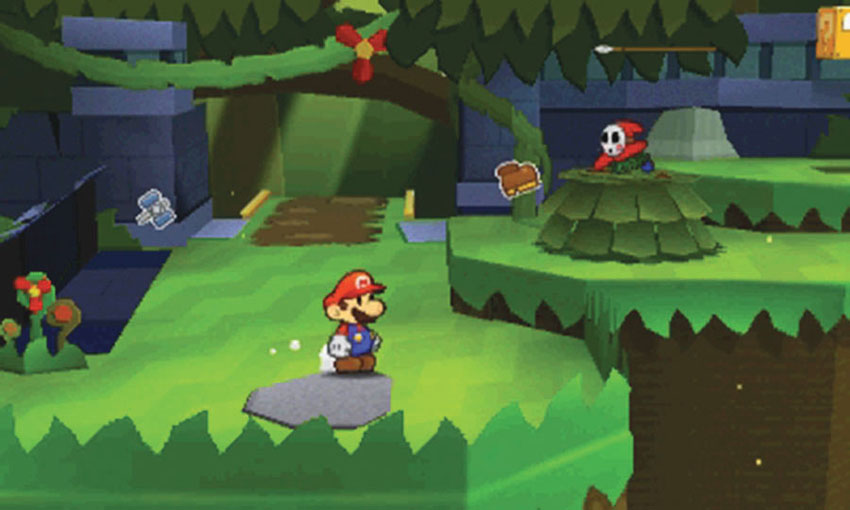
When you approach Point 3, a Spear Guy hops into a collapsible bush and begins throwing spears. As you close in on the enemy, use the spear’s shadows to help you dodge each attack. Hit the collapsible bush with your Hammer to destroy the hiding spot and confront your attacker. When you’re ready, follow the path to the temple steps.
Temple Steps
.jpg)
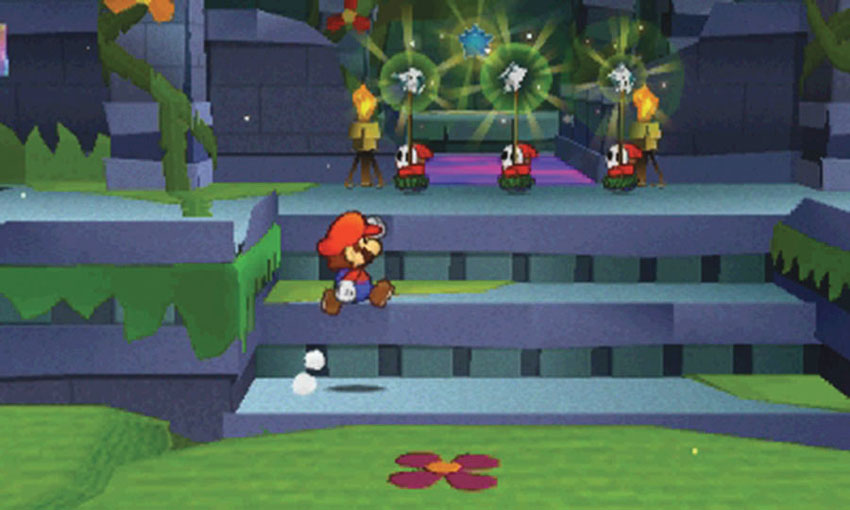
Each of the three Spear Guys at the top of the temple steps holds a Bridge Part scrap. When you approach them, they scatter in three different directions. To reach this Course’s Comet Piece, you must recover the scraps and assemble the bridge on the temple steps.
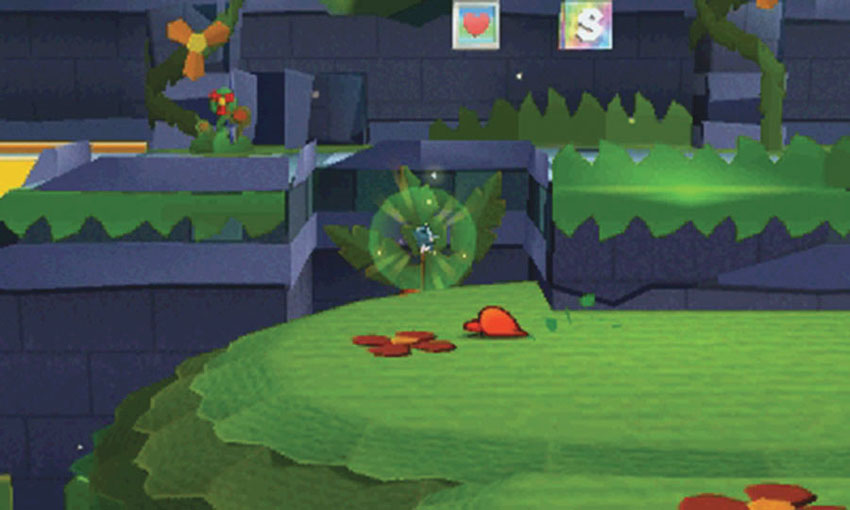
One of the Spear Guys jumps down the steps and hides in the foliage. When he does, more Spear Guys appear in the area. While most of the enemies are aggressive, the Spear Guy carrying the scrap runs away from you. Defend yourself from any attackers, then chase the scrap-bearing Spear Guy into the nook at Point 2.
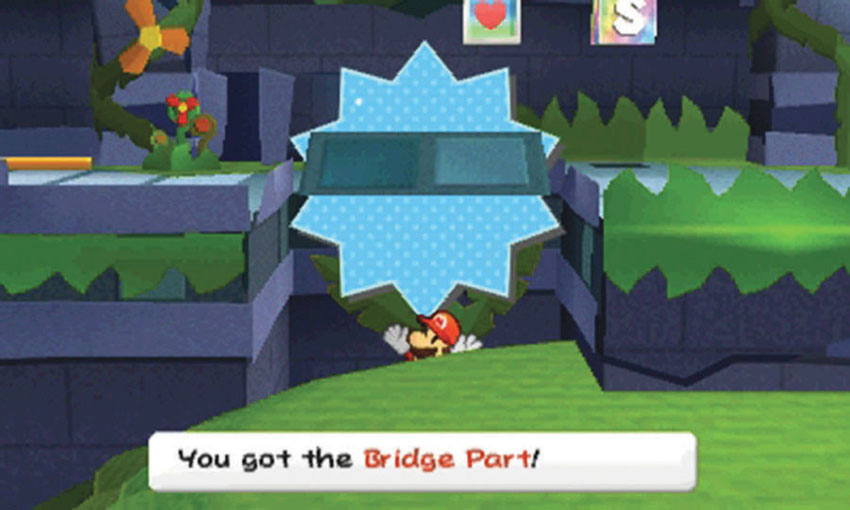
After you trap the Spear Guy, defeat him to collect the first Bridge Part scrap.
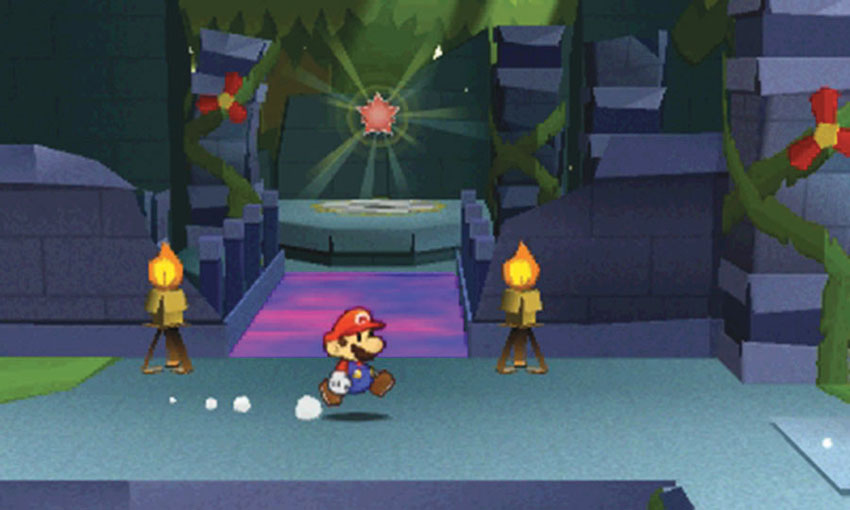
The Comet Piece is at the top of the temple steps, but you must recover the two remaining Bridge Part scraps before you can collect it. Once you have all three scraps, return to this area and use them to assemble the missing bridge.
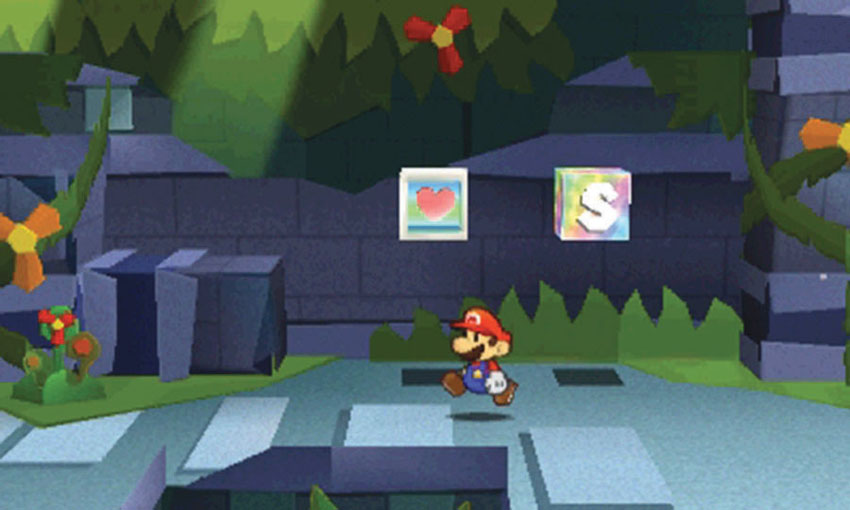
Use the HP Block and the Save Block at Point 4, then follow the path to the left to find the trash pile.
Trash Pile
.jpg)
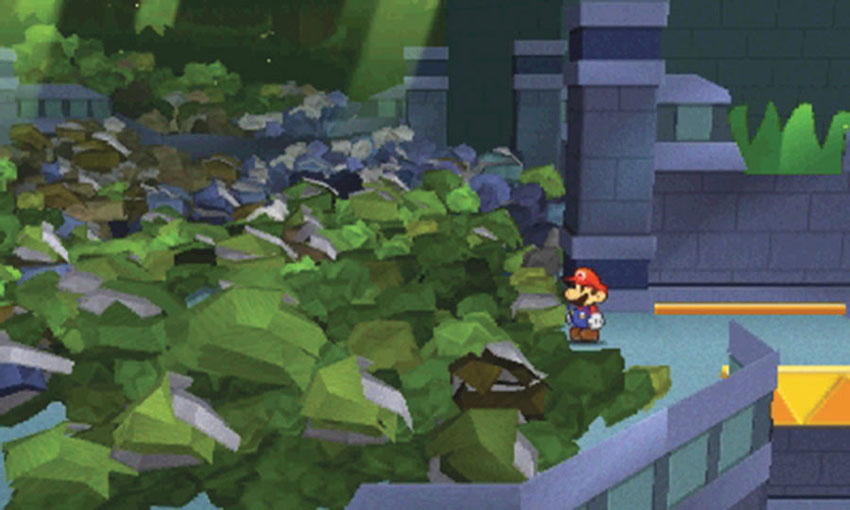
The second scrap-bearing Spear Guy is hiding in the area, but the trash pile blocks your path.
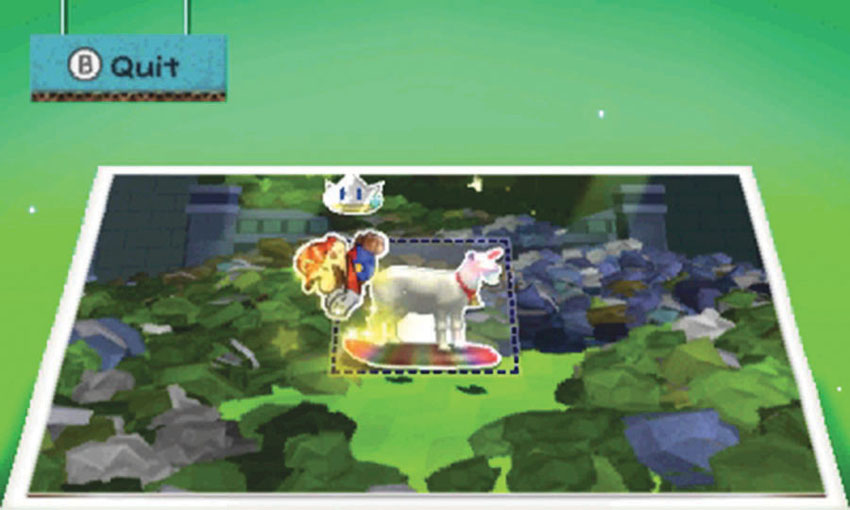
Use the Goat sticker to clear the area and reveal the Spear Guy.
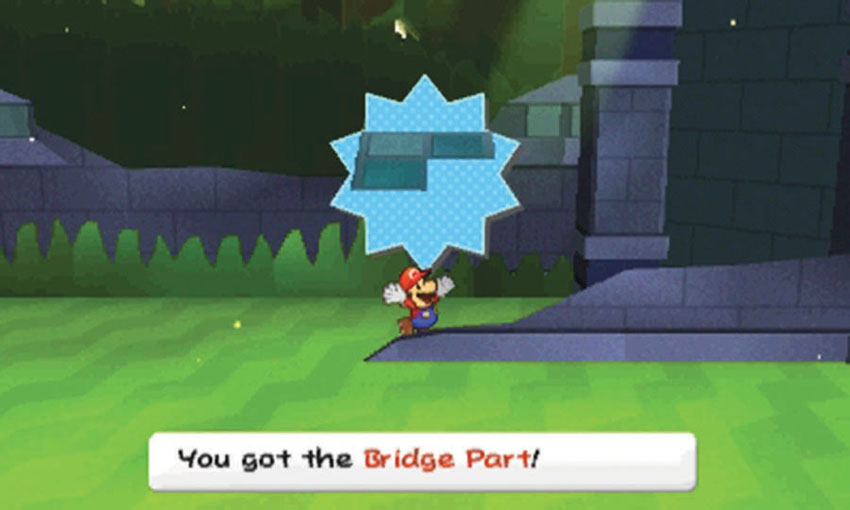
After you clear the area, defeat the exposed Spear Guy to collect the second Bridge Part scrap.
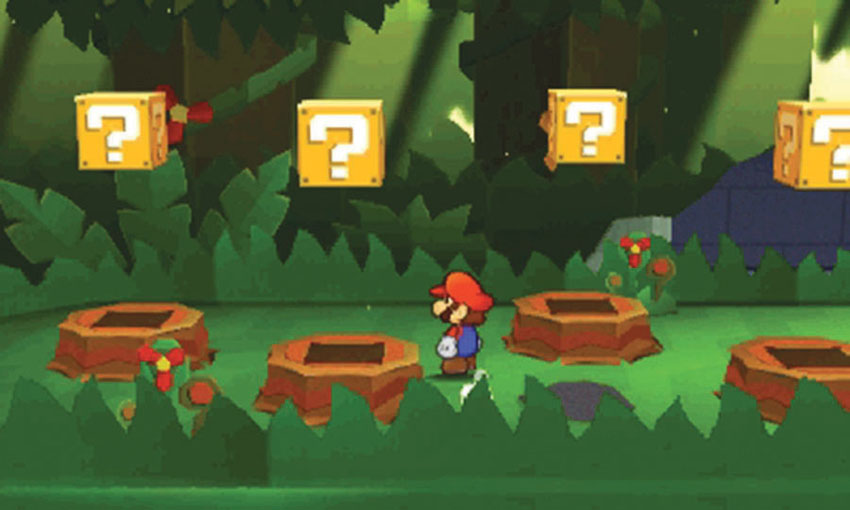
Before you leave the area, look for the Paperization Blocks at Point 3. When you’re ready, return to the temple steps and follow the path to the temple courtyard.
Temple Courtyard
.jpg)
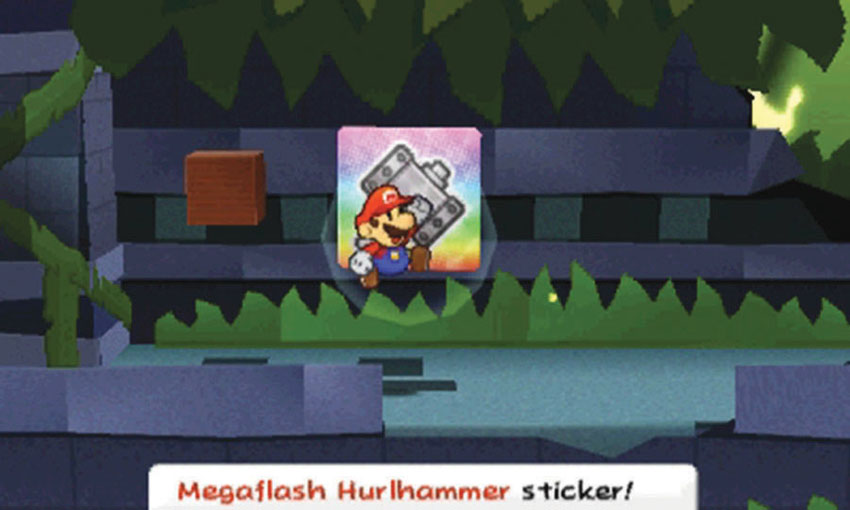
After you defeat the Hammer Bros at Point 1, search the ? Blocks to find a Megaflash Hurlhammer!
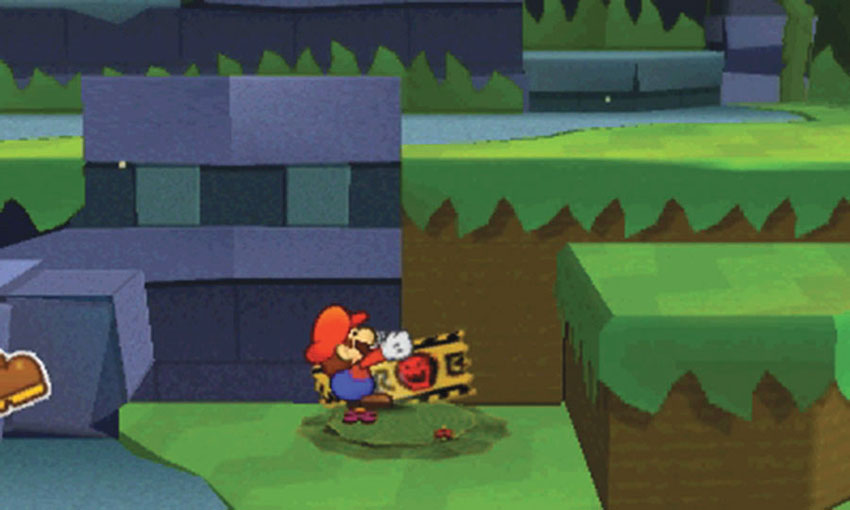
Use your Hammer to smash the collapsible bush at Point 2, then peel the Bowser tape to reveal some small steps.
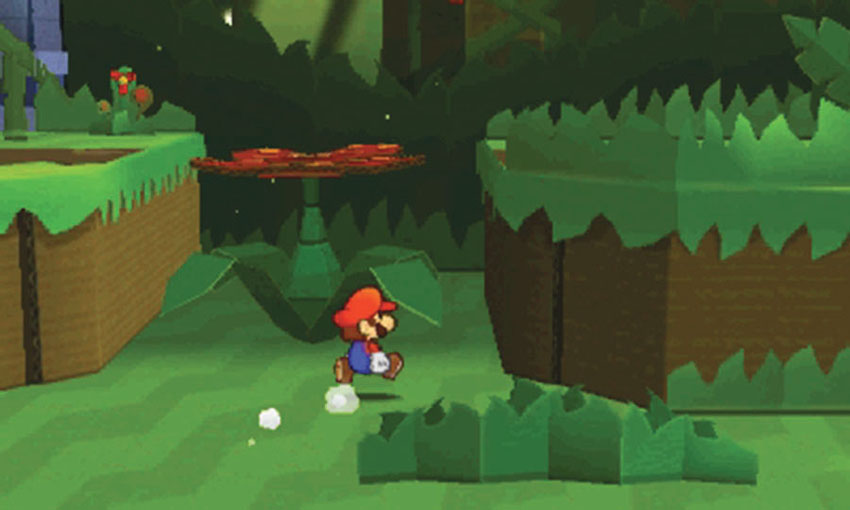
After you search the area, pass under the carnivorous flower at Point 3 to find a hidden path.
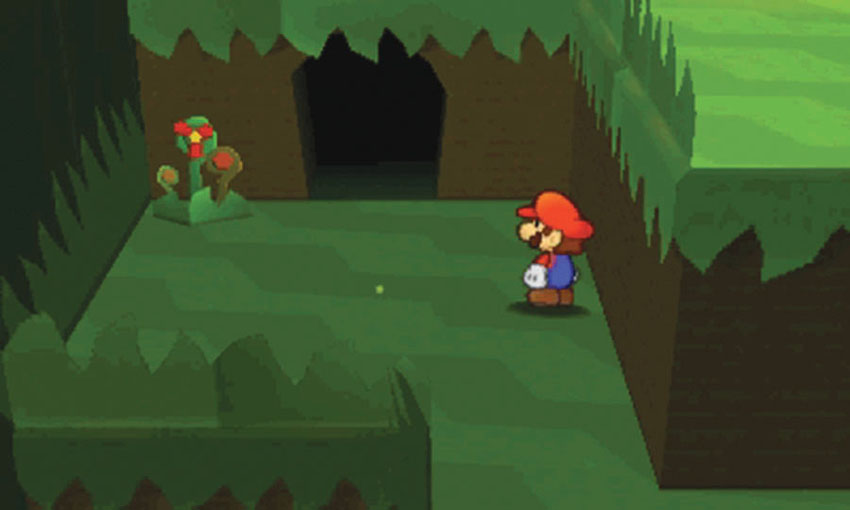
Follow the path to find a small cave in the back of the area, then head inside to collect an HP-Up Heart.
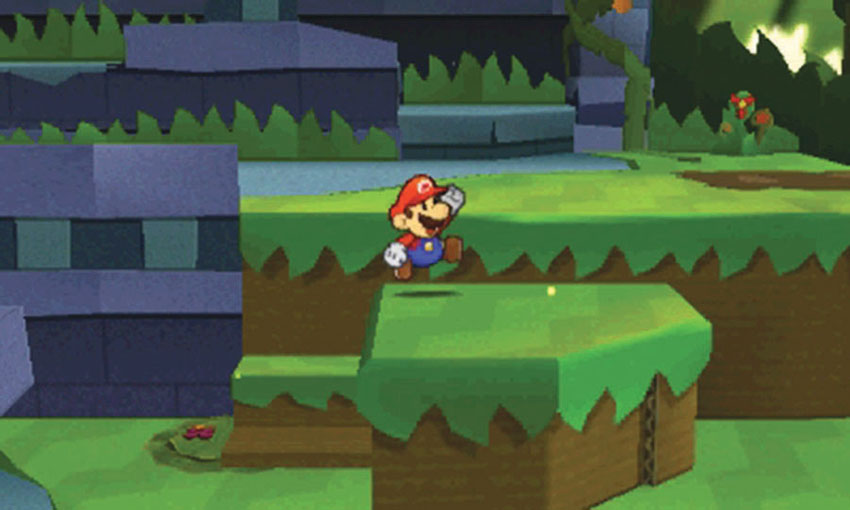
When you’re ready, strike the carnivorous flower with your Hammer and race back to the main path. You don’t have much time before the flower recovers, so use the steps left behind by the Bowser tape to shave a couple of seconds off of the trip.
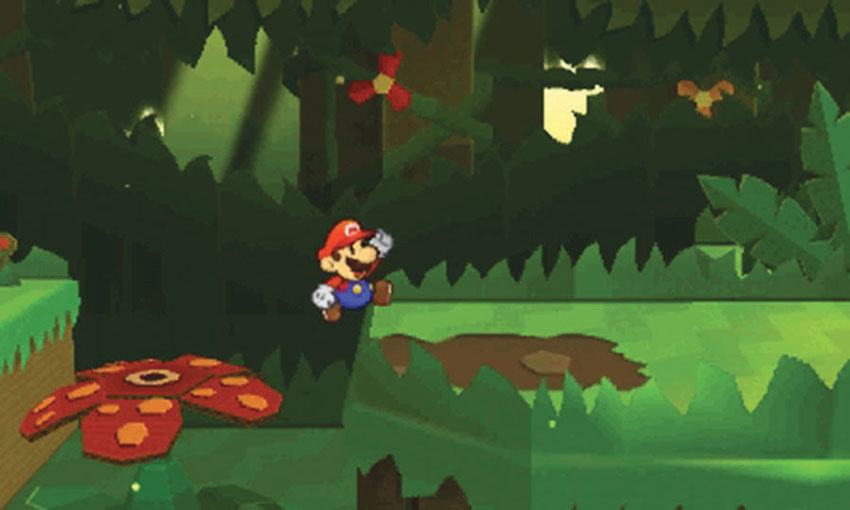
Move quickly to make it safely across the flower and follow the path to the jungle basin.
Jungle Basin
.jpg)
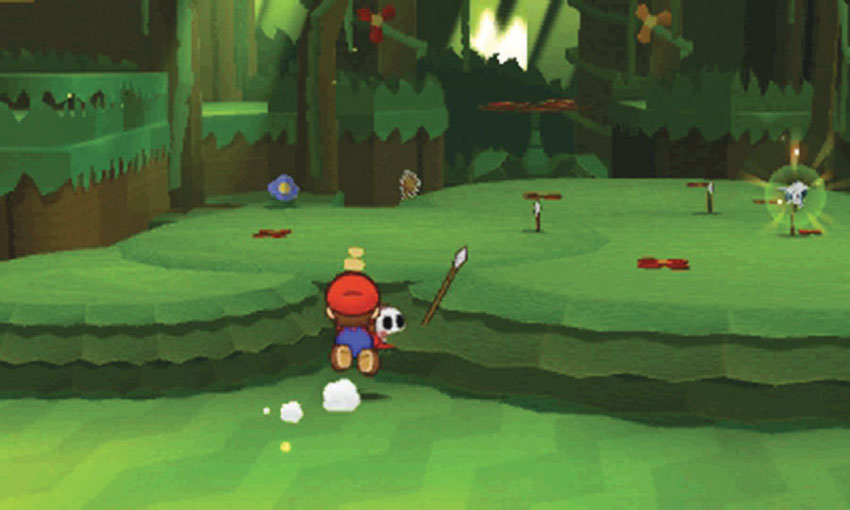
The last scrap-bearing Spear Guy is hiding in the jungle basin. Clear the more hostile enemies from the foliage, then turn your attention to the scrap bearer.
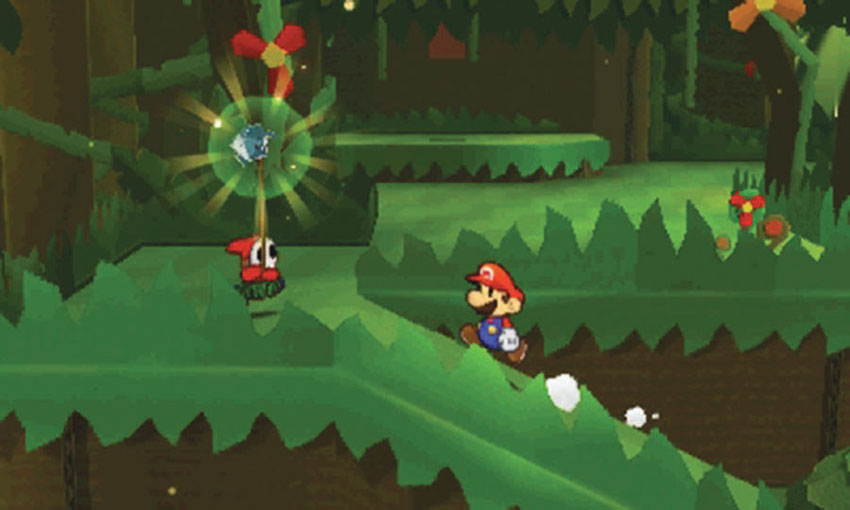
Like the Spear Guy below the temple steps, this enemy flees from you. Chase the Spear Guy up the ramp at Point 2, and follow the ledge toward the background.
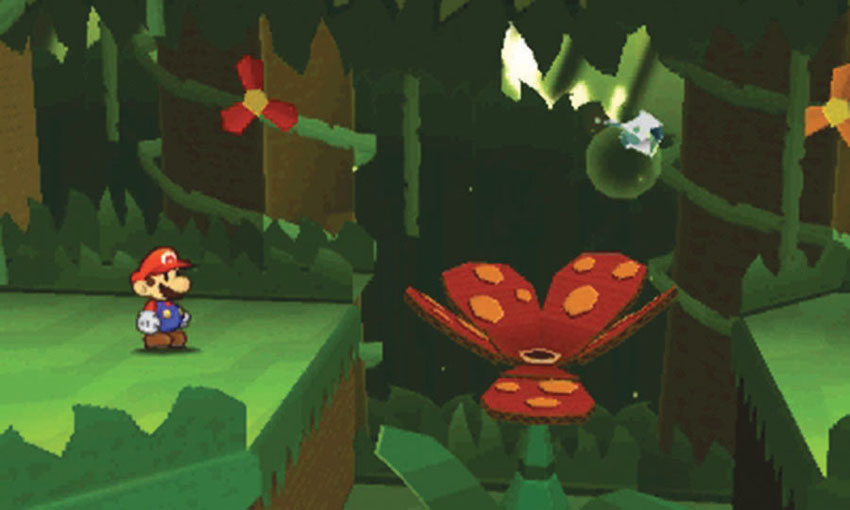
Chase the Spear Guy all the way to the carnivorous flower. When the Spear Guy attempts to cross the gap, the flower eats him and spits the scrap to the far ledge.
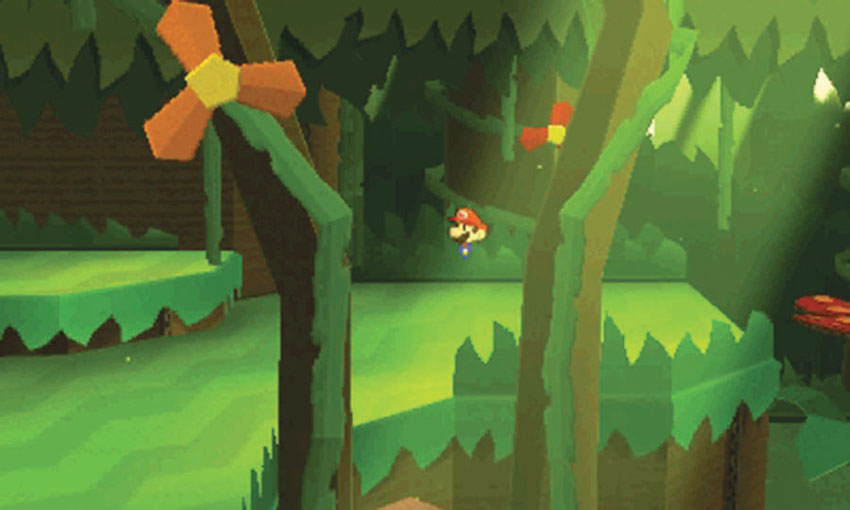
Before you deal with the carnivorous flower, hop over the grass in the background and move left to find the Powder Puff in a hidden area.
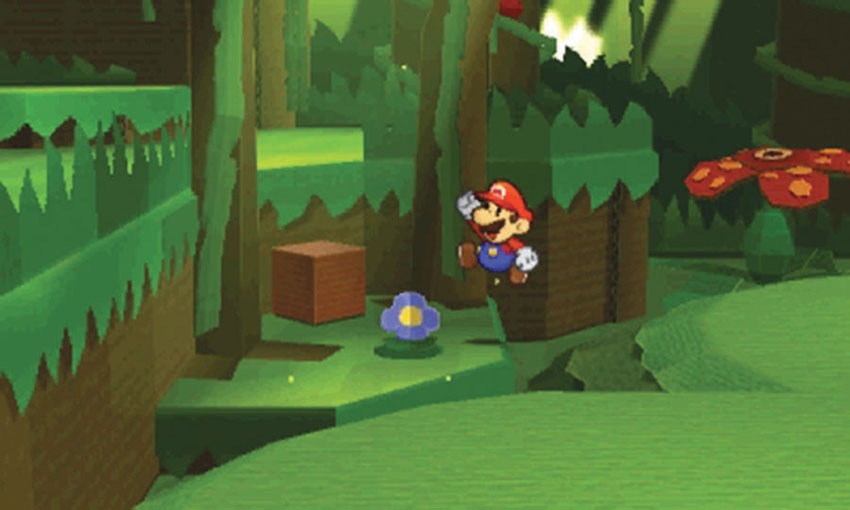
Drop from the ledge and move to the blue flower at Point 5. Use your Hammer to reveal the Hidden Block on the ground, then run over and stun the carnivorous flower. Dash back to the Hidden Block and climb up to the ledge, then cross over the carnivorous flower before it recovers.
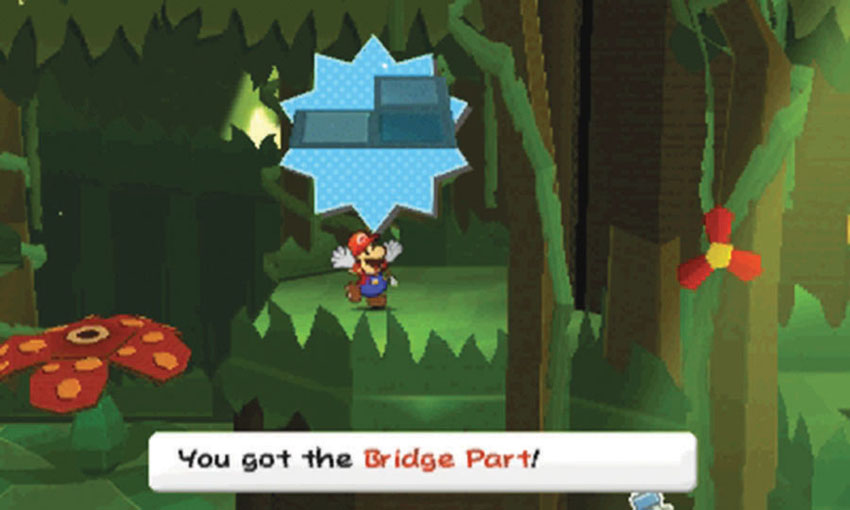
After you cross the carnivorous flower, collect the final Bridge Part scrap from the ledge.
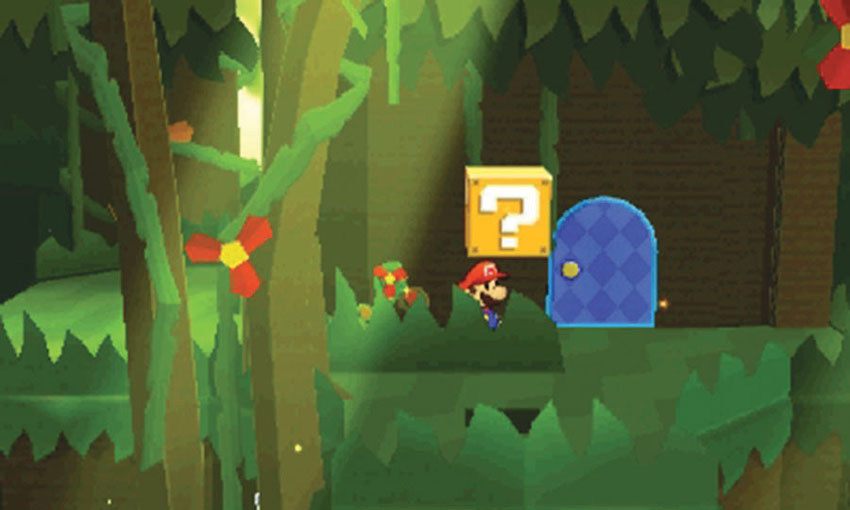
Follow the ledge along the basin’s right wall until you reach Point 7. Apply a Secret Door sticker to the marked location, then head inside to find the Tailor Shears.
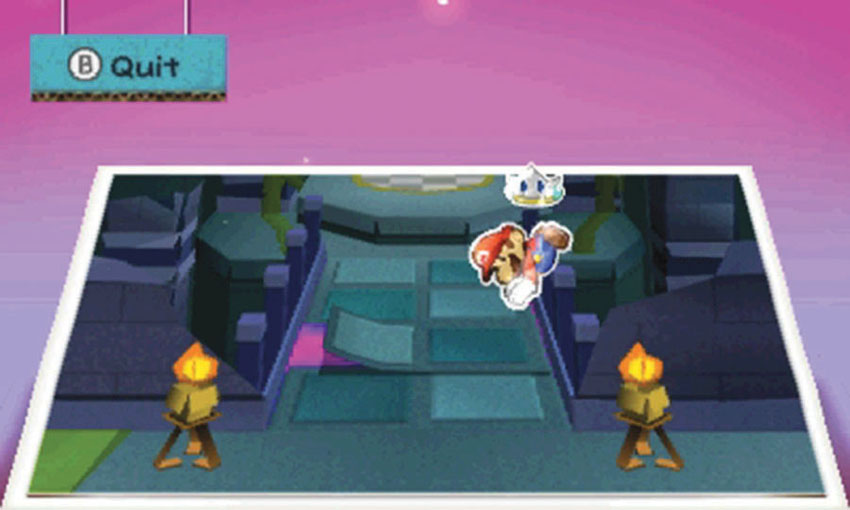
When you’re ready, follow the path out of the jungle basin and through the temple courtyard. Return to the top of the temple steps and assemble the three Bridge Part scraps.
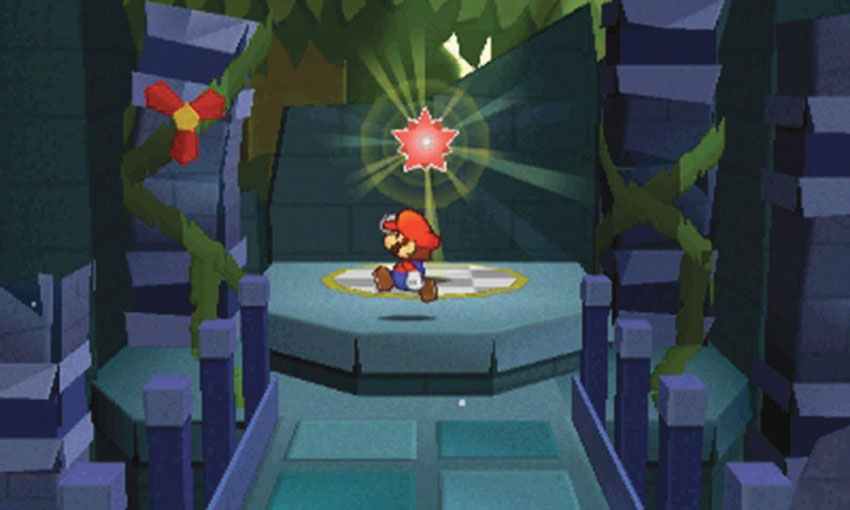
Cross the completed bridge and collect the Comet Piece to end your visit.
Sticker Comet Piece: Unlocking World 5-2
This Course contains a single piece of the Sticker Comet. To unlock World 5-2, collect the Comet Piece at the top of the temple steps.
World 5-2: Jungle Rapids
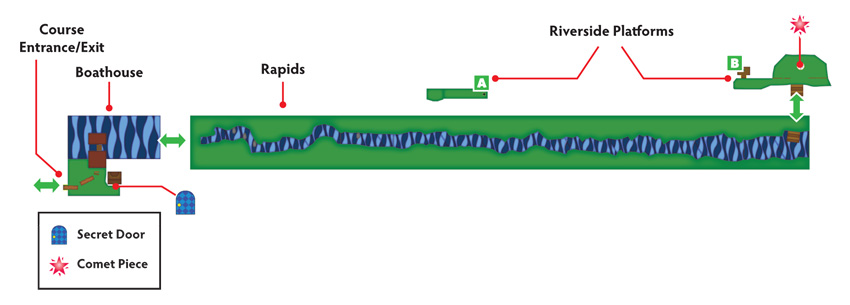
Overview
Prerequisites
To unlock this Course, you must collect the Comet Piece from the temple steps in World 5-1. Before you enter this Course, make sure your Album contains a Secret Door sticker.
Objectives
This Course contains several objectives, all of which can be completed during a single visit:
- Collect the Mini Vacuum from the Secret Door.
- Navigate the raft down the rapids.
- Collect the Rubber Ducky.
- Rescue the bullied Toad.
- Collect the Comet Piece to unlock World 5-2.
Important Items and Locations
| Description | Notes |
|---|---|
| Secret Door | The marked location is near the boathouse. |
| HP-Up Heart | None |
| Toad Rescue | The bullied Toad is on one of the riverside platforms. |
| Luigi Location | None |
| Wiggler Diary Entry | None |
| Things | The Mini Vacuum is through the Secret Door. The Rubber Ducky appears in the water toward the end of the rapids. |
Recommended Tactics
This Course contains very few battles, but there are a few Spear Guys on the riverside platforms.
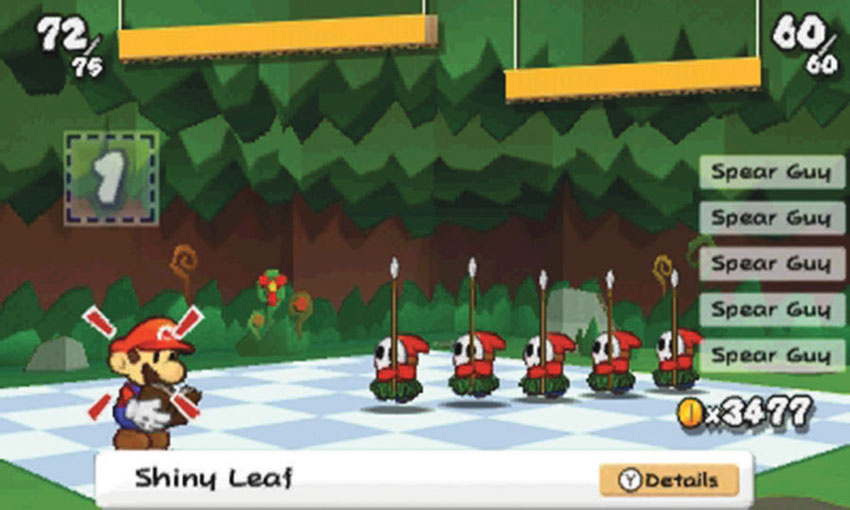
The Spear Guys near the Comet Piece are happy to ignore you, but they will defend themselves if you attack them. If you choose to fight the Spear Guys bullying the Toad, you must defeat a fairly large group. Use a Shiny Shell sticker to clear them out with a single attack.
Boathouse
.jpg)
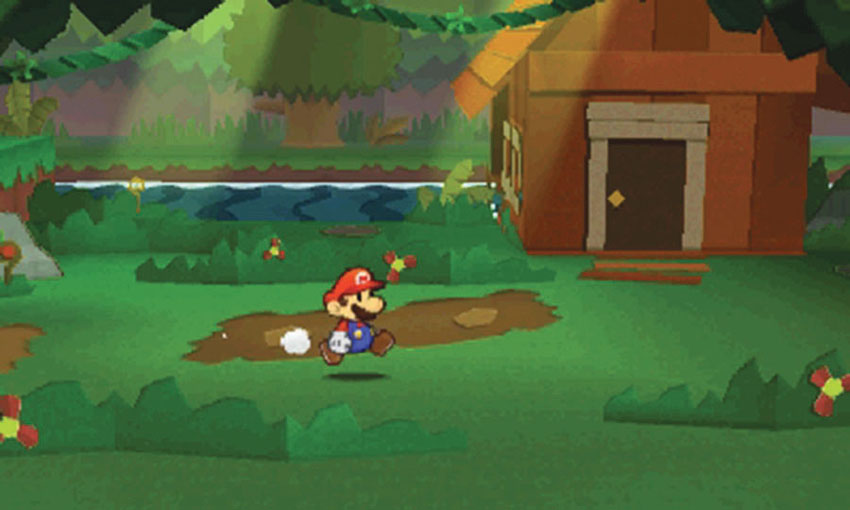
To reach the end of this Course, you must navigate a raft over a series of waterfalls. Before you enter the boathouse, take a moment to investigate the area outside.
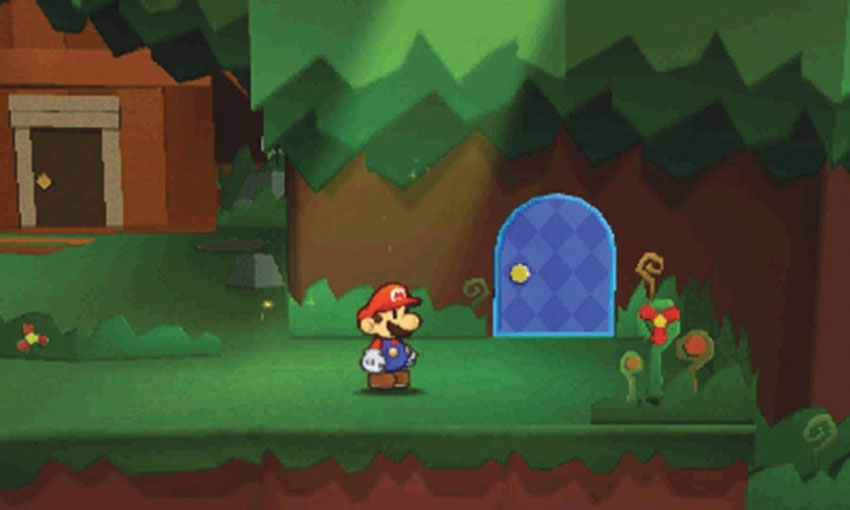
Move to the small nook on the right edge of the area, then apply a Secret Door sticker to the marked location. Head inside to find the Mini Vacuum.
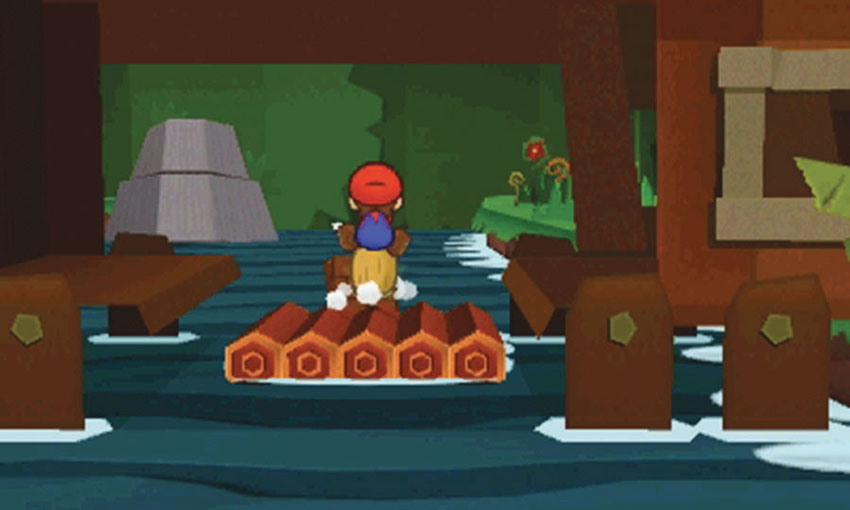
When you’re ready, enter the boathouse and use your Hammer to smash the Block holding the raft in place. Ride over the first fall and continue down the rapids.
Rapids
.jpg)

To steer the raft, slide and hold the Circle Pad to the left or right as needed. This allows you to collect the coins floating above the water, but more importantly, it allows you to avoid the hazards throughout the rapids. Each time the raft hits an obstacle, one of its logs breaks loose. Take care to keep the raft intact.
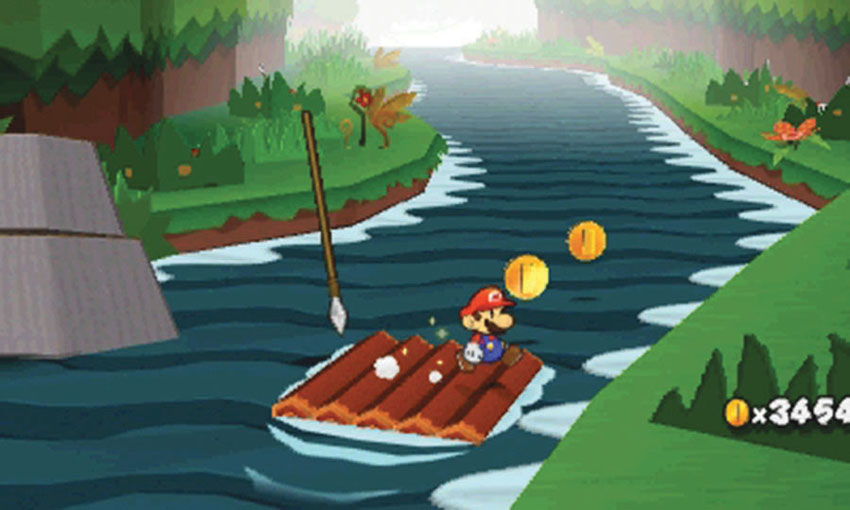
As you navigate the rapids, Spear Guys drop new hazards into the water. Run clear of incoming spears and steer the raft around the barrels that fall into your path.
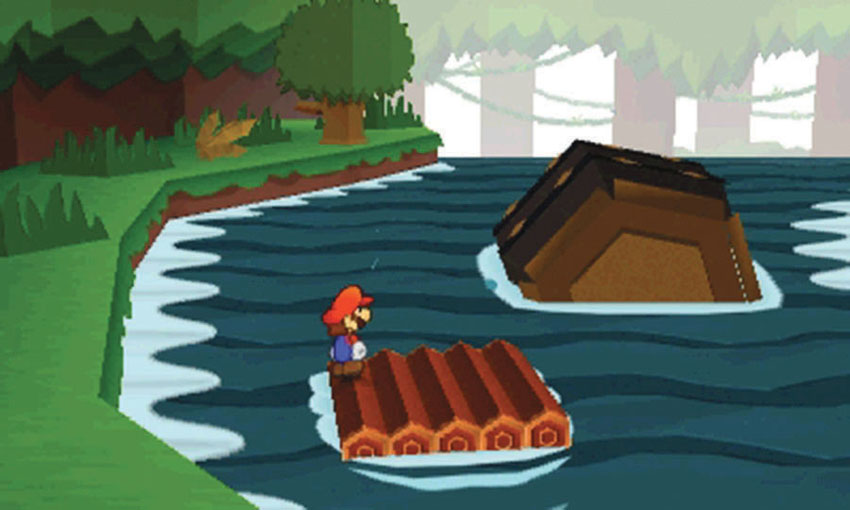
As you approach the next waterfall, a giant barrel drops into the water. Steer the raft to the left to ensure you slip past it without crashing.
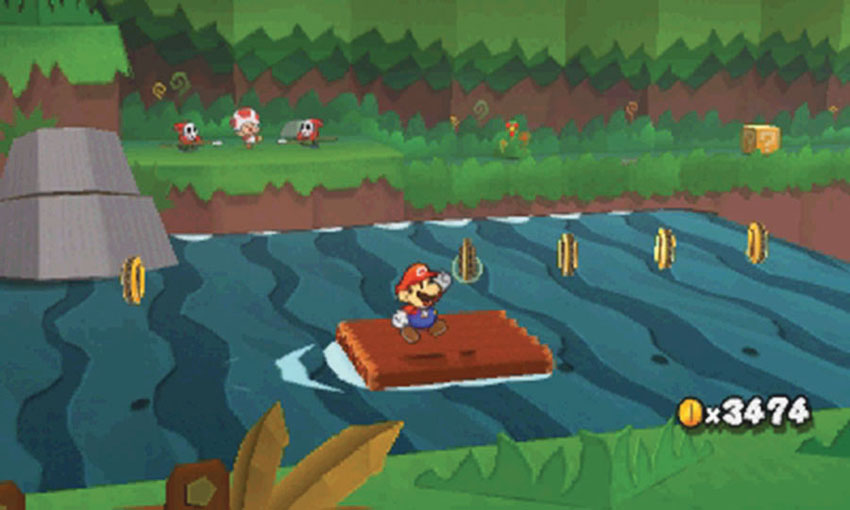
When you reach Point 4, look for the bullied Toad in the background. Remember to help him when you reach the end of the rapids.
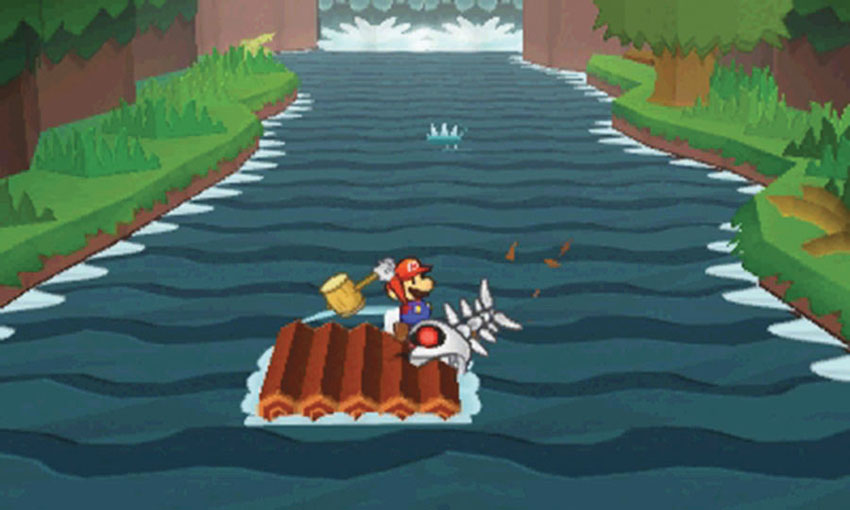
Toward the end of the rapids, Fish Bones attack your raft. Use your Hammer to knock them loose before they can cause serious damage.
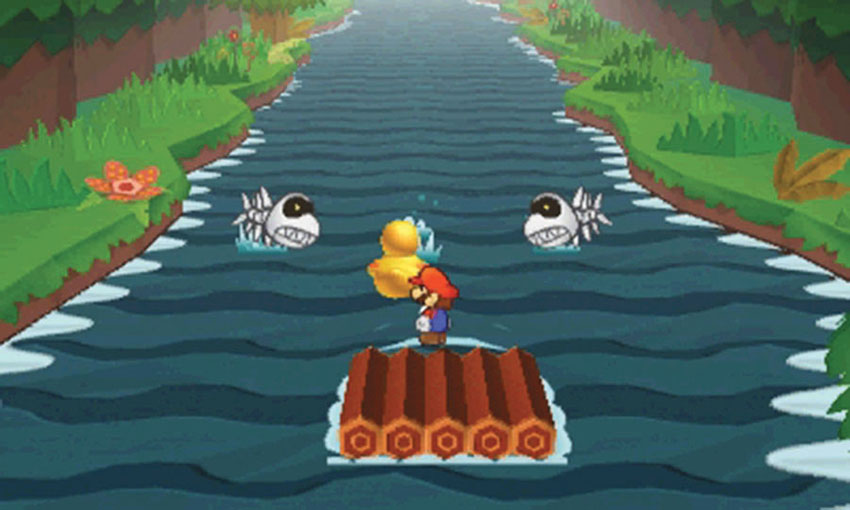
As you defend your raft from the Fish Bones, watch for the Rubber Ducky that appears in the water. Steer the raft into the Rubber Ducky’s path to catch it on its way through the area. Defend yourself from the remaining Fish Bones until you reach the riverside platforms.
Riverside Platform
.jpg)
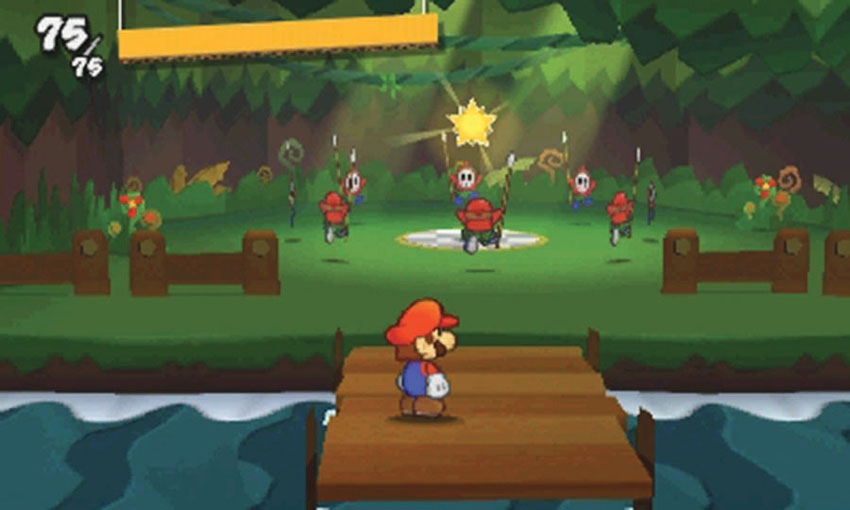
After you navigate the rapids, you land on one of the riverside platforms. Before you collect the Comet Piece, find the path to the bullied Toad.
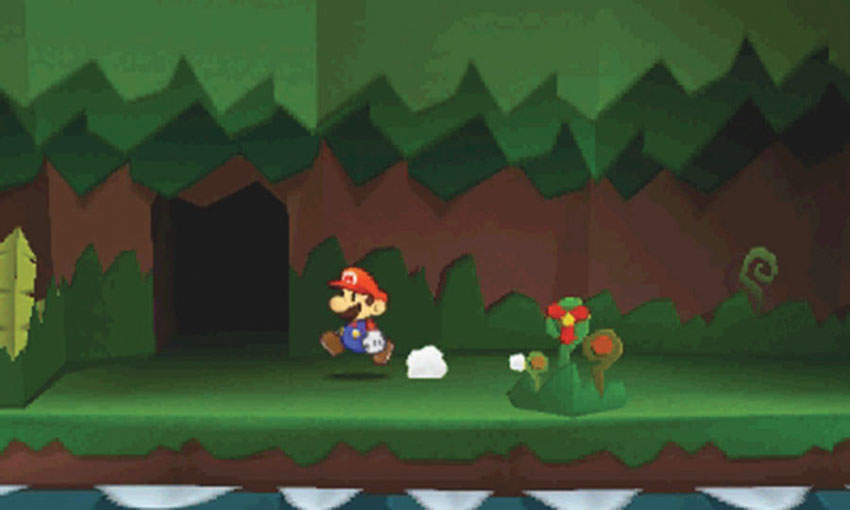
Step off the dock and follow the bank to the left. Enter the cave at the end of the path, then use the warp pipe inside.
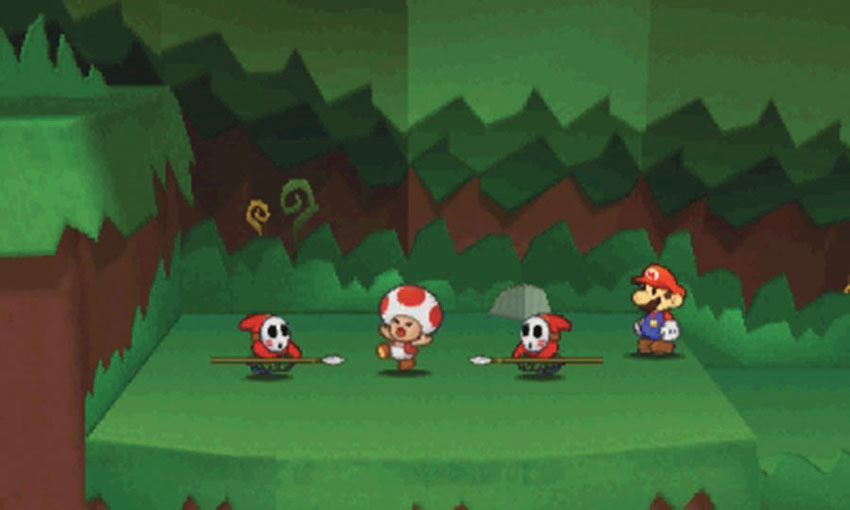
After you emerge from the warp pipe, follow the path to the left to find two Spear Guys tormenting the wandering Toad. Bribe or defeat the Spear Guys to complete the game’s fifth and final Toad rescue!
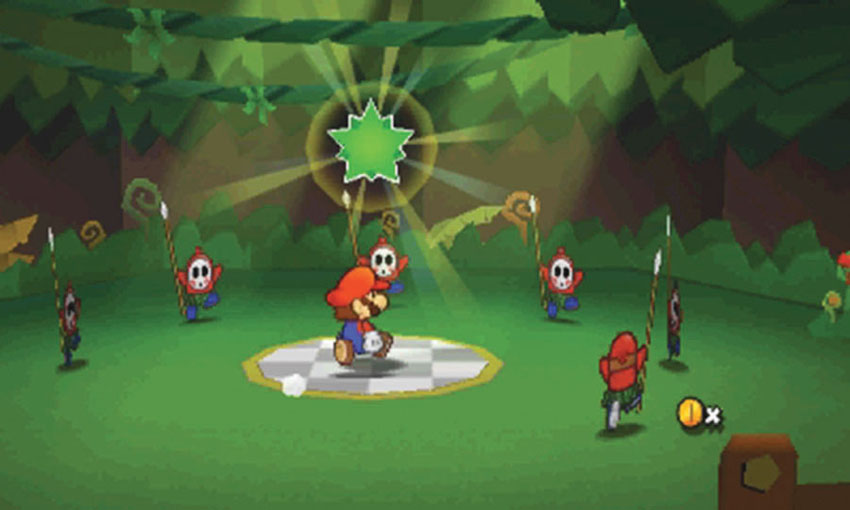
When you’re ready, head back through the warp pipe. Slip between the dancing Spear Guys and collect the Comet Piece to complete your visit.
Sticker Comet Piece: Unlocking World 5-3
This Course contains one piece of the Sticker Comet. To unlock World 5-3, collect the Comet Piece from the riverside platforms.
World 5-3: Long Fall Falls
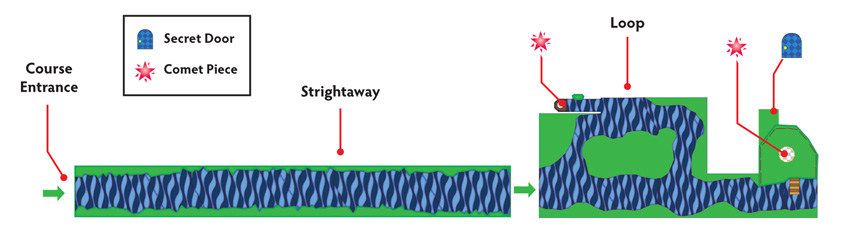
Overview
Prerequisites
To unlock this Course, you must collect the Comet Piece from the end of World 5-2. Before you enter this Course, make sure your Album contains a Secret Door sticker.
Objectives
This Course contains several objectives, some of which require an additional visit:
- Evade the Big Cheep Chomp on the straightaway.
- Reposition the Jungle Flood Gate scrap.
- Collect the Megaflash Infinijump sticker.
- Collect the Comet Piece to unlock World 5-4.
- Collect the Big Shiny Infinijump Sticker.
- Collect the Luxurious Bed from the Secret Door.
- Collect the Comet Piece to unlock the path to World 5-1.
Important Items and Locations
| Description | Notes |
|---|---|
| Secret Door | The marked location is near the Comet Piece at the end of the river. |
| HP-Up Heart | None |
| Toad Rescue | None |
| Luigi Location | None |
| Wiggler Diary Entry | None |
| Things | The Luxurious Bed is through the Secret Door. |
Recommended Tactics
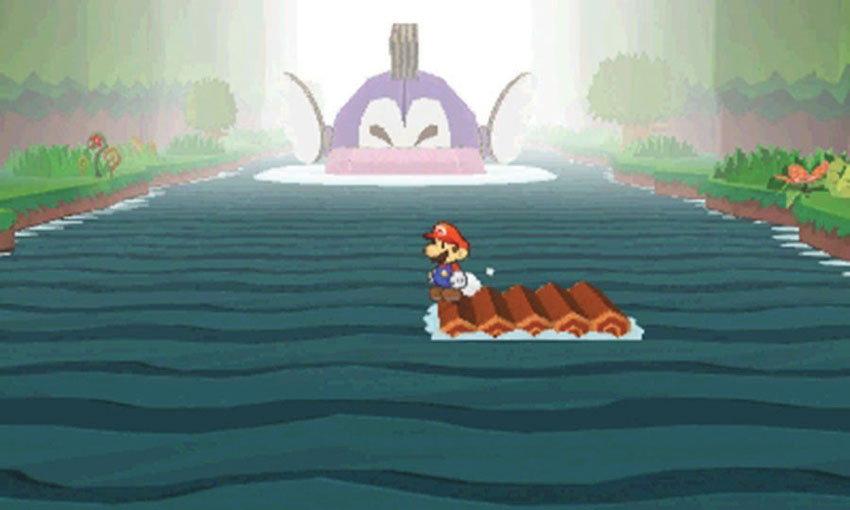
The Big Cheep Chomp is the only enemy in this Course, and there’s no way to attack it. Your only option is to stay away from this beast!
Straightaway
.jpg)
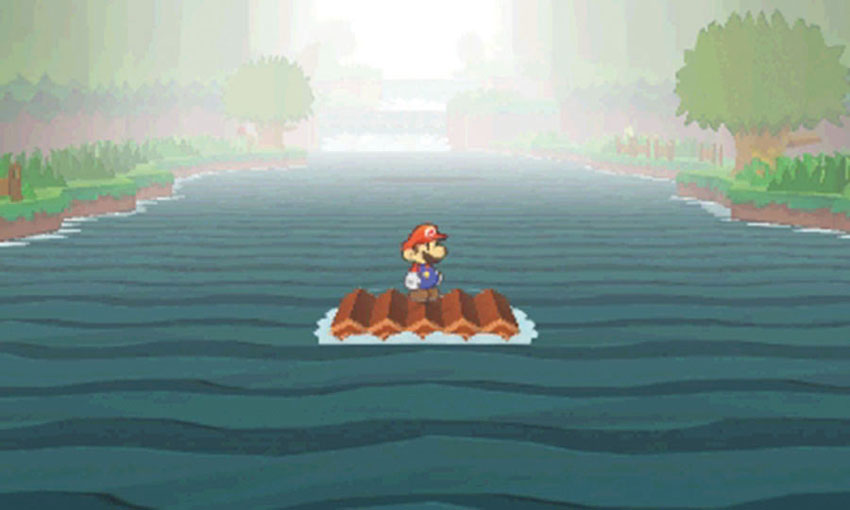
You begin the Course on a raft heading toward a large waterfall. Once again, you must use the Circle Pad to steer the raft out of danger.
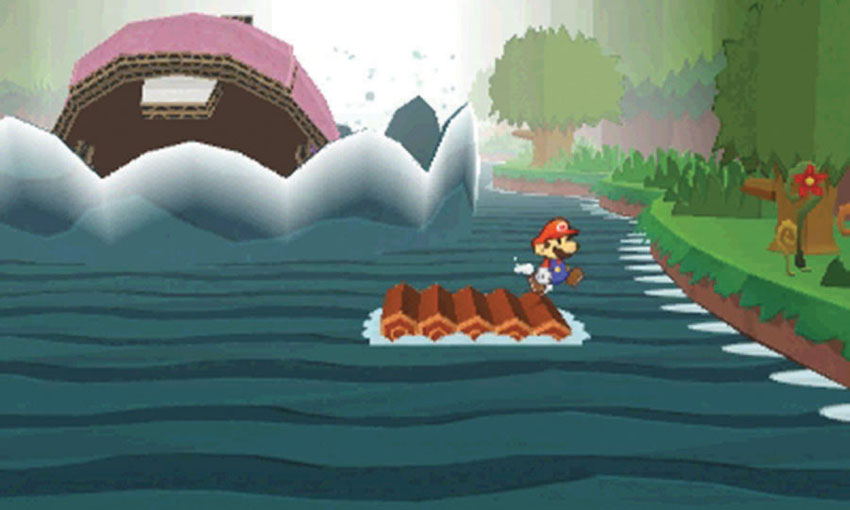
As you float down the straightaway, a Big Cheep Chomp appears behind you. Once it does, this persistent creature repeatedly attacks you. Any part of the raft caught in the enemy’s path will break loose. If the Big Cheep Chomp lands a direct hit, however, it can swallow you whole.
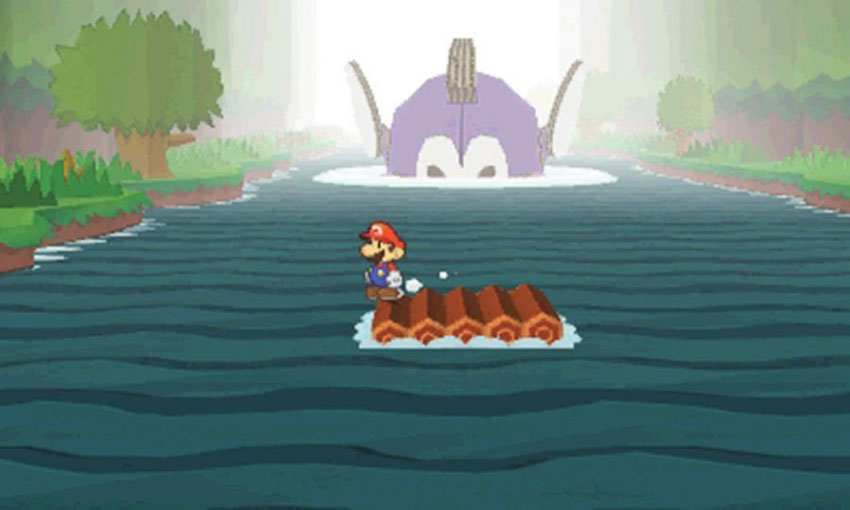
As you continue along the straightaway, the Big Cheep Chomp’s attacks become more and more difficult to predict. Because the raft isn’t built for sudden maneuvers, it’s generally helpful to keep moving. Drift gently from side to side until you can identify the Big Cheep Chomp’s path. As the enemy approaches, you must then decide whether to pick up the pace or reverse direction.
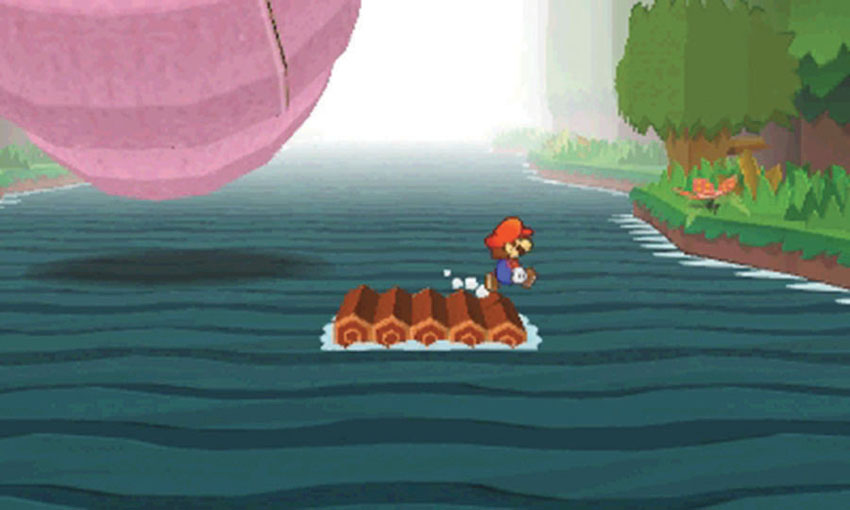
The Big Cheep Chomp has a variety of attacks, but this doesn’t affect your basic strategy. When you can’t see the enemy itself, look for the shadow that indicates its position. Continue to evade the Big Cheep Chomp until your raft drops down to the loop at the base of the waterfall.
Loop
.jpg)
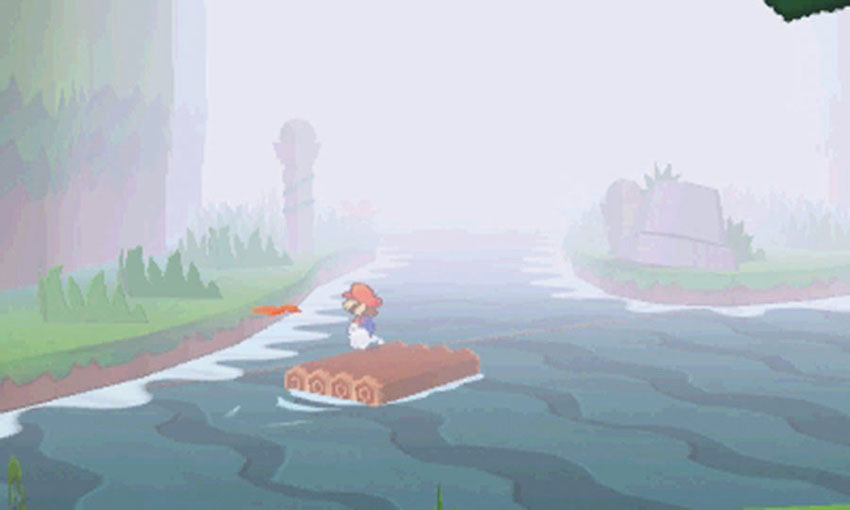
After you drop off of the waterfall, steer the raft to the river’s left edge. When you spot the turnoff, steer the ramp out of the main path and into the loop.
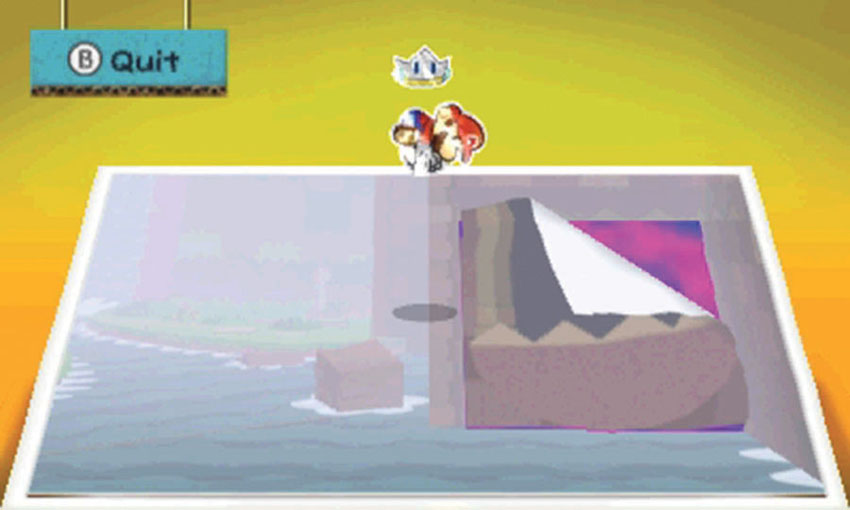
Follow the loop to the structure at the edge of the area, then activate the Paperize ability. Peel the Jungle Flood Gate scrap from the wall, then reapply it to the same spot.
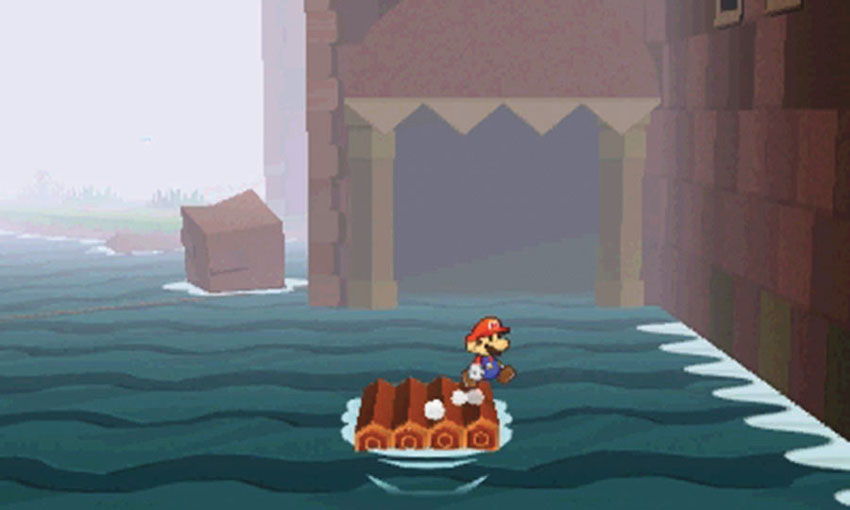
After you align the scrap, steer the raft into the structure.
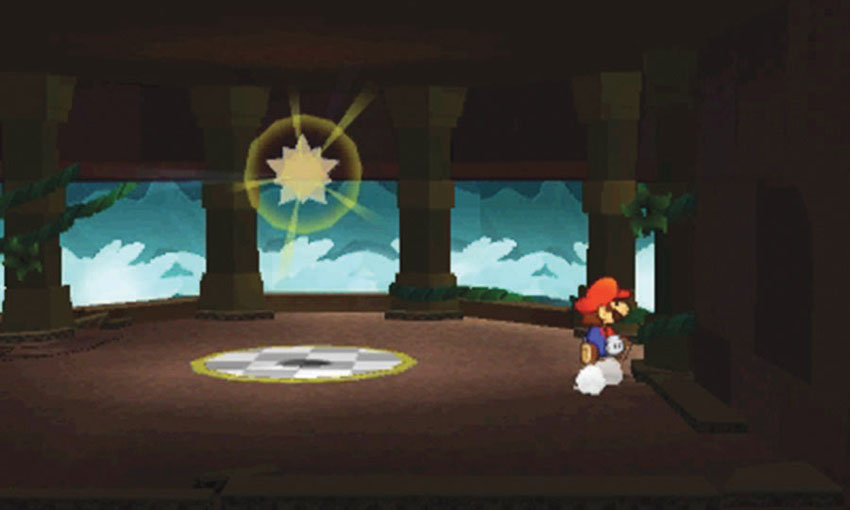
The raft carries you to the Course’s first Comet Piece. Before you collect it, however, look for the hidden area through the pillars to the right.
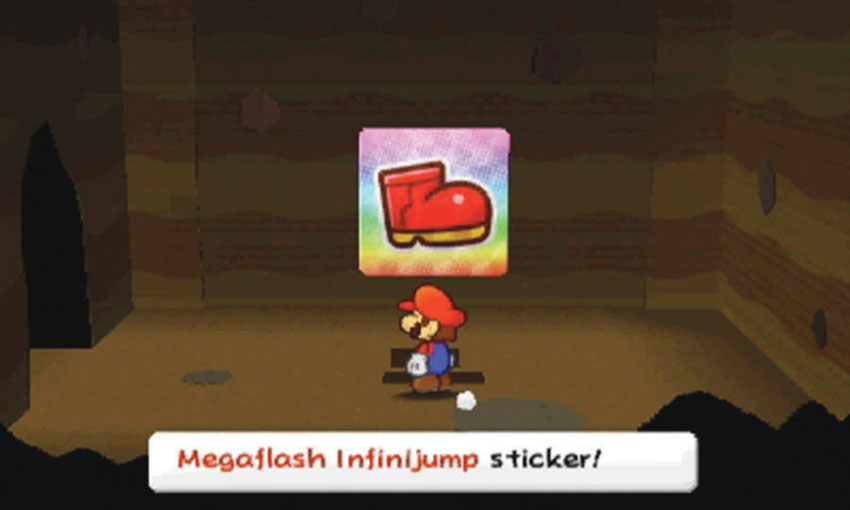
Search the ? Block in the hidden area to find the Megaflash Infinijump sticker.
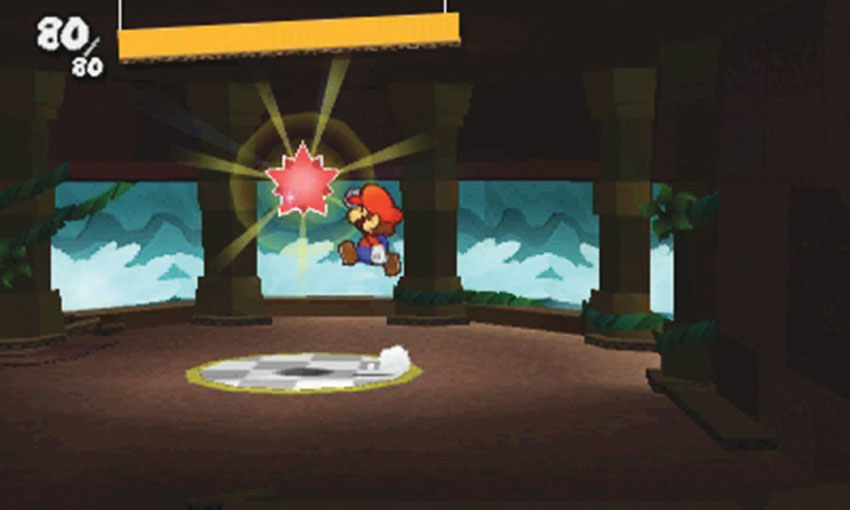
When you’re ready, leave the hidden area and collect the Comet Piece to end your first visit.
Sticker Comet Piece: Unlocking World 5-4
This Course contains two pieces of the Sticker Comet. To unlock World 5-4, collect the Comet Piece from the structure on the river’s loop.
Recommended Visit #2
.jpg)
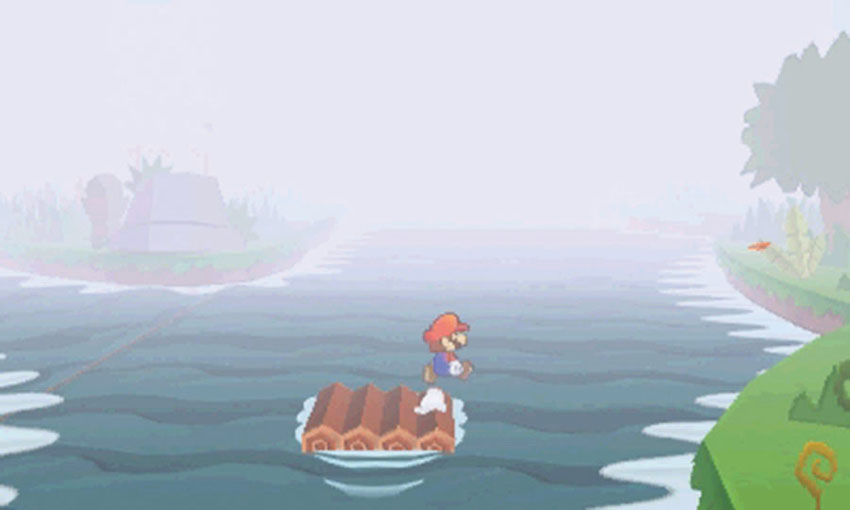
After you collect the first Comet Piece, you must revisit the Course to complete the remaining objectives. Evade the Big Cheep Chomp until you reach the waterfall, then ride the raft past the loop and continue to the end of the river.
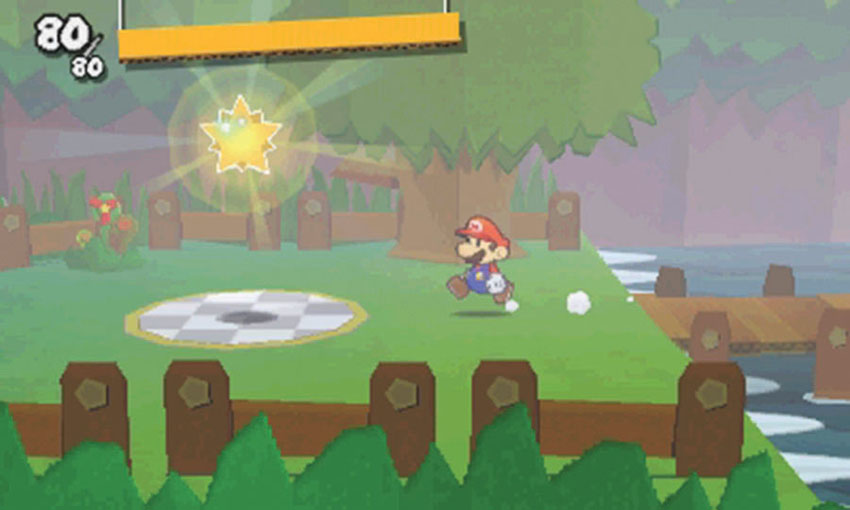
The second Comet Piece is floating near the dock, but take a moment to explore the area before you collect it.
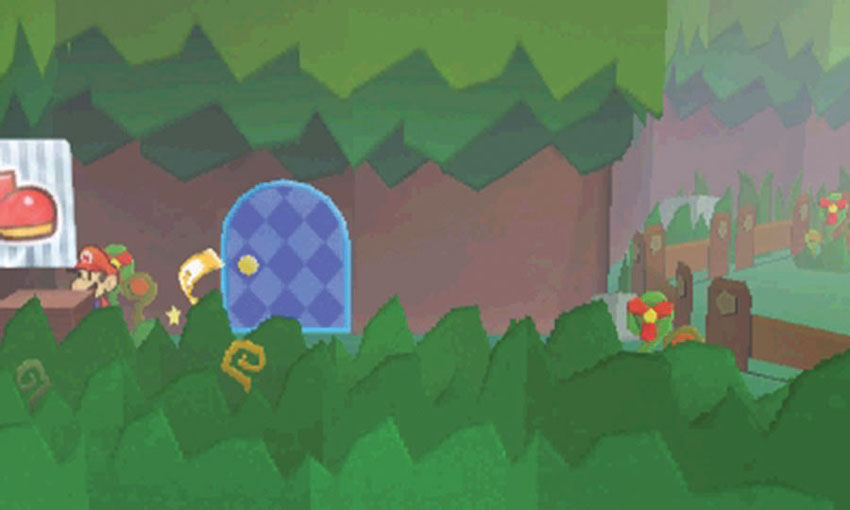
Hop over the fence to the left and place a Secret Door sticker on the marked location. Search the ? Block hidden behind the grass, then head through the Secret Door to find the Luxurious Bed.
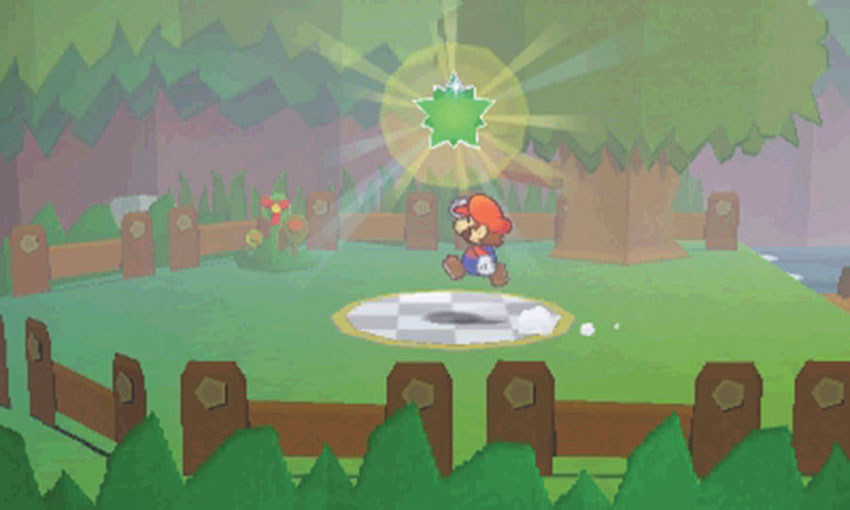
When you’re ready, collect the sticker Comet Piece at the end of the river to complete your visit.
Sticker Comet Piece: Unlocking Path to World 5-1
This Course contains two pieces of the Sticker Comet. Collect the Comet Piece at the end of the river to unlock the path between World 5-3 and World 5-1.
World 5-4: Chomp Ruins
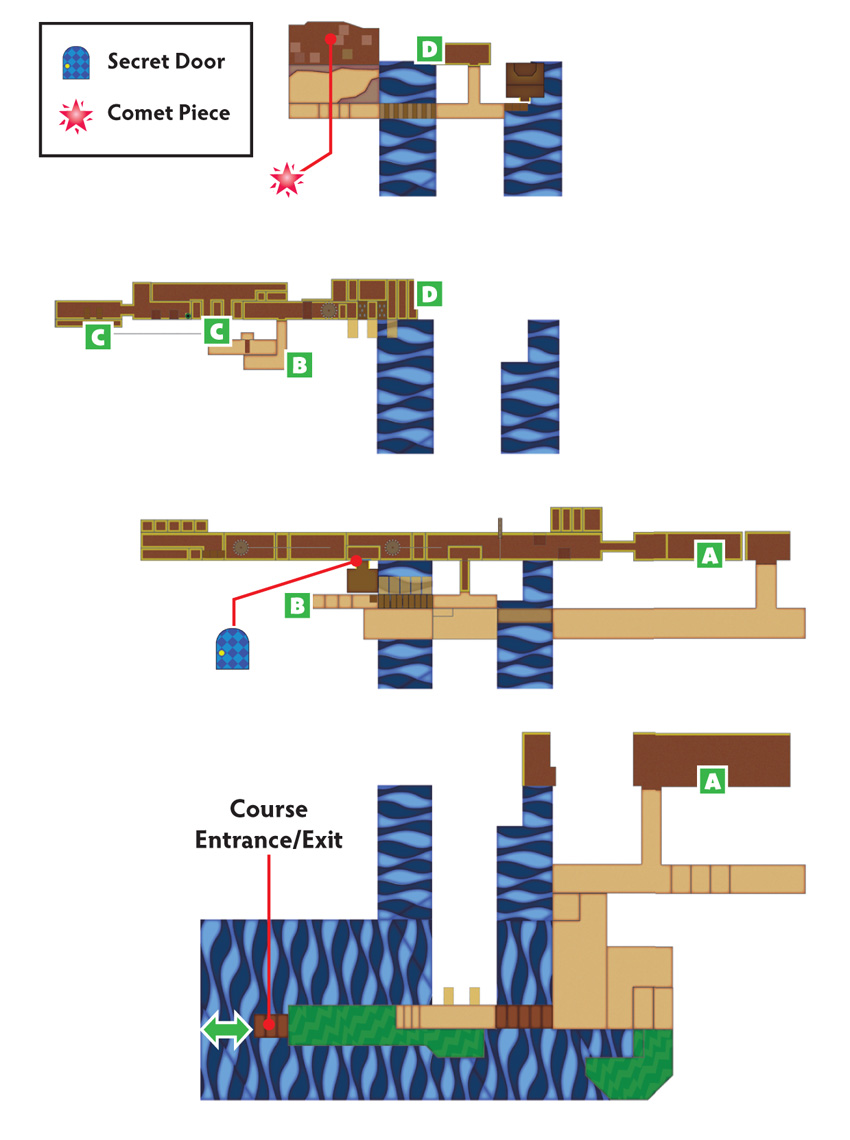
Overview
Prerequisites
To unlock this Course, you must collect the corresponding Comet Piece from the structure along the river’s loop in World 5-3. Before you enter the Course, make sure your Album contains a Secret Door sticker.
Objectives
This Course contains several objectives, all of which can be completed during a single visit:
- Collect the Megaflash Eekhammer sticker.
- Reposition the Ruin Slope scrap.
- Collect the Big Shiny Clone Jump sticker.
- Collect the Air Conditioner from the Secret Door.Collect the Megaflash Baahammer sticker.
- Collect the Megaflash Hurlhammer sticker.
- Collect the Megaflash Hopslipper sticker.
- Reposition the Bomp scrap.
- Collect and apply the Ruin Floor scrap.
- Collect the D-Cell Battery.
- Collect the Teapot.
- Free the Big Chain Chomp.
- Collect the Comet Piece to unlock World 5-5.
Important Items and Locations
| Description | Notes |
|---|---|
| Secret Door | The marked location is on a second-floor platform. |
| HP-Up Heart | None |
| Toad Rescue | None |
| Luigi Location | None |
| Wiggler Diary Entry | None |
| Things | The Air Conditioner is through the Secret Door. The D-Cell Battery is on the third-floor balcony. The Teapot is near the fourth-floor walkway, behind a waterfall. |
Recommended Tactics
This Course contains a variety of enemies, most of which you’ve faced before. Bring a large assortment of high-quality stickers to overcome each challenge you face.
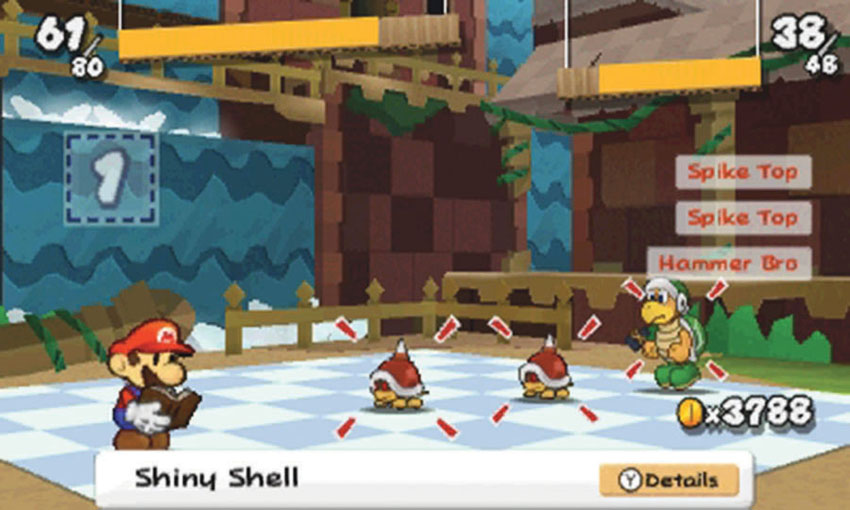
Familiar enemies like Hammer Bros, Spike Tops, Spear Guys, and Piranha Plants combine to make formidable teams. Keep plenty of powerful Jump-based stickers and Hammer-based stickers, and plenty of multi-target stickers as well. Burnhammers, Chillhammers, and Shells can end most of this Course’s battles with ease.
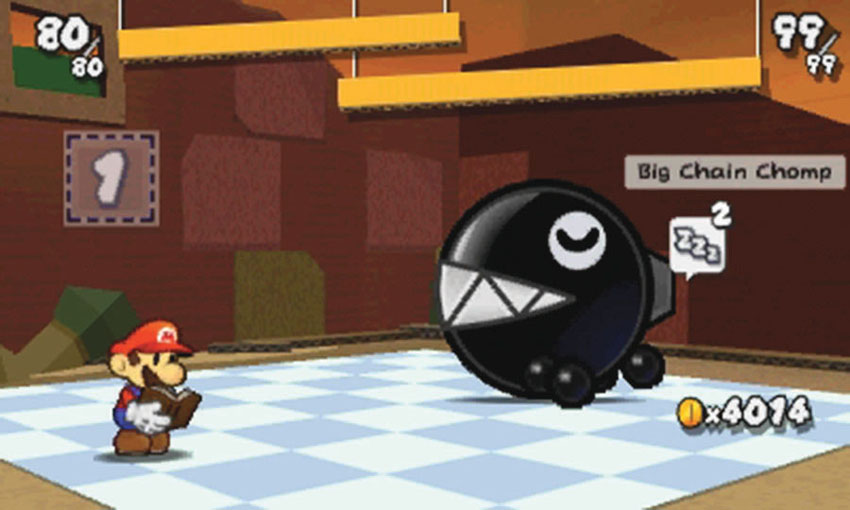
Rather than defeat the Big Chain Chomp, free this slumbering enemy from its bonds before you begin the battle. Use basic stickers to progress the battle until the Big Chain Chomp wakes up.
Ground Floor
.jpg)
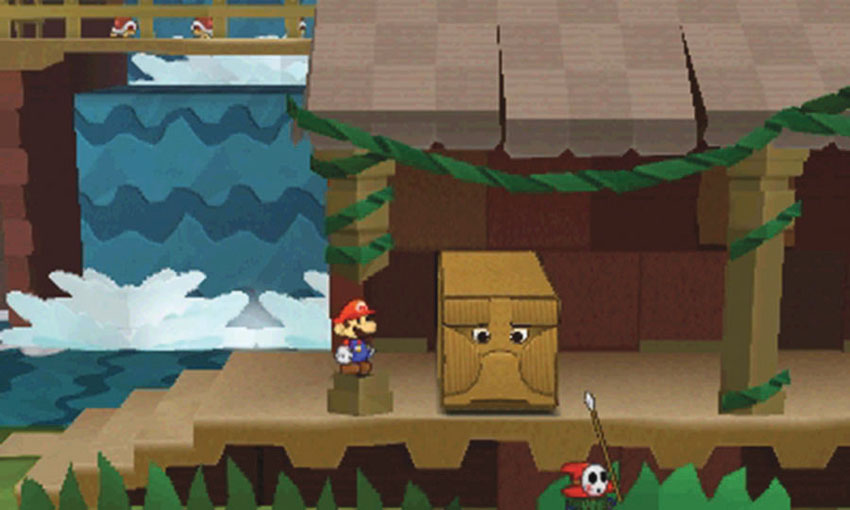
The Bomps hiding at Point 1 react to your presence. If you choose to follow the main path, move slowly to draw these creatures out from the wall before they can knock you off of the path.
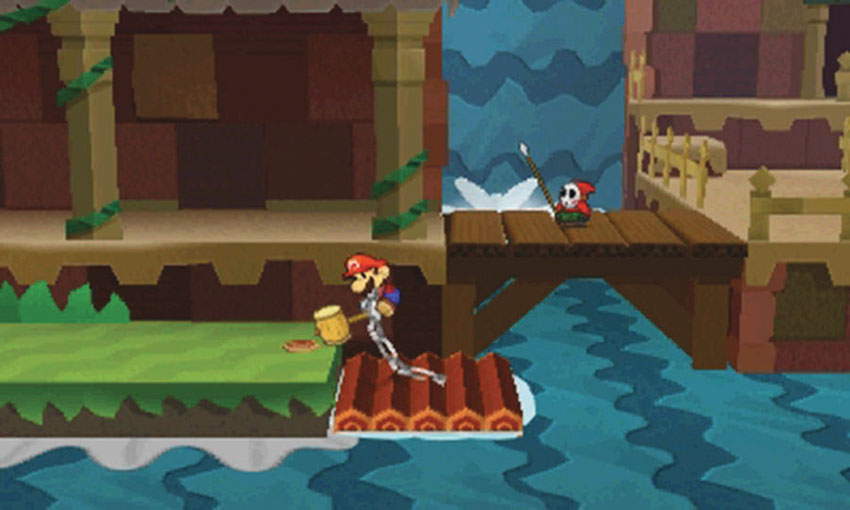
Instead of crossing the bridge at Point 2, use the raft chained to the grass. Hop on the raft, then use your Hammer to pound the stake into the ground.
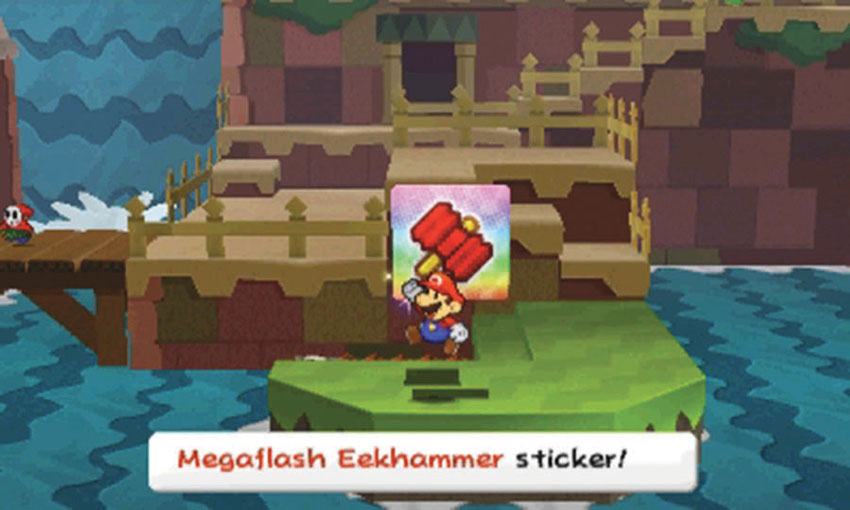
When the raft stops, search the nearby ? Block to find the Megaflash Eekhammer. When you’re ready, climb the steps and enter the ruins.
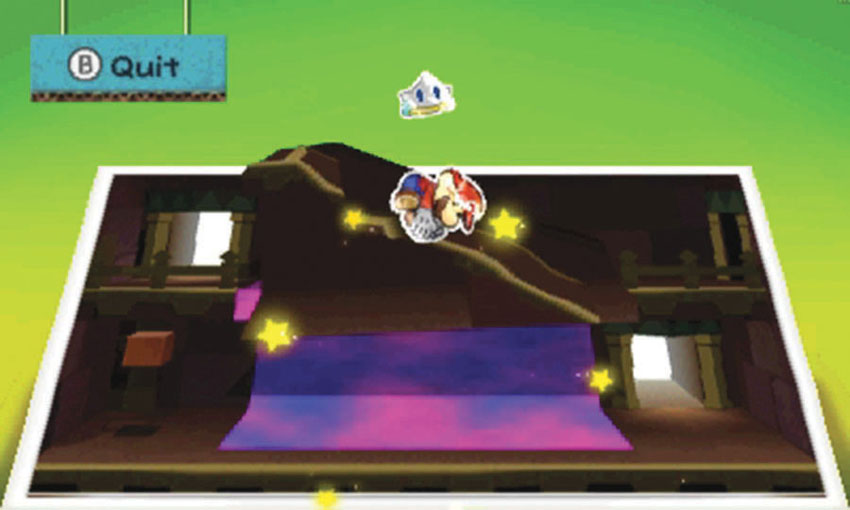
Once inside, activate the Paperize ability and peel the Ruin Slope scrap from the center of the room.
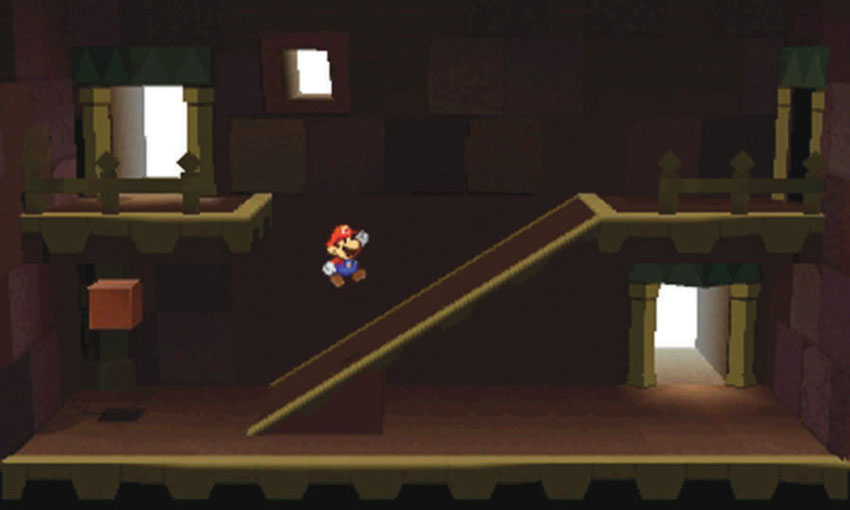
Reapply the scrap to create a ramp to the rest of the second floor.
Second Floor
.jpg)
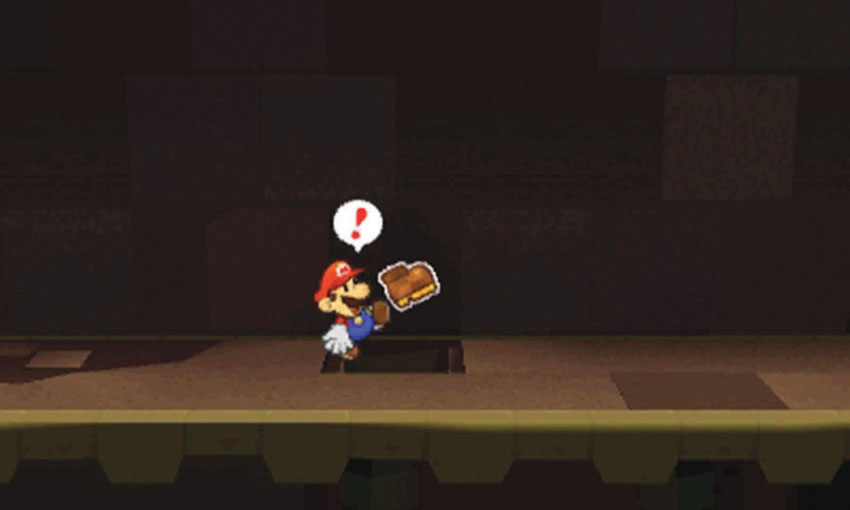
Drop down through one of the trapdoors at Point 1, then clear out the enemies near your landing spot. Move to the back wall and follow it to the right to find a hidden room in the darkened area. Search the ? Block to collect a Big Shiny Clone Jump sticker, then make your way back up to the main path.
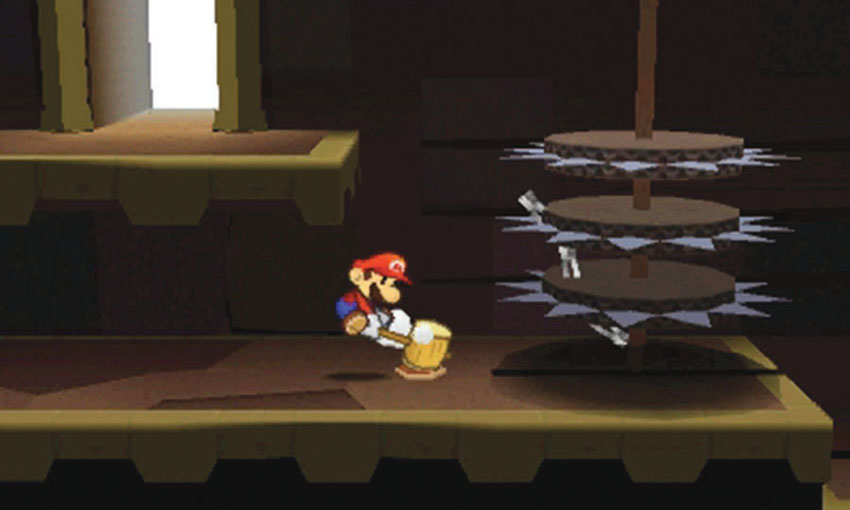
The saw blades at Point 2 are chained to the ground. Strike the stake with your Hammer to free them.
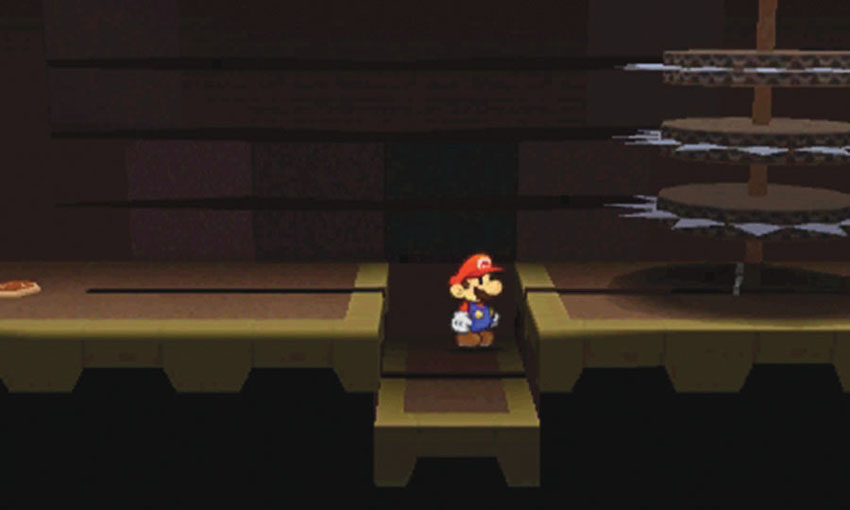
Follow the saw blades and drop into the small pit to the right. Wait for the blades to pass over you, then hop out of the pit and continue through the area.
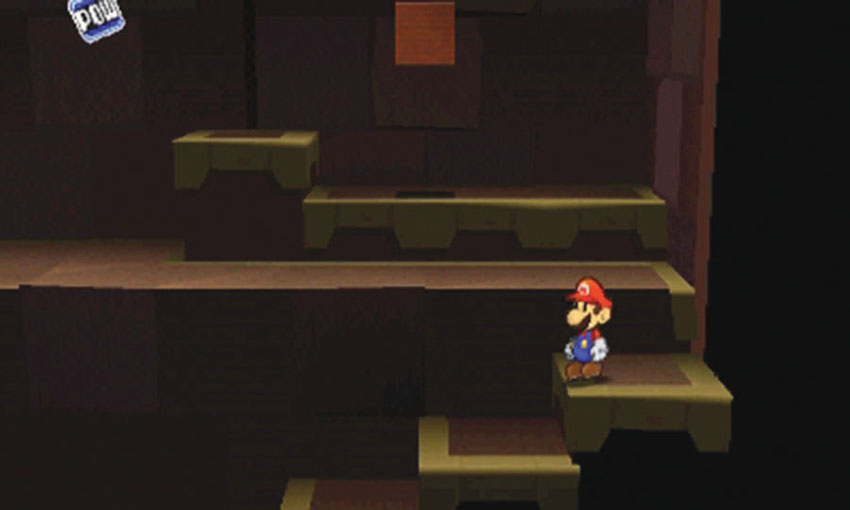
When you reach the end of the hall, move to the foreground to find some small steps. After you search the ? Block at the bottom of the steps, climb back up to the hallway.
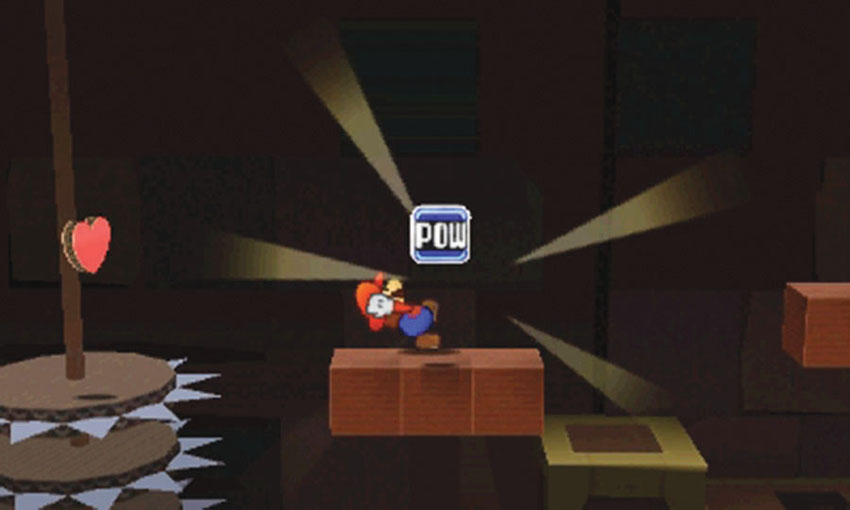
Stand below the Shiny POW Block sticker at Point 4 and jump to reveal the Hidden Blocks above you. Climb onto the Hidden Blocks, peel the sticker, and wait for the saw blades to approach. When you’re ready, jump on the saw blades and ride to the next platform.
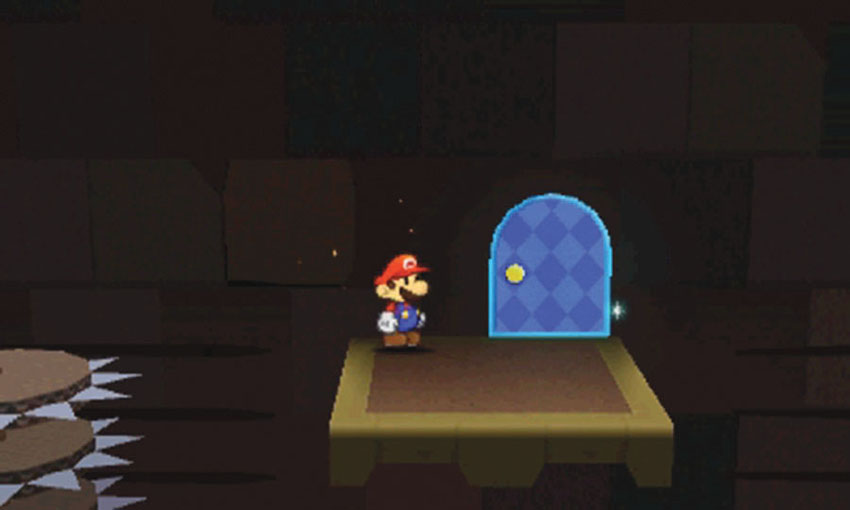
When you reach the next platform, hop off of the saw blades and apply a Secret Door sticker to the marked location. Head inside to find the Air Conditioner.
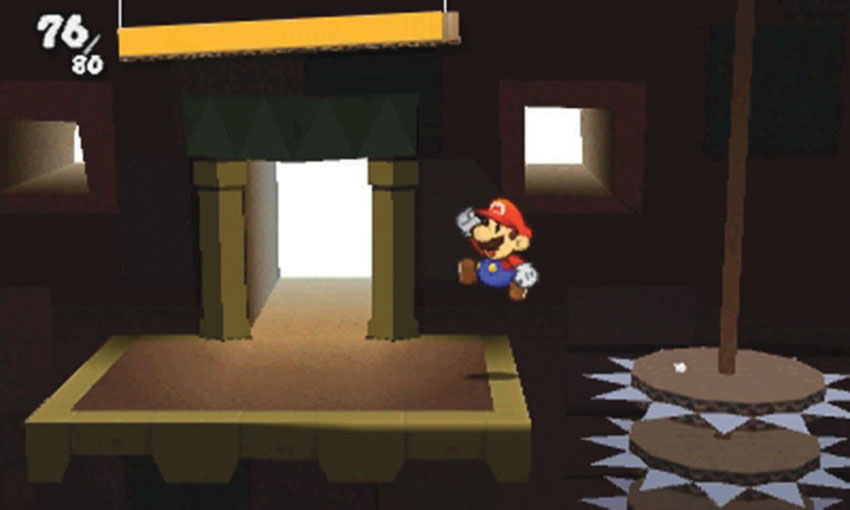
Hop onto the next set of saw blades and ride to the platform at Point 6. When you’re ready, follow the path to the walkway outside.
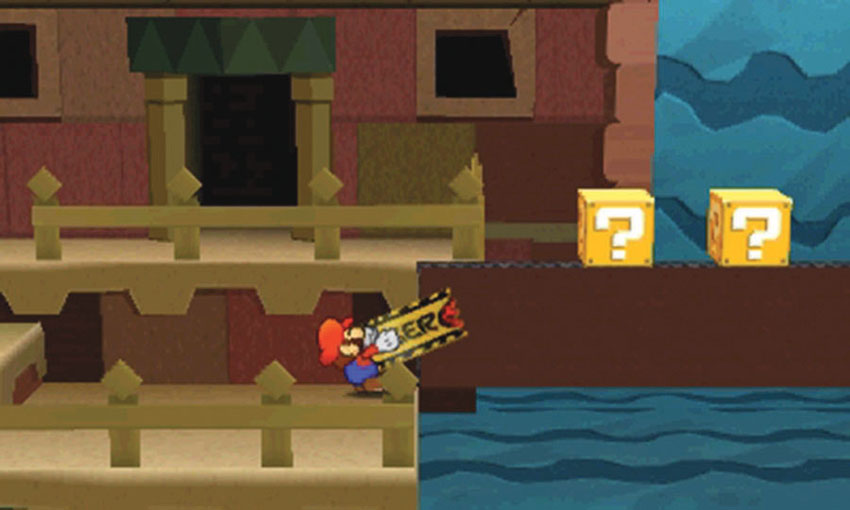
Peel the Bowser tape at Point 7 to create a bridge over the water. Search the nearby ? Blocks and, if needed, use the HP Block to the right.
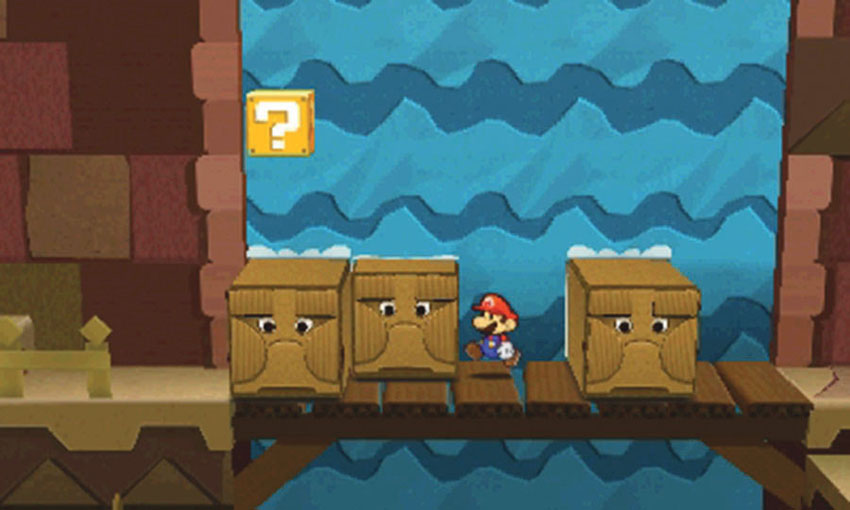
When you’re ready, climb back up to the walkway and follow the path to the left. As you make your way across the bridge at Point 8, avoid the Bomps that emerge from the waterfall. Continue up the steps to reach the third floor.
Third Floor
.jpg)
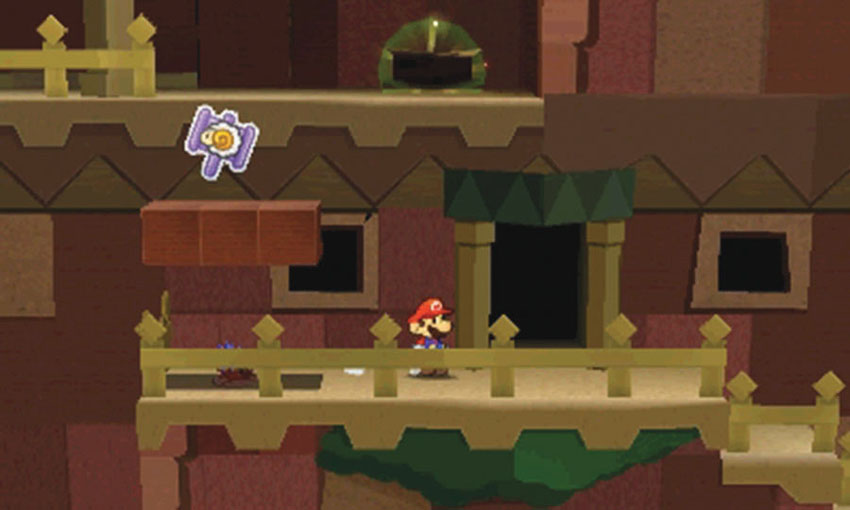
Before you enter the third-floor hallway, reveal the Hidden Blocks above the blue flower.
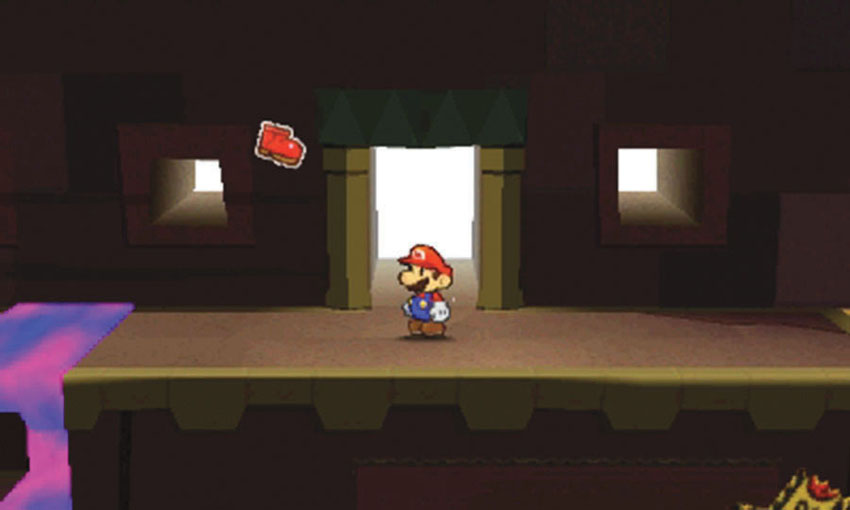
When you enter the third-floor hallway, There’s a Flashy Infinijump sticker on the back wall. You can’t reach the sticker at this time, but remember to collect it before you complete your visit. Before you can follow the path to the left, you must recover the Ruin Floor scrap.
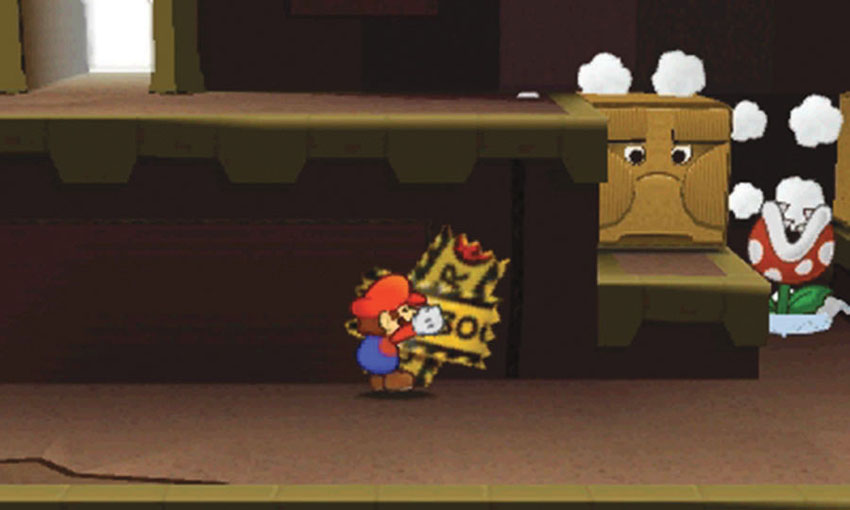
Drop down from the main path and peel the Bowser tape to reveal a set of stairs. A Spear Guy patrols the area, so watch out for incoming attacks.
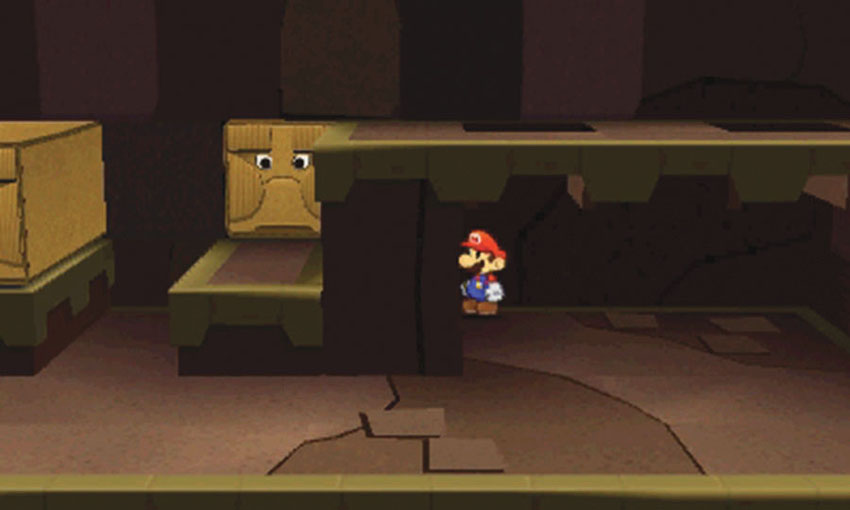
Move past the Bomps along the back wall and clear the area of enemies. Duck under the main path and enter the warp pipe hidden just past the last Bomp.
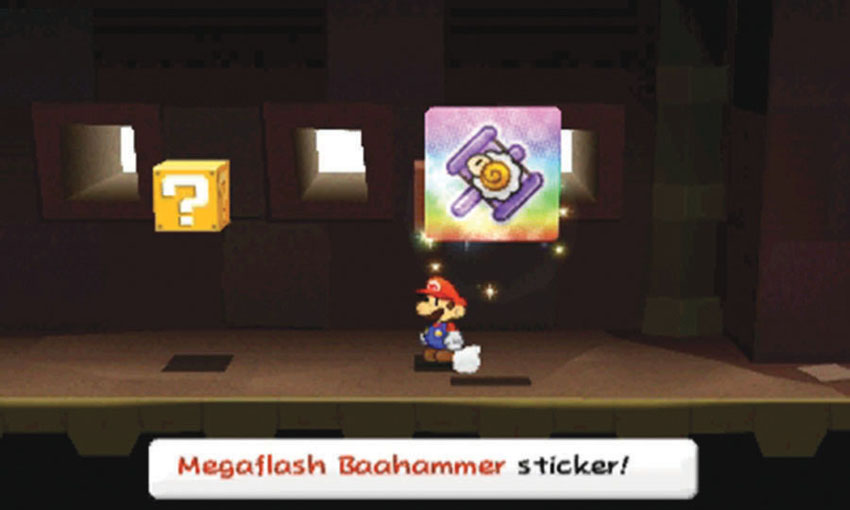
When you emerge from the warp pipe, search the nearby ? Blocks to find a Megaflash Baahammer, a Megaflash Hurlhammer, and a Megaflash Hopslipper! After you collect all three stickers, use the warp pipe to leave the hidden area.
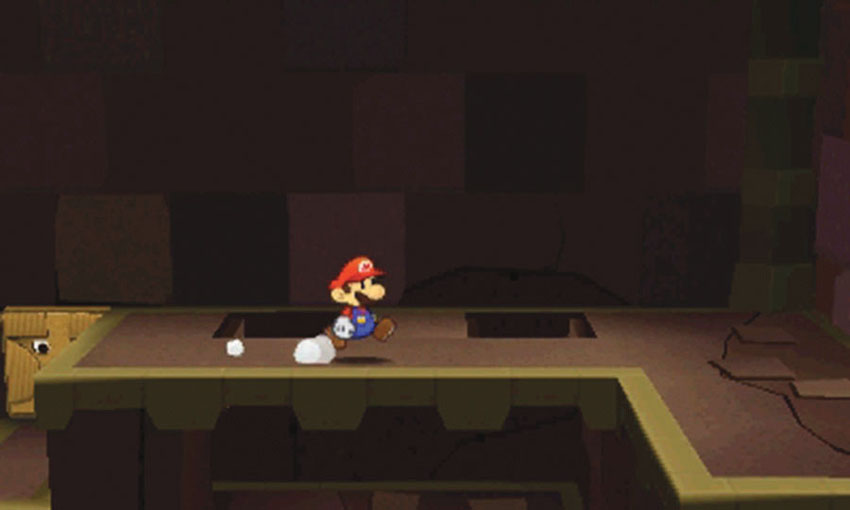
When you’re ready, climb back up to the main path and hop along the Bomps as they emerge from the wall. Keep moving to the right to find a small room.
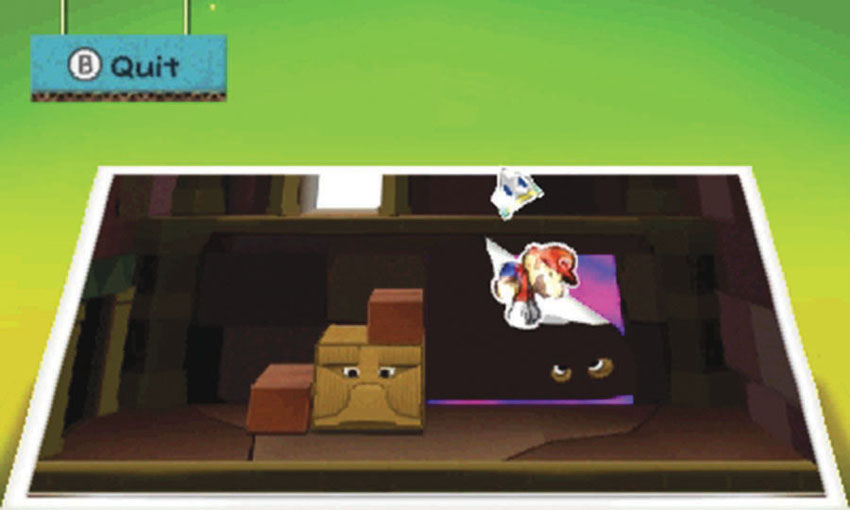
The small room contains two Bomps, but one of them is stuck in the wall. Activate the Paperize ability and peel the Bomp scrap from the wall.
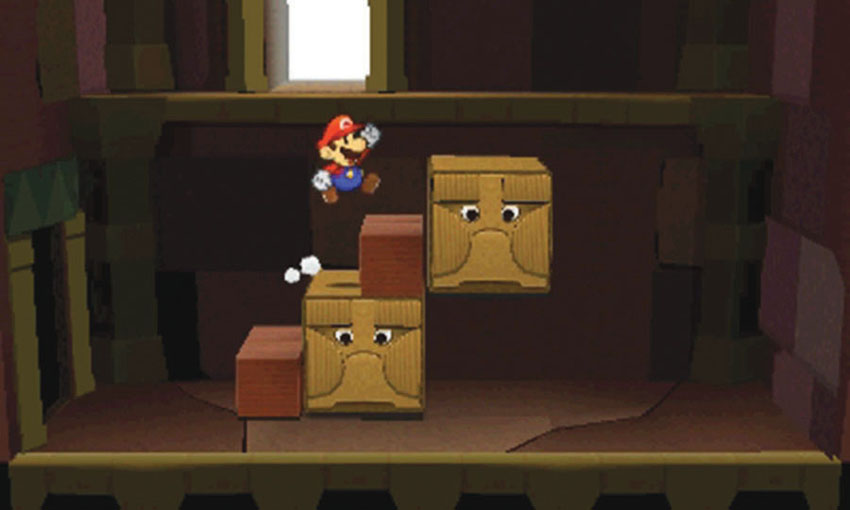
Reapply the Bomp scrap, climb up to the door at the top of the room, and head outside.
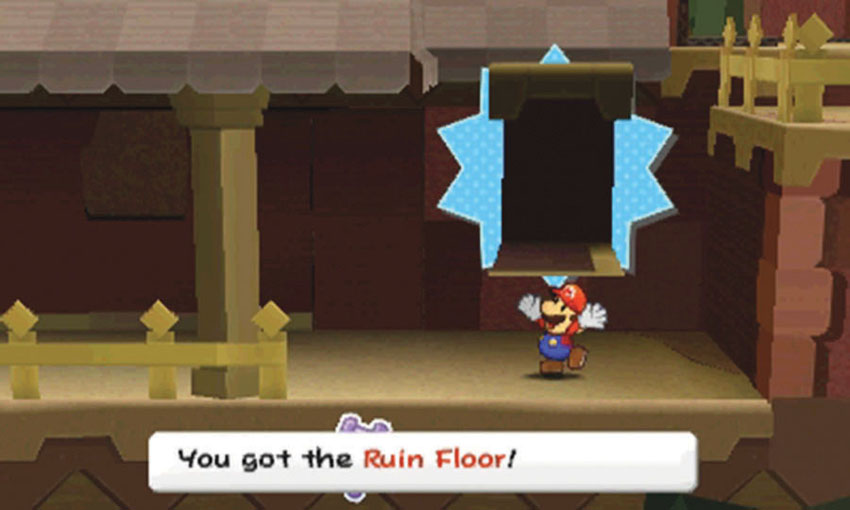
After you emerge on the balcony, move to the right to collect the Ruin Floor scrap.
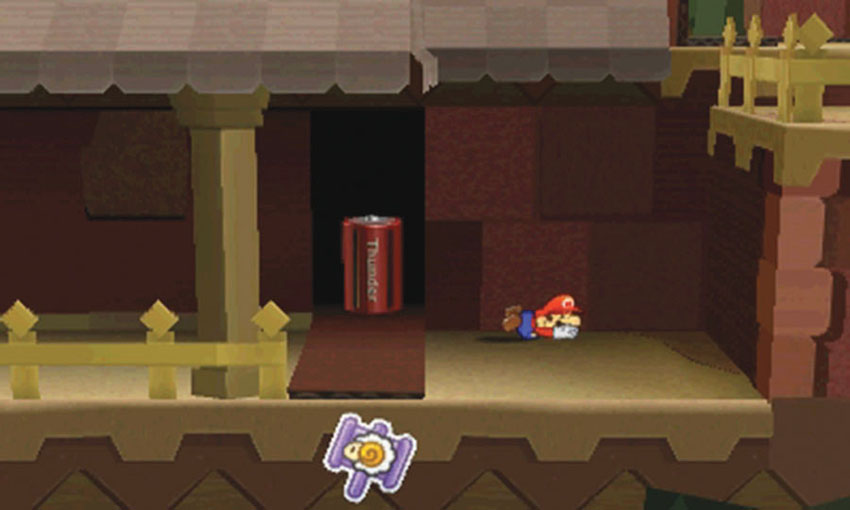
One of the panels on the back wall is loose. Strike the panel with your Hammer to reveal the D-Cell Battery. After you collect it, drop down to the Hidden Blocks below you and grab the Big Shiny Baahammer. Hop down the steps and reenter the third-floor hallway.
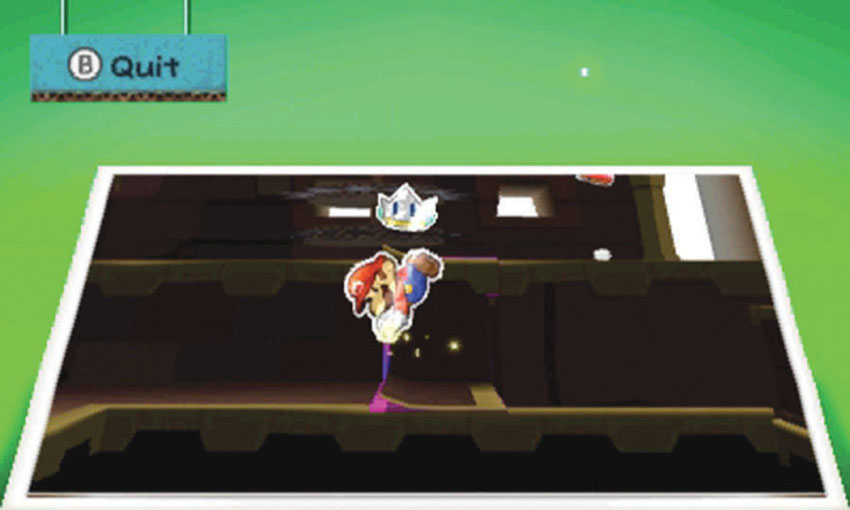
Use the Ruin Floor scrap to patch the hole at Point 7.
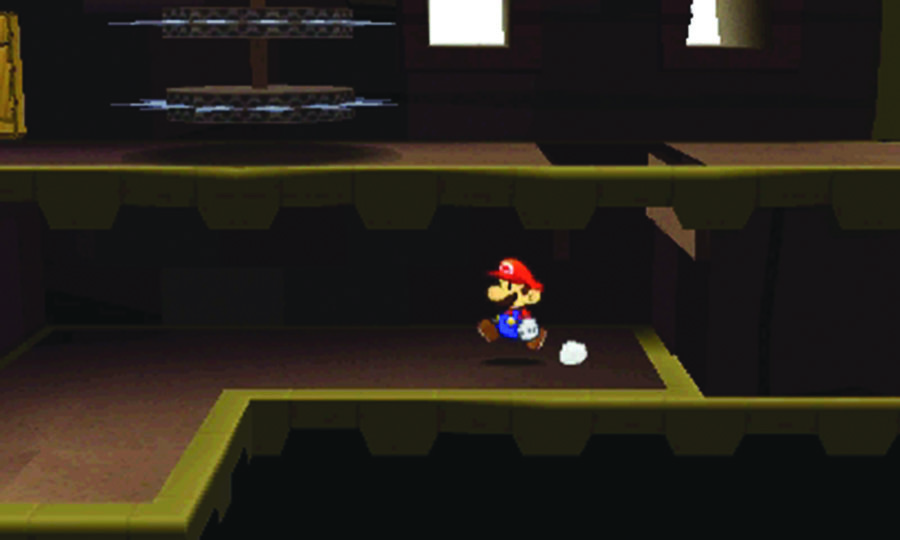
Use your Hammer to smash through the newly patched floor and then follow the path to the left.
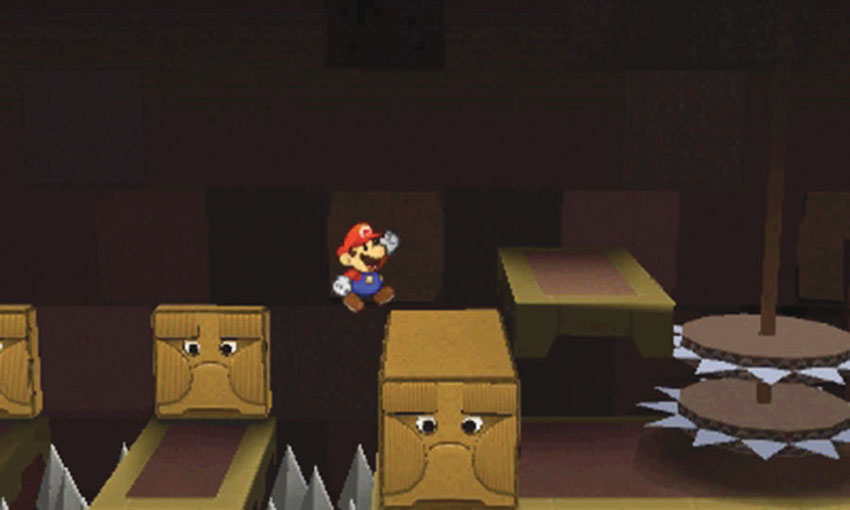
Climb the steps up to the main path, then double back across the Bomps in the back wall.
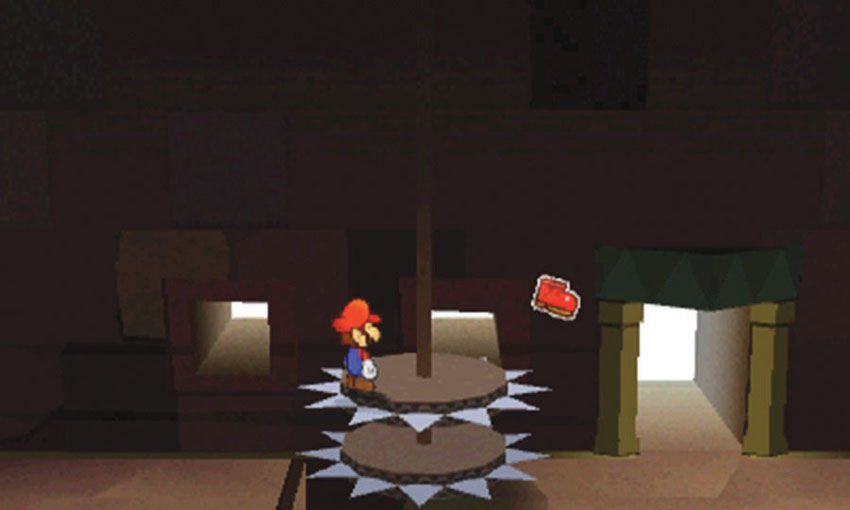
Hop onto the saw blades and ride over to grab the Flashy Infinijump sticker to the right.
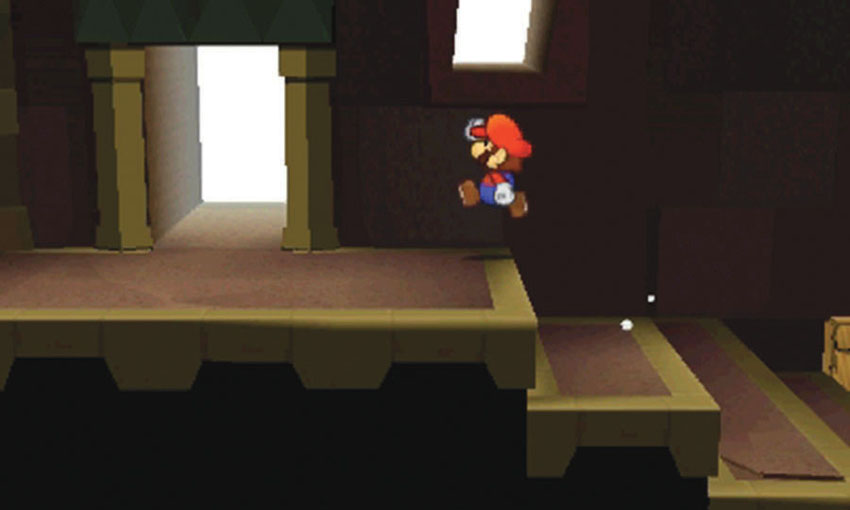
When you’re ready, move back to the left and exit through the door at the top of the steps to reach the fourth floor.
Fourth Floor
.jpg)
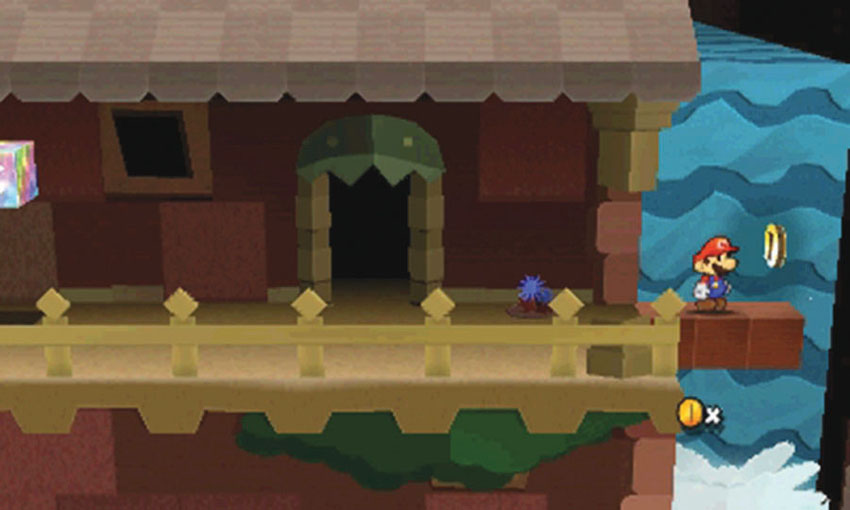
After you step onto the fourth-floor walkway, use your Hammer to reveal the Hidden Blocks to the right. Follow the Hidden Blocks to the center of the waterfall, then move toward the background to find the Teapot in a hidden area.
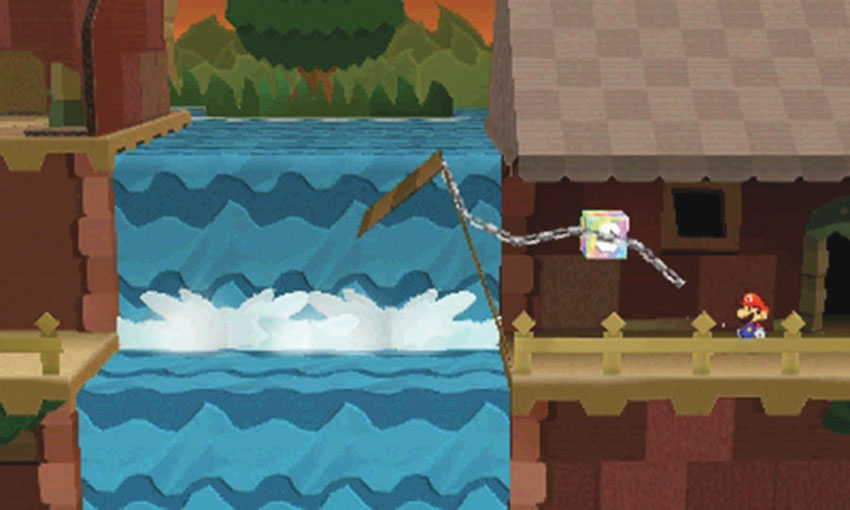
There’s a stake at Point 2. Strike it with your Hammer to reveal the bridge to the left.
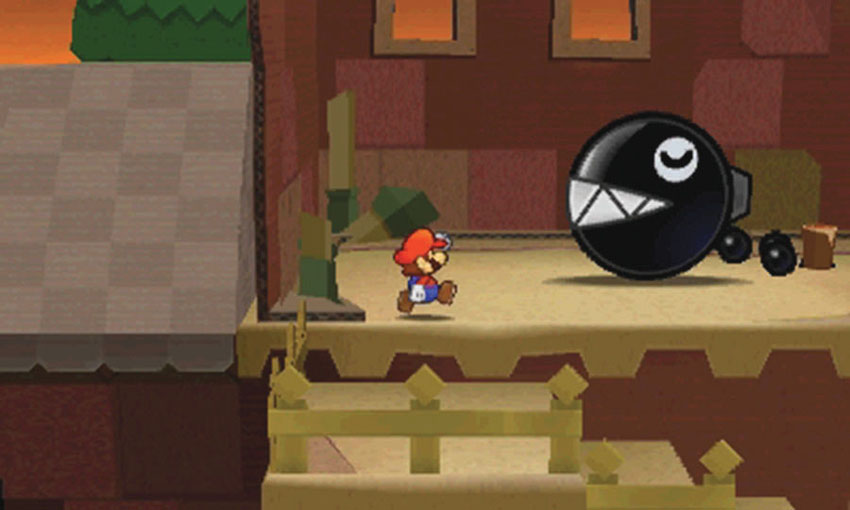
Climb the steps to find the Big Chain Chomp at Point 3. Free the sleeping enemy to reveal the Course’s Comet Piece.
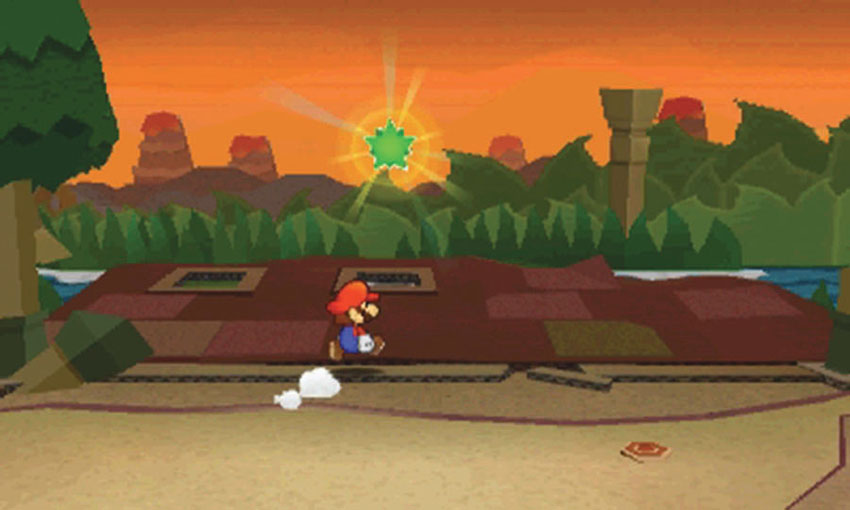
As the Big Chain Chomp thrashes around you, it topples a nearby wall. After the creature leaves the area, move toward the background and collect the Comet Piece to end your visit.
Sticker Comet Piece: Unlocking World 5-5
This Course contains only a single piece of the Sticker Comet. To unlock World 5-5, collect the Comet Piece near the Big Chain Chomp.
World 5-5: Rugged Road
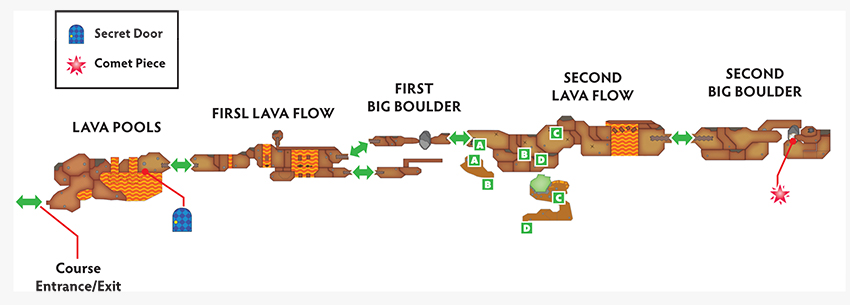
Overview
Prerequisites
To unlock this Course, you must collect the Comet Piece from World 5-4. Before you enter this Course, make sure your Album contains a Secret Door sticker and a cold-based Thing Sticker.
Essential Thing Stickers
| Name | Thing Location | Notes |
|---|---|---|
| Shaved Ice | World 2-4 | Needed to freeze the lava pools. |
Objectives
This Course contains several objectives, all of which can be completed during a single visit:
- Freeze the lava pool with a cold-based Thing Sticker.
- Collect the Turkey.
- Collect the Basin from the Secret Door.
- Collect the Megaflash Burnhammer sticker.
- Swap the Mountain Hole scrap and the Mountain Boulder scrap.
- Drop the first big boulder into place.
- Collect the Car Sponge.
- Collect the Megaflash Slaphammer sticker.
- Find Luigi.
- Collect and apply the Cracked Boulder scrap.
- Drop the second big boulder into place.
- Collect the Megaflash Iron Jump sticker.
- Reposition the Big Boulder scrap.
Important Items and Locations
| Description | Notes |
|---|---|
| Secret Door | The marked location is in the large lava pool. |
| HP-Up Heart | None |
| Toad Rescue | None |
| Luigi Location | Luigi is in the hot springs near the second lava flow. |
| Wiggler Diary Entry | None |
| Things | The Turkey is in the small lava pool. The Basin is through the Secret Door. The Car Sponge is hidden near the first lava flow. |
Recommended Tactics
This Course contains some fairly tough enemies. Bring a wide variety of powerful stickers to deal with Fire Bros, Ice Bros, Fire Piranhas, Shiny Paratroopas, and Bony Beetles.
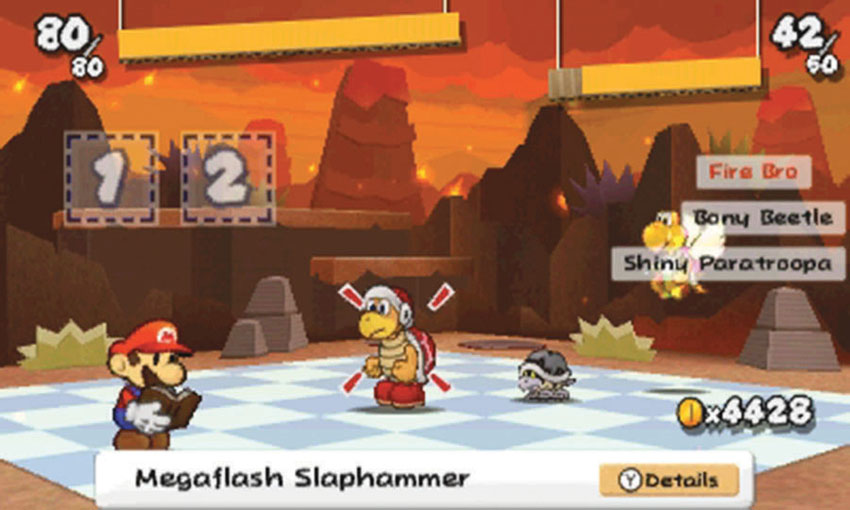
Megaflash stickers are certainly effective, but your Album can only accommodate so many. Adding to the challenge, many of the Course’s enemies are immune to at least one type of attack. Shiny Paratroopas can avoid many of your strongest multi-target stickers. Bony Beetles have retractable spikes that counter most Jump-based attacks. Several enemies are immune to fire-based damage.
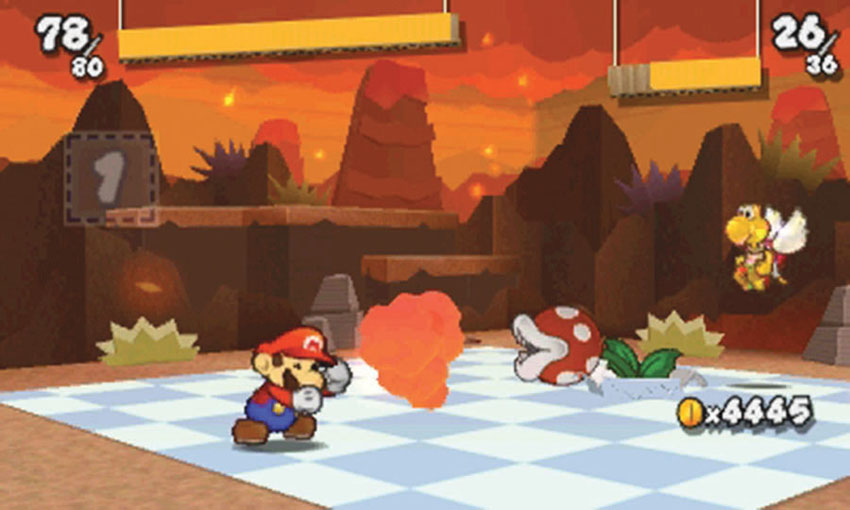
Before you use any fire-based stickers, Jump-based stickers, or Hammer-based stickers, make sure you evaluate each enemy in the group. Use the Battle Spinner to select multiple, high-quality stickers on a single turn. It’s best to bring a large assortment of stickers, but a combination of Shiny Shells and Shiny Hopslippers will prove effective against most groups.
Lava Pools
.jpg)
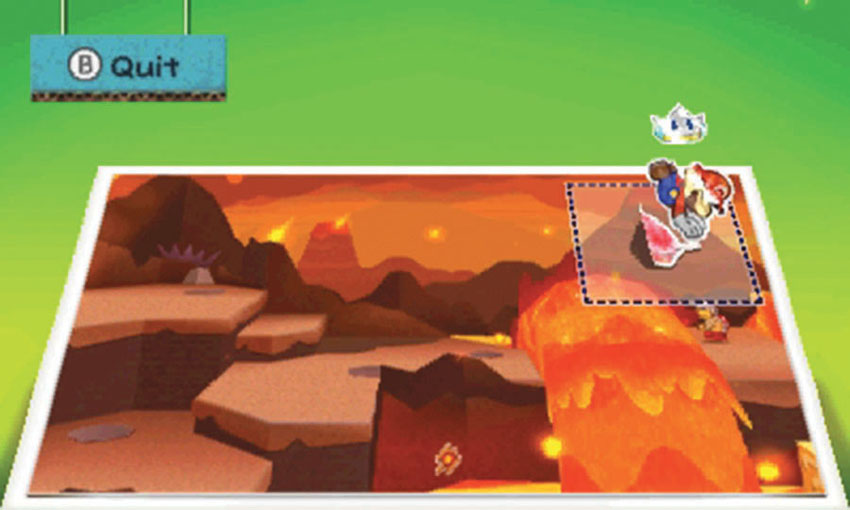
When you first visit this Course, the lava pools are blocking your path. Activate the Paperize ability and apply the Shaved Ice sticker (or any cold-based Thing Sticker) to the background.
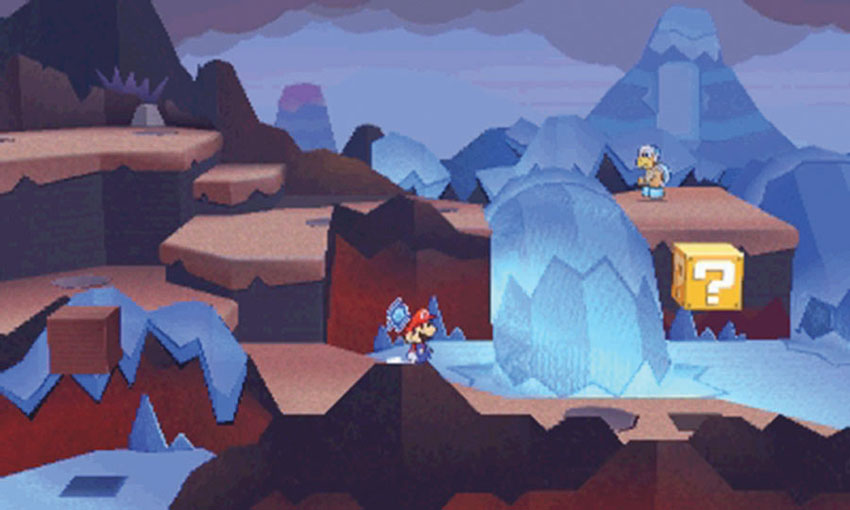
After the lava pools freeze, you can safely explore the area.
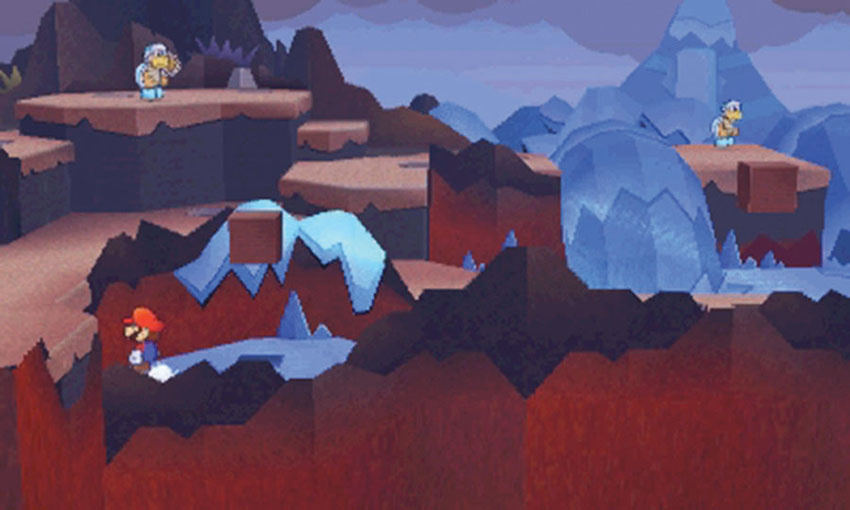
The small pool serves as an entrance to a hidden area. Drop into the pool and search the ? Block, then move to the left to find the Turkey in a hidden area.
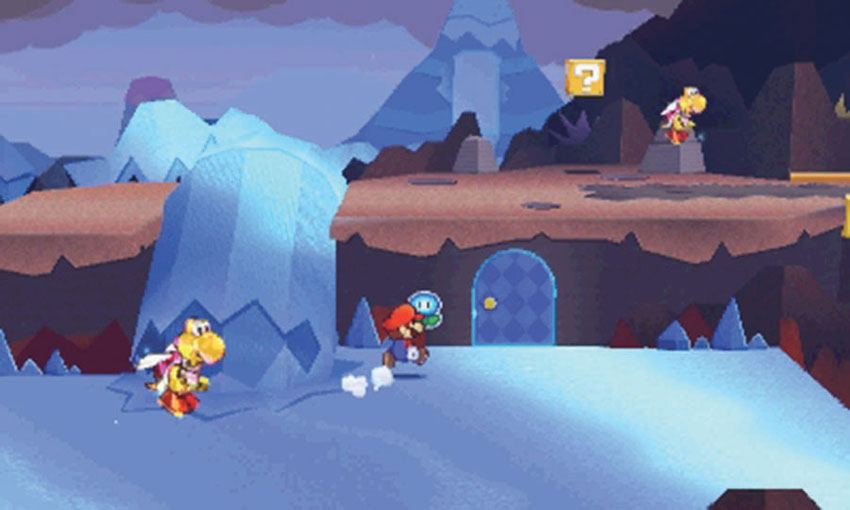
Apply a Secret Door sticker to the marked location near the large pool’s right edge. Head inside and collect the Basin.
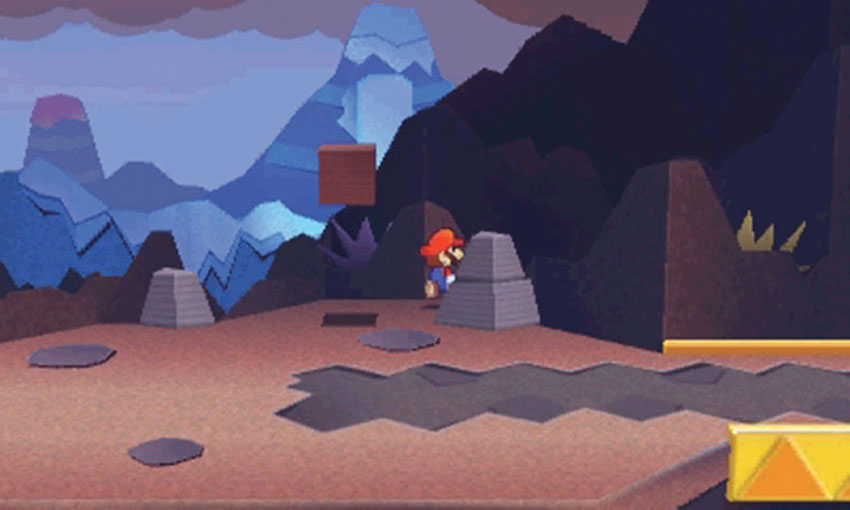
There’s a hidden area near Point 4. To find it, slip behind the rock in the background.
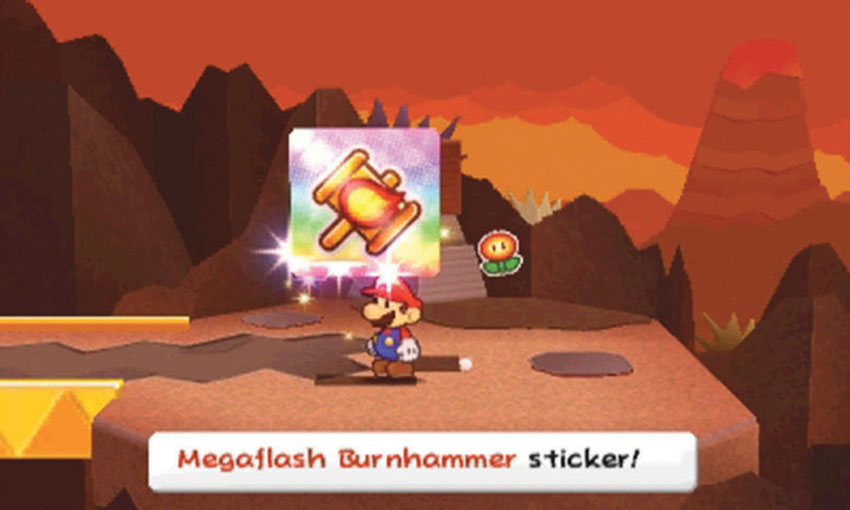
Search the ? Block in the hidden area to find a Megaflash Burnhammer. After you collect it, return to the main path and continue to the first lava flow.
First Lava Flow—Part 1
.jpg)
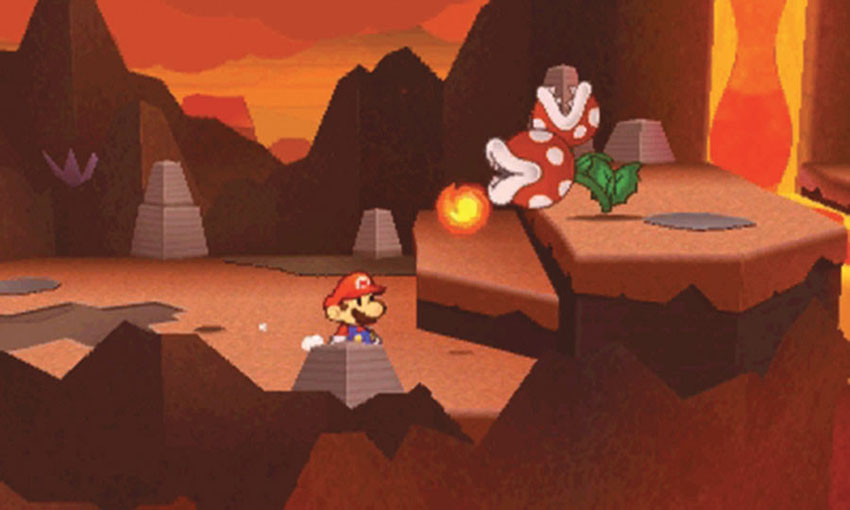
The Fire Piranhas at Point 1 attack while you approach. Dodge the incoming fireballs and clear these troublesome enemies from your path.
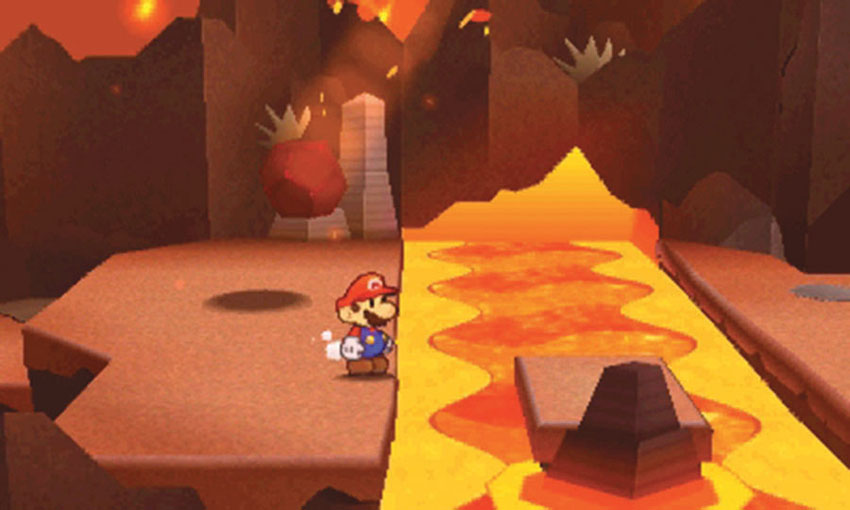
As you move through the area, chunks of molten rocks fall toward you. Watch for the shadow that indicates each point of impact. Keep moving to avoid taking damage.
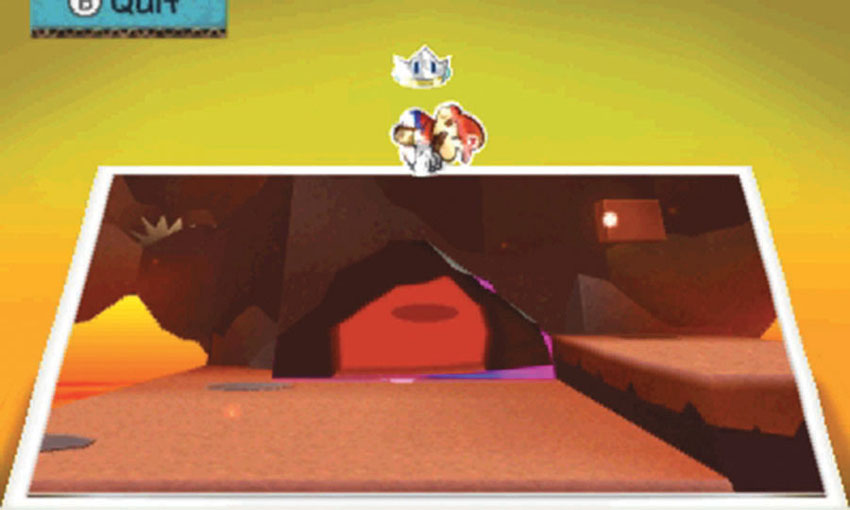
When you reach Point 3, activate the Paperize ability and peel the Mountain Hole scrap out of the background.
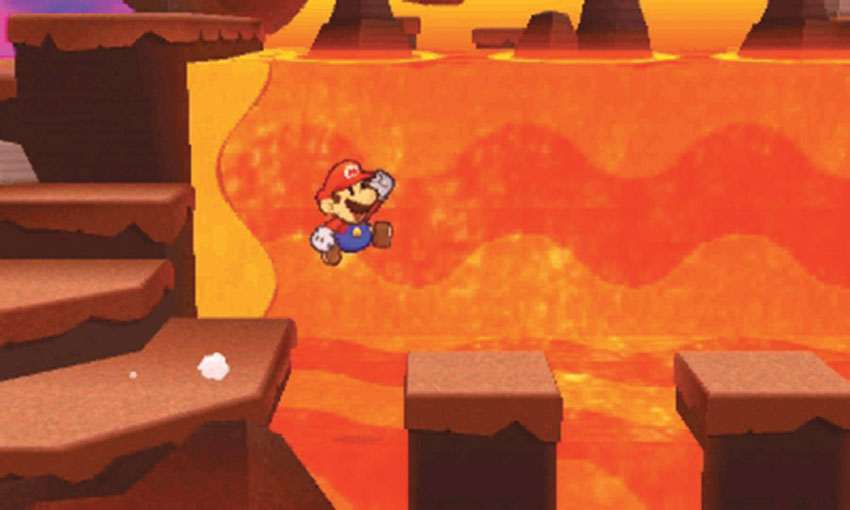
After you collect the scrap, move to the foreground and climb down to the lower path. Hop across the lava and follow the path to the first big boulder.
First Big Boulder—Part 1
.jpg)
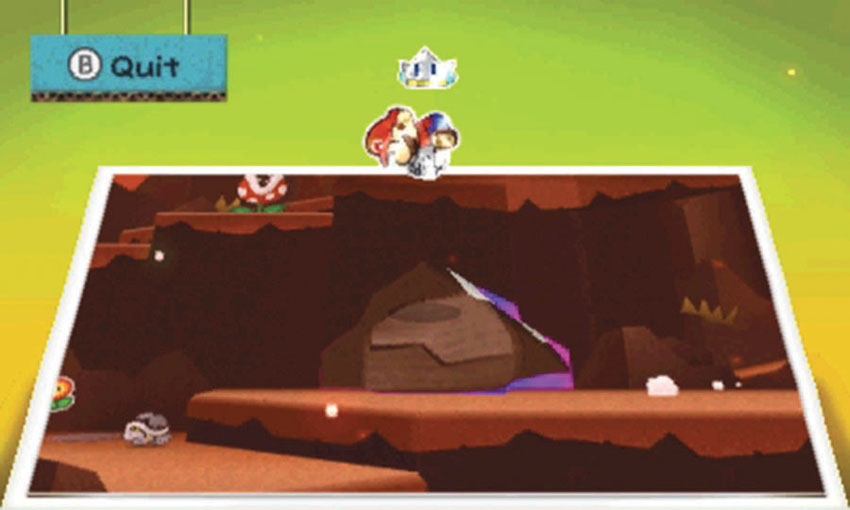
When you reach Point 1, activate the Paperize ability and peel the Mountain Boulder scrap from the wall.
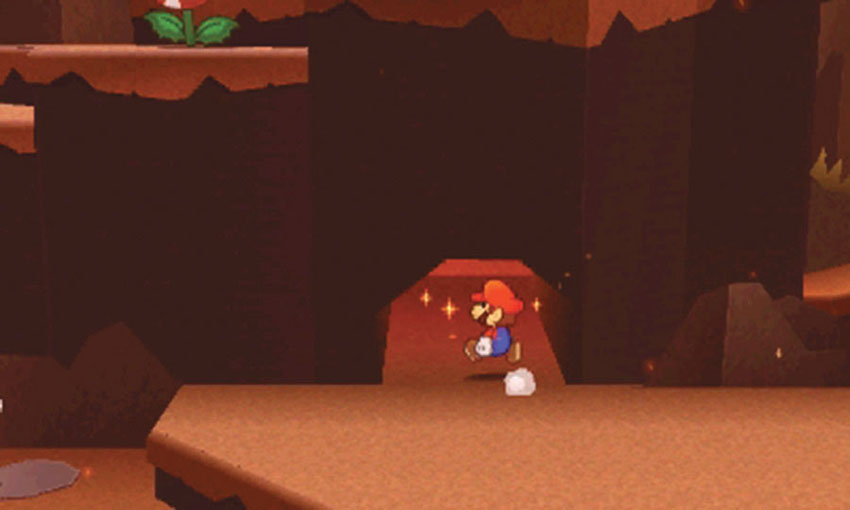
Apply the Mountain Hole scrap to the open spot to create a new path, then follow it through the mountain.
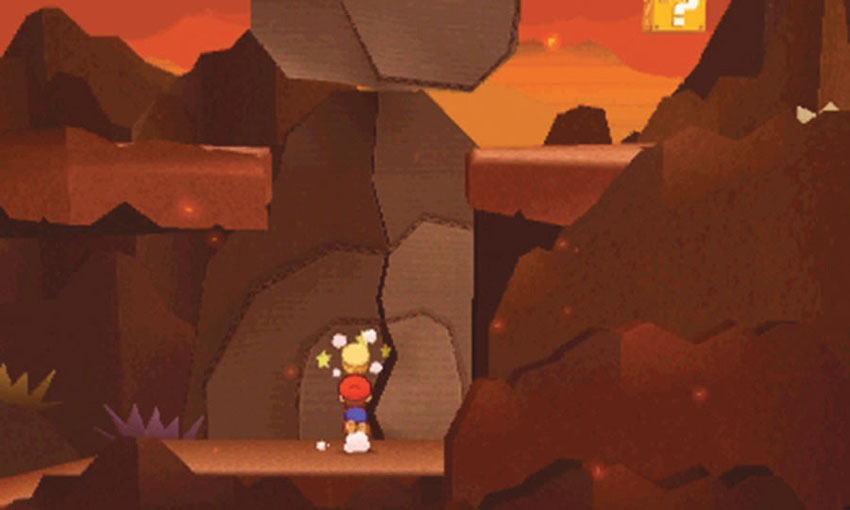
When you reach the cracked rock formation at the end of the path, strike it with your Hammer. When the formation splits, the first big boulder drops down to create a bridge above you. Turn around and follow the path back to the first lava flow.
First Lava Flow—Part 2
.jpg)
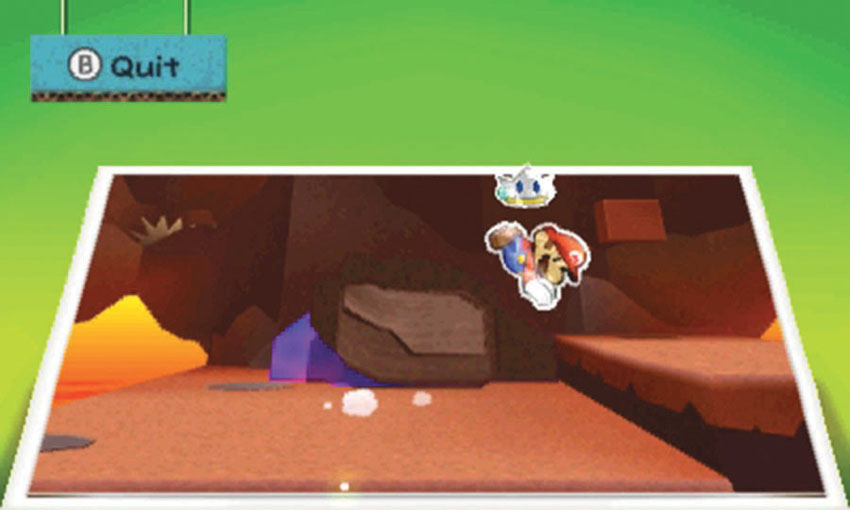
Climb back up to the main path and apply the Mountain Boulder scrap to the space left by the Mountain Hole scrap.
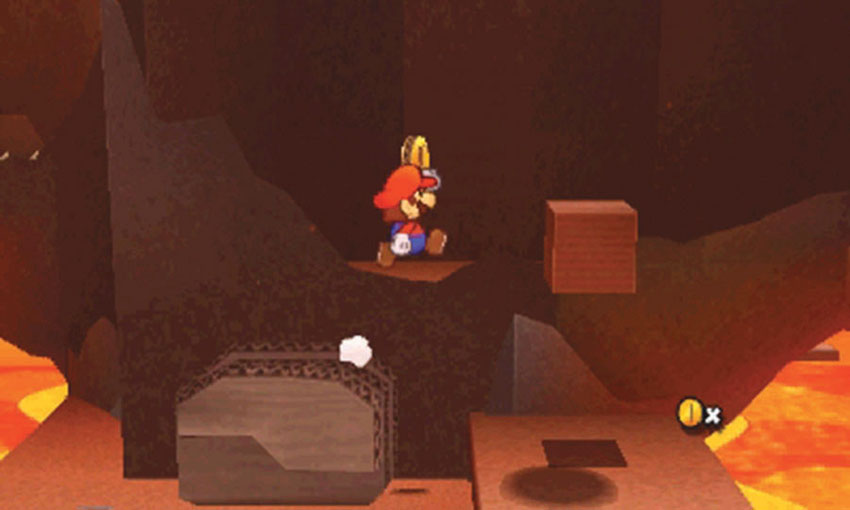
After the scrap is in place, hop onto the boulder and up to the ledge.
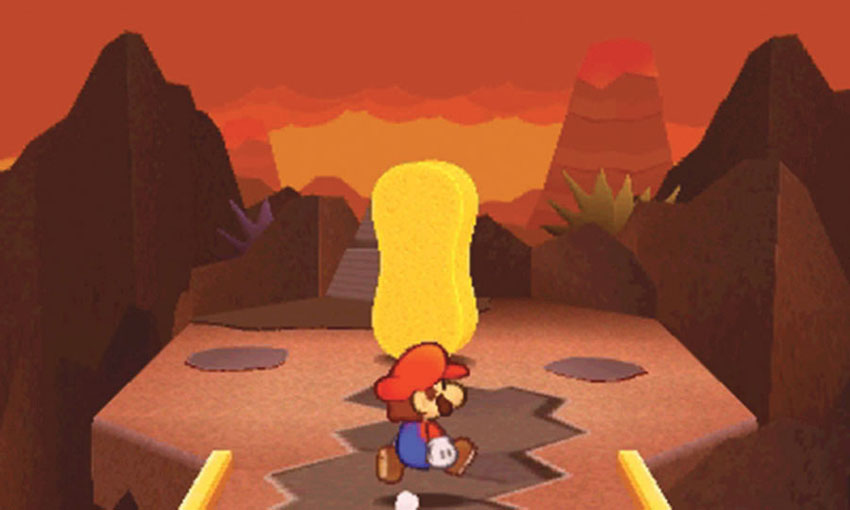
Follow the ledge to the left to find a hidden area containing the Car Sponge.
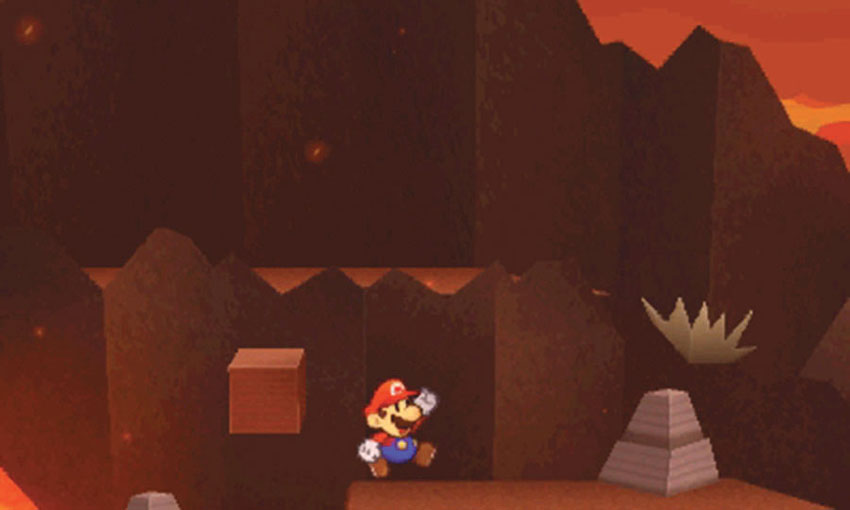
After you collect the Car Sponge, leave the hidden area and follow the ledge across the lava flow. Hop down from the ledge and search the area. When you’re ready, follow the main path back toward the first big boulder.
First Big Boulder—Part 2
.jpg)
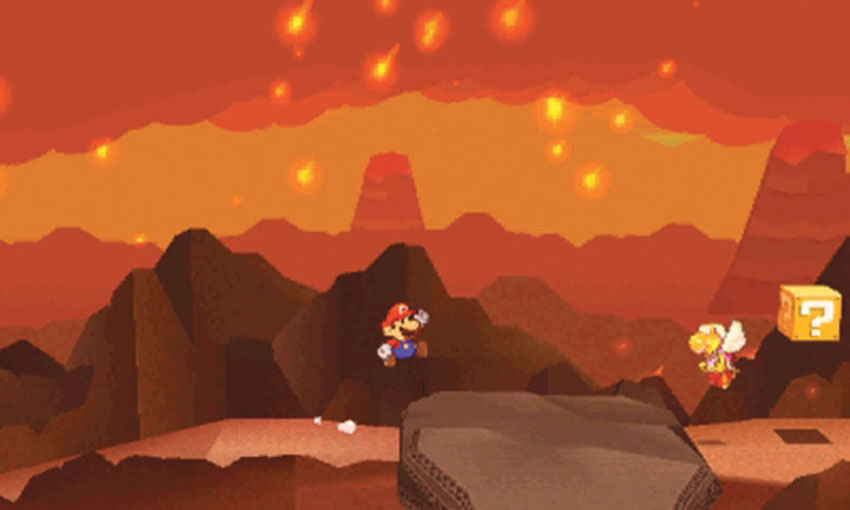
Follow the path across the first big boulder and continue through the area.
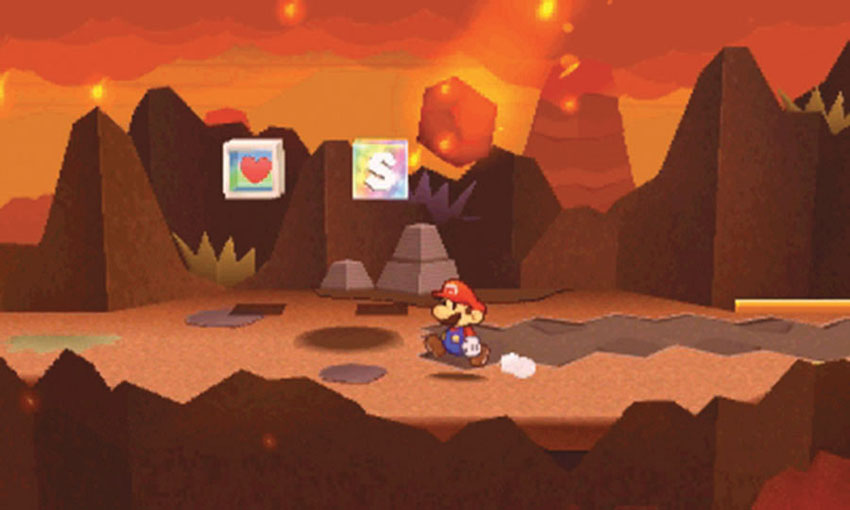
Be particularly mindful of the falling rocks when you use the HP Block and the Save Block at Point 2—draw a molten rock away from the Blocks, then run in and use them before the next one arrives. When you’re ready, follow the path to the second lava flow.
Second Lava Flow
.jpg)
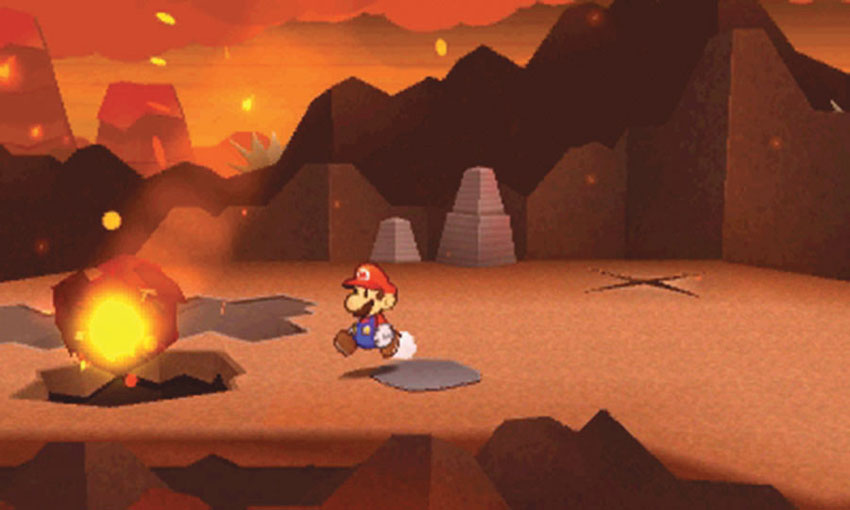
Some of the terrain around the second lava flow is destructible. Stand on the X at Point 1 and wait for a molten rock to approach. When the shadow appears, move away and wait for the rock to tear a hole in the ground.
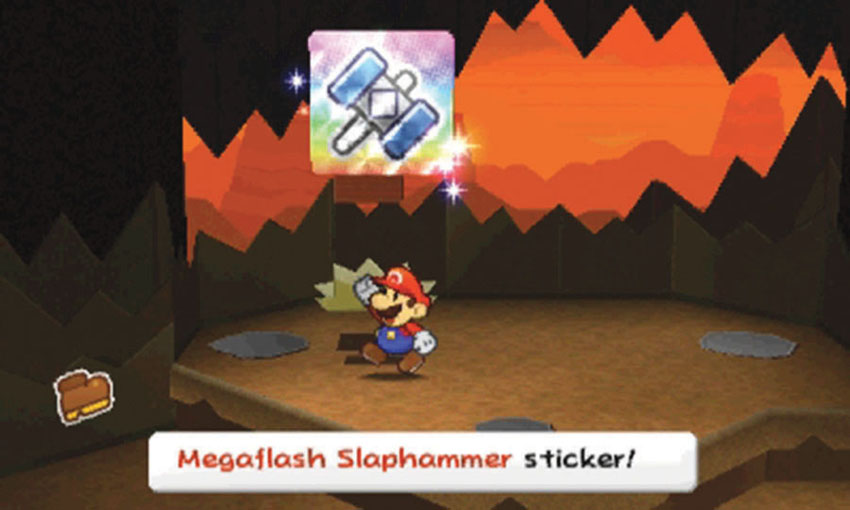
Drop down through the hole to find a hidden area. Search the ? Block to collect a Megaflash Slaphammer sticker.
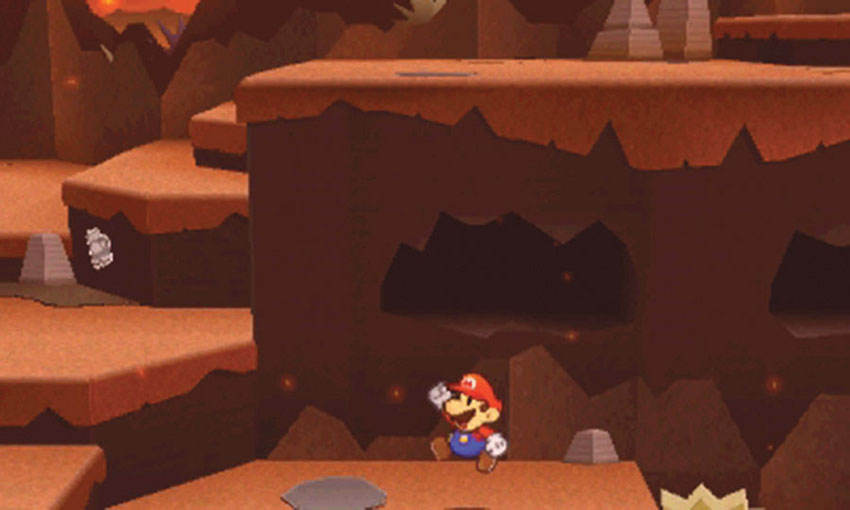
When you leave the hidden area, you emerge at Point 2. Search the area for stickers, then climb back up to the main path.
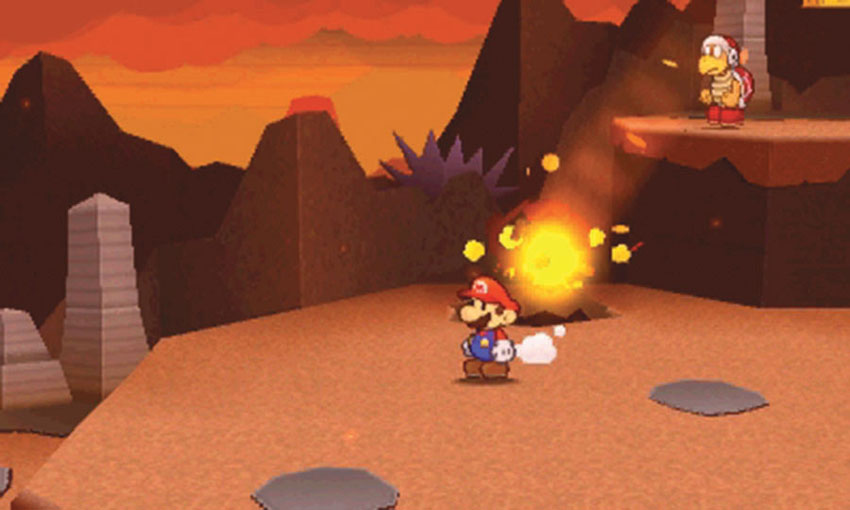
There’s another hidden area below Point 3. Draw another molten rock to the X below the Fire Bro’s ledge. After the impact, drop down to find the hot springs.
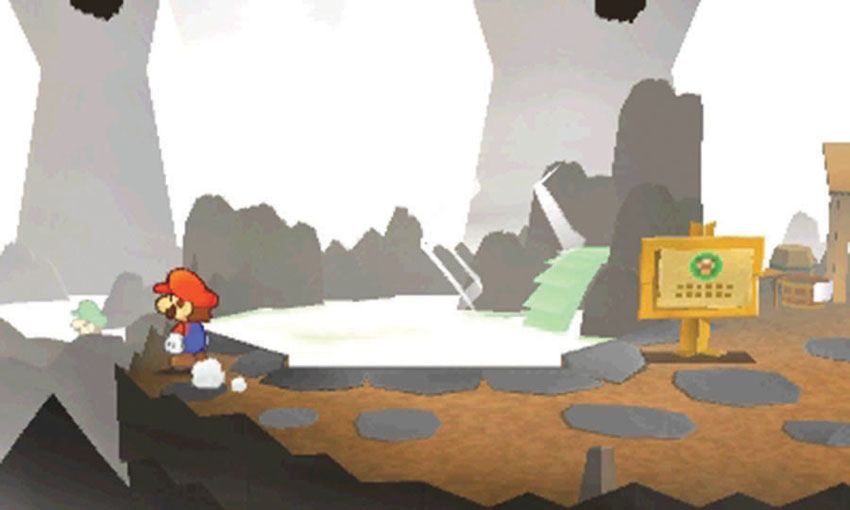
After you land, investigate the hot springs to find Luigi sitting in the small pool to the left.
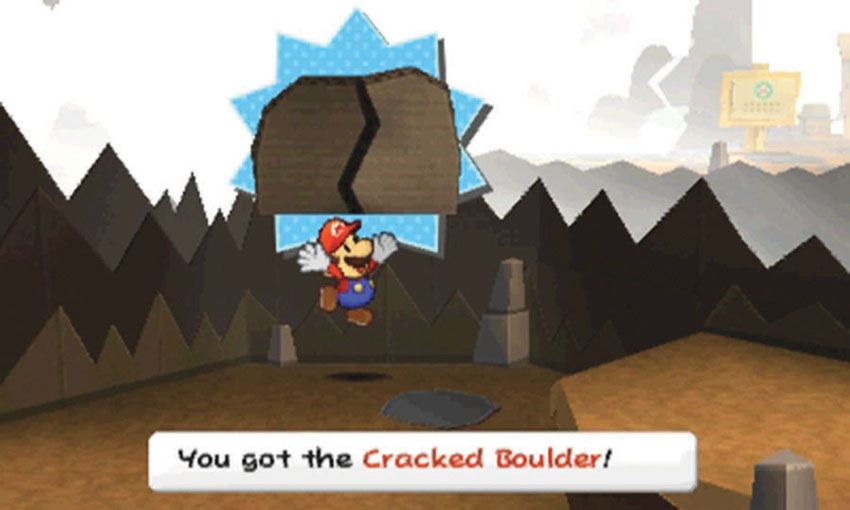
On your way out of the hot springs, make sure you collect the Cracked Boulder scrap at Point 5.
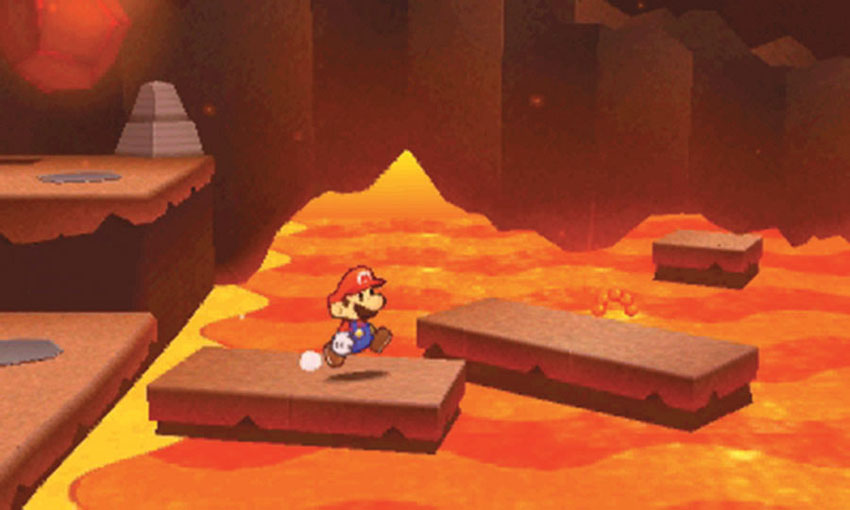
After you leave the hot springs, climb back up to the main path and search the area for any remaining stickers. When you’re ready, hop along the platforms that appear in the lava flow.
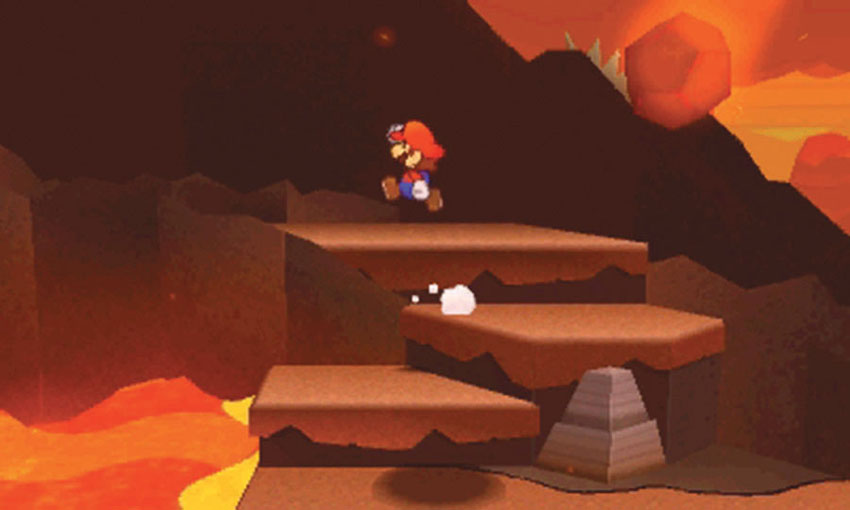
Once you’re safely across the lava, climb the steps up to the ledge and search the background for hidden enemies and stickers. When you’re ready, return to the main path and continue to the second big boulder.
Second Big Boulder
.jpg)
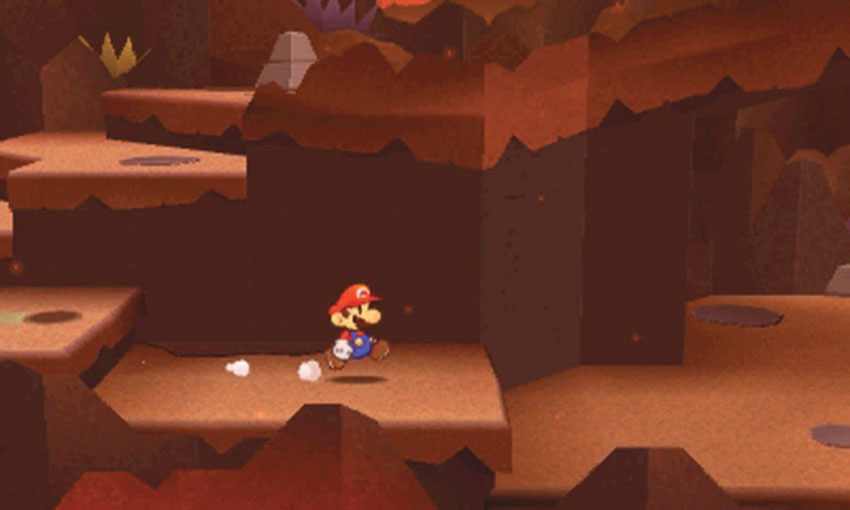
As you approach the second big boulder, take the steps down to the bottom of the area and follow the path to the right.
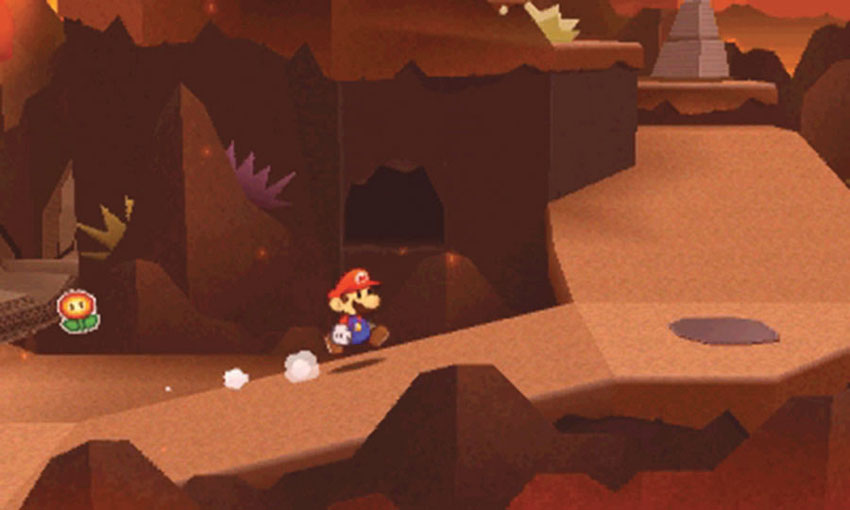
Before you collect the comet piece, climb the ramp to the right.
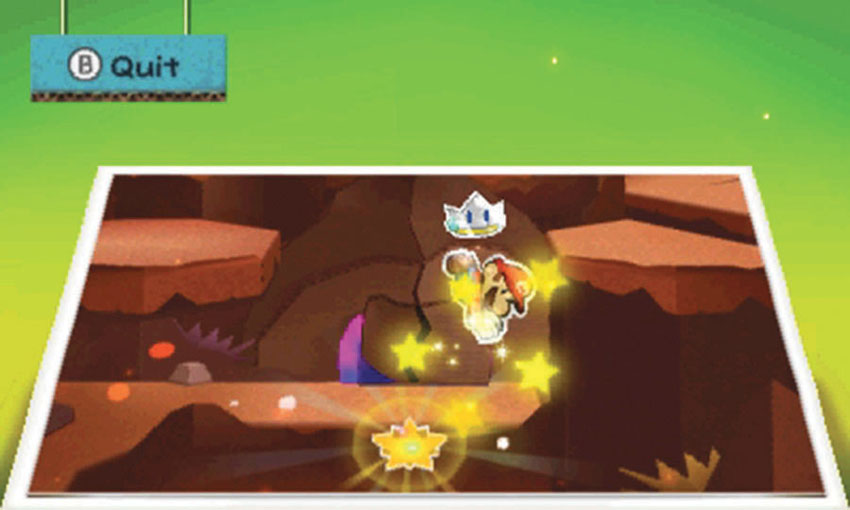
Apply the Cracked Boulder scrap to the hole at Point 2. Hit the crack with your Hammer to topple the big boulder above you. When it lands, it crushes the nearby comet piece.
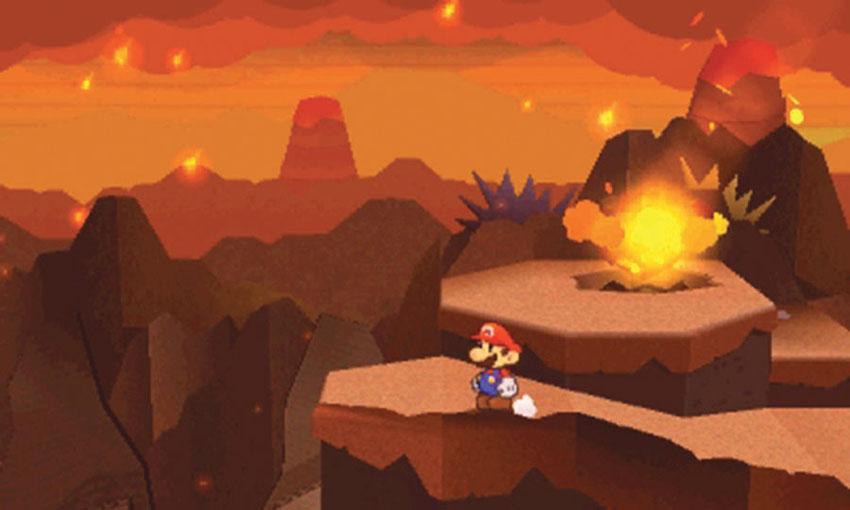
Draw a molten rock to the X at the top of the ramp. After the impact, drop through the opening to find another hidden area.
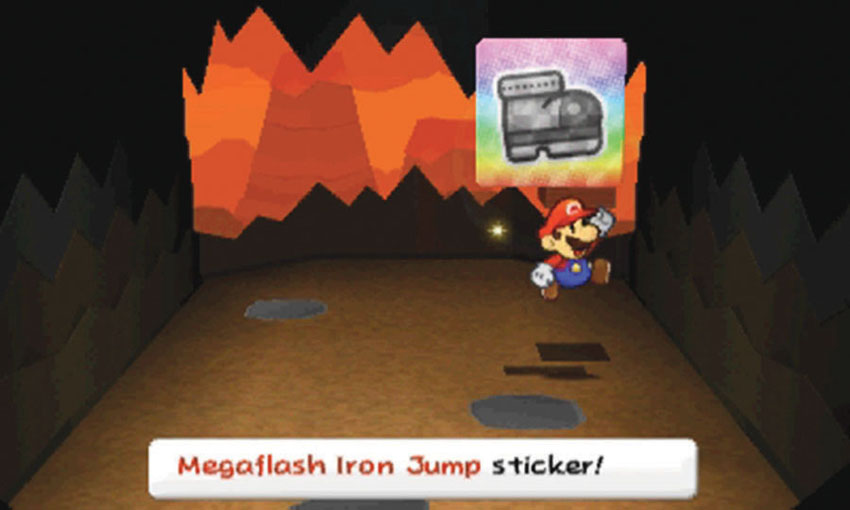
Search the ? Block to collect a Megaflash Iron Jump sticker, then exit the hidden area to emerge at the bottom of the ramp.
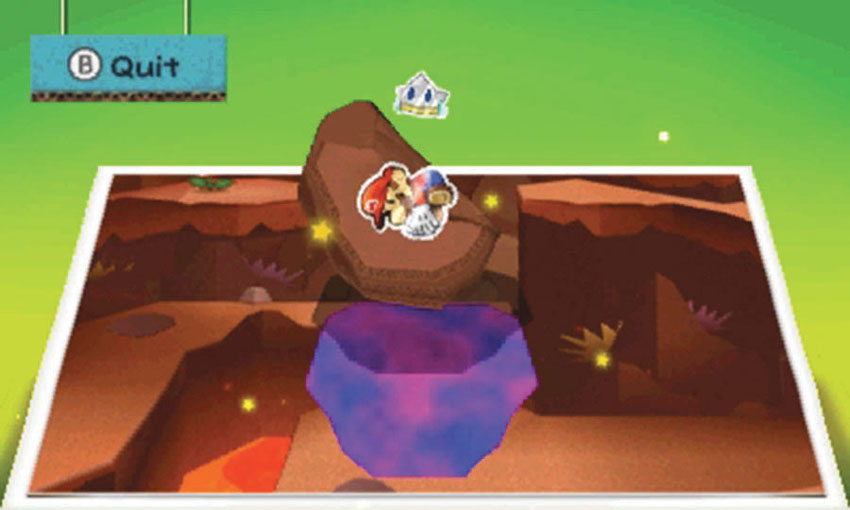
Approach the toppled boulder and activate the Paperize ability. Peel the Big Boulder scrap from the ground, then reapply it to reveal the Comet Piece.
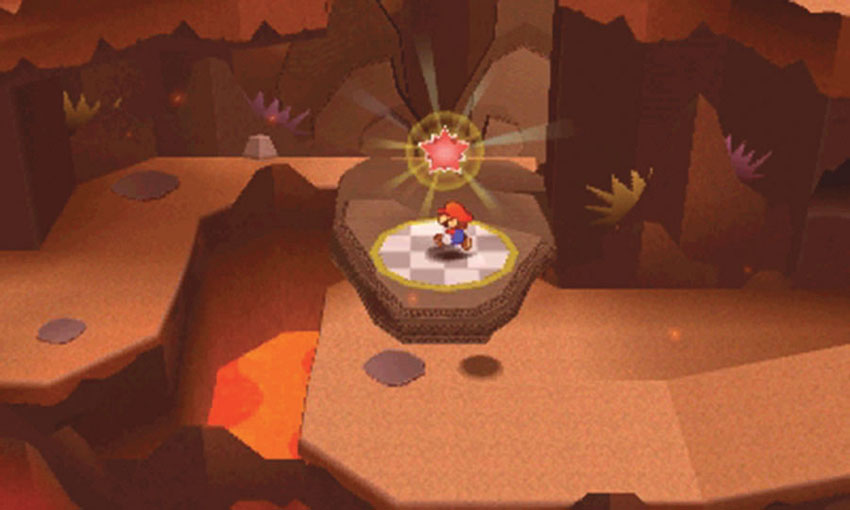
When you’re ready, collect the Comet Piece to complete your visit.
Sticker Comet Piece: Unlocking World 5-6
This Course contains one piece of the Sticker Comet. To unlock World 5-6, collect the Comet Piece pinned beneath the second big boulder.
World 5-6: Rumble Volcano
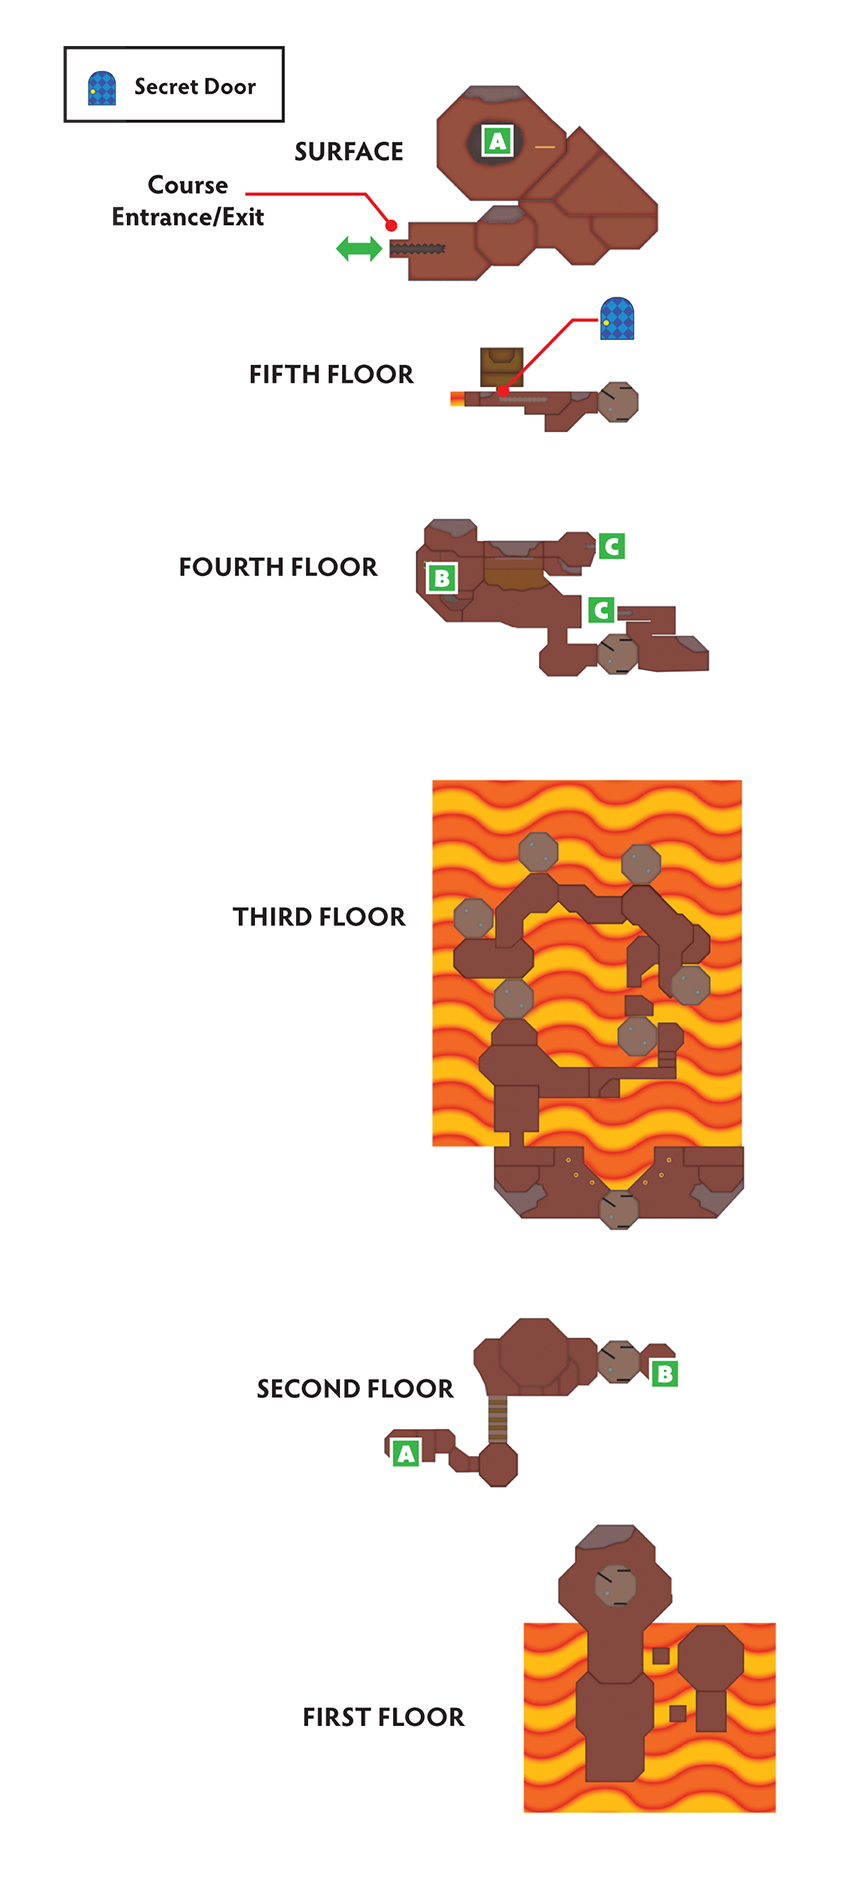
Overview
Prerequisites
To unlock this Course, you must collect the Comet Piece from the end of World 5-5. Before you enter the Course, make sure your Album contains a Secret Door sticker, some Mushroom stickers, and plenty of coins for the Course’s Sticker Shop. The Squirt Gun sticker is useful during the boss battle, so consider bringing one.
Essential Thing Stickers
| Name | Thing Location | Notes |
|---|---|---|
| Squirt Gun | World 1-6 | Useful during the boss battle. |
Objectives
This Course contains several objectives, one of which requires an additional visit:
- Reach the volcano’s central lift.
- Lead the first Big Chain Chomp to the central lift.
- Draw the second Big Chain Chomp to the central lift.
- Collect the Big Shiny 1UP sticker.
- Collect the Megaflash Clone Jump sticker.
- Draw the third Big Chain Chomp to the central lift.
- Collect the HP-Up Heart.
- Defeat Petey Piranha.
- Rescue Kersti.
- Collect the Royal Sticker.
- Collect the Guitar from the Secret Door.
Important Items and Locations
| Description | Notes |
|---|---|
| Secret Door | The marked location is on the fifth floor. |
| HP-Up Heart | The HP-Up Heart is on the second floor. |
| Toad Rescue | None |
| Luigi Location | None |
| Wiggler Diary Entry | None |
| Things | The Guitar is through the Secret Door. |
Recommended Tactics
Soon after you enter the Course, Petey Piranha kidnaps Kersti. This means the Battle Spinner is unavailable until you recover your companion. Fill your Album with the most powerful multi-target stickers available, but make sure you bring a supply of Mushroom stickers as well.
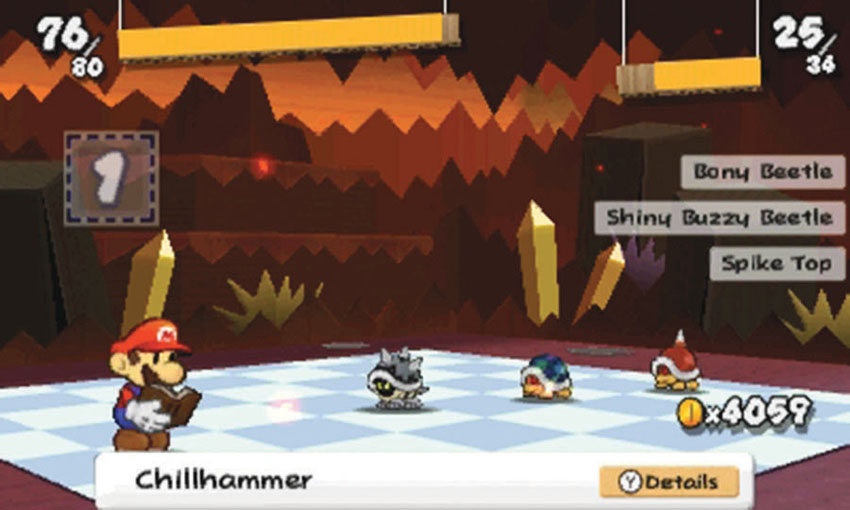
This Course contains Fire Piranhas, Fire Bros, Spear Guys, and a variety of beetle-based creatures. Megaflash stickers are certainly useful, but it’s difficult to carry a sufficient supply. Use Shiny Shells to clear out groups of weaker enemies, and save your more powerful stickers for tougher enemies. When a single sticker isn’t enough to end the battle, use POW Blocks or Baahammers to incapacitate the group, then take them out one at a time.
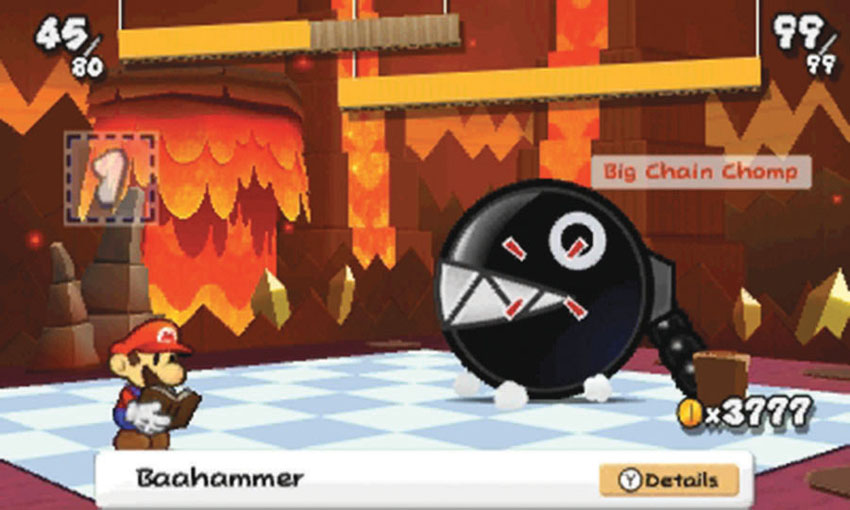
One of the Course’s three Big Chain Chomps attacks before you can free it. Use a Baahammer to put it to sleep, then run from the battle. There are Baahammer stickers scattered throughout the Course, so make sure you grab one before you approach this enemy.
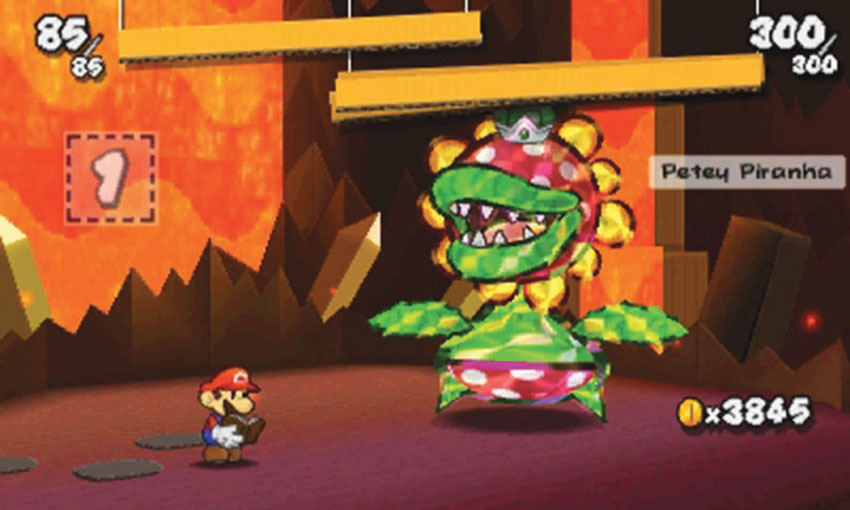
Petey Piranha is a formidable foe, but the proper strategy should put him right out of commission. Use the Course’s Sticker Shop to stock up on Shiny POW Blocks and Big Shiny Hopslippers. When Petey Piranha makes himself dizzy, use these stickers to deal heavy damage!
Surface
.jpg)
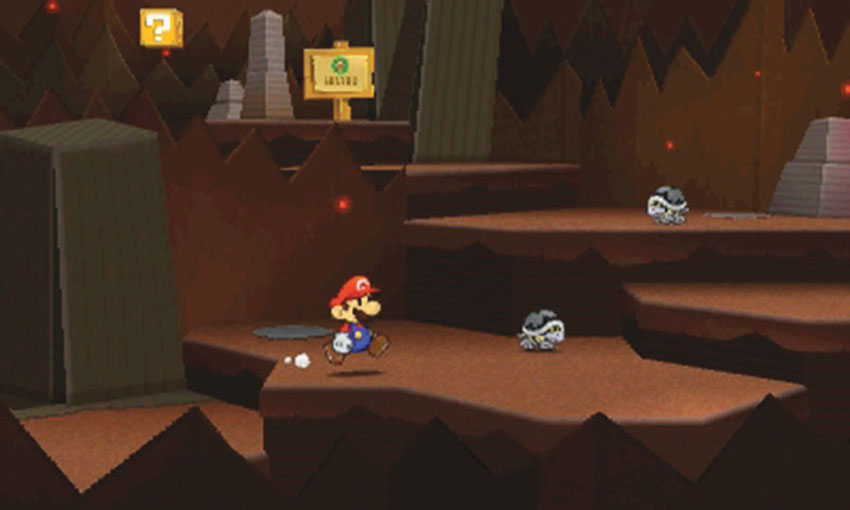
As you climb the steps on the volcano’s surface, consider avoiding the enemies along the path. You have plenty of battles ahead of you, and it’s best to ration your stickers until you gain access to this Course’s Sticker Shop.
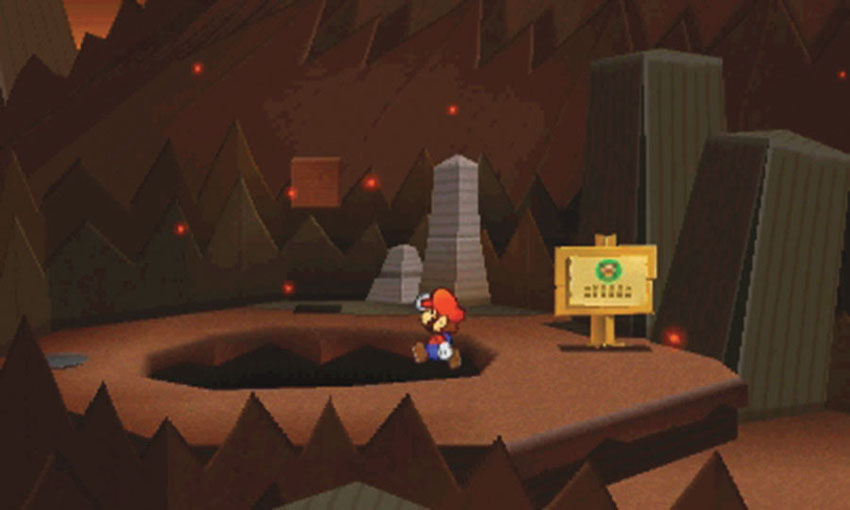
When you’re ready, enter the volcano through the hole at Point 2.
Second Floor— Part 1
.jpg)
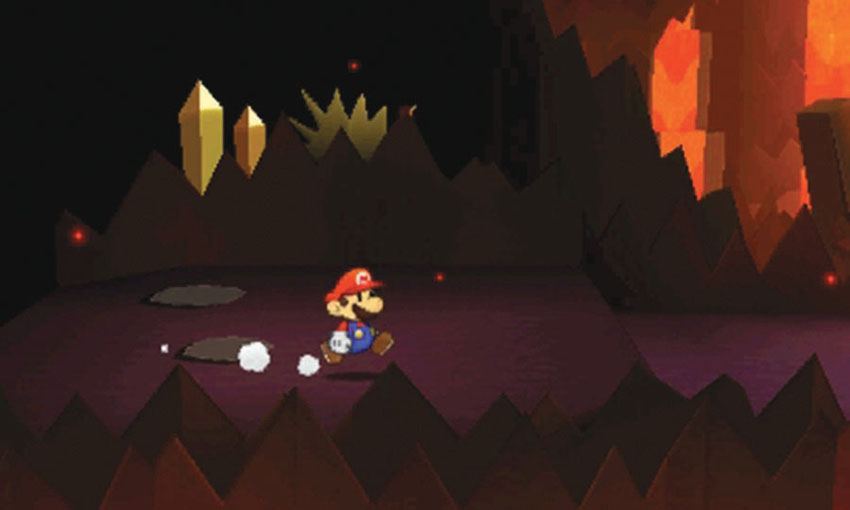
When you drop down from the surface, you land on the volcano’s second floor. This floor contains Petey Piranha’s platform, as well as a warp pipe that leads to the Sticker Shop on the fourth floor. Follow the path to the right to find Petey Piranha.
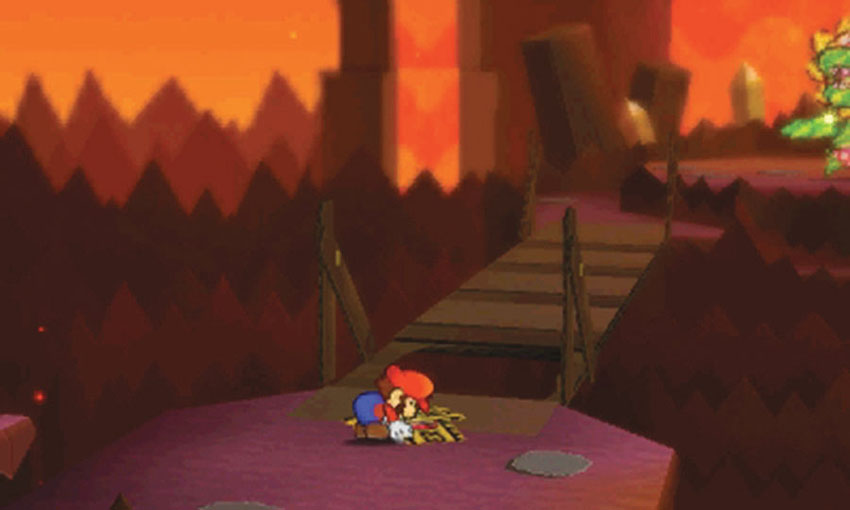
When Petey Piranha appears, he swallows Kersti and retreats to his platform. Unfortunately, the hole in the bridge prevents you from following him. Peel the Bowser tape at Point 2 to drop to the volcano’s first floor.
First Floor
.jpg)
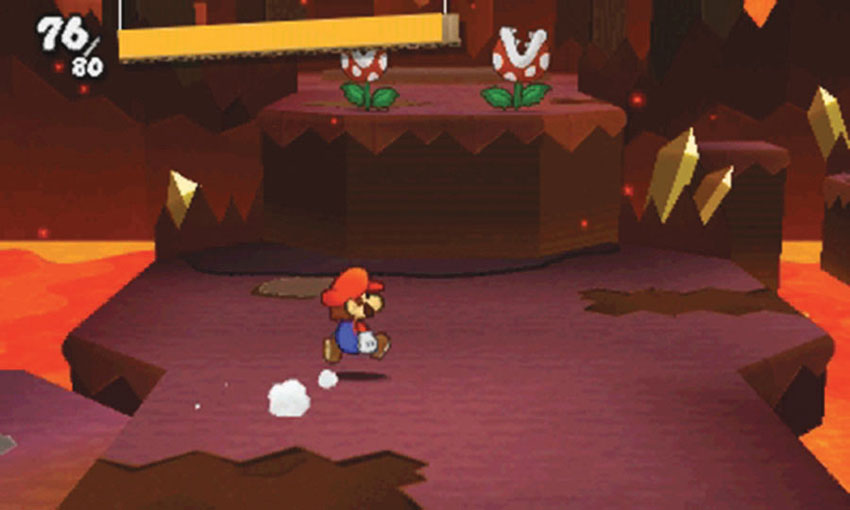
After you drop to the first floor, move to the right. As you do, watch out for incoming attacks from the Fire Piranhas on the ledge.
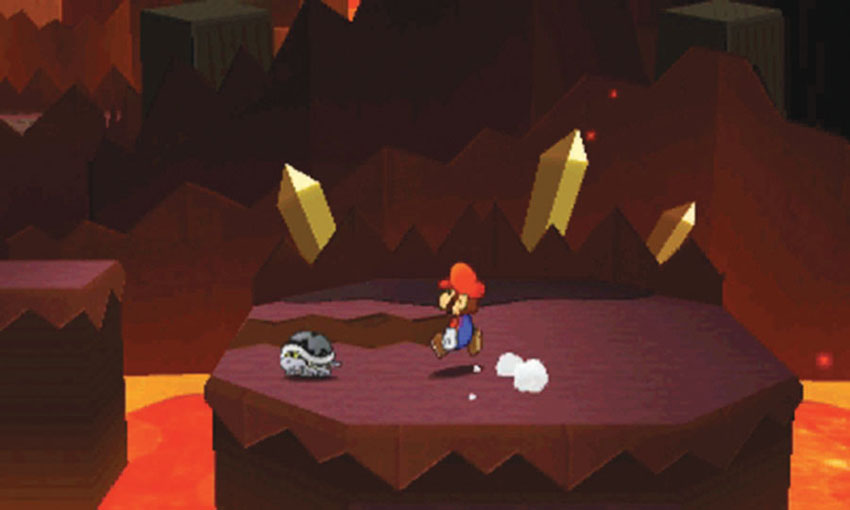
Hop along the platforms on the right side of the area to reach the volcano’s central lift.
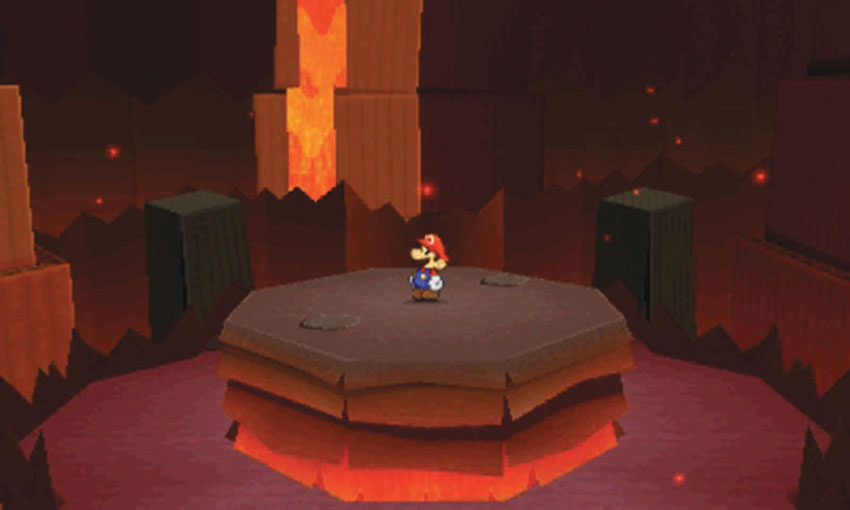
When you’re ready, step on the lift to ride all the way up to the fifth floor.
Fifth Floor
.jpg)
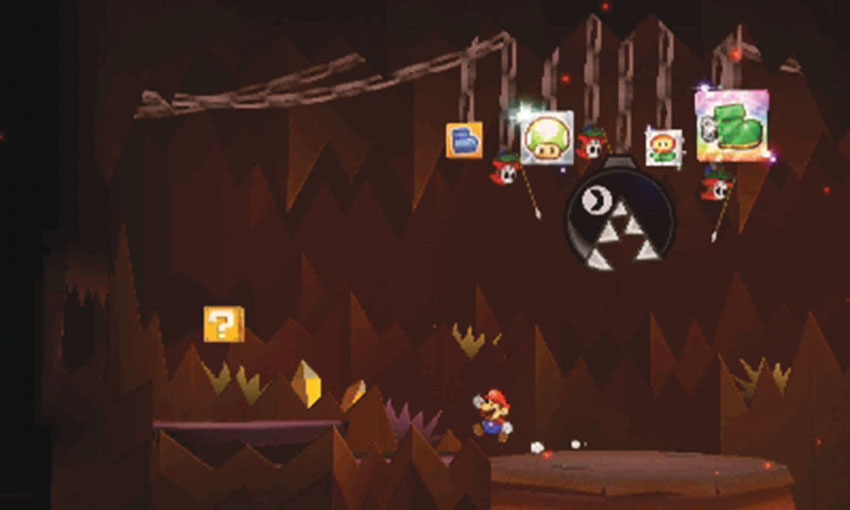
When the lift stops on the fifth floor, there are several stickers and enemies hanging from the chains above you. These chains are anchored to the stakes on the third floor. Search the nearby ? Block and continue to the left.
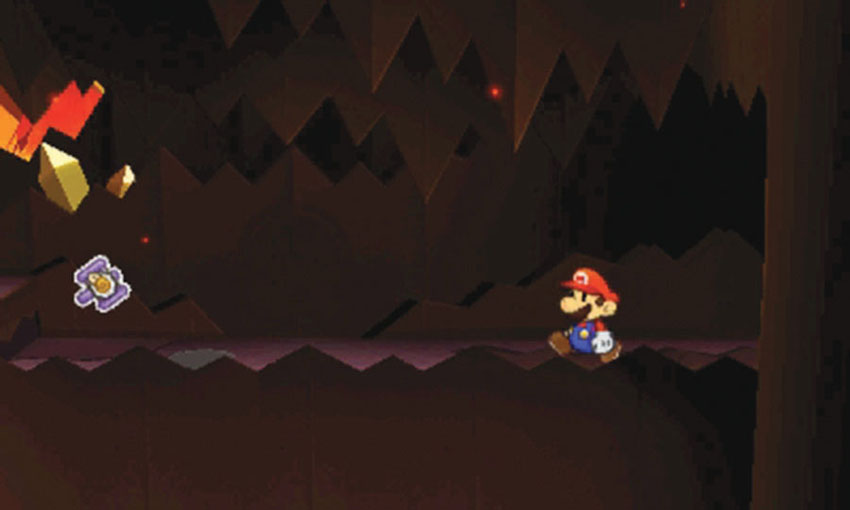
The Secret Door is on the wall at Point 2. Unfortunately, you can’t use the Paperize ability until you rescue Kersti. After you defeat Petey Piranha, revisit this area and apply a Secret Door sticker to this location.
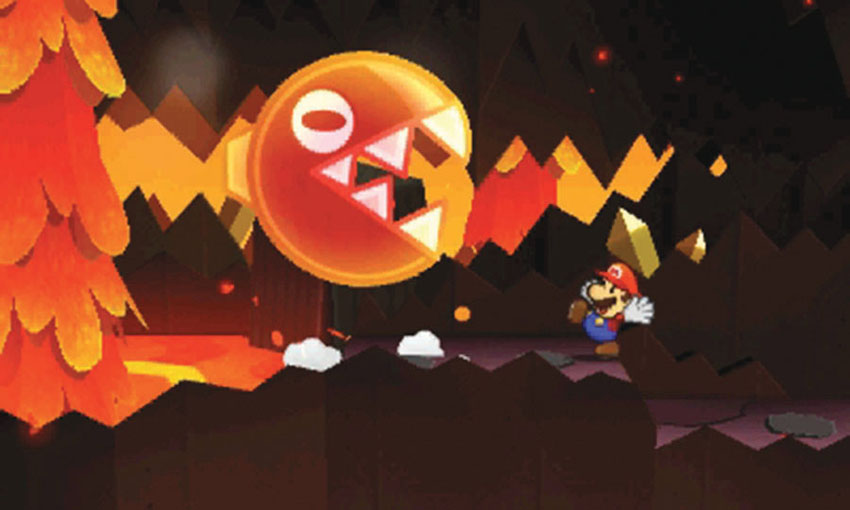
Approach the lava at the edge of the area to coax the first Big Chain Chomp out of hiding. Run back out to the lift. When the Big Chain Chomp follows you, it embeds itself in the lift. When you’re ready, hop onto the lift to drop to the fourth floor.
Fourth Floor
.jpg)
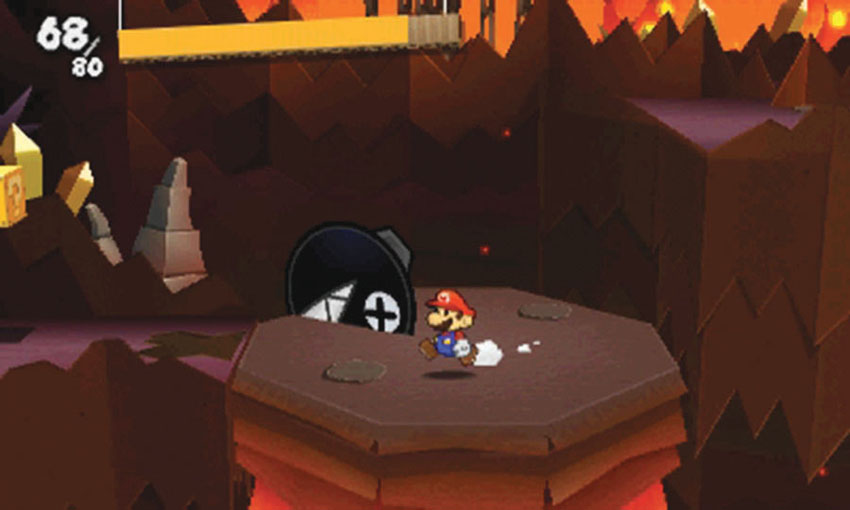
When you reach the fourth floor, the second Big Chain Chomp is on the ledge to the right. To reach it, you must loop around the entire area. Follow the path to the left to find the Course’s Sticker Shop.
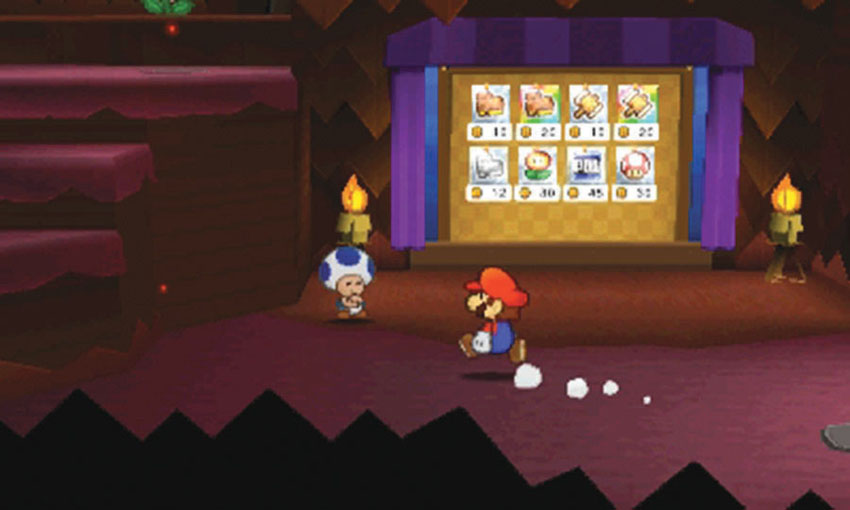
Stop by the Sticker Shop and make sure your Album is ready for battle. Stock up on Big Shiny Hopslippers, Shiny POW Blocks, Shiny Mushrooms, and any other stickers you might need.
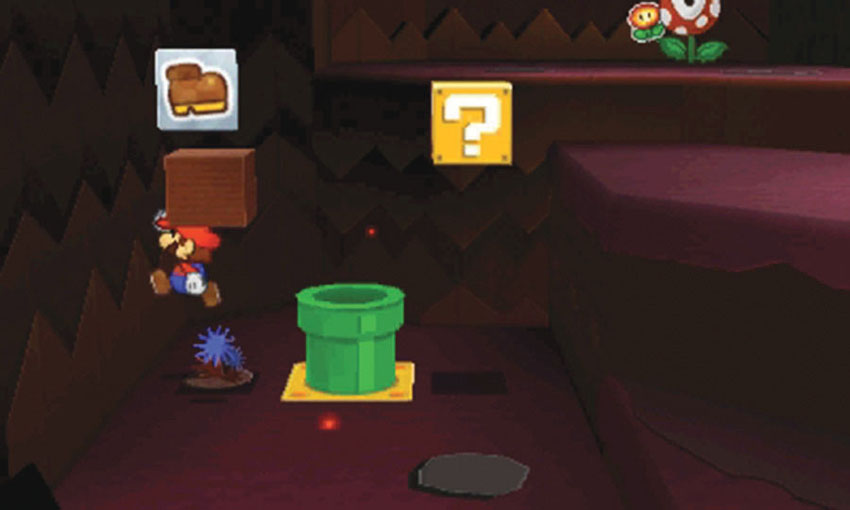
The warp pipe near the Sticker Shop leads to the second floor, but the lava geyser supporting the lift blocks the path to Petey Piranha. Look for the Hidden Block near the warp pipe, then follow the path up the steps.
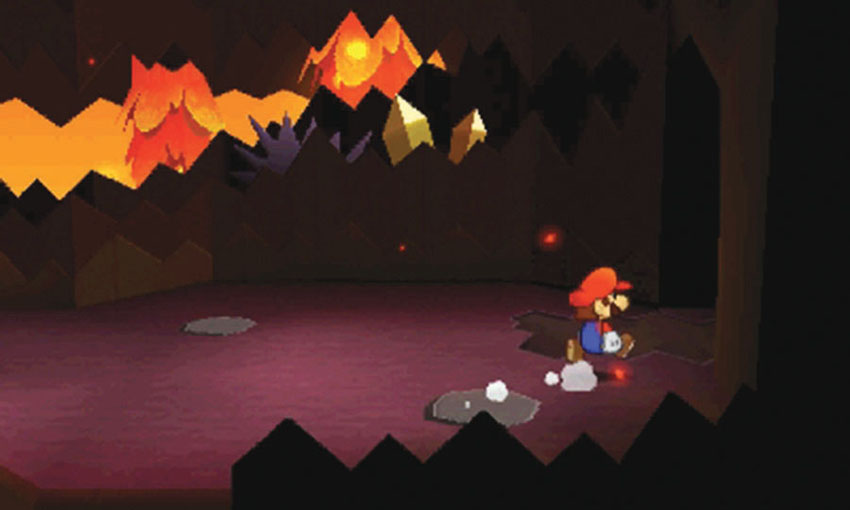
Search the area for stickers and defend yourself from any attackers, then follow the path to the right.
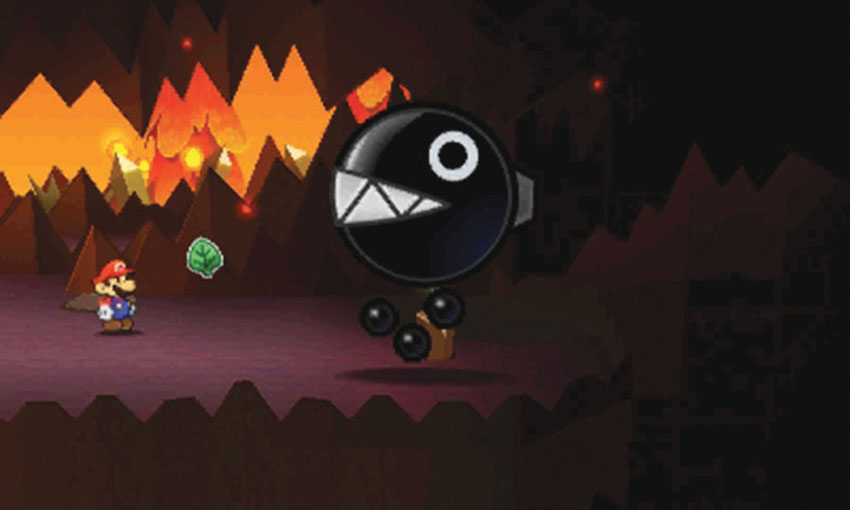
Make sure your Album contains some type of Baahammer, then approach the Big Chain Chomp at Point 5.
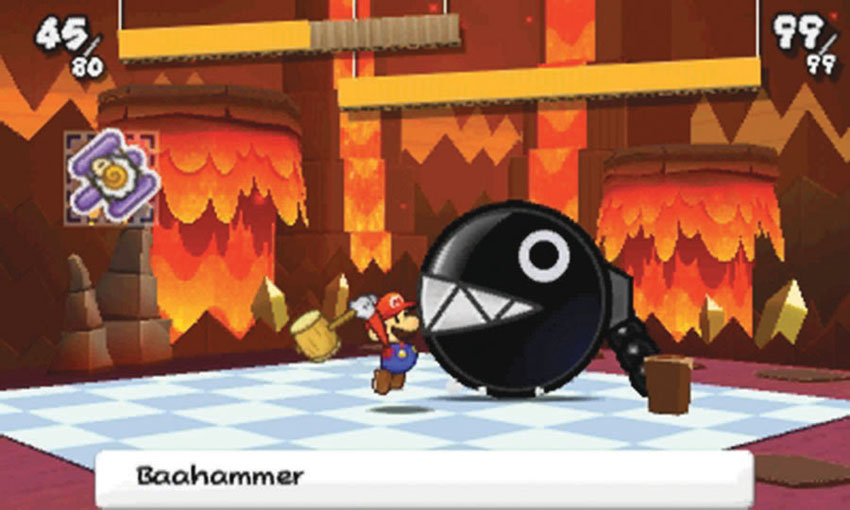
When the battle starts, attack it with a Baahammer. Once the enemy is asleep, run from the battle.
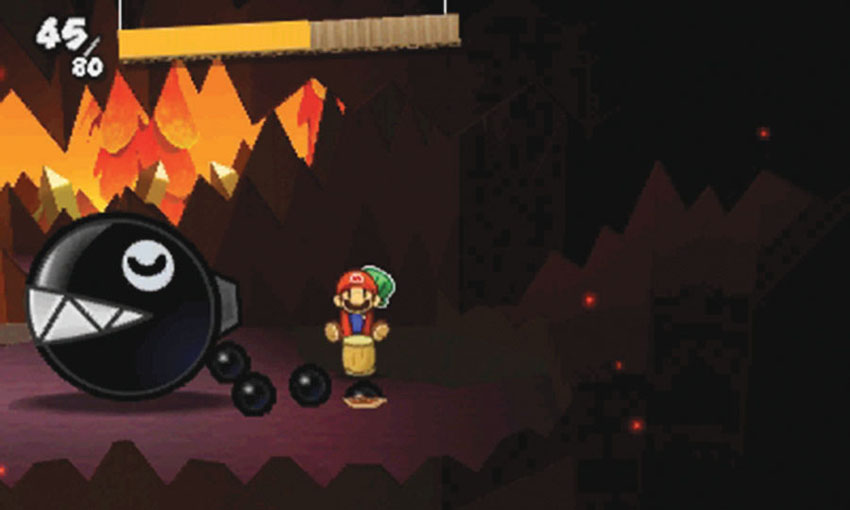
Move behind the sleeping Big Chain Chomp and hit the stake with your Hammer. Restart the encounter and use basic stickers to progress the battle until the Big Chain Chomp wakes up. You can’t block its lunge, so just absorb the damage and allow it to leave the area. When the battle ends, drop down from the ledge and ride the lift to the third floor.
Third Floor
.jpg)
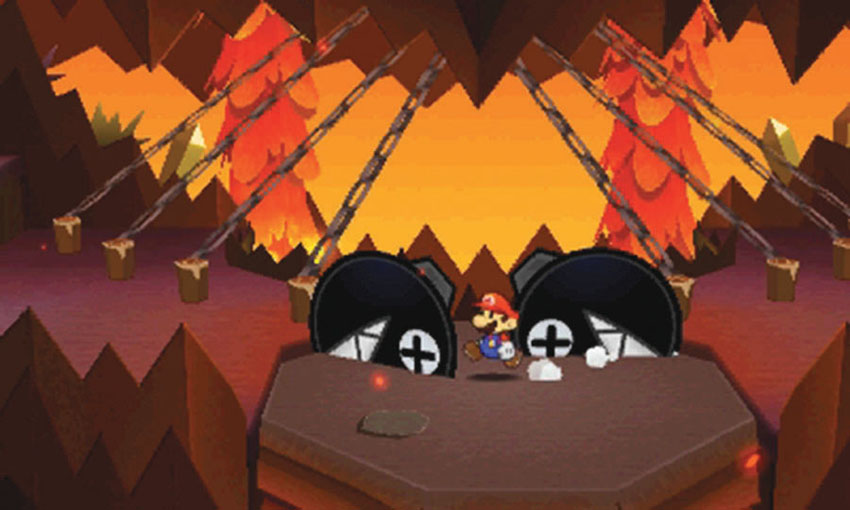
When you arrive on the third floor, there are four stakes on each side of you. If you hit one of these stakes with your Hammer, the enemy or sticker attached to the anchored chain falls down from the fifth floor. Before you deal with the stakes, however, follow the path to the left and explore the connected chamber.
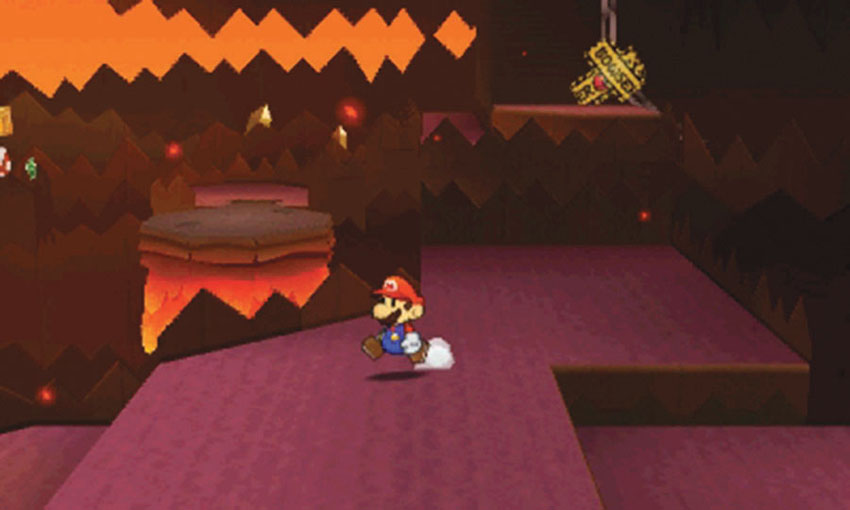
When you first enter the chamber, look for the Bowser tape on the ledge in the background.
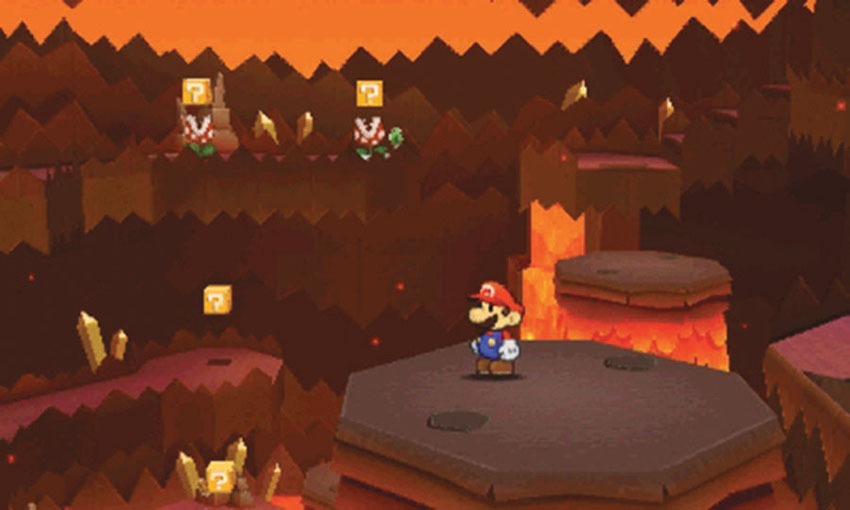
To reach the Bowser tape, you must negotiate the platforms throughout the chamber. Many of the platforms serve as small lifts. Each time the path seems to end, hop onto a lift and ride to a new platform.
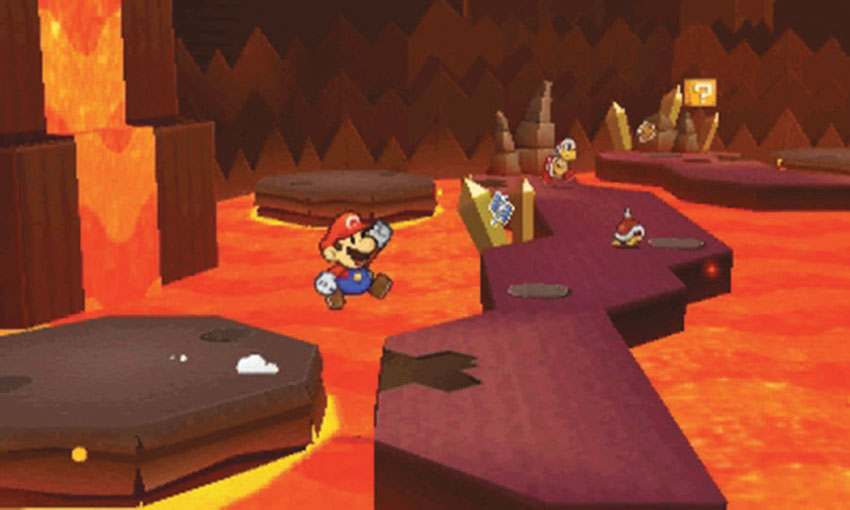
The path is fairly simple, but there are plenty of enemies along the way. There are some very useful stickers along the way, too, so make sure you check each of the ? Blocks you find.
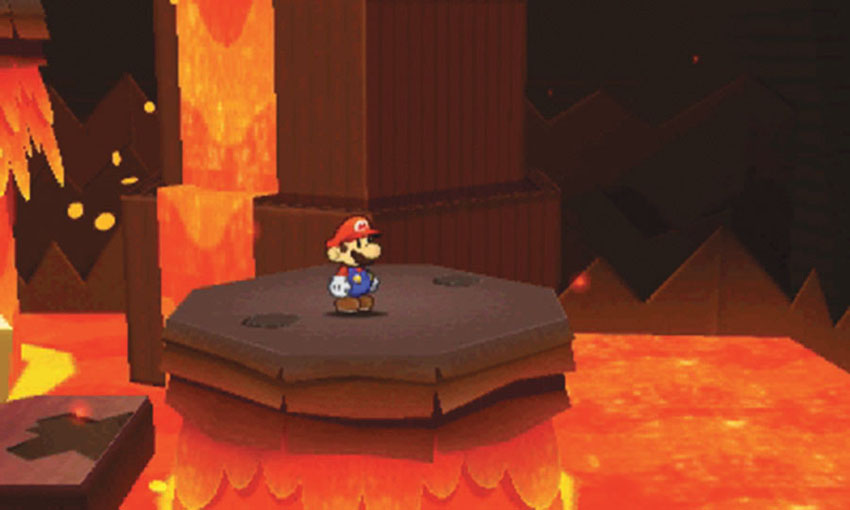
When you’re finished exploring the platforms, use the lift at Point 4 to ride up to the ledge.
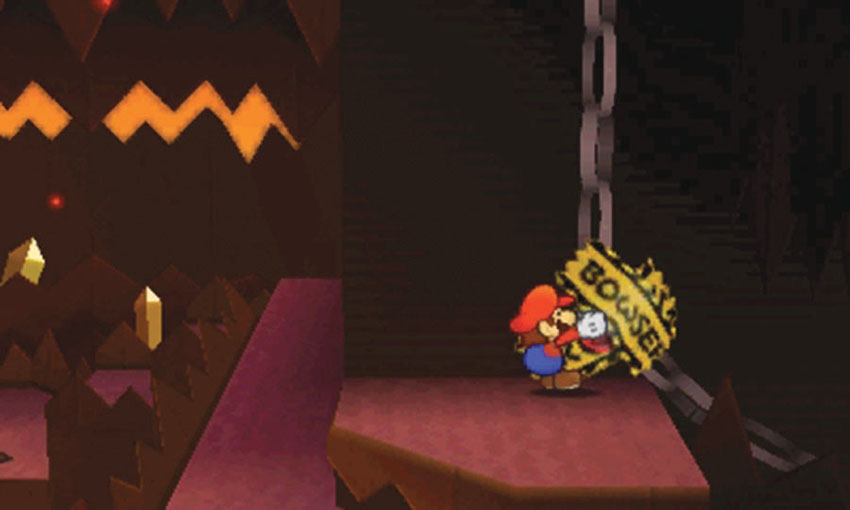
Climb up to the Bowser tape and peel it off of the chain. Move toward the foreground, hop down from the ledge, and return to the stakes near the central lift.
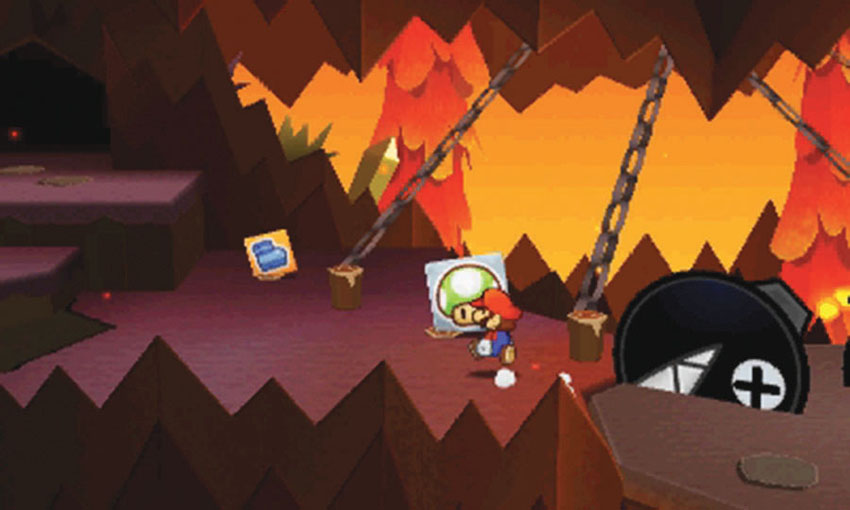
Use your Hammer to hit the stake on the far left. When you do, a sticker drops down from the fifth floor. There’s a Spear Guy hanging from the next chain, so consider skipping it. Hit the third stake to receive a Big Shiny 1Up sticker!
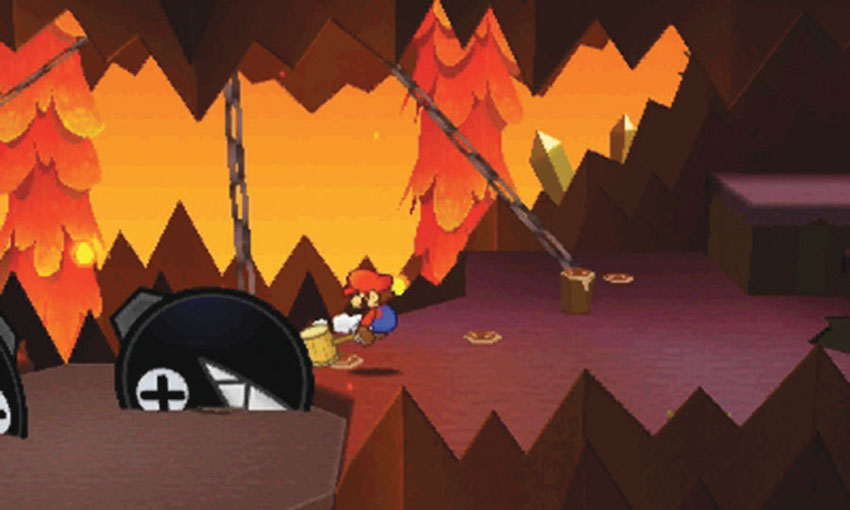
Move across the central lift and hit the stake on the far right to collect a Megaflash Clone Jump sticker! Skip the stake next to it, then hit the two stakes to the left. The last stake drops the third Big Chomp Chain onto the lift. After you collect the stickers, hop onto the lift and ride back down to the second floor.
Second Floor— Part 2
.jpg)
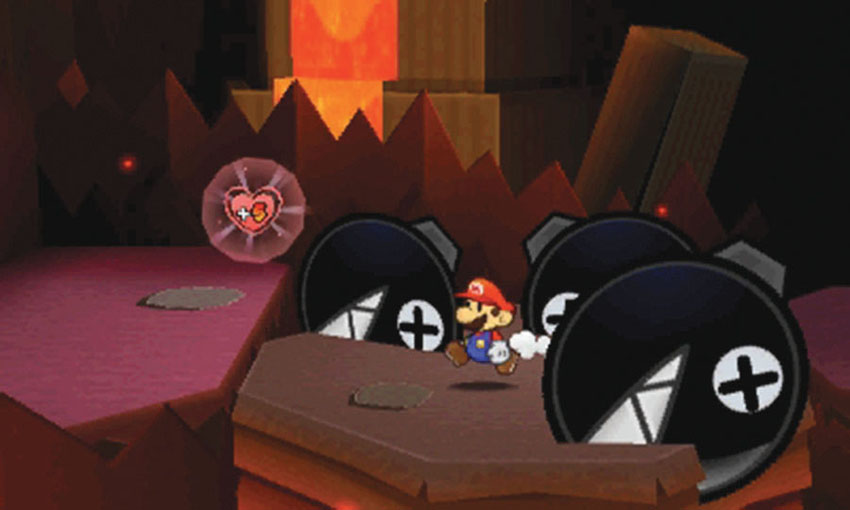
When you return to the second floor, the lift lands between a warp pipe and Petey Piranha’s platform. If you’re not prepared for battle, use the warp pipe and purchase Shiny POW Blocks and Jump-based stickers from the Sticker Shop. If you’re ready, collect the HP-Up Heart to the left and continue up the nearby steps.
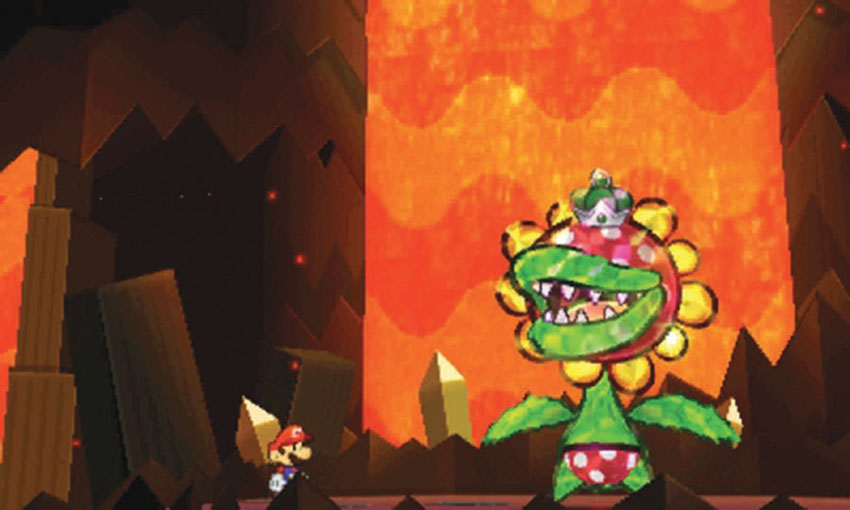
Climb to the platform at Point 2 to find Petey Piranha. To rescue Kersti and claim another Royal Sticker, you must defeat this fiend!
Petey Piranha
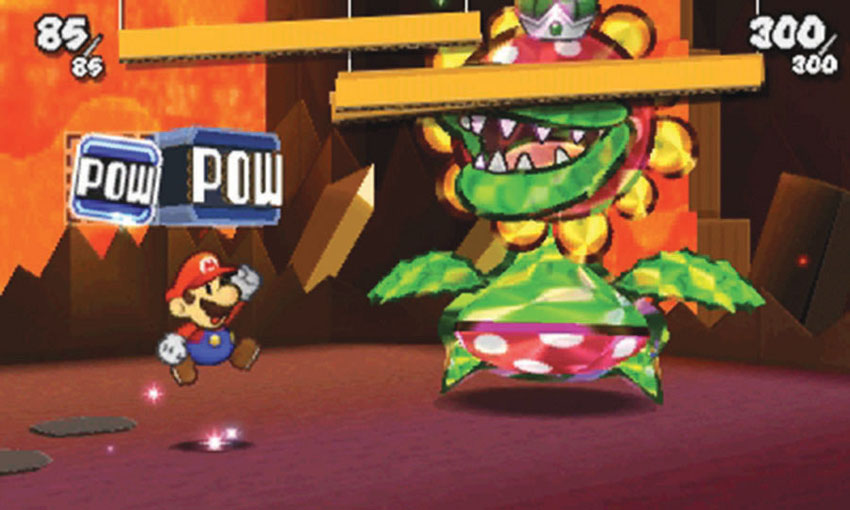
Until you recover Kersti, you’re limited to a single sticker during each of your turns. Use basic stickers to progress the battle until Petey Piranha performs a spin attack. Once he’s dizzy, use a POW Block, an Eekhammer, or a Slaphammer to knock him off his feet.
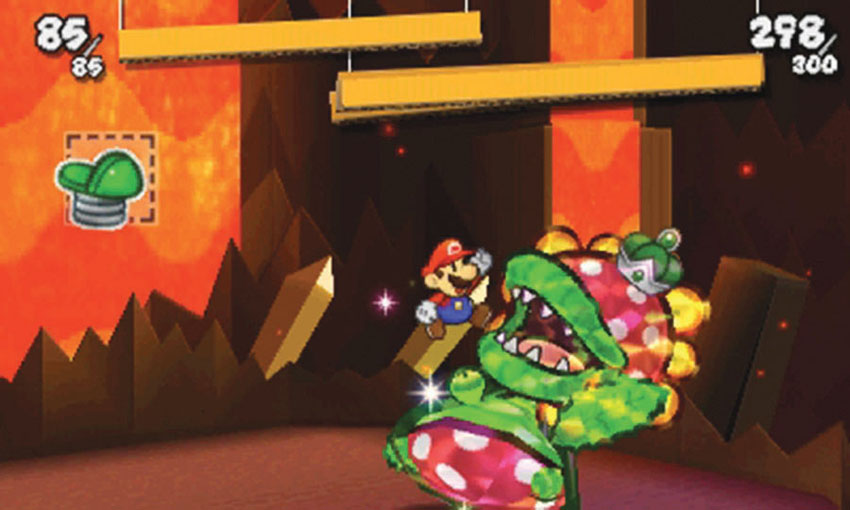
While Petey Piranha is down, use Big Shiny Hopslippers to do serious damage to him. Repeat the process until Kersti Pops out of his mouth.

Each time you use a Jump-based sticker, there’s a chance that a Dry Bones will appear. After you rescue Kersti, use the Battle Spinner to perform multiple attacks during each turn.
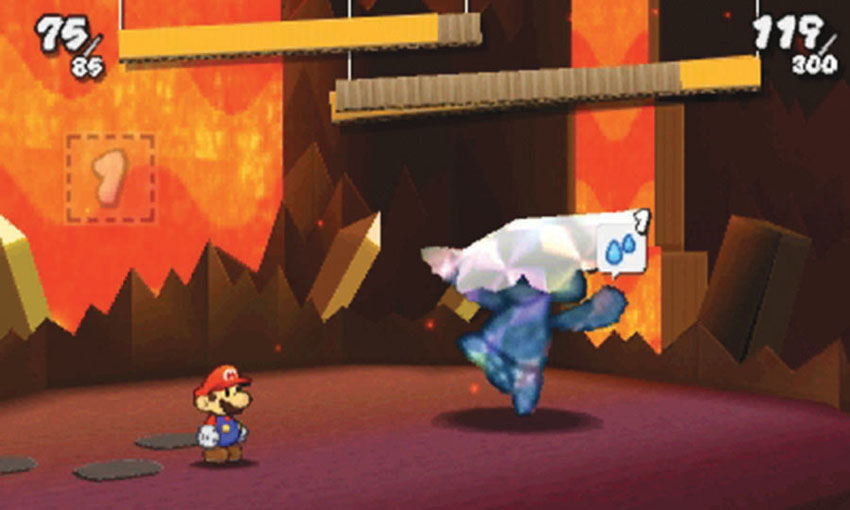
If not, simply use the Battle Spinner to deal high-damage attacks with Shiny Hopslippers and Big Shiny Hopslippers. Keep attacking until you defeat Petey Piranha!
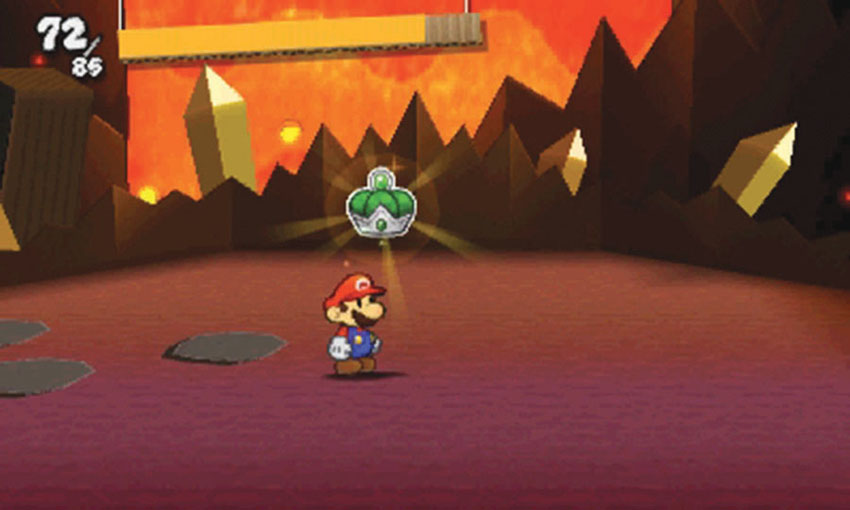
After you defeat Petey Piranha, collect the Royal Sticker to end your first visit.
Recommended Visit #2
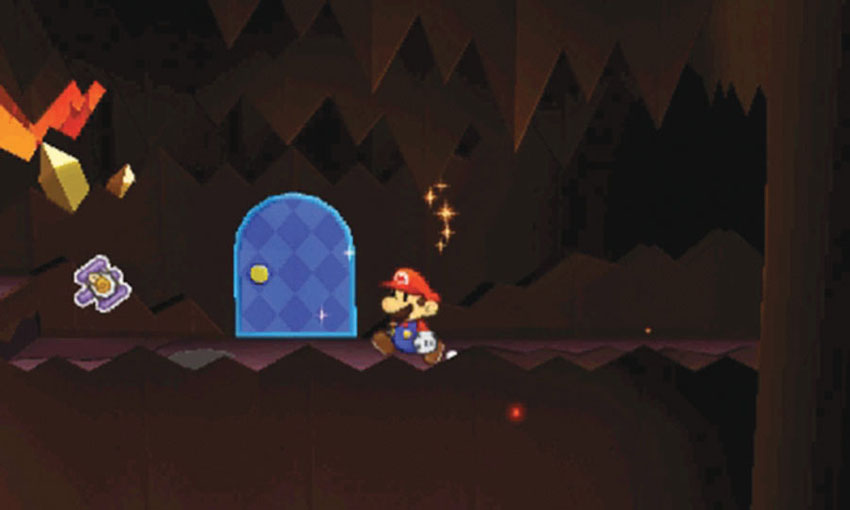
After you defeat Petey Piranha, revisit the volcano’s fifth floor and apply the Secret Door sticker to the marked location. Head inside to find the Guitar.