
Paper Mario: Sticker Star Guide Walkthrough Worlds
World Six
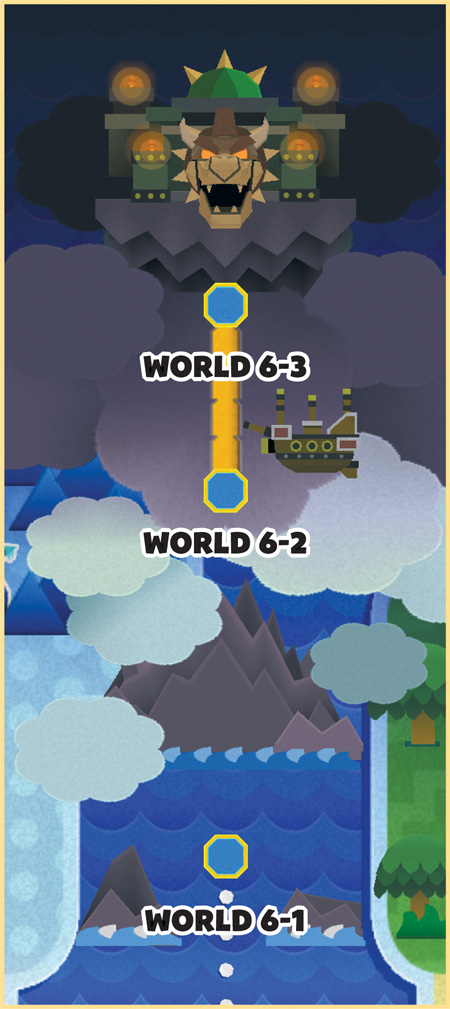
World Six Courses
| Number | Name |
|---|---|
| World 6-1 | Gate Cliff |
| World 6-2 | Bowser Jr.’s Flotilla |
| World 6-3 | Bowser’s Sky Castle |
World 6-1: Gate Cliff
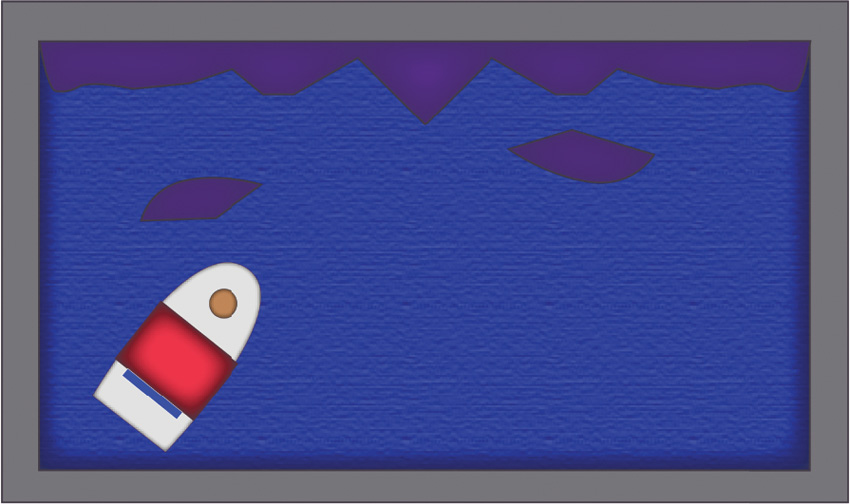
Overview
Prerequisites
This Course becomes available as soon as you defeat the Big Cheep Cheep in Surfshine Harbor. To complete the available objectives, however, you must first collect the Royal Stickers from World One, World Two, World Three, World Four, and World Five.
Objectives
This Course contains only two objectives, both of which can be completed during a single visit:
- Use the Royal Stickers to reveal the gate.
- Reposition the Hidden Bowser Castle scrap.
Important Items and Locations
| Description | Notes |
|---|---|
| Secret Door | None |
| HP-Up Heart | None |
| Toad Rescue | None |
| Luigi Location | None |
| Wiggler Diary Entry | None |
| Things | None |
Recommended Tactics
This Course contains no enemies, so there’s no need to worry about combat.
Unlocking the Gate
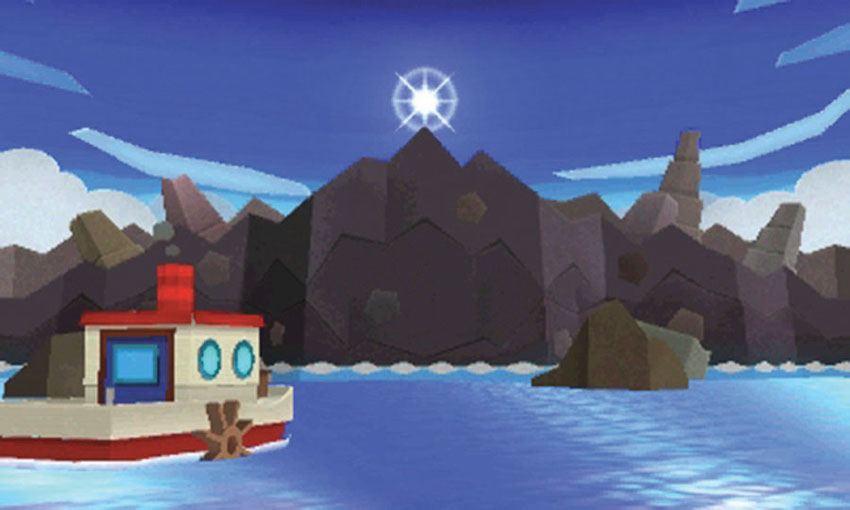
When you arrive in the area, a large cliff blocks your path. Exit the boat’s cabin and listen to Kersti.
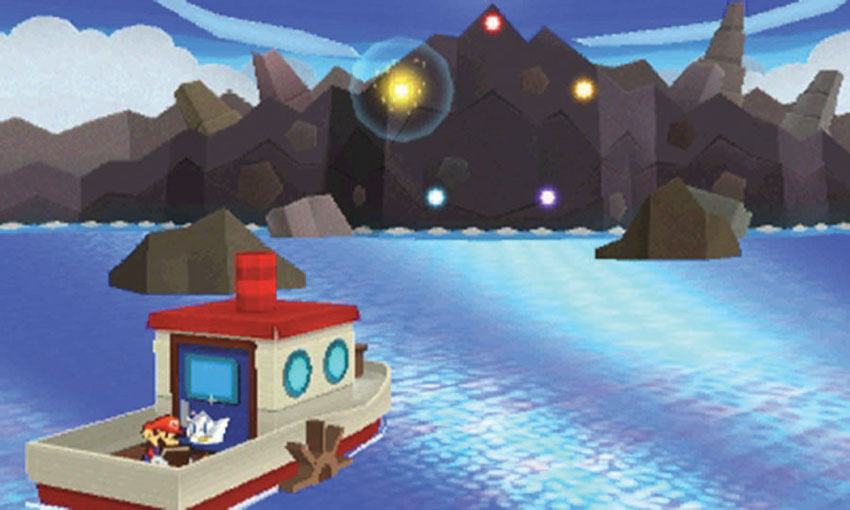
Select each of the Royal Stickers from your Album’s cover to illuminate a corresponding location on the cliff.
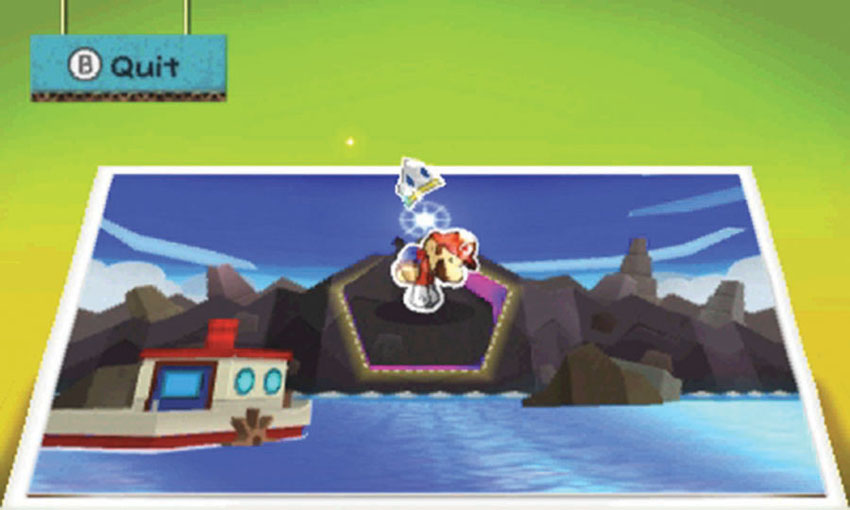
After you use all five Royal Stickers, activate the Paperize ability and peel the Hidden Bowser Castle scrap from the cliff. Reapply the scrap to the same spot.
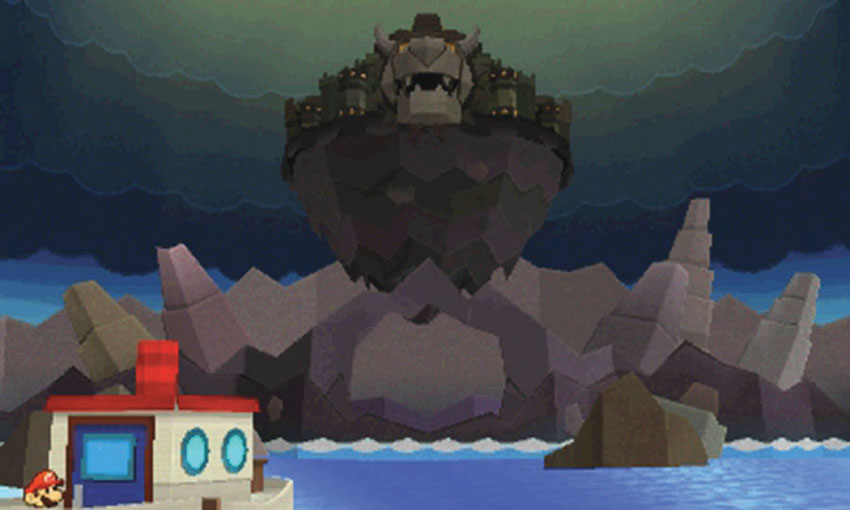
After you replace the scrap, Bowser’s Sky Castle soars into the air. Reenter the cabin and activate the captain’s wheel to complete your visit.
World 6-2: Bowser Jr.’s Flotilla
Overview
Prerequisites
To unlock this Course, you must reposition the Hidden Bowser Castle scrap in World 6-1. To reach this Course, you must visit Wiggler in World 3-3. Before you speak to Wiggler, make sure your Album contains a Secret Door sticker and a large supply of Mushrooms and Jump-based stickers.
Objectives
This Course contains several objectives, all of which can be completed during a single visit:
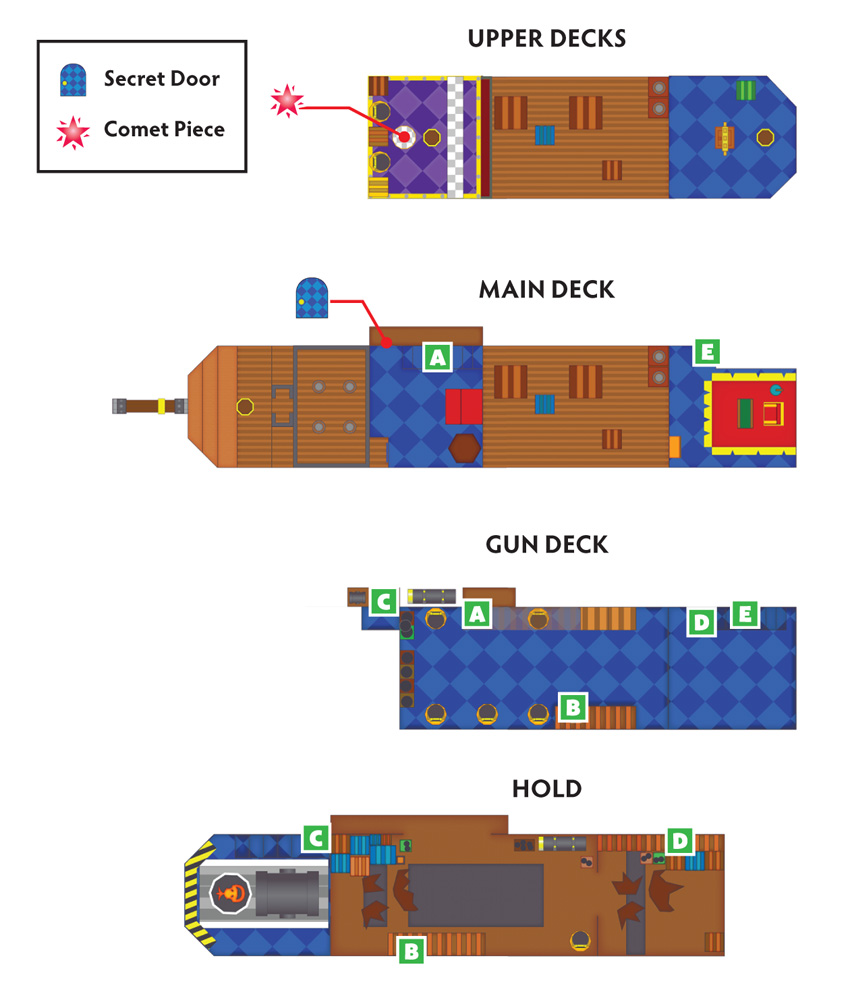
- Collect the Megaflash Jump sticker from the Secret Door.
- Drop the stowed cannon into place.
- Reposition the Banzai Bill Cannon scrap.
- Defeat Bowser Jr.
- Collect the Comet Piece to unlock World 6-3.
Important Items and Locations
| Description | Notes |
|---|---|
| Secret Door | The marked location is just inside the ship’s cabin. |
| HP-Up Heart | None |
| Toad Rescue | None |
| Luigi Location | None |
| Wiggler Diary Entry | None |
| Things | None |
Recommended Tactics
This Course contains some fairly difficult encounters, so don’t pull any punches! You’ll face Rocky Wrenches, Broozers, a variety of Bros, and more. Stock your Album with the best available stickers.
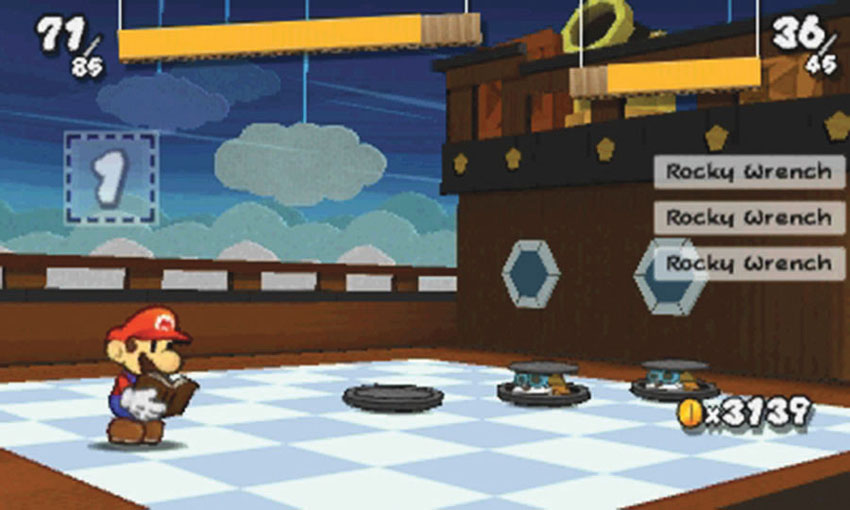
Rocky Wrenches appear in groups of three, so bring plenty of powerful multi-target stickers. If you attack one to initiate battle, the crafty critter will hide in its hole. Just walk up and make contact when you’re ready to pick a fight.
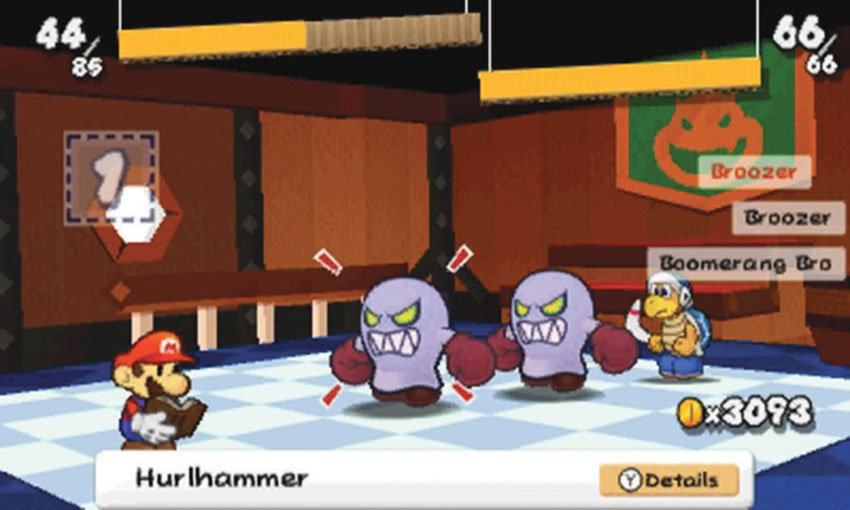
Broozers are very tough enemies. The frequently become enraged, which allows them to deflect most attacks. POW Blocks, Snowballs, Boomerangs, and Bombs are always effective, however. You should pick up some Bomb stickers and Boomerang stickers on your way through the Course, so make sure you save them for Broozer encounters.
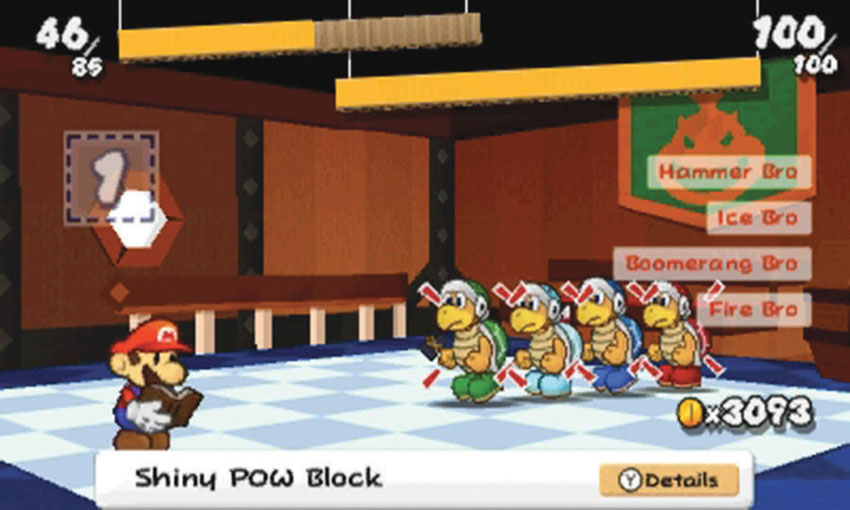
Bros are always tough, and this Course contains several of them. When you’re facing a particularly formidable group of Bros, use the Battle Spinner to combine a Shiny POW Block with more powerful multi-target attacks.
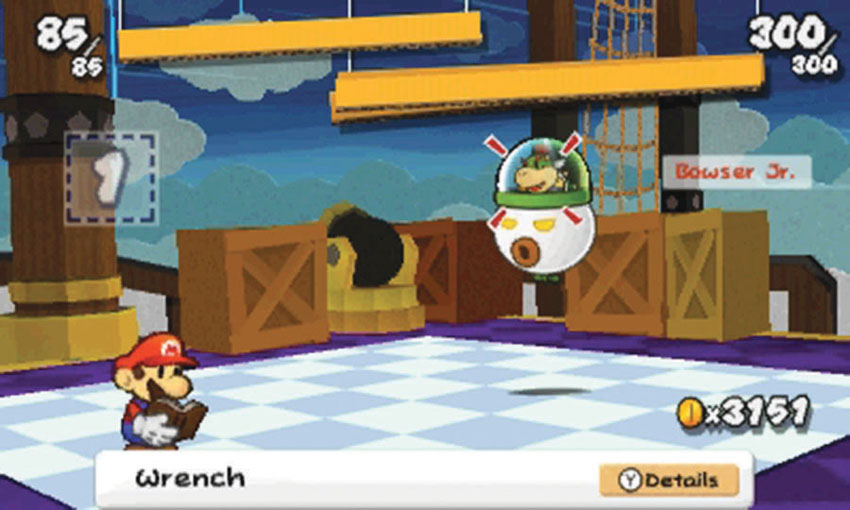
With his car’s new canopy, Bowser Jr. is tougher than ever! This battle can be won using only Tail stickers, but doing so requires precision timing. If you haven’t mastered the required Attack Commands, consider bringing a supply of Super Boots and high-damage Jump-based stickers.
Main Deck—Part 1
.jpg)
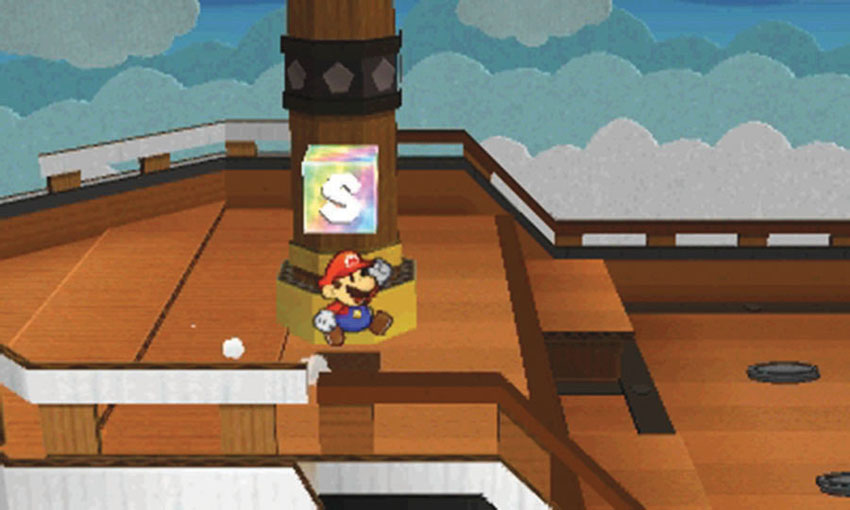
When Flutter drops you off on the ship, move to the right to find a Save Block.
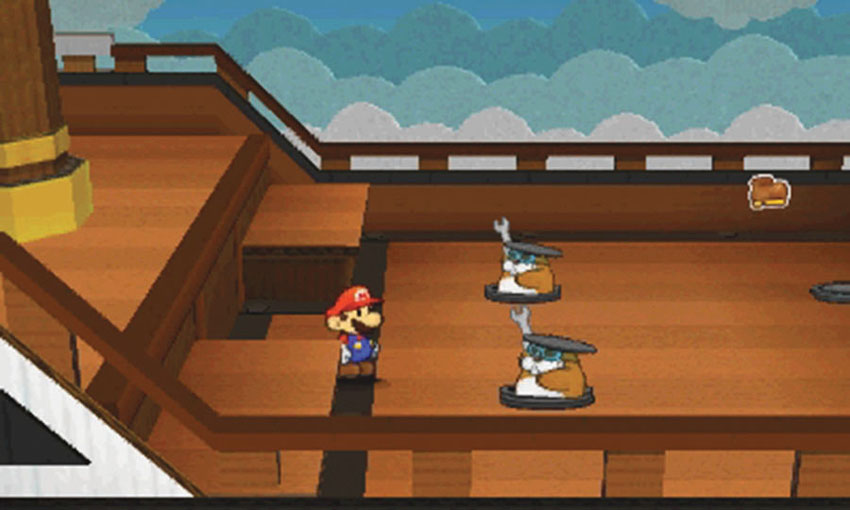
As soon as you drop down to the main deck, the nearby Rocky Wrenches pop out of their holes. Dodge the incoming attacks and clear the enemies hiding in the area.
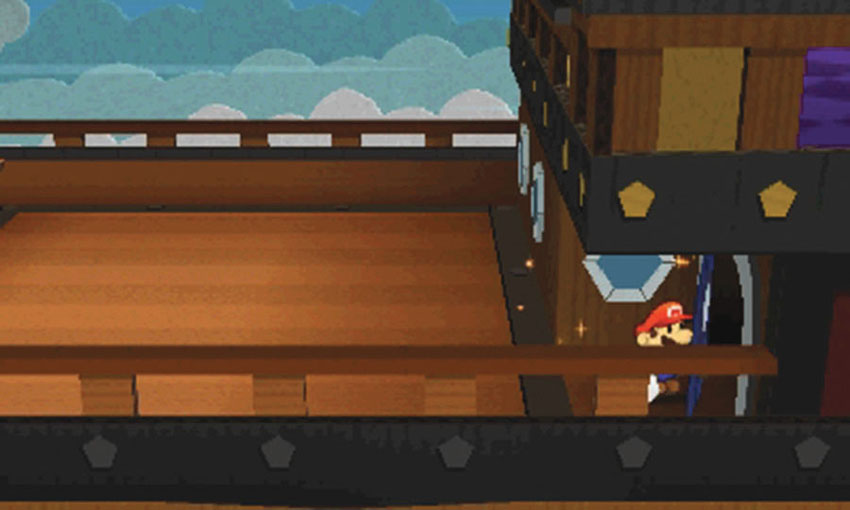
When you’re ready, head through the door at Point 2.
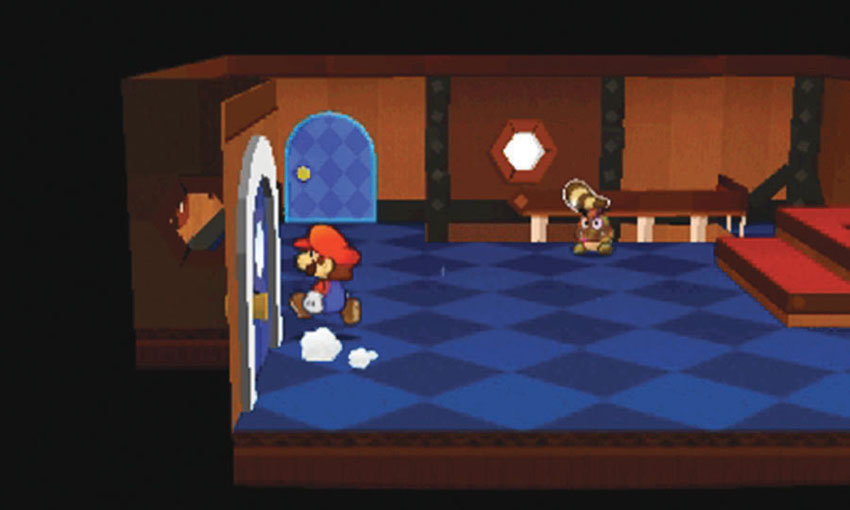
As you enter the room, watch out for incoming attacks from the nearby Ice Bro. Defend yourself, then apply a Secret Door sticker to the marked location on the back wall.
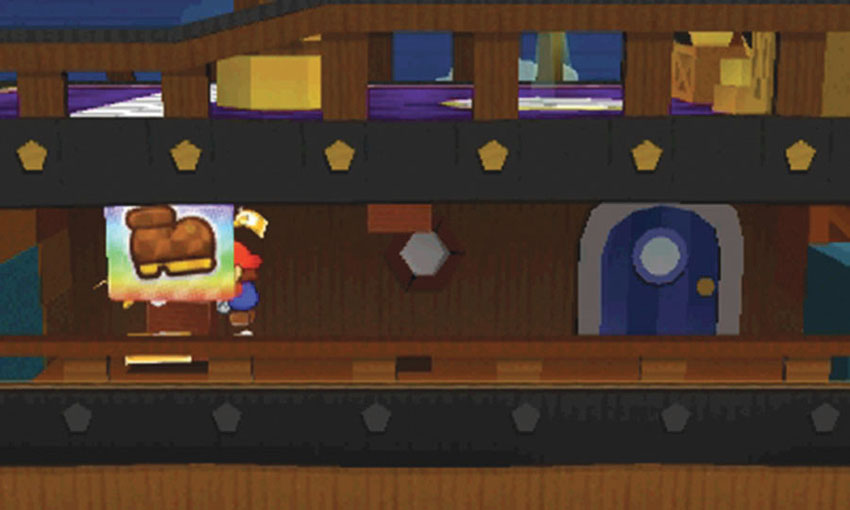
Head through the Secret Door to find two ? Blocks, one of which contains a Megaflash Jump sticker.
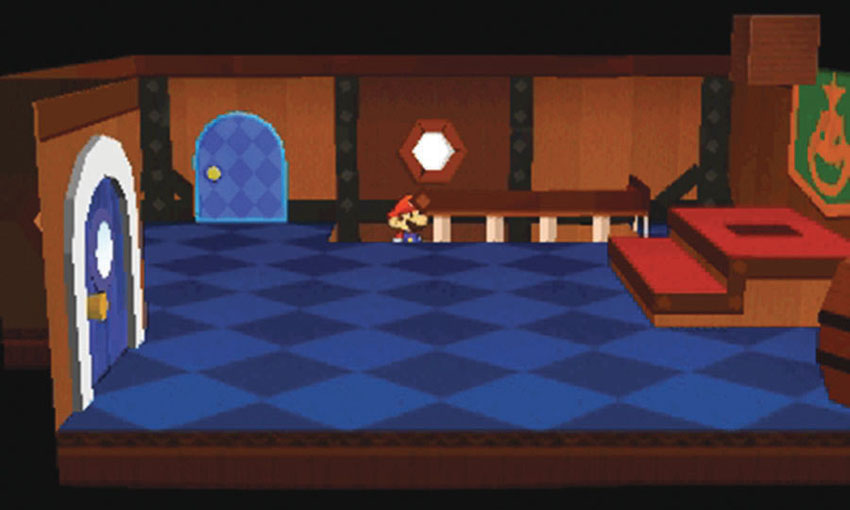
When you’re ready, head back inside. Use the steps just to the right of the Secret Door to enter the ship’s gun deck.
Gun Deck
.jpg)
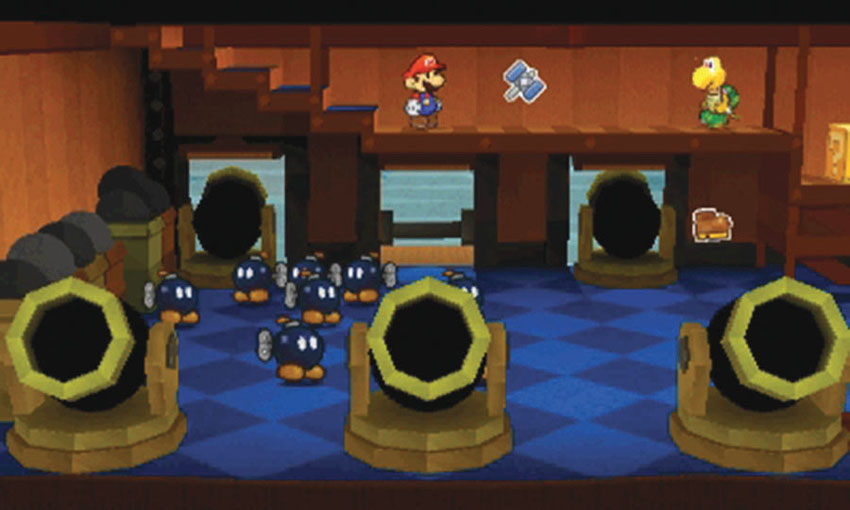
The gun deck is filled with enemies, so be ready to defend yourself. Take care of the Shiny Koopa Troopa on the ledge, then drop down and allow the Bob-ombs to attack you. Win each battle for a chance to collect some very useful Bomb stickers.
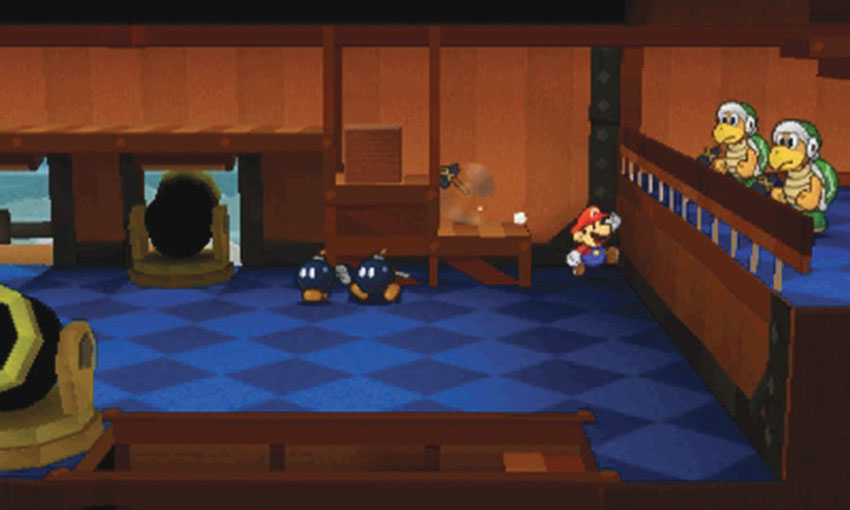
The Hammer Bros on the ledge attack whenever you’re in range. You can’t reach them at this time, so keep moving.
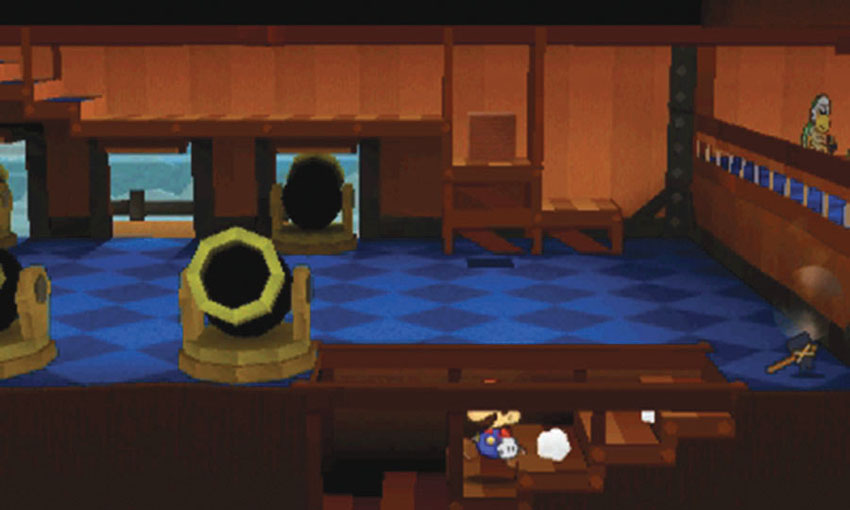
The opening in the back wall leads to a walkway, but that path isn’t ready to use at this time. Move to the foreground and follow the stairs down to the ship’s hold.
Hold
.jpg)
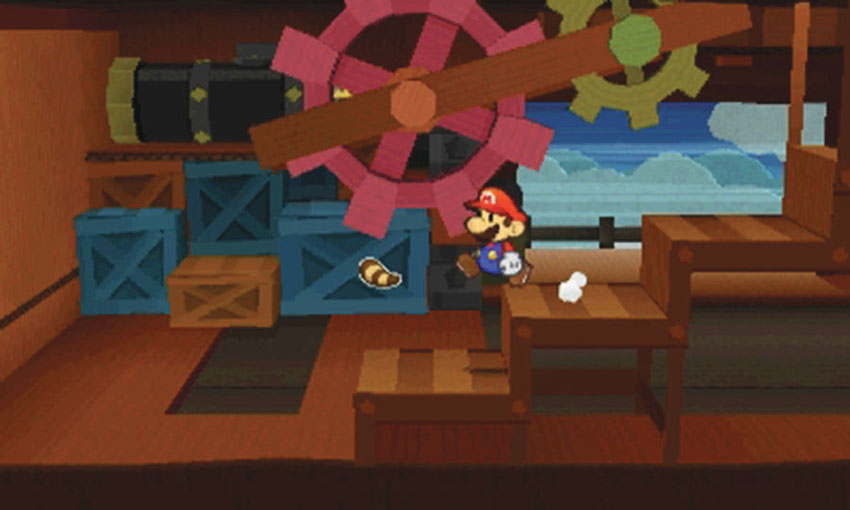
The stairs lead down to the center of the hold. Move to the back wall and climb up the stacked crates.
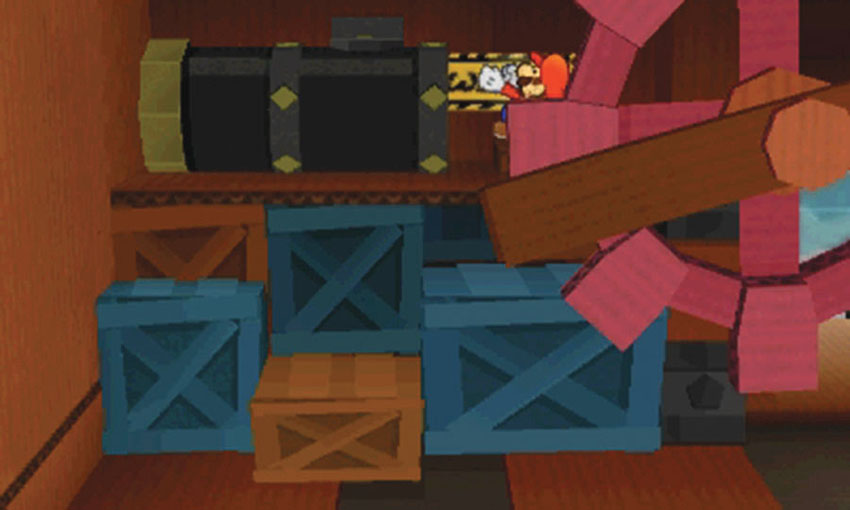
When you reach the top of the crates, peel the Bowser tape from the wall to drop the stowed cannon into place.
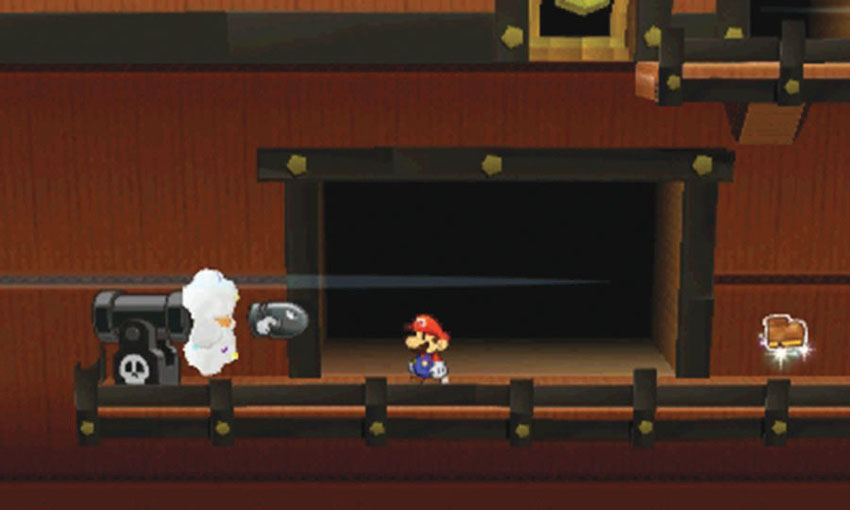
Step through the opening in the back wall to find a small walkway. As you search the area for stickers, use your Hammer to knock away the incoming Bullet Bills.
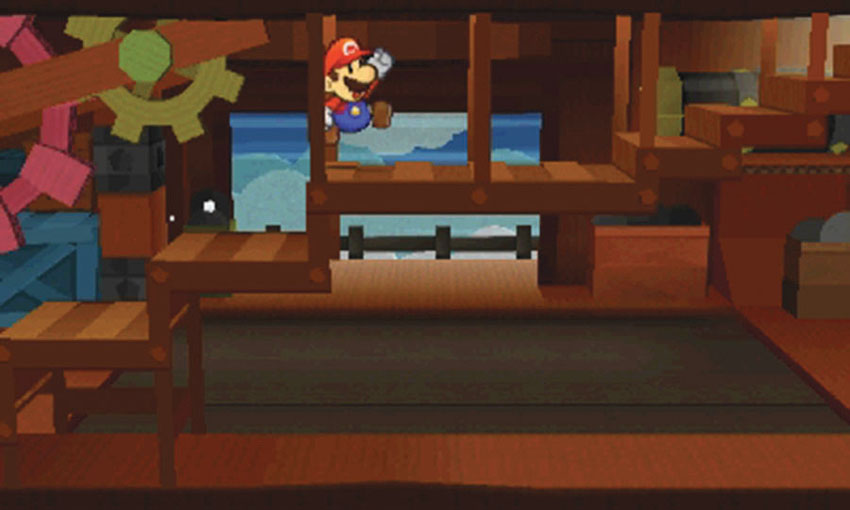
When you’re ready, climb back up the stairs.
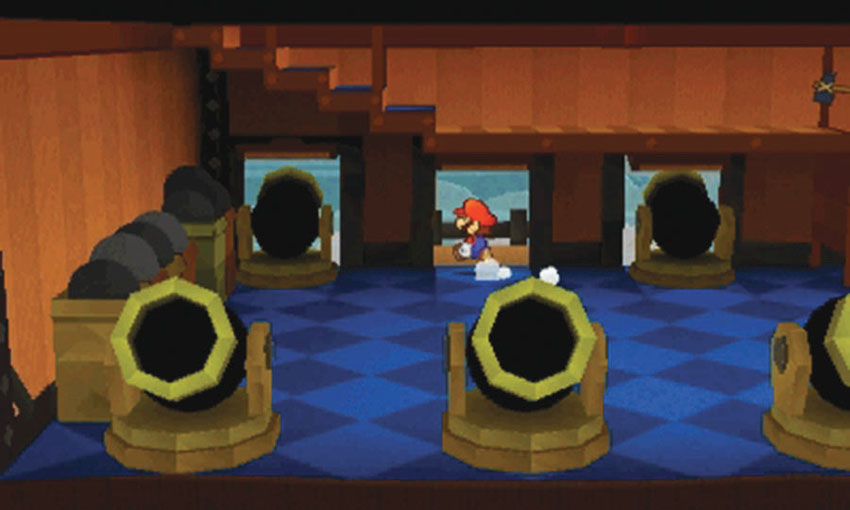
Cut across the gun deck and head through the opening in the back wall.
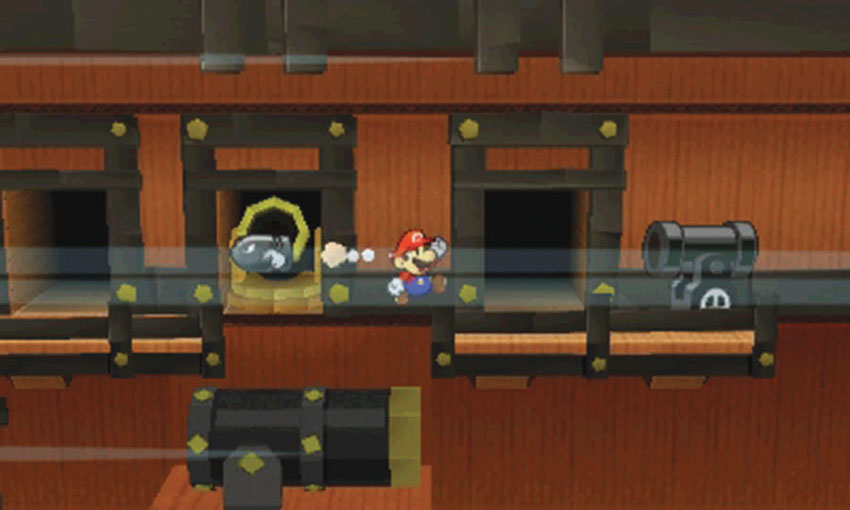
The cannon that you dropped into place can now be used as a platform. Defend yourself from the incoming Bullet Bills as you head for the opening to the right. Enter the ship and follow the steps back down to the hold.
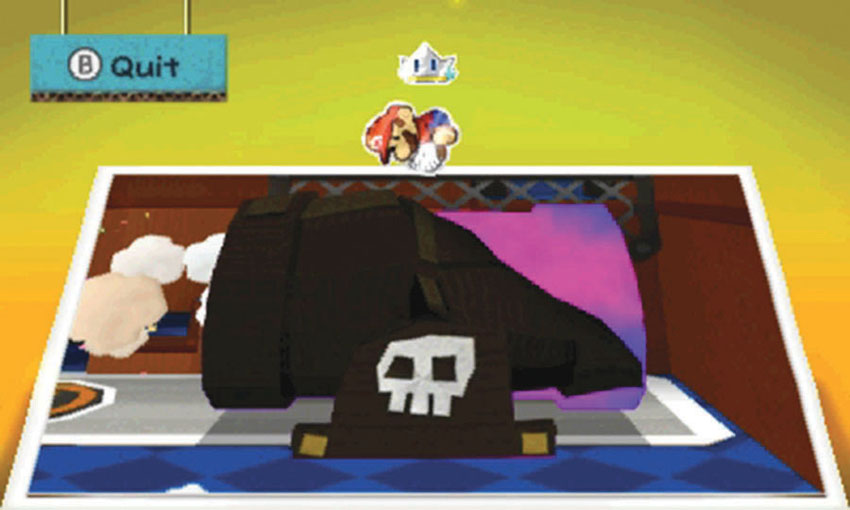
When you reach the bottom of the stairs, activate the Paperize ability and peel the Banzai Bill Cannon scrap off of the floor.
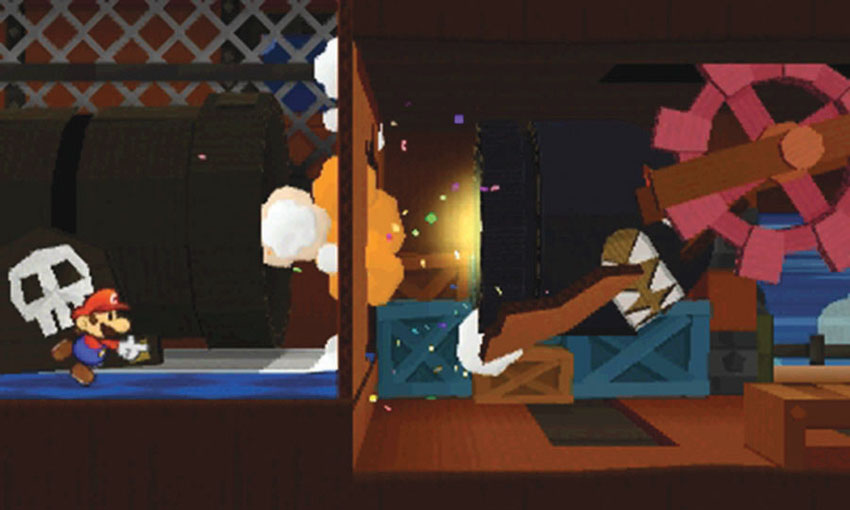
Reapply the scrap to the same spot to aim the cannon into the ship. When the next Banzai Bill emerges, it smashes a path through the hold.
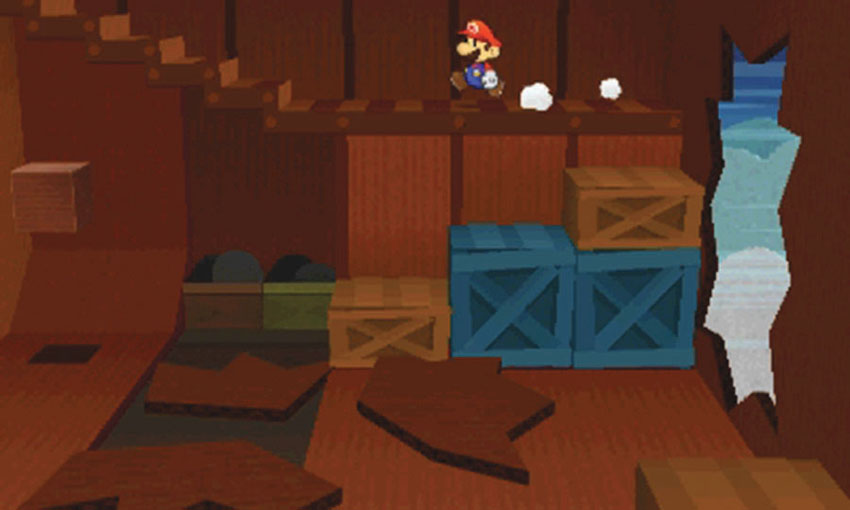
Follow the path left by the Banzai Bill. Climb the crates at the end of the hold and follow the stairs up to the gun deck.
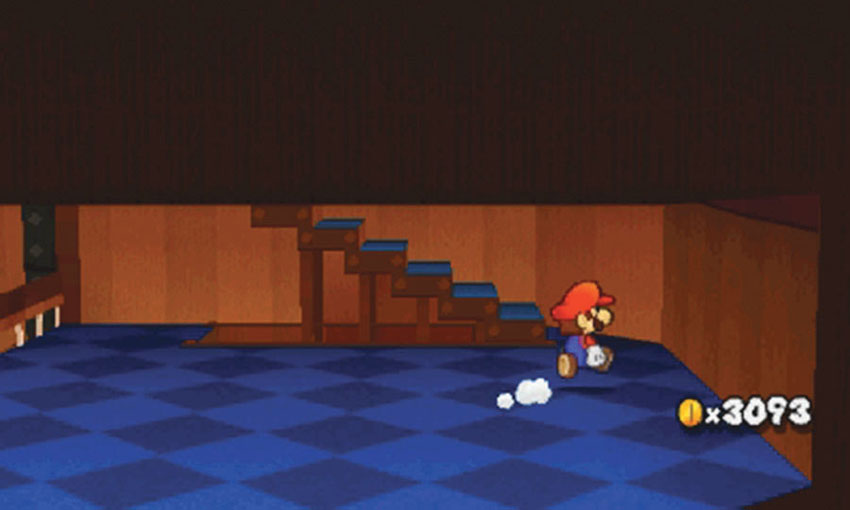
Clear out the Hammer Bros on the gun deck, then follow the next set of stairs up to the main deck.
Main Deck—Part 2
.jpg)
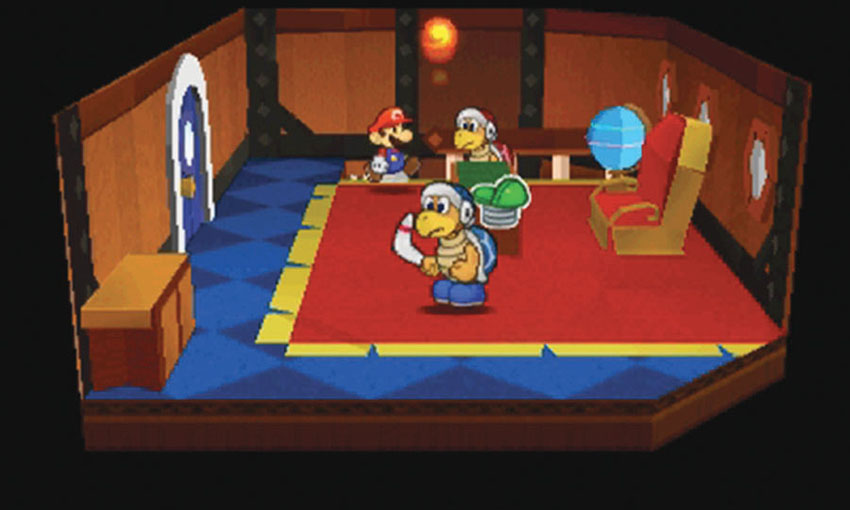
The small cabin at the top of the stairs contains a Fire Bro and a Boomerang Bro. These enemies have powerful allies, so make sure you’re prepared for battle. Run in and clear the enemies out of the area.
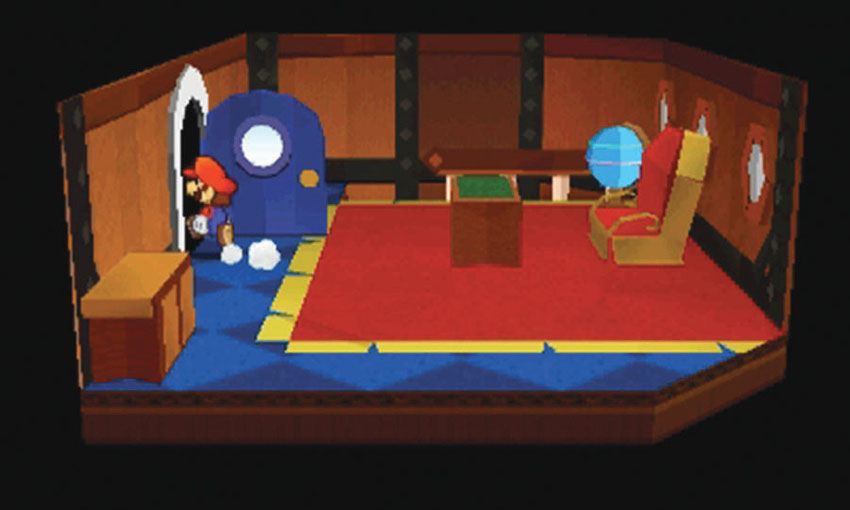
After you clear the cabin, head through the door on the left wall to emerge between the ship’s upper decks.
Upper Decks
.jpg)
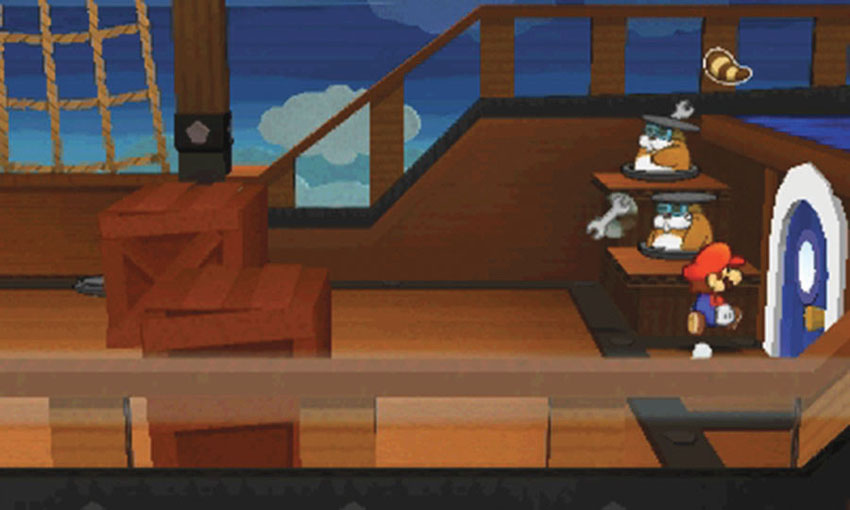
The upper decks are separated by a large portion of the main deck. After you leave the cabin, clear the Rocky Wrenches from the nearby steps and climb up to the deck on your right.
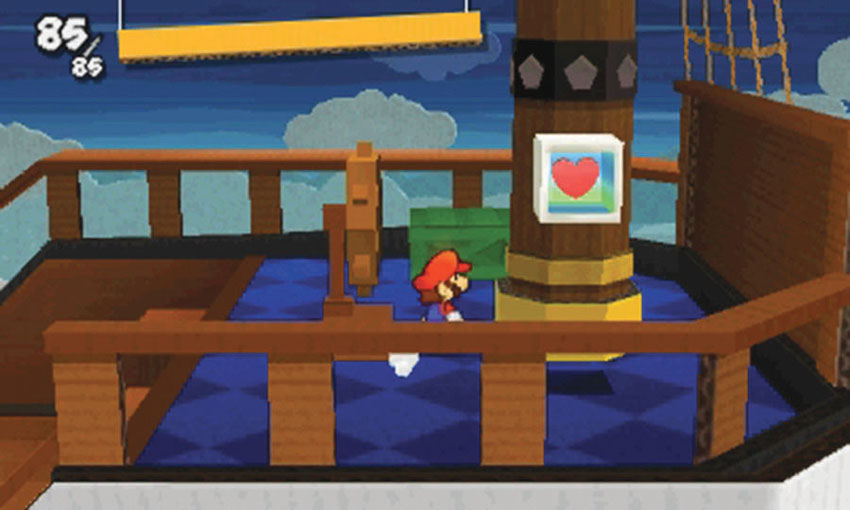
Use the HP Block at Point 2 to refill Mario’s HP, then move toward the background and hop onto the ship’s railing.
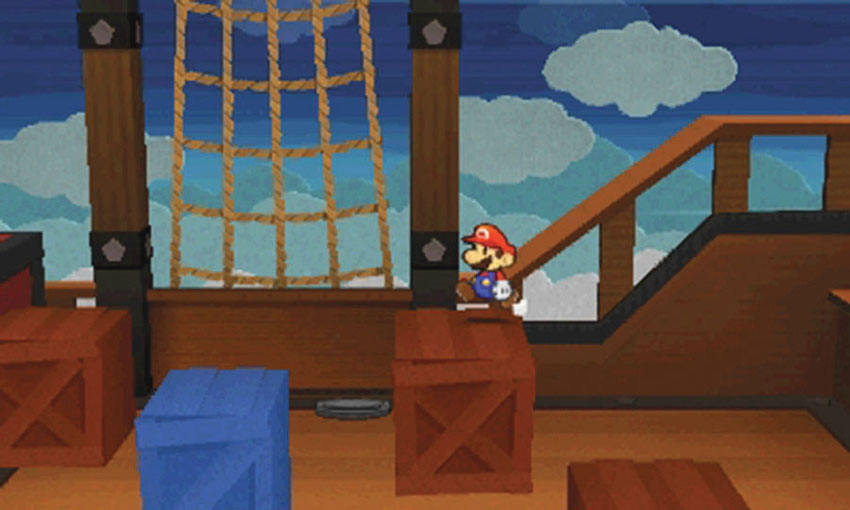
Follow the railing to the left and wait for the nearest crate to slide toward you. Hop onto the crate, then move along the crates to the left until you reach the next deck.
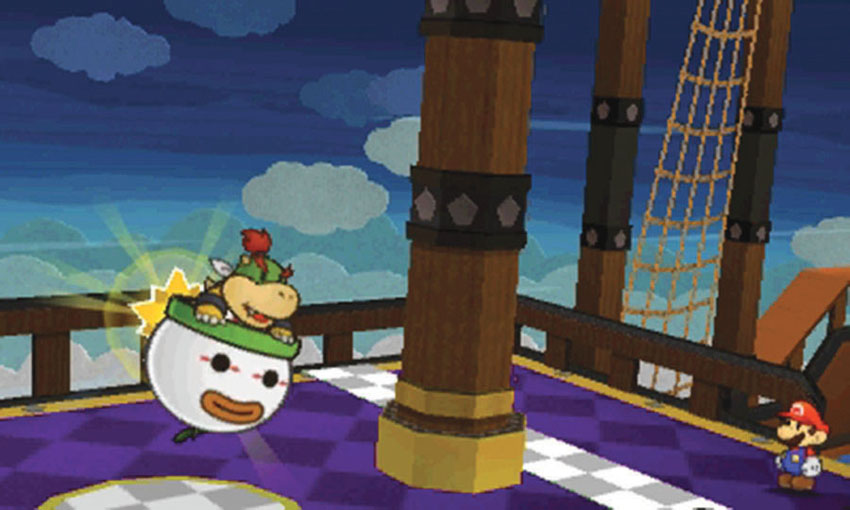
When you reach the next deck, Bowser Jr. appears. Before you can reach the Comet Piece, you must defeat him for a third and final time.
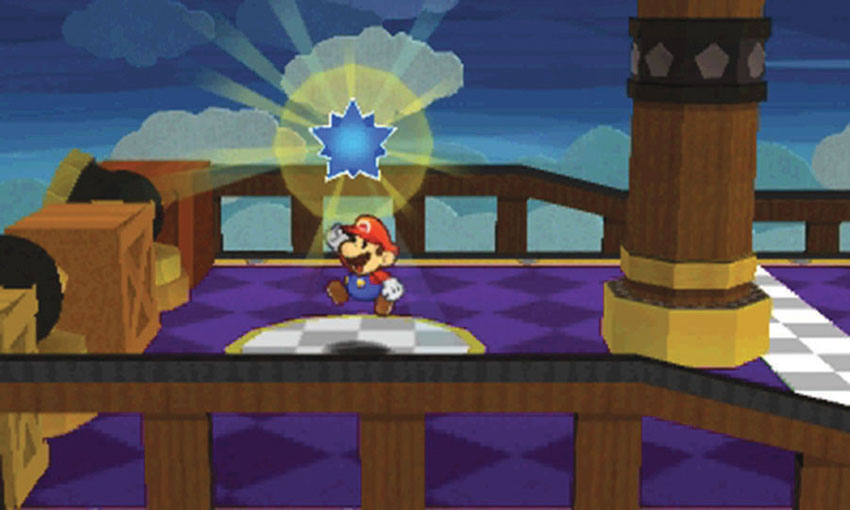
After you defeat Bowser Jr., collect the Comet Piece to complete your visit.
Sticker Comet Piece: Unlocking World 6-3
This Course contains one piece of the Sticker Comet. To unlock World 6-3, you must collect the Comet Piece from the upper decks.
World 6-3: Bowser’s Sky Castle
Overview
Prerequisites
To unlock this Course, you must collect the Comet Piece from the upper decks of World 6-2. This Course consists of a long series of battles, so make sure your Album contains all the stickers you’ll need. Bring plenty of Super Boots (or Frog Suits), Jump-based stickers, and Mushrooms, then fill the rest of your Album with as many Battle Stickers and Thing Stickers as you can carry. Virtually every sticker can be used at some point in the Course. Bring a variety of multi-target stickers, single-target stickers, POW Blocks, and defensive stickers—anything that might help you meet an unexpected challenge. Purchase high-quality stickers, and revisit completed Courses to collect Megaflash stickers, Infinijumps, and other rare items the Sticker Shops don’t carry.
Essential Thing Stickers
| Name | Thing Location | Notes |
|---|---|---|
| Tape | World 3-8 | Used during the first Bowser battle. |
| Hair Shears | World 2-4 | Used during the second Bowser battle. |
| Shaved Ice | World 2-4 | Used during the third Bowser battle. |
| Paper Fan | World 2-2 | Used during the third Bowser battle. |
| Baseball Bat | World 2-3 | Used during the fourth Bowser battle. |
Objectives
This Course contains several objectives, all of which must be completed to complete the game:
- Defeat Kamek.
- Complete the first Bowser battle.
- Complete the second Bowser battle.
- Complete the third Bowser battle.
- Complete the fourth Bowser battle.
- Defeat Bowser.
- Free Peach.
Important Items and Locations
| Description | Notes |
|---|---|
| Secret Door | None |
| HP-Up Heart | None |
| Toad Rescue | None |
| Luigi Location | None |
| Wiggler Diary Entry | None |
| Things | None |
Recommended Tactics
This Course contains some of the game’s most difficult encounters. While the proper tactics should allow you to claim victory, it can be a long and dangerous process. Some of your stickers will be destroyed along the way. You can take some precautions, but be ready to improvise if you lose a particularly important sticker.
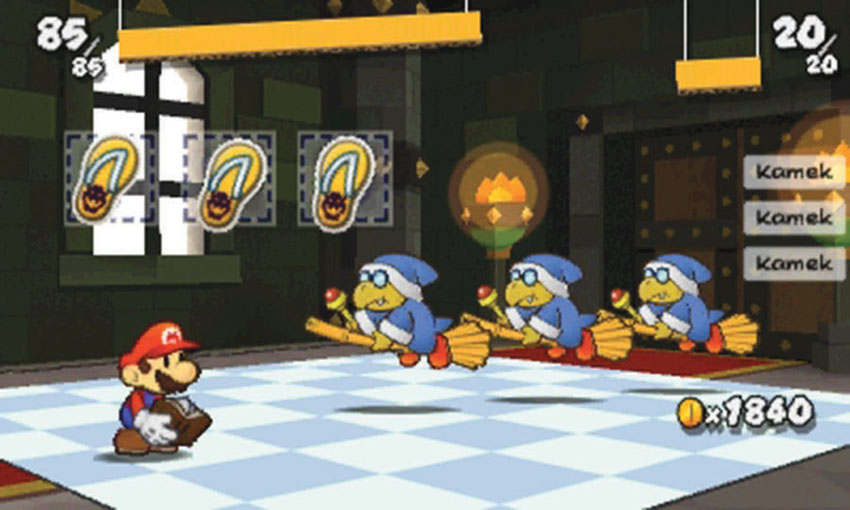
The battle with Kamek is much simpler if you score a jackpot on the Battle Spinner. Once again, Kamek transforms all of your stickers into Sandals for the duration of the battle. Use any three stickers to defeat the Kamek clones in a single turn.
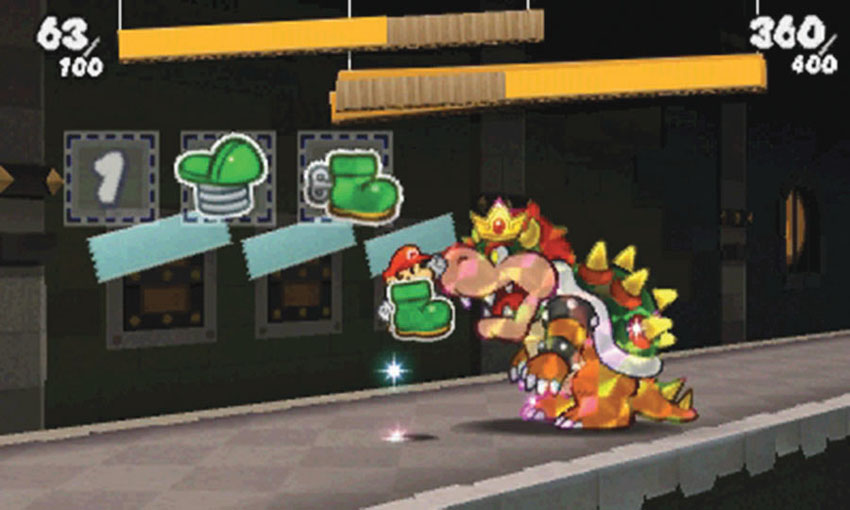
The recommended Thing Stickers are very useful in dealing with Bowser’s many allies, but you’ll also need a good selection of powerful Battle Stickers. Bring plenty of Super Boots and Jump-based stickers, but make sure to bring some multi-target stickers as well. You’ll also need at least one Eekhammer to topple a particularly tough Whomp.
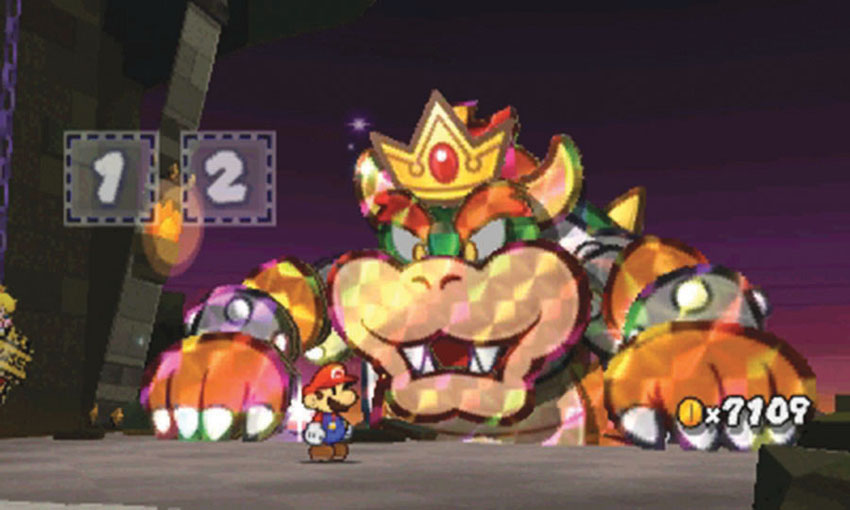
The final encounter is much easier with the right combination of stickers. Combine Super Boots with Infinijumps and other powerful Jump-based stickers to deal reliable damage on each turn. Bowser destroys some of your stickers as the battle progresses, so make sure you bring a suitable supply.
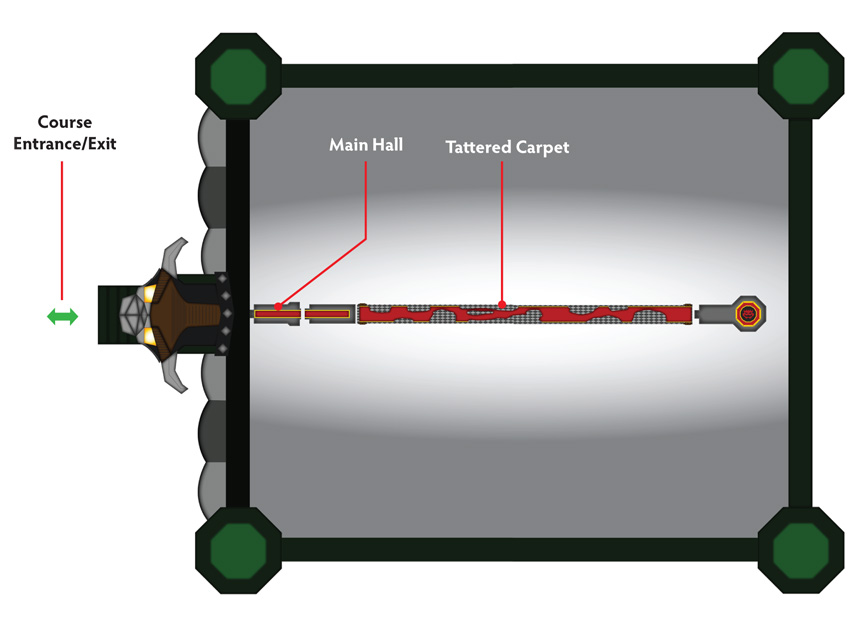
Main Hall
.jpg)
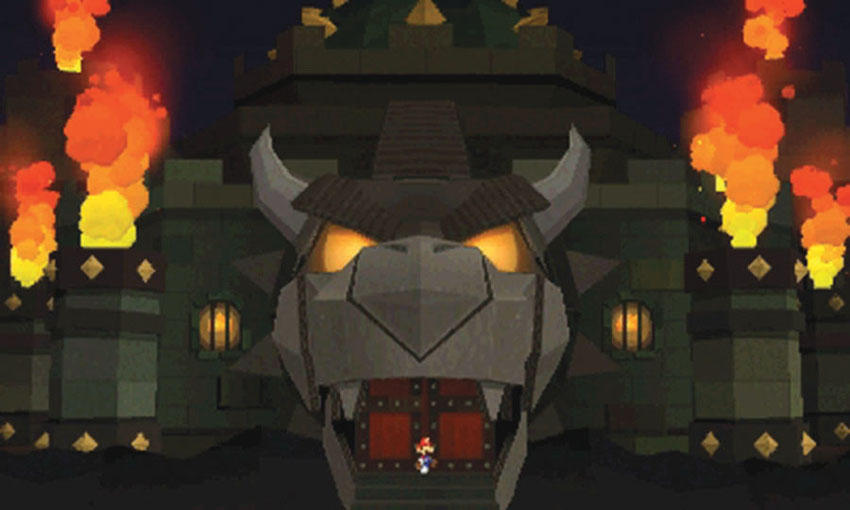
When you arrive at the castle, climb the steps to the entrance and head inside.
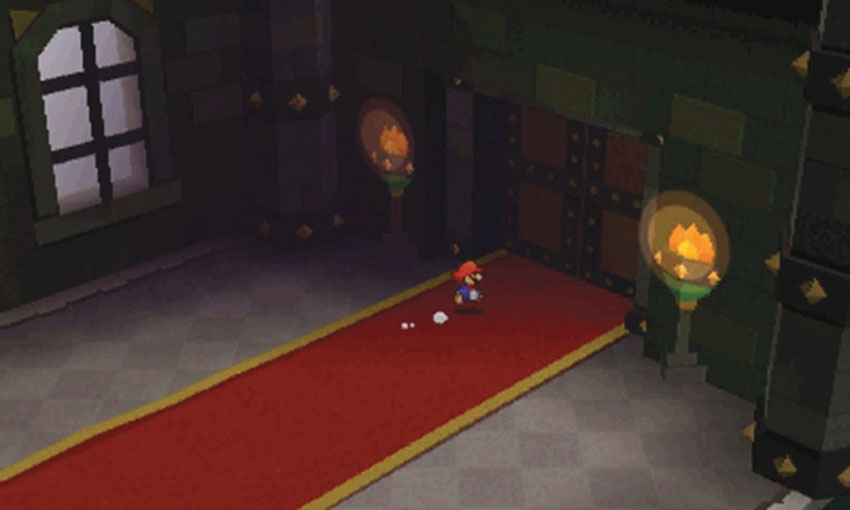
Follow the main hall to the next door. Kamek attempts to block your path.
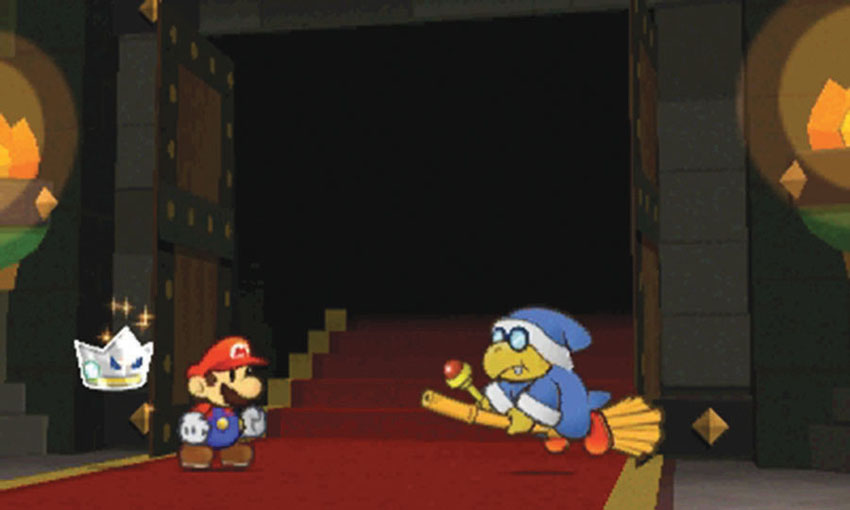
Defeat Kamek for a third and final time, then follow the path to the tattered carpet.
Tattered Carpet
.jpg)
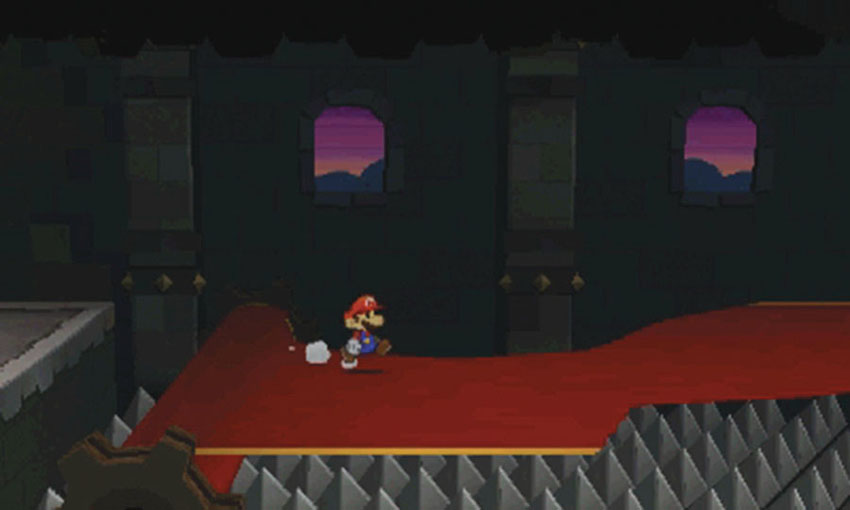
When you hop onto the tattered carpet, it begins to roll up. Move quickly and avoid the holes in the carpet to avoid falling onto the spikes below you.
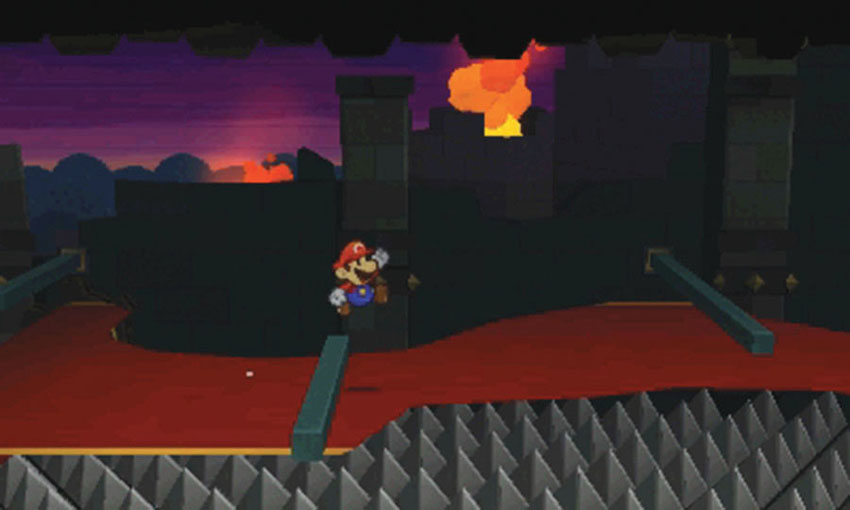
As you approach the end of the carpet, several bars appear in your path. Hop over each obstacle to maintain your speed.
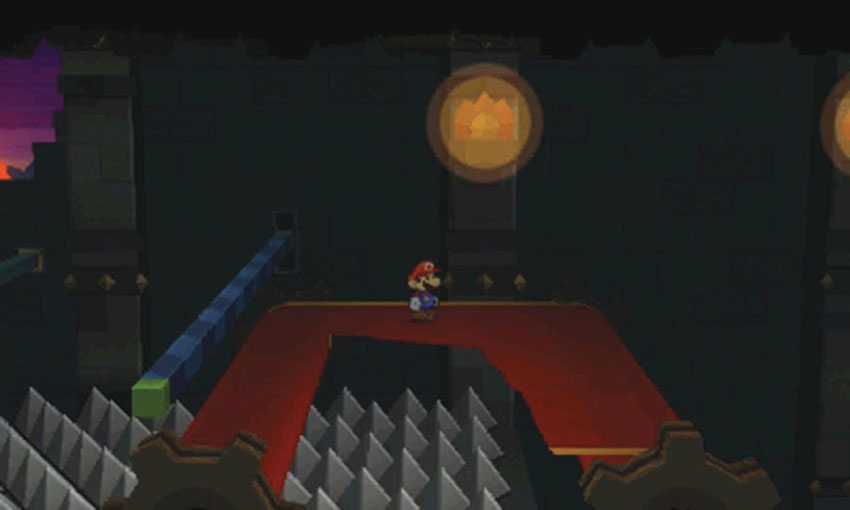
After you make it past the last bar, move to the end of the tattered carpet and wait for it to carry you to Bowser’s chamber.
Bowser’s Chamber
.jpg)
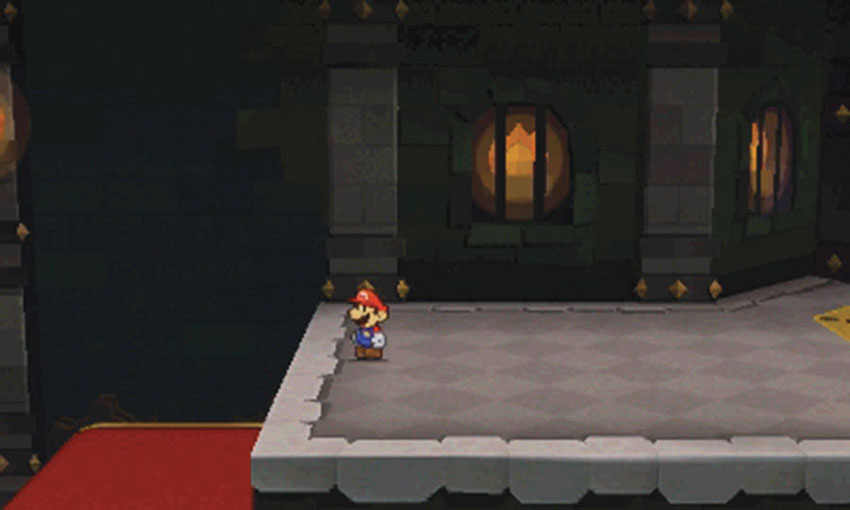
When you reach Bowser’s chamber, the tattered carpet drops away from the ledge. Follow the path to the right to find Peach suspended near the back wall.
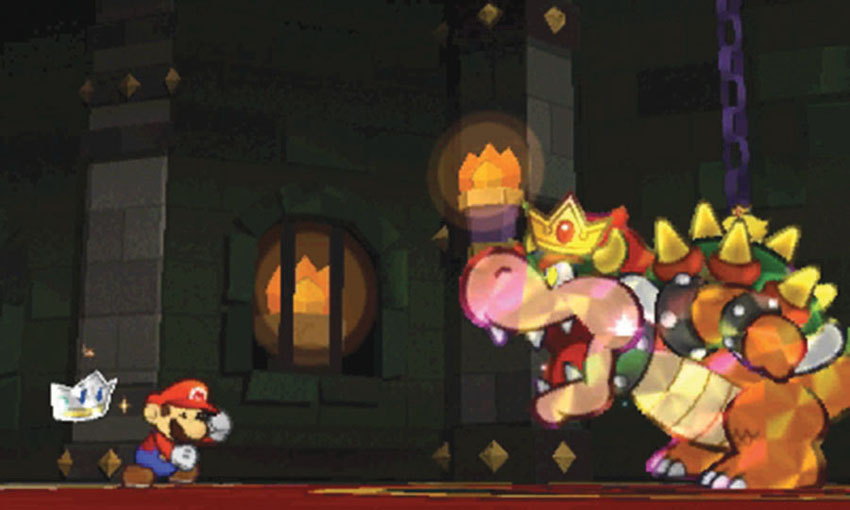
As you approach Peach, Bowser blocks your path and sends Peach down a hidden hallway. To find Peach, you must survive a series of battles against Bowser and his minions.
First Bowser Battle
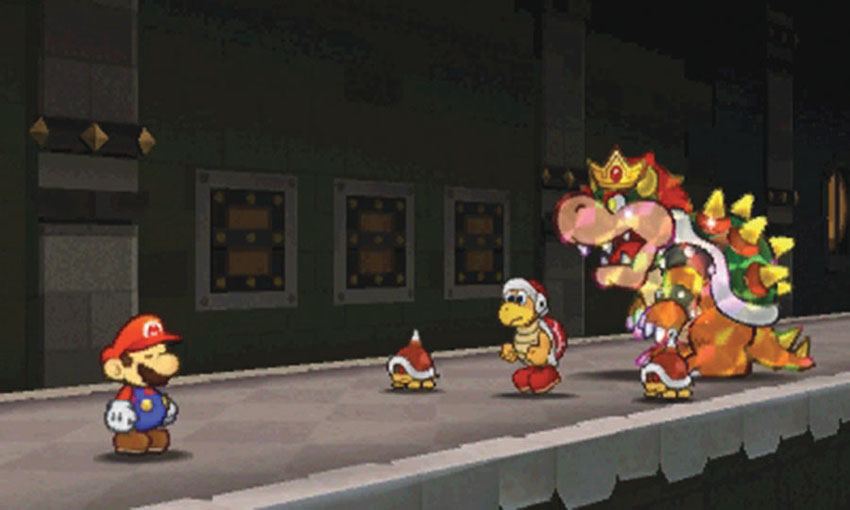
During the first Bowser battle, enemies emerge from the three panels on the wall.
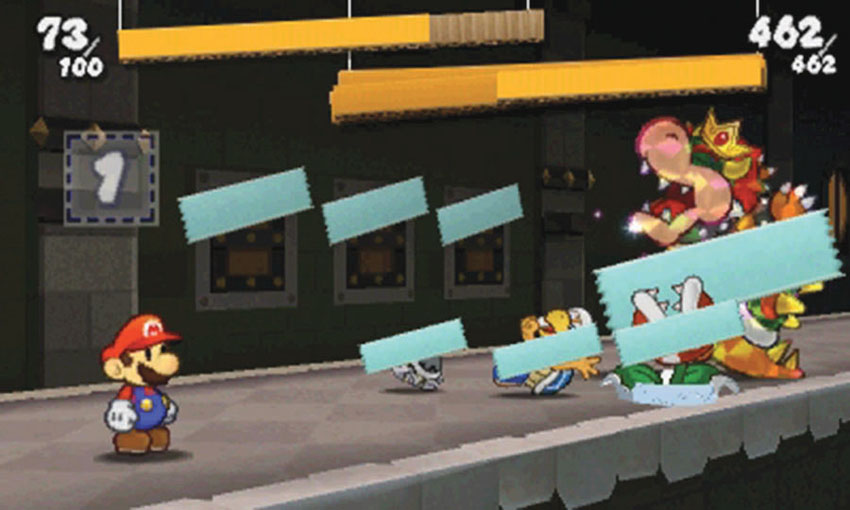
To prevent new enemies from emerging throughout the battle, use a Tape Thing Sticker to seal the panels on the wall. This also temporarily incapacitates the enemies. Use some multi-target attacks to clear out Bowser’s minions before they recover.
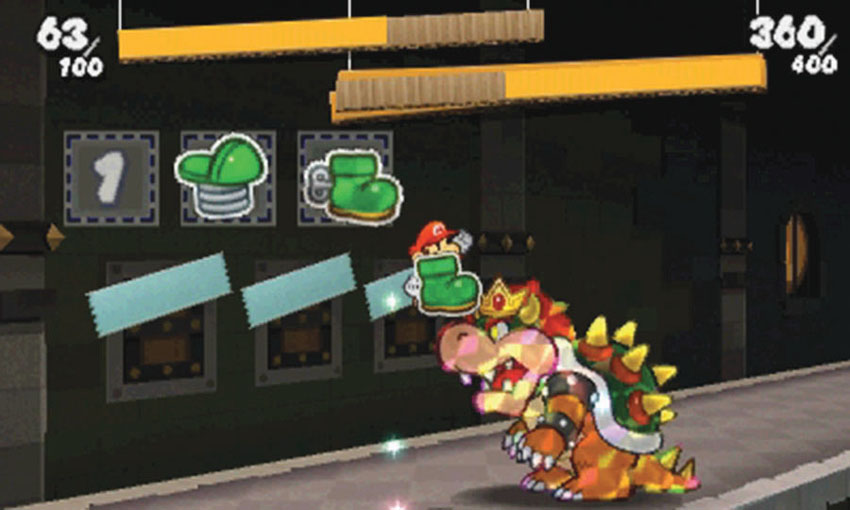
Bowser’s spikes protect him from most Jump-based attacks, but the Super Boot allows you to overcome his defenses. Use the Battle Spinner to combine Super Boot stickers with Jump-based stickers. Defend yourself from his attacks, and use Mushroom stickers to heal yourself as needed.
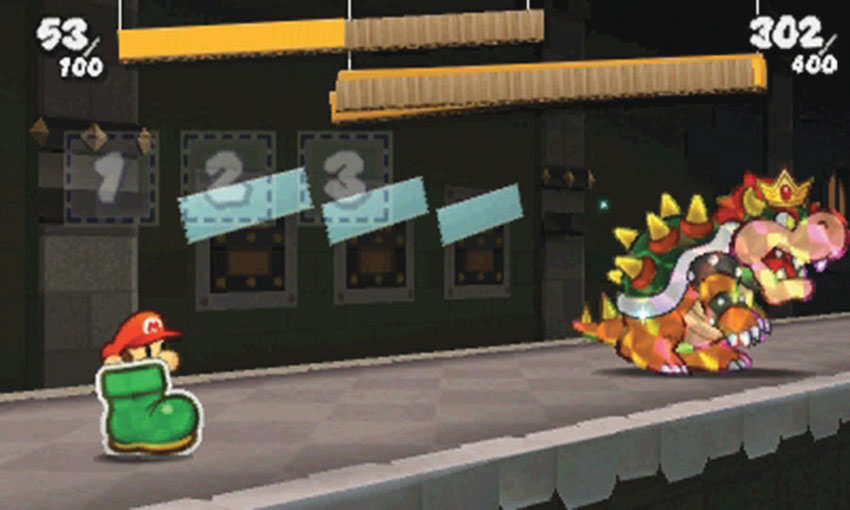
When Bowser absorbs around 100 points of damage, he withdraws from the battle. After this happens, you automatically follow him to the next encounter.
Second Bowser Battle
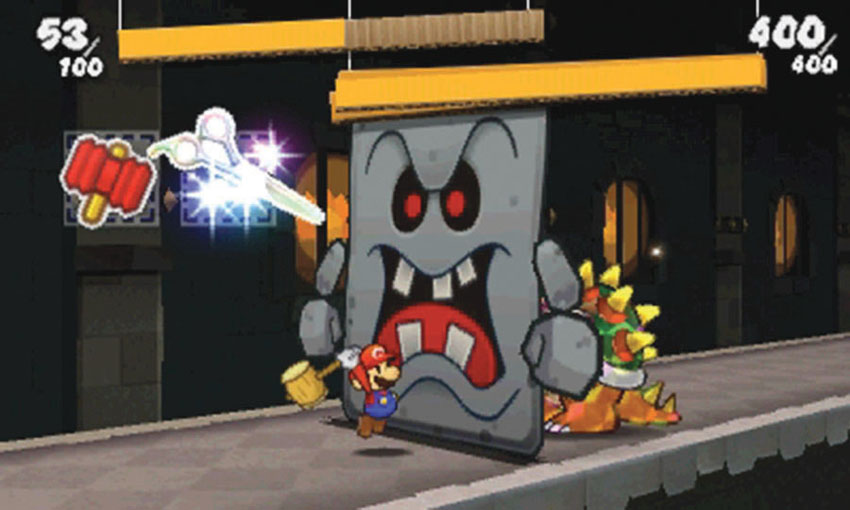
When the next battle begins, Bowser heals himself and hides behind a Whomp. The Whomp is a very tough enemy, but it does have an exploitable weakness. Use the Battle Spinner to earn at least one extra attack, then select an Eekhammer and the Hair Shears Thing Sticker. Land at least two hits with the Eekhammer to topple the Whomp. The Hair Shears will finish the downed enemy.
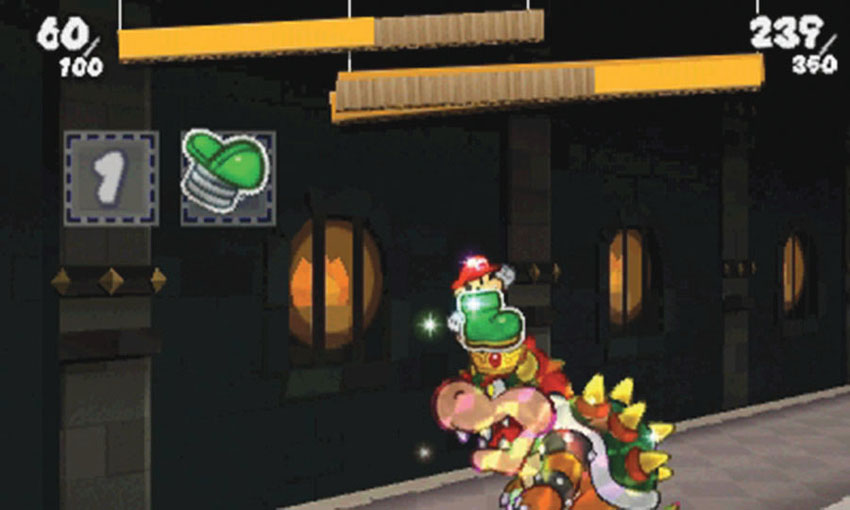
Once Bowser’s on his own again, employ the same tactics as earlier. Use the Battle Spinner to earn at least one extra attack during each turn, and combine Super Boot stickers with Jump-based stickers.
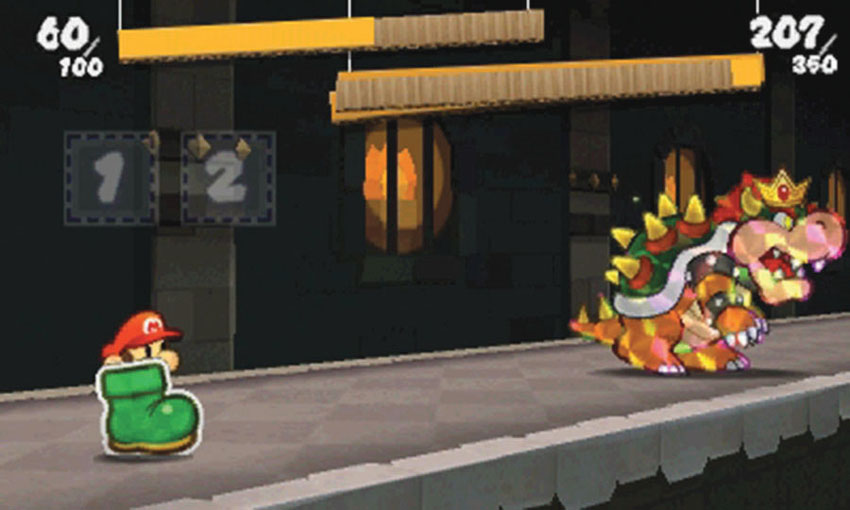
When Bowser absorbs around 200 points of damage, he withdraws from the battle and heads to his next group of minions.
Third Bowser Battle
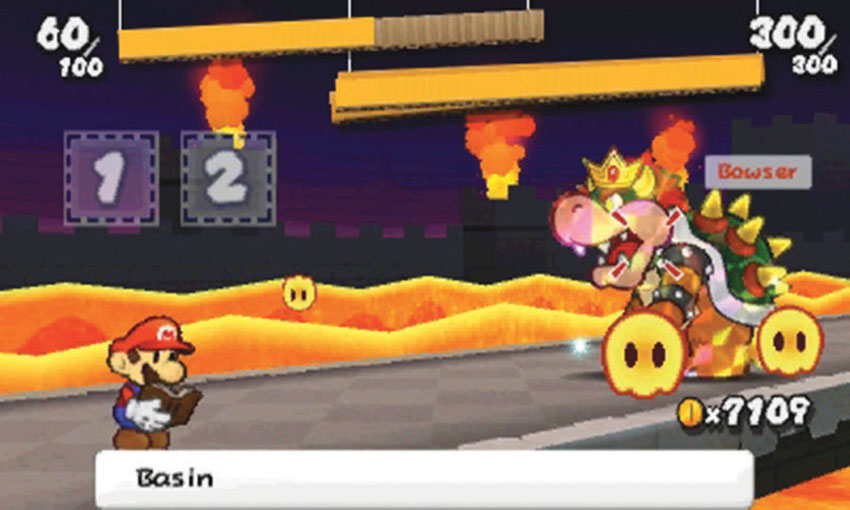
When the next battle begins, Bowser heals and surrounds himself with Lava Bubbles.
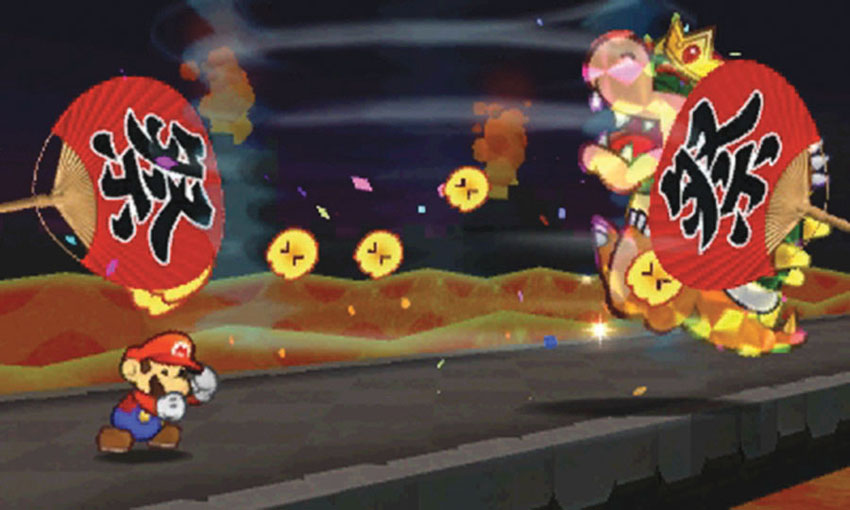
Use the Battle Spinner to earn at least one extra turn, then select the Shaved Ice sticker and the Paper Fan sticker. The Shaved Ice sticker freezes all of the enemies, then the Paper Fan sweeps them up in a whirlwind.
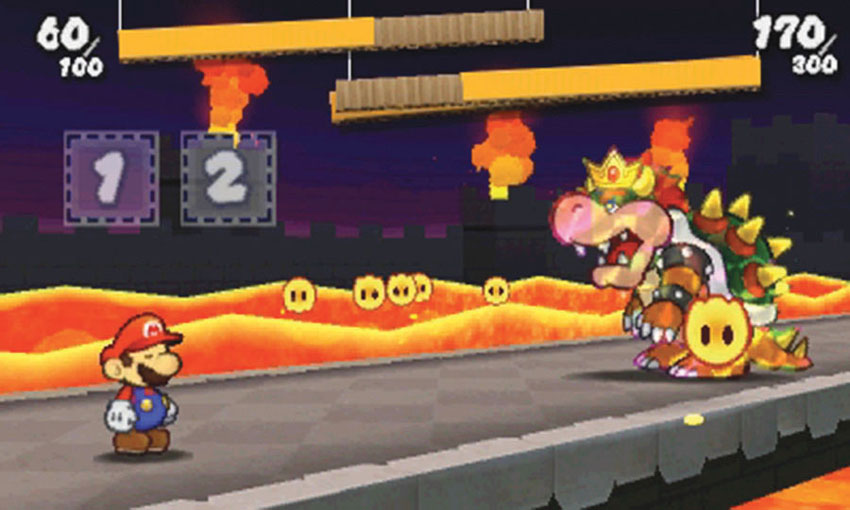
The damage caused by the two Thing Stickers is enough to end the battle! When Bowser recovers, he withdraws to his remaining minion.
Fourth Bowser Battle
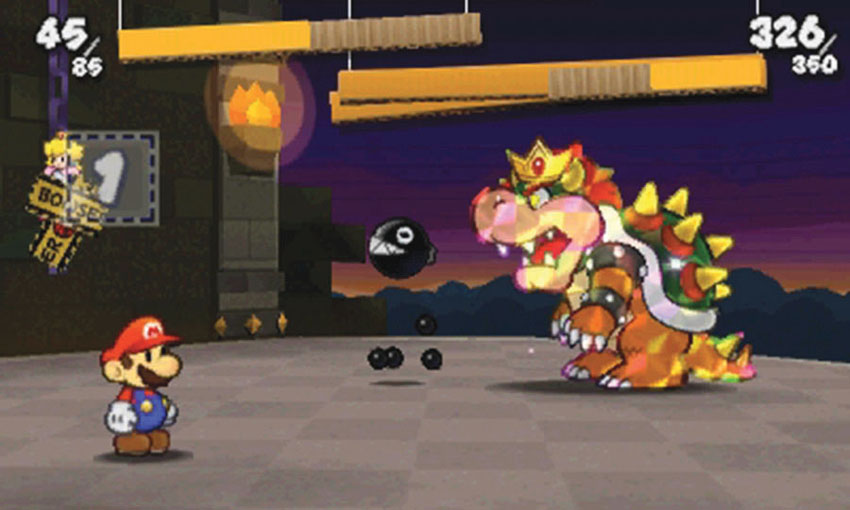
During the next battle, you must face Bowser and a Chain Chomp while Peach watches from the background. Use the Baseball Bat sticker to end the battle on your first turn.
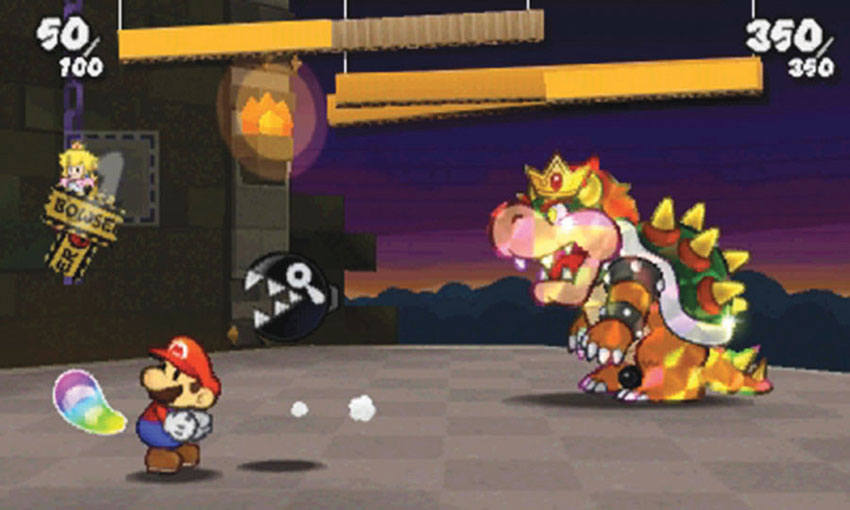
If you don’t have a bat-type Thing Sticker, use a Tail sticker to counter the Chain Chomp’s first attack. Either method will knock the Chain Chomp into Bowser. The impact sends both enemies tumbling off the platform.
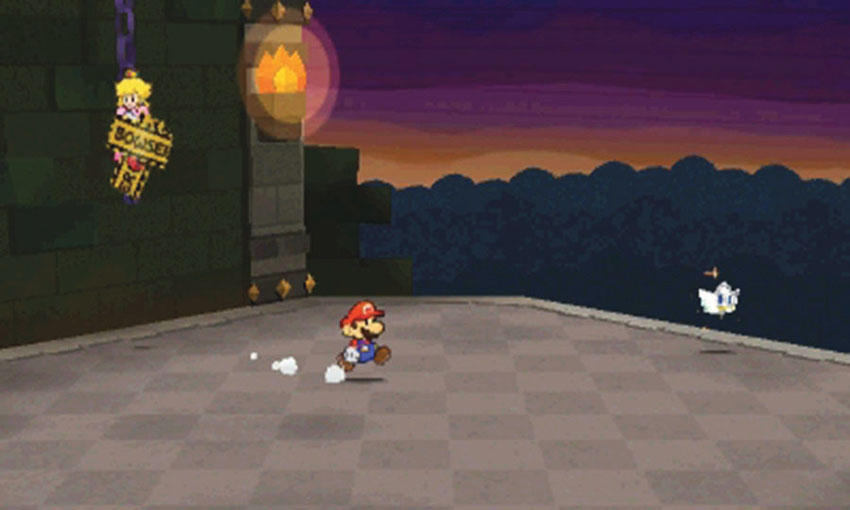
Peach is dangling out of reach, so you can’t rescue her at this time. Meet Kersti at the edge of the platform to begin the final battle.
Bowser
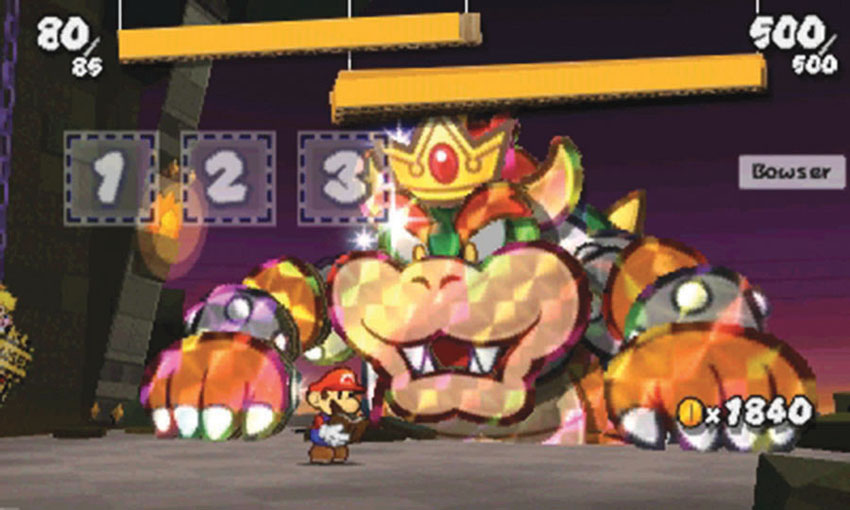
When Bowser emerges, he’s bigger and stronger than ever. When the encounter starts, use Jump-based stickers to damage Bowser’s hands. Each impact does only one point of damage, so sticker quality isn’t a factor at this time. Use Hopslippers and basic Jumps to chip away at Bowser’s HP. There’s no need to use Super Boots. If your Album contains any Infinijumps, save them for the battle’s next phase.
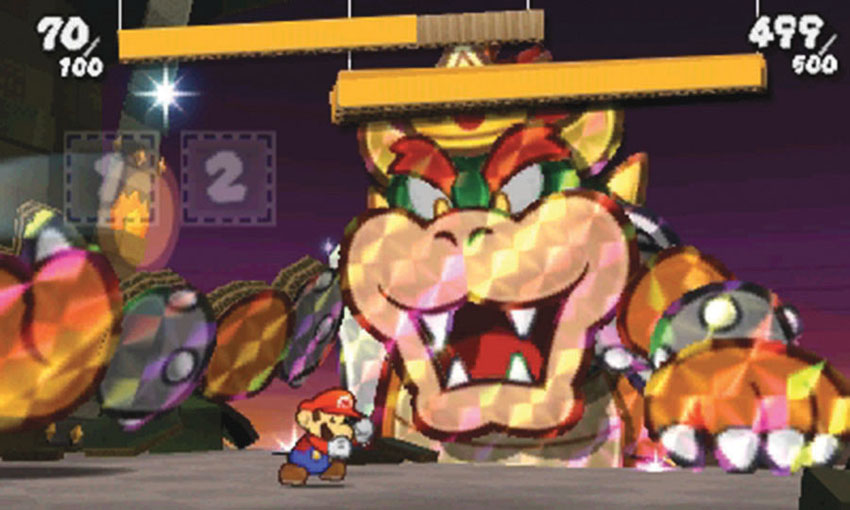
Bowser’s attacks do fairly heavy damage, so make sure you defend yourself. Keep an eye on Mario’s HP, and use Mushrooms or 1UP stickers to keep your health up.
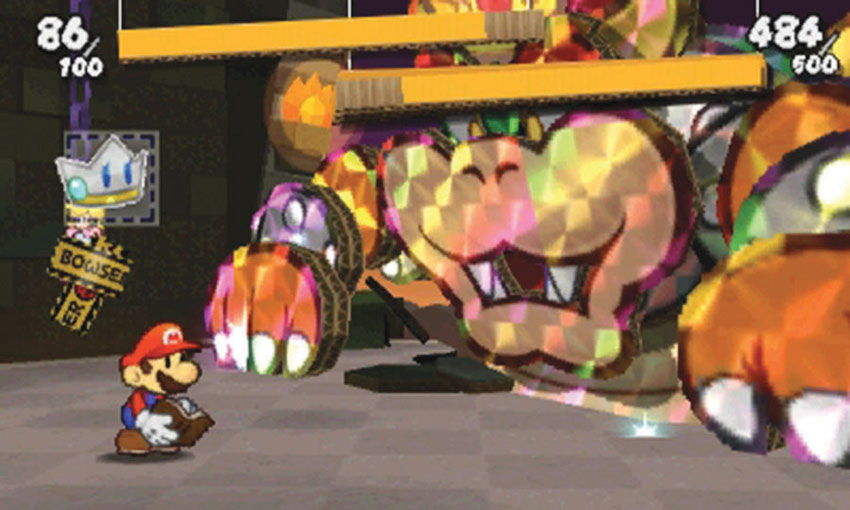
As the battle progresses, Kersti appears in your Album. Use the Kersti sticker to move into the battle’s second phase. Once you do, the Battle Spinner automatically grants you five attacks on each turn, and your Battle Stickers are much more effective.
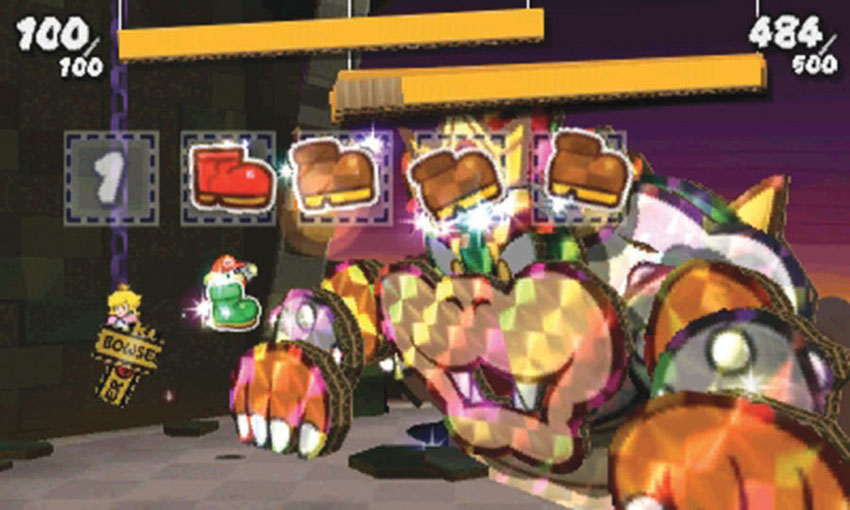
After you use the Kersti sticker, select a Super Boot and the four most powerful Jump-based stickers left in your Album. High-quality Infinijumps, Clone Jumps, and Hopslippers do massive damage while a Super Boot is active, so don’t hold back! If you’re running low on these stickers, combine a Frog Suit with high-quality Burnhammers, Chillhammers, and any other powerful multi-target stickers in your Album.
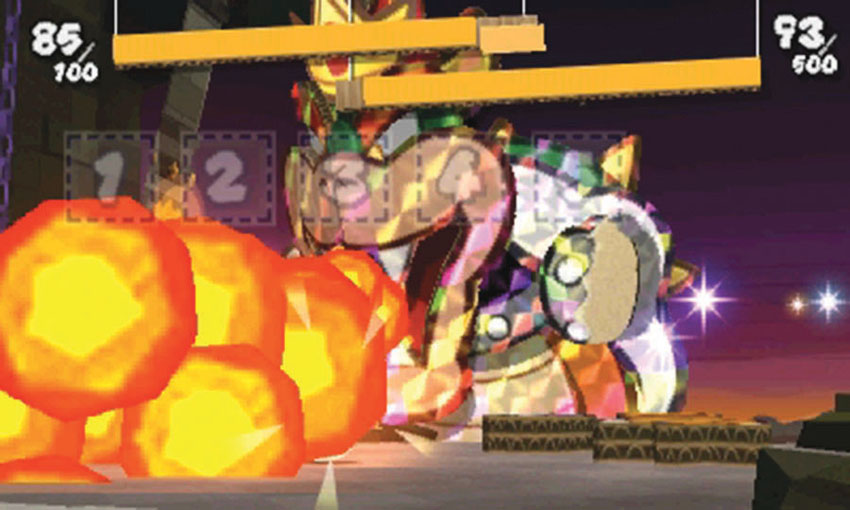
Don’t use Jump-based attacks on Bowser’s head without first selecting a Super Boot. If you do, his spikes will counter everything aside from the Iron Jump. When Bowser breathes fire, the flames destroy a few of your stickers. If you run out of Super Boots, finish him off with Hammers, Shells, POW Blocks, and any other non-Jump stickers left in your Album. Keep attacking and defending until you defeat Bowser.
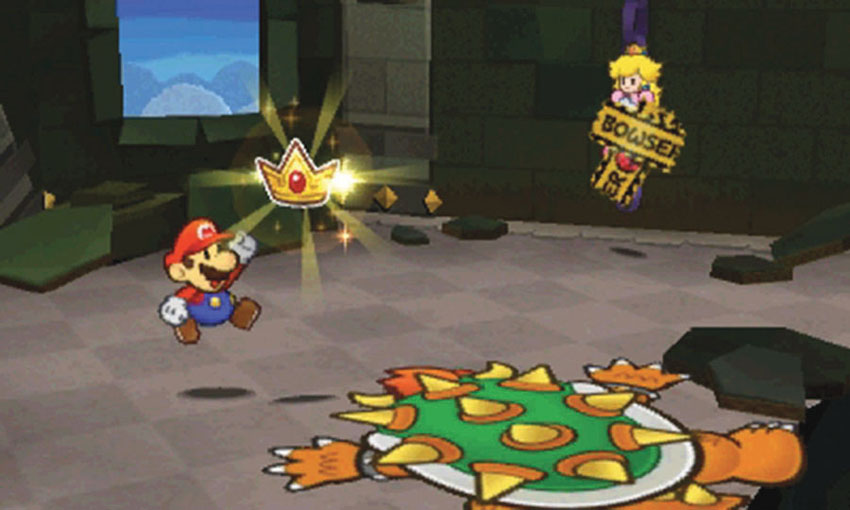
When you defeat Bowser, the sixth and final Royal Sticker floats down to you.
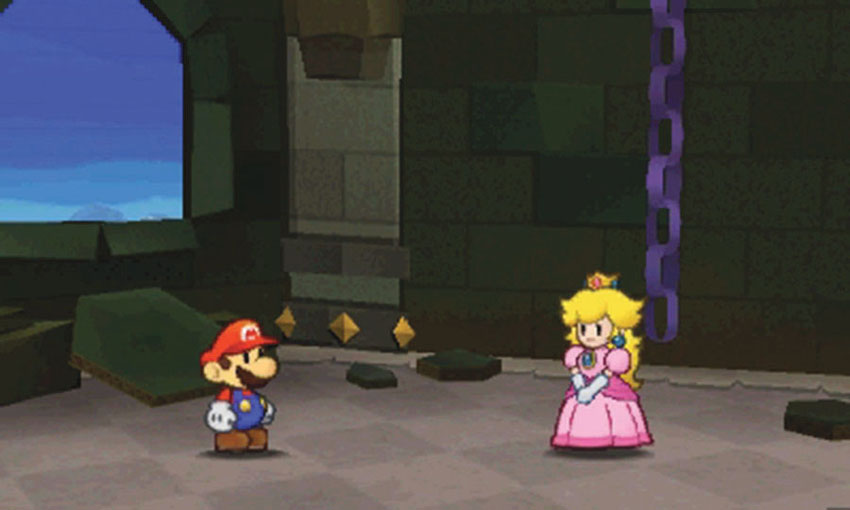
After you collect the Royal Sticker, peel the Bowser tape holding Peach off the ground. After you free Peach, you’ve completed the game! Watch the final cinematic to see how the story ends.