
Paper Mario: Sticker Star Guide Walkthrough Worlds
World Three
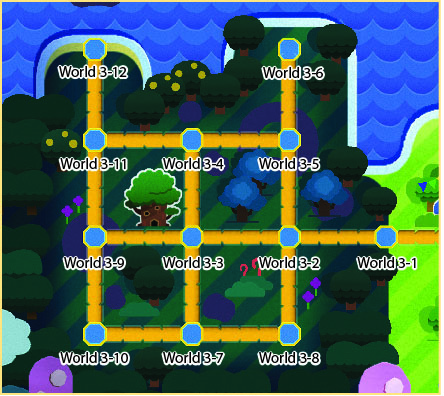
World Three Courses
| Number | Name |
|---|---|
| World 3-1 | Leaflitter Path |
| World 3-2 | The Bafflewood |
| World 3-3 | Wiggler’s Tree House |
| World 3-4 | Strike Lake |
| World 3-5 | Loop Loop River |
| World 3-6 | Outlook Point |
| World 3-7 | Rustle Burrow |
| World 3-8 | Tree Branch Trail |
| World 3-9 | Gauntlet Pond |
| World 3-10 | Stump Glade |
| World 3-11 | Holey Thicket |
| World 3-12 | Whitecap Beach |
World Three’s sprawling forests have not only been overrun by enemies, they’ve been corrupted by the poisonous Gooper Blooper. You’ll face several new enemies, such as Snifits, Ninjis, Piranha Plants, and Poison Bloopers, but due to toxic pools and poison gas, the environment is almost as dangerous as hostile creatures. Luckily, this world also contains a powerful ally—as long as you can get the frustrated Wiggler back on his many feet!
World 3-1: Leaflitter Path
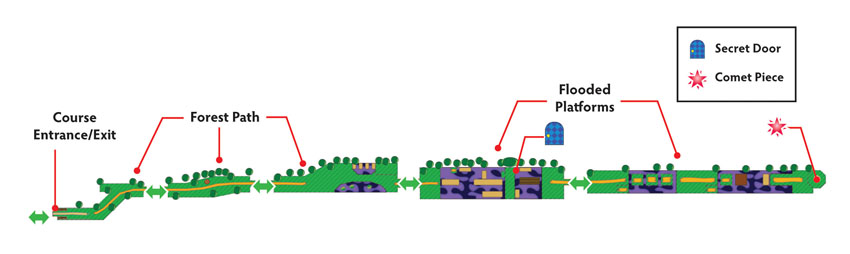
Overview
Prerequisites
This Course is available from the moment you leave Decalburg; however, you’ll need a Trumpet sticker to reach the end of the Course. You must also acquire a Secret Door sticker before you can apply it to the marked location.
Essential Thing Stickers
| Name | Thing Location | Notes |
|---|---|---|
| Trumpet | World 1-6 | Needed to wake the sleeping Wiggler. |
Objectives
This Course contains multiple objectives, some of which require additional visits:
- Wake Wiggler.
- Collect the Comet Piece to unlock World 3-2.
- Collect the Searchlight from the Secret Door.
- Collect the HP-Up Heart from the cleansed forest.
Important Items and Locations
| Description | Notes |
|---|---|
| Secret Door | The marked location is on a large tree among the flooded platforms. |
| HP-Up Heart | After the forest is cleansed, the HP-Up Heart appears at the end of the Course. |
| Toad Rescue | None |
| Luigi Location | None |
| Wiggler Diary Entry | None |
| Things | The Searchlight is through the Secret Door. |
Recommended Tactics
This Course contains some new enemies, but the stickers scattered around each area should help you deal with most situations. As you navigate the flooded platforms, keep an eye out for a pesky pair of Boomerang Bros!
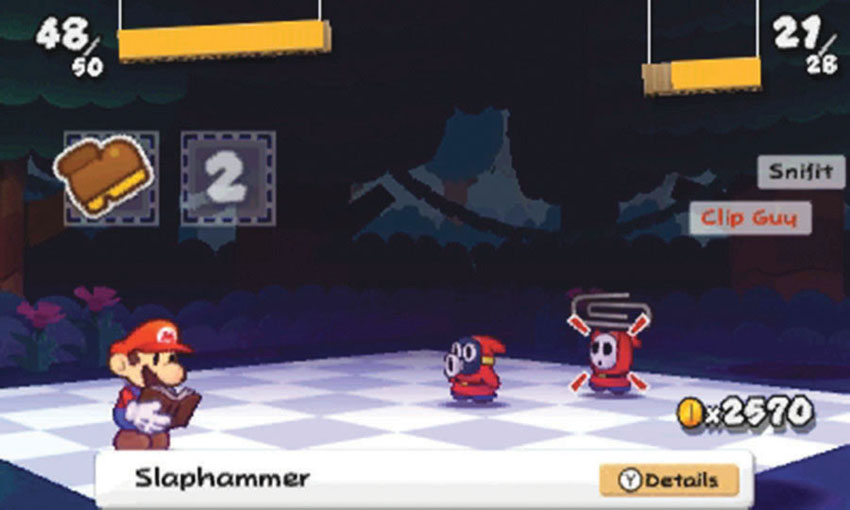
The Snifits in this Course usually team up with Clip Guys or Paint Guys. These enemies can absorb a fair amount of damage, but they’re vulnerable to most attacks. Try to initiate each battle with a preemptive Hammer strike, then use the Battle Spinner to earn an extra attack or two.
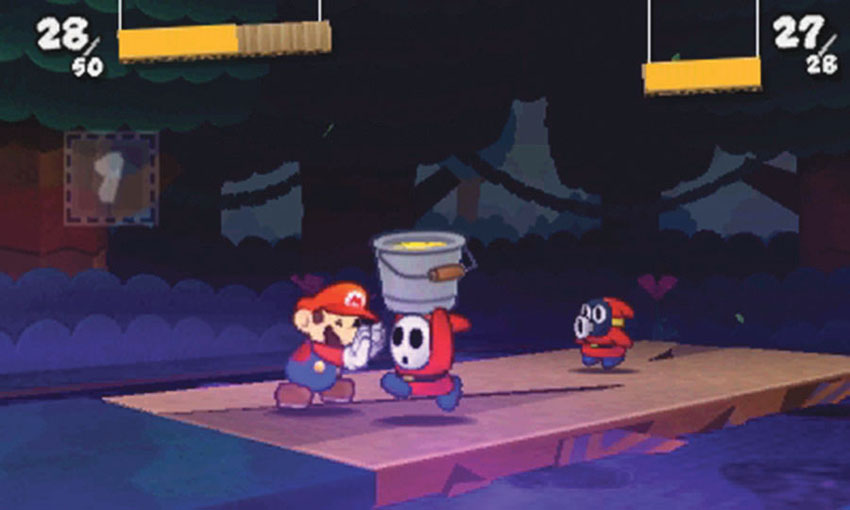
If a Snifit battle lasts past your first turn, make sure you defend against the Clip Guys and Paint Guys. These pesky enemies use their weapons to immobilize you or obscure your vision. When one of these enemies attacks, rapidly tap
 until the turn ends. The faster you tap, the better your chances of fending off the attack.
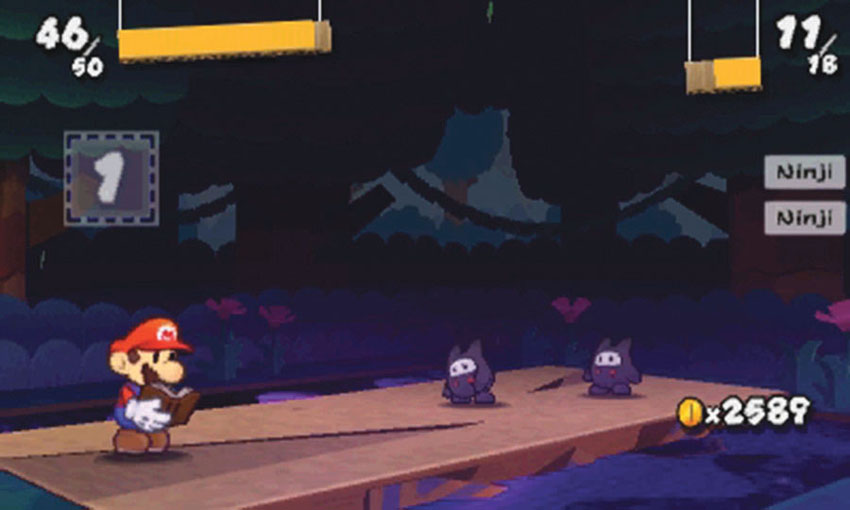
Ninjis are very agile, and while most well-timed attacks will deal reliable damage, a Ninji will occasionally avoid taking damage. Make sure you keep a variety of Battle Stickers in case a Ninji proves resistant to a particular attack.
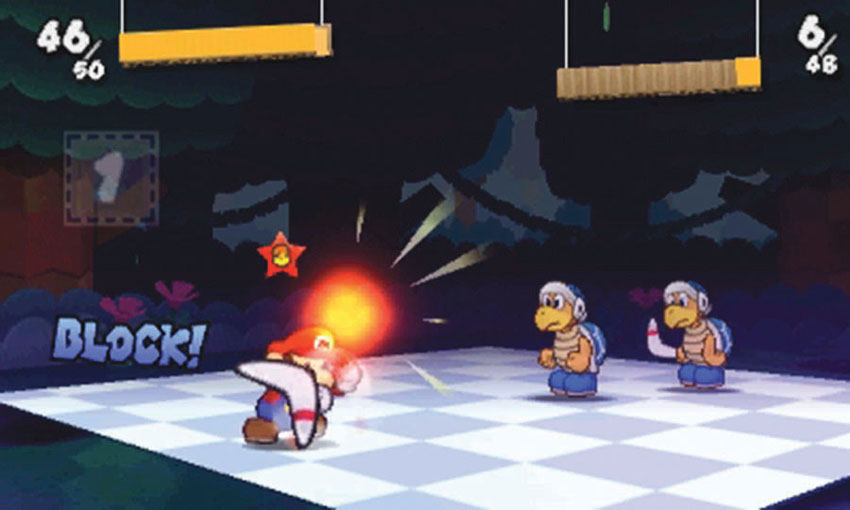
There’s a pair of Boomerang Bros lurking near the end of the Course. These enemies are very durable, so consider combining a POW Block with projectile attacks or some of your more powerful Jump stickers. One of the most important things to keep in mind during this battle, however, is that you must defend yourself from each Boomerang not only when it’s thrown but also when it returns to your attacker.
Forest Path
.jpg)
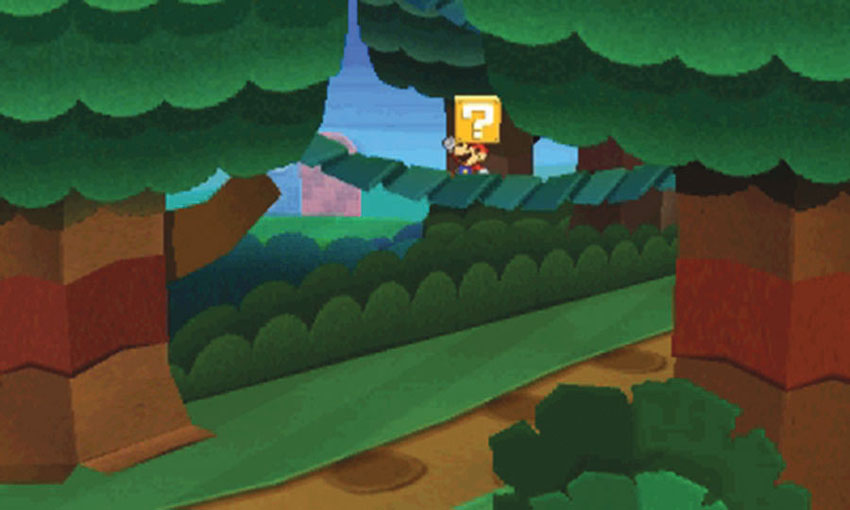
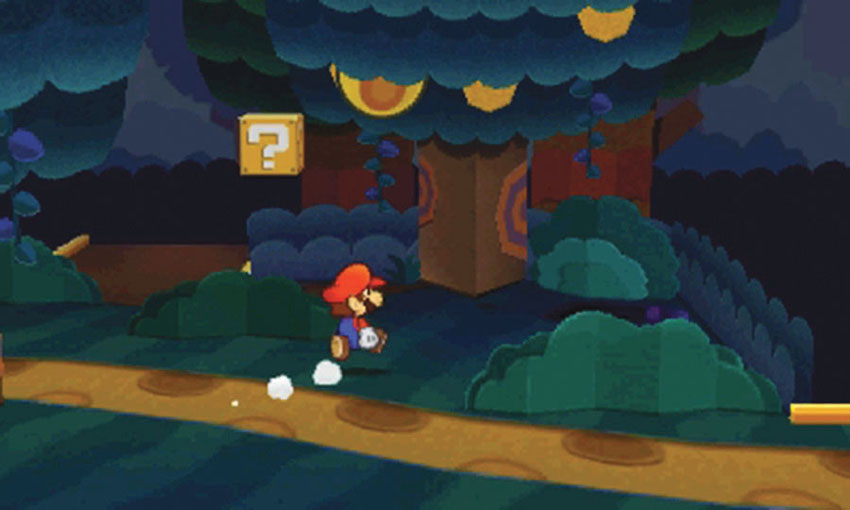
The forest path is fairly straightforward, but the ? Block at Point 1 is easy to miss. As you follow the main path, watch the background for this small nook.
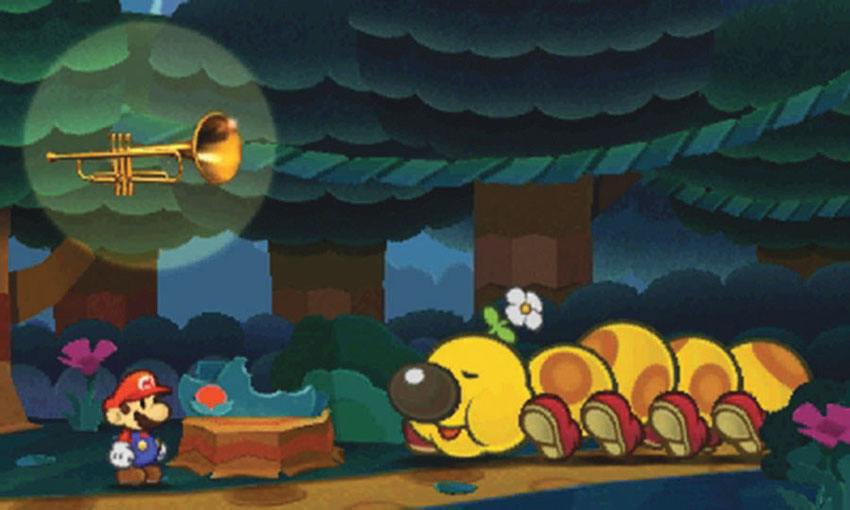
When you reach Point 2, a sleeping Wiggler is blocking the path. Use the Trumpet sticker to wake Wiggler and begin a short conversation. When the exchange ends, follow Wiggler toward the flooded platforms.
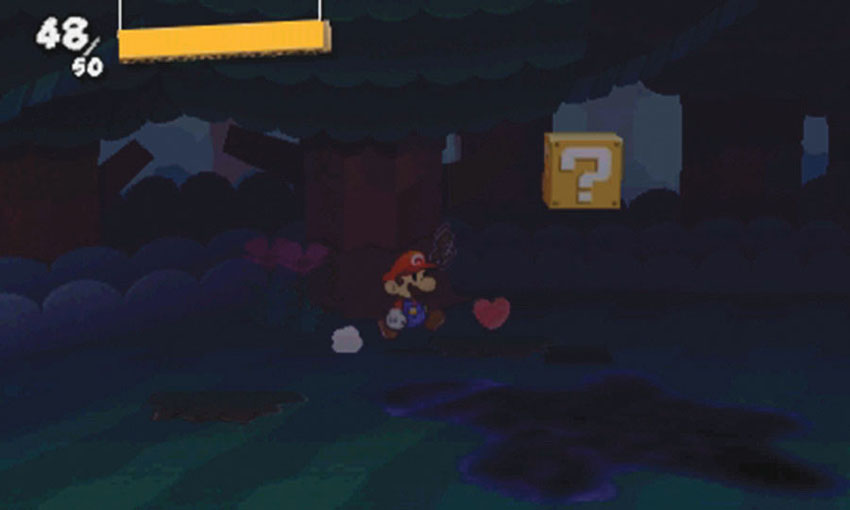
As you approach Point 3, the forest grows dark and Wiggler is yanked out of sight. As you search for useful items, take care to avoid the toxic puddles scattered around the area. When you’re ready, follow the path to the flooded platforms.
Flooded Platforms
.jpg)
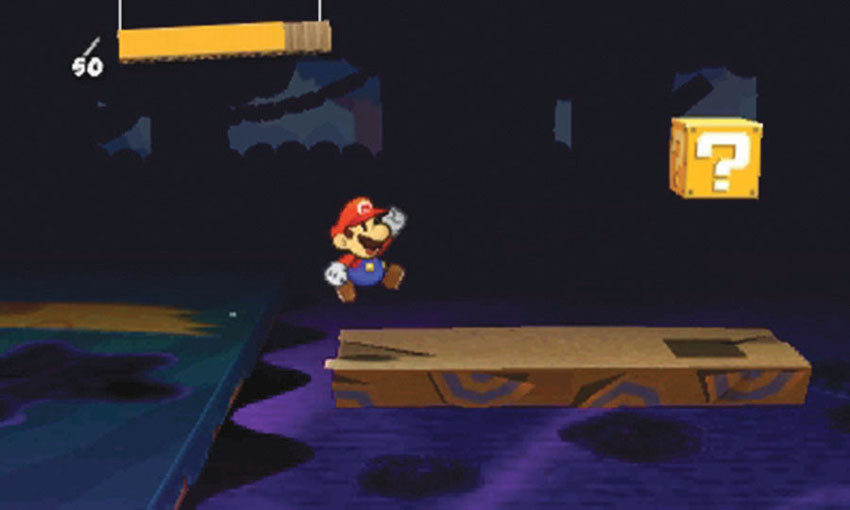
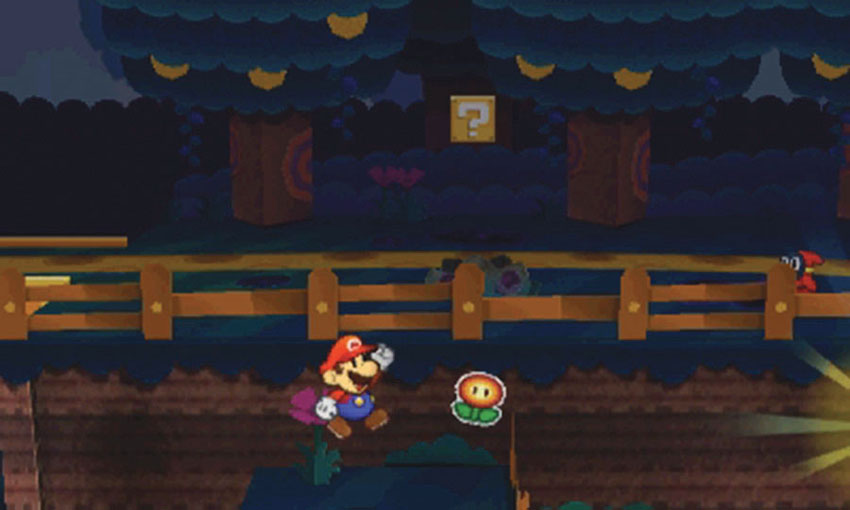
The platform at Point 1 is rotating in place. Wait for it to pivot toward you, then hop on and ride through the area.
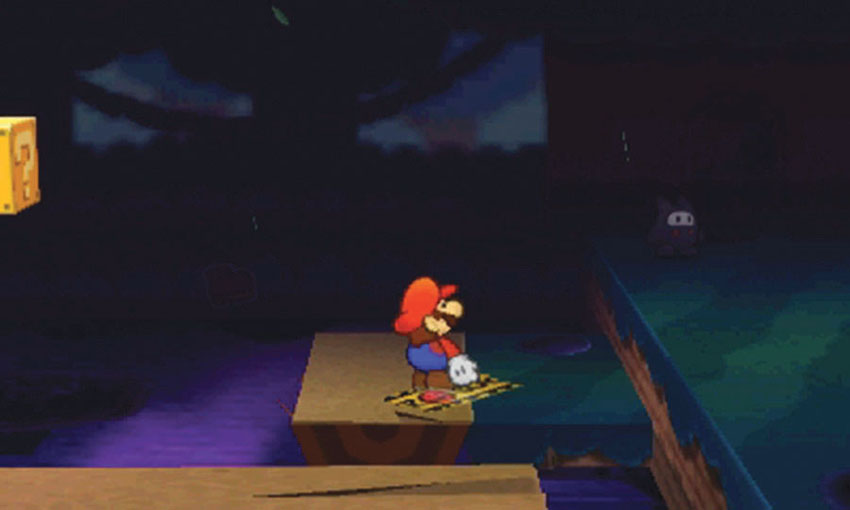
Peel the Bowser tape at Point 2 to break the small platform loose. Ride the platform out to the ? Block, then ride back to continue through the area.
The Secret Door is at Point 3. After you acquire a Secret Door sticker, apply it to the marked location on the large tree in the background.
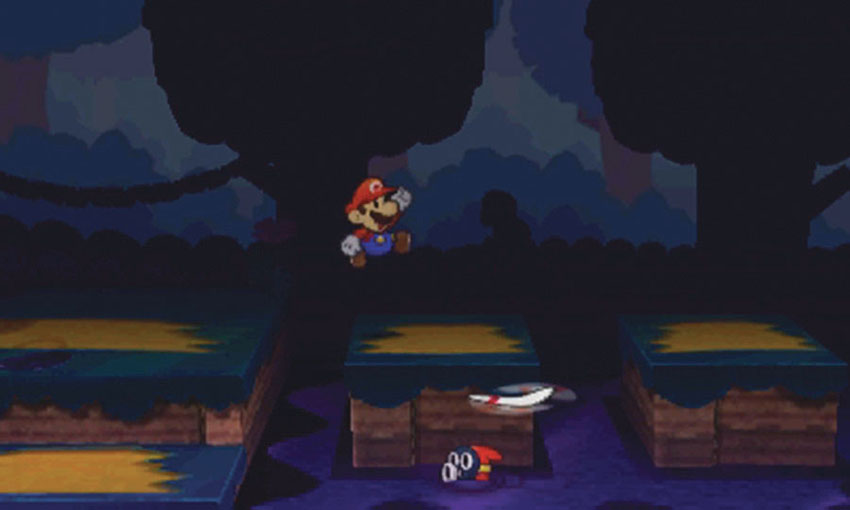
As you approach the platforms at Point 4, look for the shadowy figures lurking in the background. Time your jumps to avoid the Boomerangs they throw at you.
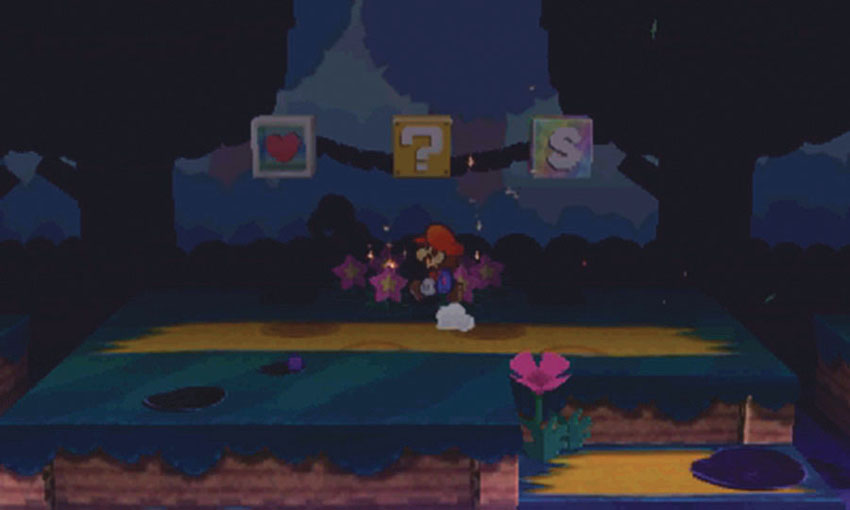
There’s a Paperization Block between the HP Block and the Save Block at Point 5. There’s a potentially difficult battle coming up, so make sure you’re prepared before you move on.
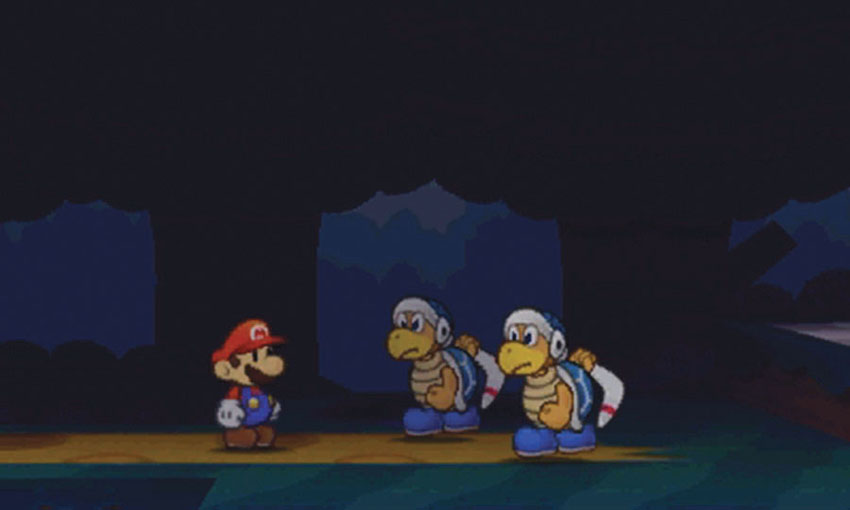
As you approach the Comet Piece, the Boomerang Bros finally reveal themselves. These two enemies make a pretty formidable team, so take advantage of the Battle Spinner. Use high-damage stickers to chip away at their health until the battle ends.
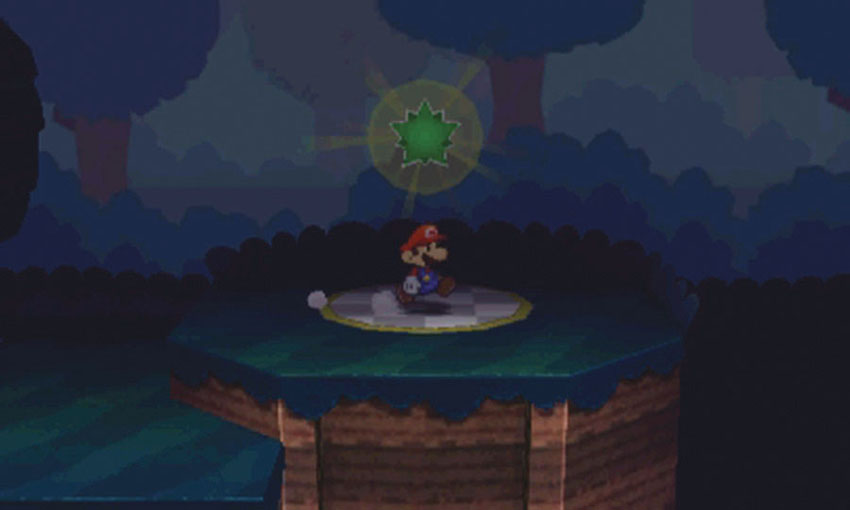
When you’re ready, collect the Comet Piece to end your first visit.
Sticker Comet Piece: Unlocking World 3-2
This Course contains only one piece of the Sticker Comet. To unlock World 3-2, simply collect the Comet Piece at the end of World 3-1.
Additional Visits
Recommended Visit #2
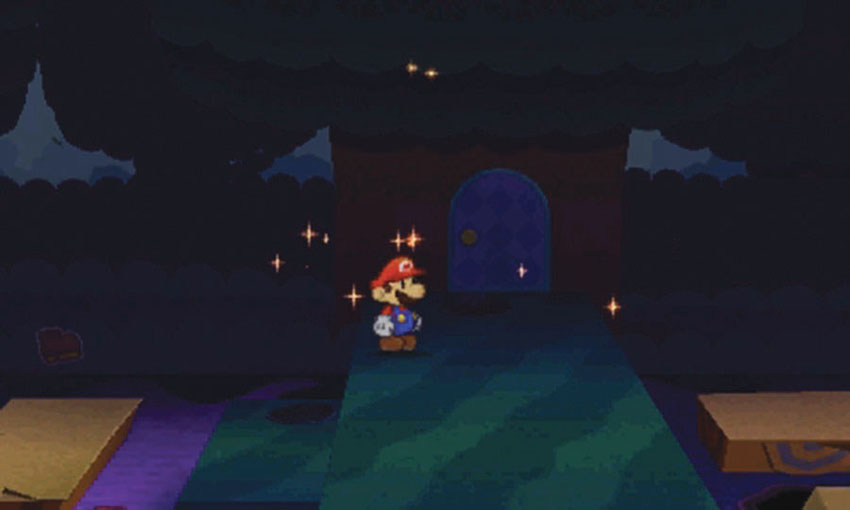
After you gain access to the World 3-6 Sticker Shop, purchase a Secret Door sticker and return to the large tree among the flooded platforms. Apply the sticker to the marked location, then head inside to collect the Searchlight.
Recommended Visit #3
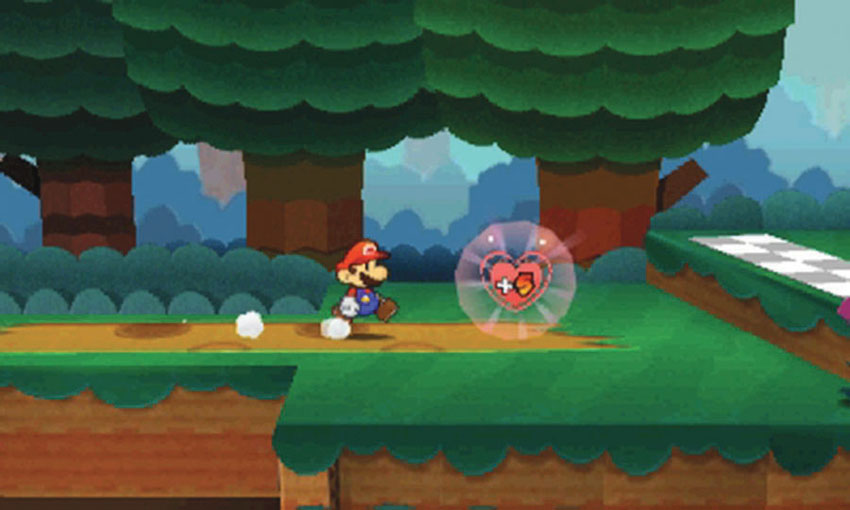
After you defeat the Gooper Blooper and cleanse the forest, play through this Course to find an HP-Up Heart near the Comet Piece.
World 3-2: The Bafflewood
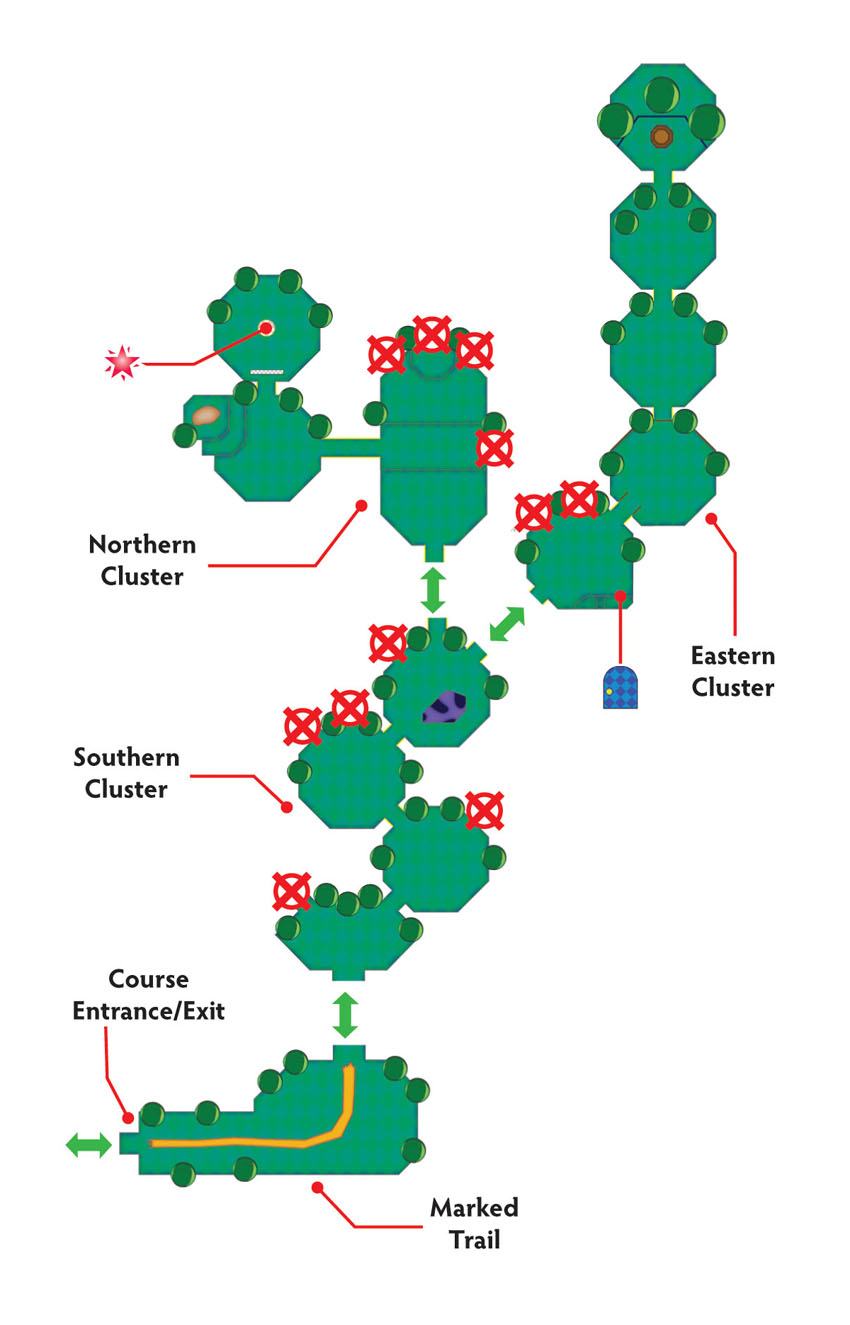
Overview
Prerequisites
To unlock this Course, you must collect the Comet Piece from World 3-1. Aside from a Secret Door sticker, the available objectives don’t require any additional items.
Objectives
This Course contains several objectives, most of which require additional visits:
- Determine the Course’s valid paths.
- Collect the Comet Piece to unlock World 3-3.
- Collect the Violin from the Secret Door.
- Subdue the fleeing Wiggler Segment.
- Collect the Bowling Ball.
- Inspire a Wiggler Diary Entry.
- Collect the Trophy.
Important Items and Locations
| Description | Notes |
|---|---|
| Secret Door | The marked location is near the steps in the eastern cluster. |
| HP-Up Heart | None |
| Toad Rescue | None |
| Luigi Location | None |
| Wiggler Diary Entry | Walk through the dandelion in the northern cluster. |
| Things | The Violin is through the Secret Door. The Bowling Ball is at the end of the eastern cluster. The Trophy appears at the end of the eastern cluster after the Bowling Ball is used in World 3-4. |
Recommended Tactics
This Course contains a few Snifits and Shy Guy variations, but the Piranha Plants are likely to prove your biggest concern.
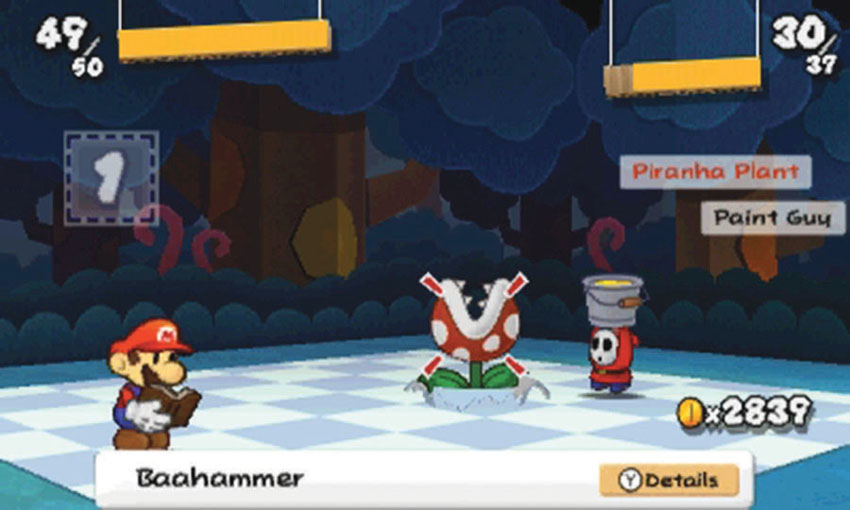
Piranha Plants are surprisingly tricky enemies. Their sharp teeth counter most Jump attacks, and their sudden attacks can be difficult to predict. Additionally, they can burrow underground. This defensive maneuver protects a Piranha Plant from virtually all of your attacks for the duration of your next turn.
Marked Trail
.jpg)
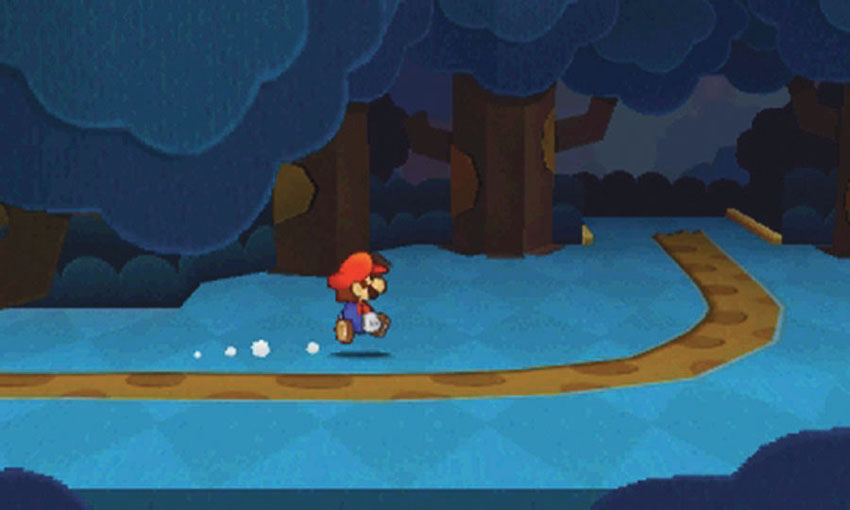
At the beginning of the Course, the forest trail is clearly marked. Unfortunately, this convenience doesn’t extend beyond the first area. Follow the path into the southern cluster.
Southern Cluster
.JPG)
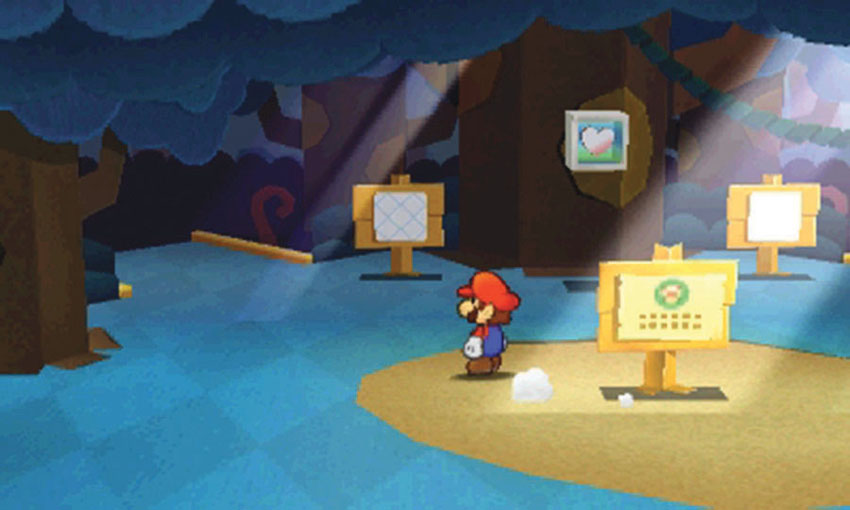
As you explore the first clearing, examine the signs on either side of the HP Block. Similar signs are located throughout the maze. As you determine each valid turn, use stickers to mark the corresponding signs. This makes it much easier to navigate the maze during subsequent visits.
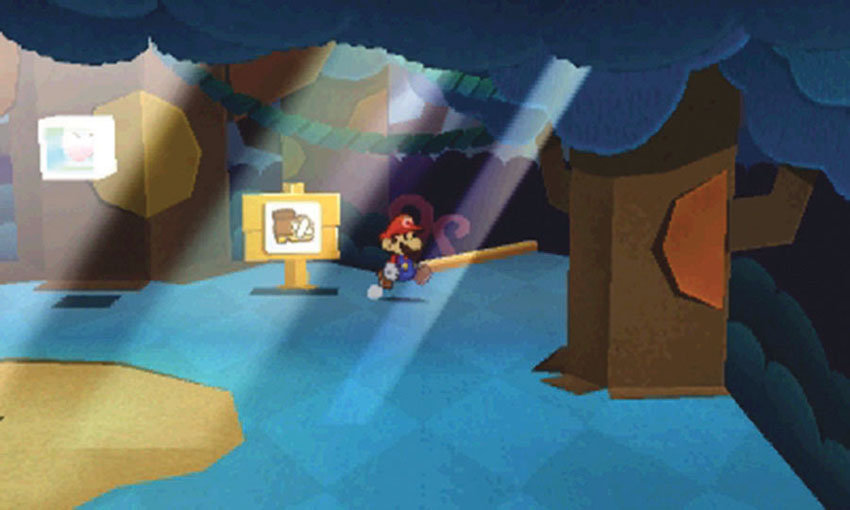
The valid path out of the first clearing is to the right, so place a sticker on the appropriate sign and continue to the next area.
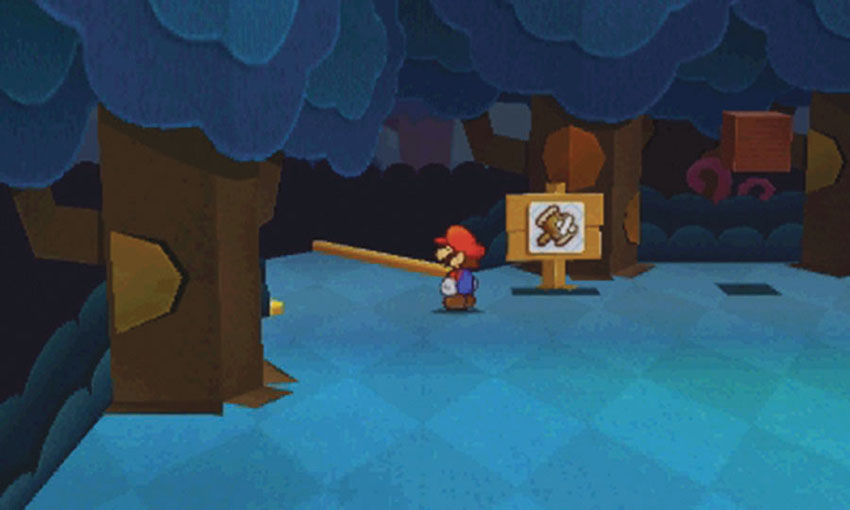
The valid path out of the second clearing is to the left. When you finish exploring the area, mark the appropriate path and continue to the next area.
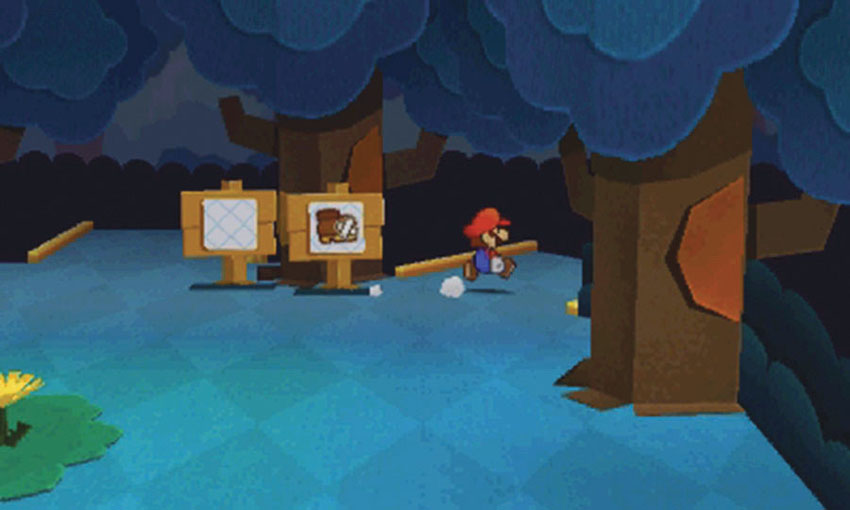
There are three potential paths out of the third clearing. The path on the right, however, is the only valid option. When you’re ready, mark the appropriate sign with a sticker and head into the next clearing.
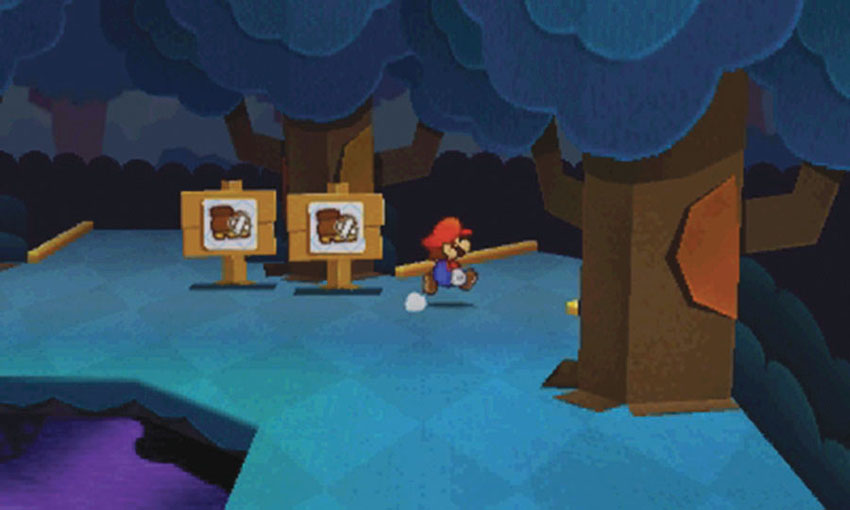
The fourth clearing features a poison pond, which is a very important landmark. This clearing serves as a junction between the northern cluster and the eastern cluster. Of the three potential paths, the path in the center leads to the northern cluster, and the path to the right leads to the eastern cluster.
Mark both of the corresponding signs, then follow the path to the right to explore the eastern cluster.
Eastern Cluster
.jpg)
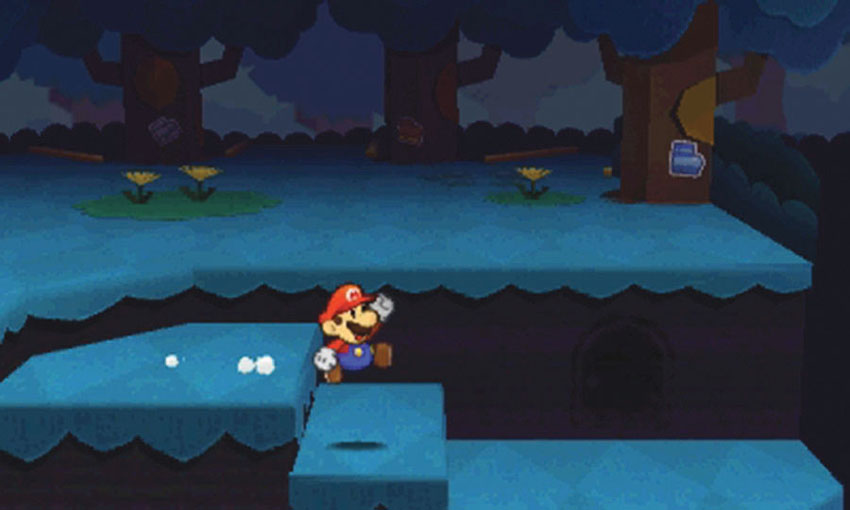
The eastern cluster’s first clearing contains the Secret Door location. After you acquire a Secret Door sticker, apply it to the marked location at the bottom of the steps.
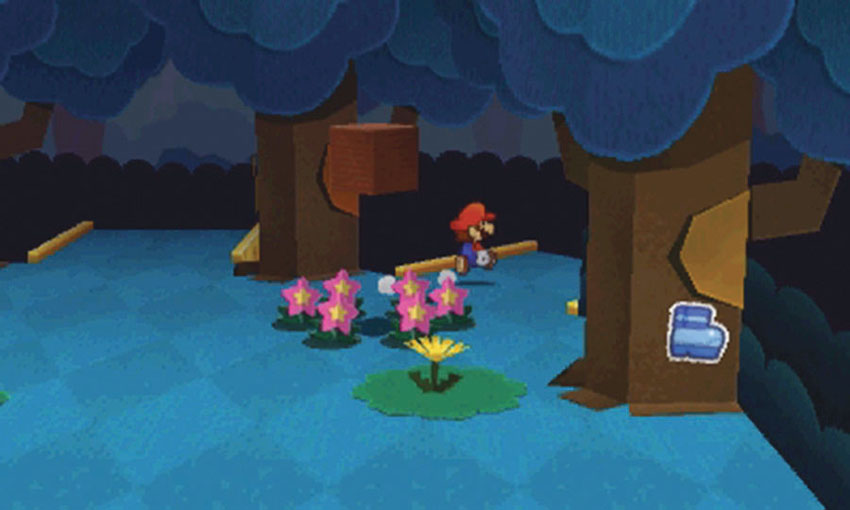
The first clearing doesn’t contain any signs, but the correct path is easy to spot. Use your Hammer to reveal the ring of pink flowers at Point 2. These flowers mark the nearby Paperization Block and serve as a landmark for the correct path. When you’re ready, follow the path on the right to find the next clearing.
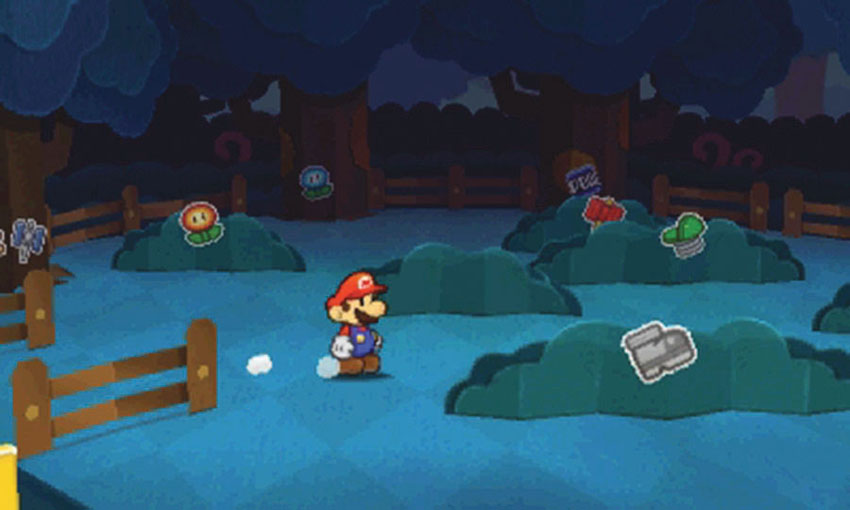
The eastern cluster’s second clearing is packed with stickers, so grab anything you think might be useful.
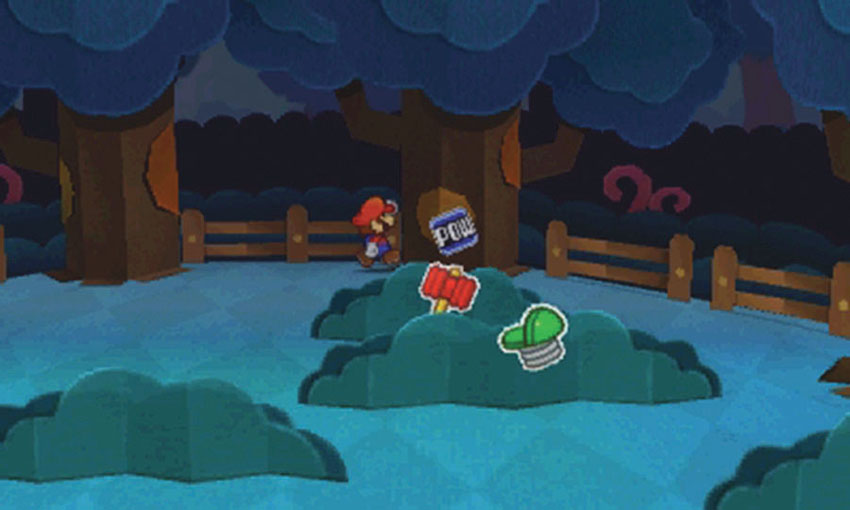
When the Wiggler Segment flees to this Course, it attempts to hide in this clearing. Once this happens, you can jump over the fence between the two trees along the north edge of the clearing. Until the Wiggler Segment arrives, however, the rest of the eastern cluster is inaccessible. After you collect the desired stickers, follow the path back to the southern cluster.
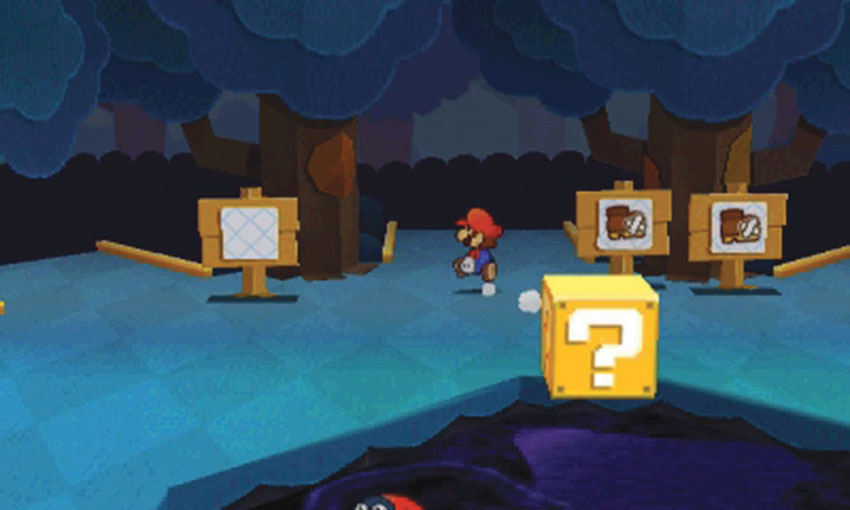
When you return to the poison pond, use the path in the middle to reach the northern cluster.
Northern Cluster
.jpg)
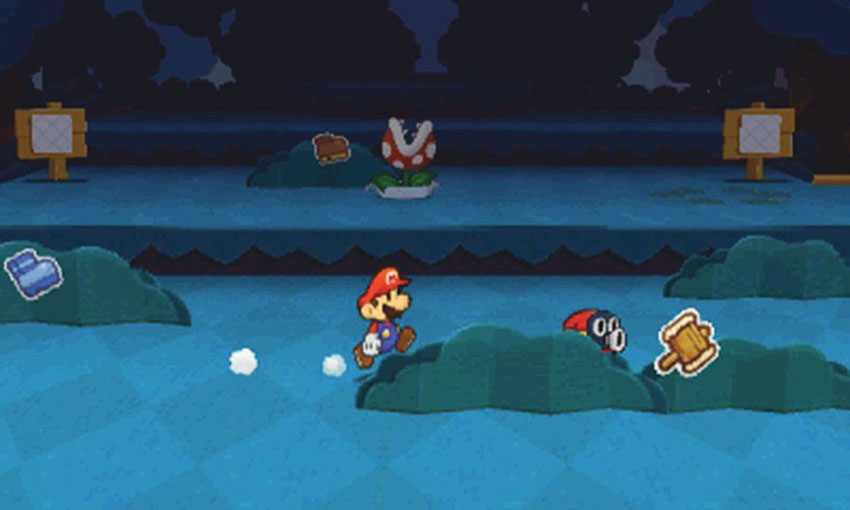
The northern cluster’s first clearing is much larger than the others, so watch out for creatures that might be hiding behind bushes or lurking in the darkness.
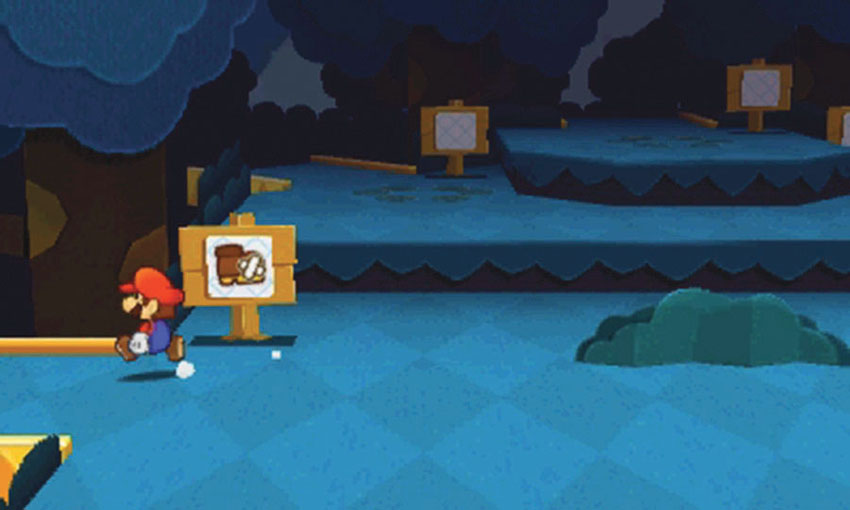
Of the five potential paths, only the path on the far left is valid. You can mark the correct path with a sticker, but the clearing already has its own useful indicators; if you activate the Paperize ability, you’ll find a Paperization Block near each of the four invalid paths. When you’re ready, follow the path on the far left to the next clearing.
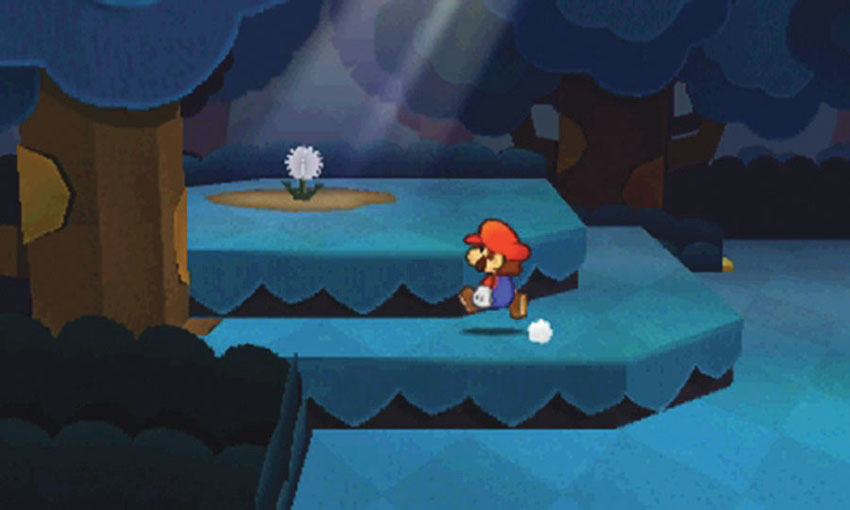
This area features a suspiciously located dandelion. After you subdue a Wiggler Segment, bring it to this area to inspire a diary entry.
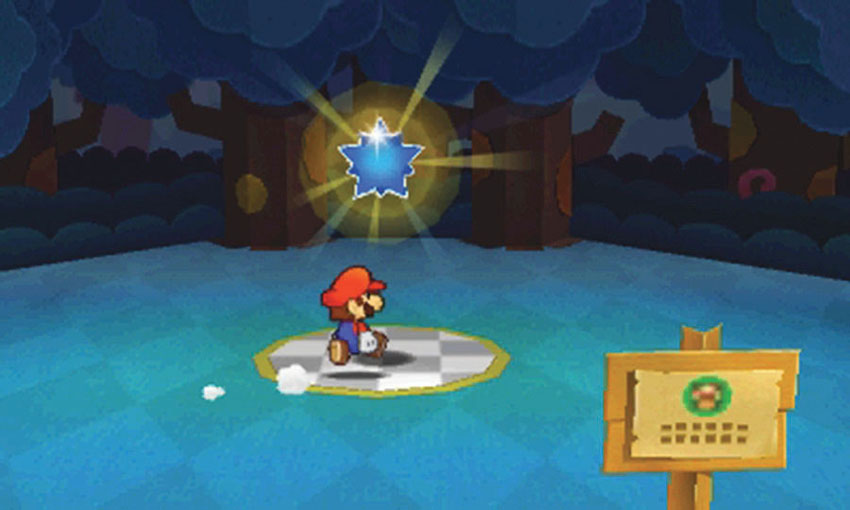
When you’re ready, follow the path to the final clearing, then collect the Comet Piece to end your first visit.
Sticker Comet Piece: Unlocking World 3-3
This Course contains only one piece of the Sticker Comet. To unlock World 3-3, simply collect the Comet Piece at the end of the Course.
Additional Visits
Recommended Visit #2
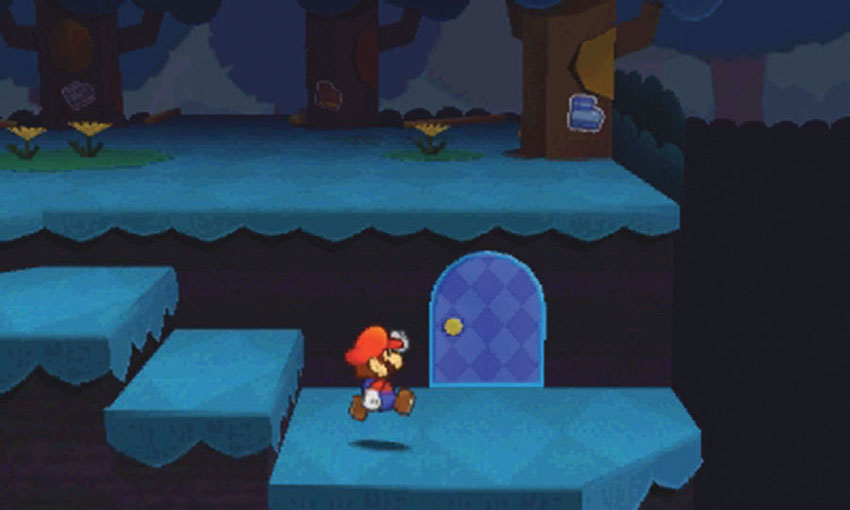
After you reach World 3-6, purchase a Secret Door sticker and revisit this Course. Make your way back to the eastern cluster and apply the sticker to the marked location at the bottom of the steps. Enter the door to find the Violin.
Recommended Visit #3
Eastern Cluster
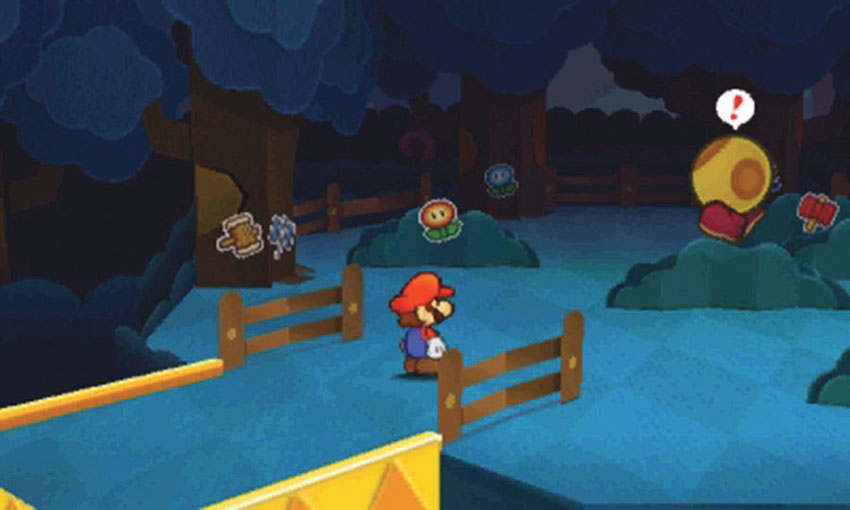
After you find the Wiggler Segment in World 3-9, chase it to World 3-10. When you lead the Wiggler Segment back to the World-Map, it flees to this Course. Enter the Course, then make your way to the eastern cluster’s second clearing to find the Wiggler Segment.
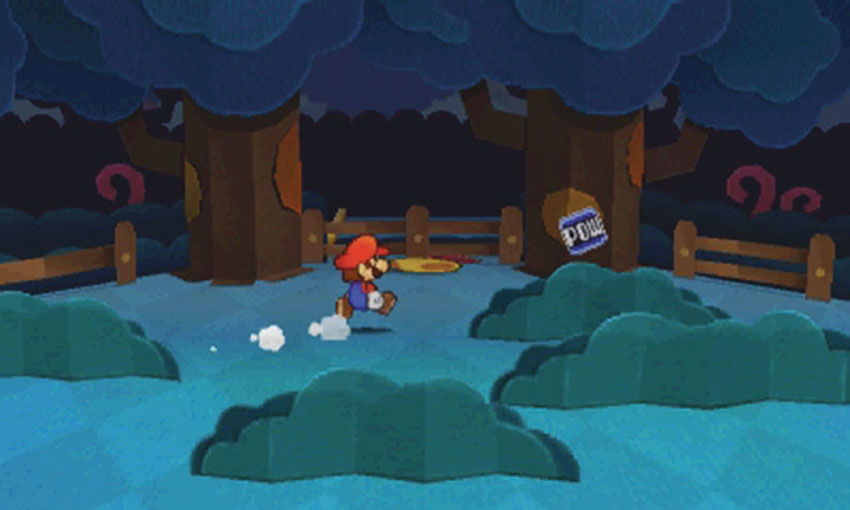
When the Wiggler Segment attempts to flee, it reveals a path to the rest of the eastern cluster. When you’re ready, approach the Wiggler Segment to initiate a battle.
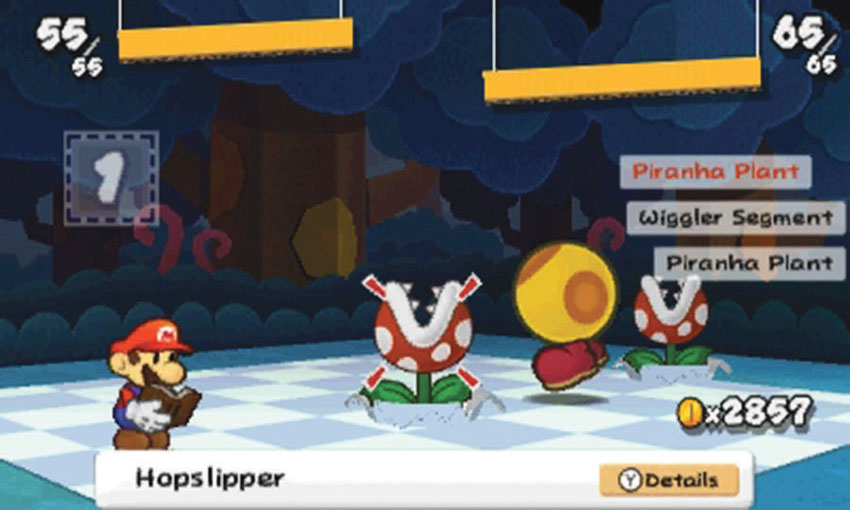
The Wiggler Segment has two Piranha Plant allies, so take advantage of the Battle Spinner, and try to select high-damage, multi-target attacks such as Burnhammers.
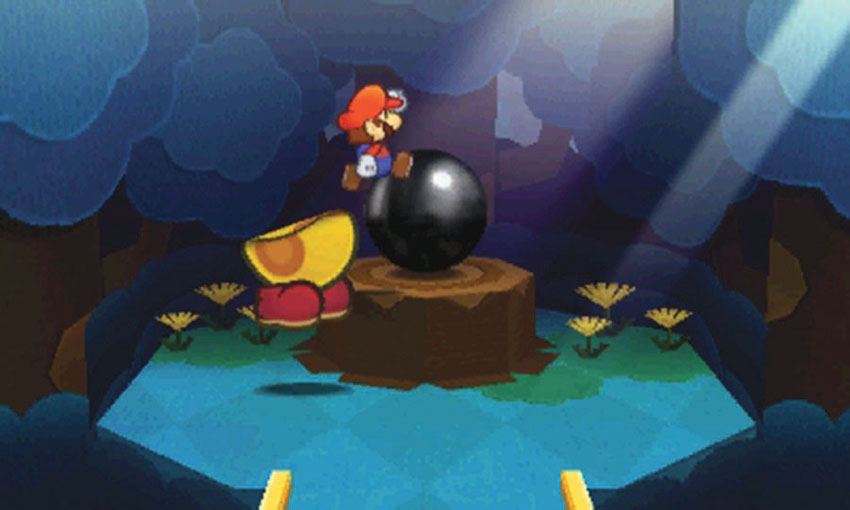
After you subdue the Wiggler Segment, hop over the nearby fence and explore the rest of the eastern cluster. When you reach the last clearing, collect the Bowling Ball from the stump.
Northern Cluster
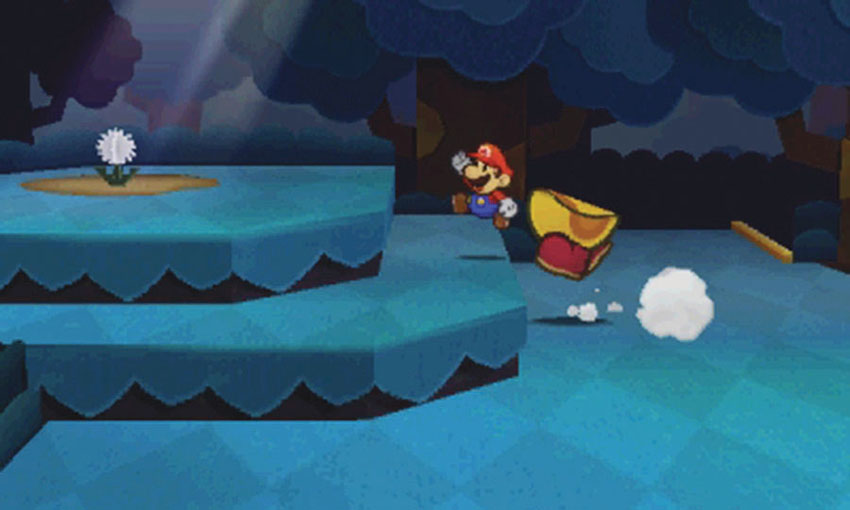
When you’re finished exploring the eastern cluster, lead the Wiggler Segment to the northern cluster. Approach the dandelion in the northern cluster’s second clearing to get the Wiggler Segment’s interest, then walk through the flower to inspire a diary entry.
Wiggler Diary Entry: The Bafflewood
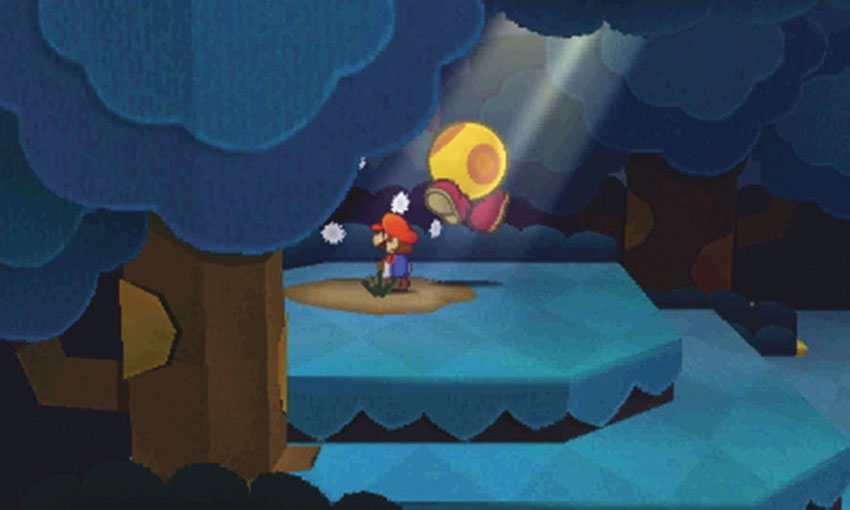
After you subdue the Wiggler Segment in World 3-2, take it to the northern cluster’s second clearing. Walk through the dandelion to inspire a diary entry. To read the new entry, visit World 3-3 and examine the book in Wiggler’s bedroom.
Recommended Visit #4
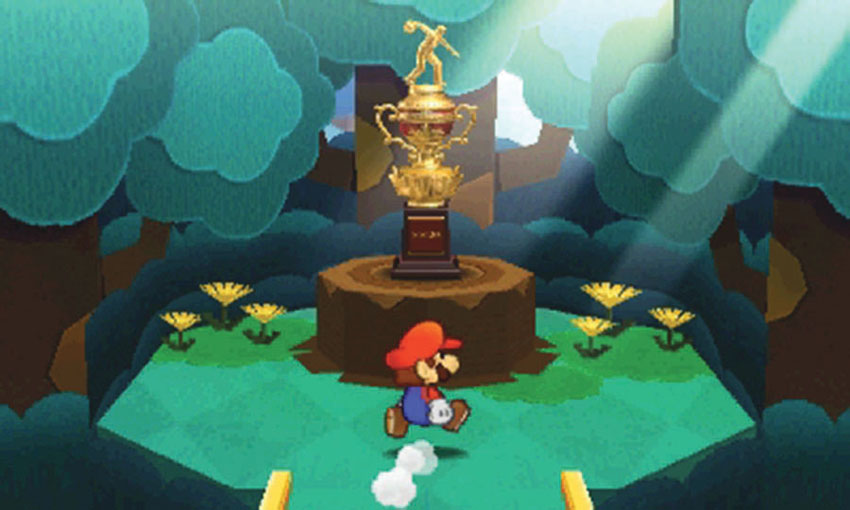
A Bowling Ball sticker is required to collect one of the Comet Pieces within World 3-4. After you use the Bowling Ball for this purpose, return to this Course to find a Trophy in the eastern cluster’s last clearing.
World 3-3: Wiggler’s Tree House
Overview
Prerequisites
To unlock this Course, you must collect the Comet Piece at the end of World 3-2. To complete all of the available objectives, you must acquire a Secret Door sticker, recover the Tree Stump scraps from World 3-5 and World 3-8, and wrangle the Wiggler Segments scattered around World Three.
Objectives
This Course contains several objectives, many of which require additional visits:
- Collect the High Heel.
- Collect the Boom Box.
- Activate the lift.
- Collect the Comet Piece to unlock World 3-4.
- Return the first Wiggler Segment.
- Collect the HP-Up Heart from the Secret Door.
- Collect the Comet Piece to unlock World 3-7.
- Return the second Wiggler Segment.
- Collect the Comet Piece to unlock World 3-9.
- Return the third Wiggler Segment.
- Return the fourth Wiggler Segment.
- Reassemble Wiggler.
- Send Wiggler to World 6-2.
Important Items and Locations
| Description | Notes |
|---|---|
| Secret Door | The marked location is in the living room, at the top of the ramp. |
| HP-Up Heart | The HP-Up Heart is through the Secret Door. |
| Toad Rescue | None |
| Luigi Location | None |
| Wiggler Diary Entry | None |
| Things | The High Heel is on the living room’s first floor. The Boom Box is in the bedroom. |
Recommended Tactics
This Course contains no hostile creatures, so combat is not a concern.
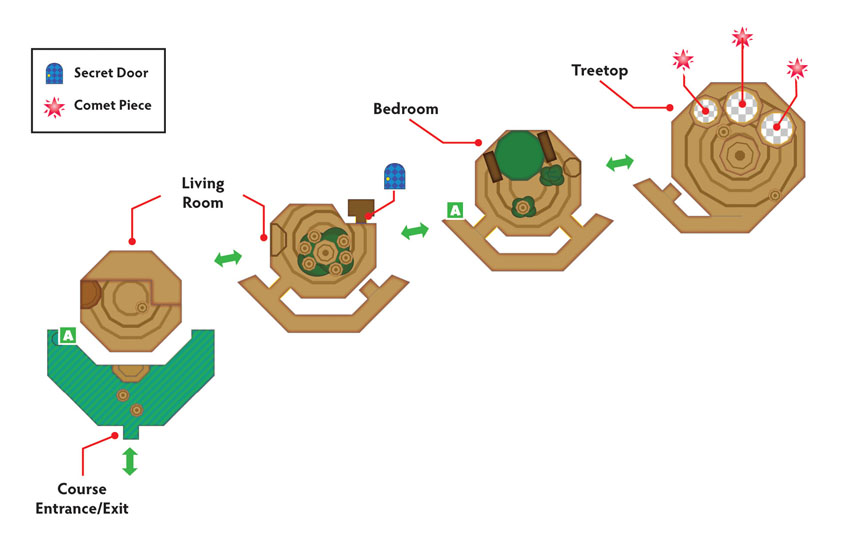
Living Room
.jpg)
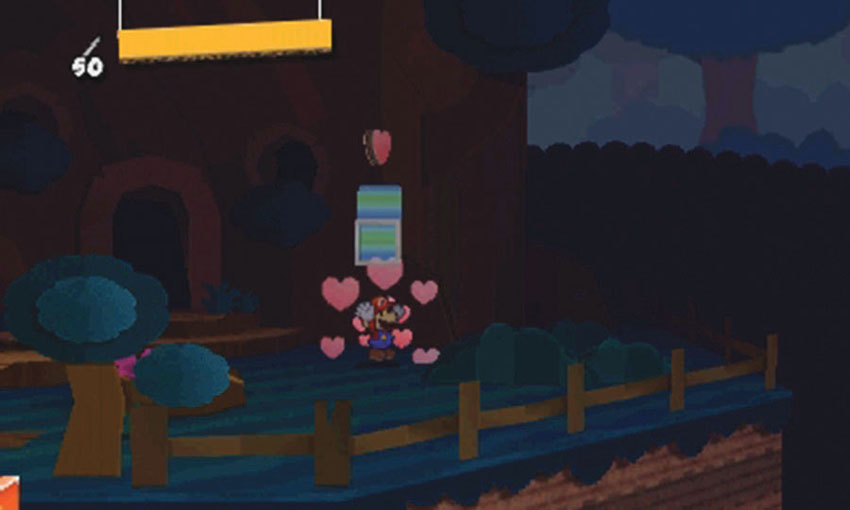
Before you enter the tree house, take a moment to explore the front yard. There’s an HP Block to the right of the door, so use it to replace any lost health.
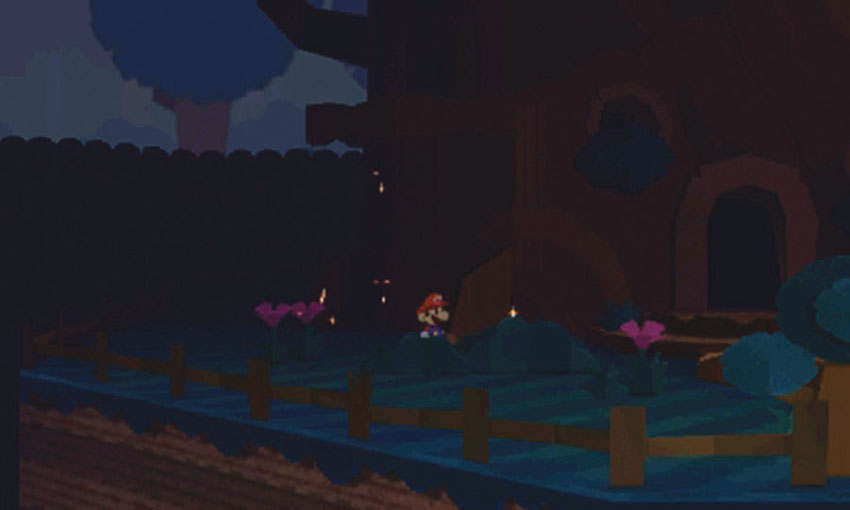
When you first visit this Course, the tree house lift is stuck to the ramp outside the bedroom. After you free the lift, however, it drops to the ground at Point 2. When you revisit this Course, return to this area to take advantage of the lift.
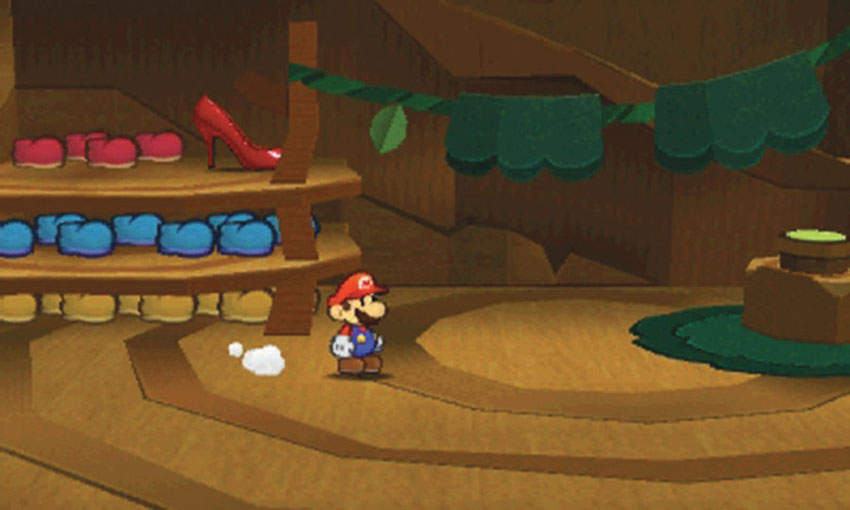
Enter the tree house to find the High Heel on the living room shelves. To reach the top shelf, you must drop down from the living room’s upper Course.
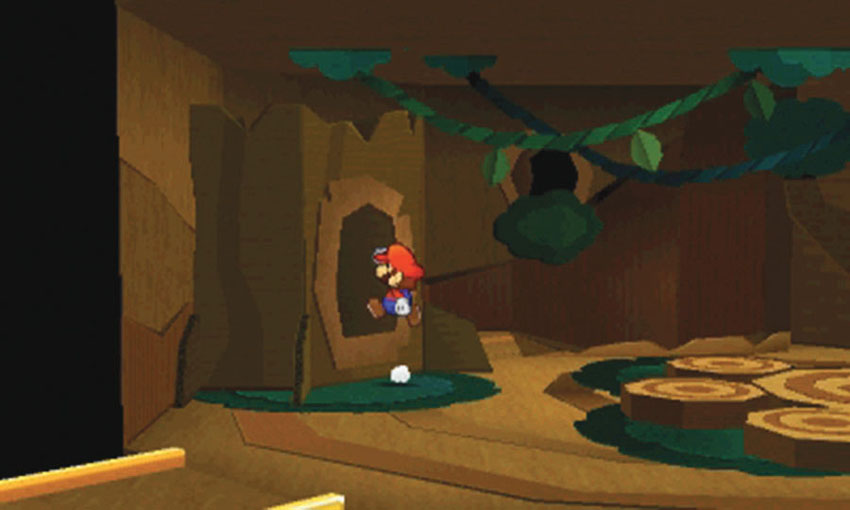
Climb the ramp to the upper Course and approach the fireplace along the left wall. Use your Hammer to put out the flame, then hop through the opening to drop down to the High Heel.
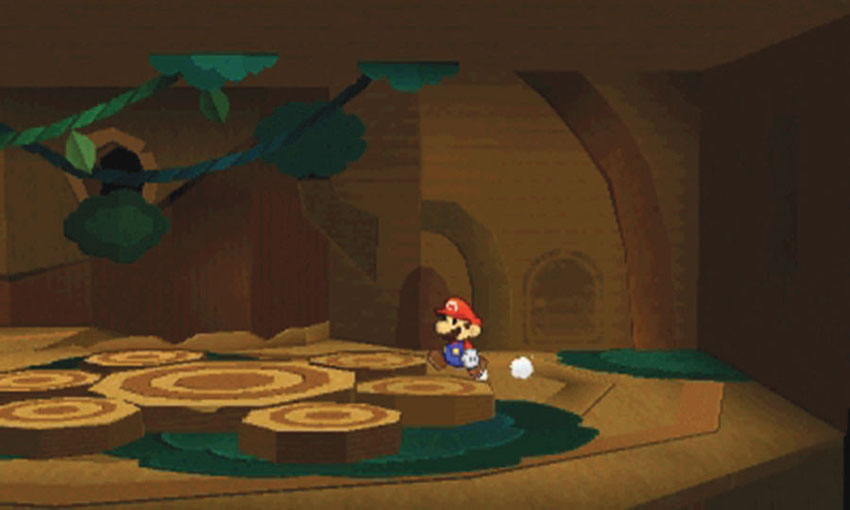
The Secret Door location is on the living room’s upper Course. Move toward the right wall to find the marked location in the corner of the room. After you acquire a Secret Door sticker, apply it to this spot.
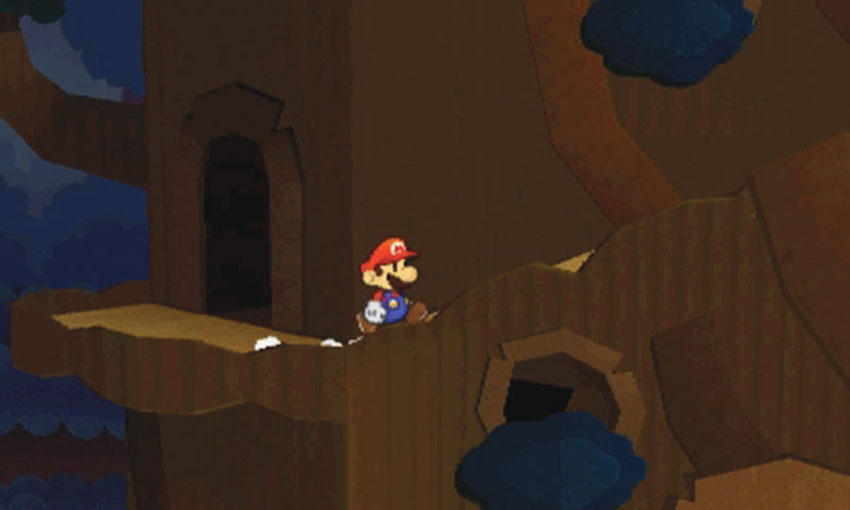
When you’re finished exploring the living room, exit through the doorway near the fireplace and follow the ramp up to the bedroom.
Bedroom
.jpg)
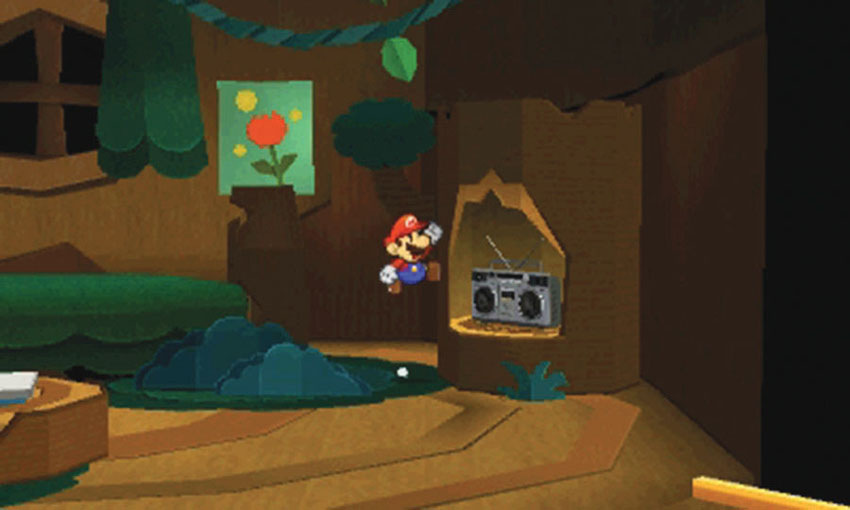
The Boom Box is on a shelf at Point 1. Make sure you grab it when you reach the bedroom.
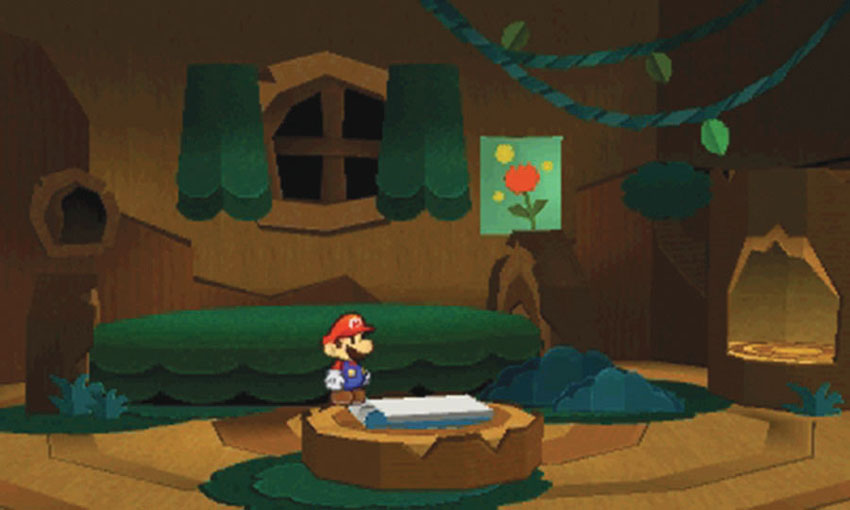
The platform in the center of the bedroom holds Wiggler’s diary. The pages are blank when you first visit this Course, but your actions can inspire new entries.
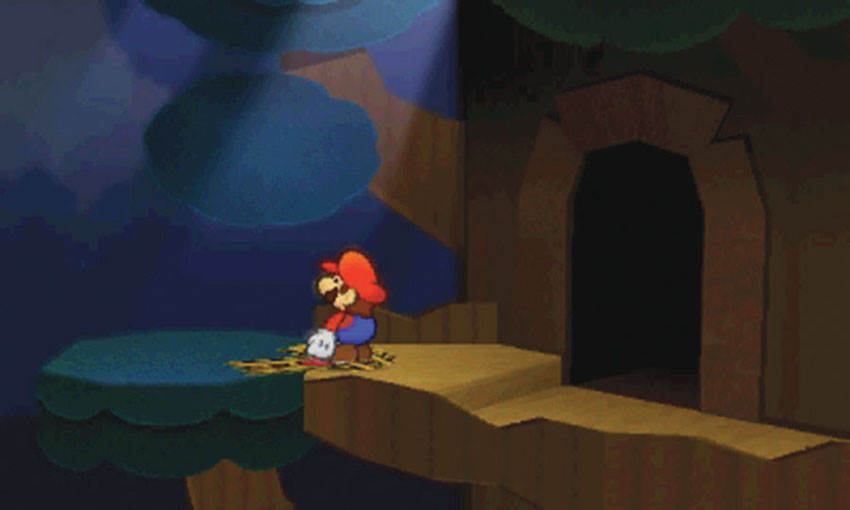
When you’re ready, head through the doorway on the left side of the bedroom. Before you climb the ramp, peel the Bowser tape holding the lift in place. Now that the lift is functional, you’ll find it waiting on the ground each time you revisit the Course.
Treetop
.jpg)
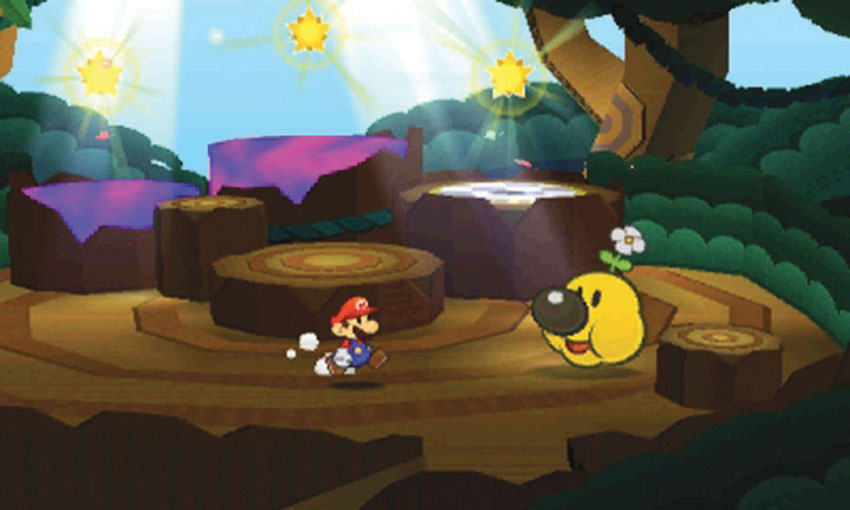
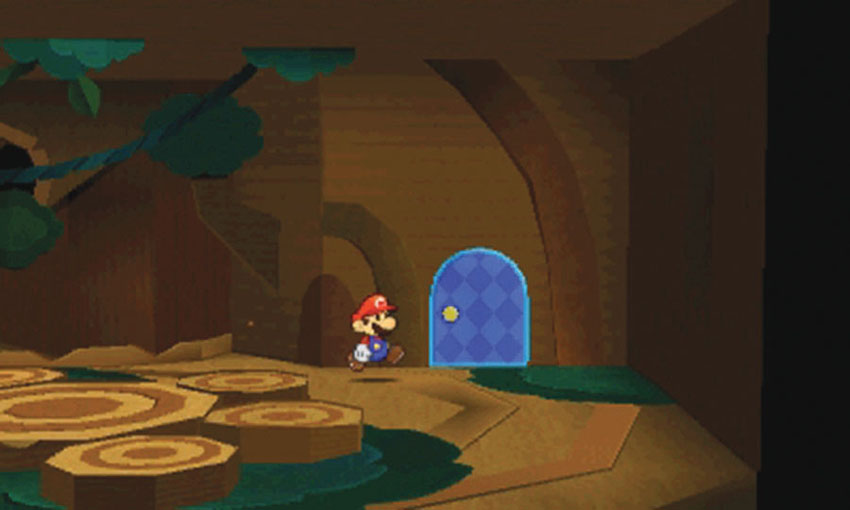
When you reach the treetop, you learn that Kamek has scattered Wiggler’s body segments across World Three. As you progress through the game, you must find, subdue, and return each of the four Wiggler Segments to the treetop.
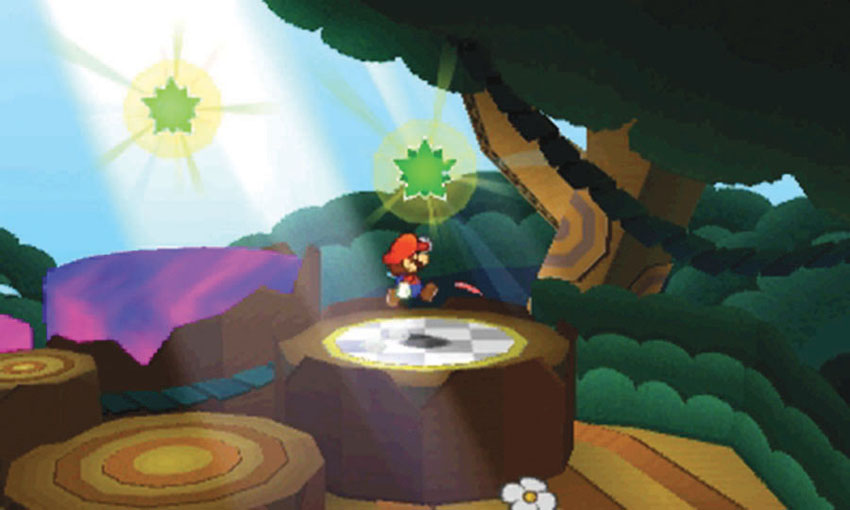
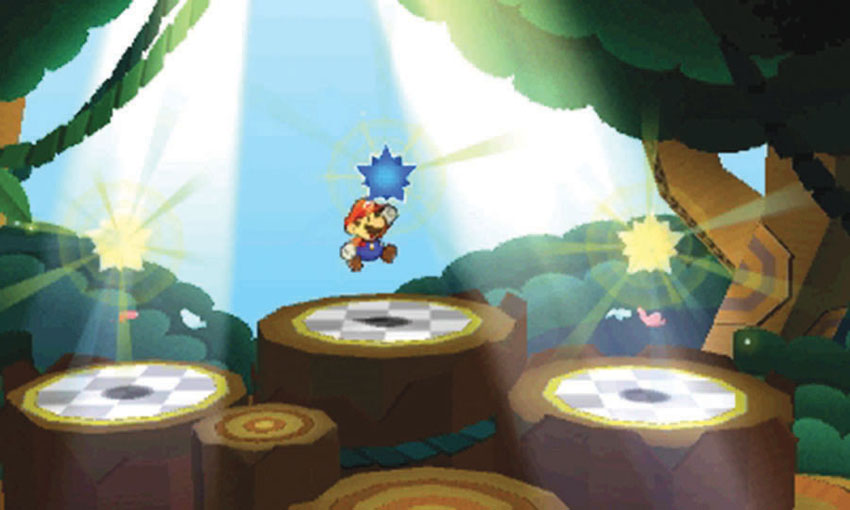
There are three stumps on the treetop, and each one has a Comet Piece floating above it. Unfortunately, two of the stumps are incomplete. Before you can collect the related Comet Pieces, you must locate the Tree Stump scraps located in World 3-5 and World 3-8. For now, collect the Comet Piece on the left to end your first visit.
Sticker Comet Piece: Unlocking World 3-4
This Course contains three pieces of the Sticker Comet, but only one can be reached during your first visit. To unlock World 3-4, collect the Comet Piece floating above the stump to the right.
Additional Visits
Recommended Visit #2
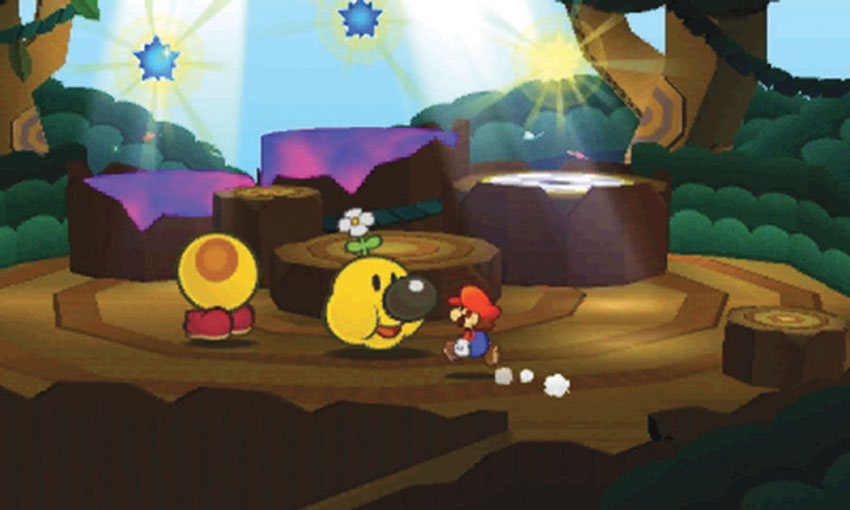
After you subdue the first Wiggler Segment, revisit the treetop and return it to Wiggler.
Recommended Visit #3
After you collect the Tree Stump scrap from World 3-5, purchase a Secret Door sticker from the World 3-6 Sticker Shop. Return to Wiggler’s Tree House and apply the Secret Door to the marked location on the living room’s upper Course. Head inside to find an HP-Up Heart.
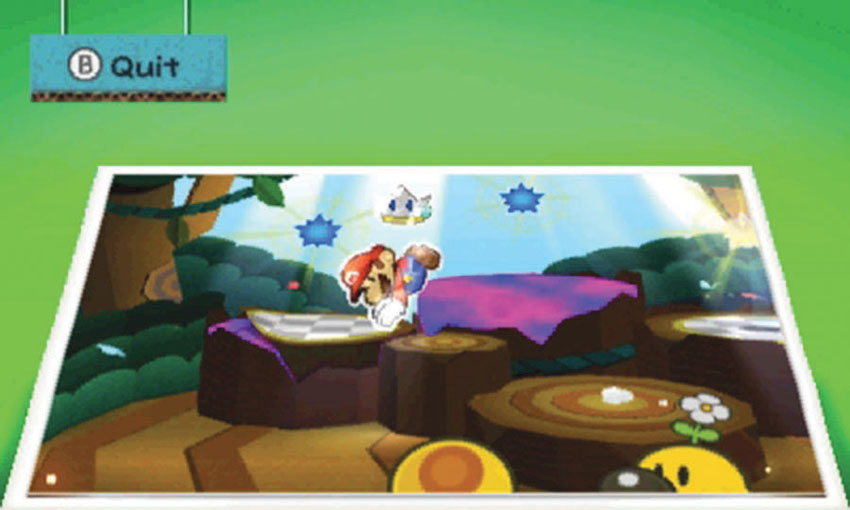
Return to the treetop and use the Tree Stump scrap from World 3-5 to complete the stump on the left.
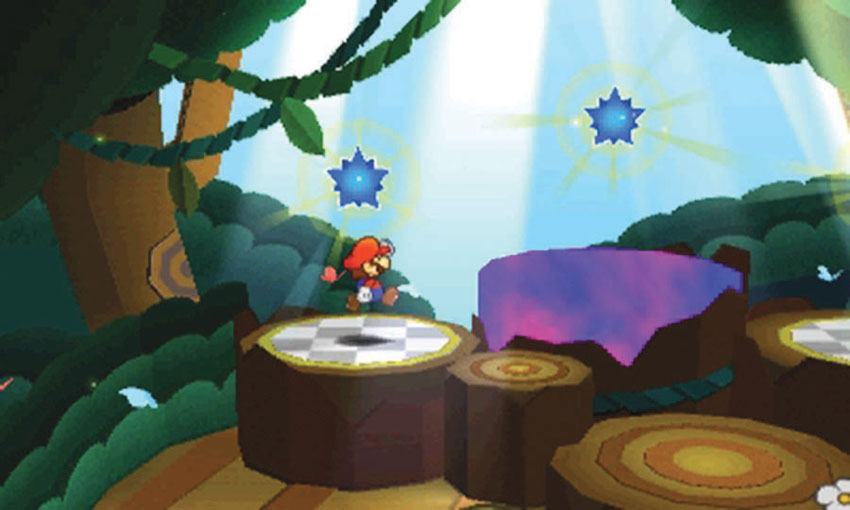
After the scrap is in place, climb onto the stump and collect the Comet Piece floating above you.
Sticker Comet Piece: Unlocking World 3-7
This Course contains three pieces of the Sticker Comet, all of which are located in the treetop. To unlock World 3-7, use the Tree Stump scrap from World 3-5 to complete the stump on the left, then climb up and grab the Comet Piece floating above it.
Recommended Visit #4
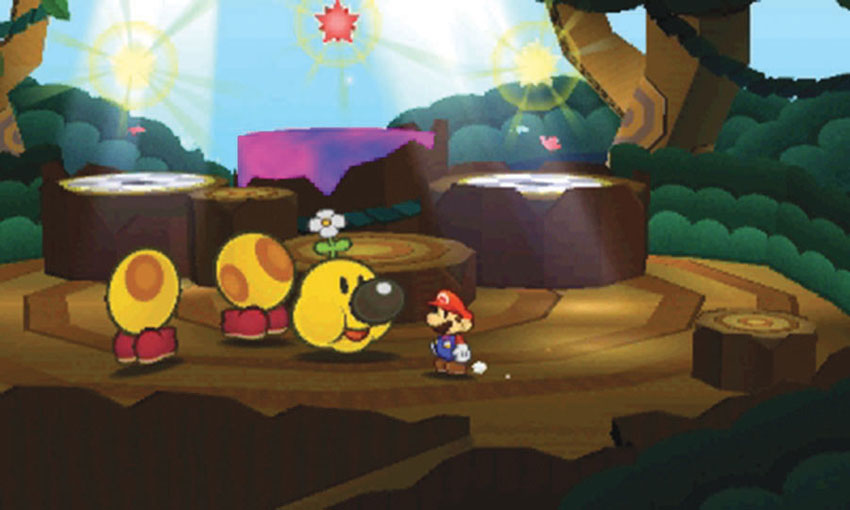
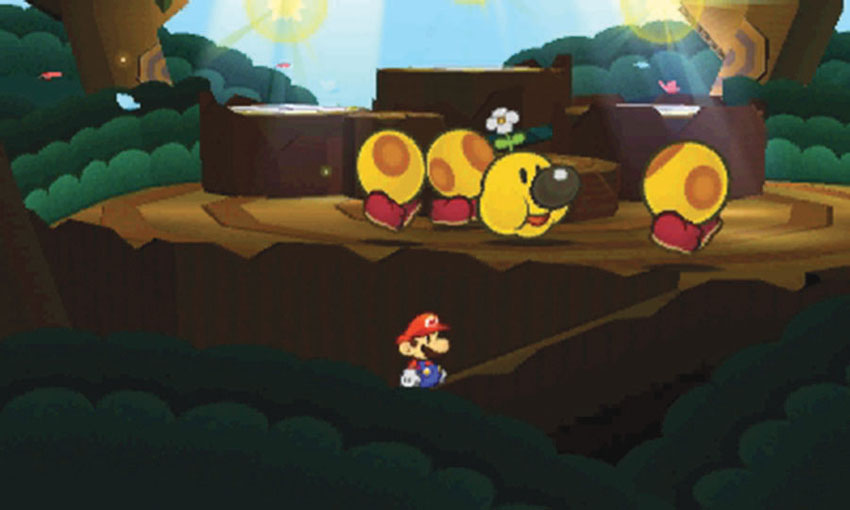
You should find the Tree Stump scrap from World 3-8 just after you subdue the second Wiggler Segment. Once you’ve accomplished both tasks, return to the treetop and deliver the second Wiggler Segment.
Use the Tree Stump scrap to repair the stump in the middle, then collect the remaining Comet Piece.
Sticker Comet Piece: Unlocking World 3-9
This Course contains three pieces of the Sticker Comet, all of which are located in the treetop. To unlock World 3-9, use the Tree Stump scrap from World 3-8 to complete the stump in the middle, then climb up and grab the Comet Piece floating above it.
Recommended Visit #5
After you subdue the third Wiggler Segment, lead it back to the treetop and deliver it to Wiggler.
Recommended Visit #6
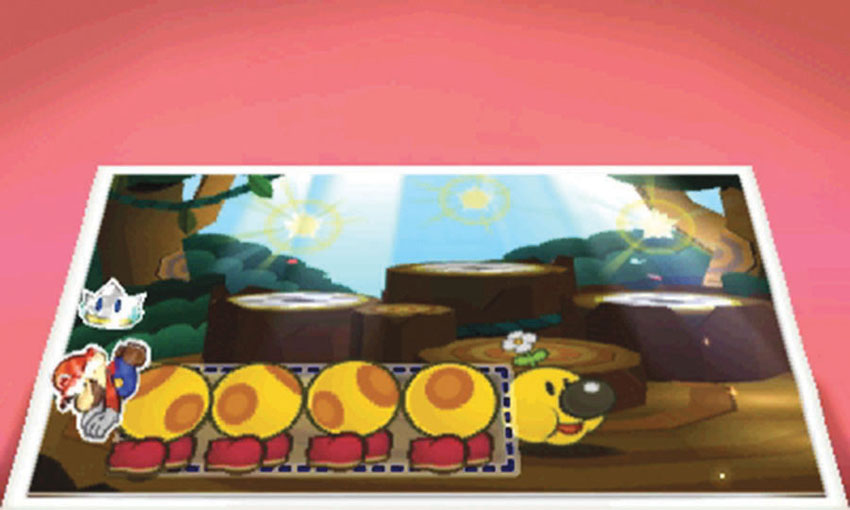
After you subdue the forth Wiggler Segment, lead it back to the treetop and reassemble Wiggler. Once Wiggler’s back in one piece, he storms off to World 3-12 to await your arrival.
Wiggler Segment Locations
To reach the Gooper Blooper off the coast of Whitecap Beach, you must get Wiggler back on his feet. To do so, recover all four of the Wiggler Segments scattered throughout World Three:
- The first Wiggler Segment starts in World 3-4 and flees to World 3-5.
- The second Wiggler Segment starts in World 3-7 and flees to World 3-8.
- The third Wiggler Segment starts in World 3-9, flees to World 3-10, then flees to World 3-2.
- The fourth Wiggler Segment starts in World 3-11, flees to World 3-12, then flees to Surfshine Harbor.
Each Wiggler Segment eventually puts up a fight and must be subdued by force.
World 3-4: Strike Lake
Overview
Prerequisites
To unlock this Course, you must collect the corresponding Comet Piece from World 3-3. When you reach the top of Wiggler’s Tree House, collect the Comet Piece from the stump on the right. To complete all of the available objectives, you need to acquire the Bowling Ball and a Secret Door sticker.
Essential Thing Stickers
| Name | Thing Location | Notes |
|---|---|---|
| Bowling Ball | World 3-2 | Needed to clear the bowling pins. |
Objectives
This Course contains several objectives, some of which require additional visits:
- Chase the Wiggler Segment from the Course.
- Collect the Billiard Ball.
- Collect the Comet Piece to unlock World 3-5.
- Collect the Drum from the Secret Door.
- Use the Bowling Ball to clear the pins.
- Collect the Comet Piece to unlock World 3-11.
Important Items and Locations
| Description | Notes |
|---|---|
| Secret Door | The marked location is near the lakeside steps. |
| HP-Up Heart | None |
| Toad Rescue | None |
| Luigi Location | None |
| Wiggler Diary Entry | None |
| Things | The Billiard Ball is in a tree near the poisoned lake. The Drum is through the Secret Door. |
Recommended Tactics
This Course contains a variety of enemies, but a standard selection of stickers should allow you to overcome any combat situations.
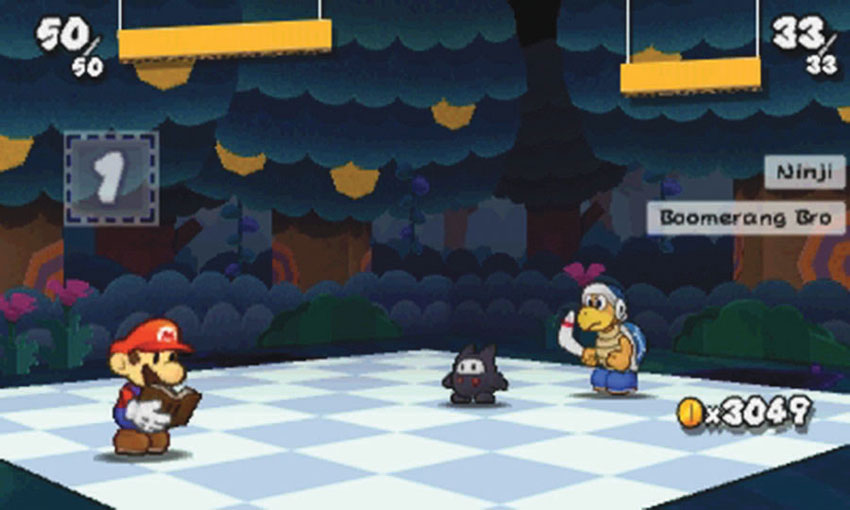
Most of this Course’s battles involve Snifits and/or Ninjis, but you might find the odd Boomerang Bro appearing as a secondary attacker. Try to keep a nice selection of Hammer stickers, Jump stickers, and multi-target stickers. When you’re facing a particularly durable opponent, make sure you take advantage of the Battle Spinner.
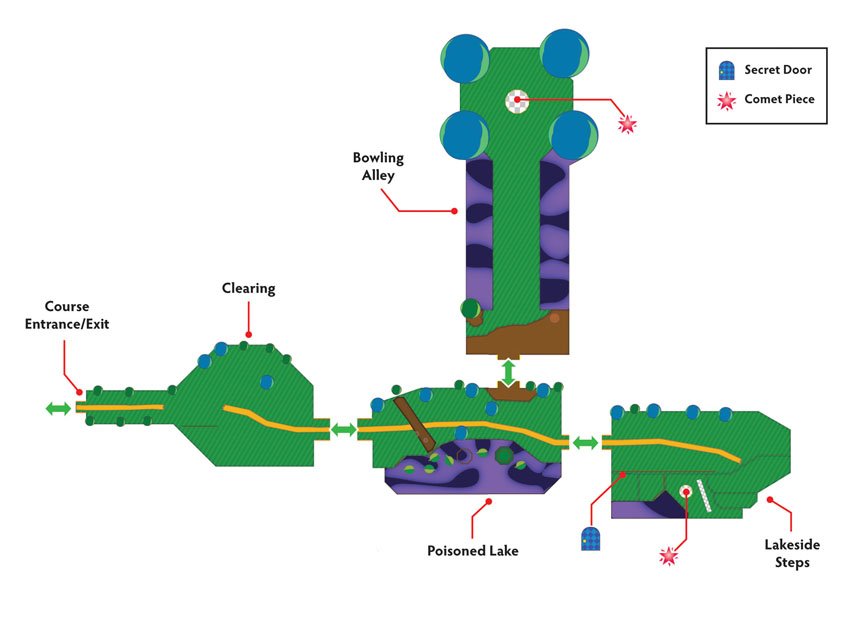
Clearing
.jpg)
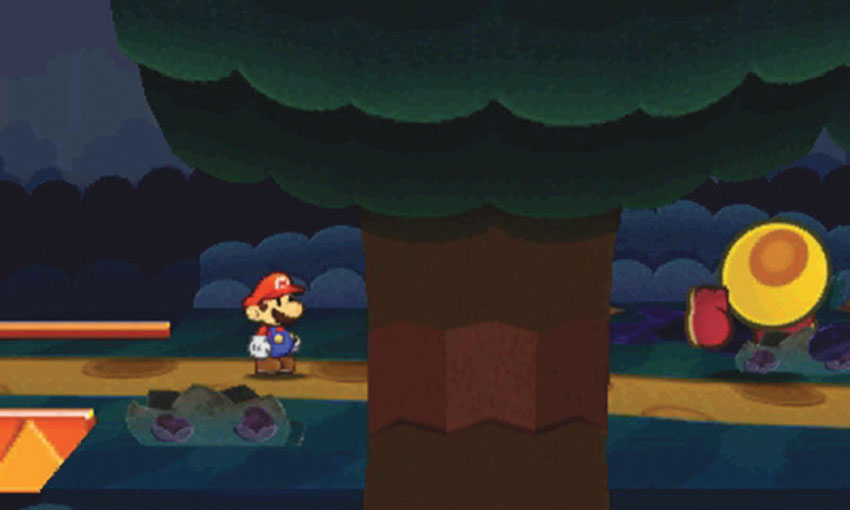
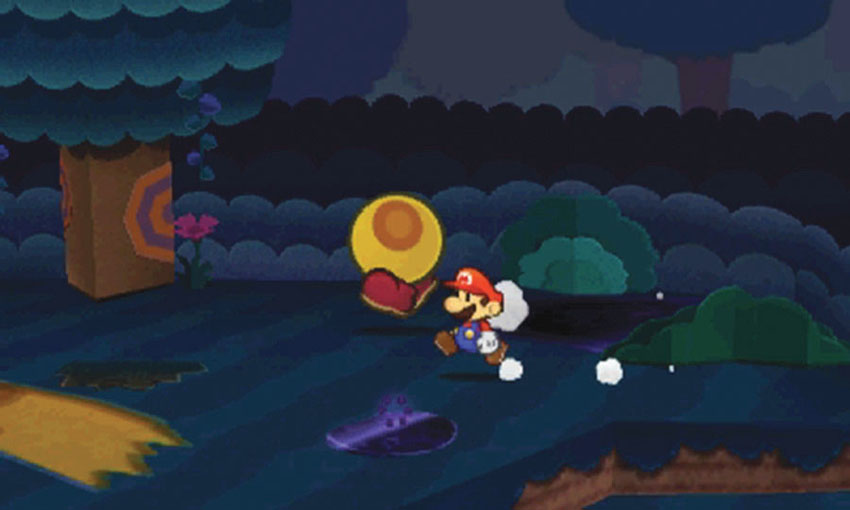
When you enter the Course, the first Wiggler Segment dashes away from you. As you explore each area, check any potential hiding spots for the cowering segment.
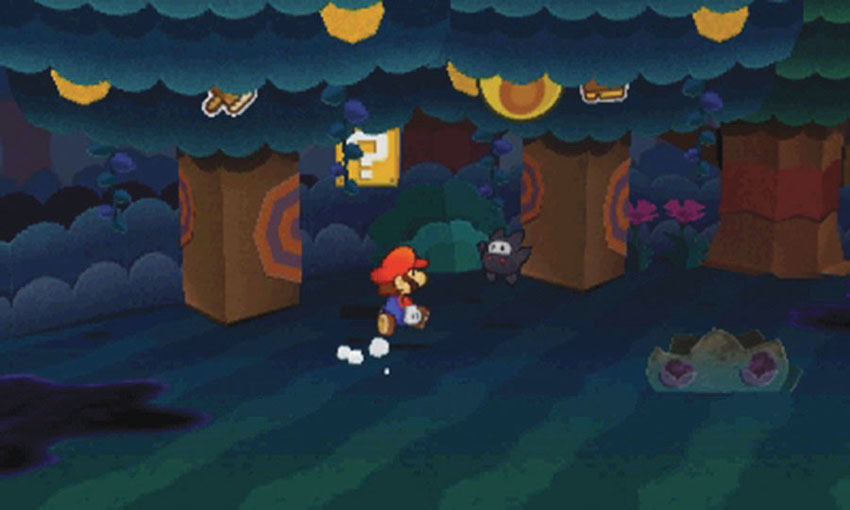
The Wiggler Segment attempts to hide in a tree at Point 2. Clear out any nearby enemies, then strike the tree with your Hammer to knock the segment out of the tree. Finish searching the area, then follow the Wiggler Segment to the next area.
Poisoned Lake
.jpg)
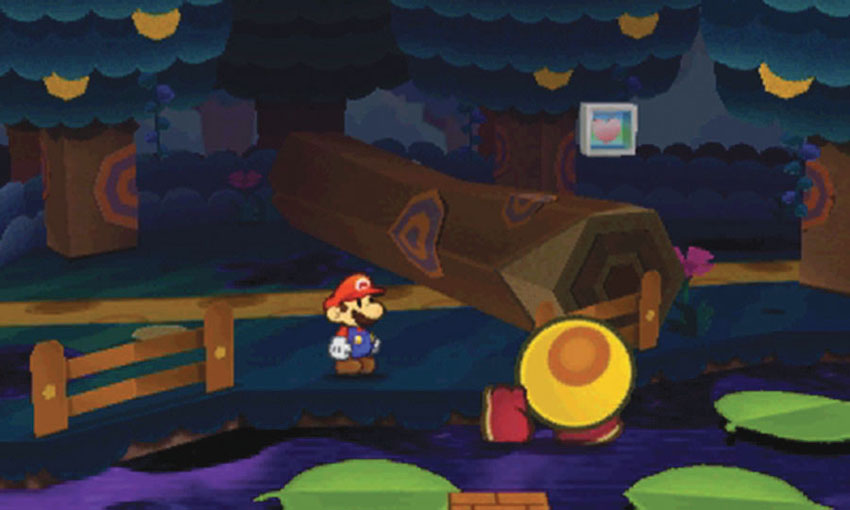
When you approach the Wiggler Segment, it flees across the poisoned lake. Hop along the floating leaves to get past the fallen tree, then use the HP Block to top off Mario’s HP.
Follow the path to the right edge of the area and examine the tree in the background. Use your Hammer to shake the Wiggler Segment out of the branches. After it lands, the segment flees to the next area. Rather than follow it, continue to strike the tree until the Billiard Ball falls to the ground. Collect the Billiard Ball, then follow the nearby path to the bowling alley.
Bowling Alley
.jpg)
This giant, single-lane bowling alley contains one of the Course’s two Comet Pieces, but the wall of pins prevents you from reaching it. Return to this area after you acquire a Bowling Ball sticker. For now, leave the bowling alley, return to the main path, and continue to the lakeside steps at the end of the Course.
Lakeside Steps
.JPG)
When you enter the area, jump over the fence in the foreground to find the Secret Door location. Return to this hidden enclosure after you acquire a Secret Door sticker.
By the time you reach this area, the Wiggler Segment should be hiding behind the bush at Point 2. Strike the bush with your Hammer, then chase the Wiggler Segment back to the clearing at the start of the Course. Approach the bush near the clearing’s right edge, and hit it with your Hammer until the Wiggler Segment leaves the Course. Once it does, follow the path back to the lakeside steps.
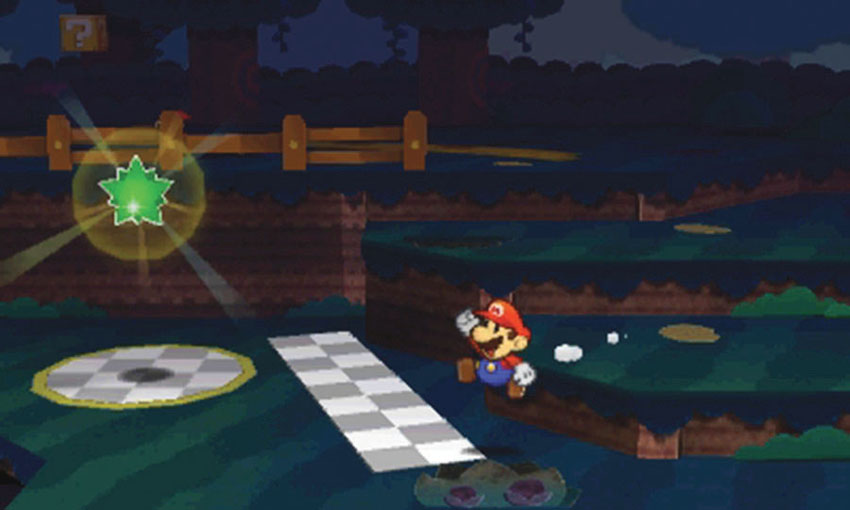
After the Wiggler Segment leaves the Course, collect the Comet Piece near the lakeside steps to end your first visit.
Sticker Comet Piece: Unlocking World 3-5
This Course contains two pieces of the Sticker Comet. To unlock World 3-5, collect the Comet Piece near the lakeside steps.
Additional Visits
Recommended Visit #2
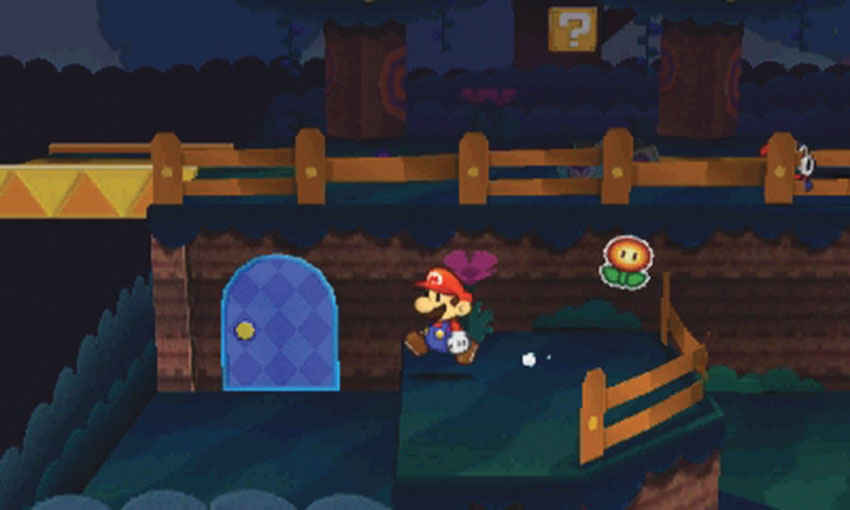
After you acquire a Secret Door sticker, return to the lakeside steps and hop over the fence in the foreground. Apply the sticker to the marked location, then head inside to collect the Drum.
Recommended Visit #3
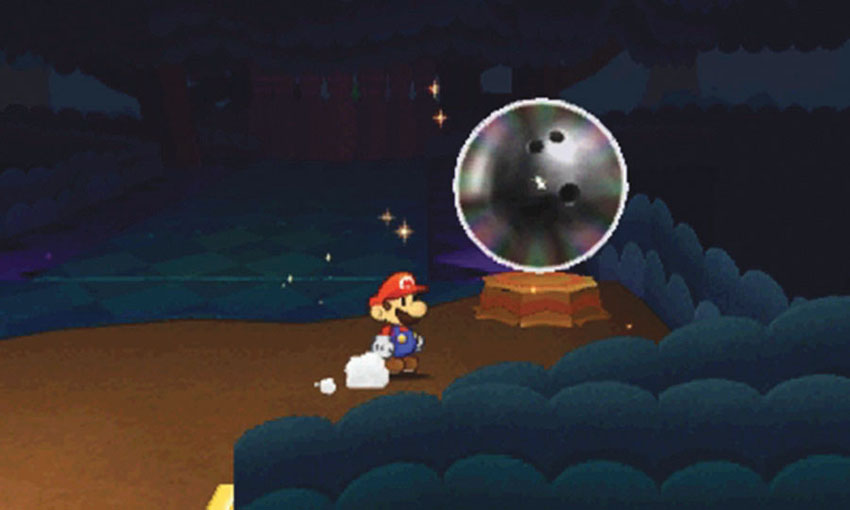
After you collect the Bowling Ball from World 3-2, convert it to a Thing Sticker and return to the bowling alley. Approach the stump to the right of the lane and activate the Paperize ability. Place the Bowling Ball sticker in the indicated spot to trigger a cinematic.
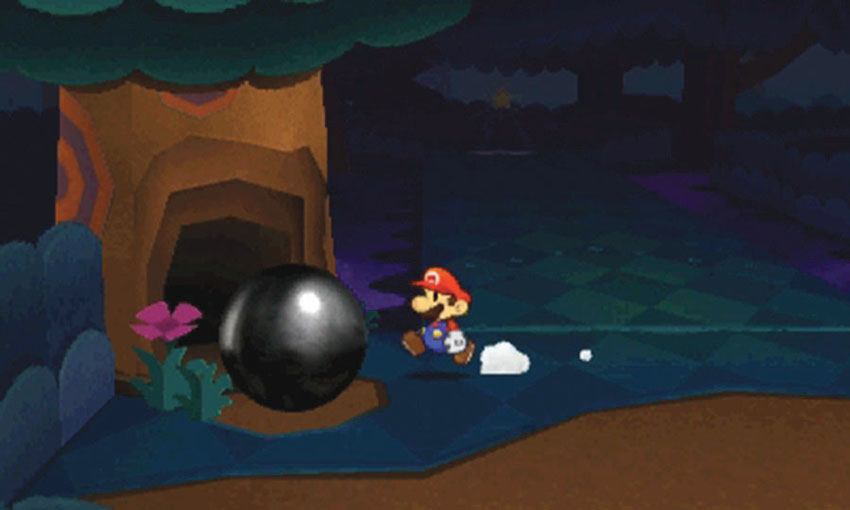
After the Bowling Ball crashes through the pins, it appears in the tree to the left. From now on, the Bowling Ball can be found in this location.
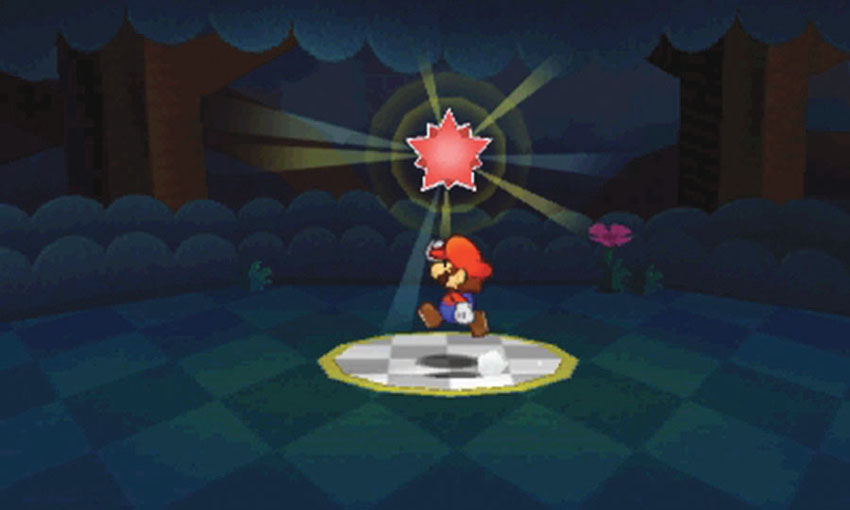
When the path is clear, collect the Comet Piece at the end of the lane.
Sticker Comet Piece: Unlocking World 3-11
This Course contains two pieces of the Sticker Comet. To unlock World 3-11, collect the Comet Piece from the bowling alley.
World 3-5: Loop Loop River
Overview
Prerequisites
To unlock this Course, you must collect the Comet Piece near the lakeside steps in World 3-4. You must acquire a Secret Door sticker before your second visit, but you should gain access to the World 3-6 Sticker Shop when you collect this Course’s first Comet Piece.
Objectives
This Course contains several objectives, some of which require an additional visit:
- Knock the first leaf into the stream.
- Subdue the Wiggler Segment.
- Knock the second leaf into the stream.
- Collect the Comet Piece to unlock World 3-6.
- Collect the Pillow from the Secret Door.
- Collect the Tree Stump scrap.
Collect the Comet Piece to unlock an alternative path to World 3-2.
Important Items and Locations
| Description | Notes |
|---|---|
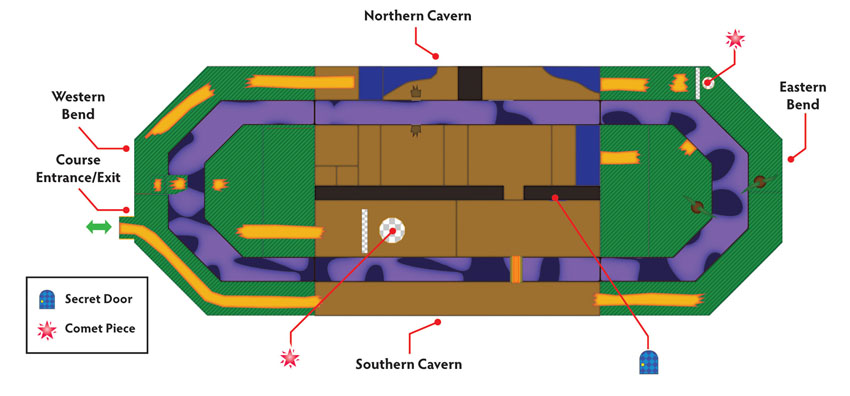
| Secret Door | The marked location is near the Boomerang Bro in the southern cavern. |
| HP-Up Heart | None |
| Toad Rescue | None |
| Luigi Location | None |
| Wiggler Diary Entry | None |
| Things | The Pillow is through the Secret Door. |
Recommended Tactics
This Course contains some new combinations of familiar enemies, such as a Boomerang Bro with a Paint Guy.
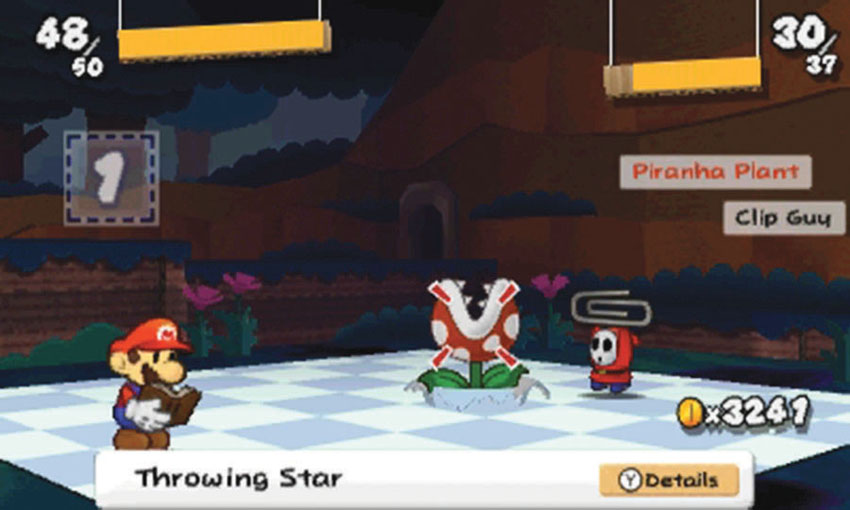
You’ll find plenty of useful stickers scattered around the Course, but consider bringing a good selection of Hammer stickers, Jump stickers, and multi-target stickers.
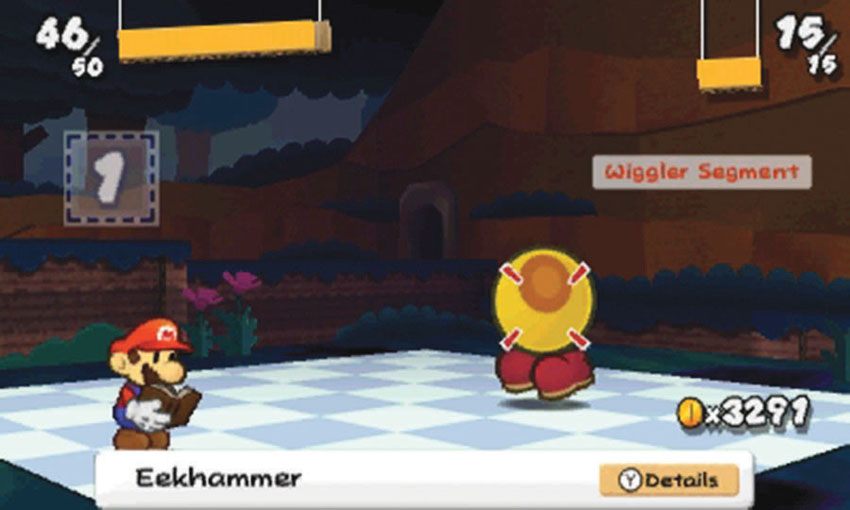
This Course contains the first available Wiggler Segment battle. Wiggler Segments tend to dodge most Jump-based and Hammer-based attacks. Use Fire Flowers and Ice Flowers to deal reliable damage.
Recommended Visit #1
.jpg)
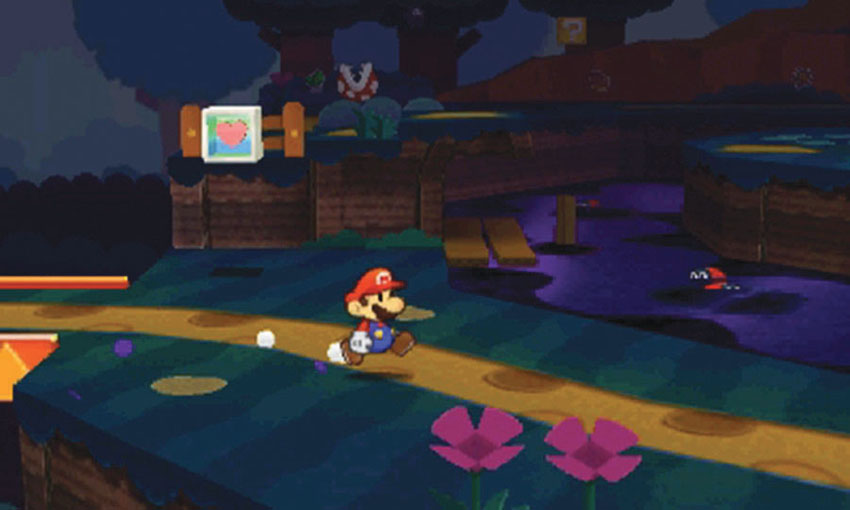
There’s an HP Block at the start of the Course. If you fall into the toxic stream or take damage during a battle, circle back to this spot and refill Mario’s HP.
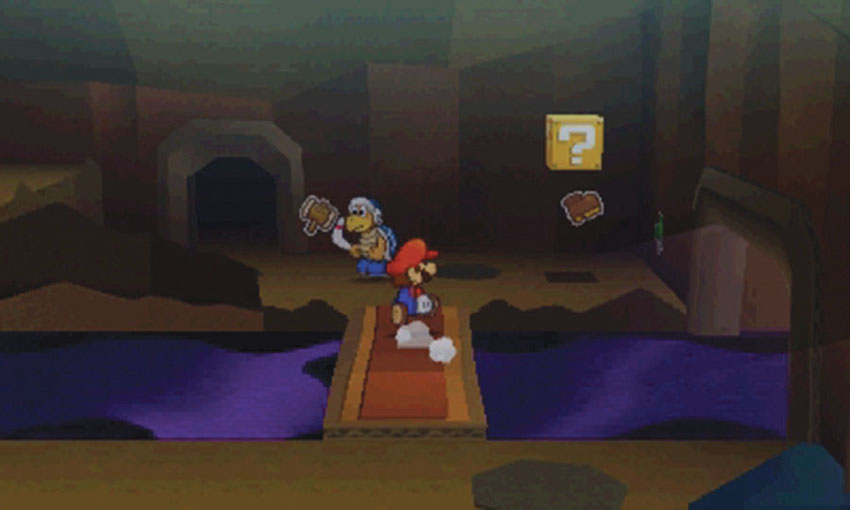
Enter the southern cavern and head across the small bridge. After you acquire a Secret Door sticker, apply it to the marked location behind the Boomerang Bro. For now, however, simply defeat the enemy and search the area for nearby stickers. When you’re ready, head through the nearby doorway to enter the northern cavern.
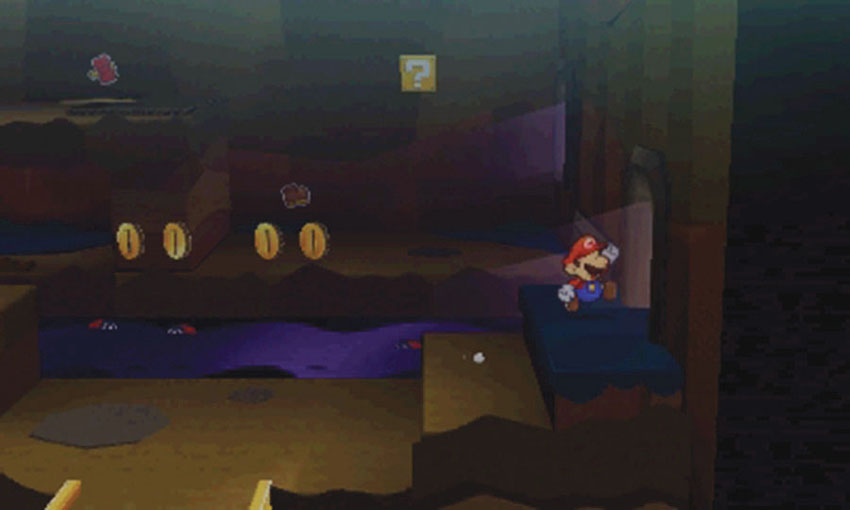
After you step into the northern cavern, move up the steps to the right and head out to the eastern bend.
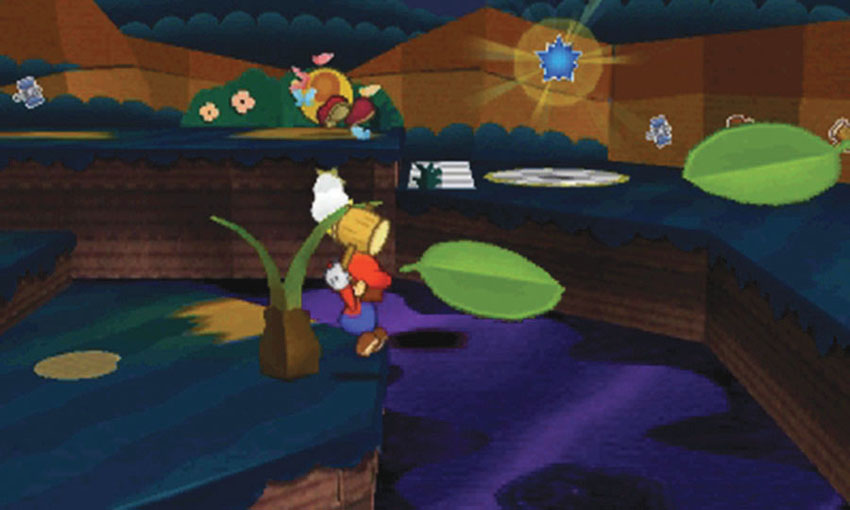
Continue to the right to find a plant at the edge of the platform. Strike the plant with your Hammer to knock a leaf into the stream, then hop onto the leaf and drift along with the current.
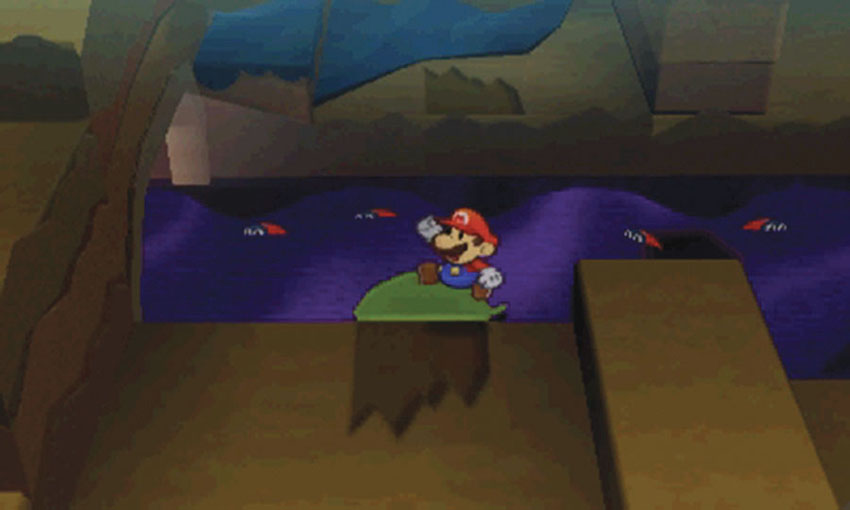
The leaf carries you back into the northern cavern. Jump up to reveal the Hidden Block between the floating coins.When you reach Point 5, jump onto the ledge in the foreground. Approach the wall to the left, then follow the path up toward the cavern ceiling.
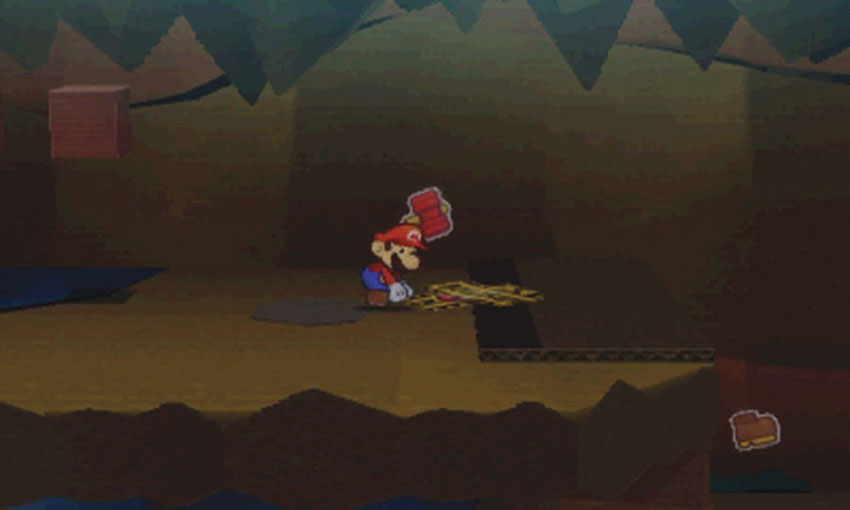
Peel the Bowser tape at Point 6 to create some steps, then follow the path back out to the eastern bend.
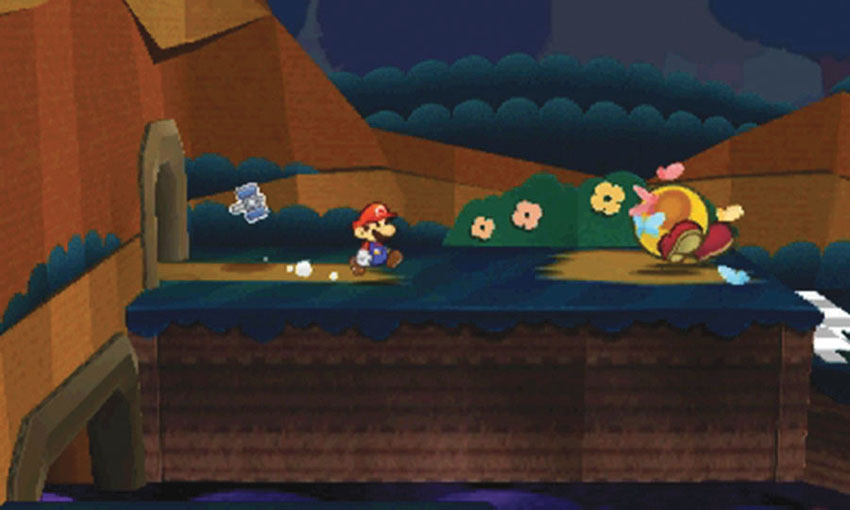
The Wiggler Segment you chased from World 3-4 is now sitting at Point 7. The Wiggler Segment attacks as you approach it, so be prepared to defend yourself. Use one or two high-damage stickers to end the fight quickly. The defeated Wiggler Segment now follows you around.
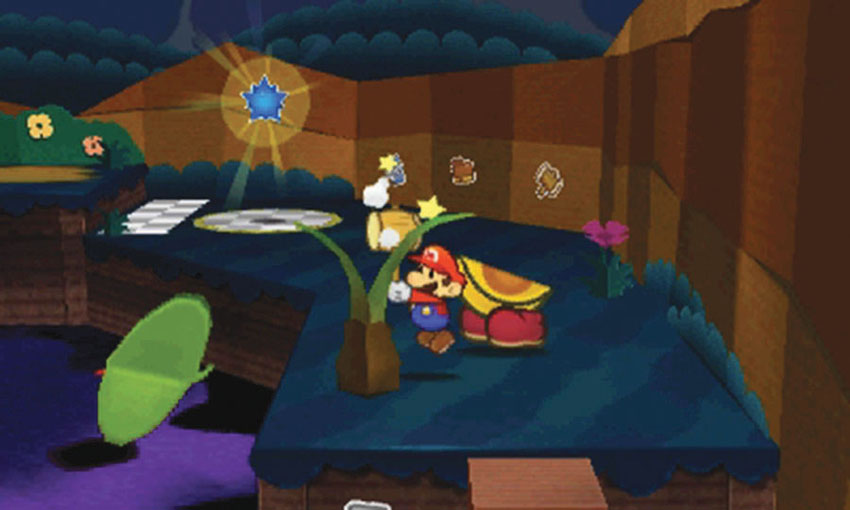
Before you collect the nearby Comet Piece, strike the plant at Point 8 to knock another leaf into the stream.
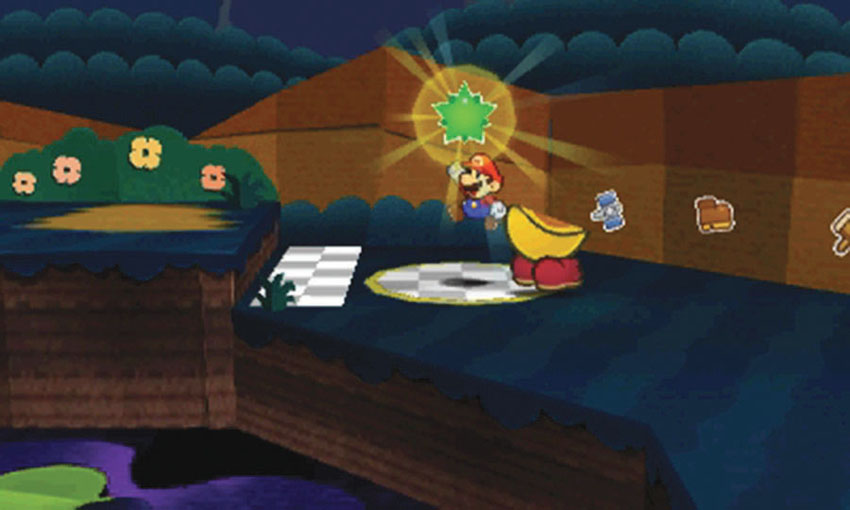
When you’re ready, collect the Comet Piece at Point 9 to complete your first visit.
Sticker Comet Piece: Unlocking World 3-6
This Course contains two pieces of the Sticker Comet. To unlock World 3-6, collect the Comet Piece along the stream’s eastern bend.
Recommended Visit #2
.jpg)
You should have unlocked World 3-6 at the end of your first visit. Before you start your second visit, make sure you purchase a Secret Door sticker from the World 3-6 Sticker Shop.
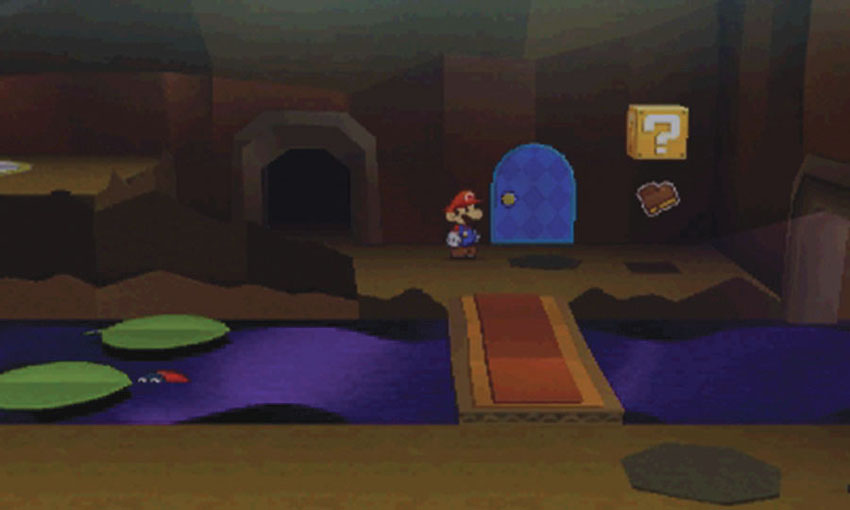
After you purchase a Secret Door sticker, apply it to the marked location in the southern cavern. Head through the door to find the Pillow.
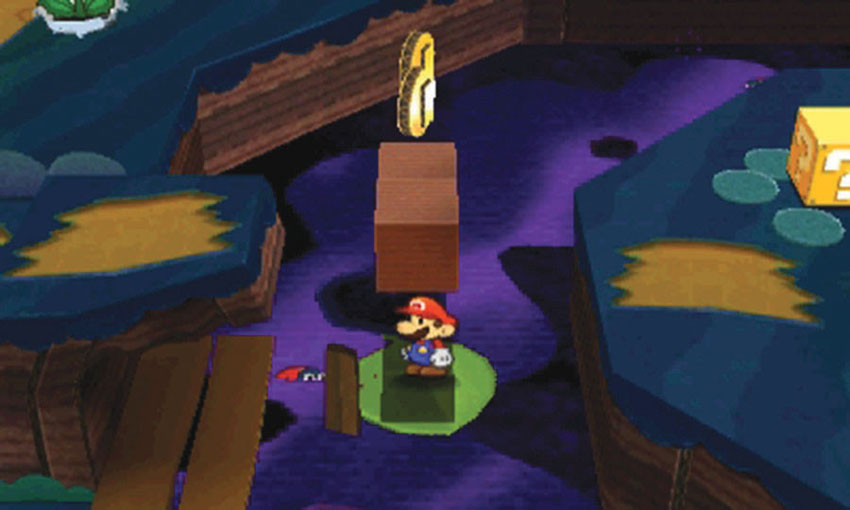
Hop on one of the floating leaves and ride through the stream’s western bend. When the leaf reaches the boards at Point 2, it slows down. Jump up to reveal the Hidden Blocks just above you.
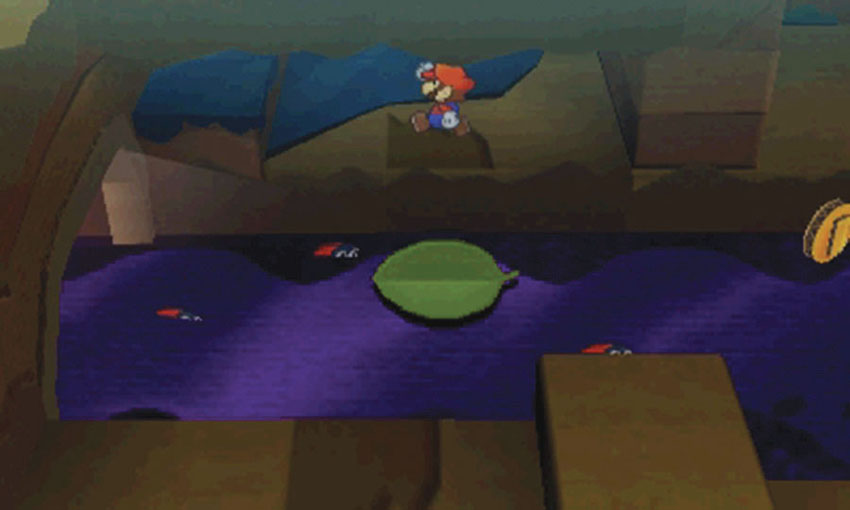
Ride a leaf into the northern cavern. When you reach Point 3, hop onto the ledge in the background, then climb up the steps to the left.
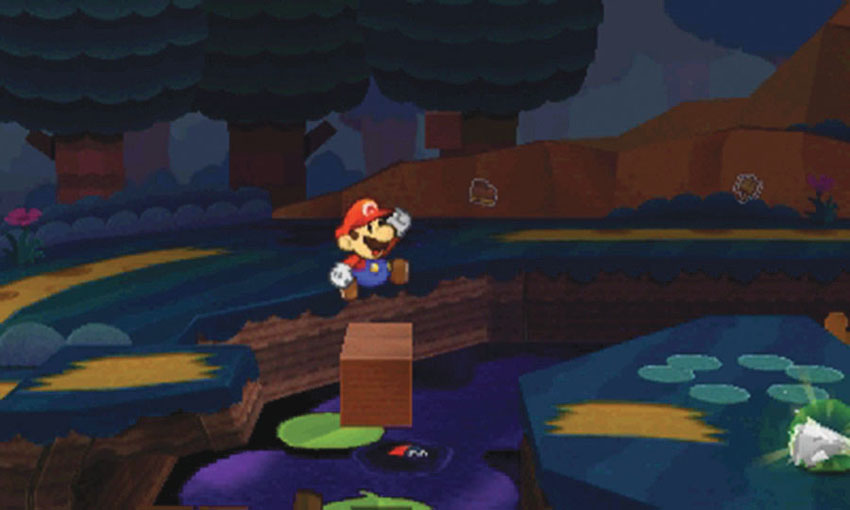
After you emerge from the northern cavern, follow the path through the western bend. The Hidden Blocks you discovered earlier now serve as a small platform. Hop over to the platform just across the stream.
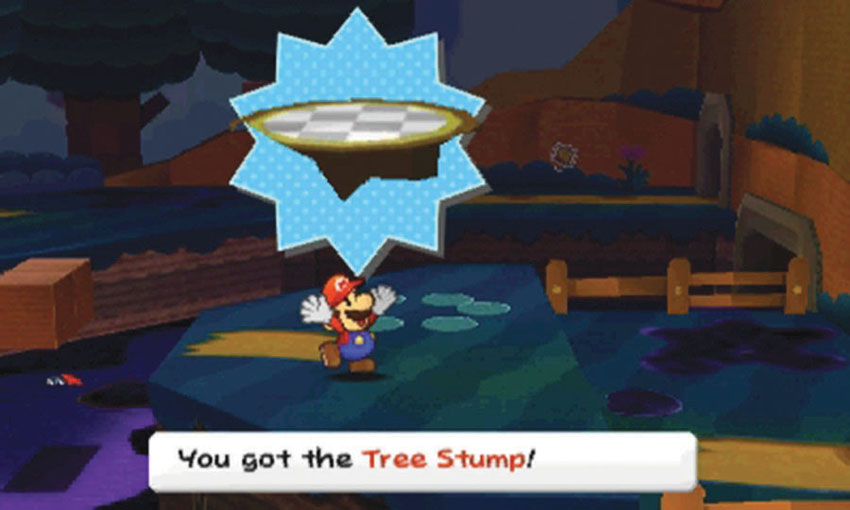
When you land, collect the Tree Stump scrap from the ground. This scrap allows you to collect one of the Comet Pieces in World 3-3, so make sure you grab it!
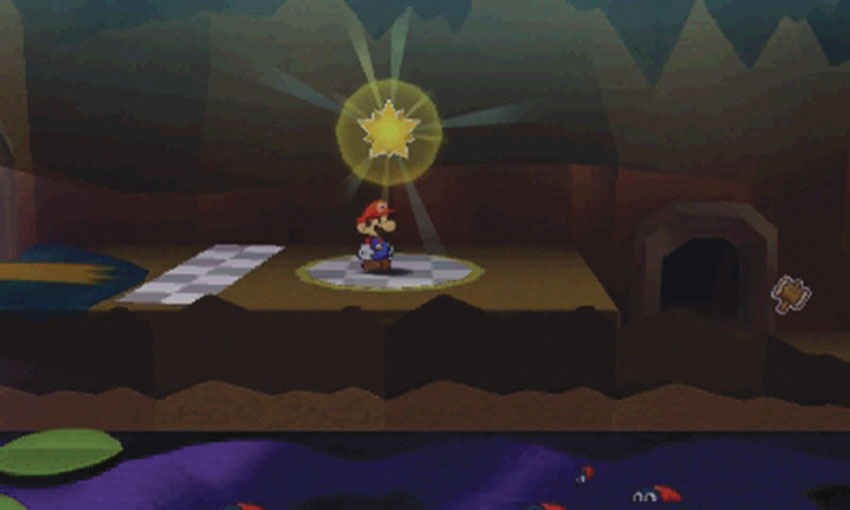
When you’re ready, follow the path to the right and collect the Comet Piece in the southern cavern.
Sticker Comet Piece: Unlocking the Path
to World 3-2
This Course contains two pieces of the Sticker Comet, one of which opens an alternative route to a previously visited Course. Collect the Comet Piece from the southern cavern to reveal the shortcut between World 3-2 and World 3-5.
World 3-6: Outlook Point
Overview
Prerequisites
To unlock this Course, you must collect the Comet Piece from the east bend in World 3-5. If you lead a Wiggler Segment to this area, you can inspire a diary entry. Aside from that, the Course contains everything you need to meet the available objectives.
Objectives
This Course contains a few objectives, all of which can be completed in a single visit:
- Inspire a Wiggler Diary Entry.
- Purchase a Secret Door sticker.
- Collect the Fishhook from the Secret Door.
Important Items and Locations
| Description | Notes |
|---|---|
| Secret Door | The marked location is below the Sticker Shop. |
| HP-Up Heart | None |
| Toad Rescue | None |
| Luigi Location | None |
| Wiggler Diary Entry | Bring a Wiggler Segment to the overlook near the Course entrance. |
| Things | The Fishhook is through the Secret Door. |
Recommended Tactics
This is a friendly area, so combat is not a concern. However, the Sticker Shop provides an excellent opportunity to supplement your current stickers.
Recommended Visit
.jpg)
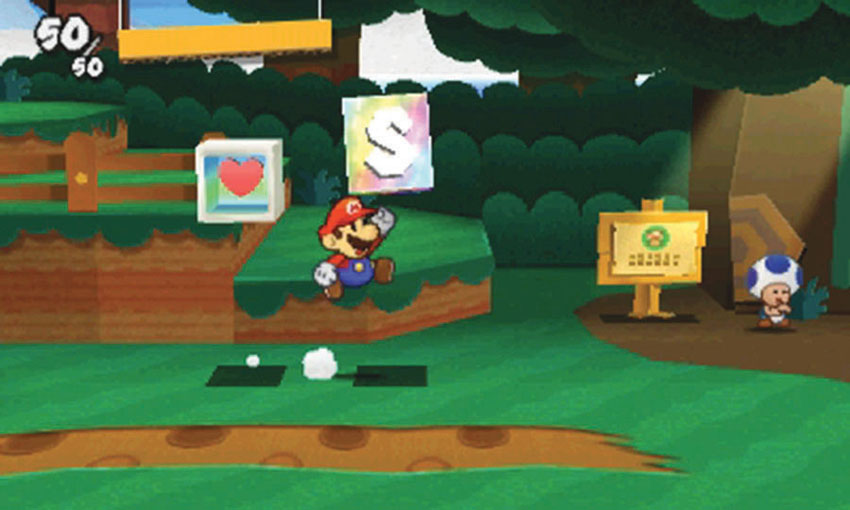
This Course contains an HP Block and a Save Block, making it another great spot to catch your breath between hostile Courses.
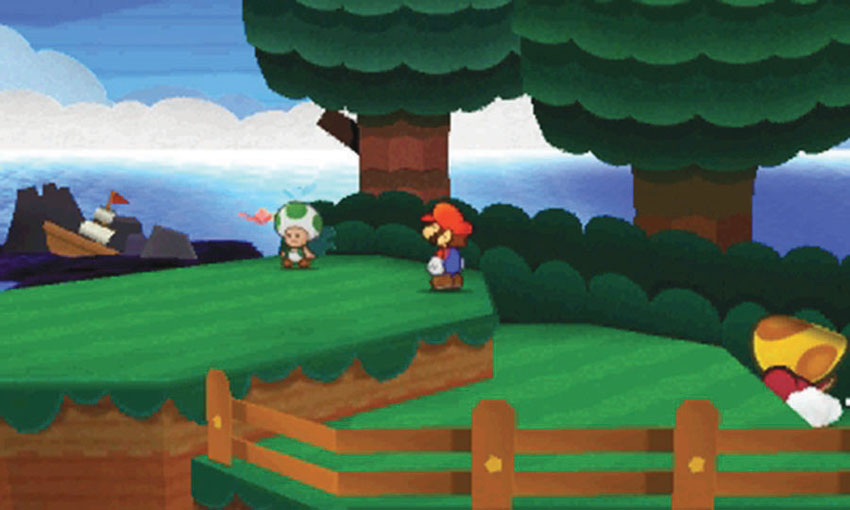
You should have subdued the first Wiggler Segment moments before this Course becomes available. Before you return the segment to World 3-3, lead it to the overlook near the Course’s entrance to inspire a diary entry.
Wiggler Diary Entry: Outlook Point
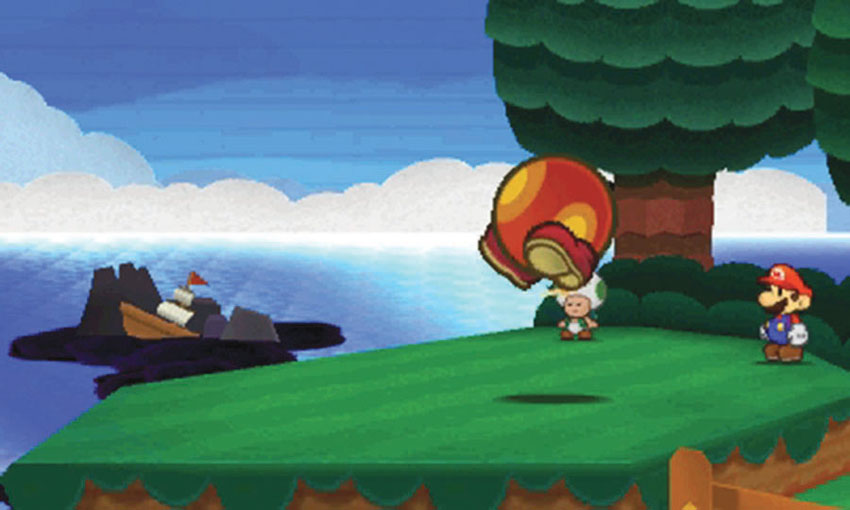
Lead a Wiggler Segment to the overlook in World 3-6. When the segment sees the wrecked ship off of the coast, it inspires a new diary entry.
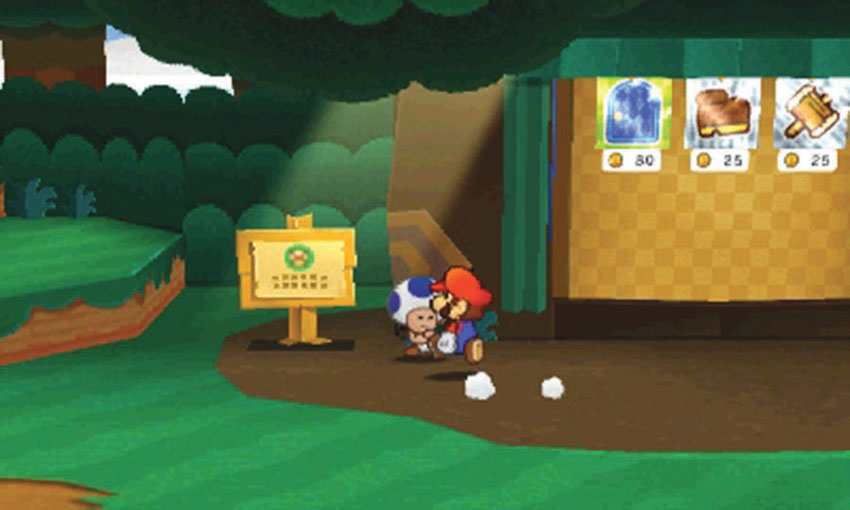
This Course’s Sticker Shop is the only establishment that sells Secret Door stickers. You can now purchase Secret Doors to use in previously visited Courses, thereby gaining access to several new Things. Buy at least one Secret Door to use in this Course and continue your exploration.
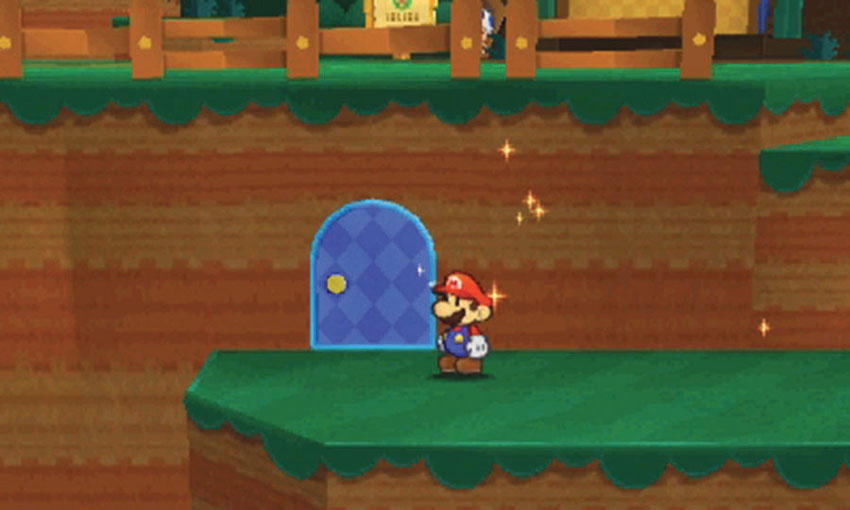
Apply a Secret Door sticker to the marked location at Point 4, then head inside to find the Fishhook.
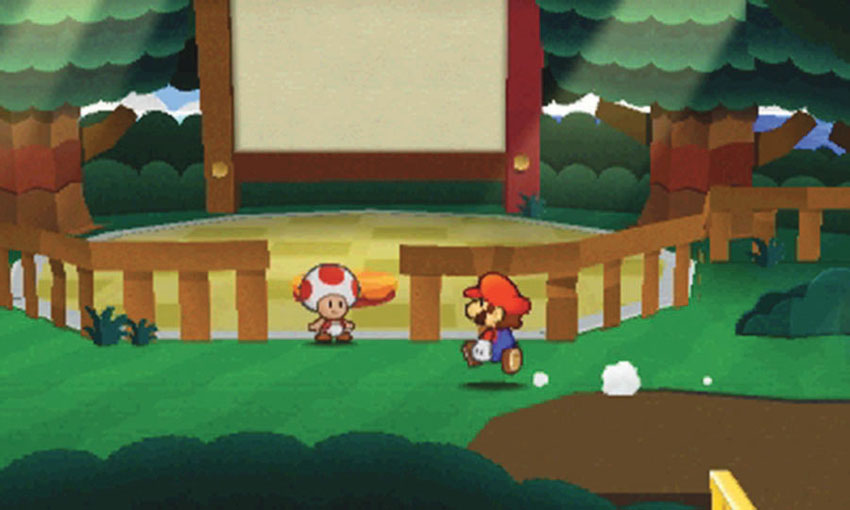
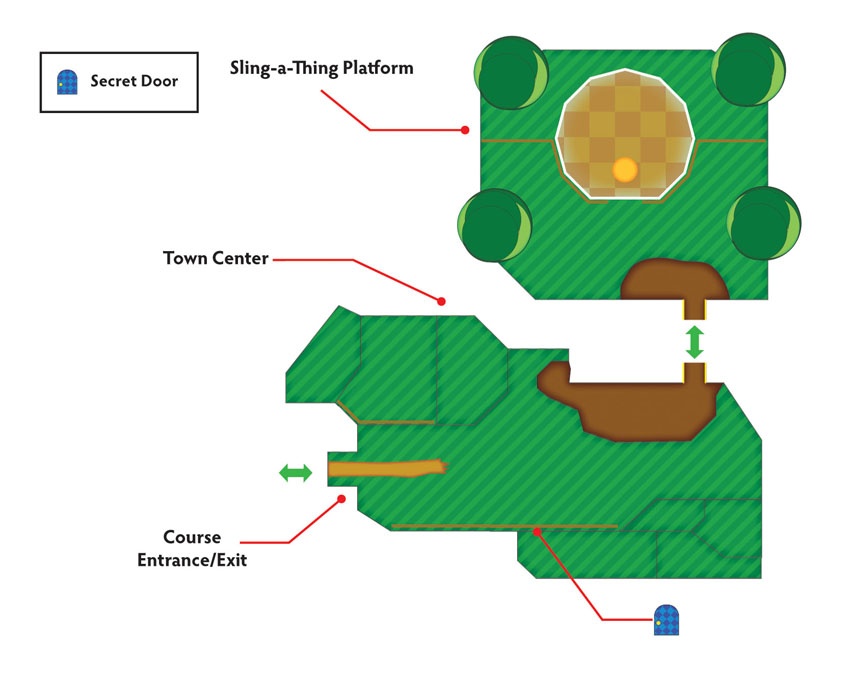
This Course contains a secondary Sling-a-Thing Platform! If you have a few extra Things in your Album, consider converting them to stickers at this convenient location.
World 3-7: Rustle Burrow
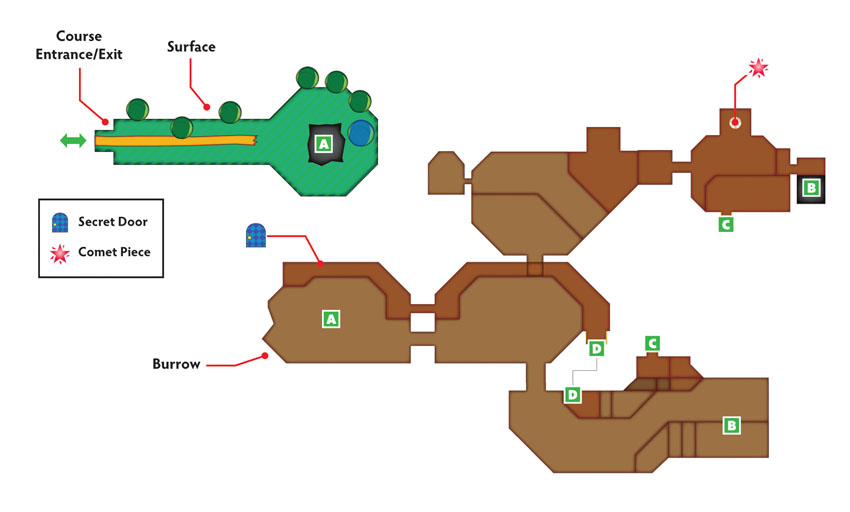
Overview
Prerequisites
To unlock this Course, you must collect the corresponding Comet Piece from the treetop in World 3-3. Before you enter the Course, purchase a Secret Door sticker from the World 3-6 Sticker Shop.
Objectives
This Course contains a number of objectives, all of which can be completed in a single visit:
- Recover your stickers.
- Defeat the Big Scuttlebug.
- Free Kersti.
- Reposition the Burrow Door scrap.
- Recover the Hammer.
- Collect the Upright Vacuum from the Secret Door.
- Free the Wiggler Segment.
- Collect the Comet Piece to unlock World 3-8.
Important Items and Locations
| Description | Notes |
|---|---|
| Secret Door | The marked location is behind the Hammer, on the ledge in the burrow’s first chamber. |
| HP-Up Heart | None |
| Toad Rescue | None |
| Luigi Location | None |
| Wiggler Diary Entry | None |
| Things | The Upright Vacuum is through the Secret Door. |
Recommended Tactics
When you enter the burrow, you lose Kersti, your Hammer, and all of your stickers. Obviously, you must recover at least a few of your stickers before you’re ready for combat, but your tactical options are extremely limited until you find Kersti and recover your Hammer.
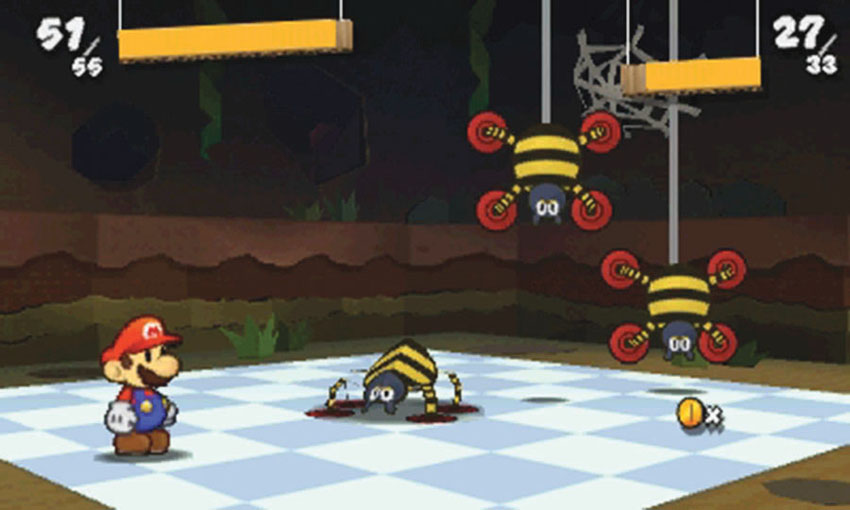
The burrow is filled with Scuttlebugs, and nearly every encounter will involve at least one of these creatures. Depending on the length of their threads, suspended Scuttlebugs must be considered low-flying or airborne enemies. Stock up on plenty of Jump-based stickers, and make recovering them your priority.
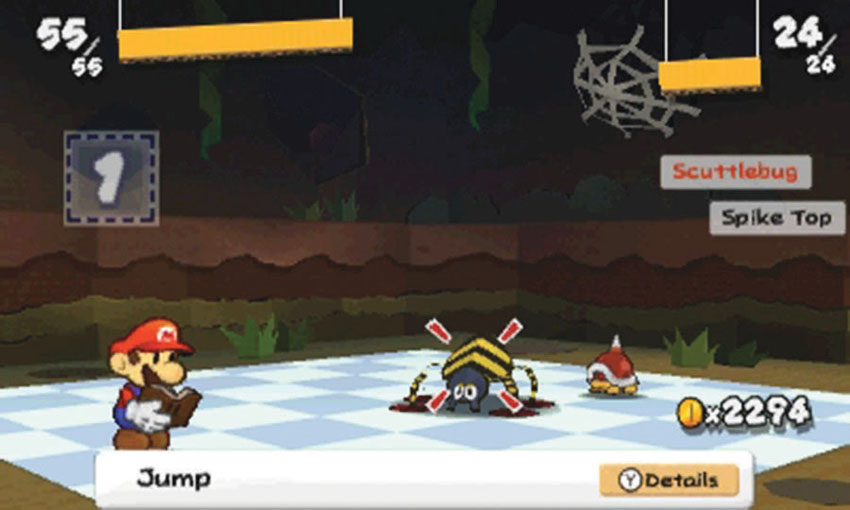
This Course also contains several Spike Tops. Spike Tops’ natural defenses counter virtually all Jump-based stickers, and until you recover your missing Hammer, your Hammer-based stickers are useless. Shell stickers can be very effective, but only if you’re lucky enough to recover them before stumbling onto one of these enemies. If you haven’t recovered the appropriate items, it’s best to retreat from any battle involving a Spike Top.
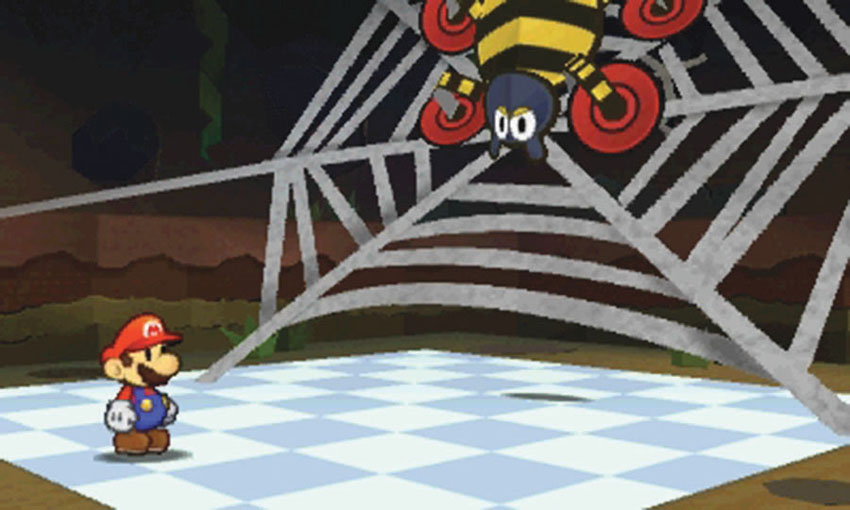
The burrow also contains a Big Scuttlebug. You’ll face this enemy before you recover your Hammer, and its web allows it to counter all of your Jump-based attacks. Use thrown items, Fire Flowers, or POW Blocks to destroy the web, then use Jump-based stickers to deal heavy damage to the Big Scuttlebug.
Surface
.jpg)
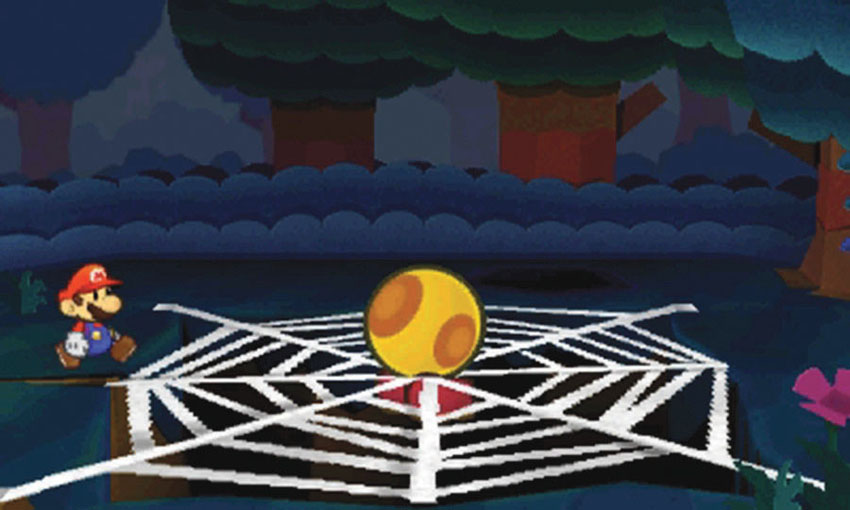
When you first enter the Course, a Wiggler Segment attempts to flee. Follow the path to the right to find the segment trapped in a giant web. When you approach, the web breaks apart. When you’re ready, follow the Wiggler Segment into the burrow.
Burrow
Recommended Route—Part 1
.jpg)
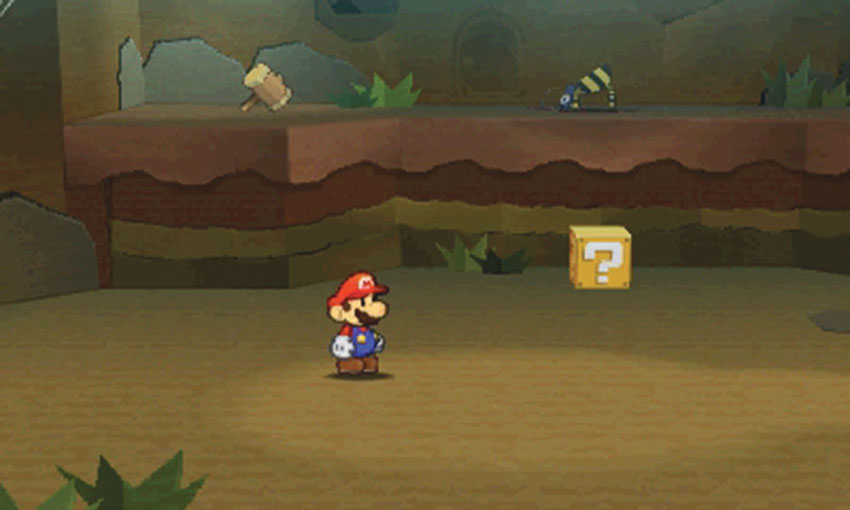
When you land in the first chamber, Kersti is carried off by Scuttlebugs, your Hammer is on a nearby ledge, and your stickers are scattered throughout the burrow. Your first task is to rebuild your sticker supply, but doing so requires a fair amount of exploration. Be careful to avoid combat until your Album contains a reasonable selection of stickers.
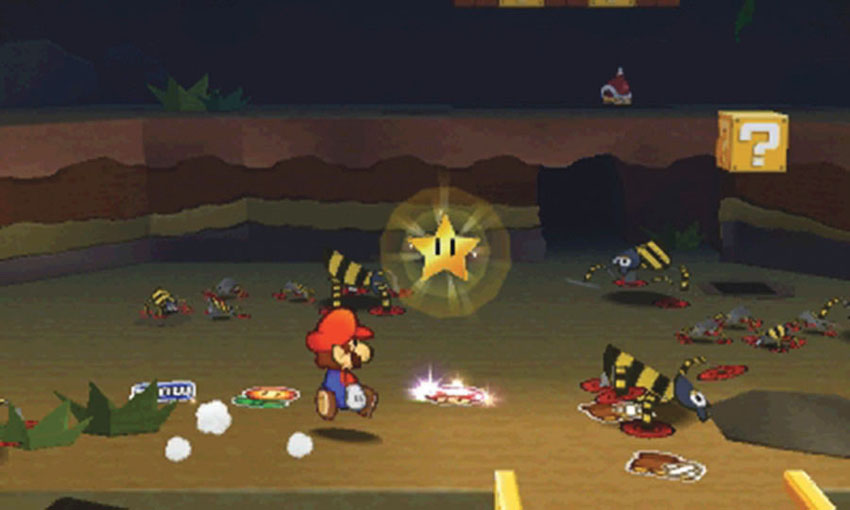
The second chamber is swarming with enemies, but the Super Star in the middle of the area makes it fairly easy to clear out the room. Collect the temporary power-up, then dash from enemy to enemy as quickly as possible. Search the area for stickers, then head through the doorway along the back wall.
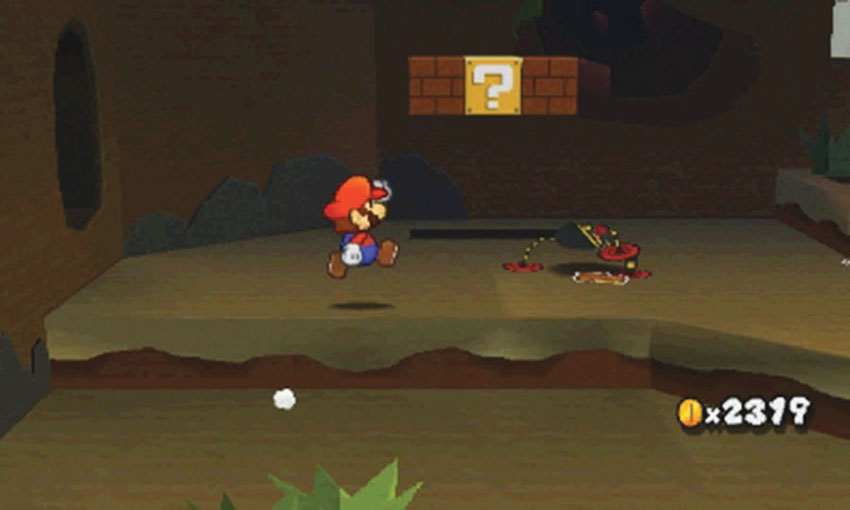
As you search the third chamber for stickers, look for the opening in the left wall.
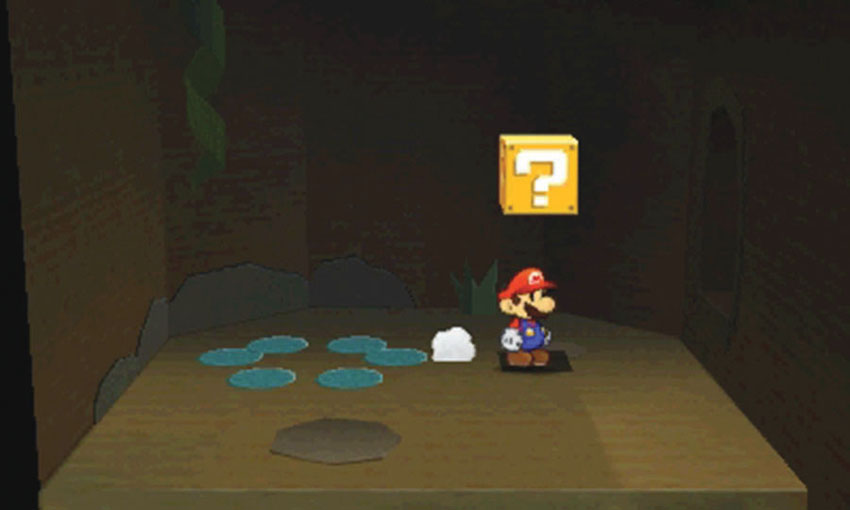
Hop through the opening to find a hidden room. After you find Kersti, you can take advantage of the Paperization Block hidden in this room. For now, however, search the ? Block and return to the chamber.
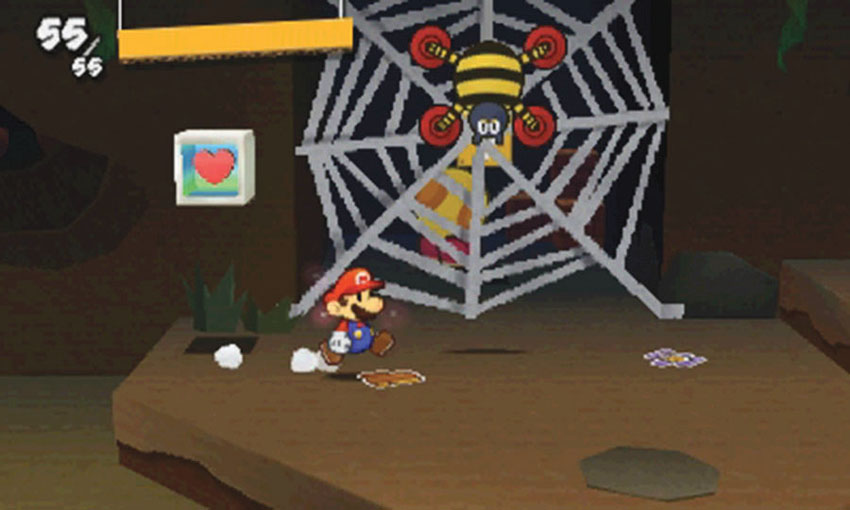
The Wiggler Segment is trapped behind the web at Point 4. Unfortunately, you can’t free the segment without the Hammer. The Big Scuttlebug is just to the right, so use the HP Block to top off your health, and then make sure you have a good selection of stickers before you continue.
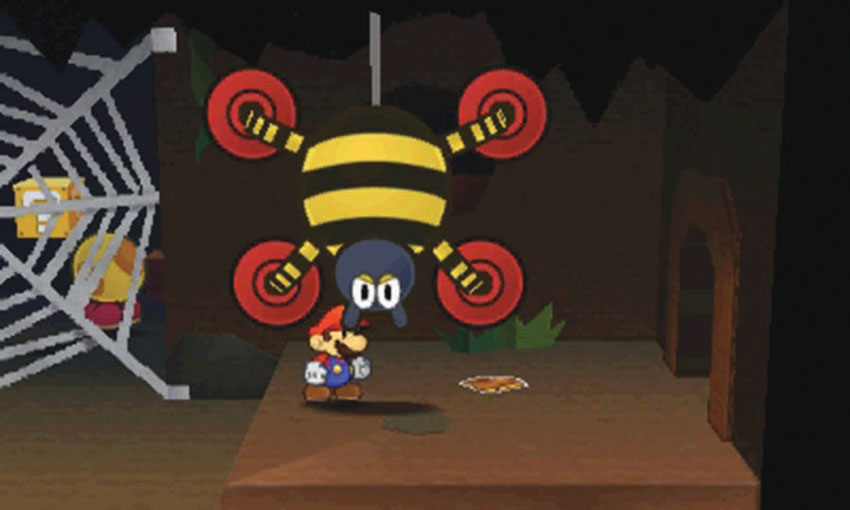
When you’re ready, approach the door to the right. The Big Scuttlebug drops down and begins a battle.
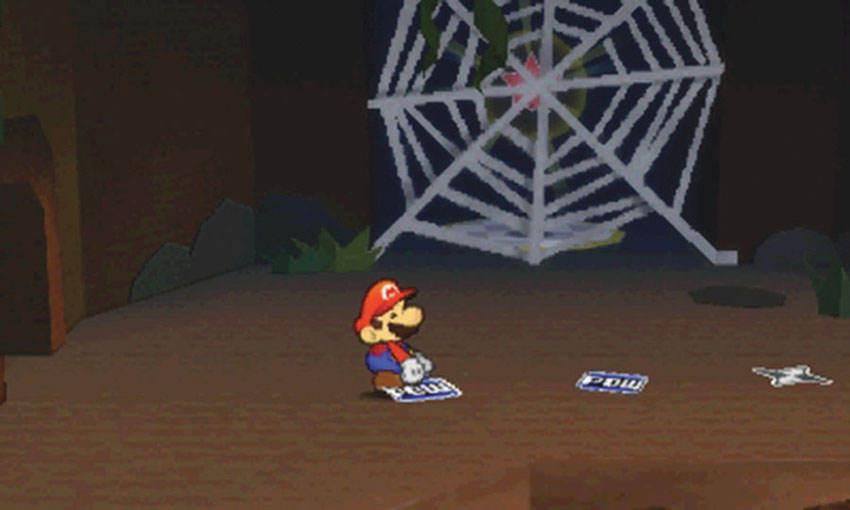
After you defeat the Big Scuttlebug, head through the door and into the next chamber. As you follow the trail of stickers on the ground, look for the Comet Piece along the back wall. Like the Wiggler Segment, the Comet Piece is trapped behind a web. For now, search the chamber for stickers and head through the door in the right wall.
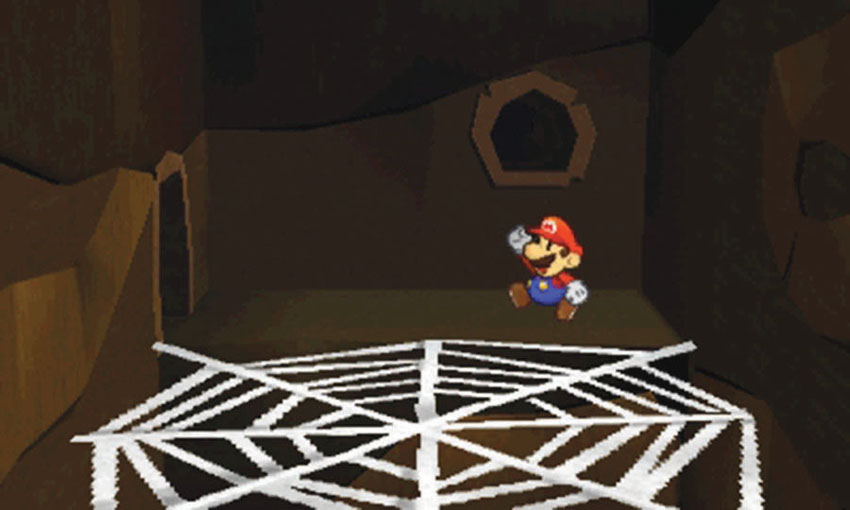
To find Kersti, hop on the web at Point 7 and jump in place until it gives way. After a short fall, you land to find Kersti stuck to another web. Peel Kersti free to break through the web and regain some of your lost abilities.
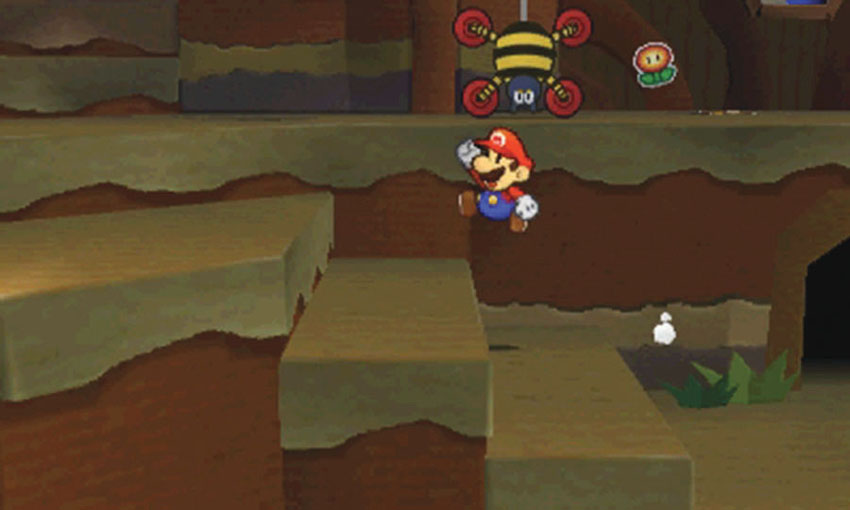
When you’re ready, step out of the enclosure and explore the remaining chamber. Climb the steps to the left and search the area for the last of your lost stickers.
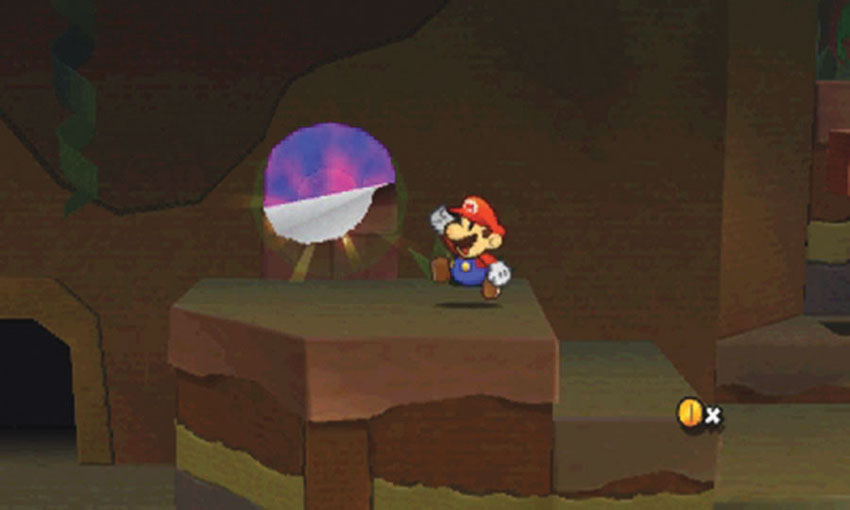
When you finish searching the chamber, move to Point 9 and peel the Burrow Door scrap from the wall.
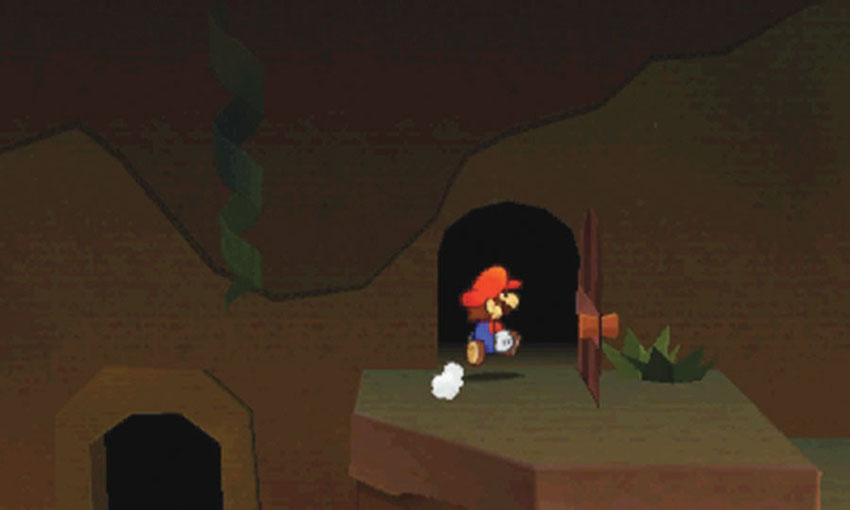
Reapply the scrap so that it’s properly aligned, then pass through the door to return to the second chamber.
Recommended Route—Part 2
.jpg)
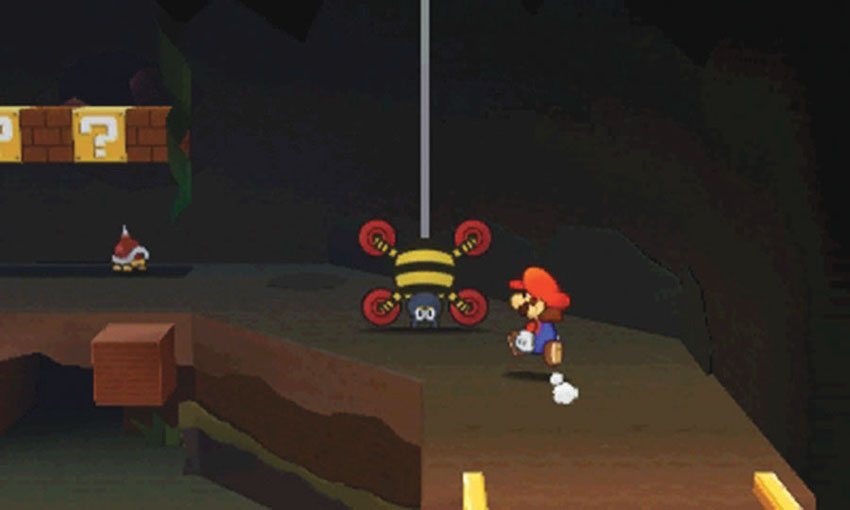
Once the Burrow Door scrap is in place, it creates a path to your Hammer. Follow the ledge along the wall and back into the first chamber.
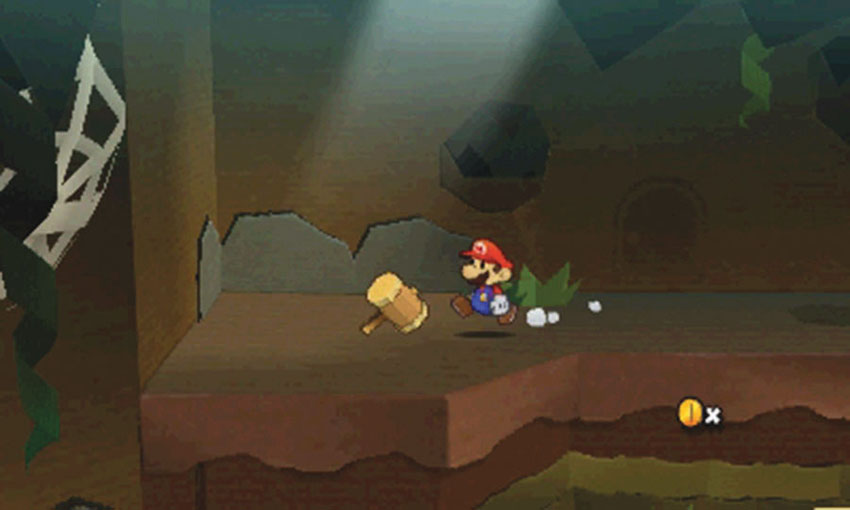
Your Hammer is sitting at the end of the ledge, near the Secret Door location.
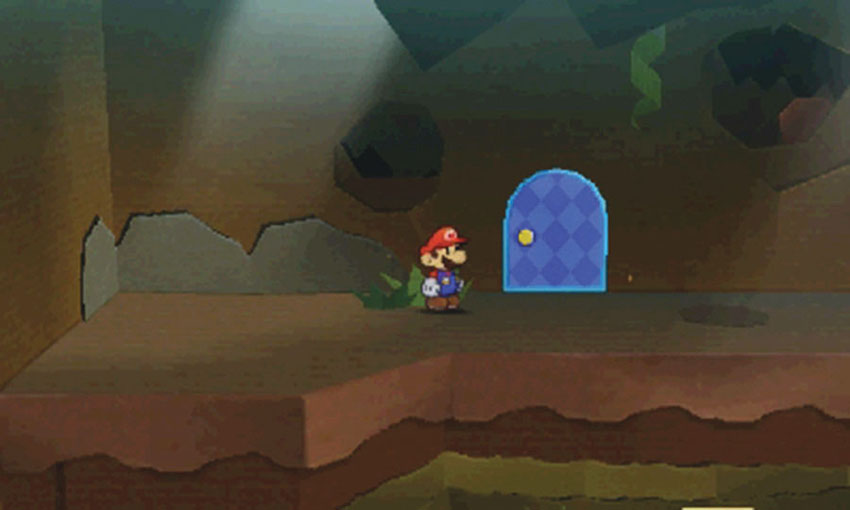
After you recover the Hammer, apply a Secret Door sticker to the marked location and head inside to collect the Upright Vacuum.
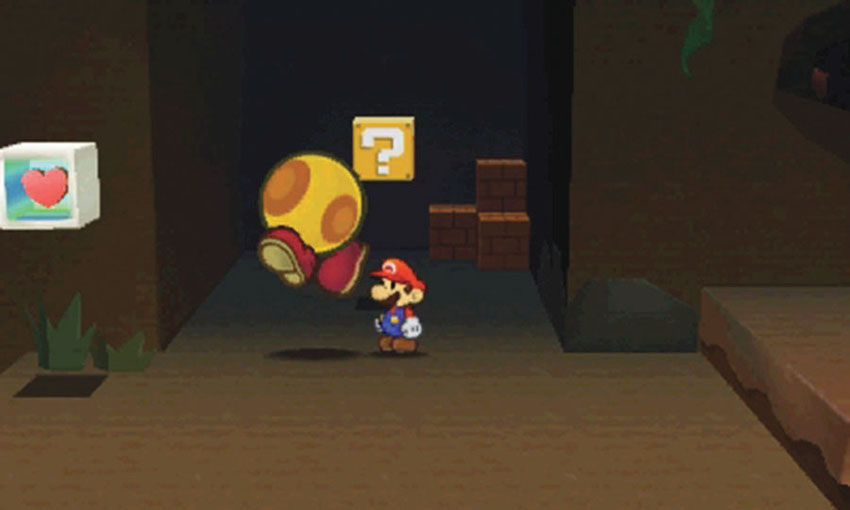
Return to the Wiggler Segment and use your Hammer to destroy the web. After it joins you, lead the segment through the door to the right.
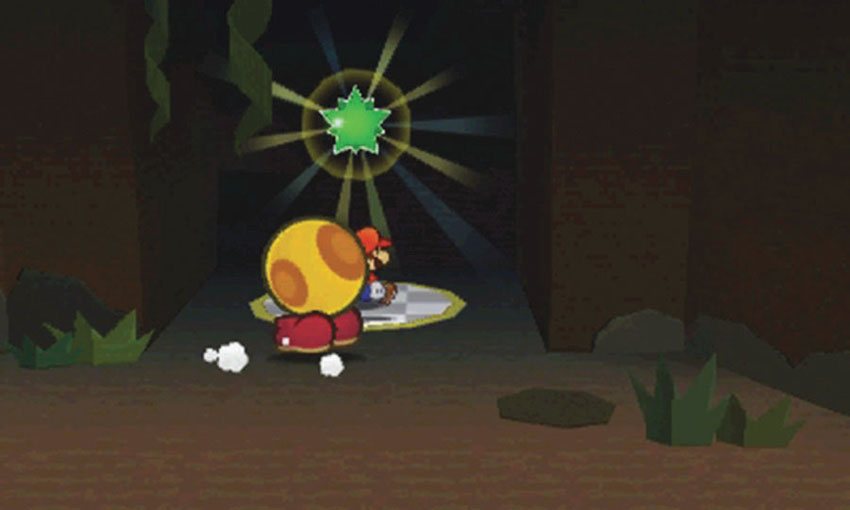
Use your Hammer to destroy the web at Point 4. When you’re ready, collect the Comet Piece to complete your visit.
Sticker Comet Piece: Unlocking World 3-8
This Course contains a single piece of the Sticker Comet. To unlock World 3-8, simply collect the Comet Piece at the end of World 3-7.
World 3-8: Tree Branch Trail
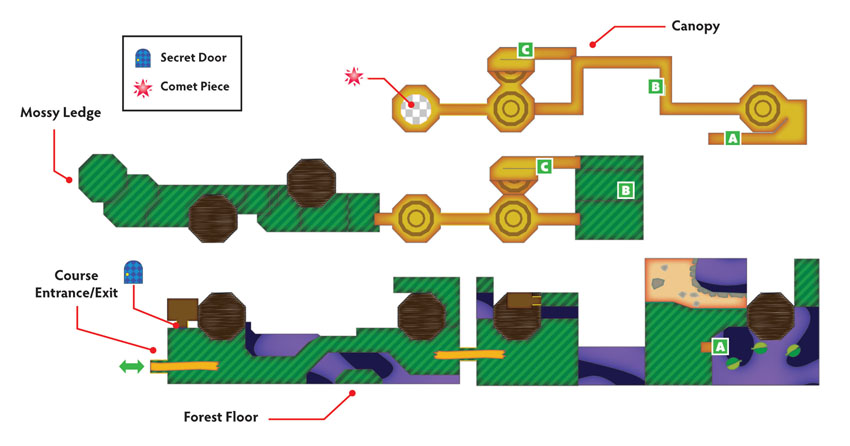
Overview
Prerequisites
To unlock this Course, you must collect the Comet Piece at the end of World 3-7. Before you enter the Course, purchase a Secret Door sticker from the World 3-6 Sticker Shop.
Objectives
This Course contains several objectives, most of which can be completed during a single visit:
- Collect the Tape from the Secret Door.
- Collect the HP-Up Heart.
- Free the Wiggler Segment.
- Subdue the Wiggler Segment.
- Collect the Tree Stump scrap.
- Inspire the Wiggler Diary Entry.
- Collect the Comet Piece to unlock an alternative path to World 3-2.
- Collect the Watch Battery.
Important Items and Locations
| Description | Notes |
|---|---|
| Secret Door | The marked location is just inside the Course entrance. |
| HP-Up Heart | The HP-Up Heart is hidden on the forest floor, behind one of the large trees. |
| Toad Rescue | None |
| Luigi Location | None |
| Wiggler Diary Entry | Lead the Wiggler Segment to the poisoned hot springs. |
| Things | The Tape is through the Secret door. The Watch Battery is hidden under the first pool of poison. |
Recommended Tactics
Most of this Course’s encounters involve some combination of Snifits, Ninjis, and Scuttlebugs.
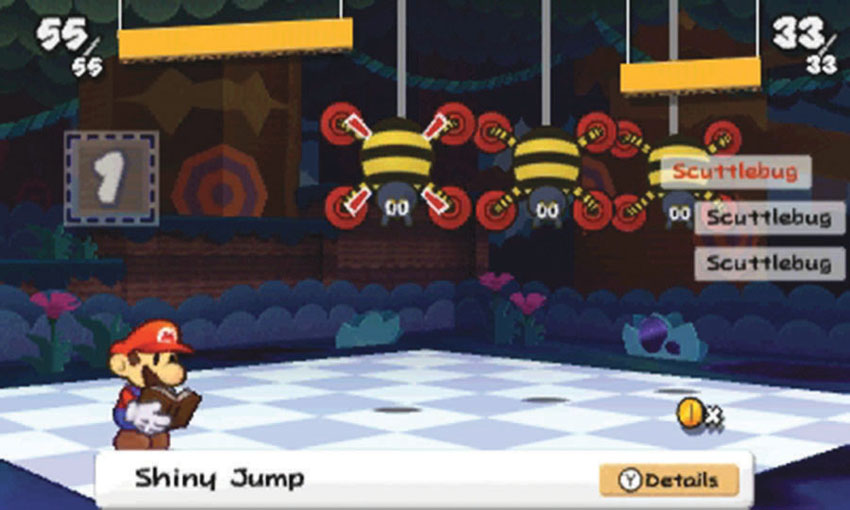
Many of the Scuttlebugs you encounter will be suspended above the ground. In addition to your standard selection of stickers, consider bringing a few Line Jumps to damage groups of airborne enemies.
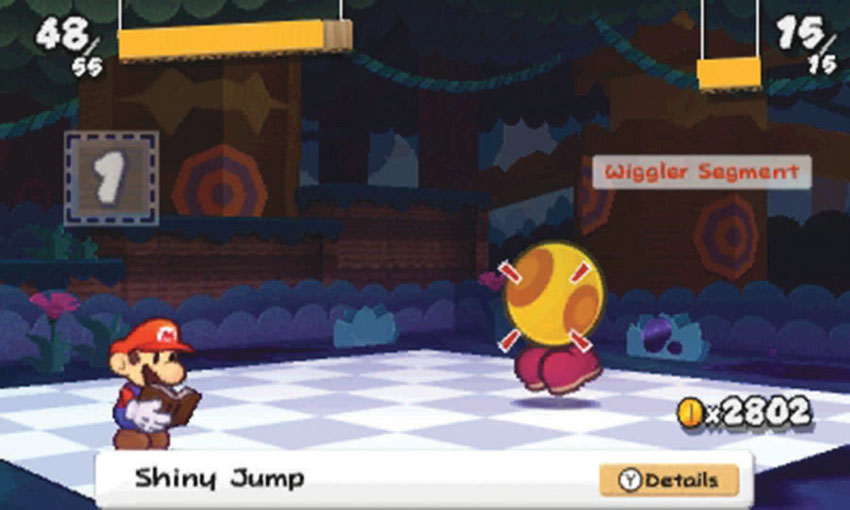
After you free the Wiggler Segment, it attacks you. This segment is surprisingly agile, and it tends to dodge most Hammer-based attacks and Jump-based attacks. Thrown weapons, however, can be very effective. Try to save a few Throwing Stars or Boomerangs for this battle.
Forest Floor
.jpg)
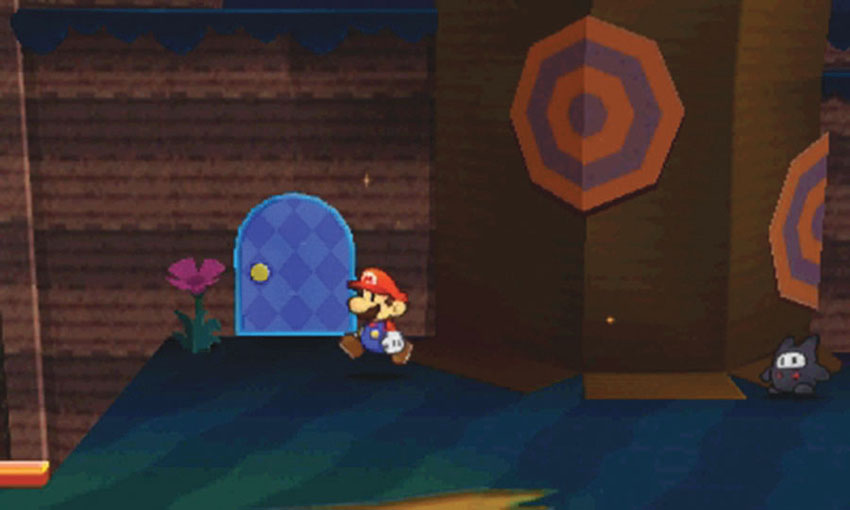
The Secret Door is just inside the Course’s entrance. Apply a Secret Door sticker to the marked location, then head inside to find the Tape.
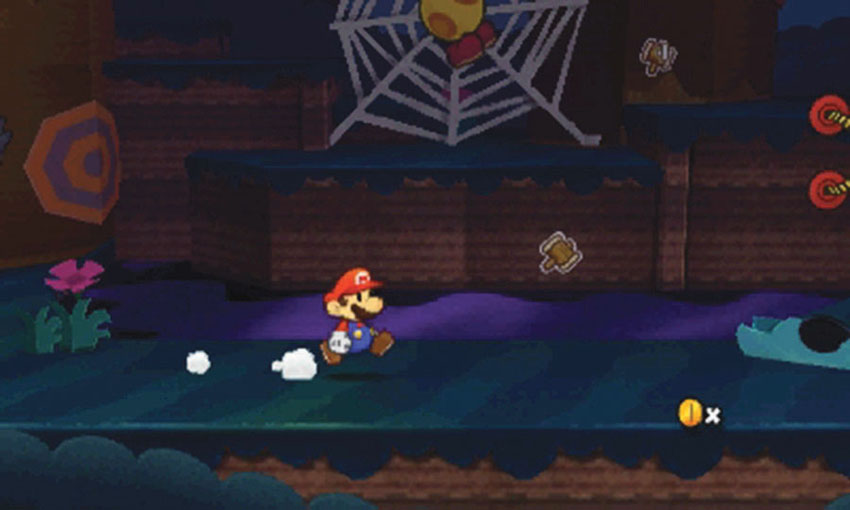
The Watch Battery is hidden under the poison at Point 2. Return to this location after you cleanse the forest.
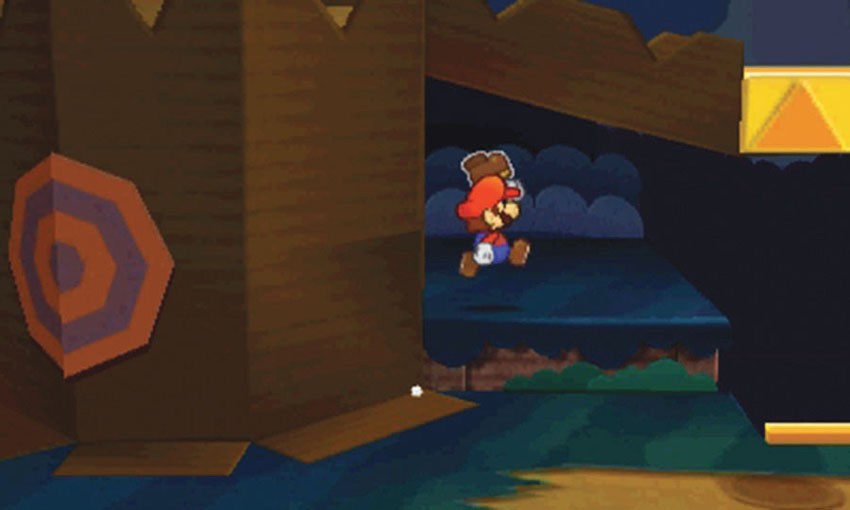
There’s a small ramp hidden behind the tree at Point 3. Hop on the step just past the tree, then follow the path to the left to find a ? Block.
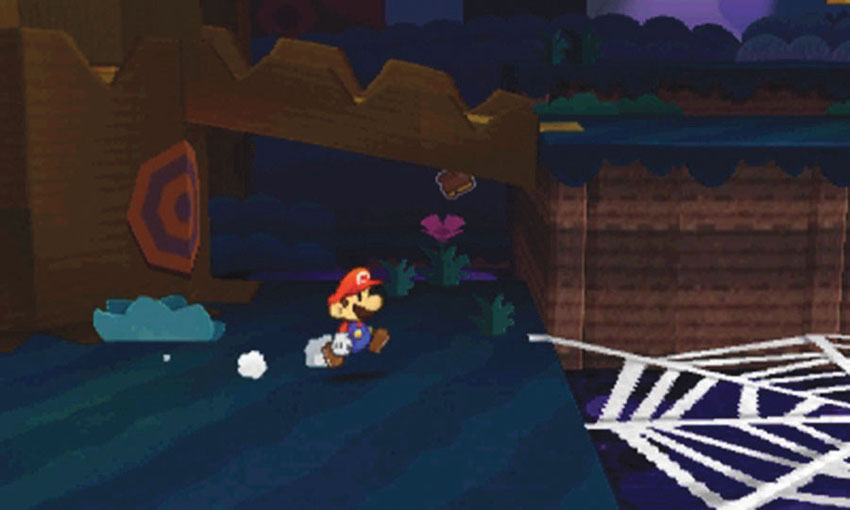
There’s a hidden room behind the tree at Point 4. To find it, cross the poisoned stream to the right of the tree and follow the path to the left. The hidden room contains an HP-Up Heart, so make sure you grab it before you move on.
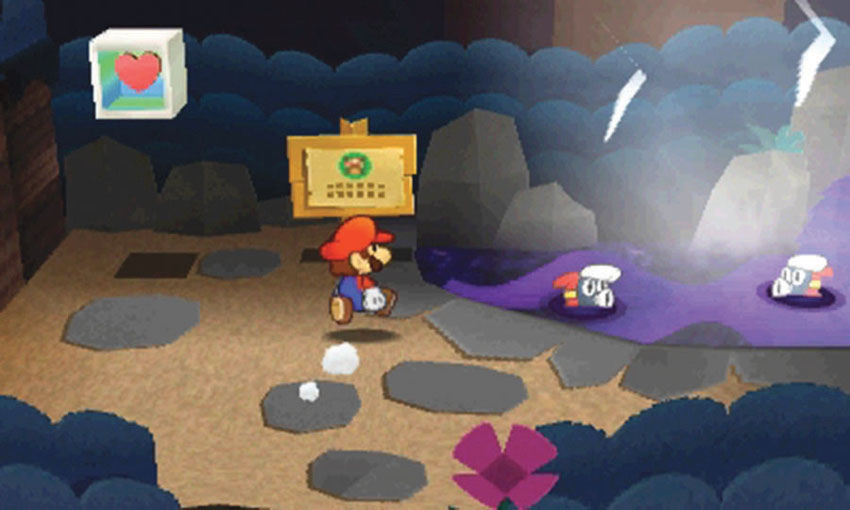
Investigate Point 5 to find an HP Block and the poisoned hot springs. After you subdue the Wiggler Segment, return to this area to inspire a Wiggler Diary Entry. For now, just use the HP Block to replace any lost health.
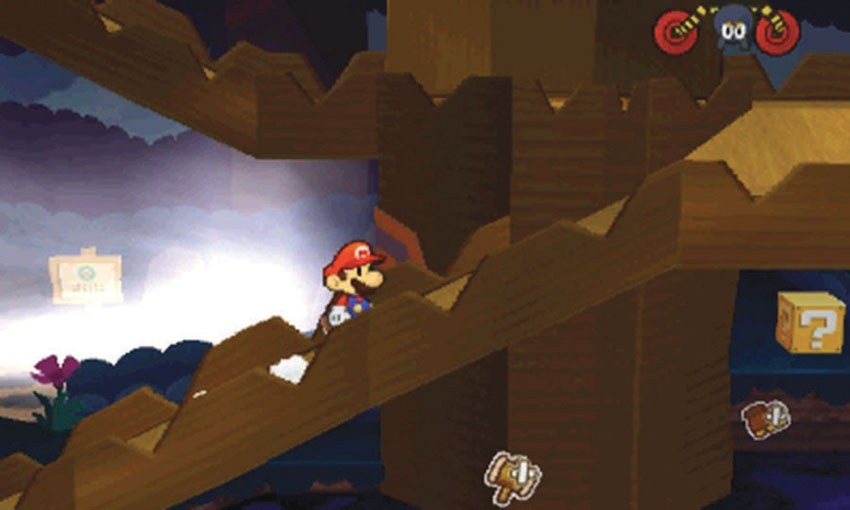
When you’re finished exploring the forest floor, use the ramp at Point 6 to climb up to the canopy.
Canopy—Part 1
.jpg)
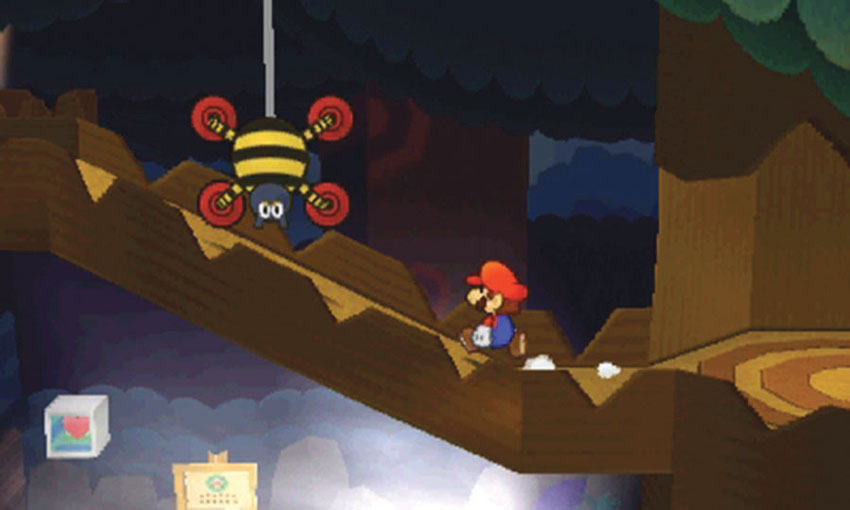
As you move along the ramps, watch out for Scuttlebugs that drop into your path. The canopy is filled with unseen enemies!
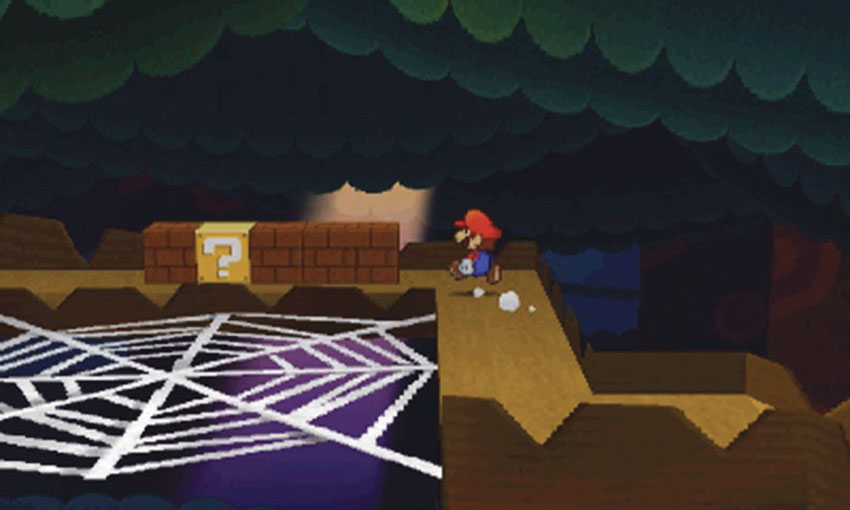
There are several Scuttlebugs hiding above the Blocks at Point 2. These enemies only reveal themselves when you’re within striking distance, so be prepared to defend yourself!
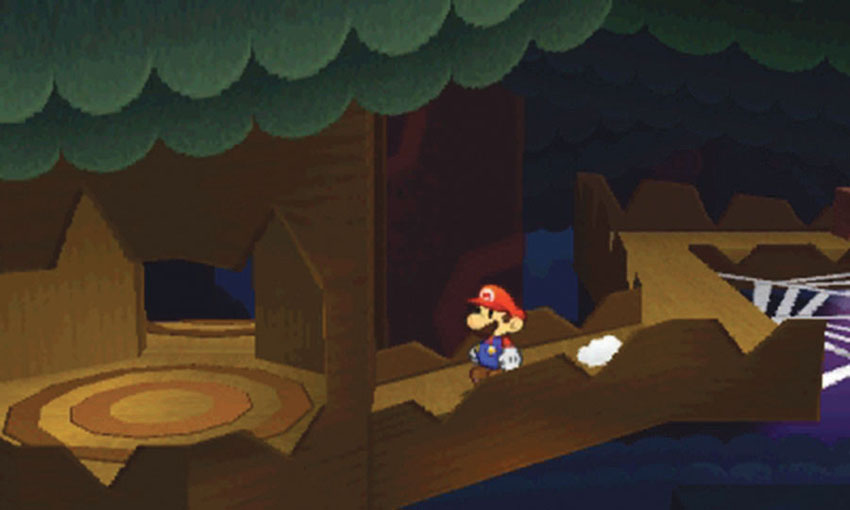
The path ends just past the web. To reach the second half of the canopy, you must climb up from the mossy ledge.
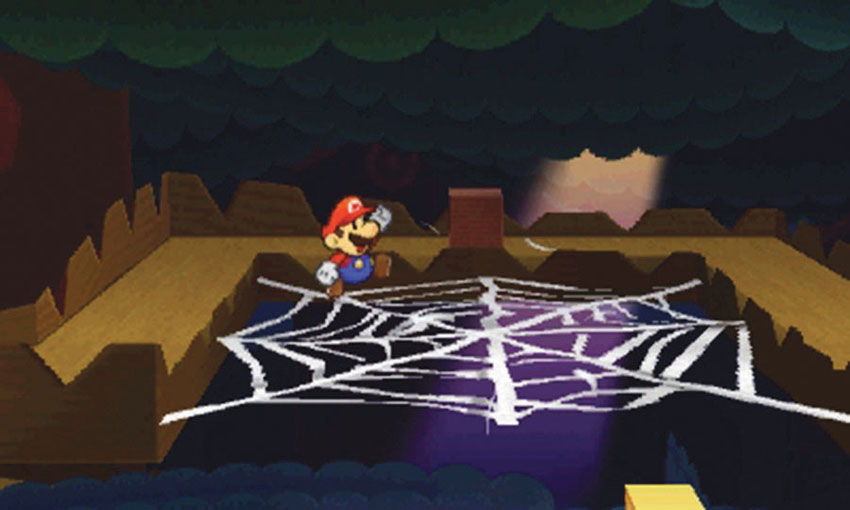
When you’re ready, step onto the web and hop in place. Destroy the web to drop down to the mossy ledge.
Mossy Ledge
.jpg)
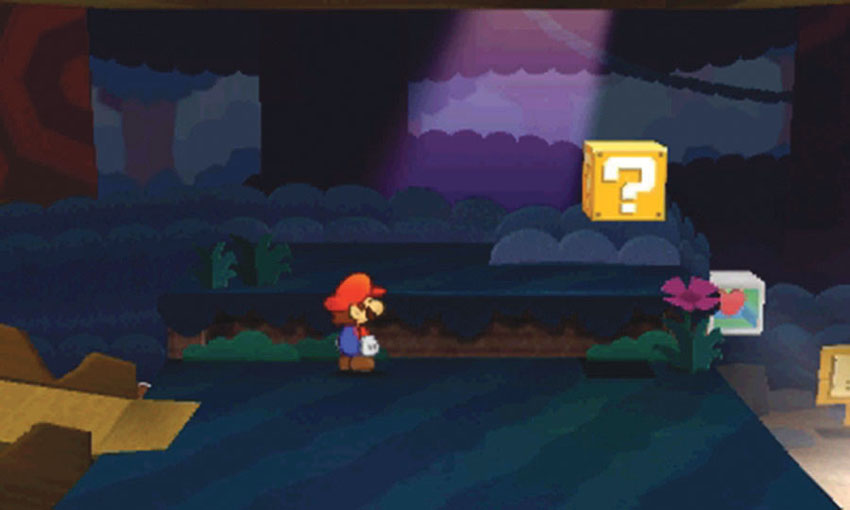
When you land, take a moment to inspect your surroundings. The path to the second half of the canopy is hidden behind the bushes in the background, and the poisoned hot spring is just to the right. Once you have your bearings, follow the path to the left.
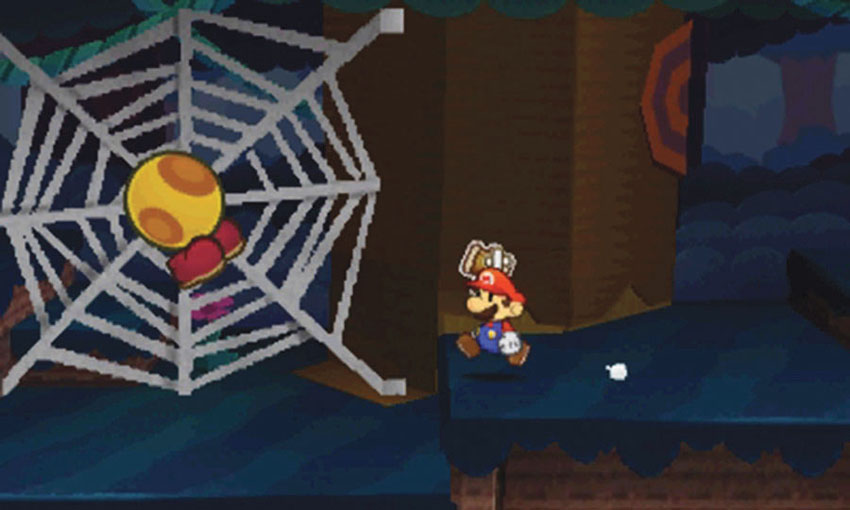
Follow the mossy ledge until you find the Wiggler Segment at Point 2, and then use your Hammer free it from the web. When the Wiggler Segment attacks, use thrown weapons like Throwing Stars and Boomerangs to defeat it.
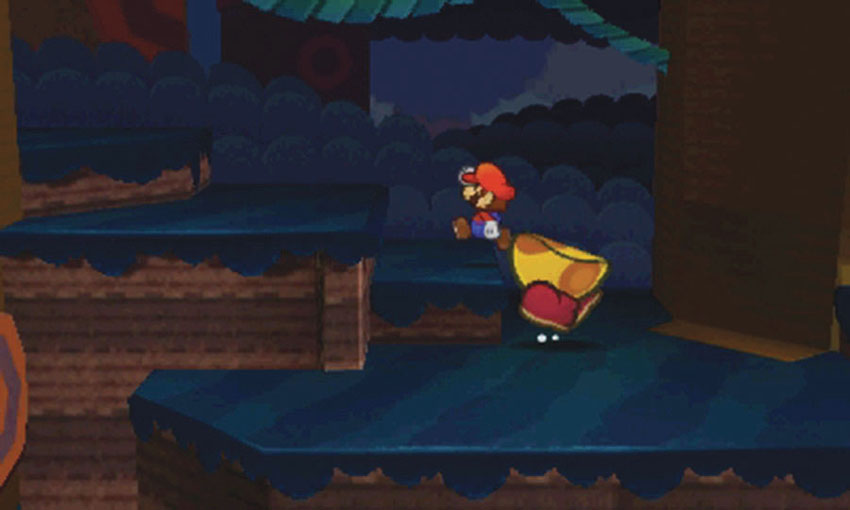
After you subdue the Wiggler Segment, climb the steps to the left and continue along the mossy ledge.
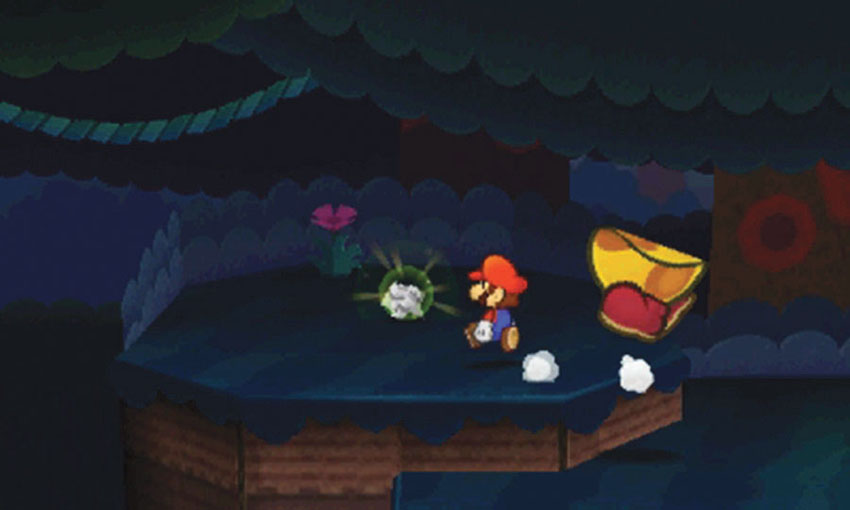
The Tree Stump scrap is at the end of the mossy ledge. Follow the path until you reach it.
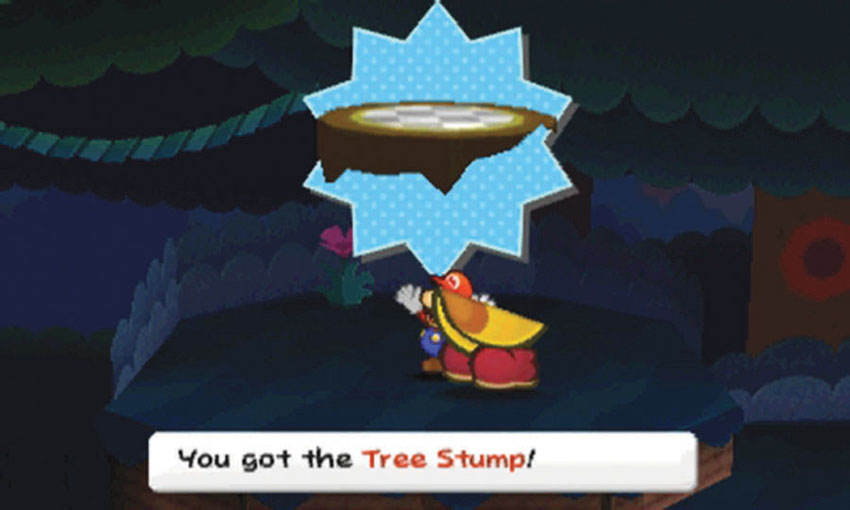
This Tree Stump scrap is needed to unlock World 3-9, so make sure you collect it!
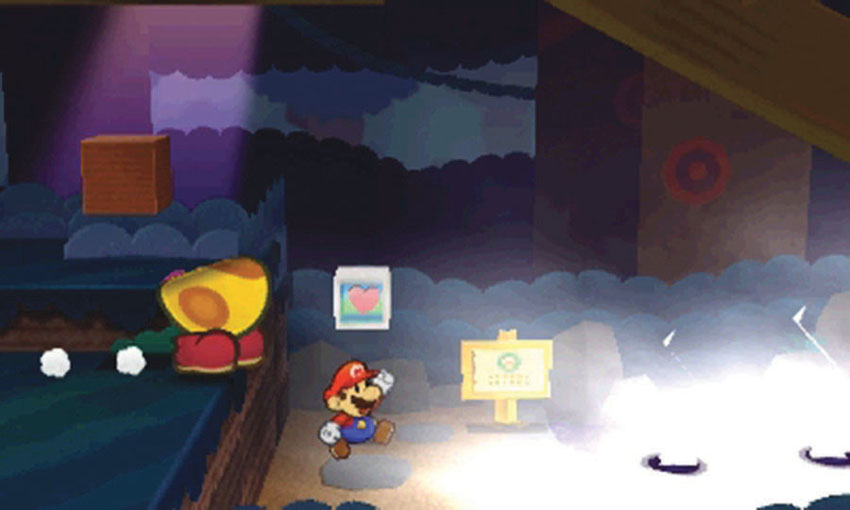
After you collect the Tree Stump scrap, head back to the right. Return to the spot where you first landed on the mossy ledge, then jump down to the poisoned hot spring to inspire a Wiggler Diary Entry.
Wiggler Diary Entry: Tree Branch Trail
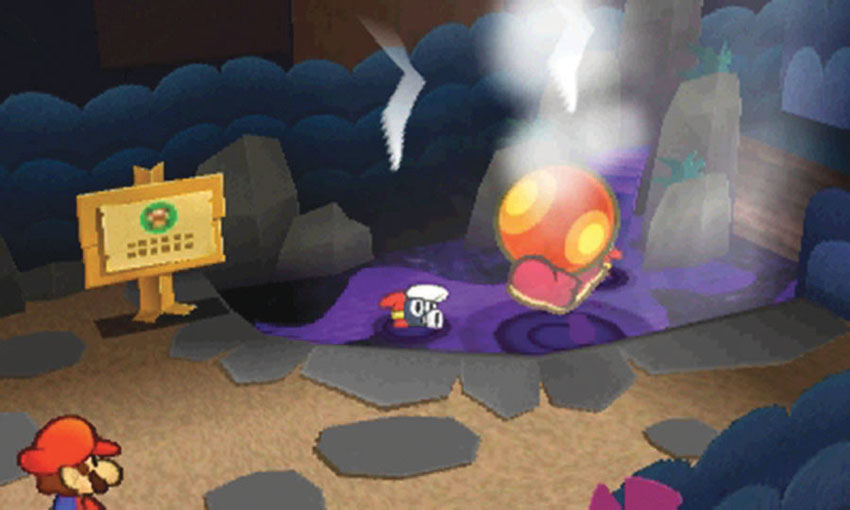
After you subdue the Wiggler Segment, drop to the forest floor and return to the poisoned hot spring to inspire a new diary entry.
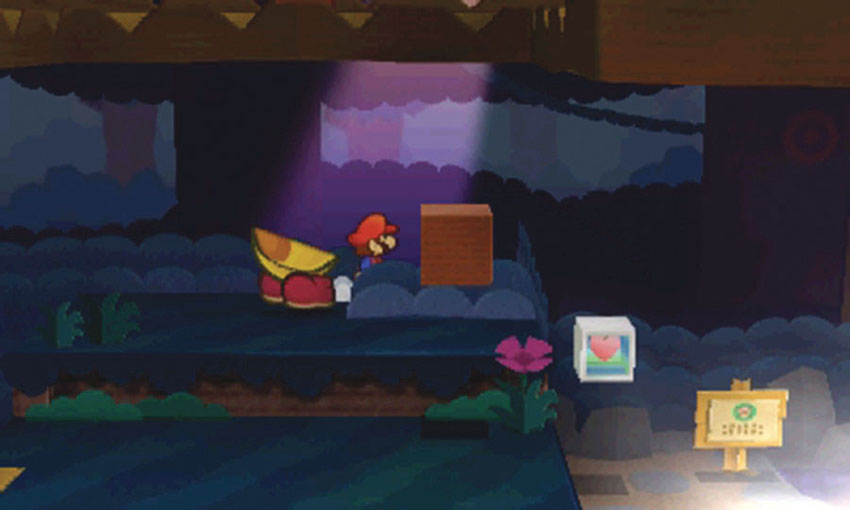
After you inspire the Wiggler Diary Entry, lead the segment back to the mossy ledge. Climb the nearby ramp to the canopy, then drop back down to the mossy ledge. Step behind the bush in the background to find a hidden path.
Canopy—Part 2
.jpg)
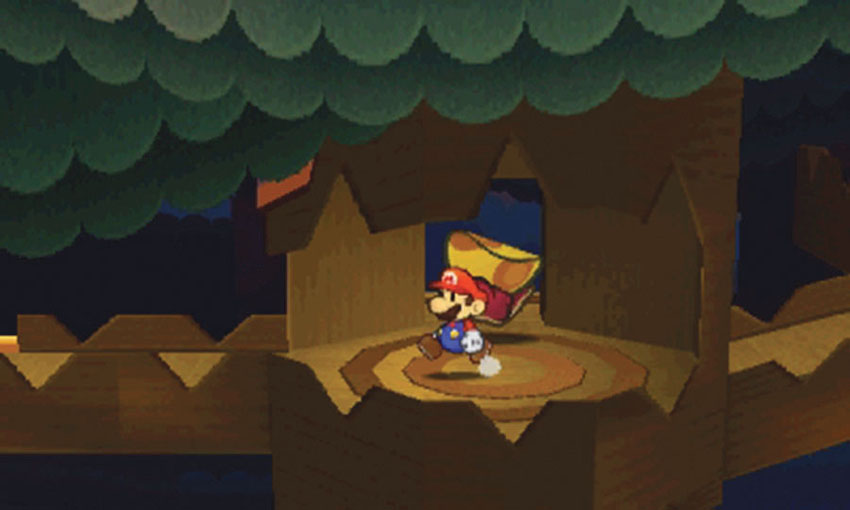
Follow the path to emerge in the second half of the canopy.
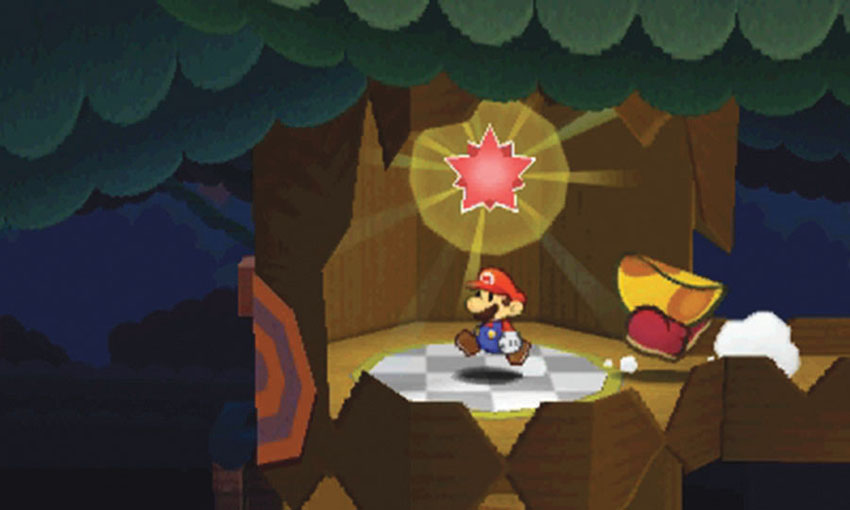
Follow the path to the left and collect the Comet Piece to complete your first visit.
Sticker Comet Piece: Unlocking Path to World 3-2
This Course contains only a single piece of the Sticker Comet. Collect the Comet Piece from the canopy to reveal a path between World 3-8 and World 3-2.
Recommended Visit #2
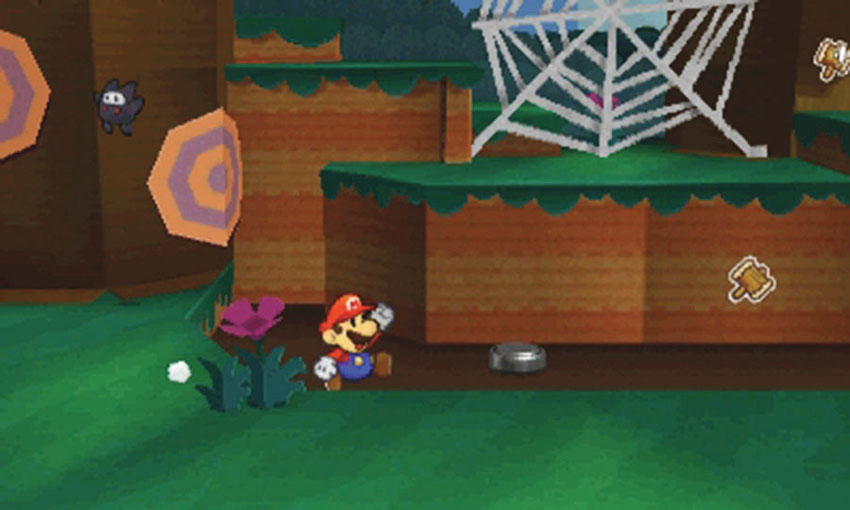
After you defeat the Gooper Blooper and cleanse the forest, revisit this Course and collect the Watch Battery.
World 3-9: Gauntlet Pond
Overview
Prerequisites
To unlock this Course, you must collect the corresponding Comet Piece from World 3-3. To do so, you must first collect the Tree Stump from World 3-8. Before you enter the Course, make sure your Album contains a Secret Door sticker.
Objectives
This Course contains several objectives, all of which can be completed during a single visit:
- Chase the Wiggler Segment through the Course.
- Collect the HP-Up Heart.
- Collect the shiny stickers through the Secret Door.
- Collect the Sponge.
- Free the Wiggler Segment.
- Collect the Comet Piece to unlock World 3-10.
Important Items and Locations
| Description | Notes |
|---|---|
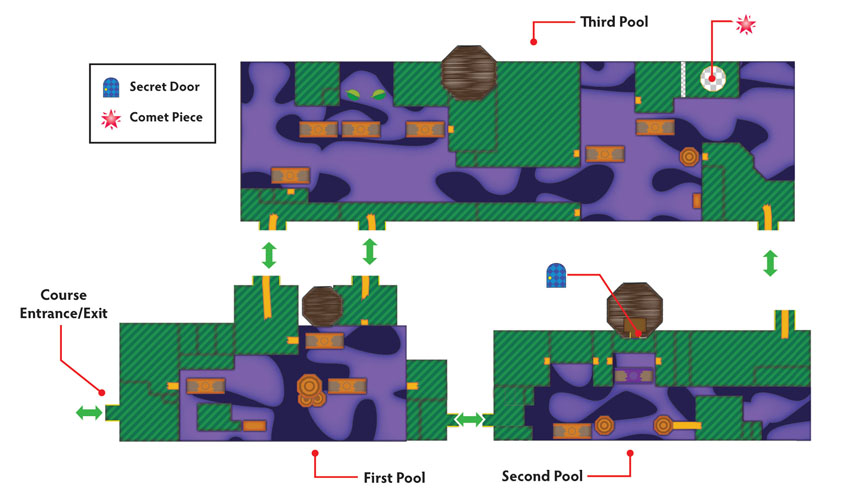
| Secret Door | The marked location is beside the second pool, below the poison gas. |
| HP-Up Heart | The HP-Up Heart is hidden under the steps at the left edge of the second pool. |
| Toad Rescue | None |
| Luigi Location | None |
| Wiggler Diary Entry | None |
| Things | The Sponge is in the third pool, near the Comet Piece. |
Recommended Tactics
Most of the enemies in this Course are lurking in or around the poison pools. Whenever possible, avoid initiating combat in toxic areas.
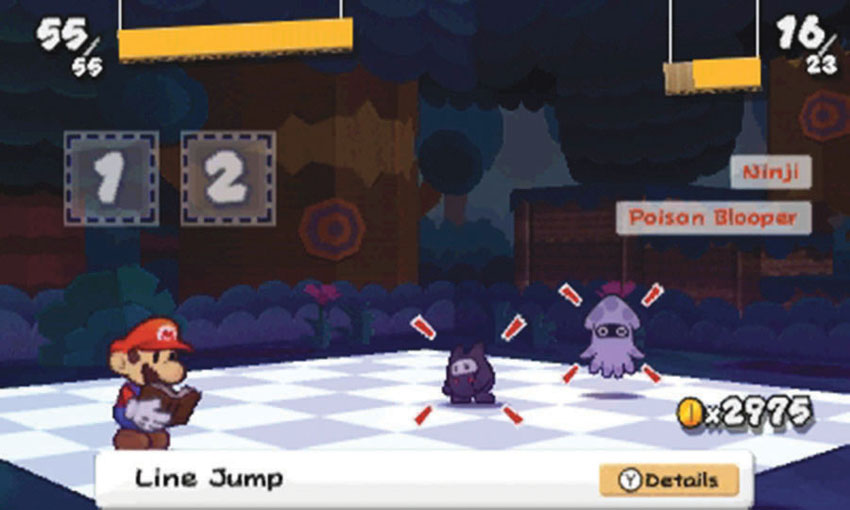
In addition to Snifits and Ninjis, this Course contains several Poison Bloopers. As the name implies, these creatures use poison attacks to damage you over several turns. Block each attack to avoid the poison’s effects, and use Jump-based stickers or thrown weapons to take them down quickly.
First Pool
.jpg)
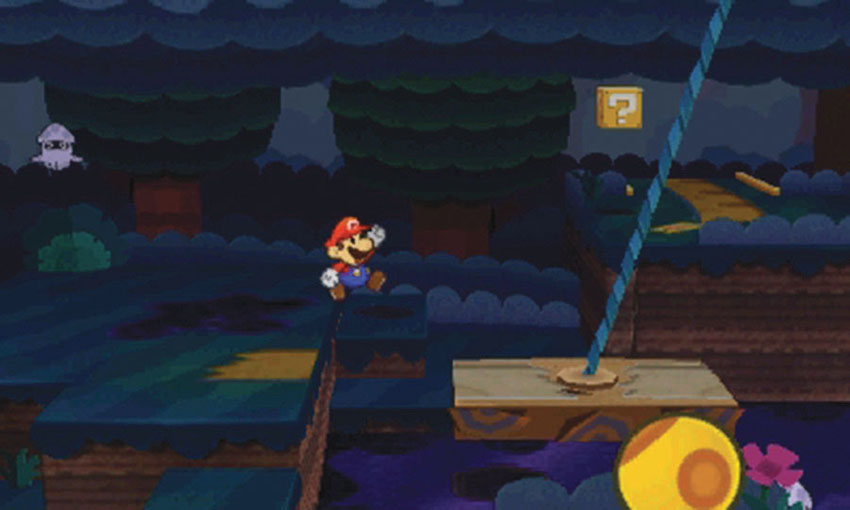
When you first enter the Course, the Wiggler Segment is standing on a platform in the first pool. Hop on the swinging platform at Point 1 and ride it to the stumps in the center of the pool.
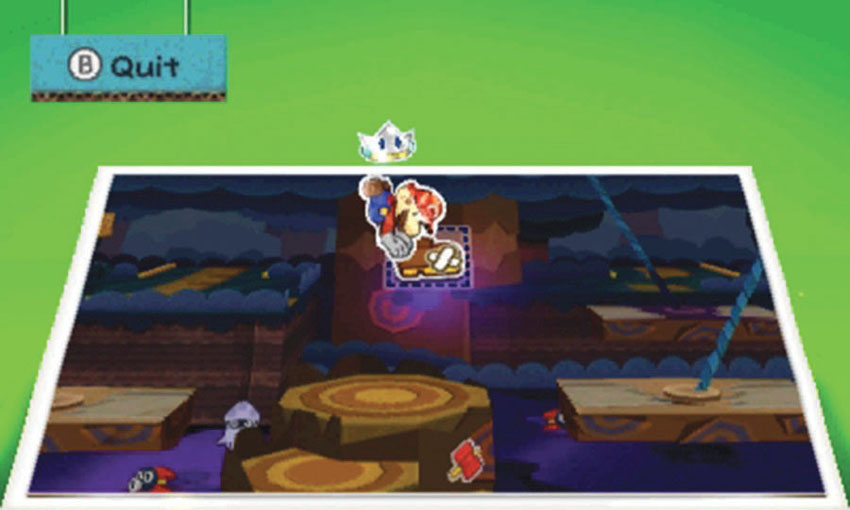
When you reach the stumps, look for the poison gas spewing out of the tree in the background. Activate the Paperize ability, then select a sticker from your Album. Apply the sticker to the indicated spot to stop the flow of poison, then use the next swinging platform to cross the rest of the pool.
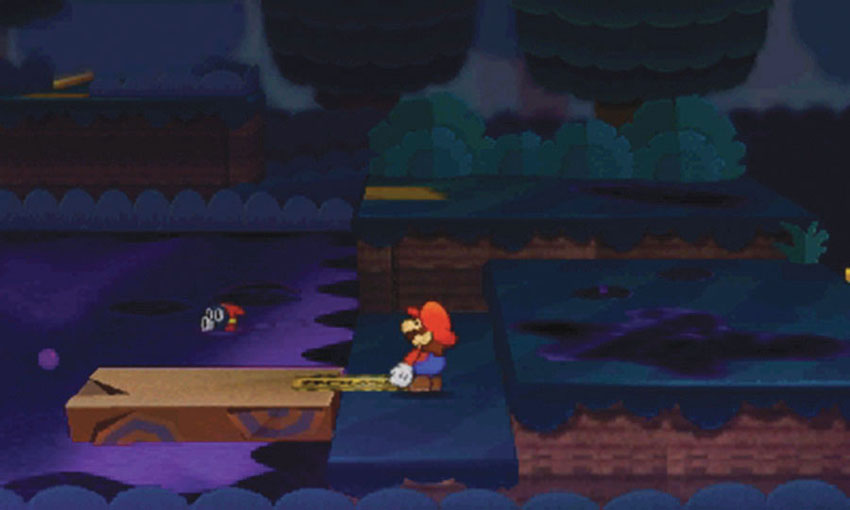
Peel the Bowser tape at the pool’s right edge to free the floating platform, then hop on before it drifts out of range.
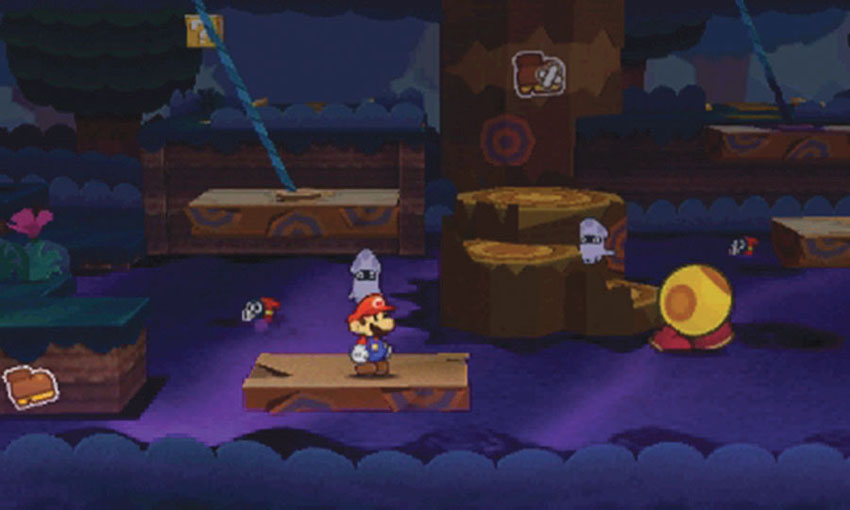
The platform carries you toward the Wiggler Segment. When you’re in range, hop onto the platform to chase the segment out of the area. Return to the floating platform and ride back to the pool’s right edge. When you’re ready, follow the path to the second pool.
Second Pool
.jpg)
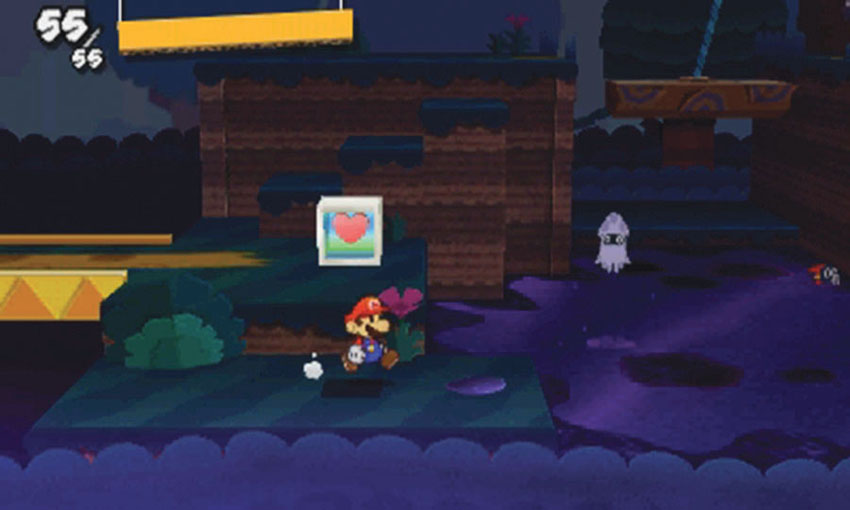
To make the most of this visit, you have to spend some time running around in the poison. Use the HP Block at Point 1 to refill Mario’s HP between each dip in the pool.
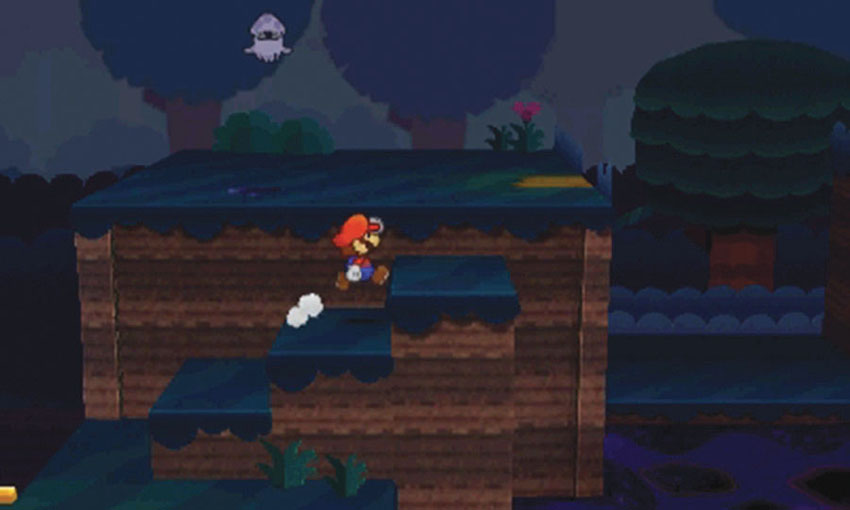
There’s a hidden area under the steps at Point 2. Climb to the top of the steps, then drop into the poison and dash to the left to find an HP-Up Heart surrounded by coins.
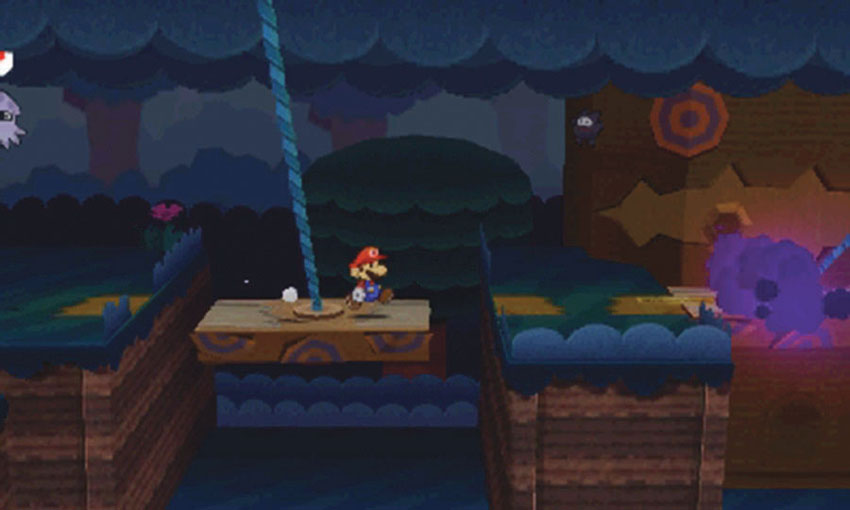
Stop by the HP Block to top off your health, then climb up to Point 3. Wait for the platform to swing into position, then hop over to the next ledge. Peel the Bowser tape near the poison gas to free the poison-stained platform from the ledge.
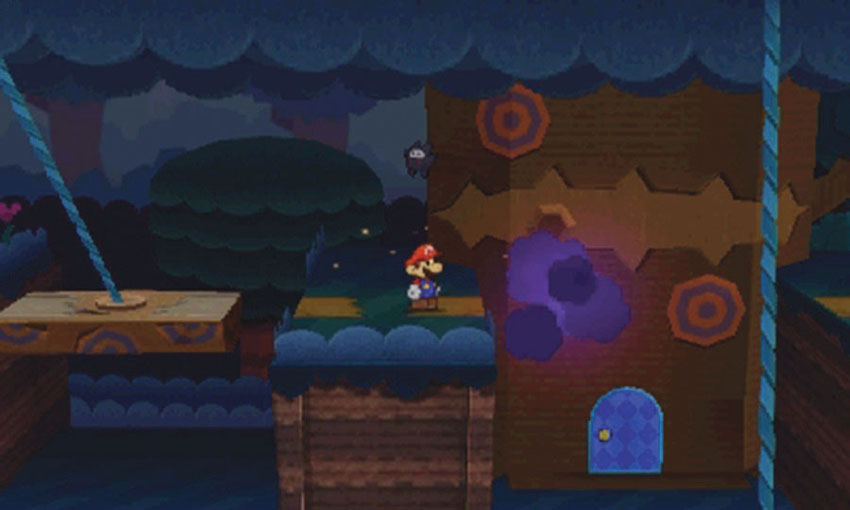
The Secret Door is located at Point 4, just under the poison gas. Apply a Secret Door sticker to the marked location, then drop down and head through the door. Search the ? Blocks for shiny stickers, then dash through the poison pool and return to the HP Block.
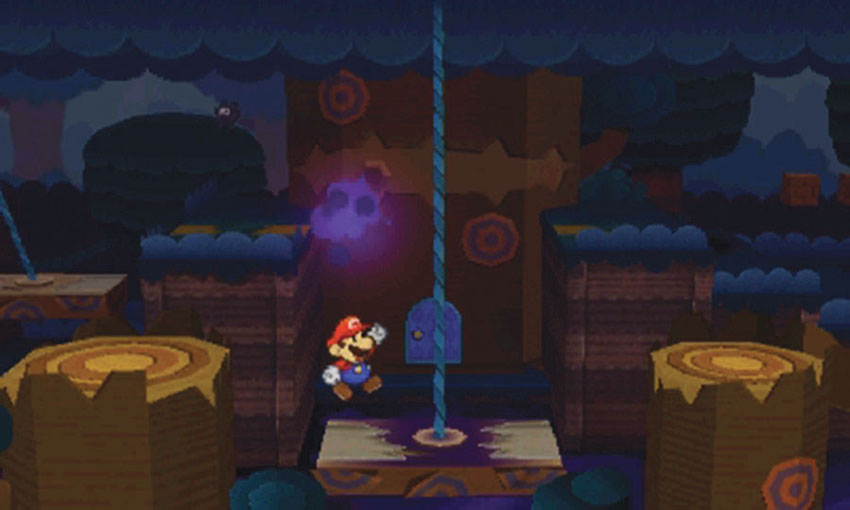
After you top off Mario’s HP, climb back up to the swinging platforms. You can’t block the gas flowing from this tree, so use the swinging platforms to move across the stumps in the center of the pool.
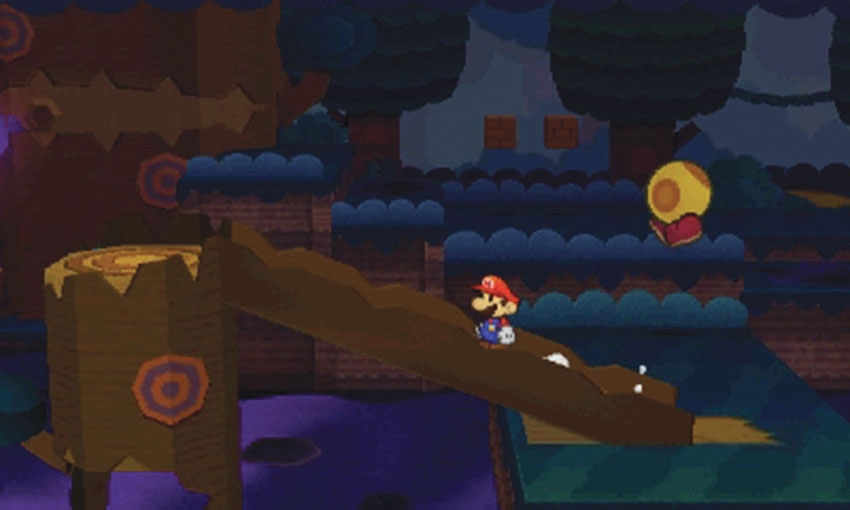
When you reach the second stump, follow the ramp down to the Wiggler Segment. When the segment flees, head back up the ramp and ride the poison-stained platform toward the background.
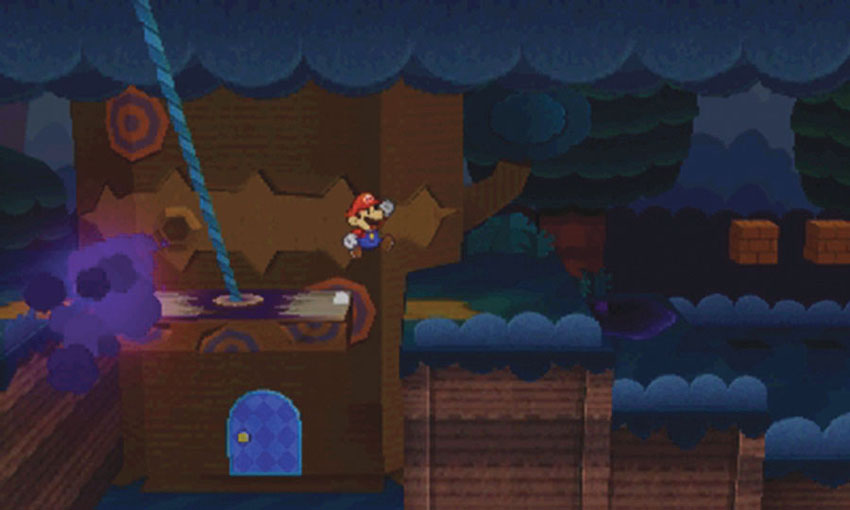
When the poison-stained platform reaches the background, jump to the ledge to the right and follow the Wiggler Segment to the third pool.
Third Pool
.jpg)
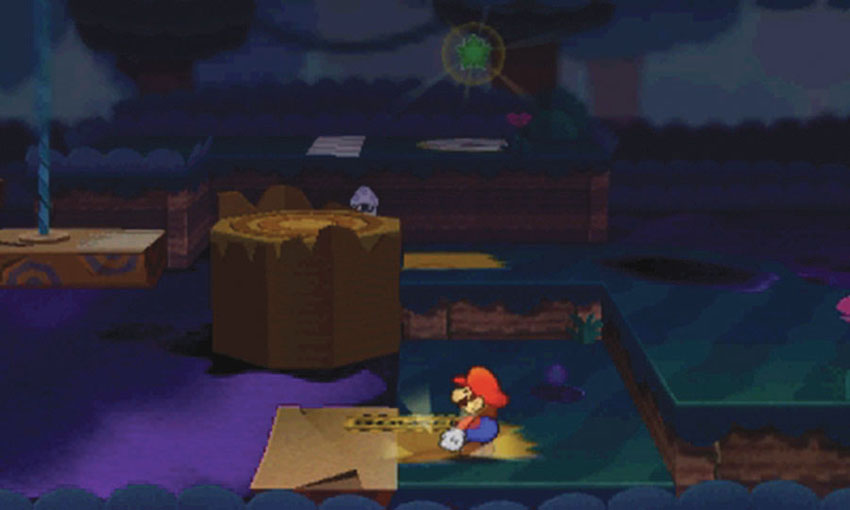
Peel the Bowser tape at Point 1 to free the floating platform, then hop up to the nearby stump and move across the swinging platforms. Although you can ride these platforms straight to the Comet Piece, you have some unfinished business to see to.
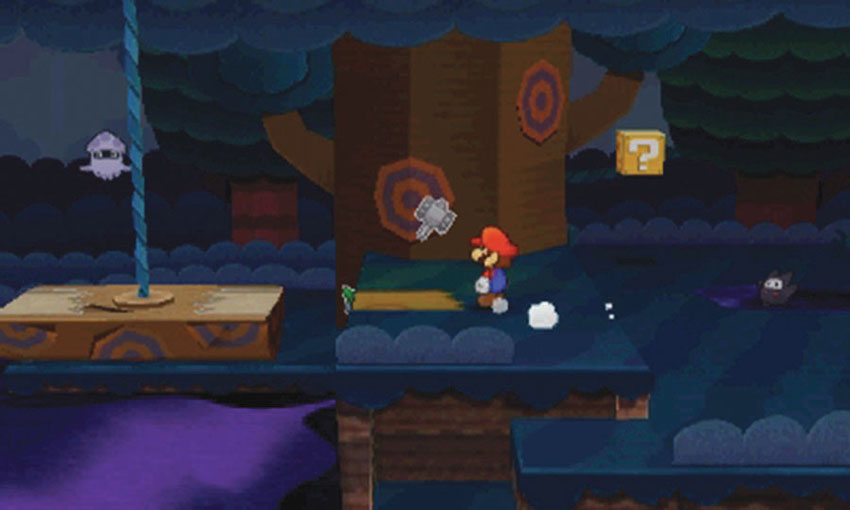
Ride over to the large cluster of platforms near the center of the pool. After you search the area for stickers, jump down to the small platform just past the large tree.
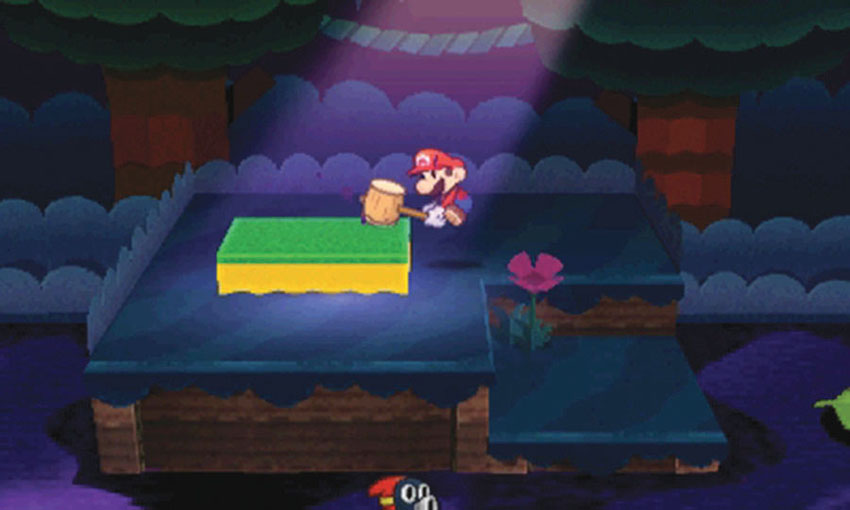
Follow the leaves to the left to find the Sponge. Before you collect the Sponge, strike it with your Hammer to clean it.
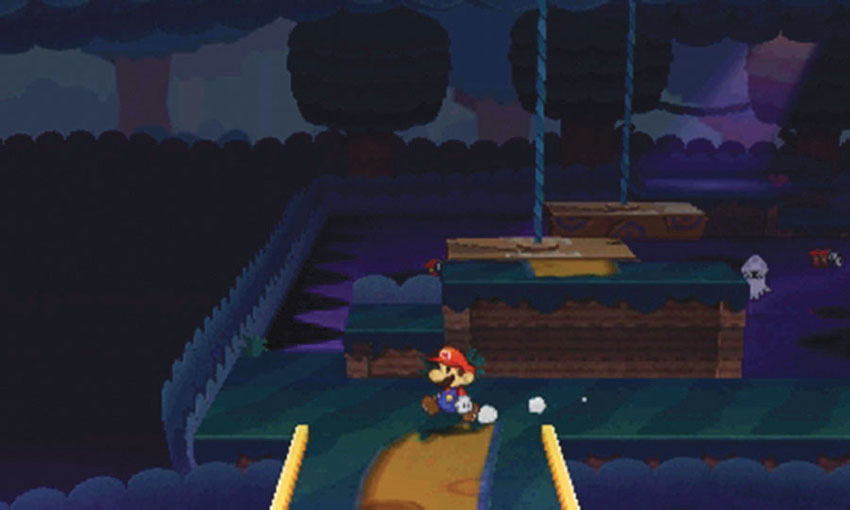
Follow the leaves back to the center of the pool, then continue along the swinging platforms. When you reach the pool’s left edge, move to the foreground and make a quick detour back to the first pool.
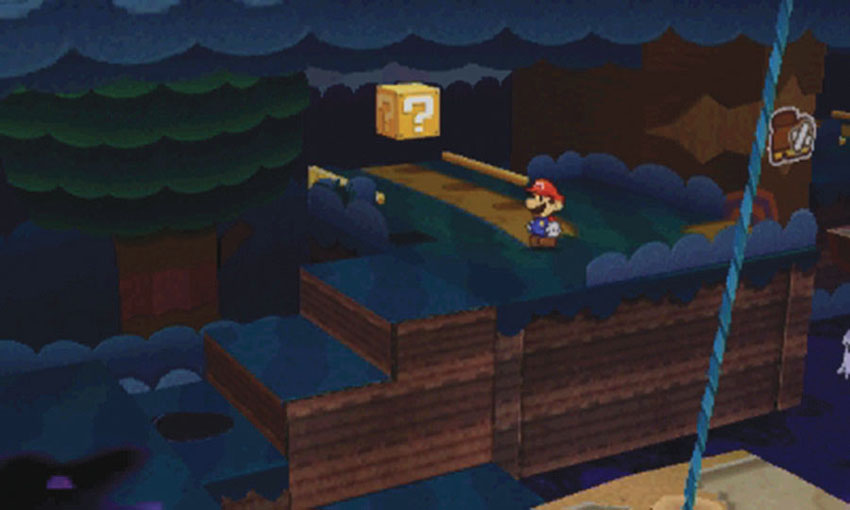
The path leads to a previously unreachable ledge. Peel the Bowser tape at the end of the path to reveal a set of steps. This path is now accessible from the first pool!
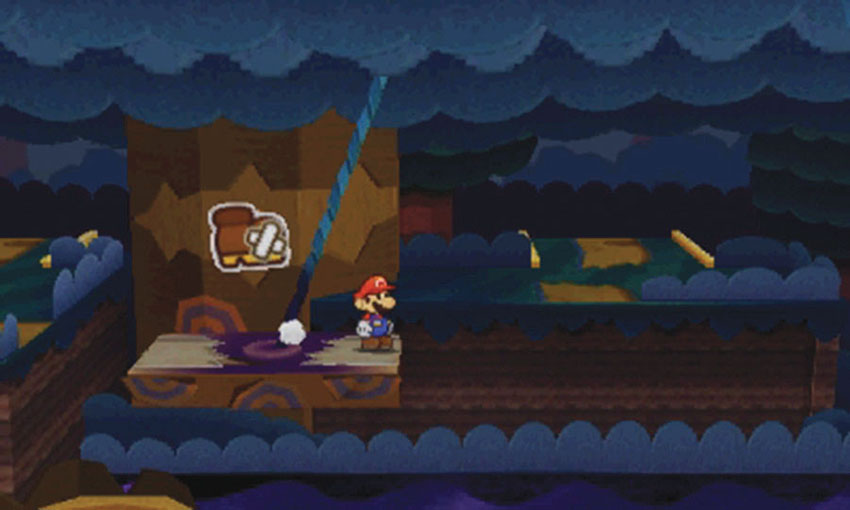
Hop onto the nearby swinging platform and ride over to the next ledge. Follow the path back toward the third pool.
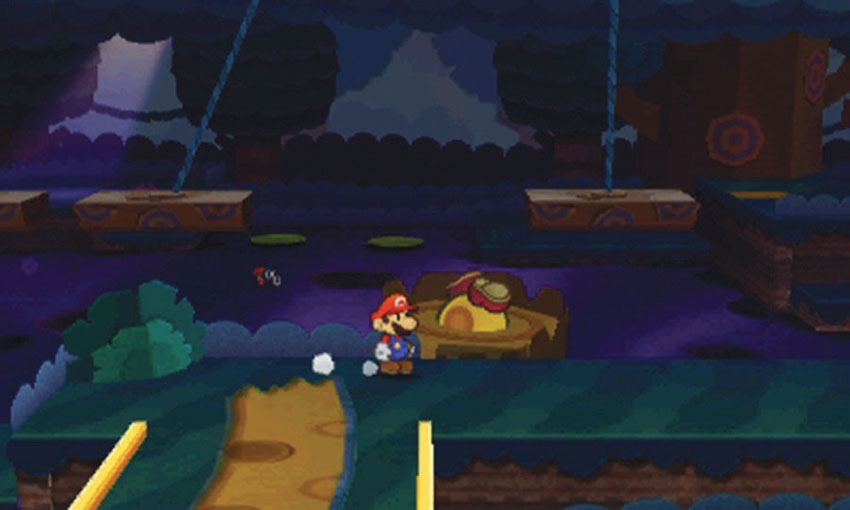
The path takes you to a narrow platform near the trapped Wiggler Segment. Hop on the drifting stump and pull the segment loose. Once it’s free, the Wiggler Segment automatically joins you.
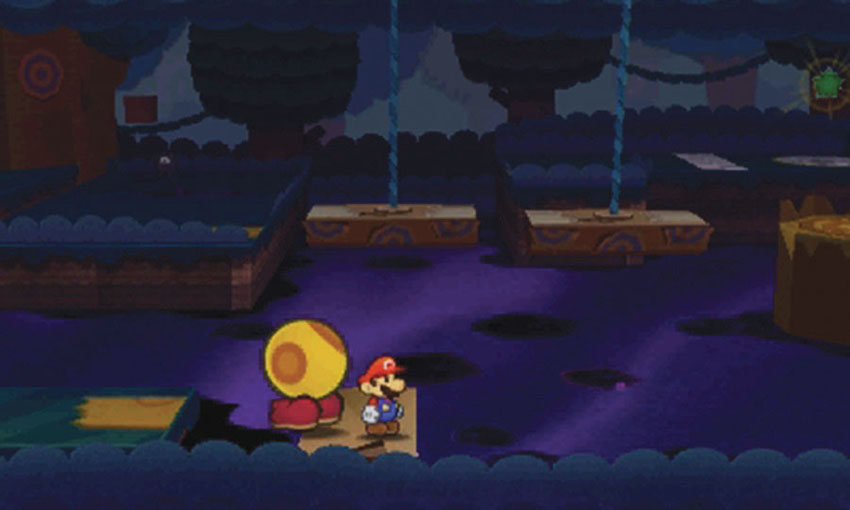
Hop off of the stump and follow the path to the right. Wait for the floating platform to drift into range, then hop on and ride to the pool’s right edge.
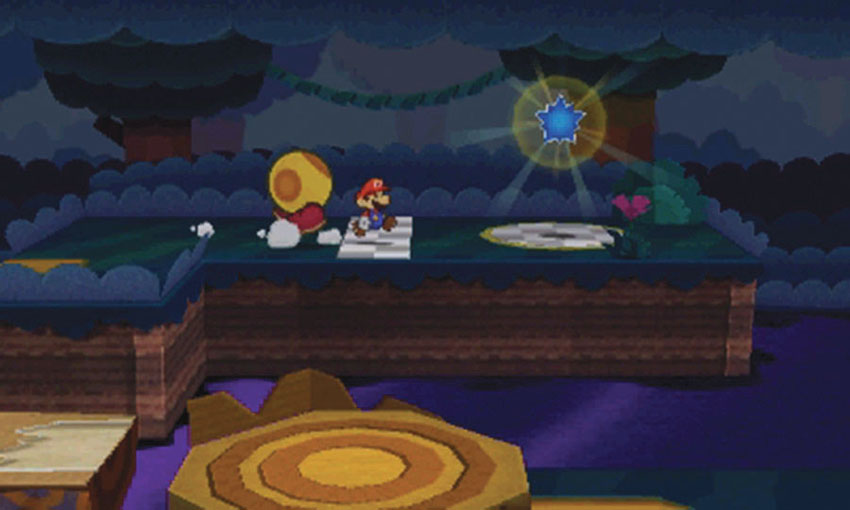
Use the swinging platforms to reach Point 7. When you’re ready, collect the Comet Piece to end your visit.
Sticker Comet Piece: Unlocking World 3-10
This Course contains a single piece of the Sticker Comet. To unlock World 3-10, collect the Comet Piece from the third pool.
World 3-10: Stump Glade
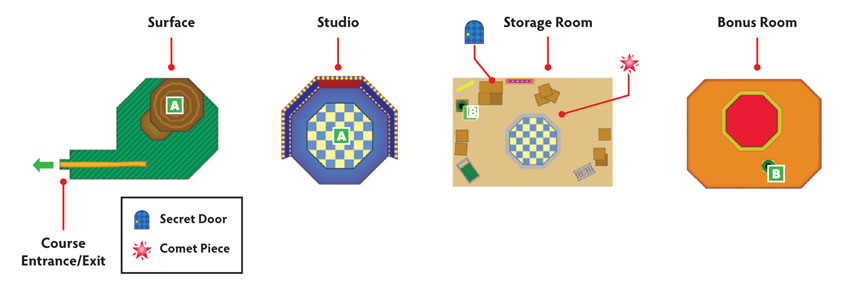
Overview
Prerequisites
To unlock this Course, you must collect the Comet Piece from World 3-9. Before you enter this Course, make sure your Album contains a Secret Door sticker.
Objectives
This Course contains several objectives, some of which require additional visits:
- Complete the quiz show to rescue the Wiggler Segment.
- Complete the special challenge to collect the Radiator.
- Collect the Square Can from the Secret Door.
- Collect the Comet Piece to unlock the path to World 3-7.
- Inspire the Wiggler Diary Entry.
- Collect the HP-Up Heart.
Important Items and Locations
| Description | Notes |
|---|---|
| Secret Door | The marked location is in the storage room. |
| HP-Up Heart | After you cleanse the forest, the HP-Up Heart appears in the storage room. |
| Toad Rescue | None |
| Luigi Location | None |
| Wiggler Diary Entry | Complete the quiz show a second time while the Wiggler Segment watches. |
| Things | The Radiator is in the bonus room. The Square Can is through the Secret Door. |
Recommended Tactics
If you perform well in the quiz show, you can complete the Course without fighting a single battle. If you stumble along the way, however, you may be forced to defend yourself.
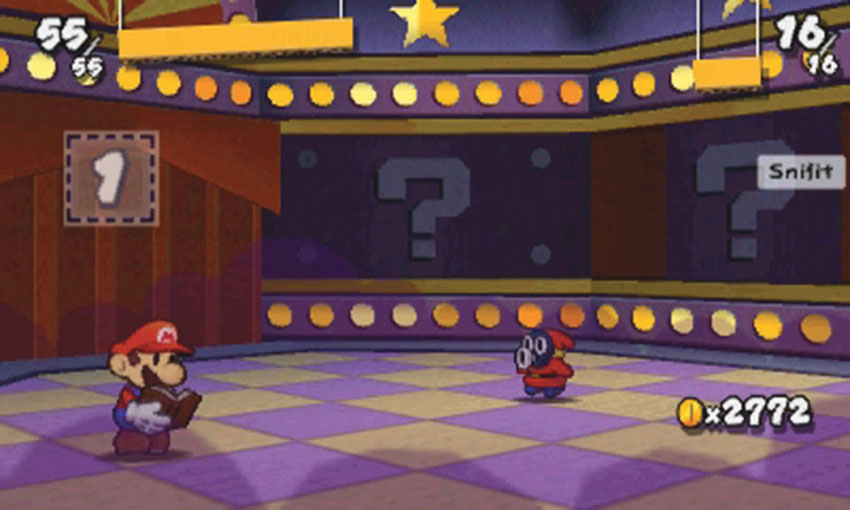
If you’re forced to fight, the encounter is sure to involve a Snifit and a cloud of poison gas. Bring a few high-damage stickers to ensure you can end any battles quickly.
Surface
.jpg)
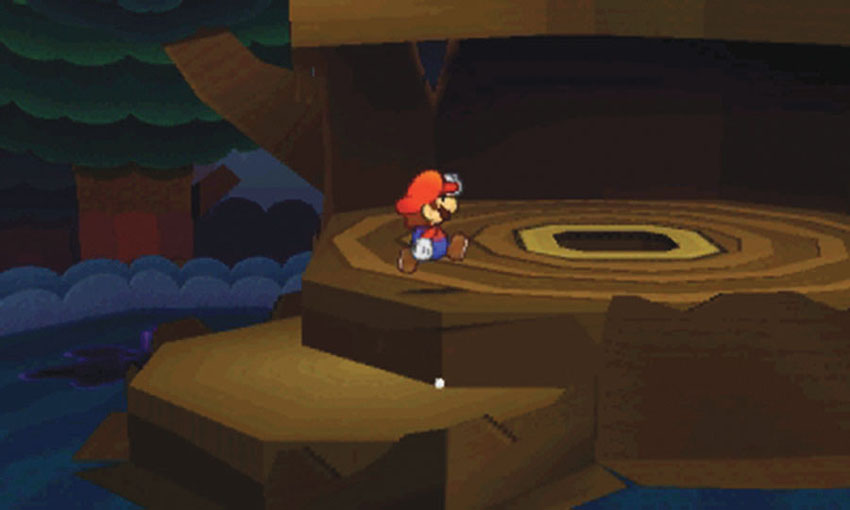
When you start the Course, follow the path to find a large stump. Drop through the hole in the center of the stump to trigger a brief cinematic.
Studio
.jpg)
Each round of the quiz show takes place on a separate floor. As you progress through the game, you automatically transition between each room.
Round 1: Pick-and-Choose Panic
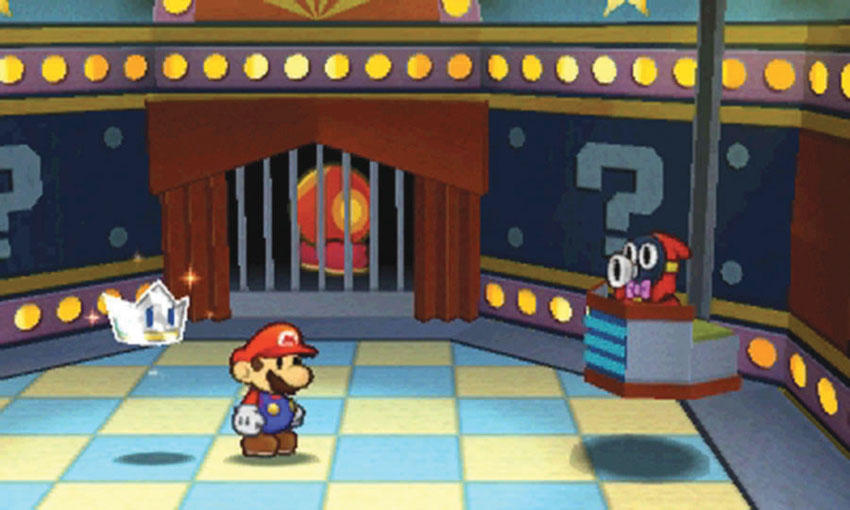
The Snifits have captured the Wiggler Segment. To free it, you must successfully complete their quiz show. Accept the challenge to begin the Pick-and-Choose Panic.
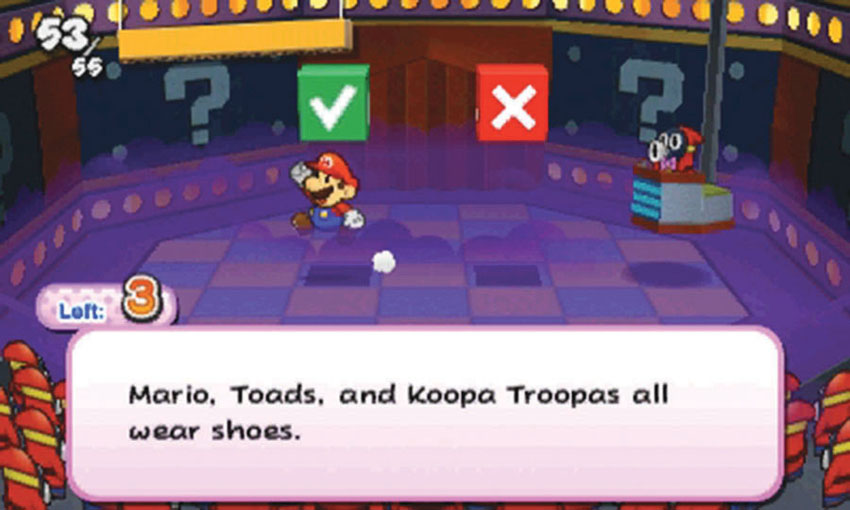
During this round you must answer a series of true-or-false questions. If the host’s statement is true, hit the green Check Block on the left. If the statement is false, hit the red X Block on the right. To complete the round, you must correctly answer three questions before you succumb to the poison gas.
Quiz Show Questions
| Statement | True or False? |
|---|---|
| You’re at Decalburg’s Sticker Shop. A Mushroom sticker costs 15 coins. | TRUE |
| Some Toads were locked up inside a cupboard in Decalburg. There were nine Toads inside that cupboard. | FALSE |
| Straight up, Bowser’s cooler than Mario! | TRUE |
| If you get all Poison Mushrooms in the Battle Spinner, all foes get poisoned. | FALSE |
| A Jump sticker will cost you 3 coins. You can sell one for 2. | TRUE |
| Koopas, Paratroopas, and Lakitus can all fly. | FALSE |
| When Mario and Kersti first met, Kersti was stuck to a sign. | TRUE |
| If you use a Mushroom sticker, your HP will be restored. | TRUE |
| My dinner last night was a delicious mushroom steak. | TRUE |
| Kamek, Lakitu, and Bowser Jr. all wear glasses. | FALSE |
| Kamek can fly through the sky. He rides a broom. | TRUE |
| This doesn’t leave this room, but…Princess Peach is actually a man. | FALSE |
| Your host’s name is Snifit. | TRUE |
To swing the Hammer, you press
 .
.
|
FALSE |
To swing the Hammer, you press
 .
.
|
TRUE |
| This doesn’t leave the room but…King Bowser actually loathes Princess Peach. | FALSE |
| If you get a Super Star, you temporarily become invincible. | TRUE |
| If you get a Super Star, you temporarily become invisible. | FALSE |
| If you have an Iron Jump sticker, you can jump on enemies with spikes. | TRUE |
| Mario has no siblings. | FALSE |
| To use the Battle Spinner, you need 5 coins. | FALSE |
| If you use a Mushroom sticker, Mario’s body gets big. | FALSE |
| Right now there are 30 Snifits in the studio audience. | TRUE |
| If you’re low on HP, you can’t use the Paperize ability. | FALSE |
| Mario, Toads, and Koopa Troopas all wear shoes. | TRUE |
| Bowser Jr.’s father is King Bowser, and his mother is Princess Peach. | FALSE |
| Wiggler’s body has four segments, not counting the head. | TRUE |
| A Hammer sticker has a more powerful attack than a Shiny Hammer sticker. | FALSE |
| A Shiny Jump sticker is more expensive than a Jump sticker. | TRUE |
| If you use a Spike Helmet sticker, you can also stomp enemies with spikes. | FALSE |
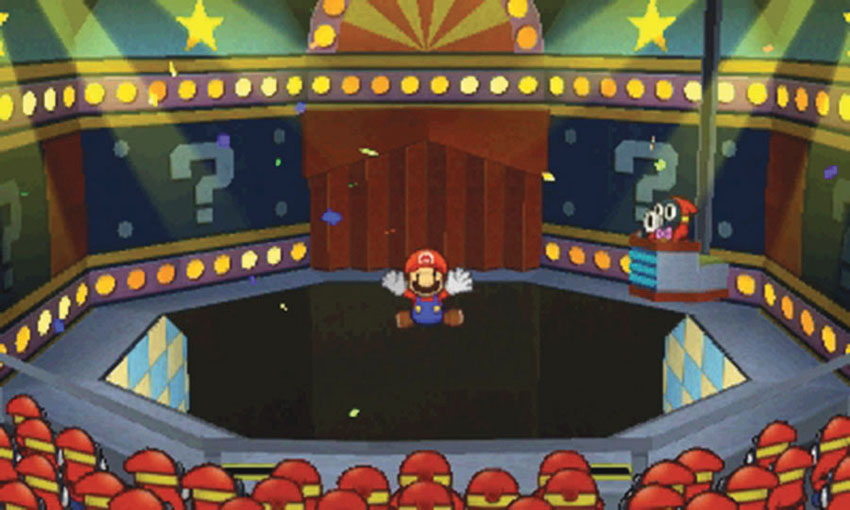
Score three correct answers to win the round and drop to the next floor.
Round 2: Big Bonking Snifit Bash
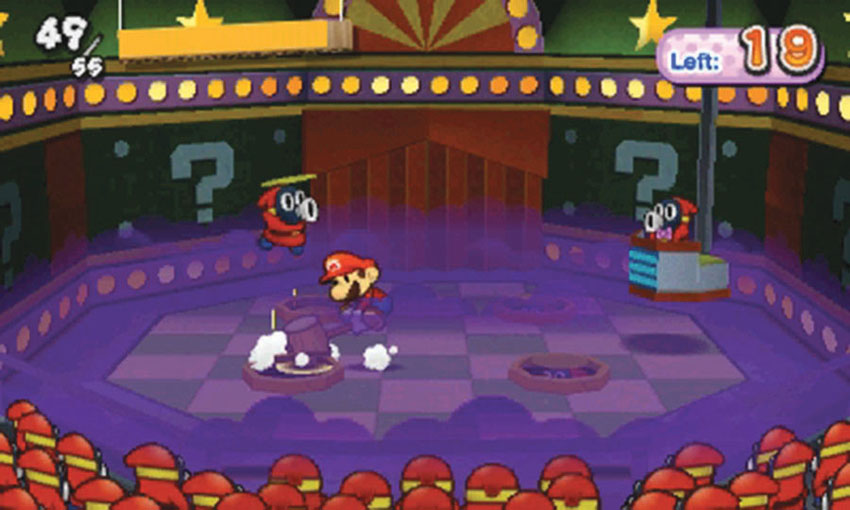
During the second round, you must use your Hammer to strike Snifits as they poke their heads out of the studio floor. Watch the four holes in the floor for signs of emerging Snifits. When you spot a potential target, get into position and whack it with your Hammer.
To complete the round, you must strike 20 Snifits before you succumb to the poison gas.
Round 3: Unrelentingly Exciting Shuffle Game
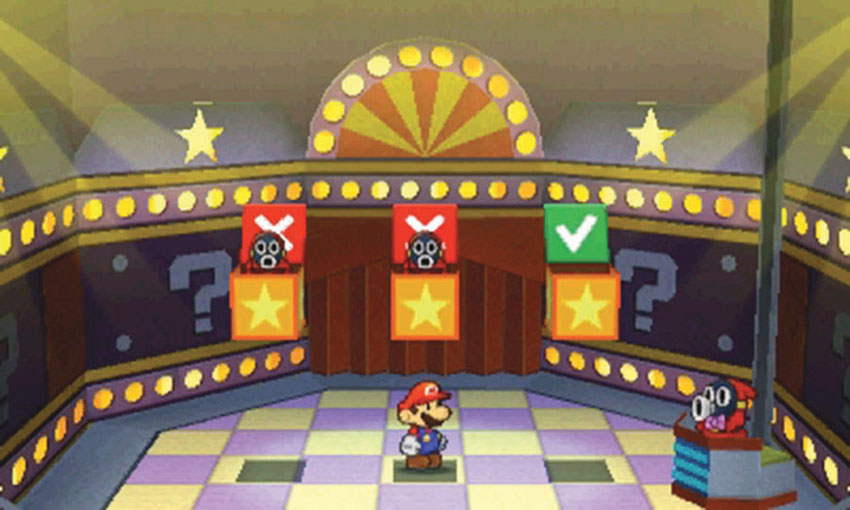
During the third round, you’re shown three special Blocks. One Block is identified as the correct answer, and the two remaining Blocks—which contain Snifits—are identified as wrong answers. After a brief explanation, the Blocks are sealed and shuffled. When they stop, you must hit the Block you believe to be the correct answer.
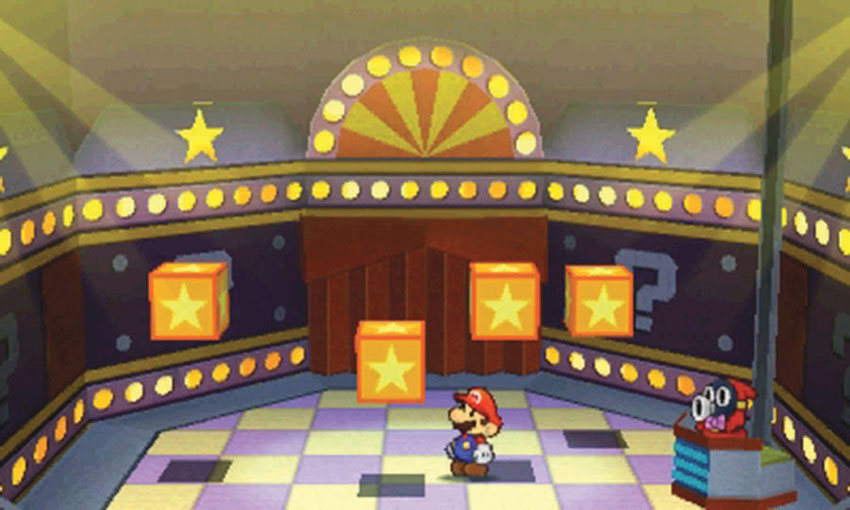
There are three phases to this challenge. If you choose correctly, you move onto the next phase. If you chose the wrong Block, you’re attacked by a Snifit. Your task becomes more difficult during each phase. After one correct answer, the shuffle speed increases. After your second correct answer, an extra Block enters the mix.
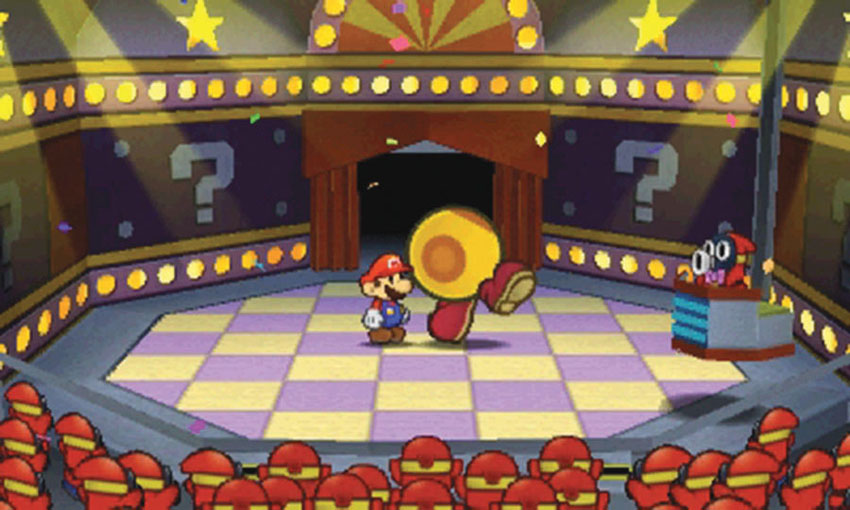
Choose the correct Block three times to complete the quiz show and free the Wiggler Segment. After a moment, the floor falls away, dropping you to the storage room.
Post Show
.jpg)
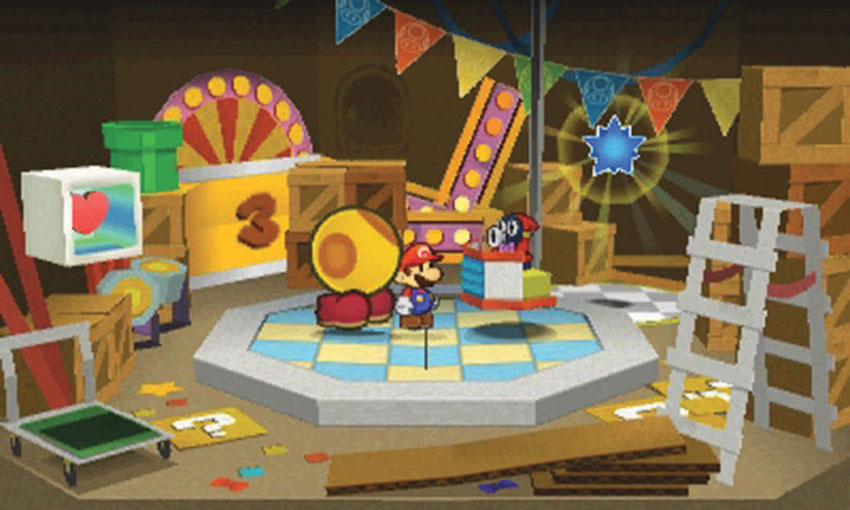
After you complete the quiz show, the host meets you in the storage room and offers you the chance to participate in a special challenge.
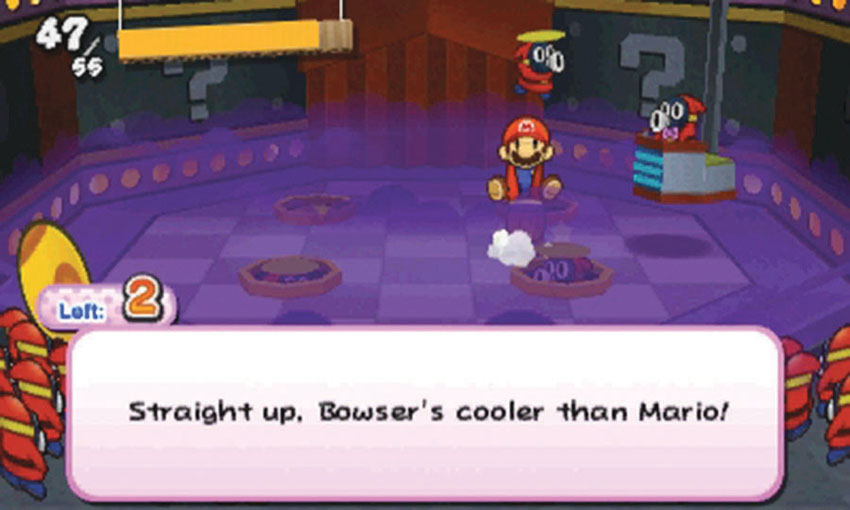
Accept the challenge to participate in the Big-Bonking-Panic-Pick-and-Choose Snifit Bash. This round combines elements of earlier rounds. You must correctly answer three true-or-false questions before you succumb to the poison gas, but before you’re allowed to answer each question, you must hit five Snifits with your Hammer.
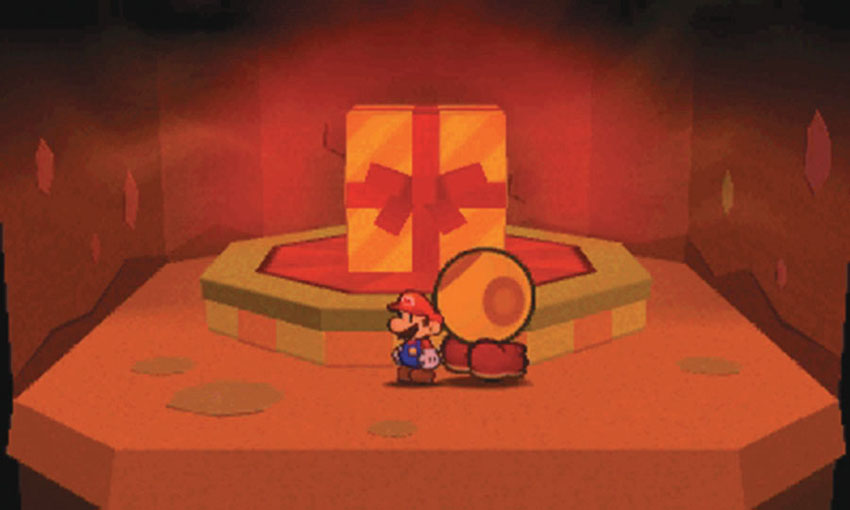
When you complete the challenge, you’re dropped into a bonus room that contains your reward. Open the gift to collect the Radiator, then use the nearby Warp Pipe to return to the storage room.
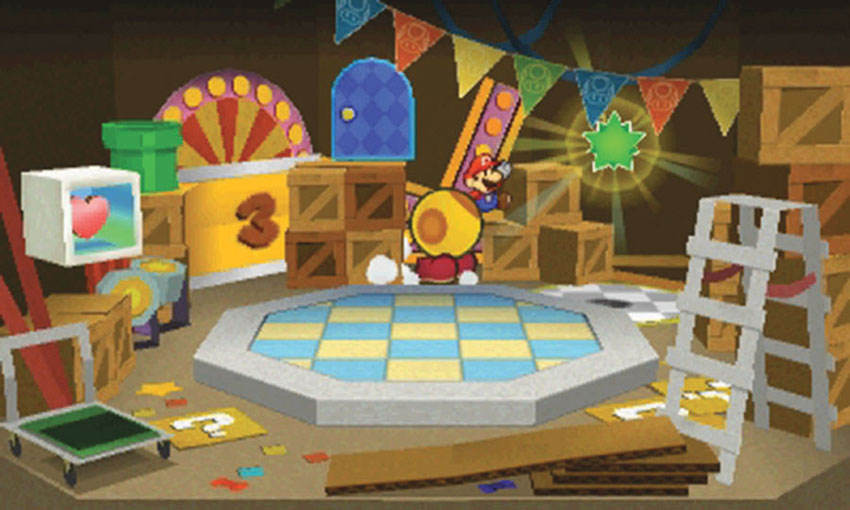
The Secret Door is on the back wall, just above the stacked crates. Apply a Secret Door sticker to the marked location. Climb the crates to the right, then jump over to the Secret Door and head inside to find the Square Can.
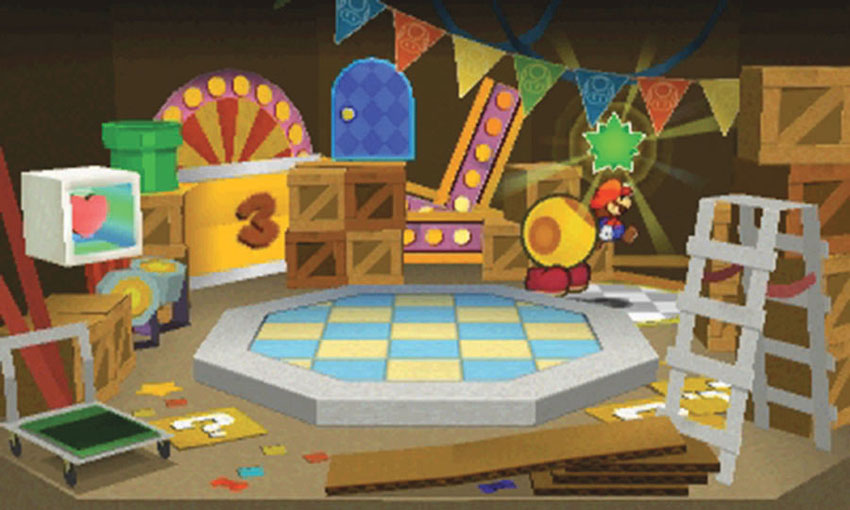
When you’re ready, collect the Comet Piece in the storage room to complete your first visit.
Sticker Comet Piece: Unlocking Path to World 3-7
This Course contains a single piece of the Sticker Comet. Collect the Comet Piece in the storage room to unlock the path between World 3-10 and World 3-7.
Additional Visits
Recommended Visit #2
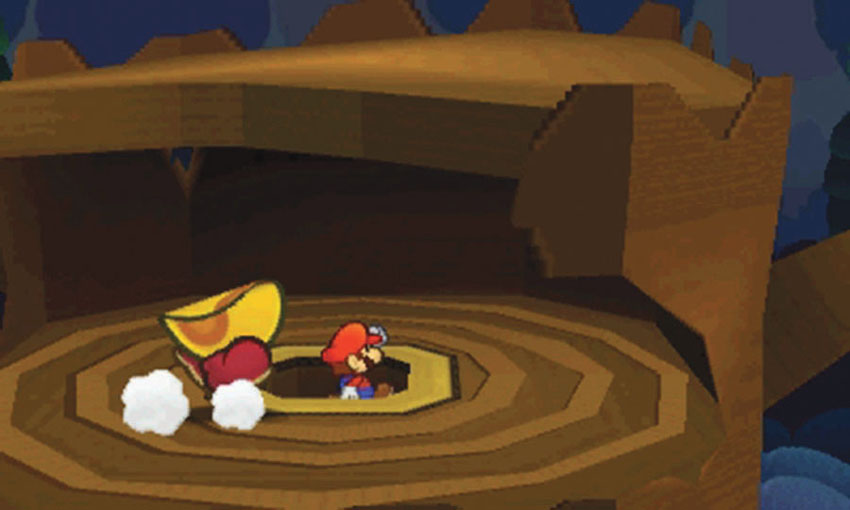
After you subdue the Wiggler Segment in World 3-2, lead it back to this Course. Drop through the large stump and complete the quiz show for a second time.
Wiggler Diary Entry: Stump Glade
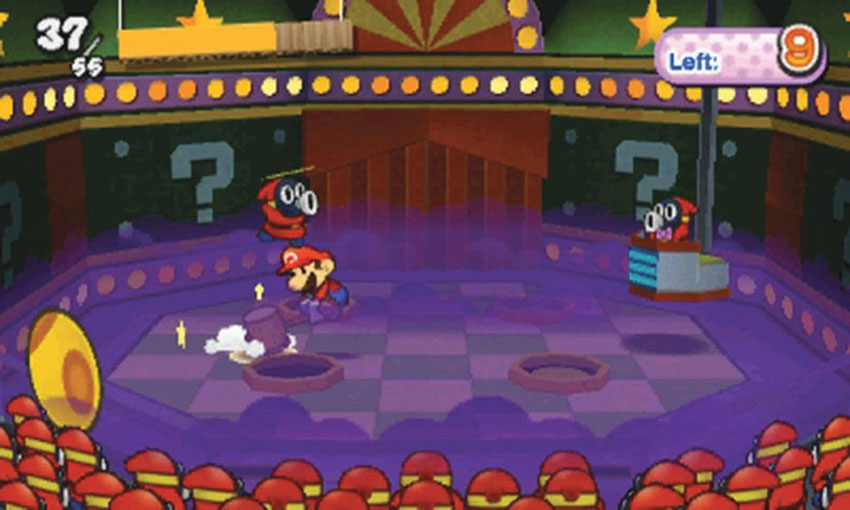
Lead a Wiggler Segment back to World 3-10 and agree to participate in the quiz show. Complete the quiz show while the segment watches from the audience to inspire a new diary entry.
Recommended Visit #3
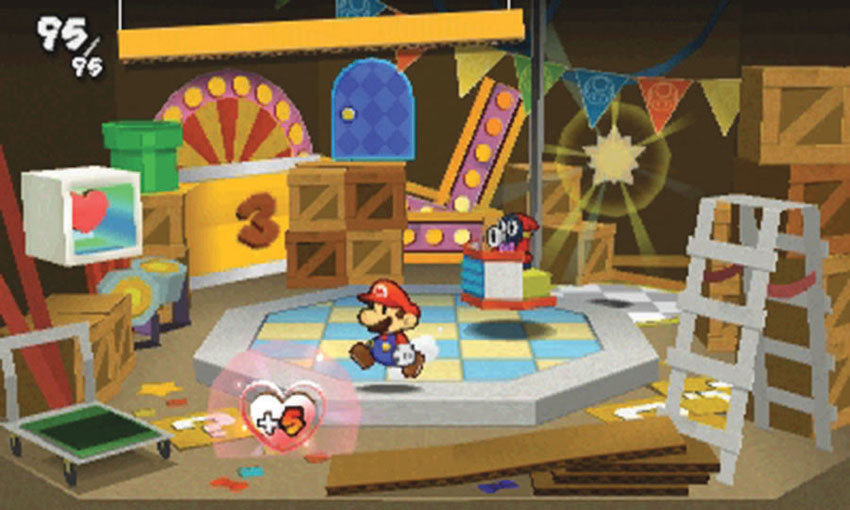
After you defeat the Gooper Blooper and cleanse the forest, return to this Course and decline to participate in the quiz show. After the host drops you into the storage room, move to the foreground to collect an HP-Up Heart.
World 3-11: Holey Thicket
Overview
Prerequisites
To unlock this Course, you must collect the Comet Piece from the bowling alley in World 3-4. Before you enter this Course, make sure your Album contains a Secret Door sticker.
Objectives
This Course contains several objectives, at least one of which requires an additional visit:
- Locate the Wiggler Segment.
- Recover and apply the Bowser Tape scrap.
- Collect the Comet Piece to unlock the path to World 3-9.
- Rescue the bullied Toad.
- Collect the Balloon from the Secret Door.
- Collect the Comet Piece to unlock World 3-12.
Important Items and Locations
| Description | Notes |
|---|---|
| Secret Door | The marked location is near the center of the foothills. |
| HP-Up Heart | None |
| Toad Rescue | The bullied Toad is on the left edge of the foothills. |
| Luigi Location | None |
| Wiggler Diary Entry | None |
| Things | The Balloon is through the Secret Door. |
Recommended Tactics
This Course contains most of the enemies you’ve encountered throughout World Three.
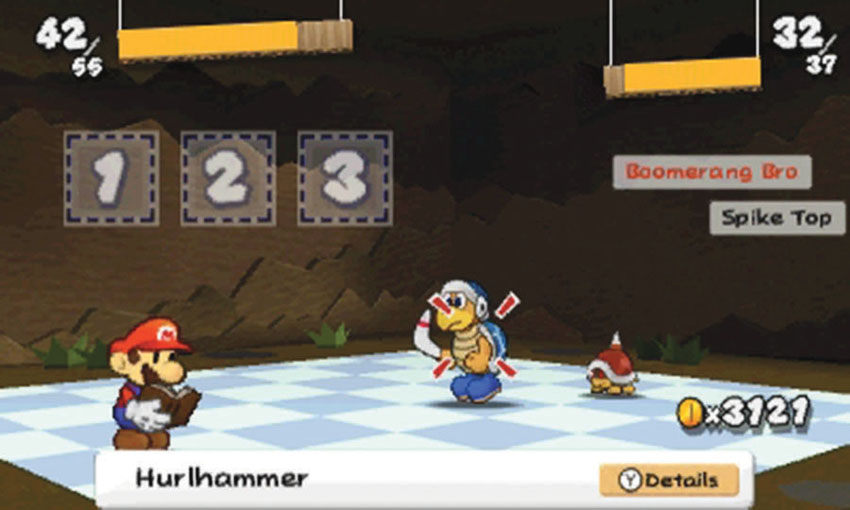
In addition to Ninjis and Poison Bloopers, you’re likely to encounter Boomerang Bros, Piranha Plants, and Spike Tops. Make sure you have a good selection of Jump-based stickers, Hammers, and multi-target attacks. As always, the Battle Spinner can simplify any encounter.
Recommended Visit #1
.jpg)
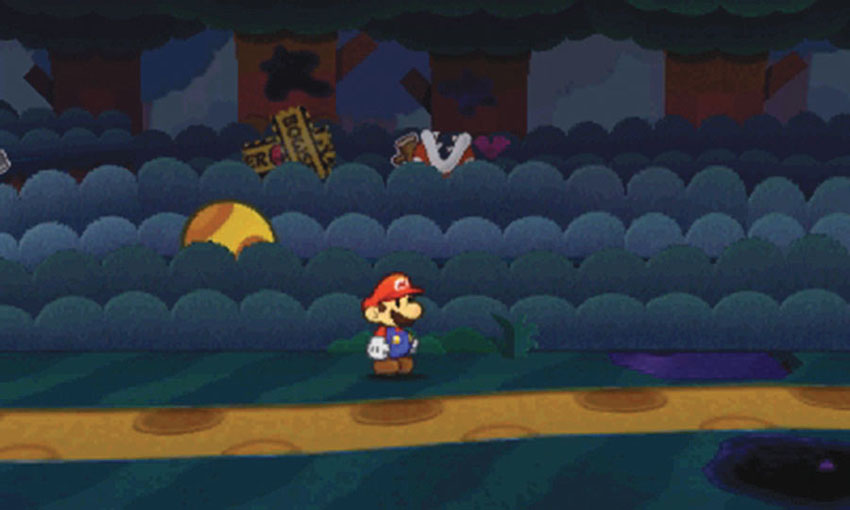
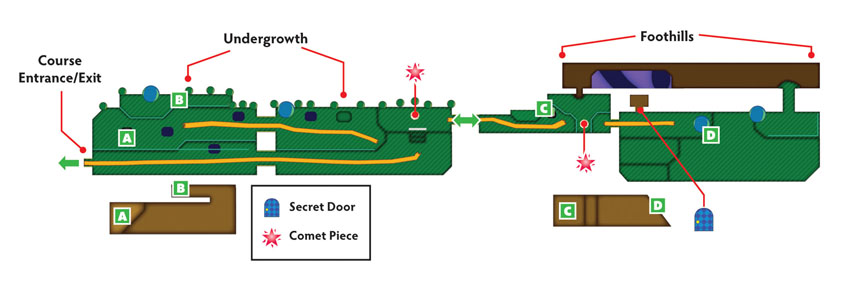
The Wiggler Segment is behind the hedge at Point 1. To reach it, continue along the path until you reach the end of the hedge, then slip behind it and double back to Point 1.
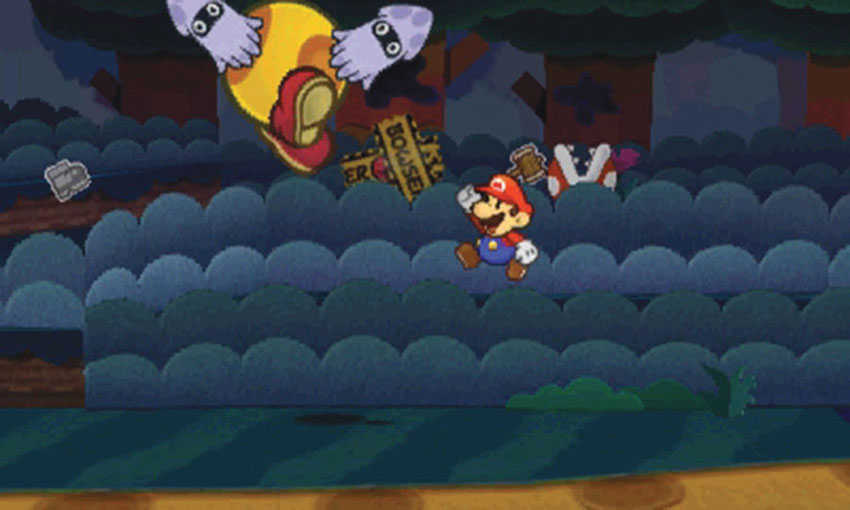
As you approach the Wiggler Segment, two Poison Bloopers grab it and carry it off to World 3-12.
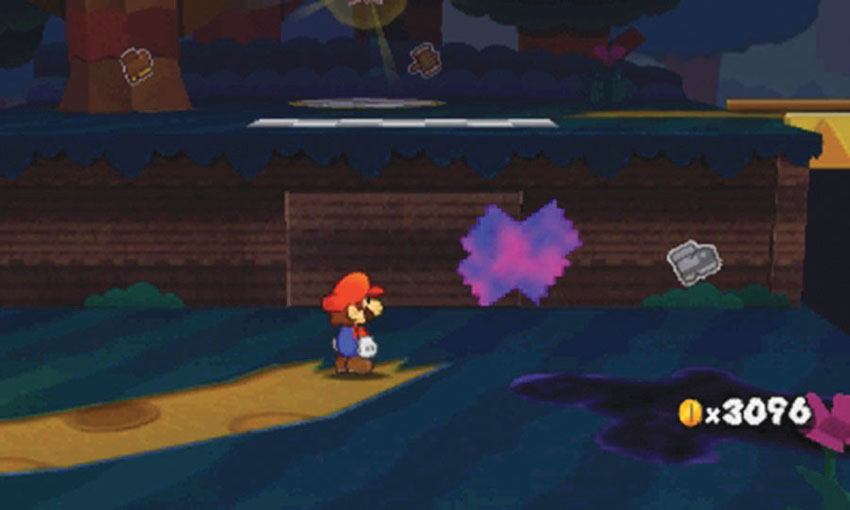
After the Wiggler Segment leaves the Course, return to the main path and follow it to Point 2. The Course’s first Comet Piece is floating nearby. Before you can reach it, however, you must track down a missing scrap.
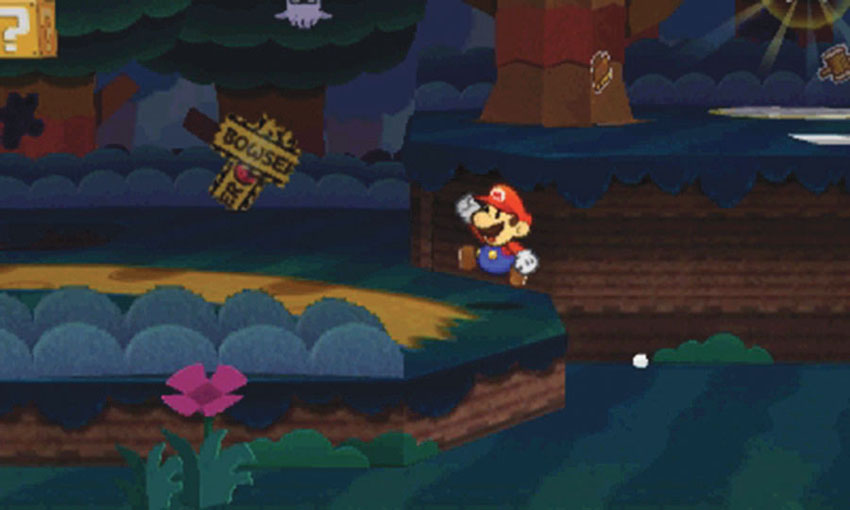
Hop on the small ledge to the left, then follow the path through the undergrowth’s back half. As you do, peel the Bowser tape scattered throughout the area.
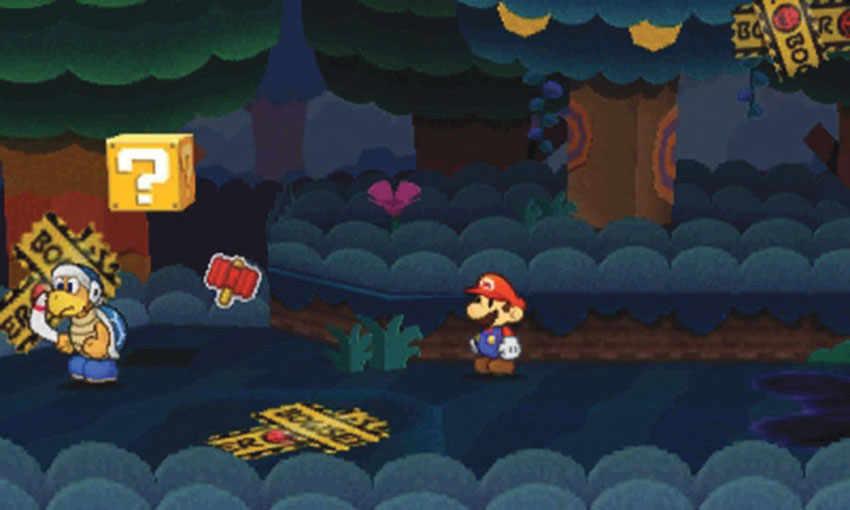
Clear out the Boomerang Bro at Point 3, search the area for stickers, then peel the nearby strips of Bowser tape.
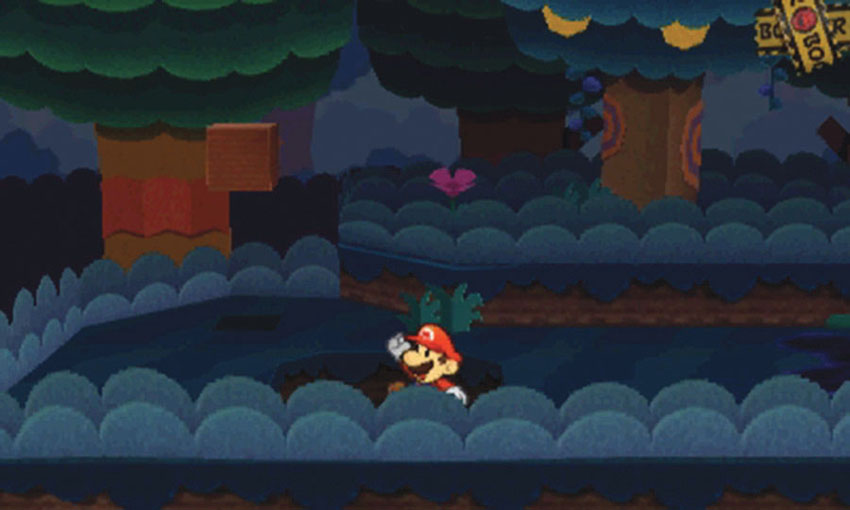
When you peel the Bowser tape on the ground, it creates a hole in the ground. Drop down to find an underground passage.
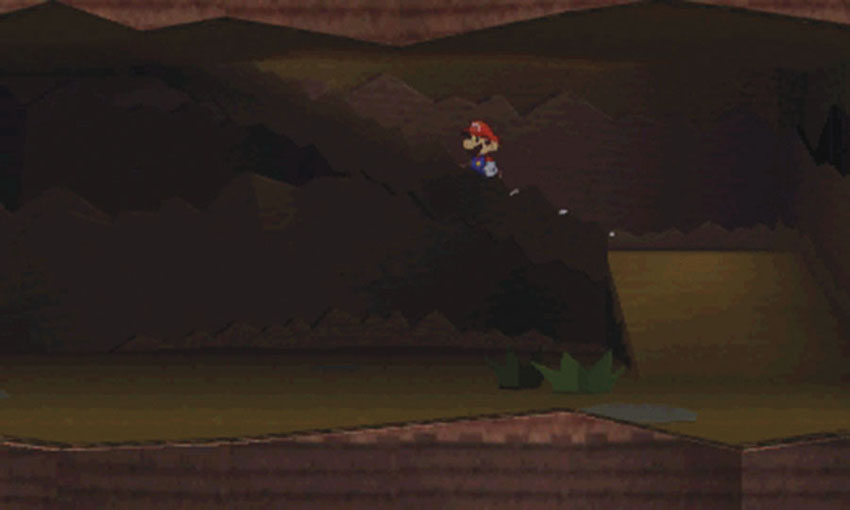
When you land, follow the path to the right, then move toward the background and climb back up to the surface.
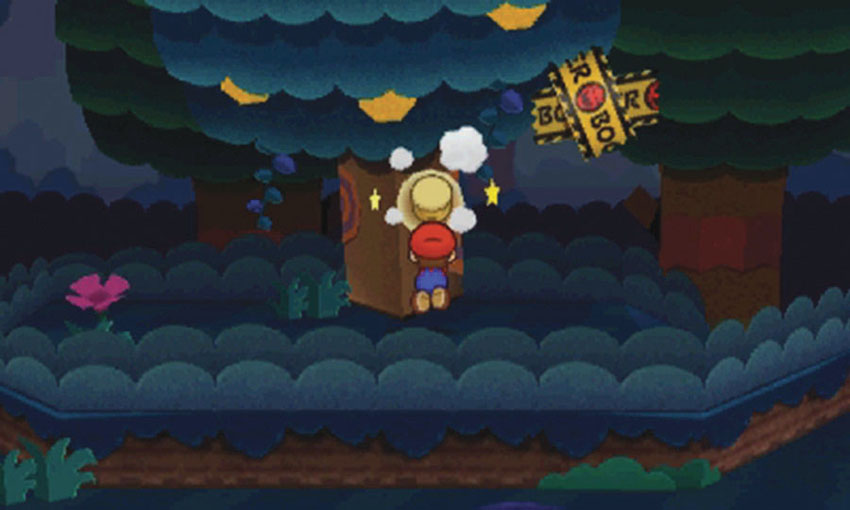
The passage leads to a small area with a single tree surrounded by a hedge. Strike the tree with your Hammer to knock the Bowser Tape scrap loose.
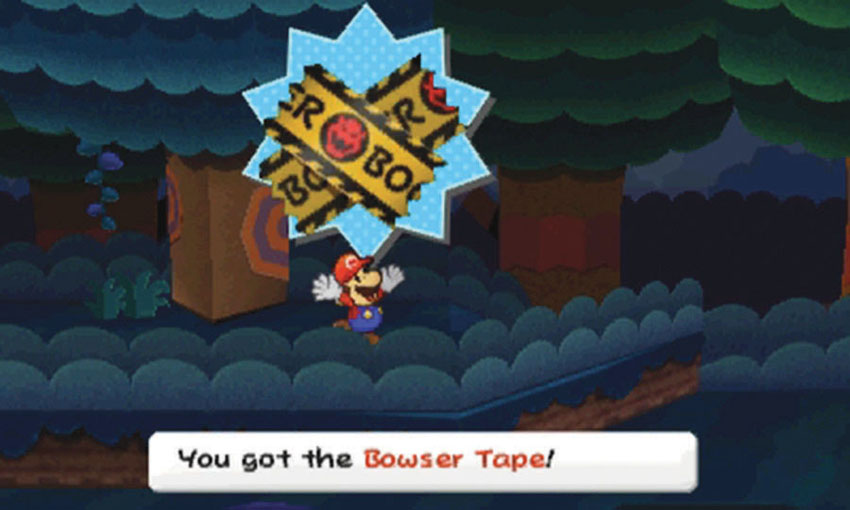
Collect the Bowser Tape scrap, then hop over the hedge and follow the path to the right.
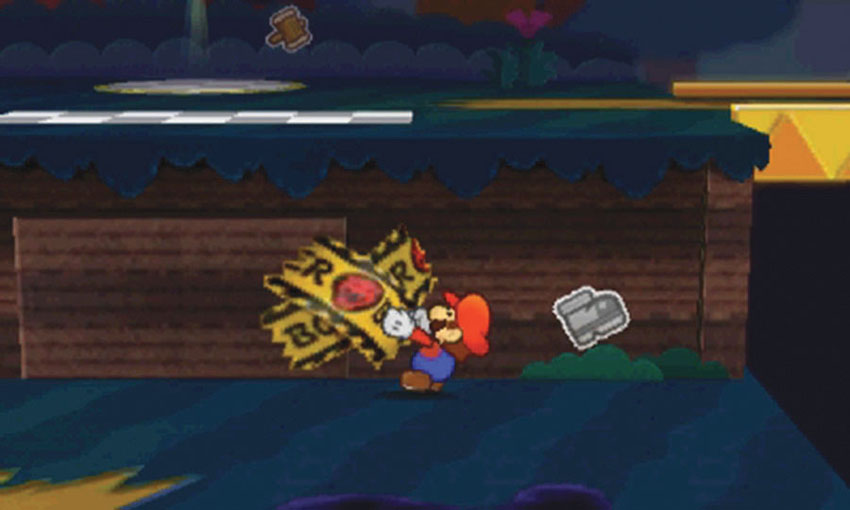
Return to Point 2 and apply the Bowser Tape scrap to the indicated location. After it’s in place, peel the tape to reveal a set of steps.
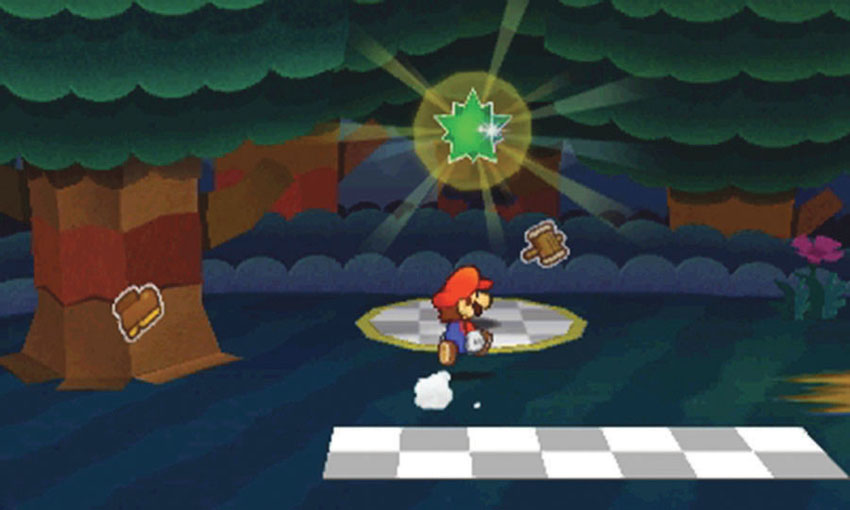
Climb the steps to find the Course’s first Comet Piece, then collect it to end your first visit.
Sticker Comet Piece: Unlocking Path to World 3-9
This Course contains two pieces of the Sticker Comet, one of which opens an alternative route to a previously visited Course. Collect the Comet Piece along the right edge of the undergrowth to reveal the shortcut between World 3-11 and World 3-9.
Recommended Visit #2
.jpg)
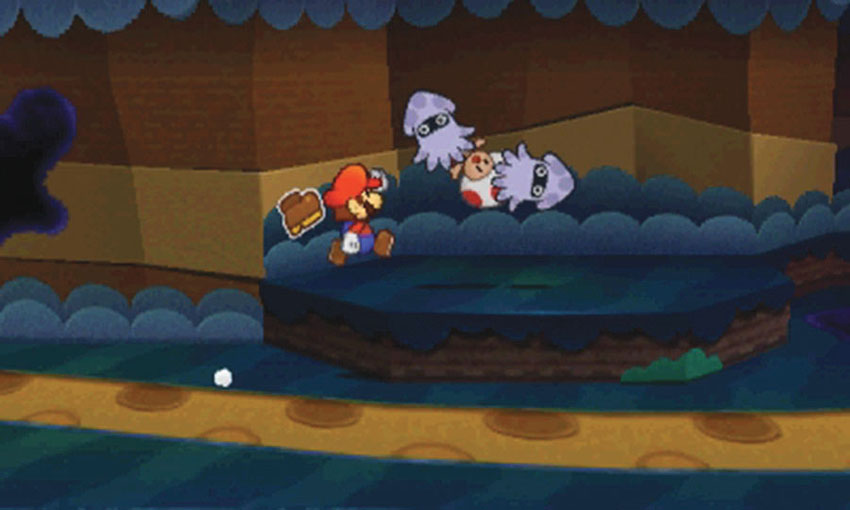
After you collect the first Comet Piece, there’s still plenty to do. Revisit the Course and follow the path through the undergrowth into the foothills. Approach the small platform at Point 1 to find a Toad being bullied by two Poison Bloopers.
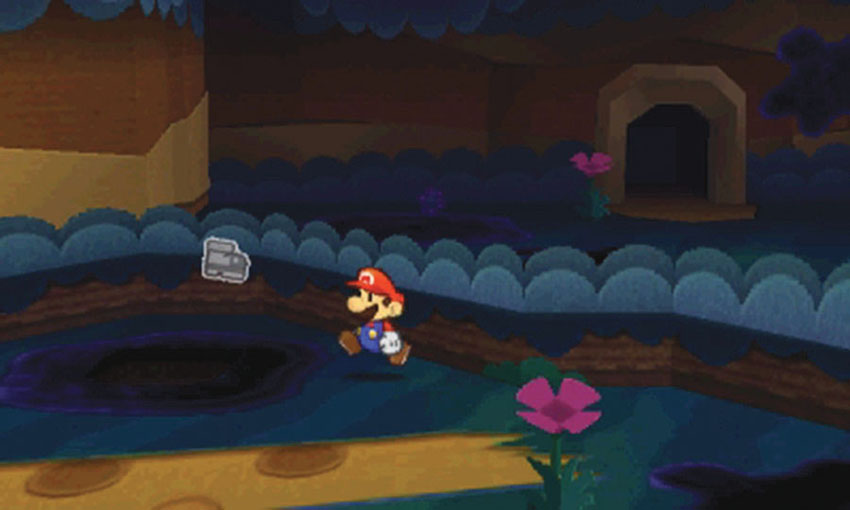
It’s a bit difficult to see, but there’s a hole in the center of the toxic puddle at Point 2. Hop into the hole to drop to an underground passage—just make sure you avoid touching the poison surrounding it!
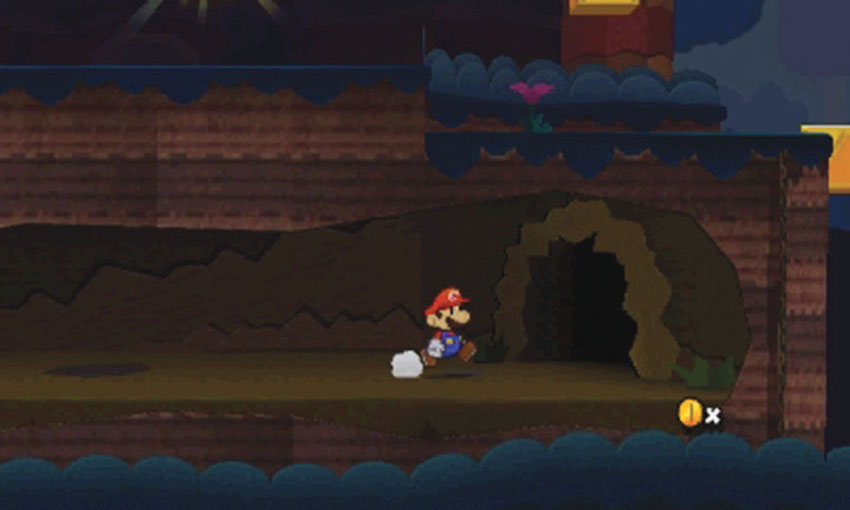
When you land, follow the path to the right and exit the passage.
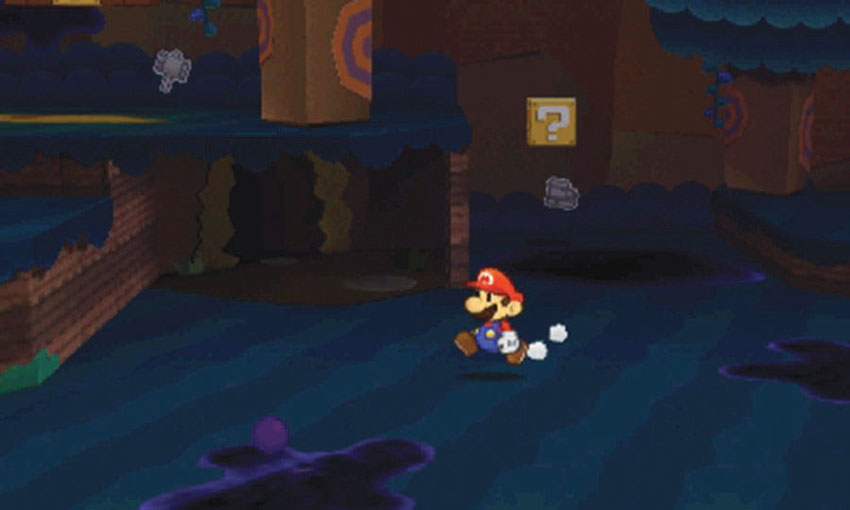
When you emerge from the passage, search the nearby area for stickers. Before you head deeper into the Course, however, climb the steps to the left and explore the area along the back wall.
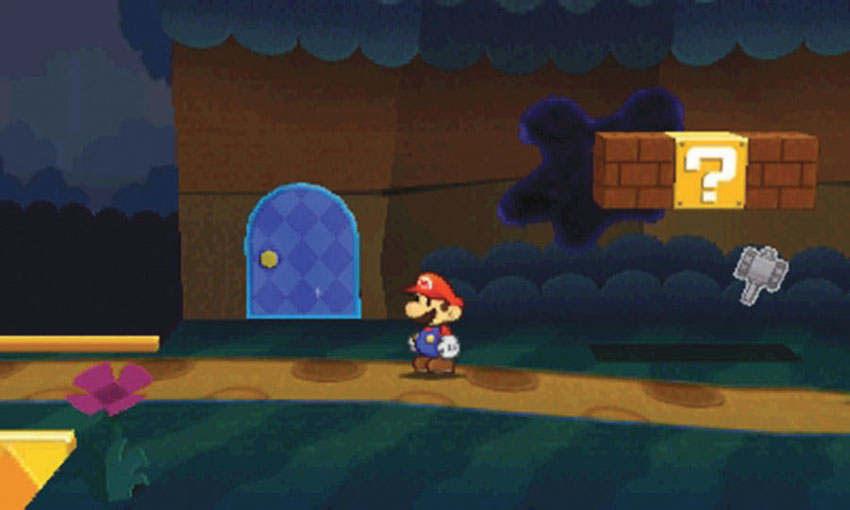
The Secret Door is at Point 5. Apply a Secret Door sticker to the marked location, then head inside to collect the Balloon.
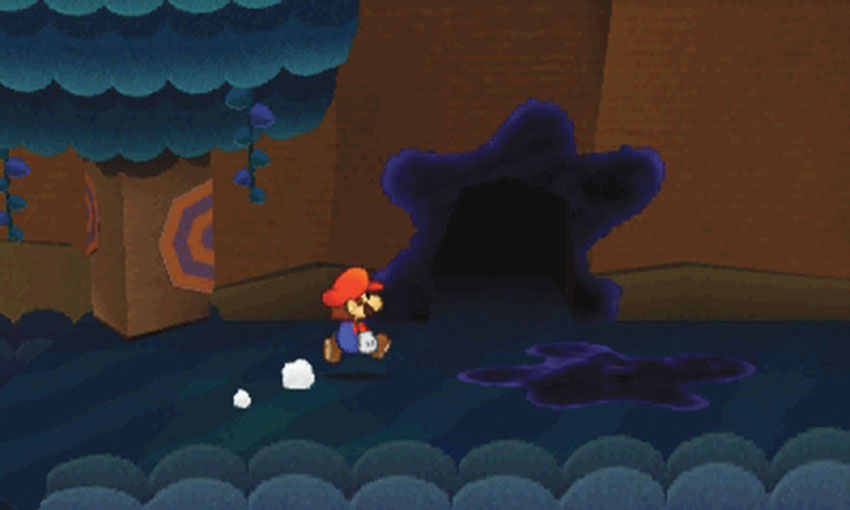
The poison splattered at Point 6 marks an opening in the back wall. Approach the opening, then head inside to find a tunnel.
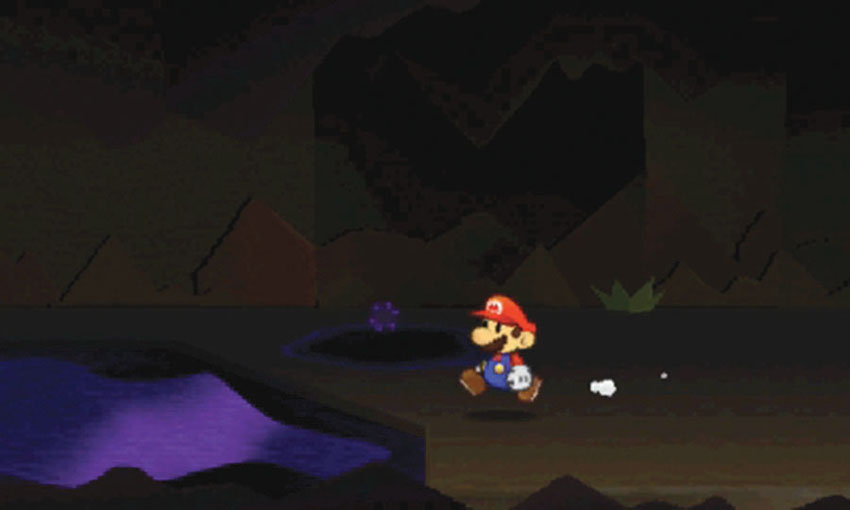
As you follow the tunnel to the left, take care to avoid the toxic puddles and poison pools along your path. A couple of Poison Bloopers patrol the area, too, so try to initiate combat while you’re on dry ground.
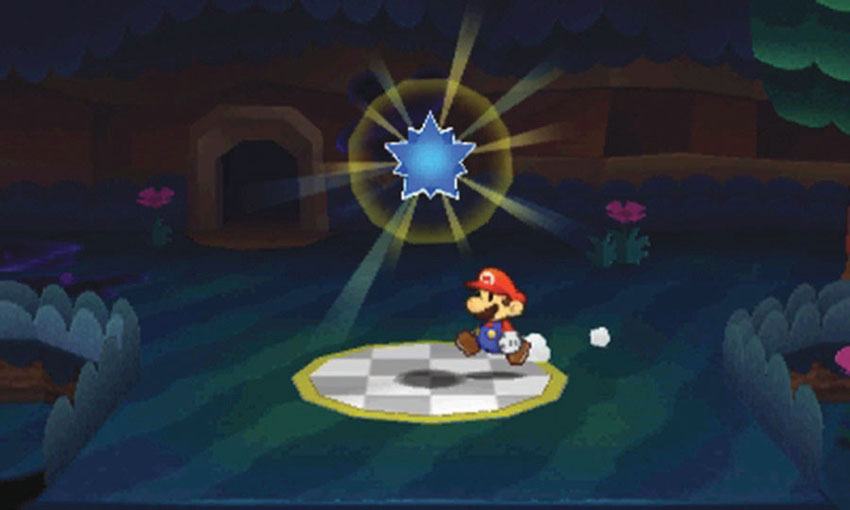
After you emerge from the tunnel, collect the second Comet Piece to end your visit.
Sticker Comet Piece: Unlocking World 3-12
This Course contains two pieces of the Sticker Comet. To unlock World 3-12, collect the Comet Piece located in the foothills.
World 3-12: Whitecap Beach
.jpg)
.jpg)
Overview
Prerequisites
To unlock this Course, you must collect the corresponding Comet Piece from the foothills in World 3-11. Make sure your Album contains a Secret Door sticker before you make your second visit. To reach the island off the coast, you must reassemble Wiggler in World 3-3.
Essential Thing Stickers
| Name | Thing Location | Notes |
|---|---|---|
| Sponge | World 3-9 | Recommended for the boss battle. |
| Faucet | World 1-3 | Recommended for the boss battle. |
Objectives
This Course contains several objectives, some of which require an additional visit:
- Collect the Pocket Watch.
- Defeat the Wiggler Segment.
- Find Luigi.
- Ride Wiggler to the island.
- Collect the Newspaper from the Secret Door.
- Traverse the poisoned island.
- Defeat the Gooper Blooper.
- Collect the Royal Sticker.
Important Items and Locations
| Description | Notes |
|---|---|
| Secret Door | The marked location is at the start of the island. |
| HP-Up Heart | None |
| Toad Rescue | None |
| Luigi Location | Luigi is on a rock formation near the pier. |
| Wiggler Diary Entry | None |
| Things | The Pocket Watch is on the beach. The Newspaper is through the Secret Door. |
Recommended Tactics
This Course contains some pretty intense battles, so make sure your Album is well stocked!
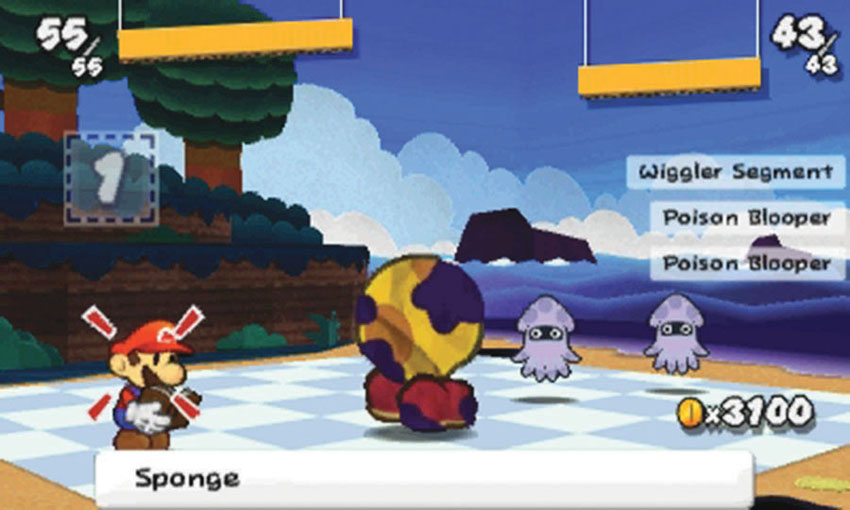
When you catch up with the fourth Wiggler Segment, it decides to attack. Two Poison Bloopers join the fight, so it’s best to bring a few multi-target stickers. Stickers like Burnhammers and Shells help ensure the Poison Bloopers don’t have an opportunity to attack, but there’s always a chance the agile Wiggler Segment will dodge your initial attack—take advantage of the Battle Spinner!
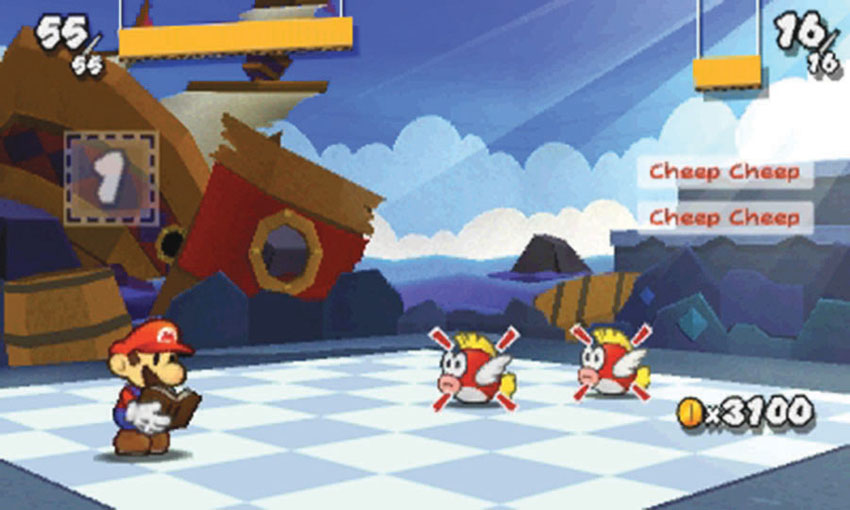
The Cheep Cheeps throughout the island tend to leap into your path. Try to dodge them, then initiate each battle with a stomp or a Hammer strike. A basic selection of Battle Stickers should allow you to quickly dispatch these pesky enemies.
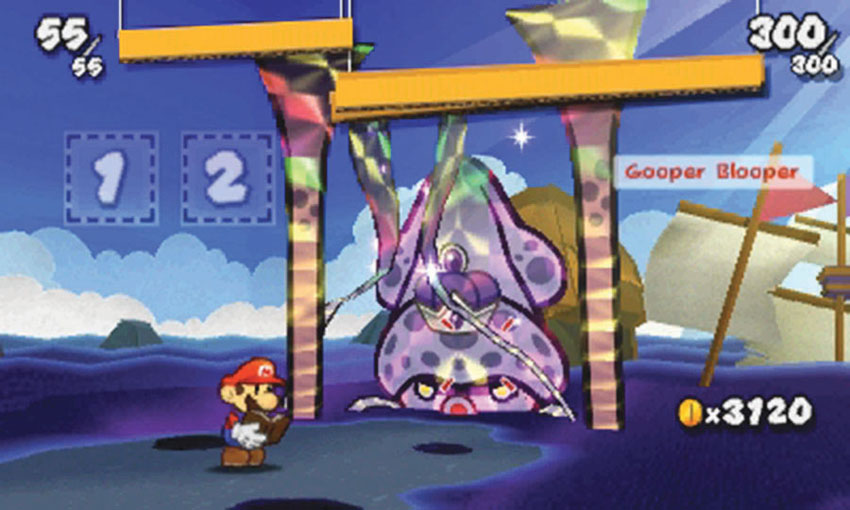
The Gooper Blooper is a fierce opponent, and its poison attacks can cause serious damage over the course of the battle. Use the Sponge to counter poison attacks, and use the Faucet to wash away any poison that makes it past your defenses. Bring high-damage stickers like Shiny Slaphammers and Shiny Eekhammers, and make sure you keep plenty of Mushrooms on hand.
Recommended Visit #1
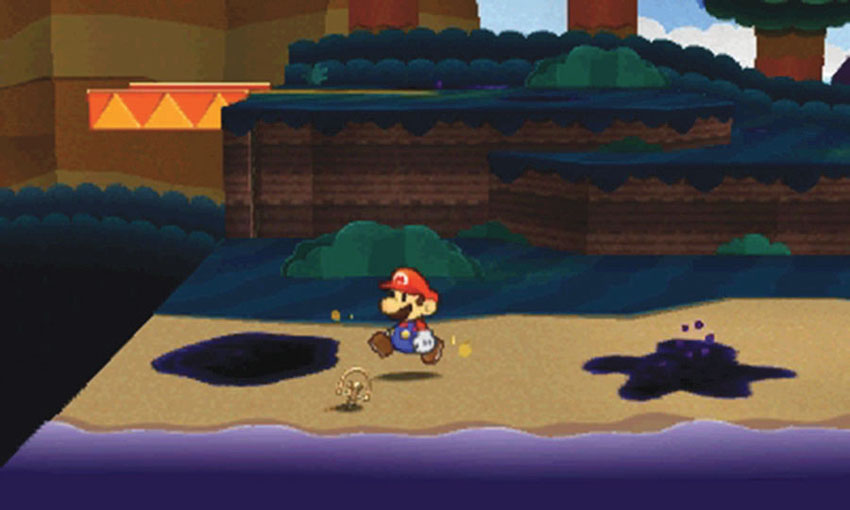
The Pocket Watch is buried in the sand at Point 1. When you enter the Course, move toward the foreground to find the top of the Pocket Watch near the coastline.
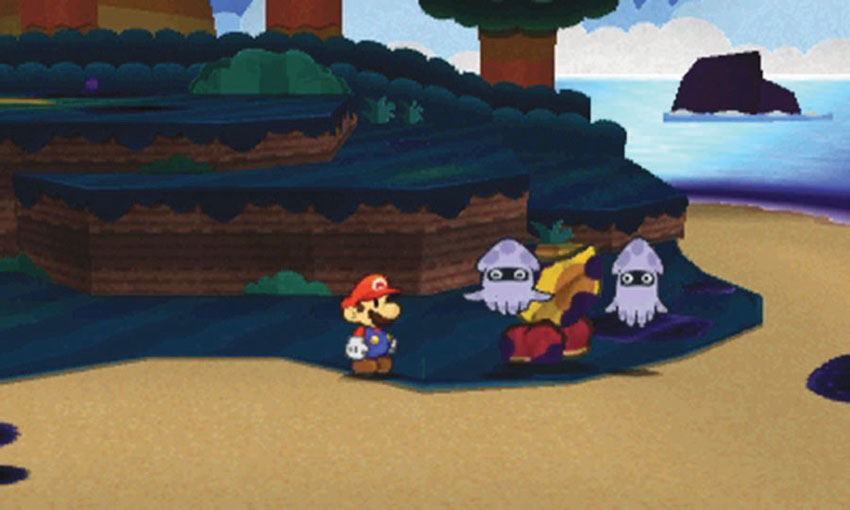
When you approach Point 2, the Wiggler Segment jumps up and joins forces with the Poison Bloopers that carried it out of World 3-11! Take advantage of the Battle Spinner, and use multi-target stickers such as Shiny Fire Flowers and Shiny Ice Flowers to end the battle quickly.
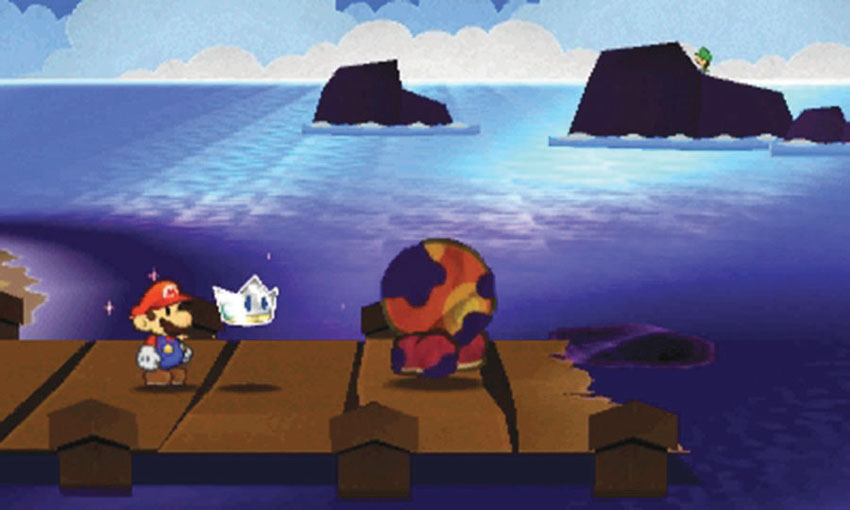
After you defeat the Wiggler Segment, it moves to the pier. Wait for the Wiggler Segment to exit the Course, then examine the rock formations in the background to find Luigi. Use the Paperize ability to pull Luigi off of the rock formation, then follow the Wiggler Segment out of the Course.
Recommended Visit #2
Reaching the Island
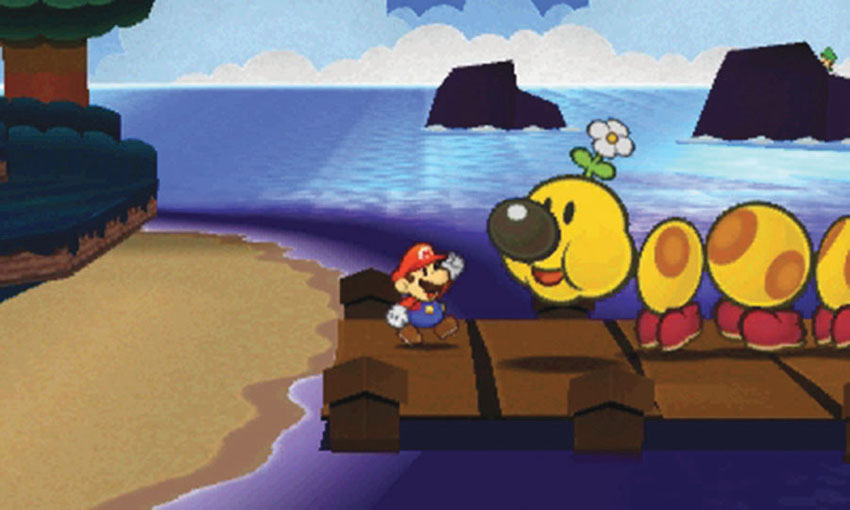
Before you revisit World 3-12, make sure you reassemble Wiggler. Deliver all four Wiggler Segments to World 3-3, then use the Paperize ability to put Wiggler back together. When you do, Wiggler storms out of the tree house.
When you return to World 3-12, Wiggler is waiting on the pier. Speak to Wiggler when you’re ready to travel to the island.
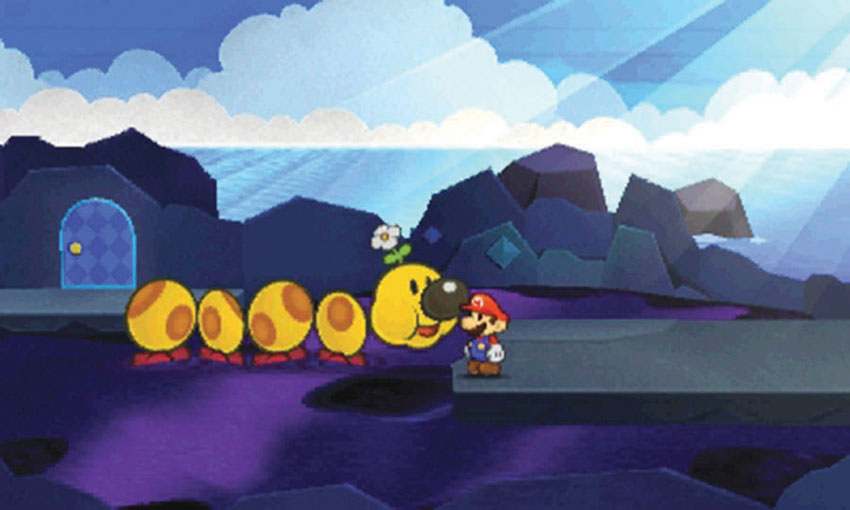
When you’re ready to face the Gooper Blooper, ride Wiggler out to the island. Wiggler drops you off near the Secret Door. Apply a Secret Door sticker to the marked location, then hop through the poison and enter the door to find the Newspaper.
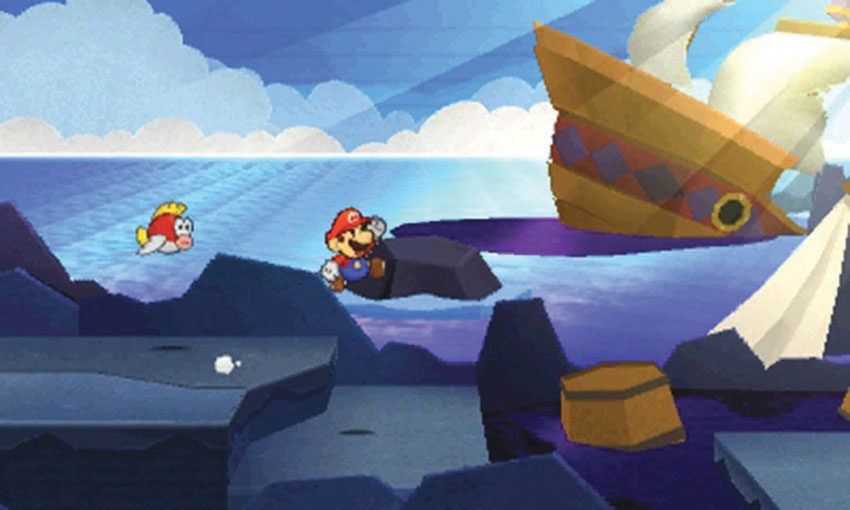
As you follow the path across the island, watch out for Cheep Cheeps leaping from the water. Avoid them, or wait for them to land before you attack. Use the barrels scattered around the area to cross the poison between the platforms.
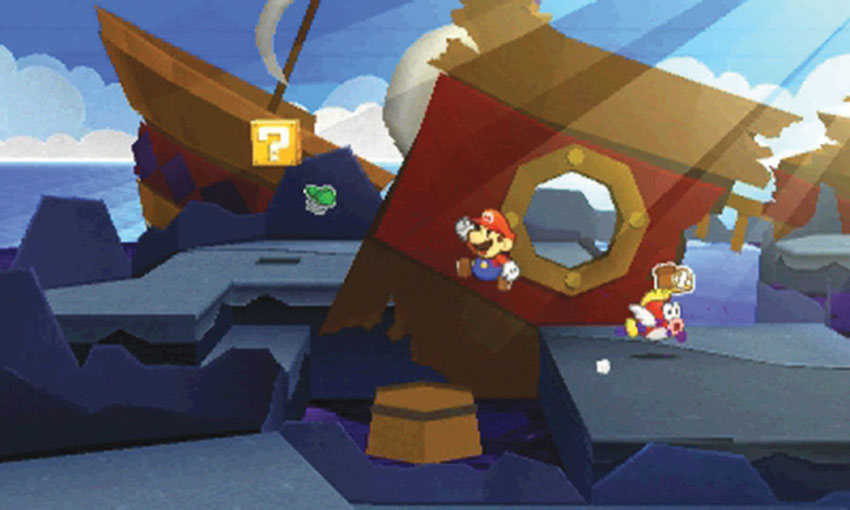
As you search the area for stickers, don’t forget to check the ? Block at Point 3. Use the barrel to move across the poison, or hop through the porthole in the wreckage.
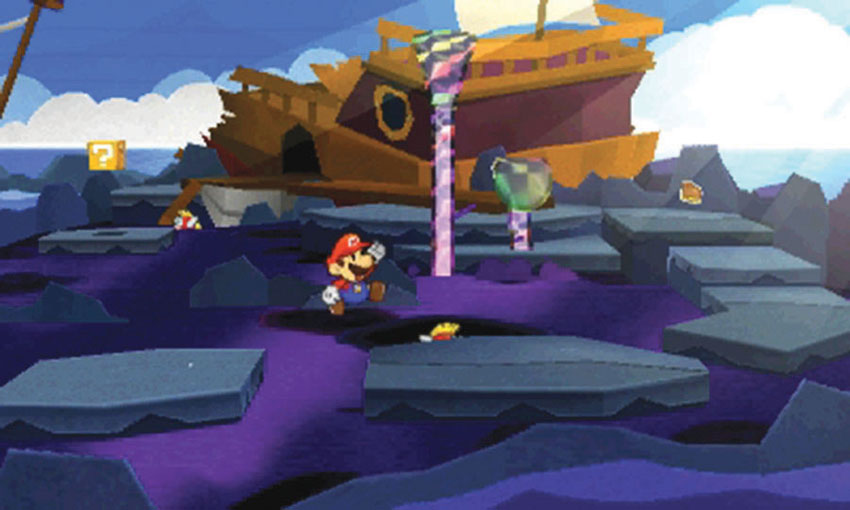
As you approach Point 4, two large tentacles slam down in your path. Don’t bother trying to attack them—just try to avoid getting hit.
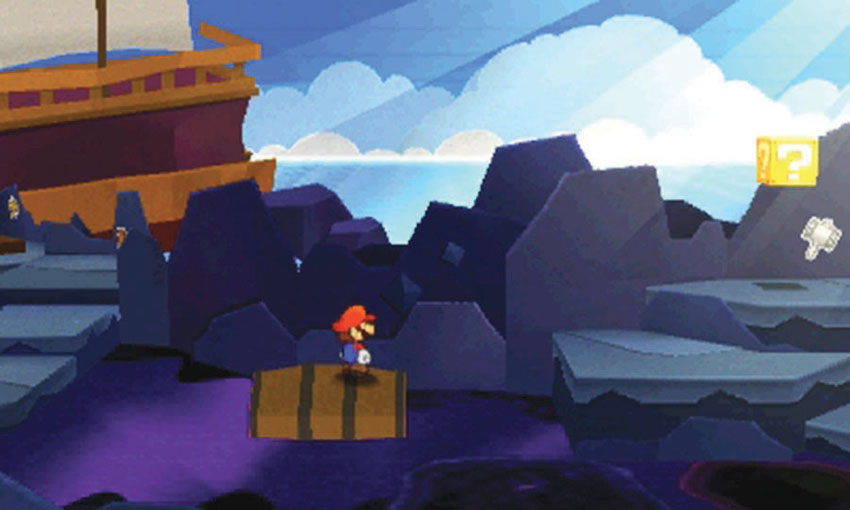
Hop onto the barrel at Point 5, then adjust your position to keep from falling off as it moves across the surface of the poison.
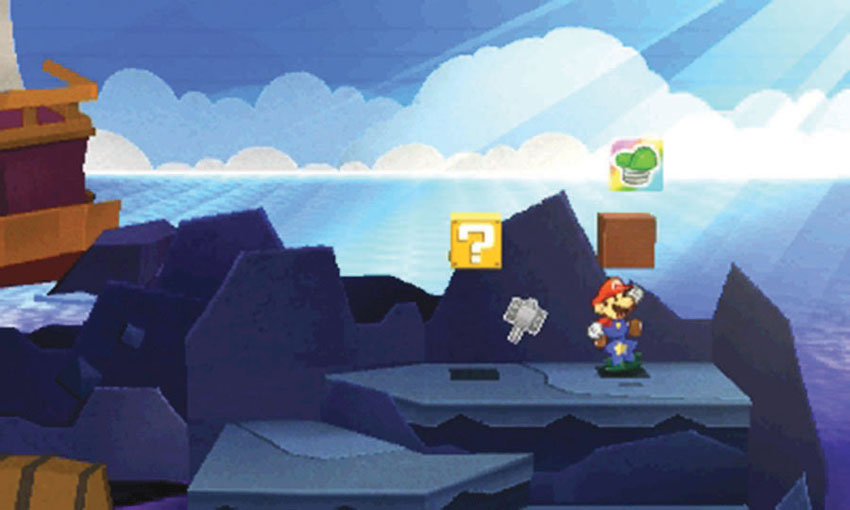
There’s a Hidden Block above the blue flower on the next ledge. Make sure you collect its contents before you continue through the area.
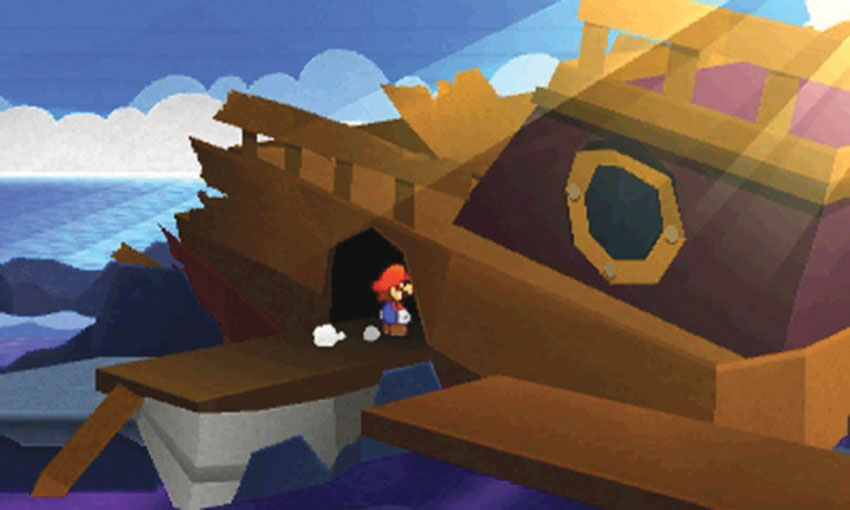
When you’re finished searching for stickers, head into the wreckage at Point 6.
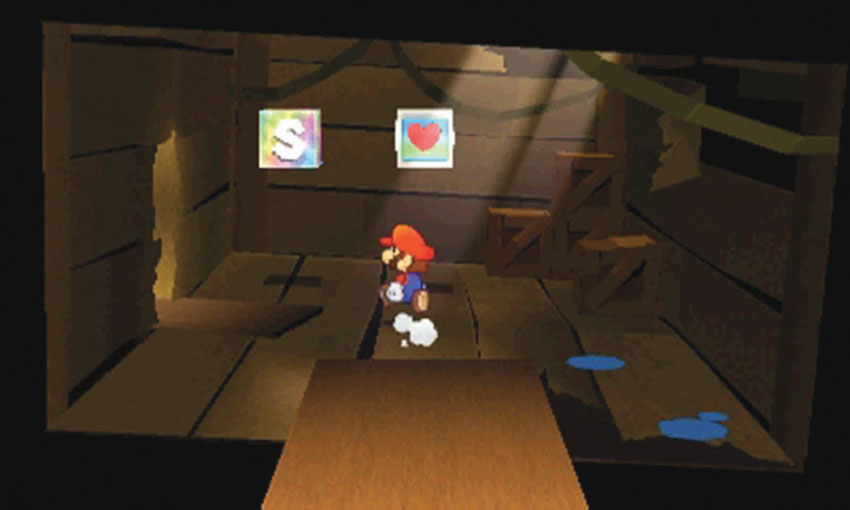
Use the Save Block and the HP Block, then follow the path to the next area.
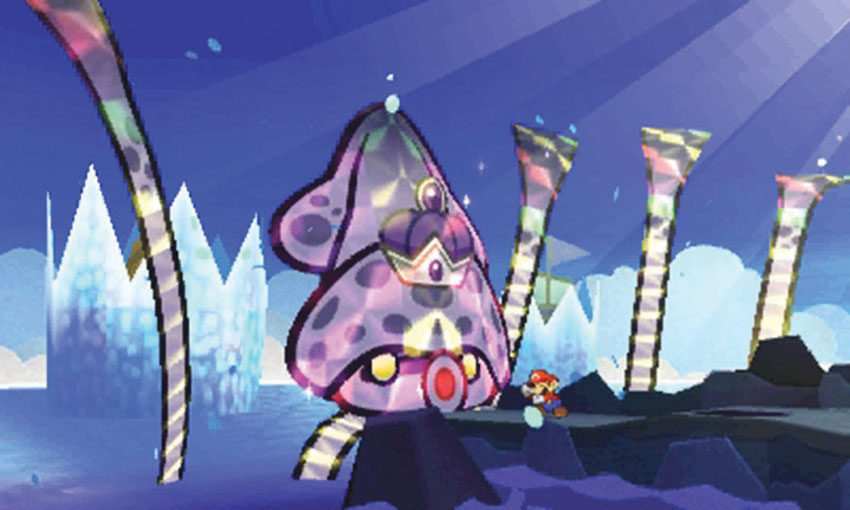
When you approach Point 7, the Gooper Blooper bursts out from the wreckage.
Gooper Blooper
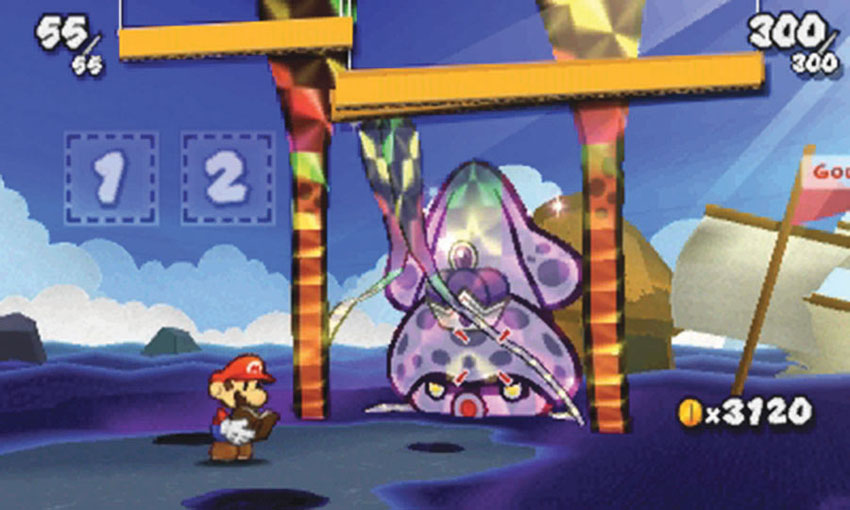
The Gooper Blooper has a lot of HP, so don’t hesitate to use high-damage, single-target stickers. Shiny Slaphammers and Shiny Eekhammers are very effective, but if you have a selection of flashy stickers, consider using a few.
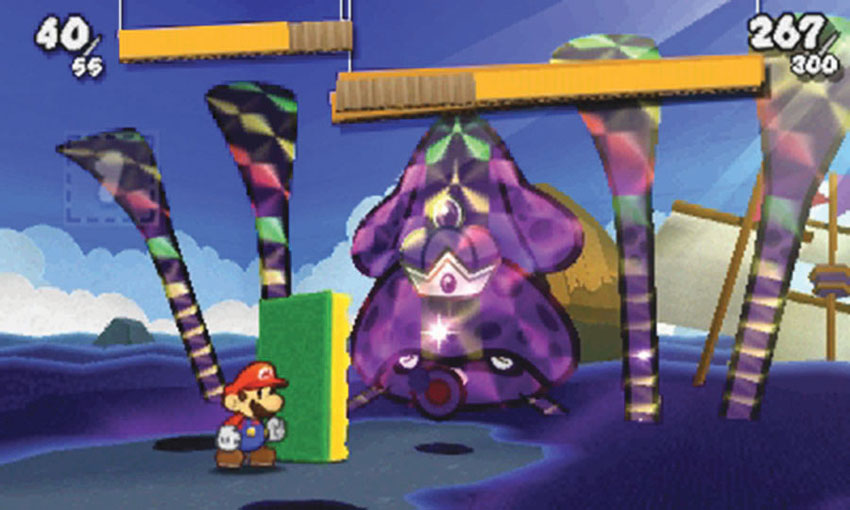
The Gooper Blooper turns dark purple just before it sprays poison. When you see it change color, use the Sponge sticker to counter the incoming attack. The Sponge not only absorbs the poison, it sprays it back at the Gooper Blooper. In addition to damaging your enemy, this compromises the Gooper Blooper’s aim and damage resistance for the next several turns.
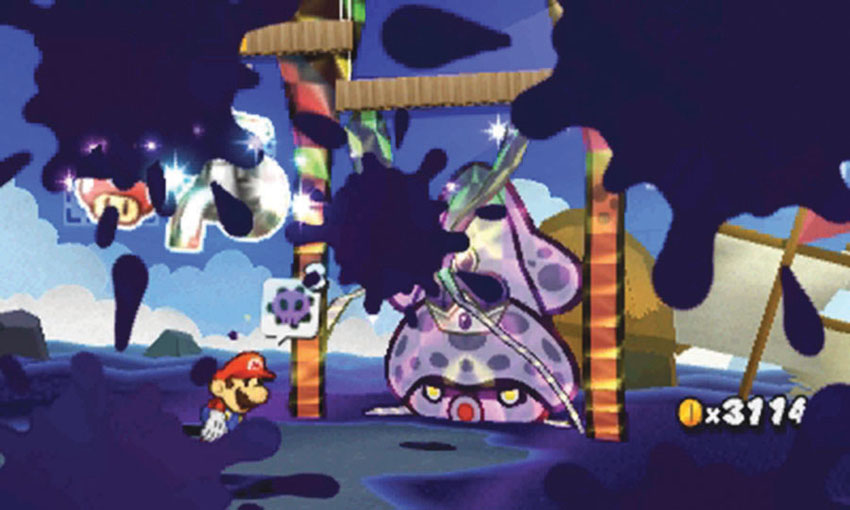
If you’re hit by the Gooper Blooper’s poison spray, use the Faucet sticker to purge yourself of the poison’s effects. Use Mushroom stickers as needed, and continue to deal damage until you defeat this formidable foe.
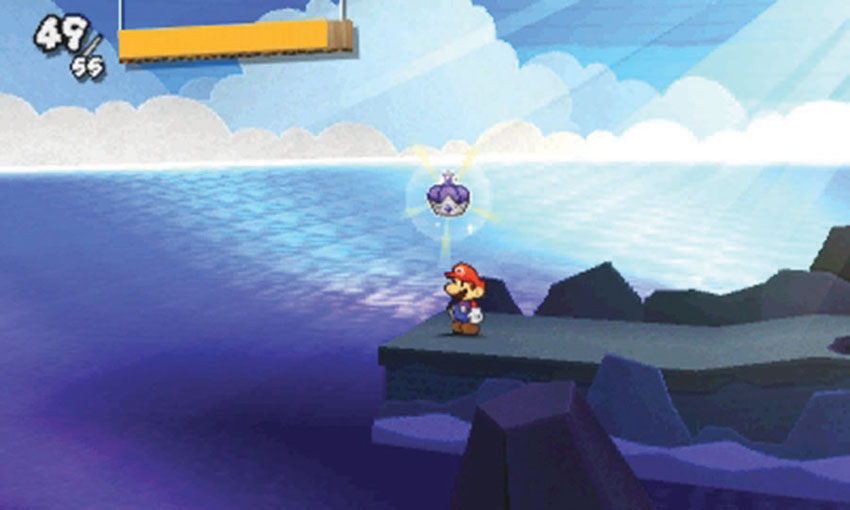
After you defeat the Gooper Blooper, collect the Royal Sticker to complete your second visit.
The Cleansed Forest
When you defeat the Gooper Blooper, all of the Courses in World Three are cleansed! This grants safe access to areas that used to be poisoned, and you’ll also find some new items in previously visited Courses:
- Collect the HP-Up Heart from the end of World 3-1.
- Collect the Watch Battery from the drained pool at the beginning of World 3-8.
- Decline the quiz show in World 3-10 and collect the HP-Up Heart in the storage room.