
Paper Mario: Sticker Star Guide Walkthrough Worlds
World Four
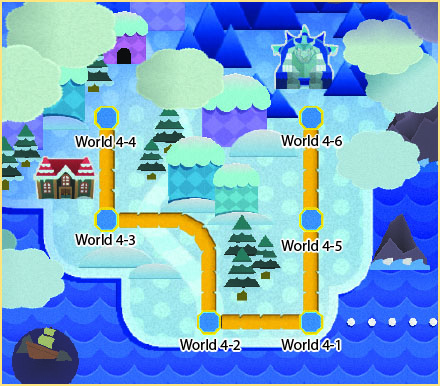
World Four Courses
| Number | Name |
|---|---|
| World 4-1 | Snow Rise |
| World 4-2 | Ice Flow |
| World 4-3 | The Enigmansion |
| World 4-4 | Shaved-Ice Cave |
| World 4-5 | Whiteout Valley |
| World 4-6 | Bowser’s Snow Fort |
World Four is covered in snow, and many of the enemies you’ll encounter are immune to cold-based attacks. You’ll also face a number of shiny enemy variants, so use the World 4-4 Sticker Shop to stock up on high-quality stickers.
Battle Ice Bros, Snow Spikes, Boos, and more as you make your way to Bowser’s Snow Fort. Defeat the Bowser Ice Statue and the mysterious Mizzter Blizzard to add another Royal Sticker to your collection!
World 4-1: Snow Rise
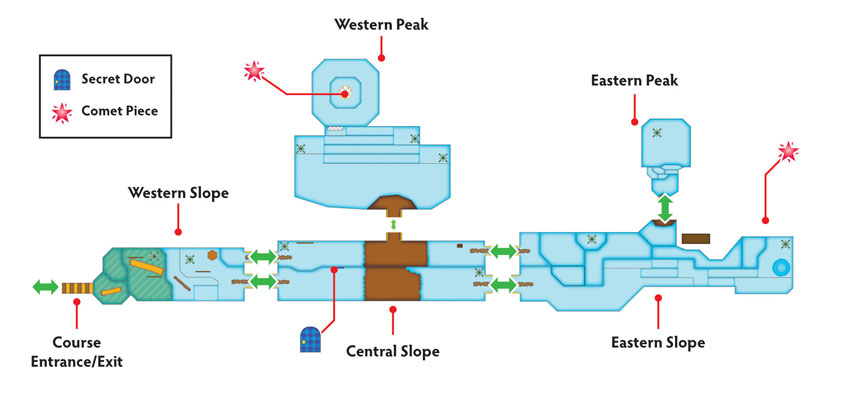
Overview
Prerequisites
This Course becomes available as soon as you defeat the Big Cheep Cheep in Surfshine Harbor. Before you enter the Course, make sure your Album contains a Secret Door sticker, a Fire Flower, and the Radiator Thing Sticker.
Essential Thing Stickers
| Name | Thing Location | Notes |
|---|---|---|
| Radiator | World 3-10 | Needed to melt the central slope. |
Objectives
This Course contains several objectives, at least one of which requires an additional visit:
- Use a Fire Flower to melt the giant ice cream cone.
- Use the Radiator to melt the central slope.
- Collect the Cell Phone from the Secret Door.
- Collect the Goat.
- Collect the Pipe in a Cave scrap.
- Collect the Comet Piece to unlock World 4-2.
- Apply the Pipe in a Cave scrap to the proper location.
- Collect the Comet Piece to unlock World 4-5.
Important Items and Locations
| Description | Notes |
|---|---|
| Secret Door | The marked location is hidden under the central slope. |
| HP-Up Heart | None |
| Toad Rescue | None |
| Luigi Location | None |
| Wiggler Diary Entry | None |
| Things | The Cell Phone is through the Secret Door. The Goat appears on the eastern peak. |
Recommended Tactics
This Course introduces some significantly tougher enemies that pose new problems both in and out of battle. Make sure you stock up on higher-quality stickers, and stay alert as you move through each area.
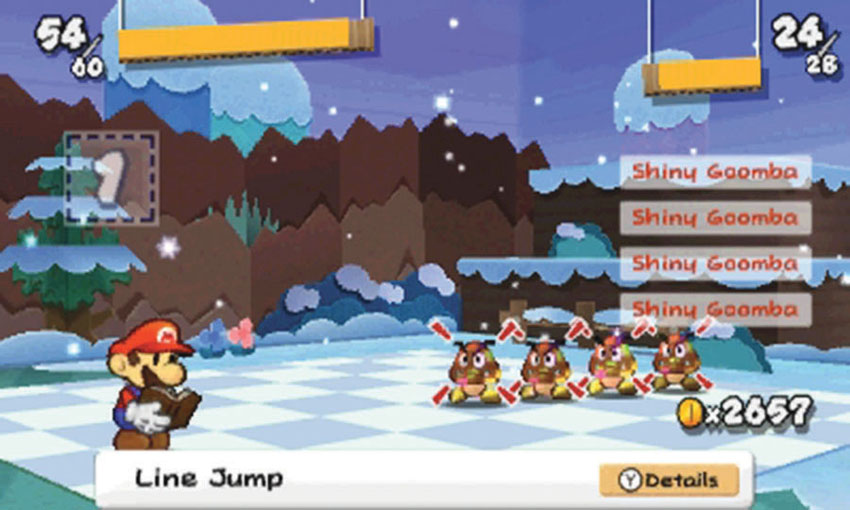
The Shiny Goombas and Shiny Paragoombas are much more durable than their basic counterparts, and they tend to attack in large groups. Powerful, multi-target stickers such as Shiny Shells work well, but a properly used Spike Helmet is very effective against large groups of Shiny Goombas.
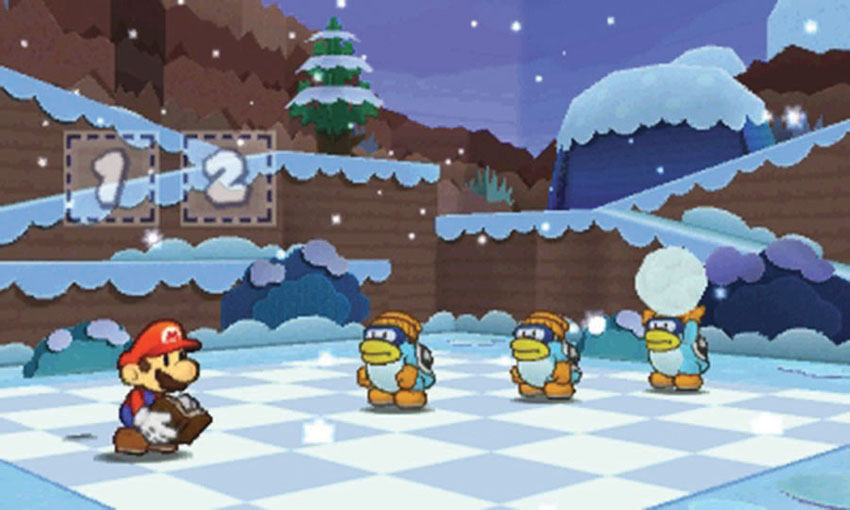
Snow Spikes tend to attack from higher ground, so be cautious when climbing the Course’s various inclines. Use your Hammer to destroy incoming Snowballs, and watch out for additional enemies that might be riding the projectiles heading toward you. Once you initiate combat, use shiny stickers to help ensure you do sufficient damage with each attack.
Western Slope
.jpg)
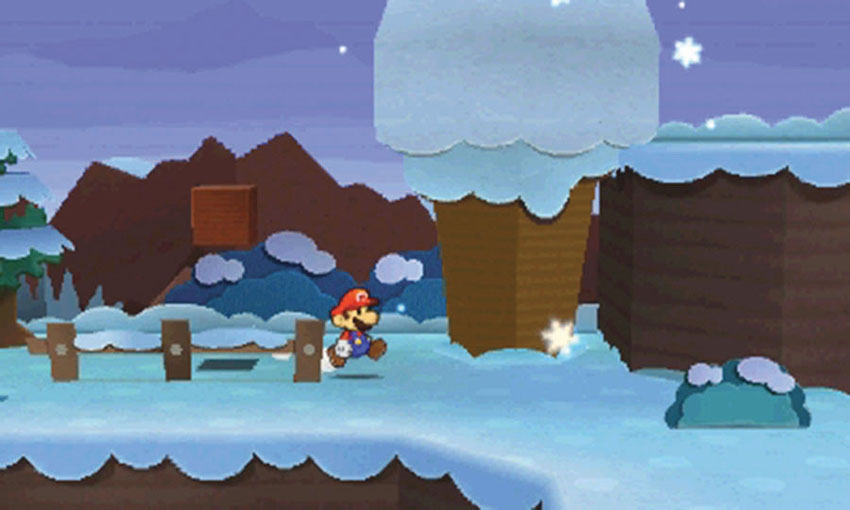
The western slope contains a few enemies and stickers, and it also contains a hidden scrap! Move to the formation that looks like a giant ice cream cone. Activate the Paperize ability and apply a Fire Flower to the indicated spot.
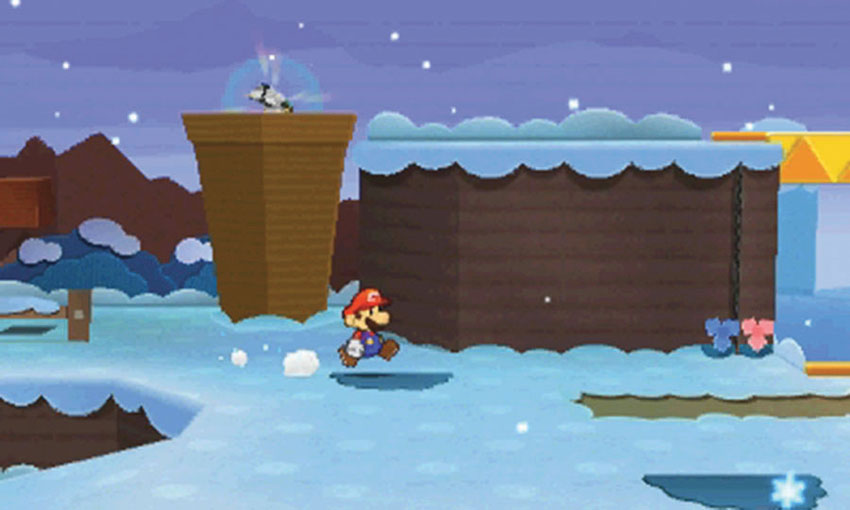
The ice melts, revealing the Pipe in a Cave scrap. To collect the scrap, however, you must approach the platform from the right. When you’re ready, follow the path to the central slope.
Central Slope—Part 1
.jpg)
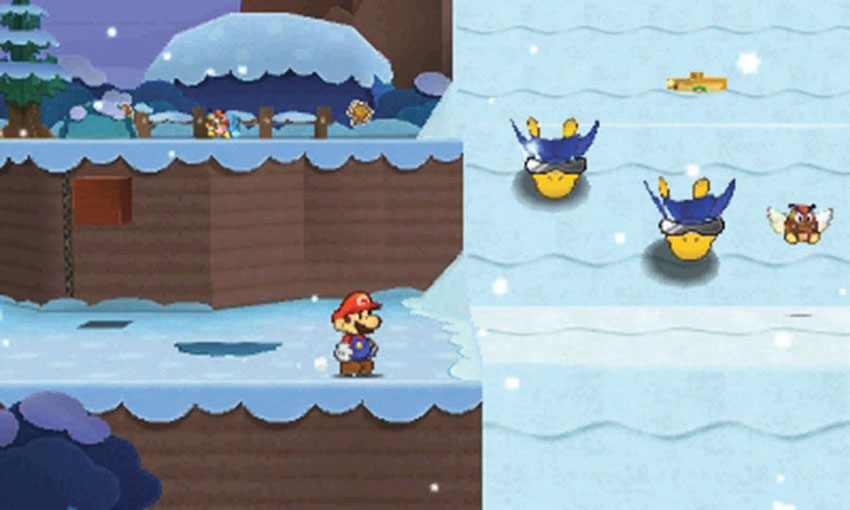
The first time you visit the central slope, the area is covered in fresh snow. As you move through the area, dodge the Cooligans sliding through your path.
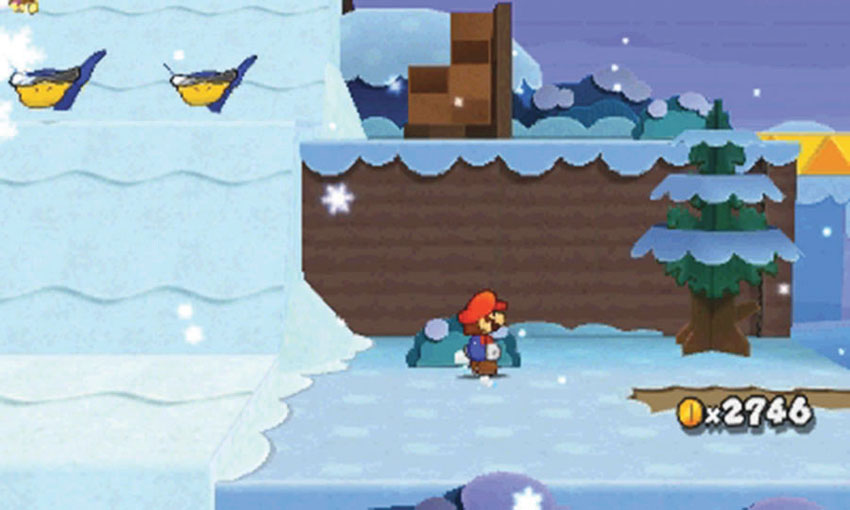
When you reach the right edge of the fresh snow, activate the Paperize ability.
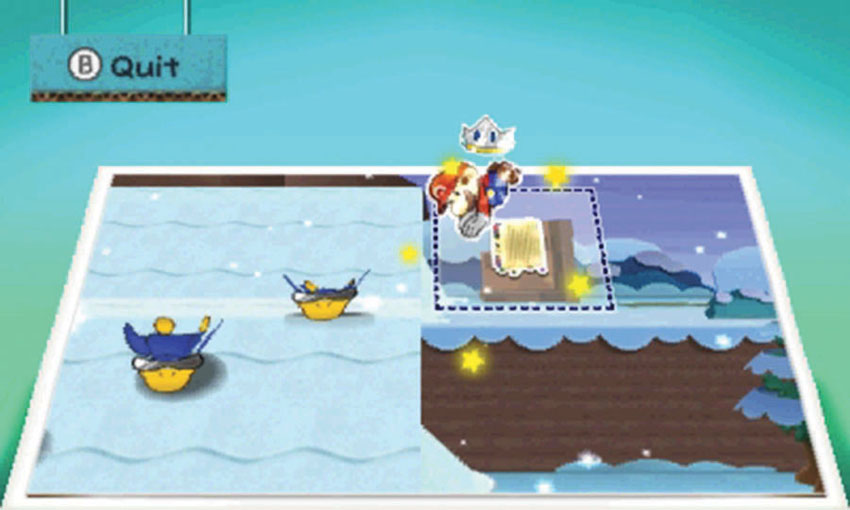
Apply the Radiator sticker to the marked spot on the ledge above you. Once the Radiator’s in place, it melts the fresh snow. This not only reveals some hidden areas, it prevents the Cooligans from moving through the area.
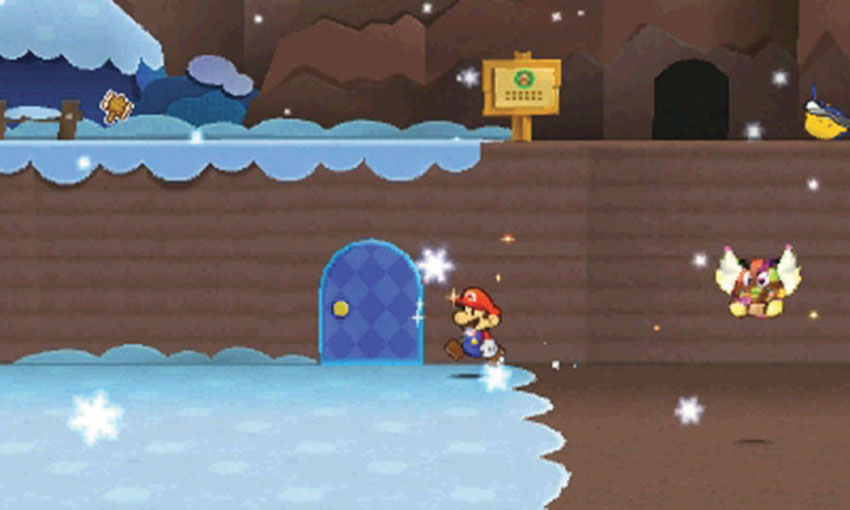
After the snow melts, move back to the left and apply a Secret Door sticker to the marked location at Point 3. Head inside to find the Cell Phone. When you’re finished, continue along the path to find the eastern slope.
Eastern Slope—Part 1
.jpg)
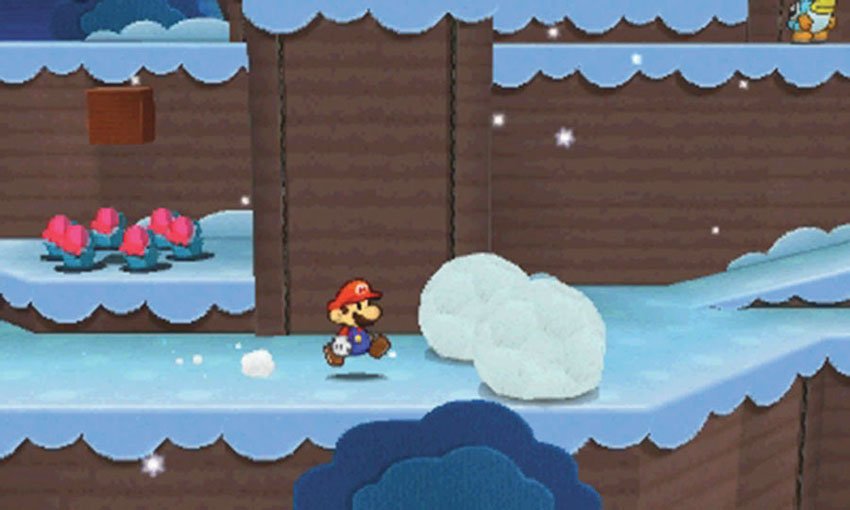
Look for the Paperization Block above the ledge at Point 1, then use your Hammer to clear the Snowballs out of your path.
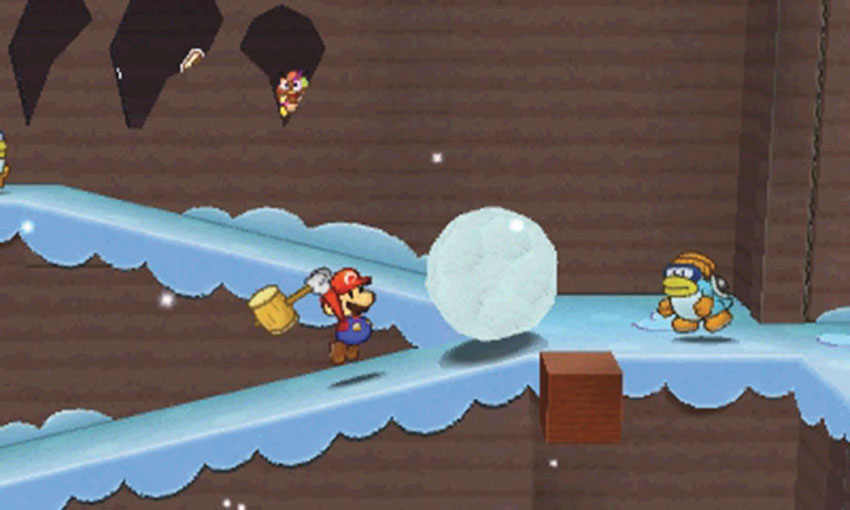
As you approach Point 2, watch out for incoming Snowballs! You’ll find Snow Spikes along most inclines, so use your Hammer to protect yourself. When you reach the first Snow Spike, defeat it in battle, then follow the path to the right.
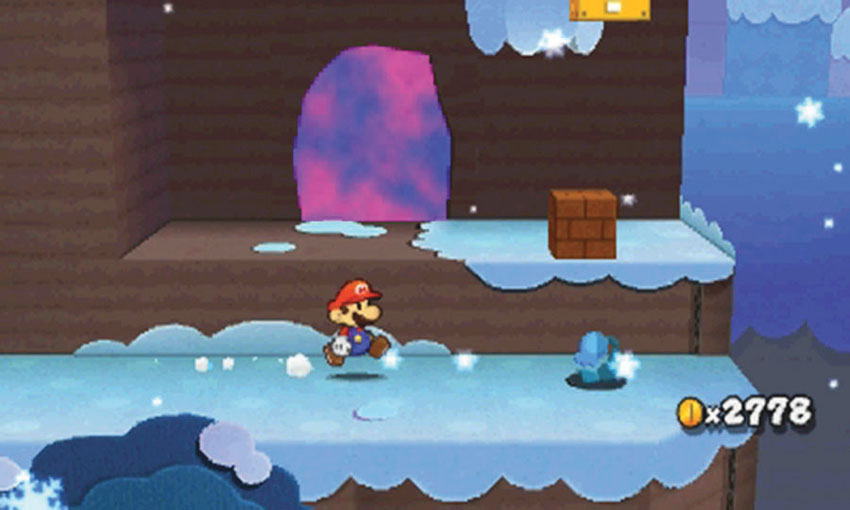
As you follow the path, stay near the foreground to arrive at Point 3. After you collect the Pipe in a Cave scrap, return to this area and apply it to the wall. For now, however, locate the Hidden Block above the blue flower, then follow the path to the ledge above you.
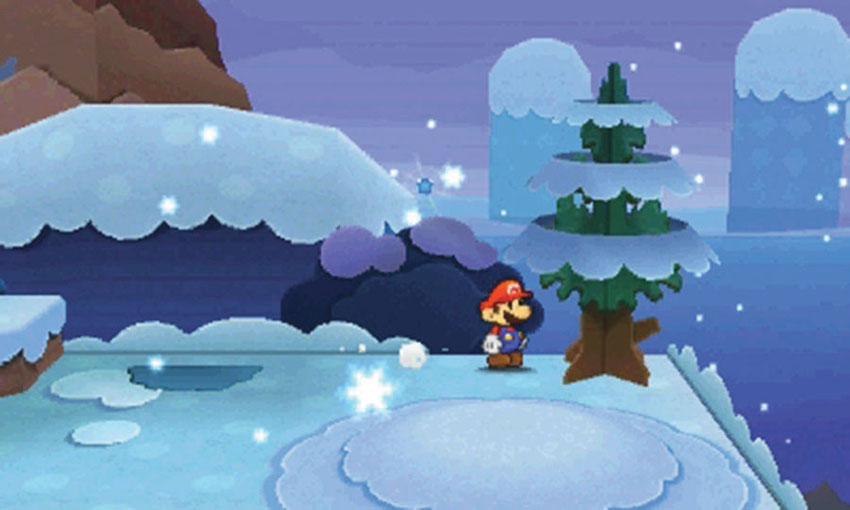
The snow mound at Point 4 covers a hole in the ground. After you apply the Pipe in a Cave scrap to the indicated spot back at Point 3, you can drop through the snow mound and warp over to the Comet Piece floating in the background. For now, follow the path to the left and continue to the top of the slope.
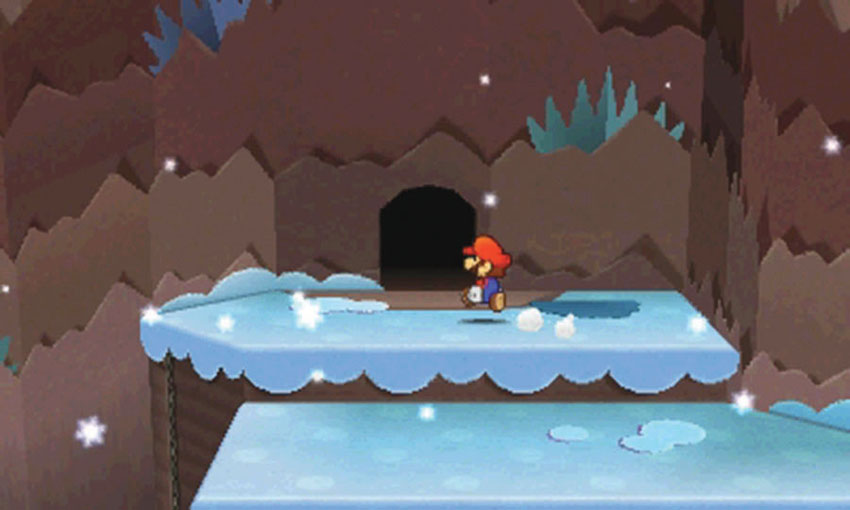
When you reach the top of the slope, follow the path through the back wall to find the eastern peak.
Eastern Peak
.jpg)
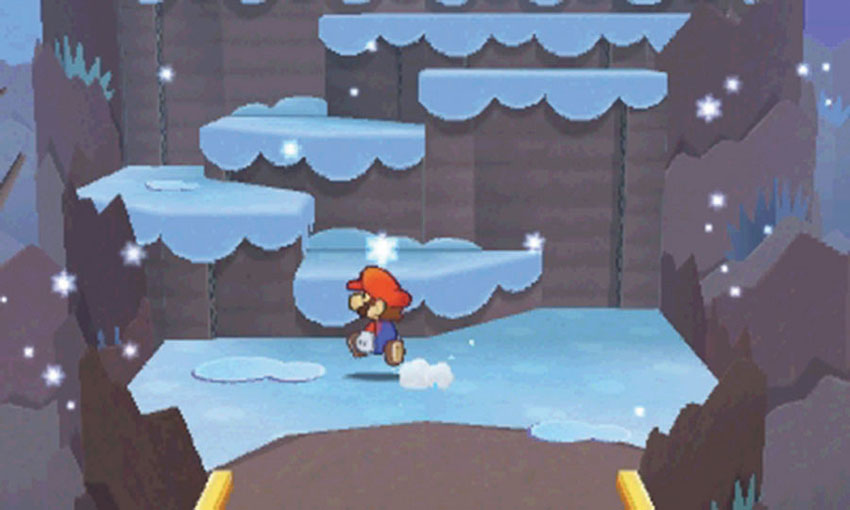
The eastern peak is a very small area. Hop up along the steps to reach the top.

A single tree stands at the top of the eastern peak. Strike the tree with your Hammer until you trigger a short cinematic. The Goat appears in the area when the cinematic ends. Collect the Goat, then follow the path back down to the eastern slope.
Eastern Slope—Part 2
.jpg)
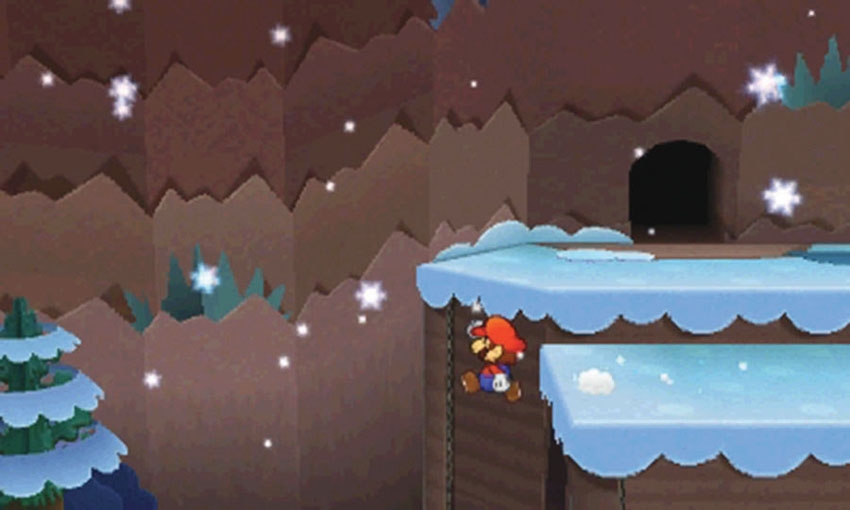
After you return to the eastern slope, drop down from the ledge to the left.
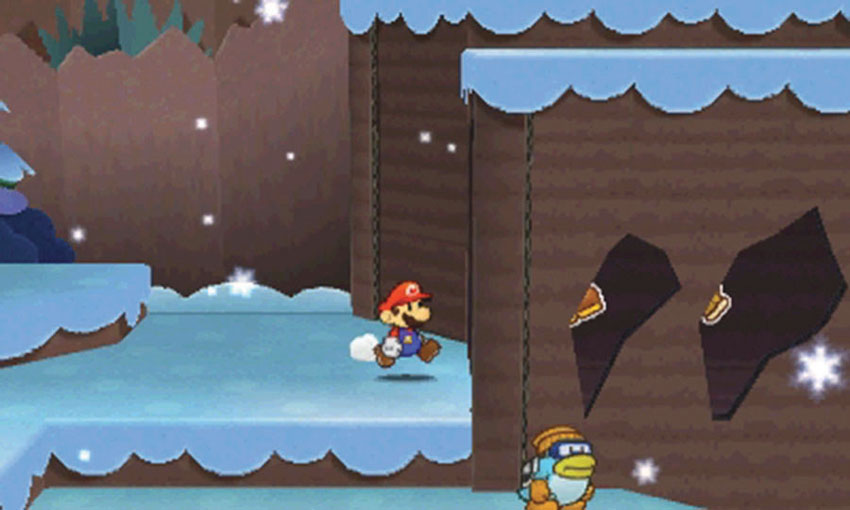
When you land, move to the right to enter a small cave. As you collect the stickers from the back wall, watch out for the Shiny Goomba lurking in the area. When you’re ready, follow the path to the left.
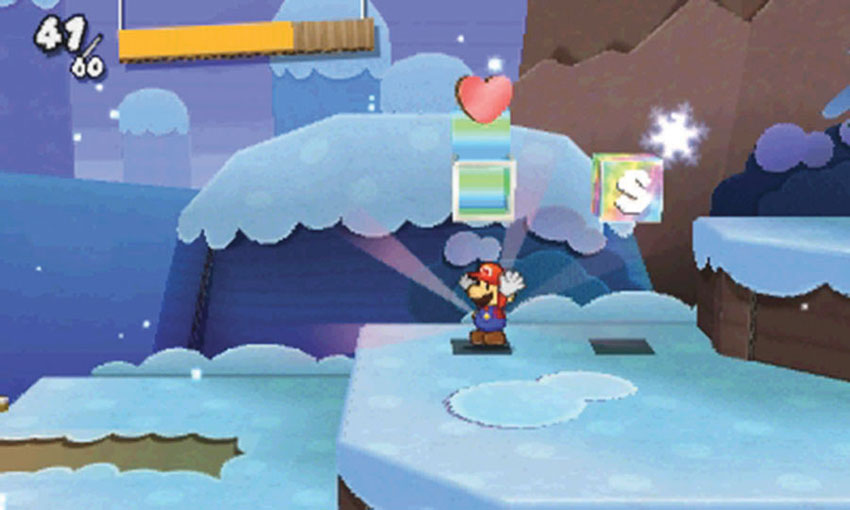
Make sure you use the HP Block and Save Block at Point 2, then continue along the path and return to the central slope.
Central Slope—Part 2
.jpg)
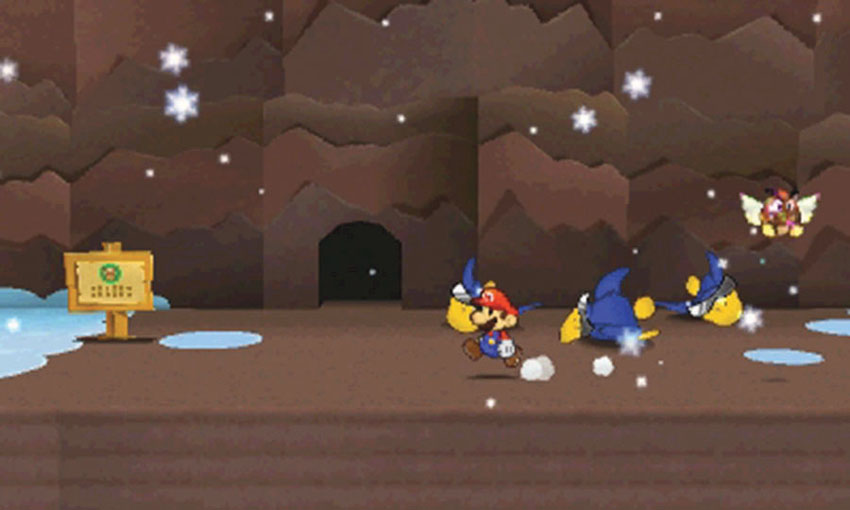
Follow the central slope’s upper ledge past the small opening in the back wall. This passage leads to the western slope. Before you head inside, however, take a moment to collect the Pipe in a Cave scrap. Follow the path to the left and continue through the area.
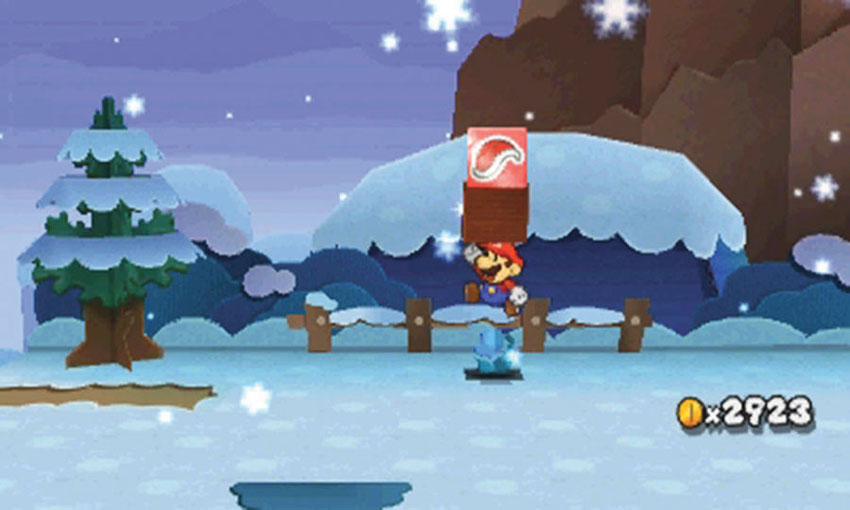
As you approach the left edge of the central slope, look for the Hidden Block above the blue flower at Point 2. Collect the nearby stickers, then continue to the left to collect the Pipe in a Cave scrap from the western slope.
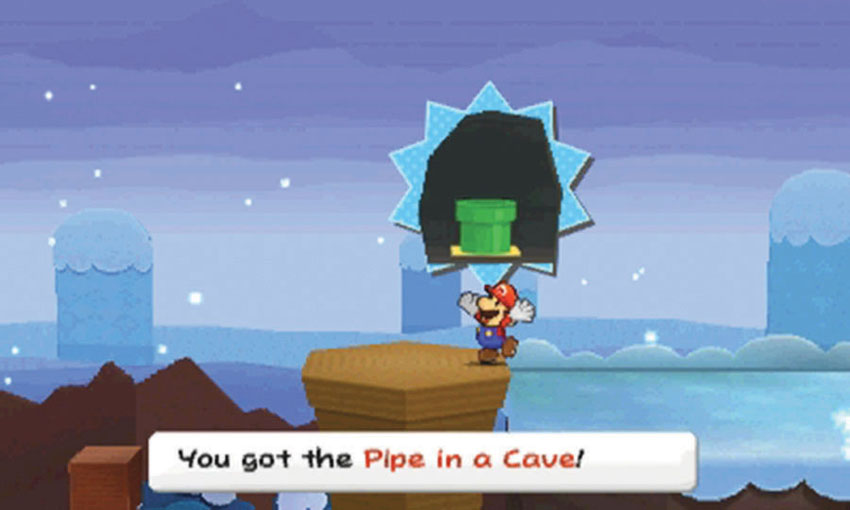
After you collect the Pipe in a Cave scrap, turn back and return to the central slope.
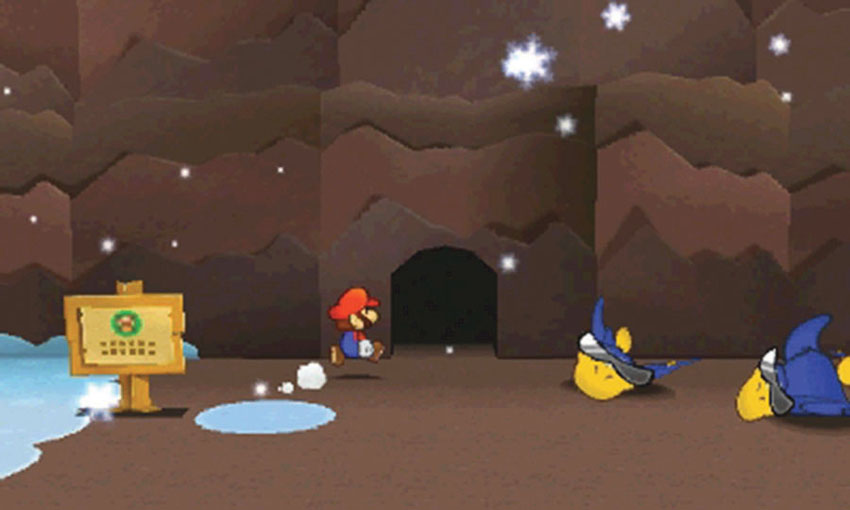
Return to the passage in the middle of the central slope and follow it to the western peak.
Western Peak
.jpg)
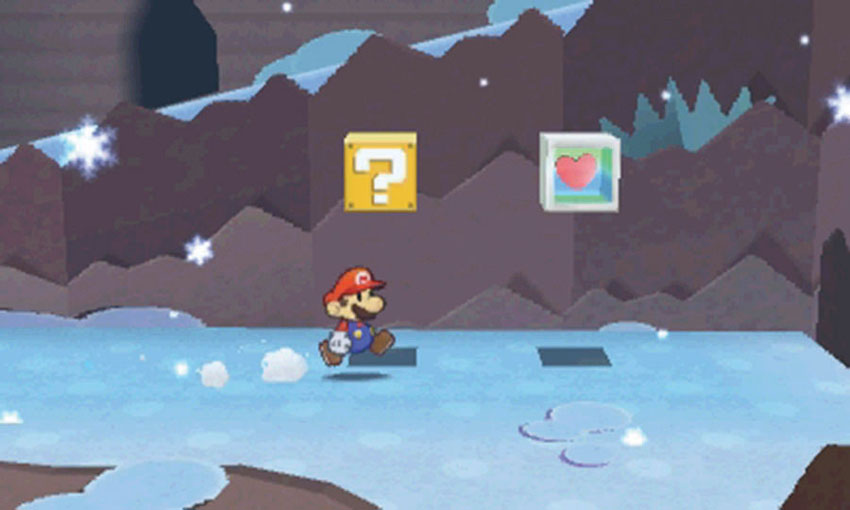
The western peak is fairly large, and it’s packed with enemies. Use the HP Block at Point 1 to top off Mario’s HP before you head up the first incline.
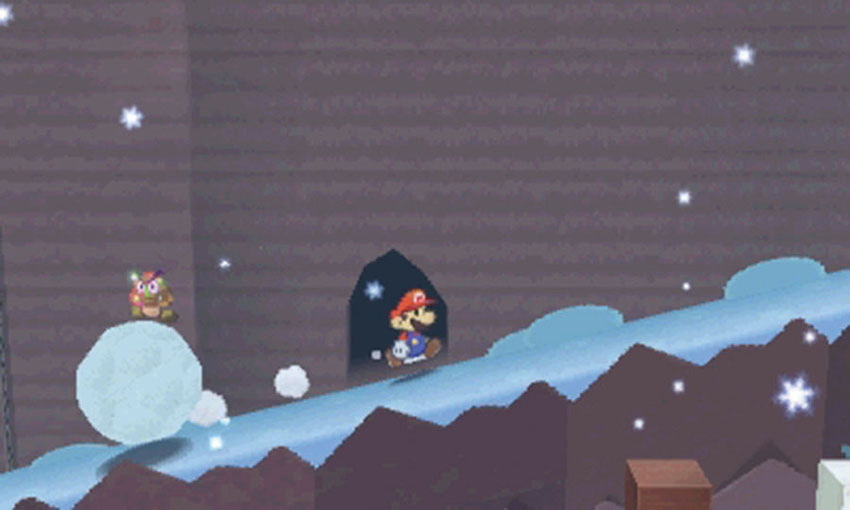
The Snow Spike at the top of the first incline makes your initial ascent particularly difficult. Use the small alcoves along the back wall to dodge the Snowballs that roll toward you. When you reach the top of the incline, clear out the enemies on the first plateau.
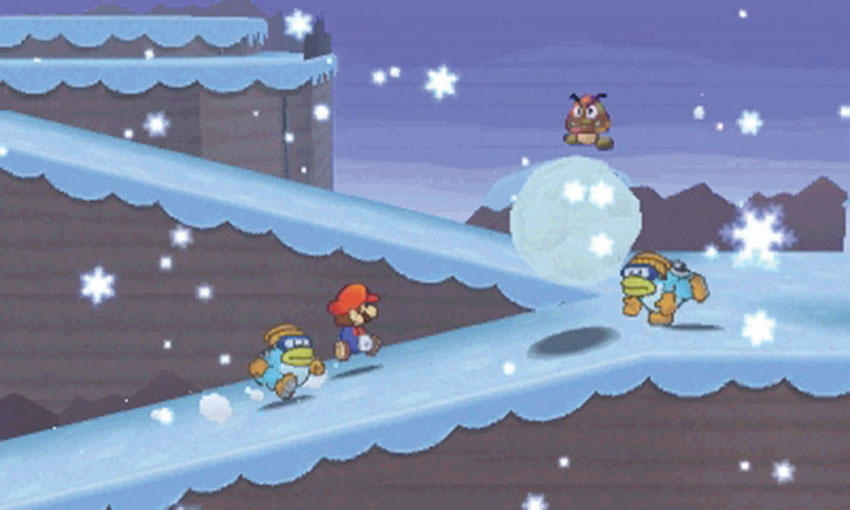
Continue to ascend the peak one incline at a time. If you’re unable to dodge incoming Snowballs, hit them with your Hammer and defeat the Shiny Goombas that ride them.
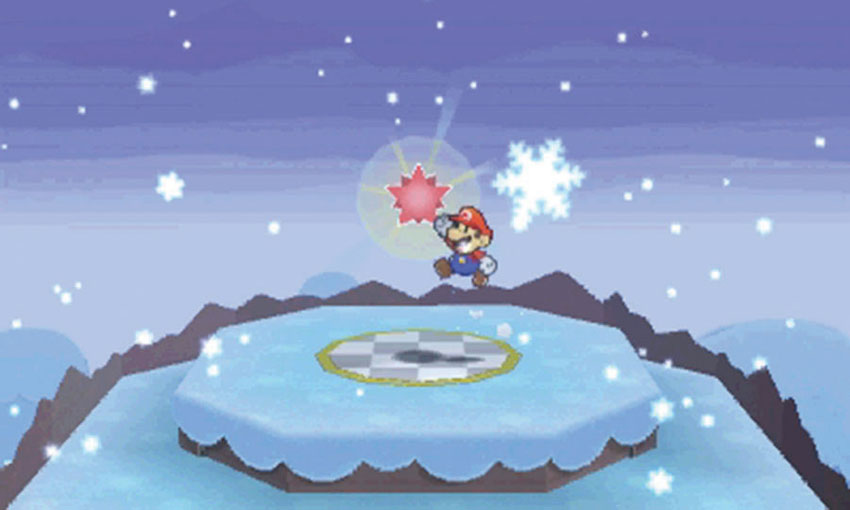
When you reach the top of the western peak, collect the Comet Piece to end your first visit.
Sticker Comet Piece: Unlocking World 4-2
This Course contains two pieces of the Sticker Comet. To unlock World 4-2, collect the Comet Piece at the top of the western peak.
Recommended Visit #2
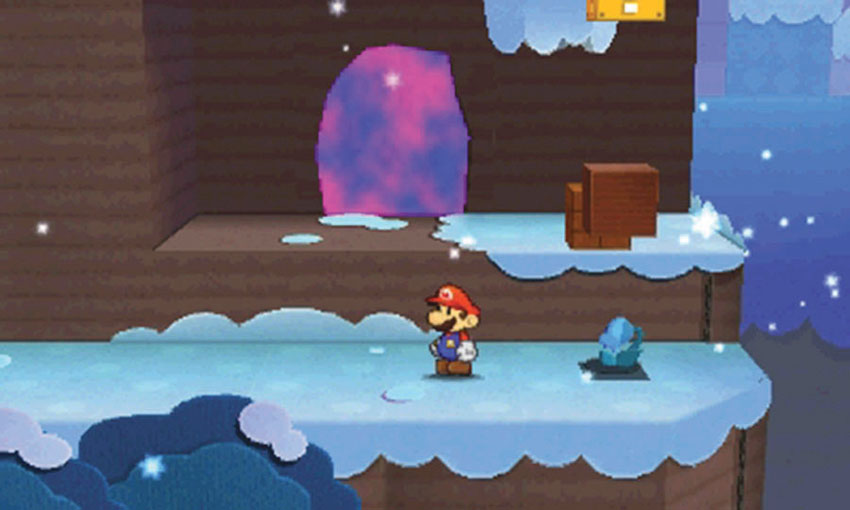
After you end your first visit, you must revisit the Course to collect the remaining Comet Piece. Return to the eastern slope’s right edge and apply the Pipe in a Cave scrap to the indicated spot.
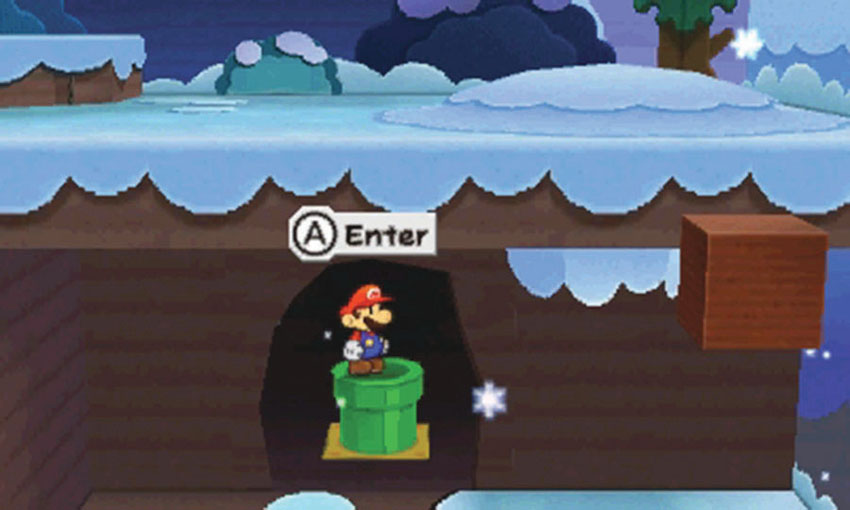
After the warp pipe is in place, climb up to the snow mound on the ledge above you. Stand at the center of the mound, then move toward the background until you drop down to the warp pipe. When you’re ready, use the warp pipe to travel to the background.

When you emerge in the background, hop down from the pipe and collect the Comet Piece to the left.
Sticker Comet Piece: Unlocking World 4-5
This Course contains two pieces of the Sticker Comet. To unlock World 4-5, apply the Pipe in a Cave scrap to the indicated spot in the eastern slope, enter the warp pipe, and collect the Comet Piece from the background.
World 4-2: Ice Flow
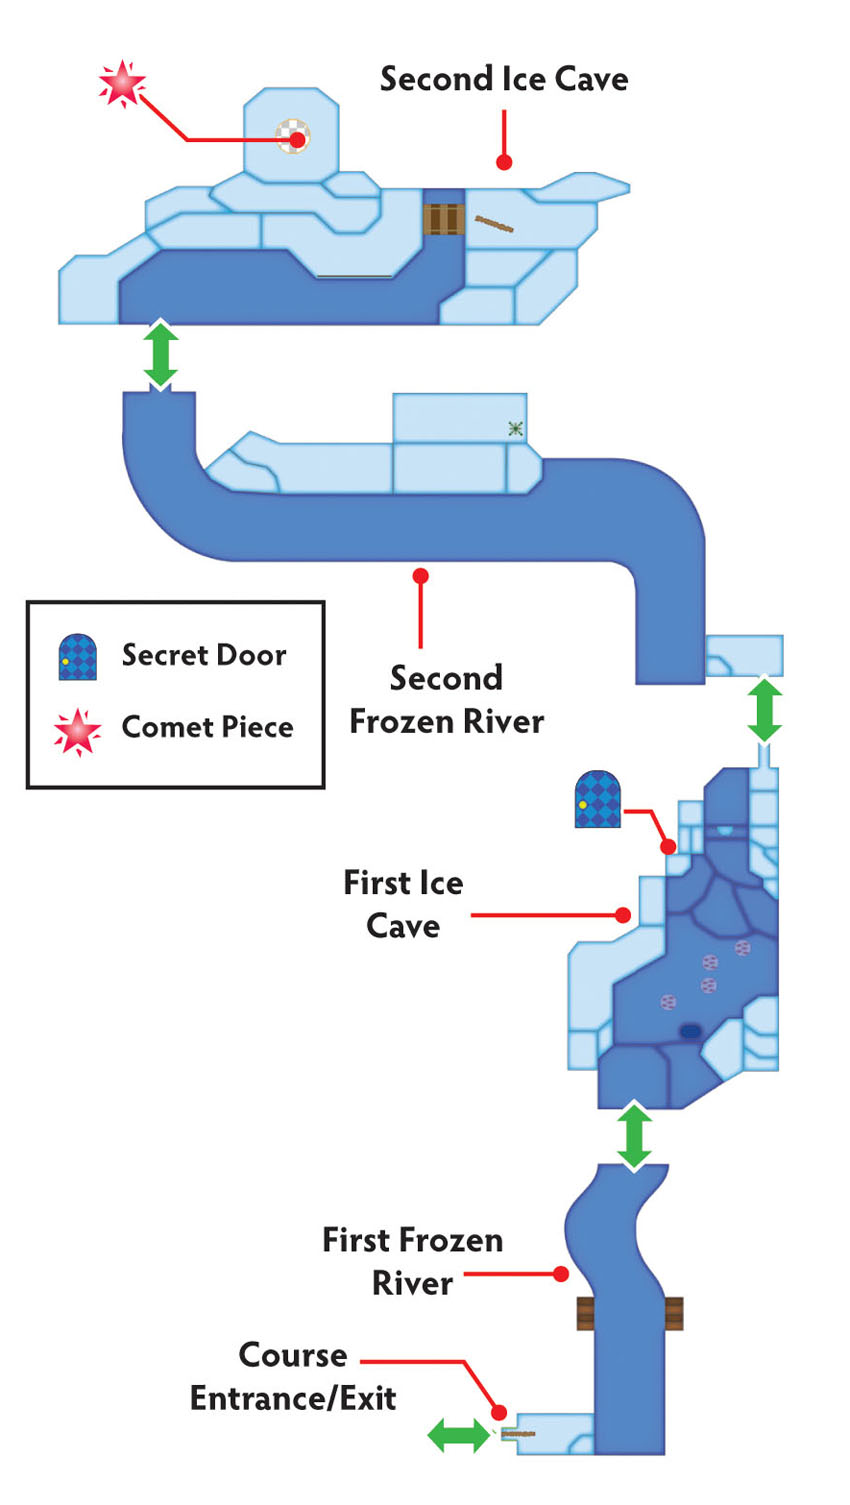
Overview
Prerequisites
To unlock this Course, you must collect the corresponding Comet Piece from the western peak in World 4-1. Make sure your Album contains a Secret Door sticker before you enter the Course.
Objectives
This Course contains several objectives, all of which can be completed on a single visit:
- Collect the Curling Stone.
- Collect the Hair Dryer from the Secret Door.
- Collect the randomly selected Thing.
- Collect the Comet Piece to unlock World 4-3
Important Items and Locations
| Description | Notes |
|---|---|
| Secret Door | The marked location is in the first ice cave. |
| HP-Up Heart | The HP-Up Heart is along the second frozen river. |
| Toad Rescue | None |
| Luigi Location | None |
| Wiggler Diary Entry | None |
| Things | The Curling Stone randomly appears on the first frozen river. The Hair Dryer is through the Secret Door. A randomly selected Thing appears on the second frozen river. |
Recommended Tactics
This Course contains a variety of enemies, and they tend to attack in large groups. You’ll find plenty of useful stickers along the way, but consider building a good selection of shiny stickers and flashy stickers before you enter the Course.
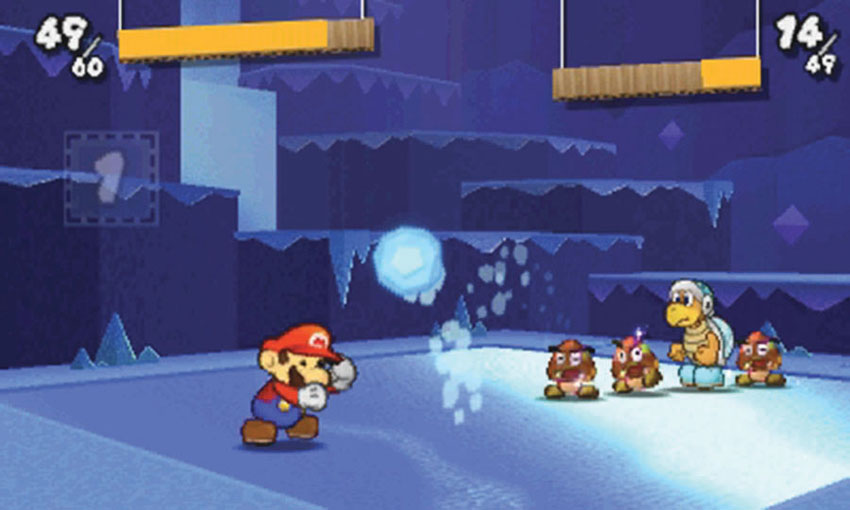
An Ice Bro’s attack not only deals significant damage, it temporarily incapacitates you. When you approach an Ice Bro, try to dodge its attacks. Once the battle begins, block its attacks to prevent yourself from freezing. Try to initiate each battle with a Hammer strike, and avoid using any stickers that deal freezing damage.
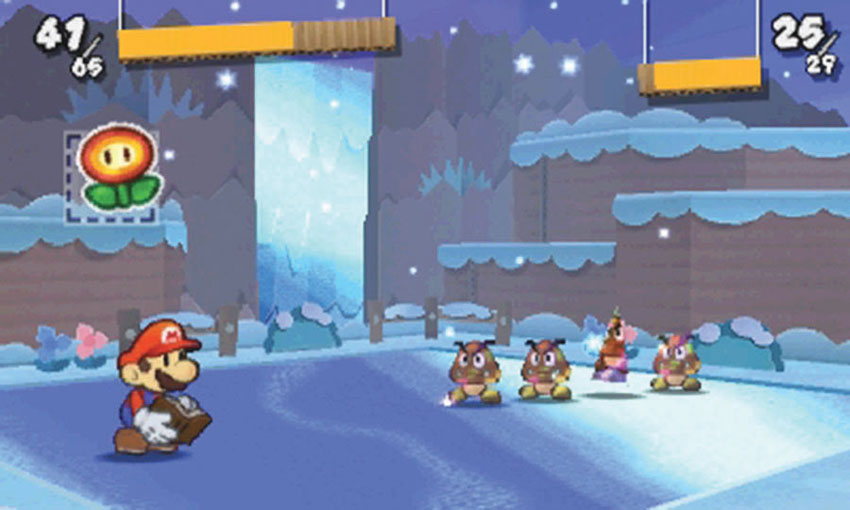
Most of this Course’s battles involve large groups of enemies, so make sure you carry plenty of multi-target stickers. Since some of this Course’s enemies are immune to freezing damage, it’s best to use stickers like Shiny Shells, Shiny Fire Flowers, and Burnhammers when you want to end a fight quickly. As always, battles are much easier when you take advantage of the Battle Spinner.
First Frozen River
.jpg)

Hop onto the first frozen river and follow it toward the background. The path is fairly simple, but the Cooligans sliding along the ice can be a serious nuisance! Dodge the enemies and collect the coins as they slide toward you. If you collect enough, you’ll earn a Big 1UP sticker!
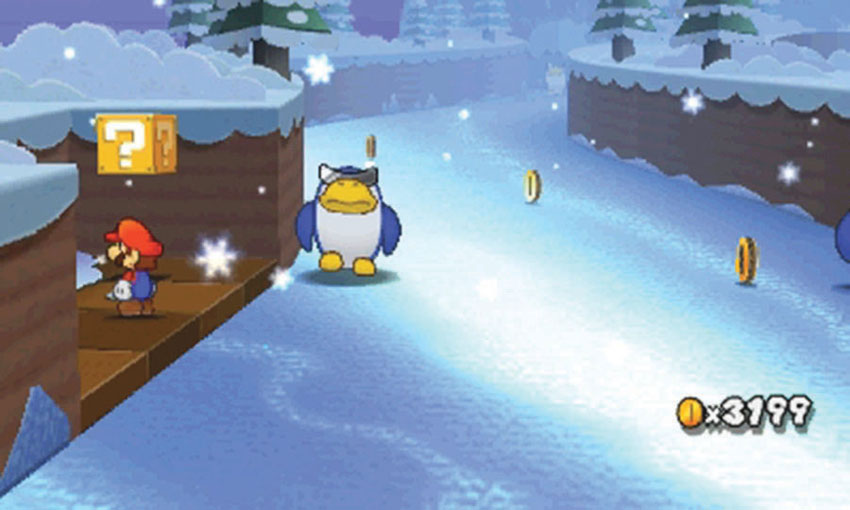
When you reach the ? Block at Point 2, hop off of the ice and wait for a Thing to slide down the first frozen river.
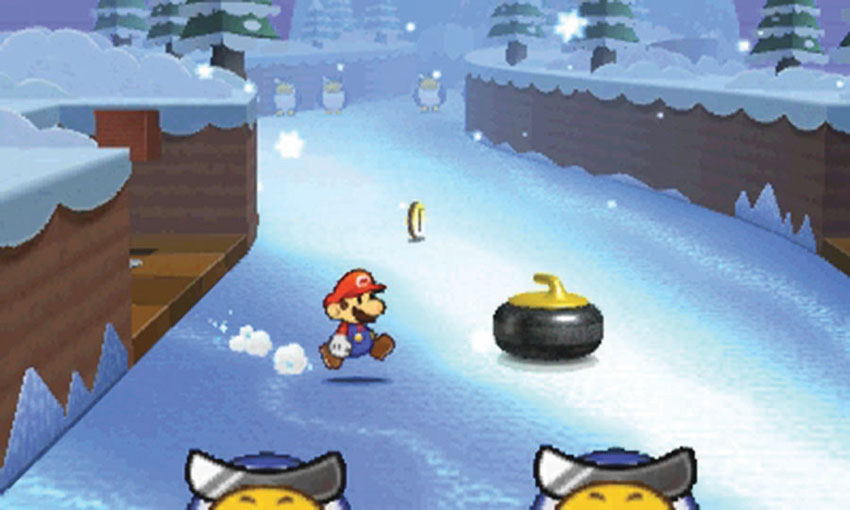
When the Curling Stone appears, hop onto the ice and grab it. If you’ve lost any HP, collect the Heart in the nook to the right before you leave the area.
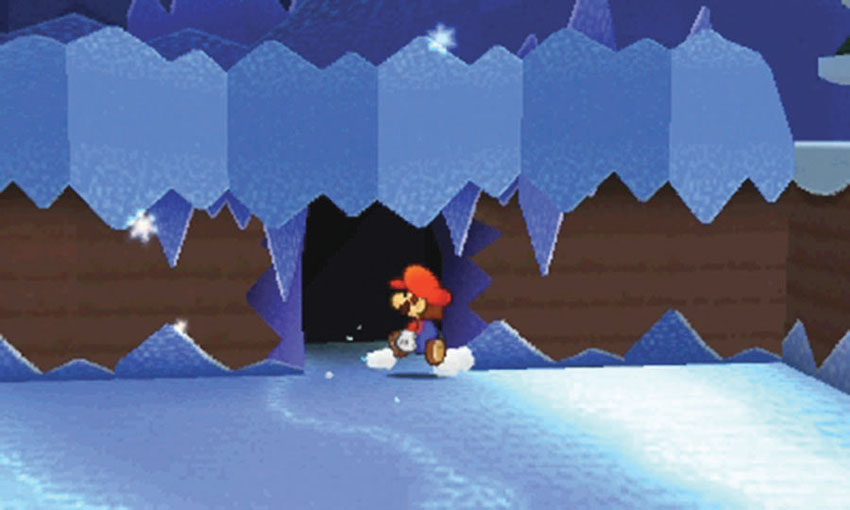
When you reach the end of the path, head through the opening to enter the first ice cave.
First Ice Cave
.jpg)
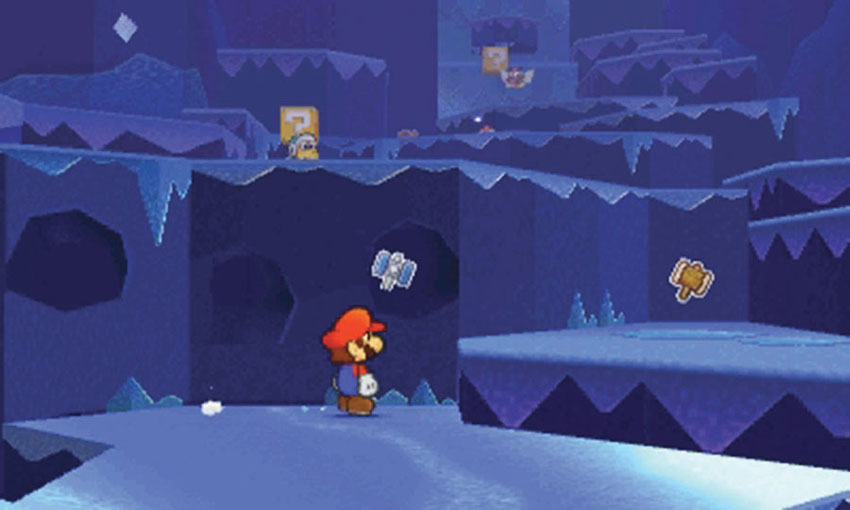
When you enter the cave, a Shiny Slaphammer can be seen through a large hole in the wall. To collect this sticker you must drop down from a hidden opening on the ledge above it.
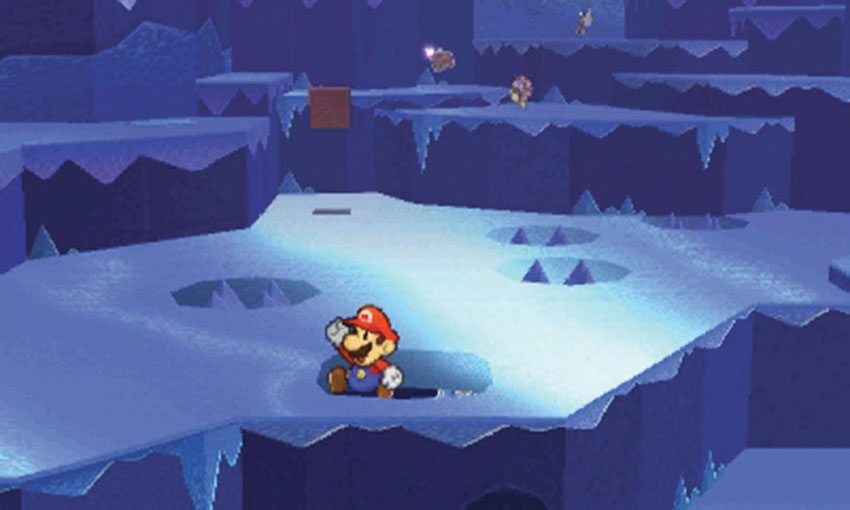
Climb up the steps and deal with the Ice Bro patrolling the area. There are several spike-filled holes scattered around the cave, but the hole just above the Shiny Slaphammer is covered with ice. Break through the ice, then drop down and collect the sticker. Move to the left and exit the enclosure, then climb back up the steps and continue through the first ice cave.
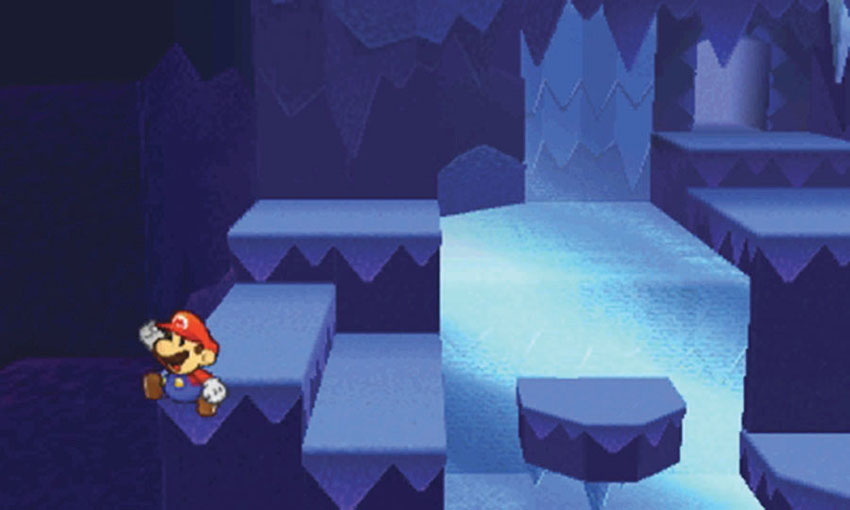
The Secret Door is on a high platform on the left side of the cave. To reach it, climb to the top of the waterfall, then move to the left wall and walk toward the foreground until you drop off the ledge.
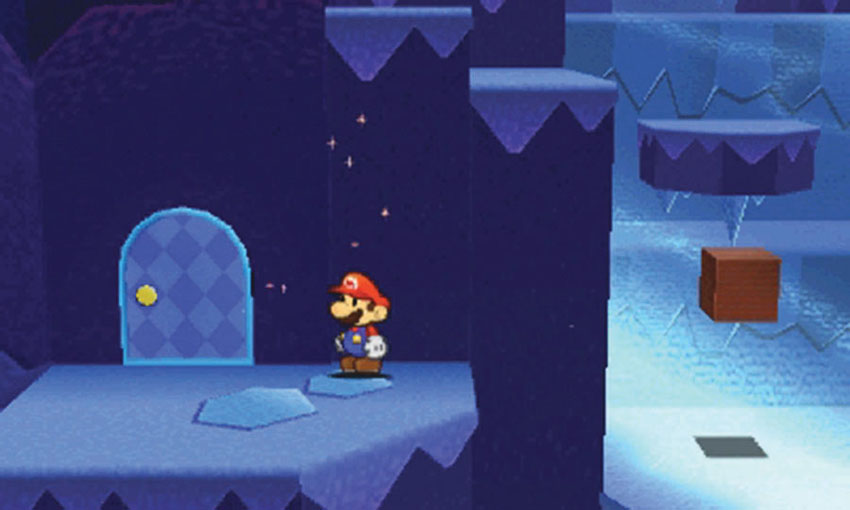
After you land, apply a Secret Door sticker to the marked location, then head inside to find the Hair Dryer.
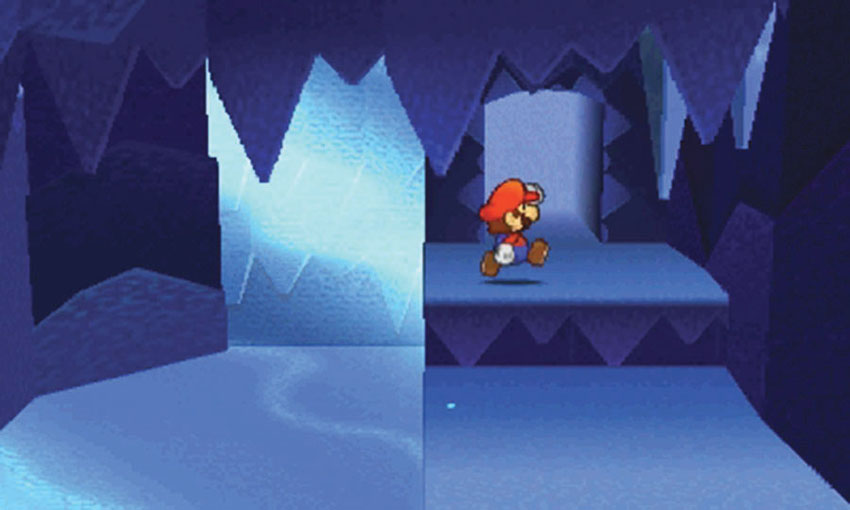
When you’re finished exploring the first ice cave, climb back up the waterfall and follow the path out to the second frozen river.
Second Frozen River
.jpg)
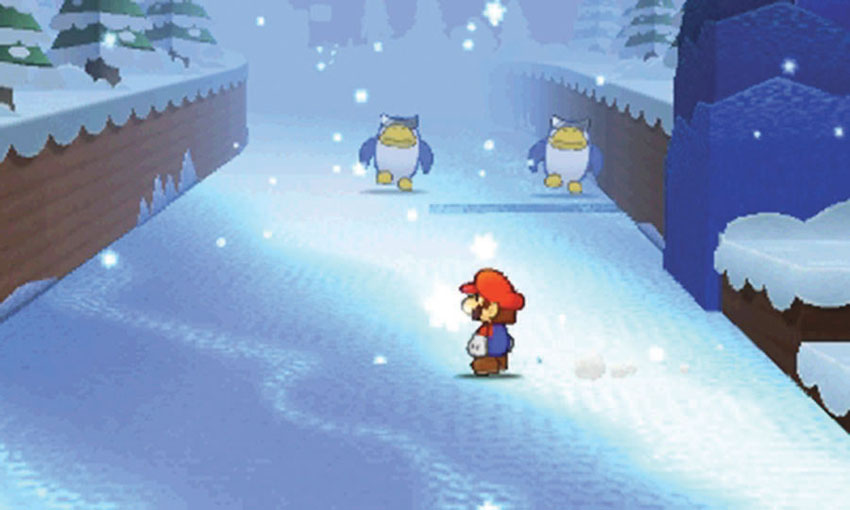
The second frozen river is similar to the first, but it’s a bit more hazardous. The ice path takes you through some sharper turns, which makes it much more difficult to spot incoming Cooligans. Additionally, the Cooligans in each group frequently change positions, so stay alert!
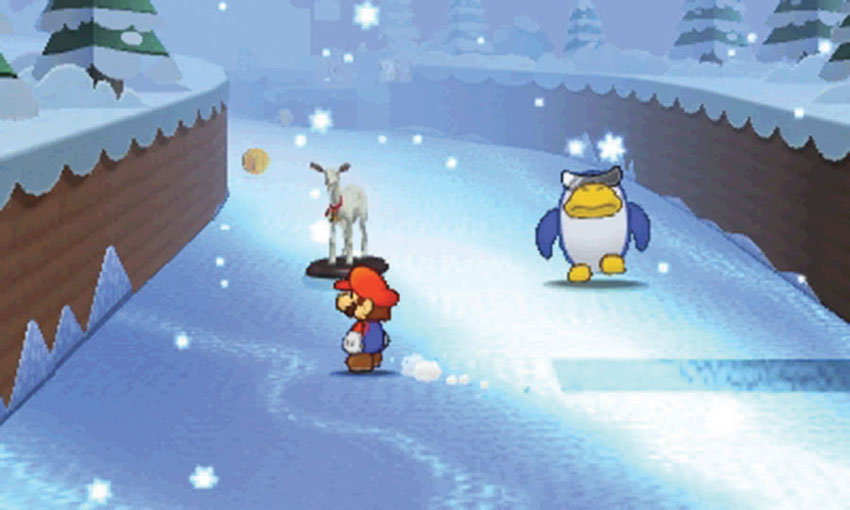
As you negotiate the second frozen river, collect the coins that appear. If you collect enough, you’ll receive a Big Shiny 1UP sticker! Additionally, a randomly selected Thing eventually appears in the area. This will be a Thing that you’ve previously collected, but one that is not currently in your Album (as a Thing or a sticker).
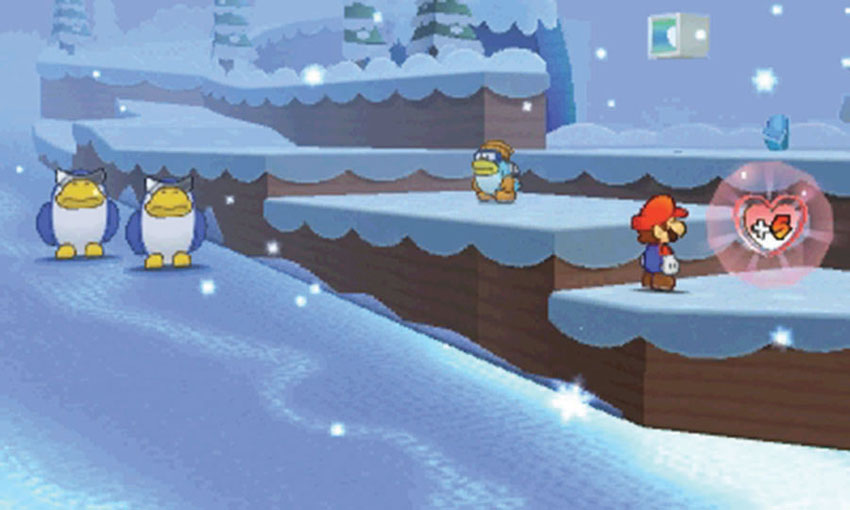
There’s an HP-Up Heart on the platform at Point 3. When you’re in range, hop up and collect it, then search the nearby platforms to find an HP Block and a Hidden Block floating above a blue flower.
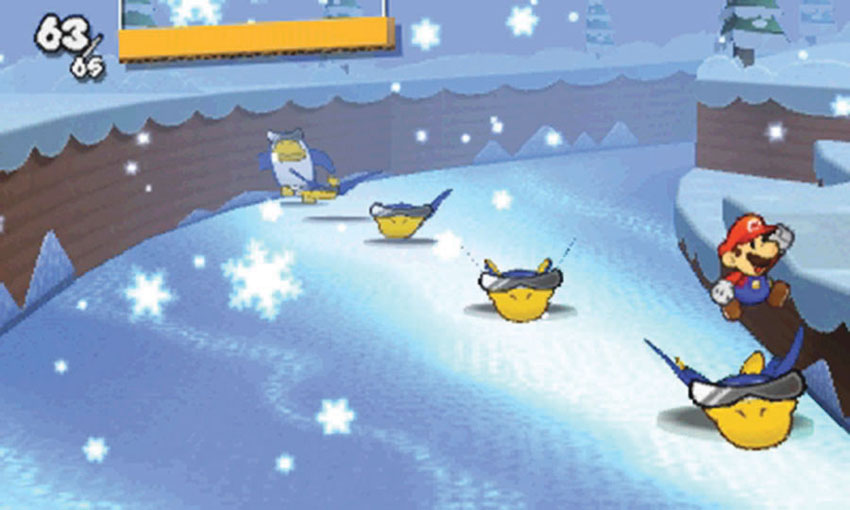
When you’re ready, hop back down to the ice and continue through the area. As you move past the platforms, the incoming Cooligans tend to slide on their bellies. Rather than slip between them, simply jump over (or on) the sliding Cooligans and follow the path to the second ice cave.
Second Ice Cave
.jpg)
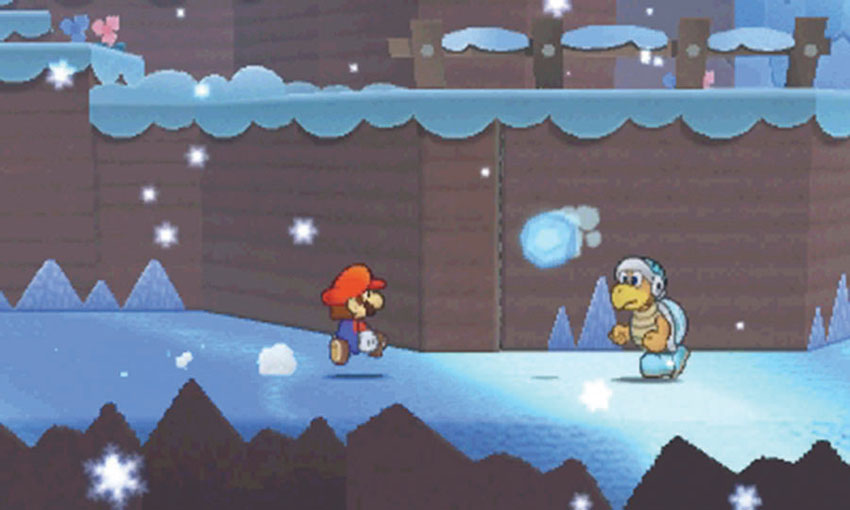
Stay alert as you explore the cave! It can be difficult to spot patrolling Ice Bros before they attack.
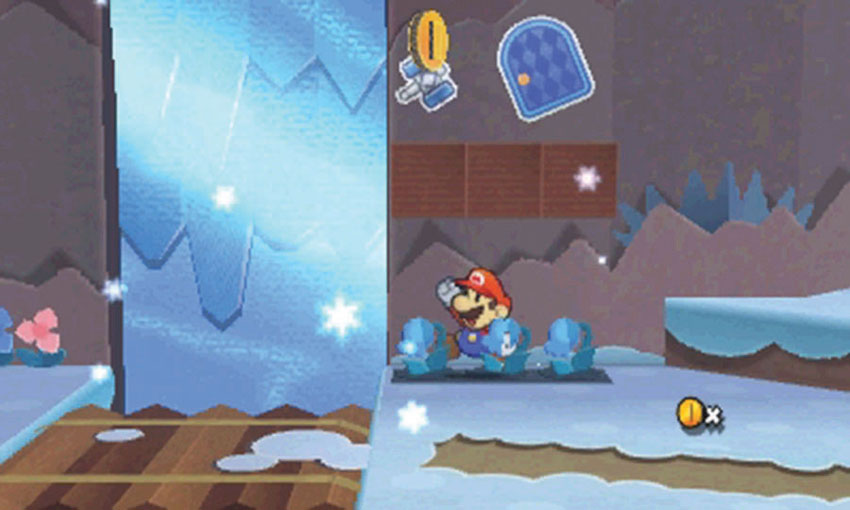
There are some stickers high on the wall at Point 2. To reach them, you must find the many Hidden Blocks in the area. Jump up to reveal the Hidden Blocks directly below them, then continue through the area to find some higher ground.
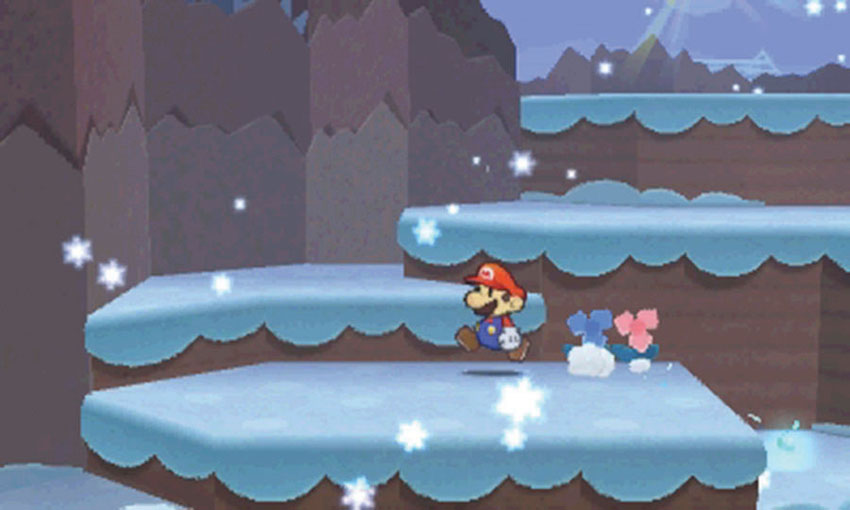
The path splits at Point 3. Before you climb up to the Comet Piece, make sure you explore the platforms to the left.
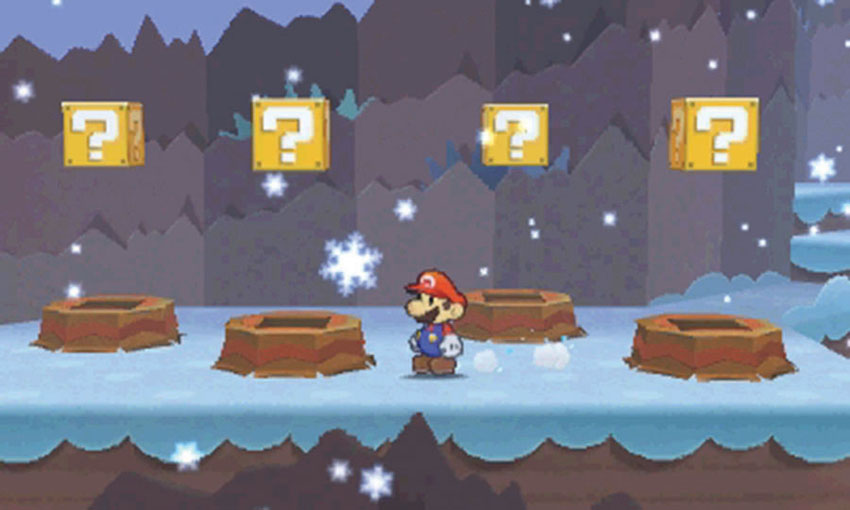
If your Album contains any unneeded stickers, use them to reveal the Paperization Blocks above the stumps at Point 4.
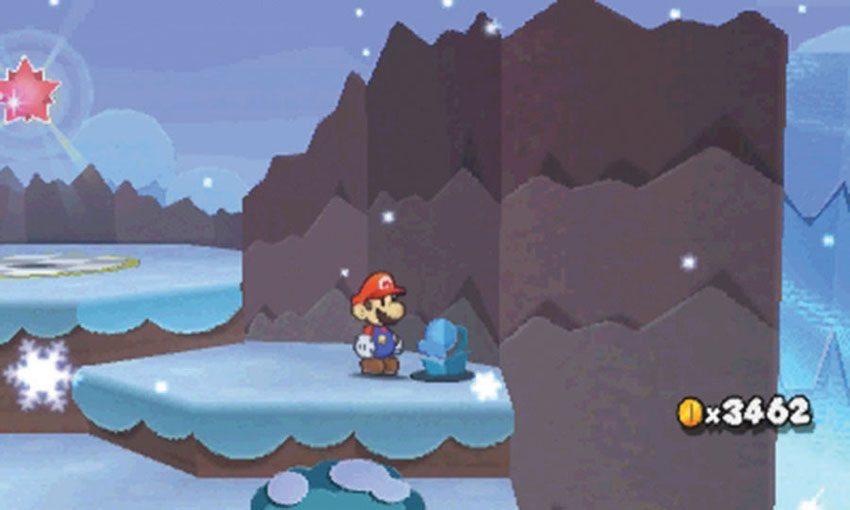
Before you collect the Comet Piece, use your Hammer to reveal the blue flower at Point 5.
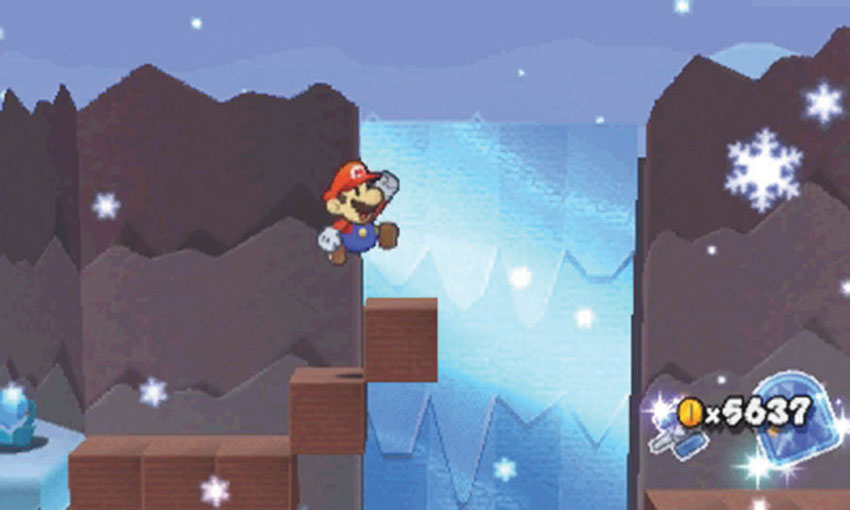
Use your Hammer to reveal the Hidden Blocks to the right, then jump across the waterfall and collect the stickers on the wall back at Point 2.
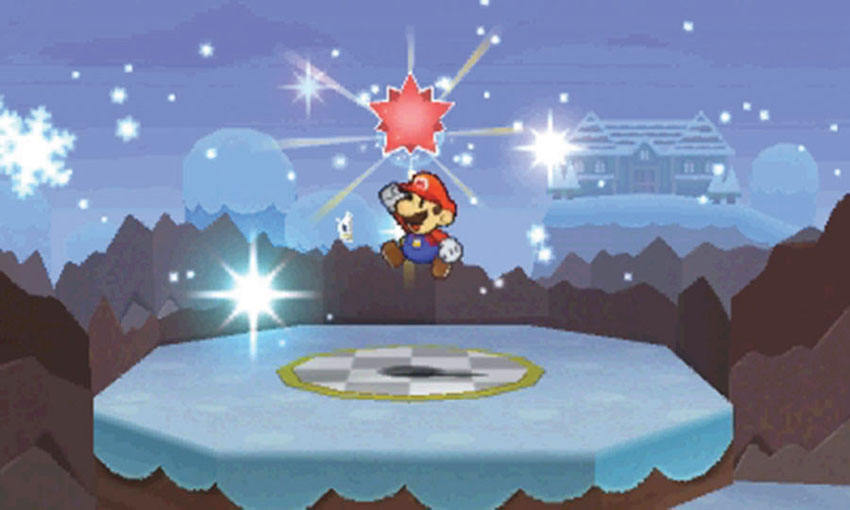
When you’re finished searching the area, climb back up to the top of the ice cave and collect the Comet Piece to complete your visit.
Sticker Comet Piece: Unlocking World 4-3
This Course contains only one piece of the Sticker Comet. To unlock World 4-3, simply collect the Comet Piece at the end of World 4-2.
World 4-3: The Enigmansion
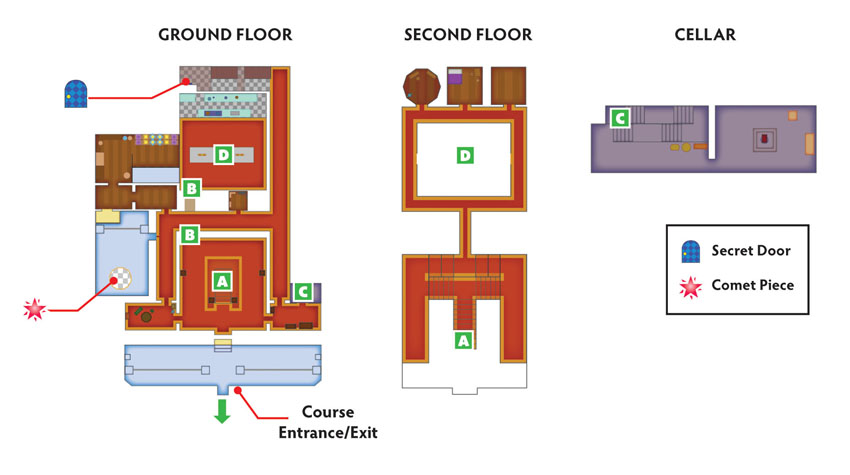
Overview
Prerequisites
To unlock this Course, you must collect the Comet Piece at the end of World 4-3. Before you enter this Course, make sure your Album contains a Secret Door sticker and a water-based Thing Sticker.
Essential Thing Stickers
| Name | Thing Location | Notes |
|---|---|---|
| Soda | World 2-1 | Used to reveal the Big Boo when it vanishes. |
Objectives
This Course contains several objectives, one of which requires an additional visit:
- Collect the Book of Sealing.
- Find and defeat all of the hidden Boos.
- Collect the Oven.
- Collect the Refrigerator.
- Move the Mansion Door scrap from the library to the lobby walkway.
- Collect the Stapler.
- Open the Decalburg shortcut through the Secret Door.
- Move the Mansion Bookcase scrap from the ground-floor office to the central hallway.
- Swap the Mansion Wall scraps in the antechamber.
- Collect the Watering Can.
- Move the Mansion Safe scrap from the living room to the ground-floor office.
- Move the Steward’s Portrait scrap from the lobby walkway to the bedroom.
- Move the Big Bookcase scrap from the second-floor office to the library.
- Collect the Cake.
- Place the Book of Sealing in the cellar.
- Defeat the Big Boo.
- Collect the Forebear’s Portrait scrap.
- Collect the Comet Piece to unlock World 4-4.
- Collect the HP-Up Heart.
Important Items and Locations
| Description | Notes |
|---|---|
| Secret Door | The marked location is at the top of the rear staircase. |
| HP-Up Heart | After you complete World 4-5, the HP-Up Heart appears in the living room. |
| Toad Rescue | None |
| Luigi Location | None |
| Wiggler Diary Entry | None |
| Things | The Oven and Refrigerator are in the kitchen. The Stapler appears in the right hall. The Watering Can is in the greenhouse. The Cake is on the dining room table. |
Recommended Tactics
This Course contains Scaredy Rats, Boos, and a Big Boo. A good selection of stickers should help you meet all challenges.
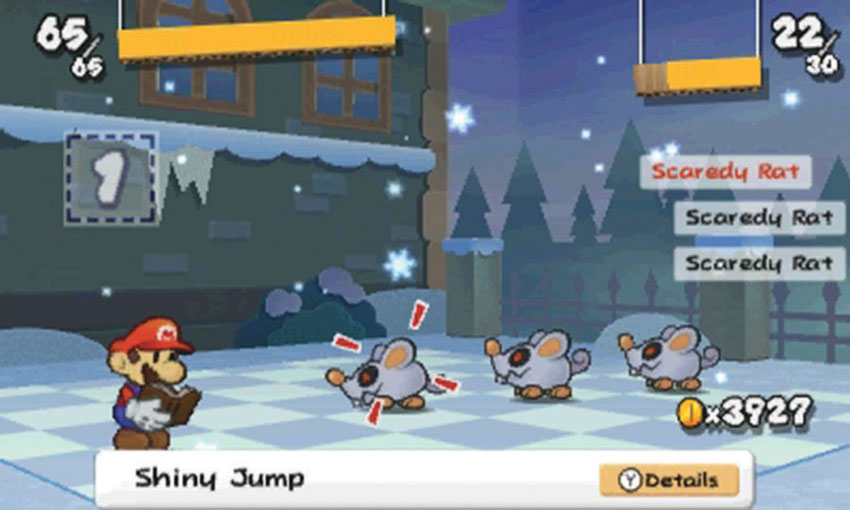
Scaredy Rats aren’t particularly tough, but they often attack in groups. Use multi-target stickers to quickly end these battles—when a Scaredy Rat attacks, it has a chance to steal one of your stickers!
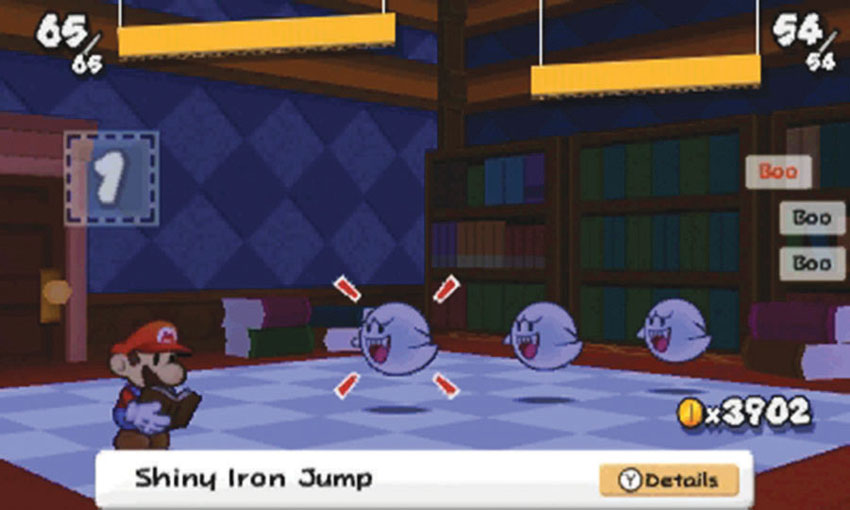
The mansion is absolutely packed with Boos, and the steward wants you to defeat them all. Boos are fairly durable, so it’s best to use high-quality stickers. Shiny stickers are usually sufficient if you take advantage of the Battle Spinner—just make sure you carry both single-target and multi-target stickers.
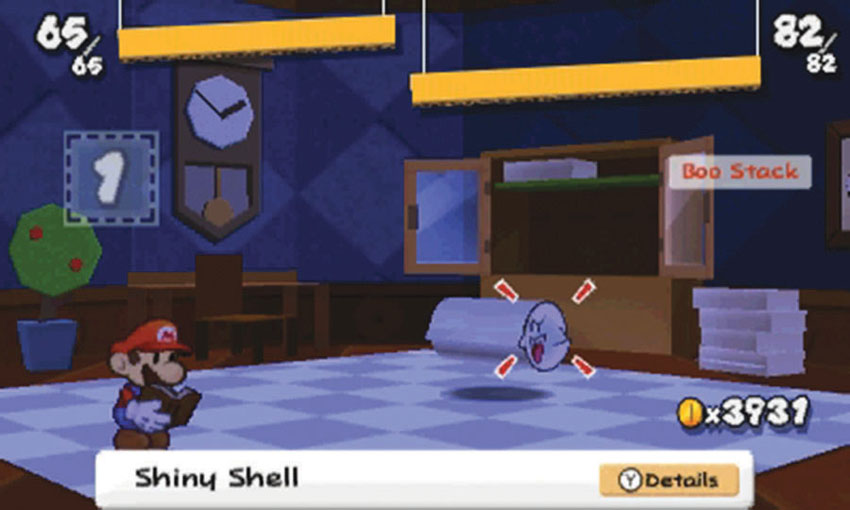
The Boo Stack hiding in the Course is made up of 82 separate enemies, and their combined might is formidable. Luckily, this Course contains some Flashy Infinijump stickers. Consider using one of these rare stickers to end the battle in a single turn.
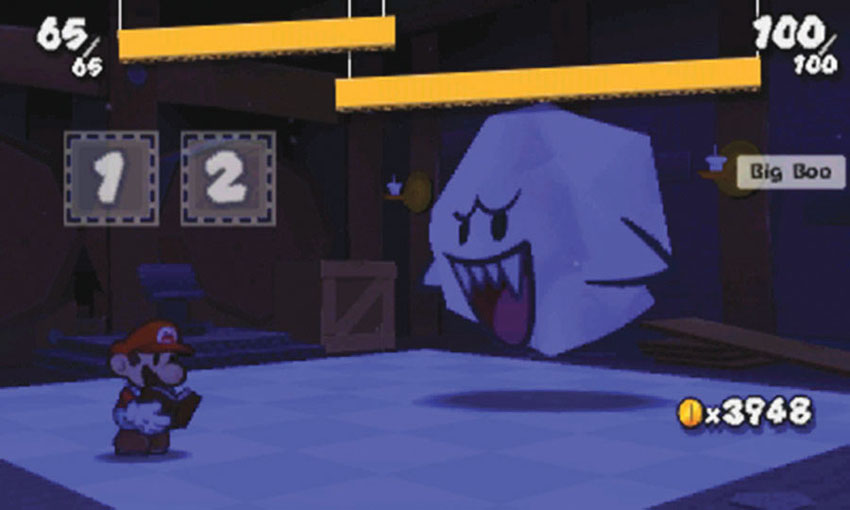
The Big Boo is a tough opponent, but a Flashy Infinijump sticker will end the fight quickly. Shiny Hopslippers are also quite effective if you’d rather save your rare stickers. The Big Boo disappears in the middle of the battle, and you’ll need to use a Soda (or a similar water-based Thing Sticker) before you can resume your attacks. Make sure you’re prepared!
Recommended Route—Part 1
.jpg)
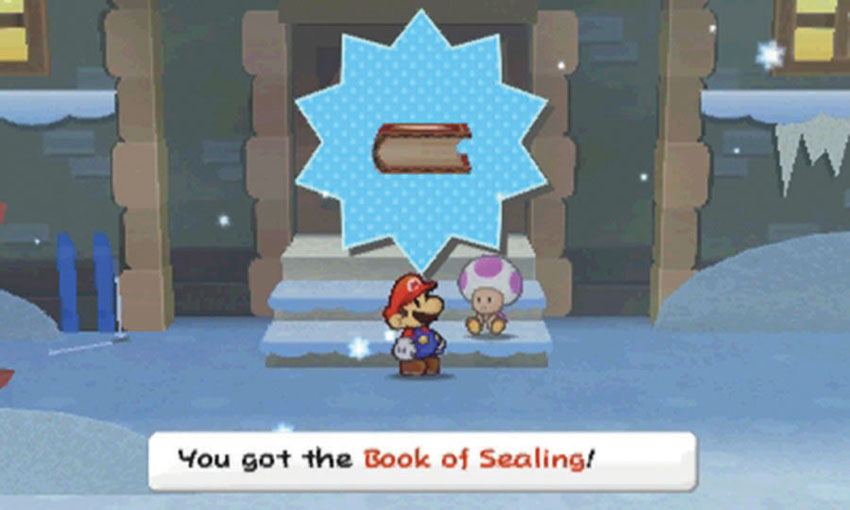
When you first visit the Course, the mansion’s steward is in the front yard. Speak to the Toad on the steps to gain the Book of Sealing, then head inside.
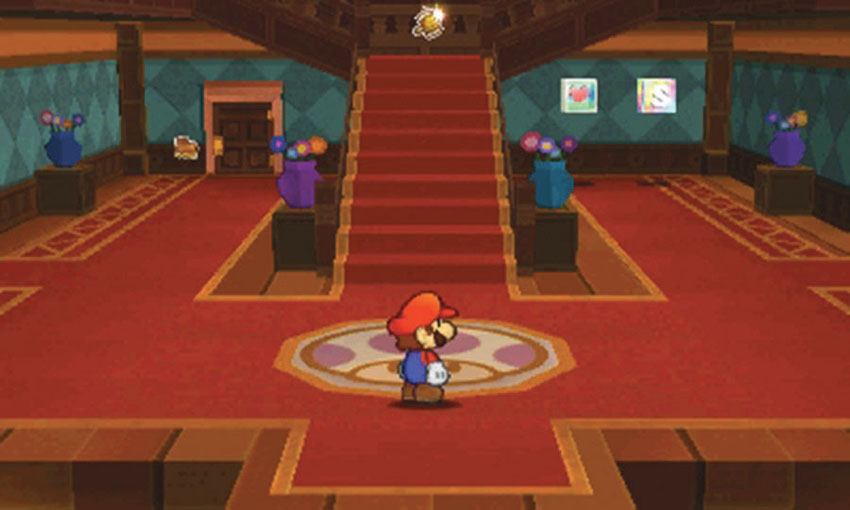
The lobby contains several doors, a staircase, an HP Block, and a Save Block. The steward wants you to recapture the Boos hiding throughout the mansion, which means you have a lot of battles ahead of you. Return to the lobby and replenish Mario’s HP as needed.
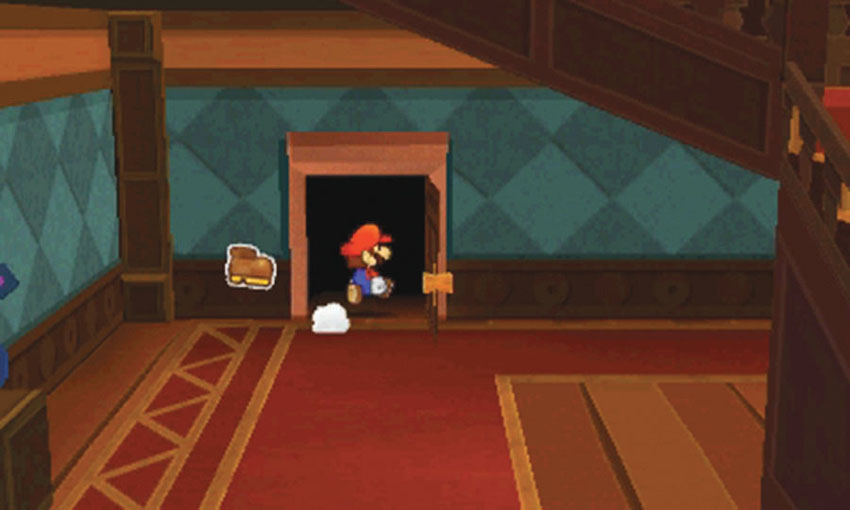
When you’re ready, head through the door on the back wall to find the dining room and kitchen.
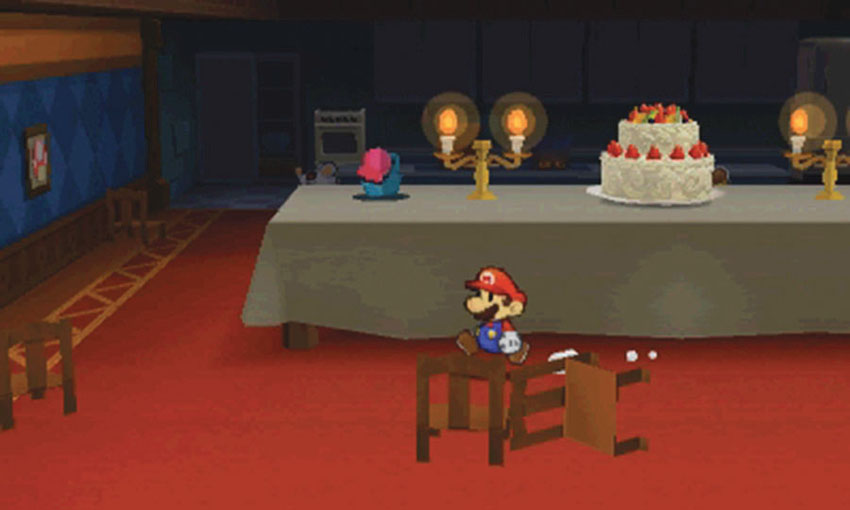
When you enter the dining room, the Boos swirl around the area and retreat to their hiding places. The Cake is sitting out of reach on the dining room table. To collect it, you must drop down from the second floor. For now, investigate the small kitchen along the back wall.
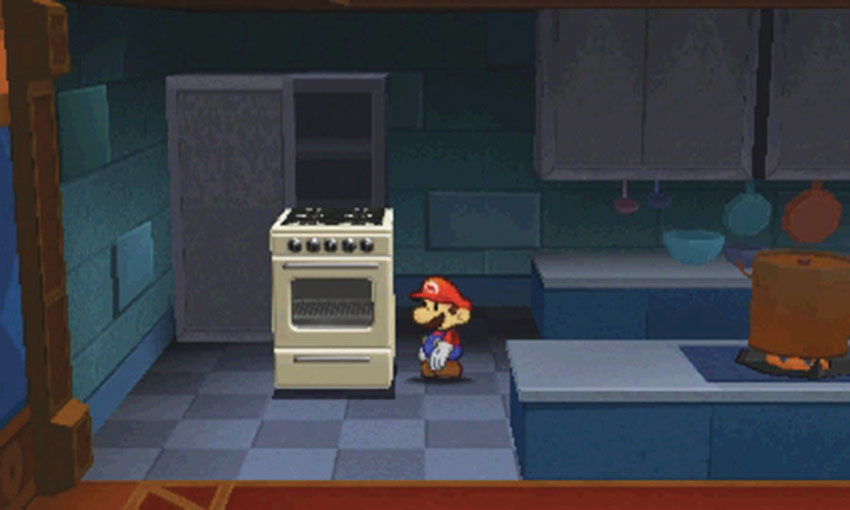
Move to the kitchen’s left side to collect the Oven, then follow the counters to the right.
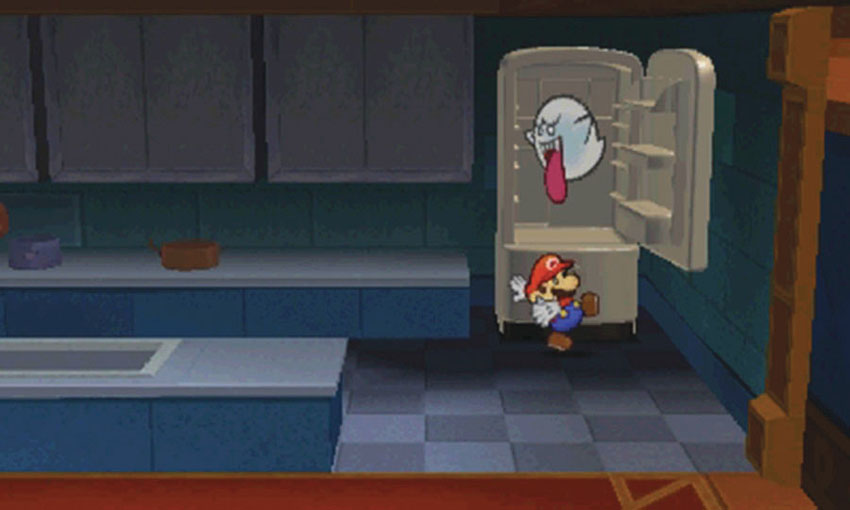
When you reach the end of the counters, open the Refrigerator to find the first Boo. Defeat this enemy to capture it in the Book of Sealing, then collect the Refrigerator.
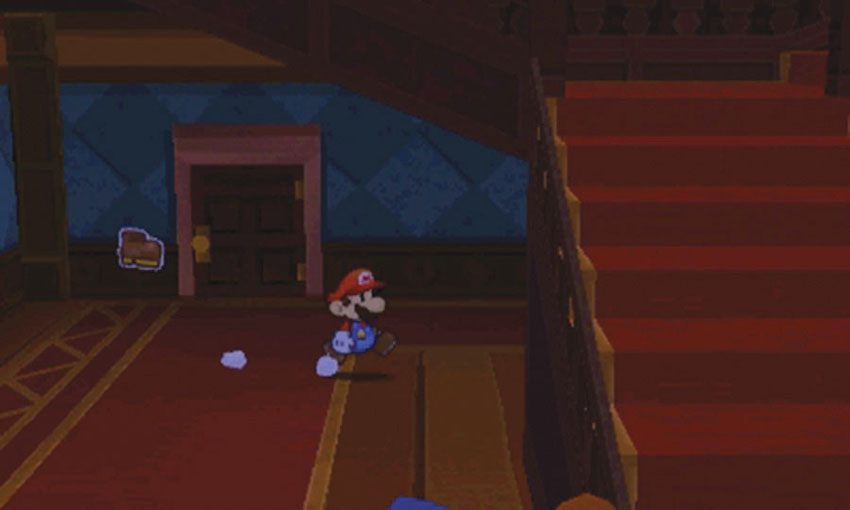
When you’re ready, head back into the lobby. Explore the area behind the stairs until you find the Boo hiding in the area. Capture the Boo in the Book of Sealing, then head through the door on the lobby’s right wall to find the library.
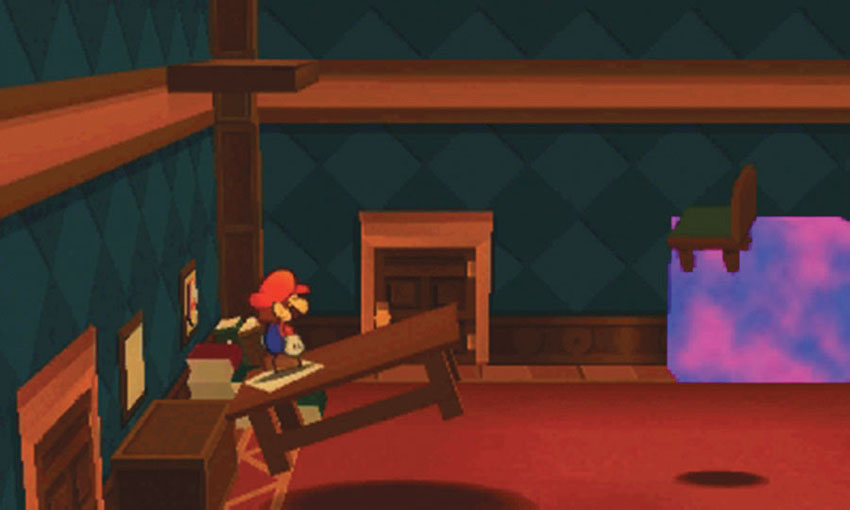
When you first enter the library, three pieces of furniture are floating around the room. Hop onto the chest near the left wall. When the table floats into range, hop on and ride up to the small platform in the corner of the room.
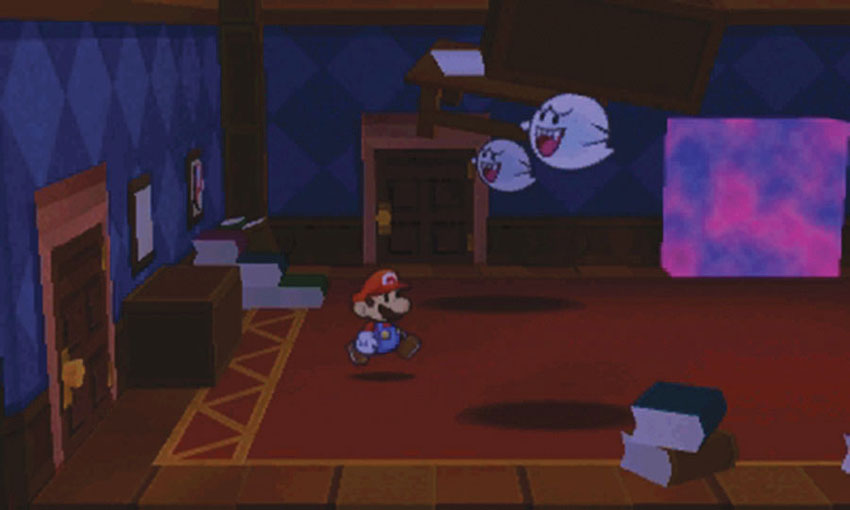
Hop onto the platform, then jump and hit the candle above you. When the room is dark, you can see the Boos that have been manipulating the furniture. Attack one of the Boos to face all three in a single battle. Defeat the Boos to add them to the Book of Sealing.
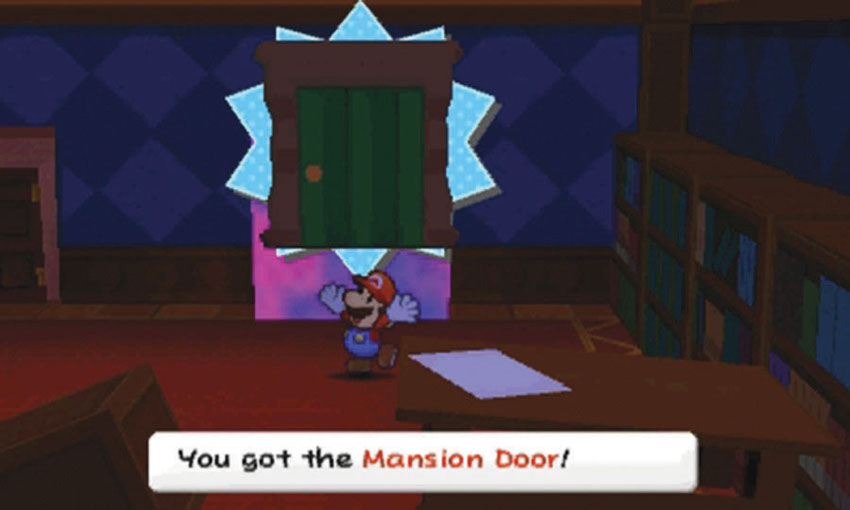
After the battle, climb onto the bookcases along the right wall and collect the Mansion Door scrap. When you’re ready, head through the door in the back wall to enter the hallway along the mansion’s right edge.
Recommended Route—Part 2
.jpg)
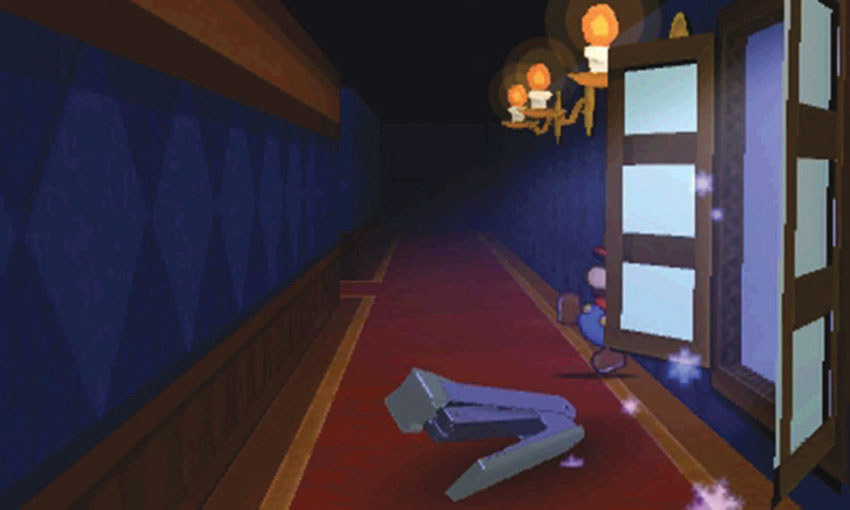
As you follow the hallway along the mansion’s right edge, the Stapler bursts through one of the windows. Collect the Stapler and follow the hallway toward the background.
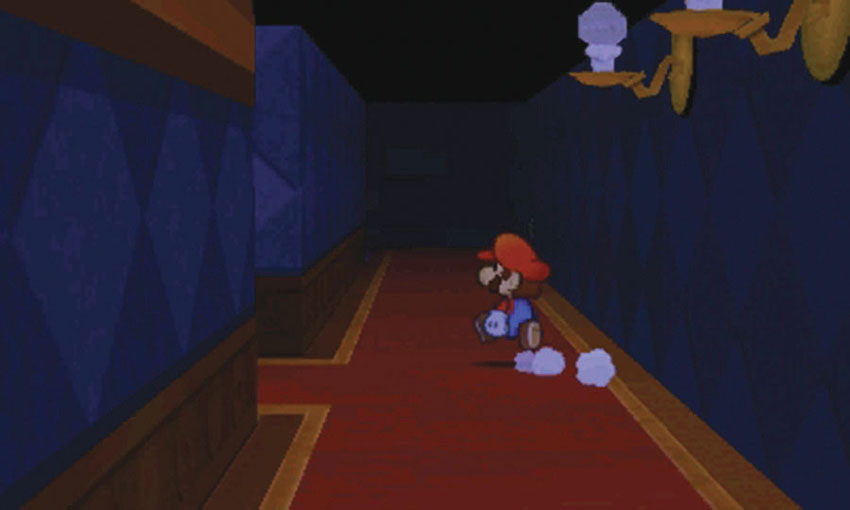
When you reach the intersection at Point 2, continue moving toward the background to find the mansion’s rear staircase.
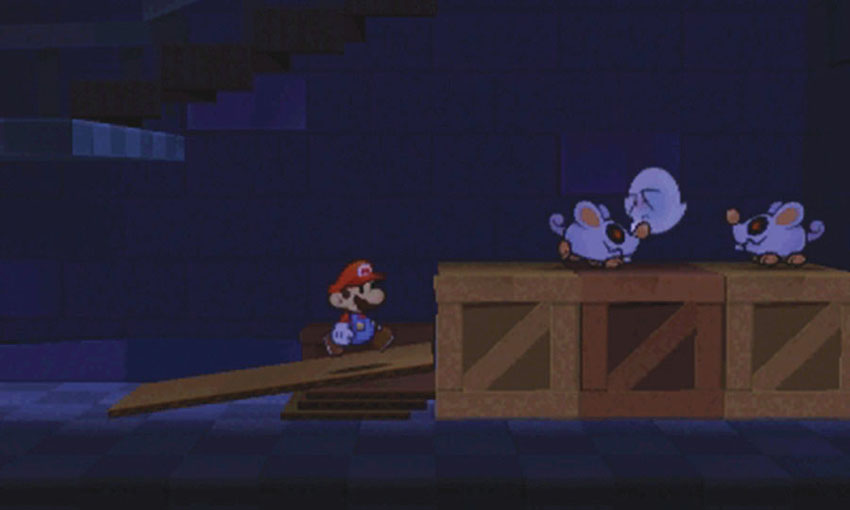
Before you climb the rear staircase, search the area under the steps to find a Boo being bullied by two Scaredy Rats. When you approach them, they team up and attack you. Defeat all three enemies to capture another Boo in the Book of Sealing.
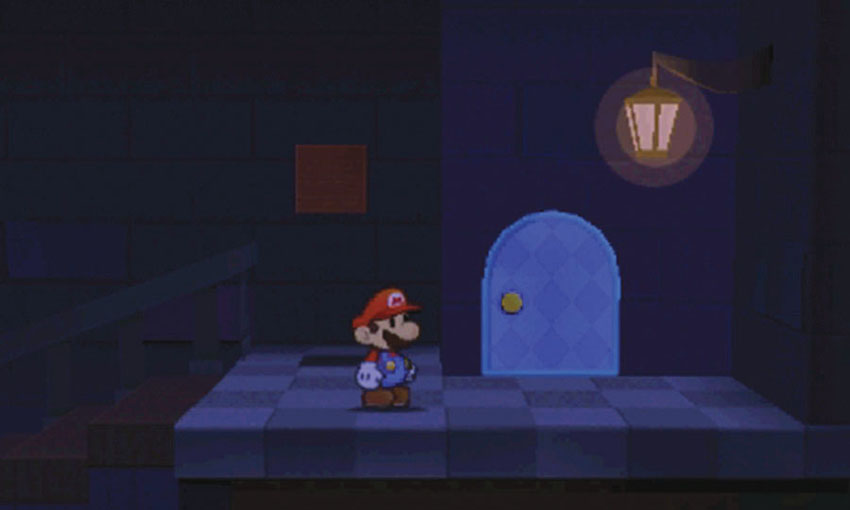
After you capture the Boo, climb the steps and apply a Secret Door sticker to the marked location at the top of the rear staircase.
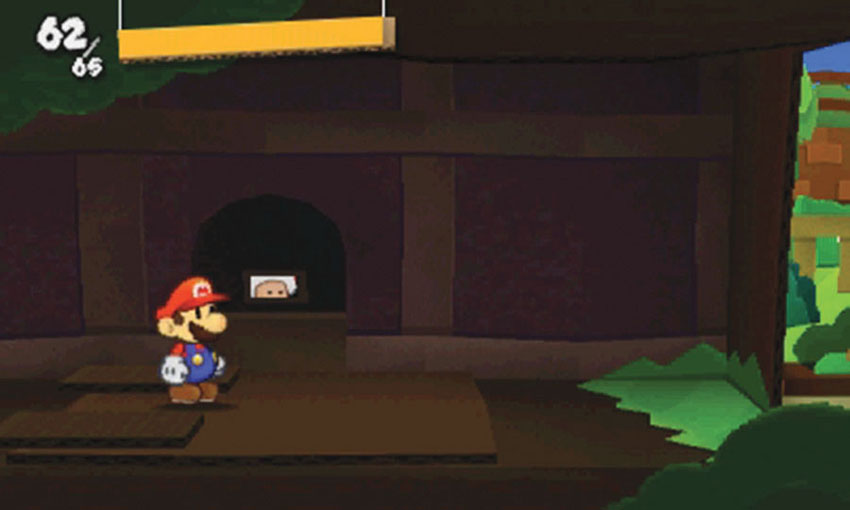
This Secret Door actually creates a shortcut to Decalburg! Pass through the door, then use your Hammer to knock down the loose wall to emerge near the Decalburg Thing Shop. Take care of any business you might have in town, then head back through the shortcut to return to the mansion’s rear staircase. Leave the area and head to the central hallway.
Recommended Route—Part 3
.jpg)
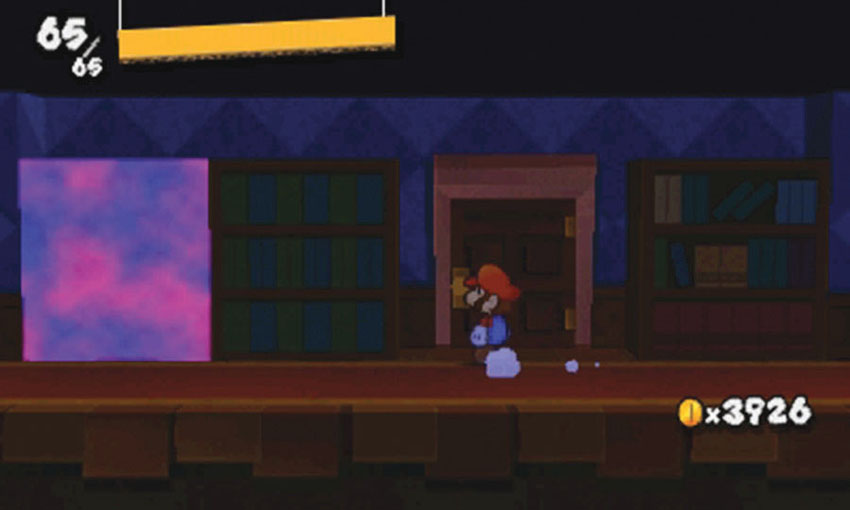
Soon after you enter the central hallway, some Scaredy Rats charge in to attack you. After you defeat these enemies, approach the hallway’s first door. There’s a scrap missing from the central hallway—luckily, it’s close by. Head through the door and search the ground-floor office.
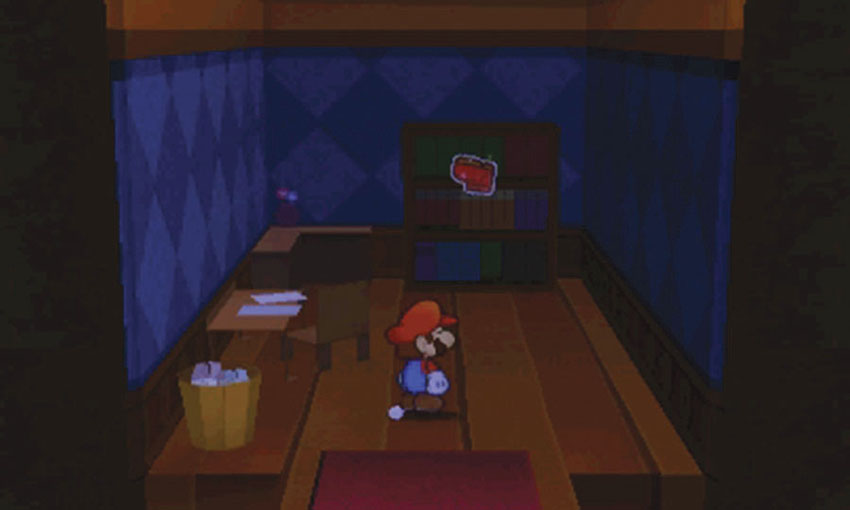
The bookcase in the office is upside down! Activate the Paperize ability and peel the Mansion Bookcase scrap off of the wall.
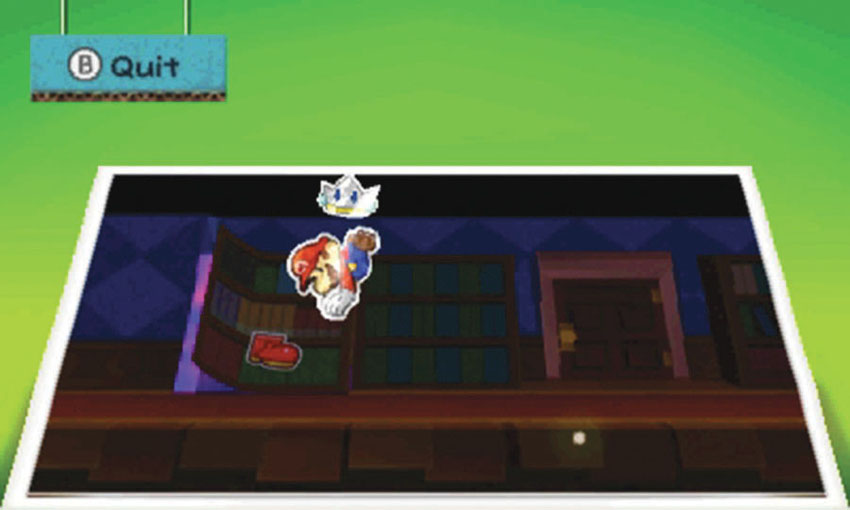
Exit the office and apply the scrap to the spot in the central hallway. Once it’s in place, you can reach the Flashy Infinijump sticker! This sticker is very powerful, so make sure you save it for a powerful enemy.
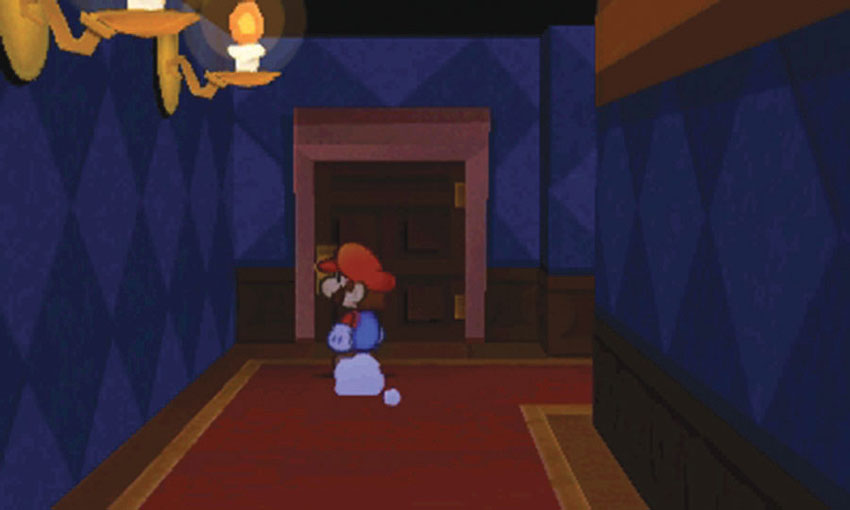
Follow the central hallway until it meets the mansion’s left hallway. Open the door at the intersection and enter the antechamber.
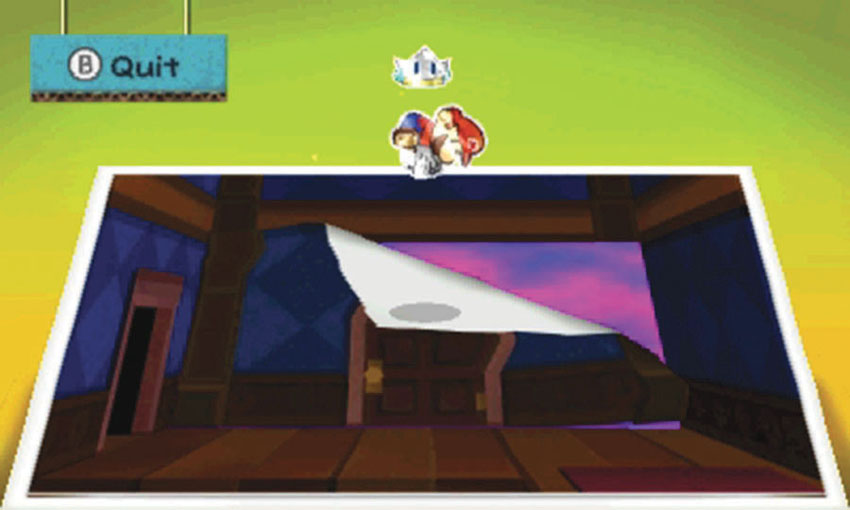
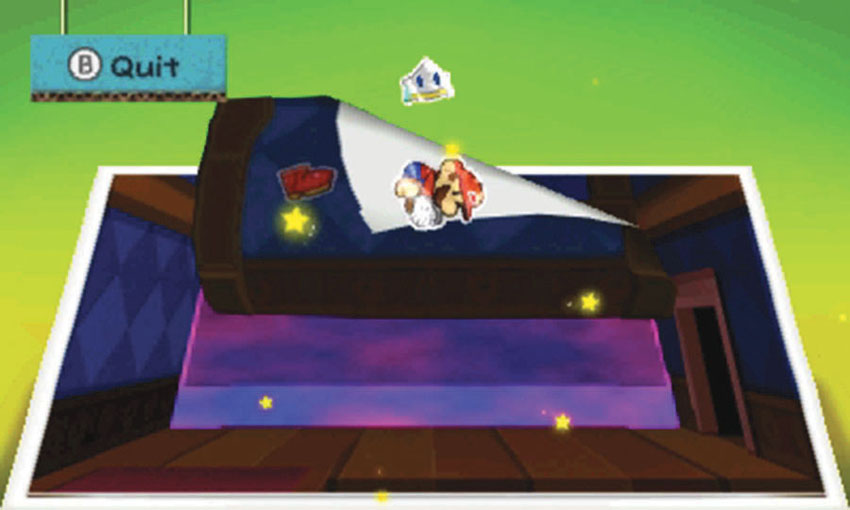
The door in the right half of the antechamber leads to a small enclosure outside of the greenhouse. Before you can enter the greenhouse, you must move the door! Activate the Paperize ability and peel the first Mansion Wall scrap off of the background.
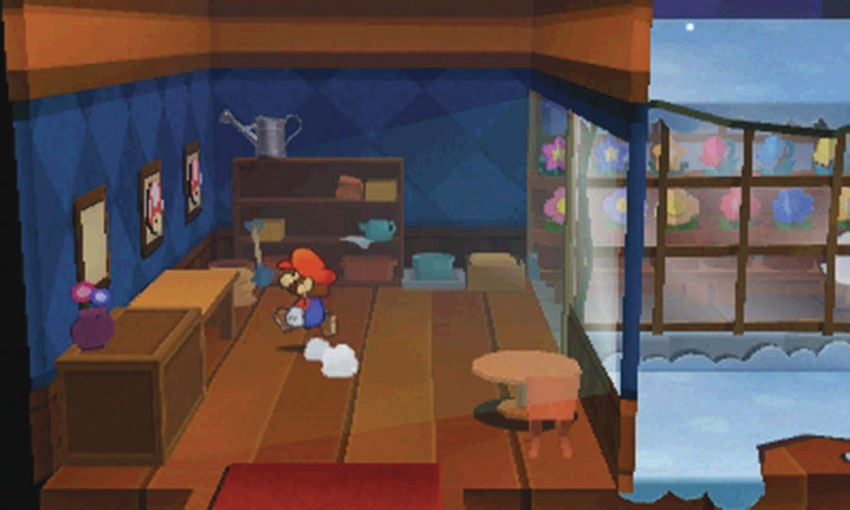
Move to the left half of the antechamber and peel the second Mansion Wall scrap off of the background.
After you’ve collected both of the Mansion Wall scraps, you must swap their original positions. Place the first Mansion Wall scrap in the left half of the antechamber, and place the second Mansion Wall scrap in the right half of the antechamber. When you’re ready, head through the repositioned door to enter the greenhouse.
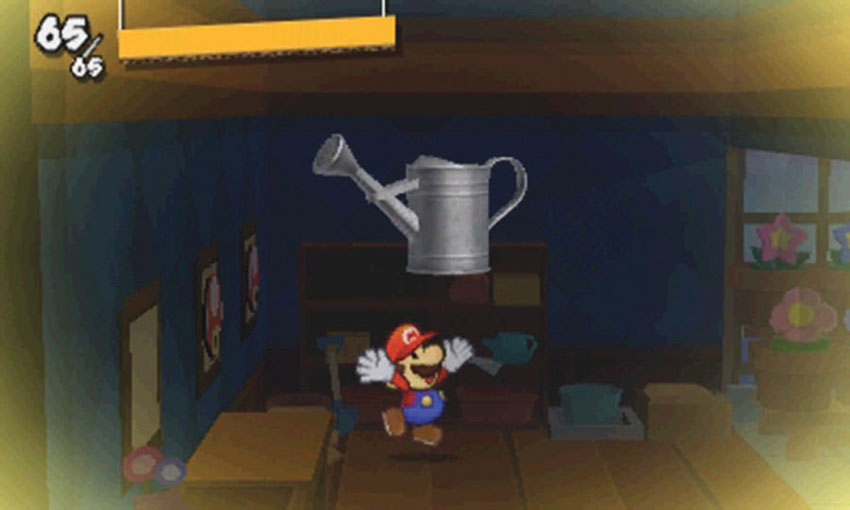
The Watering Can is on the shelves along the back wall. Hit the shelves with your Hammer until the Watering Can falls to the ground. After you collect it, attack the Boo to the right. Defeat the Boo to capture it in the Book of Sealing.
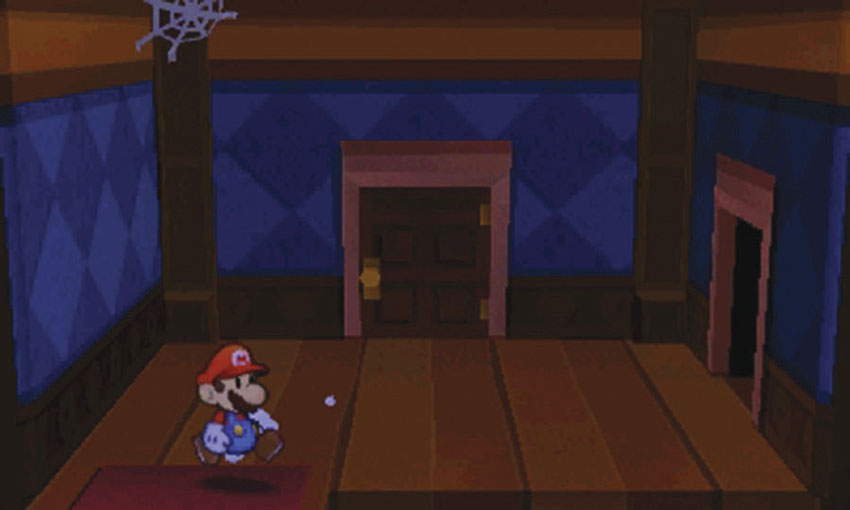
When you exit the greenhouse, move to the left wall and follow it to the foreground.
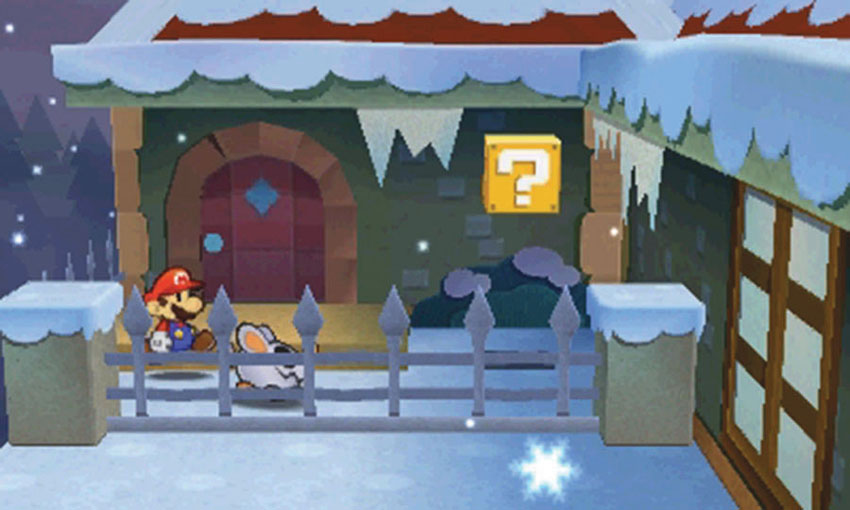
The path leads to a small enclosure in the mansion’s side yard. Defeat the Scaredy Rats and search the ? Block, then head back inside. Follow the path back through the antechamber and return to the hallway.
Recommended Route—Part 4
.jpg)
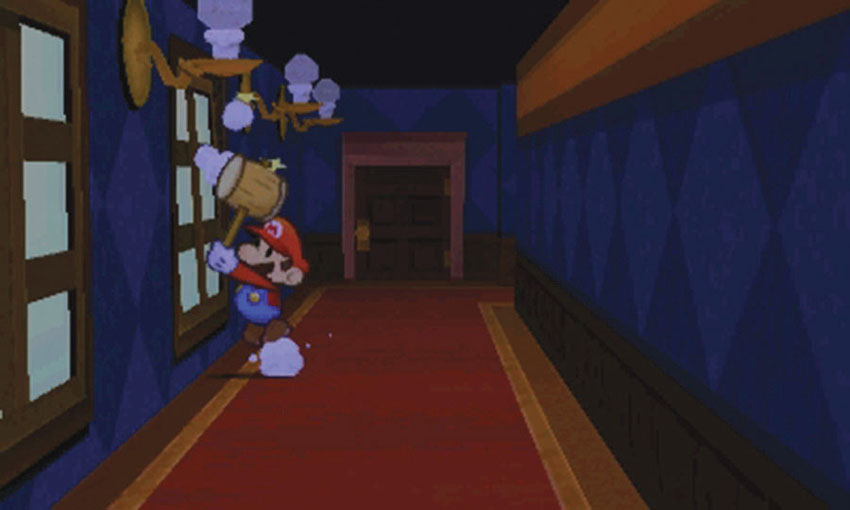
Follow the hallway down the mansion’s left side. When you reach the first window, use your Hammer to knock it out of the wall. Jump through the opening and explore the rest of the side yard.
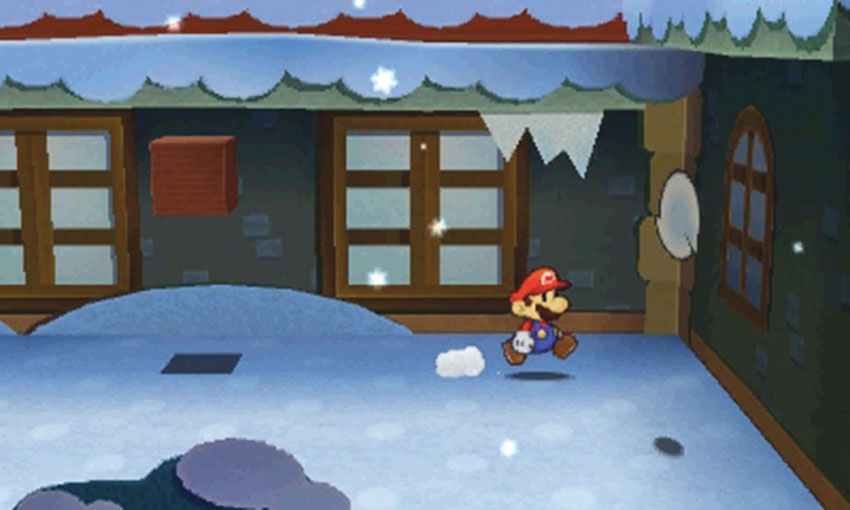
When you reach the end of the side yard, attack the Boo floating outside the living room window. Defeat the Boo to capture it in the Book of Sealing, then head back to the window and return to the hallway.
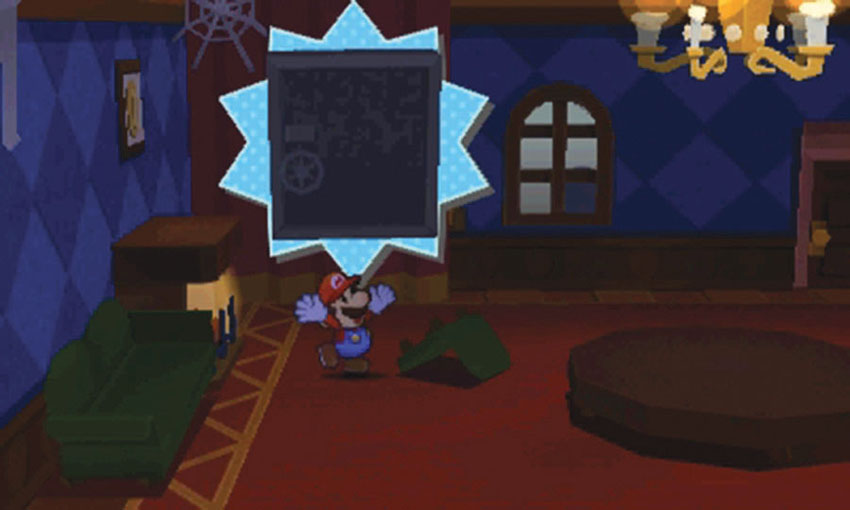
Follow the hallway toward the front of the mansion and enter the living room. Move over to the left wall and climb onto the fireplace. Strike the picture on the wall to reveal the Mansion Safe scrap, then drop down and collect it.
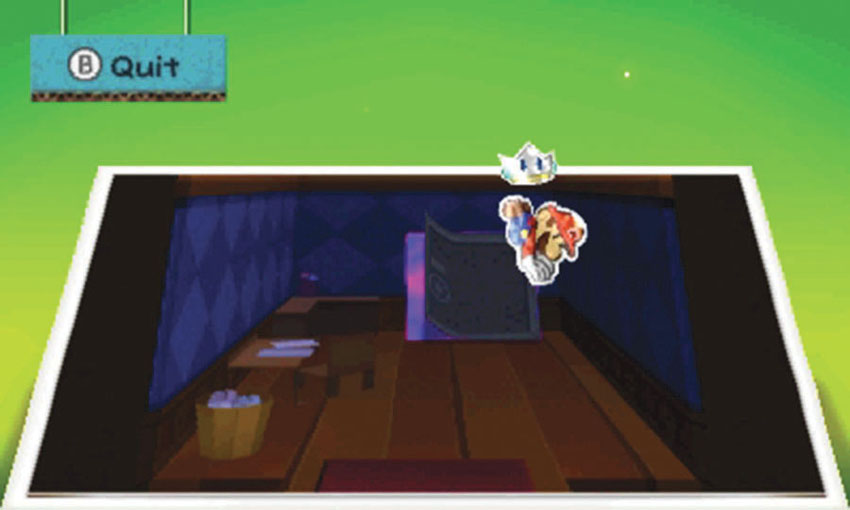
After you collect the Mansion Safe scrap, return to the ground-floor office and place it on the back wall.
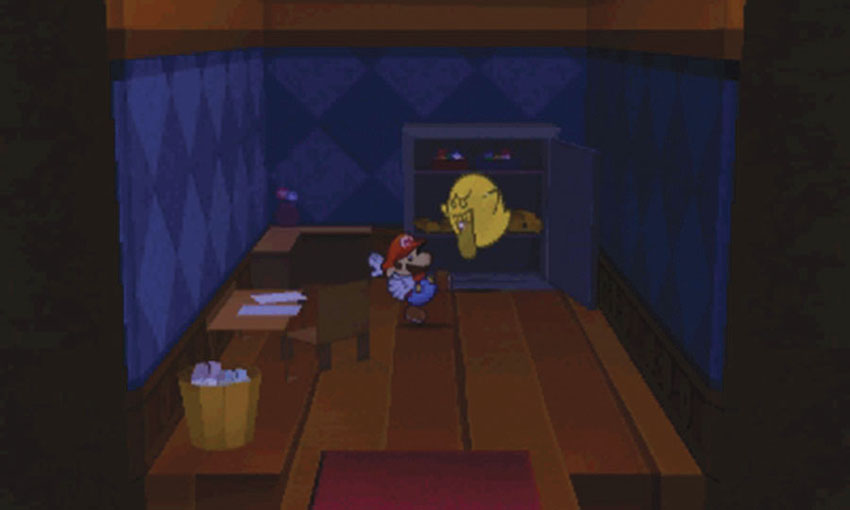
Open the safe to discover another Boo. Defeat the Boo to add it to the Book of Sealing. When you’re done, head back to the lobby and exit to the front yard.
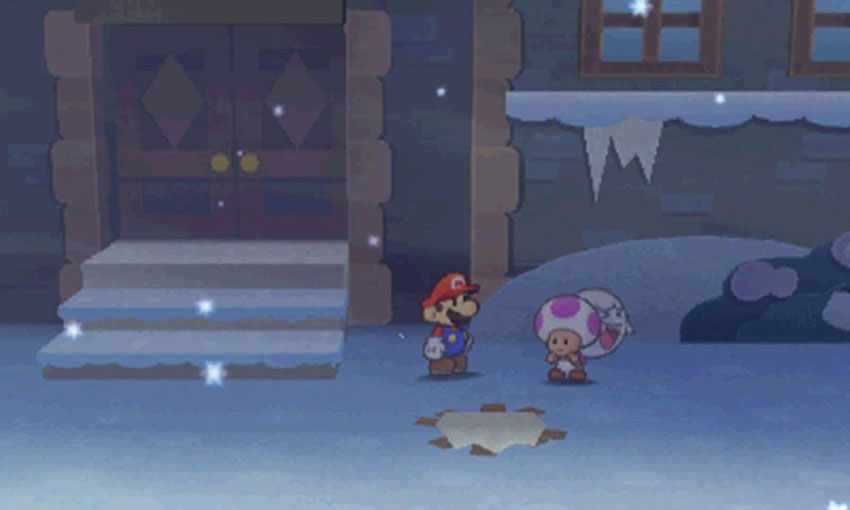
When you return to the front yard, the steward is warming himself by a bonfire. Use your Hammer to put out the bonfire, then attack the Boo lurking behind the steward. Defeat the Boo to add it to the Book of Sealing, then head back inside.
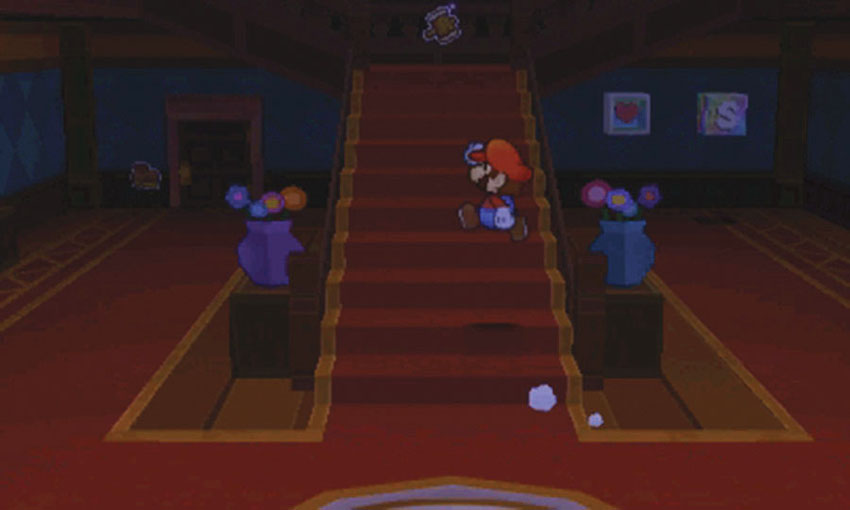
Use the HP Block to top off Mario’s HP, collect any stickers that may have reappeared when you used the Secret Door shortcut, and head up the stairs to the second floor.
Recommended Route—Part 5
.jpg)
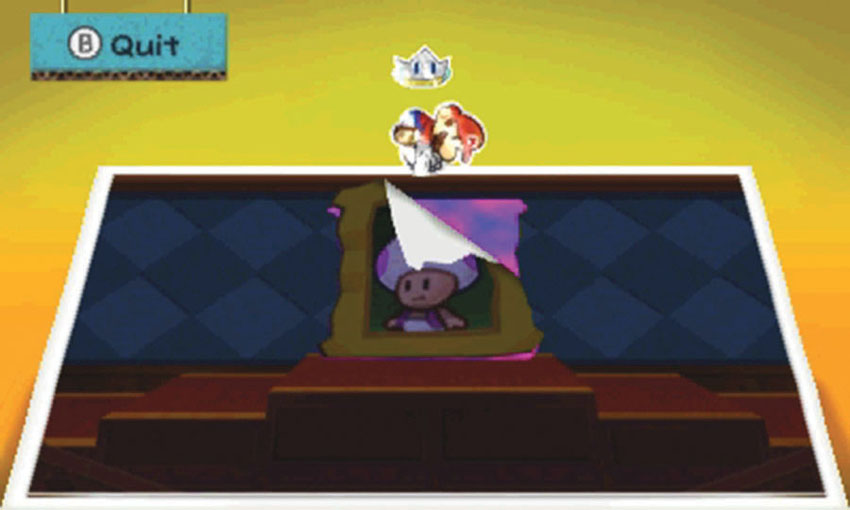
When you first visit the second floor, only the lobby is accessible. Use the Paperize ability to peel the Steward’s Portrait scrap off of the back wall, then place the Mansion Door scrap you collected from the library in its place.
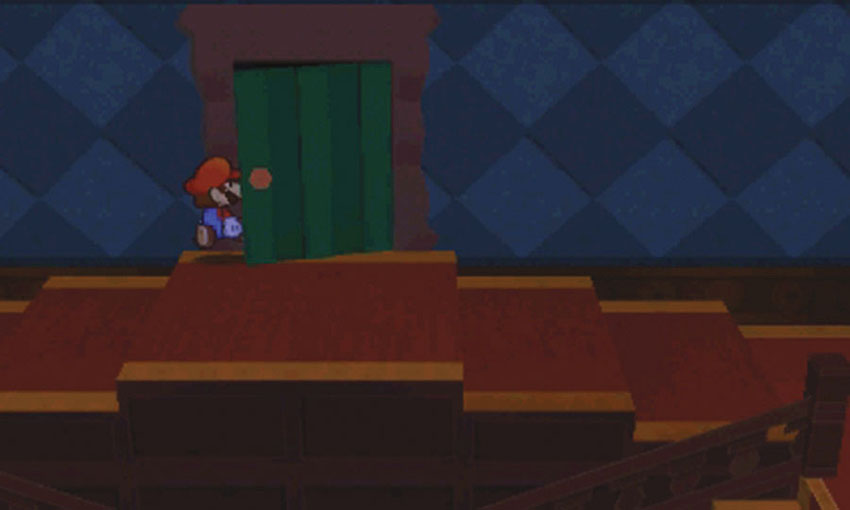
After you apply the Mansion Door scrap, head through the door to find the walkway above the kitchen and dining room.
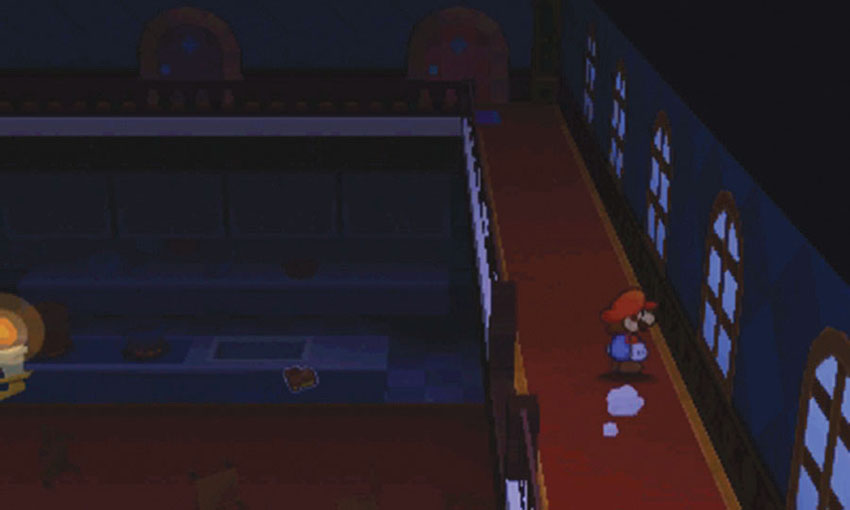
As you follow the walkway toward the back wall, look for the gap in the railing. When you’re ready to return to the ground floor, drop down from the walkway to land on the dining room table. Before you do, however, make sure you search the rooms along the back wall.
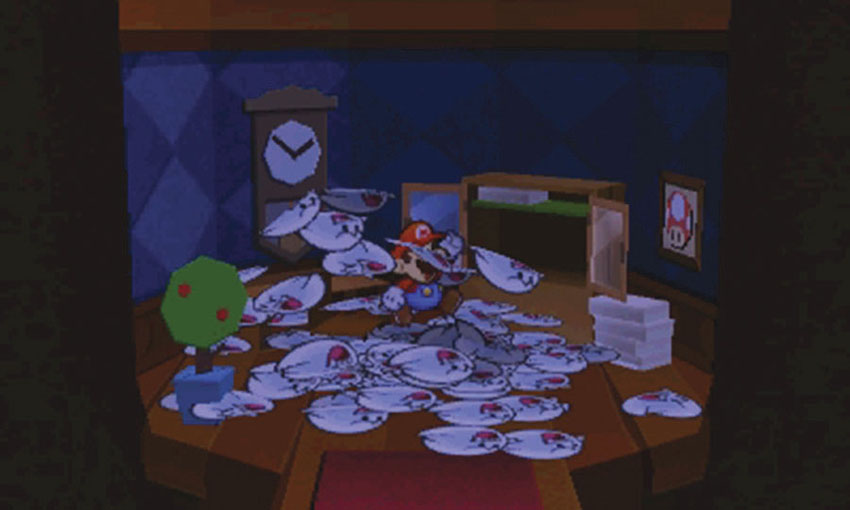
Enter the door on the left edge of the back wall to find the second-floor office. The area is fairly small, but it contains a big surprise! Open the cabinet to reveal 82 Boos. When the battle begins, the Boos join forces to form a Boo Stack.
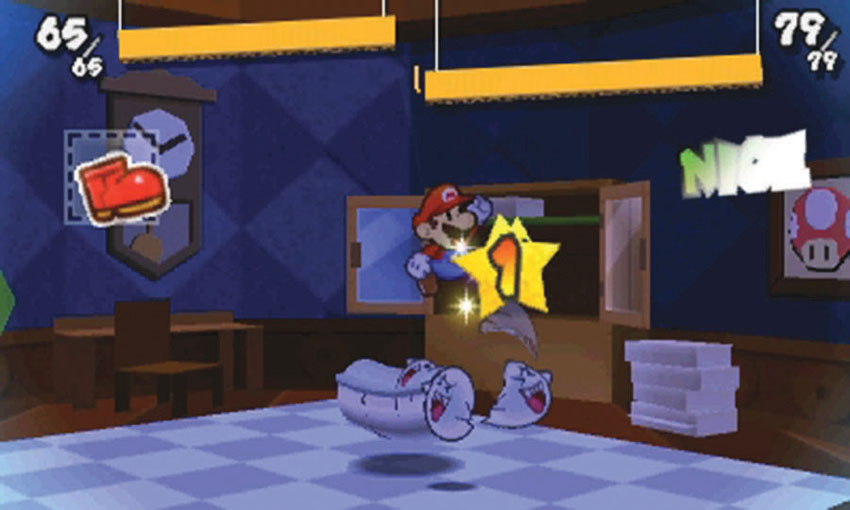
Use one of the Flashy Infinijumps you collected on the ground floor to defeat the entire Boo Stack in a single turn. Press
 each time you land on the Boo Stack to maintain your attack until the battle ends. If you miss an attack, use some Hopslippers to finish the job.
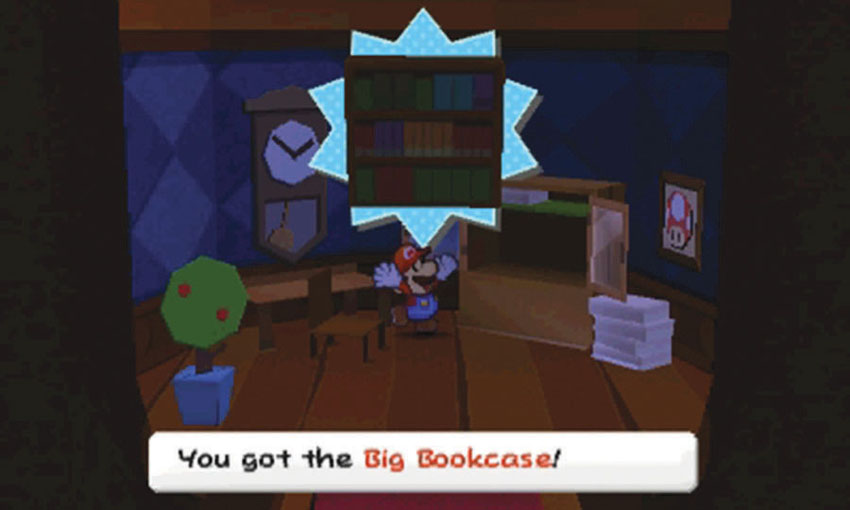
After the battle, collect the Big Bookcase scrap from the cabinet door.
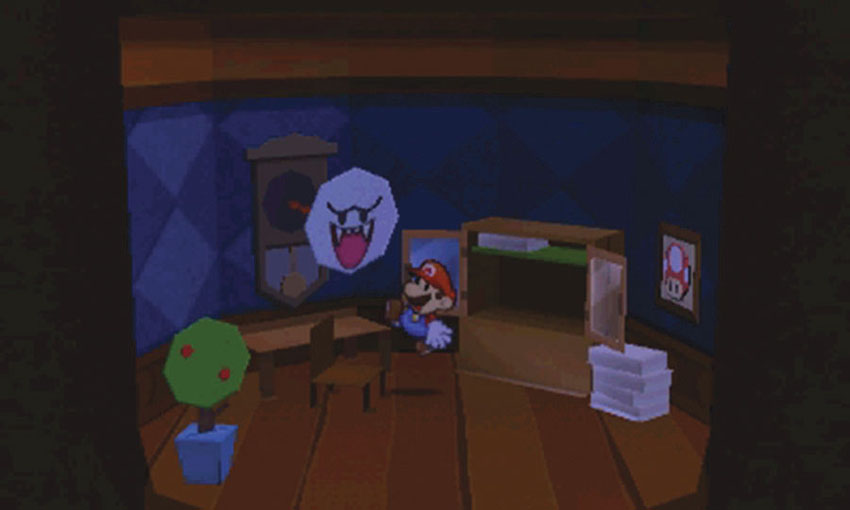
There’s still one Boo hiding in the office. Hop onto the desk and strike the clock with your Hammer. When the Boo appears, defeat it to capture it in the Book of Sealing.
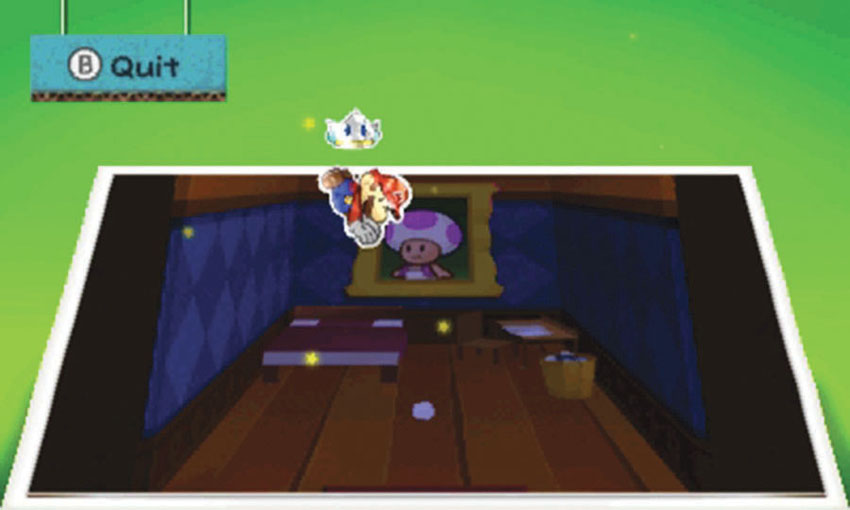
After you leave the second-floor office, enter the door to the right to find the bedroom. Activate the Paperize ability and apply the Steward’s Portrait scrap to the back wall.
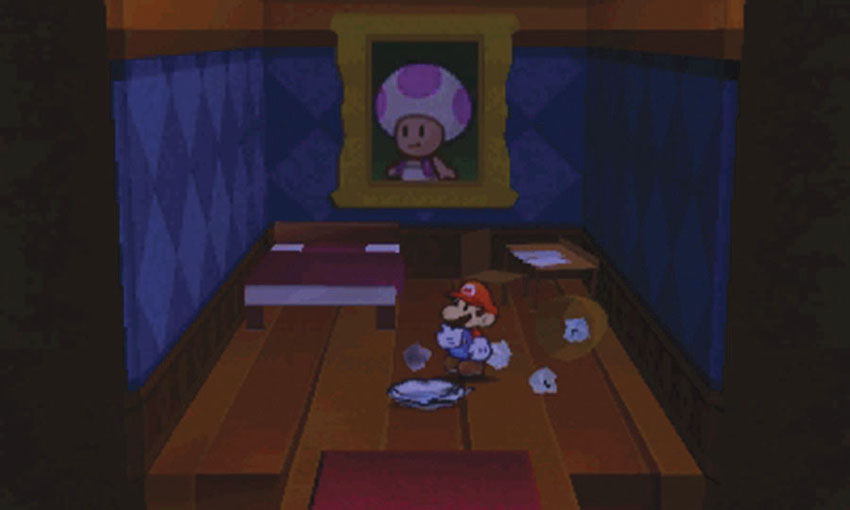
Use your Hammer to topple the trash bin near the right wall and wait for battle to begin. Defeat the Boo to add it to the Book of Sealing, then move to the foreground.
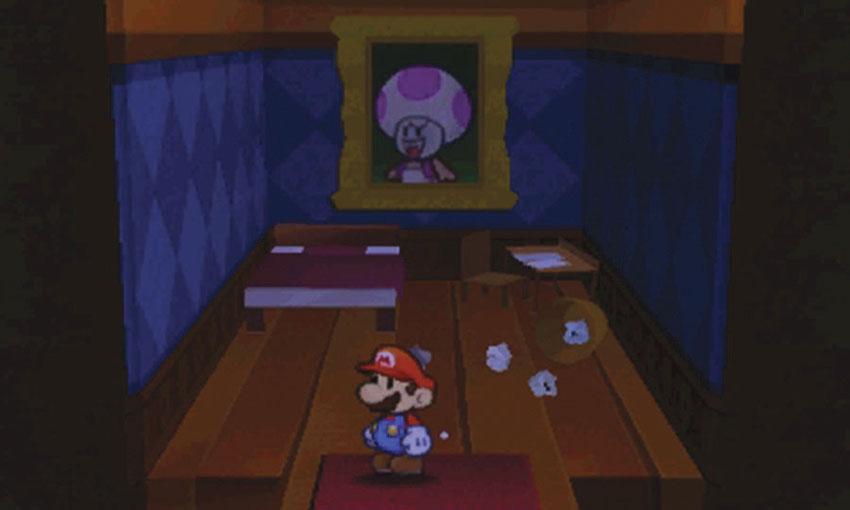
As you approach the room’s exit, a Boo appears in the portrait on the back wall. Investigate the portrait to begin the battle, then defeat the Boo to capture it in the Book of Sealing.
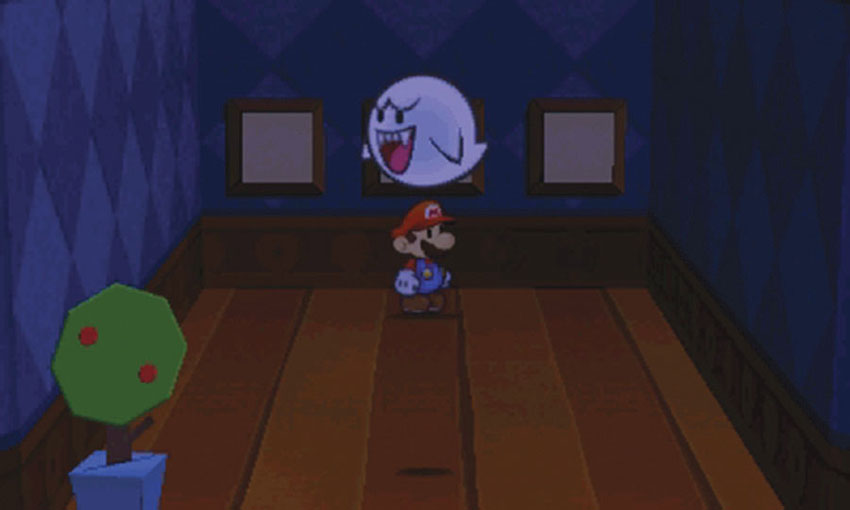
After you leave the bedroom, enter the door to the right to find an empty room with three pictures on the back wall. Examine the pictures to draw five Boos out of hiding, then defeat them to capture them in the Book of Sealing. If you’ve captured the Boos from all currently accessible areas, the Book of Sealing should now be full! Leave the empty room and return to the walkway above the kitchen and dining room.
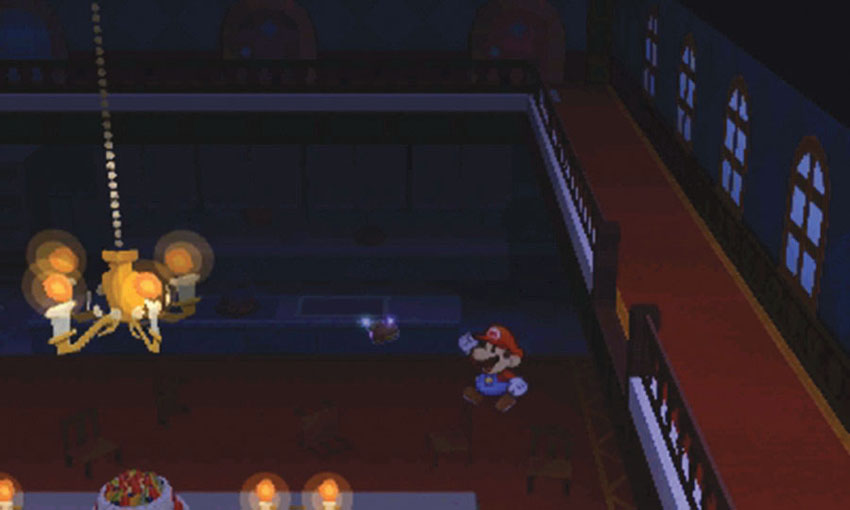
When you’re ready, hop through one of the gaps in the walkway’s railing and drop to the dining room table.
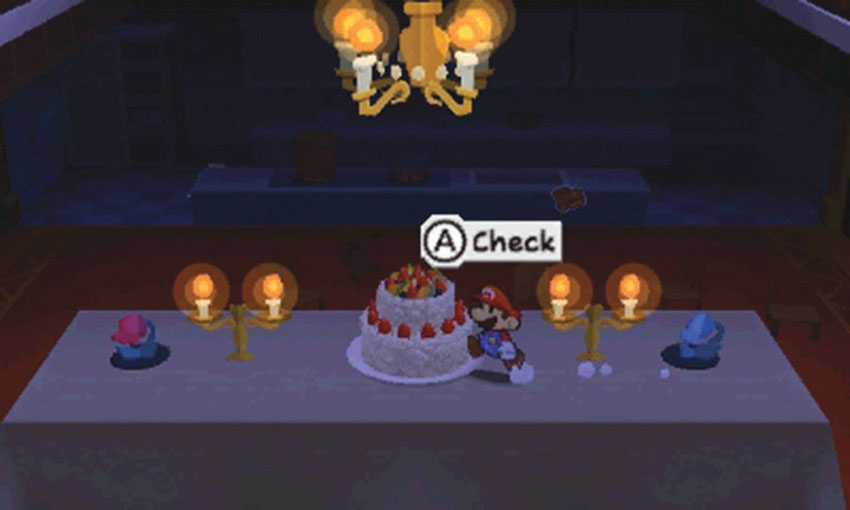
Collect the Cake at the center of the table. Before you drop to the ground, look for the Paperization Block and the Hidden Block floating above the nearby flowers.
Recommended Route—Part 6
.jpg)
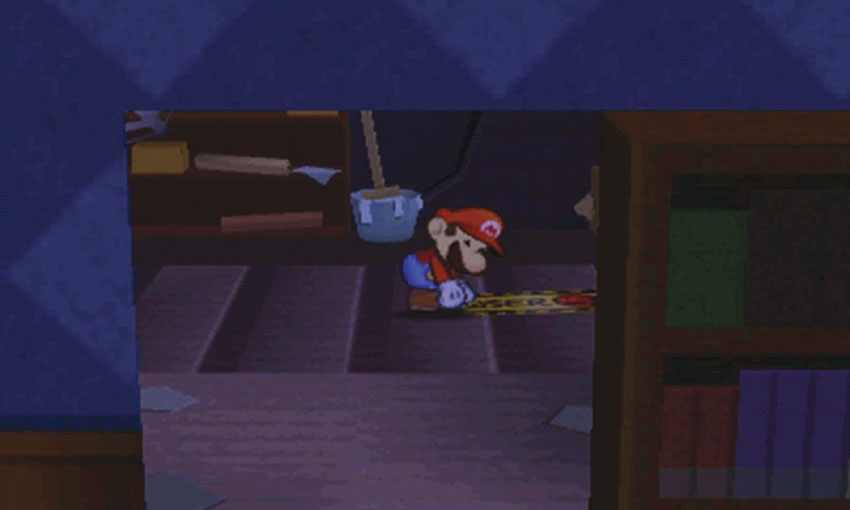
When you’re ready to enter the cellar, return to the library. Apply the Big Bookcase scrap you collected from the second-floor office to the hole on the back wall. After the secret passage slides open, head inside and peel the Bowser tape on the ground to free the cellar stairs.
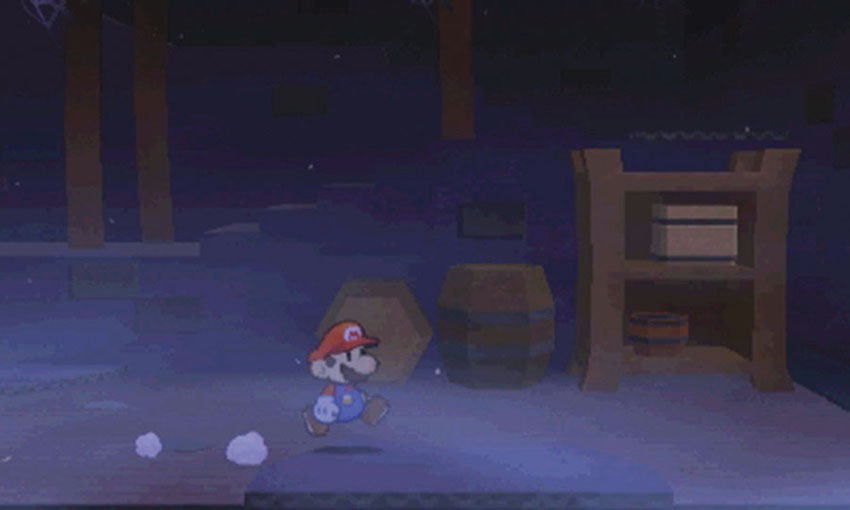
Follow the stairs down to the cellar floor, then head past the shelves to the right.
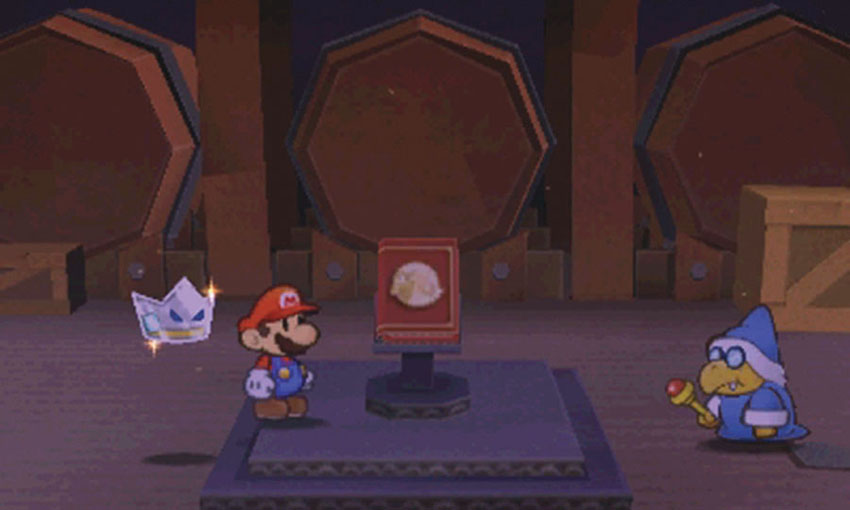
The second room contains a small bookstand. If you’ve captured all 100 Boos, place the Book of Sealing on the stand. The room lights up and Kamek appears. If the Book of Sealing isn’t full, search the mansion for any Boos you haven’t yet captured.
Boo Locations
The mansion contains a total of 100 Boos spread out across 13 hiding spots:
- In the kitchen, inside the Refrigerator
- In the lobby, behind the stairs
- In the library, after you turn off the lights
- In the rear staircase, below the stairs
- In the greenhouse
- In the side yard
- In the ground-floor office, inside the safe
- In the front yard, after you extinguish the bonfire
- In the second-floor office, inside the cabinet
- In the second-floor office, inside the clock
- In the bedroom, inside the trash bin
- In the bedroom, hiding in the portrait
- In an empty room, hiding in the portraits
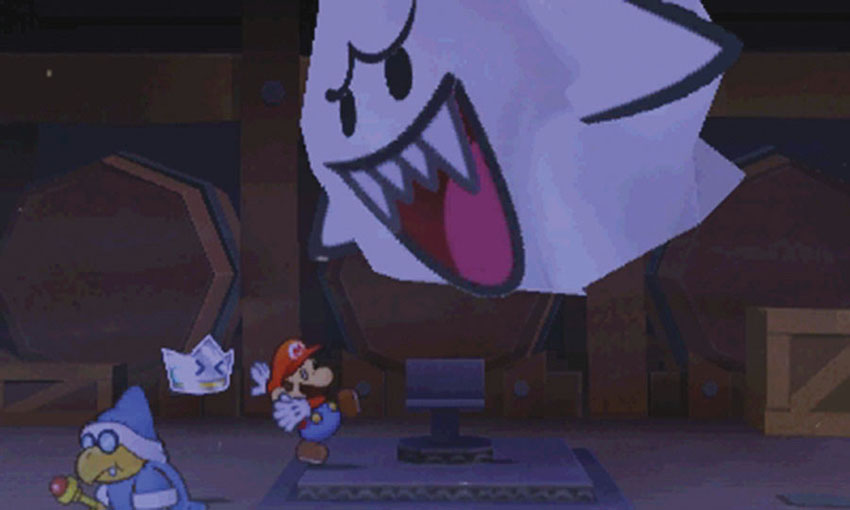
After a brief conversation, Kamek leaves you to deal with a Big Boo. Defeat this oversized enemy to put the mansion back in order.
Recommended Route—Part 7
.jpg)
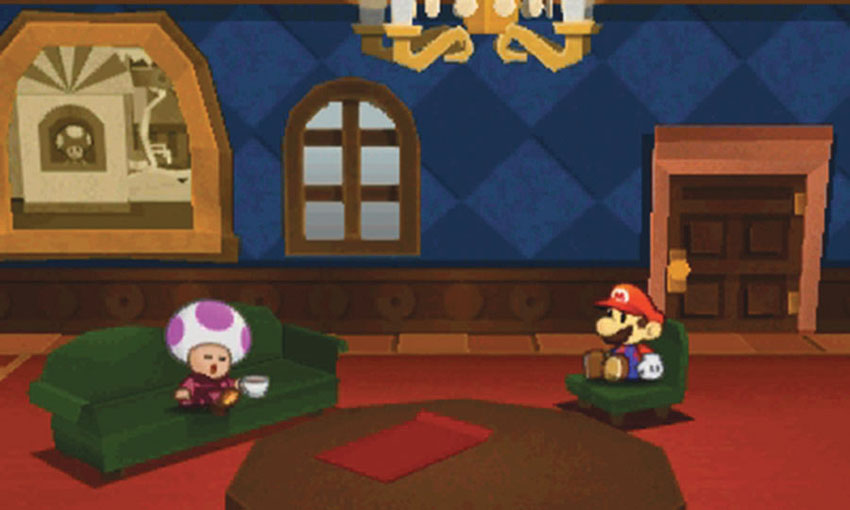
After you defeat the Big Boo, head back to the living room to have a chat with the steward. Sit down in the vacant chair and listen to the steward, then examine the photograph on the back wall.
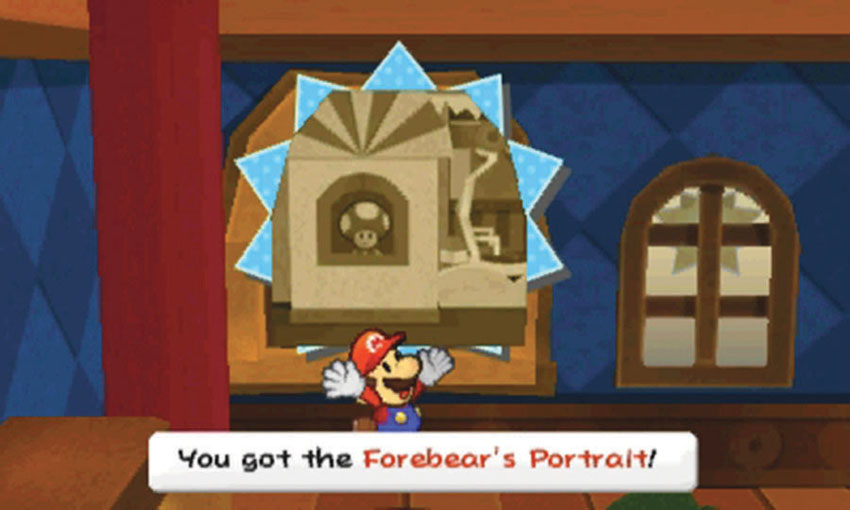
The after a short conversation, the steward tells you to take the photograph. Collect the Forebear’s Portrait, then head though the door on the back wall.
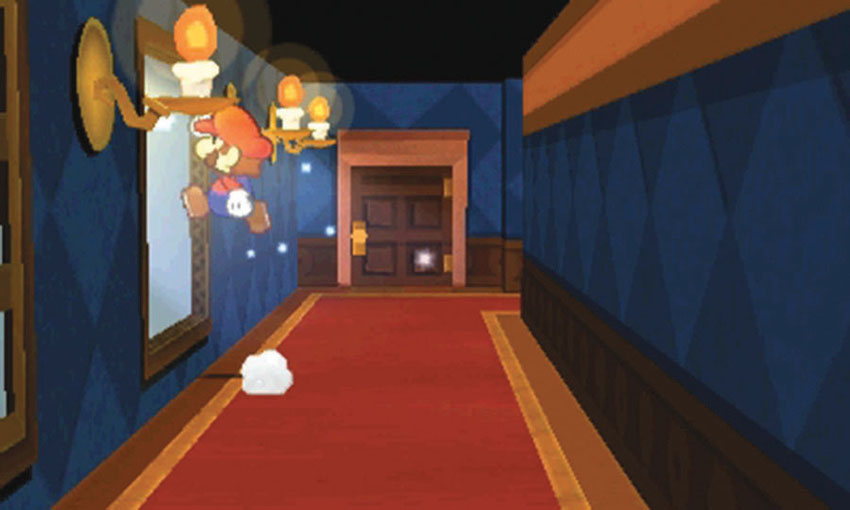
Follow the hallway along the mansion’s left edge and jump through the open window to return to the side yard.
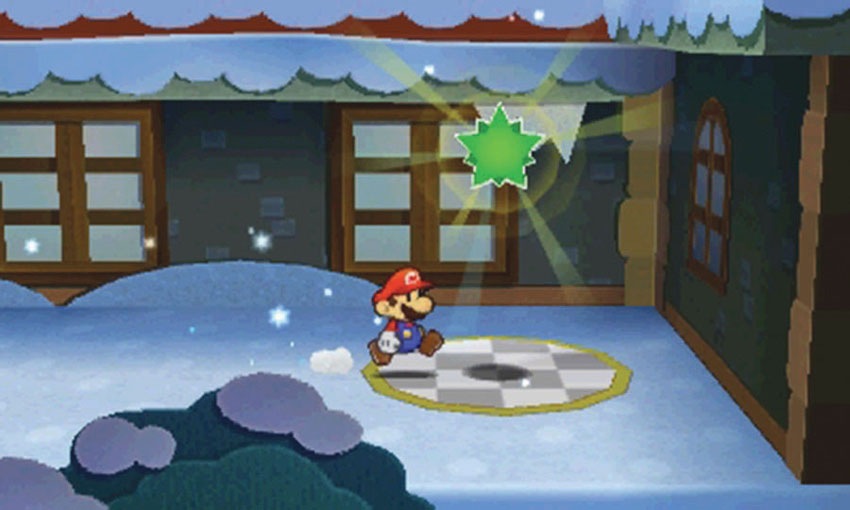
When you’re ready, collect the Comet Piece just outside the living room window to complete your visit.
Sticker Comet Piece: Unlocking World 4-4
This Course contains a single piece of the Sticker Comet. To unlock World 4-4, collect the Comet Piece that appears in the side yard after you defeat the Big Boo.
Recommended Visit #2
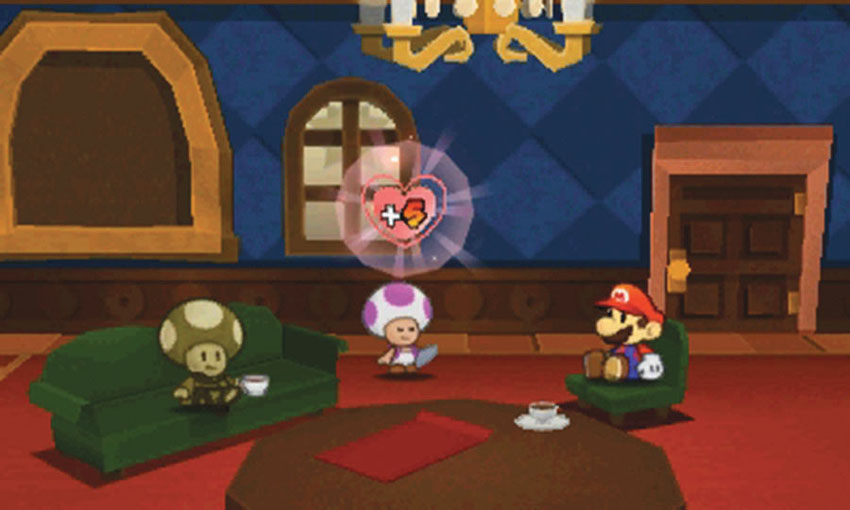
After you complete World 4-5, return to the mansion to find the forebear in the living room. Sit in the vacant chair and wait for the steward to arrive. After offering you a cup of tea, the steward rewards you with an HP-Up Heart.
World 4-4: Shaved-Ice Cave
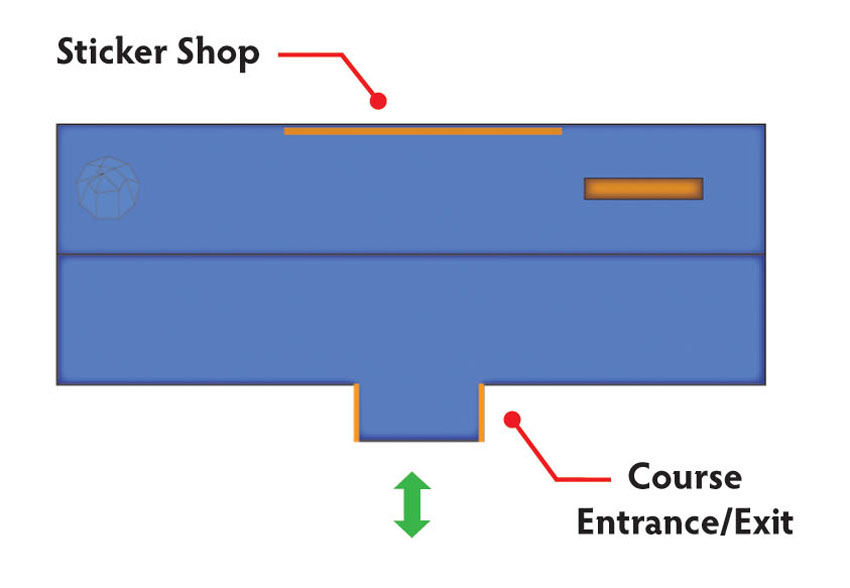
Overview
Prerequisites
To unlock this Course, you must collect the Comet Piece from World 4-3.
Objectives
This Course’s only objective is to complete a single visit. Since this Course contains one of the game’s Sticker Shops, however, you may find yourself making regular visits!
Important Items and Locations
| Description | Notes |
|---|---|
| Secret Door | None |
| HP-Up Heart | None |
| Toad Rescue | None |
| Luigi Location | None |
| Wiggler Diary Entry | None |
| Things | None |
Recommended Tactics
This Course contains no enemies!
The Sticker Shop
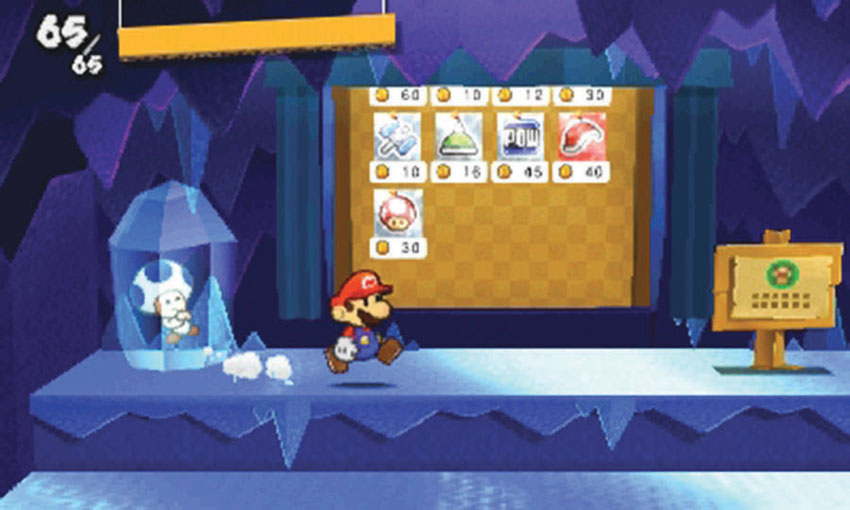
This small, friendly area houses one of the game’s Sticker Shops. Enter the Course, then speak to the frozen Toad to browse the available stickers. When you’re ready, exit the Course to complete the only available objective!
World 4-5: Whiteout Valley
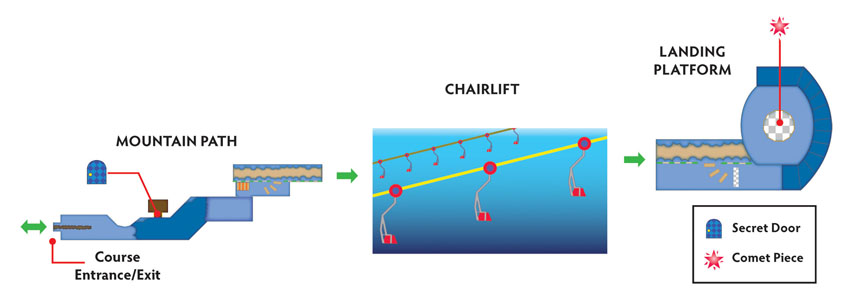
Overview
Prerequisites
To unlock this Course, you must collect the corresponding Comet Piece from the background of World 4-1. To access the chairlift, you must also collect the Forebear’s Portrait from World 4-3. Before you enter the Course, make sure your Album contains a Secret Door sticker.
Objectives
All of this Course’s objectives can be completed during a single visit:
- Collect the Flashlight from the Secret Door.
- Place the Forebear’s Portrait scrap at the end of the mountain path.
- Ride the chairlift.
- Collect the Comet Piece to unlock World 4-6.
Important Items and Locations
| Description | Notes |
|---|---|
| Secret Door | The marked location is on the mountain path, below the icicles. |
| HP-Up Heart | None |
| Toad Rescue | None |
| Luigi Location | Luigi appears near the end of the chairlift. |
| Wiggler Diary Entry | None |
| Things | The Flashlight is through the Secret Door. |
Recommended Tactics
This Course is packed with enemies, but the majority of battles can be avoided. Still, it’s best to make sure you bring a nice selection of Battle Stickers.
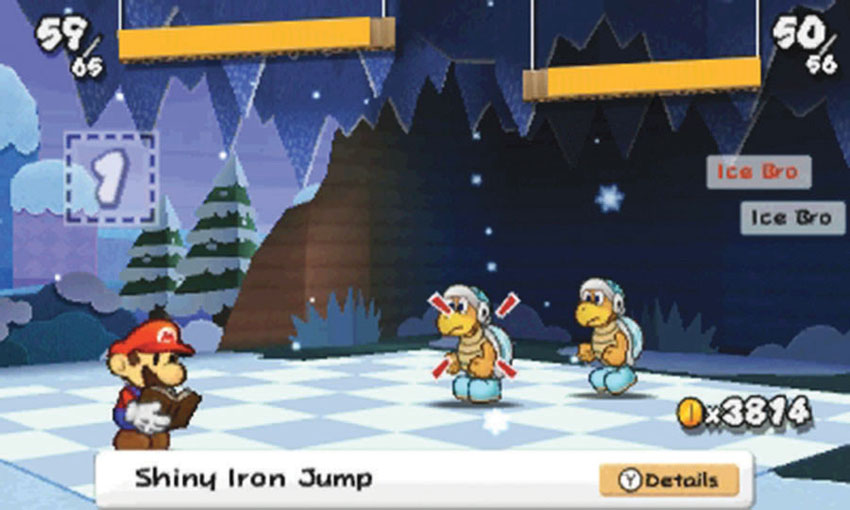
Most of the Ice Bros in this Course keep their distance, but you’ll find an Ice Bro patrolling the mountain path. When you attack, a second Ice Bro joins the battle. Carry some Burnhammers or similar multi-target stickers.
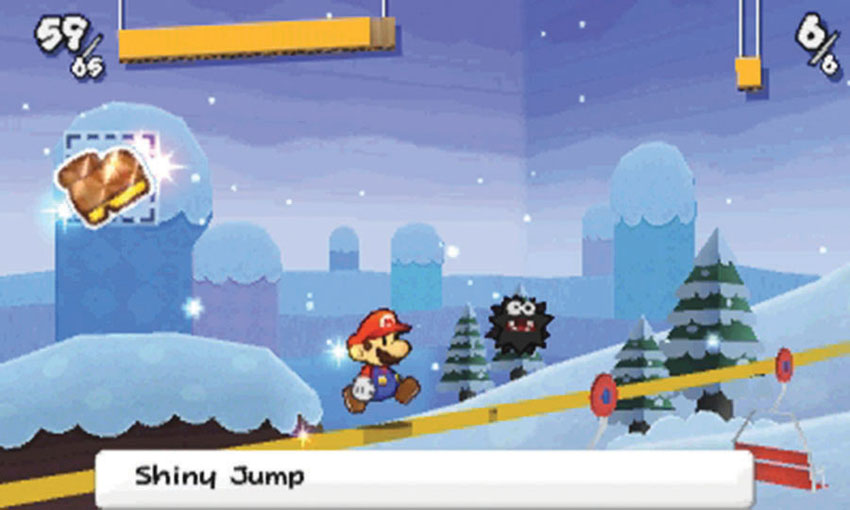
The chairlift is infested with Fuzzies! You should be able to knock most of them off of the cable before they attack, but chances are good at least a few will reach you. These enemies aren’t particularly tough, however. Bring a large supply of basic stickers to deal with any Fuzzies that manage to attack you.
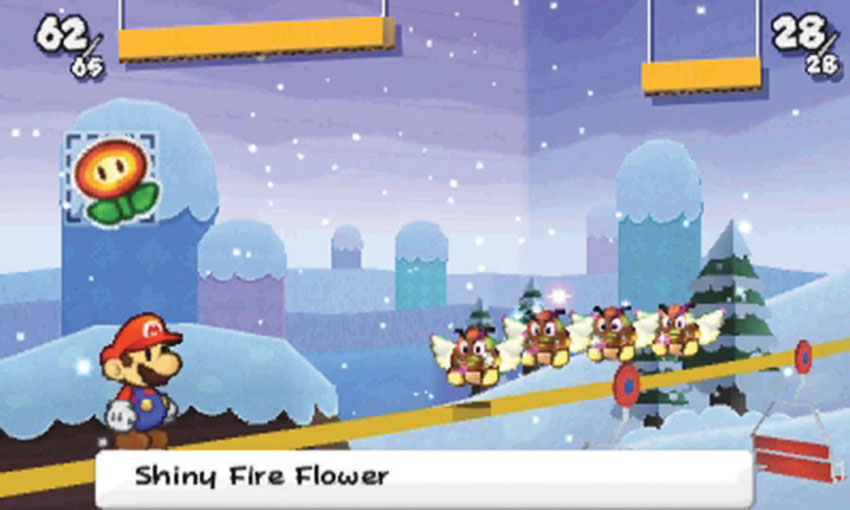
This Course also contains some Shiny Goombas and Shiny Paragoombas. As with the Fuzzies, you can avoid most of these enemies, but make sure you bring plenty of multi-target stickers to deal with unexpected encounters.
Mountain Path
.jpg)
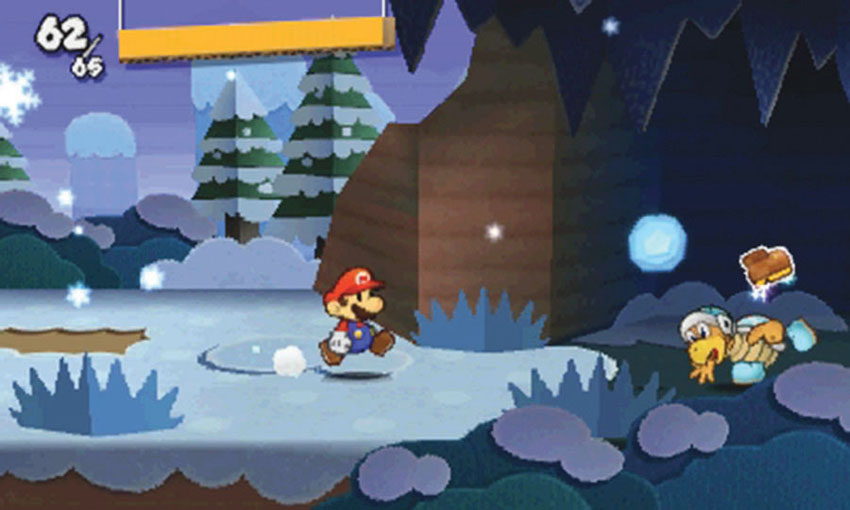
Stay alert as you collect the stickers at the start of the Course! The Ice Bro just up the path usually starts attacking before you spot him.
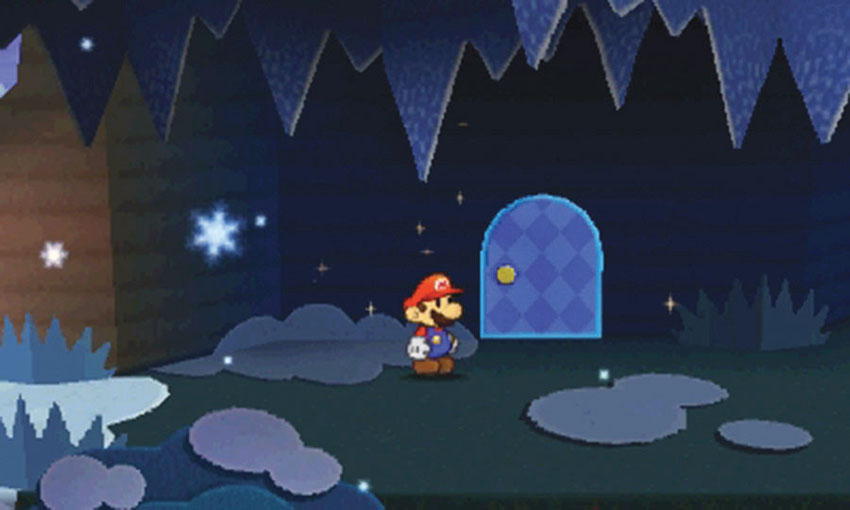
After you defeat the Ice Bro, head under the icicles and apply the Secret Door sticker to the marked location on the back wall. When the door is in place, head inside to find the Flashlight.
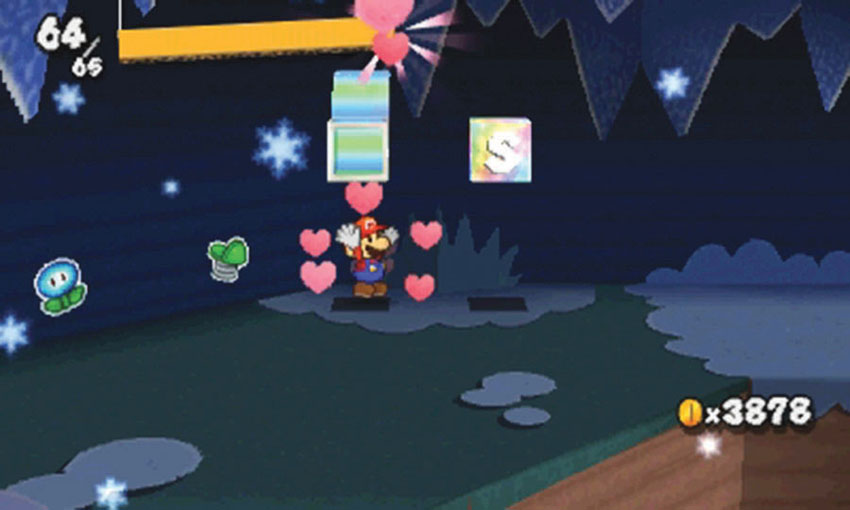
Point 3 offers an HP Block and a Save Block. There are a lot of potential battles ahead of you. Before you hop onto the chairlift, make sure you’re in fighting shape.
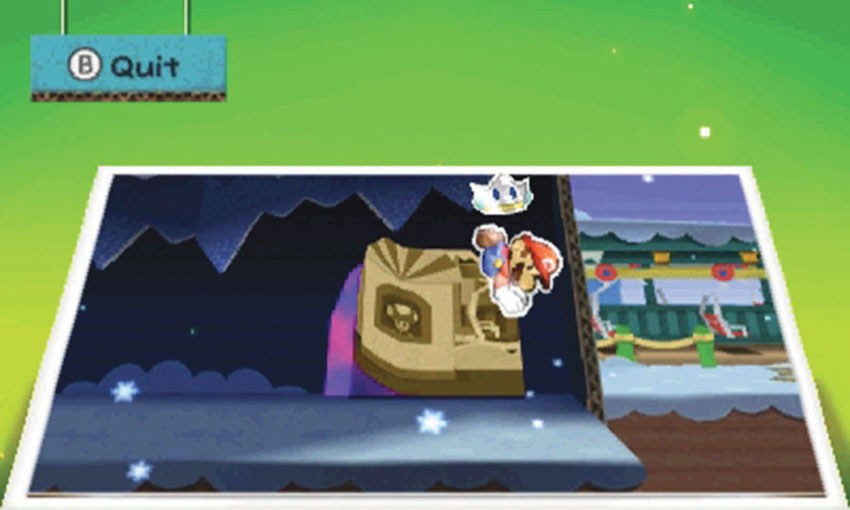
When you reach the end of the path, place the Forebear’s Portrait scrap from World 4-3 on the wall. After a moment, the path to the chairlift appears.
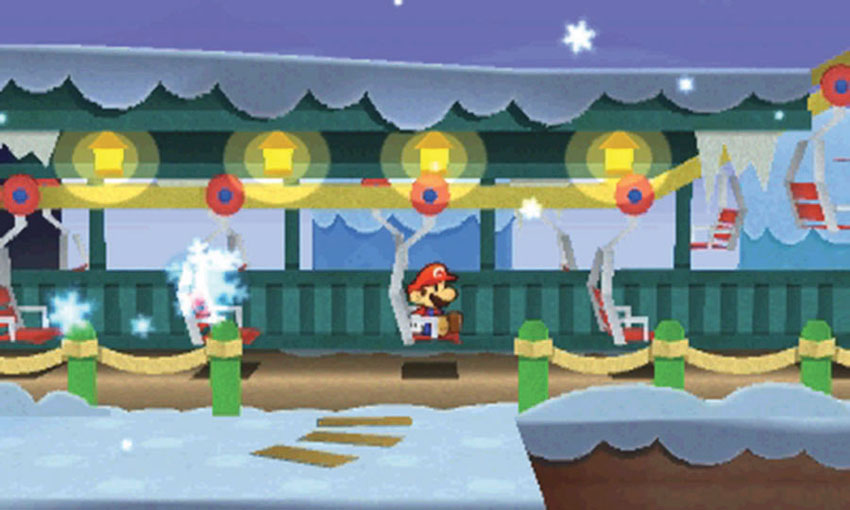
Approach the booth and speak to the forebear to activate the chairlift. When you’re ready, hop onto one of the chairlift’s seats to leave the area.
Chairlift
.jpg)
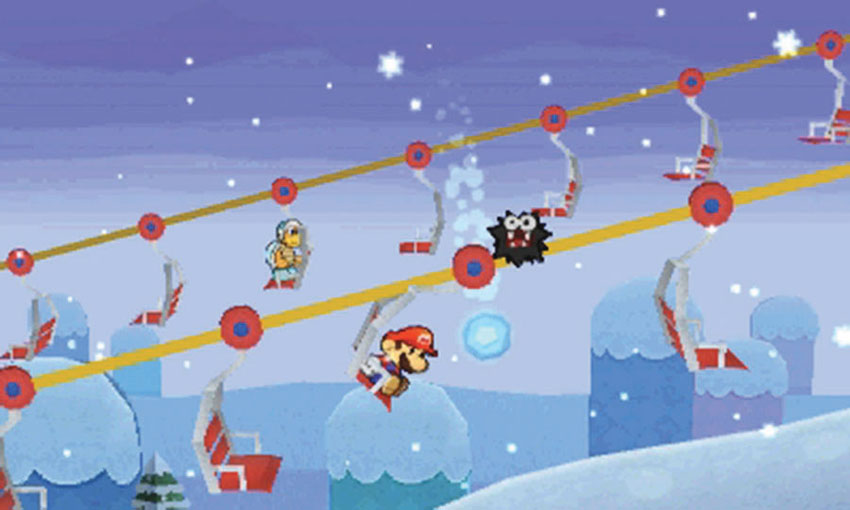
The chairlift carries you along a set path, so you don’t need to worry about navigating the area. You can take steps to defend yourself from incoming enemies, however. When Ice Bros and Paragoombas attack, slide the Circle Pad to the left and right to swing your seat in the corresponding direction. When a Fuzzy attempts to board your seat, press
to shake it loose with a small hop.
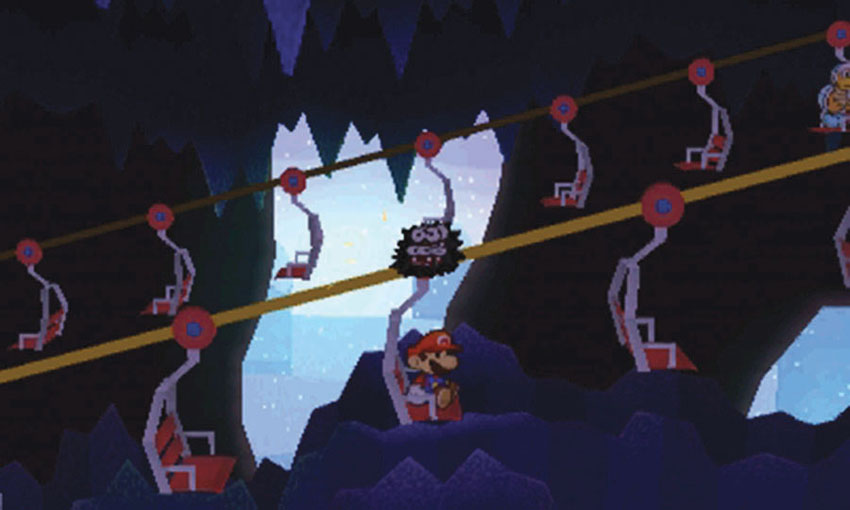
When you reach the cave, Fuzzies attack in large groups. Be patient, and hop just as the last member of the group reaches the hinge above your seat.
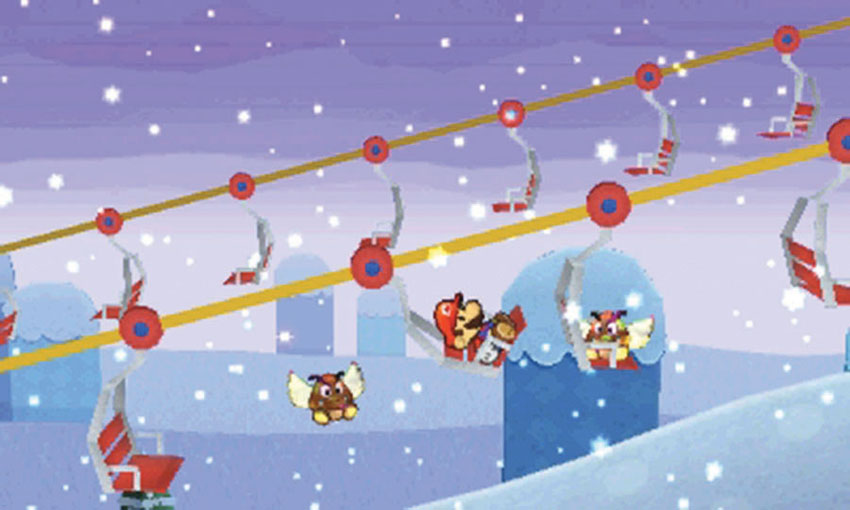
The Shiny Paragoombas attack by leaping from nearby seats. As each enemy attacks, swing out of its path.
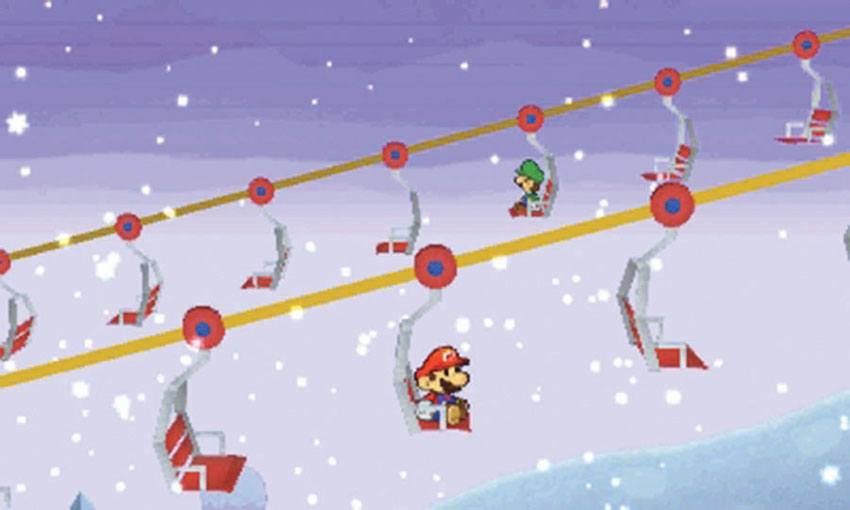
As you approach the end of the chairlift, enemies stop appearing. Watch the seats in the background to find Luigi riding in the opposite direction.
Landing Platform
.jpg)
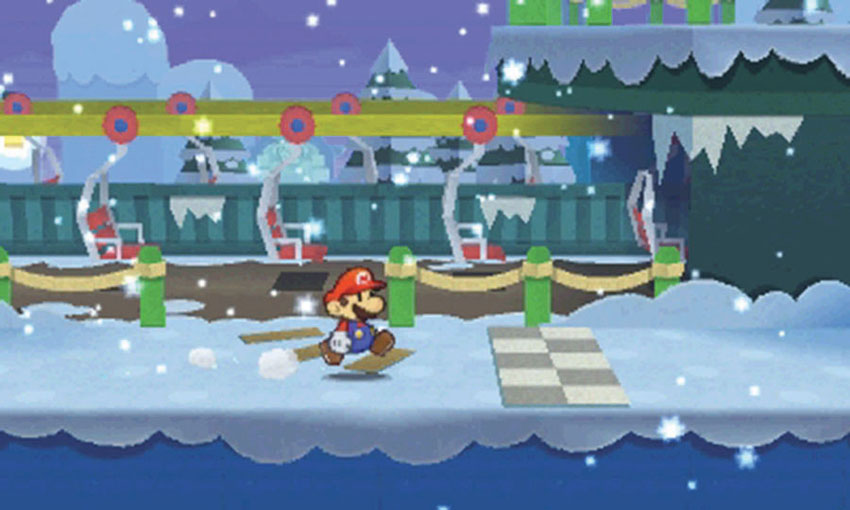
When you reach the landing platform, hop off of the chairlift and follow the path to the right.
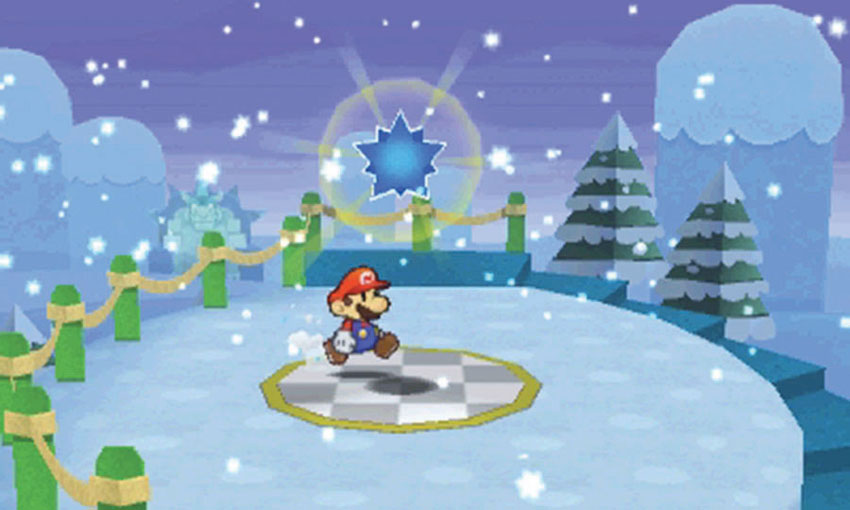
When you’re ready, collect the Comet Piece at the top of the stairs to complete your visit.
Sticker Comet Piece: Unlocking World 4-6
This Course contains only a single piece of the Sticker Comet. To unlock World 4-6, collect the Comet Piece from the landing platform.
World 4-6: Bowser’s Snow Fort
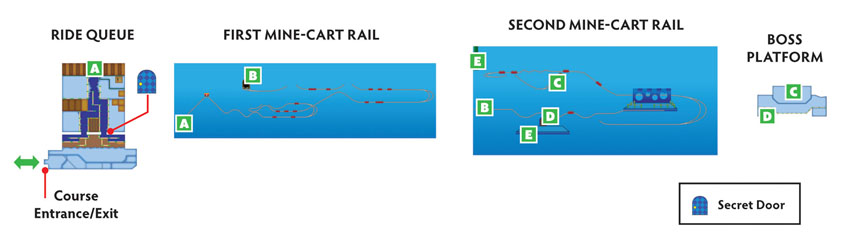
Overview
Prerequisites
To unlock this Course, you must collect the Comet Piece from World 4-5. This Course actually contains a Secret Door sticker, but you’re free to bring one of your own. To defeat the Bowser Snow Statue and Mizzter Blizzard at the end of the Course, it’s important to bring plenty of heat-based Thing Stickers and Battle Stickers.
Essential Thing Stickers
| Name | Thing Location | Notes |
|---|---|---|
| Hair Dryer | World 4-2 | Recommended for boss battle. |
| Oven | World 4-3 | Recommended for boss battle. |
Objectives
This Course contains several objectives, most of which can be completed in a single visit:
- Rescue the bullied Toad.
- Collect the Sewing Scissors near the Secret Door.
- Collect and apply the first Mine-Cart Rail scrap.
- Reposition the second Mine-Cart Rail scrap.
- Collect the Megaflash Chillhammer sticker.
- Collect and apply the Mine-Cart Exit scrap.
- Defeat the Bowser Snow Statue and Mizzter Blizzard.
- Collect the Royal Sticker.
- Collect the Megaflash Line Jump.
Important Items and Locations
| Description | Notes |
|---|---|
| Secret Door | The marked location is to the right of the ride queue. |
| HP-Up Heart | None |
| Toad Rescue | The bullied Toad is to the left of the ride queue. |
| Luigi Location | None |
| Wiggler Diary Entry | None |
| Things | The Sewing Scissors are on the right side of the ride queue, near the Secret Door |
Recommended Tactics
This Course contains a variety of enemies, and some of them are immune to cold-based attacks. Keep plenty of heat-based stickers on hand, but make sure you save enough to complete the boss battle at the end of the Course.
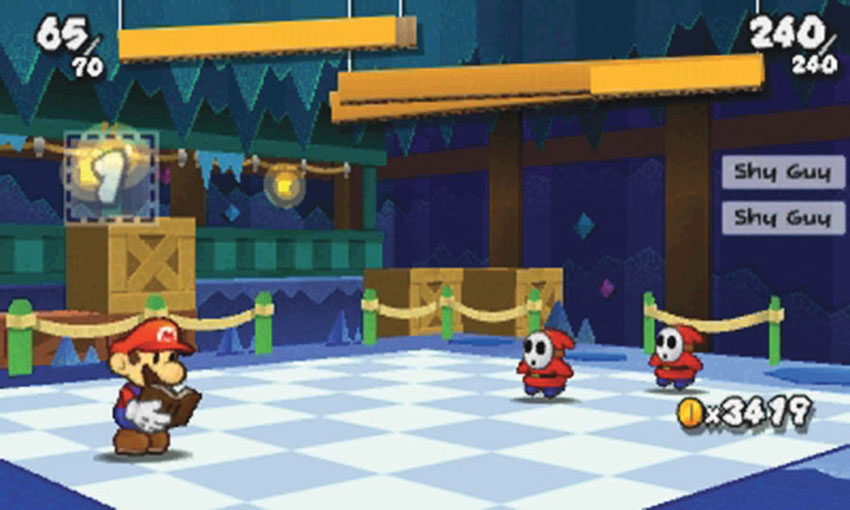
The Shy Guys bullying the Toad are extremely durable. The battle is sure to last several turns, but the Battle Spinner can be a big help. Combine Shiny POW Blocks with high-damage stickers to reduce incoming attacks as you chip away at their HP.
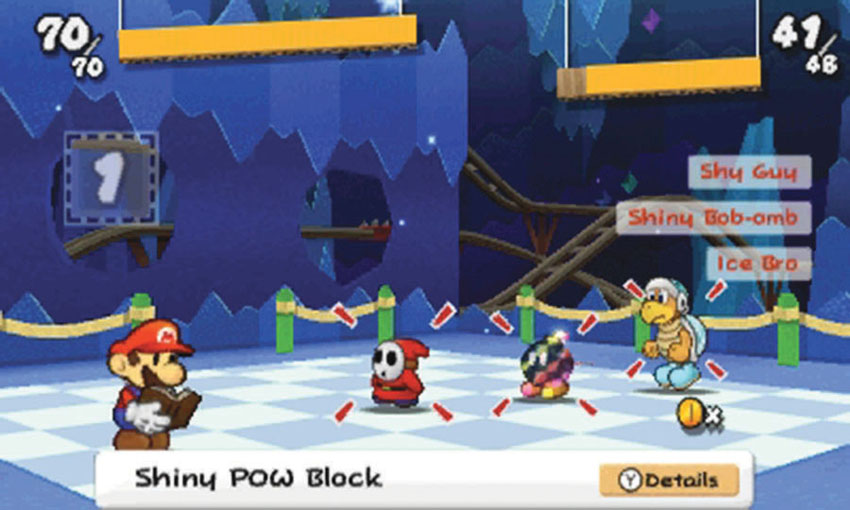
Toward the end of the Course, you’ll face some Ice Bros and Shiny Bob-ombs. Stock up on Burnhammers to help ensure that you have no trouble with more diverse groups of enemies.
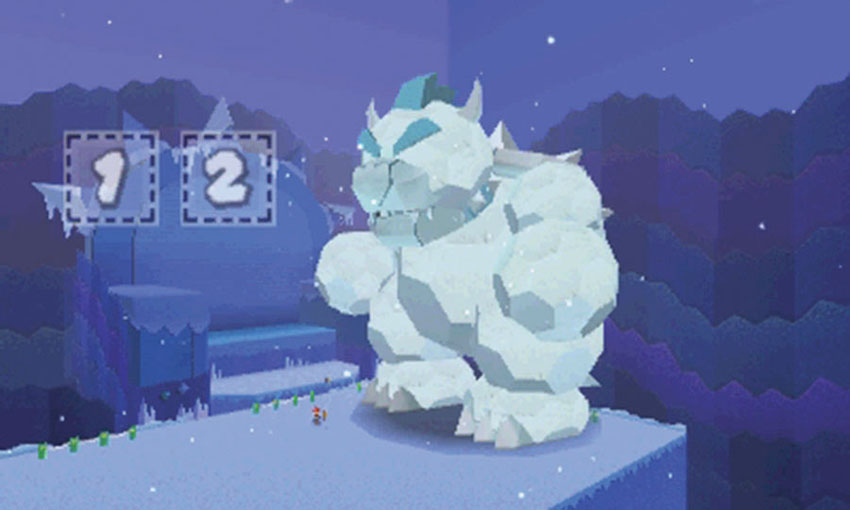
The Bowser Snow Statue and Mizzter Blizzard are both vulnerable to heat-based stickers. Thing Stickers like the Hair Dryer and Oven are very helpful, but Flashy Fire Flowers are just as effective.
Ride Queue
.jpg)
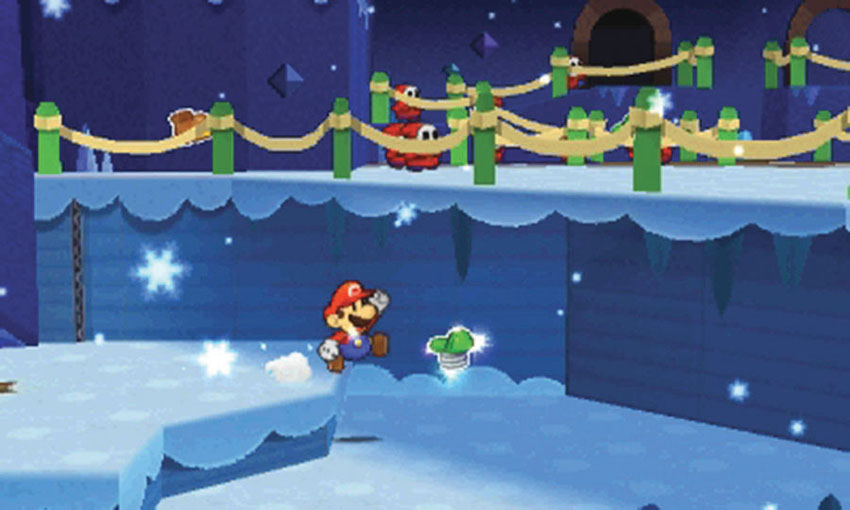
When you enter the Course, follow the steps up to the ride queue.
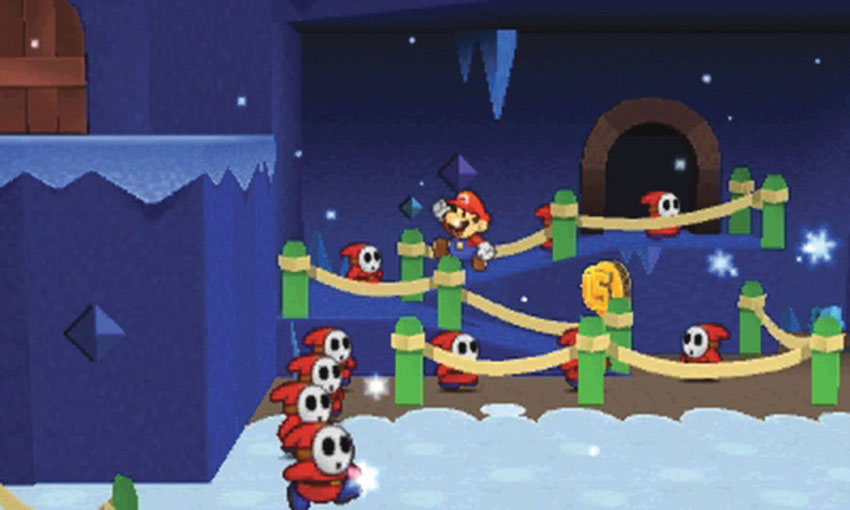
Approach the Shy Guys lined up along the ramp to the left. Hop over the railing and try to slip past the enemies. Watch out! The Shy Guys don’t appreciate you cutting in front of them. A battle begins each time you make contact with an enemy.
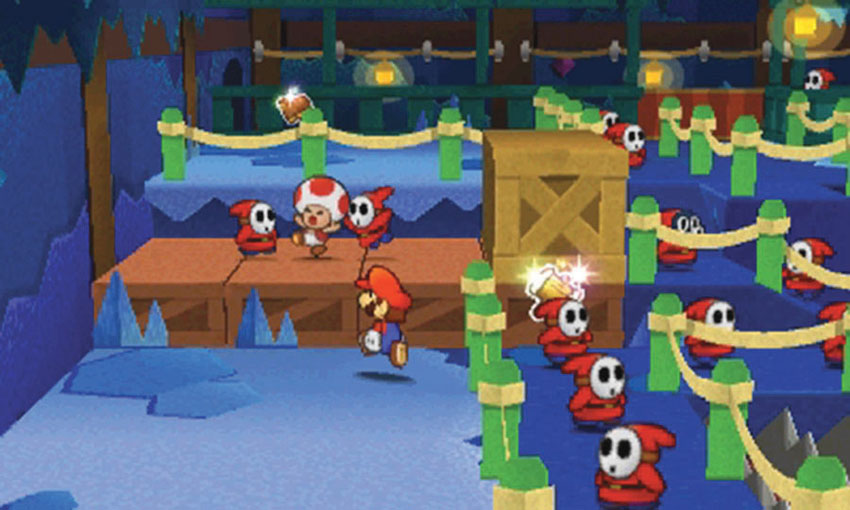
There are two Shy Guys tormenting a Toad on the left side of the building. Once you’re inside, hop over the railing and confront the bullies. End the conflict to complete another Toad rescue and collect a Secret Door sticker.
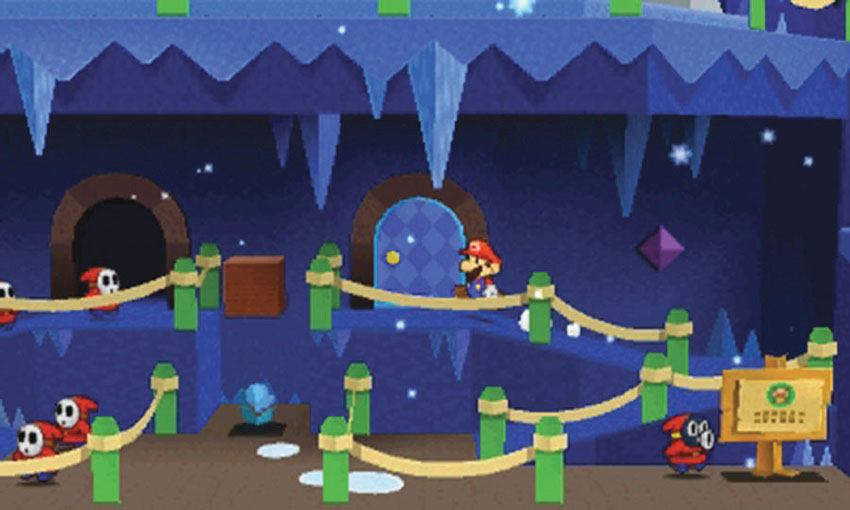
After you rescue the bullied Toad, hop back over the railing and slip out of the building. Climb the ramp to the right and apply a Secret Door sticker to the marked location. When you’re ready, use the Secret Door to bypass the Shy Guys in the ride queue.
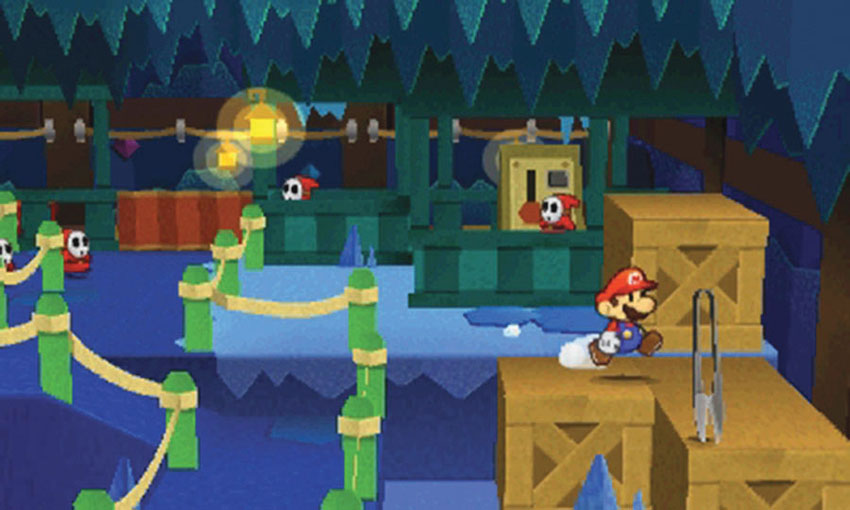
After you pass through the Secret Door, climb up to the front of the queue. Before you hop into a mine-cart, however, jump over the railing to the right and double back to find the Sewing Scissors near the building’s right wall.
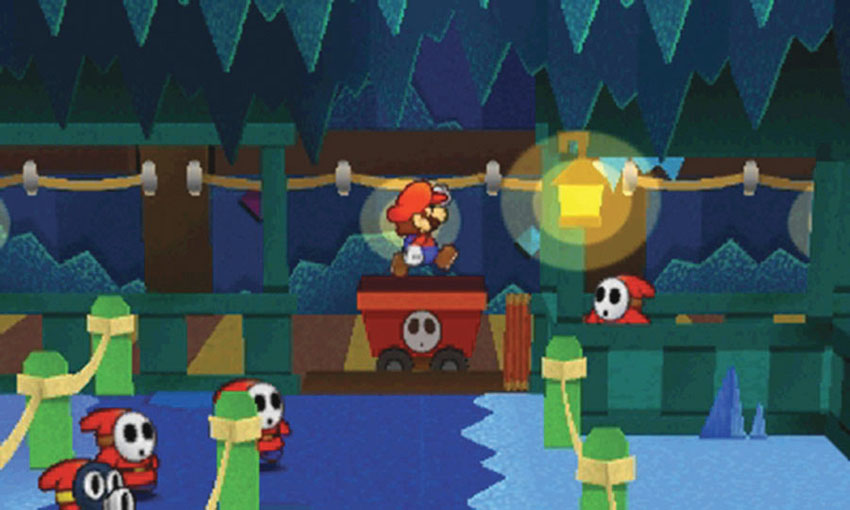
When you’re ready, move to the front of the ride queue and hop into the first available mine-cart.
First Mine-Cart Rail
.jpg)
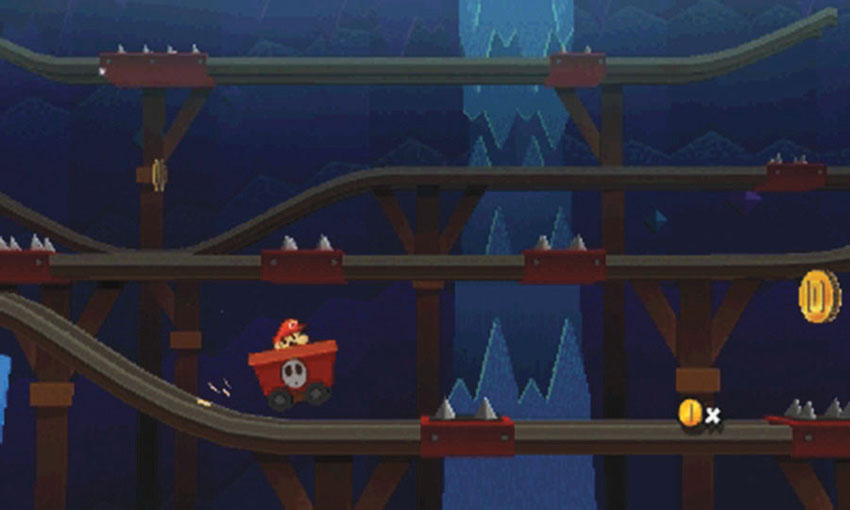
As you ride the mine-cart, press
to hop over hazards like spikes and gaps in the rail.
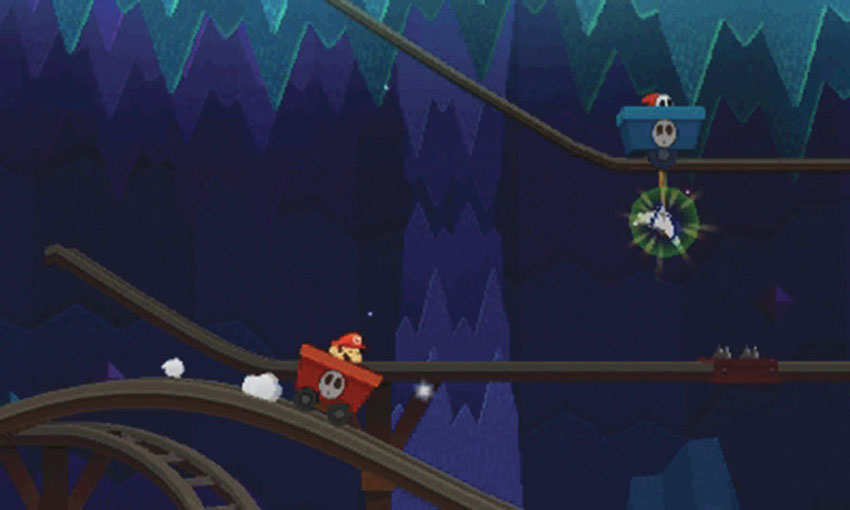
As you make a second loop around the area, a Shy Guy appears on the rail above you. The first Mine-Cart Rail scrap is hanging from the Shy Guy’s mine-cart; before you can leave the area, you must find a way to collect the scrap.
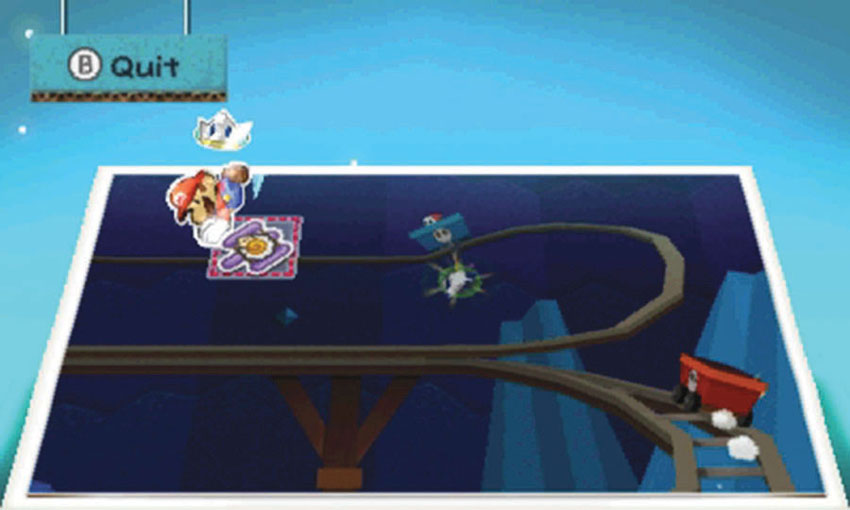
As you move through the next turn, activate the Paperize ability and use a sticker from your Album to reveal the Paperization Block in the Shy Guy’s path.
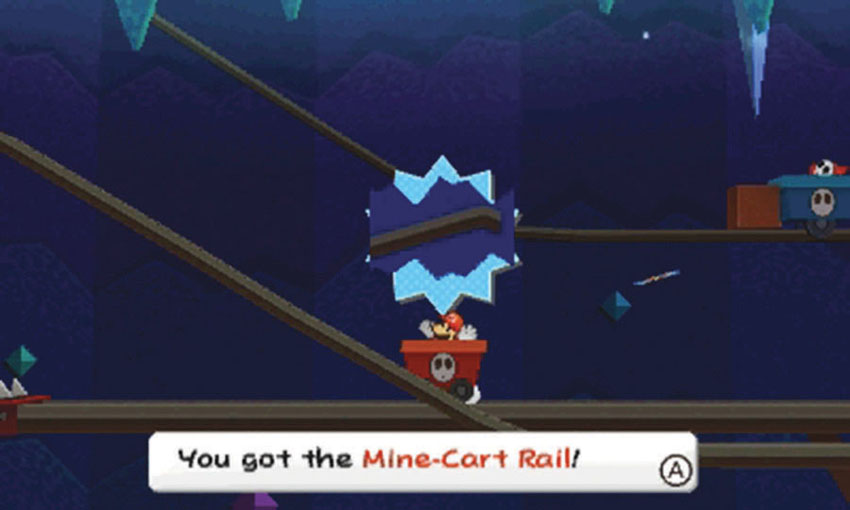
When the Shy Guy crashes into the Paperization Block, the dangling scrap breaks loose and lands in your path.
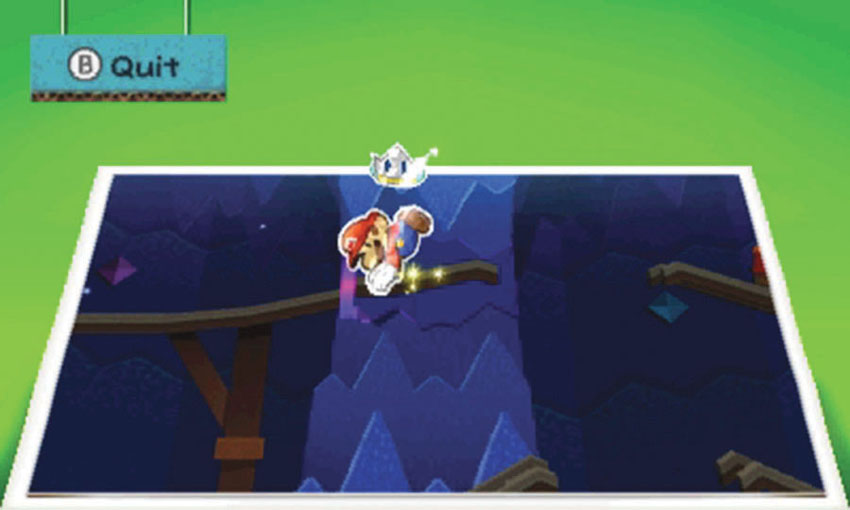
Place the first Mine-Cart Rail scrap in the gap at Point 4. The scrap extends the rail, but it doesn’t complete it. Hop over the remaining gap and continue to the next area.
Second Mine-Cart Rail
.jpg)
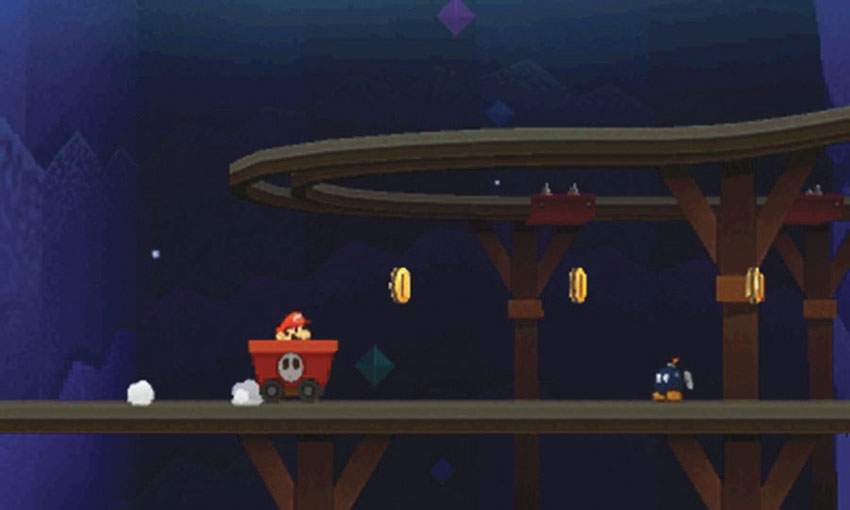
In addition to spikes and gaps, you must hop over the Bob-ombs that appear along the second mine-cart rail.
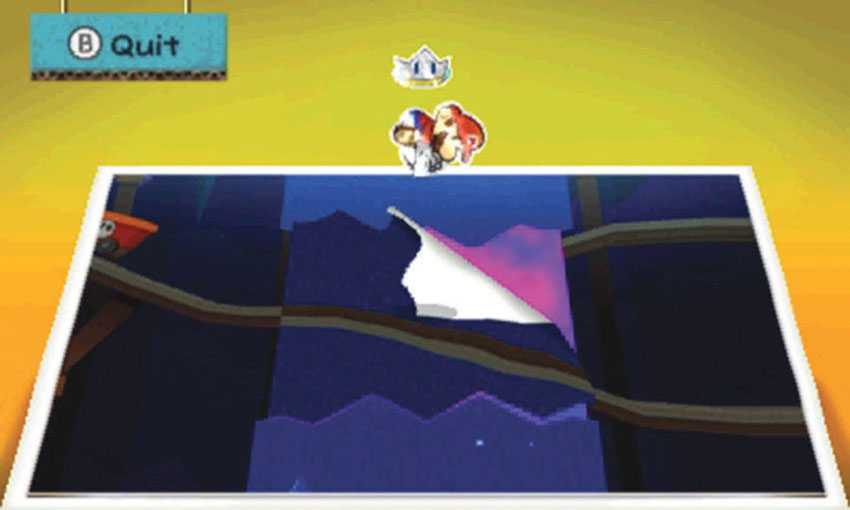
As you approach Point 2, activate the Paperize ability and peel the second Mine-Cart Rail scrap out of your path. Reapply the scrap in the same spot to change the rail’s decline to an incline!
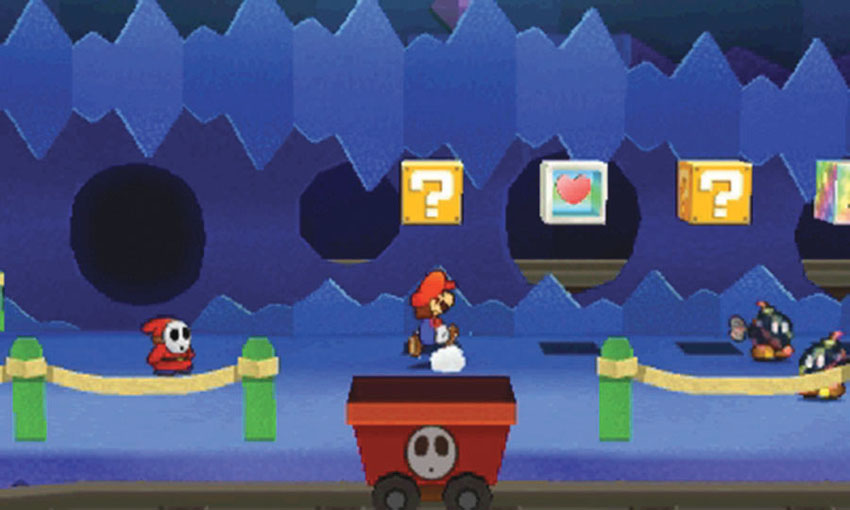
After you reposition the second Mine-Cart Rail scrap, the cart stops at a the large, enemy-infested platform.
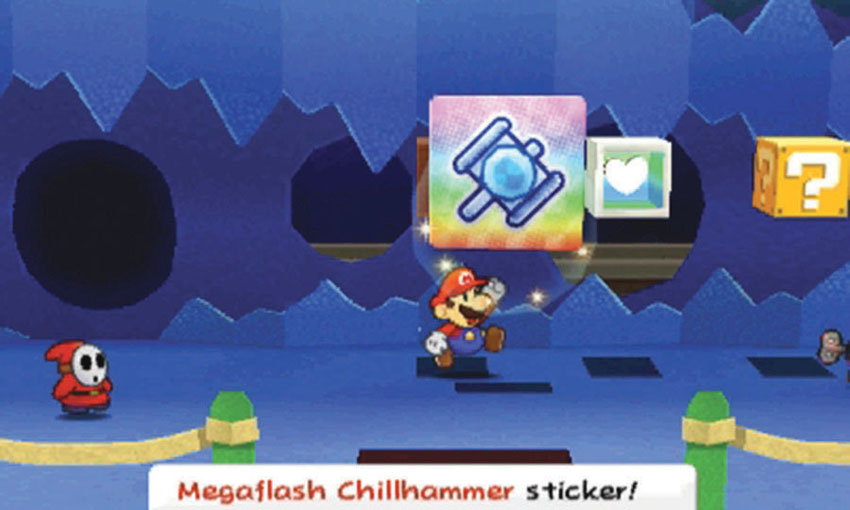
The ? Block just left of the HP Block contains a Megaflash Chillhammer! Make sure you collect this rare sticker before you leave the area.
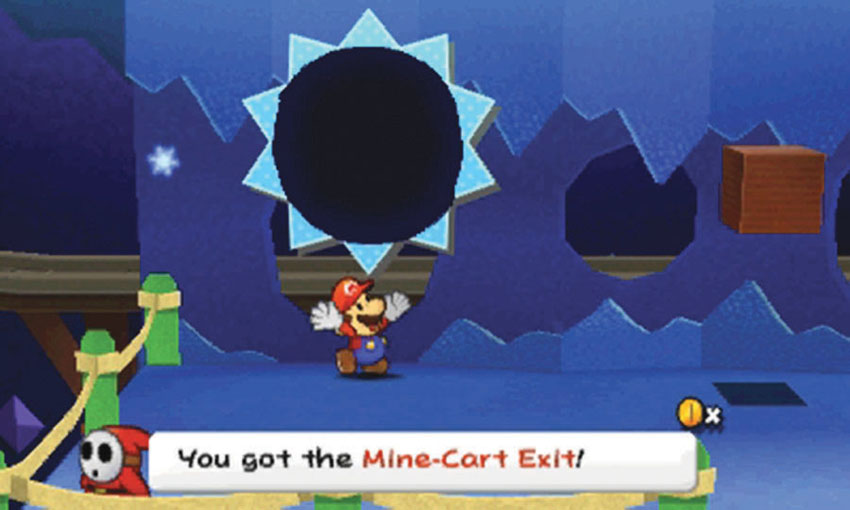
Examine the left side of the platform to find the Mine-Cart Exit scrap on the back wall, then use the HP Block and Save Block to the right.. When you’re ready, hop back into the mine-cart and continue along the rail.
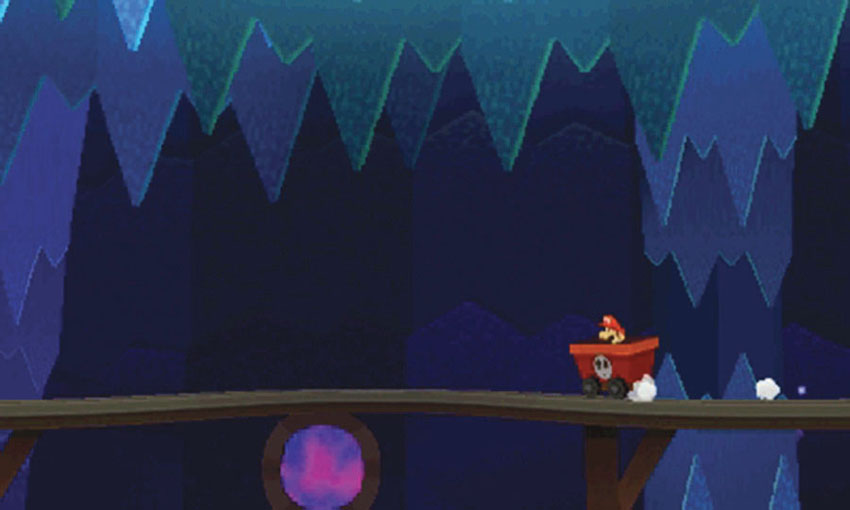
As you approach Point 4, look for the hole in the back wall. Apply the Mine-Cart Exit scrap to the hole, then ride the mine-cart out of the area.
Boss Platform
.jpg)
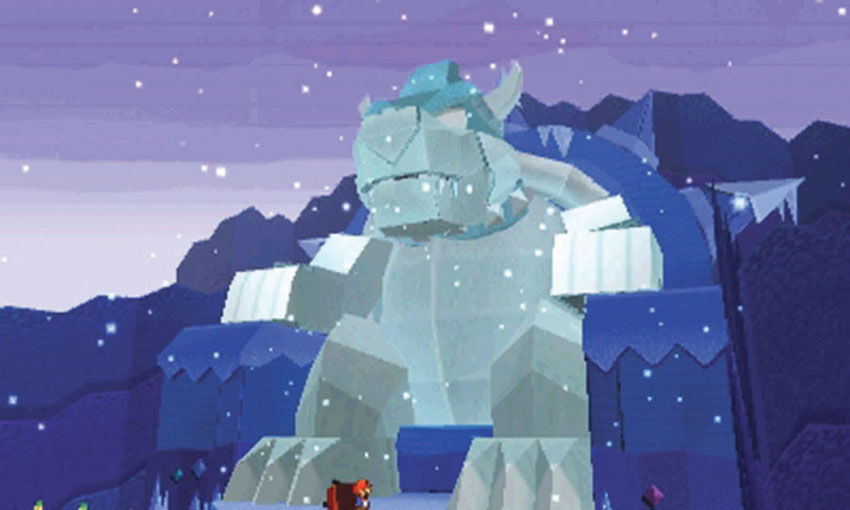
When the mine-cart crashes on the boss platform, the Bowser Snow Statue attacks. Defeat the Bowser Snow Statue and the deceptive Mizzter Blizzard to reveal another Royal Sticker.
Bowser Snow Statue and Mizzter Blizzard
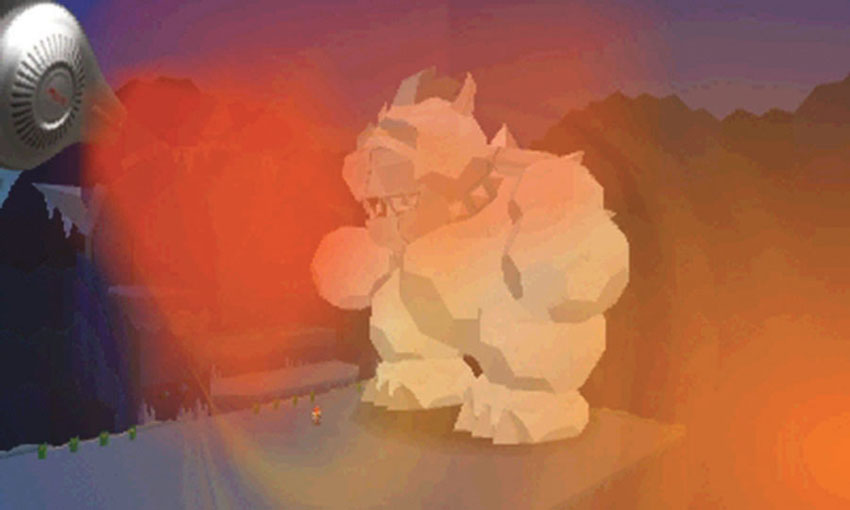
The Bowser Snow Statue is fairly durable, but it’s vulnerable to heat-based attacks. Use the Battle Spinner to earn extra attacks on each turn, and combine Flashy Fire Flowers and any heat-based Thing Stickers you have in your Album.
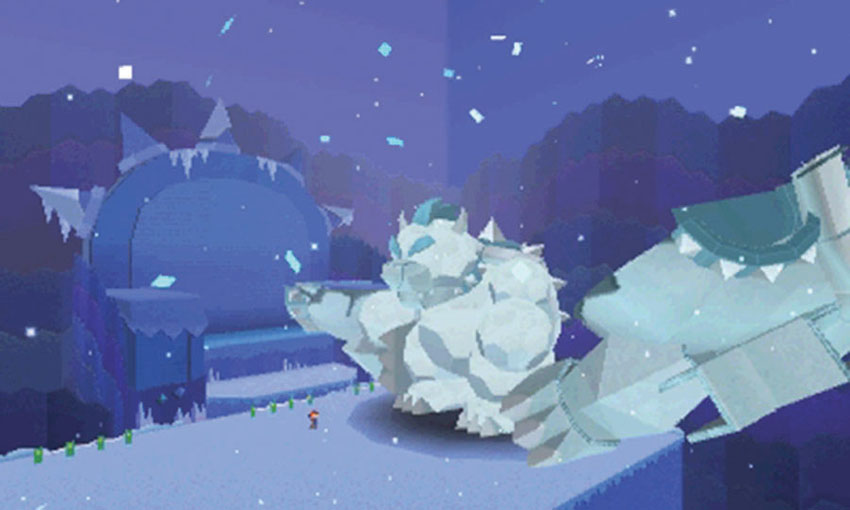
As you damage the Bowser Snow Statue, it undergoes a physical change. First the snow falls off of its surface, then the ice shatters to reveal a smaller version of the Bowser Snow Statue. Repeat the process to reveal an even smaller Bowser Snow Statue.
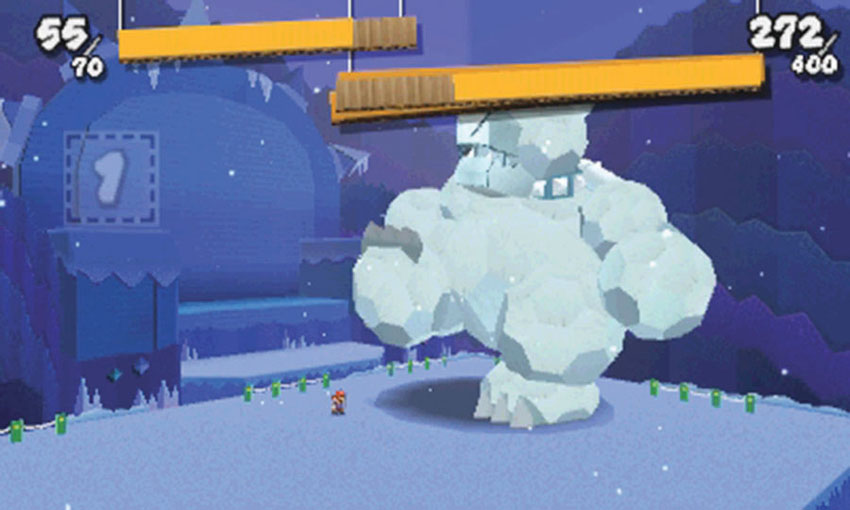
The first two statues are large enough to stomp you, but the third statue dumps snow on you. Defend yourself from each attack, and continue dealing damage until you reveal Mizzter Blizzard.
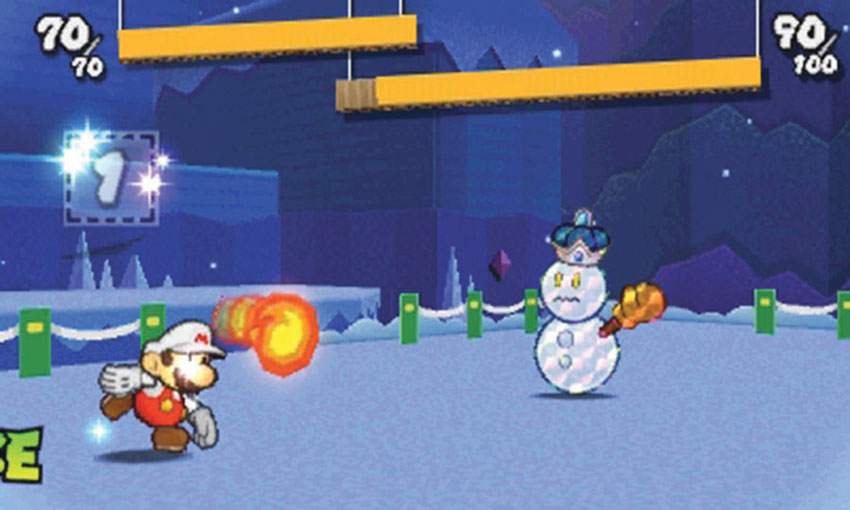
Mizzter Blizzard isn’t quite as impressive as the Bowser Snow Statue, but he can absorb a bit of damage. Don’t let up! Defend yourself from his attacks, and use Flashy Fire Flowers and Burnhammers to defeat him.
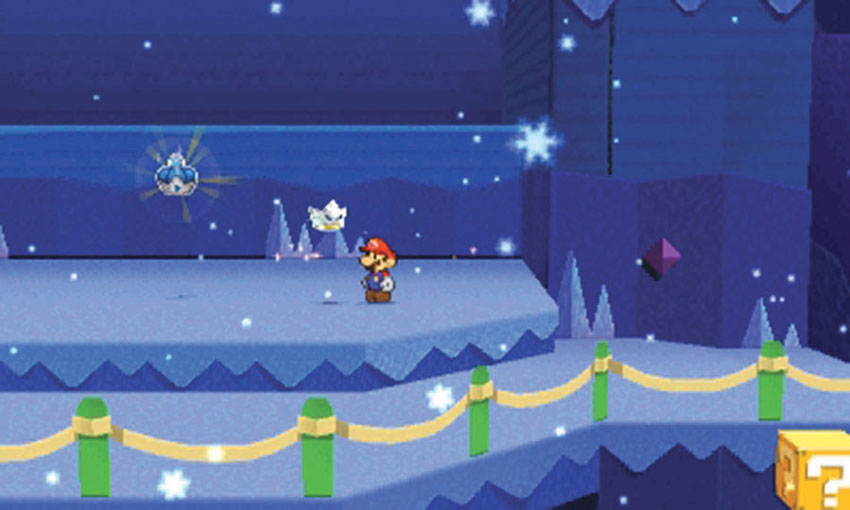
When you defeat Mizzter Blizzard, he drops a Royal Sticker. Before you collect it, look for the ? Block floating beyond the boss platform’s front-right corner. This ? Block contains a Megaflash Line Jump sticker! If you try to collect it, however, Kersti insists that you collect the Royal Sticker. Do as she asks to complete your first visit.
Recommended Visit #2
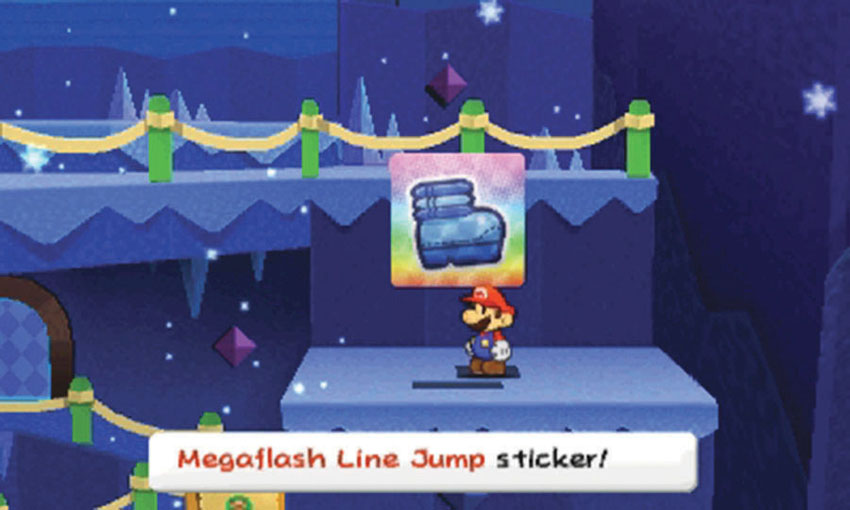
Revisit the Course and ride a mine-cart up to the boss platform. Move to the front-right corner of the platform and jump over the railing. Collect the Megaflash Line Jump sticker from the ? Block, then drop down to the ride queue. When you’re ready, exit the Course to complete your visit.