
Lego Marvel Super Heroes(PS4, PS3, Xbox One, Xbox 360, Nintendo WiiU, PC) Guide Walkthrough
Level 5: Rebooted, Resuited
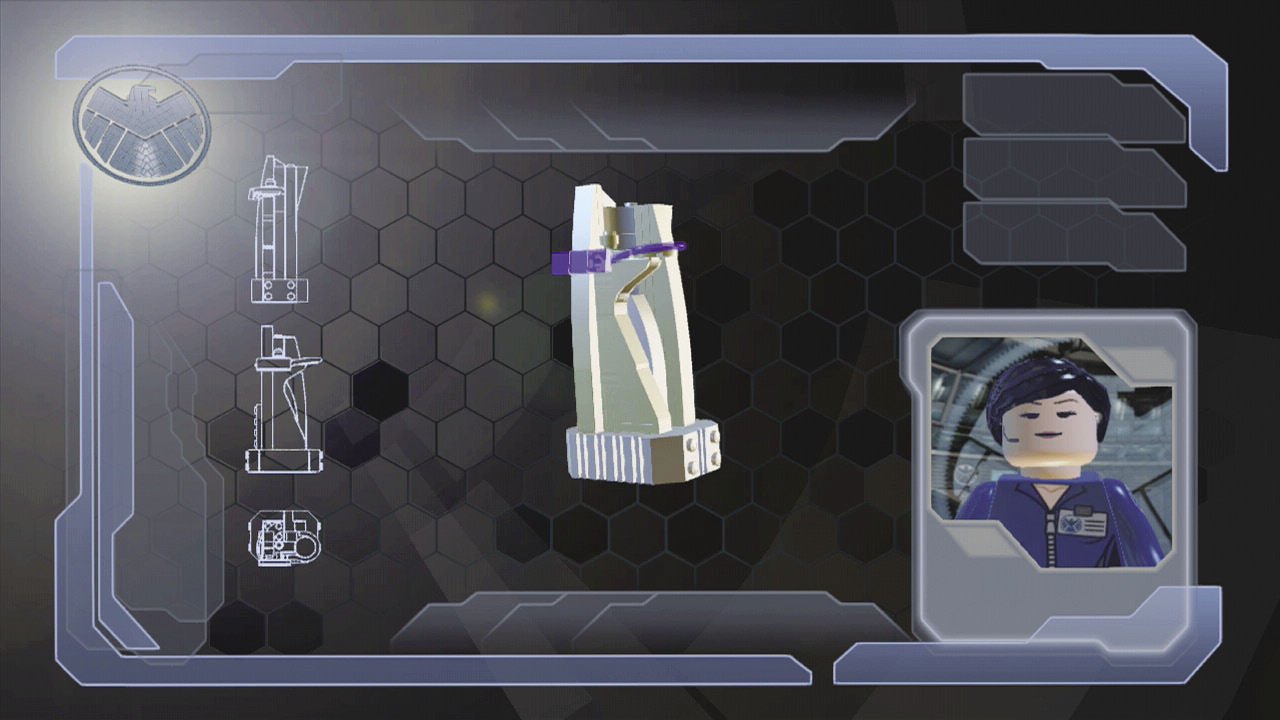
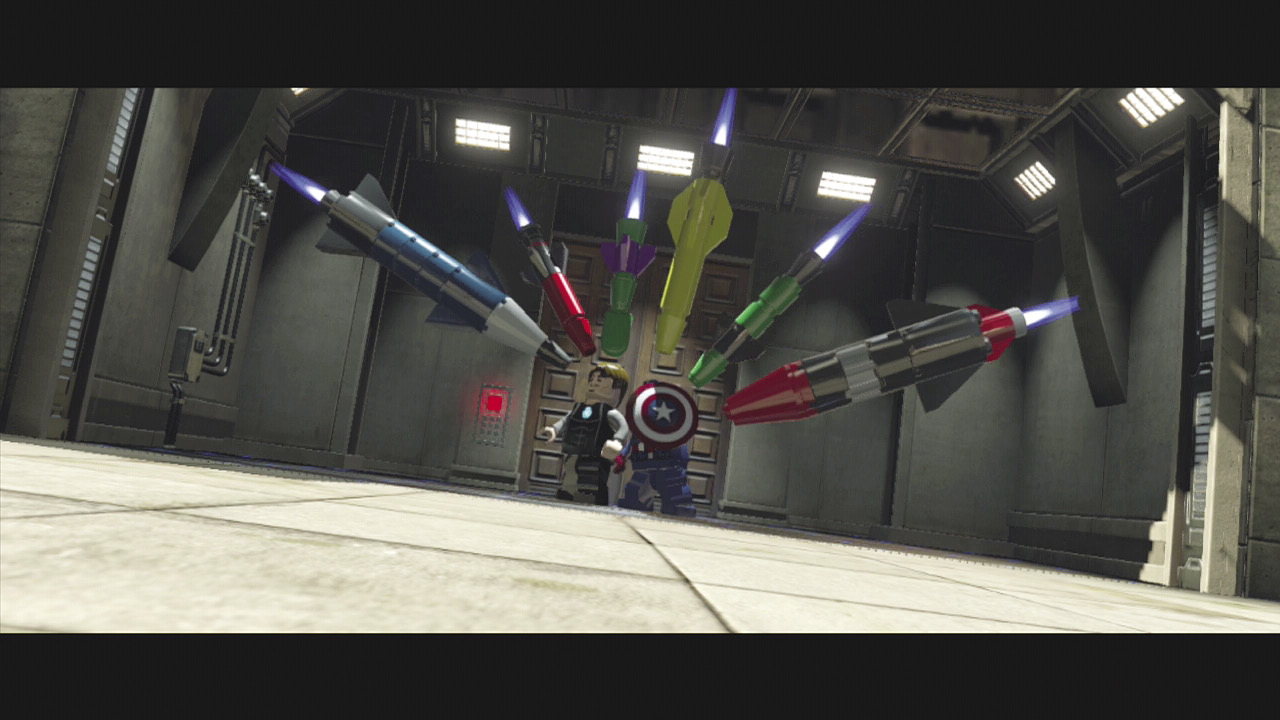
Since Magneto wrecked Tony Stark’s Mk 6 Iron Man armor, Tony needs to get back to Stark Tower to get another set of armor. Captain America is sent to accompany him.
|
Story Collectibles |
|||
| No. | Icon(s) | Mode | Notes |
|---|---|---|---|
|
1 |
 |
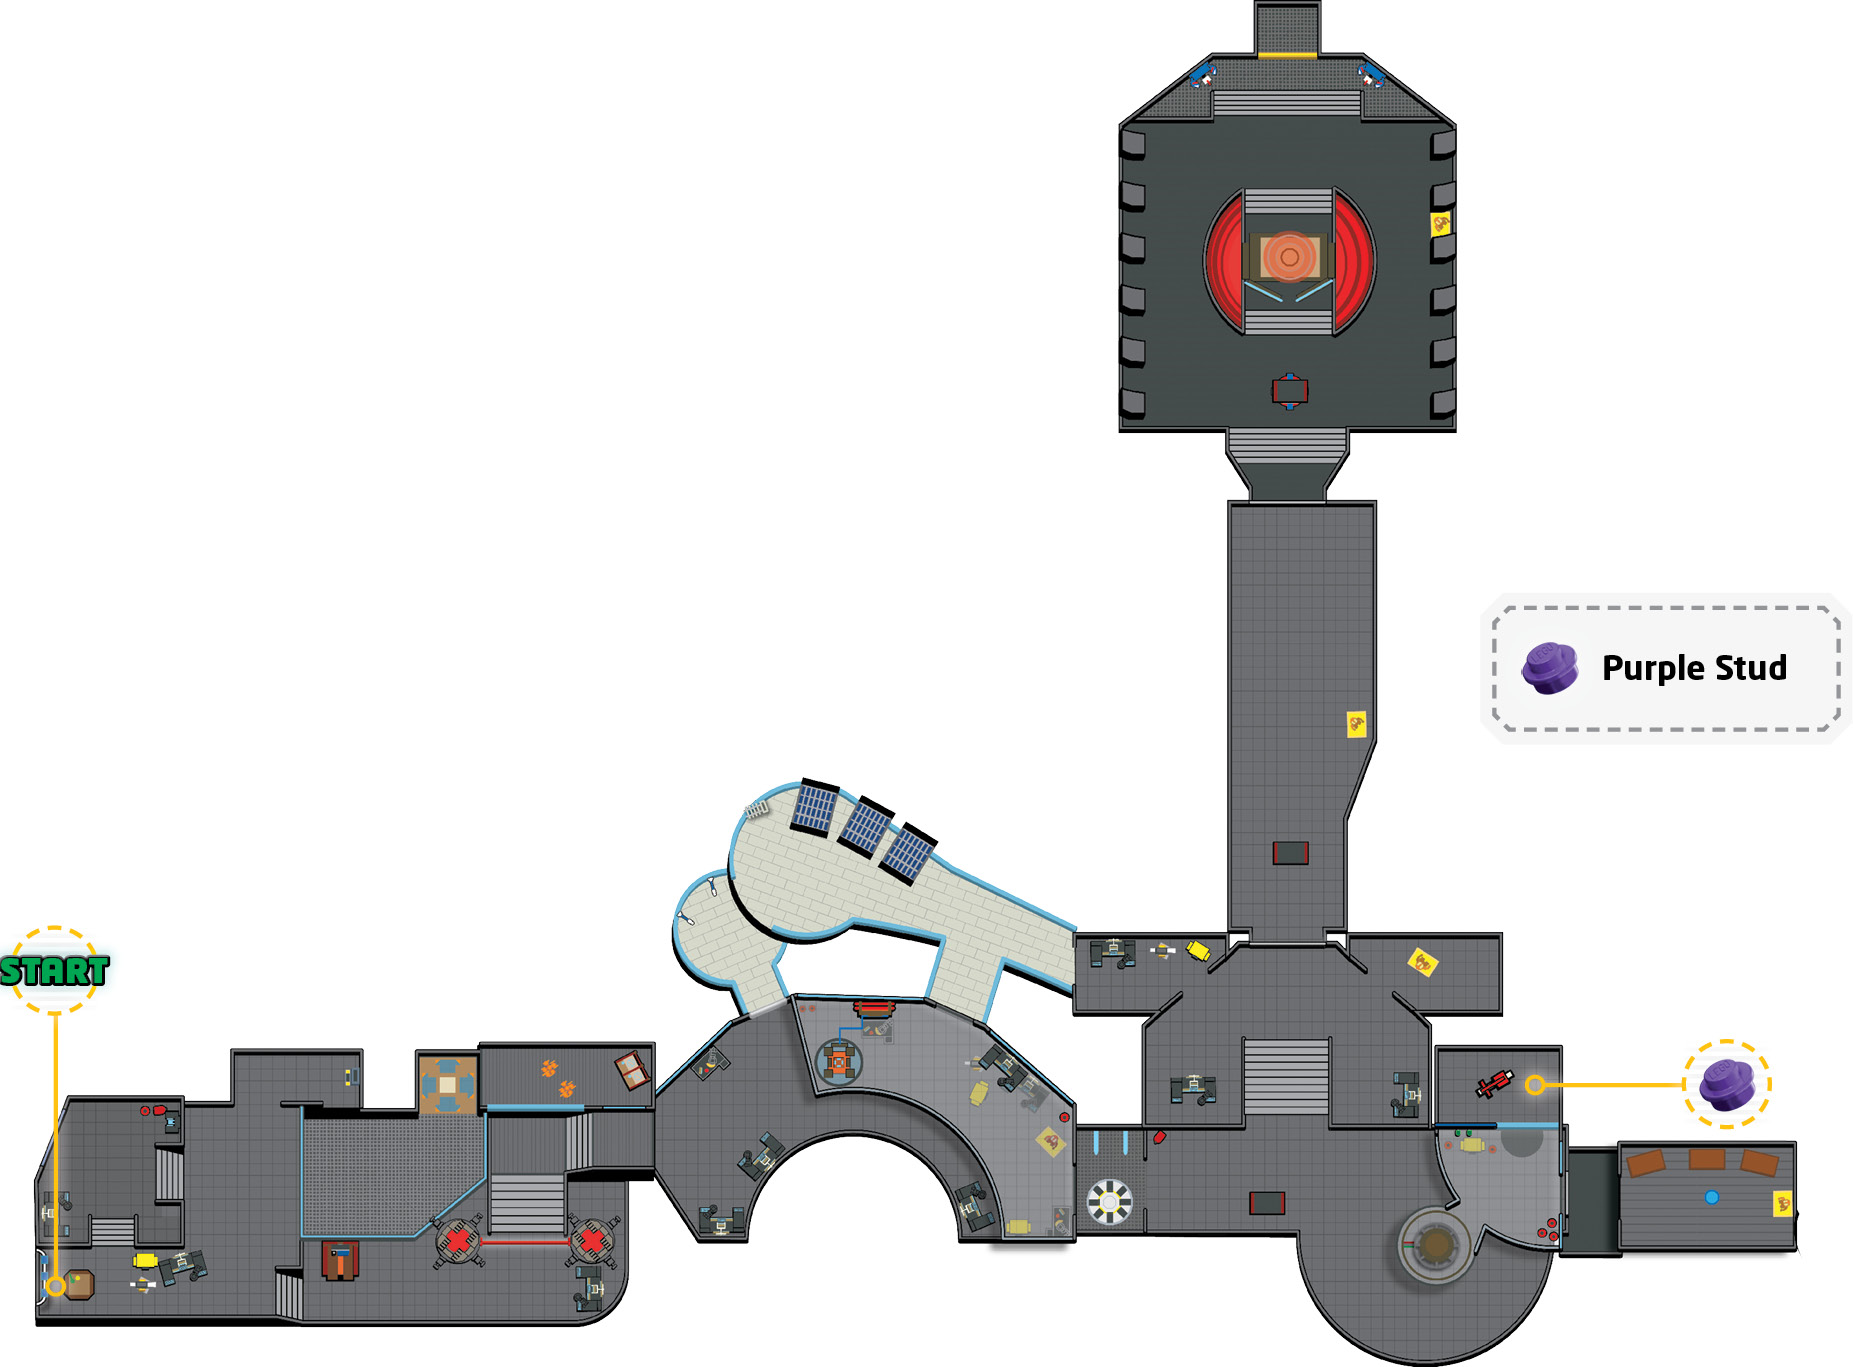
Story | Fly off the side of the platform at the top of Stark Tower to pick up this minikit. |
True Believer Stud Requirement: 95,000
Story Characters

- Captain America
- Tony Stark
- Iron Man Mk 1
- Iron Man Mk 42
Objective 1: Get to Stark Tower
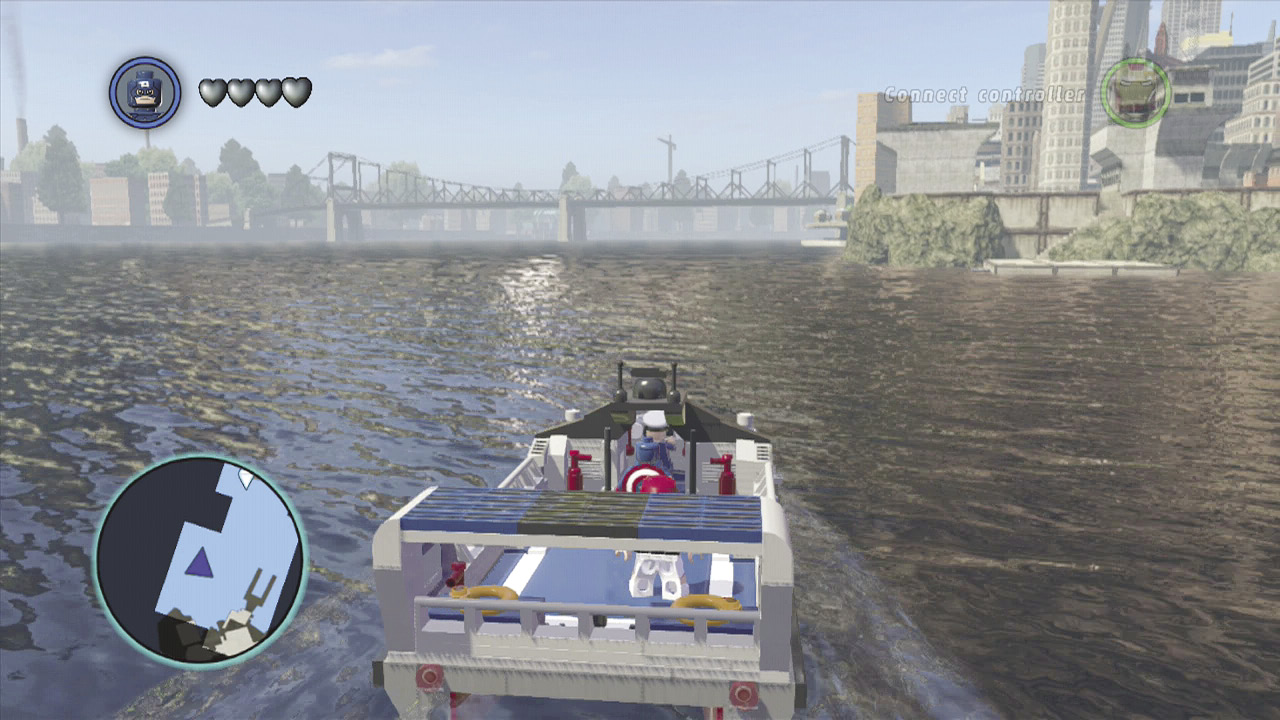
Since your mission at the Raft is complete, you need to get off Ryker’s Island and back to Manhattan. Climb aboard the ferry and ride it back to the dock on Manhattan.
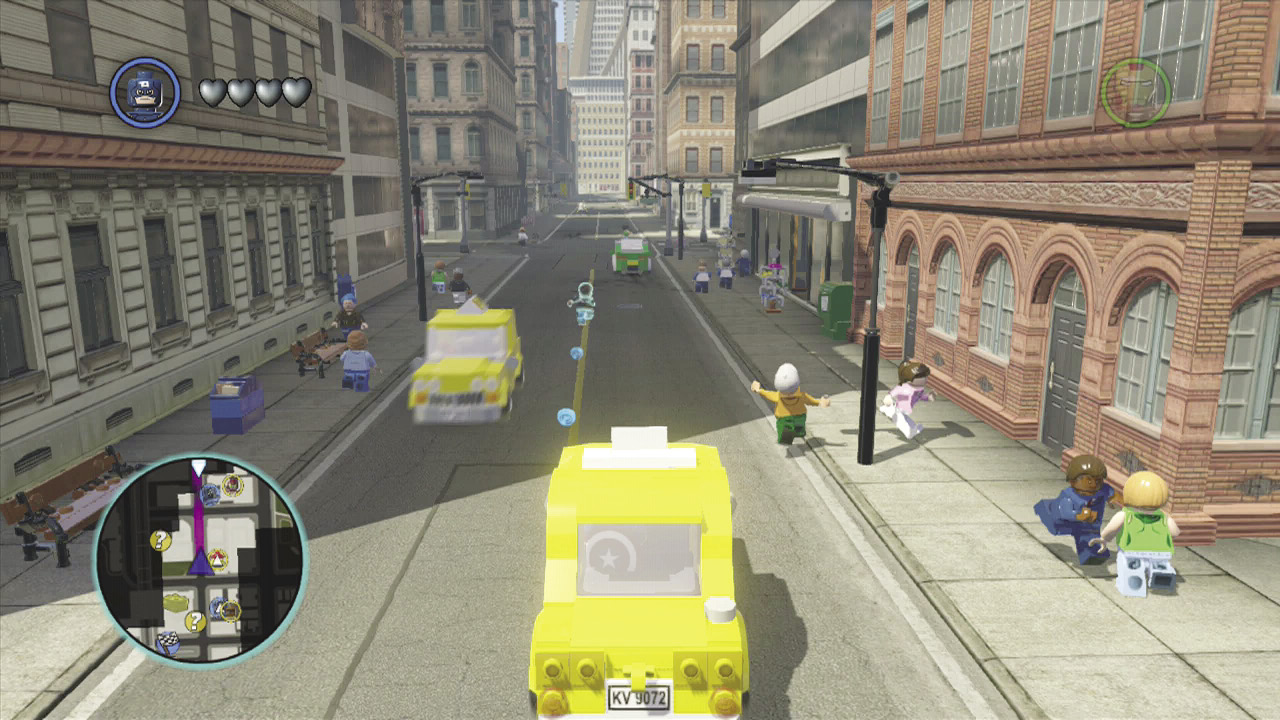
Follow the hologram up the steps. Although you can walk all the way to Stark Tower, it is a lot faster to ride. Walk up next to a taxi or other car and press the button that appears above it to take the car for official super hero business. Follow the hologram down the streets to get to your destination.
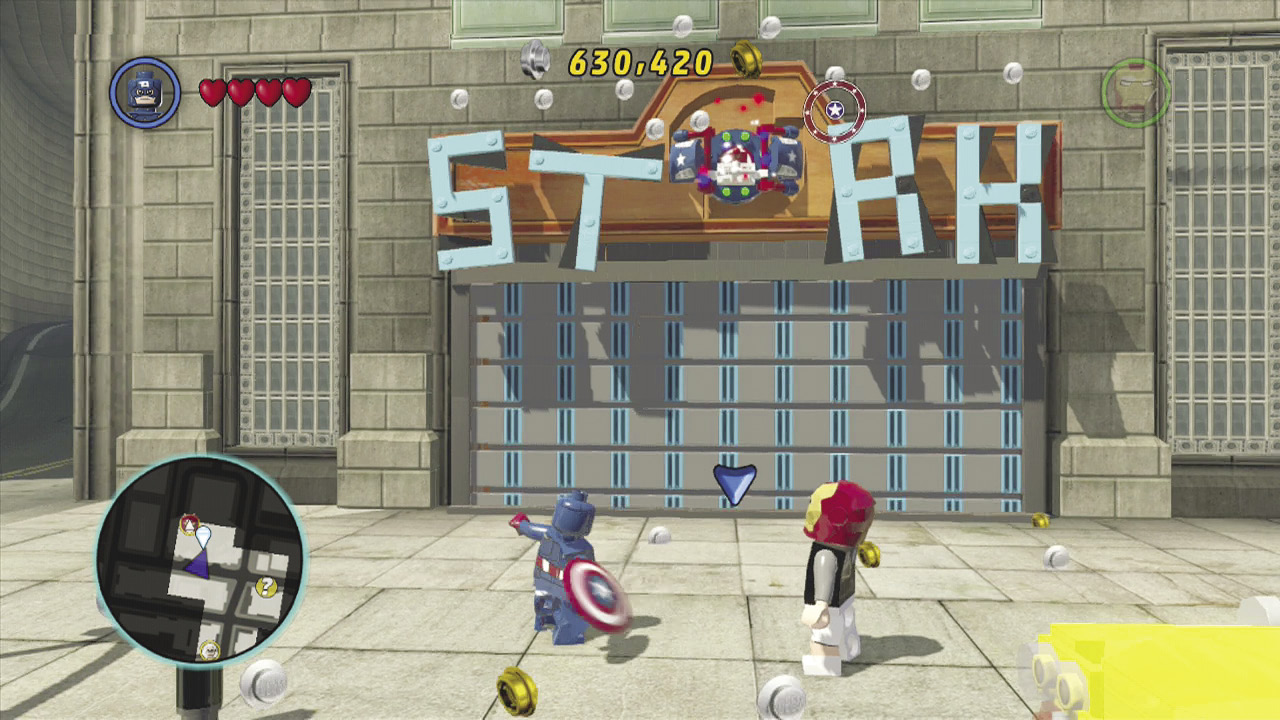
Once you arrive, the door to the tower is locked. Throw the shield at the “A” on the sign to reveal a shield switch. Throw the shield again at the switch to open the door.
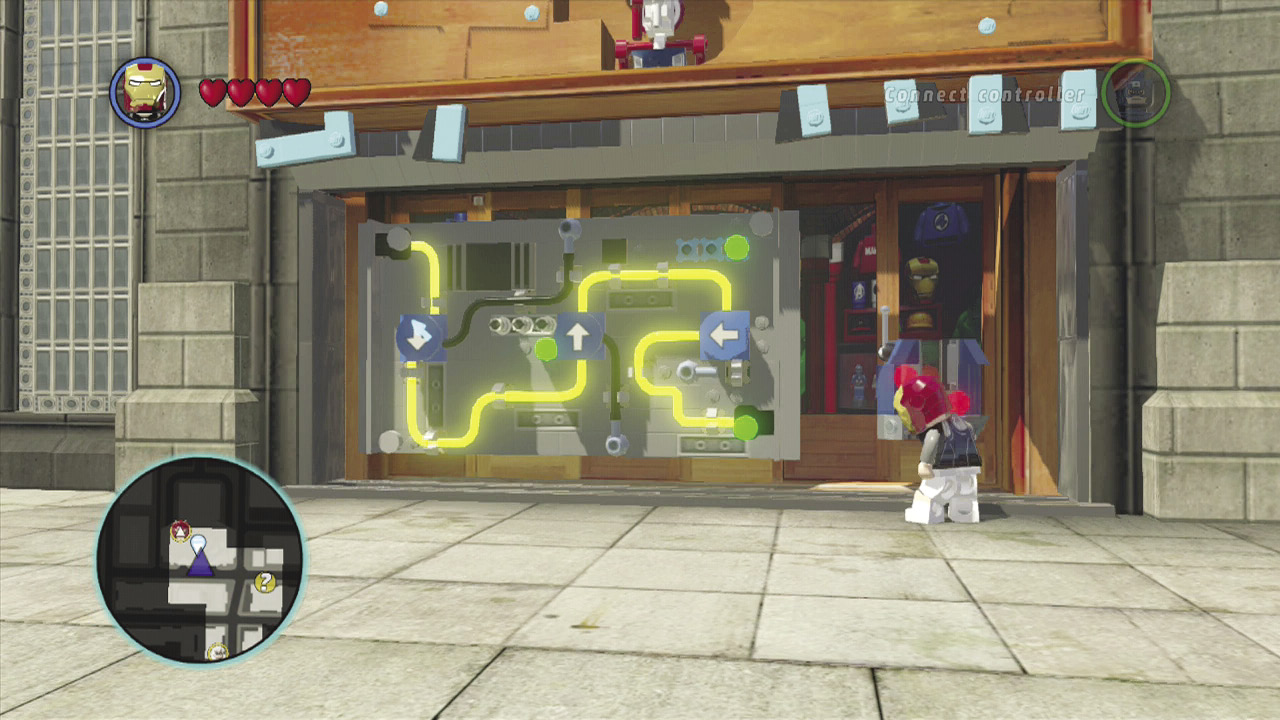
Now you need to access a control panel using Iron Man. Move the cursor over the arrow knobs and press the button to rotate the knobs and let the power flow from one side of the screen to the other. This unlocks the entrance.
Objective 2: Get the Iron Man Mk 1 Armor
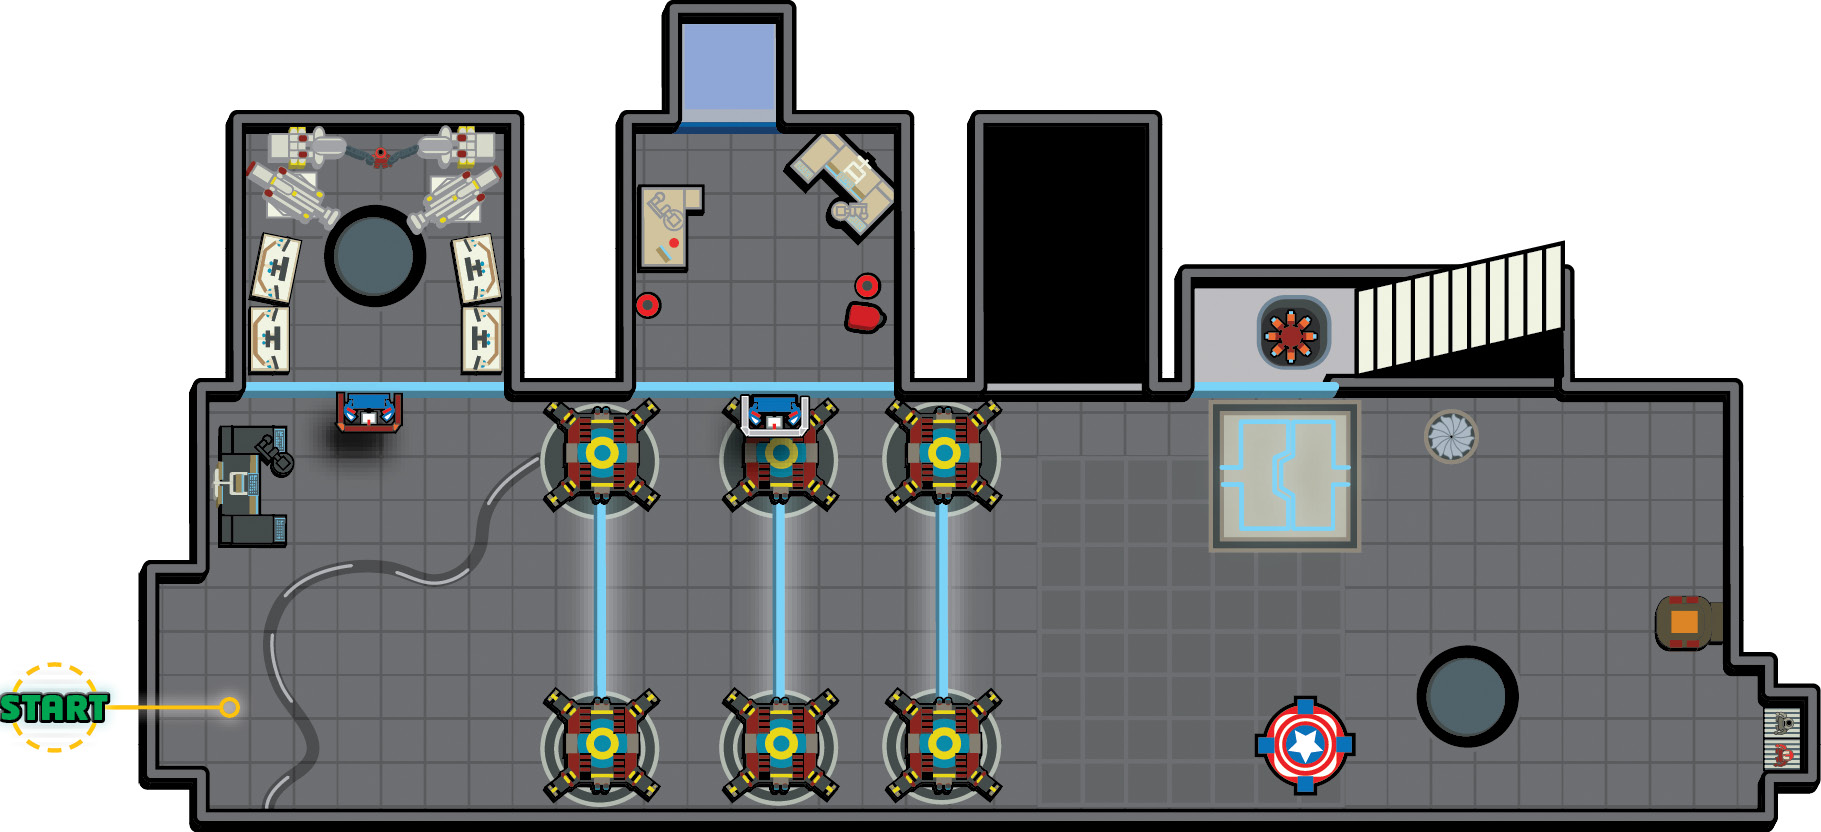
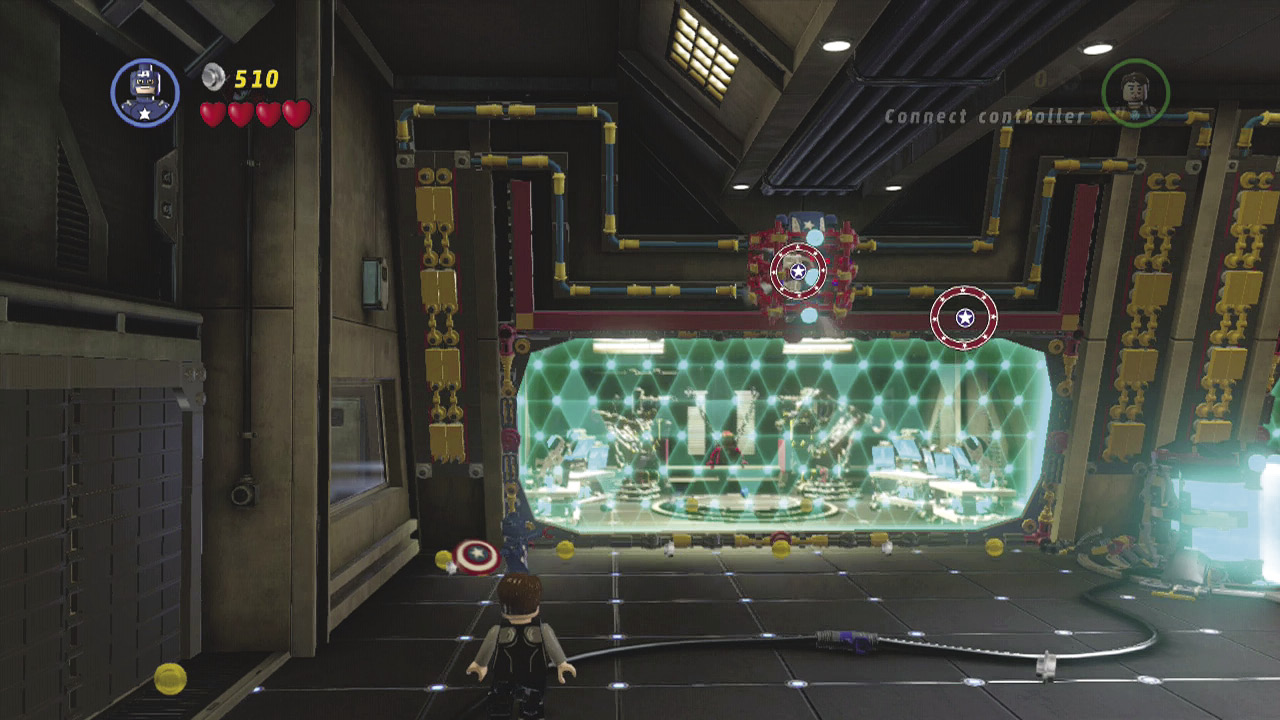
Someone has hacked into the Stark Tower security system and it is preventing you from continuing into the tower. Throw the shield at the covering above the first garage bay to reveal a shield switch, and then throw it again to activate the switch.
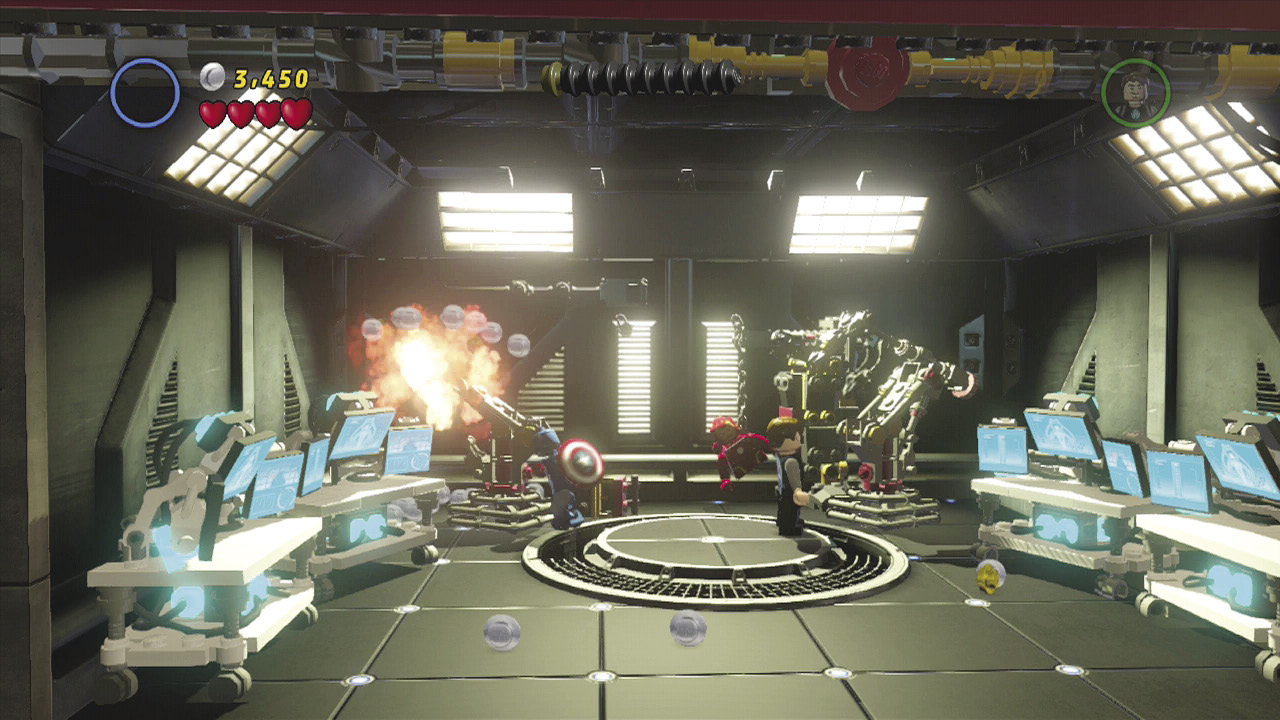
The door of the garage bay lifts up out of the way. Enter and break up all the computers and machinery until all that is left are pieces. Then assemble the pieces into a new control pad.
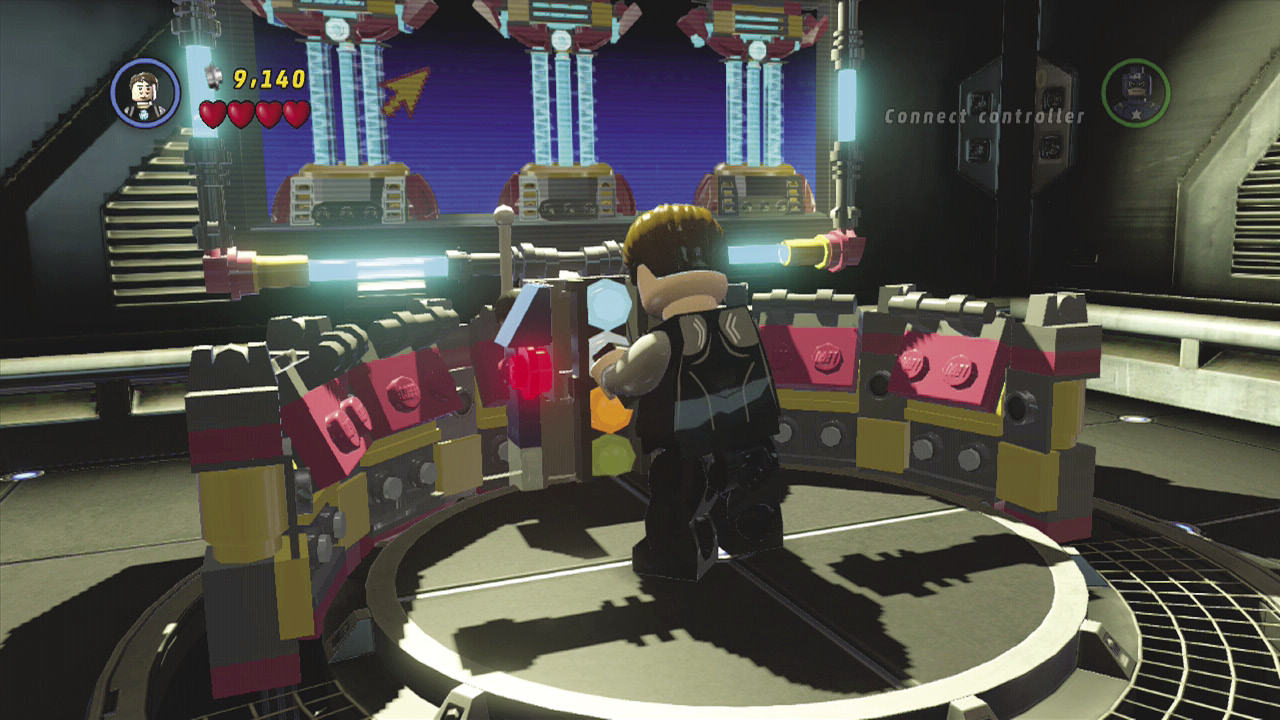
Use the control pad to bring up a display. There are three power readings. Move the cursor over each and press a button to shut down that power source. Once all three are shut down, you have completed the task.
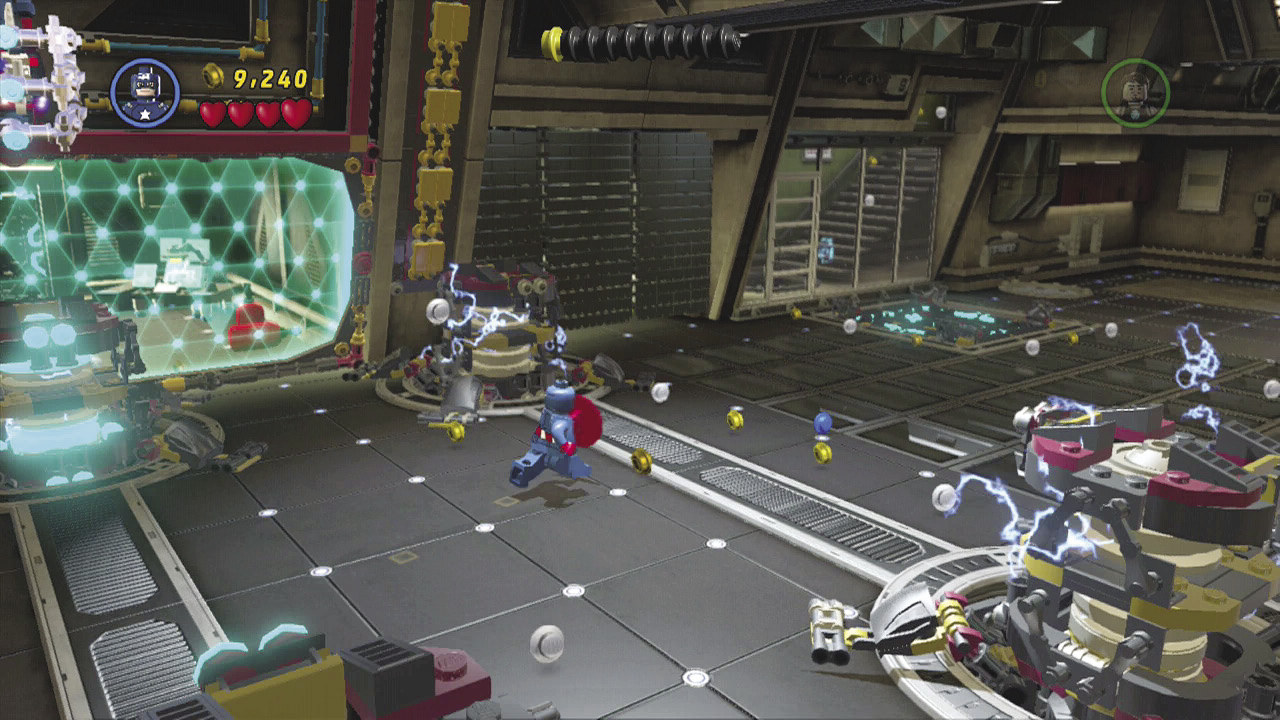
The control panel did not shut down the force fields in the garage. Instead, it powers them down temporarily. This gives you a chance to move both heroes across the garage to the far side. Wait until a field goes down and then quickly move past it before it comes back up.
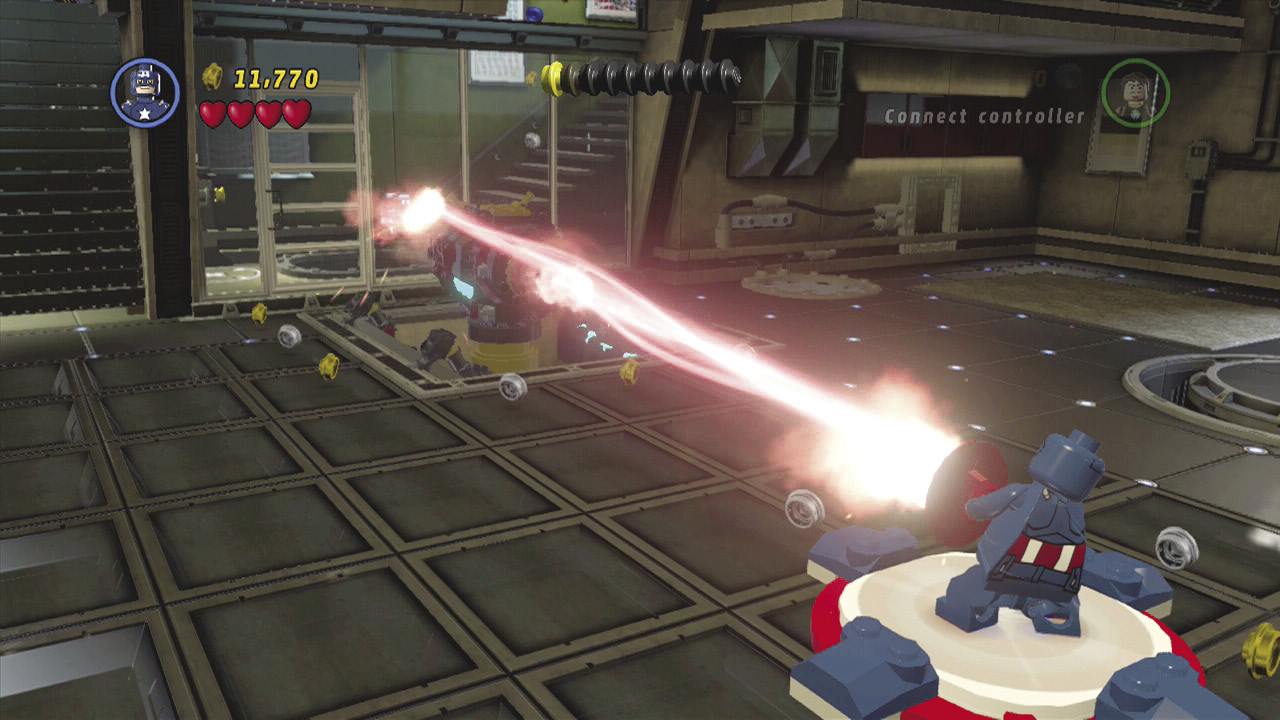
As you get past the final force field, a large laser cannon rises up from the floor. Move to the Captain America pad and press the use button to block the beam with your shield. Turn and redirect the laser beam back at the cannon to destroy it. Then assemble the pieces of the cannon into another control pad.
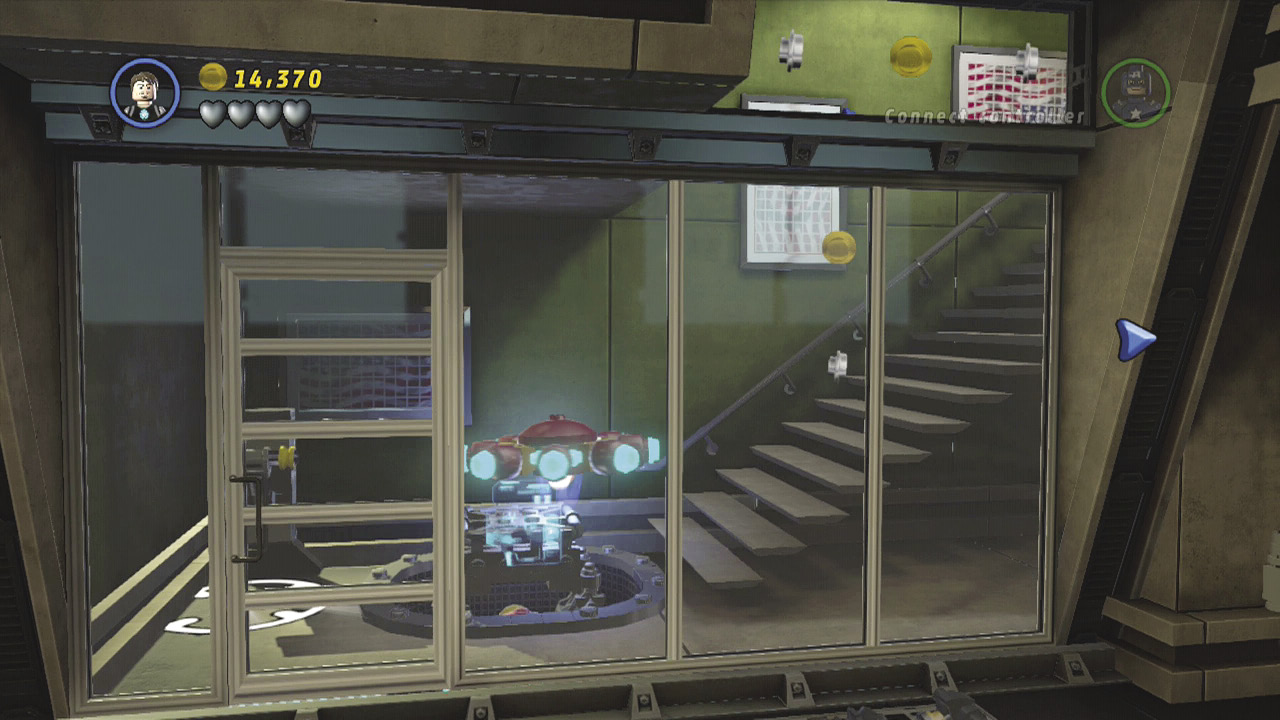
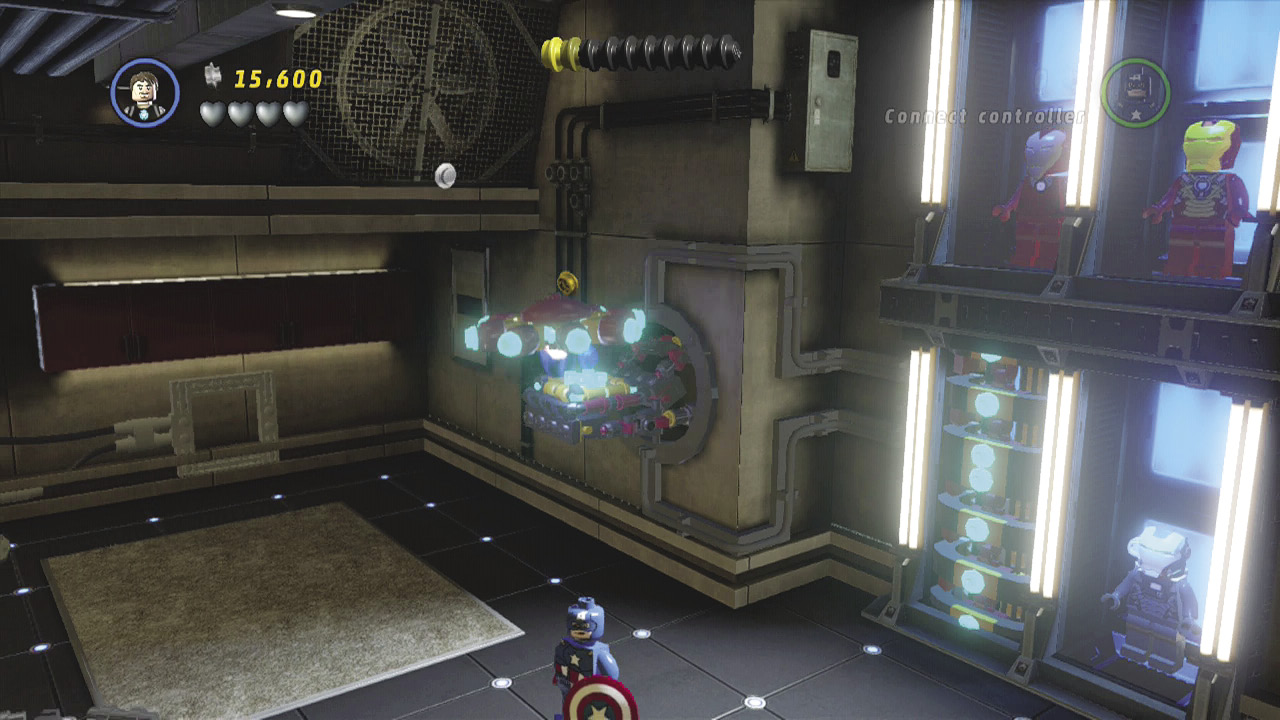
Use the control pad to activate a key card. Of course, since it is Tony Stark, the key card is actually a remote control flying object. It rises up from the floor in a closed room. Move it around like you would a flying character. Rise up from the floor and fly it through the narrow opening in the glass wall. Then fly it to the right and land it on the pad along the wall near the suits of armor.
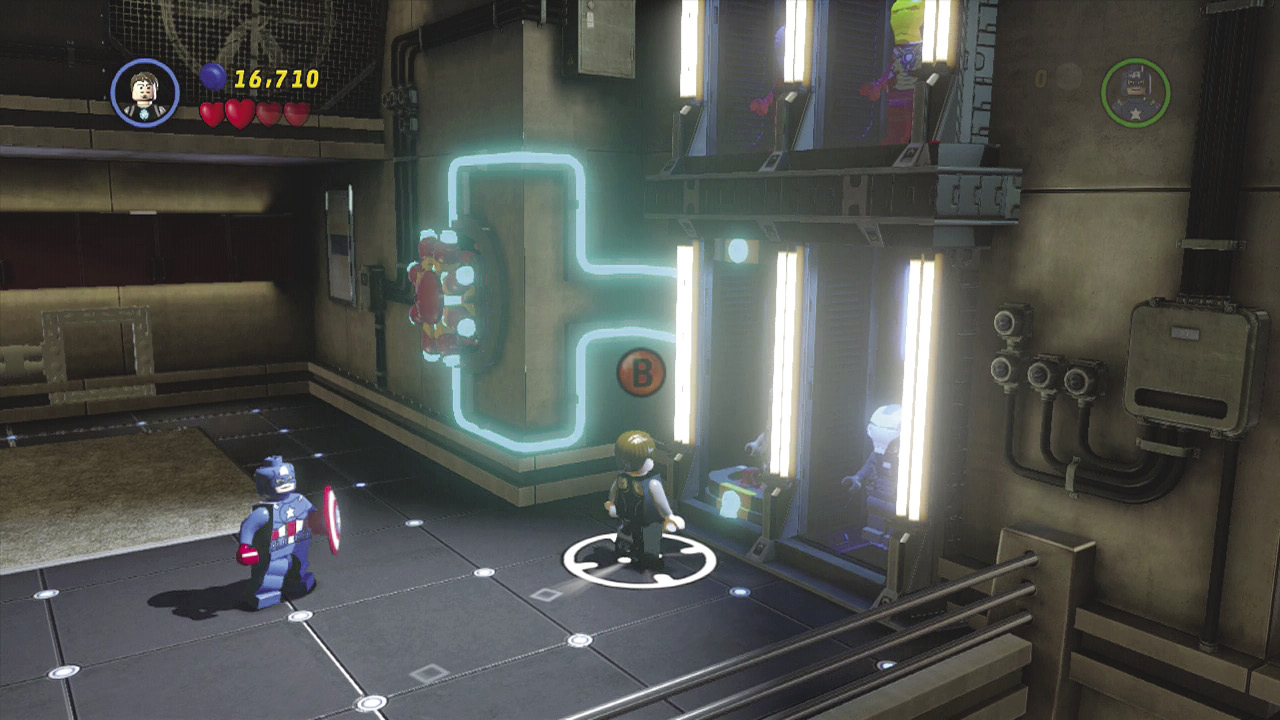
Now that the armor is unlocked, move to the right and stand in the targeted area on the floor. Press the use button to put on the Iron Man Mk 1 armor, the suit that started it all. This armor is not as fancy as the Mk 6 you are used to, but it is not networked to the computer system that has been hacked.
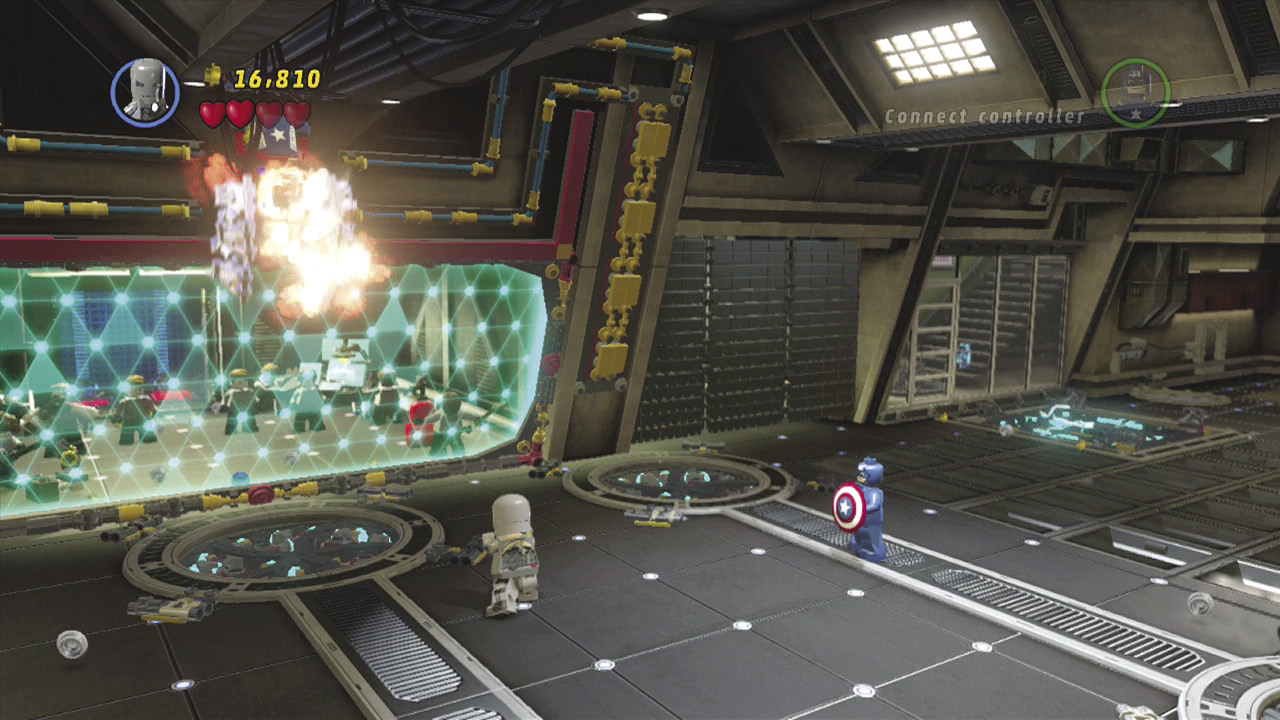
Move to the left and use Iron Man’s rockets to destroy the silver cage above a garage bay.
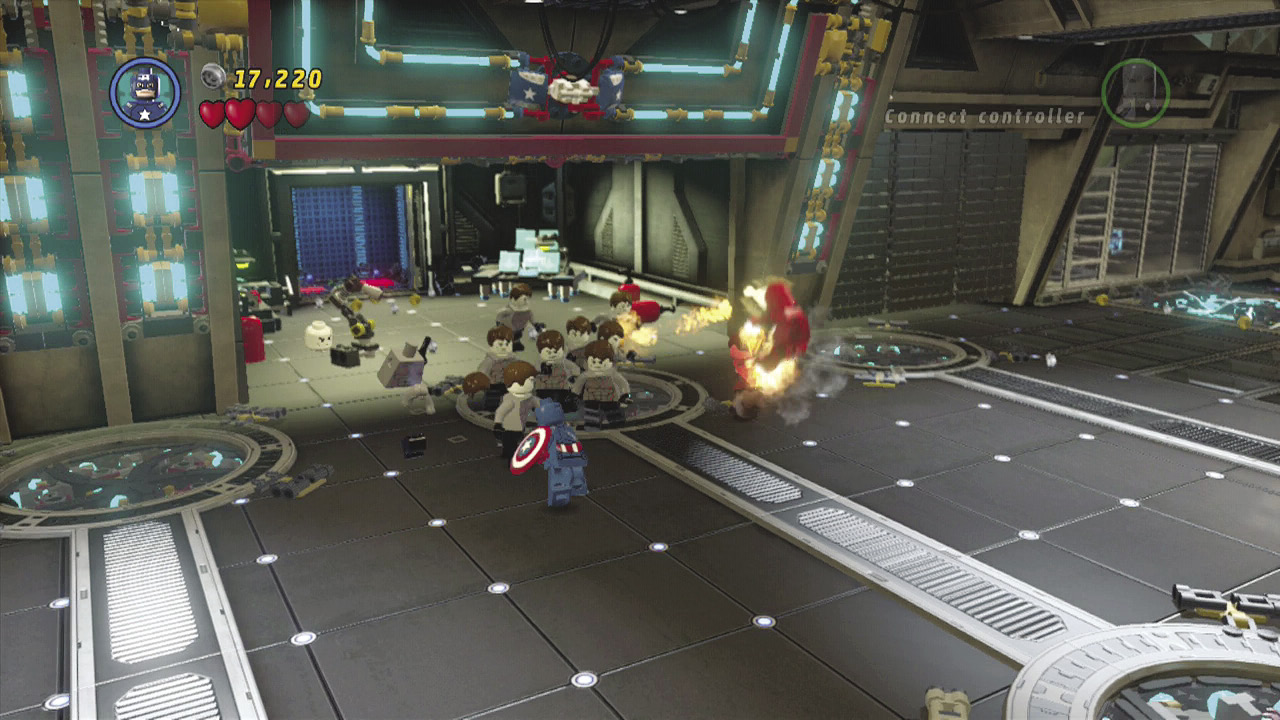
Throw a shield at the shield switch to open the door of the bay. Now fight off all the enemies inside the bay.
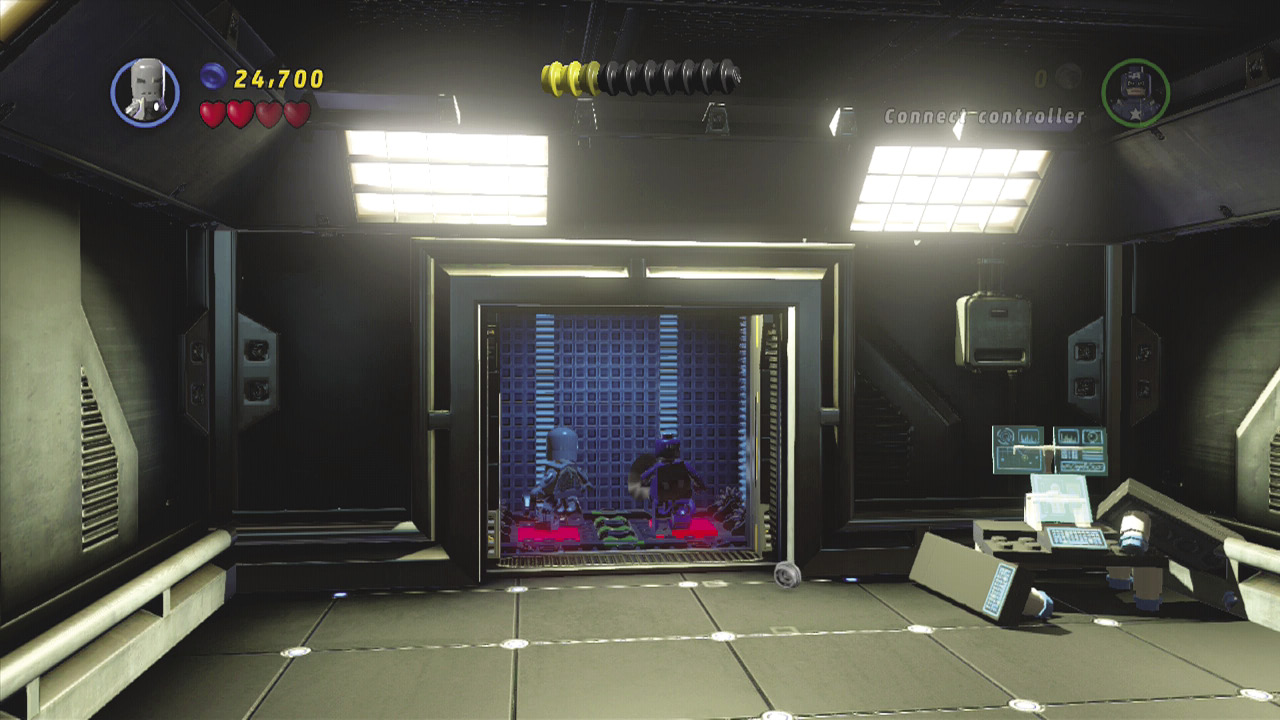
Once the bay is clear, move both heroes to the elevator at the back of the bay to ride it up to the next area.
Objective 3: Get the Iron Man Mk 42 Armor
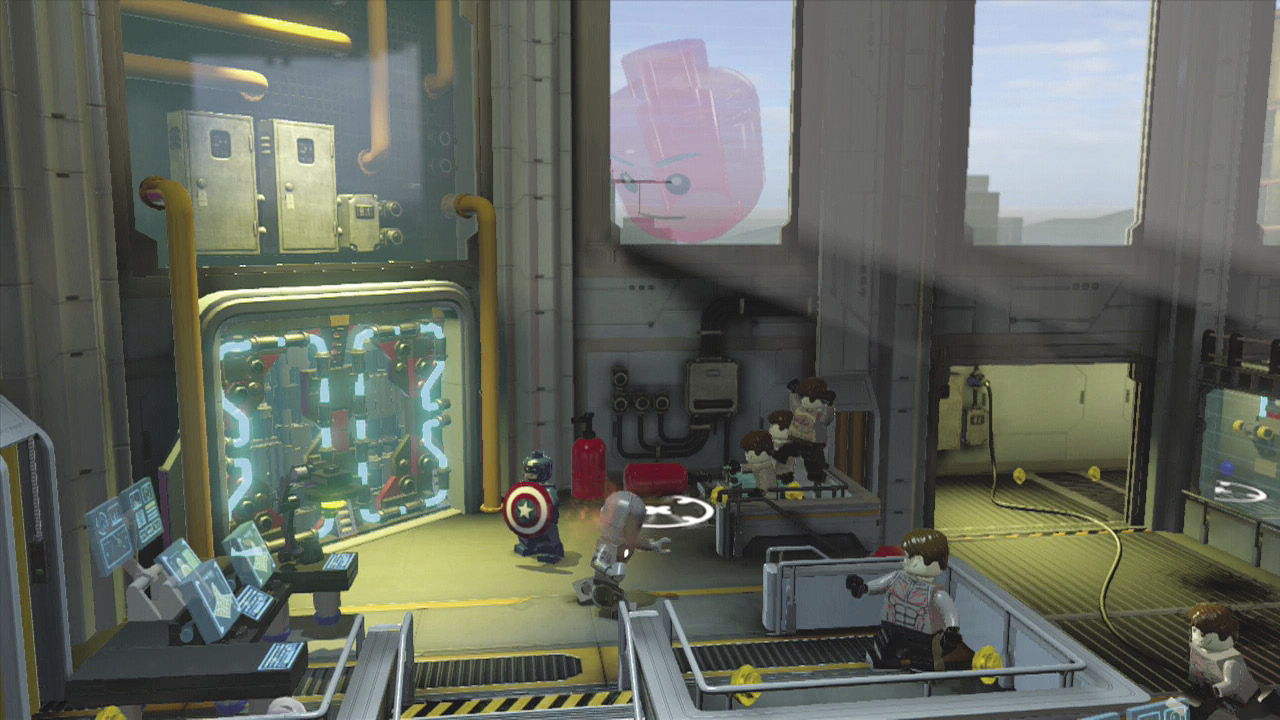
The elevator takes you into the tower where several enemies are waiting. Save your progress and then fight off the enemies.
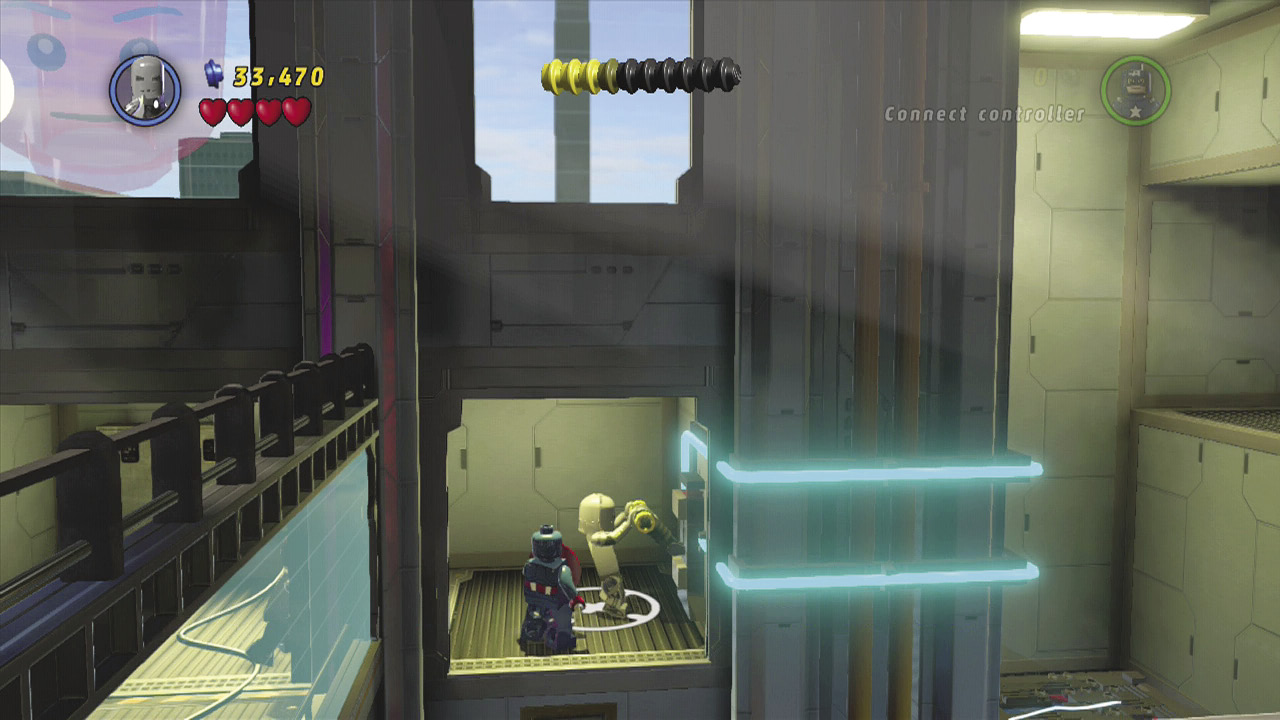
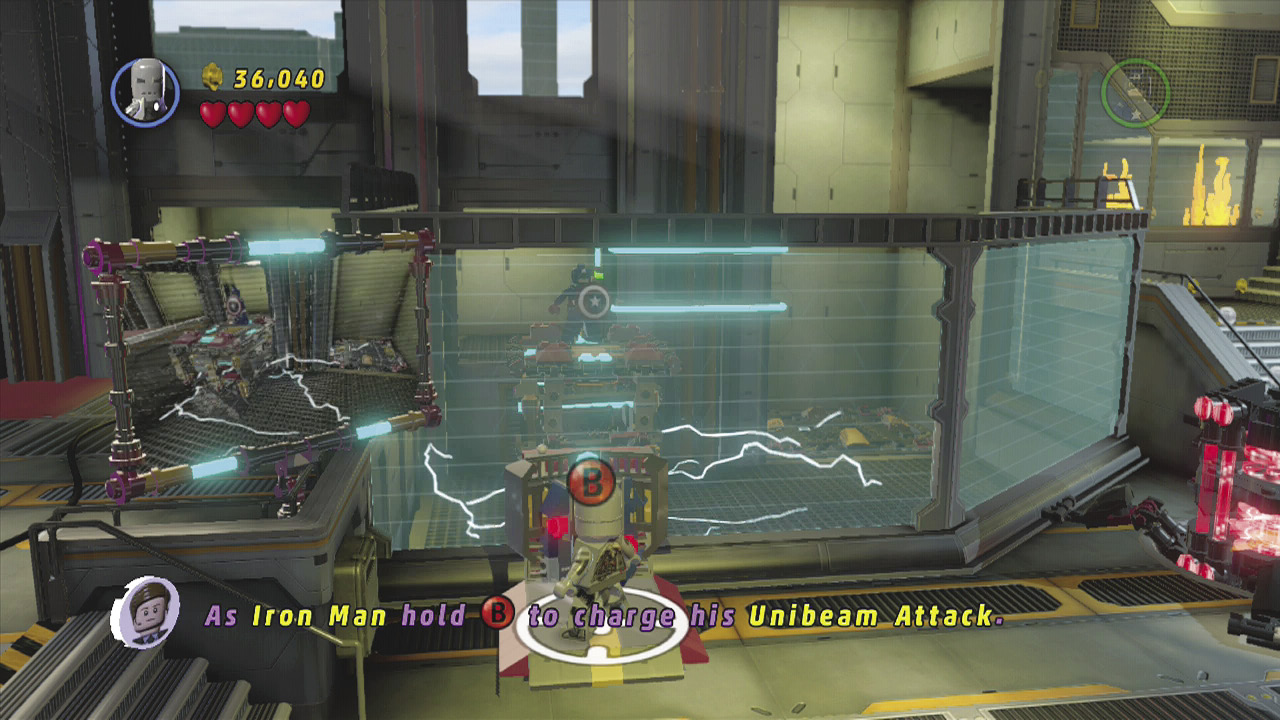
Move to a switch in a hallway along the back wall and pull it to cause a control pad to appear. Then move to the control pad and use it to move a robotic platform that takes Captain America across to another hallway.
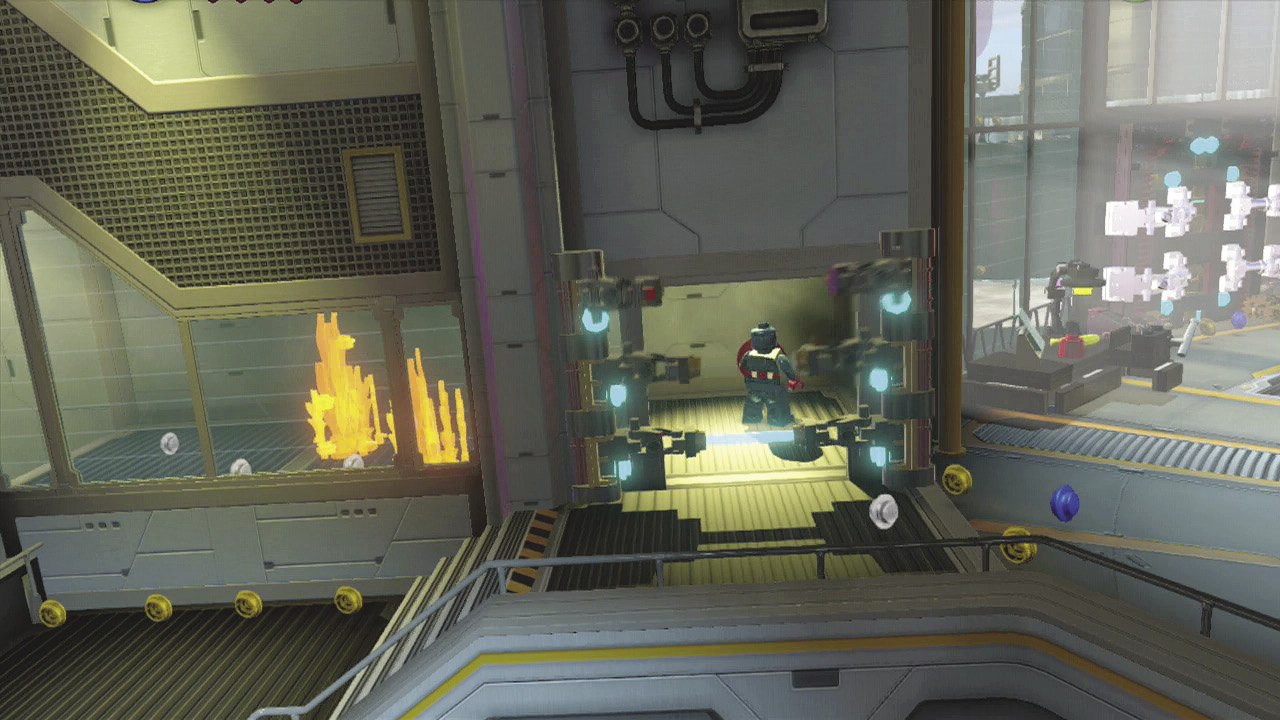
Press the use button to block the flames so that Captain America can move across them unharmed. Then destroy a console on the right side of the hallway to shut off an energy barrier so that you can exit the hallway and shut down a force field barrier at the bottom of the stairs.
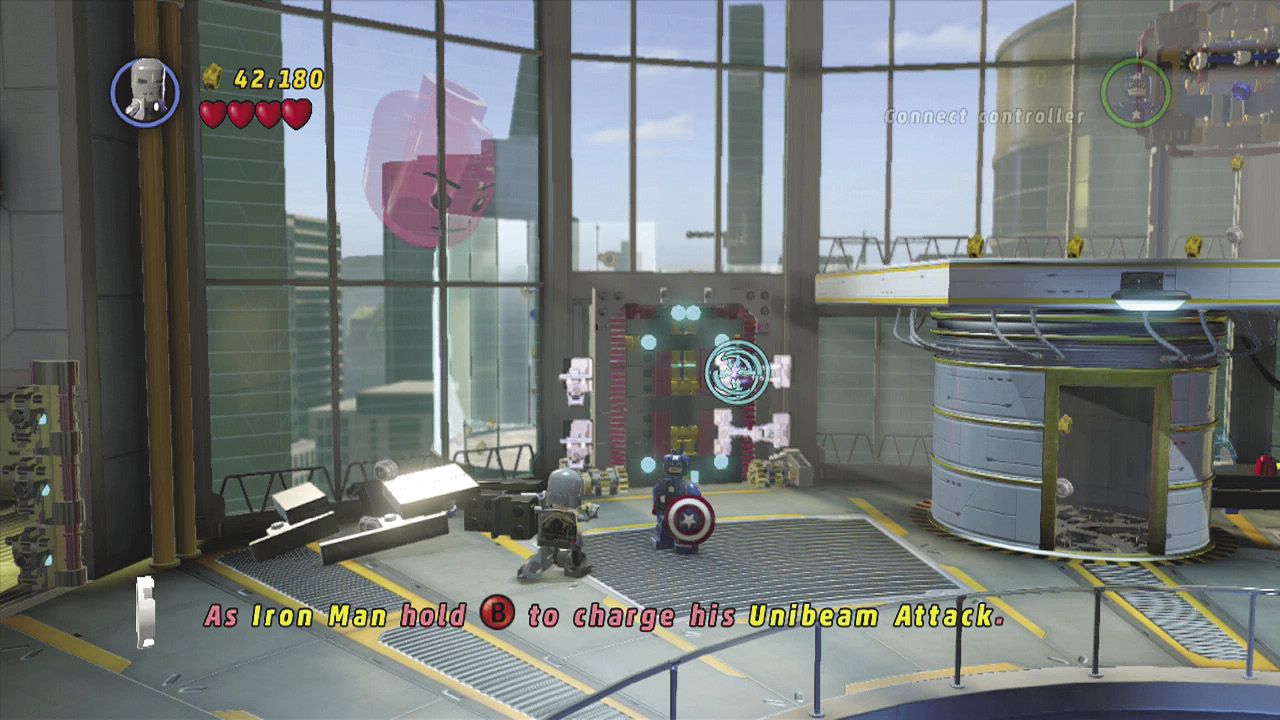
Head up the stairs and to the right to battle against several more enemies. Defeat them all, then fire rockets at the silver locking clamps on the door along the back wall.
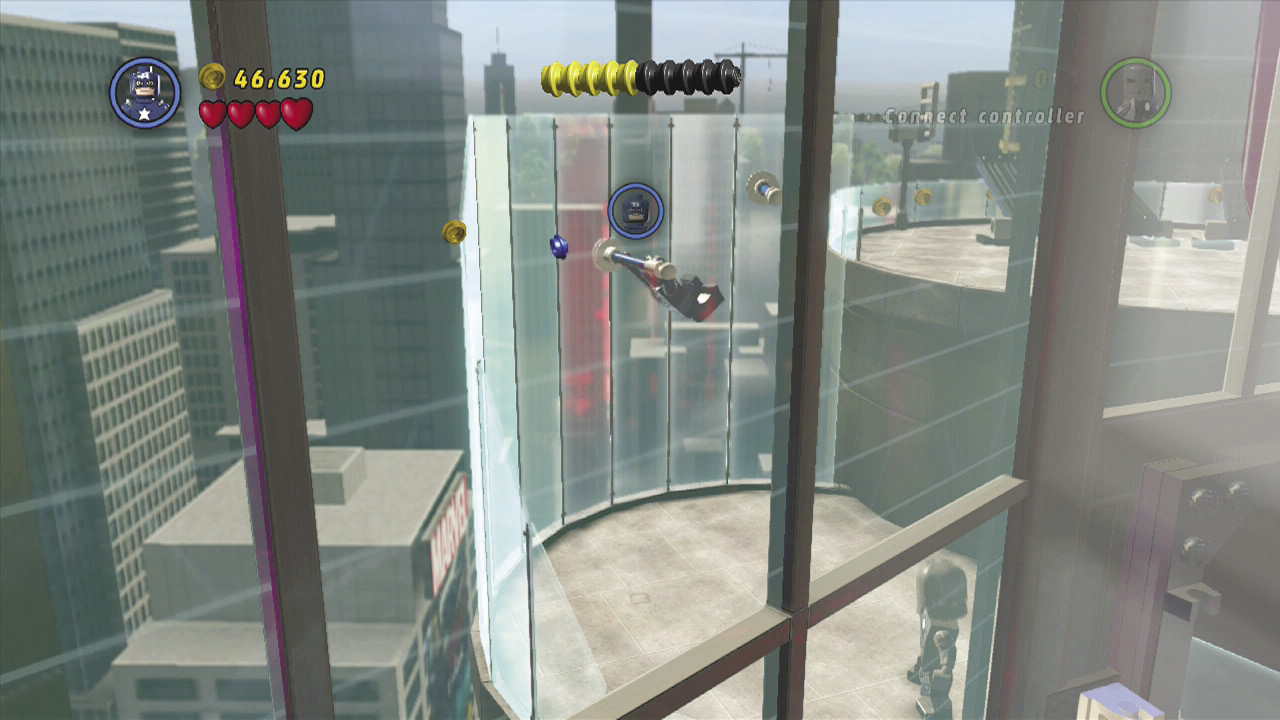
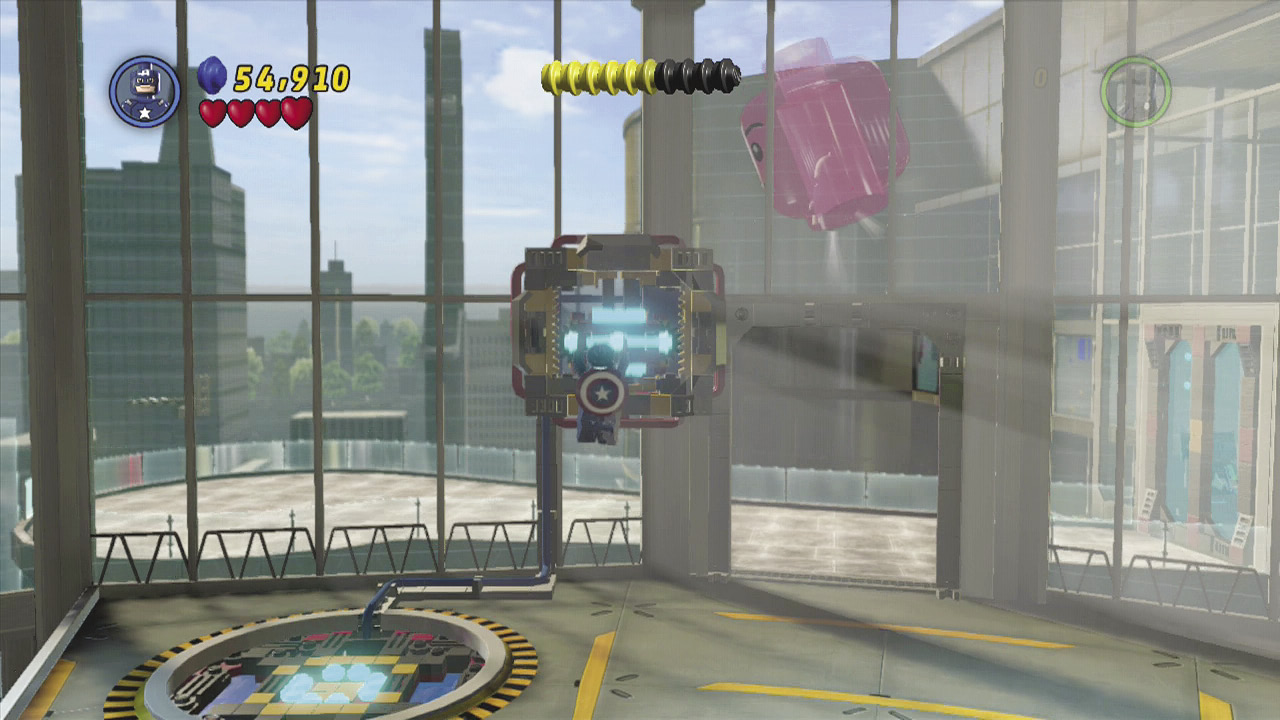
Exit the door and jump up onto the acrobatic pole. Swing around on it and jump to a second pole before landing on the higher walkway. Continue to the right defeating enemies as you go. Then come back inside and jump up to grab onto a large lever to the left of the doorway to activate an air jet so that Iron Man can get up onto the higher walkway as well.
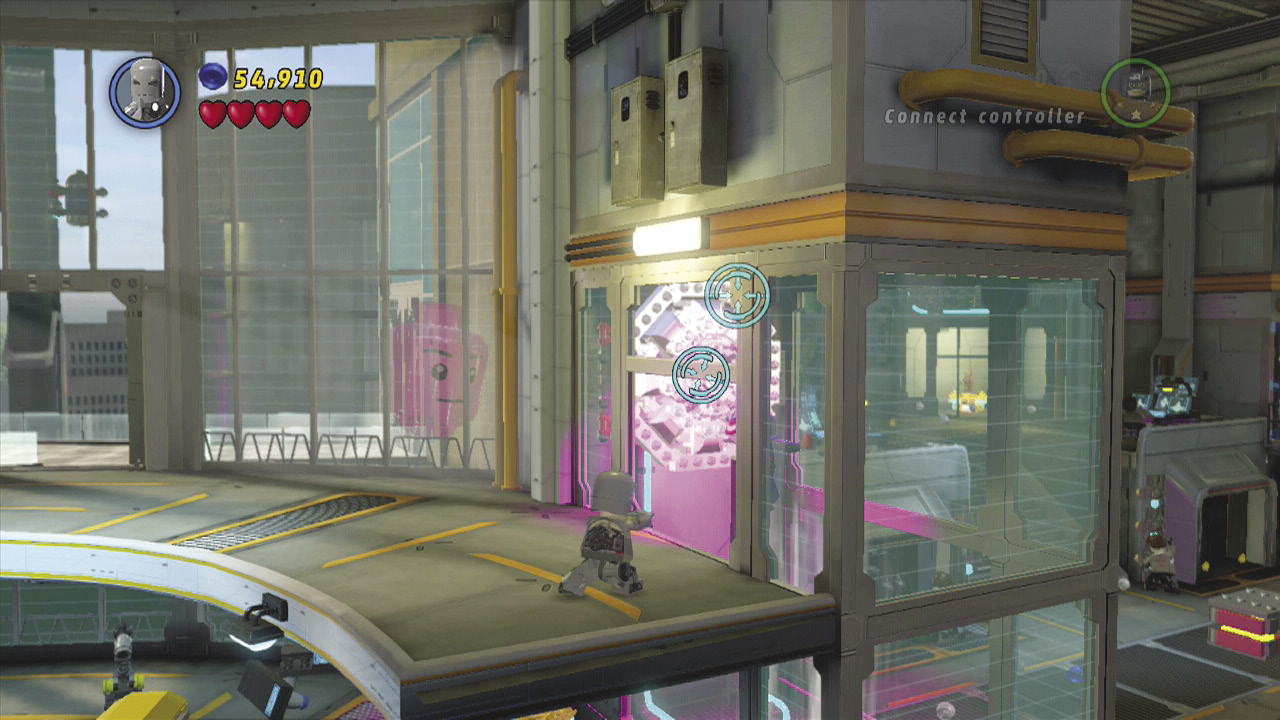
Move over to the air jet on the right side and target the silver panel at the back of the chamber to destroy it with rockets. This shuts down the air jet so you can drop down to the lower level and continue to the right.
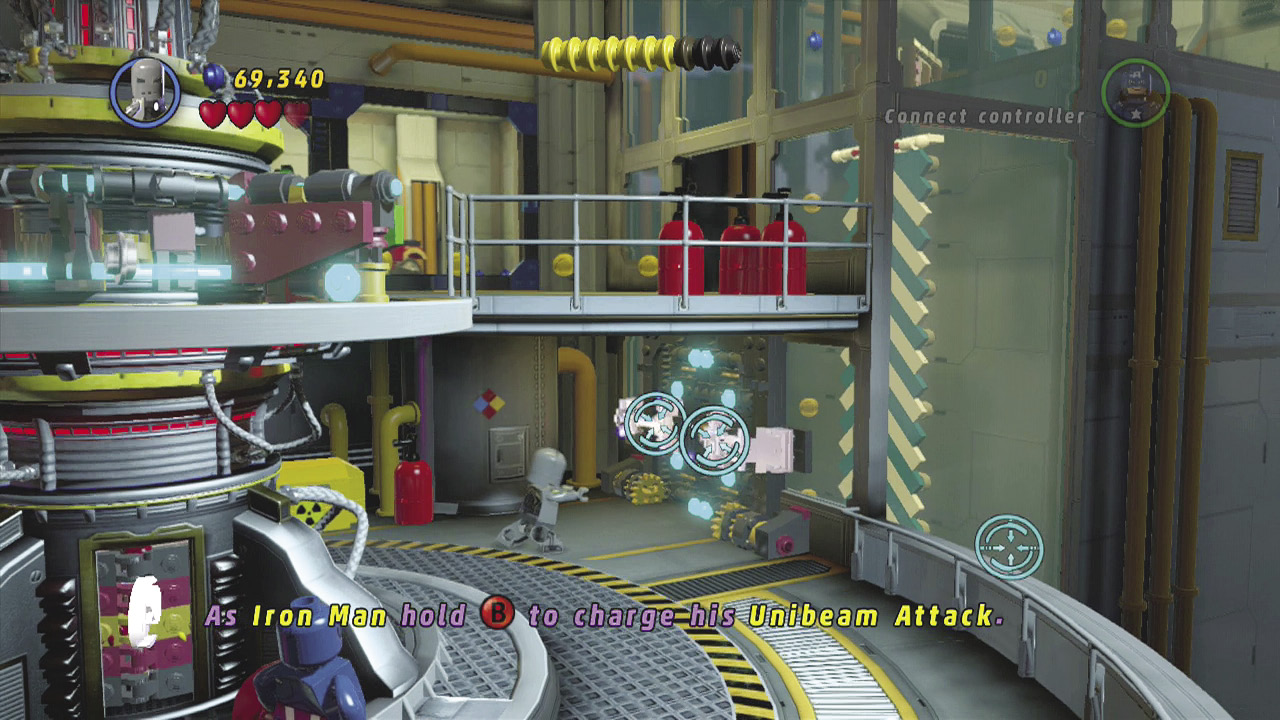
Defeat the many enemies in the large lab room, then move to the far right side. Target the silver locking clamps on the door to blow them up with rockets.
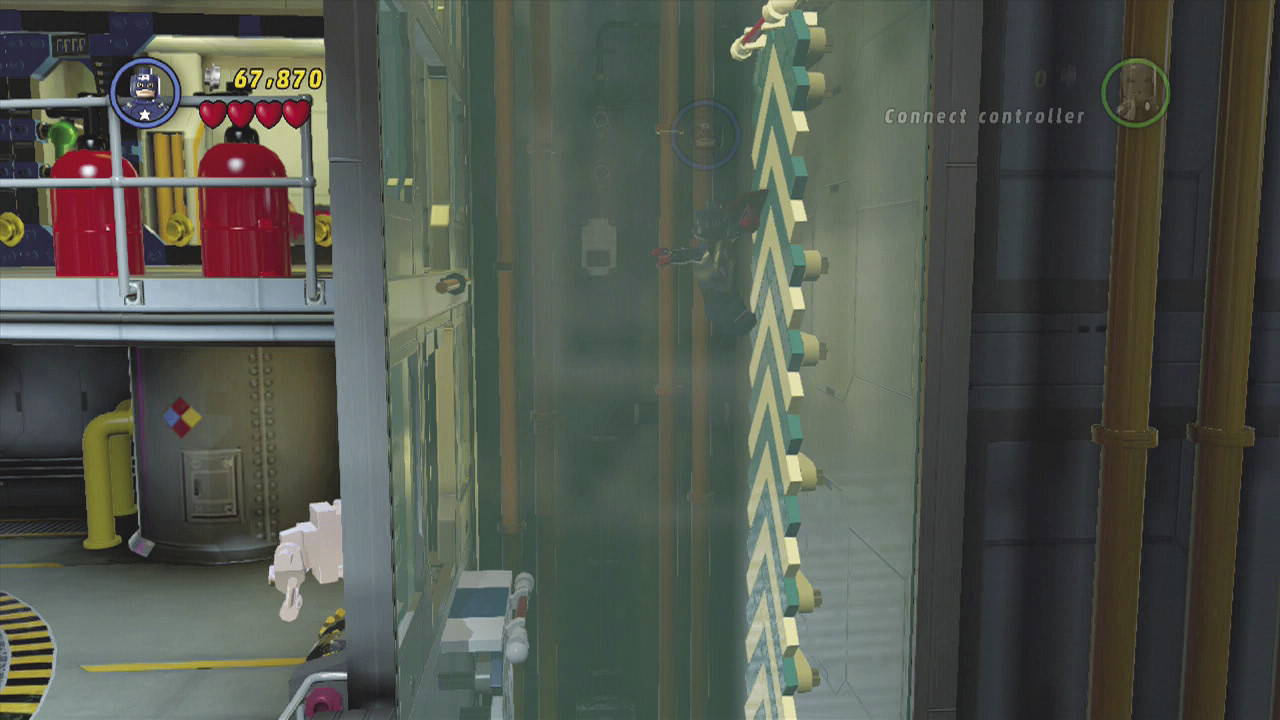
There is no elevator in the shaft, so you must jump up the acrobat wall. This can be tough since you are not going all the way to the top. Instead, jump to the right and then, when you jump to the left, go through the open doorway to get to the upper walkway.
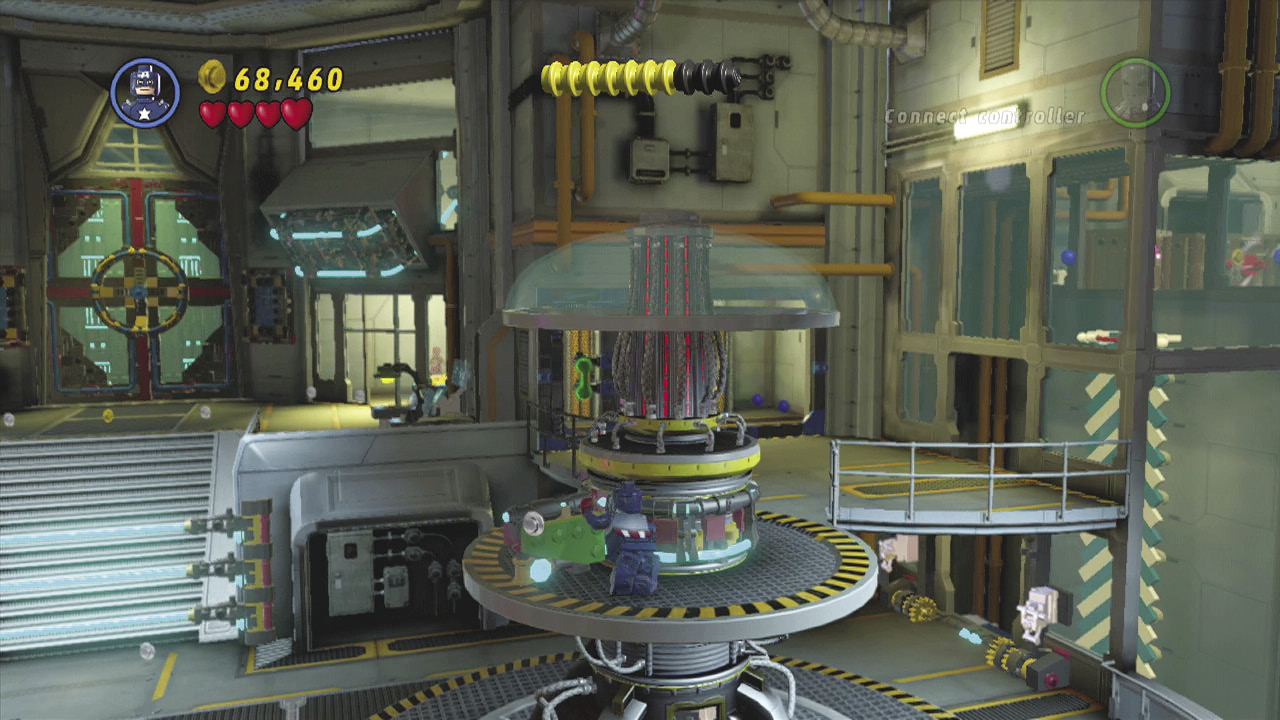
Push the green lever to rotate the controls of the tall machine and reveal the circuity below.
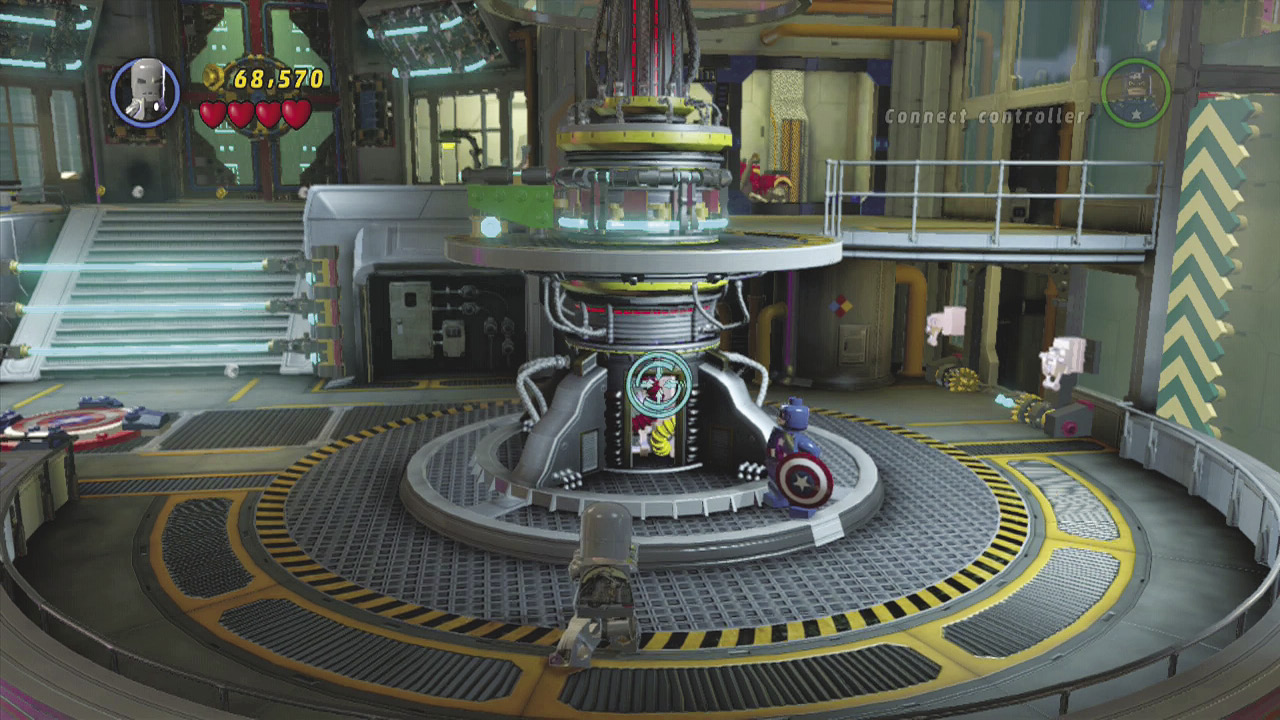
Take aim at the silver circuitry and destroy it with a volley of rockets. This deactivates the beam barriers in front of the stairs and activates a couple of laser beams.
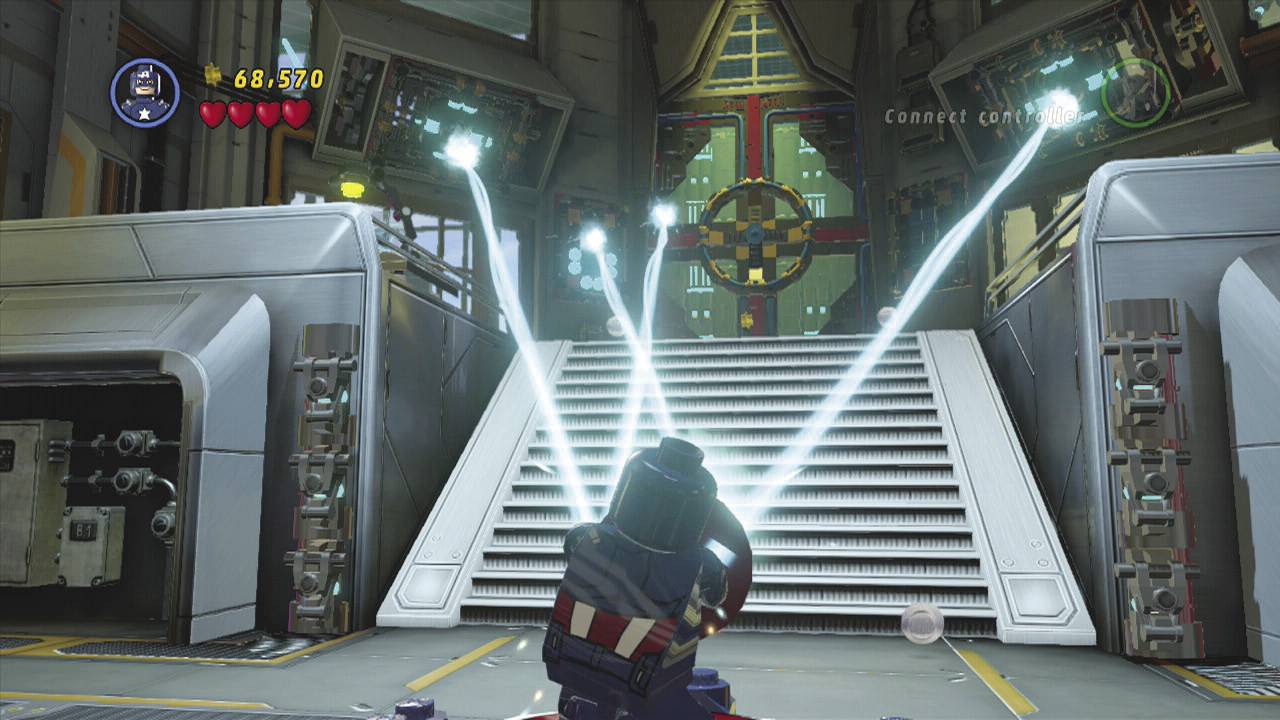
Move onto the Captain America pad, and press the use button to deflect the beams with the shield. Guide the beams to the rectangular pads to either side of the large door. Hold it there until each pad charges up. Then the beams deactivate and the door opens.
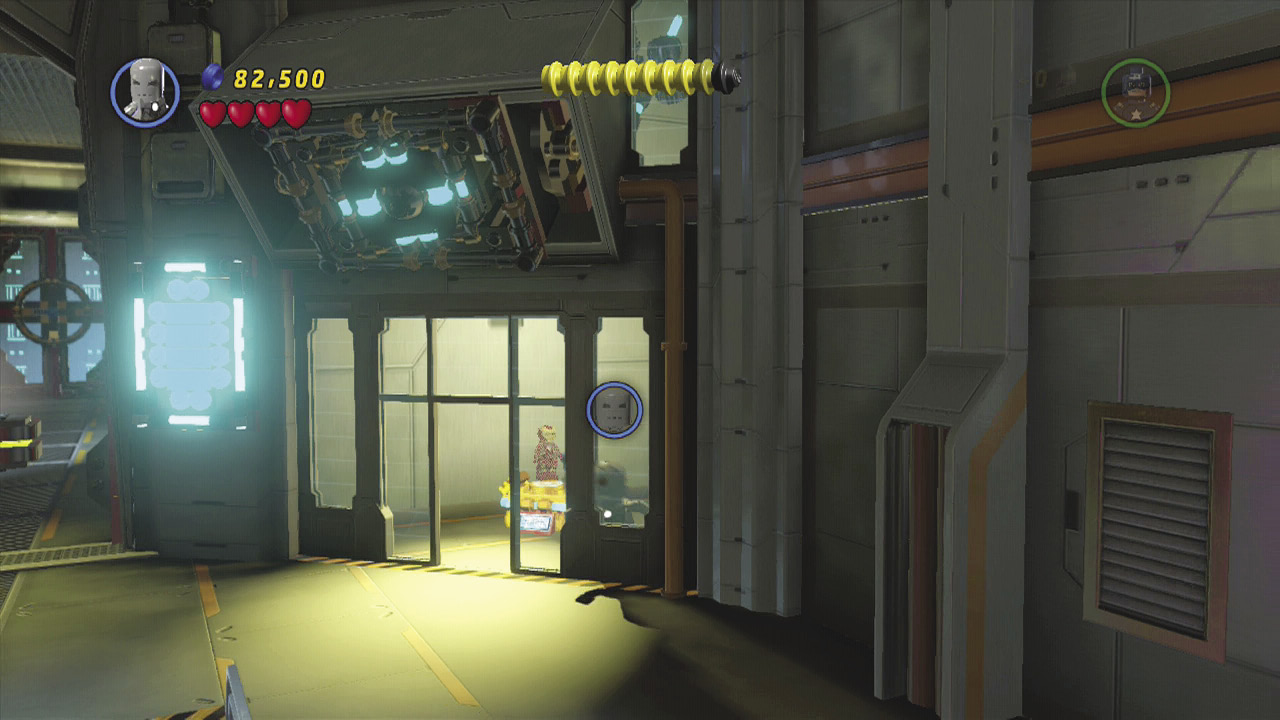
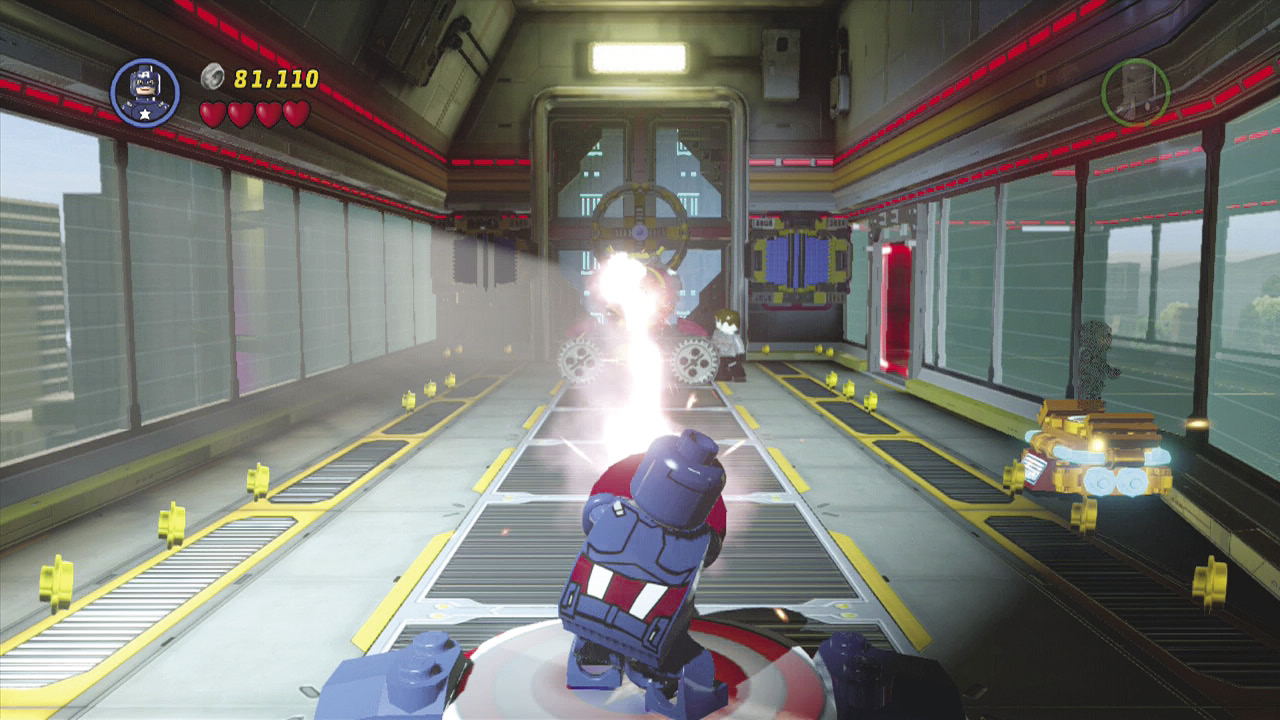
As you walk through the large doorway, a laser cannon rolls out in the hallway in front of you and opens fire. Hold down the use button to block it with your shield. Then walk to the Captain America pad and use the shield to deflect the laser beam back at the cannon to destroy it.
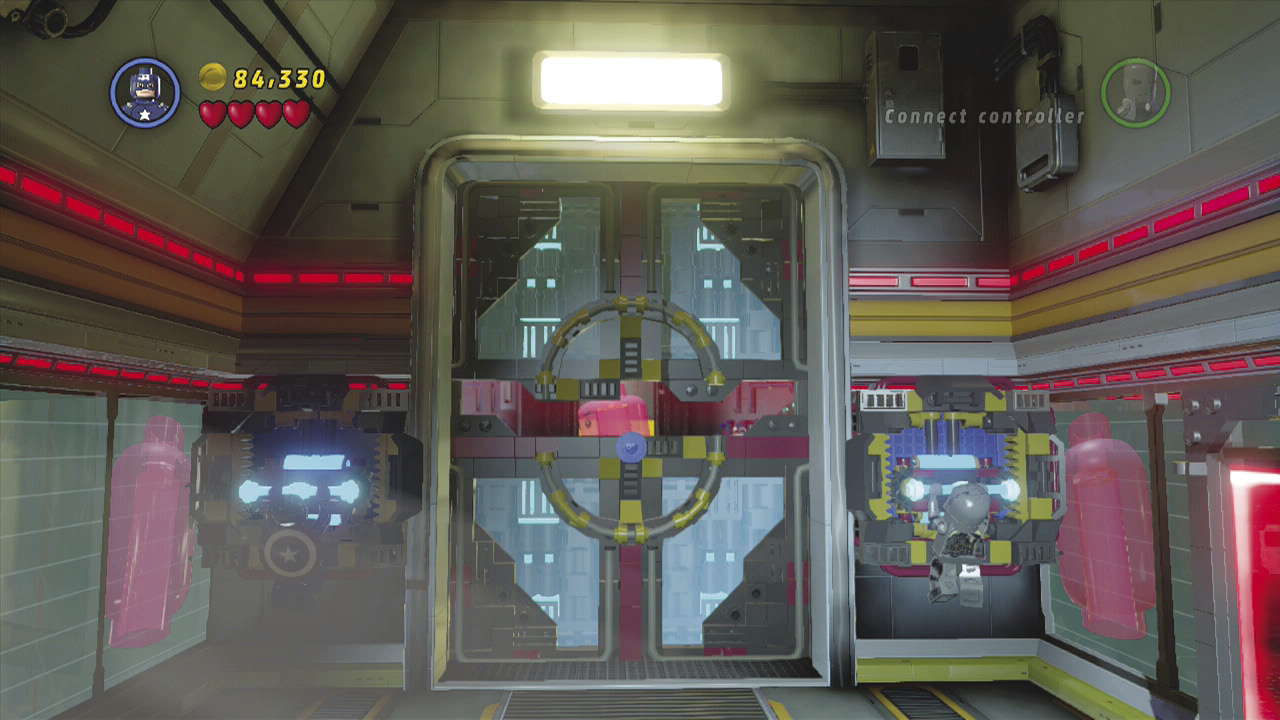
Assemble the pieces of the cannon into levers at the far end of the hallway. Then use each of your heroes to pull on one of the levers at the same time to open another large door.
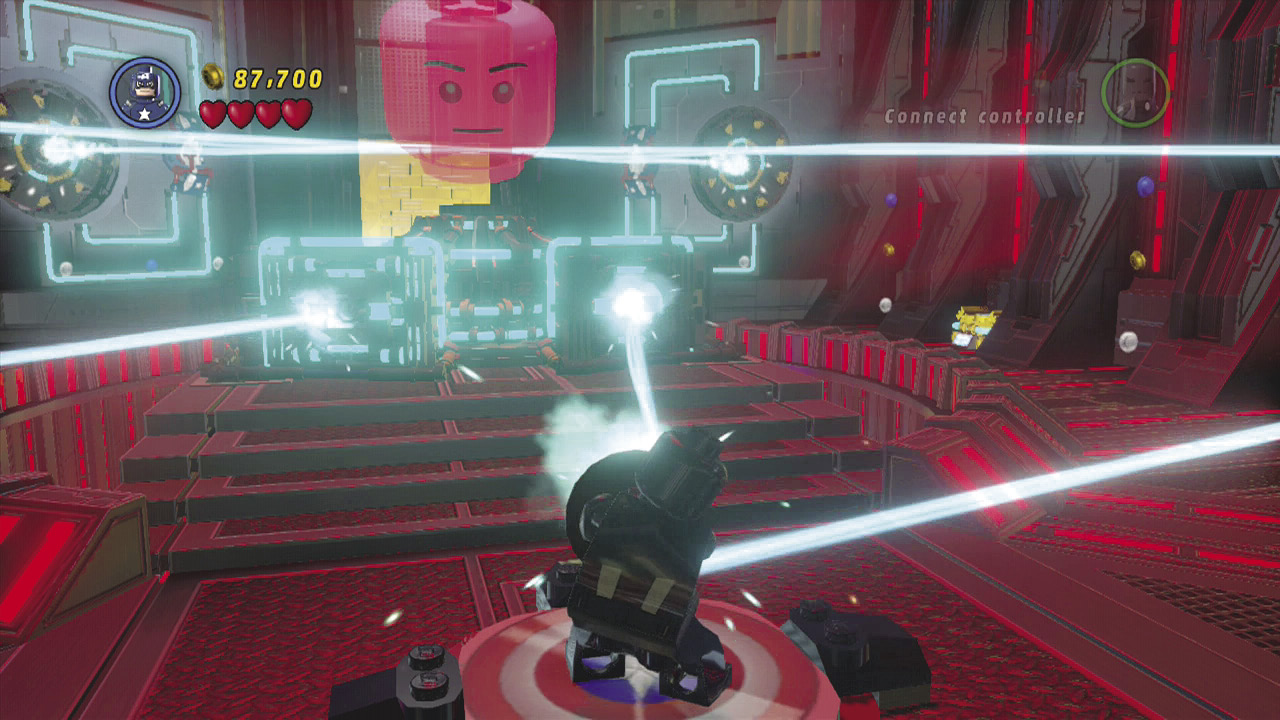
After entering the main control room, defeat all the enemies and then throw the shield at the two shield switches to activate a couple of power beams. Then move onto the Captain America pad and deflect one of the beams at the power cell on the right. This gives Tony Stark control of JARVIS and his computer network again.
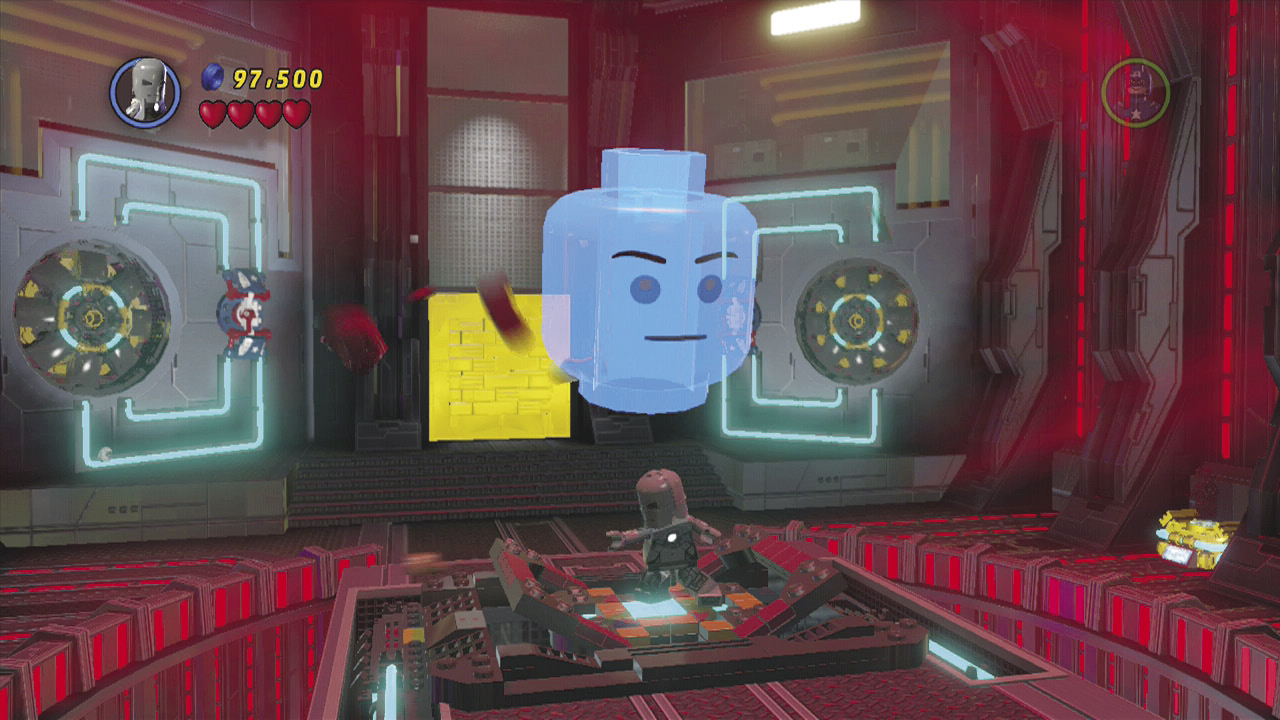
Move to the middle of the room and stand on the target. Press the use button to swap out the Mk 1 armor for the newer Mk 42 armor.
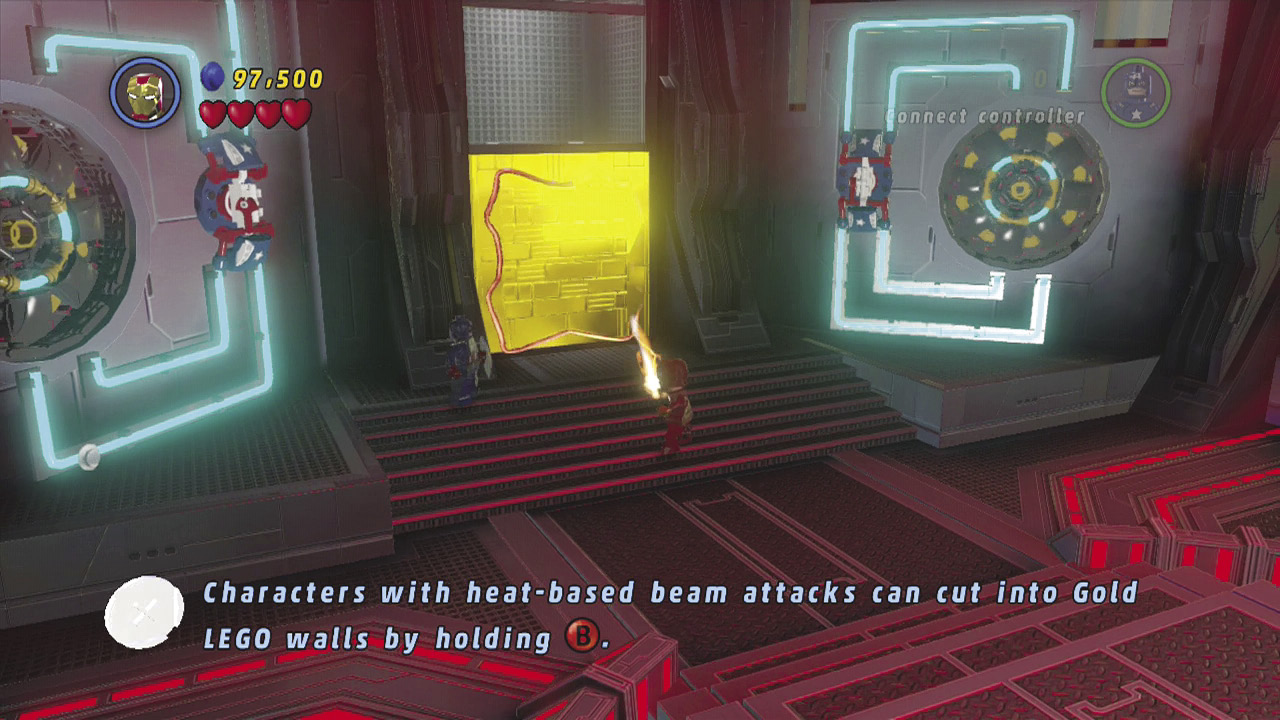
The Mk 42 armor has a fire weapon that you can use to cut through the gold wall at the back of the room. Press the use button and move the beam around to cut a hole in the wall. Then go through the hole to the next area.
Objective 4: Defeat Mandarin and Aldrich Killian
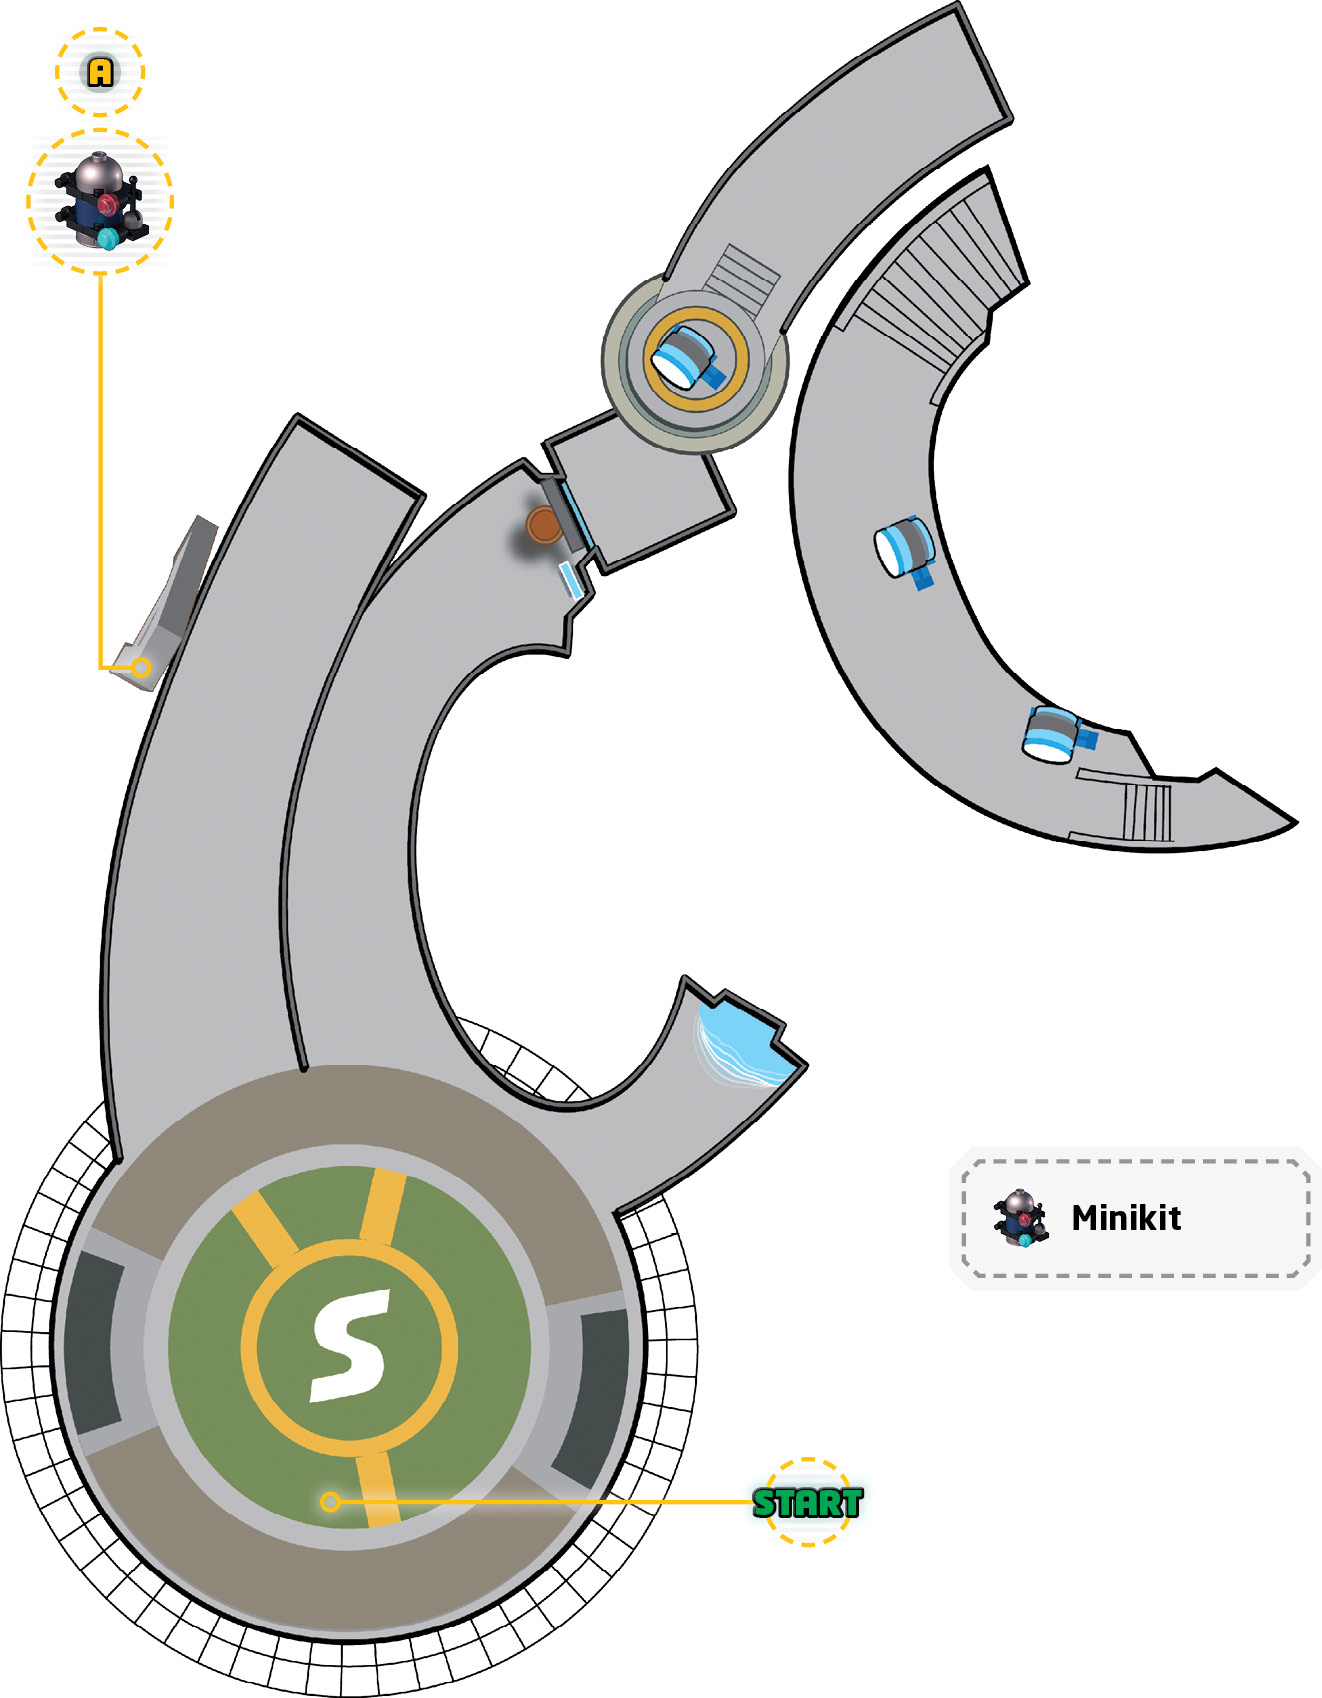
Minikit 1
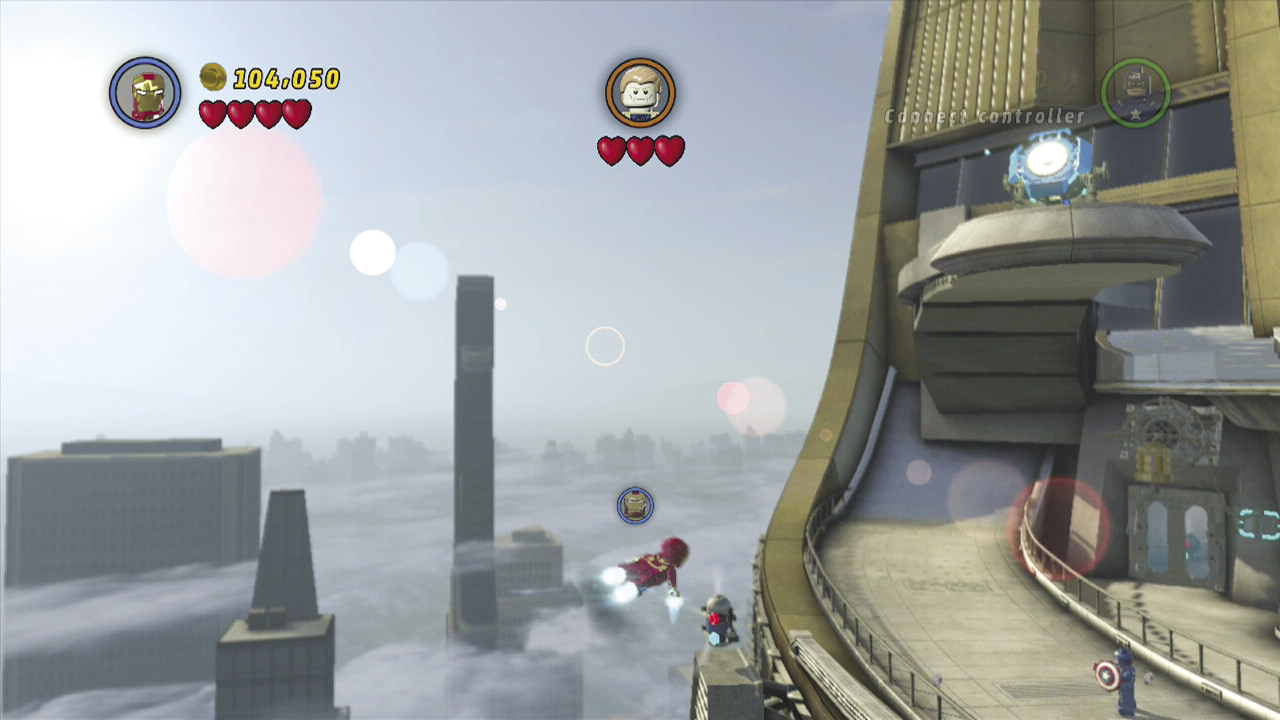
Fly up from the platform and along the left side of the walkway to find a minikit.
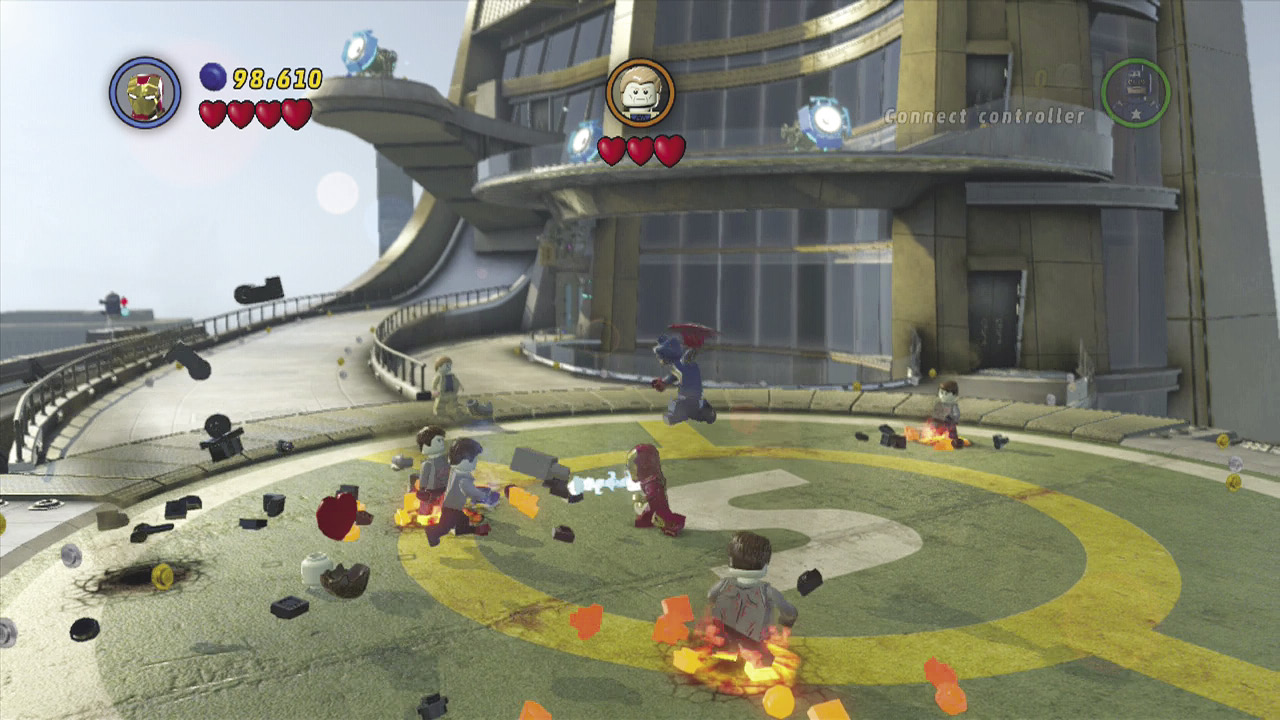
Your heroes are attacked by a large group of enemies. Defeat all of them to clear the helipad on top of Stark Tower.
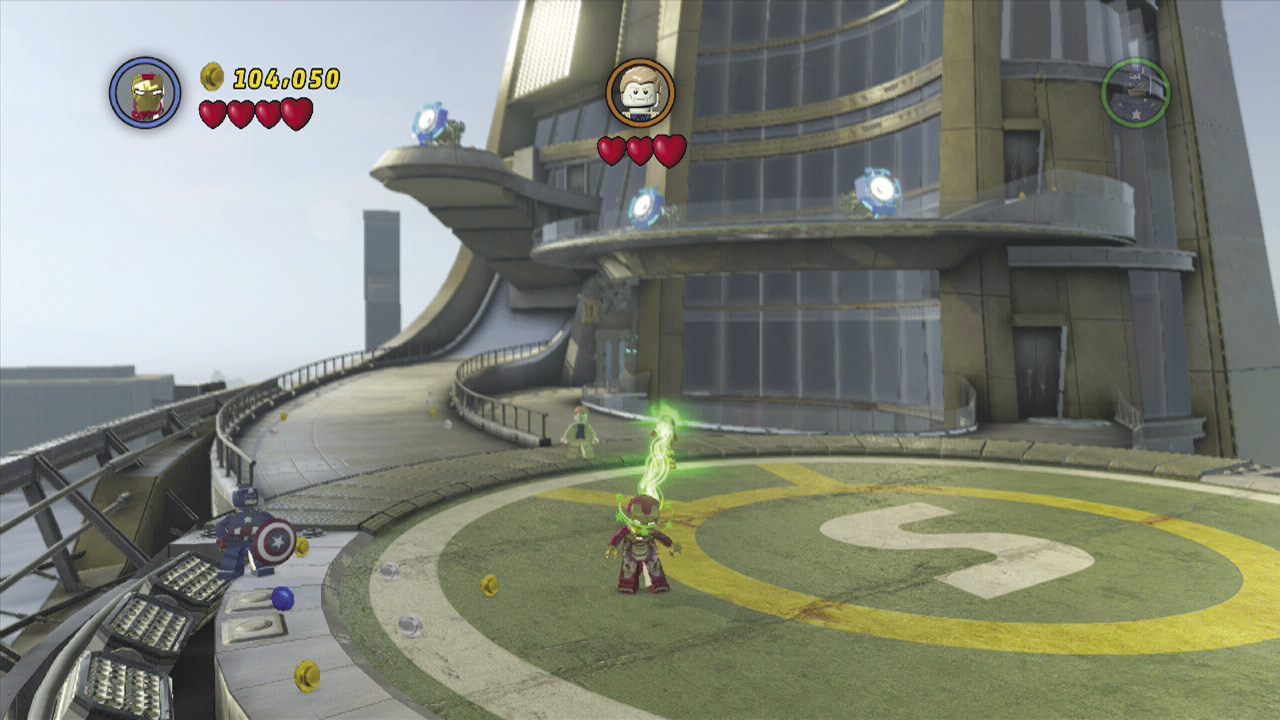
When the enemies are gone, Mandarin and Aldrich Killian appear. Mandarin stuns one of your heroes, so use the other hero to attack Mandarin. Once he disappears, attack Aldrich Killian and inflict some damage on him.
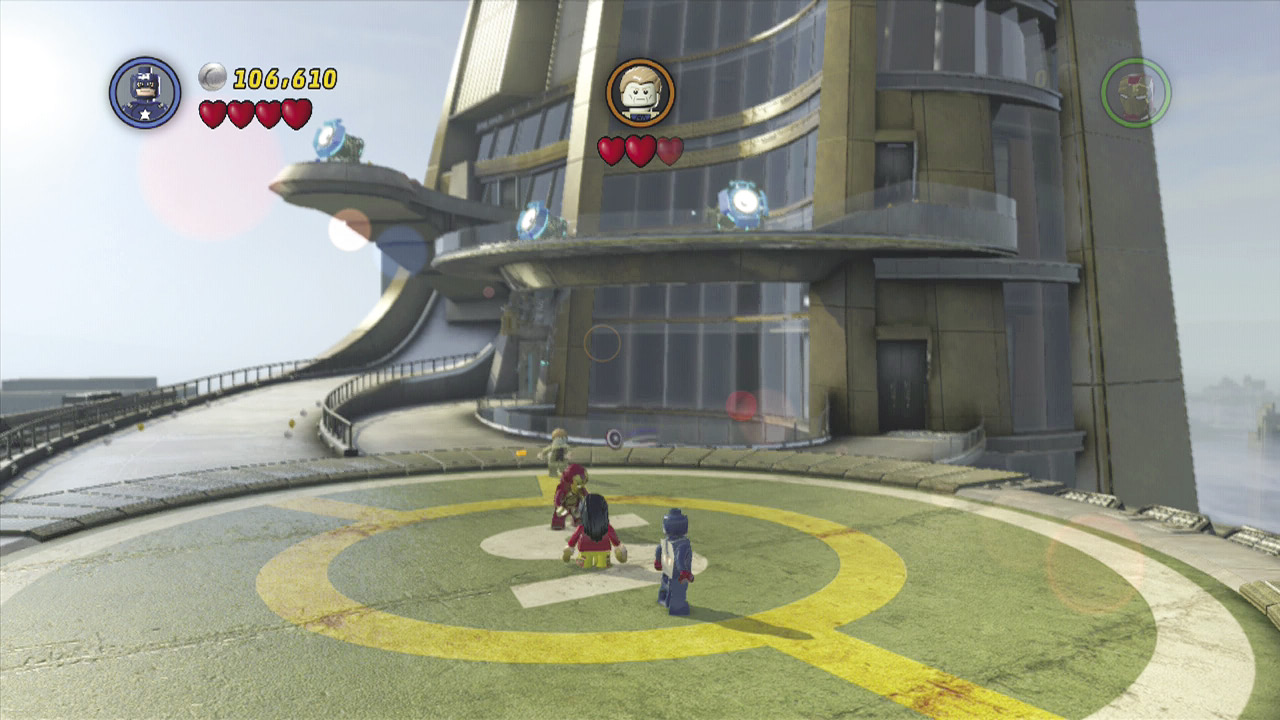
Fight off another wave of enemies and then use the same tactic to hit Mandarin with your hero who’s not stunned, and then damage Killian. Then do the same thing a third time to finally defeat Aldrich Killian.
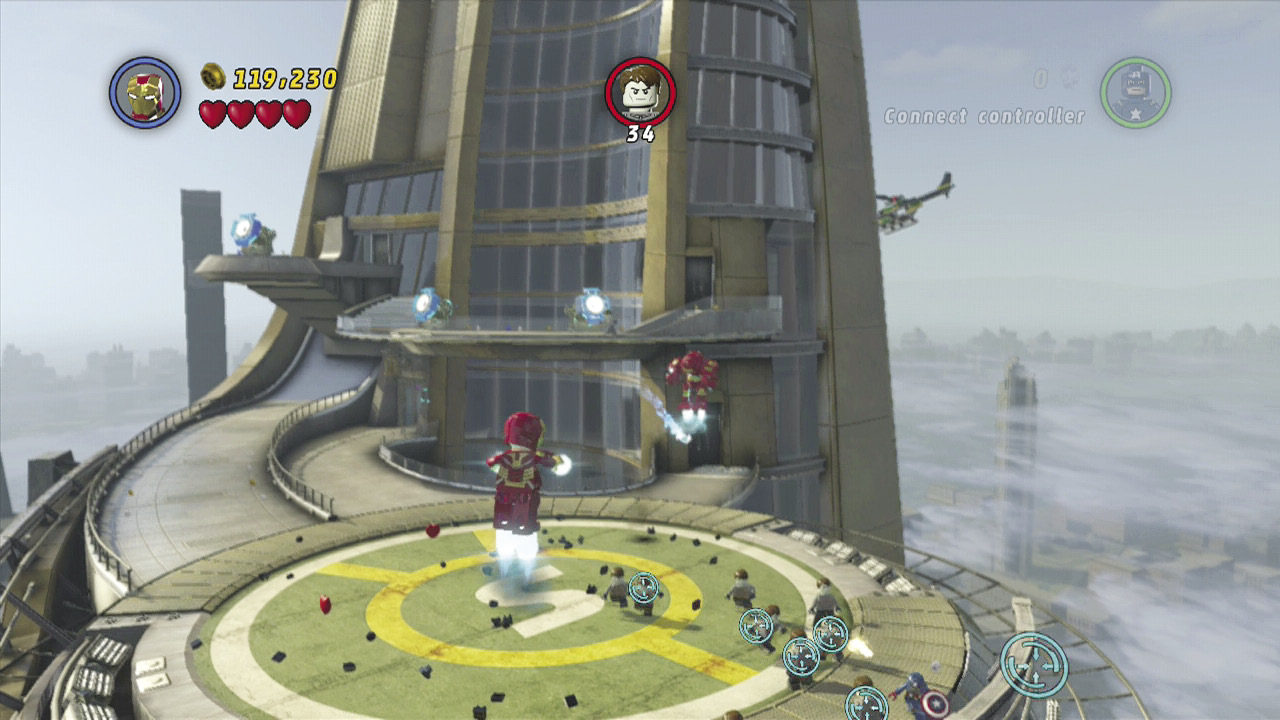
Mandarin puts on the Hulkbuster armor. However, before you can engage him, you need to defeat 40 enemies on the helipad. Focus on these enemies while avoiding taking damage from Mandarin in the armor.
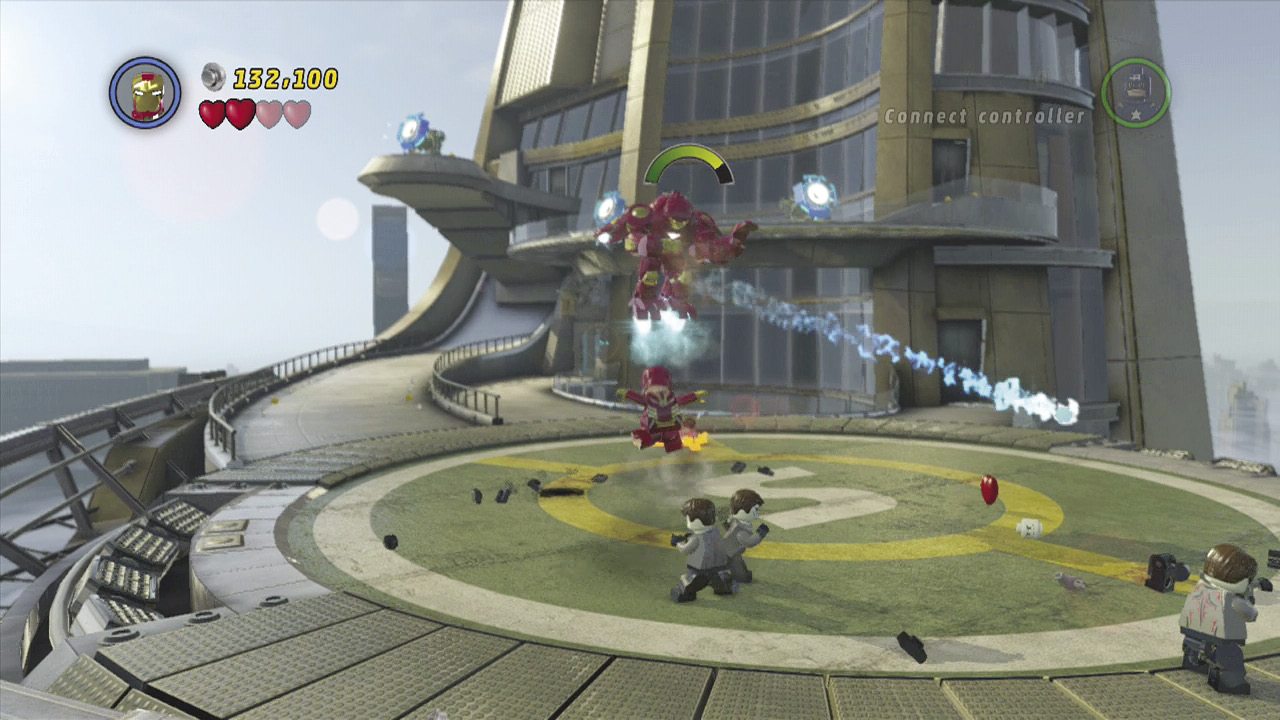
Now you can start attacking Mandarin. A health bar appears over the armor. Keeping hitting him with rockets or the shield to inflict damage on the armor.
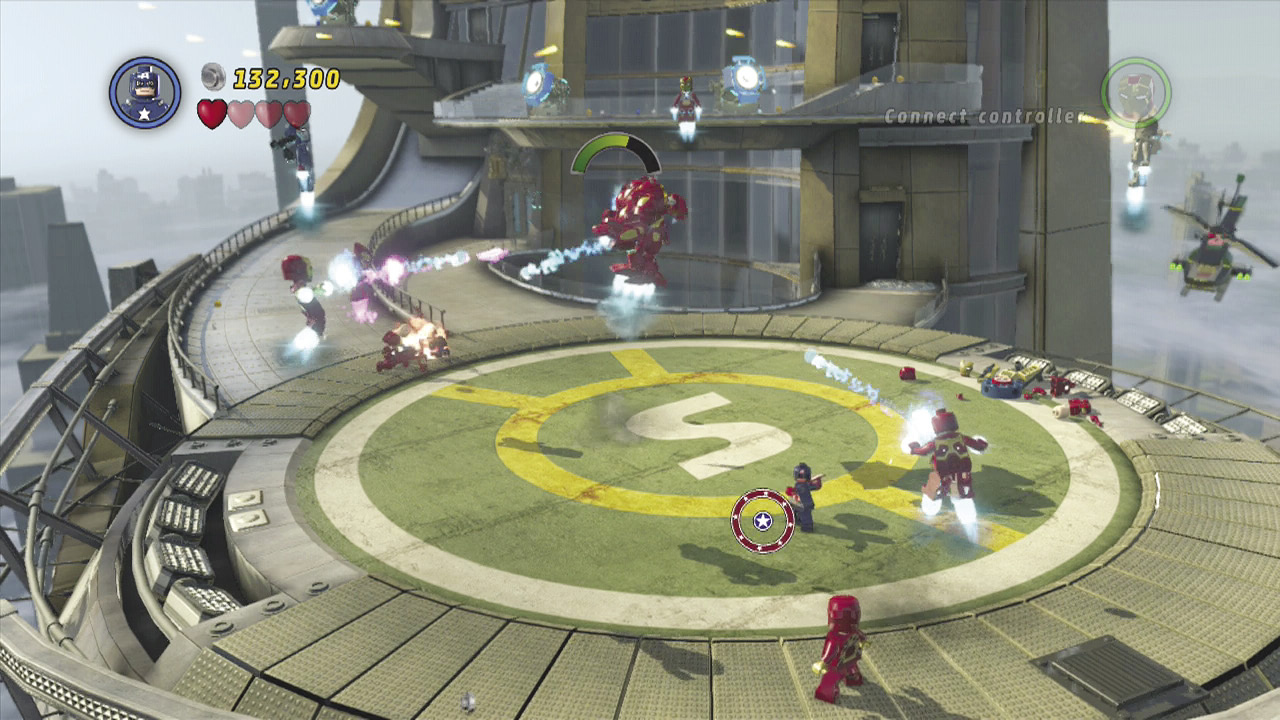
JARVIS eventually takes control of the rest of the Iron Man armor suits and sends them to help you attack the Mandarin. Keep hitting him to empty his health bar.
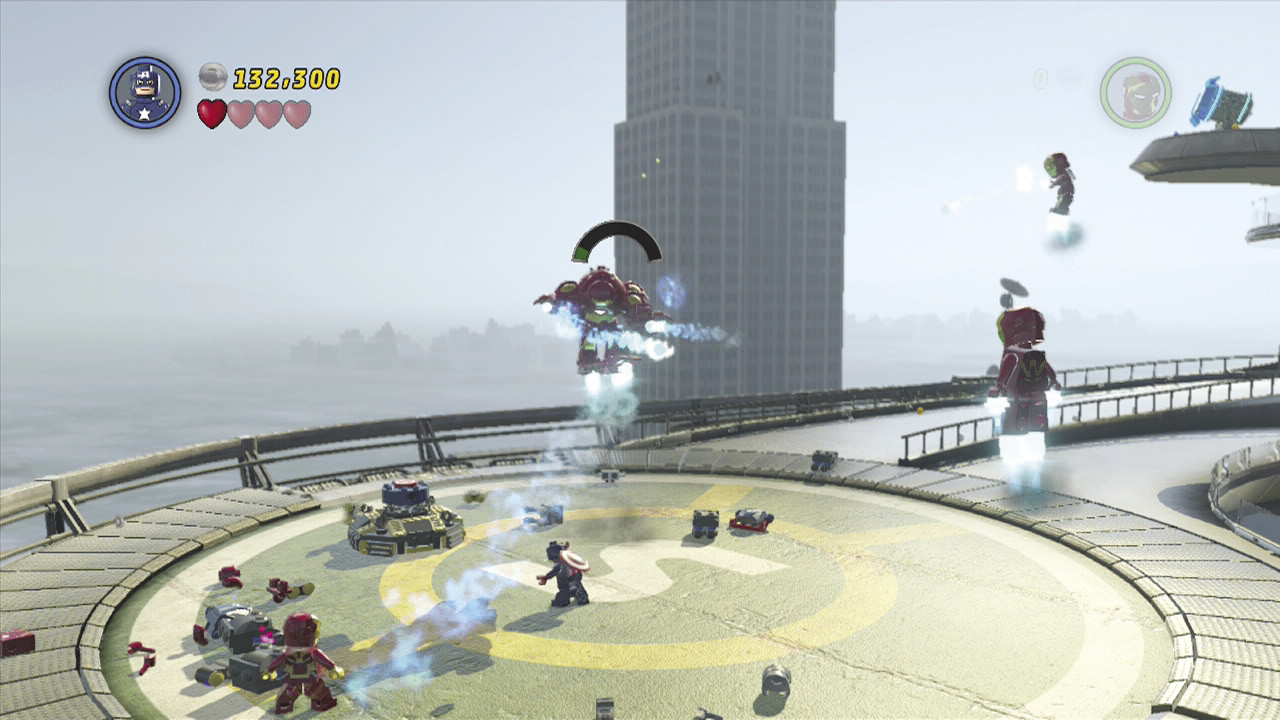
As the armor suits are destroyed, their pieces fall down to the helipad. Assemble the pieces into an object with a shield switch. Throw the shield at it to power up the object and drain the power from the Mandarin’s armor.
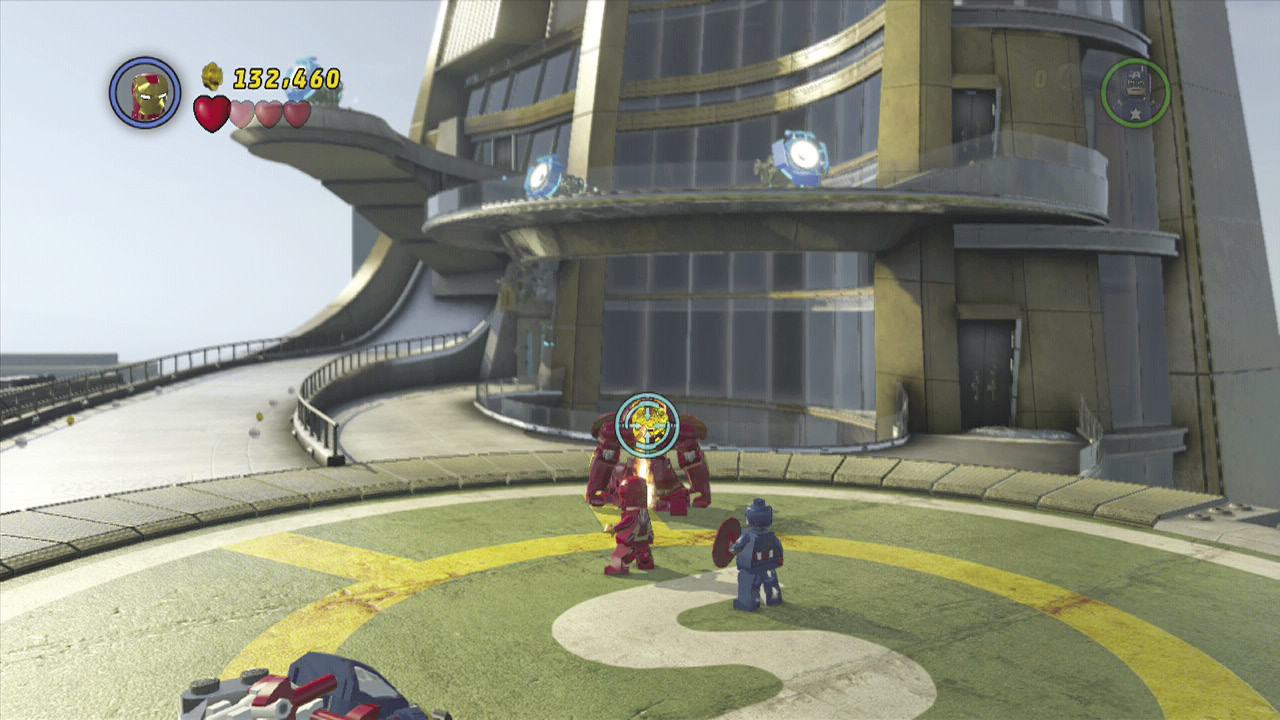
Use the fire weapon to attack the gold hatch on the back of the armor. Once it is open, Mandarin is finally defeated and the level is complete.