
Legend of Zelda: Skyward Sword Guide Walkthrough Walkthrough
Lanayru Mining Facility
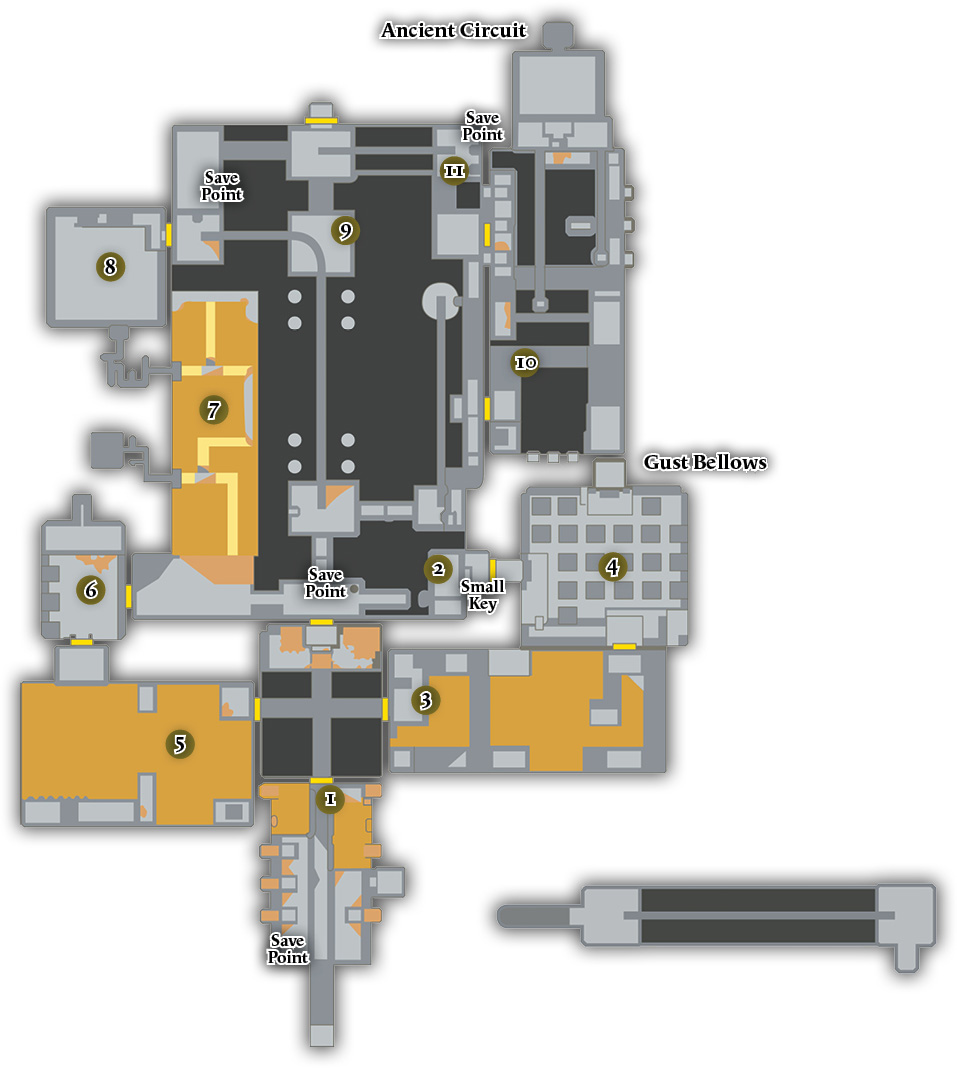
Legend
| Piece of Heart | Goddess Cube |

|

|
1. The Factory Foyer
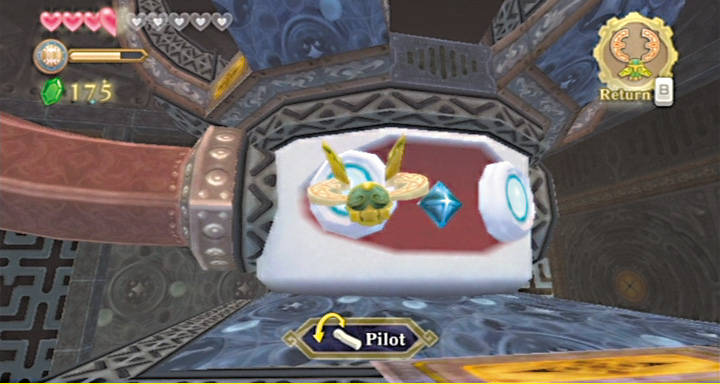
Lanayru Mining Facility is the factory where the ancient civilization of Lanayru Desert once produced its Timeshift Stones. Abandoned for centuries, it’s now decrepit and infested with monsters. You need to use the Timeshift Stones scattered throughout the factory to activate its machinery, while finding ways to evade and destroy the factory’s ancient security mechanisms. In this first room, though, you encounter a new enemy that’s no more than an annoyance.
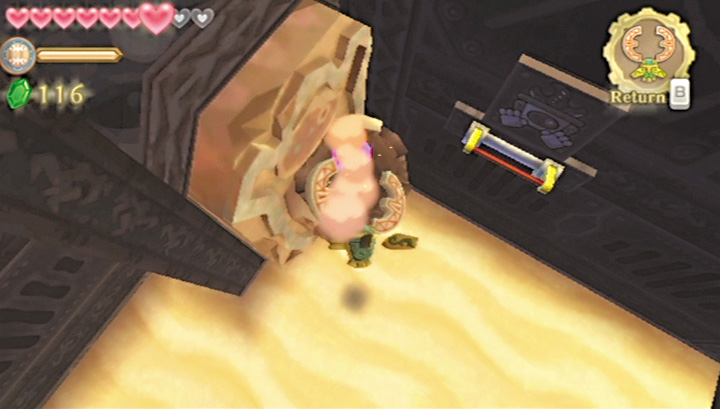
Investigate a hidden chamber to find a small chest that holds a Red Rupee. Use the Hook Beetle and the nearby Bomb Flower to defeat the Electro Spumes that lurk in the sinksand. Once the Spumes are cleared out, head in to pull down the two switches along the rear wall.
You can get to the one on the right using stone platforms. The one on the left you can reach by bombing the basket-holding statue. Once you’ve pulled the left switch, you can pass into the next room.
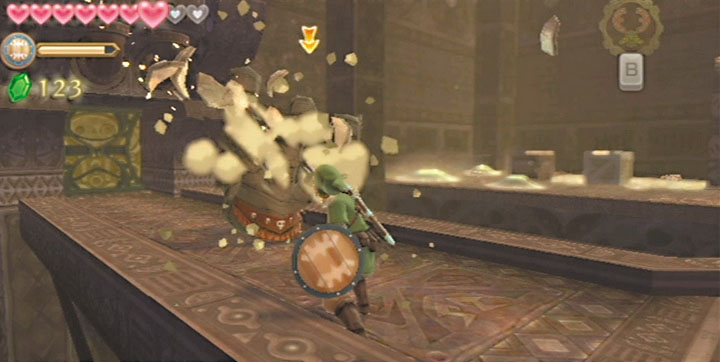
Here you immediately encounter a pair of Staldras. After you defeat them, examine the doors they guard. The one on the right is padlocked and requires a Small Key. The one on the left is barred, so you’ll have to find the right switch to open it. For now, head forward into the facility. Use the boxes to make it possible to climb up to this room’s exit. You’ll return here later.
2. The Lost Key
When you reach the end of the platform, you find a gap. On the other side, four wooden crates are stacked. You need to eliminate the boxes before you can leap the gap. Use the Hook Beetle and a Bomb Flower that’s nearby to blast the crates away.
Once the crates are gone, throw a bomb on the boxes across the gap, then leap over and climb the ladder once they’re gone. If you don’t have any bombs, make use of the Hook Beetle to carry a Bomb Flower to the boxes. At the top of the platform you’ll find a blue chest containing a Small Key.
Backtrack into the previous room and unlock the door to proceed. For once, there’s not a sub-boss battle waiting for you on the other side.
Throw a bomb on the boxes across the gap, then leap over and climb the ladder once they’re gone. At the top of the platform you’ll find a blue chest containing a Small Key. Backtrack into the previous room and unlock the door to proceed. For once, there’s not a sub-boss battle waiting for you on the other side.
3. Conveyor Belts
Head toward the platform on the upper right. You need to get up to the top of it, but if you try to climb the ladder now, you find a wooden crate blocking the top. Use your Hook Beetle and snag the Bomb Flower that’s growing nearby to blast the offending crate away. Now that you can get to the top of the platform, you should find a pressure-activated switch there.
While you stand on it, the bars around the Timeshift Stone at the center of the room rise. While standing on the switch, launch the Hook Beetle at the Timeshift Stone to activate it. This turns on the room’s conveyor belts and summons some dangerous new enemies.
Head down from the switch platform and toward the nearest conveyor belt. You can fight or just dodge around the Beamos you encounter on your way. Dash across the conveyor belt and climb up the platform just beyond it. At the top, you find a switch you can pull to raise the bars blocking in a door on the other side of the room. Inside is a chest with a Red Rupee.
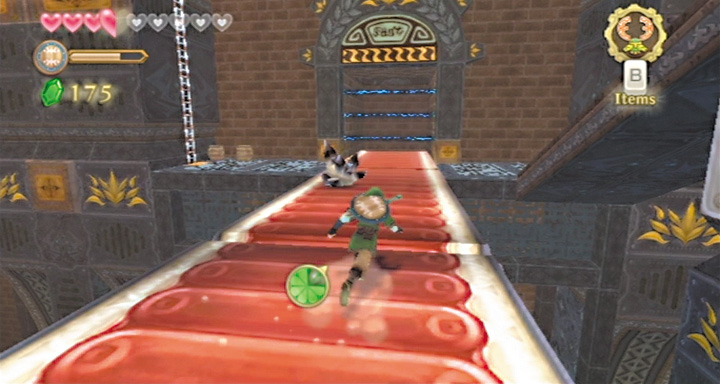
Now you need to cross over to the other side of the room to move on. There is exactly one way to do this right now: by attempting to run to the other end of the conveyor belt below you.
The belt runs in the opposite direction and there’s a grate of lasers at its far end, so you take damage if you attempt to make the crossing and fail. The trick to getting across is to dodge the ore deposits while collecting the Stamina Fruits.
Climb up the platform with the door you unbarred to find a Red Rupee. After that, drop down and cross to the far side of the conveyor belt. Head up the stairs on the opposite side to find the door that leads to the next area. It’s barred right now.
To find the switch that unbars it, dash across the conveyor belt that’s off to the door’s right. This switch is guarded by a Beamos that you probably need to defeat.
4. Exploding Frogs
The next room is filled with tiny platforms arranged in a grid pattern. Much of the room is covered in piles of sand and rubble. If you drop down to the floor level, there are areas where spikes shoot up from the floor if you try to pass by.
Your goal in this room is to pick your way over to a blue chest that contains a tool you need to solve some upcoming puzzles. You must combine moving over the upper platforms with a little bit of moving through the floor. The area above the platforms is patrolled by a new enemy.
Start shooting down Froaks with your Slingshot, both to clear your way and to start blasting the rubble piles on top of the platforms. Once all of the Froaks are gone, use your own bombs to blast away any rubble that’s left.
A blue chest in the floor area contains a random treasure you may want to snag. Once you make your way there, climb the ladder on the large platform at the rear of the room. Defeat the Arachas and then claim your new item.
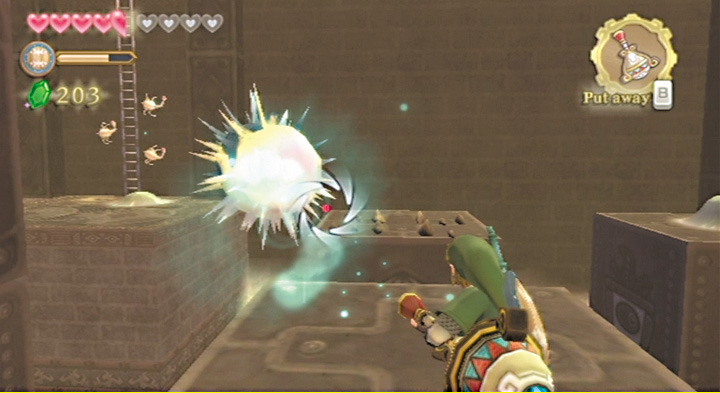
The Gust Bellows can blow away all of the piles of sand in this room. Most of them just contain Green or Blue Rupees, but a bit later you’ll need to use the Gust Bellows to uncover some more important objects. For now, make your way over to the other tall ladder that leads out of this room.
Before you head out, push down the metal block on the far end of the platform to make a shortcut in case you backtrack through here. Also, be sure to blow away the big pile of sand on the platform just to the left of the metal block. It conceals a Goddess Plume, one of the rarest treasures in the game. When you’re finished here, climb the ladder and blow away the sand blocking the door to exit.
5. Pinwheel, Pinwheel
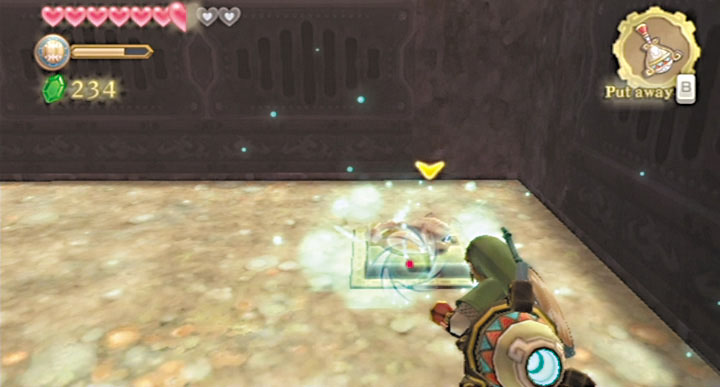
You emerge above the area where you found the Small Key earlier. Move the metal block aside to create a shortcut for future use. Backtrack to the room patrolled by Staldras. Now that you have the Gust Bellows, you can open up the barred doorway. Walk to the area full of crates just to the right of the room’s north exit.
Use the Gust Bellows to blow away sand that’s covering up a pressure-sensitive switch (and the Aracha guarding it). Push the block onto the switch to raise the bars. Now you can enter the left-hand room.
Head into it to find an area full of sand, Froaks, and strange platforms. Make your way across the sinksand by dashing from platform to platform. When you get to the area with the barred doorway, take a left and make your way to the platform in the corner.
Blow away all of the sand (and the Froak) to reveal a Timeshift Stone. Hit it to activate the metal platforms. Now you can manipulate them with the Gust Bellows.
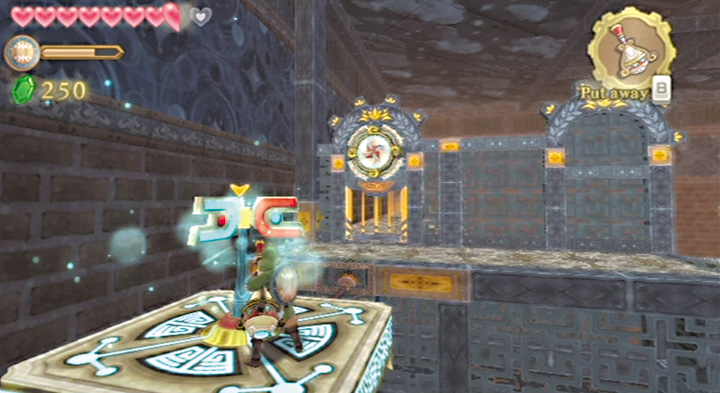
Get on the platform near the Timeshift Stone. Use the Gust Bellows to spin the vanes on top of the platform. This lets you move the platform along its track and ride it back to the barred doorway. Before you open up the door, head to the right.
Use the Gust Bellows to move the platform toward you, then ride it over to the blue chest in the center of the room. Open it to receive a random treasure.
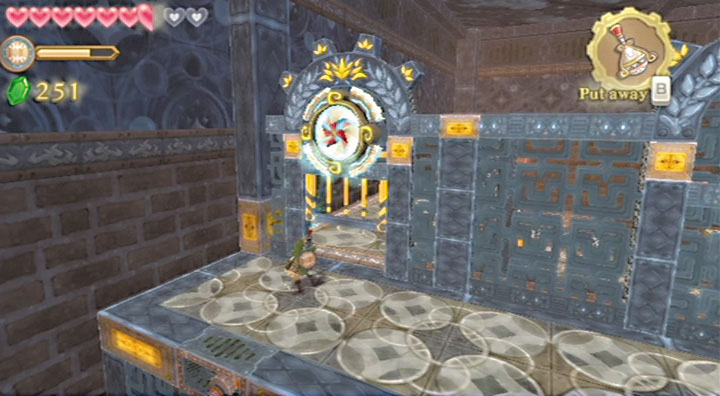
Examine the barred door carefully. Above it, you should see a pinwheel. Use the Gust Bellows to turn the pinwheel. This acts like a crank, slowly raising the bars. Defeat the Beamos that waits just inside, then drop to the next level. A new enemy awaits you down there.
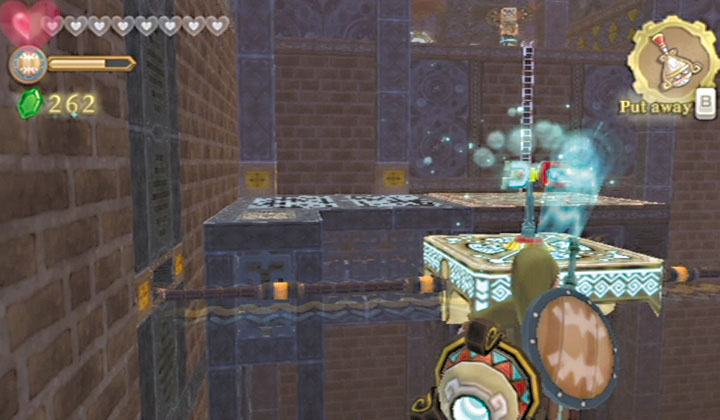
Once the Sentrobe is defeated, use the Gust Bellows to move the vane platform far enough down the track that you can step onto it. Stand at the edge of the area where you are now and you’ll still be close enough for the Gust Bellows’ wind to turn the platform’s vane.
Once you can step onto the vane platform, move it back to the left and hop onto the platforms at the other side of the room. Climb up the ladder and defeat the Beamos that waits at the top. Finally, use the Gust Bellows to open up the room’s exit.
6. The Hopping Guardian
Battle the Staldras guarding the next room, then push the metal block to the end of the track in the ground. Now you can use it as a stepping stone to get up to the top of the next level.
If you like, use the Gust Bellows to blow the Arachas off the tops of the metal blocks that run down the right-hand side of the room (from your current vantage point). Hop across them and blow away the sand pile on the last block to pick up an Amber Relic.
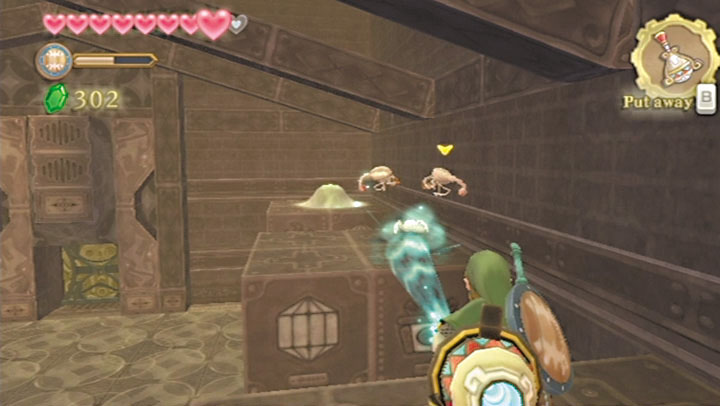
To proceed, use the Gust Bellows to blow away the sand inside the small barred area. This reveals a Timeshift Stone. Hit the Timeshift Stone with a Skyward Strike or the Slingshot.
This activates the room’s guardian, who you must defeat to exit this room. Once it is defeated, the bars will raise and you can retrieve the Dungeon Map from the blue chest.
7. Hidden Roads
Now you can enter the left-hand area of the enormous central room. Hit the switch in the room to create a useful shortcut into this area, by raising the barred door. The area of sinksand before you may look impassable, but look carefully at the Dungeon Map.
Just like the area outside, there are roads hidden beneath some of the sinksand here. You can’t put beacons on a Dungeon Map, but just move carefully according to where your map indicates roads should be and you should easily pass through this area.
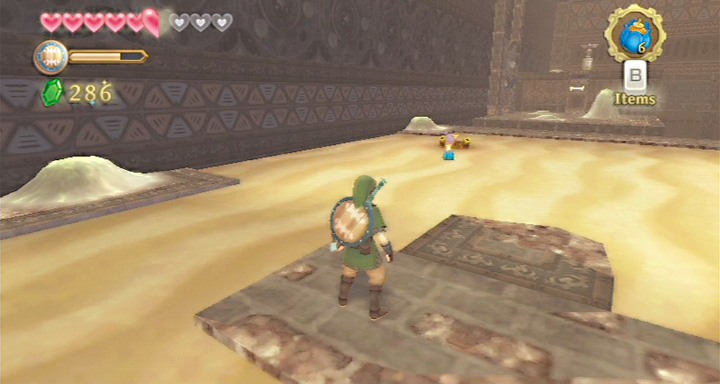
Once you reach the first of the visible stone platforms, pick off the Electro Spume by throwing bombs at it. Hop to the platform next to it and blow away the sand to reveal a small tunnel that Link can crawl through.
This tunnel leads to a hidden blue chest holding a random treasure. Head back to the sinksand area and continue following the sunken roads. At one point, a Yellow Chuchu attacks you while you’re standing on a sunken road. Be very careful not to step off the sunken road into the sinksand while you fight it.
Once you get to the visible portion of road along the right-hand side of the area, take out the second Electro Spume with a bomb. As you approach the final visible platform, against the wall with a pile of sand on it, get ready to bomb the final Electro Spume.
Blow away the sand on the final platform with the Gust Bellows and then crawl into the tunnel. Follow it to pass into the next room of the dungeon.
8. Spring Cleaning
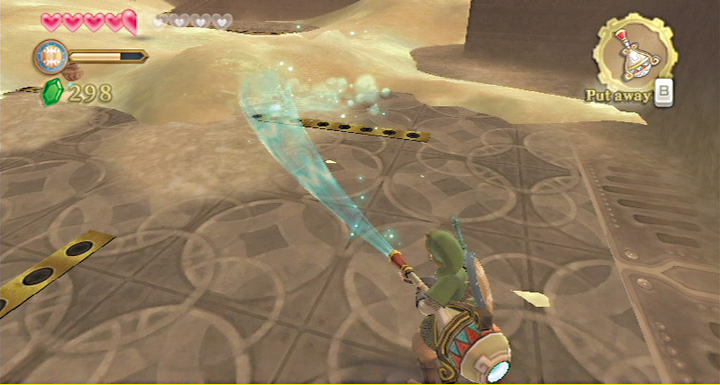
This room appears to be a massive empty area full of nothing but sand and Froaks. If you don’t include the spikes and Arachas hiding in the floor beneath the sand, that description is fairly accurate. Get out the Gust Bellows and get to blowing away sand. Your goal in this room is to uncover a floor switch that raises the bars over the room’s exit door.
As you work your way across the room, expect to turn up a lot of Blue and Green Rupees. If you make it to the upper-right corner of the room, you can turn up a Fairy. A small chest containing a Red Rupee sits in the upper-left corner, but you’ll find yourself blowing away a lot of sand if you want to reach it.
9. Cart Chasing
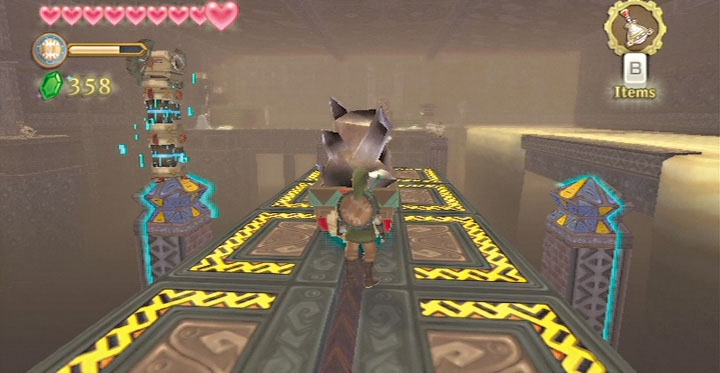
You’re finally at the far end of this dungeon’s big central chamber. Blow away the pile of sand in front of you to reveal a mine cart loaded with raw Timeshift Stone ore. To activate the stone, you have to use a sword thrust.
Once the time shift effect kicks in, the cart begins moving. Since the cart is carrying the active Timeshift Stone, the time shift effect travels along with it. That means you can use the cart to cross this room, by traveling on the platforms that appear alongside the cart as it time-shifts areas nearby it.
The cart eventually bangs into a set of bars obstructing its track, which gives you a chance to fight a Sentrobe. After it’s taken care of, use the Gust Bellows to spin the pinwheel above the bars. The cart moves automatically once it can.
The next set of platforms is patrolled by Beamos that you can only fight using Skyward Strikes, since they’re too far away for conventional sword strikes. If you want, you can just pass by them by using the mine cart to provide cover. If you keep the cart between you and the Beamos, its lasers can’t hurt you.
Dash around and quickly defeat the Beamos that blocks the track. The mine cart finally comes to a stop just behind the barred door you saw when you entered this chamber for the very first time. Now you can use the Gust Bellows to spin the pinwheel above the bars, creating a shortcut.
Next, head right from this area to find another mine cart loaded with Timeshift Stone ore. Activate it as you did the last one and get ready to follow it to your destination. You can dodge or defeat the Beamos that materializes halfway through the trip, since it’s guarding a door you need to pass through eventually.
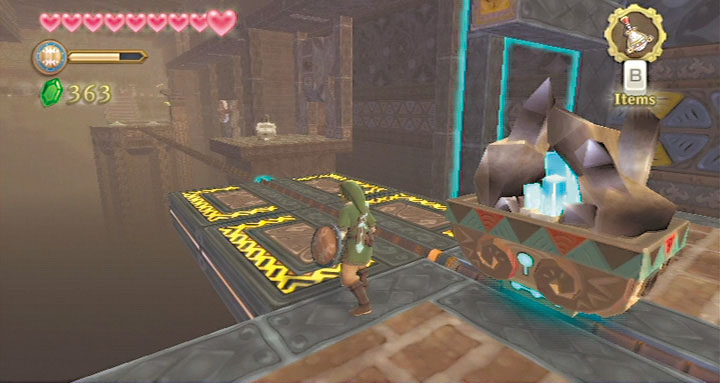
Your goal here is to use the Gust Bellows to spin a pinwheel that’s only active when the mine cart is passing by. If you miss this the first time, just deactivate and reactivate the cart and pass by again. Once you’ve defeated the Beamos, you can really take as many tries at this as you like.
Once you’ve spun the pinwheel, you can pass through the door the Beamos guarded.
10. More Conveyor Belts
You’re in another production area full of conveyor belts. For now, you don’t want to time shift this area. Instead, cross the dormant conveyor belt, being careful not to run into the hot jets of steam. At the end of the conveyor belt, begin climbing up the vines.
Be very careful of the steam jets in this area, as well as the Arachas that patrol the area. Once you come to the top of the wall, two Thunder Keese attack you. Walk to the left, pulling the switch at the end of this platform.
This sends a vane platform sliding over to you. Before you can use it, you need to time shift the area. Run down to the opposite end of the upper platform. You find a series of basket-holding statues and a suspiciously large pile of sand sitting on a tall platform across the room.
Bomb the statues so you can use them as stepping-stones to move across to the other side of the room. Blow away the sand to expose a Timeshift Stone and strike it. Head back the way you came.
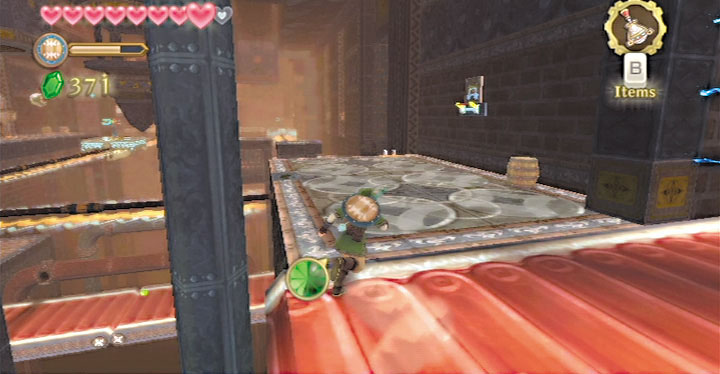
To get back to the platform, you need to dash across the three moving conveyor belts between you and the vane platform. The penalty for failing at this is to be dashed down onto the conveyor belt below, hurled into lasers, and forced to backtrack all the way back around the room to try again.
There’s no trick to this—just plow ahead and veer Link to the right as much as you can. Now you can pull the switch and activate the vane platform.
Ride across the room on the vane platform. On the other side, you have to fight a Sentrobe. Next, bomb down the basket-holding statues. What you reveal by doing this is actually a cryptic clue that applies to something you have to do once you move on.
Remember the numerical sequence revealed here: 2-3-1. Next, stand with your back toward the basket-holding statues. You should see a vane platform all the way to the right that you need to move down. Then use the vane platform you rode over to this side of the room to hop onto the vane platform you just moved into position.
Ride the new vane platform all the way down to the platform at the far north of the room. Here you should glimpse the jeweled chest, behind two sets of bars. You need to find a way to raise the bars now.
While you’re here, pull the metal block to the right to create a shortcut for use in any backtracking you might end up doing. Then move on to the other side of the room, where a vane platform is waiting.
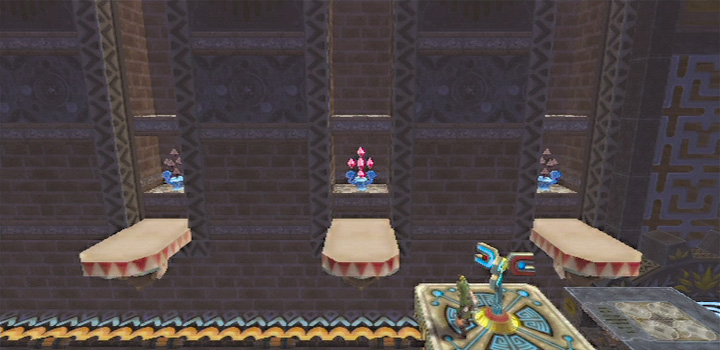
Bomb the basket-holding statues to the left of the vane platform to expose a set of crystal switches. Remember the numerical sequence you revealed before: 2-3-1. Mirror the sequence hinted at on the other wall by hitting the switches in the order of left first, then right, then middle.
You can easily do this by moving the vane platform back and forth with the Gust Bellows and hitting the switches with the Hook Beetle. When you’ve done it right, the first set of bars near the jeweled chest rises.
Head into the room behind the bars. Now you see the jeweled chest behind a second set of bars, which two Armos are guarding. Be careful to battle the Armos one at a time. If you do, then they’re no tougher than usual.
Fighting them both at once is significantly more challenging. Once both are defeated, open the jeweled chest to claim the Ancient Circuit, the key to this dungeon’s puzzle door.
Now backtrack to the previous room. The easiest way to do this is to climb down the ladder and use the shortcut to quickly get back to the lower of the two conveyor belts. Instead of crossing it and climbing the ladder across from it, dash across this conveyor belt.
Be careful not to barrel into the steam jets here while trying to make your way forward, and be sure to grab every Stamina Fruit you can.
11. One Last Puzzle
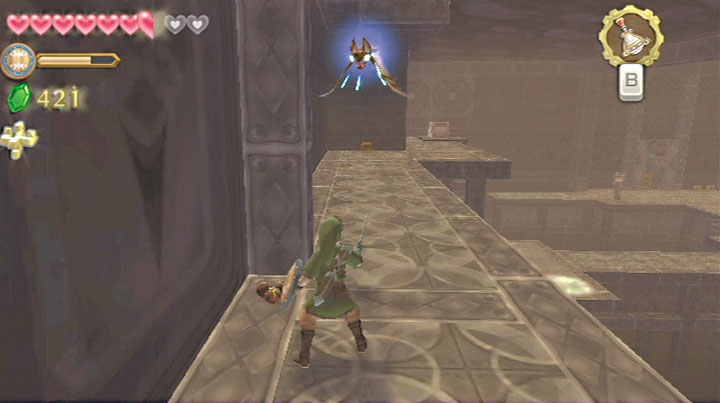
Finally, you can pass back into the far side of the main chamber. Climb up the ladder to the left first, so you can grab the dungeon’s last bit of loot. Fight your way through the Thunder Keese that appear along the upper passage and you can grab a Red Rupee that appears at the end.
Go a little beyond it, fight more Thunder Keese, and pull the metal block to the right to open up the dungeon’s final shortcut.
Next, head to the right and save your game. Activate the mine cart carrying Timeshift Stone ore. You can’t follow the cart directly this time, so instead hop onto the vane platform next to the cart that’s activated now.
Use the Gust Bellows to follow the mine cart as it goes across its track. Hot steam jets fire at you as you go across, so be careful and quick. As the mine cart comes to a stop at the next platform, the time shift effect removes the barbed wire that was covering up the dungeon’s puzzle door. Insert the Ancient Circuit and then you’re ready to face the boss.
12. Victory Lap
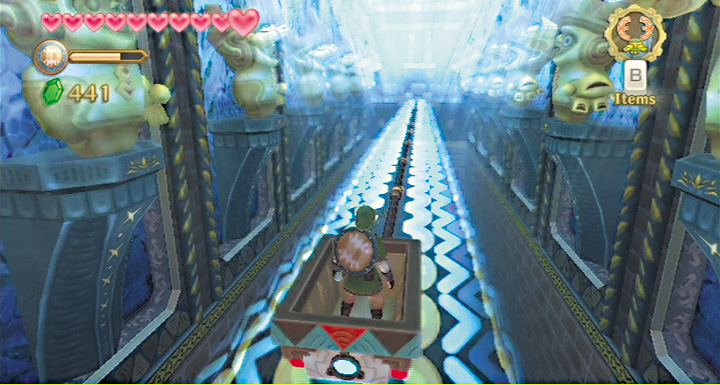
You have a little bit of traveling left to do before this dungeon is completely over. After you exit the boss room, you come to an area with an old mine cart. High, high up at the top of the hallway is the Timeshift Stone that activates it. Strike it with the Hook Beetle and then hop in. Once you reach the far side of this hallway, you can emerge into the Temple of Time.