
Legend of Zelda: Skyward Sword Guide Walkthrough Walkthrough
Lanayru Gorge
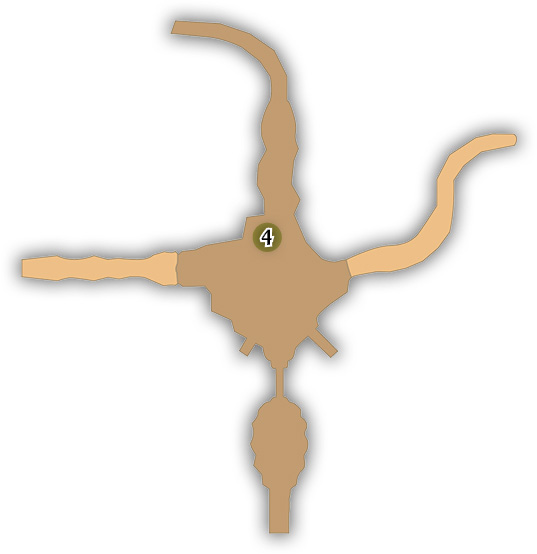
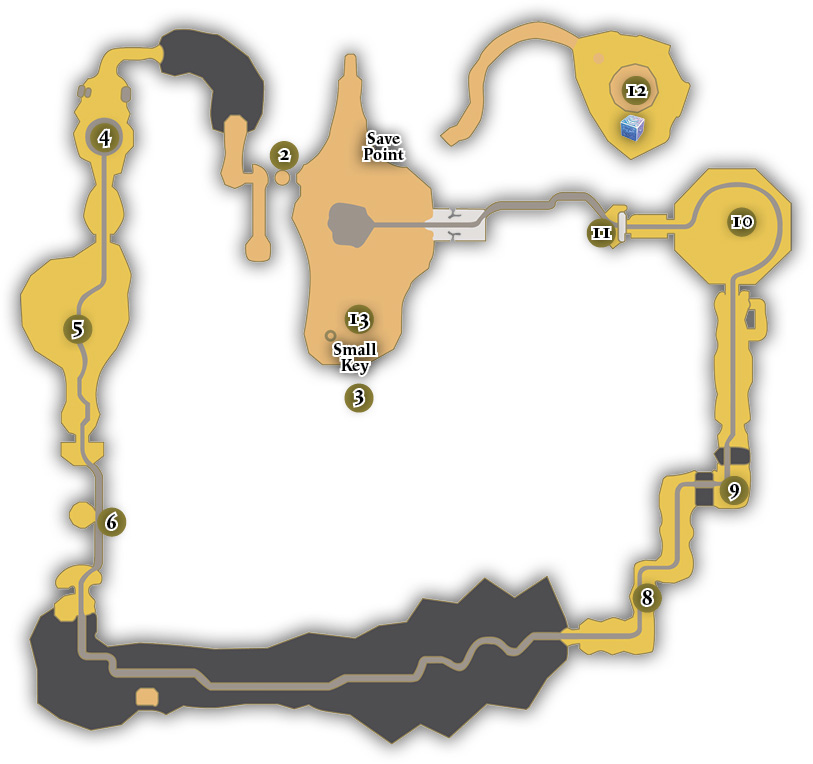
Legend
| Piece of Heart | Goddess Cube |

|

|
1. Goron’s Gift
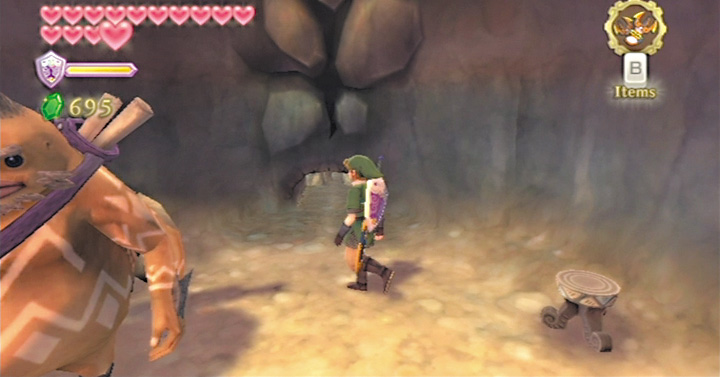
Head directly into the Lanayru Caves and speak with the Goron there. He’s had time to find an opening into the Lanayru Gorge, the home of the Thunder Dragon.
Roll a bomb into the tunnel to clear out some rubble, then crawl through the small tunnel to emerge into a new area. You can find a few Rupees here, but it’s nothing too interesting. Move on to the Lanayru Gorge.
2. Locked Door
Initially, it seems that you may have gotten here far too late. The area is as run down as the rest of the present-day Lanayru Desert, and there’s a dragon-shaped skeleton bleaching in the sun at the far end of the platform.Of course, the Lanayru region means Timeshift Stones.
Maybe you could have a word with the Thunder Dragon if you could find one? Start exploring.
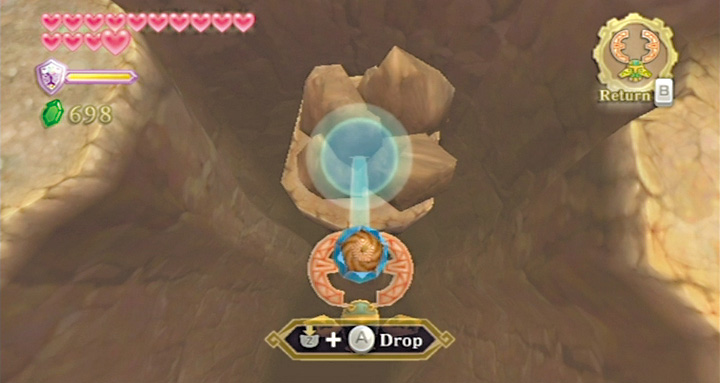
The only area you can get into right now is to your right, where a pile of rubble sits on a tall stone platform. Use the Hook Beetle to clear the rubble away with a Bomb Flower. Hop across to find a padlocked door and a stone tablet.
The stone tablet mentions that passage through the door is only possible with the permission of the Thunder Dragon. So examine the area around the Thunder Dragon’s skeleton to see if you can find a key.
3. Lost Key
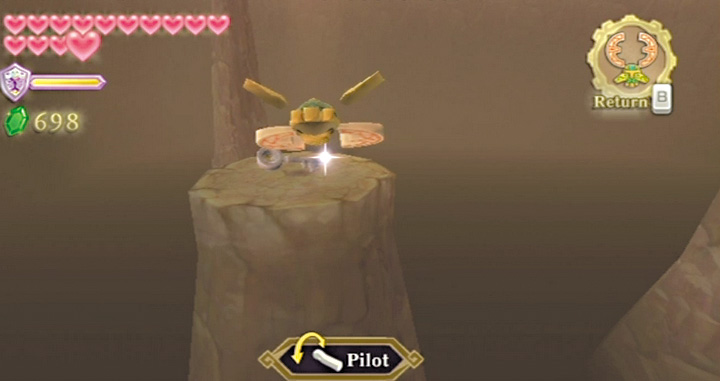
If you look around the Thunder Dragon’s skeleton on the main plateau, you won’t find anything. Instead, look beneath it. Head to the far left of the padlocked door and deploy the Hook Beetle to examine the area.
The Small Key is on a tiny platform far, far beneath the Thunder Dragon’s plateau. Snag it with the Hook Beetle.
4. Cart Trip
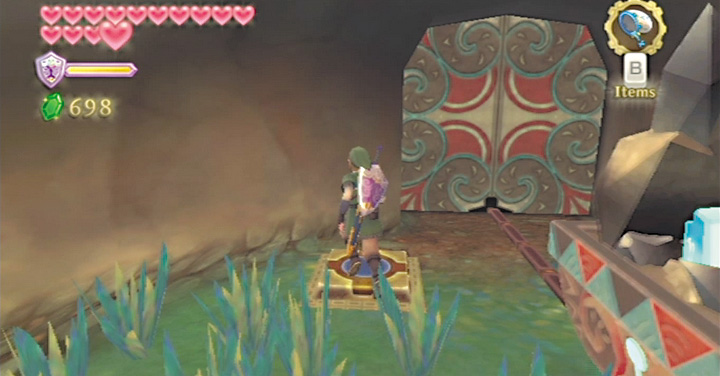
Grapple across the bottomless chasm using the flying plant targets, then climb up after you grapple on to the wall target at the end. In this area, you find an old mine cart containing a load of Timeshift Stone ore.
Activate the Timeshift Stone with a thrust and get ready to follow the mine cart through the entire gorge. The mine cart sometimes comes across obstacles you have to remove.
For instance, it can’t pass through the door that leads out of this area unless you stand on a floor switch.
5. Running Battle
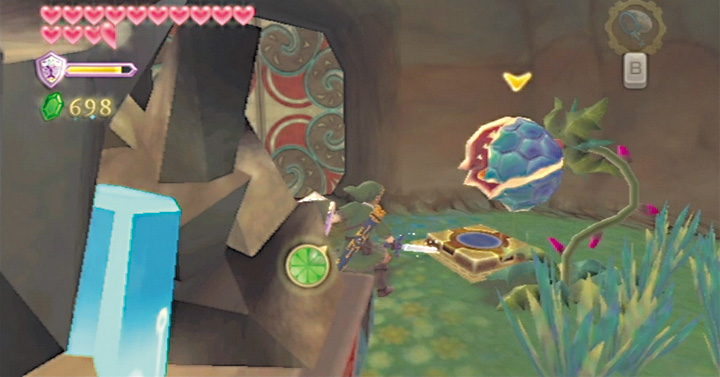
In this area, the Timeshift Stone summons many Technoblins and Deku Babas into being. Defeat the ones who advance on you, but otherwise, try to avoid fighting wherever you can. Once the mine cart travels far enough from an enemy, the foe just winks out of existence.
If you get too far from the mine cart in this room, you drown in sinksand. You do need to fight the Deku Baba that spawns at the end of the room, since it’s right next to the floor switch you need to hit to open the doors.
6. Quickly
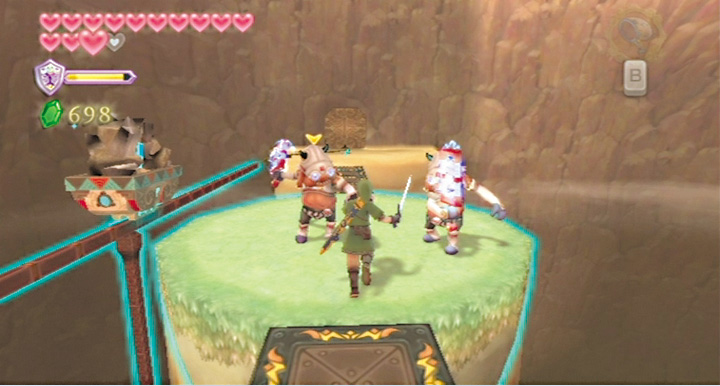
In this room, the mine cart summons platforms that let you cross over a yawning chasm. Some of the stone platforms in the middle of the way, though, are patrolled by Technoblins. You must defeat them extremely quickly, which means very precise and aggressive sword slashes.
You don’t have enough space or time to fight them more defensively. Once the mine cart reaches the far side, grapple up to the vines and climb up to find a switch on a high platform.
7. Wall-Crawling
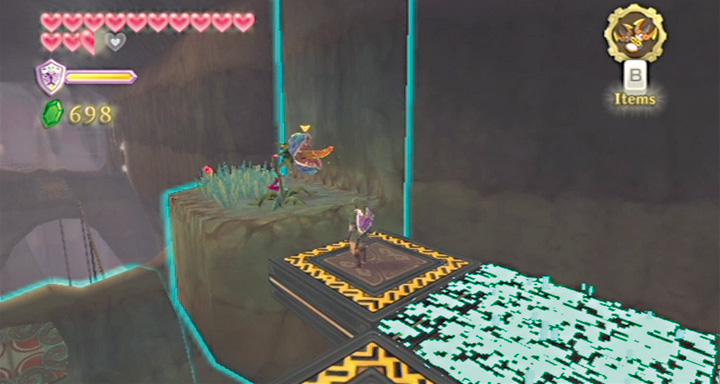
This area demands some fast, tricky platforming, since you have to move entirely along the walls and temporary time-shifted platforms. Follow the main set of platforms around to the end, then scramble up the vines that appear on the wall.
At the top of the vines is another series of platforms. Very quickly dash across the platforms and fight a Deku Baba that appears on a stone area just beyond them.
Once the Deku Baba is defeated, grapple over to a section of vines on the opposite wall. Drop to the platforms and hit the switch there.
This opens a door for the mine cart below. As the mine cart moves forward, it summons another set of vines into existence. Grapple over to them. You have to climb along this long patch of vines to keep up with the mine cart.
Be sure to grab every Stamina Fruit you can and be careful leaping over the steam jets on the wall. Drop off the vines once a platform appears beneath them.
The mine cart hits another closed door, which makes this platform a safe perch. Grapple over to a wall target located on the opposite wall, then to another wall target, then drop down to the platform where the floor switch is located.
Step on it to open the door. As the mine cart passes through the canyon, wall targets begin to time shift into existence. Just grapple from target to target. Be careful of the Keese that fly around this area.
When you come to the last wall target, you can grapple on to a patch of vines around the door that leads out of this area.
8. Careful
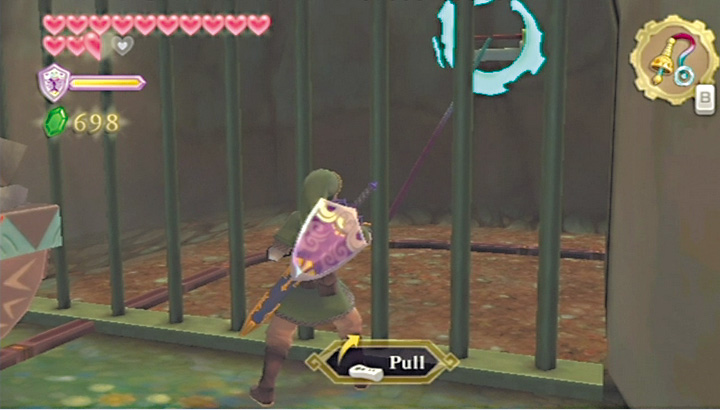
Now you’re in a long, narrow stone tunnel. It’s nothing but sinksand in the present day, so continue to stay close to the mine cart. Green Chuchus and Deku Babas appear as the mine cart time-shifts the area around you.
The area is so narrow that you have no choice but to fight them, but be very careful. If you accidentally hit the mine cart, you drown instantly in sinksand. When the cart comes to a stop before some iron bars, get out your whip so you can pull the switch on the other side.
9. Swing for Life
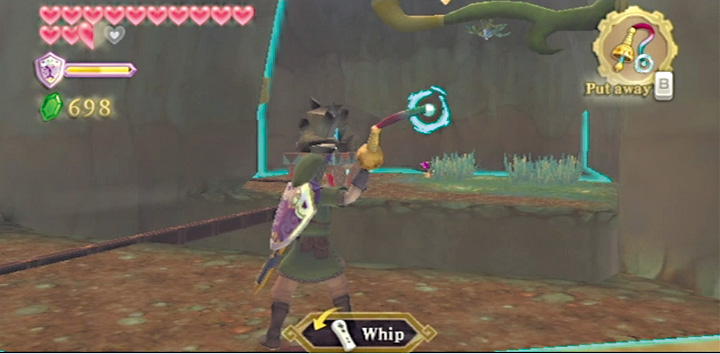
Stay close to the cart as it passes through the first part of the tunnel, where spiked metal devices slide rapidly back and forth across the tunnel floor. The mine cart blocks them. As the mine cart goes to pass over the first pit in this room, a Technoblin attacks you.
Be very quick here. Defeat the Technoblin, then quickly get out your whip, snag the hook over the bottomless pit, and swing to the other side.
Ignore the Deku Baba on the other side. Use your whip to snag a hook that’s over the next pit and swing across to solid ground. The mine cart summons a pair of Deku Babas here. You have no choice but to defeat them very quickly and carefully. Stay with the mine cart as you move carefully through another stone area full of the spiked metal sliders.
When the mine cart comes to a stop at the door, dash through the sinksand up to a switch to the right. Pull the switch so you and the mine cart can move on.
10. Rushdown
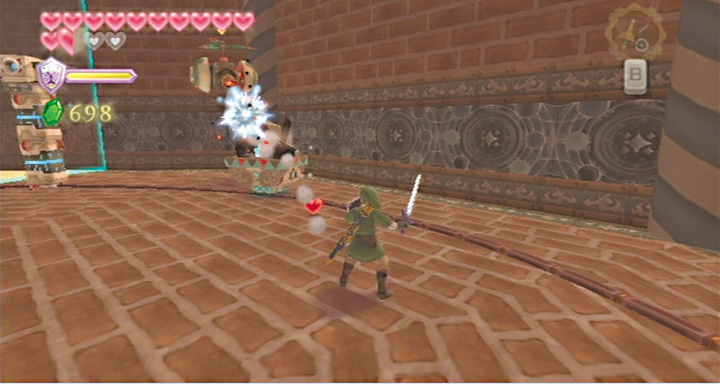
Now you’re in a large, solid round room. As the mine cart slowly winds around the track, you must defeat a gauntlet of strong enemies without accidentally shutting off the mine cart.
You must fight Beamos, Green Chuchus, Technoblins, and a Sentrobe in rapid succession. When the mine cart reaches the door, use your whip to pull a high wall switch.
11. End of the Line
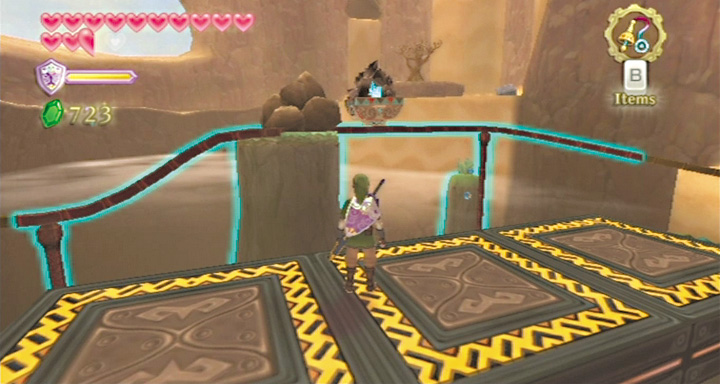
You’re finally outside and heading back to the Thunder Dragon’s plateau. Run across the platforms the mine cart summons and fight the Deku Baba that guards them.
When the mine cart comes to a pile of rubble obstructing the track, send your Hook Beetle out to pick up one of the nearby Bomb Flowers. Bomb the rubble so the mine cart can proceed.
Fight the Deku Babas that appear in front of you, then jump across the small gap in the platforms. A Quadro Baba appears as you continue following the platforms. Defeat it quickly and move on.
After this, the mine cart moves to its final destination and time-shifts the entire plateau into the past, when the Thunder Dragon was still alive.
12. The Ailing Dragon
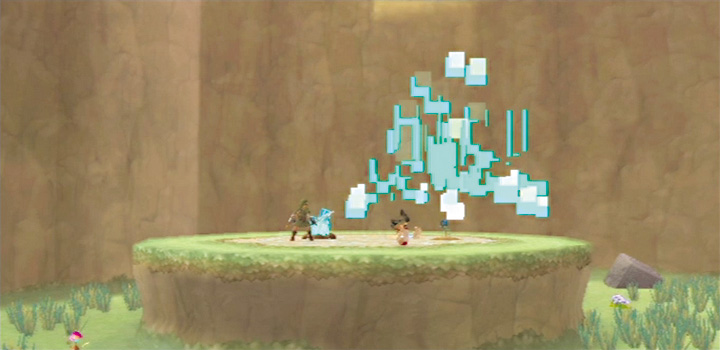
The Thunder Dragon can’t give you his part of the Song of the Hero because he’s too sick to sing.
Go talk to the worker robots in the area to find out what’s up with his ailment. You especially want to talk to a little guy who is guarding a series of platforms.
The only thing that can heal the Thunder Dragon is the Life Tree Fruit. The worker robots have planted a Life Tree Seedling for the Thunder Dragon, but it can’t grow in Lanayru Desert’s poor soil.
Now the worker robot by the platforms has stepped aside, so you can explore the area where they’ve planted the Life Tree. This area isn’t time-shifted yet, since it’s outside the mine cart’s field of effect.
Dash across the sinksand and climb up the central platform, where a stunted tree grows. Blow away the pile of sand to reveal a Timeshift Stone. Hit it to see what was going on here a thousand years ago.
The stunted tree dissolves into a tiny seedling, the seedling of the Life Tree that the worker robot mentioned before. You’ve seen that it’s not going to thrive here, so pick it up and take it somewhere else.
After you’ve taken the seedling, drop down and activate Goddess Cube #27 in the far corner. If you’ve followed this walkthrough completely, this should be the final Goddess Cube you need to activate.
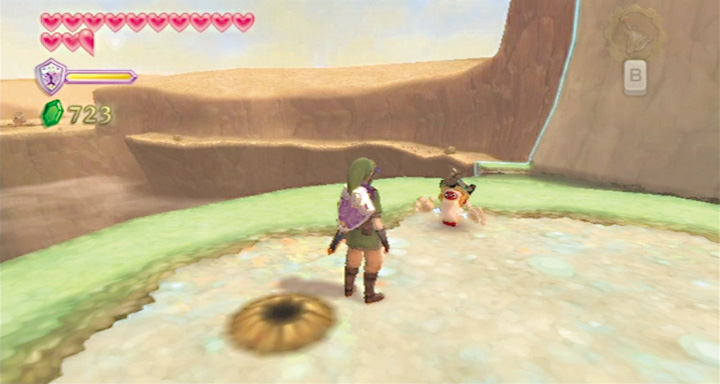
Carefully examine the hole left behind after you’ve picked the seedling. It looks a bit like a burrow hole, but instead of being flat, the soil is heaped at the edges.
Chances are you’ve seen holes like this in Skyloft and the Sealed Grounds. In fact, you were shown one in a cutscene in the Sealed Grounds not too long ago, so try going back there.
Since you time-shifted the area with the seedling, you need to time shift the mine cart from a distance to get out of this area. Shooting an arrow at it works, though you need a very precise shot.
13. Life Tree
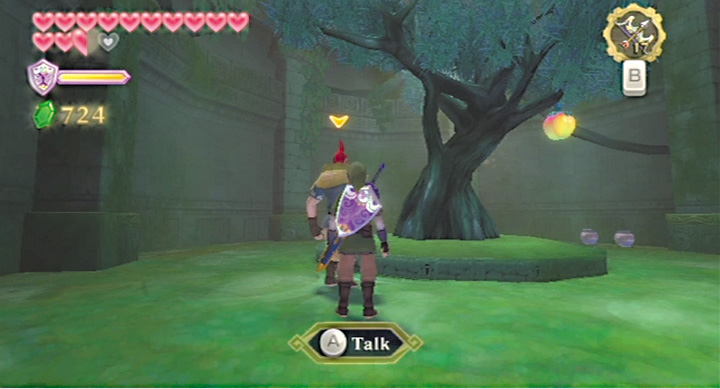
Backtrack to the Sealed Grounds and examine the planting soil. If you plant it here, Fi tells you that the location for the seedling is good, but that it’s going to take too long for the seedling to grow here. Good thing there’s a nearby door that leads to a thousand years in the past, huh?
Take the seedling back and pass through the Gate of Time. Plant the seedling in the distant past, then return to the present-day Sealed Grounds.
You find an enormous tree with a massive golden fruit dangling off of it. Dash-roll at the tree to obtain the Life Tree Fruit. Return to Lanayru Gorge and give it to the Thunder Dragon.
He’s happy to reward you with his part of the Song of the Hero. Now you’re ready to go back to Skyloft and see Levias.
Goddess’s Treasure Chest Pickups: #27
To claim goddess’s treasure chest #27, return to the tiny rock island in the thunderhead where you nabbed chest #25 earlier. Dive back onto the same burrow. This time, instead of taking the right exit, take the left exit. Open this chest to nab the Small Quiver.