
Legend of Zelda: Skyward Sword Guide Walkthrough Secrets and Sidequests
Gratitude Crystals Collection Guide
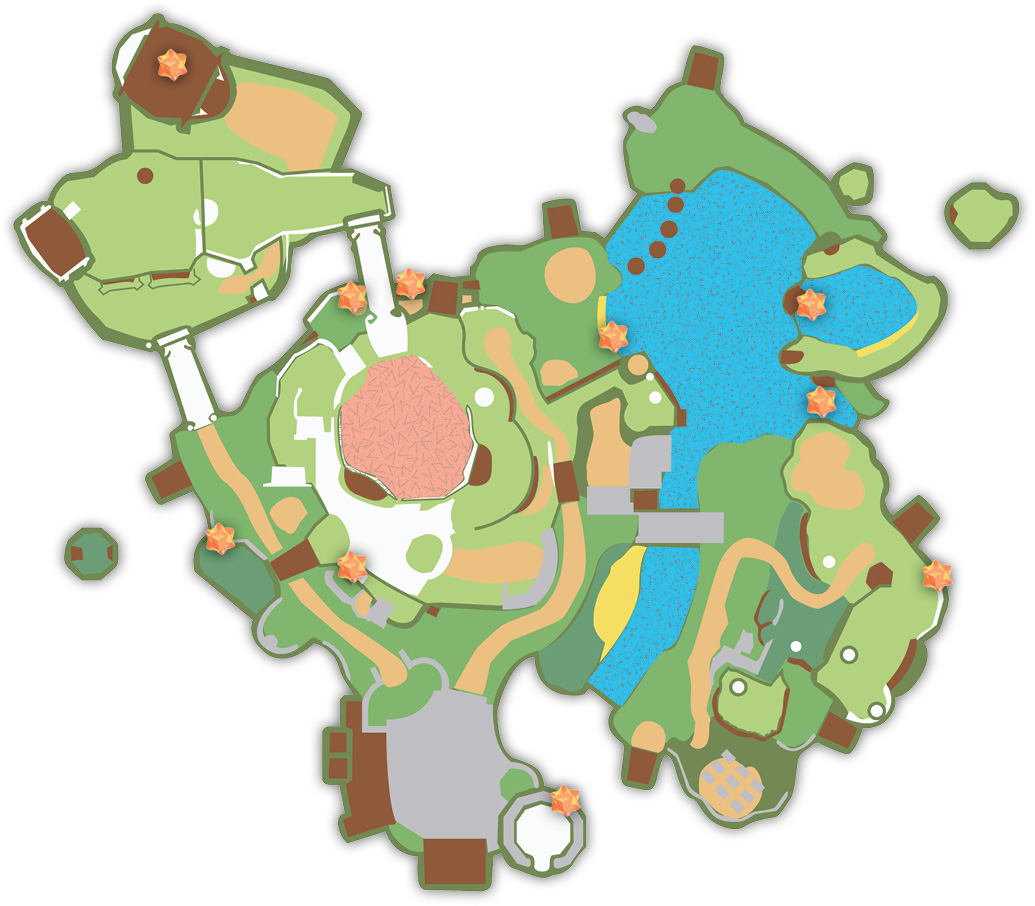
Legend
|
Gratitude Crystal
|

|
This section covers how to acquire all of the game’s Gratitude Crystals. By gathering them and giving them to Batreaux, you can earn handsome rewards that include Pieces of Heart, Rupees, and larger wallets to let you carry more Rupees. You can begin gathering Gratitude Crystals after you clear the Skyview Temple dungeon, which unlocks the game’s first request.
There are two ways to gather Gratitude Crystals. One is to go out at night and find the 15 loose Gratitude Crystals scattered throughout the sky. Many of these crystals lie in plain sight, and once you obtain the Master Sword you can dowse for the rest of them.
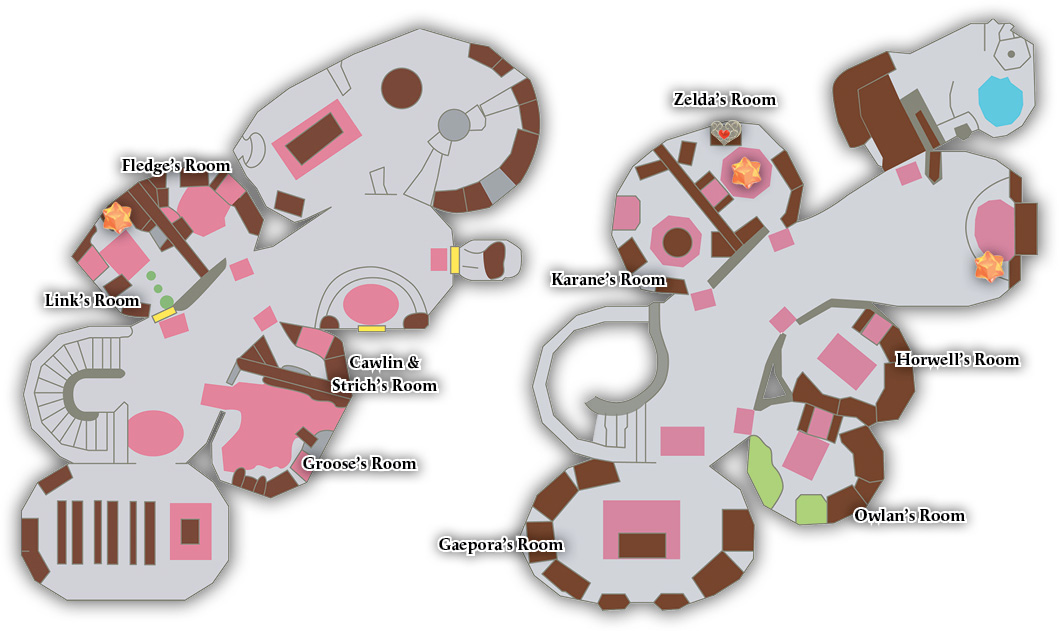
Twelve of the Gratitude Crystals you need are scattered around Skyloft, some indoors and some outdoors. Gratitude Crystals occur indoors only in the Knight Academy and a handful of other locations. Remember that all Gratitude Crystals can be snagged by the Hook Beetle.
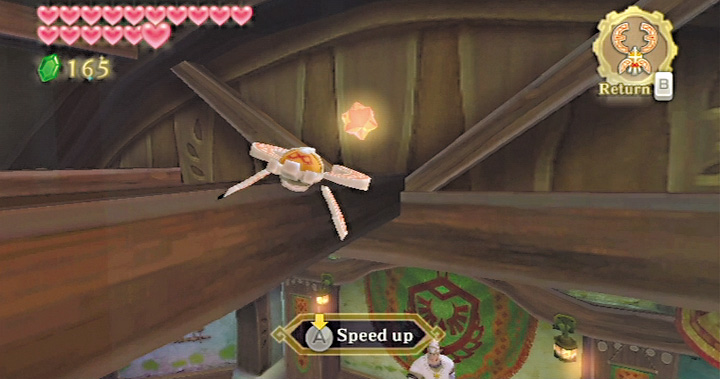
There’s one inside the Sparring Hall, up in the rafters.
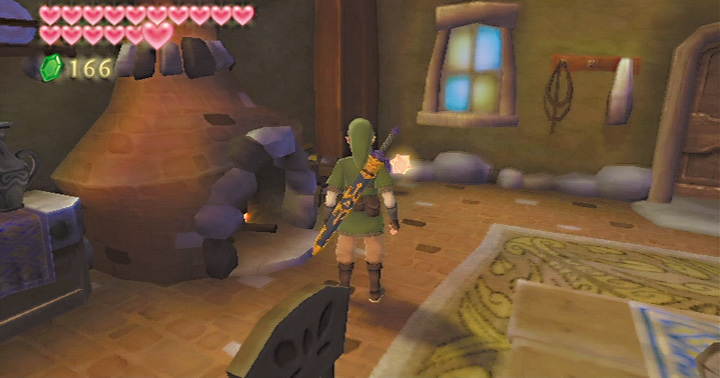
There’s one inside Orielle and Parrow’s house, in a corner.
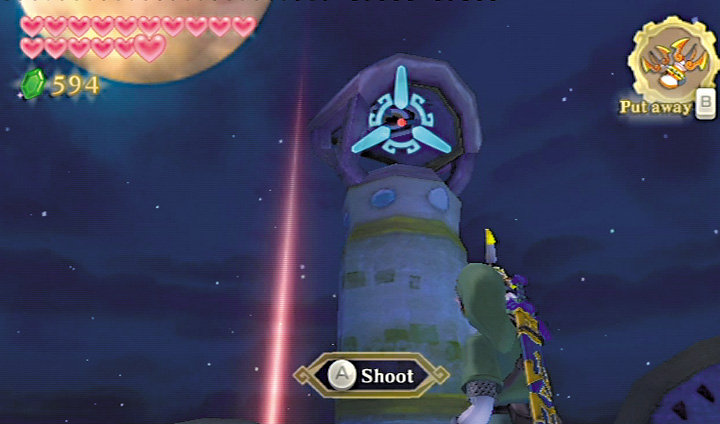
Grapple up into this chimney to sneak into Zelda’s room and grab the Gratitude Crystal (and Piece of Heart) there.
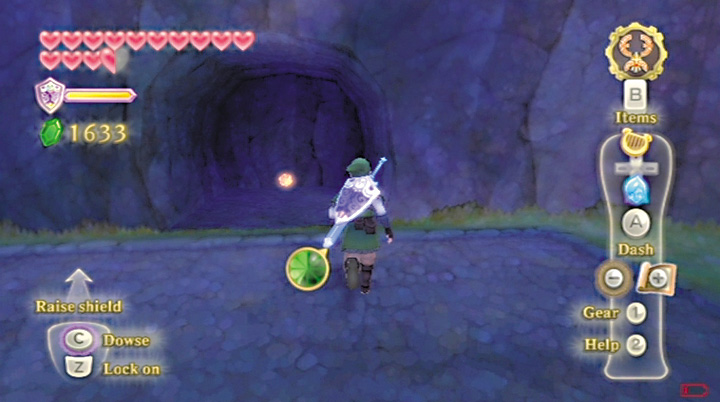
Pass through the waterfall cave to grab this Gratitude Crystal, hidden in the cave where your Loftwing was penned up earlier in the game.
The other way to gather them is to take requests from townsfolk. You can earn 65 of the 80 Gratitude Crystals required to finish Batreaux’s quest this way.
Some characters may ask you to run errands or perform basic tasks for them, while others may send you to find lost objects or fetch items from the bazaar. After you finish one of these requests, you’re given a stack of five Gratitude Crystals.
Each townsperson is part of only one Gratitude Crystal quest. It is possible to accept a quest before you meet the requirements necessary for finishing it.
Night and Day
You can change the time of day in Skyloft by going to sleep in any bed. You need to do certain things at night to complete several Gratitude Crystal requests, especially the first one, and to gather the “loose” Gratitude Crystals lying around the sky.
Gathering Gratitude Crystals is, in fact, one of only two reasons to ever be active at night (the other is the secret shops, which are covered in the next section).
There are a few things to remember about being active in Skyloft at night. One is that you can’t fly your Loftwing at night. If you jump off the edge of Skyloft and attempt to summon your bird, absolutely nothing happens.
Skyloft plays host to a species of insect, the Starry Firefly, that can only be caught at night or in the waterfall cave. Certain doors that are open during the day become locked at night. The shopkeepers from the bazaar all go back to their homes, where you can interact with them.
Finally, monsters roam Skyloft at night. You primarily encounter Keese and Green Chuchus that should be easily defeated, but they respawn persistently. Pets become feral at night. While you can drive them away with your sword, you absolutely cannot defeat them permanently.
Batreaux’s Rewards
Here is a list of the rewards you get by visiting Batreaux after obtaining certain numbers of Gratitude Crystals. To get all of the rewards, it is absolutely necessary to find and complete every single gratitude request you can get from townspeople.
You also need to gather up all of the loose Gratitude Crystals in the sky.
|
Number |
Reward |
|---|---|
|
5 |
Medium Wallet |
|
10 |
Piece of Heart |
|
30 |
Big Wallet, Cursed Medal |
|
40 |
Gold Rupee |
|
50 |
Giant Wallet |
|
70 |
Gold Rupee x 2 |
|
80 |
Tycoon Wallet |
Wryna’s Request: Find Kukiel
Characters: Wryna, Kukiel
You get this request automatically after placing the Ruby Tablet fragment into the Ancient Tablet’s aperture in the Statue of the Goddess. Wryna’s daughter, Kukiel, has gone missing and she fears a monster is somehow involved.
Talk to Parrow in the plaza and his sister Orielle to receive the most useful clues: that there is a monster rumored to live in the graveyard and an old man who spends most of his time hanging out at the Lumpy Pumpkin claims to have seen it. Fly out there and speak to him.
The old man tells you that if you go out to the graveyard at night and hit the headstone closest to the tree, the door to the storehouse will mysteriously open.
You also need to push the headstone after you hit it with your sword. This opens the door to the storehouse. When the storehouse in the graveyard opens, walk to the ladder and climb down. This takes you to an isolated house that sits on a series of isolated platforms beneath Skyloft.
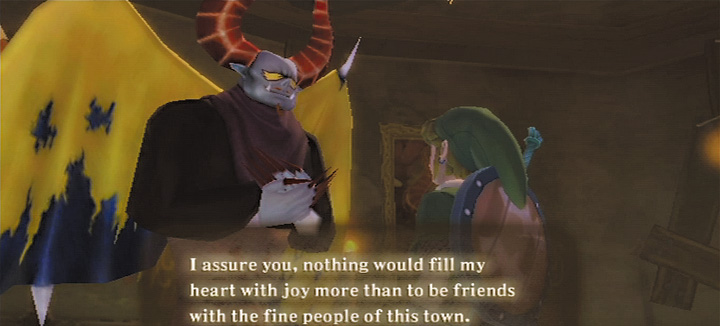
You’ll find Kukiel inside the house with her “friend,” who turns out to be a horrible-looking monster named Batreaux. Despite Batreaux’s terrifying visage, he’s actually a kind-hearted soul who loves people.
Unfortunately, he scares the snot out of most townspeople and so he can’t live above in Skyloft with everyone else. Batreaux has heard that if a monster can obtain enough Gratitude Crystals from humans, though, that monster will transform into a human.
Naturally, Batreaux wants Link to go out and gather all the Gratitude Crystals for him. While this may sound a bit like helping Batreaux game the system, it’s ultimately for the best that you go out and do this for the poor guy.
Begin after you meet Batreaux by sleeping until morning, then going to Jakamar’s House and speaking to Wryna inside. Kukiel has returned home, as she promised you last night. Her mother gives you your first stack of five Gratitude Crystals.
Parrow’s Request: Find Orielle
Characters: Parrow, Orielle
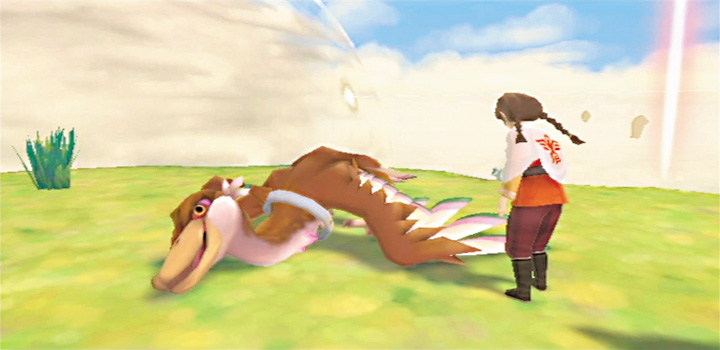
You’ll find Parrow pacing in the plaza when you can accept this request. He’s worried because his sister went out for a flight and never came back. He says she went to the western sky.
Go soaring around there and you’ll find her on an island in the area between Fun Fun Island and the Lanayru Desert entrance. The island is relatively low, so if you’re flying too high you may not be able to see her.
Speak with her and she says that her Loftwing has been injured. She sends you back to get some medicine from her brother. He gives you a bottle full of Mushroom Spores to carry back to her and tells you to keep the Empty Bottle after you’re done.
Fly back to the island and give the medicine to Orielle to finish off the quest and get five Gratitude Crystals. Go back to Skyloft and talk to Parrow to get five more.
Dodoh’s Request: Find My Party Wheel
Characters: Dodoh
Requires: Scrapper
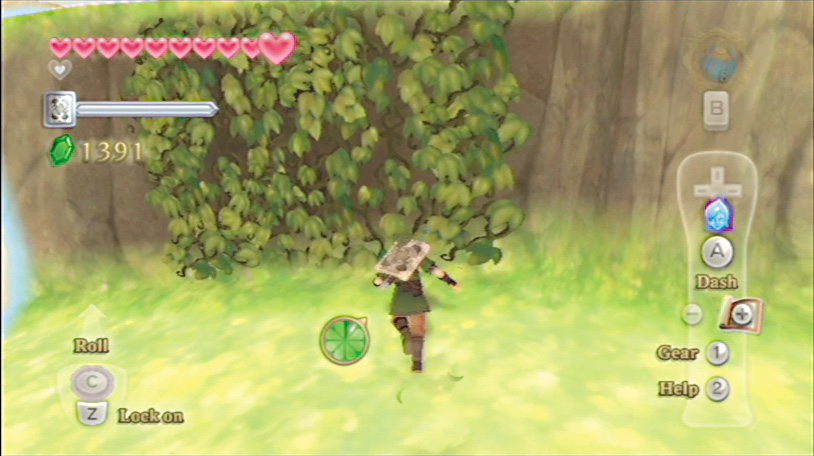
Drop by Fun Fun Island after you’ve activated Scrapper. The odd fellow who runs the place, Dodoh, is down in the dumps because his party wheel fell beneath the clouds. Agree to go find it for him and Fi adds it as a dowsing target. The party wheel is located in the Lanayru Desert, so head there on your Loftwing.
Use the bird statue marked “Desert Entrance” to arrive close to your objective. Hit the Timeshift Stone next to the mine cart. This causes plants to bloom in the nearby area, which causes a patch of vines to spring into existence on a nearby cliff.
Cross the vine patch and shimmy across another nearby wall to reach another cliff. You need to climb across while dangling from a narrow ledge. It’s a long way to go while hanging by your fingers, but there’s a Stamina Fruit that helps you make it.
Keep going until you reach a cliff on the opposide side. Be careful of the sides of this area as you make your way to the party wheel, as you can fall down the slope and get dumped into a chasm to your right or back into the desert on your left.
There’s a blue chest containing a random treasure in this area you can snag while you’re here, too. Once you claim the wheel, Scrapper can deliver it to Dodoh. This opens up the Fun Fun Island minigame, Dodoh’s High Dive.
Cawlin’s Request: Deliver a Letter
Characters: Cawlin, Karane, Phoeni
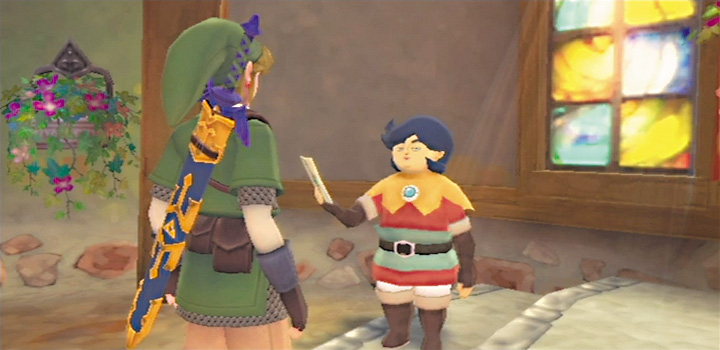
This request chain begins when you overhear at the bazaar that people in the Knight Academy are hearing strange sounds from the bathroom at night. Sleep until nighttime and approach the bathroom. You hear a voice begging for help.
Try to enter the bathroom and you hear the mysterious voice begging you for paper.
The next morning, you can find Cawlin standing next to the Knight Academy’s entrance with a speech balloon over his head. It seems Cawlin is having girl troubles. He hands you a very important piece of paper and tells you that it absolutely must be delivered to someone.
No, it’s not for Phoeni, it’s a (probably doomed) love letter for your classmate Karane.
Once you have the paper, you can choose what to do with it. You can ignore Cawlin and give it to Phoeni anyway, or you can actually give it to Karane.
If you give it to Karane, Cawlin is extremely grateful and you get five Gratitude Crystals, though you find out Cawlin doesn’t really stand a chance.
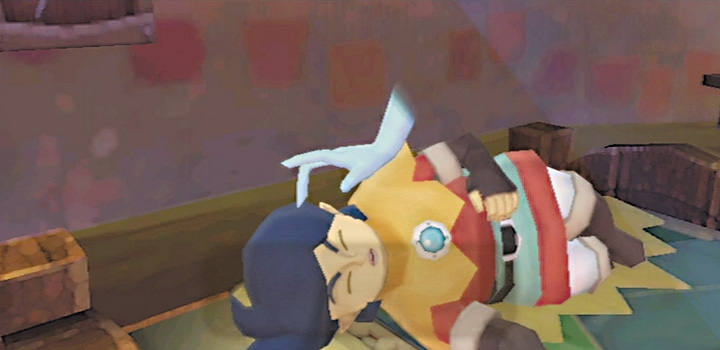
If you give it to Phoeni, then at first it seems you’ve accomplished nothing besides ruining Cawlin’s life. Visit Cawlin’s room at night, though, and you find Phoeni’s spectral hand caressing him in his sleep. In this case, you get five Gratitude Crystals from the lovestruck ghost.
Fledge’s Request: I Want to Be Strong
Characters: Fledge
Requires: An Empty Bottle
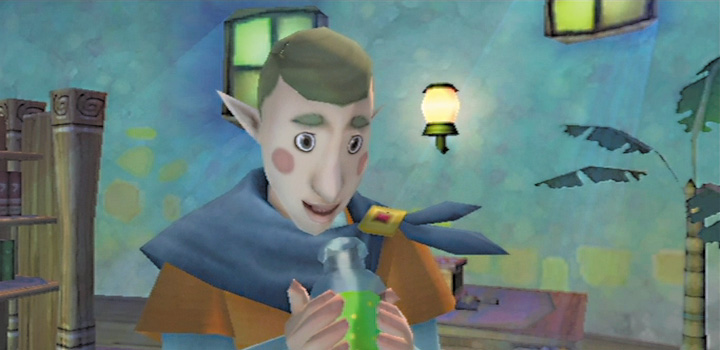
Talk to Fledge as he walks around the area by the plaza. He shyly admits that he’s training at night to get stronger. Sleep until nighttime and go visit Fledge in his room at the Knight Academy.
He’s trying hard, but he just doesn’t have the stamina to stick with his training. The next day, go to the bazaar and buy him a Stamina Potion. Give it to him in his room at night.
Speak to Fledge again the next day. His training is going better now, but he’s afraid he’s hitting a plateau. Visit him in his room at night and he requests another Stamina Potion. Pick it up at the bazaar and give it to him the next night.
Talk to Fledge the next day. His training is going better and he invites you to visit him again in his room at night. Visit him a third time and Fledge thanks you for all the help you’ve given him with training. He’s so thankful, in fact, that you get five Gratitude Crystals.
After you finish Fledge’s gratitude request, he begins hanging around the Sparring Hall during the day. Speak with him to play the Pumpkin Pull minigame.
Mallara’s Request: Clean My House
Characters: Mallara, Pipit
Requires: Gust Bellows
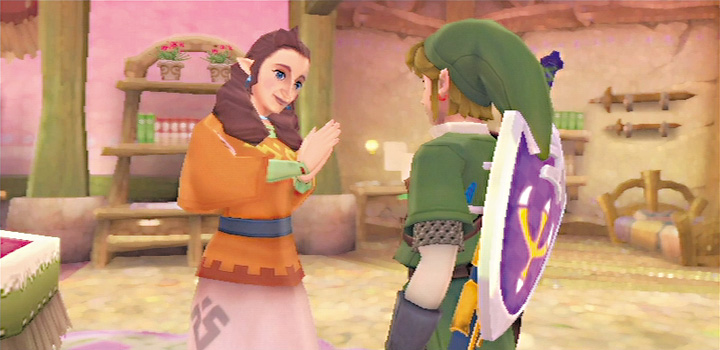
Enter Pipit’s House in Skyloft after you acquire the Gust Bellows in Lanayru Mining Facility. You find the interior absolutely covered in dust. Mallara asks if you’d be so kind as to clean it up for her.
To do this, you must use the Gust Bellows to blow every single speck of dust off of the interior. If you miss even a tiny patch, you aren’t actually finished. She automatically lets you know when the house is completely clean.
Your reward is a Red Rupee and five more Gratitude Crystals.
Stop by Pipit’s House at night after completing this request. You can learn something interesting about Pipit.
Bertie’s Request: Find the Baby’s Rattle
Characters: Bertie, Luv, Bertie’s Baby
Requires: Gust Bellows, Clawshots
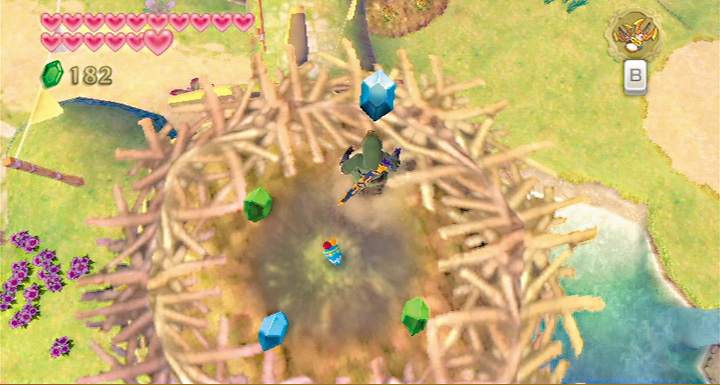
Visit Bertie’s House at night after you’ve obtained the Clawshots to find out that he has a problem. Luv is a heavy sleeper, which leaves him up all night dealing with the fussy baby.
The baby used to sleep through the night, but that was before its rattle disappeared. All Bertie knows about where the rattle got off to is that a bird took it.
Use your Clawshots to grapple up to the top of the great waterfall that overlooks Skyloft. Stand on the small stone area just to the left of the falls and leap off. There’s a big bird’s nest atop a windmill you can dive into if you leap from the top of the waterfall.
When you land in the bird’s nest, use the Gust Bellows to blow away sand that’s collected around a brightly colored object. It’s the rattle. Pick it up, wait until nighttime, and then take it back to Bertie to receive five Gratitude Crystals from him.
Sparrot’s Request: Find My Crystal Ball
Characters: Sparrot
Requires: Scrapper, Clawshots
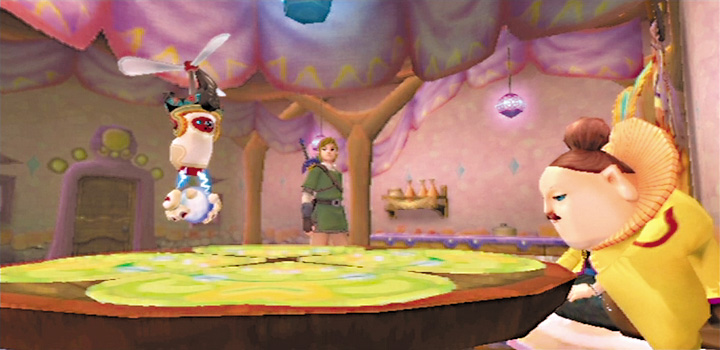
Once the fortune-teller disappears from the bazaar, visit him at his home at night. It seems Sparrot is dejected because he’s lost his crystal ball and can’t imagine where he’ll find a replacement.
Offer to help him and you gain the ability to dowse for crystal balls. You get a hint that you should look at Eldin Volcano. Even better: Dive into the bird statue next to the Earth Temple.
Dowsing quickly reveals that there’s a crystal ball above and to the left of the Earth Temple’s entrance. To get it, use the nearby wall target to grapple up. Examine it and you can summon Scrapper to carry it back up to Skyloft.
Head back to Sparrot’s House to deliver his new crystal ball. You receive five Gratitude Crystals in return.
Instructor Owlan’s Request: I Want a Rare Plant
Characters: Owlan, Oolo
Requires: Scrapper, Faron’s Part of the Song of the Hero
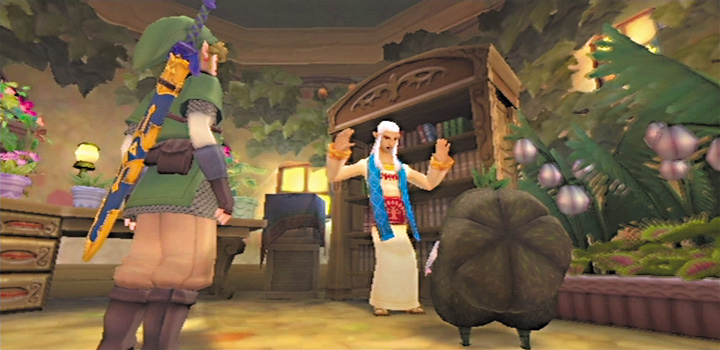
Speak with Instructor Owlan in his room after you’ve activated Scrapper. Owlan is a collector of rare plants who’s desperate to find something really new and exciting. He asks if you’ll look for something for him on the surface world. Agree and you get the ability to dowse for rare plants. Head to Faron Woods.
Dowsing leads you to Oolo living nearby. Oolo complains about having to hide all the time and wonders if it could live somewhere less dangerous. Offer to take Oolo back to Skyloft and it readily accepts. Present Oolo to Instructor Owlan to receive five Gratitude Crystals.
Kina’s Request: The Pumpkin Patch
Characters: Pumm, Kina, Guld
Requires: Song of the Hero
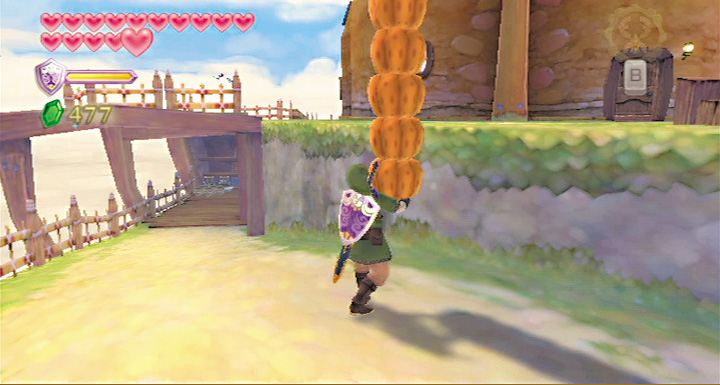
You can do phases of this gratitude request earlier in the game, but it all makes a bit more sense if you knock it out all at once. To start with, go to the Lumpy Pumpkin after you’ve assembled all the pieces of the Song of the Hero.
The Lumpy Pumpkin’s owner thinks of something else for you to do: help his daughter pick this year’s pumpkin harvest. Go talk to her at the pumpkin patch behind the Lumpy Pumpkin.
The pumpkin-picking task is accomplished by playing a minigame where you must carry a big stack of pumpkins over to the shed without dropping any. The secret is to move slowly and keep the pumpkin stack upright by moving in the opposite direction when it tilts.
Succeeding at the pumpkin-carrying minigame opens up a harp-playing minigame. Sleep in one of the Lumpy Pumpkin’s beds so you can enter the area at night. Just play the harp once to progress the quest chain.
As long as you don’t completely fail the minigame, you should do well enough to progress this quest chain. After you play, the Lumpy Pumpkin’s owner decides that you’ve paid off the chandelier.
He rewards you for all your hard work with a Piece of Heart. Stay overnight at the Lumpy Pumpkin again and you can admire its sturdy (and gaudy) new chandelier in the morning.
Go outside and talk to Kina. She should now have the speech bubble above her head that initiates this request. She wishes that there was someone who could help her plow the pumpkin fields for next year.
Agree to help Kina and Fi gives you the ability to dowse for someone good at plowing pumpkin patches. Go to Eldin Volcano to start your search. Dowsing should eventually bring you to the cave that leads to the interior area where you flushed out a group of Bokoblins much earlier in the game.
Now that you’ve taken care of the Bokoblins and all of Eldin Volcano’s troubles are over, the Mogmas have moved back into their ancestral home. You can talk to every Mogma NPC who’s helped you in the game by traveling to the different rooms.
One of them mentions that the elder, Guld, has been down in the dumps lately. To talk to him, you need to dive onto a platform near the entrance where he’s resting.
Speak to Guld and the old Mogma mentions he hasn’t been feeling well lately—the heat’s getting to him in his old age. He wonders if there’s a place he could work that would be much cooler.
Tell him you know of a place and he agrees to go with you. Scrapper can carry him back to the Lumpy Pumpkin. Head back to Skyloft and fly there to escort Guld to his new home. Plowing the pumpkin patch is no trouble for Guld, and Kina’s happiness seems to be all the reward he needs.
Kina gives you five Gratitude Crystals. You can also pick up a spare Gratitude Crystal in the Lumpy Pumpkin’s upstairs area and another outside in the pumpkin shed.
Beedle’s Request: Find My Beetle
Characters: Beedle, Strich
Requires: Bug Heaven
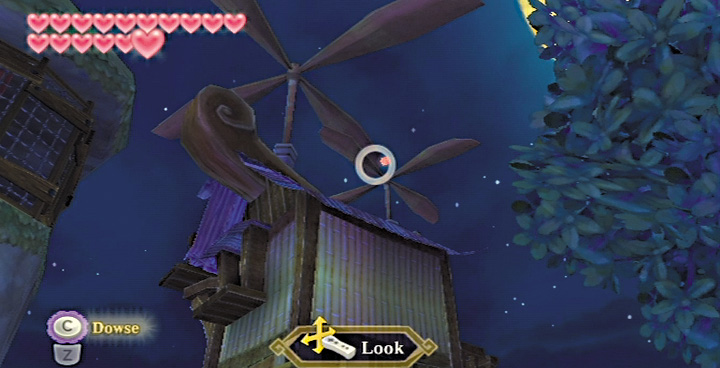
To get Beedle’s request, you must sleep in the bed in his airshop and choose to wake up in the middle of the night. This takes you to a tiny island in the far northeast corner of the sky where Beedle parks the airshop at night.
Beedle’s beloved and extremely rare Horned Colossus Beetle has gone missing. While you’re here, nab the spare Gratitude Crystal located atop the airshop’s rotor with the Hook Beetle.
Go talk to Strich at his bug island in the thunderhead. He’s in a fantastic mood because he found a super-rare insect. Once you explain that it’s probably Beedle’s Horned Colossus Beetle, Strich is a bit crestfallen.
He finally says that he’ll hand Beedle’s Insect Cage over if you can catch 10 predetermined insects on the Bug Heaven course in less than three minutes.
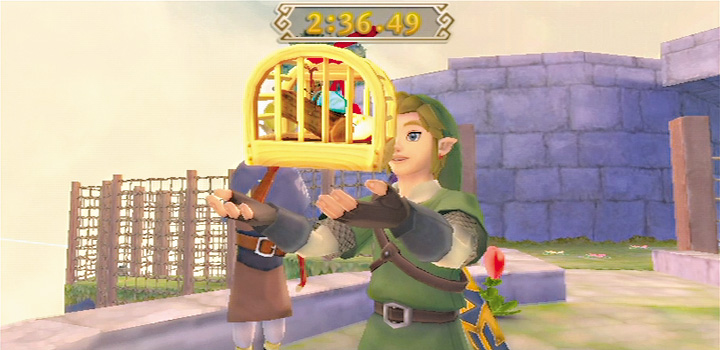
Once you have the Beedle’s Insect Cage, go board the airshop and spend the night there. Give it to Beedle then to get your reward of five Gratitude Crystals. As an additional reward, Beedle lets you buy anything from his shop for half off.
This is an excellent time to pick up the Piece of Heart, or the final slot for your Adventure Pouch.
Peatrice’s Request: Do You Love Me?
Characters: Peatrice, Peater
Requires: Visiting the Item Check Frequently
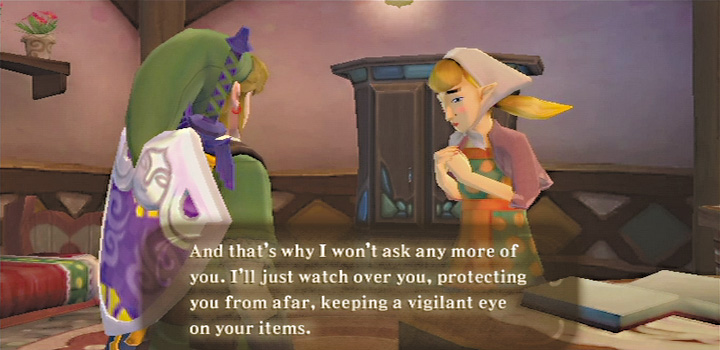
Chances are the final request you get is going to be from Peatrice, the Item Check girl. At the beginning of the game she’s bored by you, but the more you visit Item Check the more she warms up to you.
Actually, she warms up to you a bit too much. Eventually, her father, Peater, grows concerned about her, believing “some rascal” has stolen her heart.
Eventually, you should see a speech bubble over Peatrice’s head after Peater tells you about his troubles. Peatrice invites you to visit her house at night. Speak to her there to complete the quest.
If Peatrice believes that you share her feelings, you get the Gratitude Crystals from her. If you convince her that her feelings aren’t reciprocated, you can the Gratitude Crystals from her father.