
Legend of Zelda: Skyward Sword Guide Walkthrough Walkthrough
Earth Temple
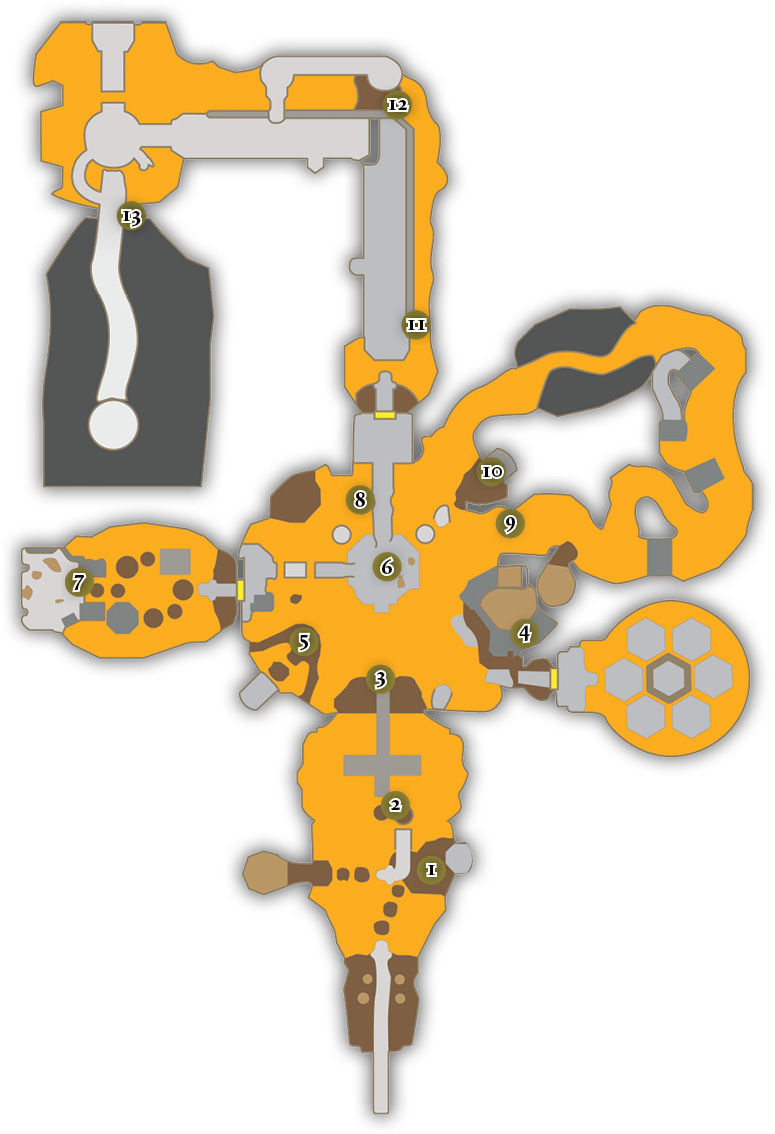
Legend
| Piece of Heart | Goddess Cube |

|

|
1. Forgotten Riches
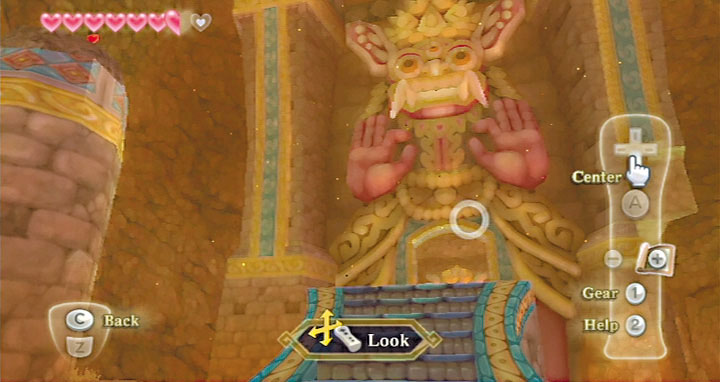
This temple is dominated by massive flows of magma. Moving around often involves hopping precariously between platforms. It’s incredibly easy to take damage from accidental falls into the magma around you. Always be sure to carry plenty of Heart Potions with you in here.
As you head into the temple, bear to the right. Dig at the first dirt patch you find after crossing the first set of floating rock platforms to reveal a geyser. Ride it up to find a small chest containing a Red Rupee. Next, cross the string of floating platforms that lead to the left into a small cavern. Speak with the Mogma who is waiting there and dig up the dirt patches. Be careful; the one farthest to the left holds a Red Chuchu, not loot.
2. The Burning Path
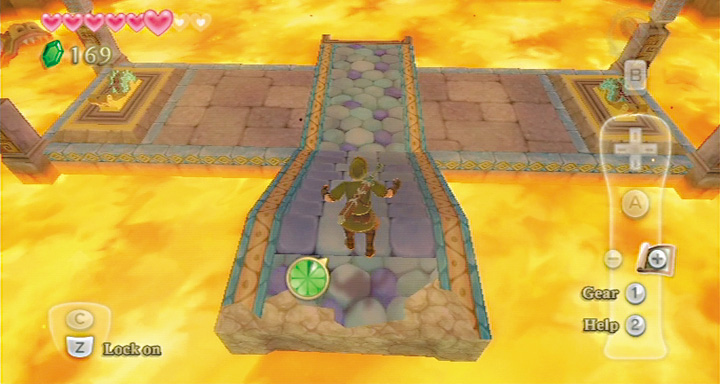
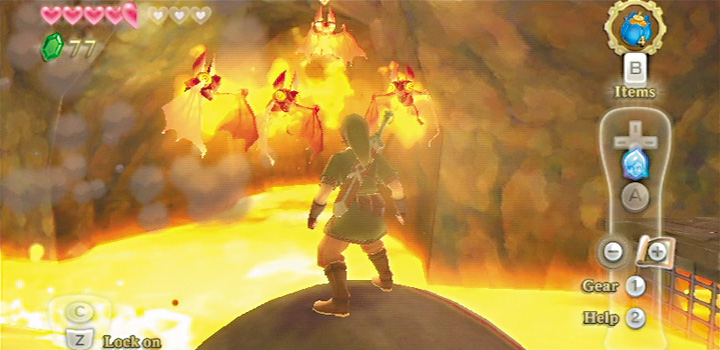
Head back to the solid stone island where you revealed the geyser earlier. Climb the stairs that lead north to discover a pair of stone platforms that ride up and down on gushing magma fountains. Defeat the Fire Keese that attacks you, then carefully make your way across. It’s easiest to hop onto the first platform while it’s floating on the magma’s surface. To proceed, hop off the second platform while it’s high in the air to land on top of a broken staircase.
3. Across the Bridge
Next you need to lower the drawbridge. Walk down to the platform below. Pulley systems are located to the left and right of you. Walk up to each of the pulleys and cut the ropes with your sword. This lowers the drawbridge partway.
To lower it the rest of the way, send the Beetle to cut the ropes on a pulley system located on the wall just to the right of the drawbridge. The other side of the drawbridge is guarded by a pair of new enemies.
Once the Lizalfos is defeated, you can pick up an Amber Relic just to the right of the doorway. Then step forward and examine the area. Off to the right there’s a Magma Spume you need to be careful around. In front of you is a curious-looking statue that has Bomb Flowers growing all over it.
Launch the Beetle at the statue and have it crash into one of the Bomb Flowers. This destroys the statue and sends its stone eyeball floating through the magma, toward the platform where you’re standing now.
Hop onto the stone eyeball and use it to travel through the magma freely. Just move the control stick in the desired direction and Link starts rolling it with his feet. Don’t roll too fast, or he might lose his balance.
4. Bombs with Friends
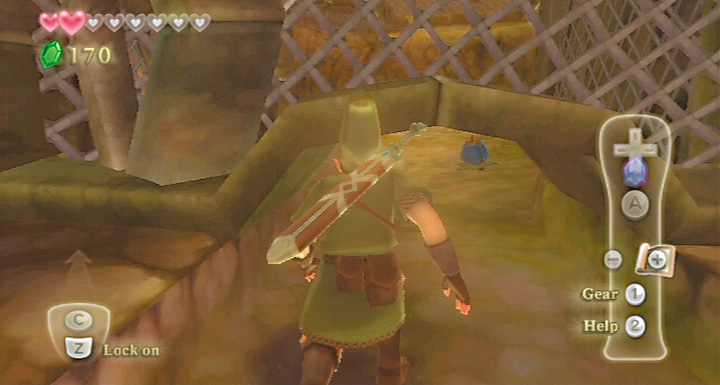
Roll over to the area just beyond the Magma Spume, where a Mogma is waiting. Talk to the Mogma, who’s lamenting the loss of his Bomb Bag. He asks you to head into an area infested with Red Bokoblins and get it back.
You can’t bomb the cracked wall the Mogma points out to you, but you can crawl under a section of fence to get into the area where the Bokoblins are waiting. Kill the Bokoblin that’s immediately in front of you, then roll a Bomb Flower under the fence and toward the cracked wall.
The blast exposes a door. Don’t pass through it unless you’re ready for a pretty tough fight. Once you step into this room, you’re locked into a sub-boss encounter with two Lizalfos. There is no easy way to get through this fight beyond being able to kill a Lizalfos very quickly.
Once you emerge victorious, a blue chest appears in the middle of the room. Inside the chest is the Mogma’s missing Bomb Bag. The Mogma is so incredibly grateful that he just lets you keep his Bomb Bag.
Walk around the top edge of the fence around the fenced-in area to a dirt patch; it turns up a Fairy when you dig into it. Bottle her up (if you can) before you return to your stone eyeball. Roll it through the magma over to the platform left of the chamber’s entrance.
5. Rolling for Treasure
Once there, hop onto a stone platform that is riding up and down on a fountain of magma. Use a bomb to clear the rubble out of the pathway in front of it. Your best bet for doing this is to place a bomb at the far edge of the platform, then hop off and see if the timing is right for the bomb to clear out the rubble when it goes off. Once the rubble is gone, you can enter a small chamber and open a blue chest to claim a random treasure.
6. Rolling to Battle
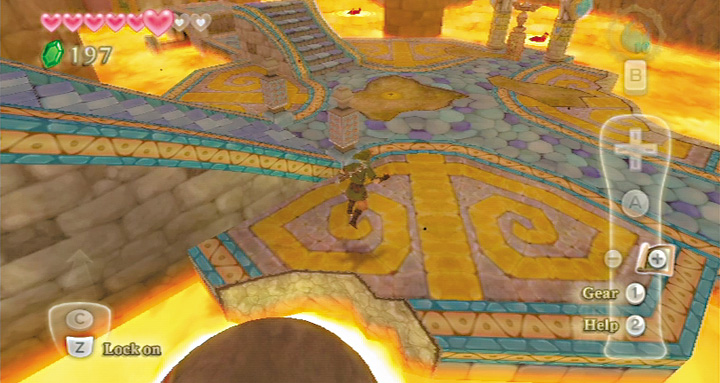
Roll your stone eyeball toward the large stone platform at the center of this chamber. Save at the bird statue. Climb the stairs and detonate a bomb to clear the stone debris out of your path. Fight the Lizalfos waiting just beyond, once you can proceed.
Open the door to emerge into a chamber full of magma fountains, rock platforms, and a Magma Spume sitting in the center of it all.
7. The Ancient Map
Sometimes you can grab an Amber Relic to your right. Dizzy the Magma Spume in the center of the platforms as you move around them. Bokoblins guard each of the larger platforms.
Dispatch them quickly. The Magma Spume can take potshots at you while you fight. Once you’re on the far side of the ring of platforms, hop onto the small rock platform located between the two large metal platforms.
Wait a moment for a fountain of magma to carry you up to the top of the metal platform. Fight the Bokoblins waiting for you at the top. Open the blue chest they were guarding to get the Dungeon Map. Return to the platform where you left the stone eyeball.
8. Yes, That’s a Switch
To clear the dungeon, you need to get through the door at the north of this area. Some platforms are going in the right direction, but at the moment they’re too low. Stand on the middle platform and look down to see some curious metal protrusions, a bit like dumbbells, sticking out from either side of the platform.
You need to press each of these by rolling the stone eyeball into them.
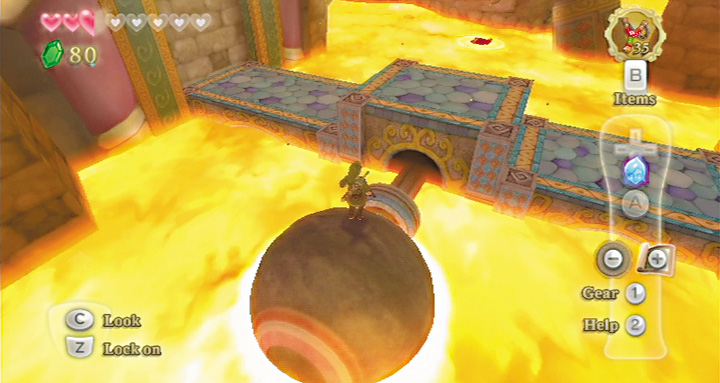
Getting the one on the left should be easy. Just roll the stone eyeball beneath the broken archway where you fought a Lizalfos earlier. It’s the one on the right that will be difficult.
Two broken pillars block you from simply rolling up to it. Instead, roll it over to the wall that’s marked with a red X on your in-game map. If you look at it carefully, you should see some bombable cracks in the wall.
9. A River of Magma
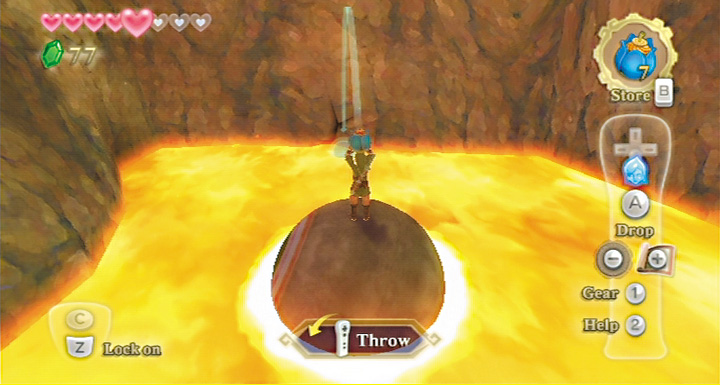
Throw a bomb at the wall, then another bomb to finish the job. This opens up a long, winding passageway full of magma. Roll your way in and be careful to dodge the wall spouts. You eventually come to a metal platform that seems impossible to get around.
Set off a pair of bombs at the nearby crack in the wall to open up a magma-filled passage that you can roll the stone eyeball around. Be ready to defend yourself against the swarm of Fire Keese that swoop out after you open the passage.
You come to a pair of metal platforms and an elaborate red gate that blocks your way. Examine the gate carefully to discover a pulley system on either side of it. You can easily use the Beetle to cut the rope on the pulley system that’s on your side of the gate.
The tricky part is getting the Beetle around to the pulley system on the gate’s far side. You must navigate the Beetle through the passage that opens up just behind the bird statue on the high platform.
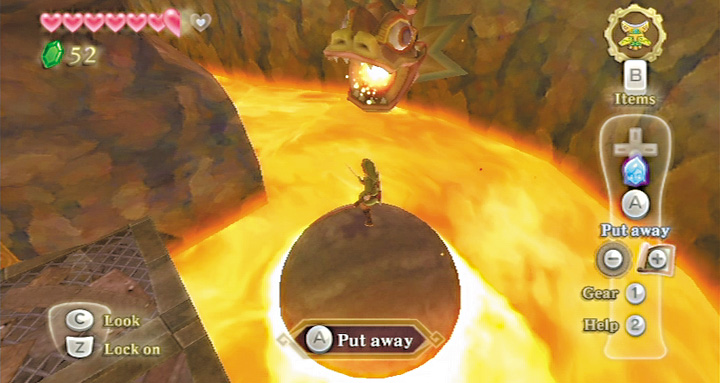
Once the gate is up, hop back on your stone eyeball and roll onward. You can stop at the metal platform just through the threshold to run back through the passage, defeat the Bokoblins patrolling it, and then save at the bird statue you could previously see but not reach.
To move forward, you need to get past the spout on the wall that periodically spews magma. Wait for the spout to surge, then quickly roll through before the next surge begins.
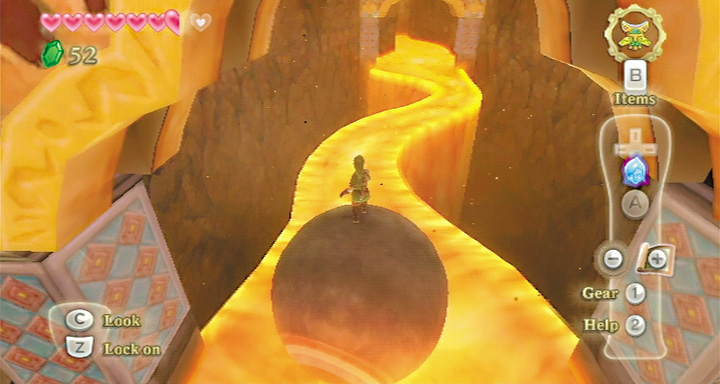
Past the magma spout, you reach an unnerving area where magma somehow flows in a winding path through a yawning, bottomless chasm. Pause at the far end to fight the Fire Keese that swarm at you just before you pass through the room’s exit.
Finally, you emerge back in the dungeon’s central chamber, but this time on the far side of the broken pillars that blocked you in earlier.
10. Some Pocket Money
Before you push the switch in, roll over toward the chamber’s right wall to reach an area where a Lizalfos guards a small chest. Defeat the Lizalfos and claim the chest’s Red Rupee. Next, push the switch in and head down the stone hallway that you can reach now. Sometimes there’s an Amber Relic waiting just to your left, inside the threshold that leads to the next room.
11. Hill of Death
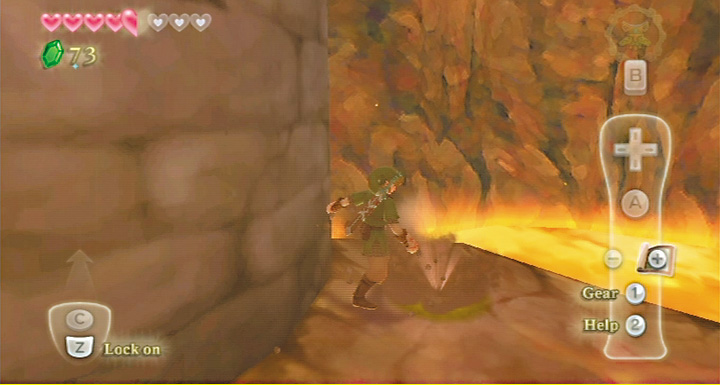
The next room is a tremendous upward slope. As you run upward, you trigger mechanisms that make boulders rain down on you. Take advantage of the alcove halfway up the slope to rest and avoid the wave of boulders.
After a wave passes, hop out of the alcove and dash up. You come to the base of another enormous slope. On this slope, though, the alcove you’d need to avoid the boulders that rain down on you is blocked with rubble. Don’t head up just yet.
12. Hill of Extra Death
Instead, crawl into a little tunnel that leads off to the right of the slope’s bottom. Dig at a patch of dirt at the base of the massive stone pillar you find in this area. That reveals a geyser you can ride up to the top of the pillar.
Once you’re at the top, run up the stairs to find a platform that overlooks the second slope. From here, you can toss a bomb down to blast away the rubble blocking the entrance to the alcove.
Throw your bomb up the slope a little from the alcove, so it goes off as it’s rolling down the slope.
13. Raider of the Lost Key
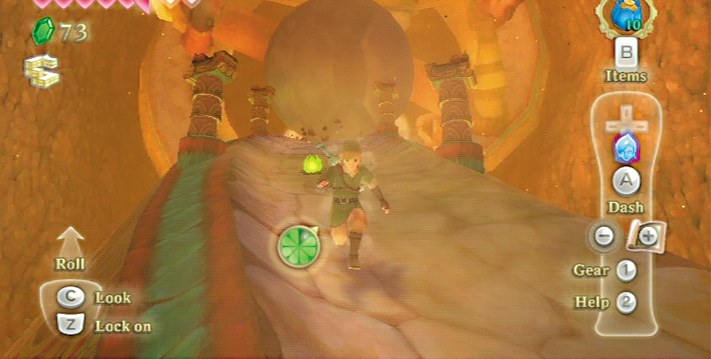
Now that you’ve found the dungeon’s final door, it’s time to go hunting for the jeweled chest that contains the key carving. Head up the winding staircase that leads to a long, suspiciously sloping stone pathway. At the top of it is the jeweled chest. Open it to receive the Dragon Sculpture that opens the dungeon’s final door.
After you take a few steps back down the way you came, a boulder drops down and rolls toward you. To outrun it, dash all the way down the slope and into the stairwell as soon as possible. Grabbing the Stamina Fruits on the pathway is very helpful. If the boulder hits you, it’s an instant Game Over.
If you do manage to dodge the boulder, it’ll block the flow of magma that’s cutting you off from the dungeon’s final door. Save your game one last time. If you’re prepared for a boss battle, then go ahead and use the Dragon Sculpture to unlock the door. If you’re not, then now’s a good time to backtrack to Skyloft.
Skyloft
Return to the base of the Statue of the Goddess in Skyloft. Set the last piece of the tablet in place to open the pillar of light that lets you dive into the game’s next region, Lanayru Desert. Resupply your Health Potions and invest any spare Rupees you have in Beedle’s Extra Wallets and Adventure Pouch slots.
If you used an Iron or Reinforced Shield in this area, visit the Item Check girl and leave it with her. Lanayru Desert’s enemies tend to use electrical attacks that a metal shield cannot defend against. You’ll want to take a Banded Shield into Lanayru Desert with you instead. If you haven’t made the Banded Shield yet, do so before moving on.
Also, Rupin is now selling the Small Bomb Bag, which lets you carry extra bombs. As with the other ammo bags, it’s not recommended that you buy this. You can get one for free out of a goddess’s treasure chest, so you’re better off saving your Rupees for other things.