
Legend of Zelda: Skyward Sword Guide Walkthrough Walkthrough
Skyloft
Skyloft
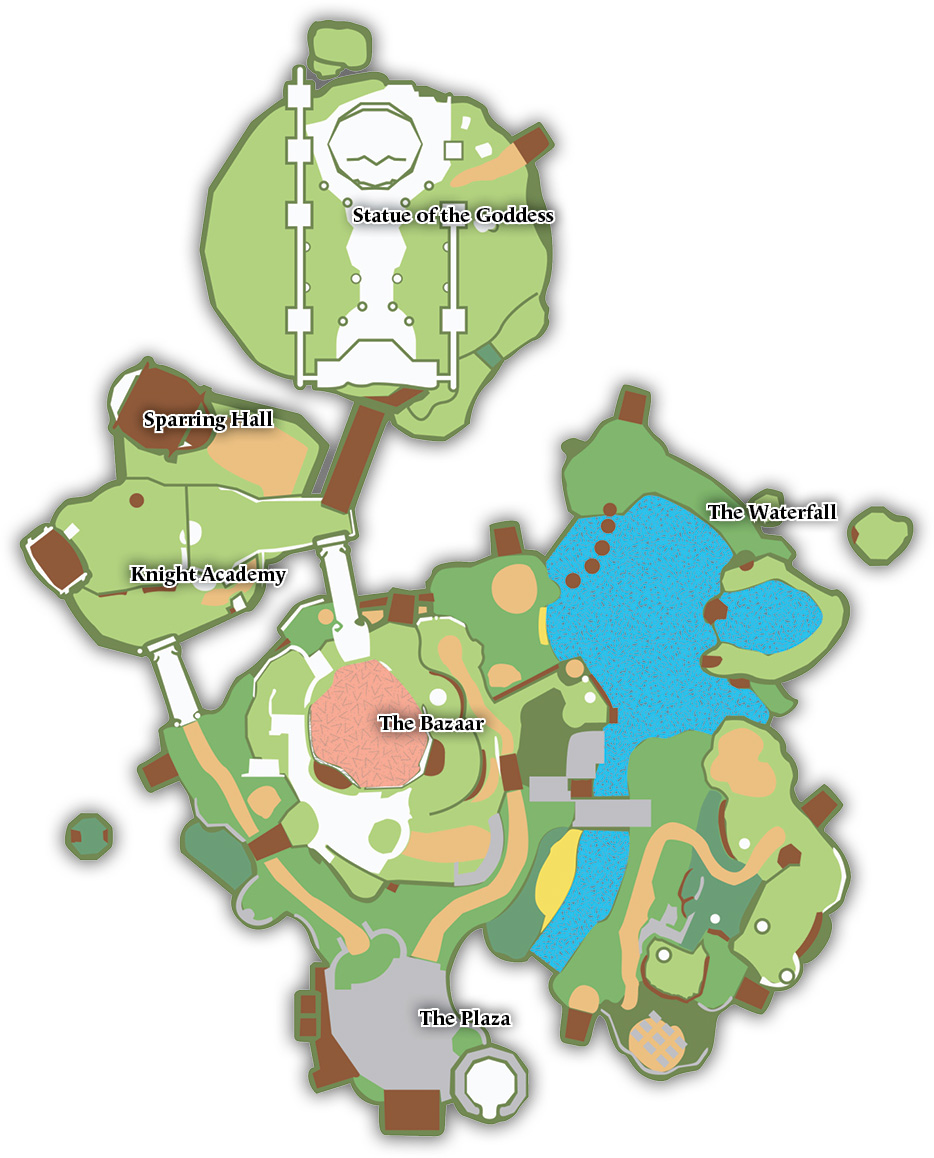
Legend
| Piece of Heart | Goddess Cube |

|

|
Good morning! You’re Link, a freshman at the Knight Academy in Skyloft. Every citizen of Skyloft bonds to a giant bird called a Loftwing at a very young age. Having a Loftwing to ride makes getting around a lot easier, since there’s not much solid ground up here.
Your partner is a Crimson Loftwing that everyone says is special, but you don’t think you’re any different from most other guys your age on Skyloft. Well, okay, you’re not much of a morning person.
Your friend Zelda is very much a morning person, though, and you promised to meet her before the big Wing Ceremony today. You’d better get going.
While you shouldn’t leave Zelda waiting, you’ve got enough time to take a look around the Knight Academy and talk to your classmates. Most of the doors in the Academy are locked right now, so you’ll have to exit through the large double doors on the first floor.
On the way out, stop to give your friend Fledge a hand with moving some heavy barrels into the kitchen. This activity acts as a little tutorial for managing the limits of your stamina gauge. Also, Fledge’ll give you 20 Rupees for the help, which is pretty big money at this point in the game.
Outside the Knight Academy you find your first bird statue. Since the gate is closed, the only way to leave the area is to pass under the stone arch. When you do, you meet Instructor Horwell, who sends you through a tutorial that teaches you how to target items, climb up on objects, and leap over small gaps.
Knight Academy
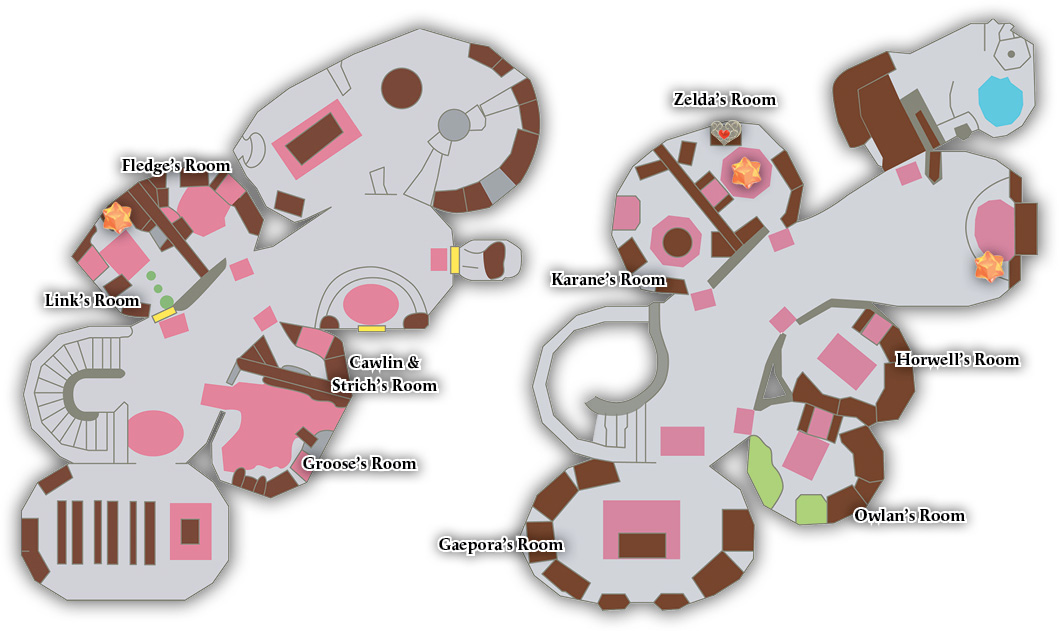
Legend
| Gratitude Cristal |

|
You’re also tasked with rescuing the Headmaster’s pet, Mia, from the Academy’s rooftop, which serves as a climbing tutorial. Just dangle from the ledge next to the Academy’s second-floor entrance and slowly make your way over to the left.
From there, you just need to climb up the vines to an upper level and then push the box up against the wall.
Out in the Courtyard
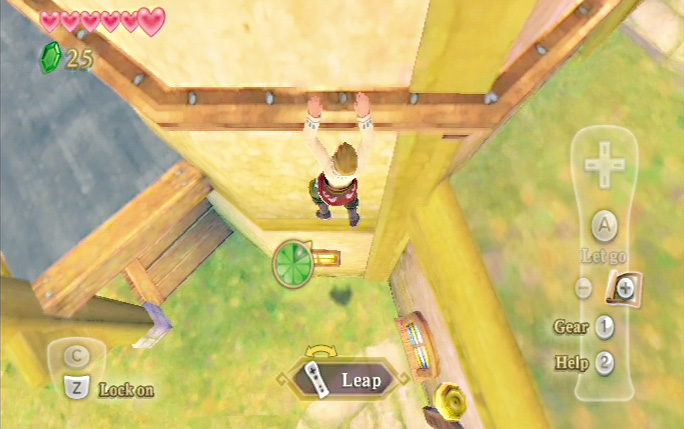
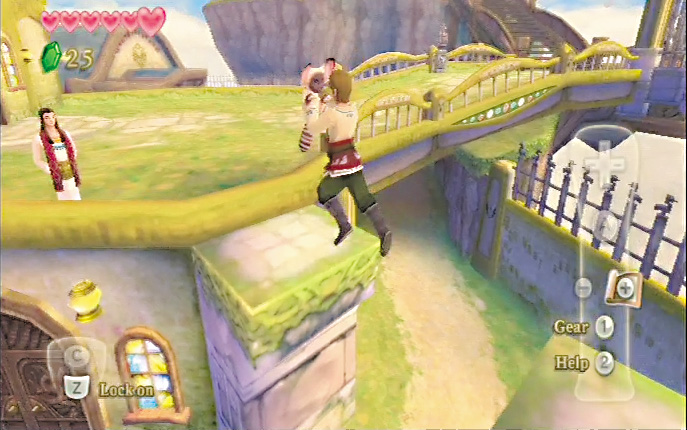
Carry Mia back to Instructor Horwell to conclude the tutorial.
Note that while you can toss Mia up on the two stacked boxes and the right side of the broken archway, you can’t throw her across the gap. You need to actually hold her and jump across the gap to get her back to Instructor Horwell.
The Case of the Missing Loftwing
Cross the bridge that connects to the upper level of the Knight Academy and then head up the wooden stairs to reach the lofty Statue of the Goddess. This triggers a long story sequence that you can just sit back and enjoy.
When it’s over, go looking for your Loftwing, which has disappeared.
Begin your investigation by returning to the Knight Academy. Just outside the second floor entrance, speak with Instructor Horwell and the classmate who’s standing outside the door.
The second floor entrance to the Academy is unlocked now, so you can go inside from there. Speak with Pipit and Fledge, who’ll both have some useful information for you.
When you’re done, exit from the Academy’s first floor entrance and go into the courtyard. The gate that connects the Academy’s courtyard to the rest of Skyloft is unlocked now, so you can start exploring.
If you head directly toward the plaza, you’ll pass by a kid who’s trying to shake a bug out of a tree. This is a good opportunity to practice dashing and rolling into objects. You can use this to knock objects down from high places like walls and, well, trees.
Entering the plaza triggers a cutscene that makes it pretty clear who’s responsible for your Loftwing’s “disappearance.” Now that it’s clear that foul play was involved in this fowl play, you should report your findings to Headmaster Gaepora at the Knight Academy.
His room is unlocked now, so just enter it to find him. After this meeting, exit the Knight Academy.
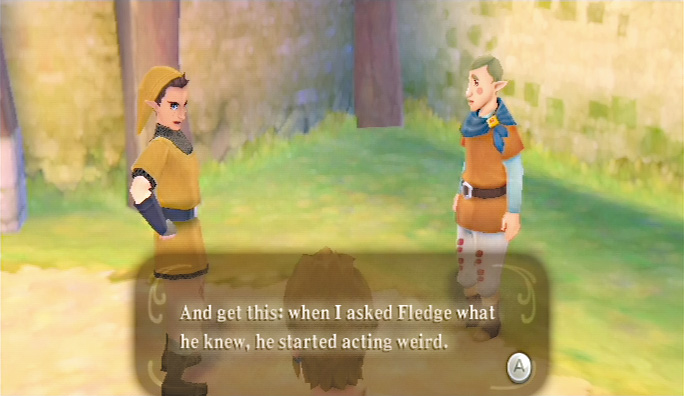
Pipit calls you over to the Sparring Hall area on the far left of the Academy’s courtyard. Here you discover the solution to the mystery of your missing Loftwing and have its location marked on your map.
Next, enter the Sparring Hall to pick up some equipment for your rescue mission. Once inside, talk to the Commander and then enter the storage room on his right to pick up the Practice Sword.
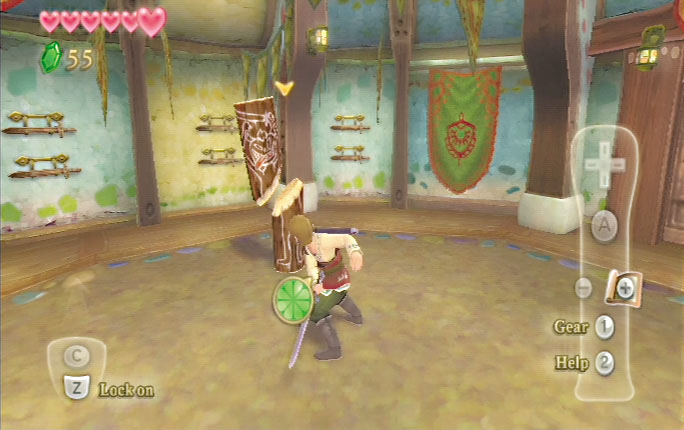
Now that you’ve got the Practice Sword, you can begin the swordplay tutorial and practice your skills against the Sparring Hall’s targets. Avoid the log-on-a-rope target, as that one’s intended for shield practice.
Once you can strike all of the practice targets accurately and do the spin strikes correctly, you’re ready to move on toward the location Pipit marked on your map.
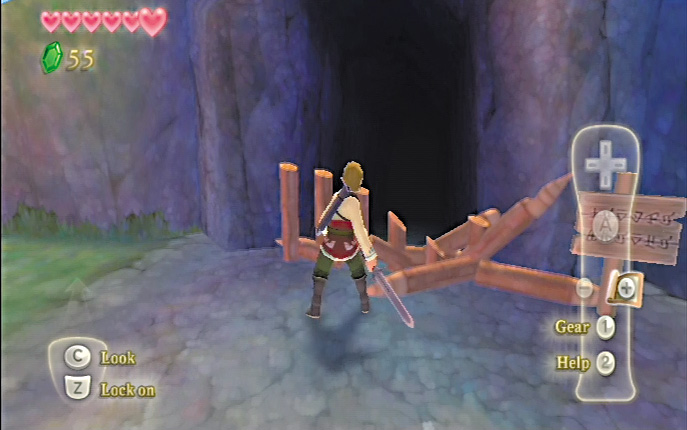
Head toward the waterfall at the north edge of Skyloft’s main island. Cross the lagoon by leaping across the stone platforms that jut out of the water. Take a right and head up toward the cave mouth blocked off by pointed stakes.
Hack the stakes apart with your sword to open up the cave, which serves as something of a tutorial dungeon.
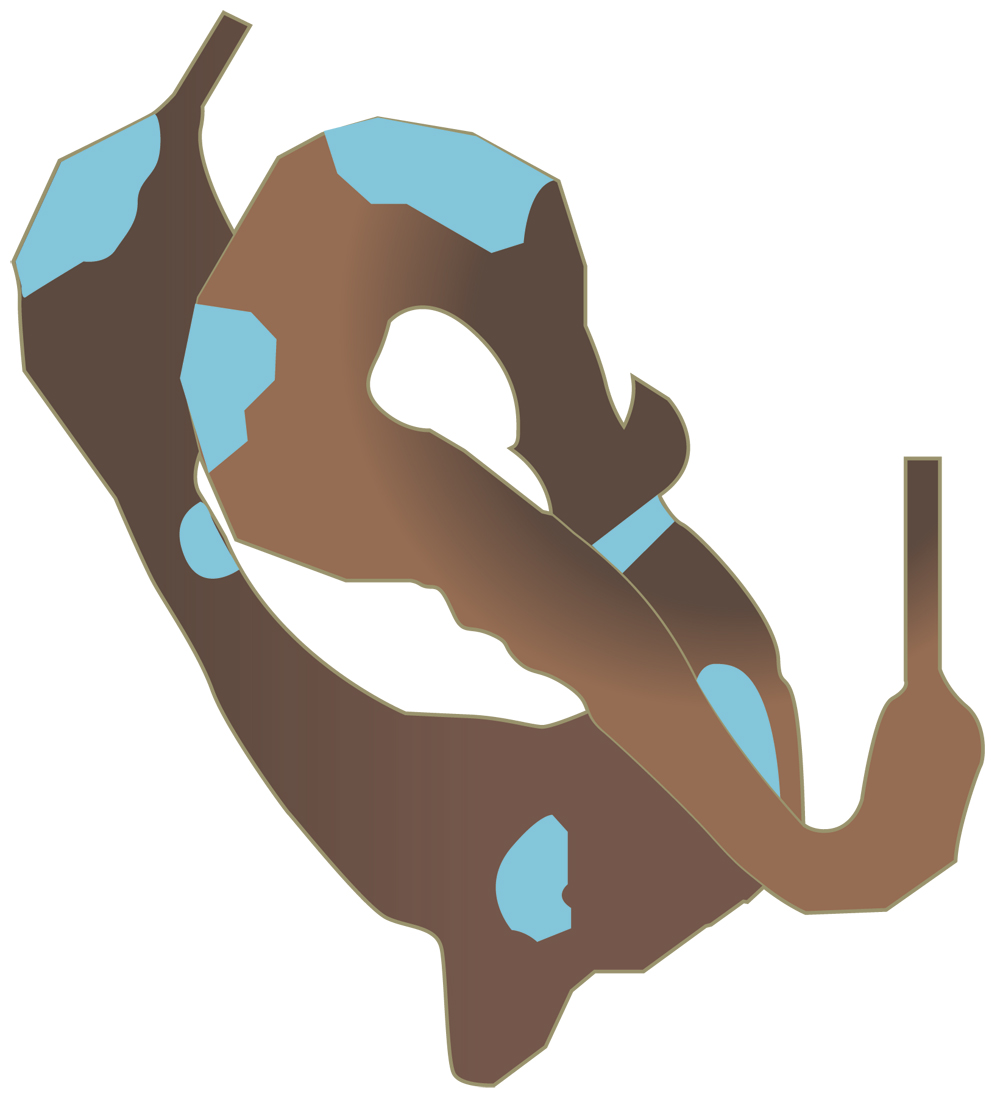
The Waterfall Cave
This area introduces you to the basics of exploring dungeons. The waterfall cave itself is a twisting but basically direct path that you can just follow to its exit. It’s patrolled by enemies that are relatively weak, but they can still hurt you. You need to adjust to combat quickly.
The Waterfall
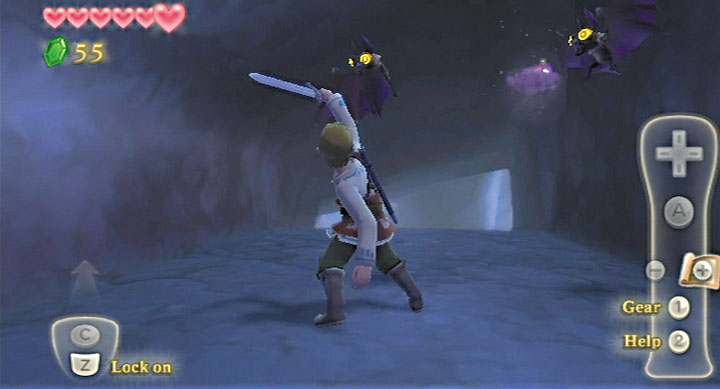
Now that you have a sword, you can cut down blades of grass to find Rupees and life-replenishing hearts. While the grassy patches in dungeons yield a bit more money than the ones you find in overworld locations like Skyloft, you don’t really need to mow every dungeon lawn you come across.
It can be wiser to let grassy areas stand until you badly need to find hearts, then start cutting them down.
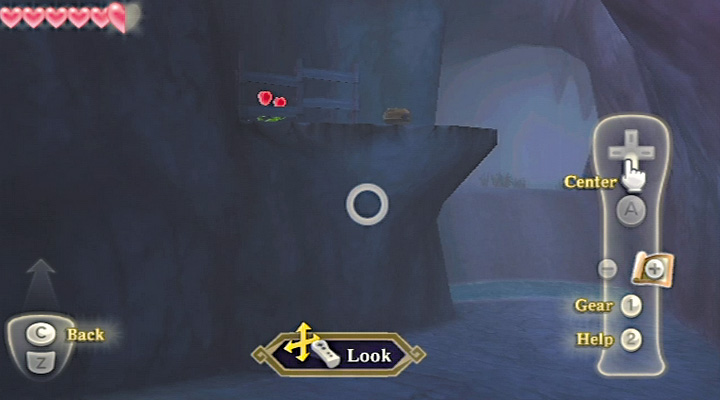
As you wind through the end of the dungeon, you eventually come to a small chest and a couple of heart flowers resting on a platform that’s too high for you to reach easily.
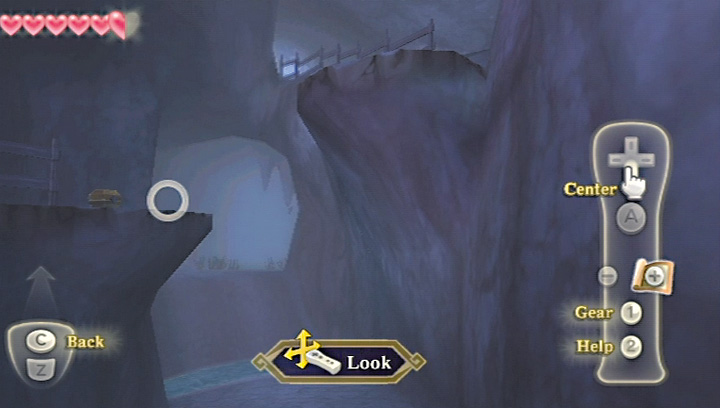
Hit C and use the Look command to examine your surroundings carefully from a first-person perspective. This lets you see things that you couldn’t spot by relying on the game’s automatic camera.
If you use Look and then glance to the right of the chest, you’ll see an even higher platform that overlooks it. If you backtrack to that platform, you can use it to jump down to the chest.
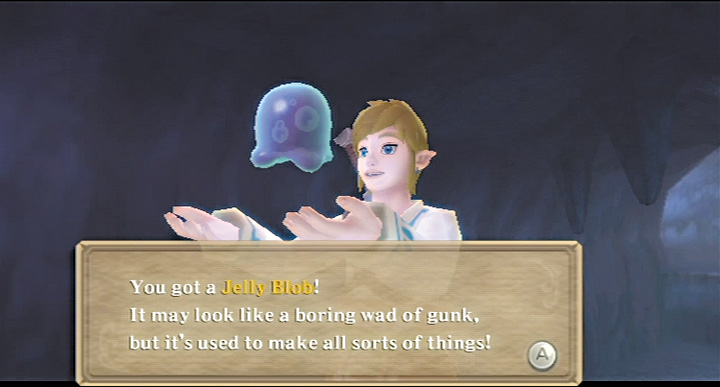
As you fight the enemies in the waterfall cave, you may have a chance to begin gathering treasures. Keese drop Monster Claws while Chuchus drop Jelly Blobs, both of which you’ll definitely want to start hoarding for future use.
You can flip to the “Items, Equipment, and Crafting” chapter to get a more comprehensive list of where to find various treasures and what you can do with them. The walkthrough will only cover how to make items that are highly recommended for clearing the game.
If you gather treasures diligently, though, you can make all kinds of stuff.
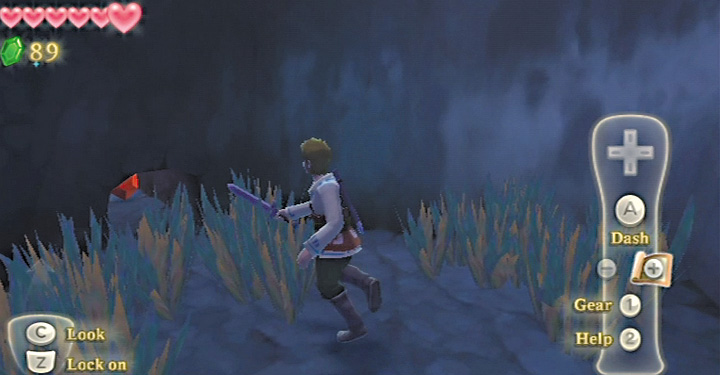
Be sure to keep your eyes open for vines you can climb as you traverse the cave, as you can find some hidden Red Rupees that way. Just off to the right of the waterfall cave’s exit, you can spot a pair of Red Rupees spinning in a small tunnel.
Link can reach them by crawling into the tunnel. Simply approach the area and Link automatically begins crawling. While you’re crawling, Link moves slowly and you see the world from a first-person perspective.
You can’t fight enemies while crawling through tunnels, but most enemies are much too large to fit into these tiny areas anyway.
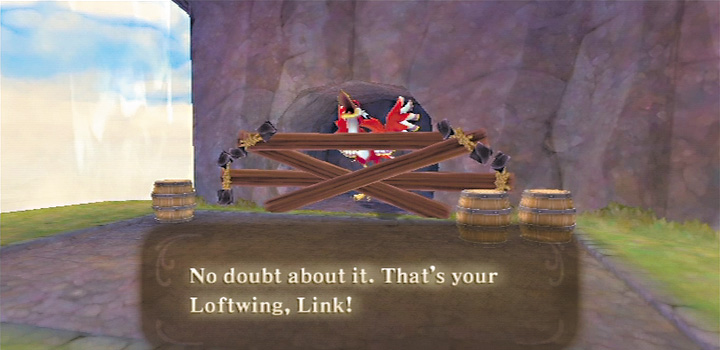
Once you’re outside, follow the grassy path. You meet up with Zelda along the way. She follows you until you reach the area where your Loftwing is held captive. The boards secured across the cave’s entrance are too sturdy for your puny Practice Sword to cleave through.
Instead, cut the ropes that are holding the boards in place. Two horizontal cuts and two diagonal cuts should get the job done.
With your Loftwing freed, you can think about participating in the Wing Ceremony now. Zelda takes you through a brief flying tutorial that covers the basics of charging, slowing, and diving.
Then the Wing Ceremony begins automatically. In gameplay terms, the Wing Ceremony is a bird racing minigame that has two parts. The first part requires you to build up just enough speed to catch the golden Loftwing and attempt to claim the Bird Statuette it’s carrying.
The second part requires you to do this while Groose and his goons throw eggs at you.
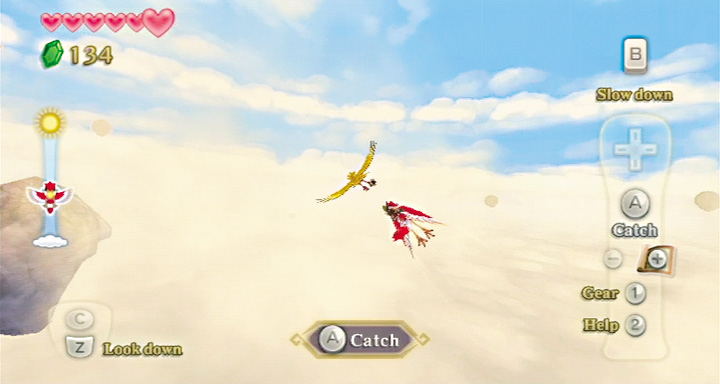
Getting the statuette the first time is a simple matter of using dives to build up a high top speed, then charging up toward the golden Loftwing. You don’t need to get right on top of it, just close enough that the Catch command becomes available.
As long as you don’t lose track of the golden Loftwing’s location, you should make steady progress. Be careful not to let your Loftwing hit one of the other competitors or any of the floating rocks that drift around the area, since this will stagger your bird.
Winning in the second part isn’t as tricky as it may seem at first. Don’t put a lot of effort into dodging the eggs Groose’s goons throw at you. If you get hit, you won’t actually lose a lot of speed.
The best approach is to ignore the eggs completely and just focus on building up a high top speed, as you did in the first part. Approaching the golden Loftwing uses the same techniques that got you through the first part of the Wing Ceremony.
Next, you play a minigame that’s essentially a tutorial for controlling Link’s ability to dive during extremely long falls. You’re asked to repeat a targeted dive from the top of the Statue of the Goddess down into the center of a stone circle over and over until you get it right.
Mastering dive control is an essential skill both for finishing the game and for finding all of the game’s secrets, so be patient and try to get the hang of it.
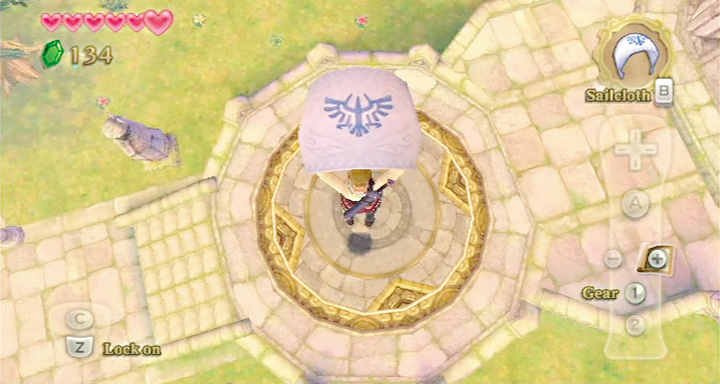
The trick to controlling Link in a dive is to remember that he only falls straight down when you hold the Wii Remote perfectly horizontal. Otherwise, he immediately drifts in whatever direction you tilt the Wii Remote, no matter how slightly it’s tilted.
You have to tilt the Wii Remote down to make him move forward and upwards to make him move backward. If you hit 4 to activate the Sailcloth while Link’s shadow is over the circle’s center, you’ll be able to complete the tutorial.
After the Storm
After the ceremony’s conclusion, things go terribly wrong and Zelda goes missing. Link awakens in his room, disoriented. A voice is calling to him and you need to follow it.
After Link steps out into the Knight Academy’s hallways, follow the mysterious woman who appears before you. Catching her is impossible, but following her leads you toward your next goal.
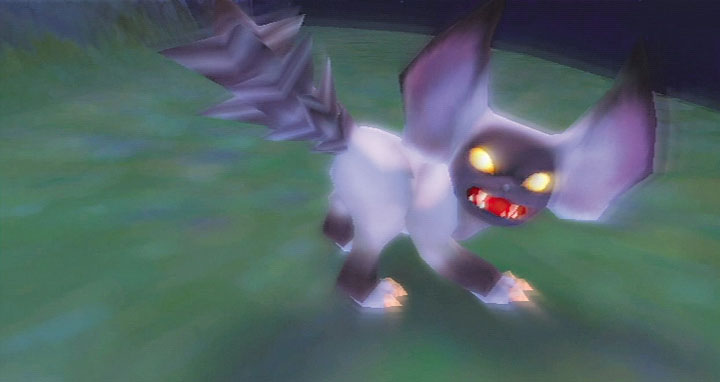
This is your first chance to travel through Skyloft during the night instead of daytime. While Skyloft is safe when the sun is shining, at night monsters roam around and tame animals become feral. Defend yourself with your sword and remember that you can’t actually kill anyone’s pet, just make it run away from you.
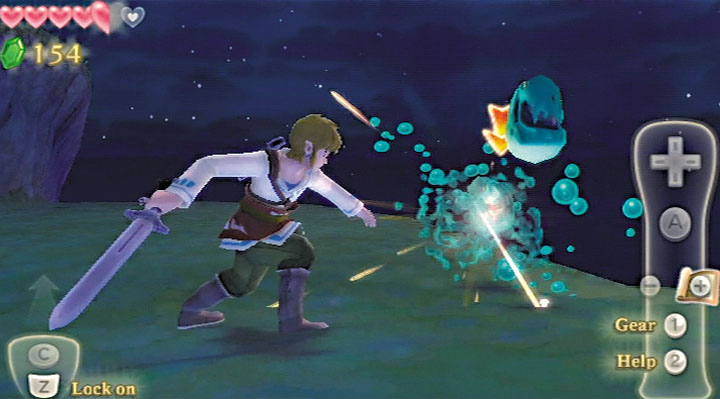
Keep following the mysterious woman as she leads you on a fairly direct path that winds around the outside of the Statue of the Goddess.
When you reach the ledge you’re supposed to use to get around to the next platform, drop down to find a small chest that contains a Red Rupee and a much larger specimen of Chuchu than you’ve ever fought before.
Don’t hesitate to jump across the wide gaps you’ll eventually have to cross if you want to keep following the mystery woman. The chase ends after you climb up the vines that put you just behind the Statue of the Goddess.
Enter the door that opens in the base of the Statue of the Goddess. In the ensuing cutscene, you discover that the mysterious woman is a winsome android named Fi who dwells within the Goddess Sword, a mystic weapon destined for Link’s hand.
Fi gives Link the first chunk of the Ancient Tablet, the Emerald Tablet, which opens the way down to the dangerous surface world below.
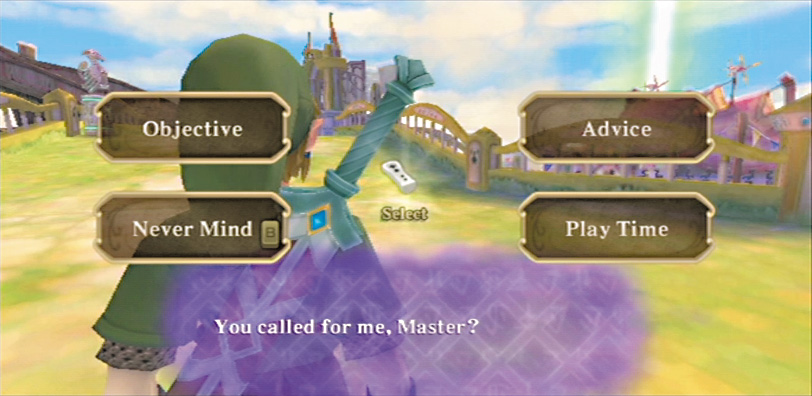
Some Final Preparations
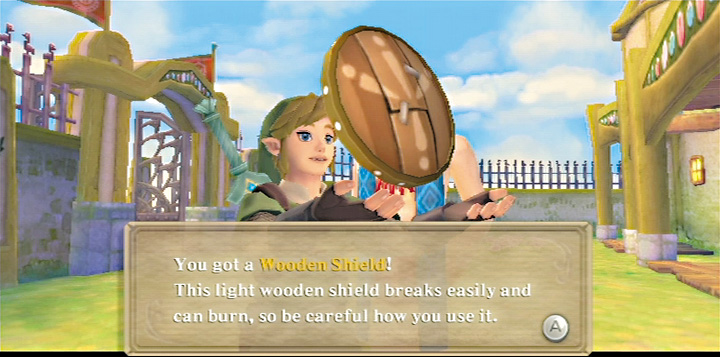
Now that Link has his mission and his knight cadet’s uniform, he can prepare to begin his adventure in earnest. Your friend Fledge gives you the Adventure Pouch before you leave the Knight Academy, so now you can carry extra items.
The bazaar in Skyloft is open, too, so you’ve got a place to buy items and enhance your gear. Your first task, though, is to pay a visit to the Sparring Hall to learn one last lesson about combat. On the way, be sure to speak with Instructor Horwell in the Knight Academy courtyard to get the Wooden Shield.
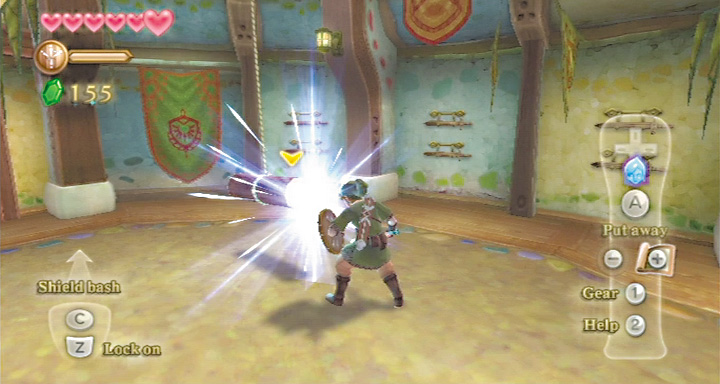
Now you can mess around with the hanging log in the Sparring Hall. Hit it with your sword to set it in motion and then use it to practice shield bashing. Don’t move on until you can consistently shield-bash the log. Mastering the shield bash will prove itself useful through out the game.
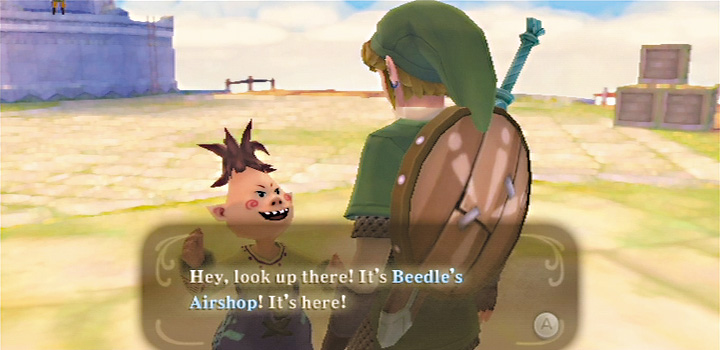
If you visit the plaza before you leave Skyloft, your bug-loving pal will tell you that Beedle’s Airshop has arrived. The airshop flies a slow circuit around Skyloft and is the only place where you can obtain the Bug Net and many other rare, valuable items.
To visit the airshop, you need to find a way to ring the bell beneath it. It may be tempting to throw pots at it for a while, but the airshop will always be just a little too high to be hit that way.
You can only ring the bell by using a tool you’ll find in the game’s next area. So ignore the airshop for now, but plan to come back to it later. Right now, you need to hit the bazaar.
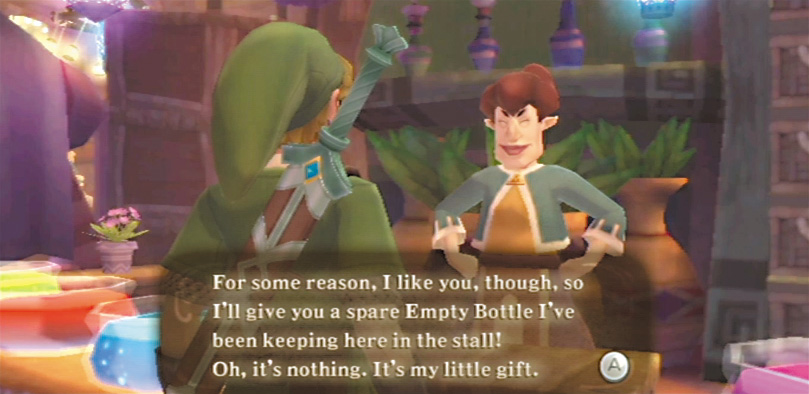
You shouldn’t need to purchase a shield at the bazaar, but you’ll definitely want to get some potions. Stop by Bertie’s Potion Shop and speak to its owner. She’ll give you your first Empty Bottle so you can, in turn, spend money on her potions.
Pick up a Revitalizing Potion, since you don’t really have enough hearts yet to make a Heart Potion worth it. Also, it’s fairly likely that your shield is going to get damaged sometime soon.
Once you’ve stocked up on supplies, fly your Loftwing toward the green pillar of light. You’re ready to become the first man from Skyloft to visit the surface.
A Quick Guide to the Bazaar
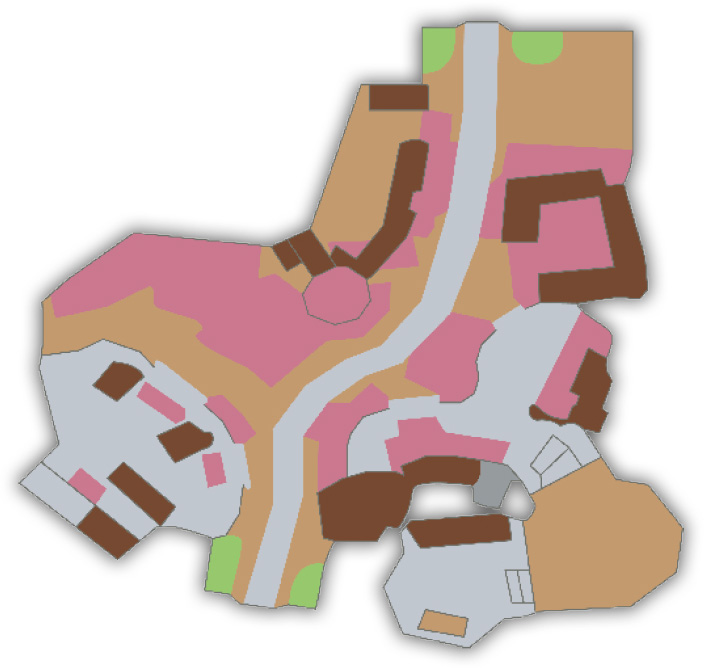
The bazaar takes every sort of shop you’d want to visit in a game like this and puts them all in a single convenient hub location. There are five major stalls in the bazaar, and at different points in the game you’ll need to visit them all. There are a couple that you’ll probably end up visiting really frequently.
Sparrot the Fortune-Teller
For 10 Rupees, the fortune-teller will give you some hints about whatever you’re currently doing in the game, even if it’s just advice about what kind of equipment it’d be best to carry.
You can also ask him about where to obtain certain types of treasures. This advice can be really useful—except you already own this strategy guide, which will give you much more detailed advice.
So you’ll probably only visit the fortune-teller when the game’s storyline or finishing up a side quest demands it.
Bertie’s Potion Shop
At the Potion Shop, you can fill up any Empty Bottles in your possession with useful potions. The Potion Shop sells five types of potions, but only three are available right now—and only two are affordable.
Fortunately, these happen to be the only two that really make finishing the game easier: red Heart Potion (20 Rupees) and dark violet Revitalizing Potion (30 Rupees).
Heart Potion restores up to eight hearts while Revitalizing Potion repairs your shield and restores up to four hearts. The shimmering violet Guardian Potion can also be useful during boss battles, since it reduces the damage you take from enemies for three minutes. Right now it’s so expensive (200 Rupees a bottle) that it’s not really worth it.
If you visit the Potion Shop owner’s husband, you can enhance potions to make their effects more powerful. For instance, an enhanced Heart Potion will restore all of your health, no matter how many hearts you have.
Enhancing potions costs some Rupees and requires you to gather ingredients to add to the potion, usually bugs you need to go out and catch.
You don’t need enhanced potions to finish the game, so the walkthrough isn’t going to recommend his services. Some of the high-end potions can be very useful toward the end of the game, though. Consult the “Items, Equipment, and Crafting” chapter for more details.
Rupin’s Gear Shop
As you might guess from this description, the Gear Shop sells odds and ends that help Link on his journey. Right now, it won’t be very useful to you since you don’t have any tools that use ammo yet, but you’ll definitely be back here if you manage to break your shield.
As you progress through the game and acquire tools, the Gear Shop’s inventory will begin to expand. Eventually, you’ll be able to purchase different types of shields as well as ammo bags that let you carry extra ammo.
Peatrice’s Item Check
You know why the Item Check girl always looks so bored? Because you’re going to spend the first part of the game ignoring her. Item Check lets you manage your item storage, which is basically where you have to put all the extra items that won’t fit in your Adventure Pouch.
Eventually, you’ll have way more items you could carry than you could ever fit into your Adventure Pouch, so you’ll have to carefully choose which ones to take. For now, though, it’s pretty easy to carry everything with you.
Gondo’s Scrap Shop
You can do two enormously useful things at the Scrap Shop: upgrade your items and repair your shield. What’s nice about repairing your shield is that it only costs 10 Rupees, no matter how damaged it is. Fixing a shield is always going to be much cheaper than having to replace one that busted.
To upgrade items, you need to spend some Rupees and have the right treasures on hand (like those Jelly Blobs and Monster Claws you might’ve picked up earlier).
It’s quite difficult to get through the game without upgrading at least some of your items, particularly your shields, so expect to spend a lot of time here. For lists of what the Scrap Shop can upgrade and recipe lists, check the “Items, Equipment, and Crafting” chapter.