
Legend of Zelda: Skyward Sword Guide Essentials Getting Started
Equipment and Items
Equipment
Link’s not going to save the world with his bare hands. To battle enemies and brave dungeons, Link needs to acquire and upgrade equipment that enhances his abilities.
Some of his equipment can be found in chests, some is acquired as part of the storyline, and some of it must be made by upgrading equipment with treasures.
Link’s Swords
Practice Sword
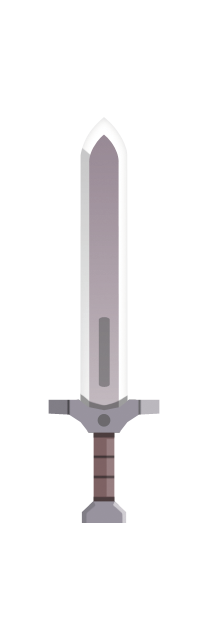
Link’s first sword is an ordinary, mortal blade, taken on loan from the Sparring Hall. It’s fine for dueling Keese and Chuchus, but to explore the surface world Link needs something stronger.
Goddess Sword
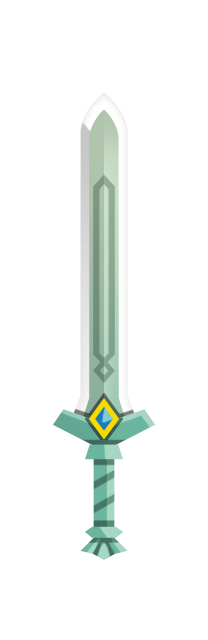
The Goddess Sword is a divine blade passed down from ancient times. It can detect objects through dowsing and fire powerful sword beams made of sacred energy. This sword is the bane of evil, but its power is limited. You acquire this from a mysterious chamber in Skyloft.
Goddess Longsword
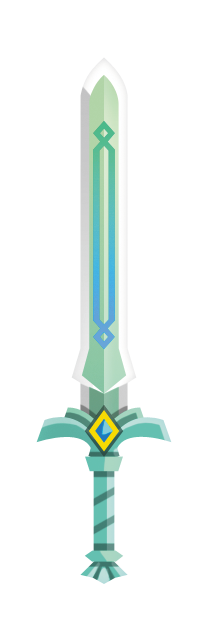
The second form of the Goddess Sword grows longer and doubles its power after absorbing Farore’s Flame in the Ancient Cistern. Using this sword, Link can adventure into more dangerous areas and defeat enemies more easily.
Goddess White Sword
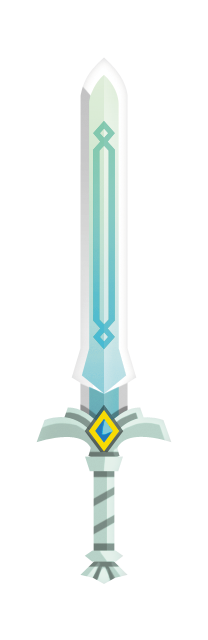
The third form of the Goddess Sword. Its perfect white blade is the result of the sword’s increasing purity, as its imperfections were burned away by Nayru’s Flame in the Sandship. This sword has enhanced dowsing abilities, making it easier for Link to seek out treasure.
Master Sword
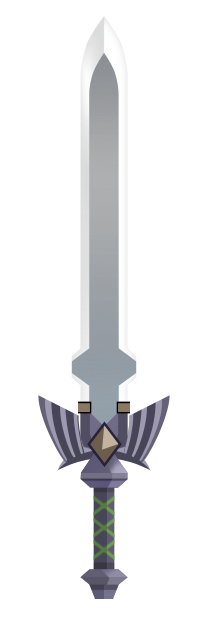
The near-perfect form of the Goddess Sword is created when it absorbs the holy power of Din’s Flame. This blade possesses three times the power of the original Goddess Sword and is the bane of all evil, but it is not yet complete.
True Master Sword
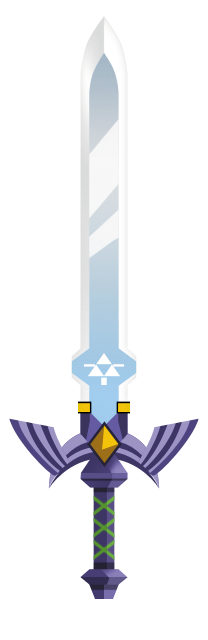
The ultimate proof against evil is the complete form of the Goddess Sword, purified by Link’s virtue and blessed by the Goddess Hylia’s own hand. With the True Master Sword, Link has the power to seek out the land’s greatest power, the legendary Triforce.
Link’s Shields
Wooden Shields
|
|
|
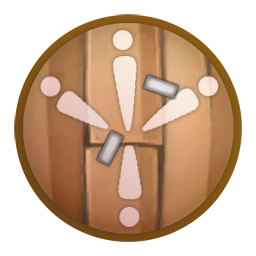
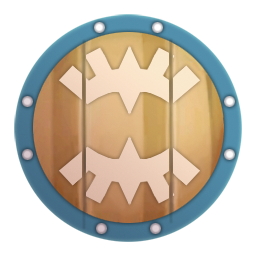
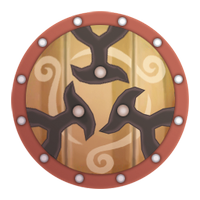
Link begins the game wielding the flimsy Wooden Shield. It can’t absorb much damage and is highly flammable, but is proof against electric attacks. You can get your first Wooden Shield from Instructor Horwell at the Knight Academy, but if it breaks you must buy another one from Rupin at the Gear Shop. You can use treasures to enhance the Wooden Shield into the sturdier Banded Shield and the Braced Shield.
Iron Shields
|
|
|
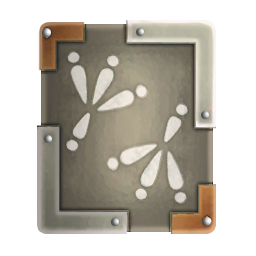
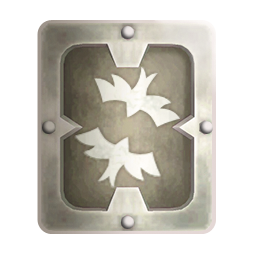
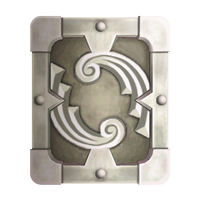
You can buy the Iron Shield from Rupin’s Gear Shop once you begin adventuring in Eldin Volcano. The Iron Shield is highly resistant to flame attacks, making it ideal to use in Eldin Volcano’s fiery environment. It conducts electricity, though, which makes it useless in Lanayru Desert. You can use treasures to enhance the Iron Shield into the sturdier Reinforced Shield and Fortified Shield.
Sacred Shields
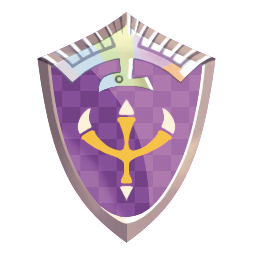
|
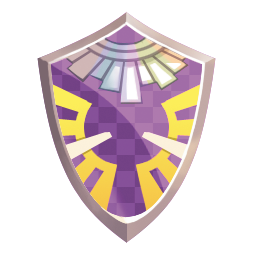
|
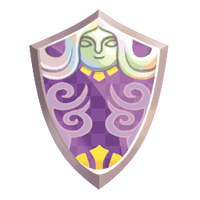
|
You can buy the Sacred Shield from Rupin’s Gear Shop once you begin questing for the three Sacred Flames. This shield is very expensive, but for good reason. It is proof against fire, electricity, and evil curses. Even better, its durability can regenerate over time on its own. You can use treasures to enhance the Sacred Shield into the sturdier Divine Shield and Goddess Shield.
Hylian Shield

A legendary treasure of the goddess, the Hylian Shield is said to be guarded by the Thunder Dragon, Lanayru. An adventurer who proved his worthiness might convince the dragon to part with it. The Hylian Shield is divine in origin and is said to be so perfectly strong that it cannot break, no matter how much damage it absorbs.
The Hylian Shield is also far larger than any other shield in the game, making it more effective when it comes to protecting Link from attacks.
Ranged Weapons
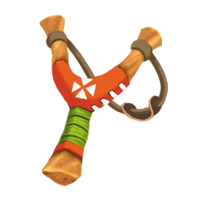
Slingshot
|
|
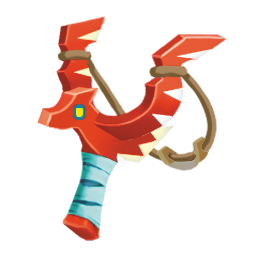
The Slingshot you obtain from the Kikwi elder in Faron Woods lets you fire Deku Seeds at enemies that are just out of Link’s reach. Fire from the Slingshot can only dizzy large enemies, but sometimes this buys you valuable time.
Smaller enemies like Walltulas can actually be defeated with shots from the Slingshot. You can use treasures to enhance the Slingshot into the Scattershot, which breaks Deku Seeds into nine pieces to pepper your enemies with shrapnel.
Seed Satchels
|
|
|
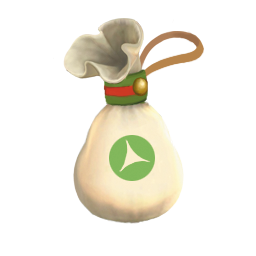
You can carry a Seed Satchel in your Adventure Pouch to hold extra ammo for your Slingshot. The Small Seed Satchel you find in a goddess’s treasure chest or purchase from Rupin lets you carry 10 extra Deku Seeds.
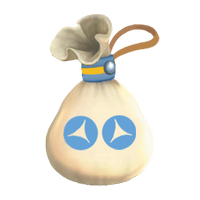
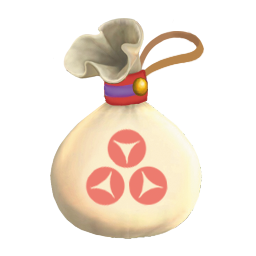
You can use treasures to enhance the Small Seed Satchel into the Medium Seed Satchel, which lets you carry 20 extra Deku Seeds, and the Large Seed Satchel, which lets you carry 30 extra Deku Seeds. You can also buy and enhance multiple Seed Satchels if you like.
Bow
|
|
|
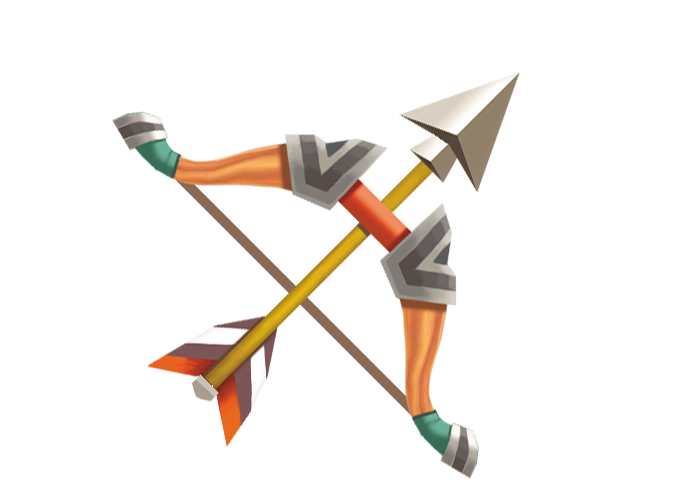
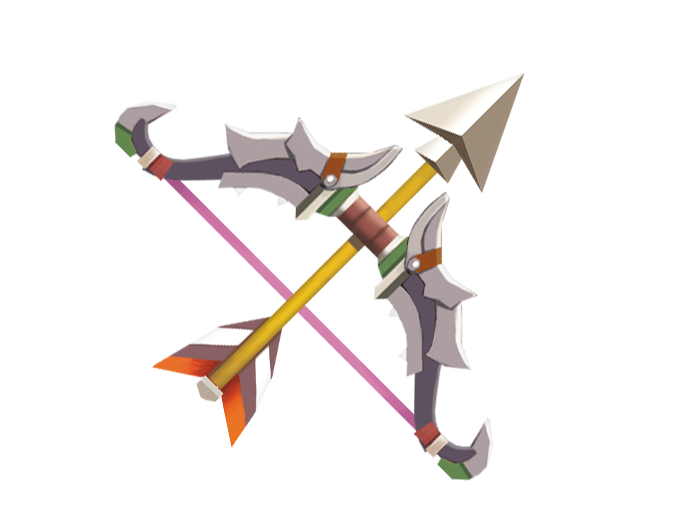
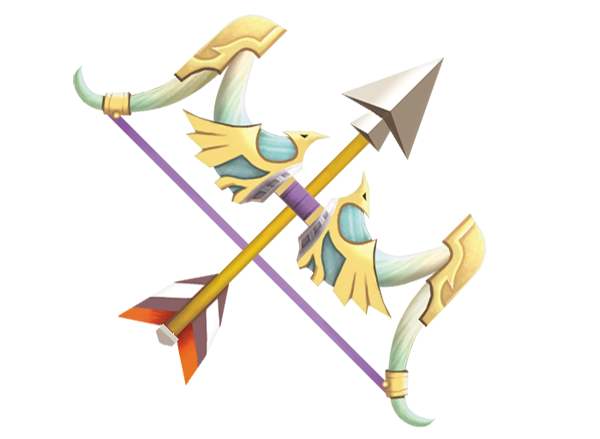
You find your first bow, the Wooden Bow, in the Sandship in the Lanayru Sand Sea. You can fire the bow to damage and defeat distant enemies, or enemies like Spumes that usually lurk in areas where your sword can’t reach them.
Quivers
|
|
|
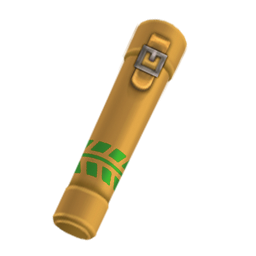
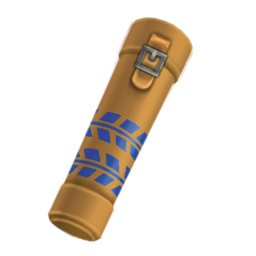
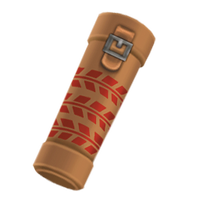
You can carry a quiver in your Adventure Pouch to hold extra arrows for your bow.
The Small Quiver you find in a goddess’s treasure chest or purchase from Rupin holds 5 extra arrows. You can use treasures to enhance the Small Quiver into the Medium Quiver, which holds 10 extra arrows, and the Large Quiver, which holds 15 extra arrows. You can also buy and enhance multiple quivers if you like.
Bombs
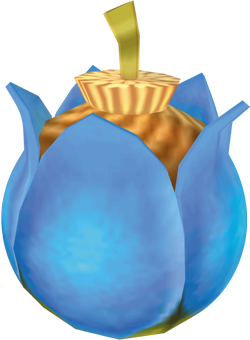
Once you obtain the Bomb Bag, Link can store and carry Bomb Flowers or buy bombs directly from Rupin. You can occasionally use bombs to defeat enemies like Spumes or to stagger enemies like Stalfos, but you primarily use bombs to solve puzzles and blast open hidden chambers.
Bomb Bags
|
|
|
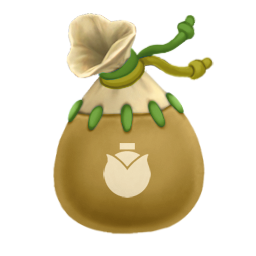
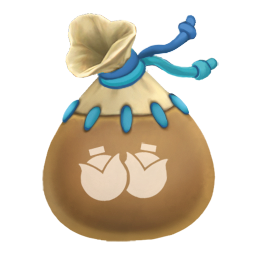
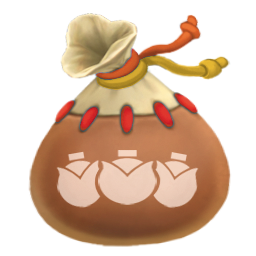
Carry a Bomb Bag in your Adventure Pouch and you can carry extra bombs. The Small Bomb Bag you find in a goddess’s treasure chest or buy from Rupin lets you carry 5 extra bombs. You can use treasures to enhance the Small Bomb Bag into the Medium Bomb Bag, which holds 10 extra bombs, and the Large Bomb Bag, which holds 15 extra bombs. You can also buy and enhance multiple Bomb Bags if you like.
Tools and Special Items
Beetle
Link acquires the Beetle in the Skyview Temple. This incredibly useful tool is an ancient flying drone that can cut through ropes and, eventually, carry bombs to blast distant targets.
You can use it to strike switches, attack small enemies, or just examine what the terrain ahead of you looks like. A worker robot in the Lanayru Desert upgrades your Beetle to the Hook Beetle automatically.
After that, you can use treasures to upgrade the Hook Beetle to the Quick Beetle and the Tough Beetle.
Gust Bellows
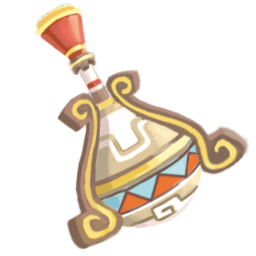
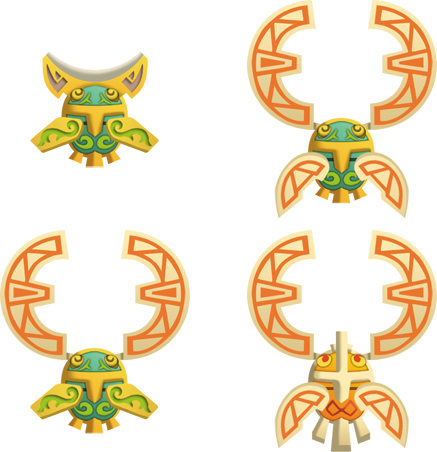
Link acquires the Gust Bellows deep within the Lanayru Mining Facility. This device draws in air using a vacuum mounted at its rear, then blows it out at high speed.
You can use the Gust Bellows to blow away loose sand and dirt, which is a surprisingly important task. You can also use the Gust Bellows against certain lightweight enemies, like Arachas and Froaks. In fact, blowing a Froak into a wall or something else solid makes it explode.
Clawshots
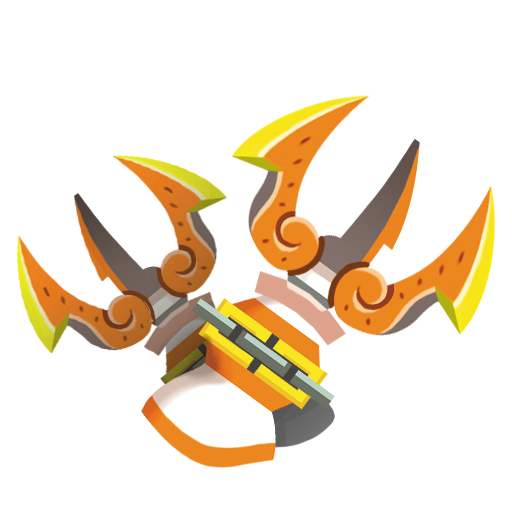
Link acquires the Clawshots by completing the Lanayru Desert’s Silent Realm challenge. Each Clawshot is a glove Link can wear over his hand and use to automatically fire a powerful grappling hook. Once you have the Clawshots in your possession, you can reach all kinds of hidden areas by grappling up to wall-mounted targets and patches of vines.
Whip
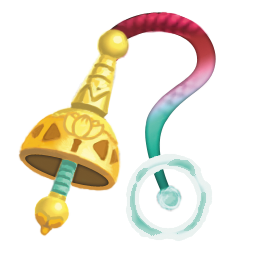
Link acquires the whip in the Ancient Cistern. The whip is a curious tool made of ancient technology. The tip of the whip uses a mysterious energy to latch on to hooks and even some collectible items, like hearts and Rupees. Some enemies can be snared by the whip, allowing Link to steal items from them or stun them.
Bug Net

|

|
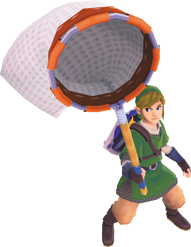
You can purchase the Bug Net from Beedle’s Airshop any time after Link acquires the Slingshot. With the Bug Net, Link can catch bugs and all sorts of other things like Fairies, small birds, and Tumbleweeds. You can use treasures to upgrade the Bug Net to the Big Bug Net, which has a wider mouth that can catch targets more easily.
Goddess’s Harp

Link acquires the Goddess’s Harp in the Temple of Time. The harp serves no purpose in combat, but you can play it to reveal secrets like goddess walls and Gossip Stones that sometimes hide in places where Blessed Butterflies gather. You can also use it to play a musical minigame. There are five special songs the harp can play, each learned as part of your quest through the game.
Digging Mitts
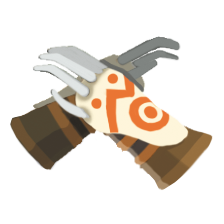
A friendly Mogma gives Link the Digging Mitts in Eldin Volcano. Using the Digging Mitts, Link can dig in patches of dirt for Eldin Ores, hearts, Rupees, Fairies, and steam geysers that let you reach new places.
Mogma Mitts
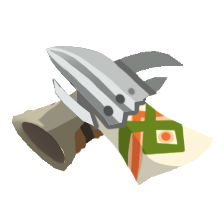
A grateful Mogma gives Link the Mogma Mitts in the Fire Sanctuary. Using the Mogma Mitts, Link can dig in patches of dirt to uncover the entrances to underground burrows. Crawling around in burrows helps you reach new areas of a dungeon and solve puzzles. Sometimes, you can even find treasures hidden underground or by passing through burrows.
Water Dragon’s Scale
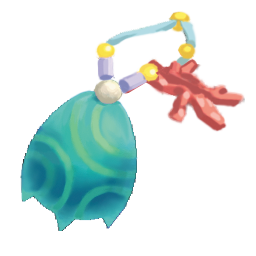
Link acquires the Water Dragon’s Scale by completing the Silent Realm challenge in Faron Woods. The Water Dragon’s Scale allows Link to swim freely through deep water and execute spin attacks to smash down underwater obstacles and defeat underwater enemies. You do need to collect air bubbles to keep from drowning underwater, but this is usually pretty easy.
Fireshield Earrings

Link acquires the Fireshield Earrings by completing the Silent Realm challenge in Eldin Volcano. With the Fireshield Earrings, Link becomes immune to the ravages of fire. He can walk through superheated areas that were previously deadly and can no longer be set on fire by falling in magma or being attacked by enemies.
Sailcloth

The Sailcloth is a gift from Zelda early in the game. You can use the Sailcloth to break your fall and land safely after making long dives from very high places.
Wallets
All wallets except the Small Wallet and the Extra Wallets you acquire by giving Batreaux Gratitude Crystals in Skyloft. Link can only carry as much money as his wallet will hold, so once your wallet is maxed out you can’t collect any more Rupees. Well, you can, but the Rupees basically just disappear. This is pretty annoying if you find a huge number of Rupees in a chest or win some from a minigame.
Small Wallet

You begin the game with the Small Wallet. It holds a mere 300 Rupees, but what do you expect? Link was just a student when he got it. He didn’t know he’d be going on a big expensive adventure back then.
Medium Wallet
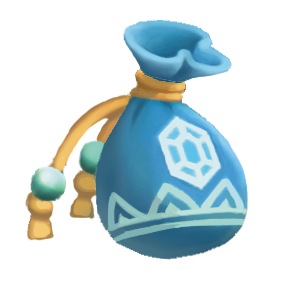
With the Medium Wallet, Link can carry up to 500 Rupees. That’s better, but still too little to afford a lot of the game’s best items.
Big Wallet
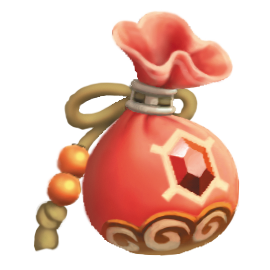
With the Big Wallet, Link can carry up to 1,000 Rupees. That’s more than enough money to afford most items in the game, though there are still a few things that’ll be pretty tough to buy.
Giant Wallet
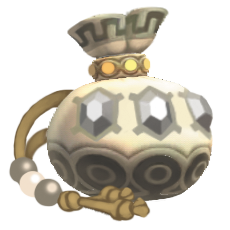
With the Giant Wallet, Link can carry up to 5,000 Rupees. That’s more money than even an adventurer is ever going to need, but it’s nice to not have to waste any Rupees.
Tycoon Wallet
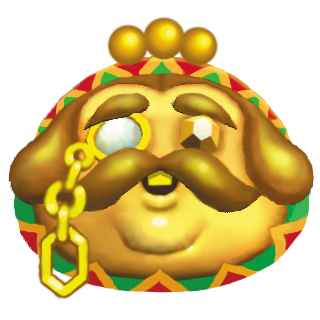
With the Tycoon Wallet, Link can carry up to an unbelievable 9,000 Rupees. How would you even get that much money at once? Believe it or not, it’s perfectly possible to fill up the Tycoon Wallet.
Extra Wallets
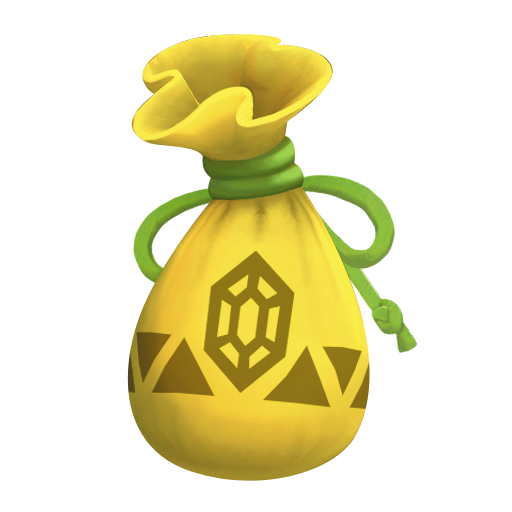
You can purchase Extra Wallets from Beedle’s Airshop. Each wallet costs 100 Rupees and lets you add an additional 300 Rupees to your wallet’s current capacity. You can purchase three Extra Wallets from Beedle, letting you add 900 Rupees to your wallet’s capacity. With a Tycoon Wallet and three Extra Wallets, it’s possible to carry 9,900 Rupees at once!
Adventure Pouch Items
In addition to ammo bags and shields, you can carry other items in your Adventure Pouch. Some of these items have passive effects, like the medals, while others like potions you can use at will by selecting them. You also sometimes use items from your Adventure Pouch automatically while solving puzzles or advancing the game’s storyline.
Empty Bottles
|
|
|
|
|
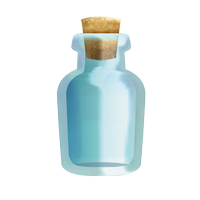
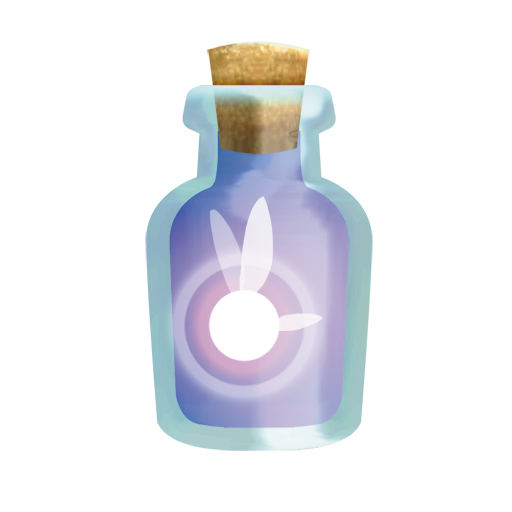
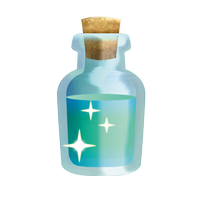
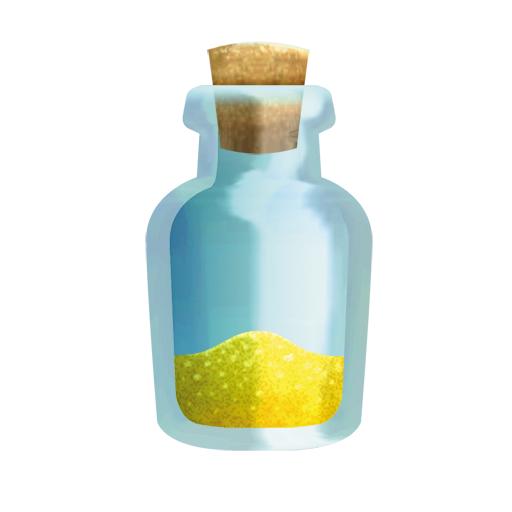
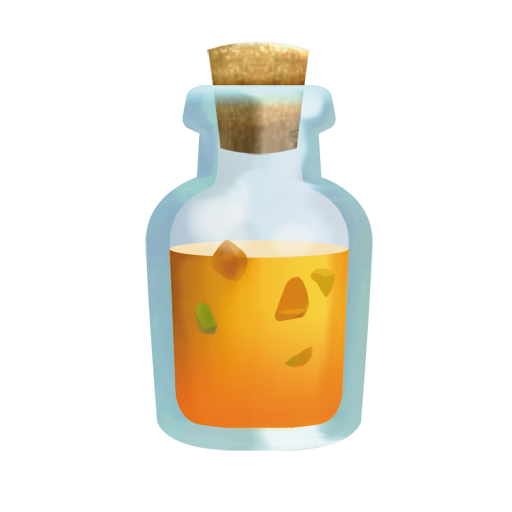
You can obtain up to five Empty Bottles in Skyward Sword. The main purpose of Empty Bottles is holding potions, but you can also use Empty Bottles to carry Fairies, water, sacred water, various medicines, and pumpkin soup. If you carry pumpkin soup around in an Empty Bottle for more than five minutes, it becomes unappetizing cold pumpkin soup.
Glittering Spores
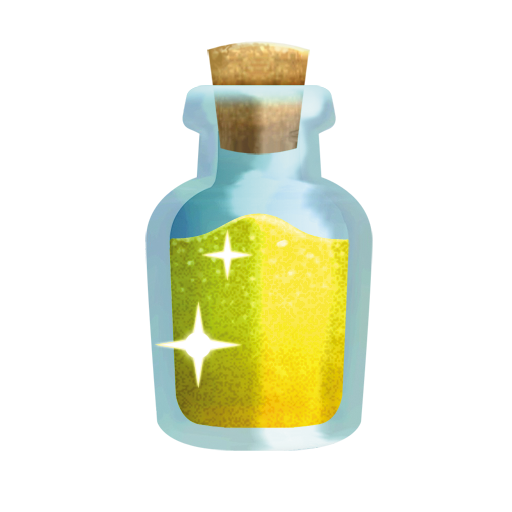
When you hit the mushrooms that grow in Faron Woods, they release clouds of spores. When you collect these spores in an Empty Bottle, they become Glittering Spores. You can pour Glittering Spores on collectible items like hearts and Rupees to transform them in strange ways.
Medals
Heart Medal

While you’re carrying a Heart Medal, enemies drop hearts more frequently. You also find hearts more frequently when cutting down grass, digging in holes, and breaking pots. It’s useful to carry when you’re having a hard time fighting the enemies that patrol a certain area.
It’s also good for places like Eldin Volcano, where you can take a lot of damage from missing jumps and falling into lava. You obtain the Heart Medal from a goddess’s treasure chest.
Rupee Medal

While you’re carrying a Rupee Medal, enemies drop Rupees more frequently. You also find Rupees more frequently when cutting down grass, digging in holes, and breaking pots. It’s useful to carry when you’re trying to earn money for expensive but necessary items like Adventure Pouch Slots or the Sacred Shield. You obtain the Rupee Medal from a goddess’s treasure chest.
Treasure Medal

While you’re carrying a Treasure Medal, enemies drop treasures more frequently. It’s good to carry around when you’re grinding for treasures so you can upgrade an essential piece of equipment. You obtain the Treasure Medal from a goddess’s treasure chest.
Potion Medal

While you’re carrying a Potion Medal, potions with three-minute durations like the Stamina Potion, Air Potion, and Guardian Potion last longer. Combining a Guardian Potion with a Potion Medal can make even the toughest battles into cakewalks.
Life Medal

While you’re carrying a Life Medal, Link’s health meter is extended by one heart. Obtaining and carrying the game’s two Life Medals is the only way to get Link’s health meter all the way up to 20 hearts. Otherwise, Link’s health maxes out at 18 hearts. You find one Life Medal in a goddess’s treasure chest and can buy the other one from Beedle’s Airshop.
Cursed Medal

The Cursed Medal confers the benefits of the Treasure Medal and the Rupee Medal all at once, but while carrying it you cannot open your Adventure Pouch at all. This means you can’t use any potions, shields, or other items you might be carrying. This medal can be extremely useful when gathering treasures, since extra Rupees are always nice to have when you’re paying for equipment upgrades. You can only obtain it from Batreaux.
Bug Medal

While you’re carrying the Bug Medal, your in-game map automatically displays the locations of any nearby bug spawns. Note that bugs aren’t always present at bug spawns and that the Bug Medal doesn’t tell you which types of bugs spawn in a given area. You can purchase this medal from Beedle’s Airshop after you purchase the Bug Net.
Potions
You purchase all potions from Bertie’s Potion Shop. Some don’t become available until later in the game. All of them can be enhanced by Bertie, if you pay a small fee and bring him the right bugs.
Heart Potions
|
|
|
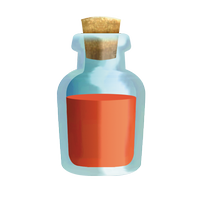
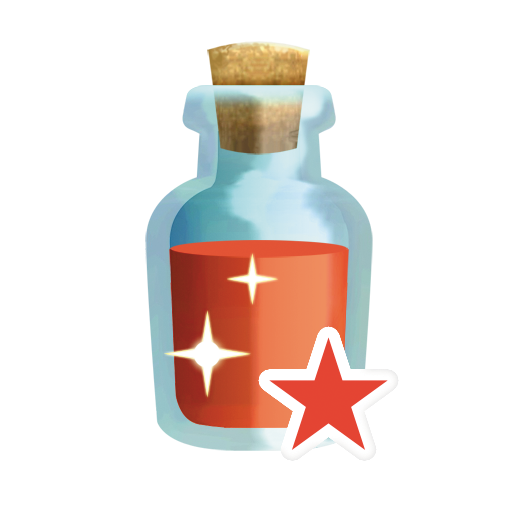
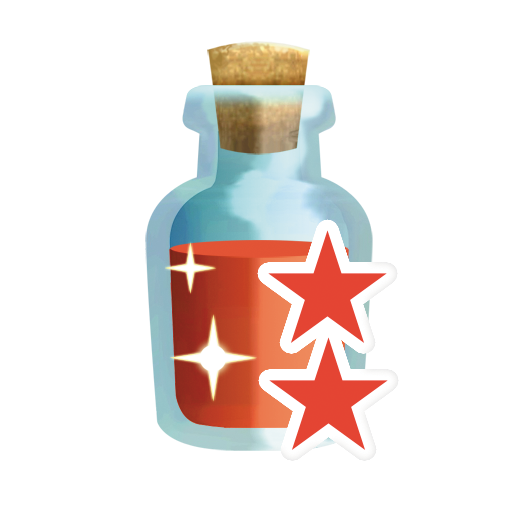
A basic Heart Potion restores eight hearts of life when you drink it. With the right bugs, Bertie can enhance the Heart Potion into a Heart Potion+ or the Heart Potion++. A Heart Potion+ restores Link’s life to maximum while a Heart Potion++ can restore Link’s life to maximum twice before it’s completely consumed.
Air Potions
|
|
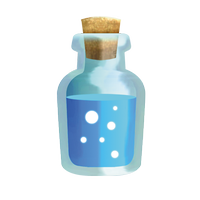
A basic Air Potion makes Link consume air half as quickly for the next three minutes. With the right bugs, Bertie can enhance an Air Potion into an Air Potion+. After drinking an Air Potion+, Link can stay underwater without needing to breathe at all for three minutes.
Stamina Potions
|
|
A basic Stamina Potion makes Link’s stamina go down half as quickly for the next three minutes. With the right bugs, Bertie can enhance a Stamina Potion into a Stamina Potion+. After drinking a Stamina Potion+, Link can do whatever he wants for three minutes without his stamina reducing whatsoever.
Guardian Potions
|
|
A basic Guardian Potion protects Link for three minutes, making him take half damage from all attacks. With the right bugs, Bertie can enhance a Guardian Potion into a Guardian Potion+. After drinking a Guardian Potion+, Link will not take damage from any attacks for the next three minutes.
Revitalizing Potions
|
|
|
A basic Revitalizing Potion restores four hearts of Link’s health and completely restores his shield’s durability. With the right bugs, Bertie can enhance a Revitalizing Potion into a Revitalizing Potion+ or a Revitalizing Potion++. A Revitalizing Potion+ completely restores the durability of Link’s shield and restores eight hearts of life. A Revitalizing Potion++ does the same thing but can be used twice before it is consumed.
Collectible Items
Rupees

|

|

|

|

|
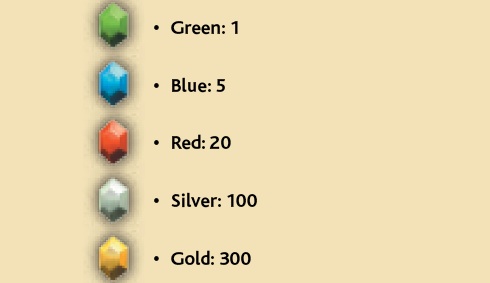
There are five types of Rupees in Skyward Sword. Common Green and Blue Rupees you can get by defeating enemies, cutting down grass, or digging in holes.
Red Rupees can be found by defeating certain enemies, opening small chests, digging in holes, and carefully searching for hidden areas. Silver Rupees are sometimes hidden in certain dungeons and are otherwise only found in blue chests and goddess’s treasure chests.
Gold Rupees are only found in goddess’s treasure chests. Each color of Rupee signifies a different value.
The Rupoor
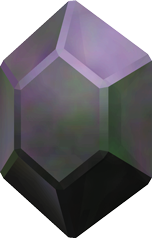
The dreaded Rupoor is a malignant form of antimoney that somehow makes you lose 10 Rupees instantly. There are only a few points in the game where you can acquire a Rupoor, but you still want to avoid them whenever possible.
Rupoors appear in the Thrill Digger minigame and can be shot down from the black crystals that line the Thrill Digger room’s walls. You find them sometimes in underground burrows you can move through with the Mogma Mitts.
You can also create a Rupoor sometimes by pouring Glittering Spores on a Rupee.
Pieces of Heart
|
Piece of Heart |
Location |
|---|---|
|
1 |
|
|
2 |
Beedle's Airshop |
|
3 |
Goddess Chest #2 |
|
4 |
Lumpy Pumpkin |
|
5 |
|
|
6 |
|
|
7 |
Goddess Chest #11 |
|
8 |
Goddess Wall |
|
9 |
|
|
10 |
Goddess Chest #6 |
|
11 |
Goddess Chest #14 |
|
12 |
|
|
13 |
Goddess Chest #21 |
|
14 |
Sandship |
|
15 |
Goddess Chest #22 |
|
16 |
|
|
17 |
Volcano Summit |
|
18 |
Zelda's Room |
|
19 |
Batreaux |
|
20 |
Lumpy Pumpkin |
|
21 |
Rickety Coaster |
|
22 |
Pumpkin Pull |
|
23 |
Fun Fun Island |
|
24 |
Thunder Dragon's Lightning Round |
Treasures
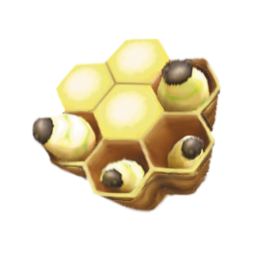
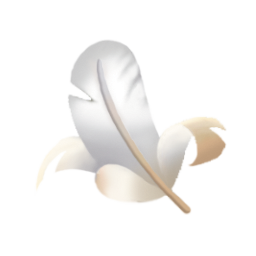
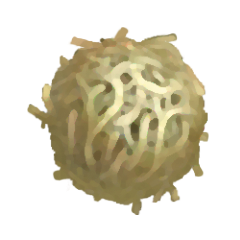
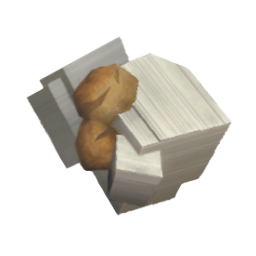
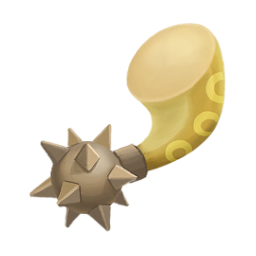
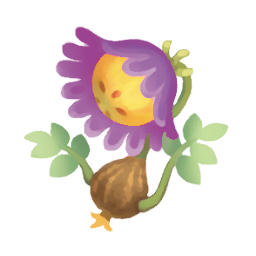
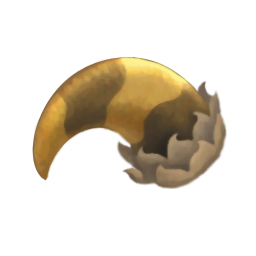
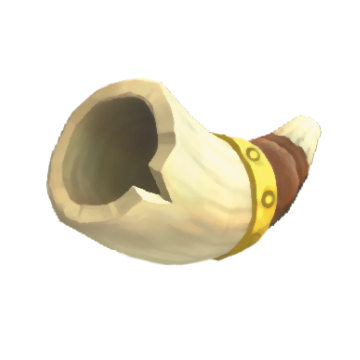
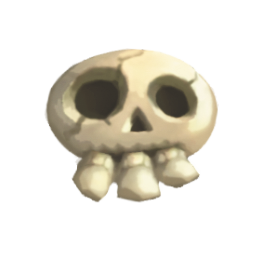
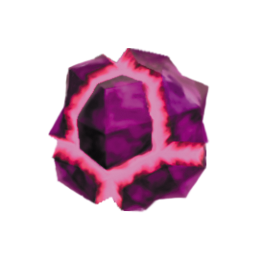
There are 16 types of treasures you can obtain in Skyward Sword: Hornet Larvae, Bird Feathers, Tumbleweeds, Lizard Tails, Eldin Ores, Ancient Flowers, Amber Relics, Dusk Relics, Jelly Blobs, Monster Claws, Monster Horns, Ornamental Skulls, Evil Crystals, Blue Bird Feathers, Golden Skulls, and Goddess Plumes.
You gather treasures so you can take them to Gondo’s Scrap Shop and use them to upgrade your equipment. Each type of treasure is found in a particular way, either dropped by enemies or hidden throughout the world.
For more information about gathering treasures and what you can do with them, consult the “Items, Equipment, and Crafting” section.
|
|
|
|
|
|

|

|

|
|
|
|
|

|

|

|
||
Bugs
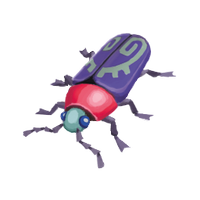
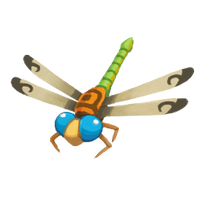
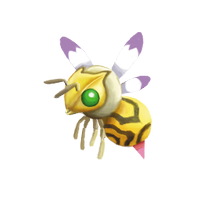
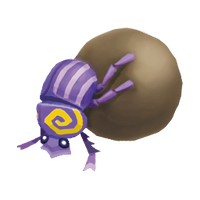
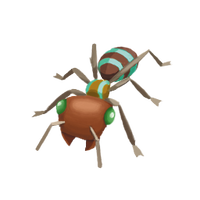
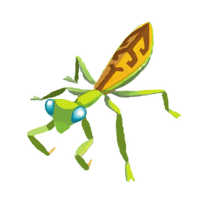
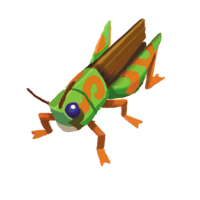
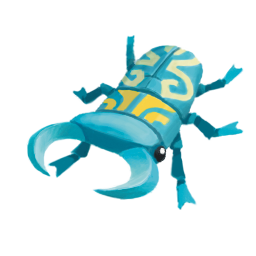
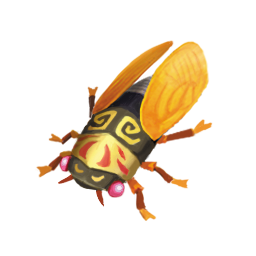
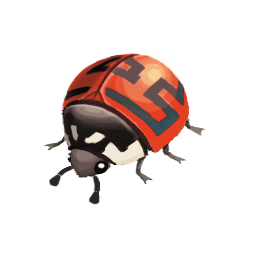
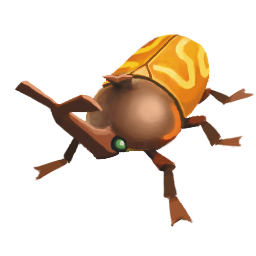
There are 12 types of bugs you can catch in Skyward Sword: Deku Hornets, Blessed Butterflies, Gerudo Dragonflies, Starry Fireflies, Woodland Rhino Beetles, Volcanic Ladybugs, Sand Cicadas, Sky Stag Beetles, Faron Grasshoppers, Skyloft Mantises, Lanayru Ants, and Eldin Rollers.
You primarily catch bugs so you can take them to Bertie at the Potion Shop and have your potions enhanced. Each type of bug prefers a different environment and can be found in different parts of the game.
For more information about gathering bugs and what you can do with them, consult the “Items, Equipment, and Crafting” chapter.
|
|

|
|
|
|
|
|
|
|
|
|
Quest Items
Stone of Trials

This mysterious stone is the reward for completing the Silent Realm challenge in Skyloft. It’s said that if you find the right place in Skyloft to put it, you open the way to the Triforce.
Pieces of the Key

Bokoblins broke the key to the Earth Temple into five pieces and scattered them through Eldin Volcano. You must find them all before you can explore the Earth Temple.
Beedle’s Insect Cage
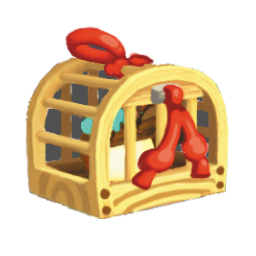
Inside this cage is an extremely rare insect Beedle keeps as a pet. Beedle loves his pet very much and has spared no expense when it comes to its fancy cage.
Cawlin’s Letter

Cawlin’s Letter, full of florid and heartfelt (if amateurish) poetry. It’s written on very nice paper.
Rattle

A baby’s beloved rattle. Just imagine how angry that baby would be if it got lost.
Life Tree Seedling
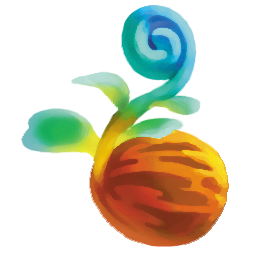
A seedling that, in a thousand years, could grow into a Life Tree. Of course, you’d have to plant it in just the right soil.
Life Tree Fruit

After a thousand years, the Life Tree bears a single giant fruit. This fruit is said to cure any illness, no matter how grave.
Gratitude Crystals

A few loose Gratitude Crystals appear in Skyloft and certain parts of the sky at night. There are 15 of these in all. (The remaining Gratitude Crystals you must earn by completing Gratitude Crystal requests; see the “Secrets and Side Quests” chapter for details.)
Songs
Ballad of the Goddess

A simple song, taught to you by the old priestess at the Sealed Temple. Play this in Skyloft to reveal a path that leads into the thunderhead.
Farore’s Courage

A sacred song given to you at the Isle of Songs. Play it in the correct area of Faron Woods to gain entrance to the Silent Realm.
Nayru’s Wisdom

A sacred song given to you at the Isle of Songs. Play it in the correct area of Lanayru Desert to gain entrance to the Silent Realm.
Din’s Power

A sacred song given to you at the Isle of Songs. Play it in the correct area of Eldin Volcano to gain entrance to the Silent Realm.
Song of the Hero
A song so sacred that it was broken into four parts by the goddess. Each piece is guarded by one of the surface world’s three great dragons and the sky spirit, Levias. Once it’s assembled, play it in the correct area of Skyloft to gain entrance to the Silent Realm.
Puzzle Keys
Golden Carving

A strange carving that’s actually the key to a door. Use it in Skyview Temple to open the puzzle door that leads to Skyview Spring.
Dragon Sculpture
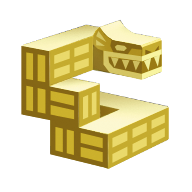
A strange golden carving that resembles a dragon. Use it in the Earth Temple to open the puzzle door that leads to the final boss’s room.
Ancient Circuit
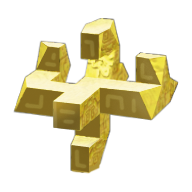
A strange golden carving designed to be part of some unfathomable machine. Use it in Lanayru Mining Facility to open the puzzle door that leads to the Temple of Time.
Blessed Idol
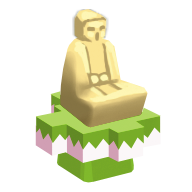
A carving that resembles the statue that sits in the center of the Ancient Cistern. Use it to open the puzzle door that awaits inside the statue itself.
Mysterious Crystals
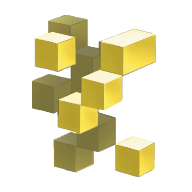
At first glance, it’s not easy to tell what this carving was meant to resemble. Use it to open the puzzle door that awaits inside the Fire Sanctuary.
Squid Carving

An intricate carving that resembles a squid. Use it to open the puzzle that awaits inside the Sandship.
Chests
There are many chests strewn throughout Skyloft and the lands below it, each beckoning adventurers with the promise of riches. Each type of chest holds different loot inside, and some must be opened in certain ways.
Blue Chests
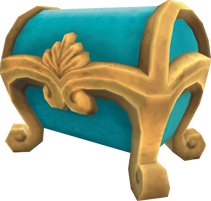
You can find blue chests anywhere in Skyloft or the lands below it, including both inside and outside of dungeons. A blue chest can hold special items for a dungeon, like a Small Key or Dungeon Map, as well as random treasures or even Pieces of Heart.
Jeweled Chests
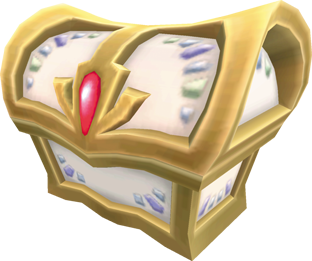
Jeweled chests only appear in dungeons and always hold the key to that dungeon’s puzzle door. They usually occur somewhere near the puzzle door, but not always.
Goddess’s Treasure Chests
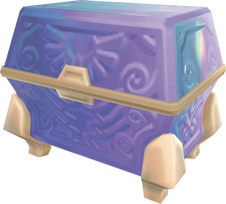
Goddess’s treasure chests are strewn throughout the sky. You can’t open them until you activate the corresponding Goddess Cube on the surface world. Goddess’s treasure chests can hold some of the rarest treasures in the game, including unique medals, Gold Rupees, and Pieces of Heart.
Item Checklist
|
Item |
Location |
|---|---|
|
Banded Shield |
Gondo’s Scrap Shop |
|
Beetle |
|
|
Gust Bellows |
|
|
Big Bug Net |
Gondo’s Scrap Shop |
|
Big Wallet |
Batreaux |
|
Bombs |
|
|
Braced Shield |
Gondo’s Scrap Shop |
|
Bug Medal |
Beedle's Airshop |
|
Bug Net |
Beedle's Airshop |
|
Clawshots |
Nayru's Silent Realm |
|
Cursed Medal |
Batreaux |
|
Digging Mitts |
|
|
Divine Shield |
Gondo’s Scrap Shop |
|
Empty Bottle #1 |
Bertie's Potion Shop |
|
Empty Bottle #2 |
|
|
Empty Bottle #3 |
Goddess’s Treasure Chest |
|
Empty Bottle #4 |
|
|
Empty Bottle #5 |
Parrow |
|
Extra Wallet |
Beedle's Airshop |
|
Extra Wallet |
Beedle's Airshop |
|
Extra Wallet |
Beedle's Airshop |
|
Fireshield Earrings |
Din's Silent Realm |
|
Fortified Shield |
Gondo’s Scrap Shop |
|
Giant Wallet |
Batreaux |
|
Goddess’s Harp |
Temple of Time |
|
Goddess Longsword |
Ancient Cistern |
|
Goddess Shield |
Gondo’s Scrap Shop |
|
Goddess Sword |
|
|
Goddess White Sword |
Sandship |
|
Heart Medal |
Goddess’s Treasure Chest |
|
Hook Beetle |
|
|
Hylian Shield |
Thunder Dragon's Lightning Round |
|
Iron Bow |
Gondo’s Scrap Shop |
|
Iron Shield |
Rupin's Gear Shop |
|
Large Bomb Bag |
Gondo’s Scrap Shop |
|
Large Quiver |
Gondo’s Scrap Shop |
|
Large Seed Satchel |
Gondo’s Scrap Shop |
|
Life Medal |
Goddess’s Treasure Chest |
|
Life Medal |
Beedle's Airshop |
|
Master Sword |
|
|
Medium Bomb Bag |
Gondo’s Scrap Shop |
|
Medium Quiver |
Gondo’s Scrap Shop |
|
Medium Seed Satchel |
Gondo’s Scrap Shop |
|
Medium Wallet |
Batreaux |
|
Mogma Mitts |
|
|
Practice Sword |
Sparring Hall |
|
Quick Beetle |
Gondo’s Scrap Shop |
|
Reinforced Shield |
Gondo’s Scrap Shop |
|
Rupee Medal |
Goddess’s Treasure Chest |
|
Sacred Bow |
Gondo’s Scrap Shop |
|
Sacred Shield |
Rupin's Gear Shop |
|
Sailcloth |
|
|
Scattershot |
Gondo’s Scrap Shop |
|
Slingshot |
|
|
Small Bomb Bag |
Goddess’s Treasure Chest,
|
|
Small Quiver |
Goddess’s Treasure Chest,
|
|
Small Seed Satchel |
Goddess’s Treasure Chest,
|
|
Small Wallet |
Batreaux |
|
Tough Beetle |
Gondo’s Scrap Shop |
|
Treasure Medal |
Goddess’s Treasure Chest |
|
True Master Sword |
Temple of Hylia |
|
Tycoon Wallet |
Batreaux |
|
Potion Medal |
Goddess’s Treasure Chest |
|
Water Dragon's Scale |
Farore's Silent Realm |
|
Whip |
Ancient Cistern |
|
Wooden Bow |
Sandship |
|
Wooden Shield |