
Legend of Zelda: Skyward Sword Guide Essentials Getting Started
Playing the Game
The Legend of Zelda: Skyward Sword is built around the Wii MotionPlus and, as a result, plays a bit differently than earlier games in the Legend of Zelda series. Tricks and techniques that worked in older games won’t work in Skyward Sword. You also have access to new options unlike anything possible in prior Legend of Zelda games.
Link’s Sword
The most profound change Wii MotionPlus brings to Legend of Zelda in Skyward Sword is real-time combat based on one-to-one motion input. Link has nine basic sword strikes at his disposal, each triggered by how you move your Wii Remote.
An additional four special sword strikes call upon you to use the Wii Remote and Nunchuk in tandem, and there’s also the new Skyward Strike.
Because of this, Link doesn’t learn any special sword skills throughout the game (like, say, the hidden skills in Twilight Princess). Instead, Link can access all of his possible sword maneuvers from the very moment he acquires the Goddess Sword. Your skill with the Wii Remote alone determines how effectively Link can use his blade in this game.
Link’s Sword Strikes
Vertical Slashes
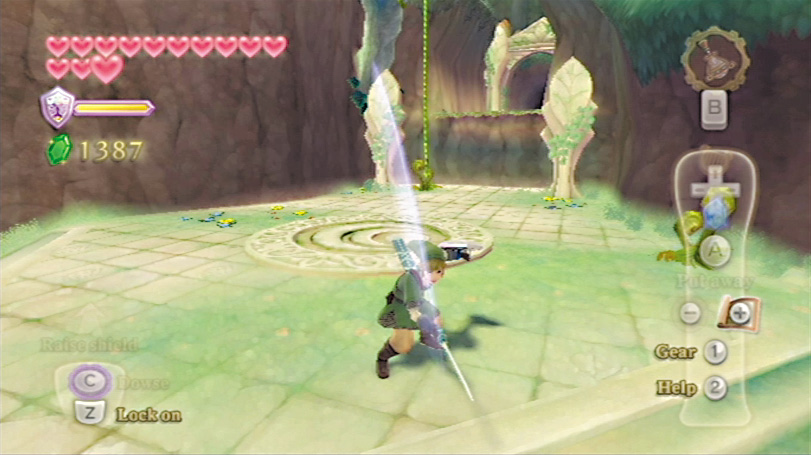
Moving the Wii Remote straight up and down lets Link perform a vertical slash. A rising vertical slash (down to up) is crucial in certain boss battles, while a descending vertical slash (up to down) is very useful in fighting enemies like Keese and Chuchus.
It’s easy to do vertical slashes very rapidly by shaking the Wii Remote up and down quickly, which is handy in boss battles where you have a limited amount of time to damage a boss’s weak point. While exploring the world, you sometimes need to use descending vertical slashes to chop down stakes.
Horizontal Slashes
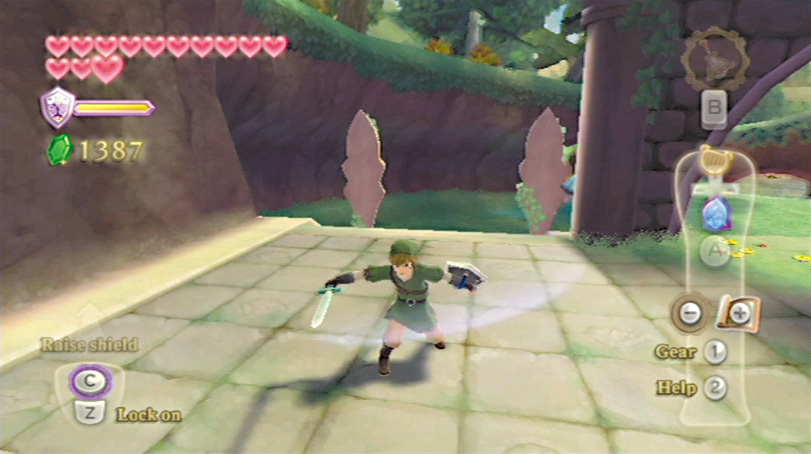
Moving the Wii Remote left to right (or right to left) performs a horizontal slash. Which way you execute the slash is key in situations where you’re fighting an enemy that can block your attacks.
Often, in these situations, the enemy will be vulnerable to attack if you swing from their unprotected direction, while you may take damage if you swing from the wrong side.
Diagonal Slashes
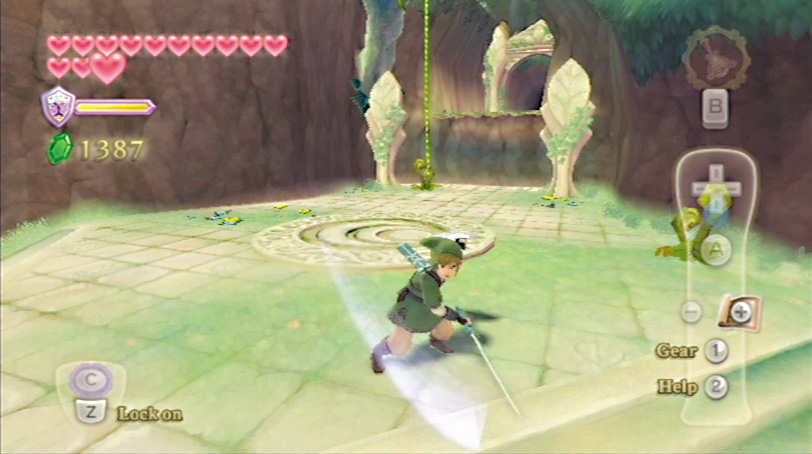
Link can swing his sword both ways along both diagonals, for a total of four diagonal strike possibilities. As with the two horizontal slashes, which diagonal slash you use in combat is extremely important in situations where you fight enemies that can block.
It is usually most crucial in boss battles, where a boss or sub-boss may be guarding against all possible attacks except the correct rising or descending diagonal slash. If you’re trying to do a horizontal slash but you aren’t holding your Wii Remote level, you may get a diagonal slash instead. This can be a sign that you need to adjust your grip.
Thrust
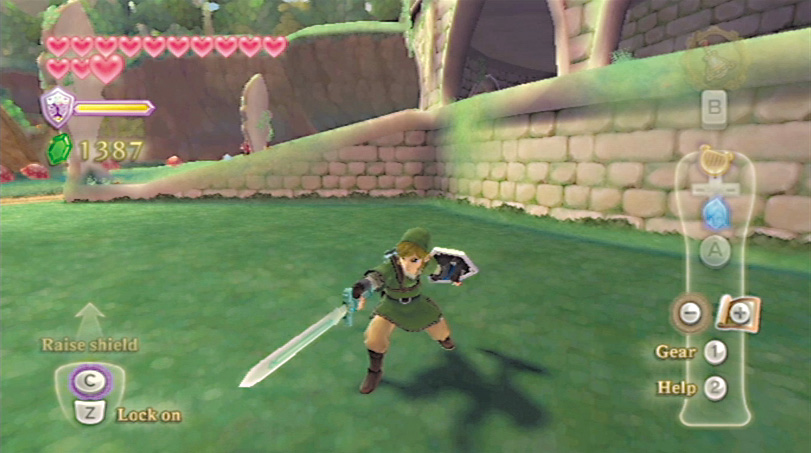
If you hold the Wii Remote level and thrust it forward, Link thrusts his sword forward like a fencer. This sword strike is indispensable for defeating enemies that have small weak points, like Skulltulas and Beamos.
You also use it frequently while solving puzzles, since it lets you use your sword to interact with mechanisms like generators. If you attempt to do a thrust and you aren’t holding your Wii Remote level, you may end up doing a vertical slash instead. This can also be a sign that you need to adjust your grip on the Wii Remote.
Link’s Special Sword Strikes
Fatal Blow
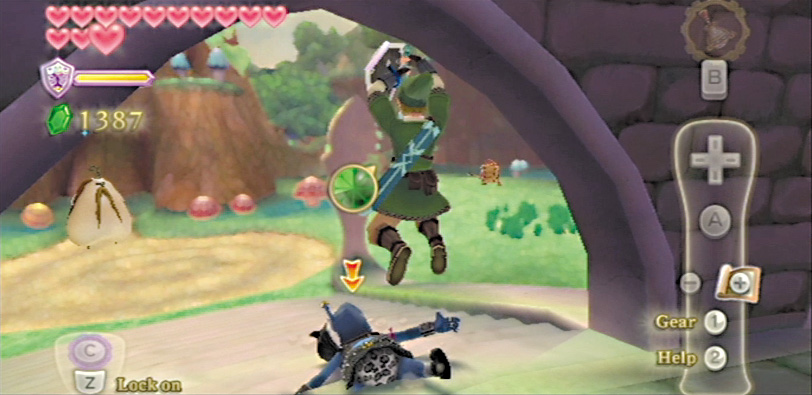
This is the Skyward Sword version of Link’s famous jumping sword attack from The Legend of Zelda II. While targeting an enemy that lies prone on the ground, move both the Wii Remote and Nunchuk sharply downward.
Jump Attack
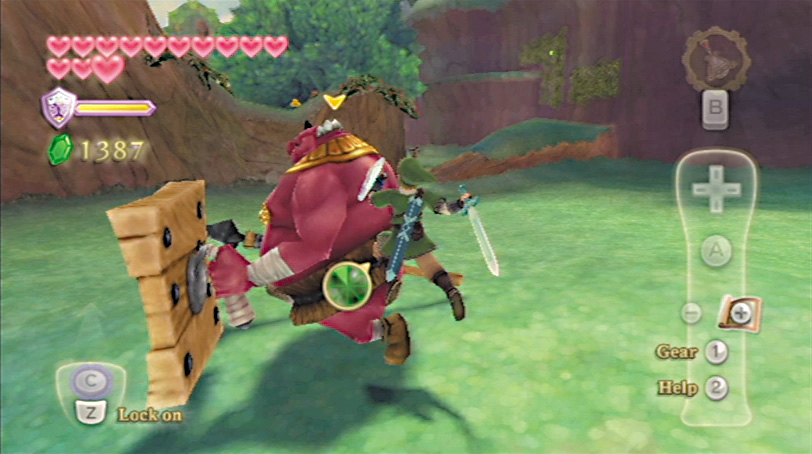
Move the Wii Remote while Link is dashing, and he executes his signature jump attack attack from Ocarina of Time (and other 3D Legend of Zelda games). This move can be very useful because it knocks enemies over, setting them up for Fatal Blows.
Horizontal Spin
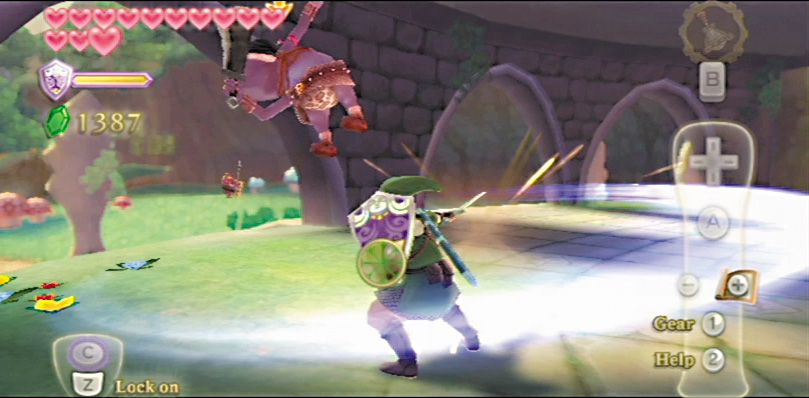
If you shake the Wii Remote and Nunchuk horizontally, Link performs a horizontal spinning slash that’s twice as powerful as an ordinary sword strike. This move drains Link’s stamina quickly, so you can’t rely on it in most battles.
Instead, it’s best saved for situations where many enemies are crowding around you or when you’re facing a particularly slow-moving enemy, like a Moblin. It’s extremely useful for chopping down grass when you’re scouring an area for hearts or Rupees.
Vertical Spin
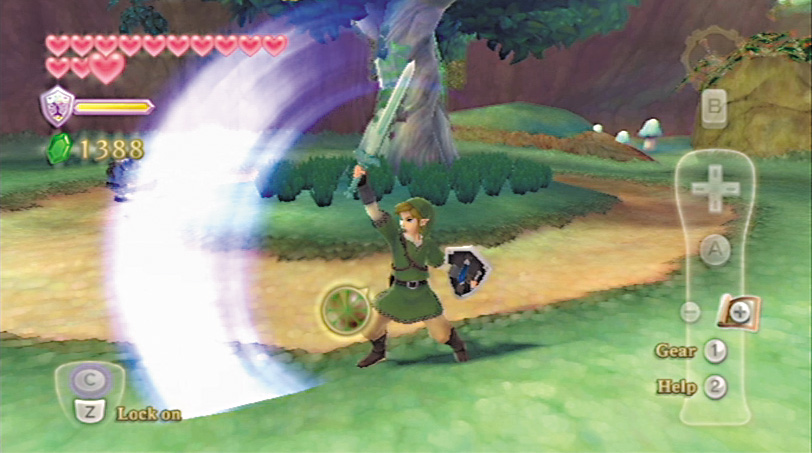
While the Skyward Strike doesn’t call for you to use the Nunchuk, it’s worth discussing here. Link can charge energy by holding his sword above his head, then use any of his basic sword strikes to launch a sword beam. This lets Link attack enemies from a safe distance or across gaps. Some enemies take extra damage from sword beams, too.
Skyward Strike
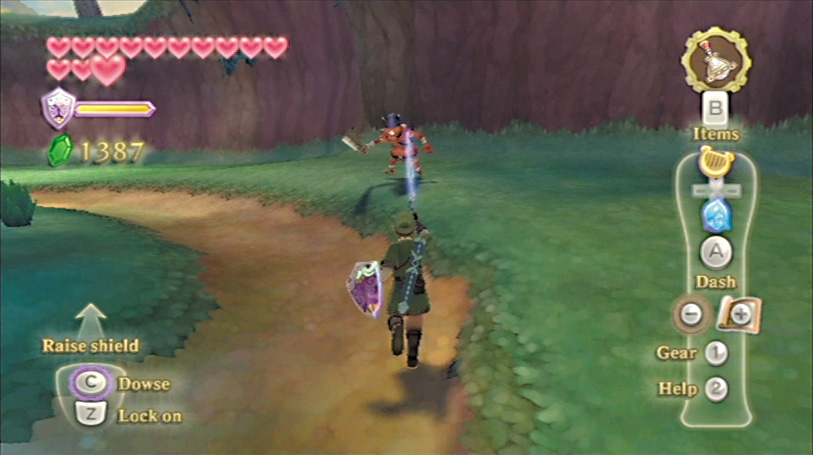
While the Skyward Strike doesn’t call for you to use the Nunchuk, it’s worth discussing here. Link can charge energy by holding his sword above his head, then use any of his basic sword strikes to launch a powerful Sword Beam that does twice as much damage as an ordinary sword strike.
To charge up a Skyward Strike, you must hold the Wii Remote in a perfectly vertical position (holding it over your head is not strictly necessary). If you’re doing this correctly, Link’s feet will move into position and his sword will begin to glow. Once the Skyward Strike is charged, you can launch the beam by doing any normal sword strike.
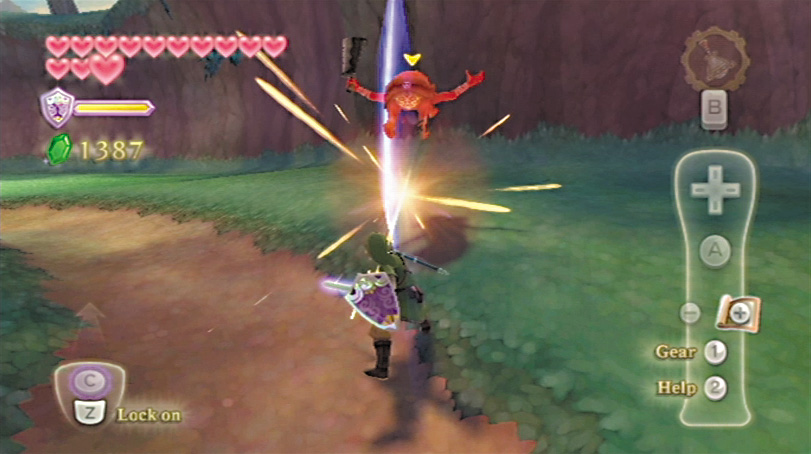
Because the Skyward Strike takes so long to charge, it’s rarely useful in heated combat. It’s typically more to your advantage to hit an enemy rapidly with regular sword strikes instead. That said, a Skyward Strike can sometimes be useful against enemies from a safe distance, such as across a gap.
Link's Shield
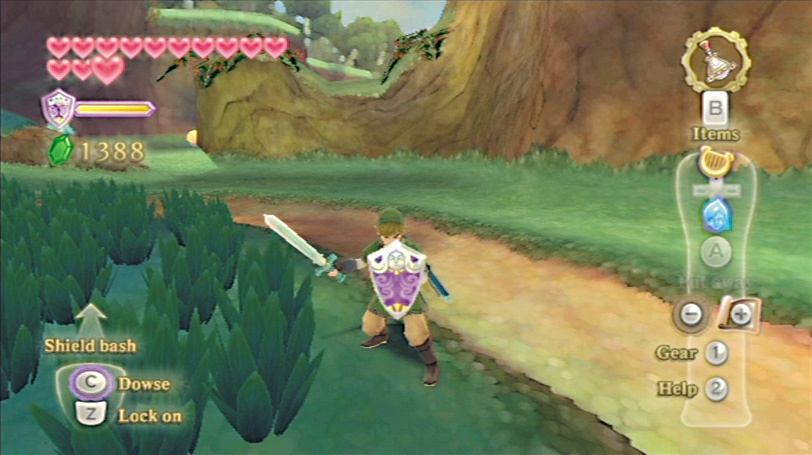
Link’s relationship with his shield is a bit different now, too. In previous games, the shield could deflect certain attacks but would offer little to no protection against others. In Skyward Sword, Link can use his shield to deflect almost any attack, but at a cost.
Now your shield has its own health meter, and if your shield takes too much attack damage, it will break. Once your shield is broken, it’s gone for good and must be replaced with a new one.
This means it’s important to consider when it’s better to absorb a blow with your shield or try to just dodge or interrupt an enemy’s attack. Also, different types of shields have different properties.
Wooden shields absorb electrical attacks well but can break instantly if damaged by fire. Iron shields handle fire well but are useless for defending against electrical attacks.
You now control Link’s shield with the Nunchuk. Shaking it causes Link to raise his shield into a defensive posture, but this forces Link to lower his sword. If you opt to have Link attack, then his shield is automatically lowered.
You must choose carefully when to defend and when to use your blade in Skyward Sword. You must also remember to equip your shield, as otherwise it’s possible for Link to carry a shield around without using it.
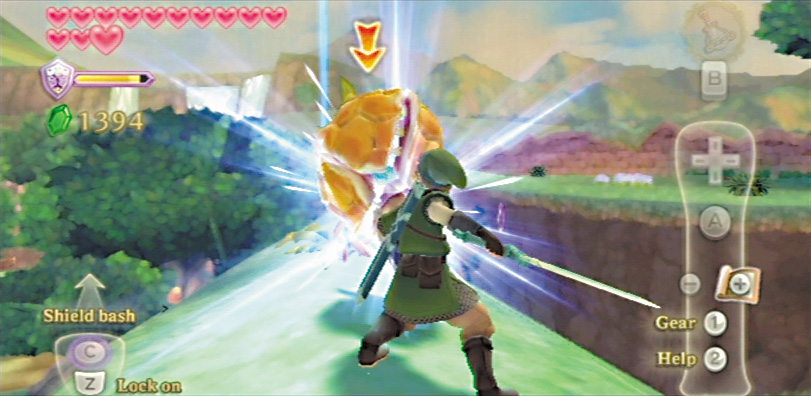
You can use Link’s shield to reflect attacks back at enemies or to interrupt them completely. You do this through a technique called shield bashing. If you shake the Nunchuk while Link is in a defensive posture, he swings his shield arm forward. If you time this properly with the enemy’s attack, Link’s shield bash can bounce projectiles or interrupt an enemy’s attack.
For some enemies, the timing required to properly shield-bash their attacks is so tight that it’s easier to try and overwhelm them with fast offense. Other enemies and certain bosses are extremely difficult to defeat until you learn how to properly shield bash their attacks.
Learning how to interrupt a particular enemy’s attack patterns with a well-timed shield-bash can be a painful and frustrating process early in the game, since only a few mistakes can result in a broken shield.
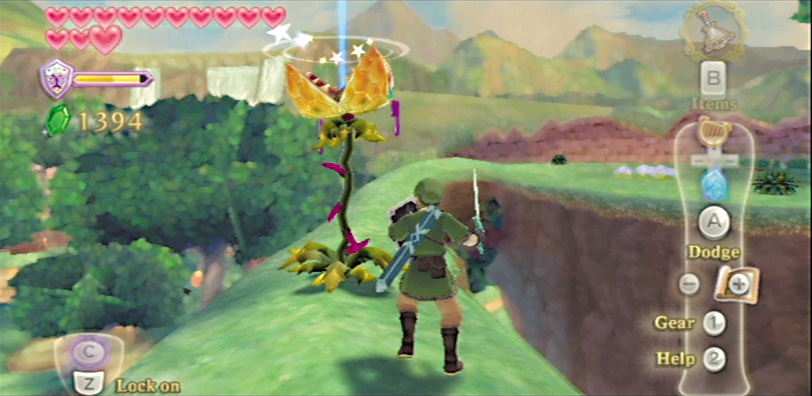
It’s still an absolutely essential skill for succeeding in Skyward Sword. When you successfully shield-bash an enemy attack, your shield takes no damage and Link also takes no damage.
A skillful player can use the shield to sail through many otherwise-dangerous fights without taking a bit of damage. In addition, many enemies will be staggered when their attacks are shield-bashed, which gives you an opening to attack them unopposed.
Using Tools
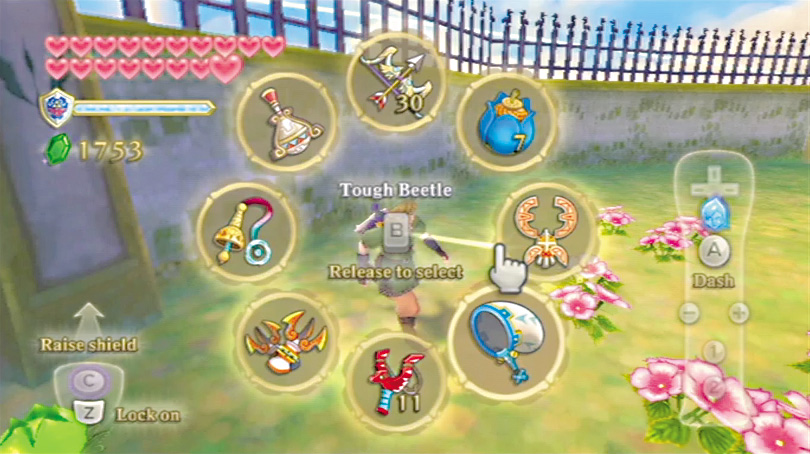
Through the course of his adventure, Link discovers eight special items he can use to help him explore previously inaccessible areas and defeat enemies more easily: the Slingshot, Bug Net, Beetle, Bombs, Gust Bellows, Whip, Clawshots, and Bow. Collectively, this guide refers to these items as tools, since they often help you solve problems and overcome in-game obstacles.
You equip one of these items by holding down B to bring up the tools menu, highlighting your selection with the Wii Remote’s pointer, and then releasing B.
Once a tool is equipped, you tap B to begin using it. The game does not pause while you’re switching between tools. Enemies can still attack you while you’re in the tools menu.
In practical terms, this means that you need to be really careful when you attempt to use tools or switch between tools during any sort of fight. Switching from a tool to your sword or shield is easy, though. If you shake the Wii Remote or the Nunchuk while Link is using a tool, he immediately puts it away and raises his sword or shield (as appropriate).
While prior Legend of Zelda games tended to feature enemies that were much more easily defeated by using certain tools rather than the sword, most enemies you can close to melee range within Skyward Sword are best battled with your sword and shield alone.
There are enemies that can be defeated using tools, but usually it’s best to attack these enemies from a safe distance with whatever you’re using. Link moves more slowly when using most tools and will have a hard time dodging attacks.
While some prior Legend of Zelda games made it possible and advisable to completely defeat bosses using particular tools like the bow or bombs, in Skyward Sword you typically use these items only to create opportunities to damage the boss with your sword.
You should only ever need to use one tool against any particular boss, usually the one you acquire in that boss’s dungeon.
The Adventure Pouch
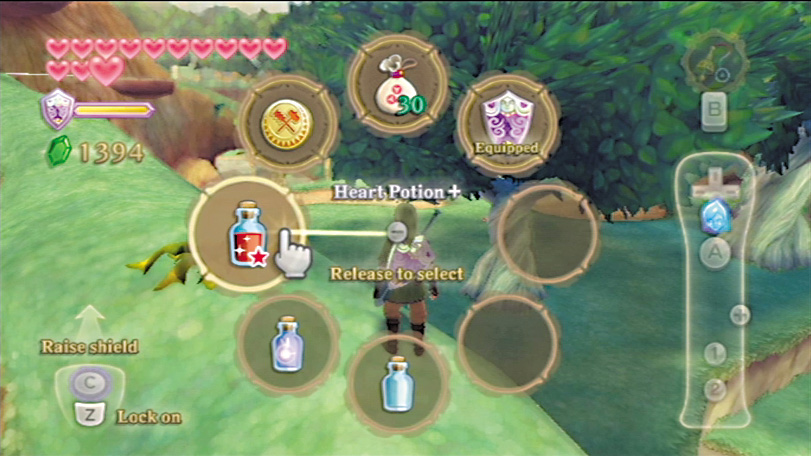
Skyward Sword introduces a separate real-time menu that you use to manage disposable and optional items that Link can use in combat. Press and hold - to bring up the Adventure Pouch menu, then select the item you’d like to use by highlighting it with the Wii Remote pointer.
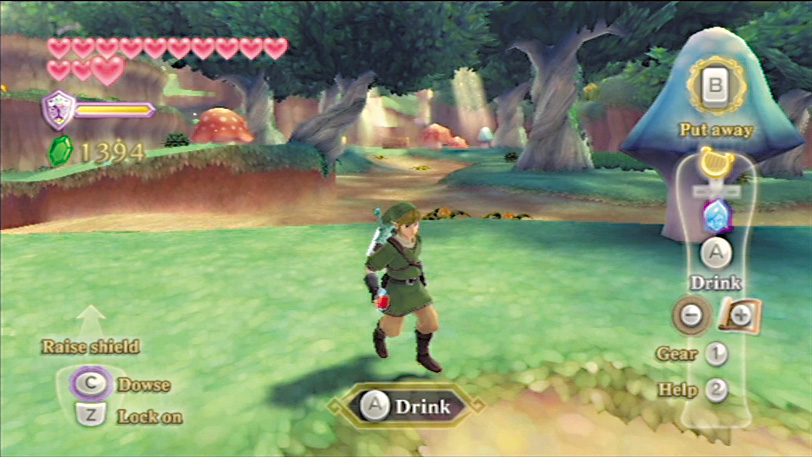
Some items you equip this way you then need to use other buttons to activate, like the Nunchuk for Link’s shield or A to drink a potion. Some items carried in the Adventure Pouch can have passive effects, like ammo bags, medals, or Fairies in bottles.
You begin with four slots in your Adventure Pouch and can acquire up to four more through the course of the game. Three of these slots you purchase from Beedle’s Airshop, while the fourth is found in one of the goddess’s treasure chests.
If you find a new item and don’t have space for it in your Adventure Pouch, it’ll go immediately into storage at the Item Check (which is discussed more in the “Walkthrough” chapter).
You can acquire far more items than you can carry even with an eight-slot Adventure Pouch, so you’ll have to make decisions about what you do and don’t want to carry pretty early in the game.
Since the Adventure Pouch is also a real-time menu, using potions to restore health in tense battles (like boss fights) is a little more complicated in Skyward Sword than it was in previous Legend of Zelda games.
To restore health in a boss battle, you’ll have to successfully retreat from the boss, find a safe spot on the battlefield, and manage to drink down the potion before the boss connects an attack.
Though even basic Heart Potions restore more life, it can be useful to carry Fairies in your bottles instead just because a Fairy will revive you automatically upon death.
The Stamina Gauge
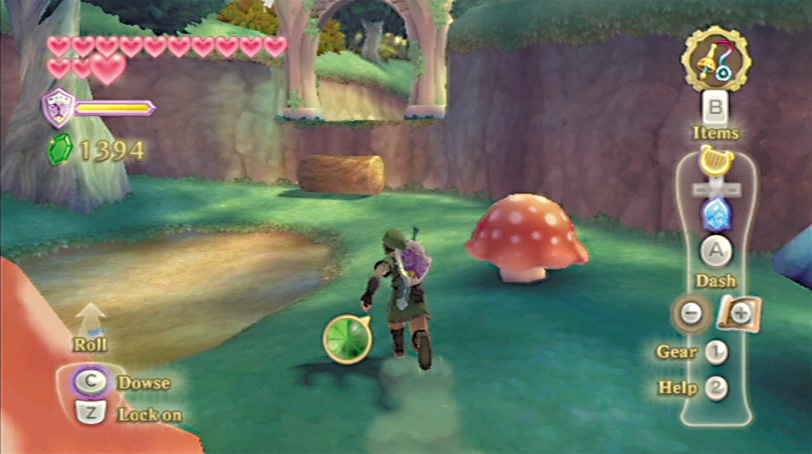
While the stamina gauge isn’t part of the game’s Wii MotionPlus controls, it’s still a new element that you’ll need to carefully manage throughout the course of your adventure. The simplest way to explain the stamina gauge is that it measures how long Link can exert himself before he gets exhausted.
Any activity the game considers unusually strenuous will deplete Link’s stamina. This includes dashing (running while holding down A), spin-slash moves, dangling from ledges, carrying heavy objects, and climbing along vine-covered walls.
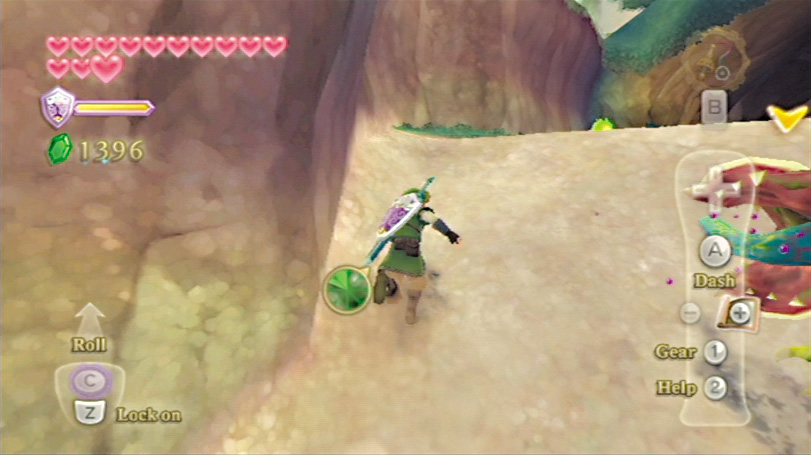
Whenever you do something that drains stamina, the round green gauge appears to the left of Link. As the gauge drains, Link begins to sound more tired and the gauge starts to flash red.
If Link stops exerting himself, say by moving at a normal pace, then the stamina gauge will slowly refill itself. If you let the stamina gauge run all the way down, then you’ll be forced to deal with some fairly serious consequences.
When Link’s stamina runs out, he becomes exhausted. Once exhausted, Link can no longer move at a pace faster than a slow walk. If he is dangling from a ledge or wall, he will immediately fall from it.
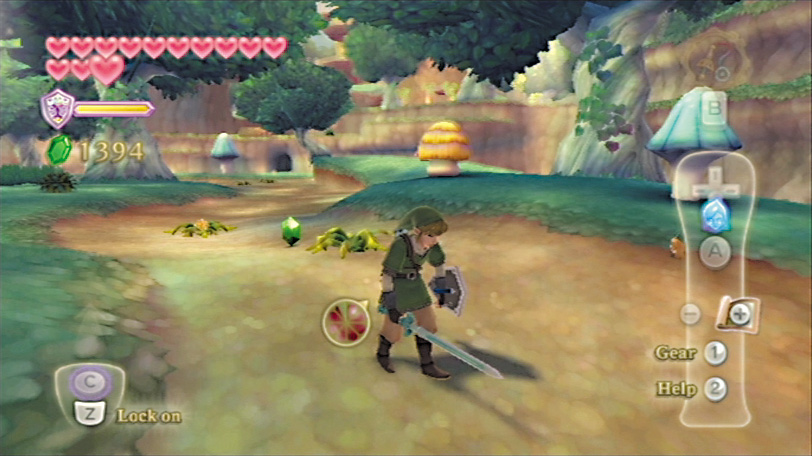
He can’t dash or use any of his tools, his sword, or his shield until his stamina gauge has fully refilled. An exhausted Link is a sitting duck that bosses and strong enemies can easily kill, regardless of how many hearts Link has. Becoming exhausted while dealing with certain environmental hazards, like sinksand or conveyor belts, can instantly kill Link.
The simplest way to make sure Link doesn’t become exhausted is to keep an eye on his stamina gauge. Some areas where Link must dash or climb will be dotted with Stamina Fruit, a resource that will completely restore Link’s stamina if he touches it.
These items replenish automatically and can be the only thing to make a dangerous area passable. You can buy a potion called the Stamina Potion that makes your stamina reduce more slowly or, if you enhance it, makes your stamina stay constant for three minutes no matter what you’re doing. Using this potion is subject to all the limitations of using any other item from your Adventure Pouch.
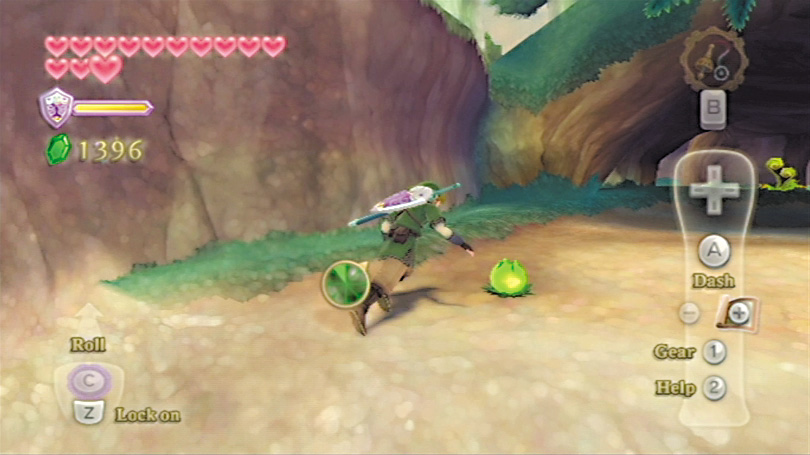
It’s important not to do things that drain Link’s stamina gauge needlessly. Don’t fight enemies with spin-slashes if you can defeat them just as easily with standard sword techniques, which won’t drain your stamina.
Don’t dash unless it’s necessary to escape an environmental hazard, clear a jump, or retreat from a strong enemy. Definitely don’t dash or use stamina-draining attacks needlessly when fighting bosses. When it comes to managing Link’s stamina, Skyward Sword is a game that calls for a cautious approach.
Saving Your Game
In most Legend of Zelda games, you can choose to save your progress at any time. This is not the case in Skyward Sword, where you can only save your progress at bird statues scattered throughout Skyloft (your hub city) and the surface world below.
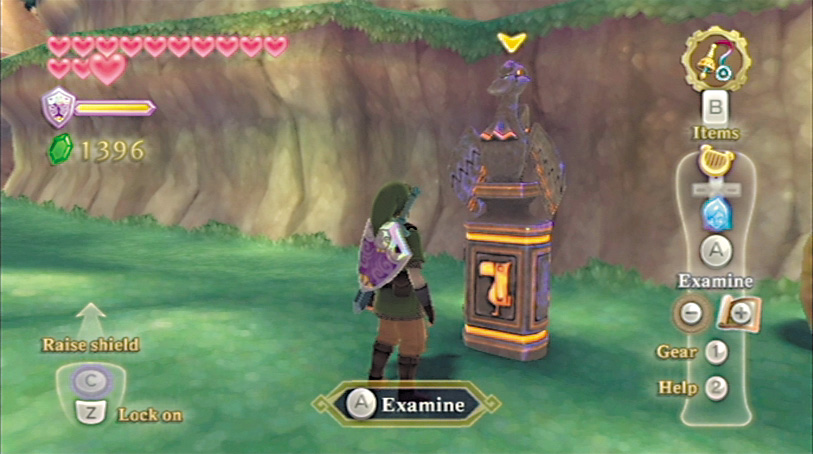
The bird statues are rather similar to the Owl Statues found in Majora’s Mask, but the saves you make at bird statues won’t be erased after you load them. Bird statues in Skyward Sword basically work like the save points you’d encounter in a typical console RPG.
Bird statues in the overworld are connected to Skyloft in a way that is without precedent in the Legend of Zelda series. When you visit a bird statue located on the surface world, you’ll have the option to return automatically to Skyloft if you wish.
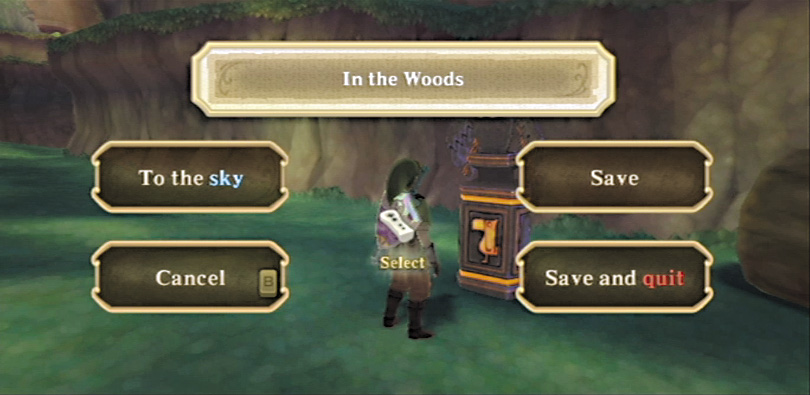
If you visit a bird statue in a dungeon, you can’t return directly to Skyloft but you can return directly to the beginning of the dungeon. Most dungeons have bird statues by the entrance, so effectively this lets you quickly leave a dungeon at any time and return to Skyloft.
The ability to return to a safe hub area full of shops at any time has a major impact on the flow of the game. In most Legend of Zelda games, you want to prepare carefully before you enter a dungeon.
If you get overwhelmed or run out of items, backtracking can be just as dangerous as moving forward. In Skyward Sword, most dungeons are designed with shortcuts that you can trigger as you explore the location. So it’s easy to leave a dungeon, resupply at Skyloft, and then quickly make your way back to the point in the dungeon where you were originally.
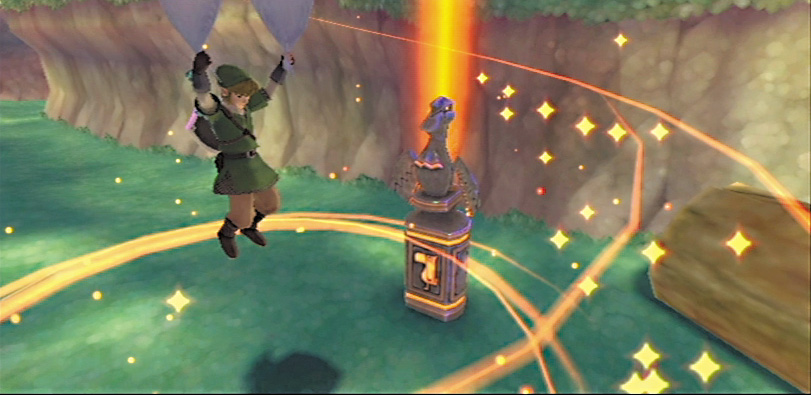
While you’ll want to be fully supplied before fighting a dungeon’s boss or sub-boss, you don’t need to be as careful when exploring Skyward Sword’s dungeons as you needed to be in prior games. Whenever a dungeon is too much for you, it’ll be easy to get out. If you get killed in Skyward Sword, you have the option to quit and simply reload your last save.
You can also choose to continue, but if you do so then any items you consumed before you died will still be gone. So if you drank a bunch of potions or broke your shield, those resources are gone.
Crafting Items
In most Legend of Zelda games, obtaining an enhanced item like a better bow involved having to find or earn it somehow during the course of the game. In Skyward Sword, Link can create improved equipment himself.
While fighting enemies and exploring, Link will run across 16 different types of material that he can collect. If he takes these materials to the game’s Scrap Shop and has enough Rupees on hand, he’ll be able to take a weak item like the basic Wooden Bow and forge it into the enhanced Iron Bow (or, given time, the Sacred Bow).
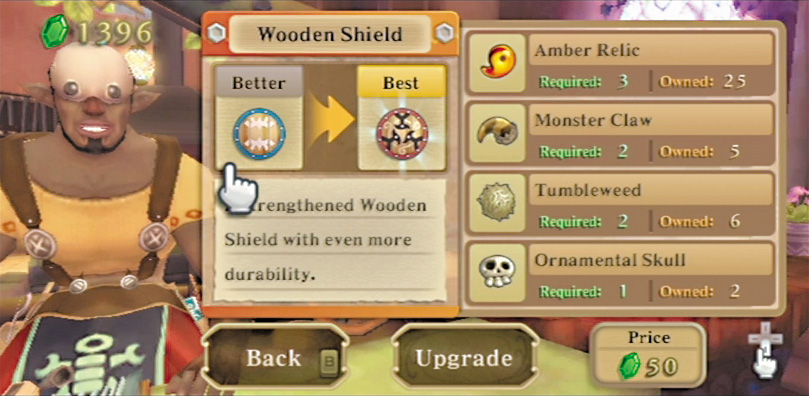
Being able to enhance items changes the flow of the game somewhat. Creating the best shield possible is always a priority, since stronger shields can absorb more damage before they break. Instead of being able to acquire certain equipment at set times, you may find you can make it very early in the game if you get some lucky drops.
By the same token, you may have to set extra time aside during gameplay for gathering materials and improving items. While many of the materials you’ll use regularly can drop when you defeat enemies, there are also many types that can only be found in certain locations or obtained by using a certain tool in a certain way.
One particular vintage Legend of Zelda activity, hunting for bugs, is purely part of item crafting in this game. You can infuse bugs you’ve caught into certain potions, allowing Link to make far more powerful potions than the ones for sale at the game’s Potion Shop. As a trade-off, catching bugs is now more difficult, to balance out the powerful potions you can create with them.
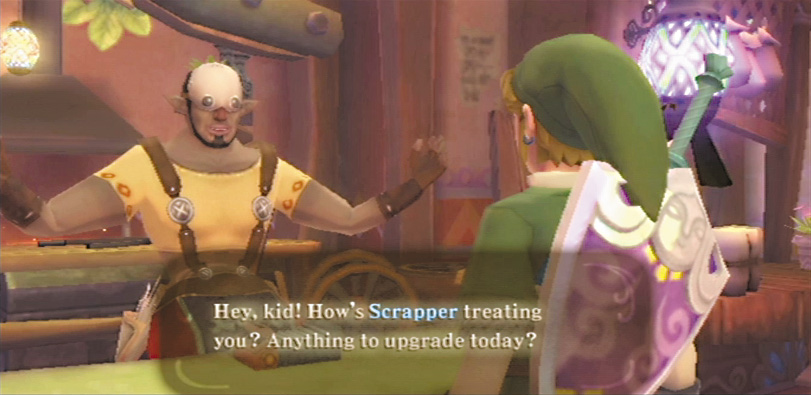
As you play through the game, keep an eye on where you can find certain materials and how much of certain important types you’ve acquired. It’s always worth taking a trip back to Skyloft to improve equipment if you’ve gathered up the right materials for it.
Note that the vast majority of the item crafting you can do in Legend of Zelda is both completely optional and not at all necessary if you just want to beat the game and see its ending.
The walkthrough recommends crafting a handful of items that can make the game dramatically easier for you early on, but it’s very possible to make virtually every major item in the game well before you reach the game’s last few dungeons.
Likewise, item crafting has led to a change in the role of the Hylian Shield in this game, where it’s both far more powerful than ever before and far less necessary to completing the game.
For more information about item crafting and item data, consult the “Items, Equipment, and Crafting” section. For information about the Hylian Shield, consult the “Secrets and Side Quests” chapter.