
How to Complete The Gasas Shrine in Tears of the Kingdom (TOTK)
Well-Timed Cuts
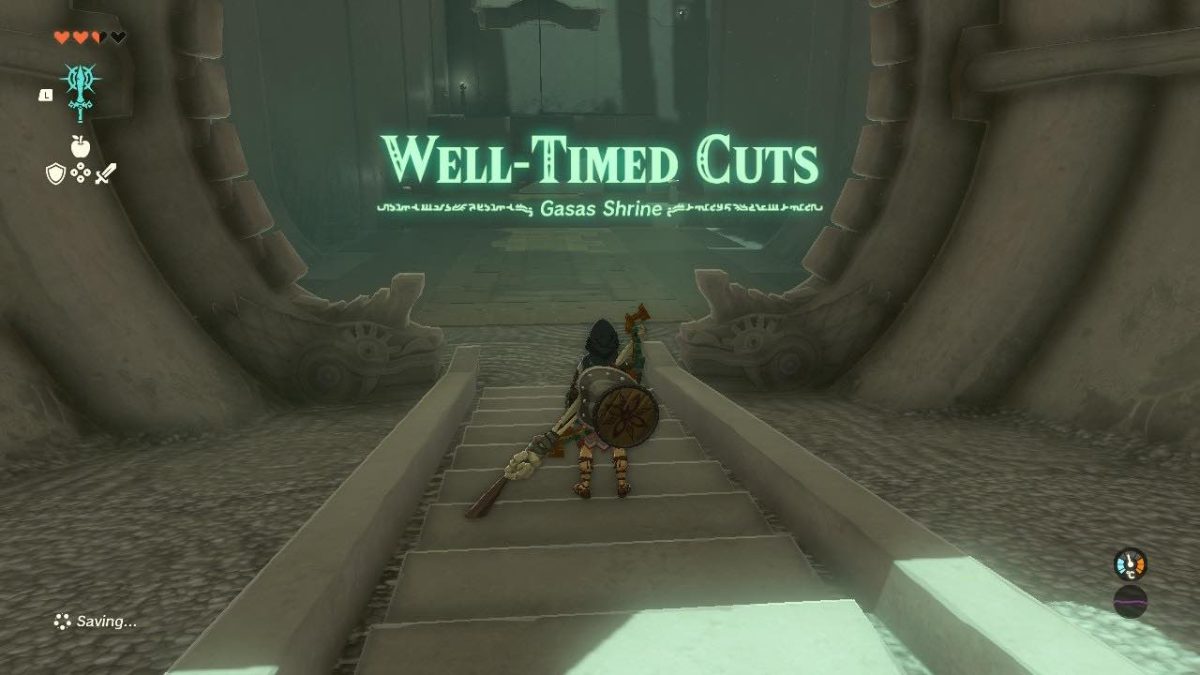
The skill to complete the Gasas Shrine in The Legend of Zelda: Tears of the Kingdom is all about precision with the bow and building bridges and stairways. Here in this post, I’ll not only guide you through the steps to receive your Light of Blessing and treasure chest but also help you locate the Gasas Shrine in The Legend of Zelda: Tears of the Kingdom.
Now let’s begin the walkthrough on how to find and complete the Gasas Shrine.
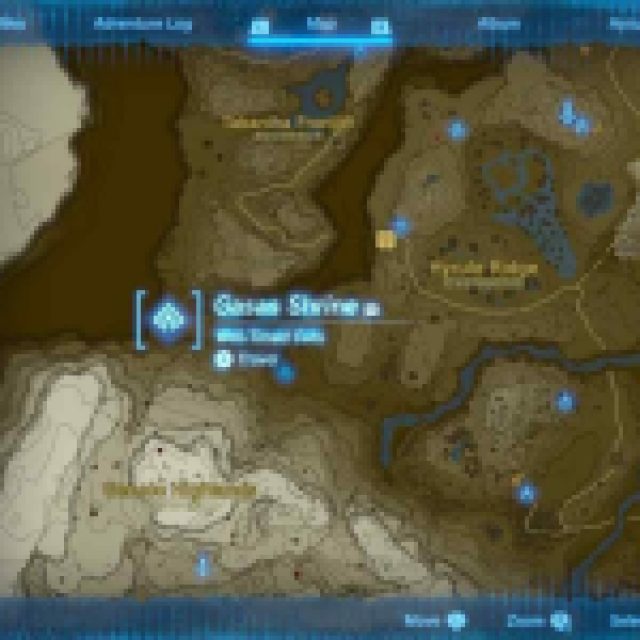
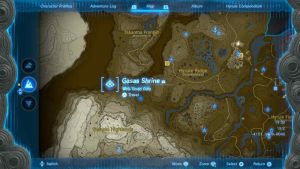
The Gasas Shrine Location in TOTK
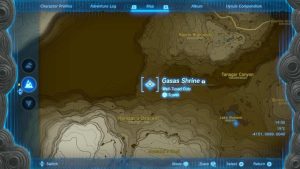
The Gasas Shrine is located close to Tabantha Bridge Stable and sits between the Rayne Highlands, Tanagar Canyon, and Hemaar’s Descent. If you can see windmills in the rocky, dry mountain region, you’re in the right place. It’s located at coordinates: (–4151, 0099, 0040).
The easiest way to get to the shrine is to travel from the Tabantha Bridge Stable and cross the Tabantha Bridge. Once you’ve crossed the bridge, get off the Tabantha Bridge path and head in the direction of Tanagar Canyon. As you get over the mountain peak, you should see the shrine shine green and blue in the distance.
Gasas Shrine Walkthrough
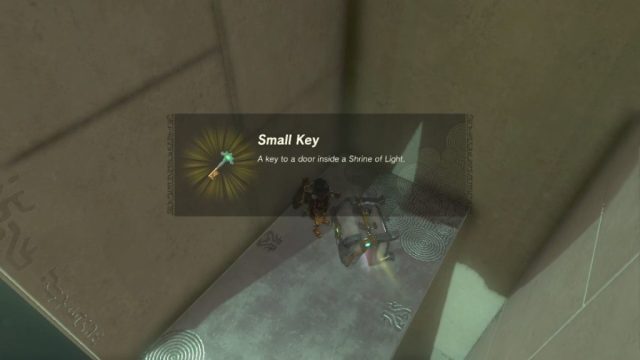
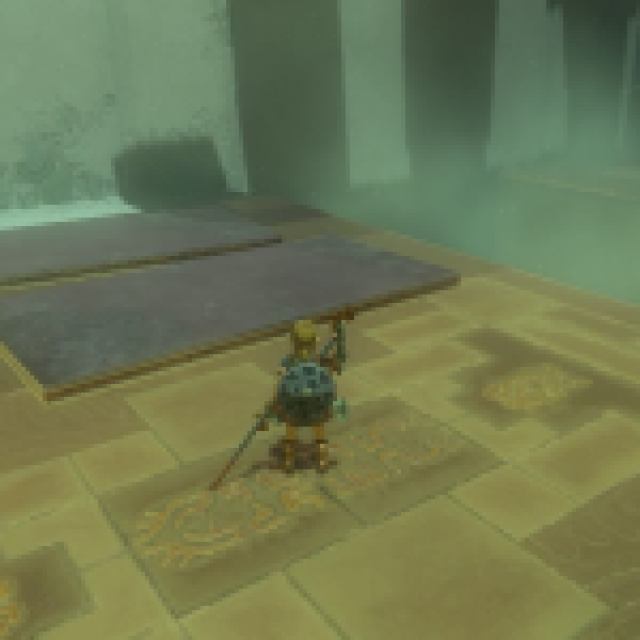
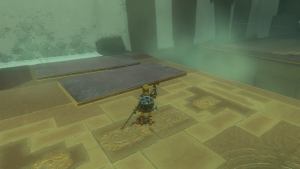
It’s all about well-timed cuts, as the title of the shrine suggests. You need to use your bow excessively and shoot precisely to move between rooms. There are three rooms, with a closed gate separating each room. In this puzzle specifically, you’ll need to collect a key from a treasure chest that is placed high up to open one of the gates in the Gasas Shrine puzzle.
You’ll also need the following abilities and weapons:
- Ultrahand Ability
- Ascend Ability
- Bow
- Arrows
Top Tip: If you’re low on arrows, break the wooden barrels standing in the room. Arrows should fall out after you break them. To save your weapon when breaking the barrels, use Ultrahand to lift it into the air and drop it on the ground.
Step 1: Cut the Rope for the Box to Drop
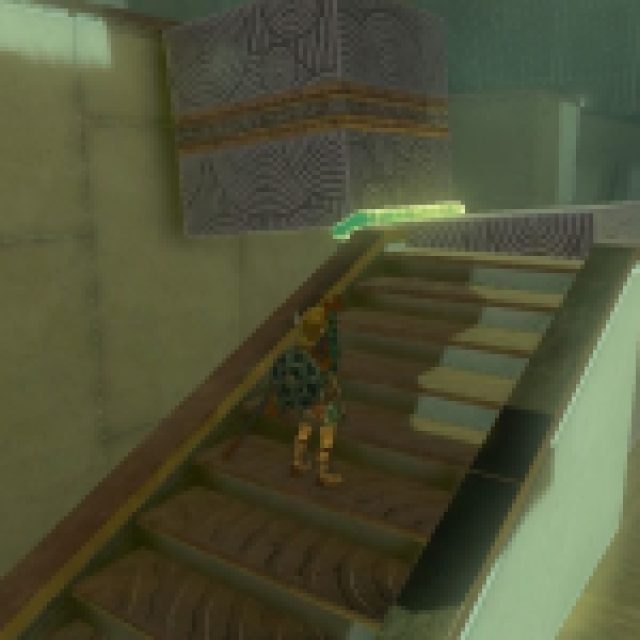
When you walk into the room, you’ll see a box hoisted in the air by a strand of rope dangling from a shoot. Walk up to it and take out your bow (hold ZR). While holding ZR, point and aim directly for the length of the rope and release the button.
The box will drop into the little gap that you need to get across. Use the big box as a walkway to the other side and onto the next platform. The box that dropped to the ground will also be used for the next step in the puzzle. Now on to the next step: build yourself an ascending platform.

Step 2: Ascend to the Top
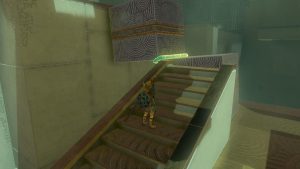
Now you’ll have two boxes at your disposal: one from the first step and the other standing by the staircase. You need to join the two boxes using Link’s Ultrahand ability to get to the upper level.
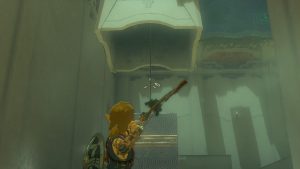
Unleash Ultrahand (hold L to open Link’s ability wheel and press to the right to select Ultrahand) and collect the box from the first phase. Walk over to the staircase and attach the boxes (press A when positioned correctly), as illustrated in the images below. Even if it’s not placed perfectly, it’s fine.
Related: Tears of the Kingdom – How To Get The Shrine Sensor In TotK
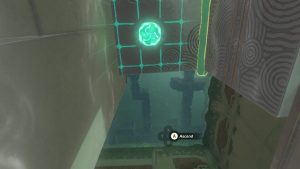
Head down the stairs and walk under the box you just placed between the two sections. Open Link’s ability wheel again (hold ZL) and activate Ascend by holding up on the right analog stick. Ascend (press A) to the top of the box, and exit the floor once at the top of the box (press A). Once at the top, get ready for the next step: getting to the other side.
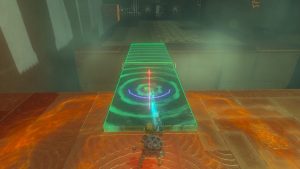
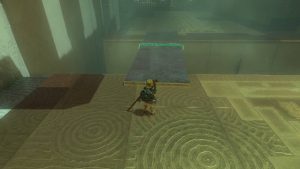
Step 3: Create a Bridge to Cross
To get to the other side of the room for the next two steps, you need to join the two boards lying on the ground to make a bridge by using Ultrahand (don’t forget to swap from Asecend to Ultrahand by holding L and using the right analog stick to select a power). Using Ultrahand again, move the joint boards over to the gap and place the newly constructed bridge over it.
Side note: Can you get to the other side by gliding? No, you cannot get to the other side of the room by gliding. I’ve tried, and I’ve gotten the same result over and over. Save your hearts for a more important outing in the game instead of trying a trick that might not work.
Walk over the newly constructed bridge to the other side and get ready for step 4: another two well-timed cuts.
Step 4: Two Cuts for the Key
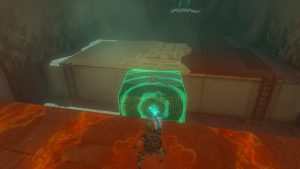
The first part of step 4 is to pick up the bridge (tap L) you’ve just built and walk to the right side of the room, where there is a chest hanging from a rope above a platform. Drop the bridge (press B) over the platform to create another bridge. This time, you’re not using it to cross but rather as a drop sheet for the chest. The images below show how it should be placed.
Standing in front of the chest, draw your bow (hold ZR) and aim for the rope to perform the second cut. Release ZR and cut the rope for the chest to drop onto the board. Now head to the box in the opposite corner and use Ultrahand (press L) to control it. Attach the box to one end of the bridge you built earlier.
Once complete, use Ultrahand on the bridge and head to the section where there is a chest hoisted high in the air and hanging out of a shoot by a piece of rope. Place the bridge underneath it, using the box as a weight, as displayed below. Draw your bow and drop the treasure chest with a well-timed cut. Collect your loot.
Tip: Try to place the platform in the middle with a little space on both sides of it. When the box falls, it will bounce and might bounce off the platform.
After the box drops to the platform, get to it and open it. You’ll receive a key to open the second-last gate of the Gasas Shrine and move over to the last step: the fourth and final cut.
Step 5: The Final Cut
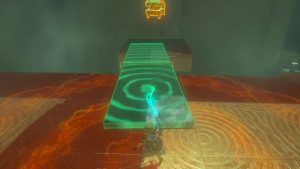
Carrying nothing over with you from the second room to the third, walk through the gate you’ve just opened and look for a big ball hanging from a rope and from a shoot. Of all the cuts, this one will be the trickiest, as you’ll need to be impeccable with your timing to get it right.
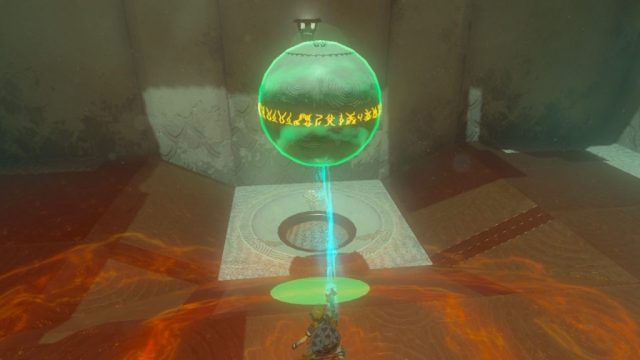
The objective here is to move the ball from the rope to the center of the circle on the other side of the room. Walk to the ball attached to the string and use Ultrahand for the second-last time. Grab the ball (press A) and move it up in the air, as displayed in the image below. Once there, drop the ball (press B), creating a pendulum swing back and forth.
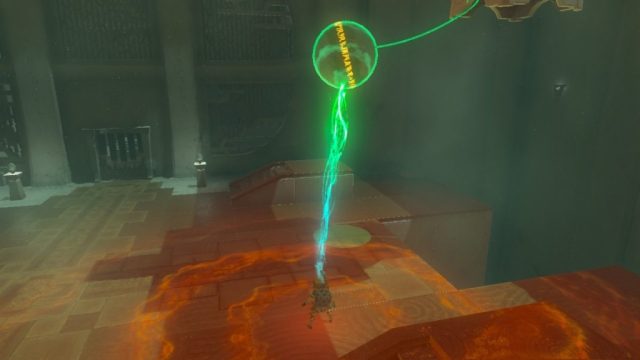
Now ready your bow and arrow (hold RZ). Once the ball swings over the area where there is enough of the floor underneath it, aim, release RZ, and fire for the string for the final, well-timed cut.
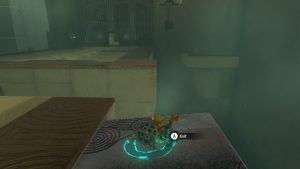
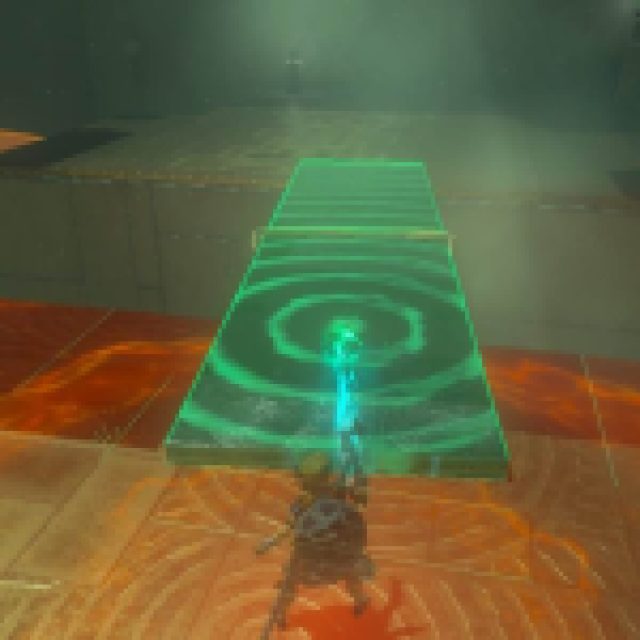
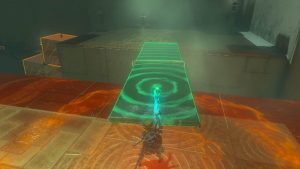
The ball should drop to the floor and roll. If it rolls in the direction of the gaping hole it was hanging over, use Ultrahand (tap L) quickly to grab it (press A). Move with the ball under your control to the opposite side of the room and drop it in the center of the circle on the floor.
The exciting tune of success will play in the background, the final gate will open, and you can now go and collect your Light of Blessing.
There you have it: how to complete the Gasas Shrine in Tears of the Kingdom. If you’re on a mission to increase your stamina or hearts with Blessings of Lights, and you are completing all the shrines, try How to Complete Oromuwak Shrine in Tears of the Kingdom (TOTK) for your next Light of Blessing.