
How to Complete Oromuwak Shrine in Tears of the Kingdom (TOTK)
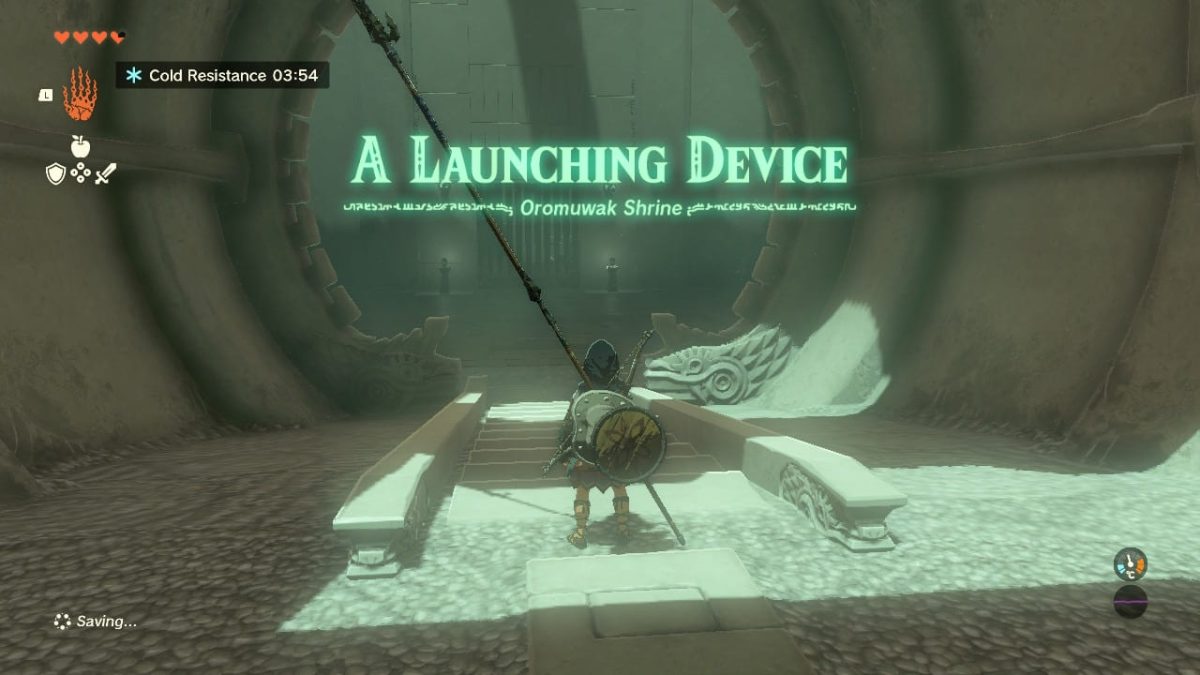
A Launching Device
In this one, I will be helping all players locate and complete the Oromuwak Shrine in The Legend of Zelda: Tears of the Kingdom with four simple steps. Whilst it is one of the more straightforward puzzles to solve, you could find yourself repeating your same attempts without applying simple science.
To get started, and before we get into the guide on how to complete the Oromuwak Shrine in Tears of the Kingdom, let’s first see the easiest way to get to it and where it’s located on the map.
Where’s Oromuwak Shrine in TOTK Located? Coordinates: -3079, 1617, 0243
The Oromuwak Shrine is located just on the tip of the snowy highlands region of the Hebra Mountains, where the weather is below freezing and the gusts of wind cause gliding problems. It’s called Tabantha Frontier.
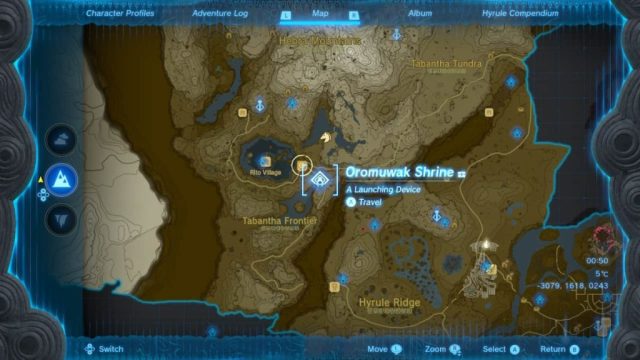
The shrine is close to Rito Village and Lucky Clover Gazette and can be seen on the mountain’s edge from the latter. The quickest way to reach Oromuwak Shrine is to fast travel to Rospo Pass Skyview Tower and pass Lake Totori, Rito Village, and Lucky Clover Gazette.
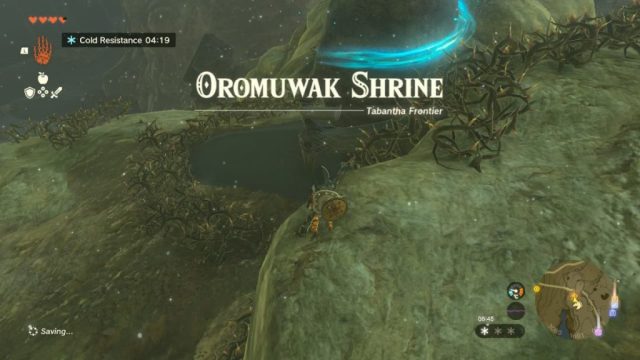
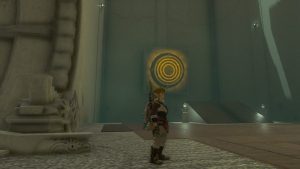
When traveling on foot or riding horseback, the Kolami Bridge path is the one that runs past it on the right, making it the easiest route to reach it. When you’ve climbed up the mountain and located a field of thorns, you’ve found the shrine. To reach the entrance, glide past the thorns by jumping off the ledge and gliding to the front of it.
Now let’s get into how to solve the puzzle inside Oromuwak Shrine.
Oromuwak Shrine Walkthrough
To get the job done effortlessly, you’ll need the following weapons and abilities: keep in mind that these methods worked best for me, but I can assure you that in this game and with all shrines, one size does not fit all, and there are multiple ways to complete a shrine puzzle.
You’ll require the following to pass the test:
- Zonia Rockets (In the room, lying around),
- A weapon to throw away,
- Fuse Ability, and
- Ultrahand Ability.
Step 1: Fuse Weapon & Hit the Target
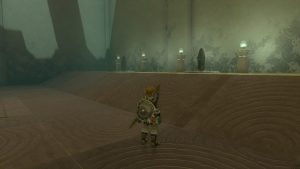
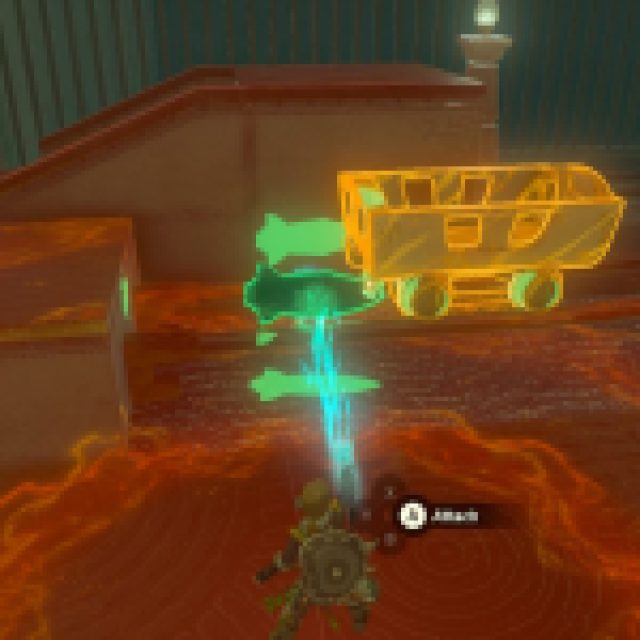
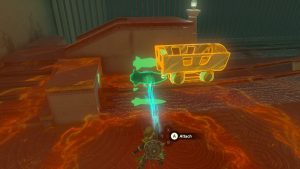
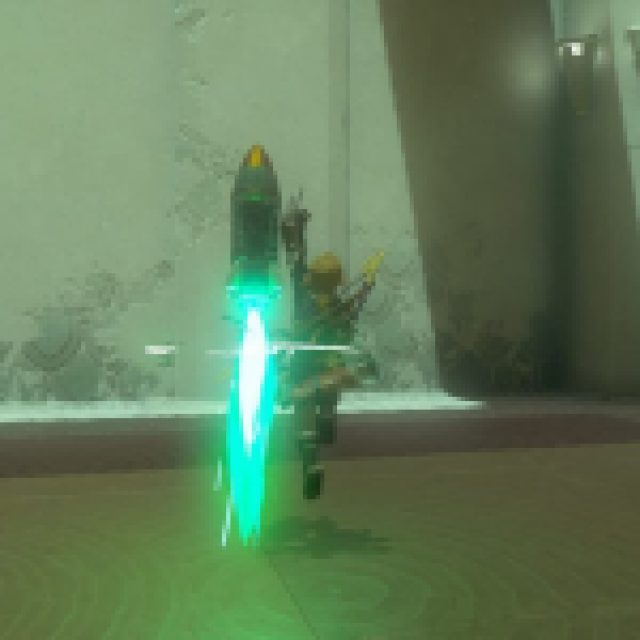
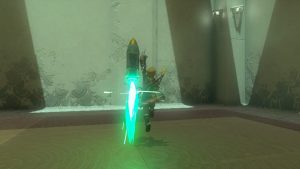
When you walk into the room, you’ll notice a large bullseye to the left and Zonai rockets to the right, as per the images below. Head to the right side of the room towards one of the rockets. Open Link’s ability wheel by holding L and pressing down on the right analog stick to select the Fuse power.
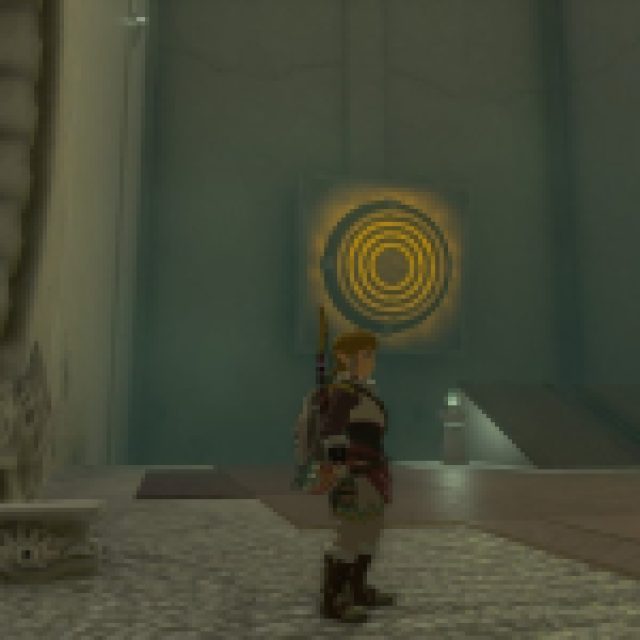
The prompt to fuse with your shield (press ZL) or weapon (press Y) will appear (your weapon and shield can be drawn or not; it will still prompt you to fuse). Press Y to fuse the rocket with your weapon.
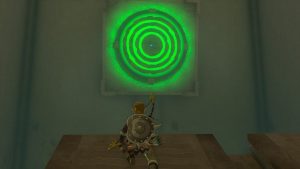
Once complete, walk over to the flashing bullseye target and stand on the little ramp. Once positioned perfectly, hold R to throw your weapon. Your aimer reticle will appear once you start holding R. Aim for the target and then release R. Your weapon will “rockoff” into the target, and the first gate will open. On to the next step.
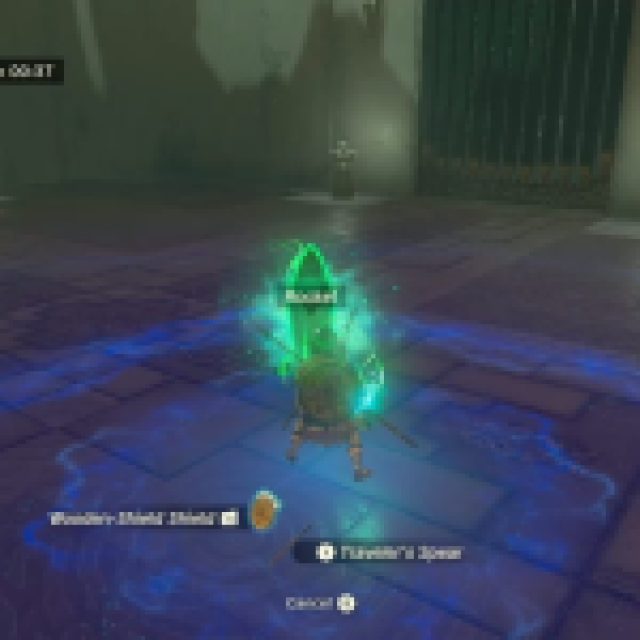
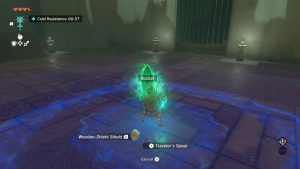
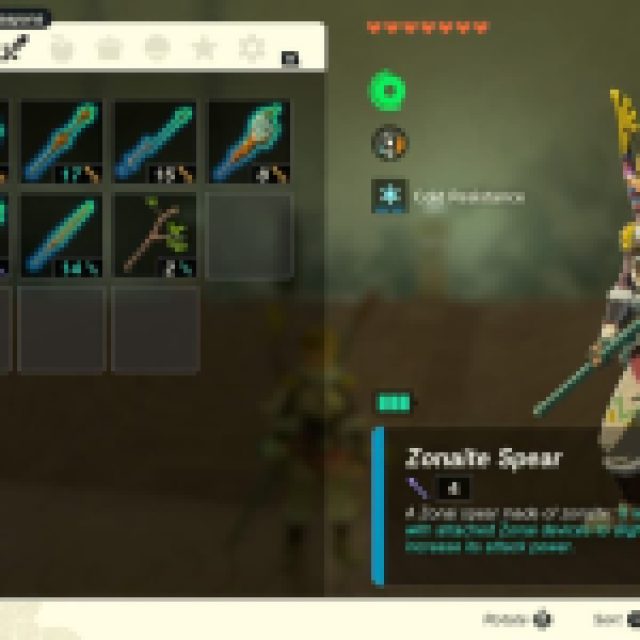
In my case, I used a spear, as it is one of the best throwing weapons and looks pretty damn cool when you throw one with a rocket attached to it. In the image below, you’ll see the spear and the rocket I used to complete the first step.
Step 2: A Short Oromuwak Shrine Rollercoaster Ride
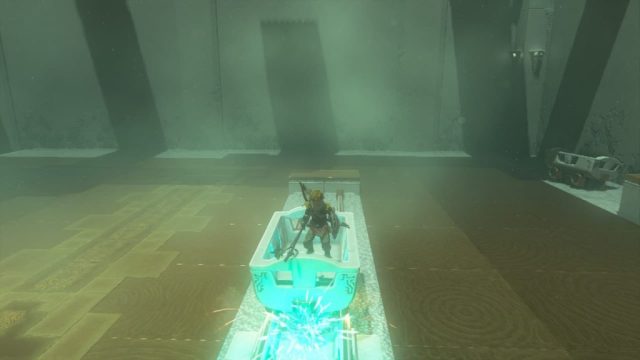
Before walking through the gate to enter the next room, go to the rockets again and unleash Link’s Ultrahand by opening the ability wheel and holding to the right on the analog stick. Grab the rocket and head over to the second room, where you’ll see a mining cart already on the tracks leading to the upper level of the second room.

With the rocket still under the control of Ultrahand, attach it to the back of the little cart on the tracks. Attach it to the front end, and you’ll be nose-diving. It might take a few attempts until you attach it to the back. It needs a rear-end boost to lift the nose so it can accelerate up the track easily.
Once your rocket is connected, get into the cart from the staircase provided. Now that you’re in the cart and ready to take the short ride, hit your Zonai device with a weapon, and the cart will make the trip up the railroad tracks. The tune of great success will play in the background, and you’ll be ready for the next step: getting the treasure chest.
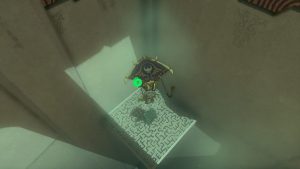
Step 3: Get the Treasure Chest
On the upper level of the shrine room, the treasure chest is located just above you on a transparent platform. This little podium in the corner is too high to use the Ascend ability. To get the treasure chest, you’ll need another Zonai rocket and one of your shields with no attachments.
Related: How to Complete the Ren-iz Shrine in Tears of the Kingdom
Using Link’s Fuse ability again, fuse one of the rockets lying on the floor to your shield (ZL). Standing just in front of the platform and not directly underneath it, hold ZL again to activate the rocket and launch the swordsman into the air.
You’ll hit the roof and start gliding automatically as soon as you do. Glide down to the platform, land on it, open the treasure chest, and receive the reward you so rightly deserve. Make your way back down to the ground and get ready for the fourth and final step: getting your Light of Blessing.
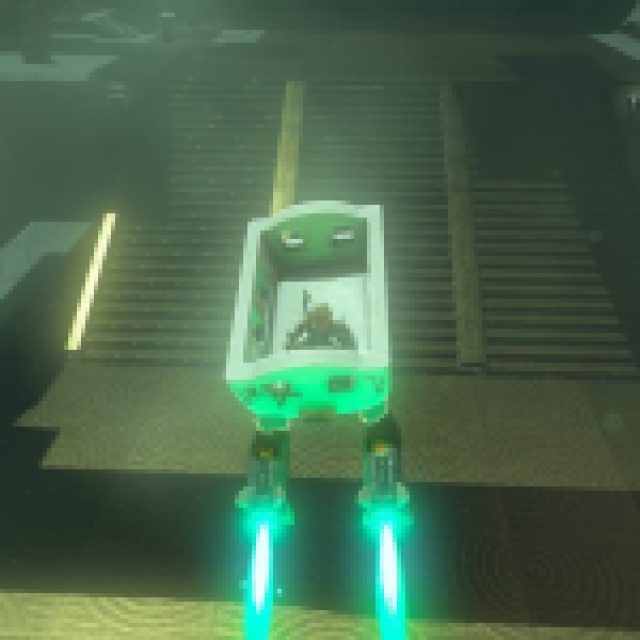
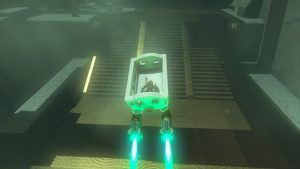
Step 4: Making a Launching Device
Using Ultrahand, attach not one but two rockets to the back of one of the mining carts lying around. Place the rockets at the bottom of the cart, close to the wheels. Take the cart using Ultrahand and place it in one of the three groves. It won’t fit perfectly, but it will fit.
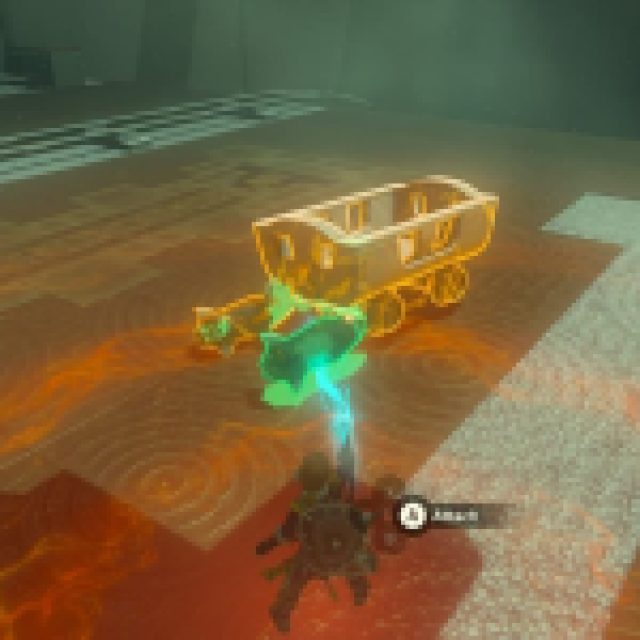


Get into the cart, take out your weapon, do a countdown if you must, and hit the Zonai rocket (Y). Your device will launch into the air and over to the other side. Mission complete! Head over to Rauru and Sonai, collect the Light of Blessing, and be on your journey again.
Top tip: If you don’t have any cold-resistant armor or clothing, don’t forget to have your cold-resistant meal or meals ready for when you exit Oromuwak Shrine.
Talking about cold-resistant meals, if you are looking for a more permanent solution, you can buy yourself some cold-resistant armor. Read the guide on Where to Find Warm Clothes in Tears of The Kingdom to limit using all of your resources on meals. The location where the armor pieces are found is not far from Oromuwak Shrine.