Best Jump Shots in NBA 2K25 | Jump Shot Creator Guide
My shot, my rules.

There are literally over a hundred, maybe even a thousand, types of jump shots in NBA 2K25. They are all based on different past and present players with varying requirements. Choosing a jump shot for your player can be overwhelming because even if you have a favorite player, the jump shot animation might not suit your timing or preference. Most players look to create their own jump shot using the Jump Shot Creator. So, we’ll give you the best Jump Shot in NBA 2K25 based on your preference by guiding you through creating your own jump shot using the creator tool.
How to Create the Best Jump Shot in NBA 2K25’s Jump Shot Creator


While jump shots can be a bit subjective, let’s look at things that we can objectively say are better. For example, players prefer either a fast release (quick-timing jump shots) or a high release point for greens (better timing stability).
If you can time your jump shots perfectly on quick releases, you are better suited for jump shot animations with faster release speeds. Objectively, this is better because defenders won’t have time to close out on your shot if you have a quick release. Subjectively speaking, players not used to quick releases will miss the timing and miss the shot anyway. This is why we want you to create a shot that is perfect for your play style.
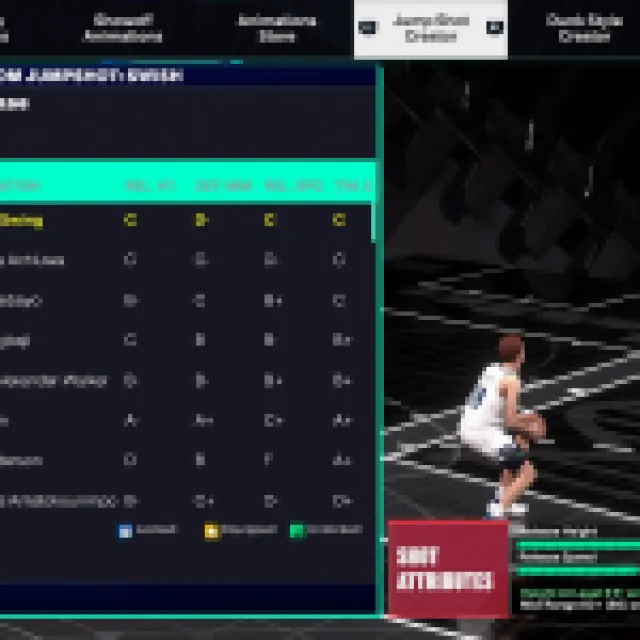
Jump Shot Attributes, Explained
Let’s look at the four main shot attributes when creating a jump shot.


Release Height – your player’s highest vertical jump when shooting. Getting a better release height means you are jumping higher, making it harder for defenders to block you.
Defensive Immunity – this measures how greatly your jump shot ignores closeouts from defenders. If the defense player sags and you take a jump shot, you are shooting with practically no defender. However, if your jump shot has a low defensive immunity grade, that same defender in that scenario would be able to affect the result of your shot somehow.
Release Speed – how fast your player does the jump shot animation. This depends more on how fast you reach the top of your jump, which is also where you get the perfect release timing for your shot.
Timing Stability – the window where you can get an excellent release on your shot.
You’ll adjust your custom jump shot according to these shot attributes. Once you start creating your jump shot, you’ll choose from several bases and release animations. Look for ones that have your preferred playstyle. If you like a quick jump shot like Stephen Curry, you want to focus on release speed with decent height, def immunity, and stability.
Choose among hundreds of animations for lower bases and releases until you get these shot attributes in order. Some of the best bases and releases are only unlocked when you reach a certain shooting attribute for your player. For example, Klay Thompson’s base and releases won’t show up until you get around 88+ on your 3-point attribute, so you can’t get his awesome base and release just yet.
You can sort the animations by shot attribute to help you find your jump shot better.
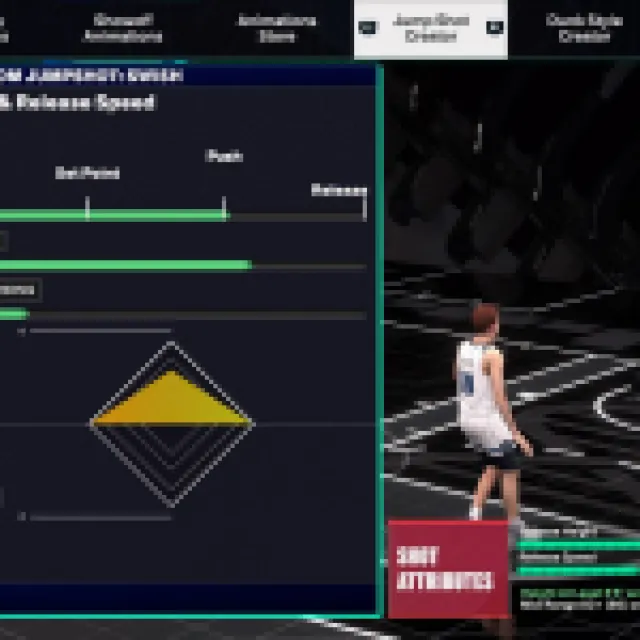
Blending and Release Speed


After choosing your base and releases, you still have the option to “blend” the two upper releases of your choice. By adjusting the release speed and animation blending, you’ll see your shot attribute grades change. You can treat this section as the “final touches” of your jump shot. If you feel that you lack more release speed or need more stability, you can use these sliders to tweak your shot attributes a little more.
When you are done, you can save and test out your jump shot. If it needs more tweaks, you can easily adjust it again. After you have your jump shot ready, you can now focus on other ways to improve your character, like upgrading badges and becoming a starter in MyCareer.
