
ZombiU Guide Multiplayer Multiplayer
The Survivor versus King Boris
The “King of Zombies” has organized his own sadistic London games to entertain his bloodthirsty subjects...
Play as King Boris, crazed boss of a violent gang and self-proclaimed “King of the Zombies” to beat all survivors...one at a time!
Play as a Survivor and attempt to outwit the King of Zombies and his brain-dead gladiators!
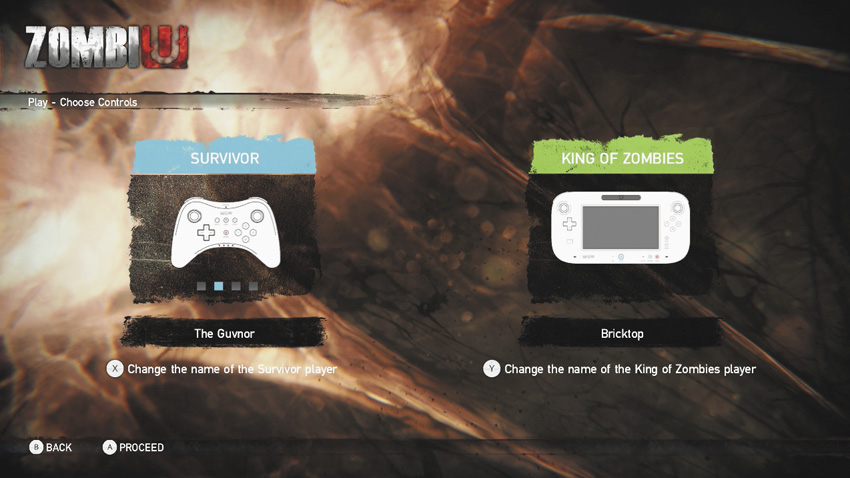
Captured Survivors know—for a short time before they’re mauled to death—that there’s always an enterprising individual waiting to turn a crisis into a moneymaking advantage. In this case, local crime lord and all-around bounder King Boris, along with his minions, both human and Infected, have created a series of arenas to test the mettle of captured humans. Multiplayer pits one player, the Survivor, against the King of Zombies, who will stop at nothing until the Infected get their meal!
Controls
Controls // How to Survive
Refer back to the “Training” chapter to learn about all the different maneuvers you can make. This section covers the multiplayer-only control methods, beginning with the Survivor.
HOW TO SURVIVE // SURVIVOR CONTROL
Connect a Wii U Pro Controller, or a Wii Remote and a Nunchuk, to start multiplayer. All of the controls used in the campaign function exactly the same way in multiplayer but with two important distinctions: There is no shoulder button dedicated to “Use Scanner” and there’s a new way to toggle your inventory items.
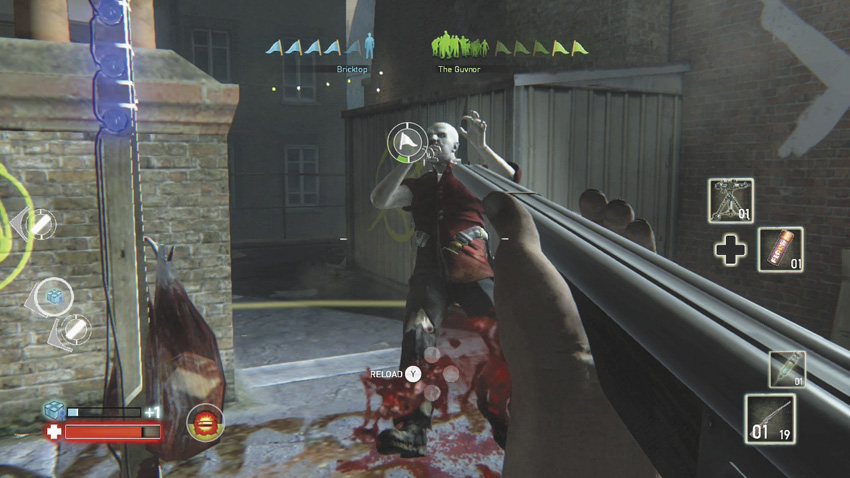
 Activate Inventory Items
Each of the seven weapon loadouts (discussed later in this chapter) have an inventory item to access (usually a flare, grenade, or Molotov cocktail). In addition, there are more items (such as automated turrets, Medipacks, power-ups, and other items) you can pick up during a match. Simply select a direction on , and use the item you want. The inventory appears on the main screen; Survivors don’t have a backpack now the King of Zombies has commandeered your GamePad!
HOW TO SURVIVE // KING OF ZOMBIES CONTROL
The King of Zombies always utilizes the GamePad and views the GamePad screen during matches.
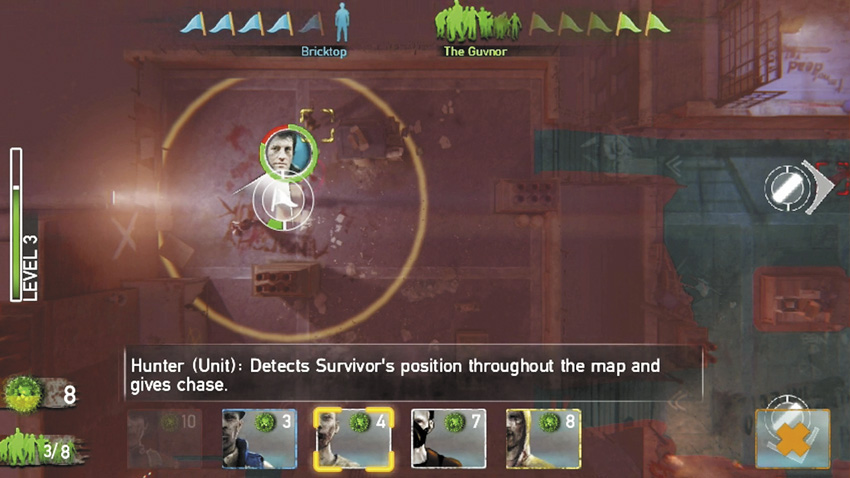
There are two main ways to control your view of the map during matches:
- Use your fingers to scroll around the map and a finger to position and drop in zombies.
-
Or you can move about the map using
 , and use the stylus to position and drop in zombies. This control method is preferred, as you have much more accuracy during placement—the tip of the stylus is much more tapered compared to even the daintiest of fingers.
Information // Heads-Up Displays
The information that flashes up on your screen (Survivor) and Prepper Pad (King of Zombies) shows a variety of information. Here’s what it all means:
THE MAIN SCREEN
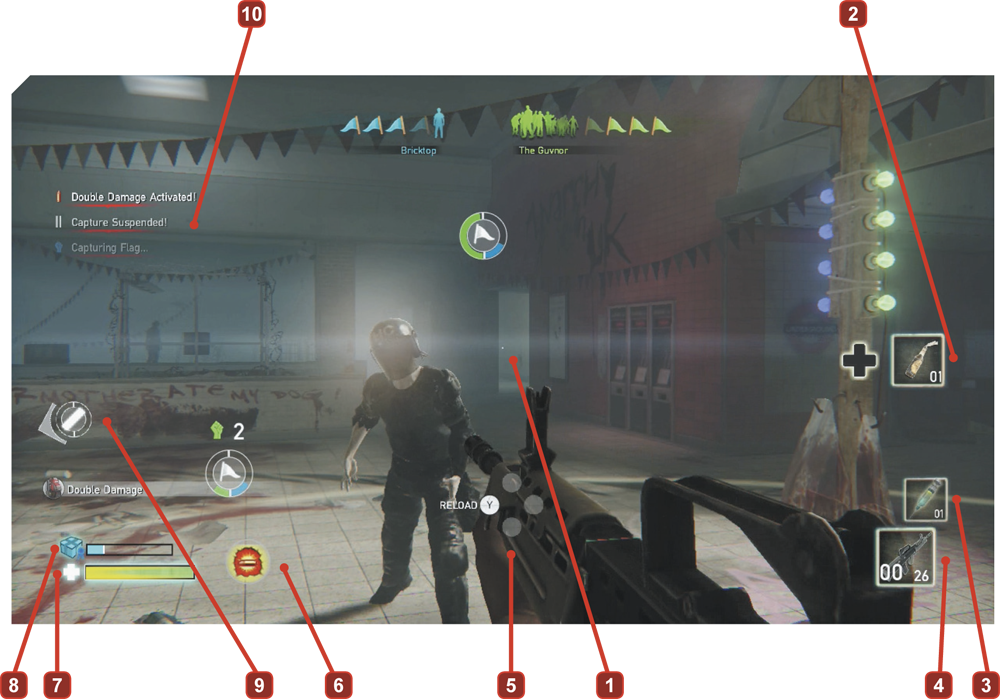
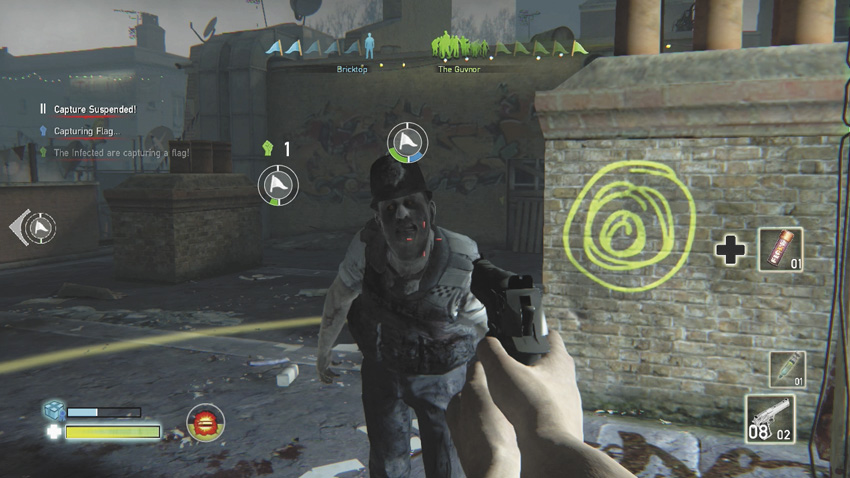
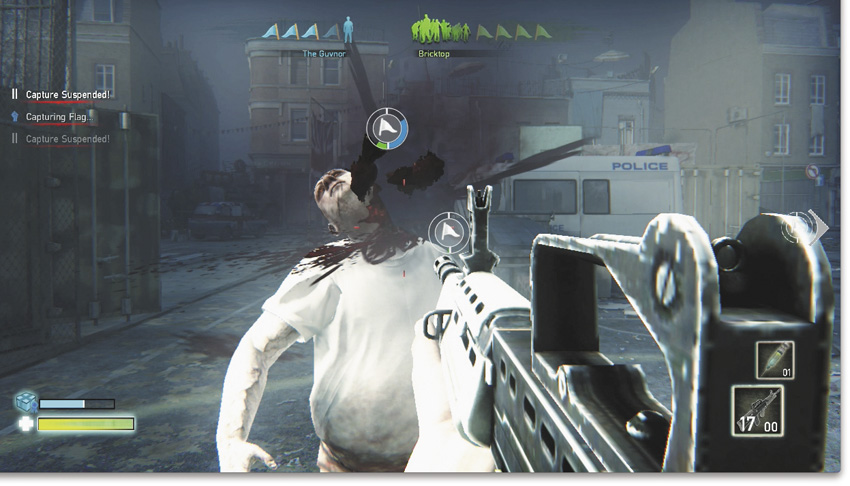
This is an example of the action during an Assault match. The two other game modes (discussed later) have a very similar screen but with fewer elements to worry about.
[1] Crosshairs: This small white dot is your crosshairs. Line up shots using this, and turn this off and on in the Options.
[2] Inventory: This shows the item you start with (from the loadout) and any automated turrets (Assault only), rewards, or items you’ve picked up. Use them whenever you wish.
[3] Virucide: You begin the match with one Virucide syringe. Rewards can (randomly) award you with more. These save you from a grab and maul, just like in Campaign mode.
[4] Weapon Ammunition: This shows the weapon you’re using, with the remaining ammunition (in the chamber and in total). Swap between your primary and secondary weapon as you empty the ammo of one or search for more weapons and ammo.
[5] Context-Sensitive Buttons: These appear when you want to pick up an object on the map.
[6] Power-up: If a power-up is in play, and it is timed to expire, it is shown (along with the time left) here.
[7] Health: This reveals your health.
[8] Reward: You gain a point (which fills this meter up) every time you kill a zombie on the map. It takes 12 to 13 zombies to fill up the meter. King Boris grudgingly gives these out—randomly—on the map. The object (a power-up, health, or item) is also randomly determined.
[9] Flag Location (Pointer): Assault only. This reveals where each of the flags is and whether it’s being captured by the Survivor (blue) or Zombie forces (green).
[10] Notifications: A particular activity pertinent to you is shown here.
THE PREPPER PAD SCREEN
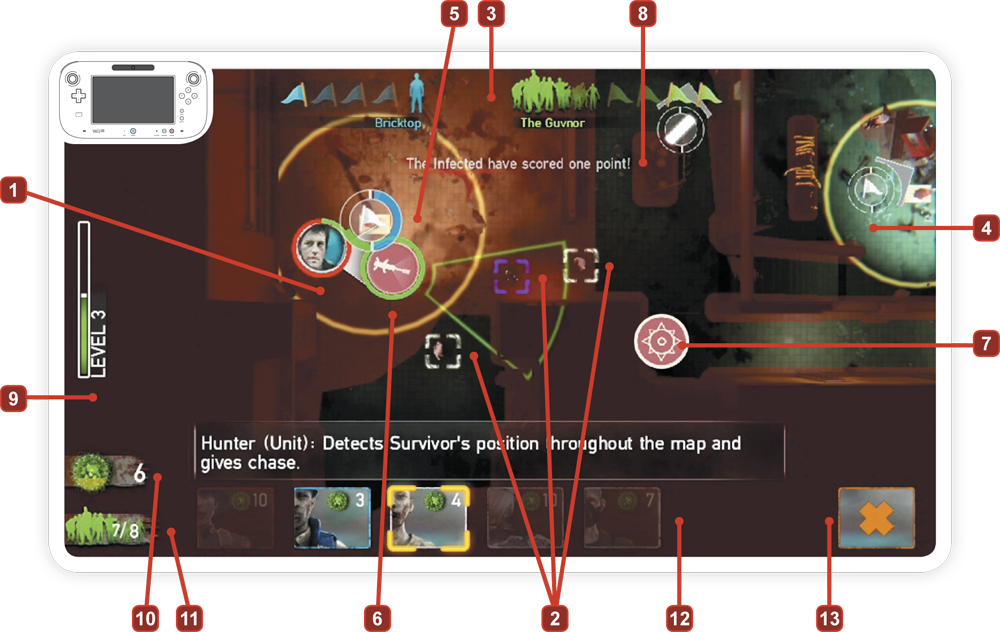
This is the screen you see when you’re controlling your zombie minions on the Prepper Pad. It contains the following information:
[1] The Survivor: This is your target. Generally, you must slay him or her as soon as possible. The circle of green indicates the Survivor’s health, and the white cone is the direction the Survivor is facing.
[2] Zombies: When you place a zombie, it appears within a square crosshairs target. You can see where your forces are at all times, as long as you scroll around the map. The color indicates the zombie’s health.
[3] Score: This changes depending on the game mode.
[4] Flag Location (Pointer): Assault only. This reveals where each of the flags is and whether it’s being captured by the Survivor (blue) or Zombie forces (green).
[5] Flag Location: Assault only. This shows the flag on the map you’re looking at, along with the flag’s radius for scoring purposes.
[6] Automated Turret: Assault only. If the Survivor has positioned an automated turret, it is shown, along with its health.
[7] Mines: If the Survivor has laid a mine, it is shown.
[8] Notifications: A particular activity pertinent to you is shown here.
[9] Level: This shows how experienced you are. You gain a point (which fills this meter up) every time you place a zombie on the map. You lose a point every time you remove a zombie from the map. It takes 12 to 13 zombies to fill up the meter.
[10] Resources: This ticks up to 20 points. Each zombie is worth several points to spawn, so you can have numerous low-point zombies or a few high-point ones (some unlocked at higher levels), or a mixture of both.
[11] Total Zombies: This shows how many zombies you can have on this map at once. This is eight, before any level bonuses are added.
[12] Zombie Unit Selection: This shows the zombies you can place on the map, dependent on your resource level, and the zombies you’ve unlocked based on your level. Information and cautions about positioning is shown above the zombie selection.
[13] Zombie Removal: If you wish to remove a zombie, hit this, losing a point to your Level meter. Do this if the Survivor is far from forces you have positioned, and you want to regroup.
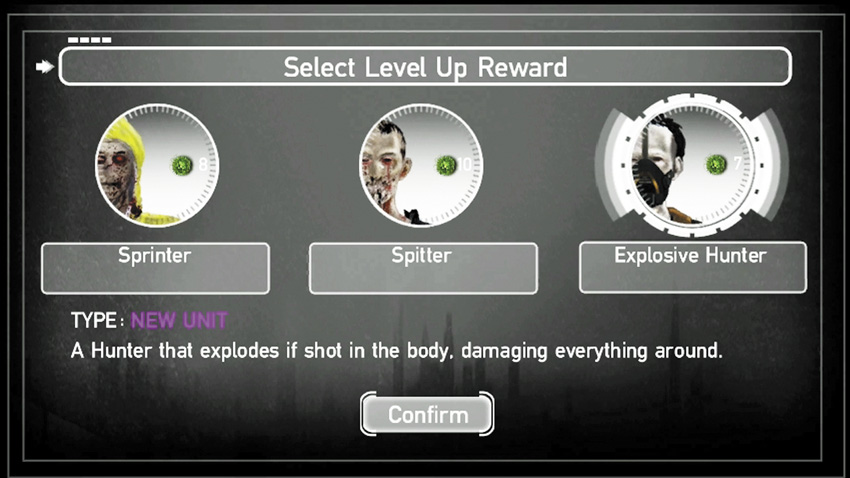
This is an example of a Level-Up screen. When the message “Tap to Level Up!” appears, complete the action and then choose a reward. This could be a new type of zombie or another augmentation from the list shown later in this chapter.
Rules of Multiplayer
Multiplayer Modes // Overview
OVERVIEW // MODES OF PLAY
There are three modes of multiplayer:
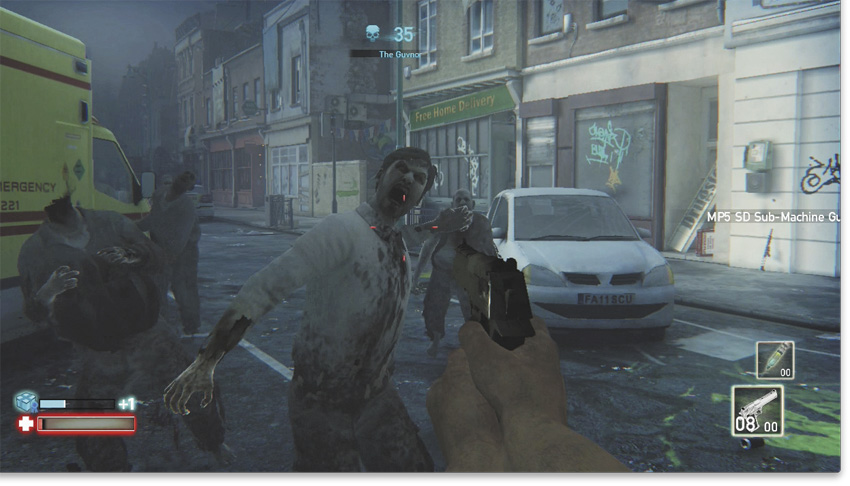
- Assault: Flags are positioned around the map (and new positions appear as the match progresses). The Survivor must move and hold a flag until he or she scores. King Boris needs to place Grunt Zombies at the flag until they score. The first to score four or five points wins. Kills and time are unimportant.
- Killing Box: This is a simple Versus mode. The Survivor needs to kill as many zombies as possible. Score is more important than time. King Boris needs to stop the Survivor with as few zombie deaths as possible.
- The Last of Them: This is a little like a “Time Attack” mode; you need to survive for as long as possible. Time is more important than score. King Boris needs to stop the Survivor in as little time as possible; otherwise this (and all tactics) is similar to Killing Box. This mode is opened when you spend 40 Uplay points.
OVERVIEW // MAPS
There are five maps to choose from. These are identical in all modes, except:
- Only ammo and automatic turrets are available to the Survivor in Assault, so he or she can reload and add a defensive turret to guard a flag area.
- There is a full complement of weaponry scattered about the map in Killing Box and The Last of Them. Simply find the gun you started with to reload it, or find a different gun to swap with.
OVERVIEW // DIFFICULTY
There are two settings, Beginner and Normal.
- If the Survivor is continuously losing matches in a short amount of time, tweak this setting to “Beginner.”
- If King Boris is continuously losing matches in a short amount of time, tweak this setting to “Normal.”
Once you play a match as Survivor and King Boris, swap roles to see who makes the most efficient killing machine!
Weapon Loadouts
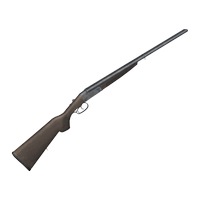
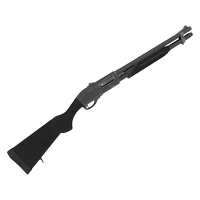
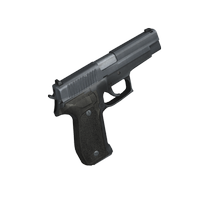
Before the Survivor begins a match, they can choose a primary and secondary weapon from the following seven loadouts:
WEAPON SET // 1
| Primary Weapon | Secondary Weapon | Inventory Item |
|---|---|---|
|
|
|
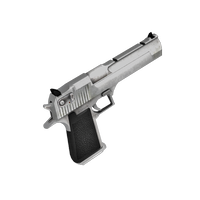
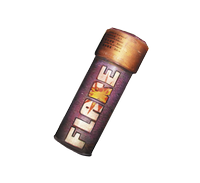
| Magnum Pistol | Double-Barrel Shotgun | Flare |
WEAPON SET // 2
| Primary Weapon | Secondary Weapon | Inventory Item |
|---|---|---|
|
|
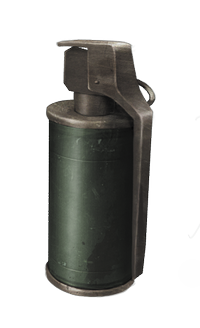
|
| Model 870 Shotgun | P226 Pistol | Grenade |
WEAPON SET // 3
| Primary Weapon | Secondary Weapon | Inventory Item |
|---|---|---|
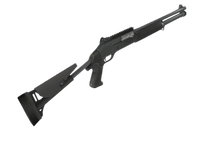
|
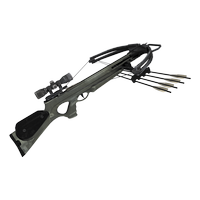
|

|
| M4 Tactical Shotgun | Hunting Crossbow | Molotov Cocktail |
WEAPON SET // 4
| Primary Weapon | Secondary Weapon | Inventory Item |
|---|---|---|
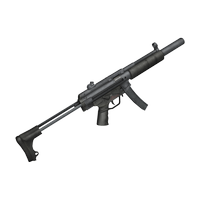
|
|
|
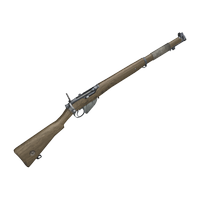
| MP5 SD Submachine Gun | Model No.4 Mk1 Carbine | Grenade |
WEAPON SET // 5
| Primary Weapon | Secondary Weapon | Inventory Item |
|---|---|---|
|
|
|
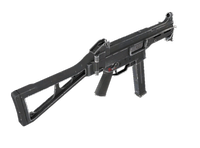
| UMP45 Submachine Gun | P226 Pistol | Grenade |
WEAPON SET // 6
| Primary Weapon | Secondary Weapon | Inventory Item |
|---|---|---|
|
|
|
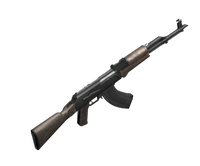
| AK-47 Assault Rifle | P226 Pistol | Grenade |
WEAPON SET // 7
| Primary Weapon | Secondary Weapon | Inventory Item |
|---|---|---|
|
|
|
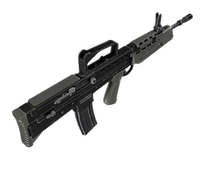
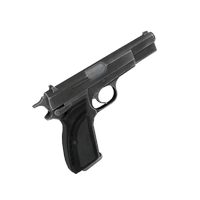
| SA80a2 Assault Rifle | L9A1 Pistol | Molotov Cocktail |
Choose your favorite loadout based on the following factors:
- The statistics and information detailed in the “Hardware” chapter of this guide.
- The weapons you utilize and favor the most during Campaign games.
- The guns you most easily and adeptly can fire into the heads of the zombies you encounter.
- The firearms you find take the least number of shots to remove a zombie threat, without ammo wastage.
Zombies
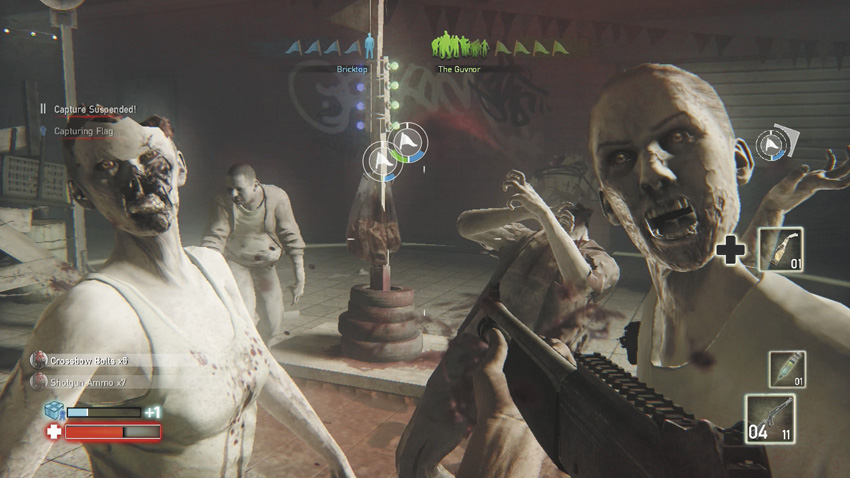
The following list shows all the different zombies that the Survivor must face and that King Boris can summon. We detail the points they cost and their actions, along with any takedown tactics. Be sure to check the “Rogues Gallery” chapter for more knowledge on dealing with each zombie type.
Infected Types
GRUNT
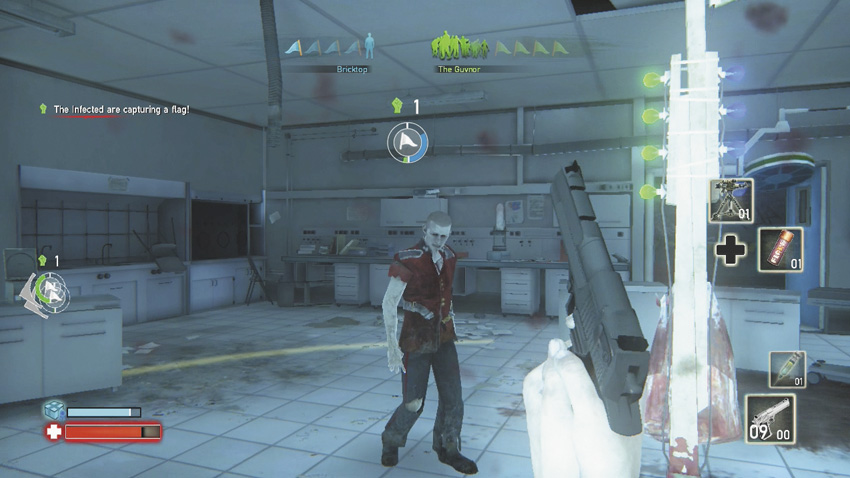
- Points: 10
The Grunt is expensive and has a single use: to capture the flag in Assault mode.
Survivor Tactics: These appear only in Assault mode and are used only for capturing flags. They can be extremely annoying, especially as your foe can split them up and take two flags at the same time. However, they cost a lot of points (and it takes points to spawn zombies), so you don’t have as many other foes to worry about. Spend time blasting them to remove their presence for flags you still have a chance of capturing yourself.
King Boris Tactics: The Grunt is the only unit that captures flags. They are essential to winning, but they are expensive and defenseless (they don’t even fight), so make sure you protect them well. Each Grunt added to a flag will help capture it faster. Place one or two of these near an uncontested flag to really annoy the Survivor into frantically splitting time between flag locations while other Grunts slowly capture other flags.
GUARD
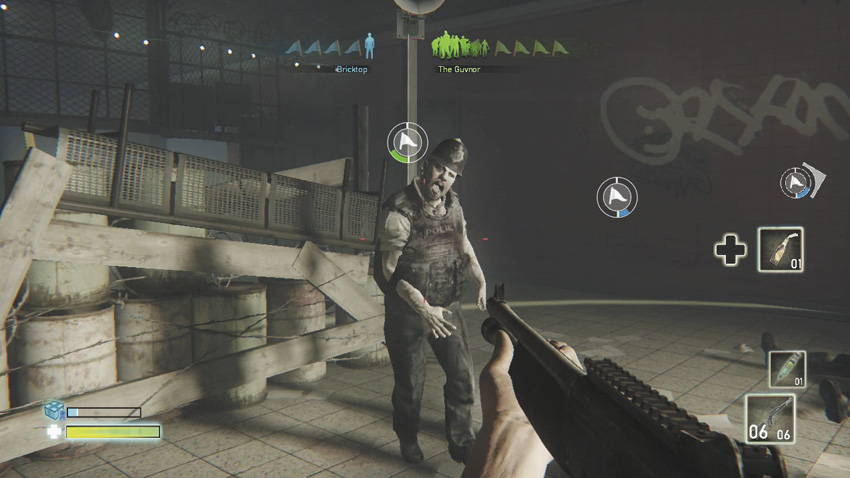
- Points: 3
The Guard detects and attacks the Survivor within a limited range.
Survivor Tactics: The Guard differs from the Hunter in that it doesn’t actively move and search for you. Sometimes it’s worth avoiding Guards that haven’t seen you, so you keep King Boris’s zombies on the map, preventing him from summoning more. Otherwise, Hunter takedown tactics apply here.
King Boris Tactics: The Guard is the cheapest unit, but it does not actively pursue the Survivor—it only attacks when the Survivor comes close. You can use them when you have a good idea of where your opponent is going. Make sure you spread them out a little so they are not too vulnerable to grenades.
HUNTER
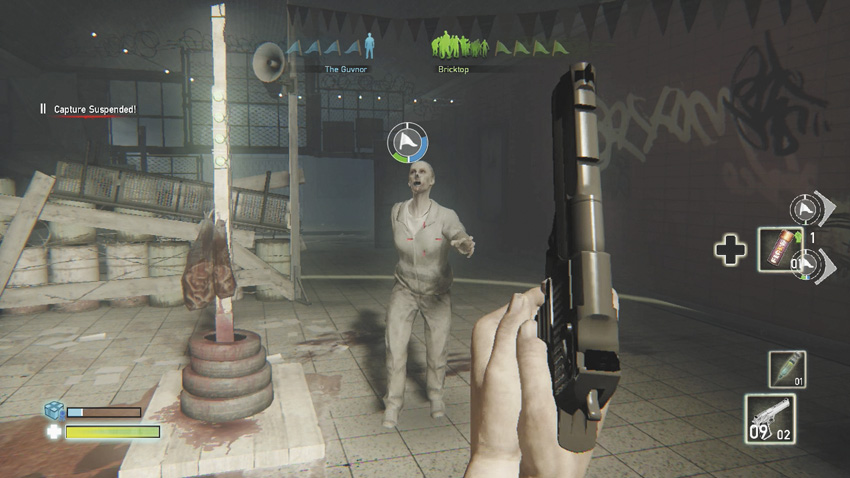
- Points: 4
The Hunter detects the Survivor’s position throughout the map and gives chase.
Survivor Tactics: All the tactical advice you read in the “Rogues Gallery” chapter applies just as well to taking down the Hunter. In general, you want to shoot the Hunter in the head. To really make sure you use as few bullets as possible, run straight at the foe, blasting from as near point-blank range as you dare. Use very short bursts if you’re employing semiautomatic or automatic weapons.
King Boris Tactics: The Hunter is your army’s mainstay. It chases the Survivor everywhere and fights him. Dropping these in from all directions really can annoy your foe, but these are only necessary to use over Guards if your foe knows not to trigger Guards into attacking.
ARMORED GUARD
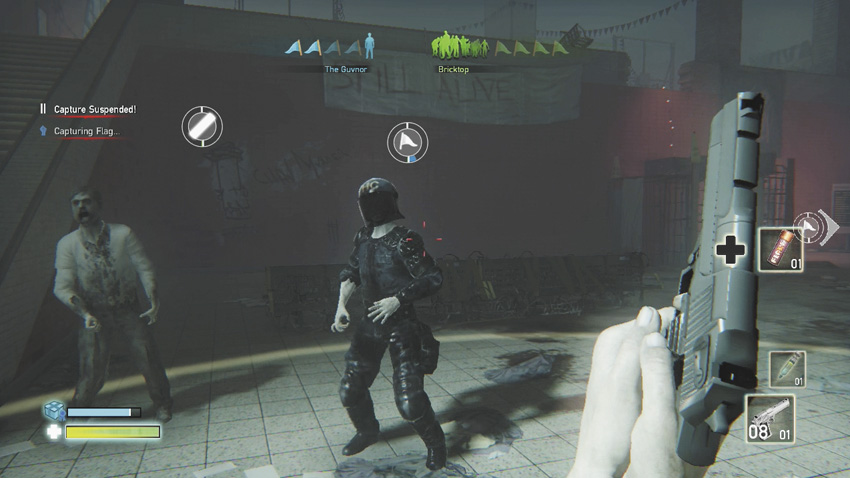
- Points: 10
A very tough Guard that needs multiple headshots to kill.
Survivor Tactics: The Armored Guard normally requires a few headshots to kill (you will see you are close to killing it once the helmet is thrown off) and won’t be affected by body shots. You can kill them faster with a grenade or a mine. You can also try to avoid attracting their attention, if they have not detected you yet and are not guarding something you really need, like a flag.
King Boris Tactics: The Armored Guard is very hard to kill, but it is expensive and does not immediately chase the Survivor. It is very useful for defending flags but also for soaking up damage from the Survivor or from a turret while the weaker units attack.
SPRINTER
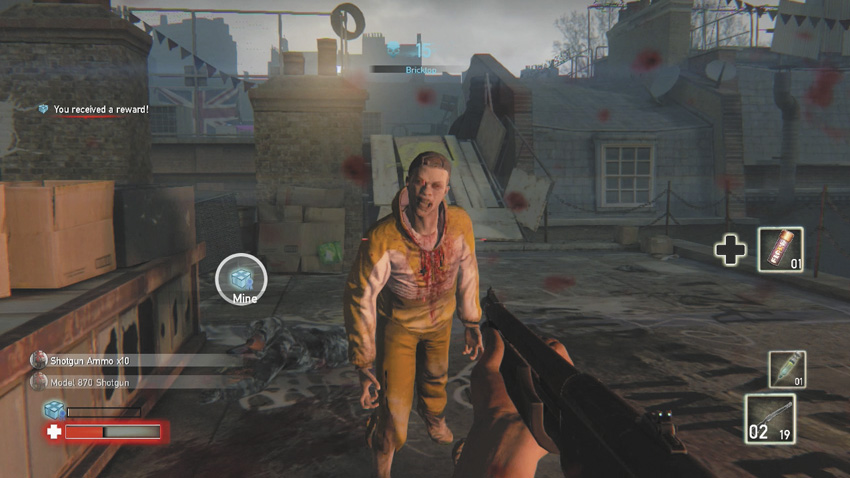
- Points: 8
A faster and stronger version of the Hunter.
Survivor Tactics: The Sprinter is not only faster than the regular Hunter, but also deals more damage. You should try to kill it before it reaches you.
King Boris Tactics: The Sprinter is not only faster than the regular Hunter, but also deals more damage. Combined with the damage upgrade, it can become extremely lethal in close combat. It’s important to remember that it is almost as easy to kill as a regular Hunter, so it’s best to place a Sprinter behind the Survivor to surprise him. It’s also good to keep the Survivor occupied with other units while you send a Sprinter from a good position.
EXPLOSIVE HUNTER
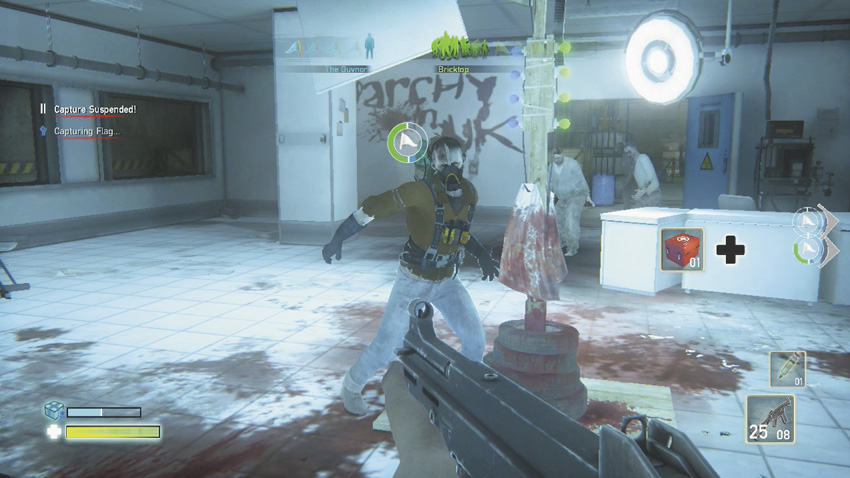
- Points: 7
A Hunter that explodes if shot in the body, damaging everything around it.
Survivor Tactics: The Explosive Hunter will explode and deal a lot of damage if shot in the body. Normally you should use high-accuracy weapons and aim at the head exclusively. However, in other circumstances you will want to make them explode, because they also damage the other Infected around them. So, if you blow up an Explosive Hunter at the right time, you can take out a lot of enemy units in one shot.
King Boris Tactics: The Explosive Hunter is perfect against opponents who fire indiscriminately. It is also good against turrets. When a turret shoots it, the turret will most likely take some damage from the ensuing explosion. You have to be careful with the Explosive Hunters, though. If they are mixed with a group of units, they can take the whole group with them when killed. Sometimes it is better to remove an Explosive Hunter rather than allow the Survivor to use it against you.
SPITTER
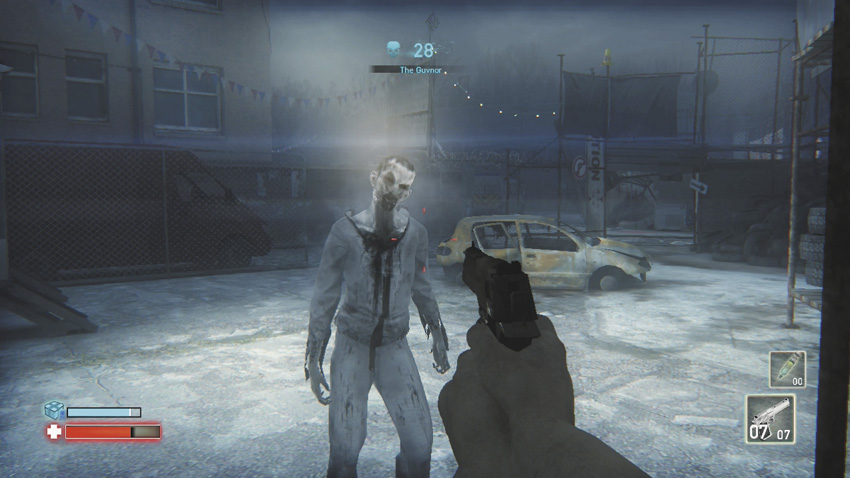
- Points: 10
Uses a ranged acid attack that impairs vision and damages the human and turrets.
Survivor Tactics: The Spitter is dangerous, because it can attack from afar, it can blind you, and it attacks your turrets. If possible, prioritize killing it over other enemies.
King Boris Tactics: The Spitter is the only ranged unit available to you. It’s great for destroying turrets from afar, and it can support a group of weaker units by blinding the Survivor and hitting him from a distance.
Rewards
Both the Survivor and King Boris benefit from a series of rewards that are given out once a certain number of zombies are slain or placed on the map. Aside from new types of zombies (detailed previously), you can choose the following additional rewards.
Rewards // King Boris
As you place units, kill the Survivors, and destroy turrets, you will gain XP and level up. Choose your rewards based on your play style and the situation. There are several types of rewards: new units (you can choose two out of the four total unlockable special units), activated powers (which then appear in your unit menu; you can have only one unused power available at any time), permanent upgrades to certain stats, and some temporary but powerful upgrades.
Level-Up Rewards
RESOURCE BOOST
- Type: Permanent
- +8% resource generation rate
When to use: Having your resource points increase more quickly is an excellent option, as you can place more zombies in a shorter amount of time.
DAMAGE UPGRADE
- Type: Permanent
- +50% damage dealt by your units
When to use: If the Survivor is shrugging off your attacks, choose this. Spitter attacks are especially improved, as they are ranged, and general attacks can really cause the Survivor problems. An excellent choice.
CAPACITY UPGRADE
- Type: Permanent
- +2 maximum unit capacity
When to use: Choose this over the other rewards only when you’re constantly running out of units to place because all are on the map already. More zombies mean less chance for Survivor survival!
RESOURCE LIMIT UPGRADE
- Type: Permanent
- +10 to resource storage capacity
When to use: Normally you can only have 20 points’ worth of zombies on the map. Change this to 30, and you can summon many more, providing your resources are high enough. Weigh the advantages of this over the resources you use constantly; you may never have 30 (or even 20) points of foes on the map. But, in a game mode where time isn’t a factor, waiting until you have 30 points ready and then, for example, dropping in ten Guards to swarm a foe can be hilariously brutal!
LOCKDOWN
- Type: Effect Activated
- (Assault only) When activated, no flags can be captured by either side.
When to use: Is the Survivor attempting to claim a flag? Is the match score about to change for the worse? Then freeze the action, build up your forces (both Grunts moving to uncontested flags, while keeping the Survivor occupied), and turn the course of the match in your favor.
WIPE OUT DEFENSE
- Type: Effect Activated
- (Assault only) When activated, all turrets and mines the Survivor places explode.
When to use: Although some of your forces attack turrets already, removing them can seriously impede your foe’s enthusiasm for the win. Doing this just before you send in a horde further depresses your already-downtrodden foe!
Rewards // Survivor
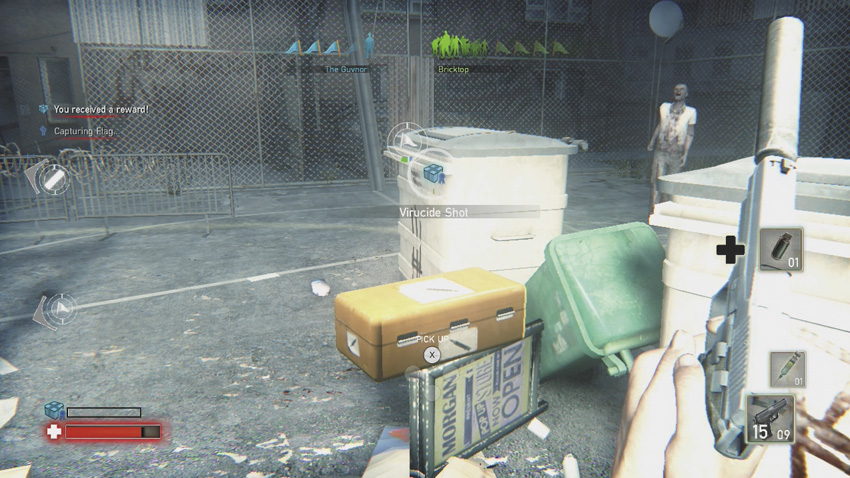
Although not part of the loadouts you can choose, Survivors have the ability to locate rewards in “gift boxes.” Pick them up whenever possible, as you’re likely to encounter one of the following items.
“Gift” Rewards
DOUBLE DAMAGE
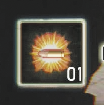
When to Use: This temporarily increases the power of your weapons. Employ when you see several foes that you can kill in quick succession, and use after you’ve fully reloaded with both weapons. Make the most of this one!
LOCKDOWN
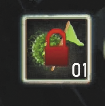
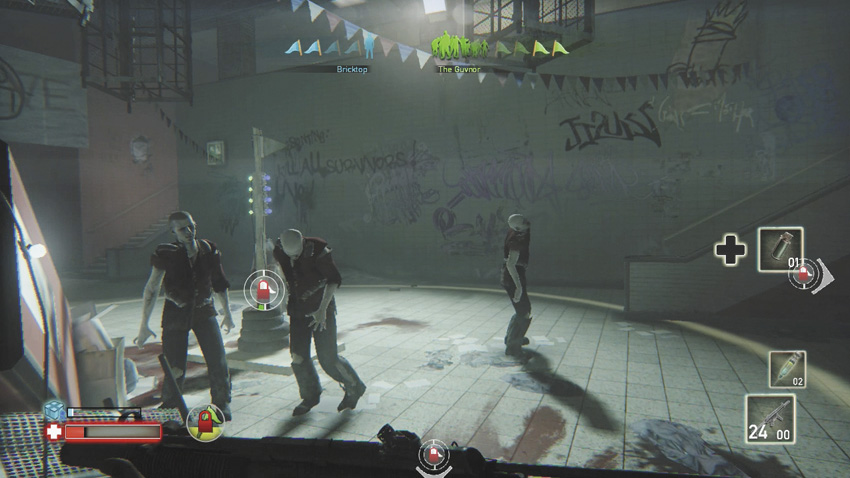
When to use: This prevents flag conquest for a period of time, and it prevents the King of Zombies from gaining new resources for that period (the Lockdown that the King of Zombies can trigger affects only flags while allowing the flow of resources to continue).
MEDIPACK
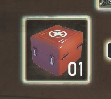
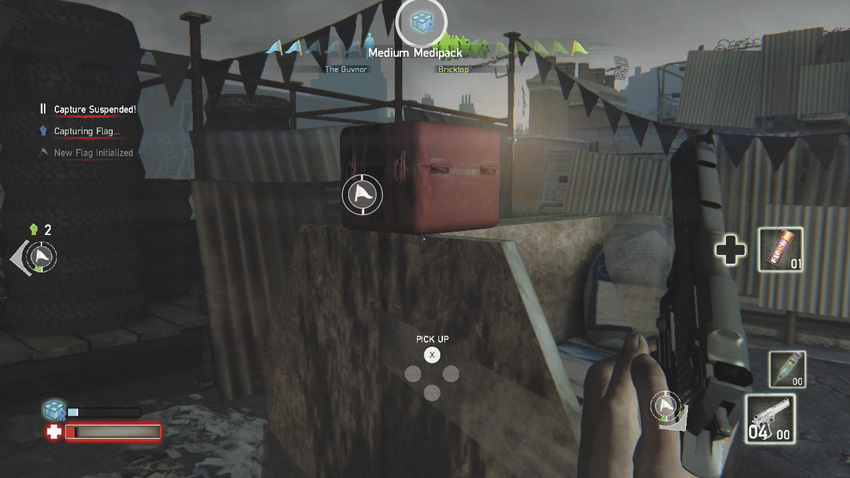
When to use: Replenish your health when you’re close to death.
MINE
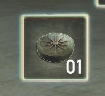
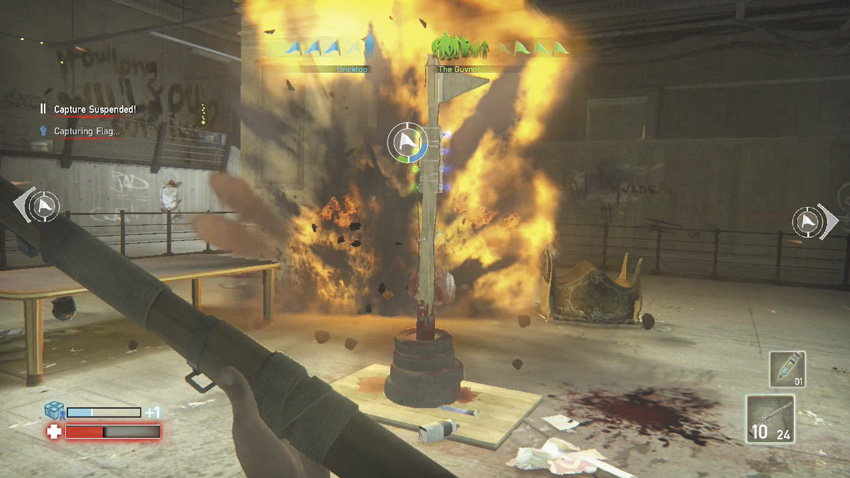
When to use: Place on the ground and watch foes set off a devastating explosion when the mine is triggered. However, this harms you too.
VIRUCIDE SYRINGE

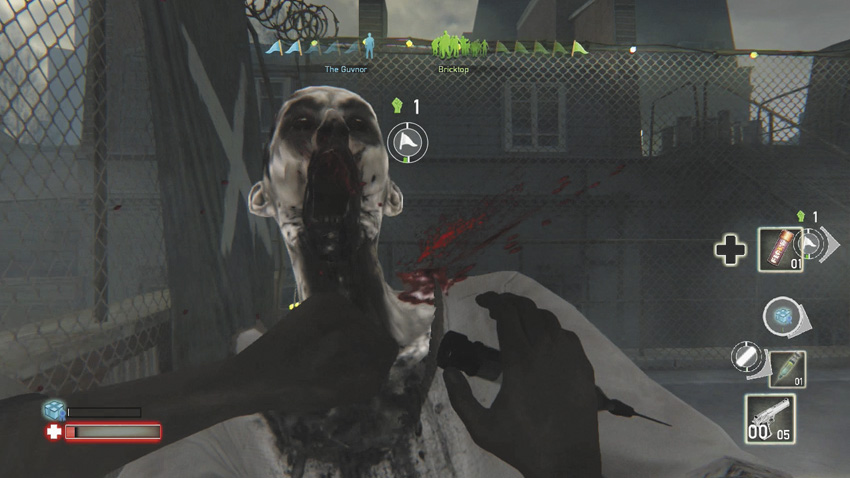
When to use: This is the only way to survive if you are grabbed by an Infected. Employ it to save your life, when needed.
Survivor // Player Advice
Tip 1 // Lock and Reload
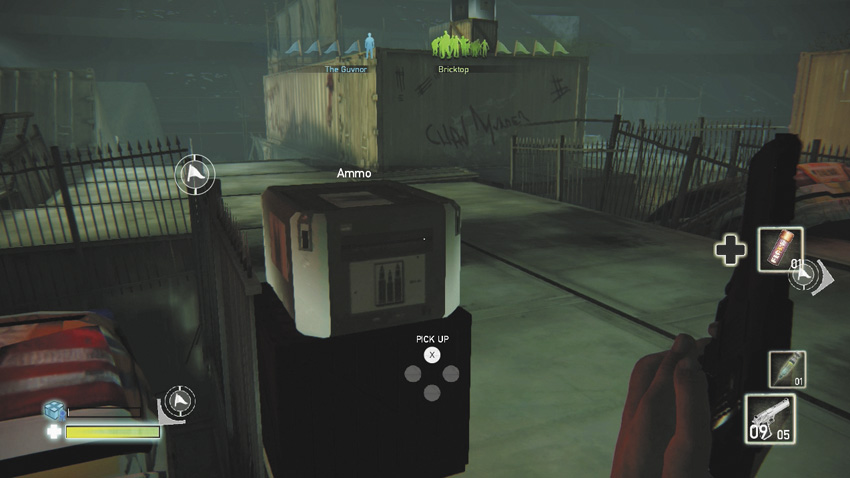
Running out of ammo is one of the biggest threats to your safety. When moving around, don’t forget to restock on ammo from the boxes (or weapons) lying around.
Tip 2 // Going Great Guns
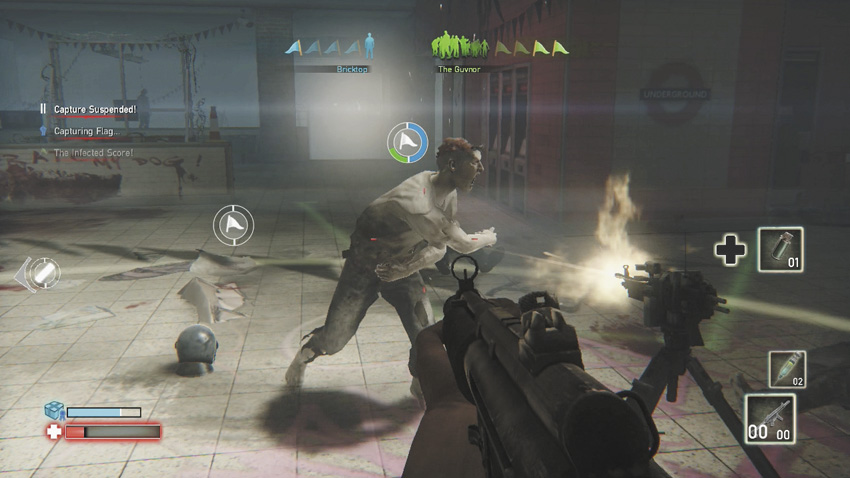
In Assault mode, on each map, there are a few locations where you can pick up an automated turret. These are really useful and often can make the difference between succeeding or failing at capturing a flag. You can place the turret wherever you want, and it can have multiple uses. Place it to cover your back or to kill a large number of Infected coming toward you. The turret range and area of effect is not very large, so place it carefully. Once placed, the turret also has the benefit of drawing nearby Infected away from you.
Tip 3 // Mind the Gap
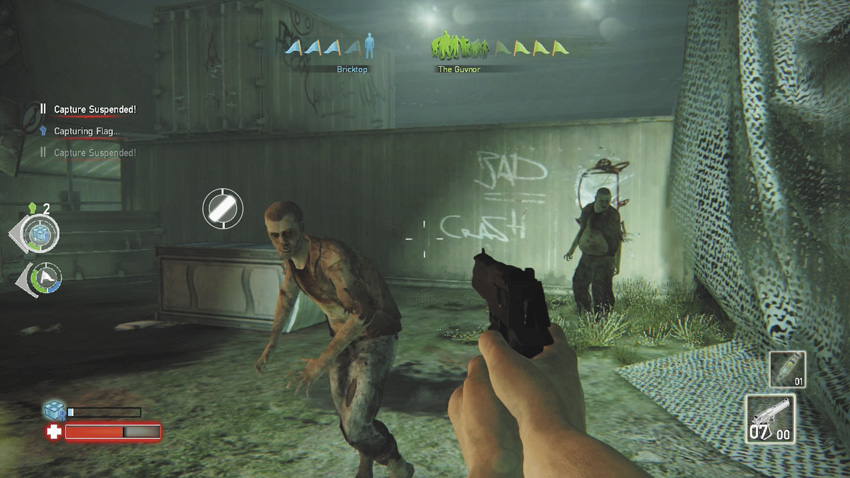
Don’t sit too much in one place without checking your back. You can always count on the King of Zombies to send a minion from behind you.
Tip 4 // Floor Show
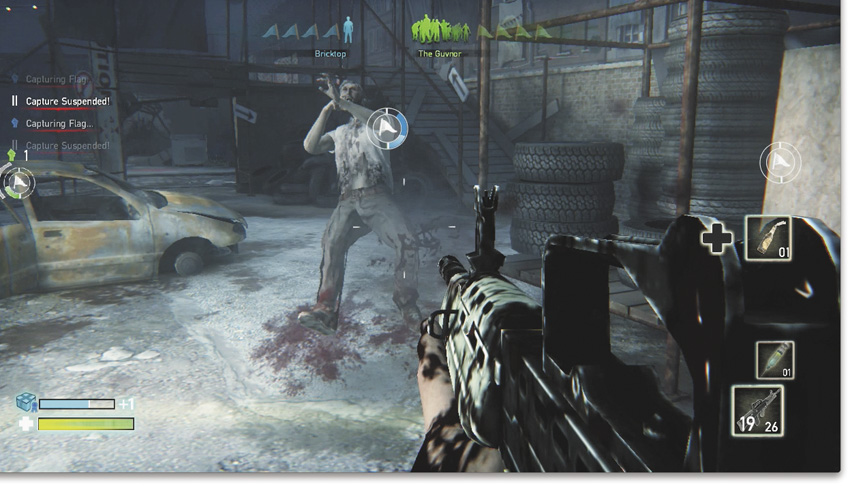
Headshots are better than body shots in most circumstances. Shooting legs can also be useful, as it cripples the Infected unit for good, slowing it down considerably. Fallen Infected can also be killed easily by walking to them and stomping on their heads when prompted.
Tip 5 // A Bit of Slap and Tickle
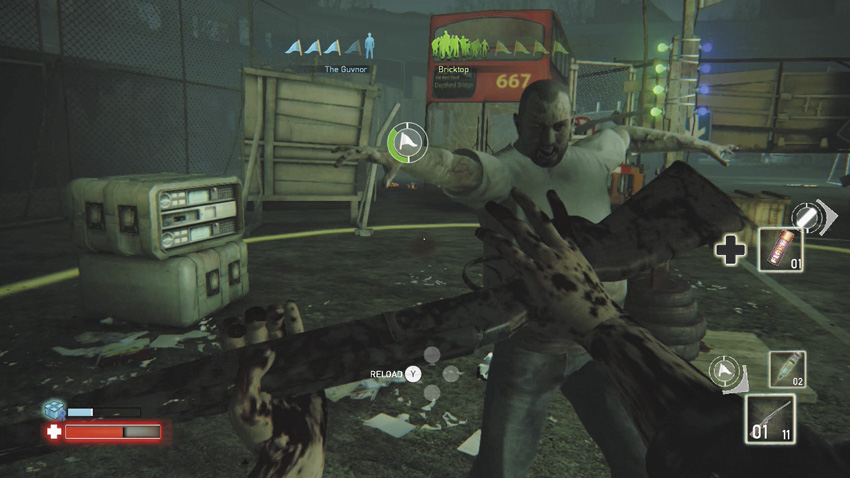
The push or shoving action, which you can trigger by using without aiming, is very useful. You can use it to get away when surrounded, by pushing the Infected and running through the space you created. It can also be used to push them into mines or into a turret’s area of effect.
Tip 6 // Weapons Detail
Choose your weapon set based on your play style, but also change it when the circumstances require it.
- If you have a Double Damage power-up available, you will benefit from using an automatic weapon.
- If the enemy has got many Guards massed in a location, a weapon set with a grenade in it will be of great help.
- If the enemy is using Explosive Infected units, you will want to use a weapon with high accuracy.
Tip 7 // Good for a Punt
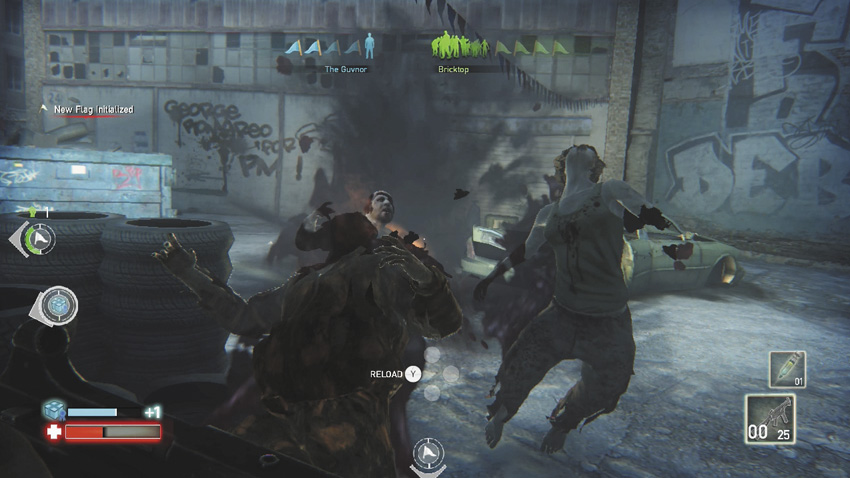
Each weapon set comes with one throwing weapon, each with its own use:
- The grenade deals a lot of damage when it explodes, but it does not explode on impact, so it’s most powerful against static enemies.
- The Molotov explodes on impact, but it does not kill enemies immediately—they can still attack you for a few seconds while they burn.
- The flare does not deal damage, but it attracts the Infected to its position. You can use it to escape from an attack or to keep the Infected away for a few seconds while you are capturing a flag.
Tip 8 // Watch Your Step
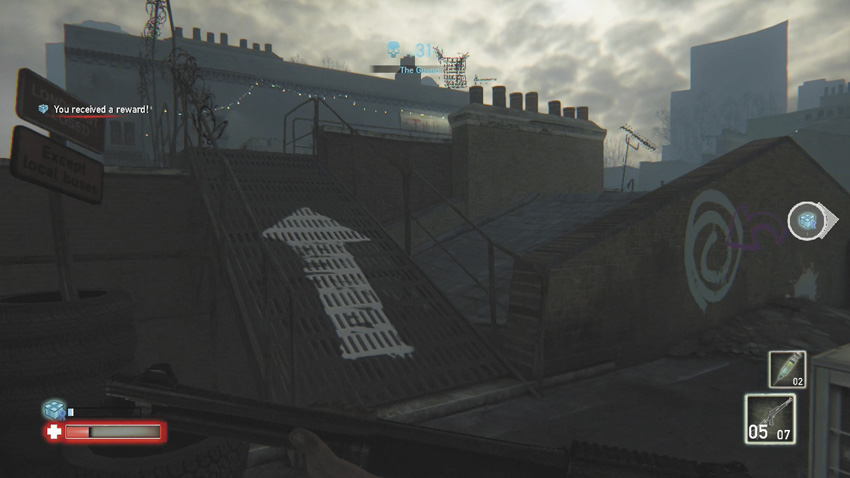
While you’re learning a map, be on the lookout for visual clues so you don’t get lost. If a ramp has a particular piece of graffiti or if there’s a cop car in a specific location, memorize it so you know where you’re going, what’s nearby, and where the best items are located. For example, if you’re a fan of Weapon Loadout #1, memorize the location of the Magnum on all maps.
King of Zombies // Player Advice
Tip 1 // Spam Spawning
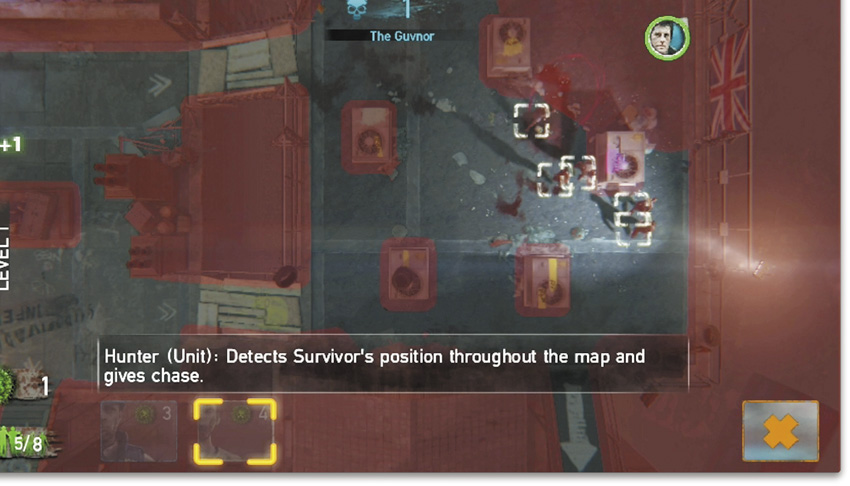
Units do not come for free; they cost resources, which slowly replenish over time, so use them wisely. Often, when you want to attack the Survivor, it is more efficient to wait until you accumulate enough resources for several units, rather than send units one by one.
Tip 2 // Undead Not Welcome #1
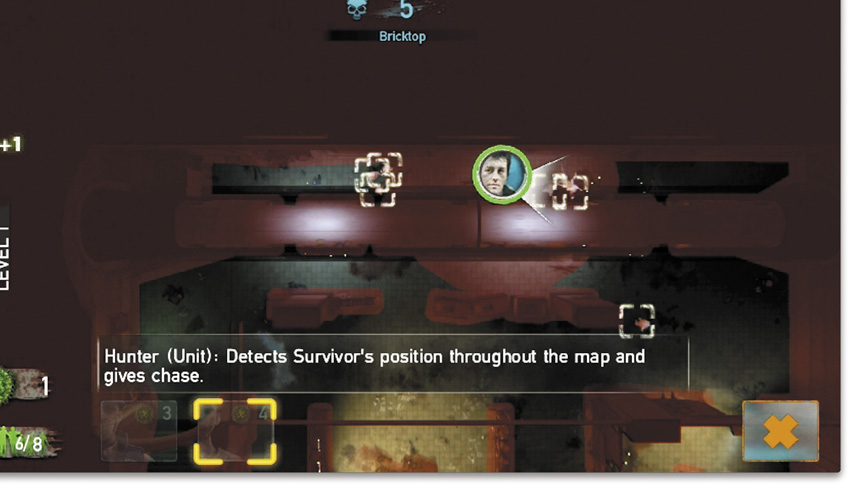
You cannot place units in the Survivor’s immediate vicinity. Try to send attack units from behind him and to harass him with units coming from different directions, rather than send them all from the same position. When placing units, also take into account the position of the automated turrets the Survivor has placed. Avoid sending units straight into a turret’s firing cone.
Tip 3 // Undead Not Welcome #2
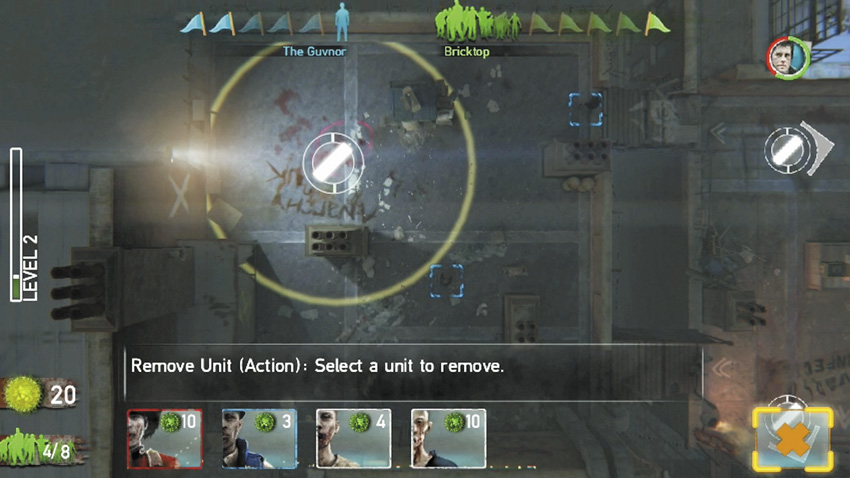
The number of units you can have simultaneously is limited, so use the Remove Unit action to get rid of units you no longer need.
Tip 4 // Two Places at Once
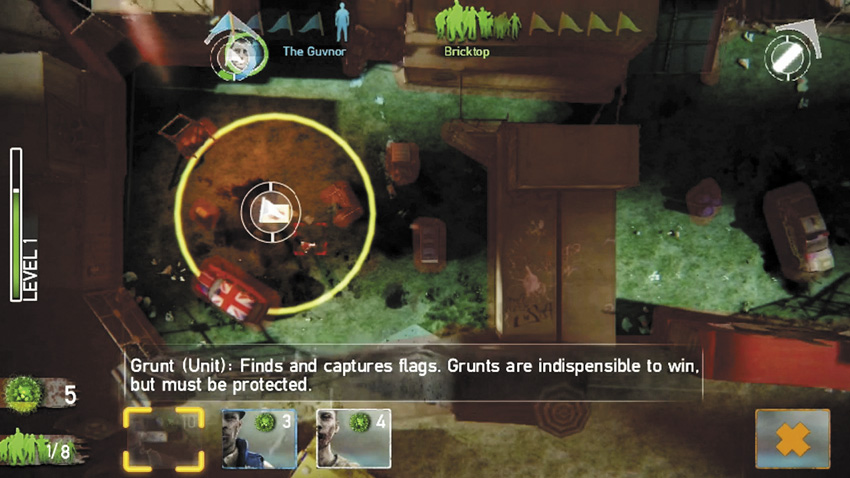
Make sure you use your unique advantage of being in more places at the same time. You can start capturing remote flags while you are harassing the Survivor and preventing him from capturing the flag he is near. His capturing progress is interrupted every time when one of your units enters the flag area.
Tip 5 // Taking It to the Next Level
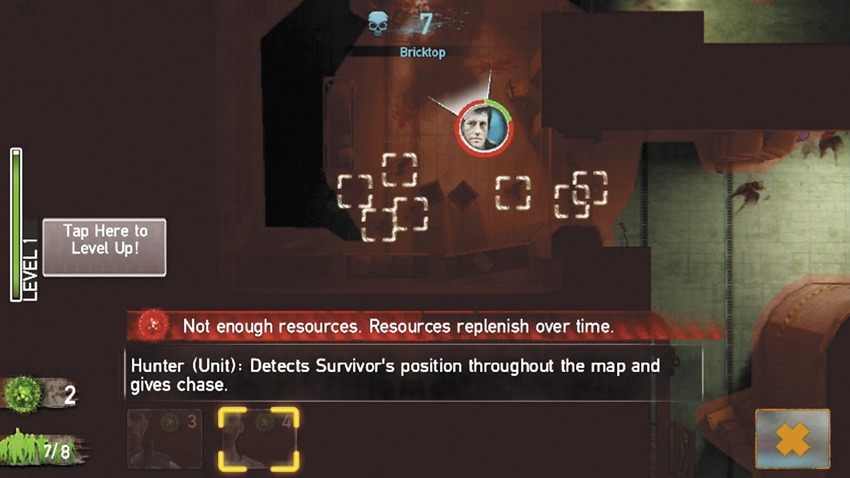
If you’re close to leveling up, it’s sometimes a cunning idea to spawn all your available zombies so you reach the level, choose the reward, and then use the Remove Unit action to get rid of all of them. Normally you lose a point for each zombie you remove, but as you’ve just leveled up and you’re at zero anyway, this isn’t an issue, especially as you keep your level!
Map // Rooftops
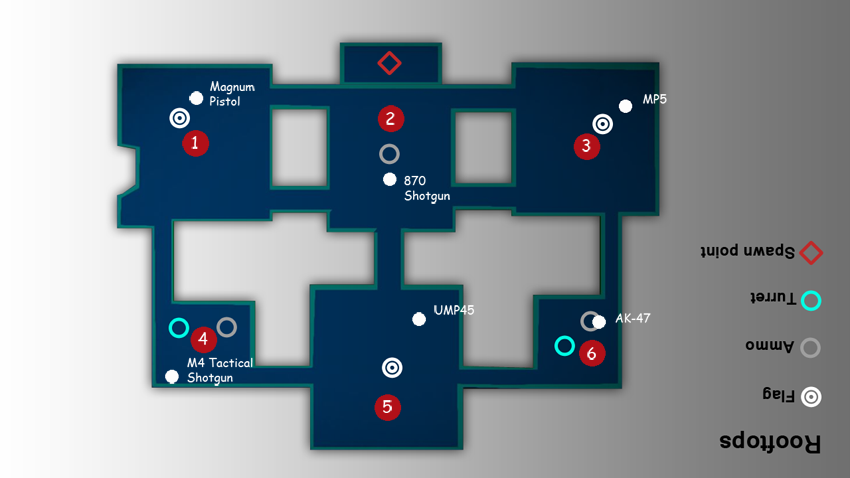
Interconnecting rooftops creating a circuit around a central killing zone. Come for the views. Stay for the carnage!
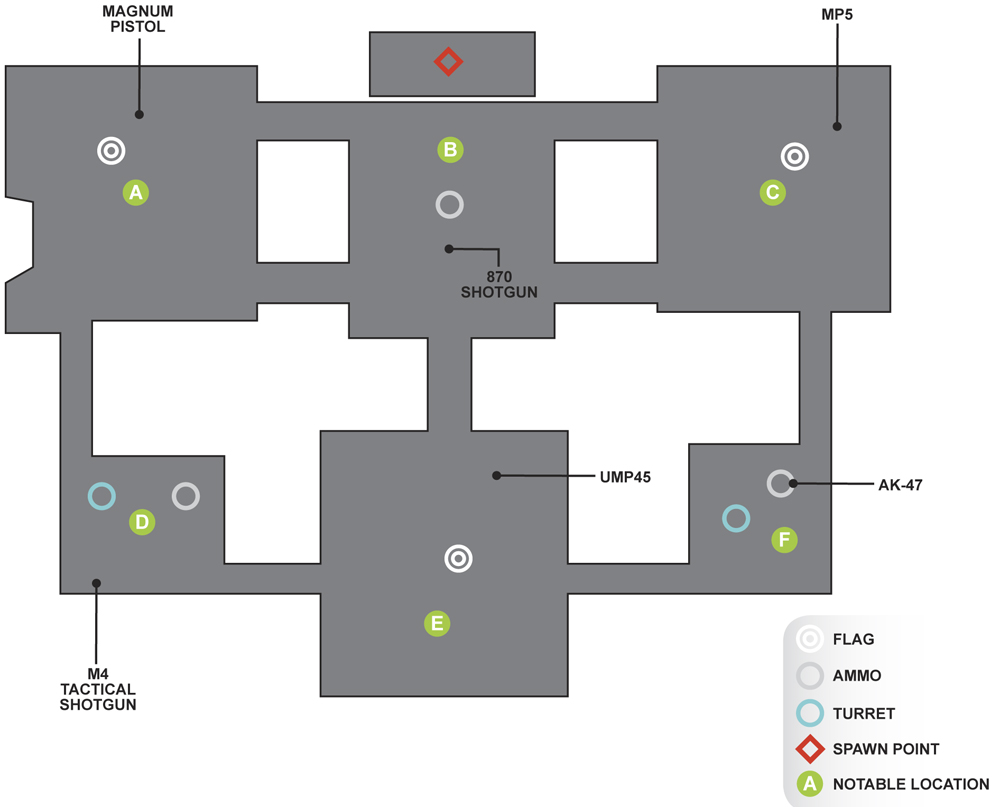
Rooftops // Notable Locations
[A] // CHIMNEY STACK CORNER
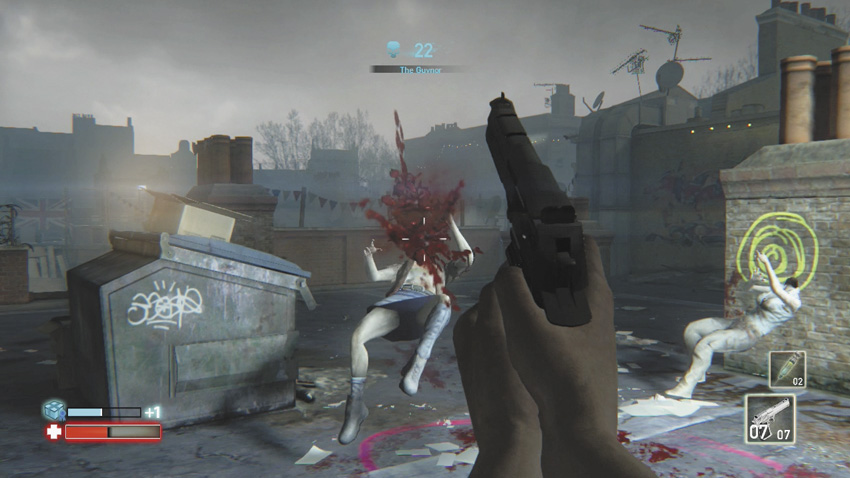
This is a relatively good spot to make a stand, as there are only three bridge exits for foes to shamble up from, and the chimney stacks, plus the trash bin, make a good place to sidestep and strafe from. Obviously you’re easily spotted due to the bright light, and there’s a corrugated metal shed that Boris can hide zombies behind. Watch for those as you climb the arrow ramp.
[B] // BARREL OF LAUGHS
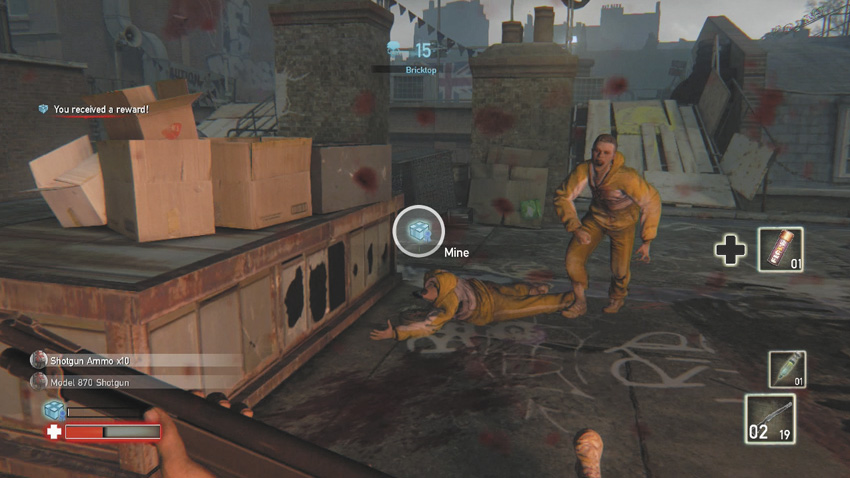
This is perhaps the most dangerous part of the map, as it’s low down and has connecting bridges on three sides, meaning you can’t really back up and spot foes coming from all directions. There are five exits, all sloping upward. Note the central chimney stack and flaming barrel in one corner, so you know where you are. Sometimes you spawn on the upper roof, which is handy for remaining healthy but not for claiming items or flag bases.
[C] // AIR-CON CORNER
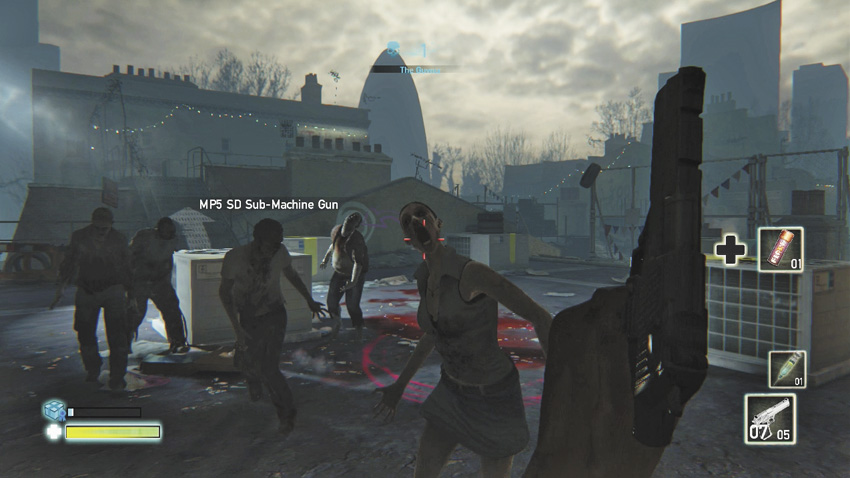
Look for the Union Jack flag and five air-conditioning units on the ground. These make great obstacles, as they prevent foes from reaching you, but you can fire over them. The bridge to Area 6 is raised, giving you good shooting opportunities, while the two remaining bridges offer views down to Area 2. This is a reasonably good vantage point.
[D] // TINY CHIMNEY CORNER
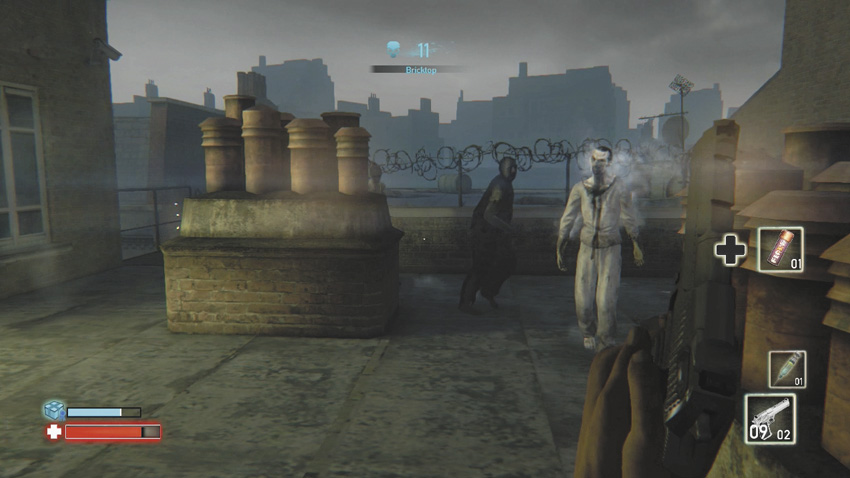
There’s roughly half the ground in this location compared to Area 1, making it more difficult to defend from but easier to establish yourself at (as your radius blocks Boris from placing zombies on the roof; they are usually on the ramps). There are only two exits (which can be troubling if Boris jams them both with foes), but there’s great views across to Areas 1 and 5 if you stand in the corner and sprint back and forth.
[E] // BARBWIRE BARRELS
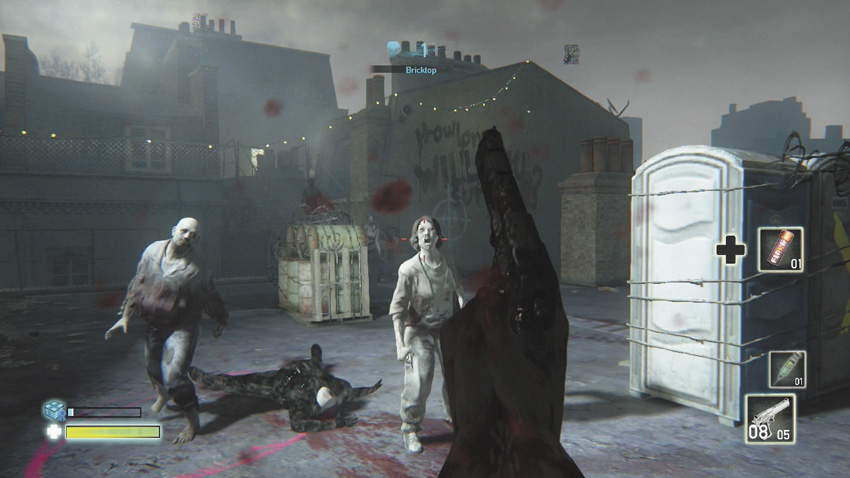
This is the largest surface of all six areas, meaning it’s easier to navigate around but difficult to maintain a defensive position in. Expect zombie incursions from three directions and 180 degrees, meaning this is a place to lay a mine or erect a turret (to guard entrances). There are good views down to Area 2 and a blind corner near the ramp up to Area 6 (watch for lurking zombies there).
[F] // METAL WALKWAY CORNER
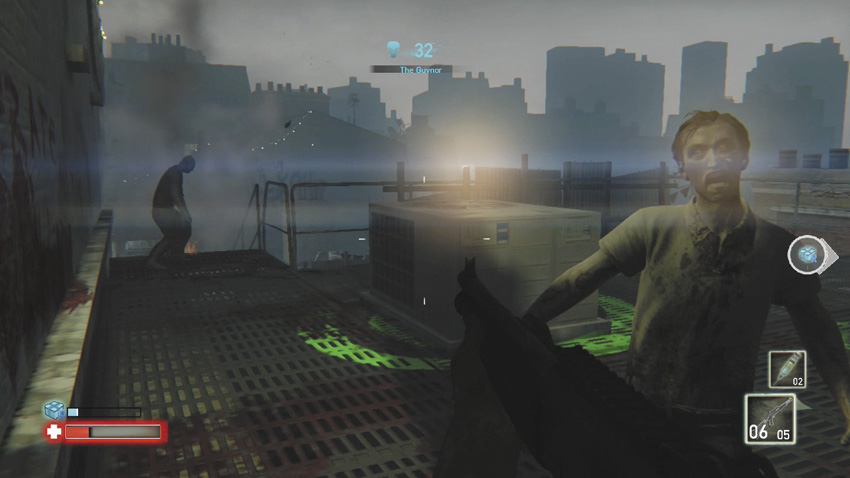
The fairy lights along the wall and the raised position make this area memorable. As with Area 3, there are air-con units that make great barriers to dodge around and fire over. Otherwise, it’s a tight fit here, making combat with cretins tricky to navigate through. There are two entrances, and both give an expansive view you can run back and forth to guard or lob projectiles down to.
Rooftops // Notable Tactics
TACTICS // SURVIVOR
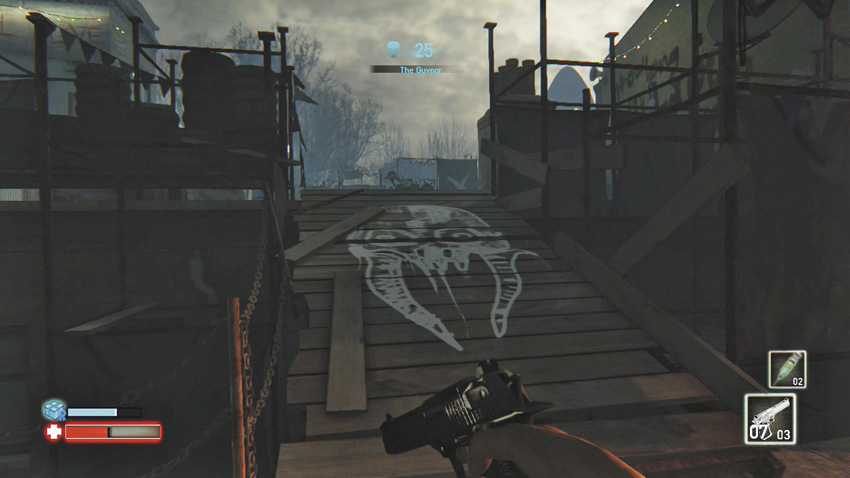
- Memorize the graffiti to help figure out where you are. If a ramp has an arrow or a monster head on it, learn which area it leads to, as well as what weapons and ammo are nearby [1].
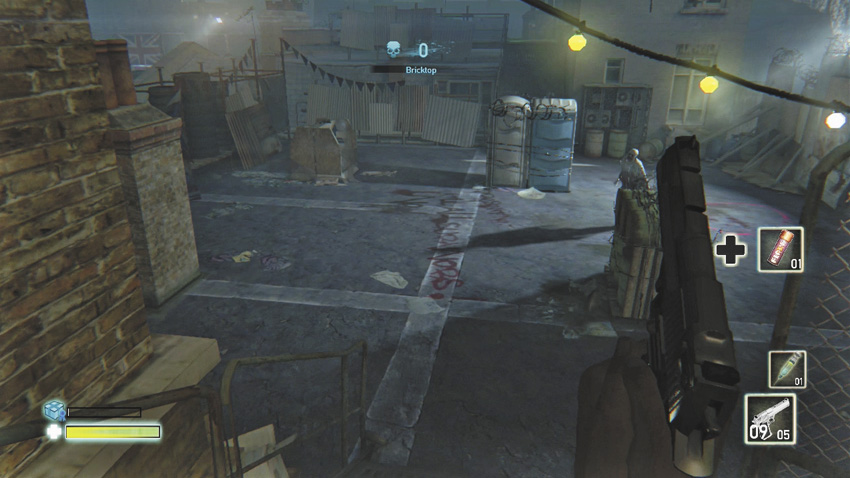
- Upper areas with views across this map are great for checking the enemy types Boris is placing. For example, if you can drop an Explosive Hunter after spotting one from a distance, this prevents you from dealing with it at close quarters, where it can cause you massive damage [2].
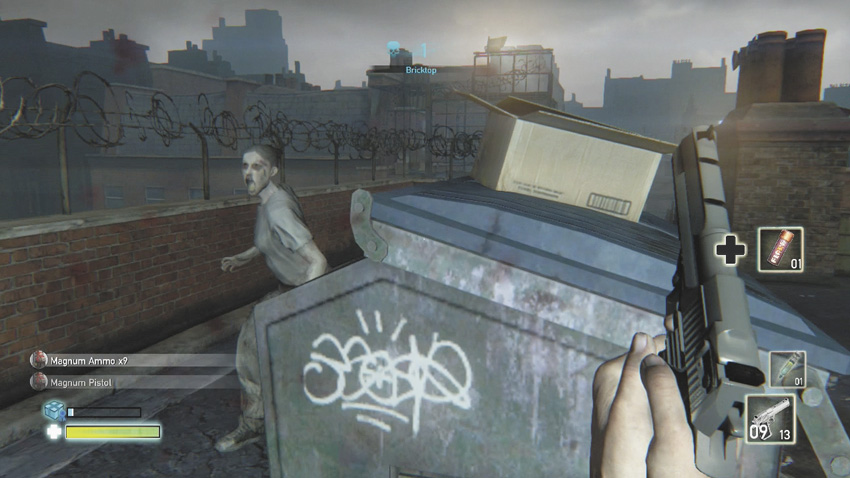
- This map is excellent for jogging around in a circuit or between preferred pick-ups, but vary your path so you don’t get predictable [3].
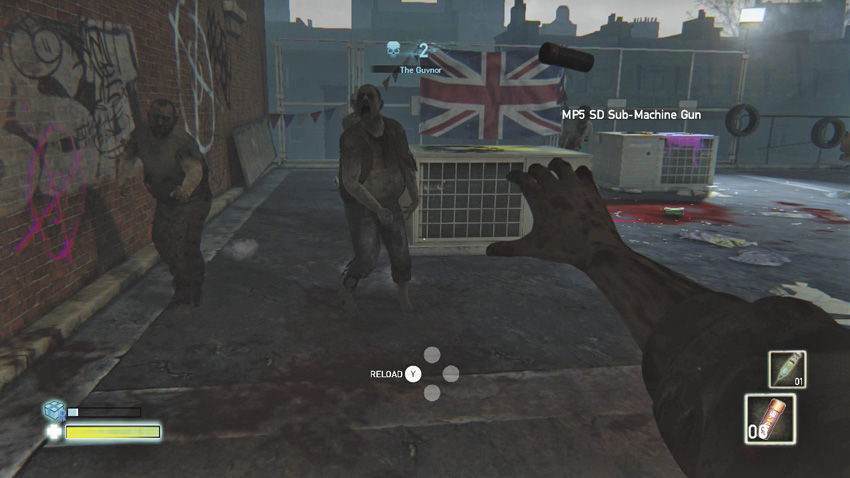
- The open-air location makes projectiles feasible, and the narrow bridges mean traps are also much more likely to be effective. But nothing beats stepping to one of the corner areas (Area 1 or 3), blasting and then dodging away, out of harm’s reach [4].
TACTICS // KING OF ZOMBIES
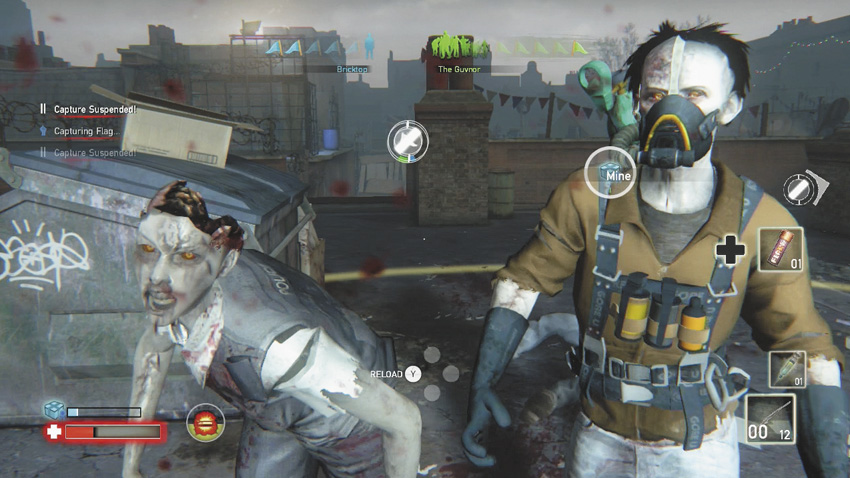
- This is a relatively compact map, so it’s okay to leave zombies moving around instead of taking the penalty and removing them. In fact, it’s great to try “herding” the Survivor into previously deployed units [1].
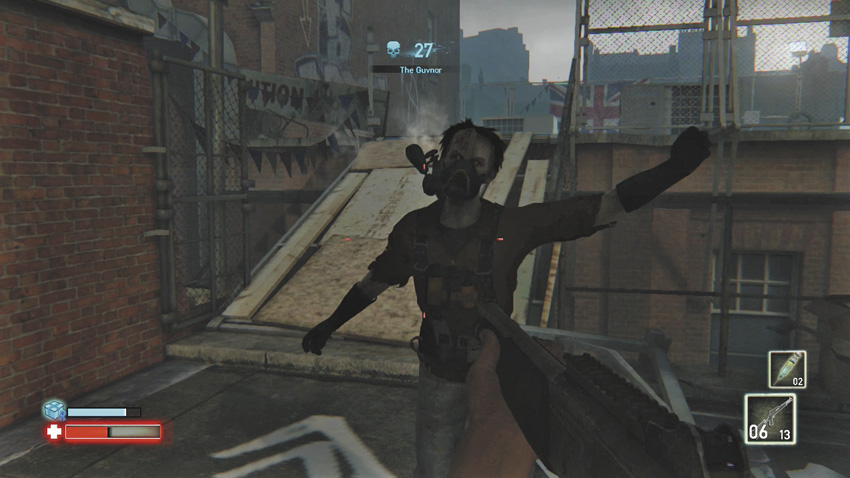
- Try to keep the Survivor in areas where they don’t have a very good view of the environment. For example, there isn’t a great view from Area 2 (as it’s low compared to the others) [2].
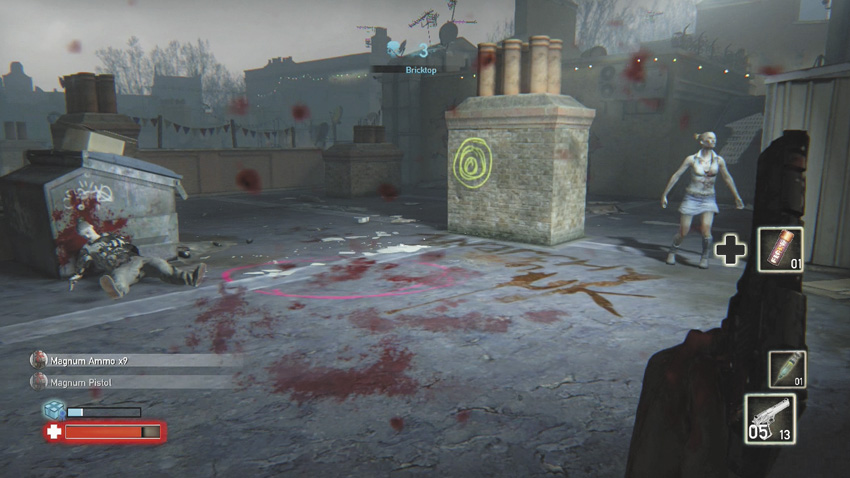
- Spawning your minions in the open air is good in a pinch, but they’re easily spotted. Freak your foe out by spawning them behind chimneys and the corrugated shed at Area 1—anywhere a foe won’t notice them until it’s too late [3].
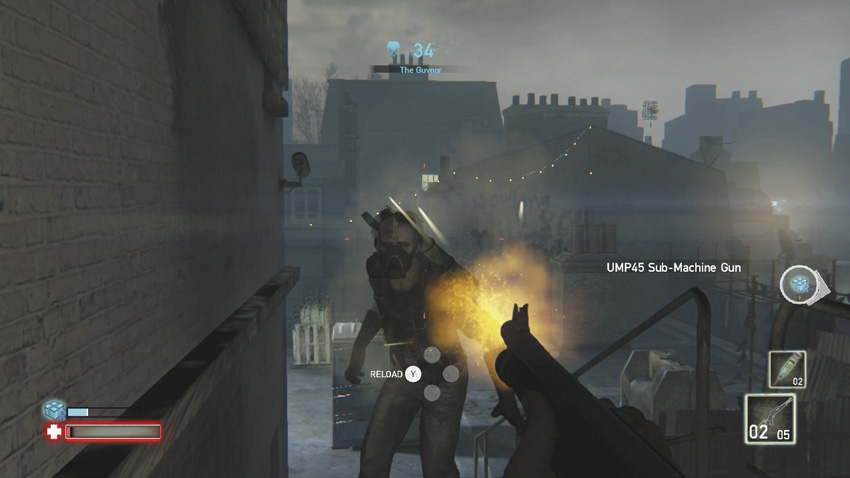
- You’ll end your foe’s survival plans more easily if you attempt to block the bridges. Areas with a tight space and not many exits (such as Area 6) are great; then drop foes at both bridges and hope the fellow can’t dodge all your minions [4]!
Map // Stadium
No soccer matches in this venue; instead expect a container box platform jungle and a whole lot of hooligans.
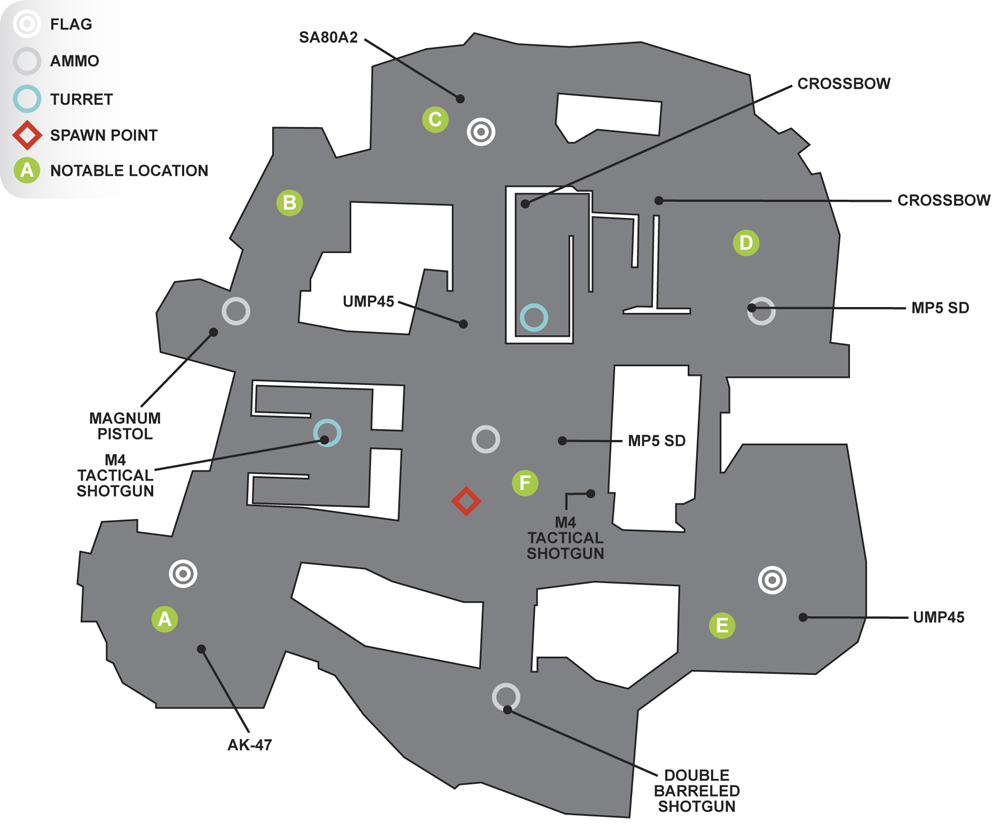
Stadium // Notable Locations
[A] // MILITARY SURPLUS CORNER
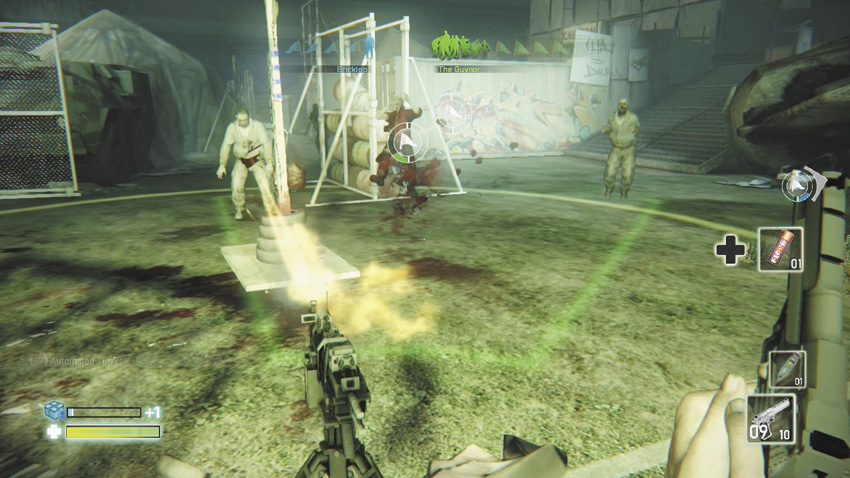
This bloody, grassy area offers a number of benefits, despite not having the height advantage. There are three large obstacles, perfect for herding zombies around (and,say, into a mine trap). There are also some wide-open escape routes; both large ramps and the passageways around the perimeter mean there’s always an escape option.
[B] // COP CAR ROW
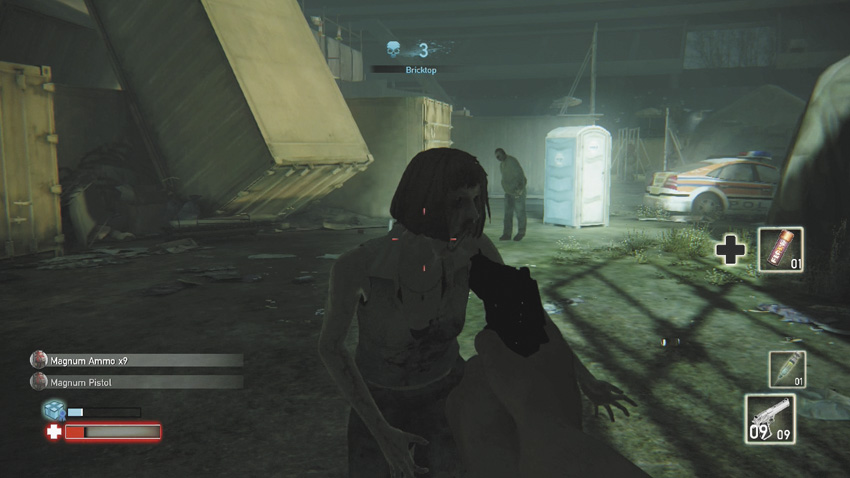
This area is more elongated and stretches from the police car at the bottom of the ramp all the way around to the ruined London bus. There are numerous locations where the Survivor can double back and rush up the metal ramps to avoid foes below, but mainly there’s a long line-of-sight that’s helpful for lobbing projectiles or spotting incoming zombies gathering in this locale.
[C] // COP CAR PARK
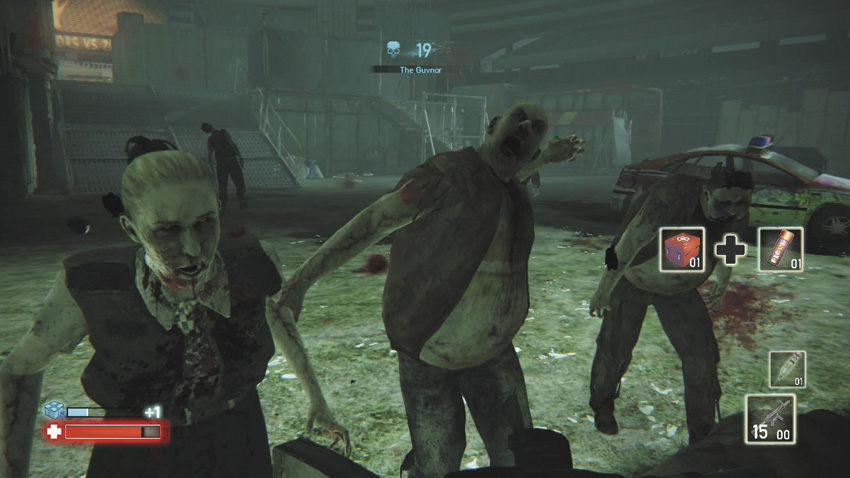
Two police vehicles and a couple of buses (one of which marks the edge of Area 2) allow you further maneuvering around this vaguely circular perimeter. By the bus are two entrances, one of which requires you to slide under; this can be a problem if there’s a zombie on your tail. Long distances allow short- and long-range combat. Watch for Infected placed along the entrance the Survivor doesn’t run along.
[D] // TAXICAB ALLEY
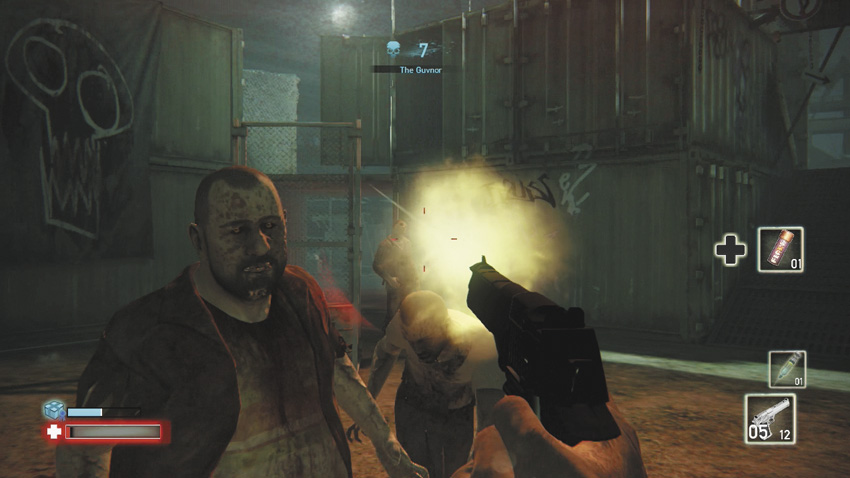
Although all of the perimeter locations offer excellent access to the raised middle section of this map, the Survivor needs to be more careful in this area, simply because the ground entrances are so narrow. The container alleys to the parked taxi are difficult to fight through. This is a great spot for Boris to set a trap and block a Survivor in; this has fewer escape routes compared to the other areas.
[E] // COP CAR THOROUGHFARE
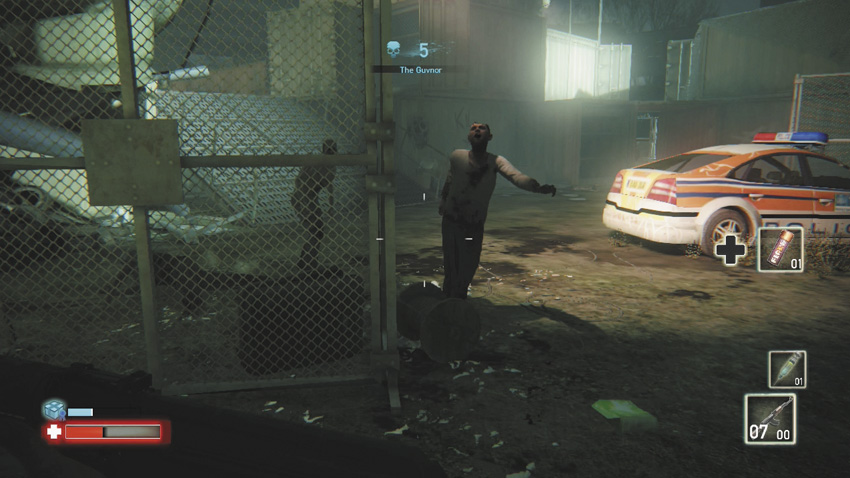
The cop cars are flagged throughout this map so you know how many there are and can differentiate which area you’re in. This location is both long and narrow, and although the two chain-link fences make great obstacles to keep you from your zombie foes (and you can fire through them), the way they’re angled means there’s not much room to move. This is a great place to pass through, but don’t stay for long.
[F] // COP CAR PARKING
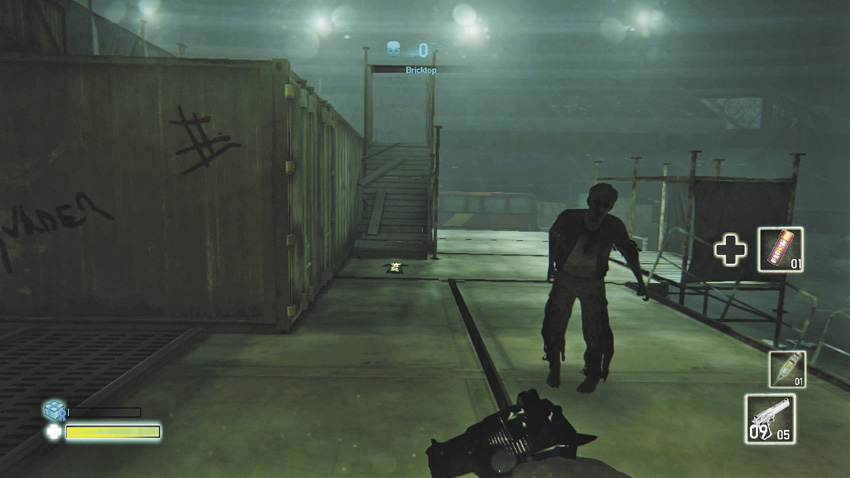
The upper, central area of the stadium features a trio of tagged cop cars, and a section of barricade to slide under (this can get you caught but can also stop foes following you). Adjacent to that is an often overlooked sniper nest—an upper container with a narrow ramp, this can be difficult to navigate but is a possible place to hole up and shoot from. There are at least eight exits; drop off containers or use the numerous ramps. Dart across here so you’re unpredictable when making circuits.
Stadium // Notable Tactics
TACTICS // SURVIVOR
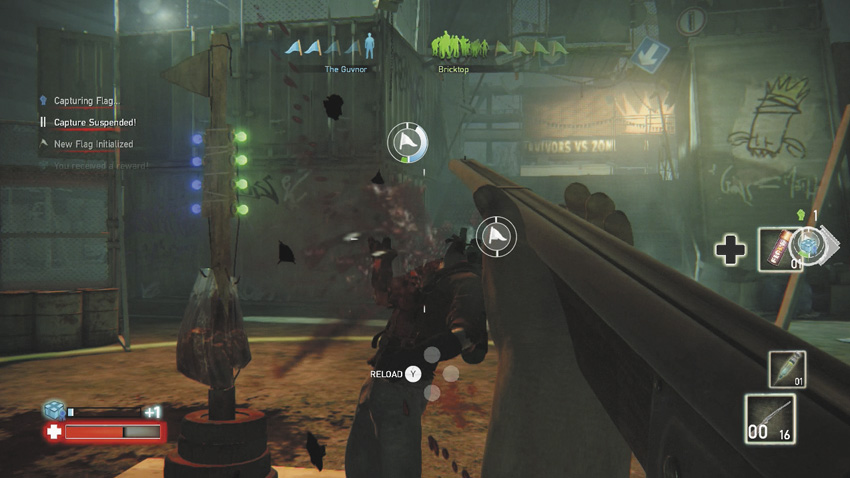
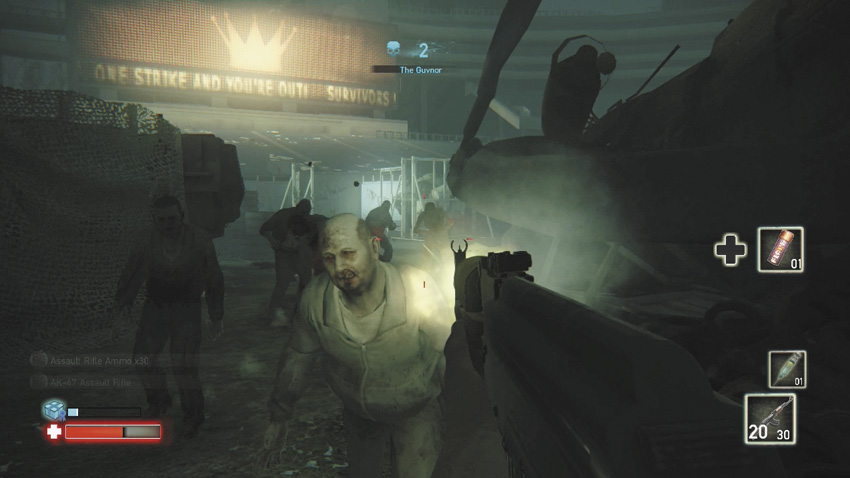
- You should be making a stand or rushing to claim flags along Areas 2 and 3, mainly because of the options you have in terms of movement: Aside from the escape ramps up to the top containers in the middle, there’s the thoroughfares on either side of the bus, which you can move between to keep your foes on their toes [1].
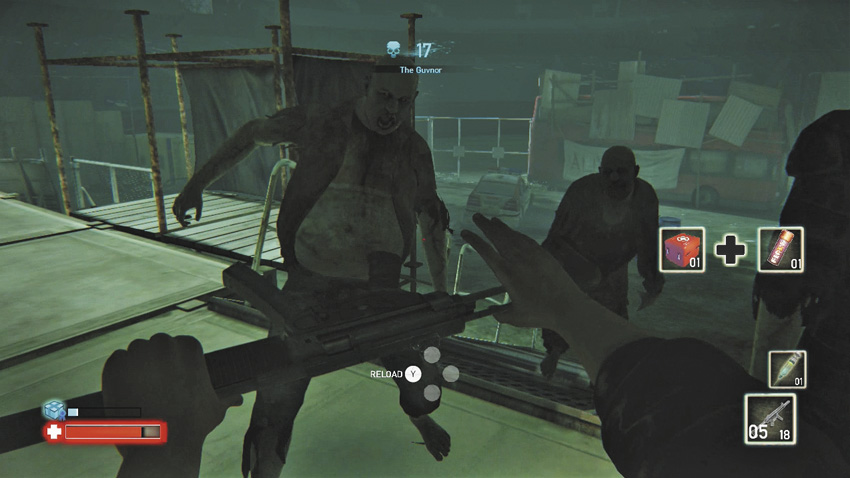
- Conversely, Area 5 isn’t somewhere to frequent; it’s too narrow to remain here for long without being overrun, and there are fewer escape opportunities. Run for any pickup items here before heading for a wider area [2].
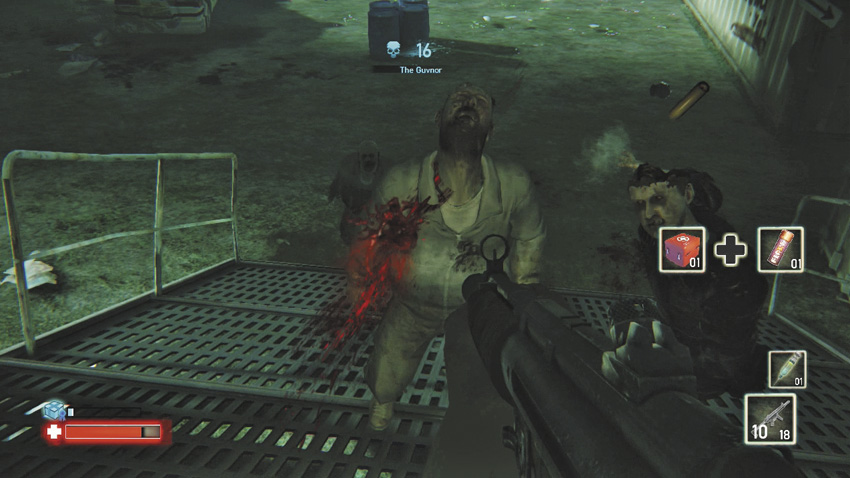
- Don’t overlook the central container area (Area 6), with its numerous escape routes. Dropping off containers, sliding under the barricade at one end, and ascending to the sniper area all means your foes have a more difficult time catching you [3].
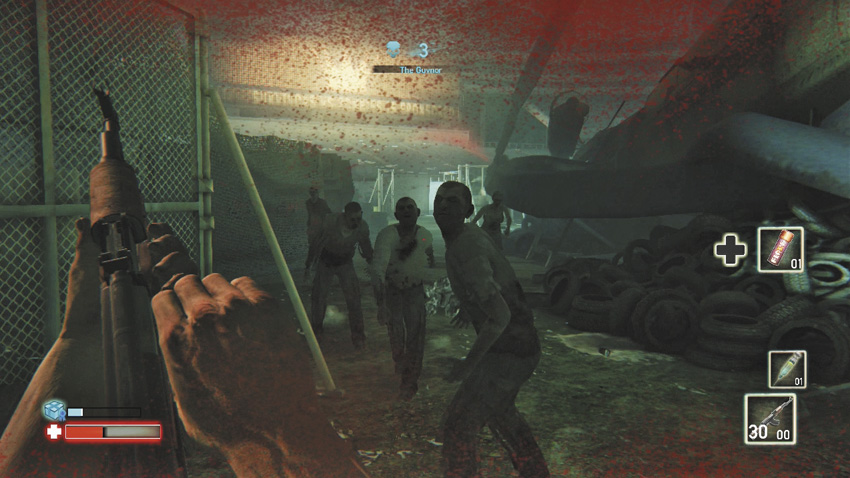
- Stalk foes from the central area, lobbing down projectiles or charging down to execute close-range headshots before backing up again. This is preferable to sniping, as you’ll be swarmed too easily [4].
TACTICS // KING OF ZOMBIES
- Force your Survivor foe away from the larger expanses of grass and down narrow thoroughfares in order to trap them. Wait for your foe to stop moving, judge where he is likely to move next, and trap him between two advancing hordes [1].
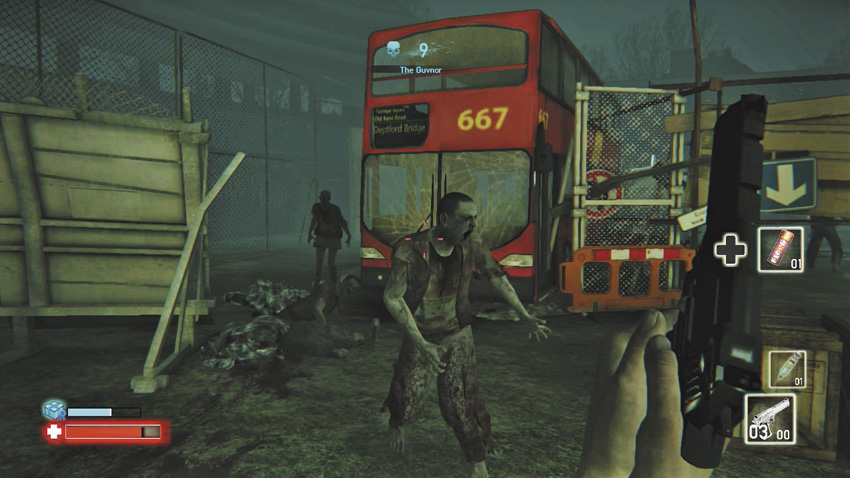
- There are several areas where you can position zombies to surprise your foe: behind the more bulky protruding wreckage and on the parallel path near the bus. Wait for your foe should they try to slide under the barricade on the containers [2].
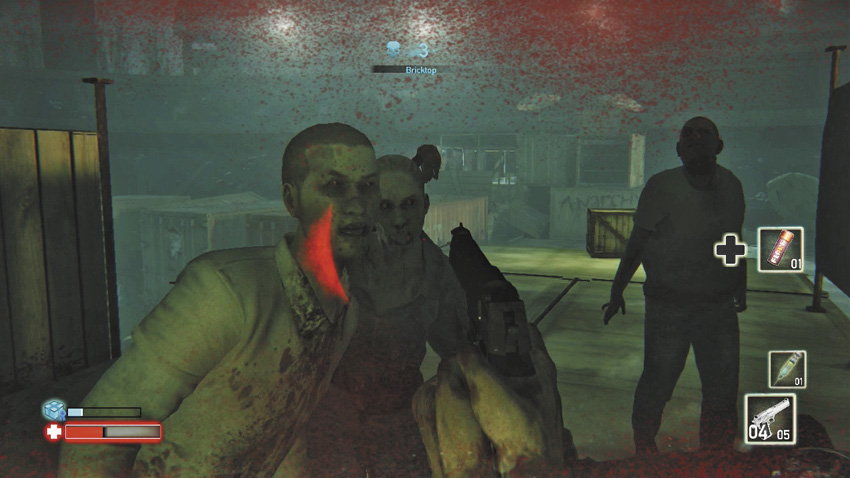
- The narrower the area, the better for you. Herd your enemy toward Area 4 or up onto the sniper nest via the narrow ramp atop the containers. Then spawn as many foes in different directions and make your foe pay for this positioning mistake [3].
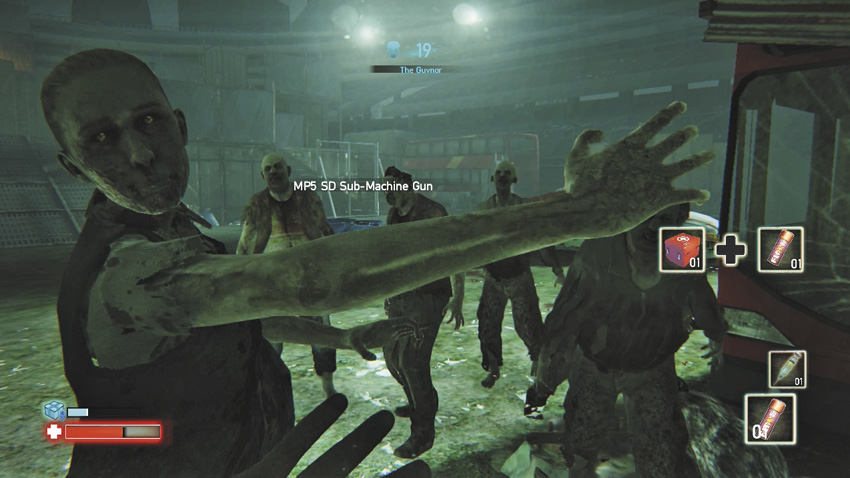
- The perception of unmanageable odds is important here; if your foe is in a wide space, drop foes just far enough away so it takes multiple shots to take each down but positioned on all escape routes. Then reinforce behind and in front when your foe chooses which way to run [4].
Map // Metro
Ladies and gentlemen, we do apologize for the delay to your service. This is due to the complete breakdown of society.
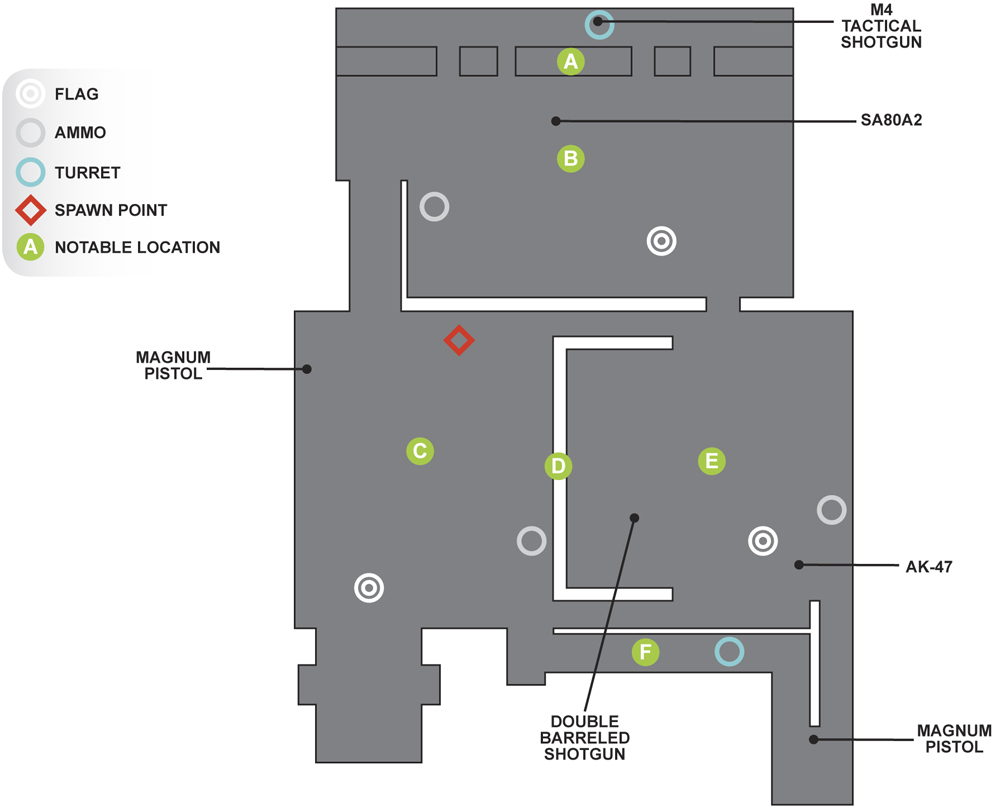
Metro // Notable Locations
[A] // TUBE TRAIN
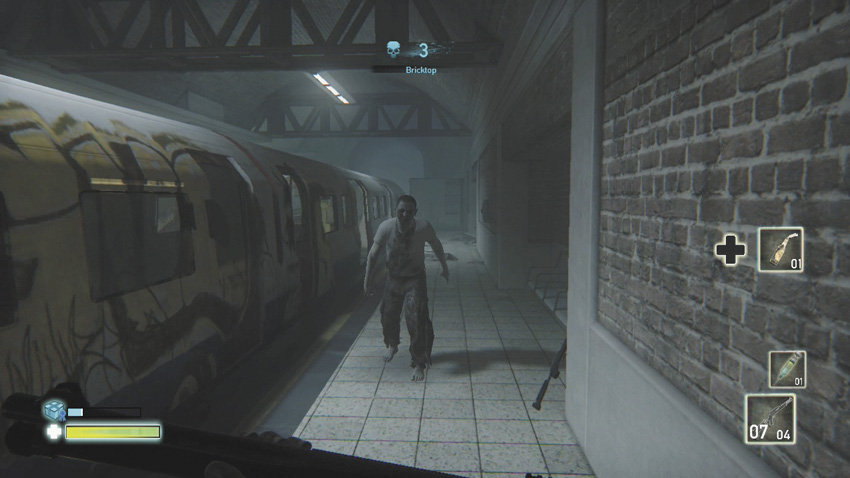
This isn’t often visited, and with a good reason: it’s extremely narrow and offers too many opportunities for Boris to spawn foes to block a Survivor in on either the tube train’s exits or the narrow platform lip on the opposite side to Area 2. However, this is a good route to take to snarl up zombies who are chasing you; it’s not a good idea to make a final stand here, though.
[B] // TUBE PLATFORM
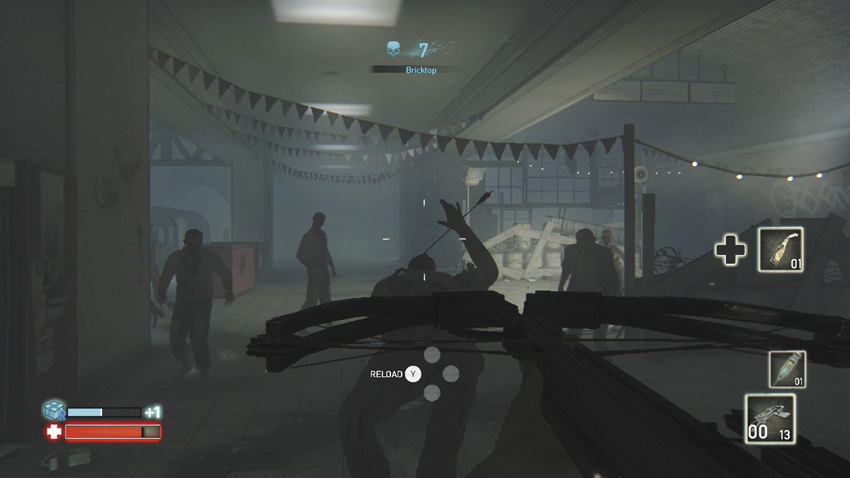
There’s a huge amount of open space, pockmarked with barricades, pillars, and other piles; this helps both the Survivor (who can dodge and weave, shaking off attackers) and Boris (who can place foes behind obstacles to scare and surprise). This offers quick access up to Area 3 (via a staircase you can dodge zombies on) and to Areas 1 and 5. There’s a sectioned-off area with a smashed drinks dispenser too—another place for dodging or spawning.
[C] // UPPER MEZZANINE
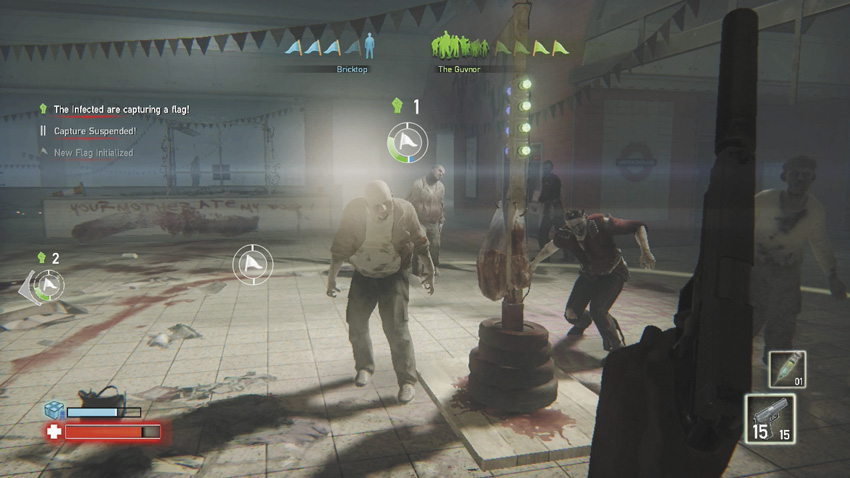
This is one of the preferred places for a Survivor to make a stand and for good reasons: There’s a huge, open area to move about in, marked with a few corners you can race to (so you aren’t outflanked) and five exits (to Areas 2, 4, and 6); this means escape is always an option. There’s a long barricade to dodge around, seats to fire over, and numerous places to set traps.
[D] // CONNECTING STAIRS
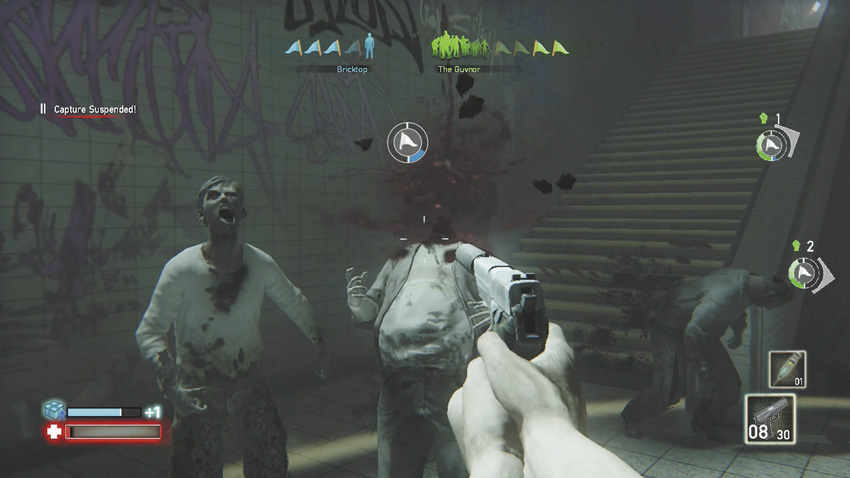
It’s important to learn all the connecting spots between Areas 3 and 5 (and to a lesser extent, 6). First, there are stairs on either side. Second, there’s a break in the wall, flagged by fairy lights, that enables a Survivor to drop down to Area 5: Fall on the pile of scenery, or you’ll take damage! Don’t forget the access to Area 6, too. Varying your routes here keeps those zombies from swarming!
[E] // LOWER MEZZANINE
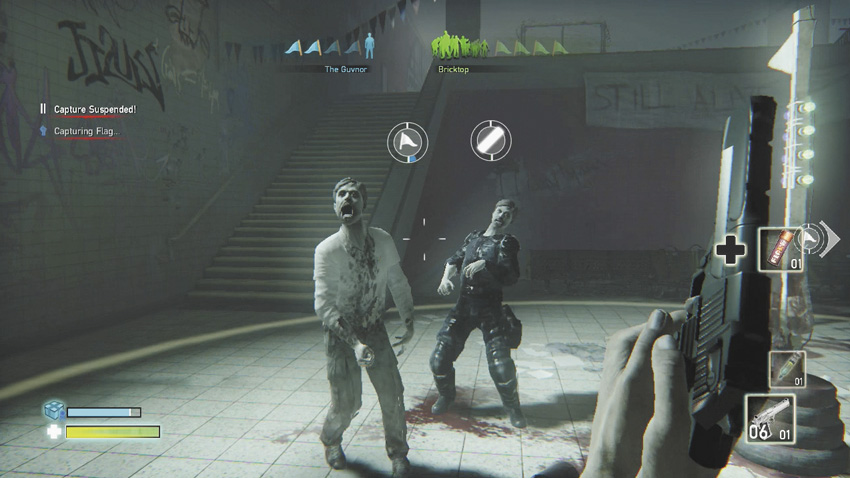
Remember that you can fire down on foes from Area 4. This is another huge area, although it isn’t quite as open as Area 4; there’s some chain-link fencing you need to navigate, which sections parts of this off. With four exits, this is difficult to guard for Boris, but the Survivor shouldn’t feel safe either, as you can get caught backing onto the scenery or fencing: Fire over the seating and choose a fresh escape route.
[F] // BACK BALCONY
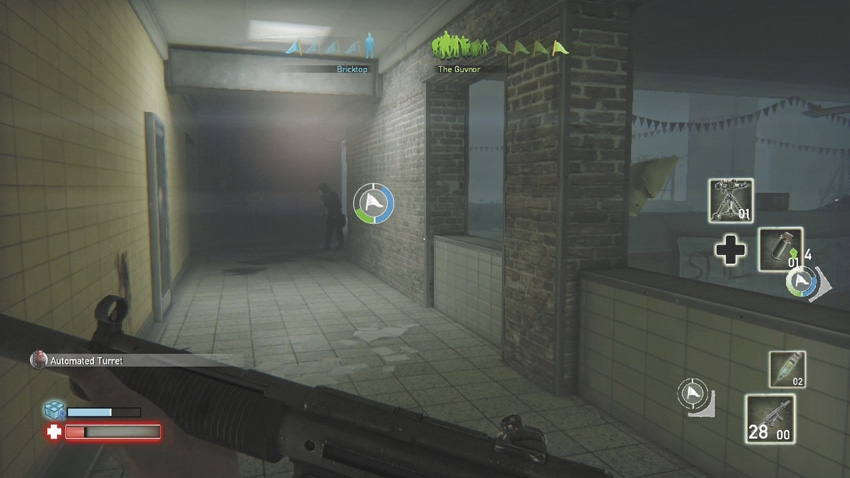
If a Survivor has a gaggle of undead following them, set down a mine here or try to trap them as they exit onto Area 3. It’s also a place a Survivor can be overrun pretty quickly, so it’s not a place to make a final stand. Dash here when numerous foes are following you elsewhere on this map. Boris can easily spawn zombies at the two exits, which can be a problem for Survivors.
Metro // Notable Tactics
TACTICS // SURVIVOR
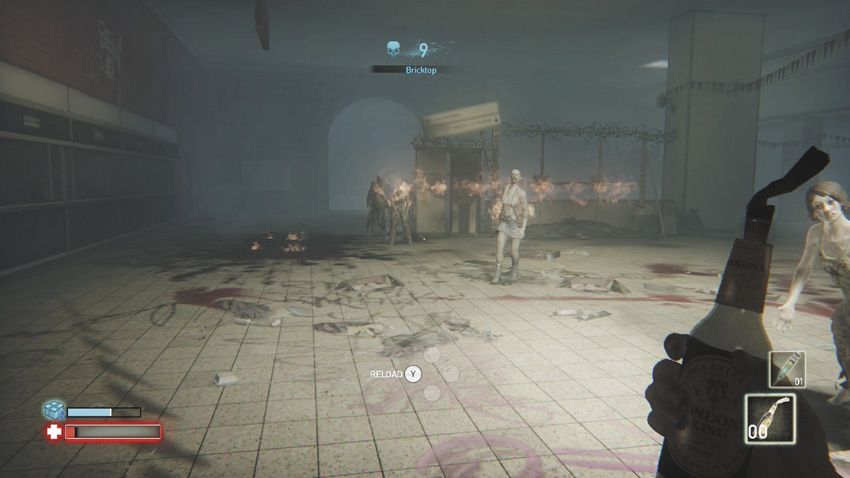
- The Upper Mezzanine is usually the place to make a stand. Try the corner near the large stairs, then move to the other end, into the covered ticketing area past the flag zone. With swift looking left and right, you’ll be able to react to any incoming foe [1].
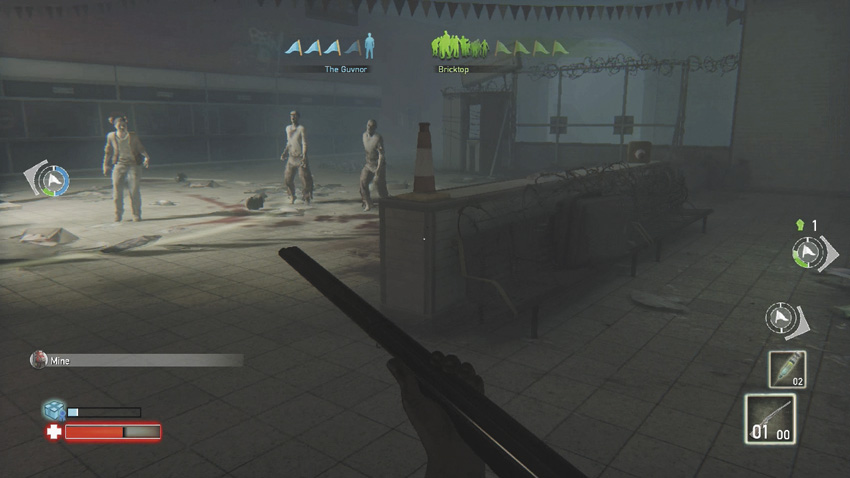
- The long barricade and the high ceilings make it possible to dodge even the most powerful zombie types as the match progresses, and attack with any and every item at your disposal [2].
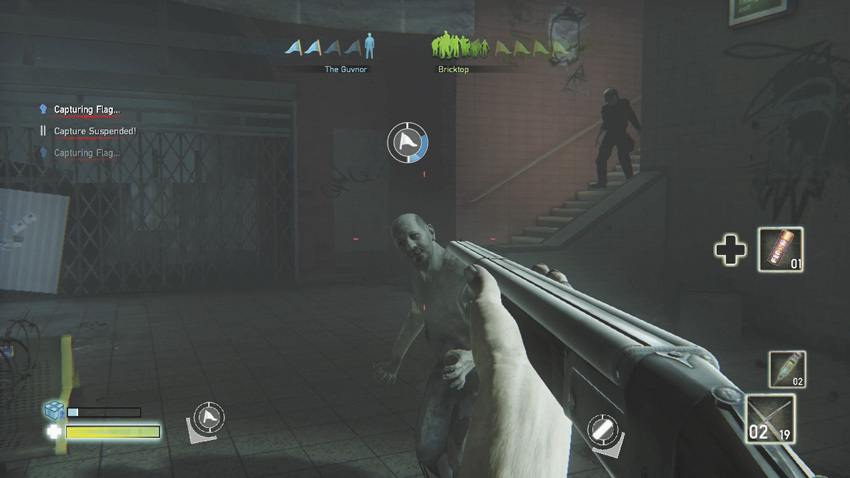
- Vary your routes between the Upper and Lower Mezzanines, and don’t stay in these large areas exclusively. Boris soon gets wise to your plan of enjoying wide-open spaces and will attempt to surround you. When this starts to become overwhelming, head into the platform or balcony to narrow the openings your enemy can attack you from [3].
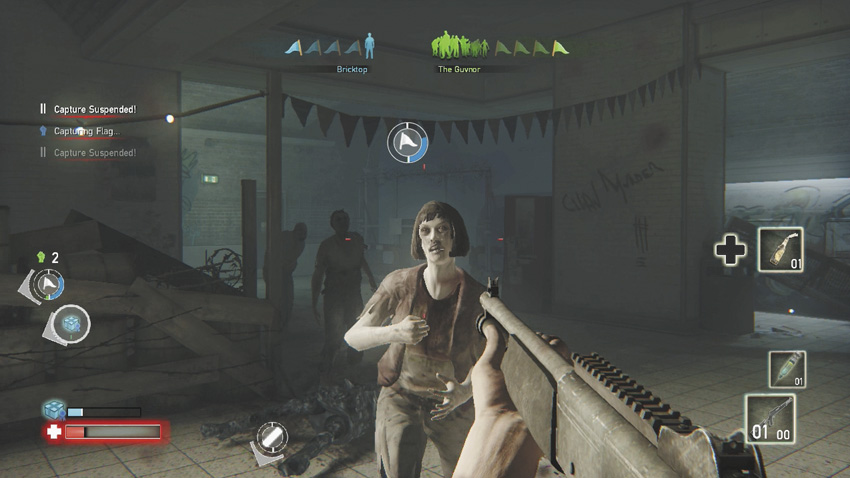
- Both the balcony and the narrow platform by the tube is a place where you can cut down multiple foes in a line, without spinning left and right. But it’s usually the site of a failed stand too; these areas are easily compromised. Jog on, into wider locales [4].
TACTICS // KING OF ZOMBIES
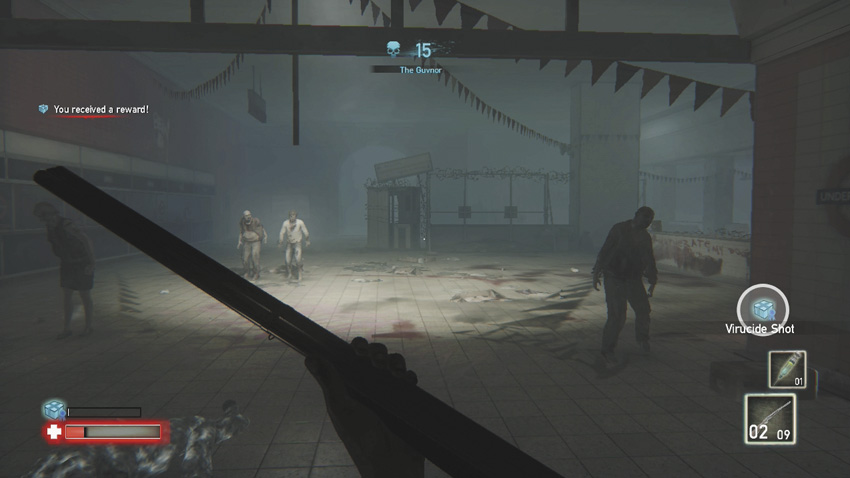
- If your foe’s in a wider area, try to position your minions at opposing sides so your foe has to spin and aim. Your plan here is to wear the Survivor down. Try a mixture of close and far positioning; when the Survivor moves to get a closer shot, plop a new foe right behind them [1]!
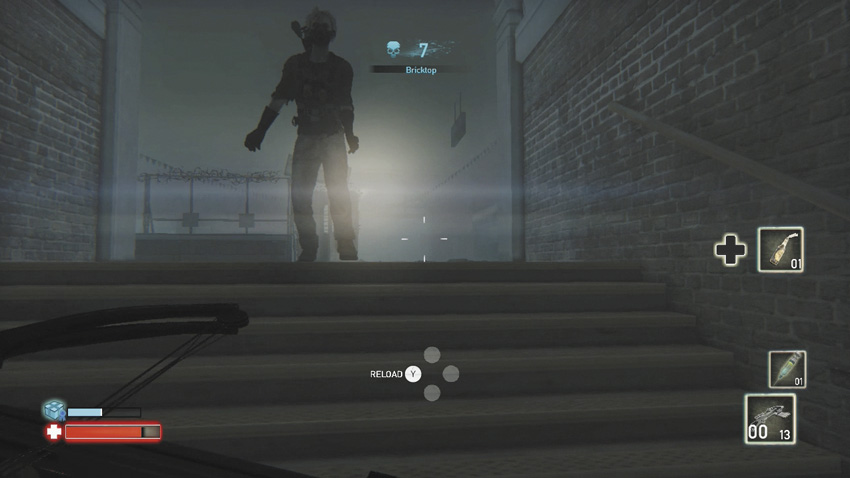
- Stairwells are great places to freak out a Survivor! When your enemy finally tries to make a break for it, place foes at the top and bottom, forcing the Survivor to fight through them and sustain damage [2].
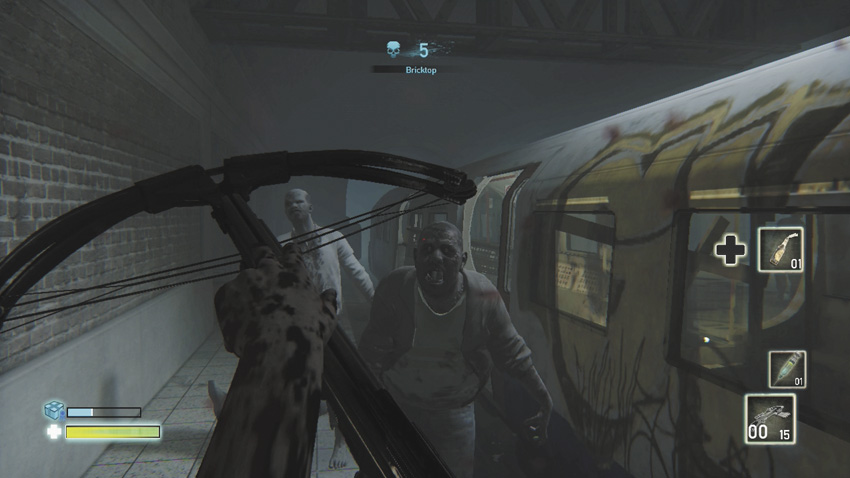
- If you can, try and “herd” your Survivor foe up into the tube train, and then spawn everything you have in this area, ensuring your enemy dies trying to escape from this very wrong turn [3]!
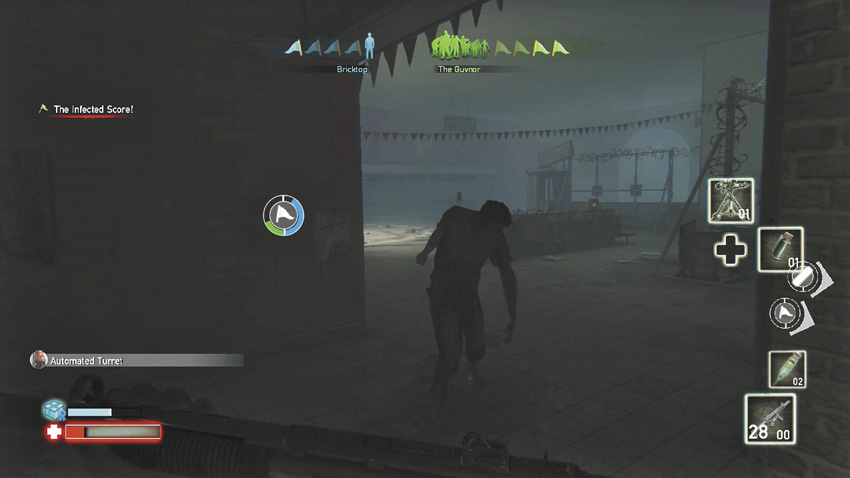
- If your foe heads to the balcony area, they have only two ways out. Drop in a foe to get your enemy to move, and then spawn multiple foes to trap them on the stairs to Area 5 or the entrance to Area 3 [4].
Map // Bunker
An extended stay at Her Majesty’s pleasure? Not now; these bunkers are the property of King Boris. Long may he reign!
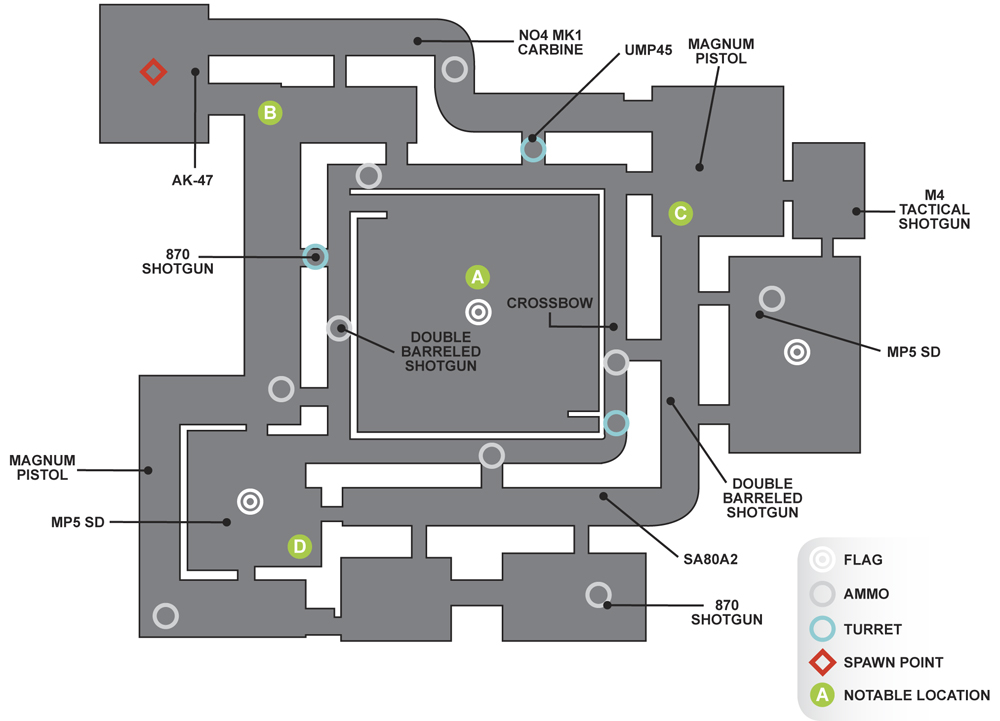
Bunker // Notable Locations
[A] // CENTRAL COURTYARD
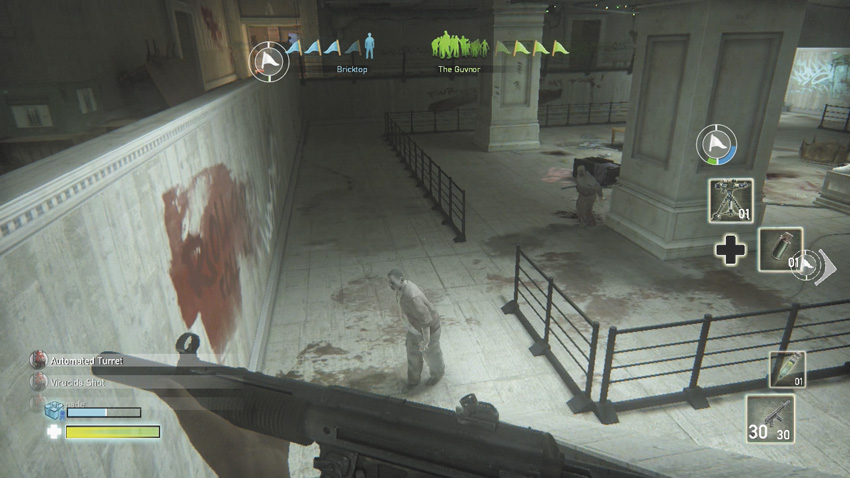
All roads lead to and from this central point, via the surrounding balcony. This is a favorite place for holding up as the Survivor has the benefits of a large open space in the lower-middle section of this area and the (slight) protection of the four large pillars and the railings, which forces the Infected through narrow openings; this is perfect for mines or projectile attacks. You can really do damage against Boris’s minions in this area.
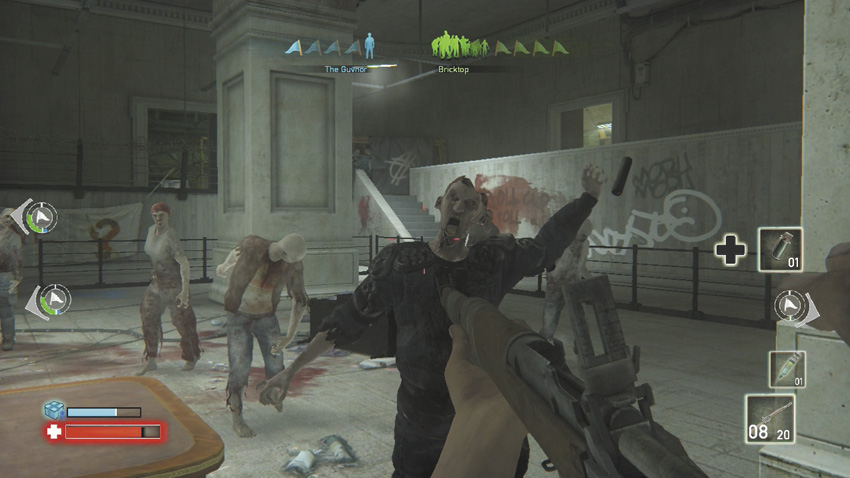
Up on the balcony, the situation is much more fraught for the Survivor. King Boris’s favorite trick is to insert foes at each end of a balcony section and at the opening into an adjacent corridor (part of one of the other three areas). It’s not long before you’re fighting on a very narrow area against multiple swarming foes. So it’s wise to spend as little time as possible on the balcony, if you’re the Survivor.
[B] // GARAGE STORAGE
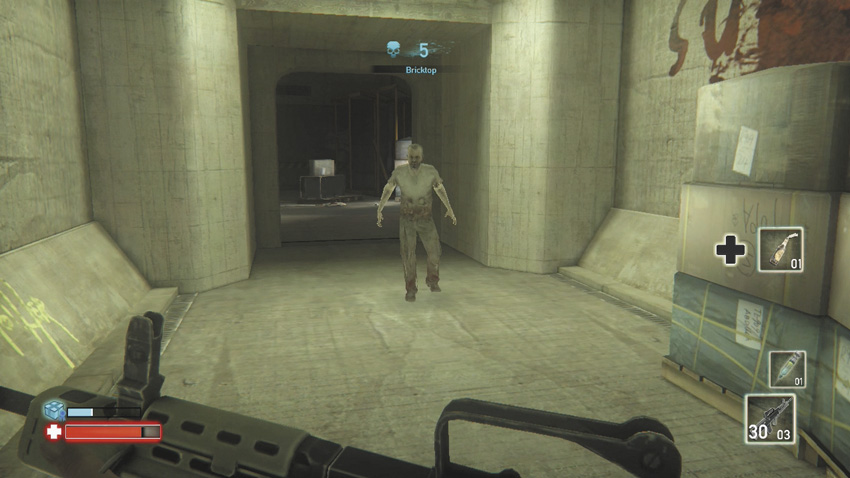
This area comprises the large L-shaped corridor, a second connecting corridor leading to and from Area 4, and the large storage chamber making up one corner of this map. The L-shaped corridor itself is extremely long, and with scattered crates, this can be a perfect spot to lay a mine but also to get trapped in. The smaller connecting corridor offers good transitional access, but it’s easy to be surrounded and has fewer exits than the rest of this area.
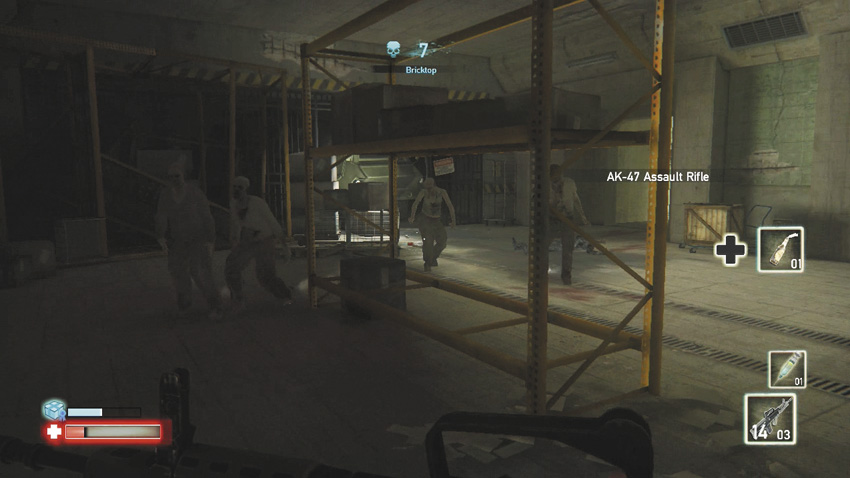
The garage storage room is wide and features some yellow metal shelving to dart behind and fight from, although there’s the ever-present problem of being flanked from either side. The Survivor should be using all obstacles to create distance between them and the zombies; there are plenty of pallets trolleys and crates to dodge around. Conversely, these can be where Boris spawns his minions.
[C] // FORMAL CHAMBERS
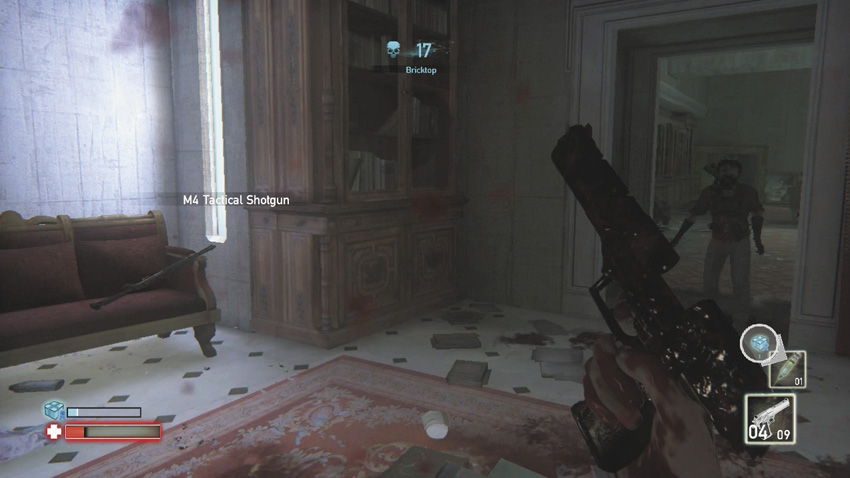
This area is easily segmented in your mind if you look down at the red carpet that runs through the corridors and two of the three formal chambers on this side of the map. The L-shaped corridor offers good access to Area 4, while the snaking corridor gets you quickly into Area 2; both are dangerous to stay in, as they can become crowded very quickly. Use the upturned furniture as you try to take down incursions, before moving to a wider chamber.
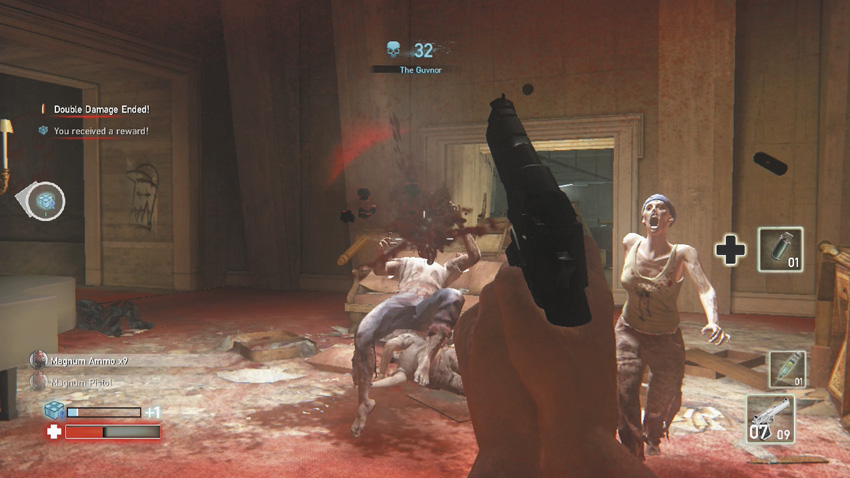
The giant library (bathed in blue, with the map of London) with the huge table and other smaller barricades is a reasonable place to remain; take up the corner here and you have a great view of all three exits. The formal hall with the rug is simply a place to race through (although a corner hold can also be prudent here, too). The “red room” with the piano has four exits, slightly too many to be really safe for a long time, but you can hold these just like the lab and courtyard.
[D] // LABORATORY AND STORAGE
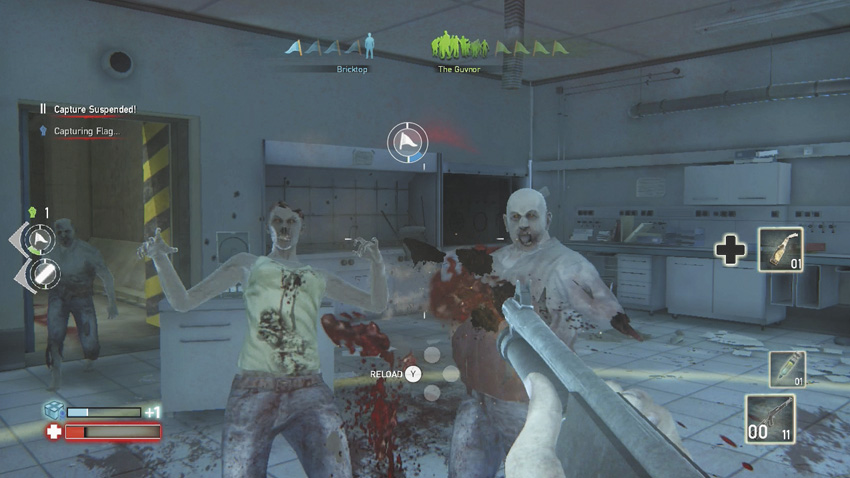
This area comprises the blue-lit laboratory, the U-shaped corridor half surrounding it, and the two small storage rooms connected to the lab and corridor. This mazelike area is actually less confusing once you learn the layout. Competent Survivors can use it to their advantage, dodging into the lab, the storage rooms, and the corridor in random order. All locations are wide enough to have a fighting chance if you become trapped.
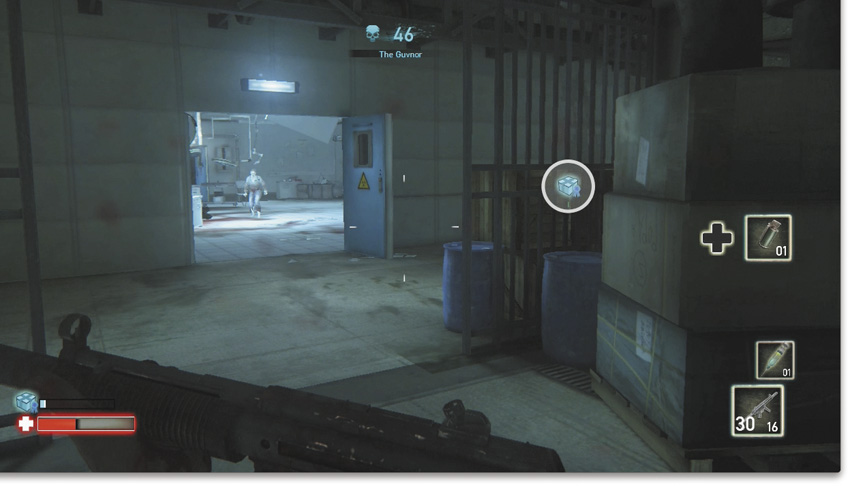
The laboratory has several obstacles for you (or your zombie foes) to become stuck behind, but most are waist-height, allowing you to spray the enemy and still keep them from your warm flesh. The two storage rooms have fewer scenic cover opportunities and are less ideal for holding up in. However, if you’re wanting a corner to stand your ground and an exit to flee to when everything gets a little too messy, try one of these two chambers.
Bunker // Notable Tactics
TACTICS // SURVIVOR
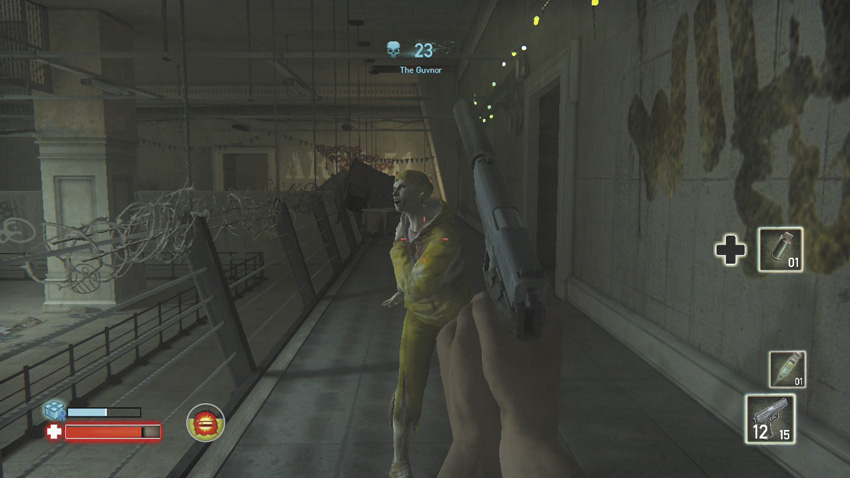
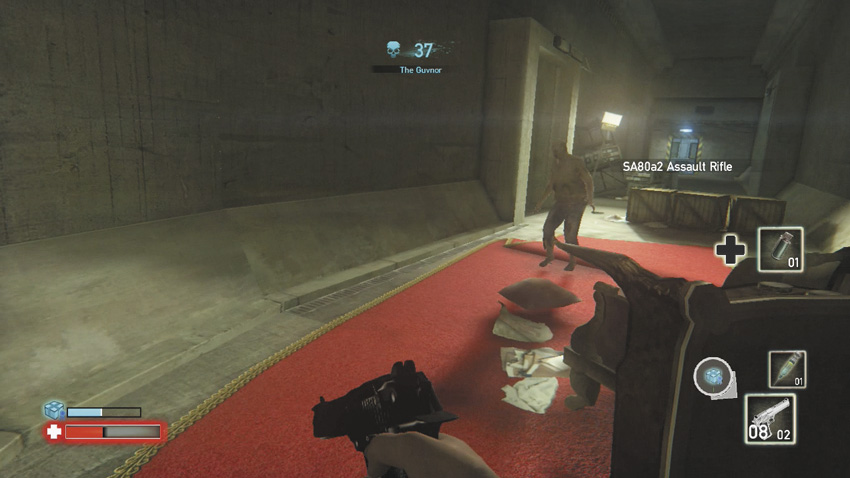
- Improve your score quickly by circling the courtyard balcony. Boris may spawn foes in front of you; simply run to them, decapitate with a headshot, and continue to move. That way, your foe can’t slow you down enough to swarm you [1].
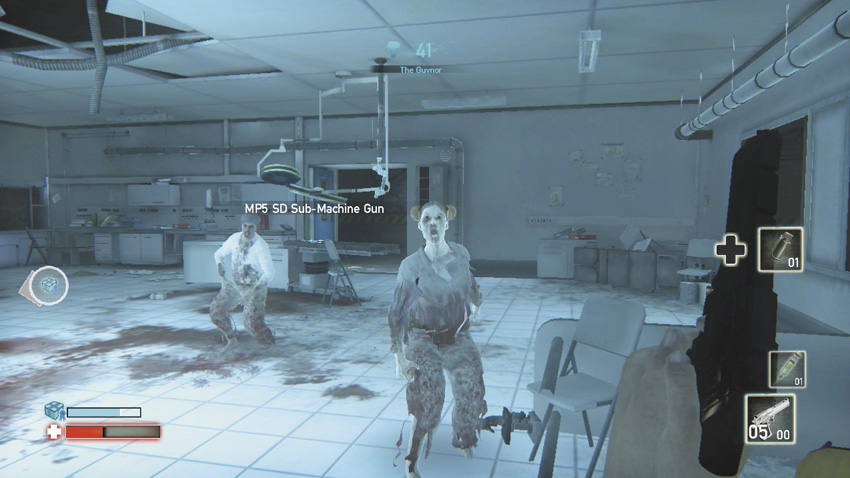
- Your score also rockets if you sprint, run, and maneuver around the map in a random route, faking a step into a room (so Boris spawns foes) and then out in a different direction. Make Boris chase you (and waste zombies in rooms you’re far away from in the process) [2].
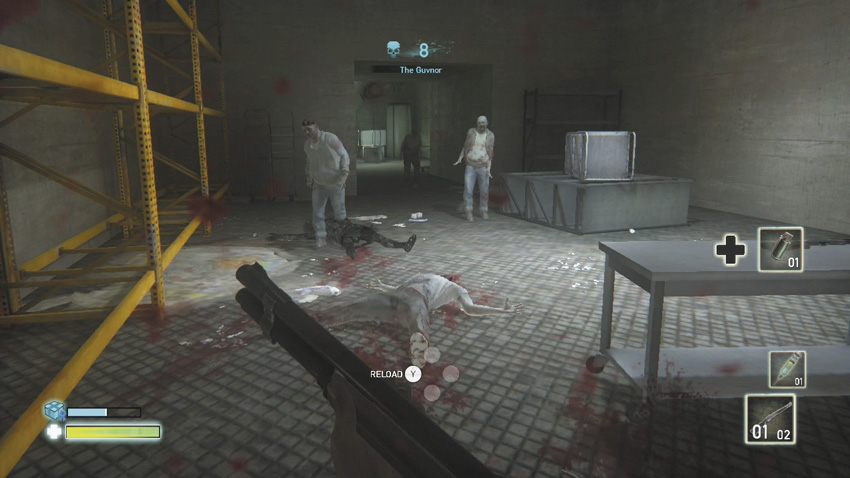
- So Boris doesn’t simply take the loss and remove zombies and respawn them. Slow down from time to time, find a corner with multiple exits nearby (loading up with ammo on the way), and make a stand. With one or two bullets left, make a break for it and start weaving through this map once more [3].
- This map has several very long corridors (and big rooms) where you can see a huge distance in front of you. Moving down these passages is a great way to run-and-gun, with foes easily spotted in front of you [4].
TACTICS // KING OF ZOMBIES
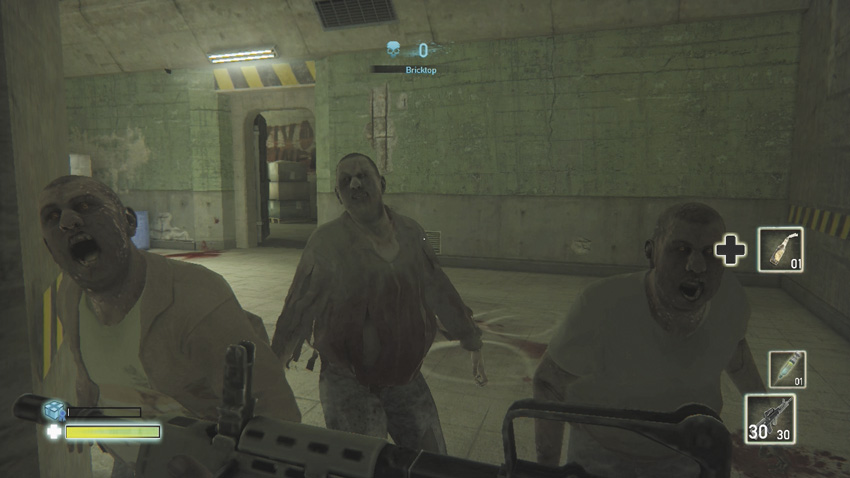
- When you have the points, it’s worth watching your Survivor foe head toward a corridor doorway and then drop three foes in front of them. When they turn back, insert another foe behind, and sandwich them as soon as possible [1].
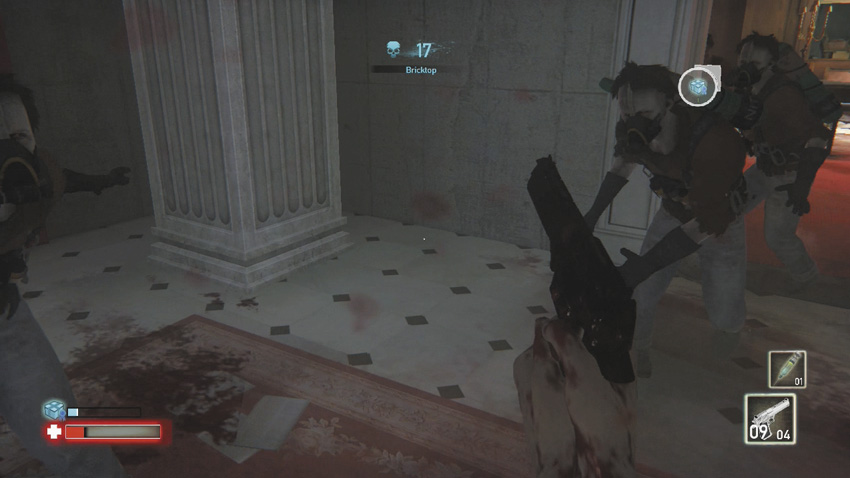
- As the Survivor heads into a corner, spawn a foe in their line-of-sight so they concentrate on that. But in reality, you should spawn two or three other zombies to the side, to flank your foe before they realize it [2]!
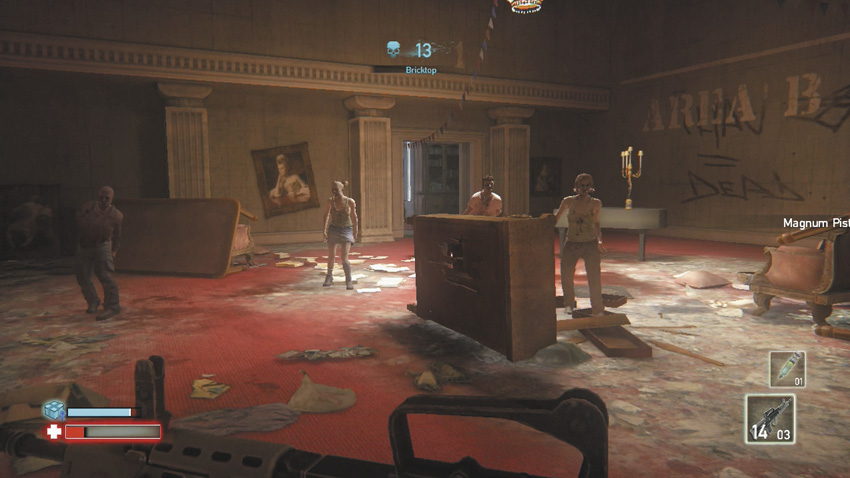
- Positioning of your undead forces is more important here than normal, as the map is so sprawling. Predict which room the Survivor will race into, and have a foe or two waiting for them. Put foes just after doorways, so a Survivor spots them only after entering and can’t double back thanks to the zombies chasing him [3].
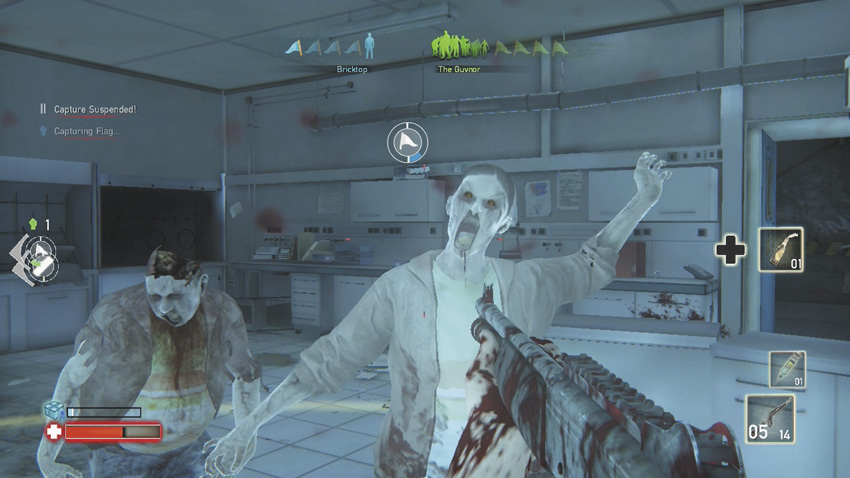
- This is the biggest of the maps, so it’s easy for your Survivor foe to tackle one or two foes at once. It’s actually better strategy to wait until you can spawn four foes at once, usually in front of the enemy so they slow down or try to find a different route. Then try to swarm them [4]!
Map // Brick Lane
This place is a shambles with trash everywhere, and the locals are sunken-eyed and violent. And that’s before the Blight...
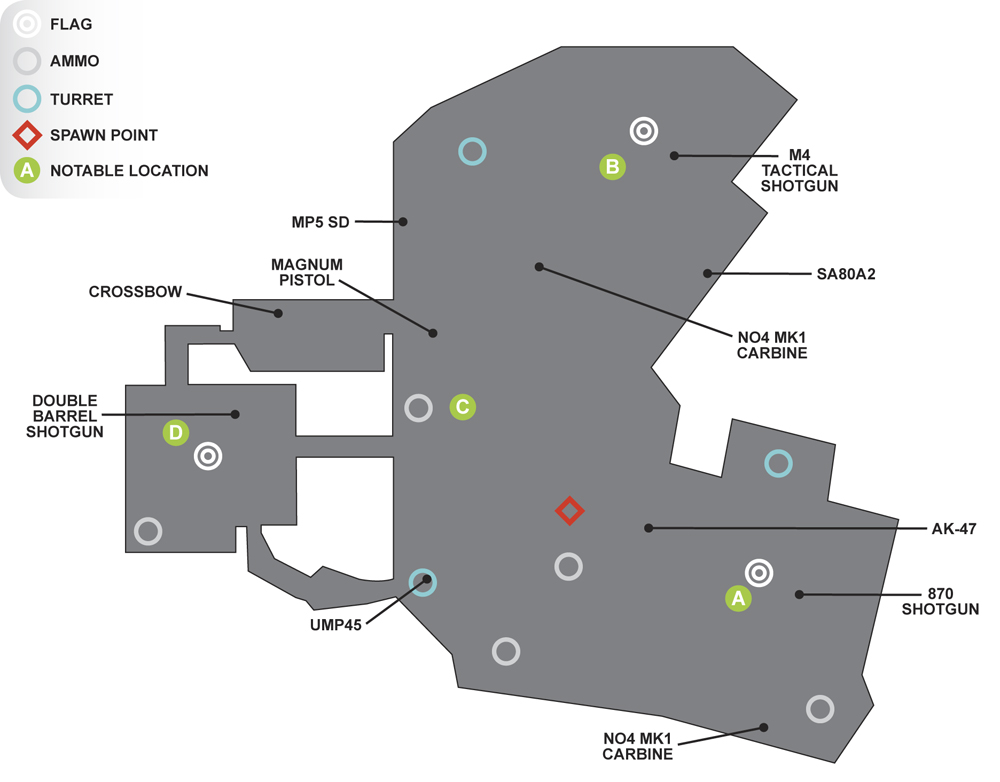
Brick Lane // Notable Locations
[A] // BASKETBALL COURT
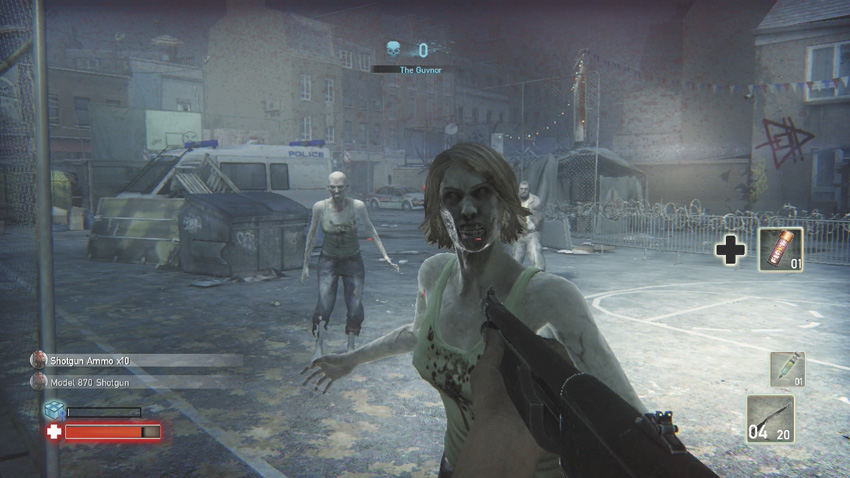
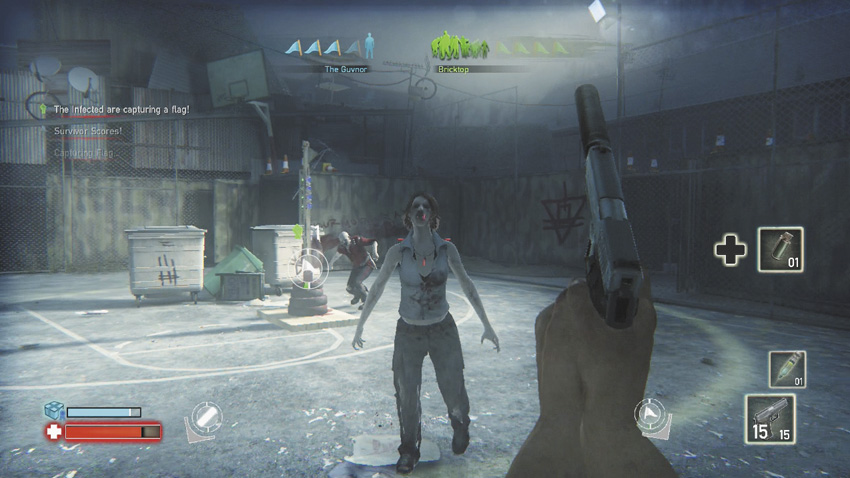
A great place to dash about in, using the low cover to fire over to keep the zombies at bay. This area has a side road that’s rarely used but is a good alternative method of reaching Areas 3 and 4. Unlike the other maps, this is more of a natural environment, with wider openings between areas, and the court has access in four different directions, all ending up close to the Main Road.
The police van and army troop carrier parked on the court and in the street, the containers, and the wire fencing near the van are all obstacles the Survivor can use to his advantage, dodging incoming attacks and luring foes into a trap (such as a mine at an exit). There’s more than enough room to circle-strafe, flee from Explosive Hunters, and live to tell about it.
[B] // THE KNACKER’S YARD
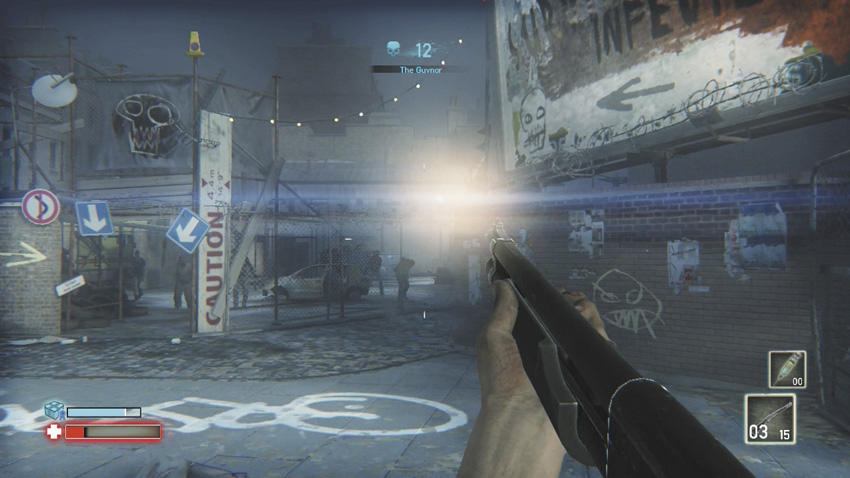
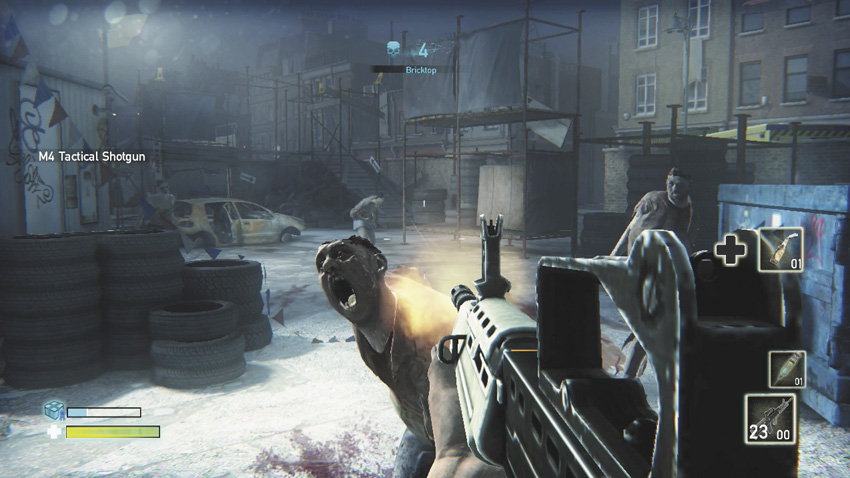
This yard has several large areas of cover, such as the Dumpster and tire stack and an alleyway offering easy access back to Areas 1 and 3. There’s openings along the wall into the Main Road, as well as a ramp to an upper lookout area, which is another way to avoid zombies; it isn’t a good place to remain, as you need large open spaces to move rather than narrow ramps that zombies can still climb.
The edges of the Main Road and entrances to Area 2 (via the broken wall or side alley) can be problematic if you’re trying to avoid cunningly placed enemies, as there are a few blind corners to worry about. There’s also the largest collection of scenic objects to use as cover, dodging around them and away from mauling hands. If you’re the Survivor, don’t get stuck with foes on both sides of you!
[C] // MAIN ROAD
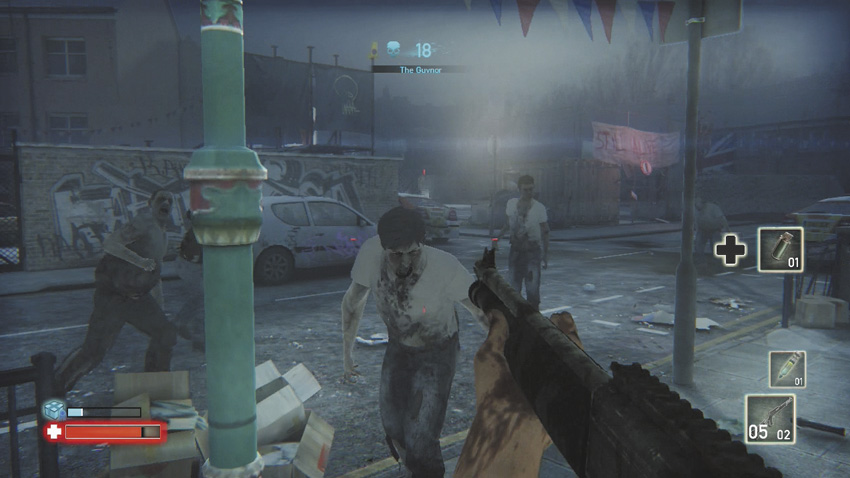
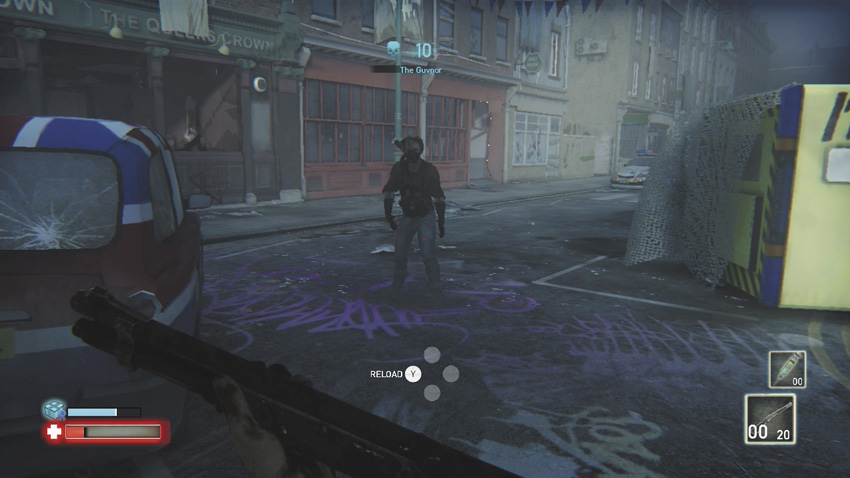
All the way from the broken bus to the abandoned taxi, this Area segments Area 4 from the other locations and offers exceptional line-of-sight opportunities. The fact this giant corridor is so long and has access to all the other Areas on this map makes it easier to survive; you can sprint as far along the road as you can, then turn and lob a grenade, Molotov, or try some longer-range attacks (with the crossbow, for example).
Use the taxi and other parked vehicles along this open expanse to strafe around, keeping foes at bay. The sidewalk (pavement) is another area to inspect, as you can quickly vault over the railings, moving out of reach in a pinch. Usually though, lead your zombie foes into the street, and pick them off in less frantic circumstances; there’s always an escape route to take.
[D] // ALLEYS AND INTERIORS
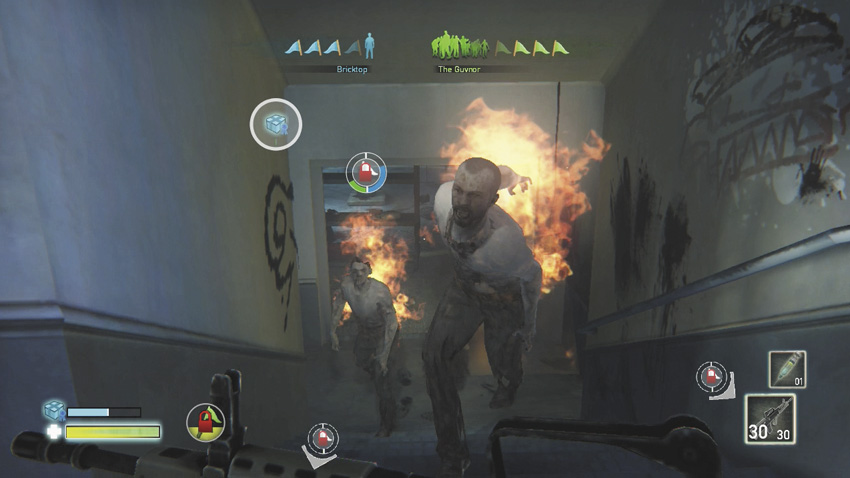
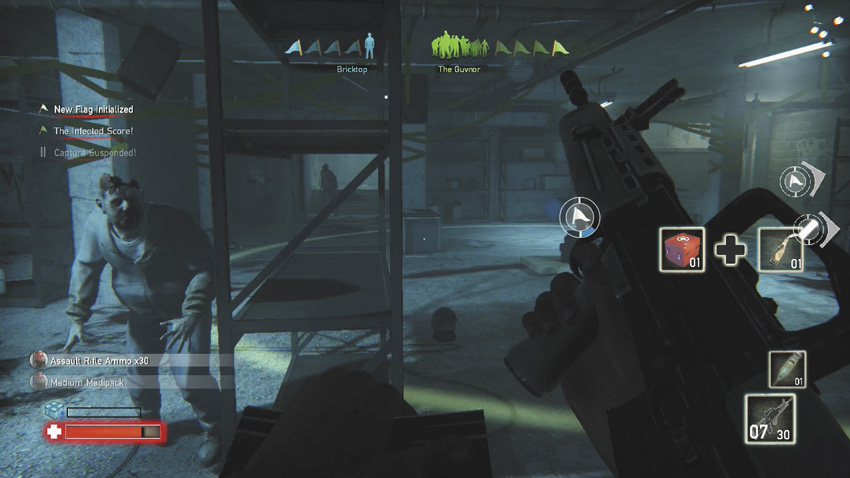
From Area 3, there are three entrances to find. One is through the remains of the Queen’s Crown pub, the middle entrance is via the shell of a curry house, and the third is down a back alley and into a small, connecting L-shaped basement corridor. All these thoroughfares meet in a cellar storage room, which is full of clutter but also opportunities for murder and mayhem!
If a Survivor heads down into the cellar storage room, the usual practice is to flick between the three entrances from the back of the room and demolish anything shambling into view. The enclosed nature of this area makes escaping a little more tricky, but the pillars and shelving allows you time to reload, restock, or heal as you continue to survive as long as you can.
Brick Lane // Notable Tactics
TACTICS // SURVIVOR
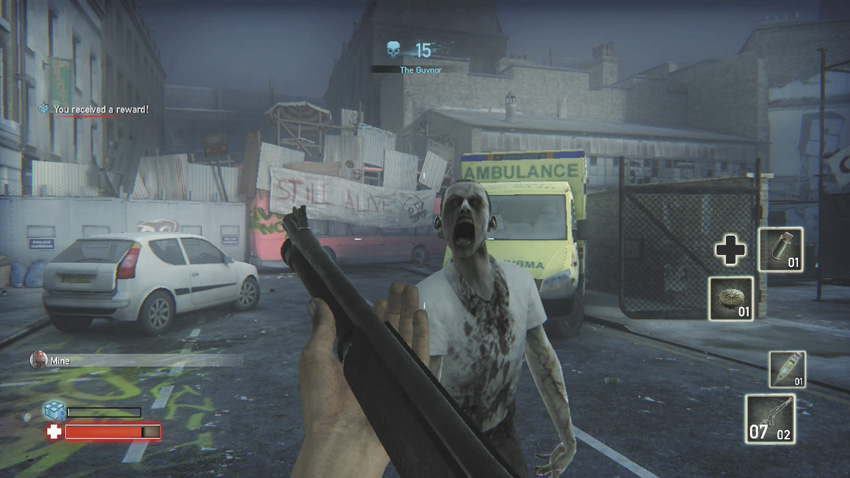
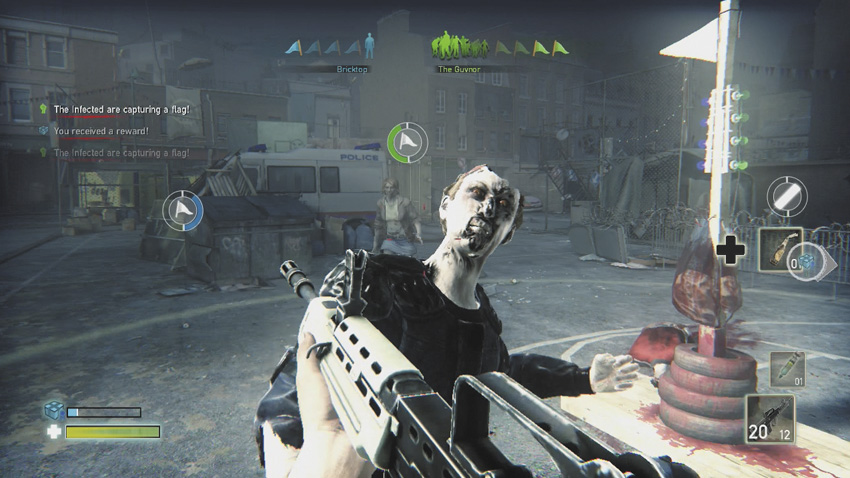
- When you’re on the Main Road, the usual maneuver is to step to a zombie, blast it once with a weapon that removes its head with a single shot, and move forward so the inevitable zombies spawned behind you don’t catch up [1].
- The basketball court is such a large area that you can sit in a corner and plug away at foes, or race up to them, drop them with a headshot, and keep moving. Spitters are likely to be a problem, as you’re really open to their attack; head to cover behind the containers or van before tackling them at closer quarters [2].
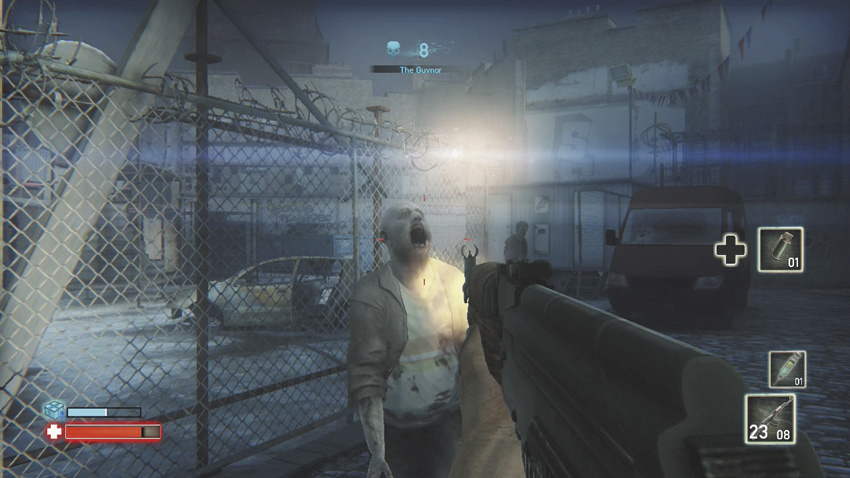
- There’s numerous places to hide in the Knackers Yard, as long as you keep moving and darting in and out of this Area so Boris doesn’t spawn too many foes that you can’t handle. The ramped platform is more of an escape route than a sniping nest [3].
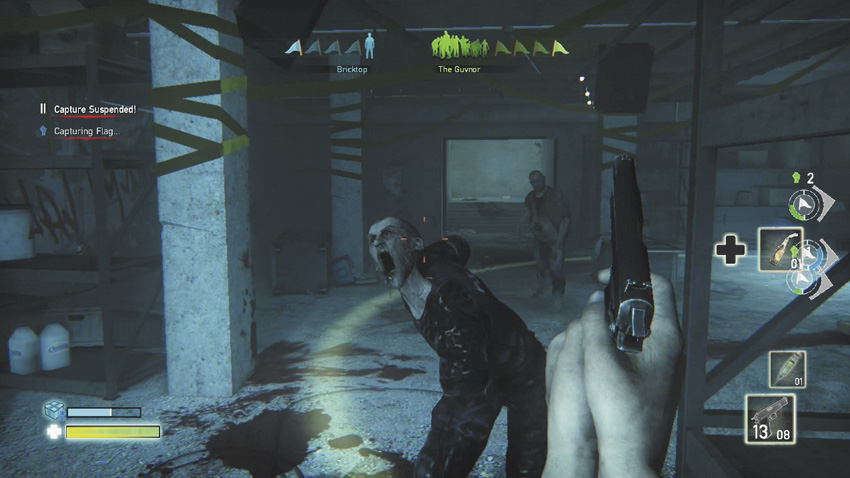
- The cellar storage area can be a trap if you entered the area with limited ammunition. Be sure both weapons are close to capacity, as the defensive nature of plugging zombies coming from the three entrances is sound. Make your move to grab ammo during a lull in the massacring [4].
TACTICS // KING OF ZOMBIES
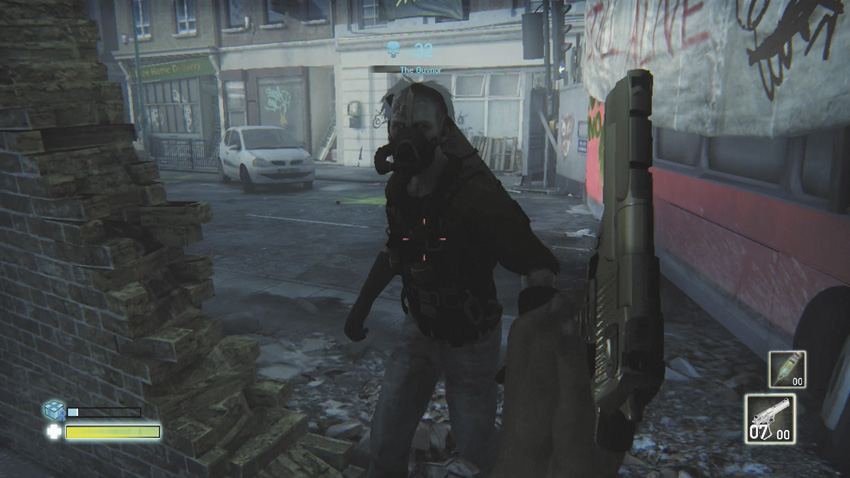
- Although there’s several wide-open spaces so your forces are easily spotted, there are more occasions to give the Survivor a target to shoot in front of them and then spawn foes out of their line-of-sight that can outflank them [1].
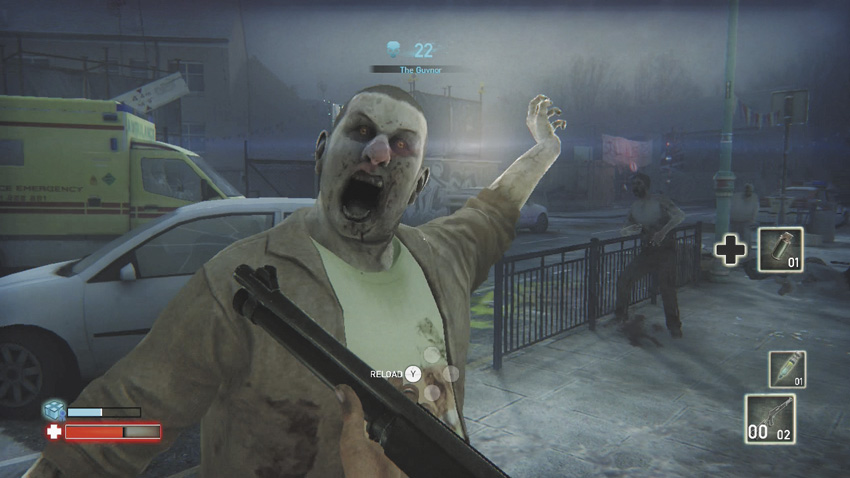
- Sometimes, less is more. Your enemy might be tearing your forces apart on the Main Road, so stop spawning enemies the Survivor can easily take down. Instead, watch for your foe to head to a location with blind corners (such as the alley of Area 4, or the brick wall near the bus), and plant a zombie friend (an explosive one is especially nasty) to surprise them [2]!
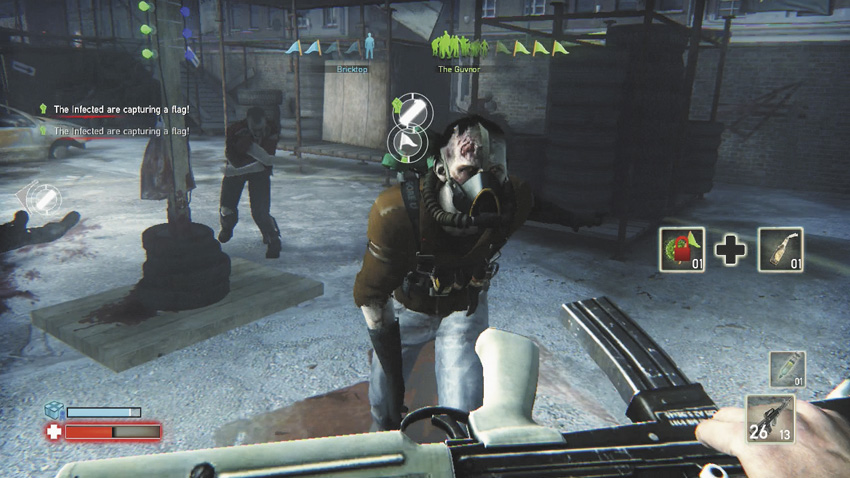
- The Knackers Yard is more than enough cover for you to place foes your enemy doesn’t see until the last minute. Trapping the enemy here is relatively easy, so herd them here, dropping your minions behind the hut or brick wall [3].
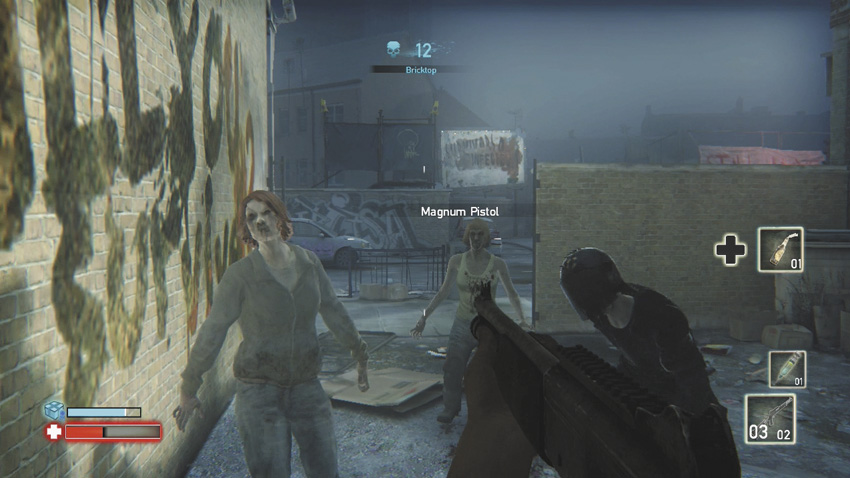
- Make the most of the alleyway and passages into the cellar storage; these can be narrow trap points that work very well. If your foe decides to make a stand in the cellar, spawn at all the entrances (at random times) and win this war of attrition when the Survivor is out of ammo [4]!