
ZombiU Guide Missions Prologue
Campaign Prologue
HOW TO FIGHT THE BLIGHT
INFORMATION BOXES
Walkthrough information is grouped into objectives or sets of objectives. Within this, expect the following information to be presented, in addition to the main walkthrough content:
| Danger Level: |

|
- Objective Marker: Yes
- Survivor Score: 10
- Special Instructions: This can be skipped.
// OBJECTIVE INFORMATION BOX: This quickly shows you how dangerous the objective(s) you’re undertaking may be, whether your Smart Map shows the location of the objective, the Survivor Score you receive for finishing the objective(s), and any special instructions (such as whether you can skip the objective or whether it is triggered anyway if you die). The danger level of each objective (or set of objectives) is ranked on a patent-pending “Zombie Finger” scale. Here’s how this breaks down:
|

|
|

|
|
|
|

|
|

|
INCOMING INFECTED // INCOMING INFECTED
Lower Mezzanine: Shamblers (2)
Right Balcony: Shambler
// INCOMING INFECTED: Whenever you first explore an area, there’s a variety of Infected to worry about. Although most of these foes appear randomly, this box gives an approximate number of foes that you’re likely to encounter, along with their type. This isn’t precisely what you’ll encounter; it is simply the best guess after replaying the mission multiple times.
Optional Extras: Concourse Reconnoiter
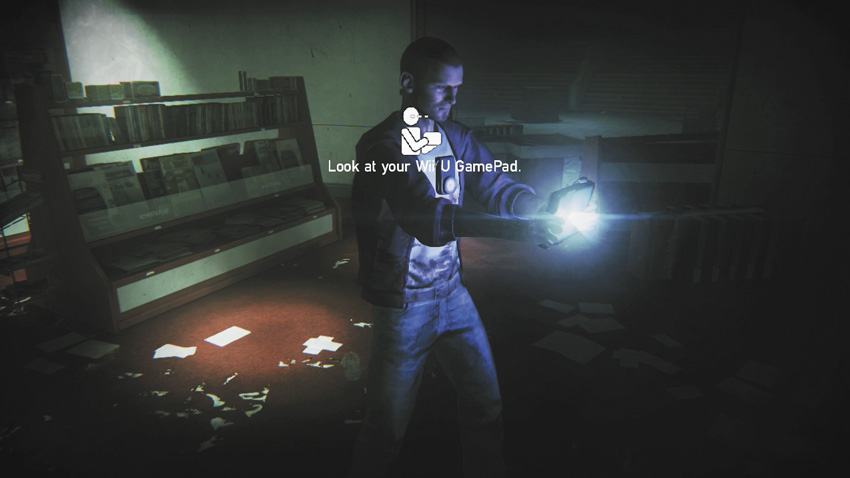
Before completing this mission, thoroughly inspect this entire concourse area. Here’s what to think about doing:
- Figure out and memorize routes to take from the main steps near the travel store to the Safe House.
- Learn these routes with and without your flashlight to guide you. This location is later overrun by the Infected, and it becomes critical to keep moving and stay away from dead ends.
- Study the Smart Map of this area and scan all of it. There are four separate rooms, including the travel store. There’s a storage area, a newsdealer, and a rent-a-car store.
- All the structures have doors, broken windows to climb over (and for zombies to climb over too!), and open entrances to slide under (and for zombies to crawl under!). Think about which ones would be good to defend from.
- There are planks to find throughout this area. Although you don’t have a hammer yet (with which to reinforce the doors), you can pick up the planks and drop them near a door you want to barricade.
// OPTIONAL EXTRAS: The main text focuses on the critical path to take. This section of a mission details areas of a map that aren’t necessary to head into and what you might find there that could be of extra benefit to you.
CHARACTERS // THE PREPPER
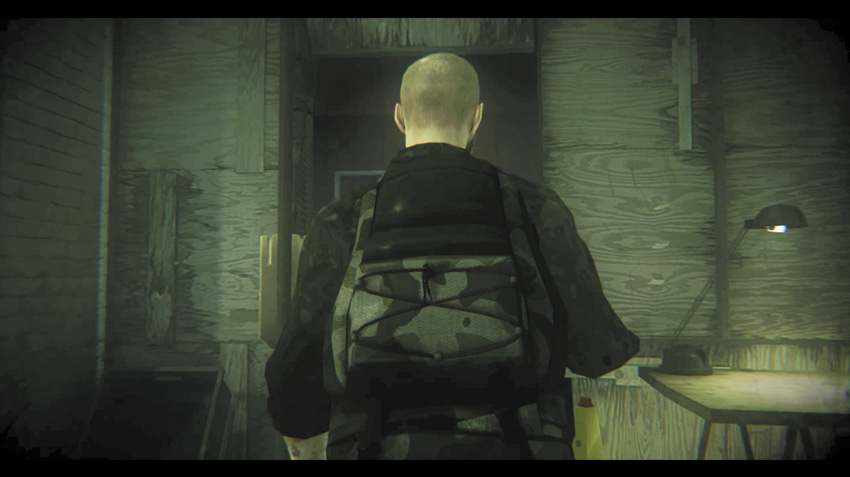
Little is known of the Prepper, or indeed where he even is located. Represented by a thick, northern voice crackling through the speakers of your Pad, the Prepper is an ex-military man and professes to be a member of the Royal Signals.
ENEMY // INFECTED SURVIVOR
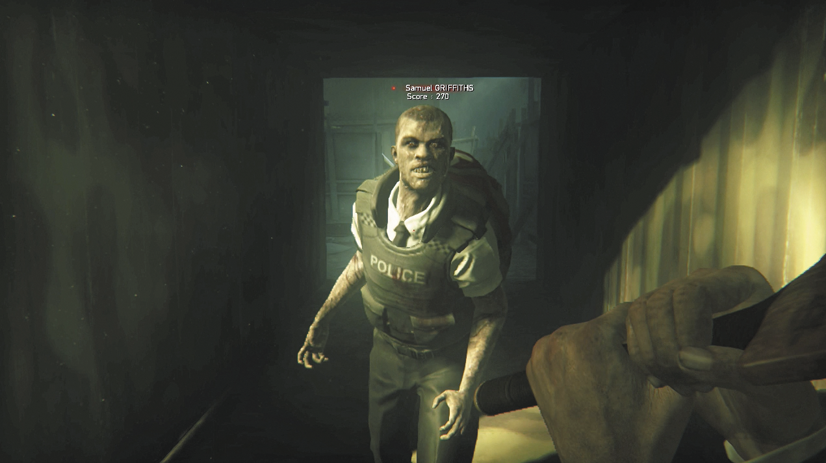
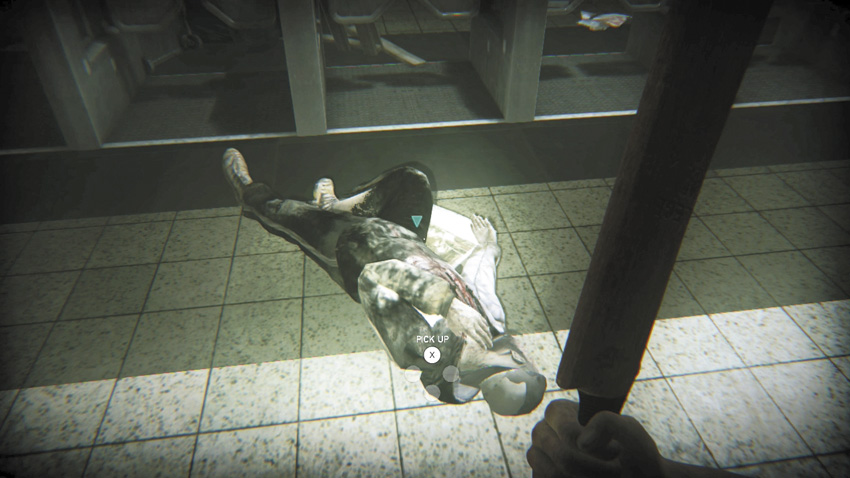
This is a Blighter that was once a Survivor like you. It is a lost soul now. Although a dreadful business, putting an end to this floundering beast’s misery is the only humane option. Especially as it is carrying a backpack you so desperately need....
// CHARACTERS AND ENEMIES: The first time a new character or enemy is introduced, we give some background information. Use this to make judgement calls from this point on.
WEAPON // CRICKET BAT
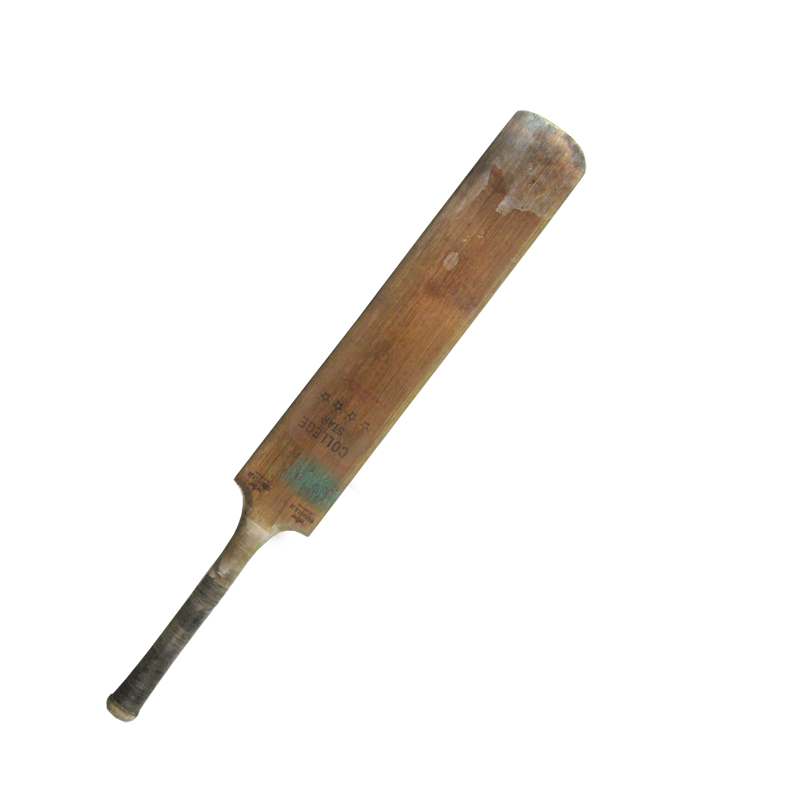
“Go on. Pick up the Cricket Bat. Don’t be squeamish. Then knock those Infected for six.”
WEAPON // UPGRADES
GEAR // FLASHLIGHT
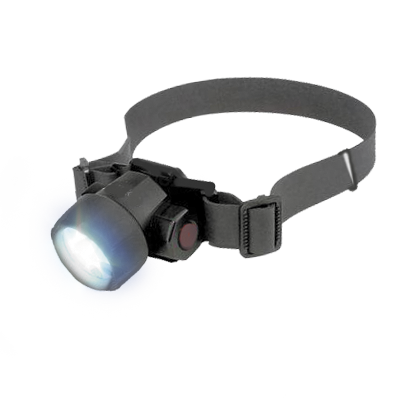
- The flashlight, also known as a torch, illuminates the area around you and is strapped to a holster on your chest.
- It runs off a special battery that ticks down from 99 to 0, flickering when only 10 points of power are left.
ITEM // MEDIUM MEDIPACK
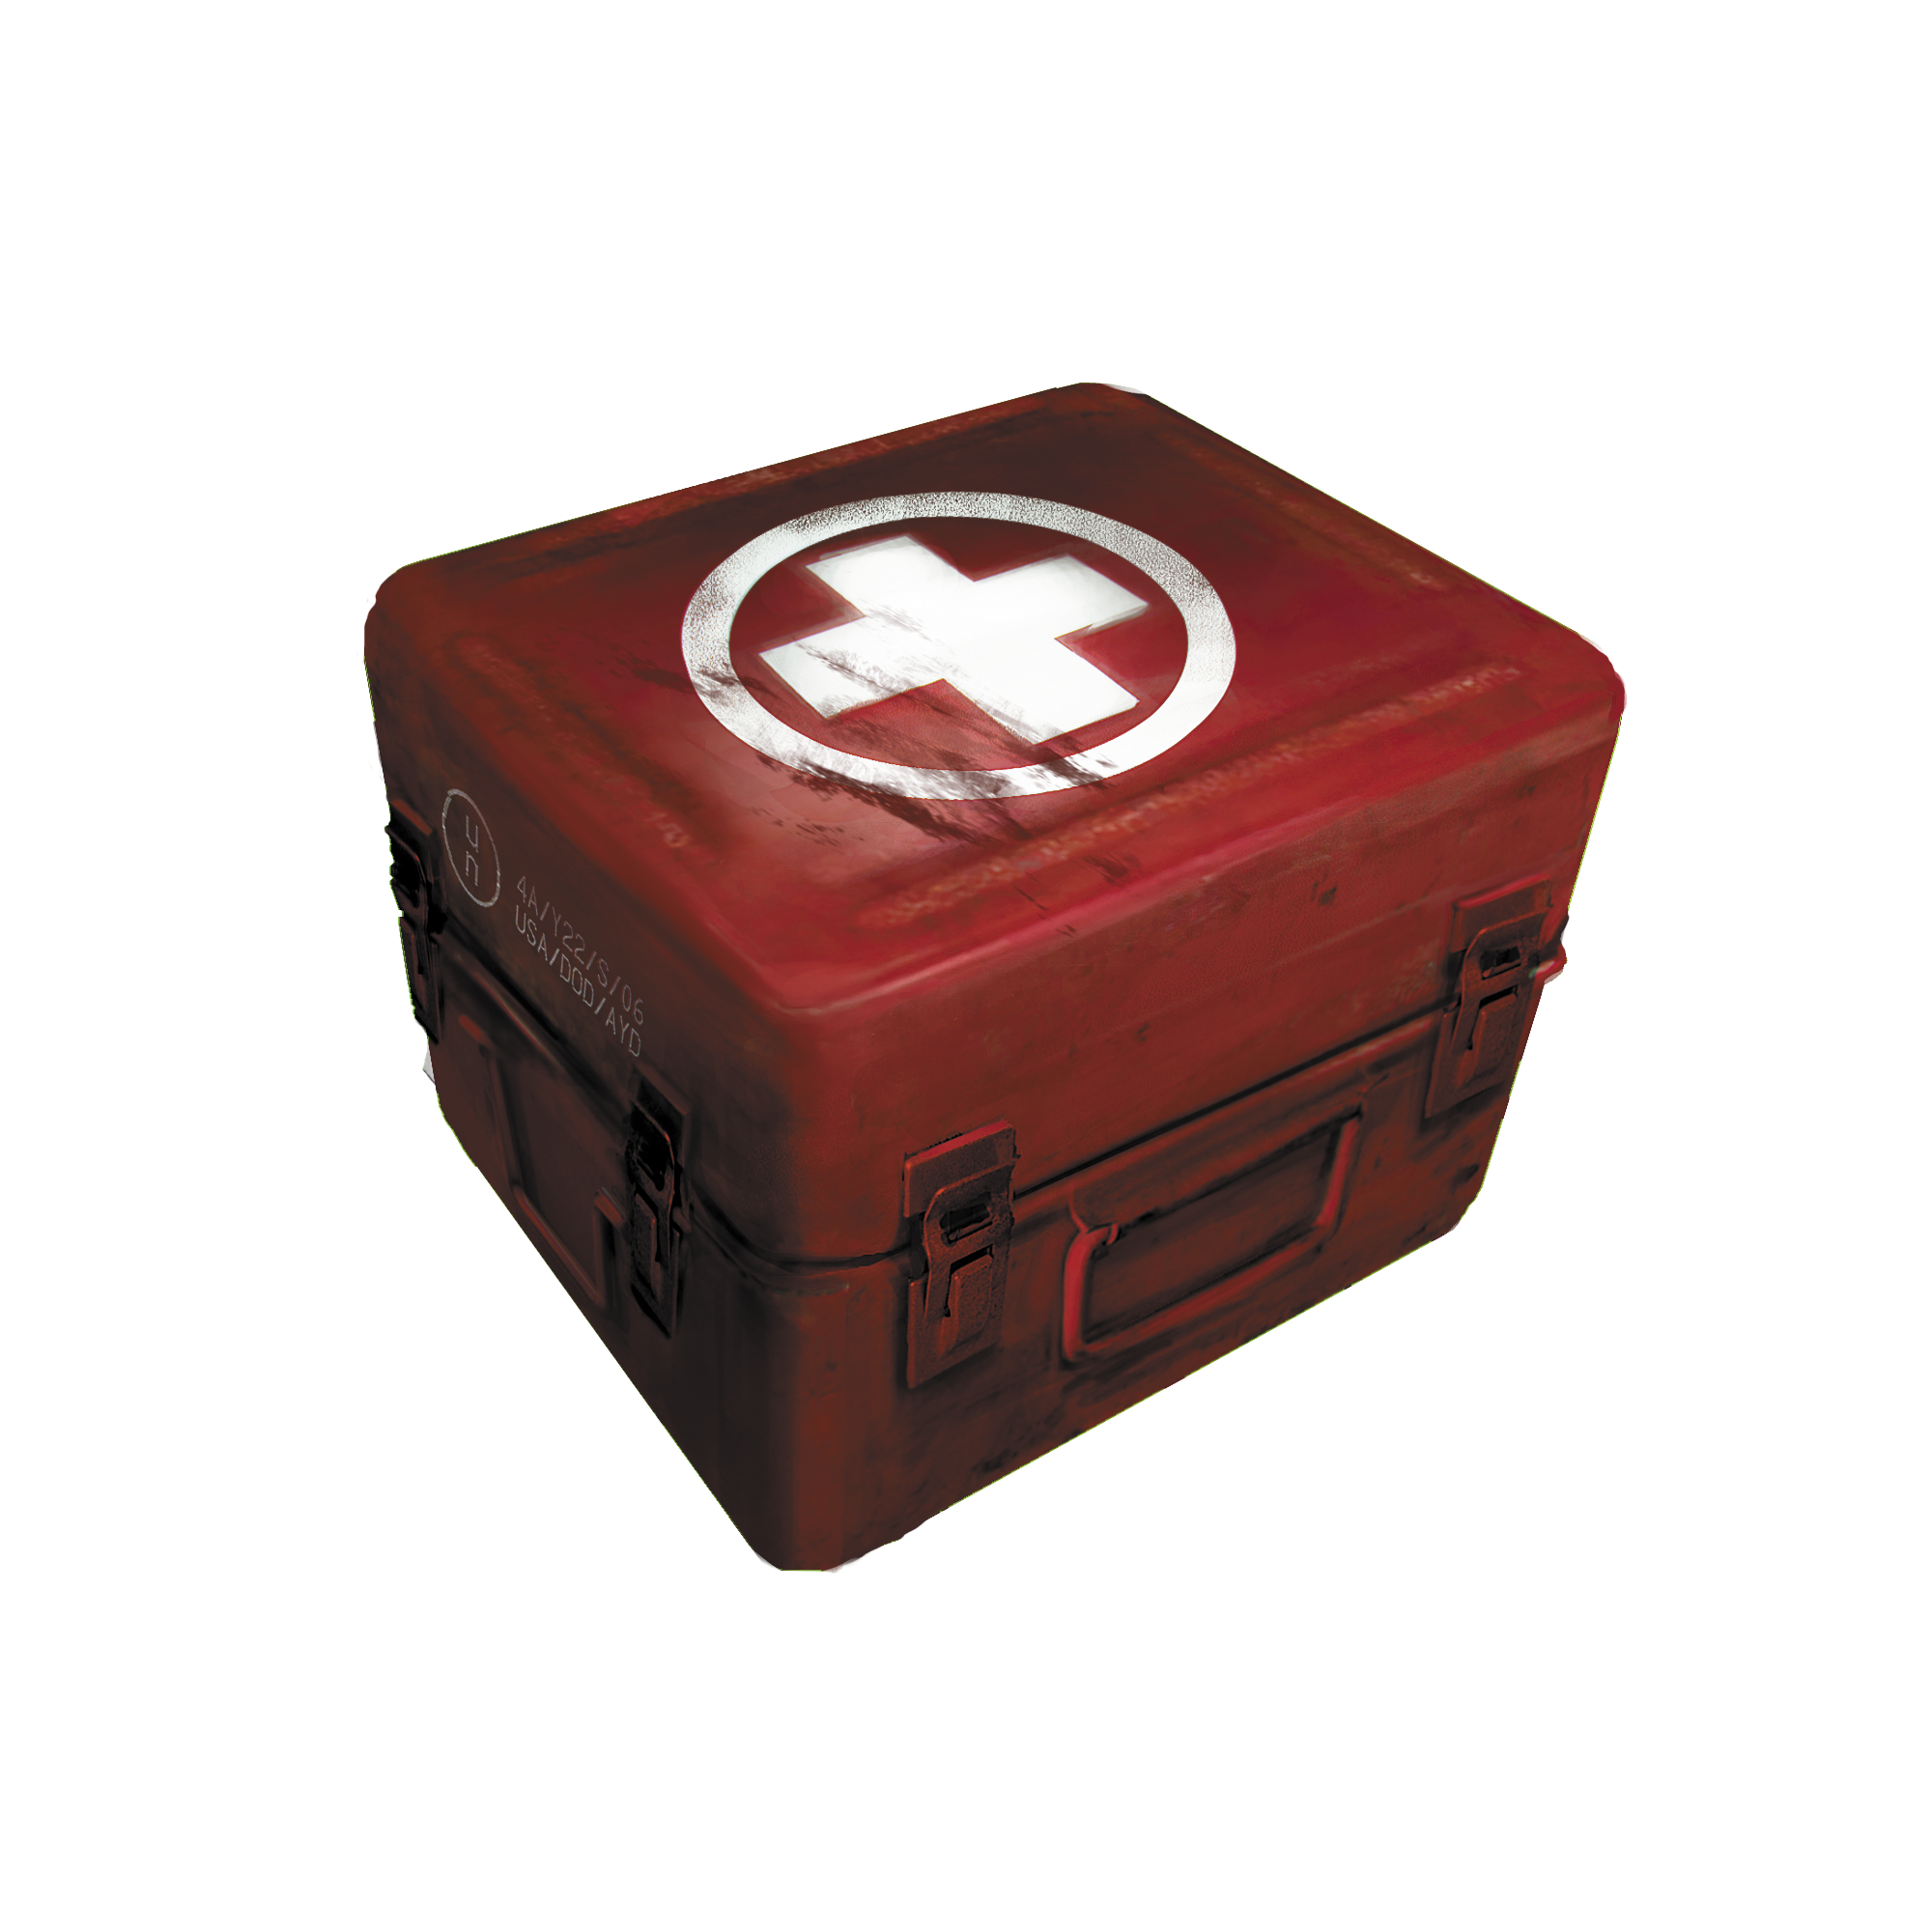
- Effect: Hit Points (HP) +40%
Essential pain-killers and bandages.
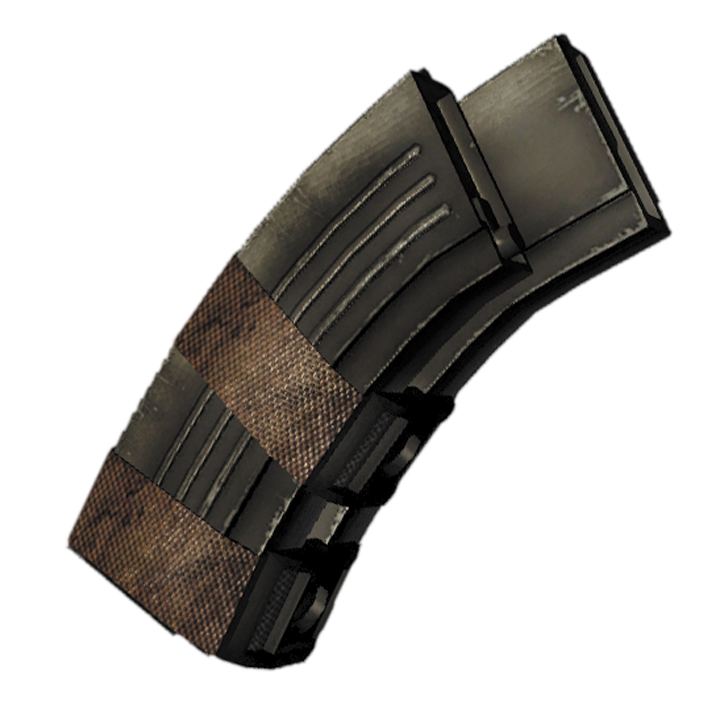
// ITEMS, GEAR, UPGRADES, AND WEAPONS: Whenever you pick up something useful, whether it’s equipment you use (e.g., ammunition, mission-critical items, or healing items) or carry (e.g., backpacks, your Pad, or enhancements that help you overcome circumstances, such as lockpicking tools to open certain doors), upgrades to your weapons, or new weapons, we show a box giving pertinent information.
NOTEBOOK ADDITION // NEWSPAPERS (1/7)
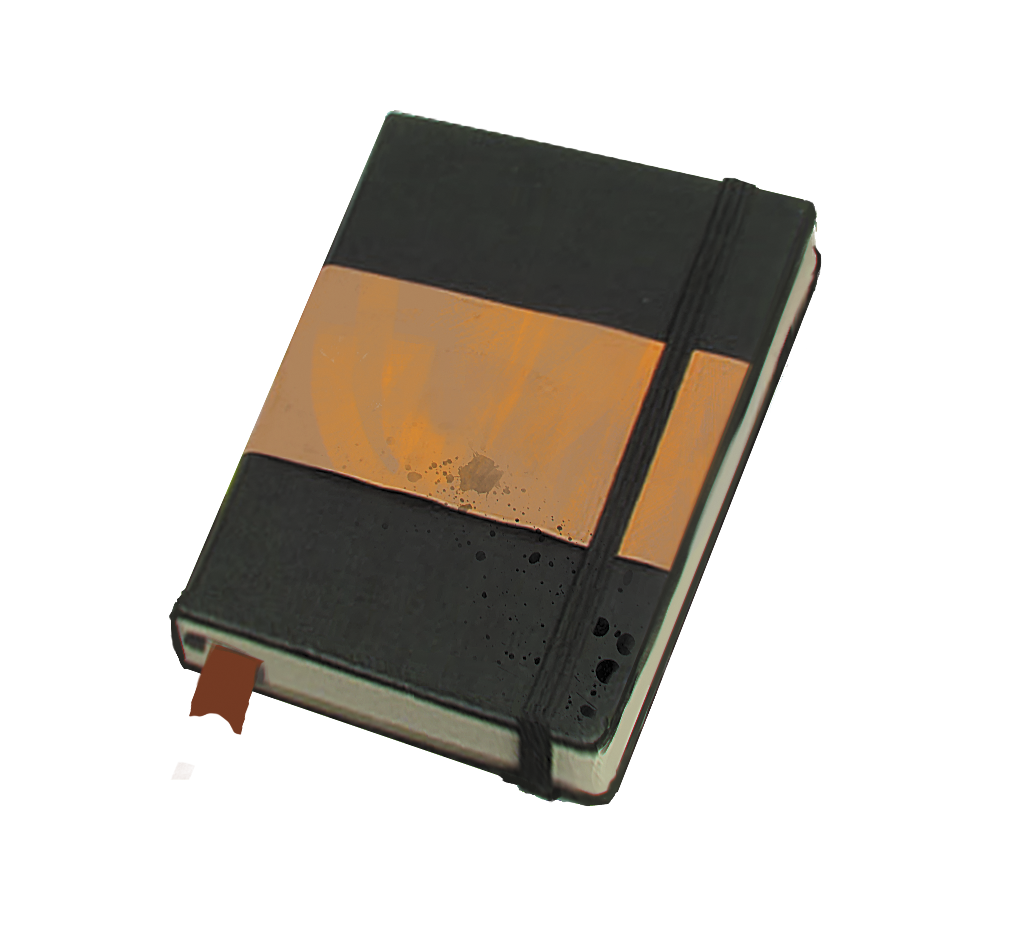
// NOTEBOOK ADDITION: You keep a notebook throughout this campaign, and every time you find a new piece of information (in the form of newspapers, letters, or other matter), it is flagged and explored in greater detail in these boxes.
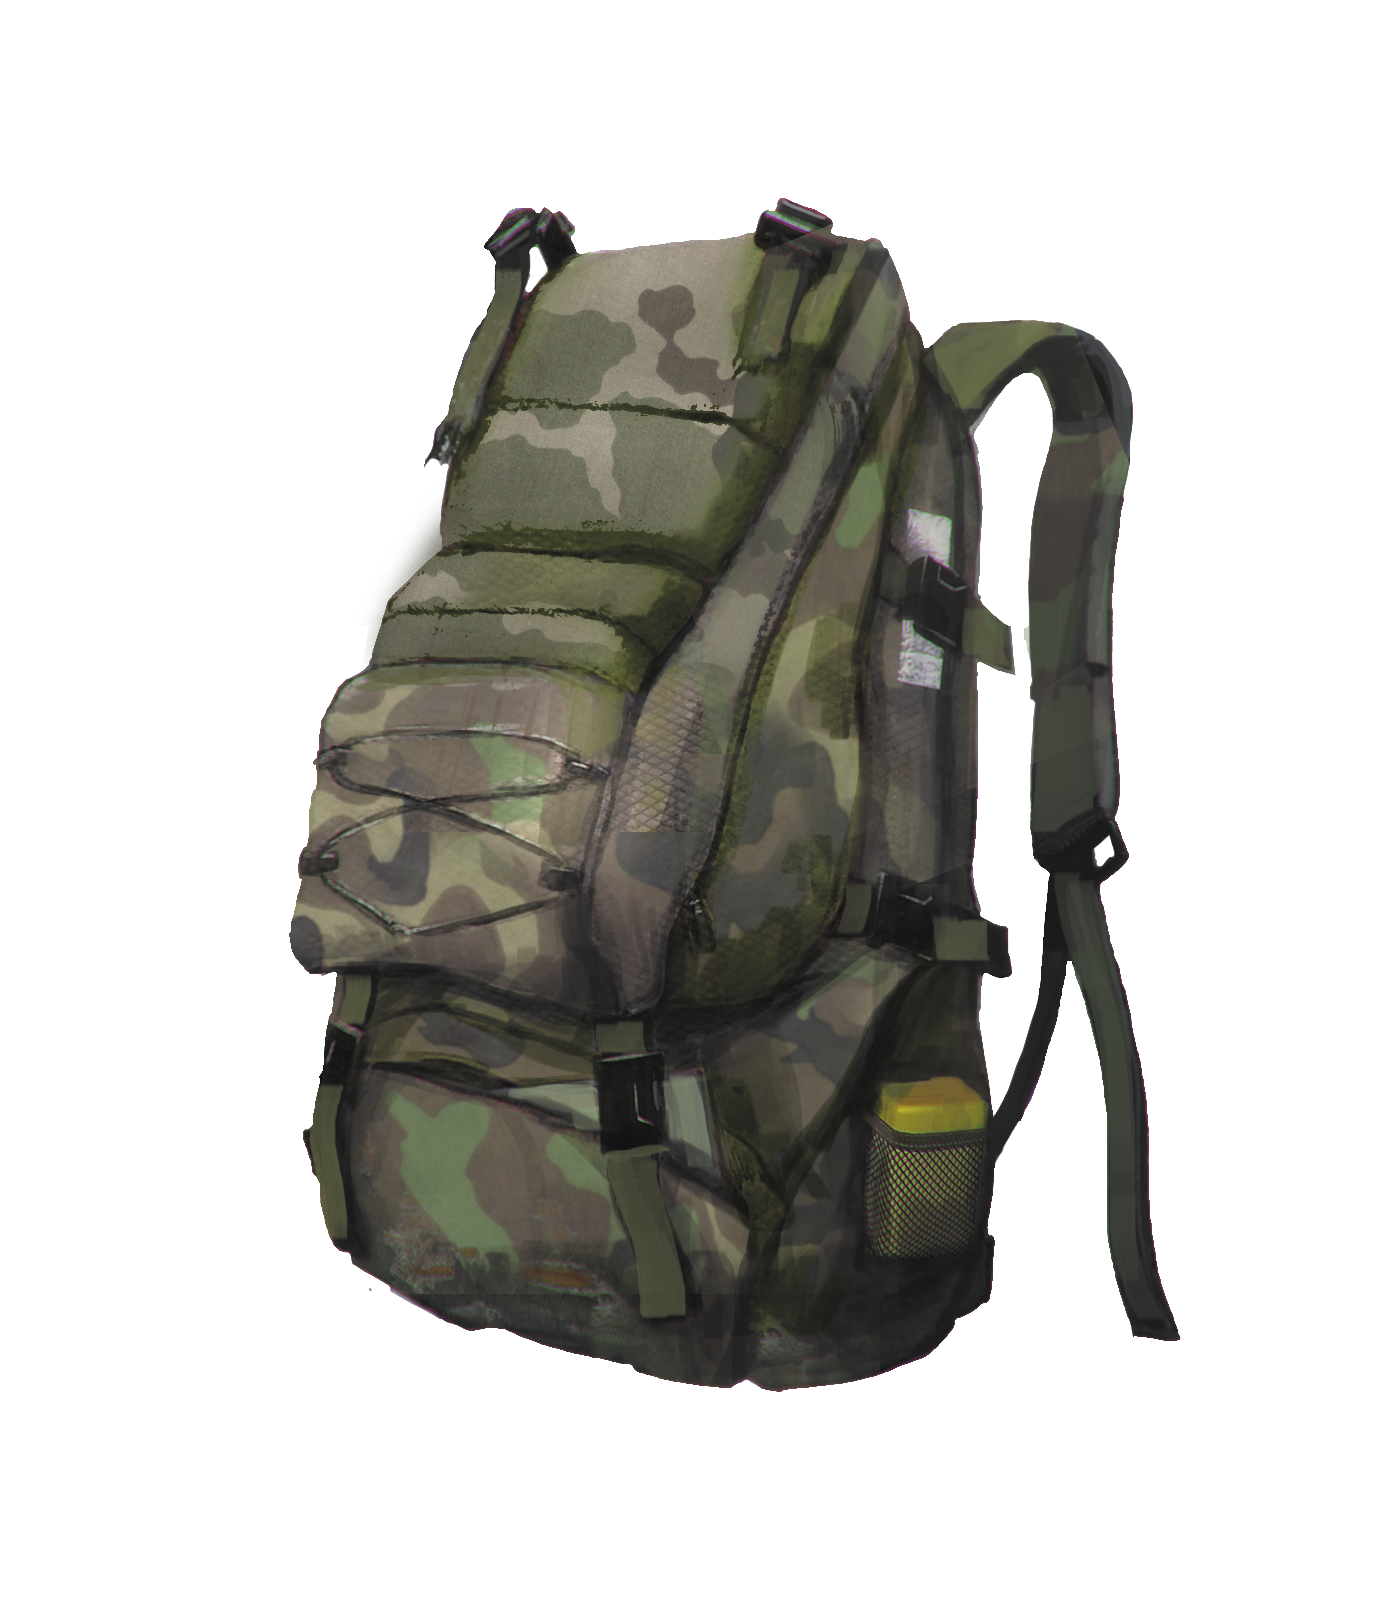
Backpack // ITEM PICKUP FLAG: A quick visual representation every time you pick up a new, important, or mission-critical item.
Lore: The Royal Signals
Formed in 1870, the Royal Corps of Signals is a combat support group within the British Army. During battlefield conditions, they usually scout an area first, before providing information and communication systems vital to tactical operations.
// LORE: Delve into the story and history surrounding the British Blight by reading up on the information in these boxes.